Powenetics Application – Options Page
You will find the newest Powenetics app here. There is no installer, so just copy the rar file somewhere and unpack the files.
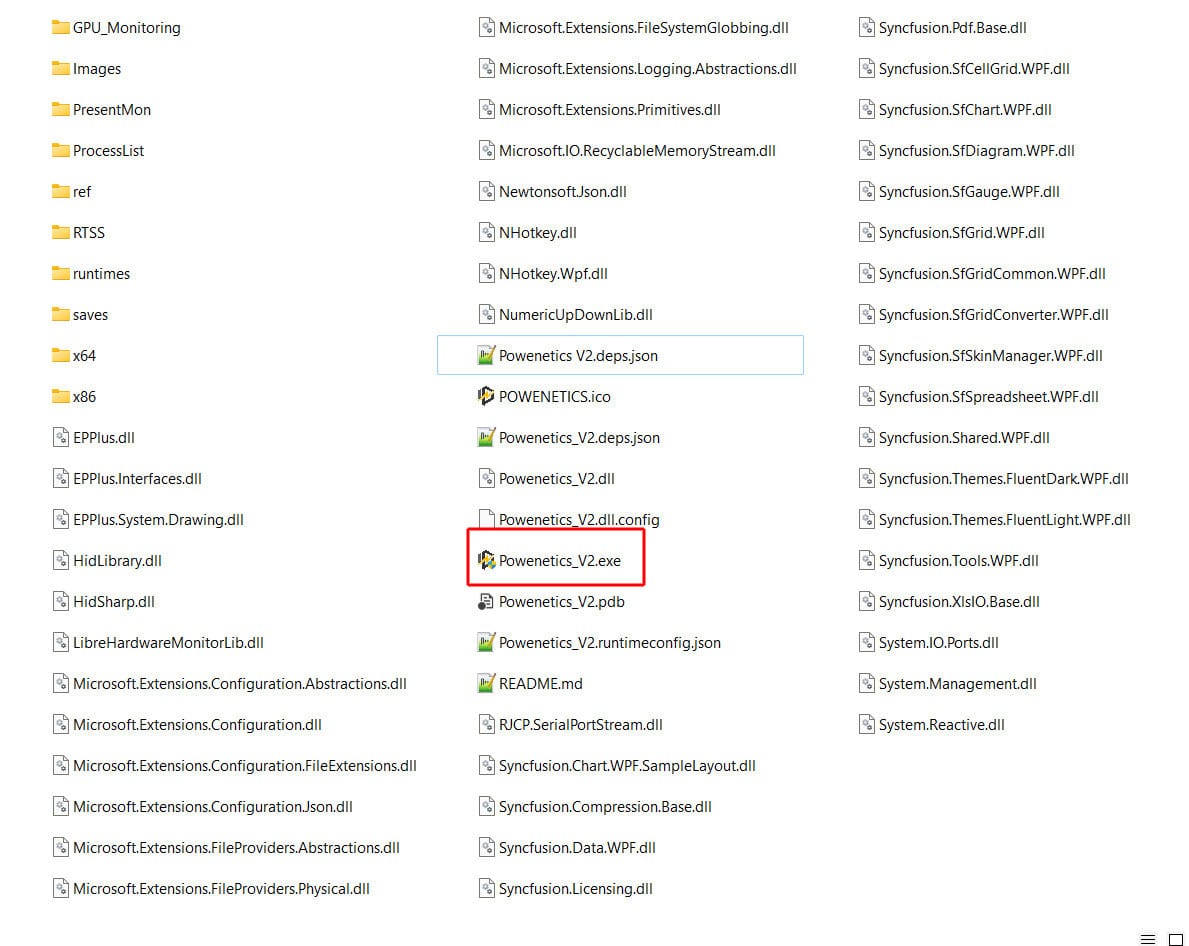
After you have connected Powenetics to your system and also connected the USB cable, locate the “Powenetics.exe” and run it. Then follow the steps we describe below.
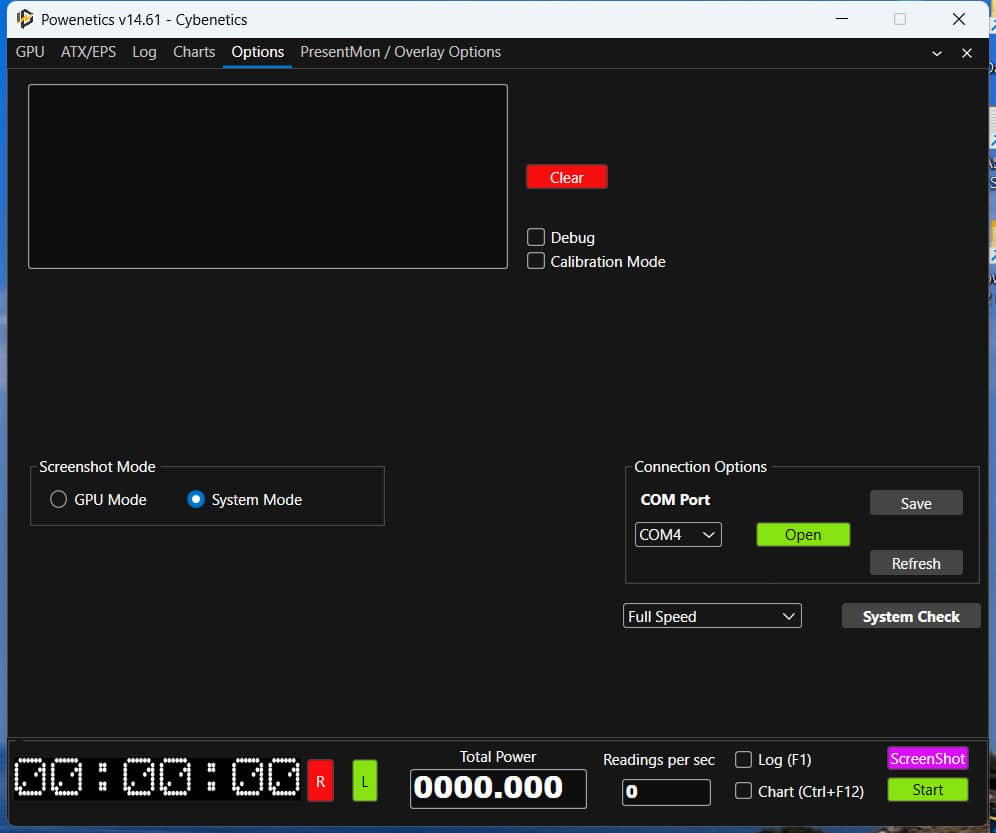
Go to the Options page.
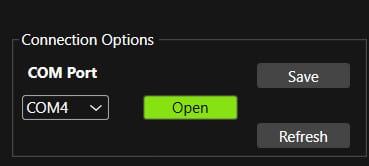
In the Connection Options, select the Com Port where Powenetics is connected. You will get notified once you press the “Open” button if it is not the proper one. Once you find the correct one, just hit “Save” to have it preselected once you open the app.
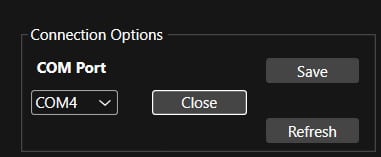
After you hit “Open” the button’s name will change to “Close” for obvious reasons.
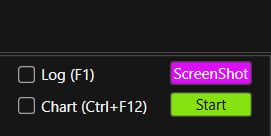
To start the data flow, you have to hit “Start” in the app’s bottom-right corner.
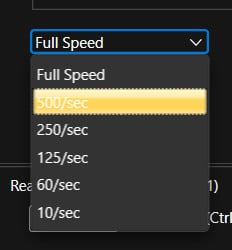
You can select lower speeds from this drop-down menu if you don’t need full speed, 1000 readings per sec. You should select lower speeds for more than 5 minutes, or else the log files will be huge!
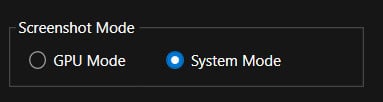
From the “Screenshot Mode” you can select from where the app will take data for the saves in the screenshots and log folders.
If you feel that something is off, you can enable “Debug” mode to provide notifications. You can send these notifications to us to check for possible issues and fix them.
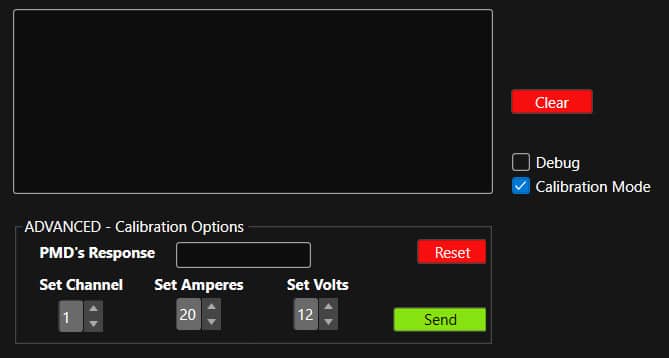
The “Calibration Mode” is for advanced users. We will shortly implement this feature, but be careful! You need to calibrate the PMD using ONLY calibrated equipment! Else the measurements will be off. The PMD is already calibrated from the factory, so you should not touch this option for a year or more after you get the board and start using it. We might offer a calibration option, also, since we have calibration equipment in the Cybenetics lab.