Assembly Procedure
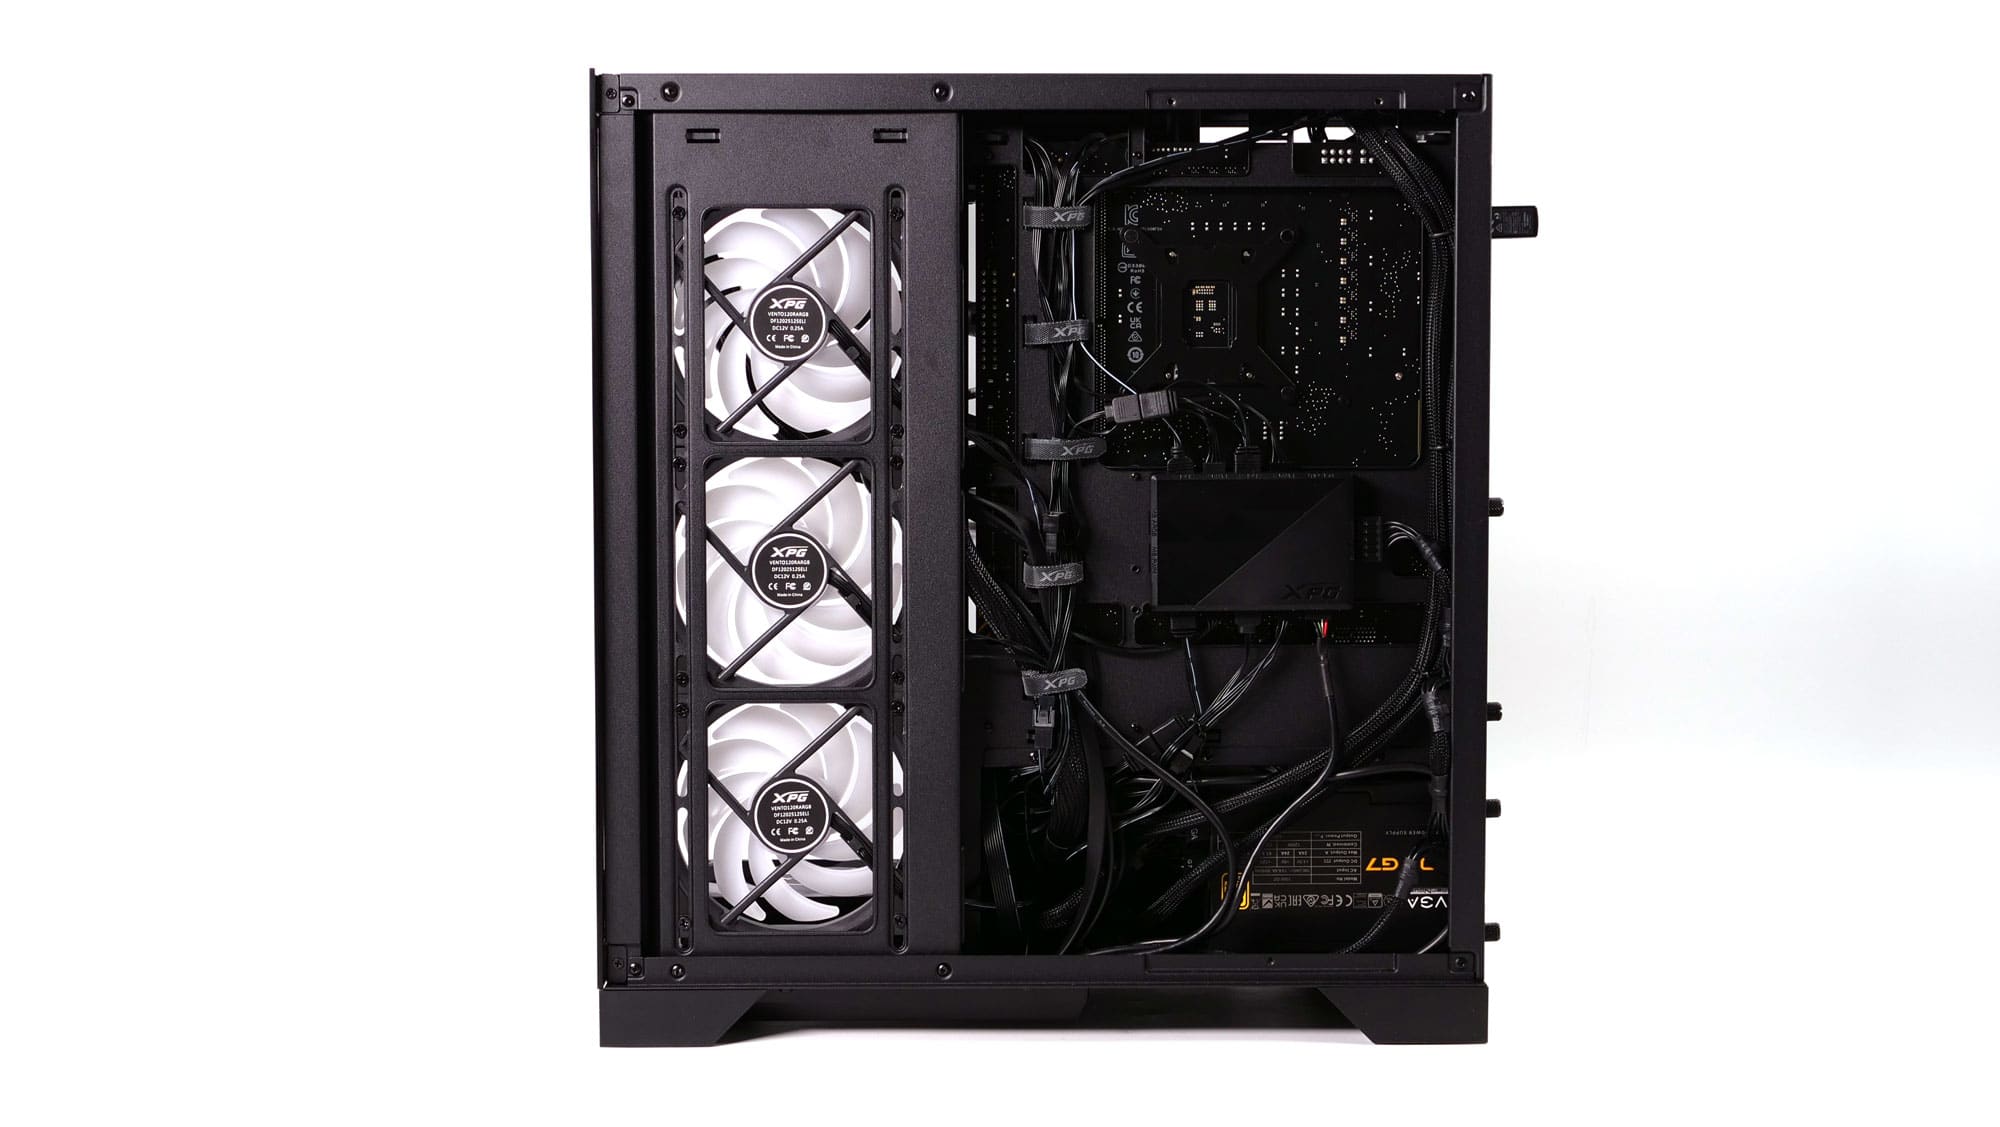
The assembly experience was above average but not perfect. Some interesting features are the nicely routed I/O cables through a channel on the bottom of the case. In addition, the included cable management Velcro straps are reusable and visually pleasing.

A handy opening above the PSU enclosure allows for better routing of PCIe cables to the graphics card. One complaint concerns the cable slots close to the motherboard. A few more millimeters would have gone a long way toward a better 24-pin routing experience. It would have been possible to use the opening for the PCIe cables; however, it would ruin the aesthetics of the build. It is worth mentioning that this issue is related to the PSU of choice and its cables, so your mileage may vary.
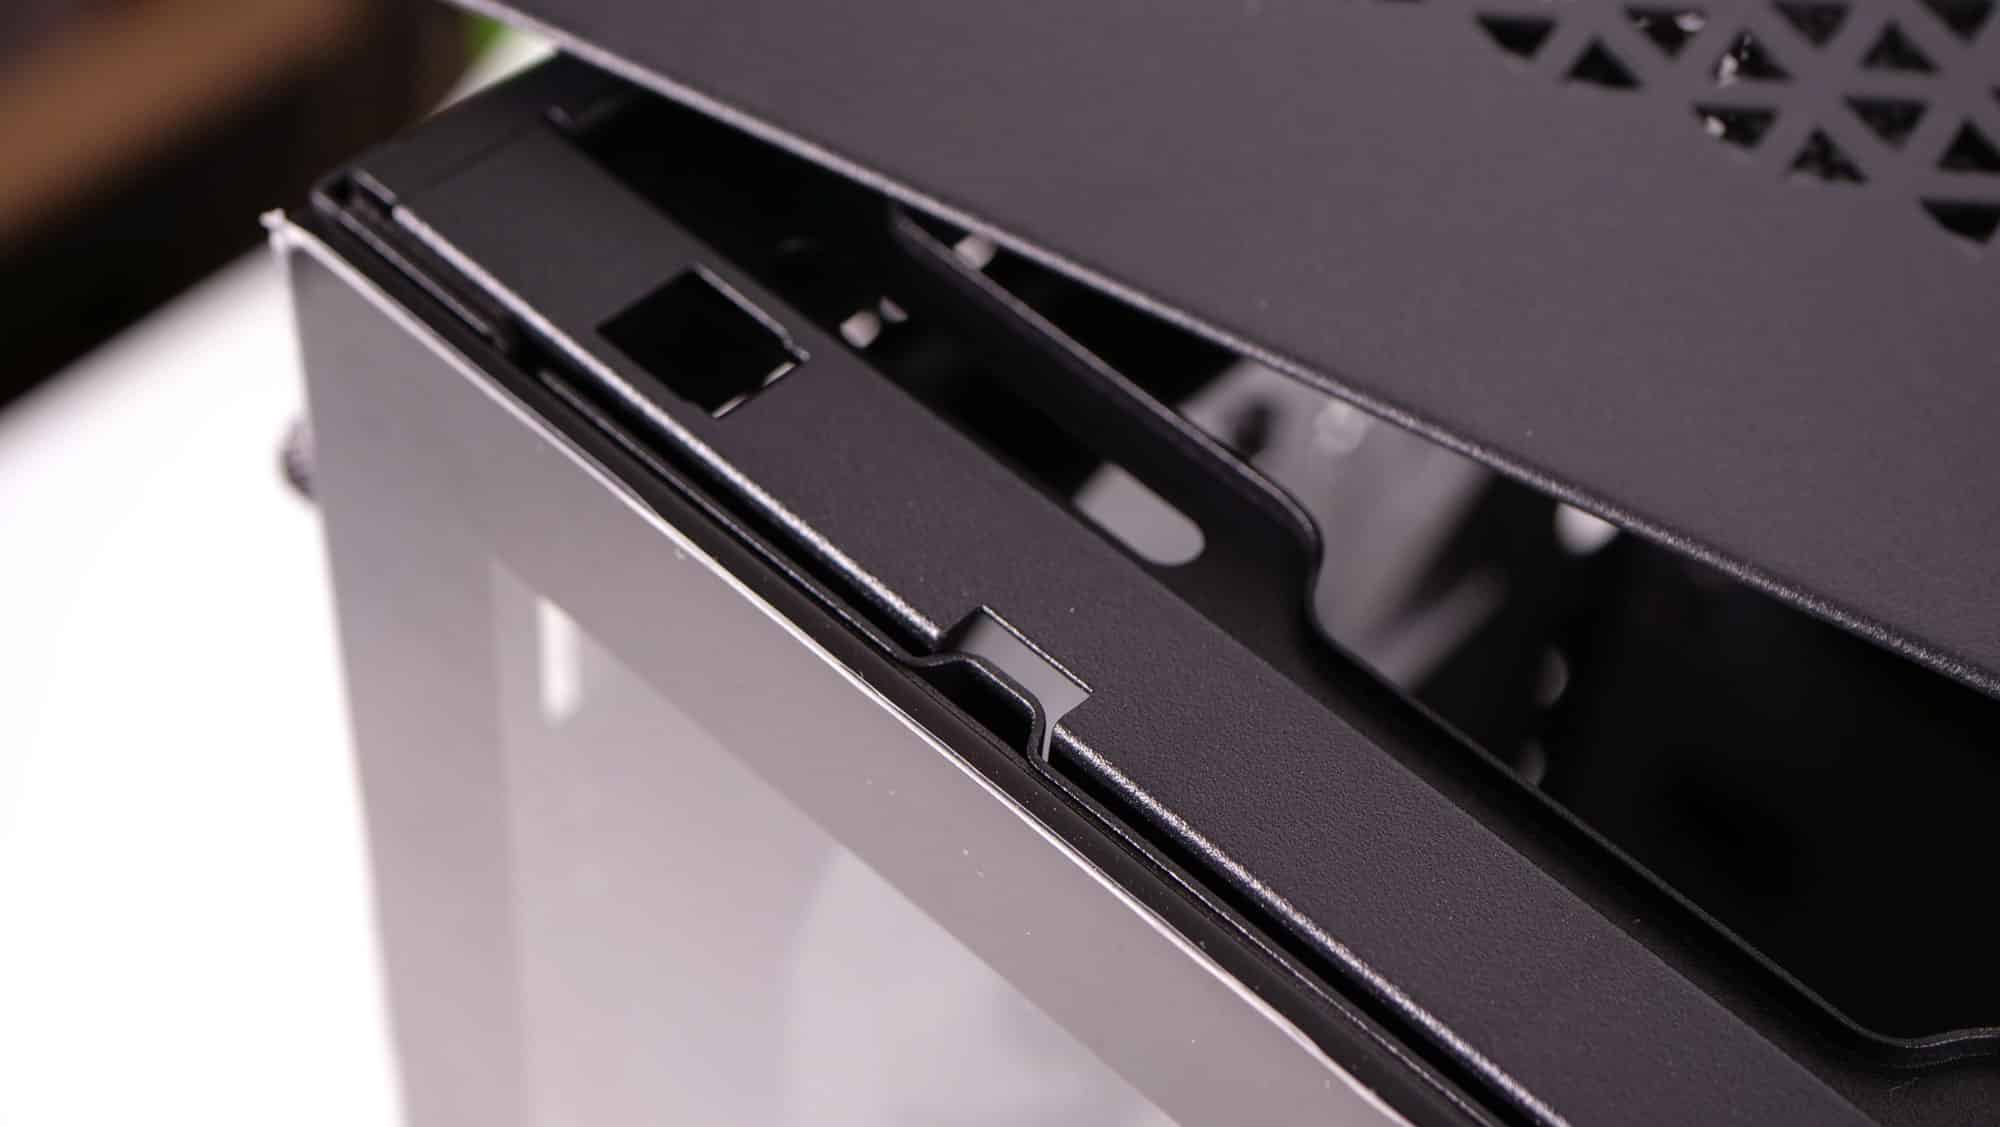
The glass side and front panels provide a good look inside the chassis; however, the top panel must be removed first in case you want to remove the side. Nonetheless, it is a small issue since this design choice was seemingly made for safety purposes. In addition, removing all panels is made easier by using good-quality captive thump screws, except for the front glass, which is held in place using both plastic clips and two normal screws.
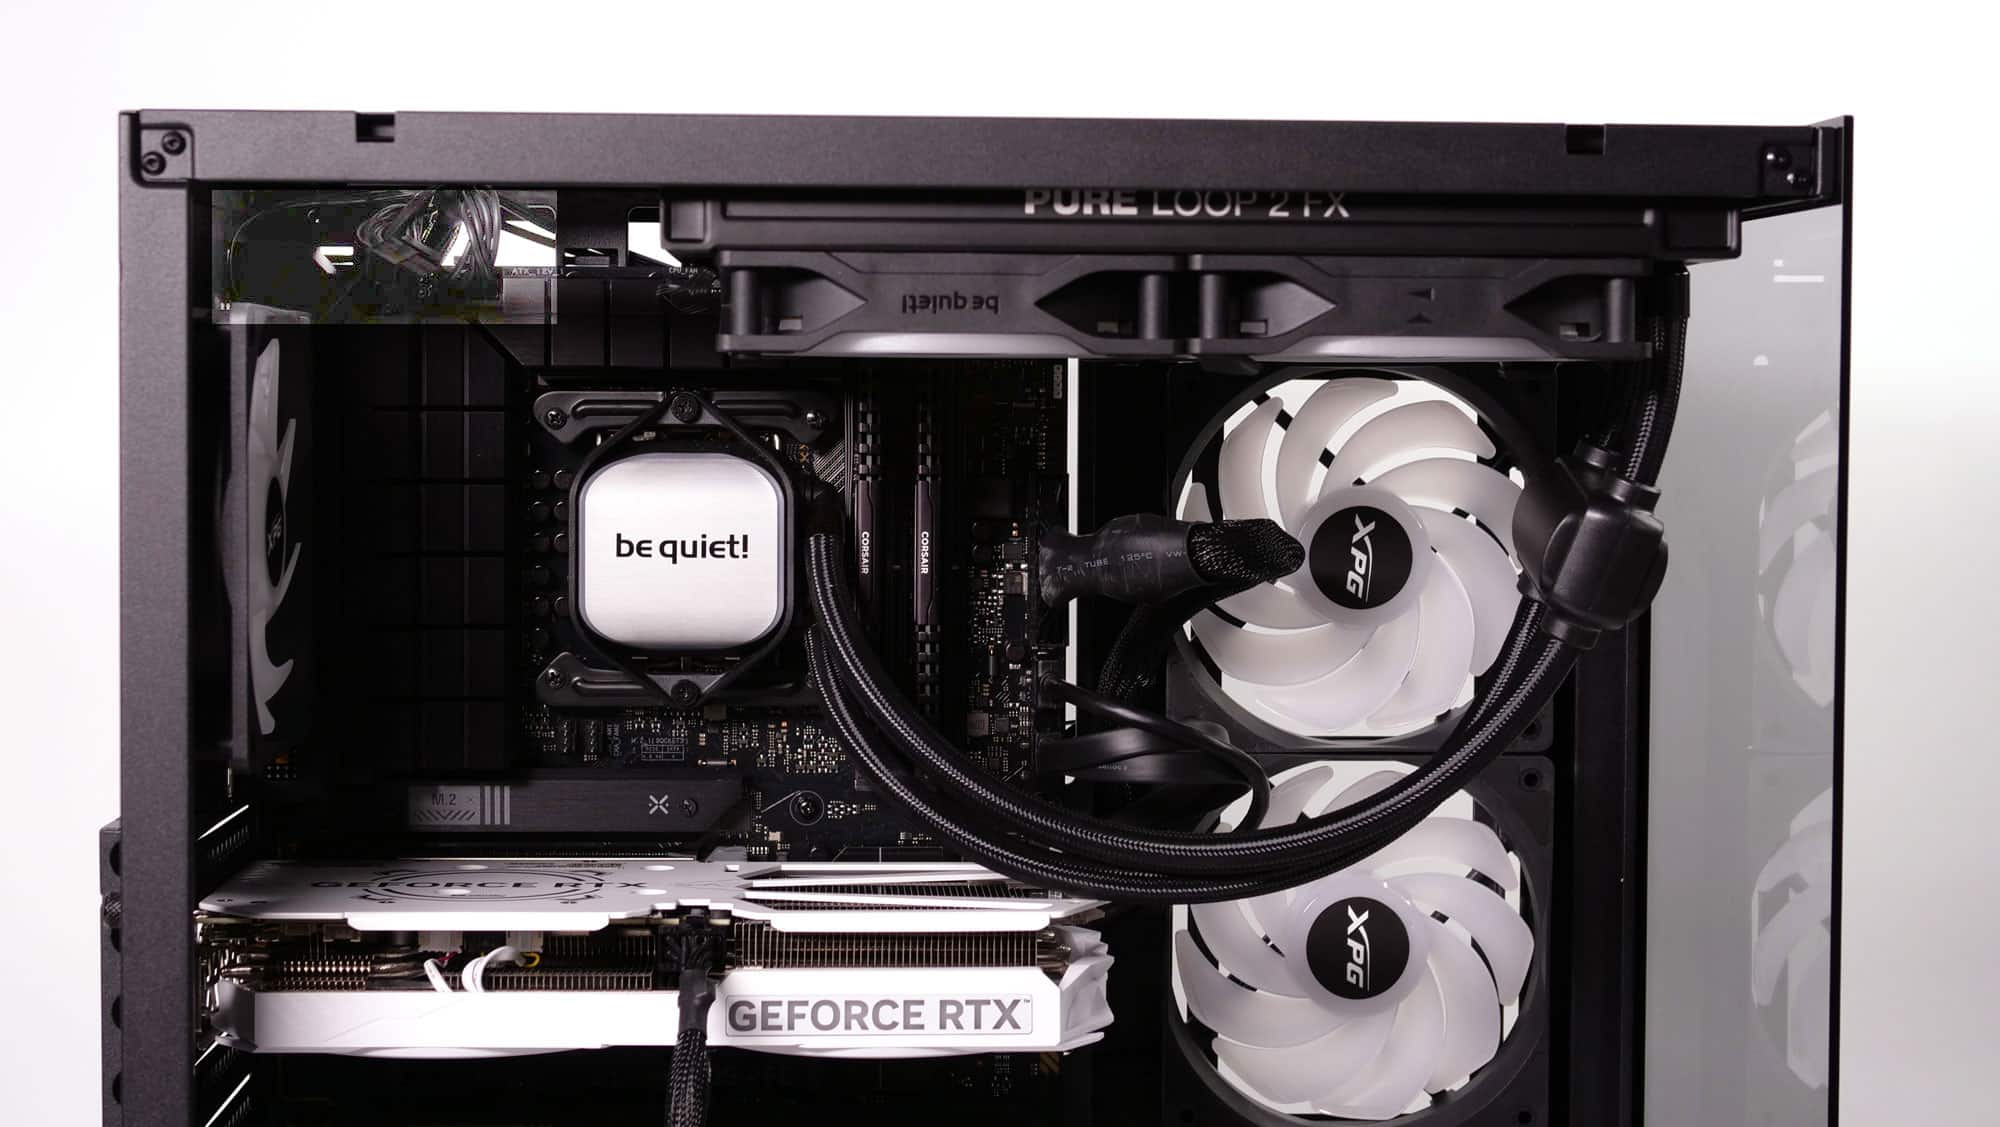
The top part of the case has room for improvement. While there are provisions for installing long radiators, there is not enough room to install the EPS cables with the motherboard screwed in place. Even if you connect the cables before the motherboard installation, they must be routed through while maneuvering it in place.
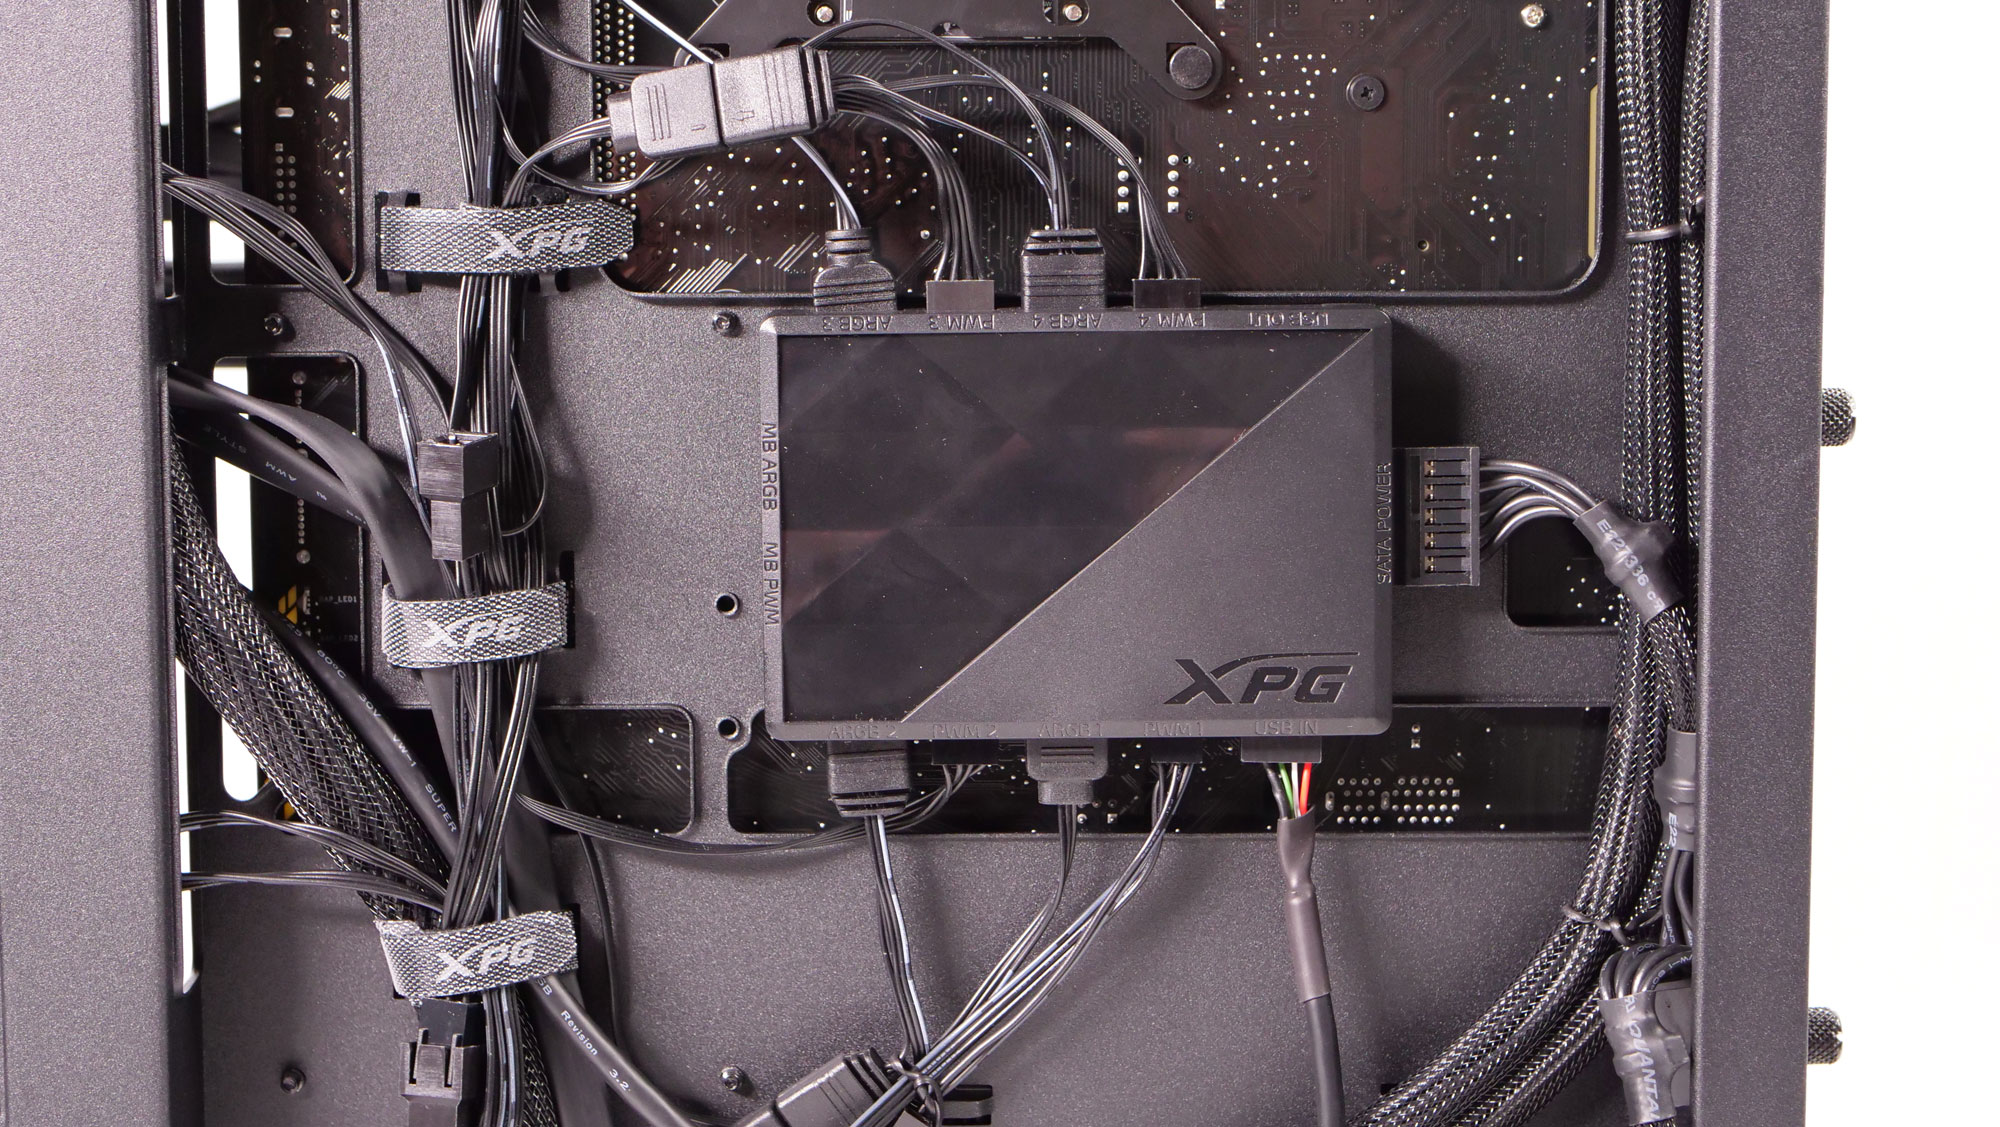
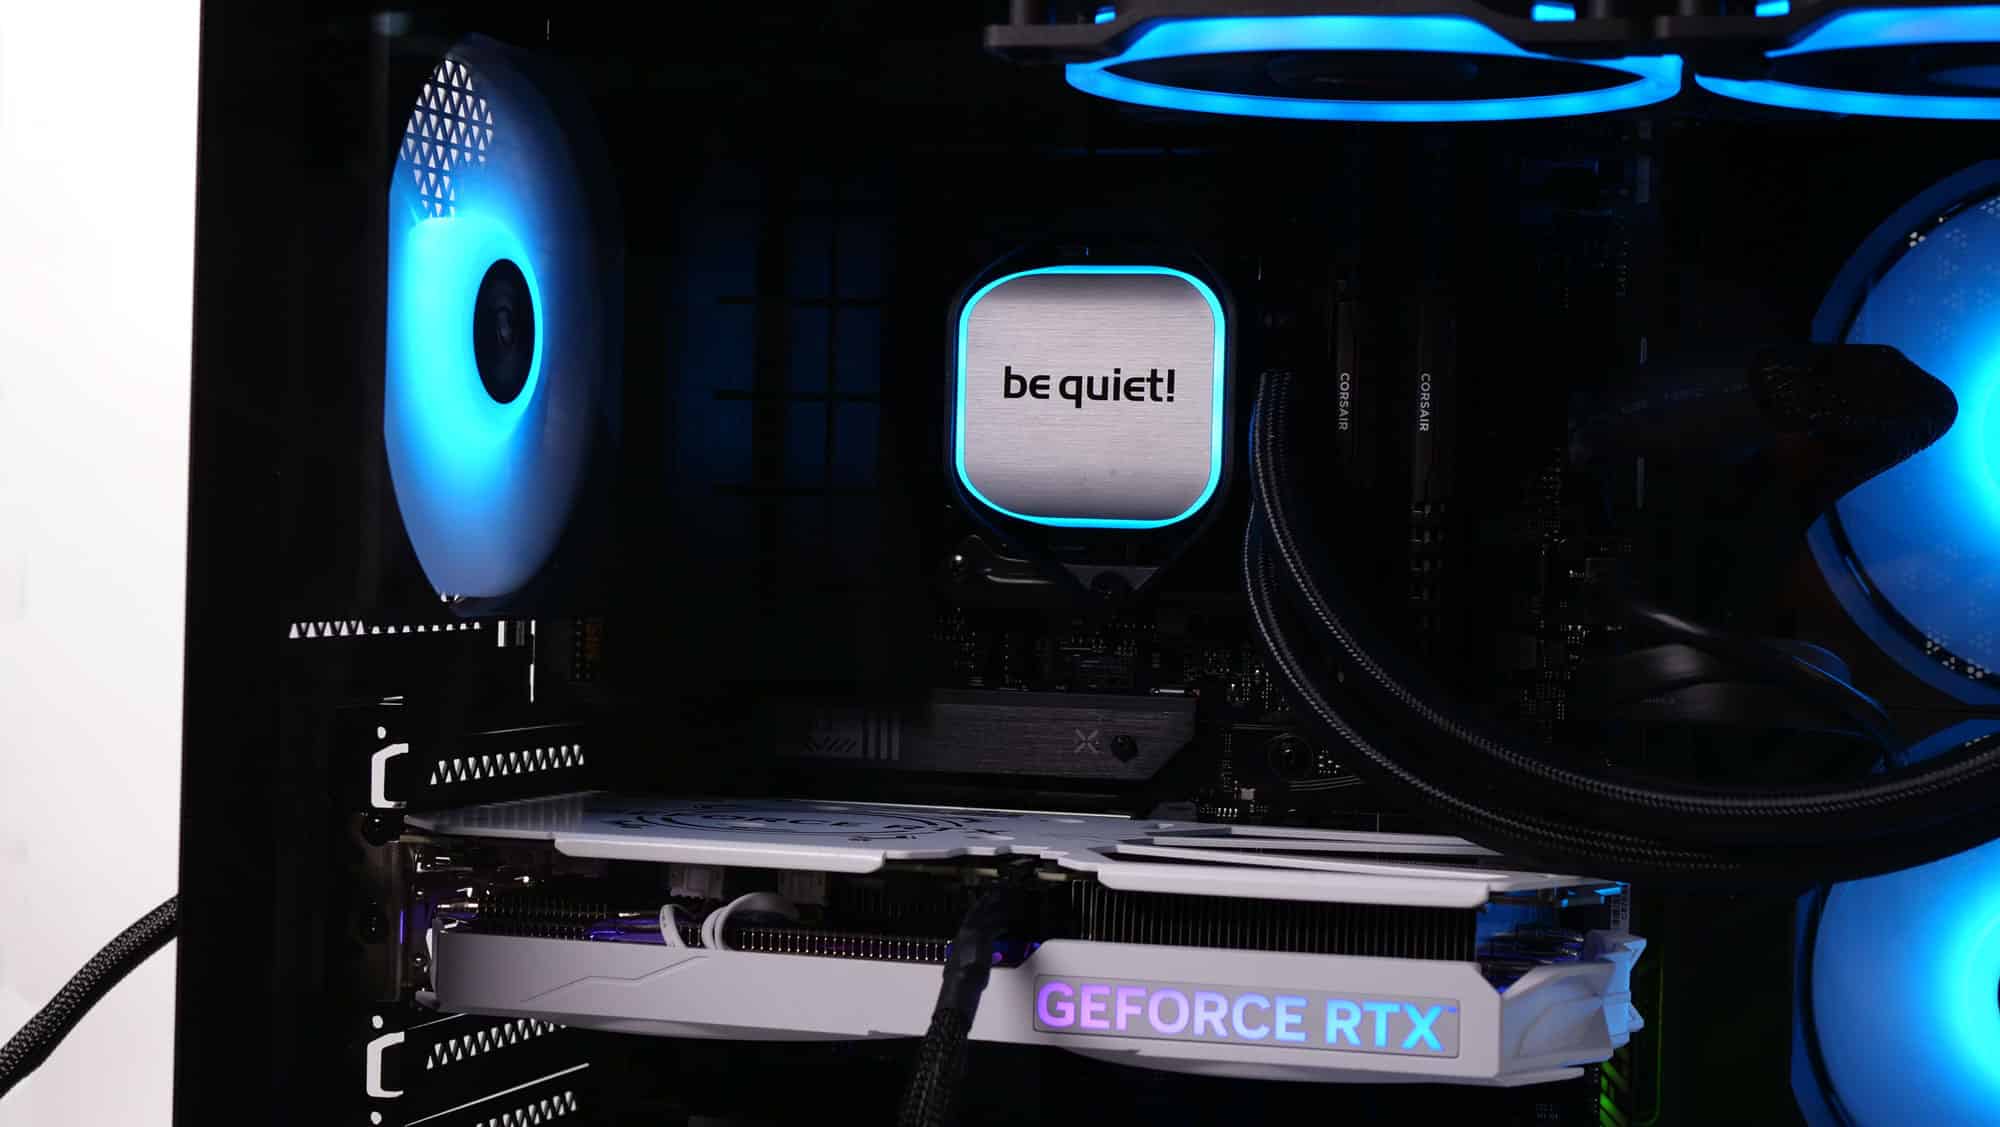
The included fans have ARGB Gen 2 connectors, but their lengthy cables (for both PWM and ARGB) do not aid in cable management. We connected them to the XPG Prime Box (sold separately) in this build; otherwise, it would be a mess.
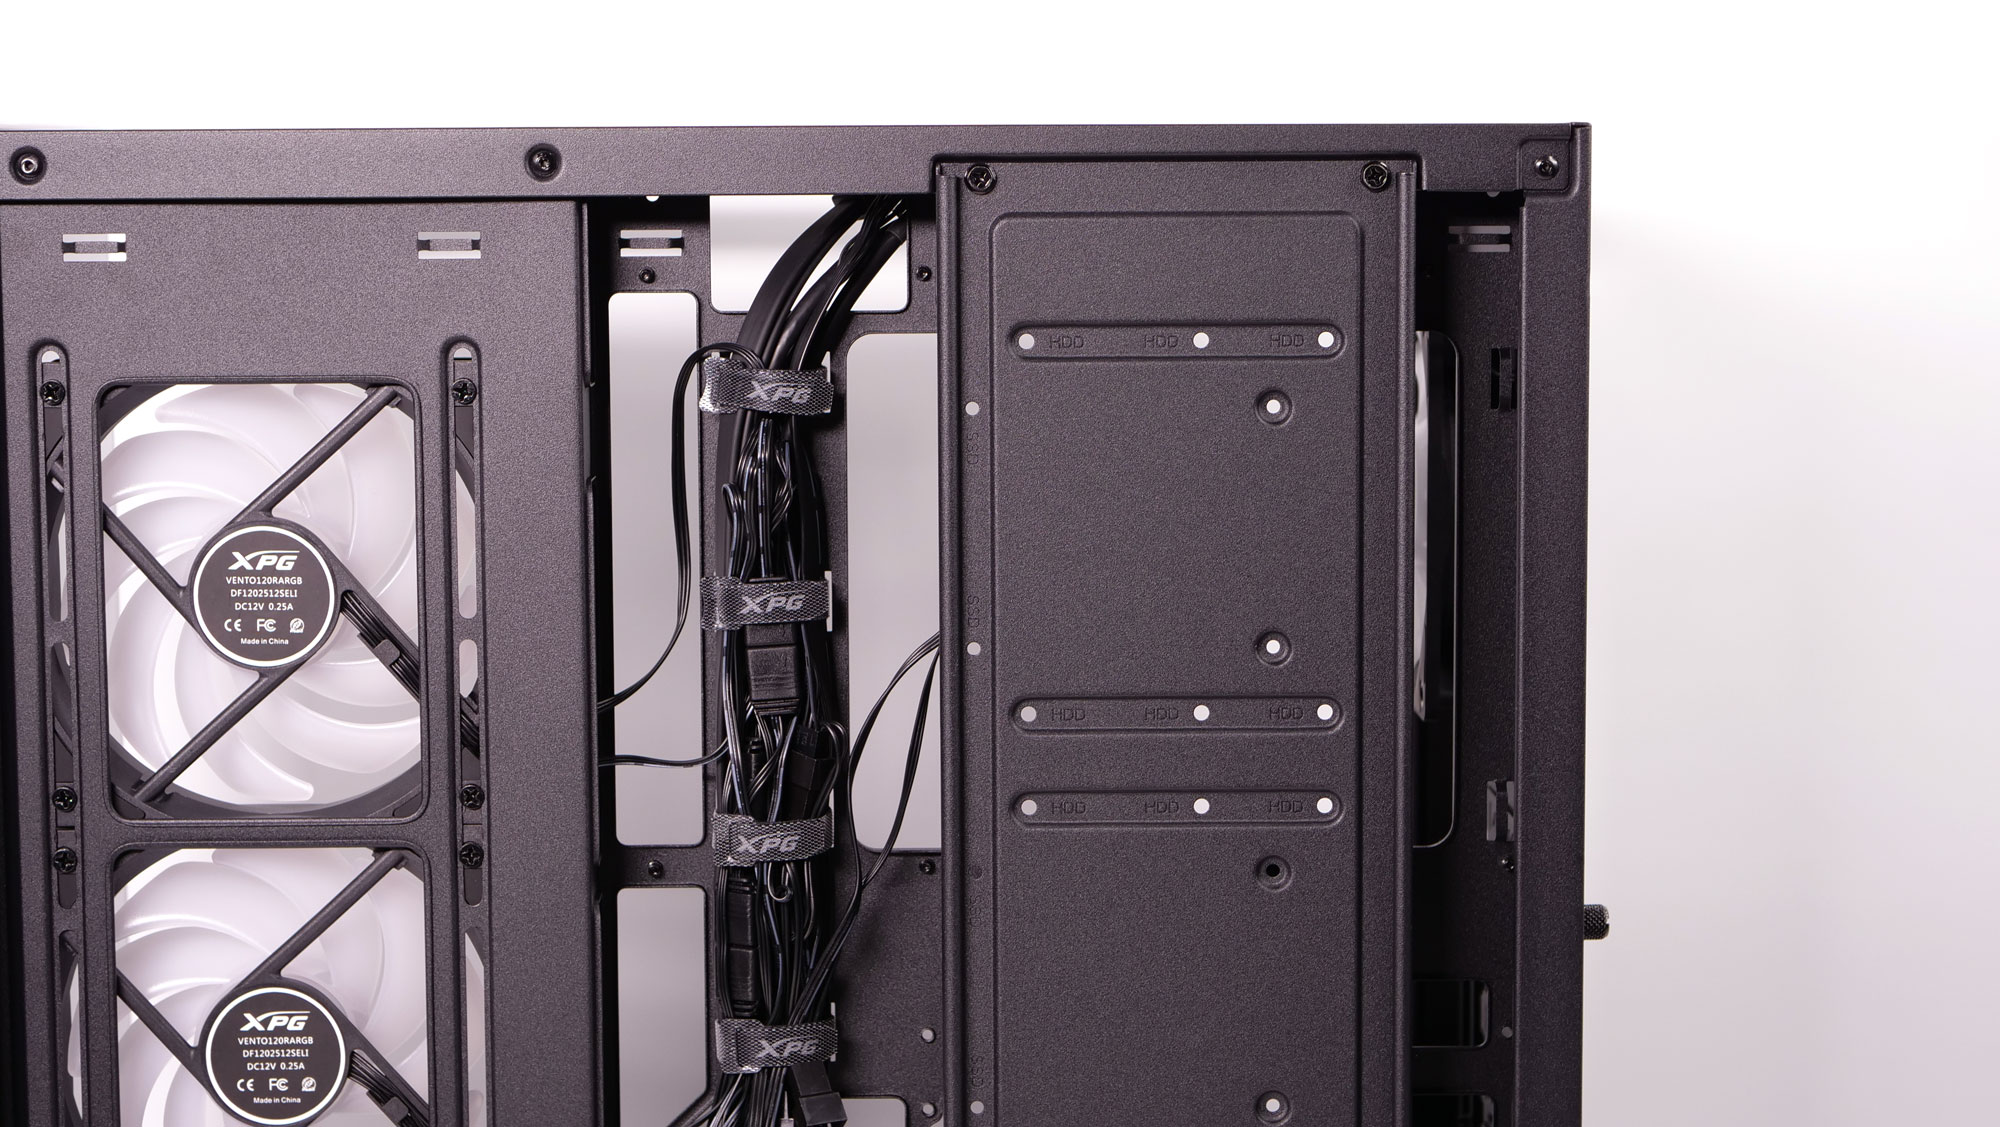
One part of the case we did not use was the HDD/SSD installation panel behind the motherboard. A criticism of this placement is the potentially high temperatures, given the proximity to the backside of the CPU and the airflow in this part of the case.

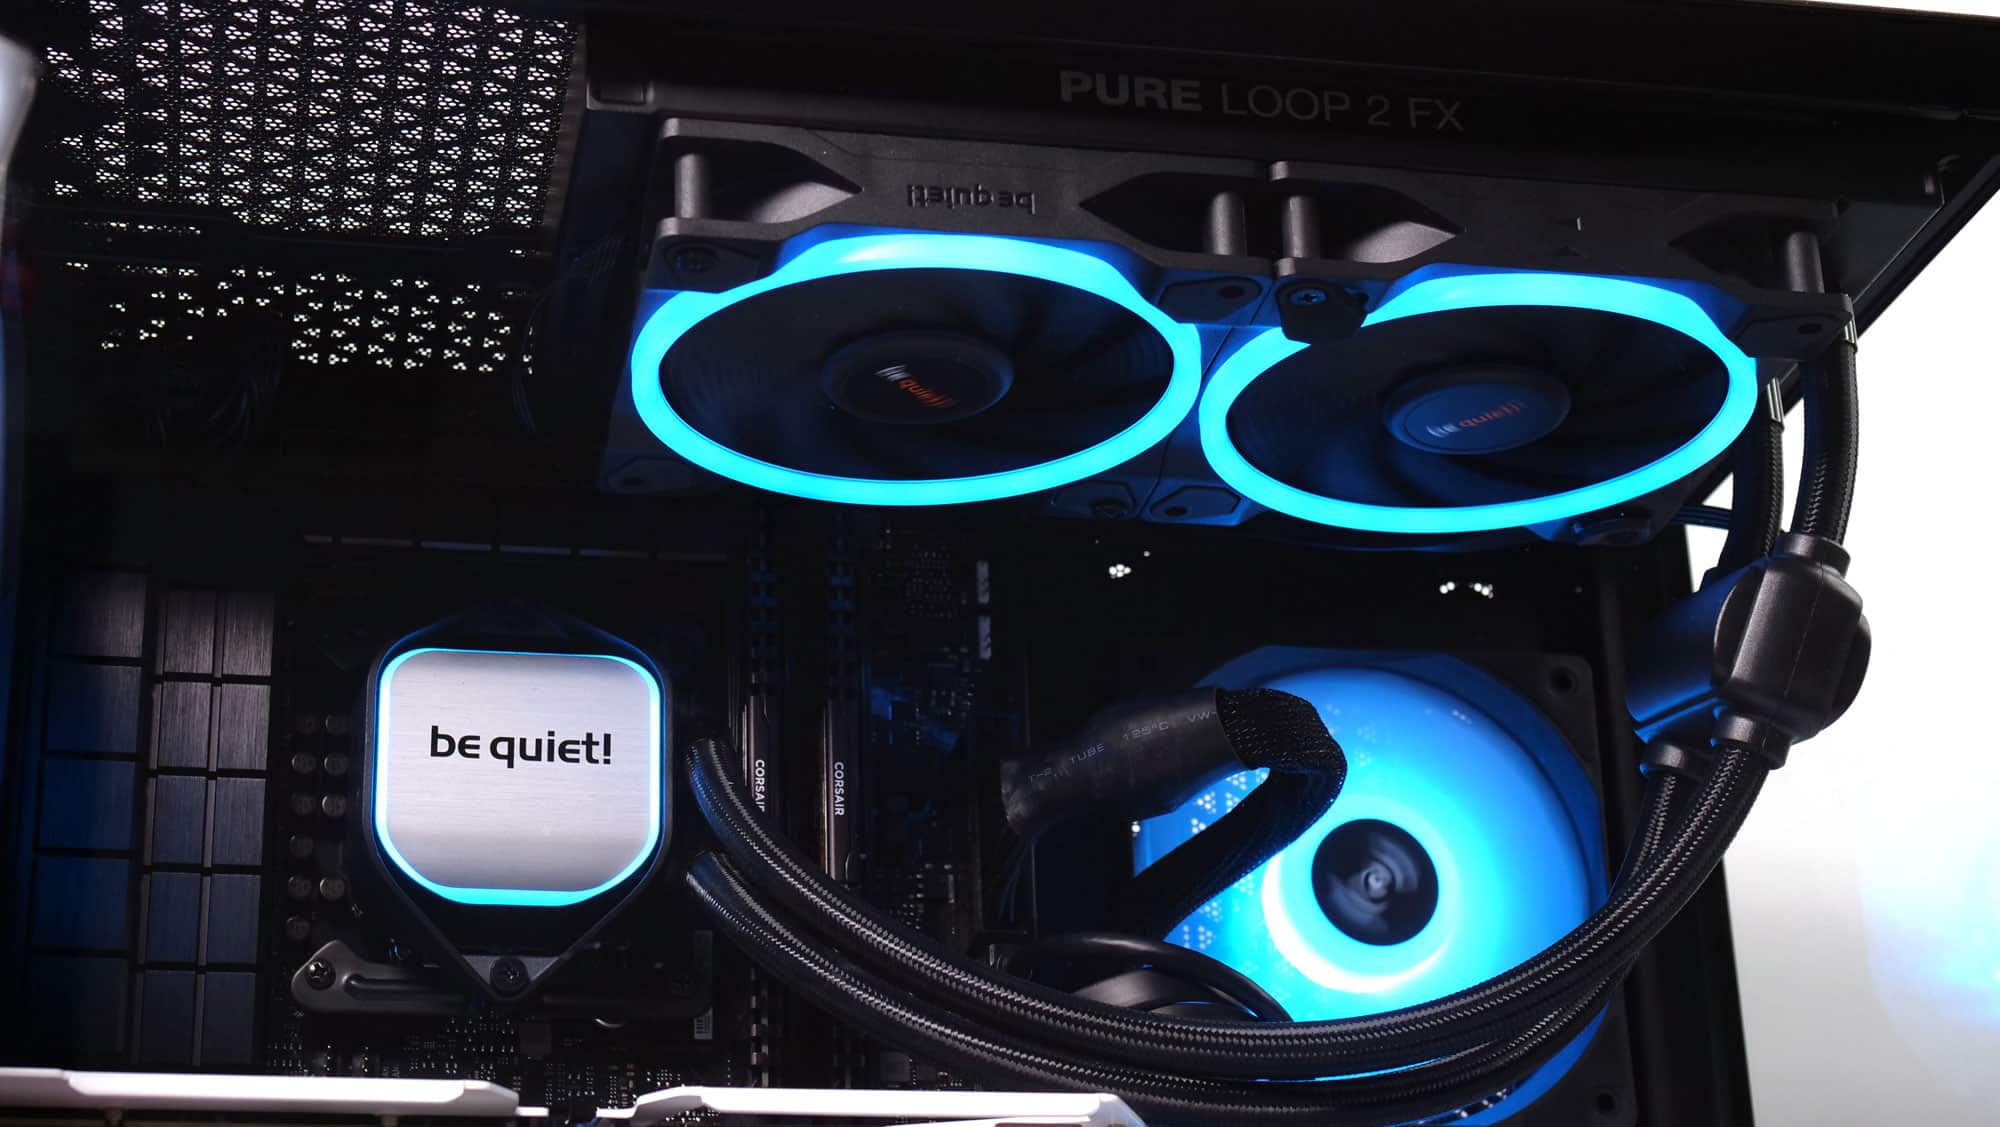
The top fan-mount bracket is not removable, as is in the Battlecruiser II, making the radiator’s installation a bit tougher.

If you use a short PSU, you will have plenty of room to hide the cables behind it.
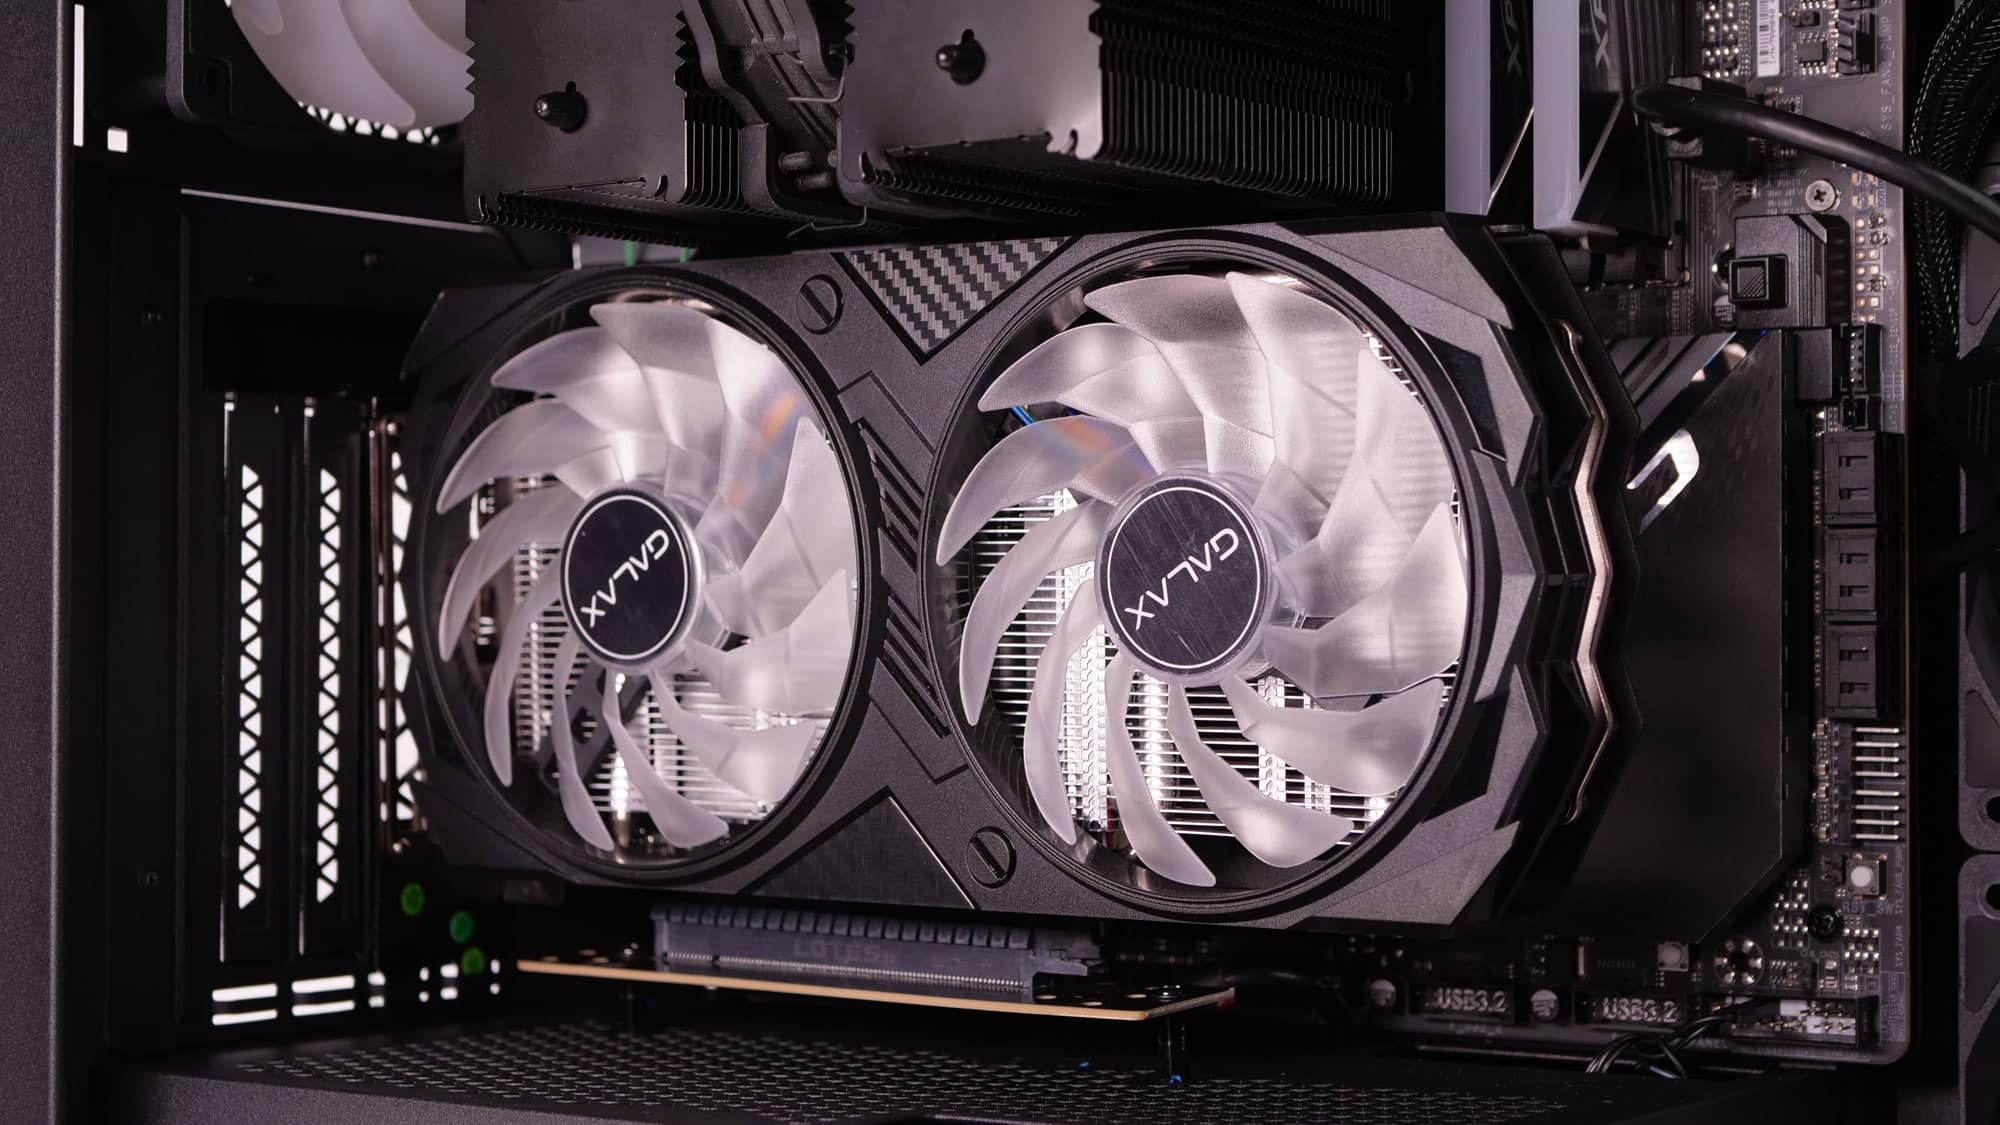
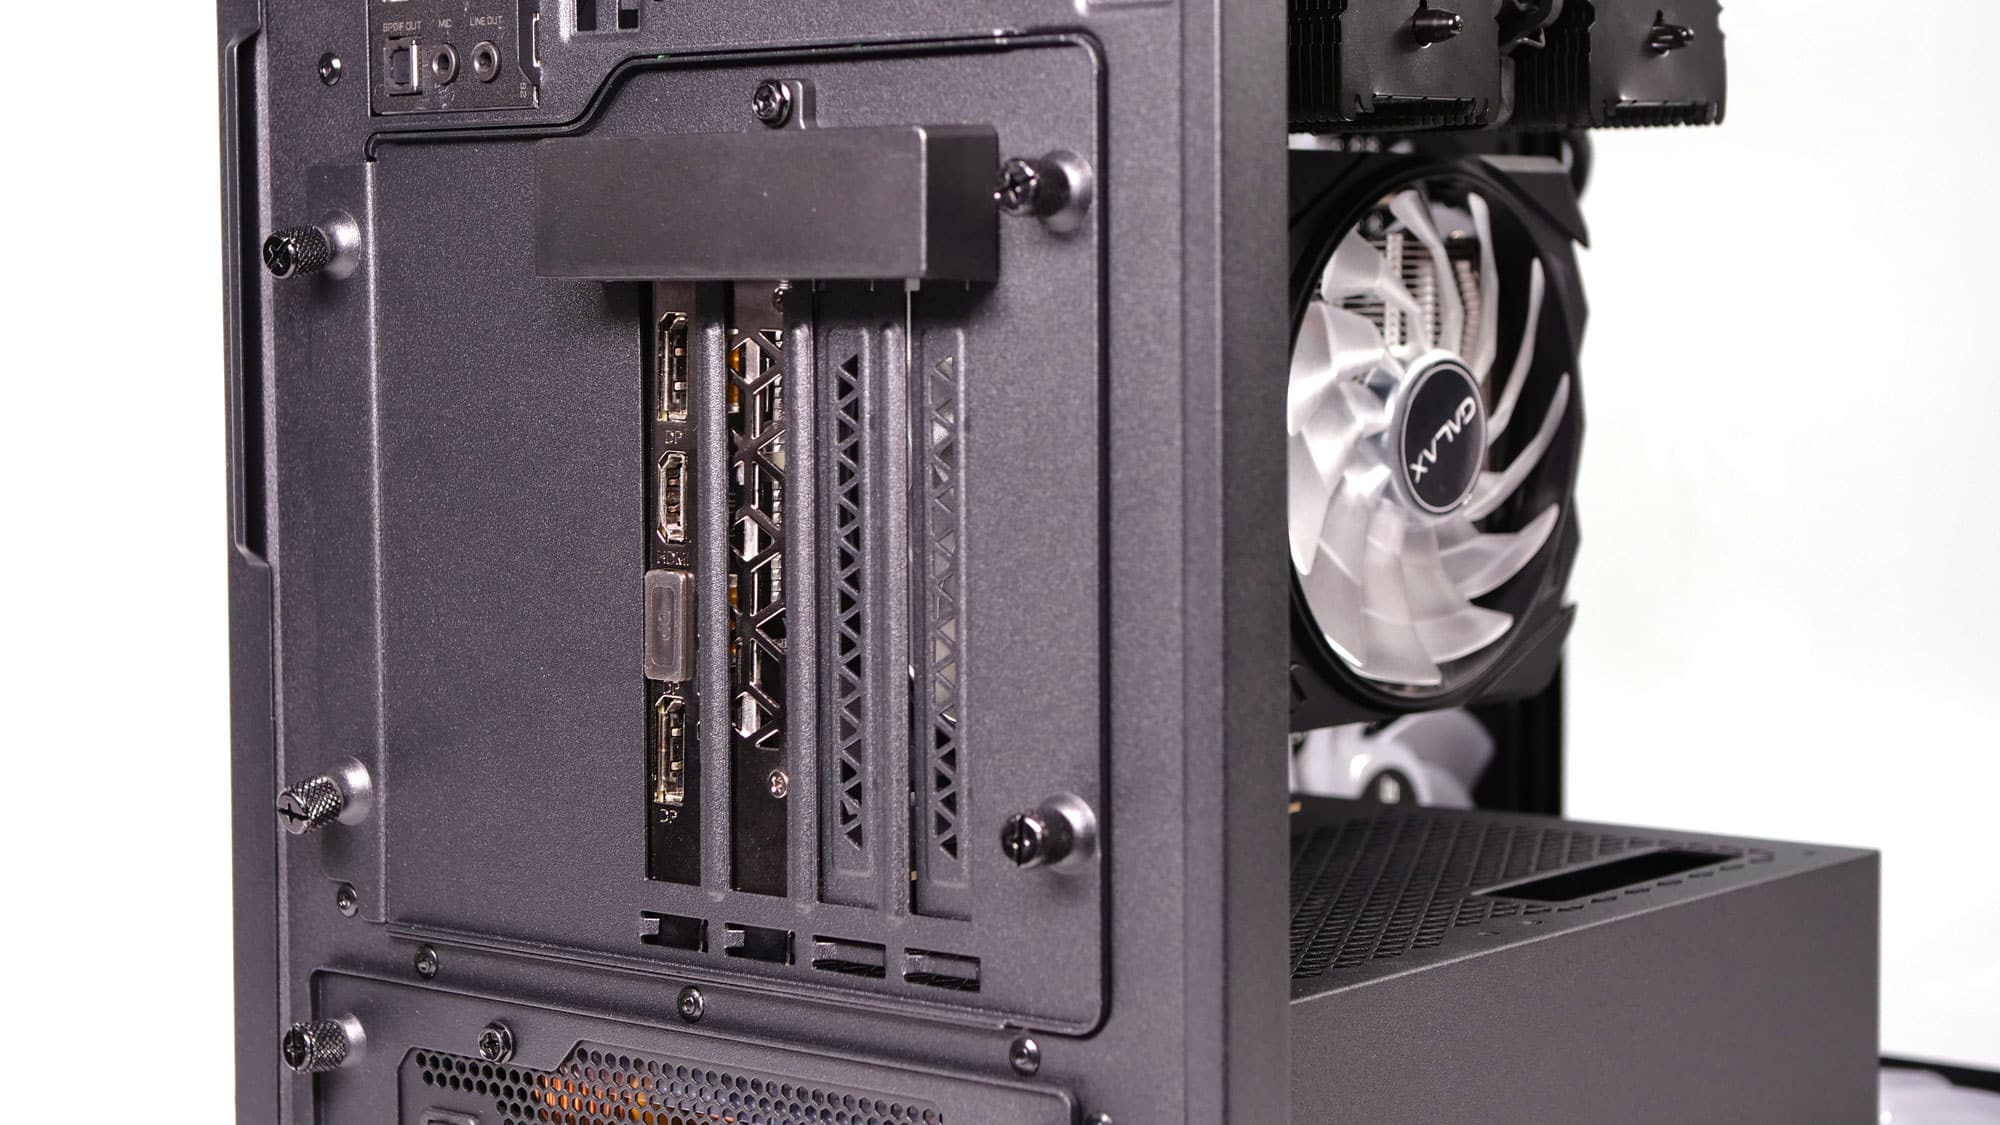
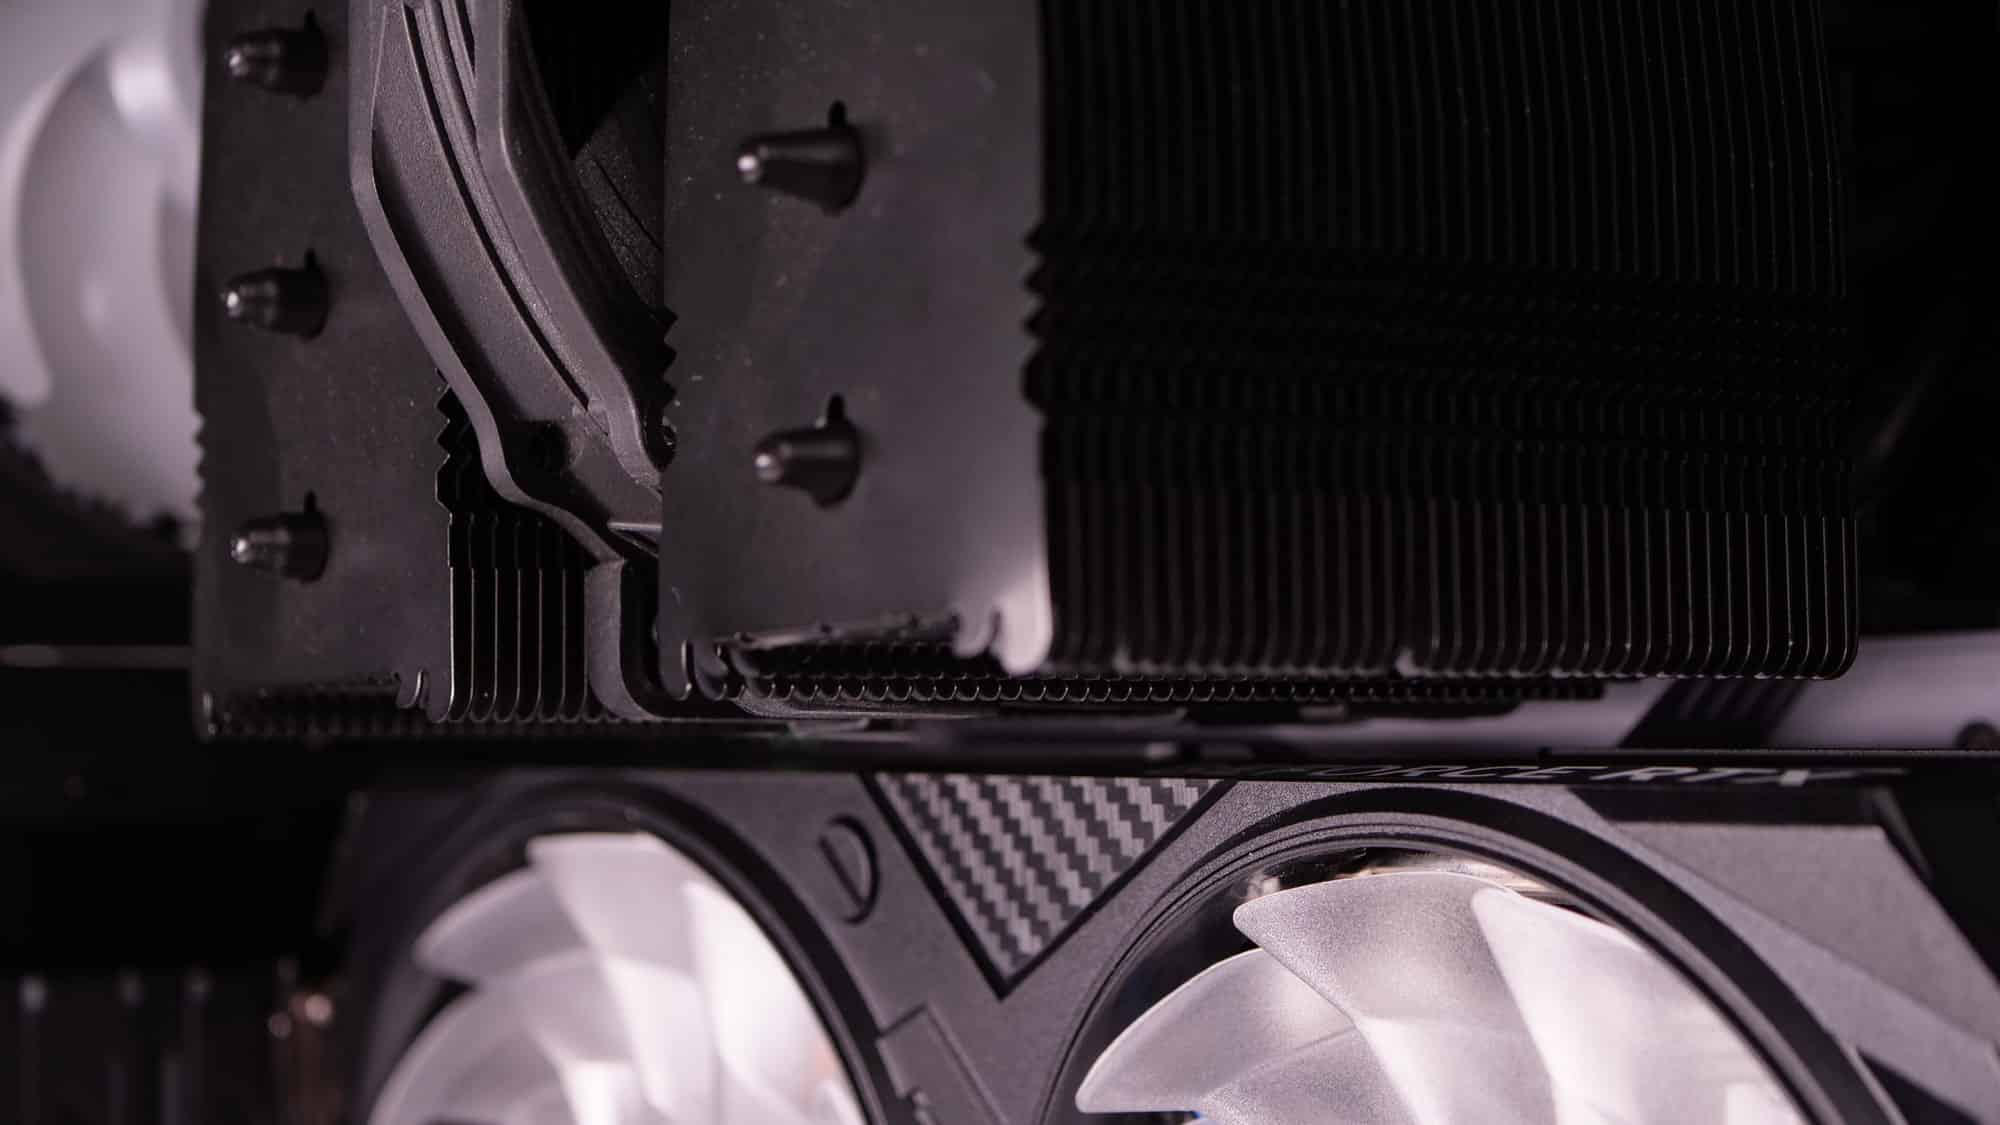

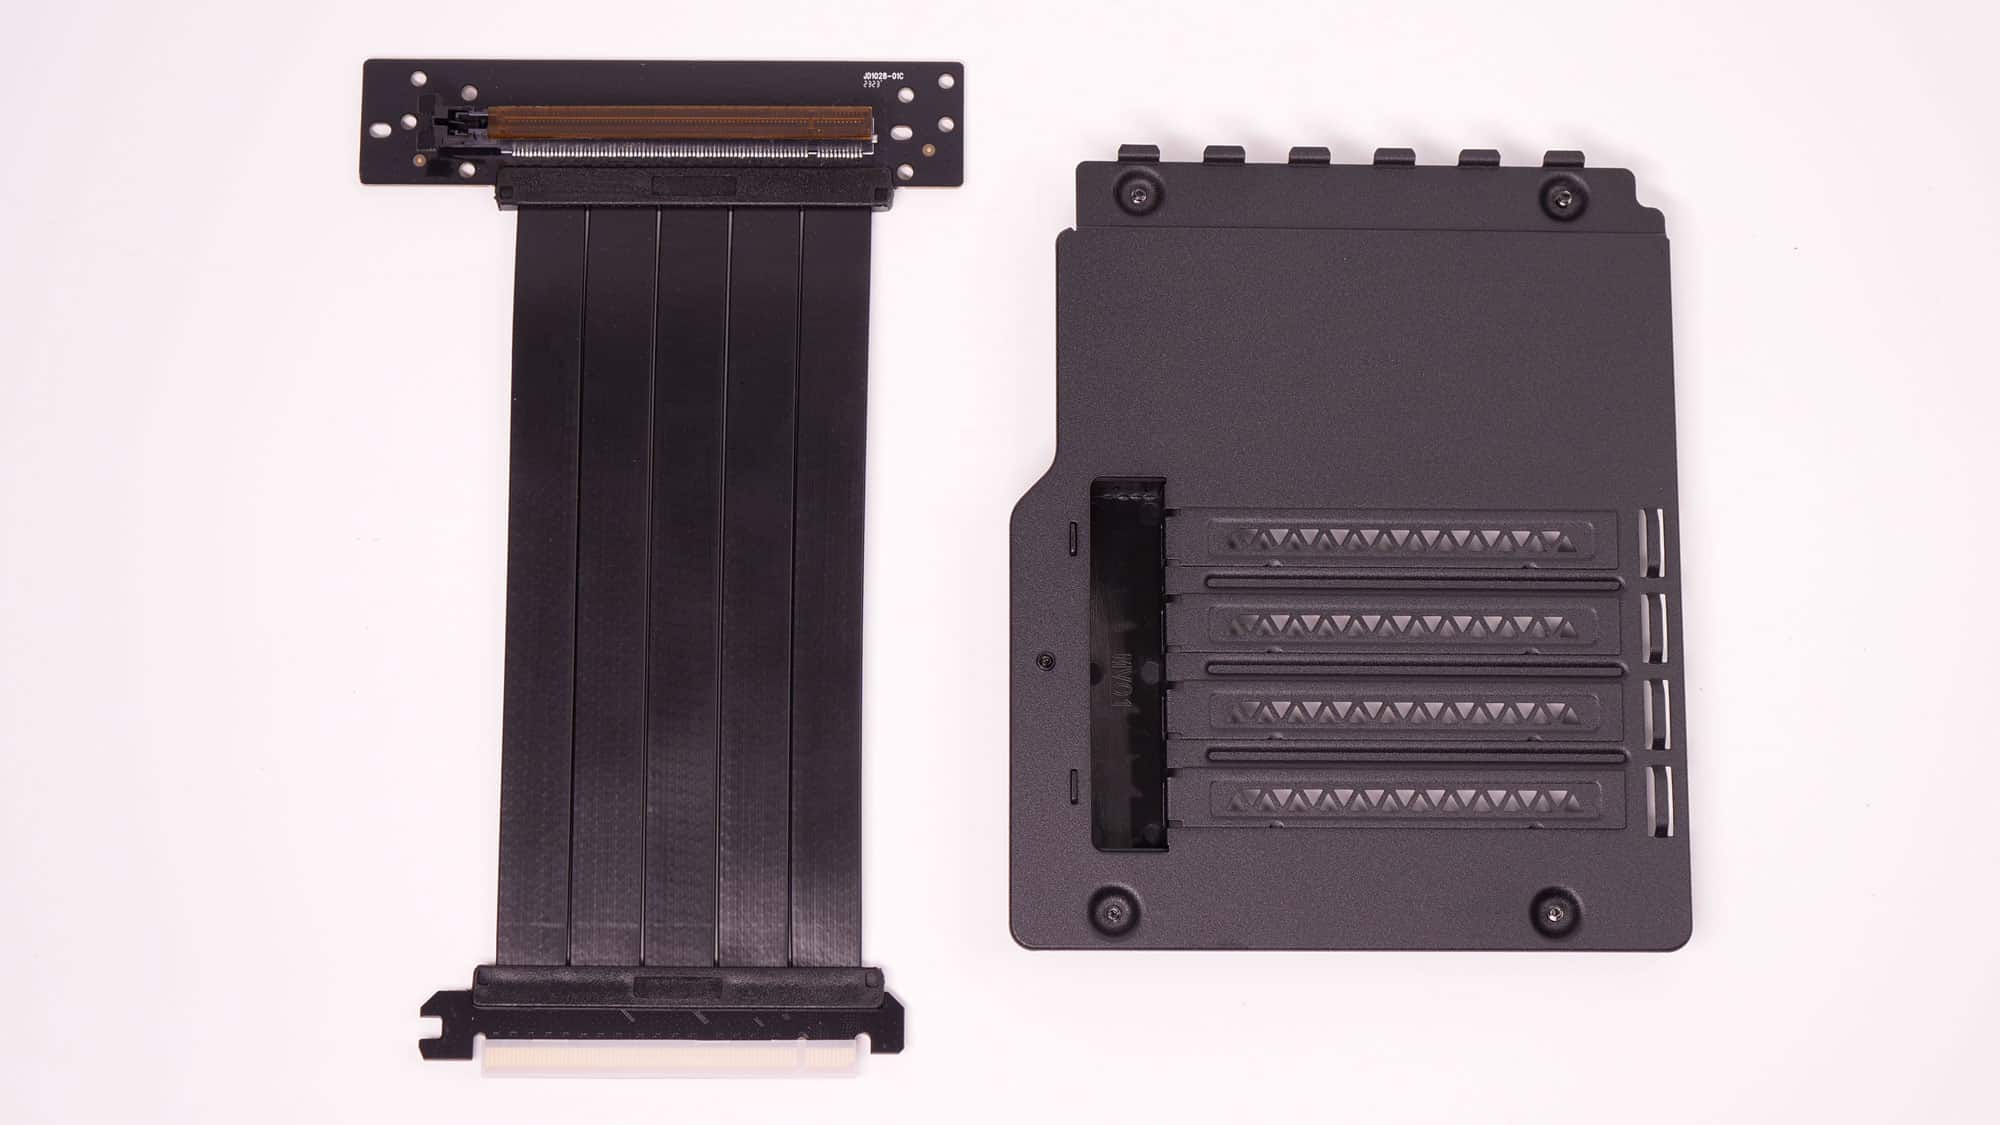
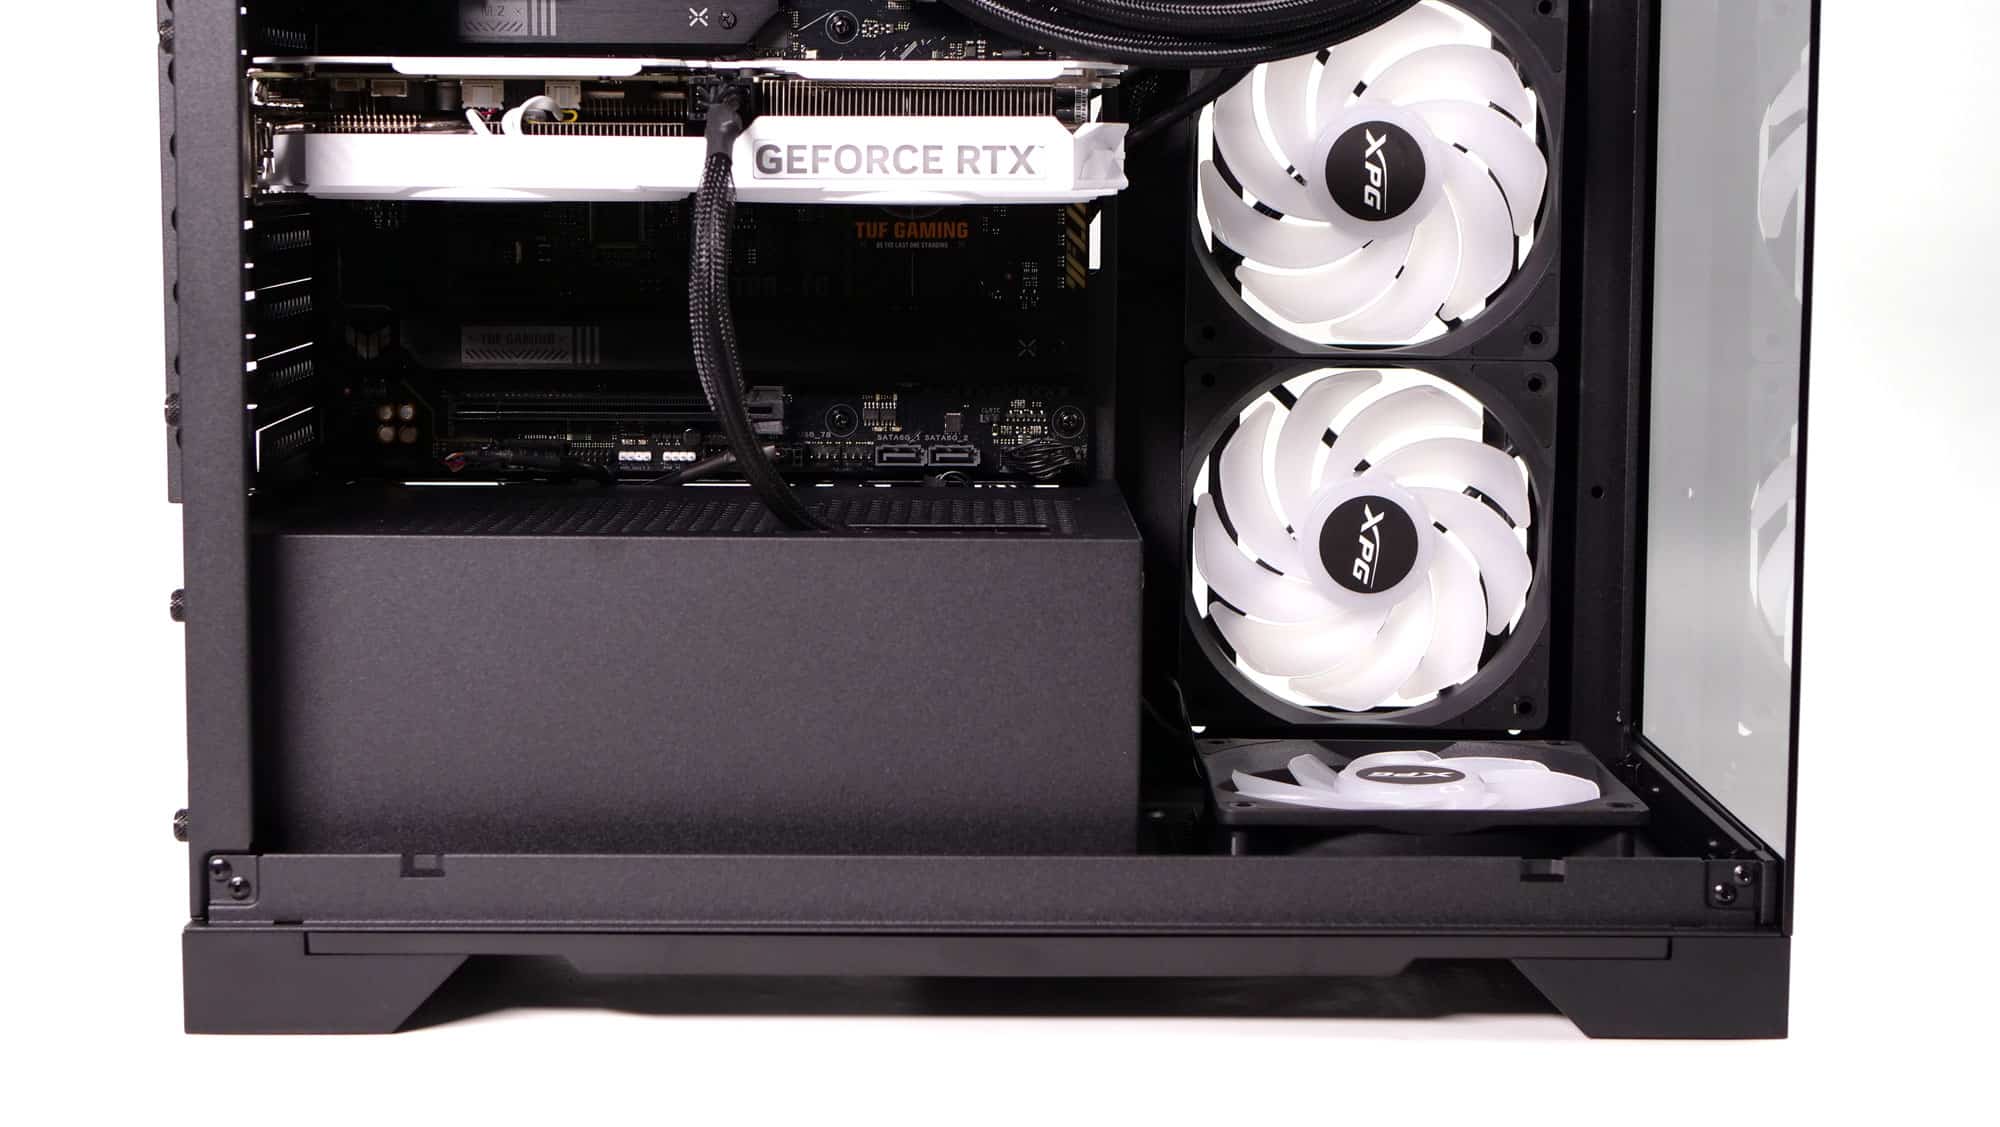
The included riser card and the interchangeable PCIe back panel are nice. Swapping the PCIe panel was easy since it uses the same thumb screws. I tested the vertical GPU mounting system on the build I’ve done for thermal testing for demonstration purposes. The riser card was mounted on top of the PSU enclosure with two standoff screws, but I could not install them by hand. I had to use a hex socket, which scratched their black coating. It is worth mentioning that there are multiple mounting points, but this was the only one I could use to mount the GPU properly. Installing the GPU with a big air-cooler is challenging, leaving little to no room between the two. Therefore, I could not connect the PCIe cable to the GPU. This is why for vertical GPU mounting you must use an AIO cooling solution and not a huge air-cooler.
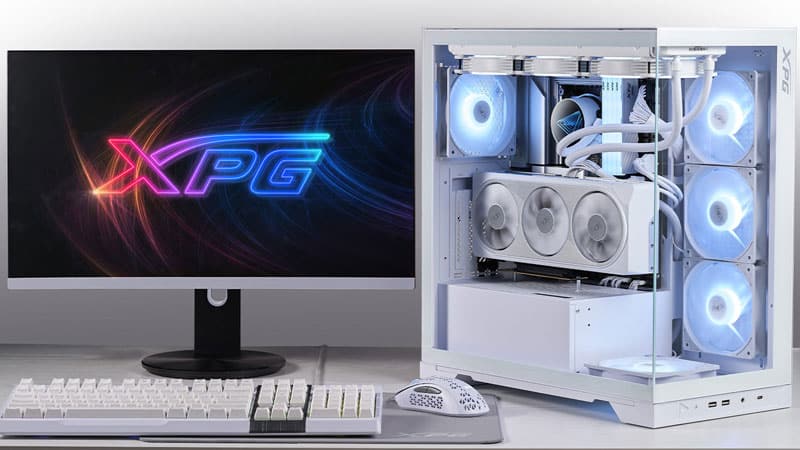
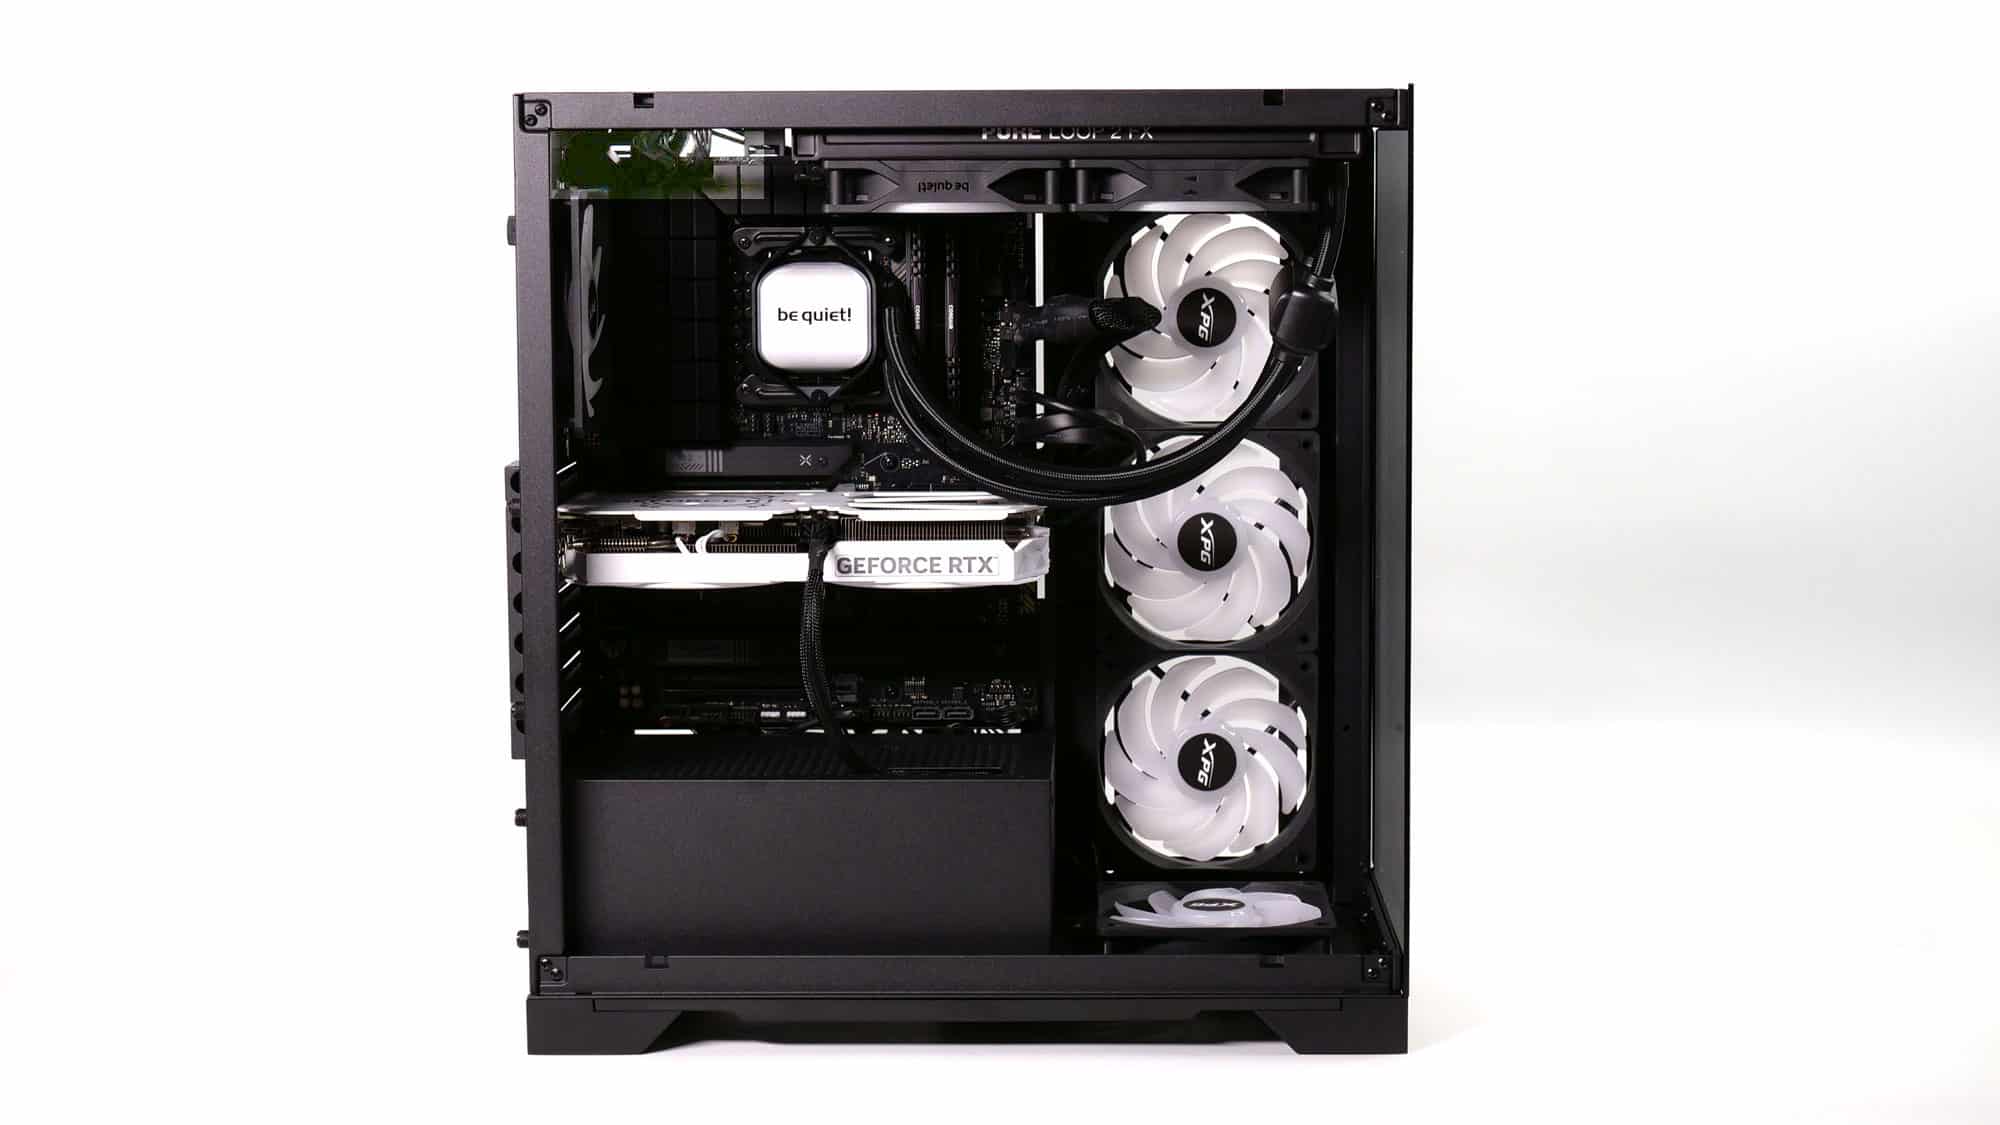
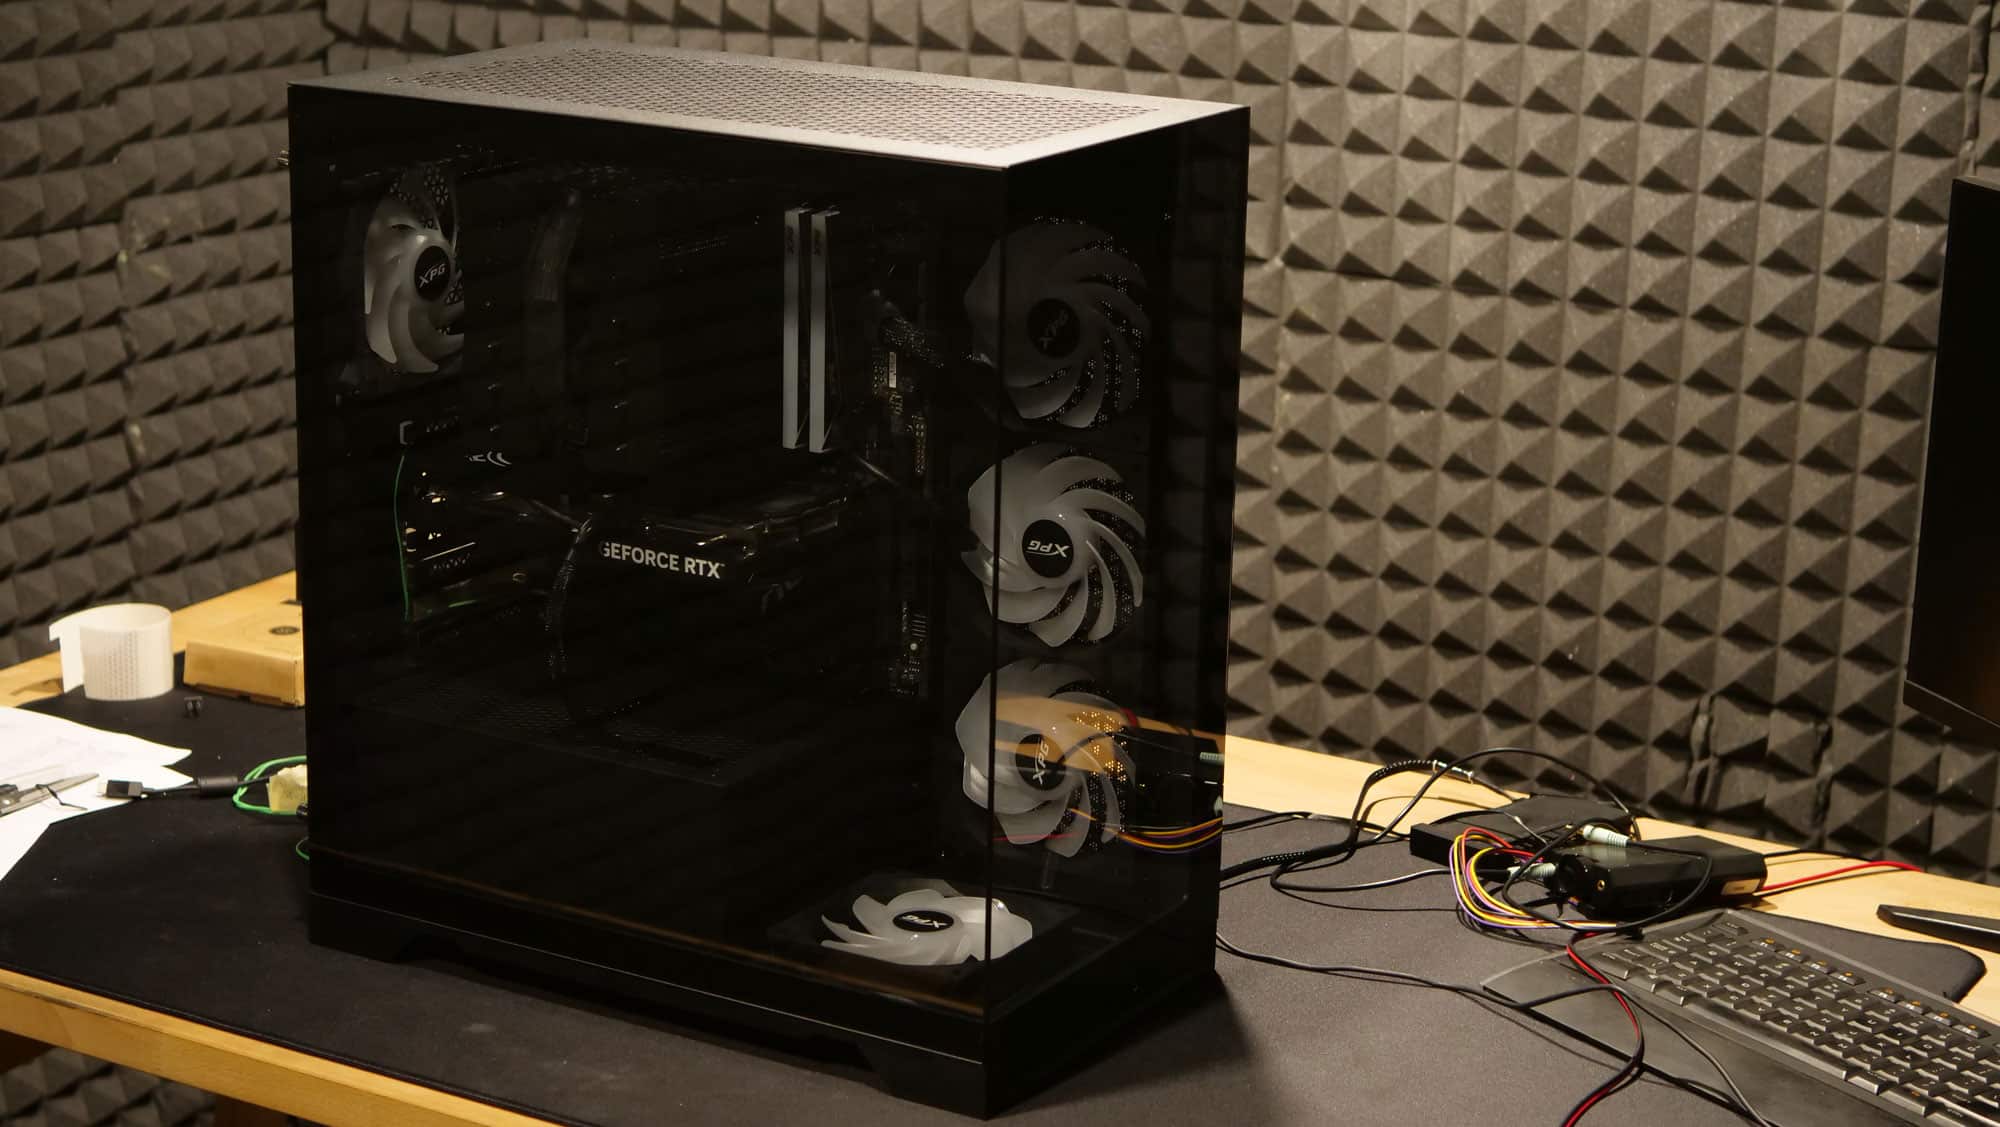
Finished System


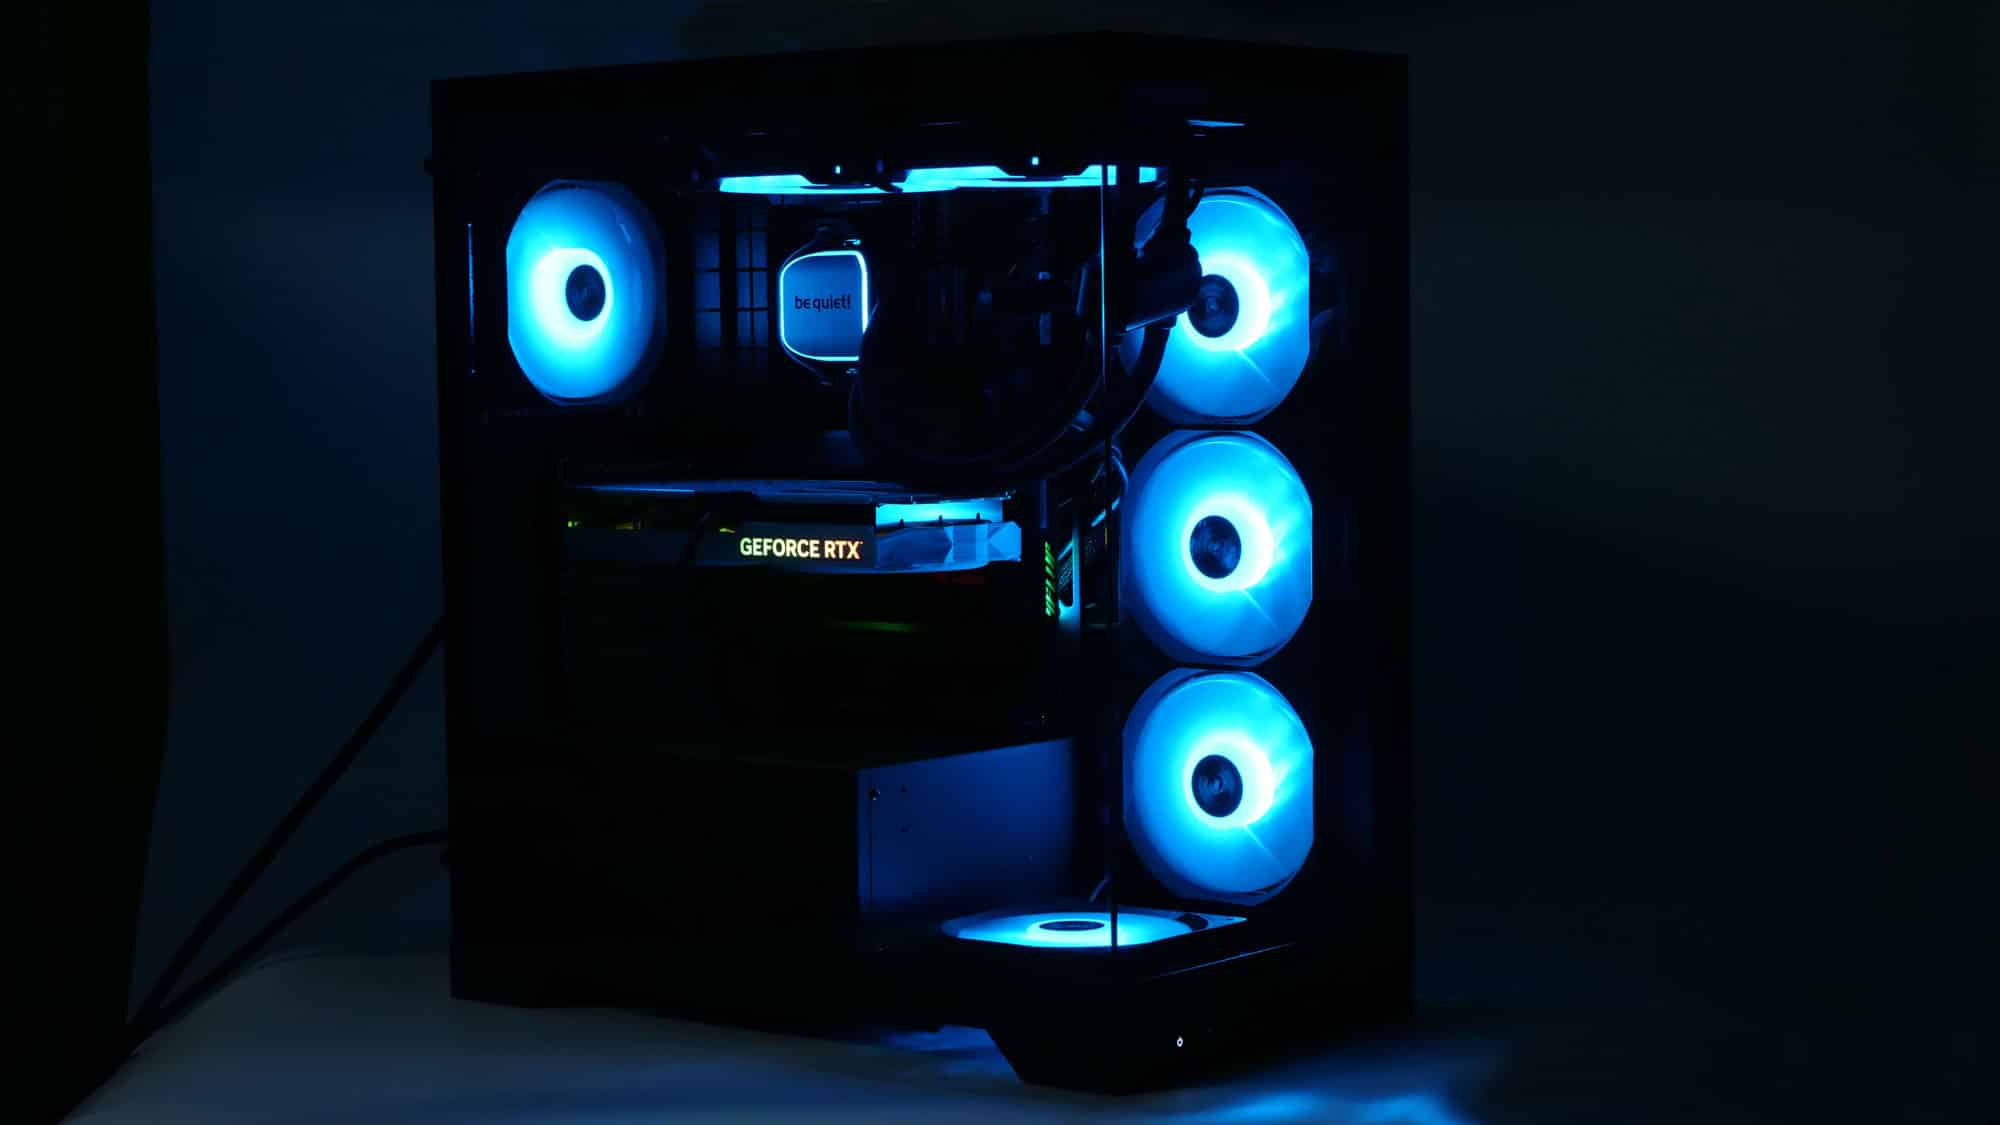
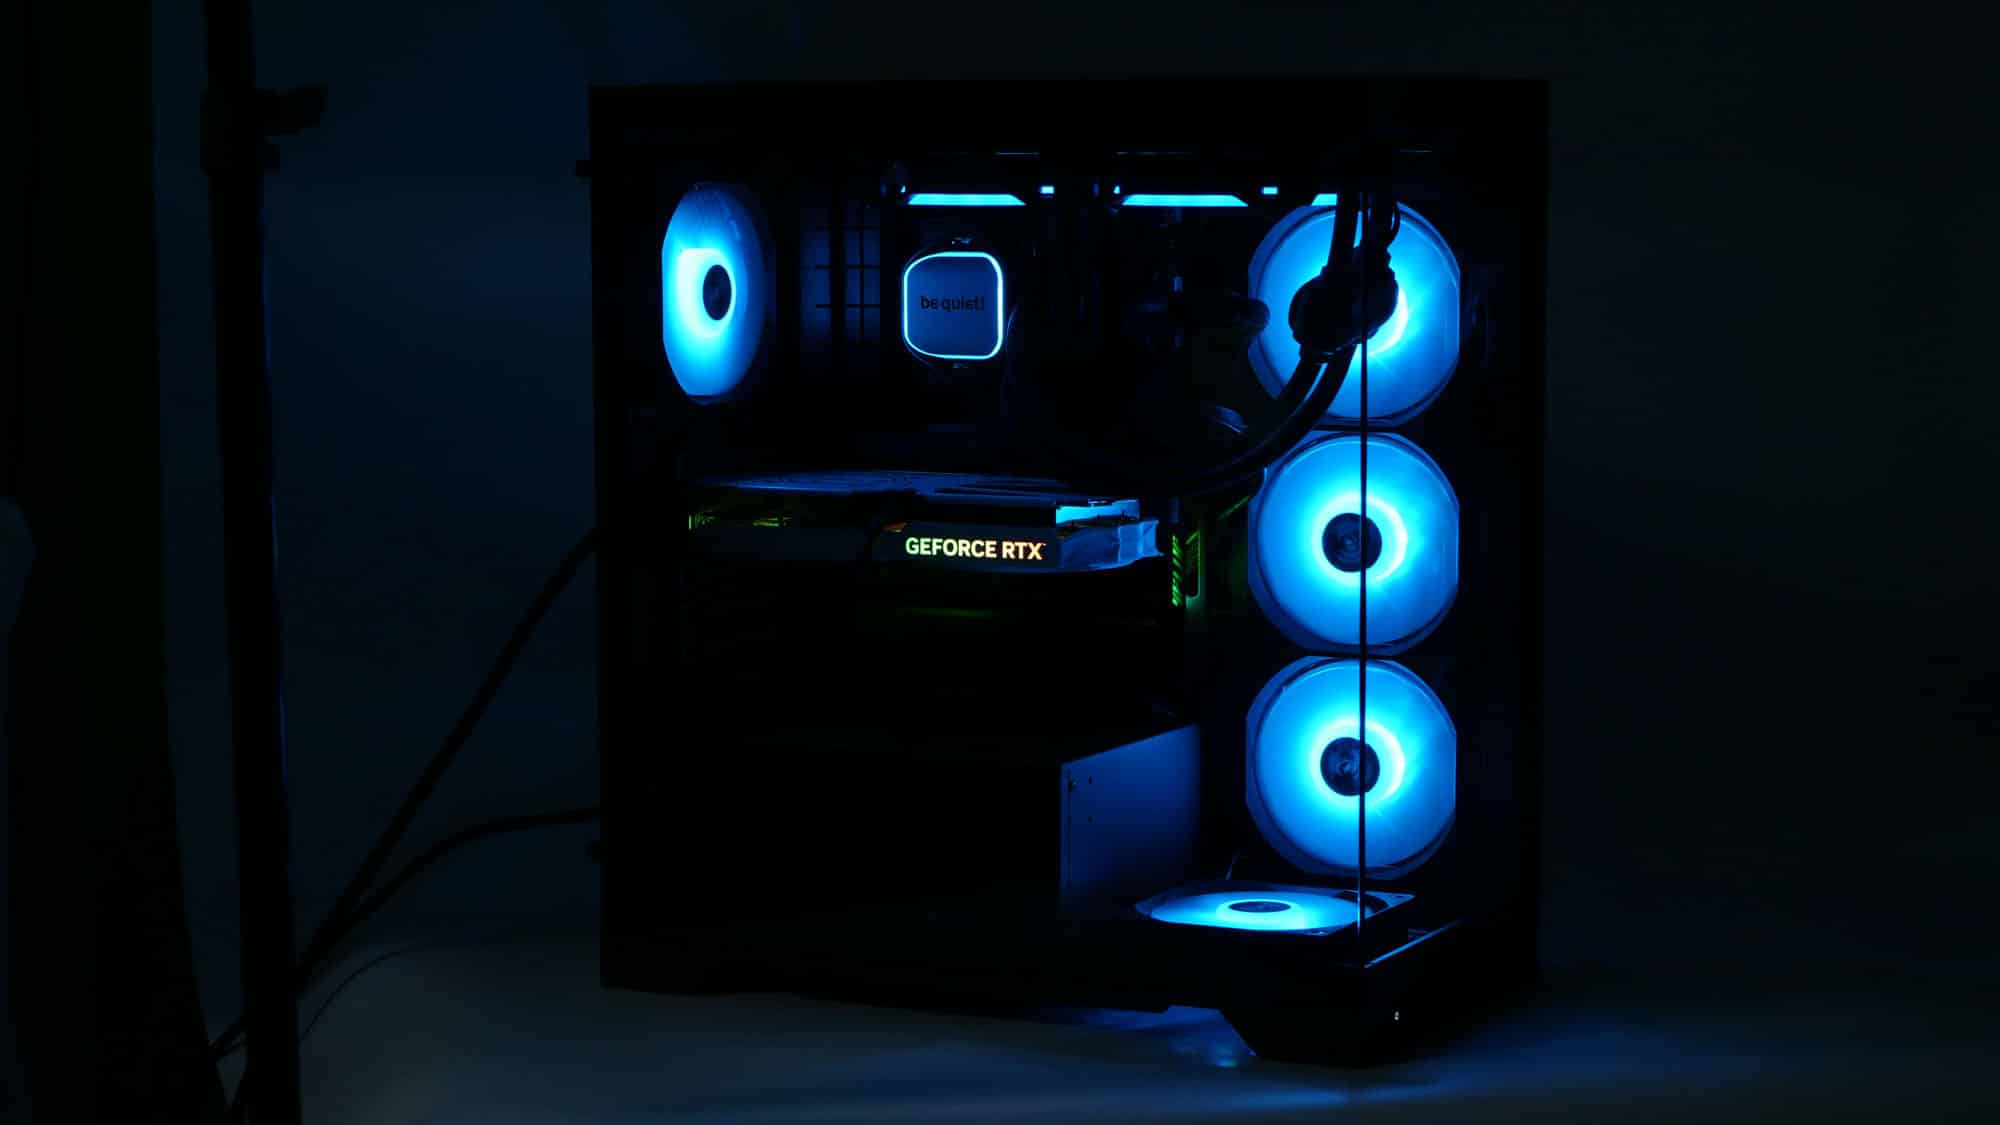
The finished system!


The system in our hemi-anechoic chamber is ready for noise measurements.