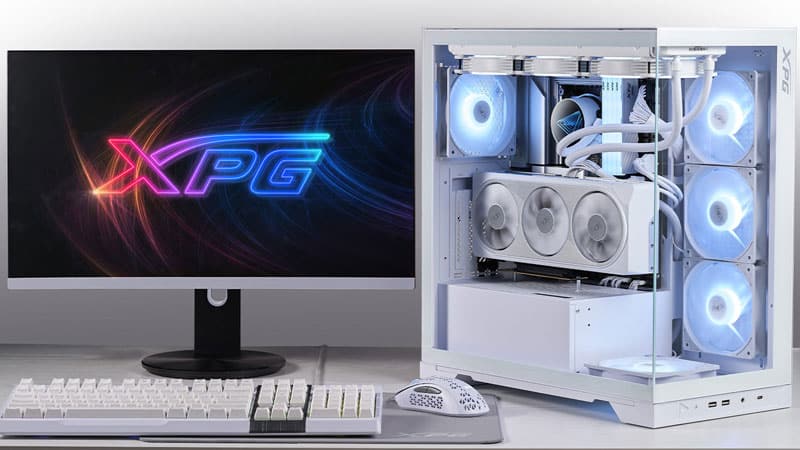
Chassis Photos – Outside

There is no air intake from the front side, which is usually the case. The front intake is on the right side. This way, a clear view at the internals is possible.
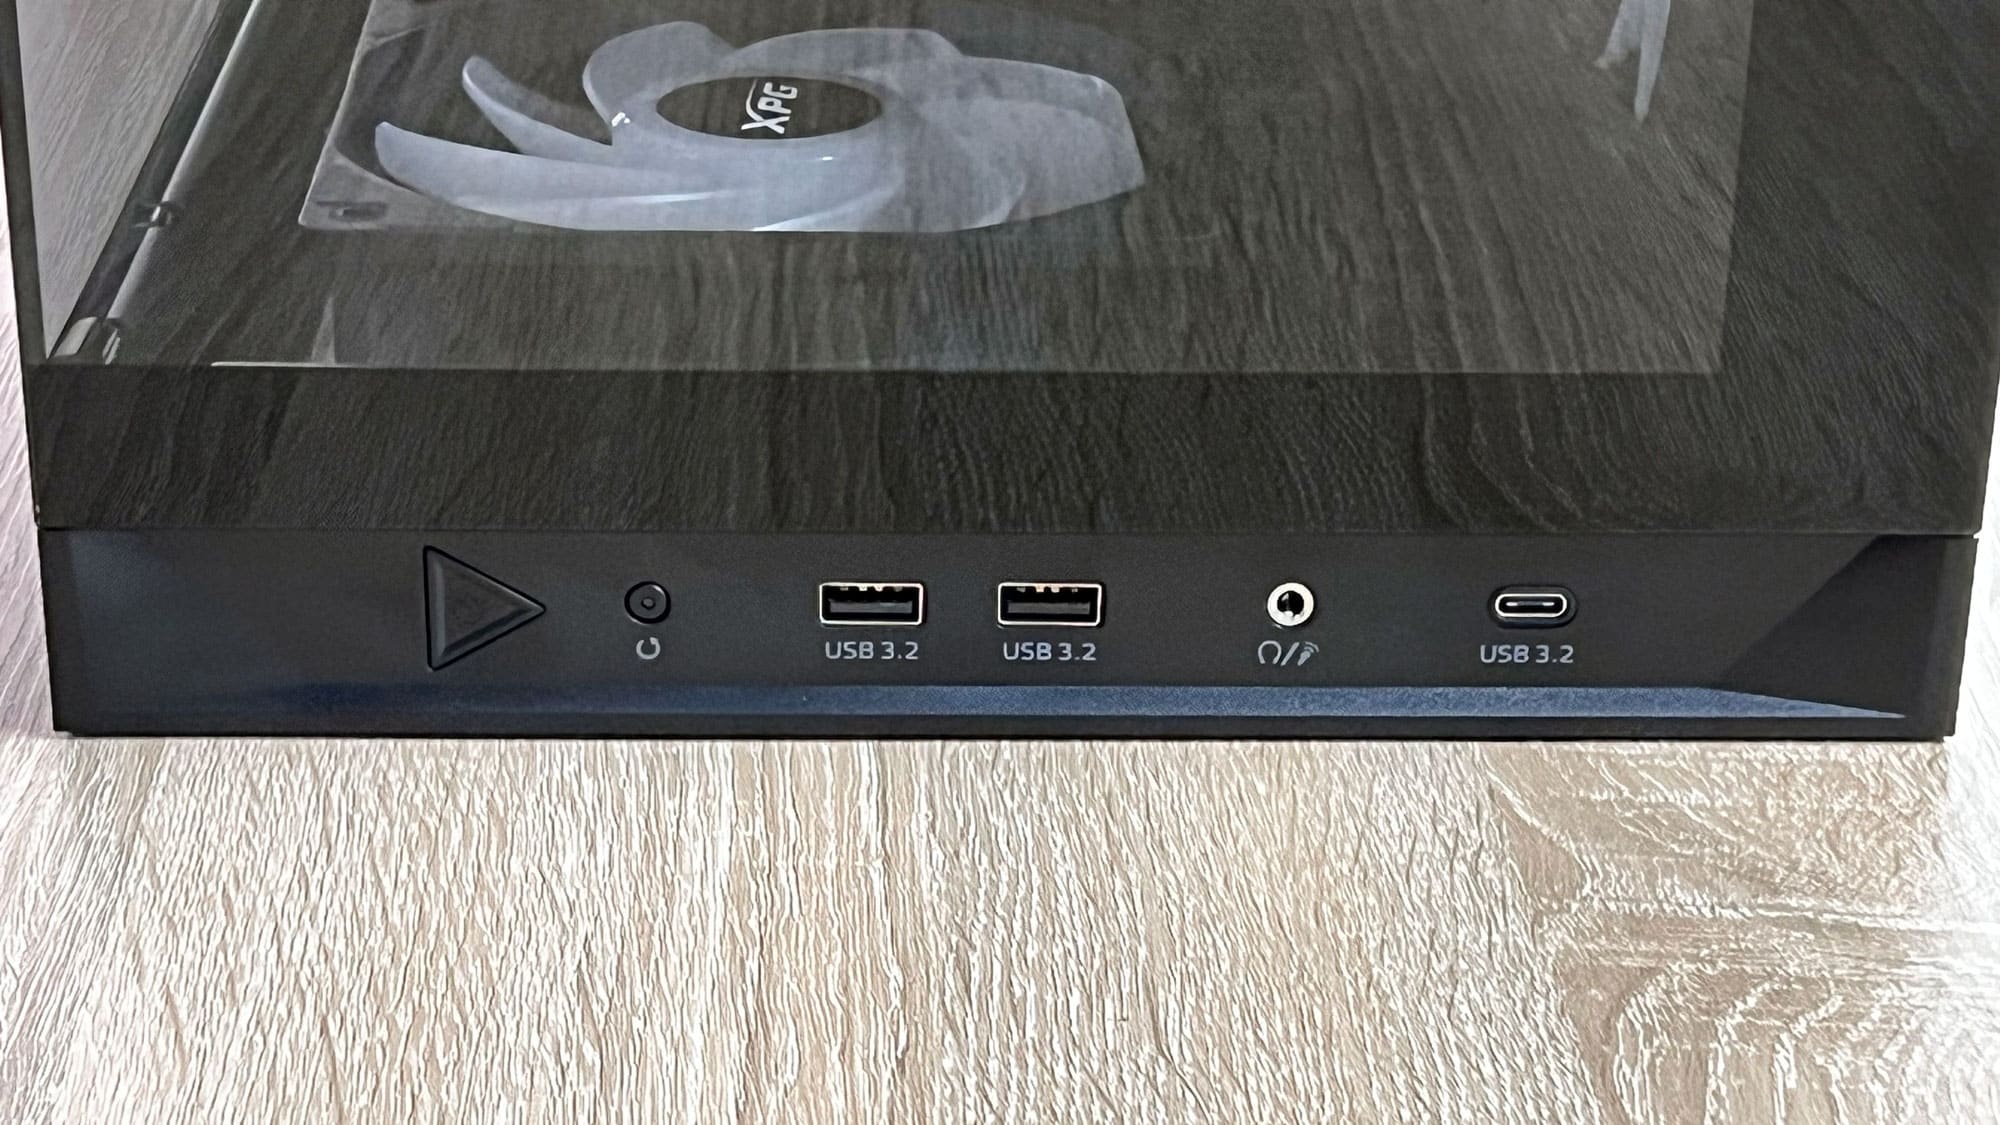
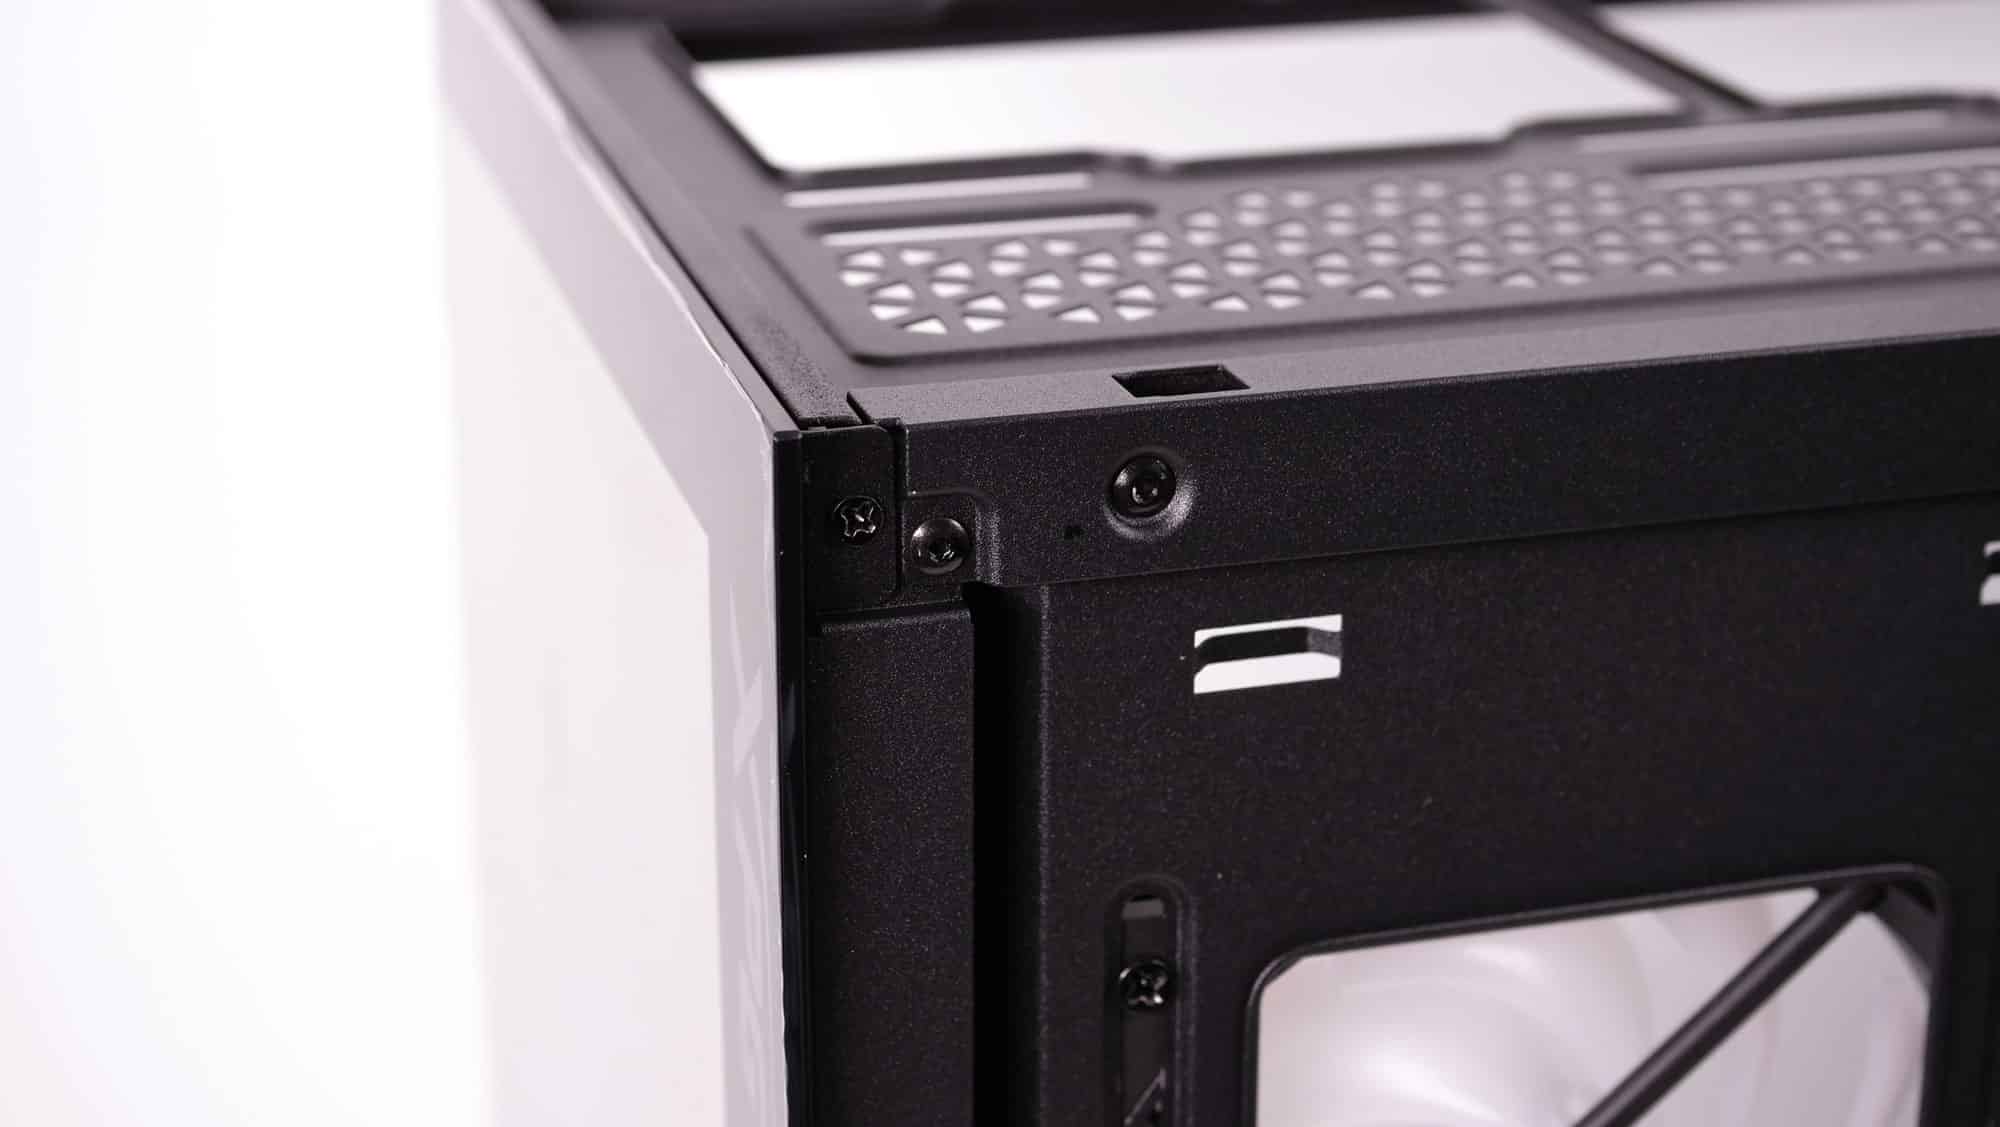
The I/O panel. Next to the Power button, you will find the Reset button, which is always welcome. There are also two USB 3.2 Type-A ports, a USB 3.2 Type-C, and a hybrid audio port.
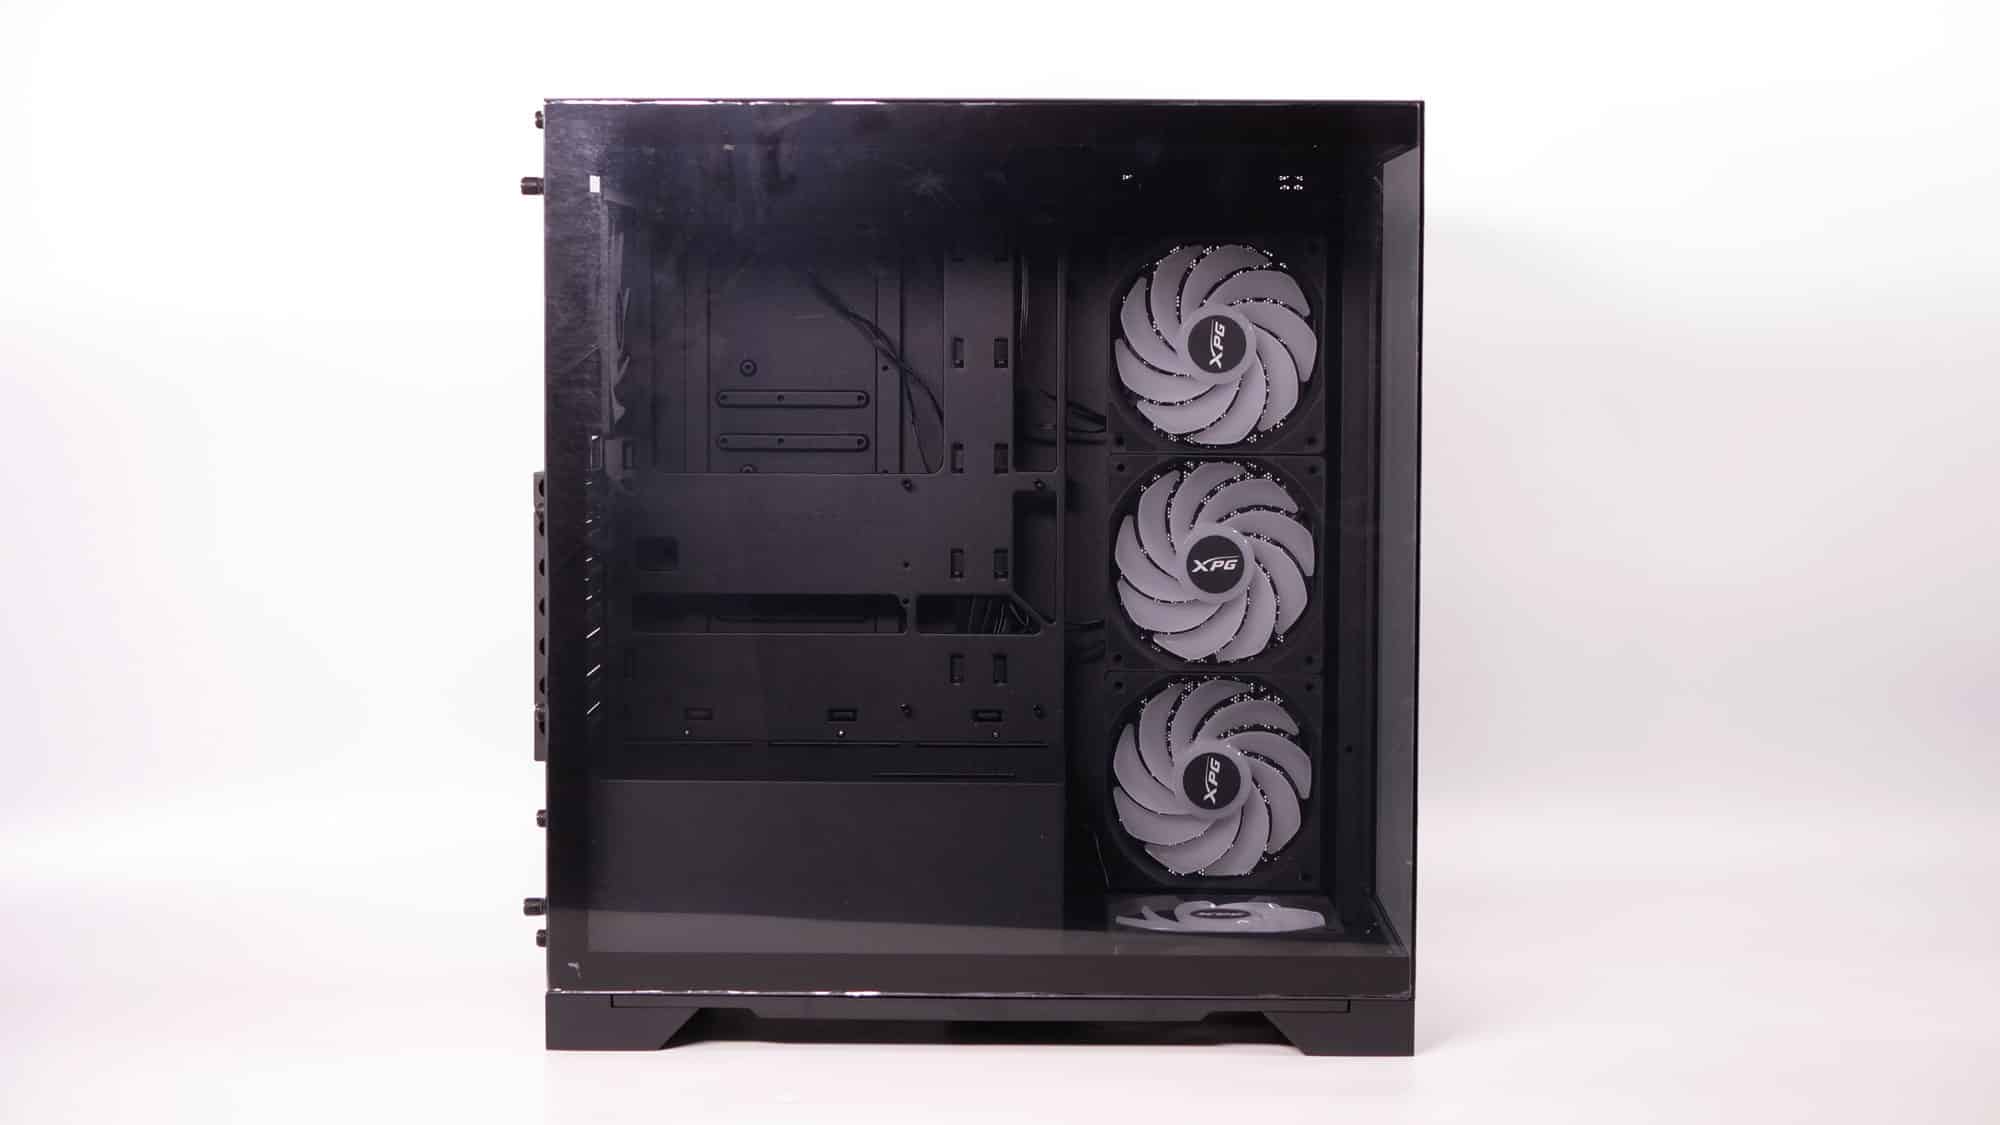

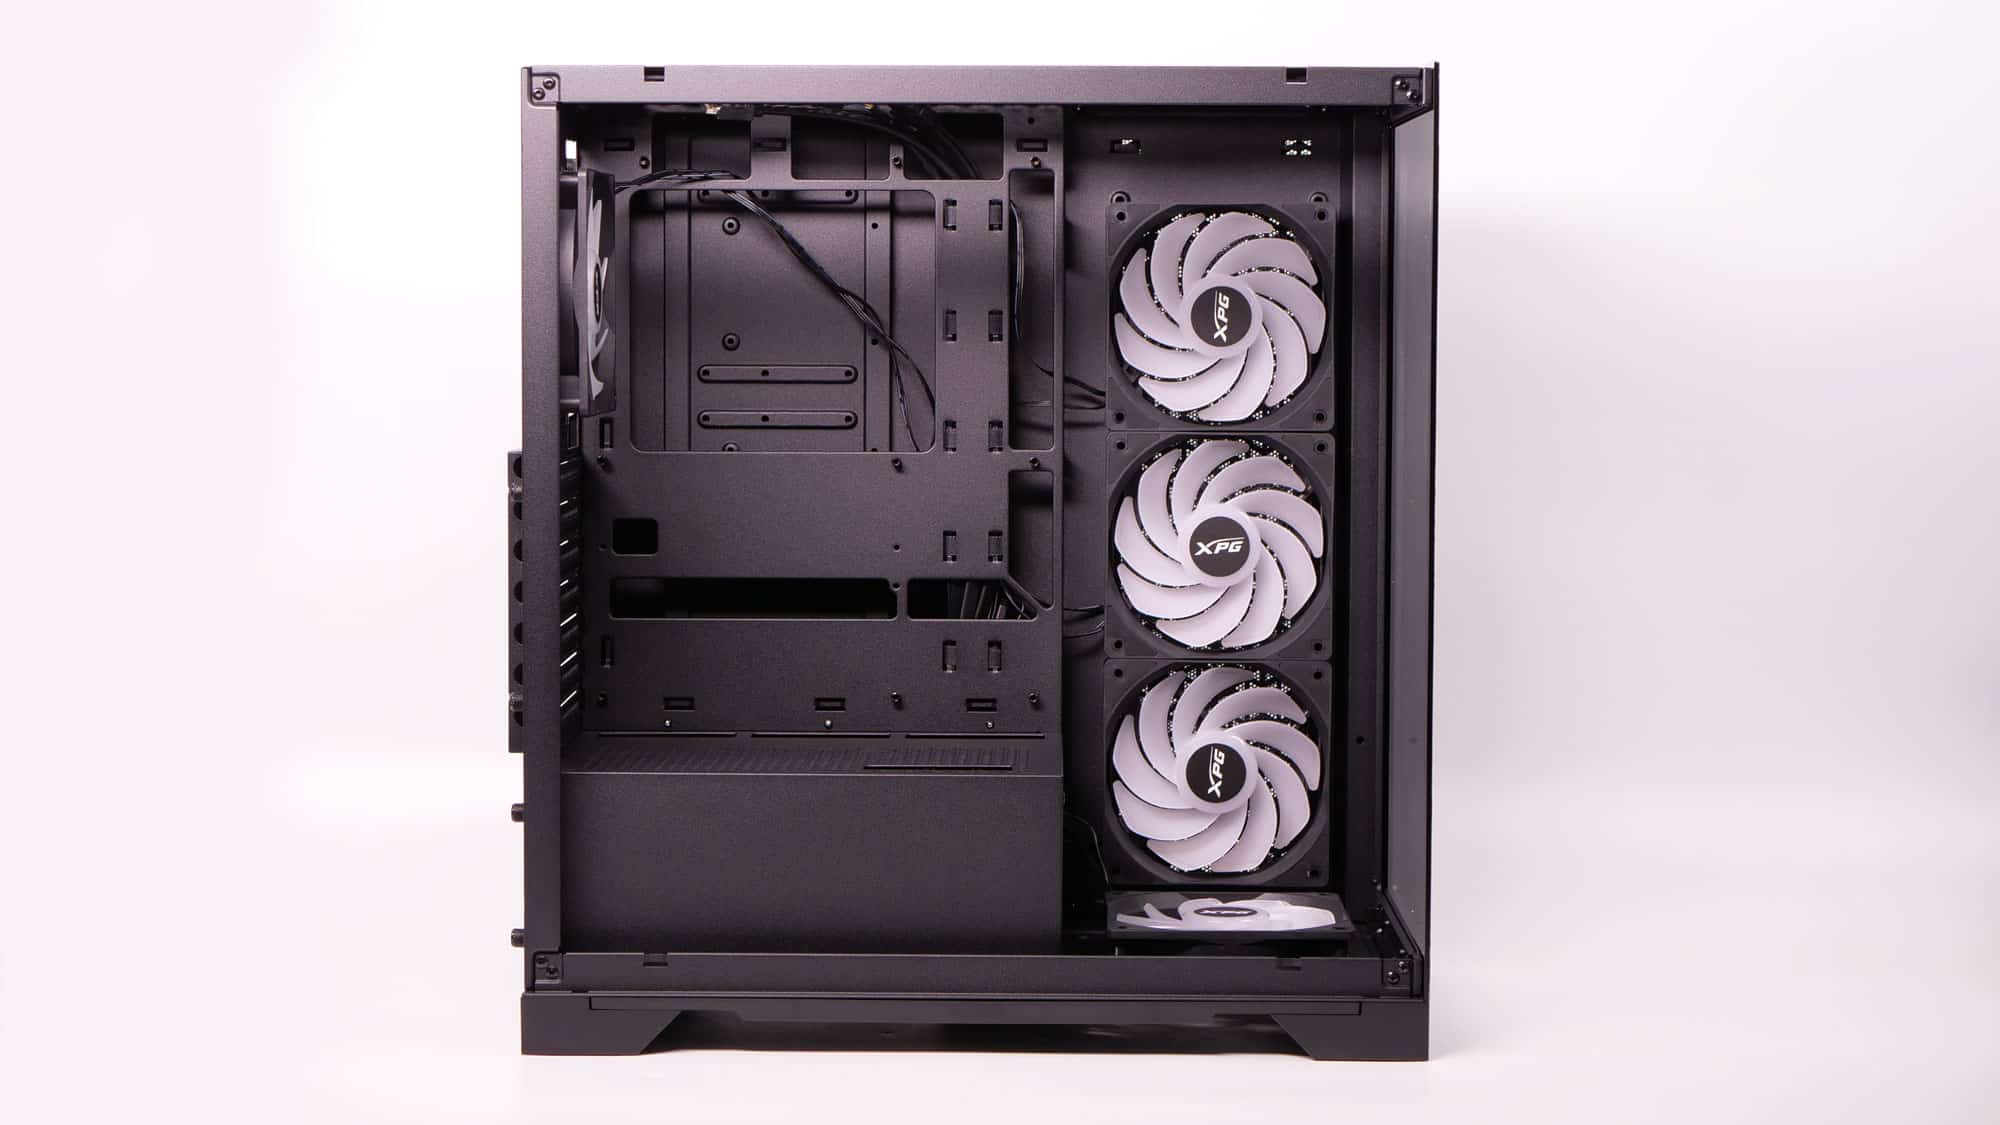
The side view with only the pre-installed fans inside the case.
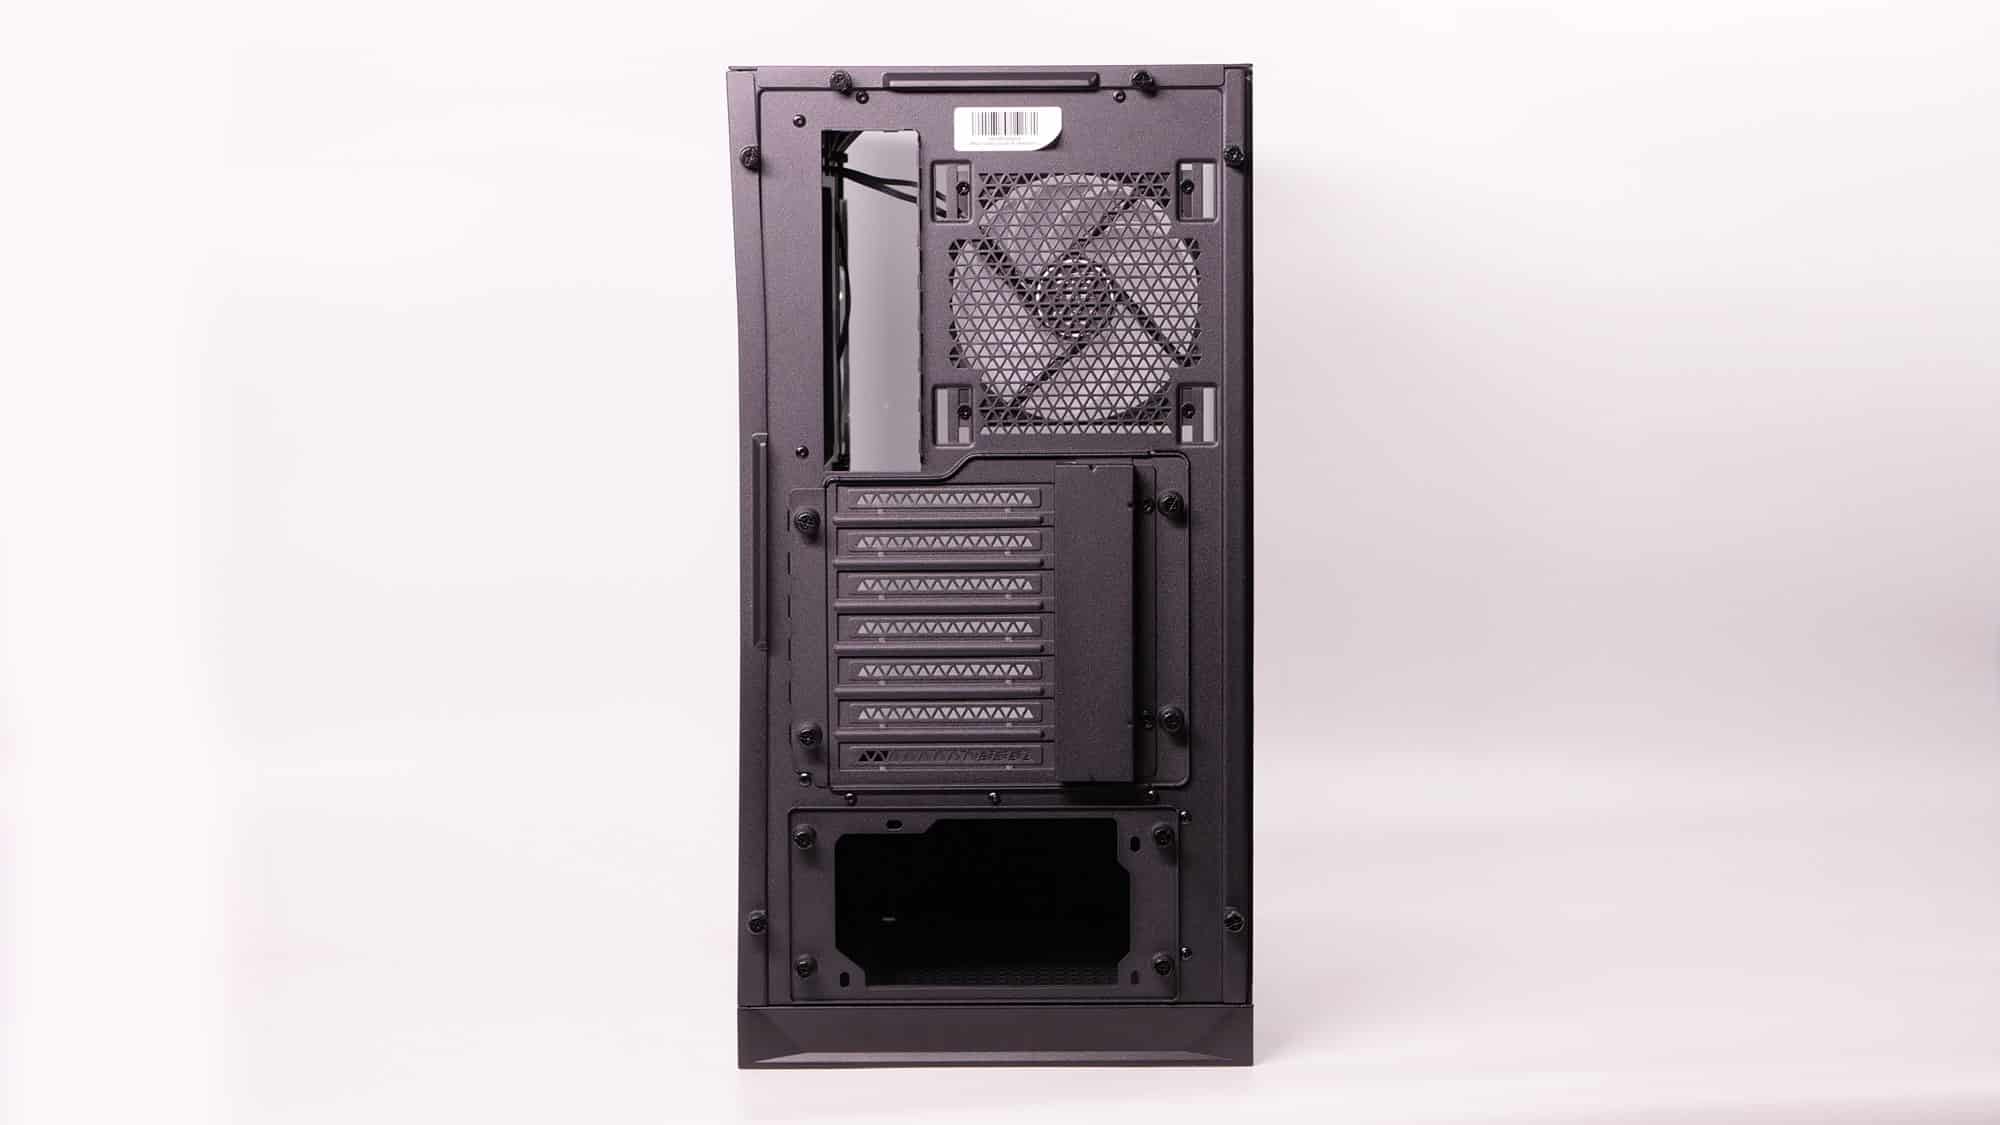
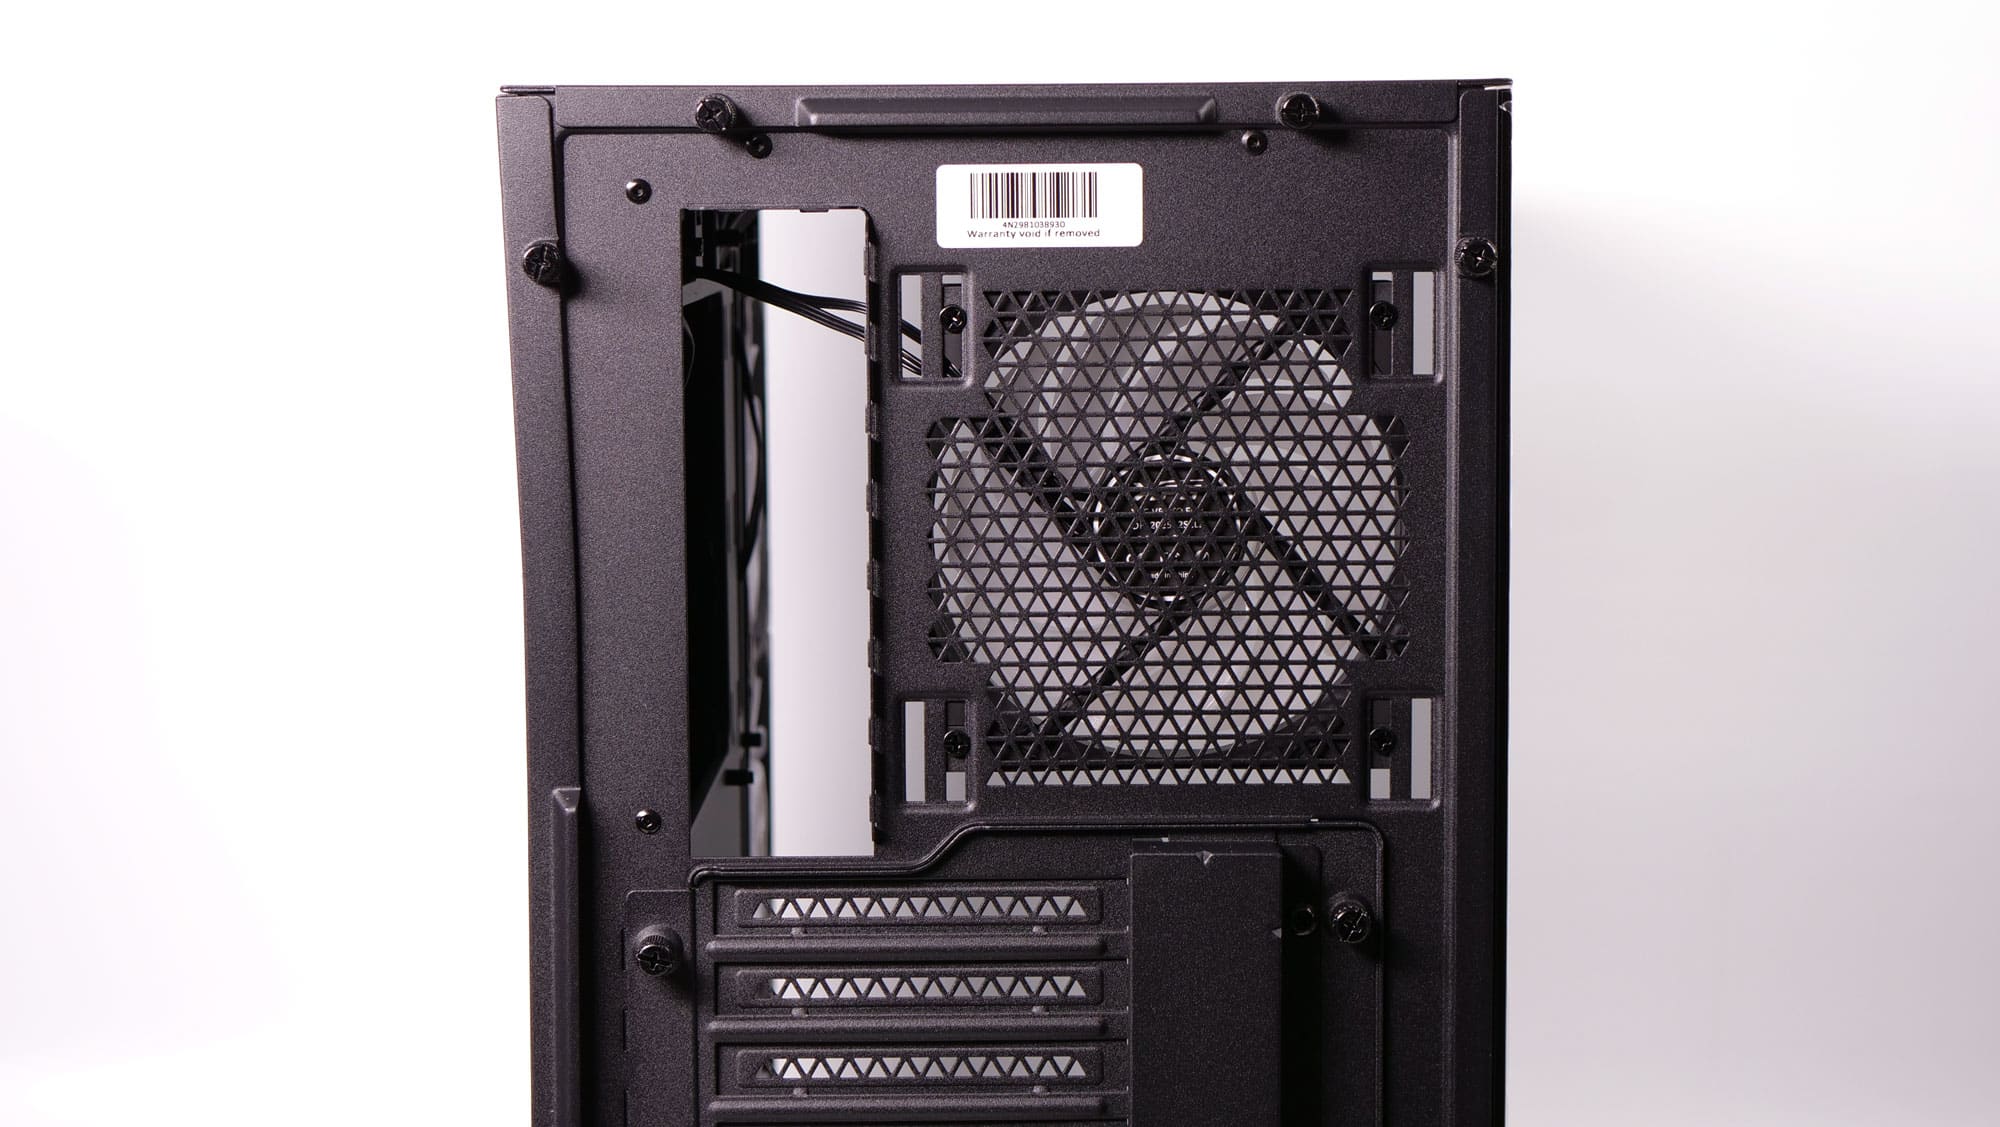
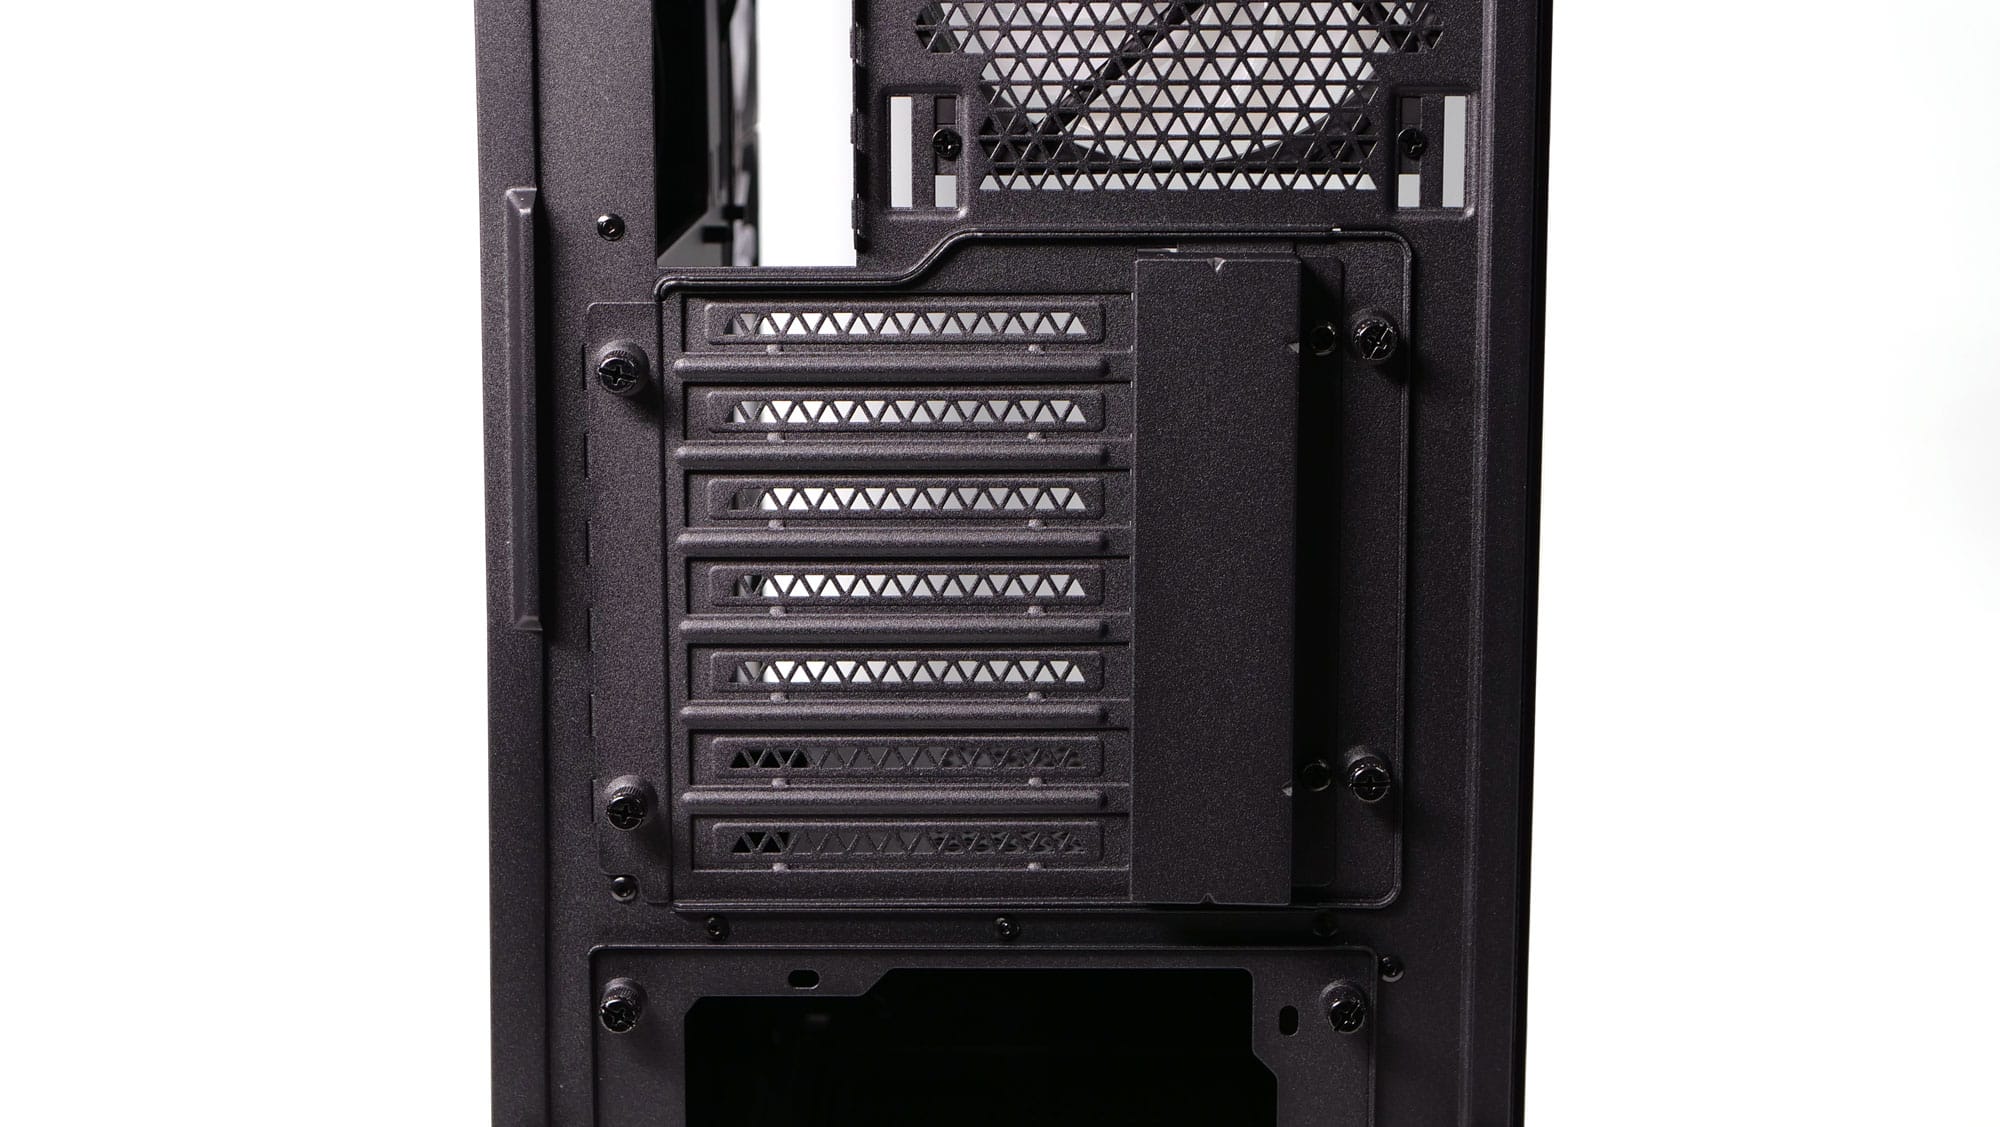
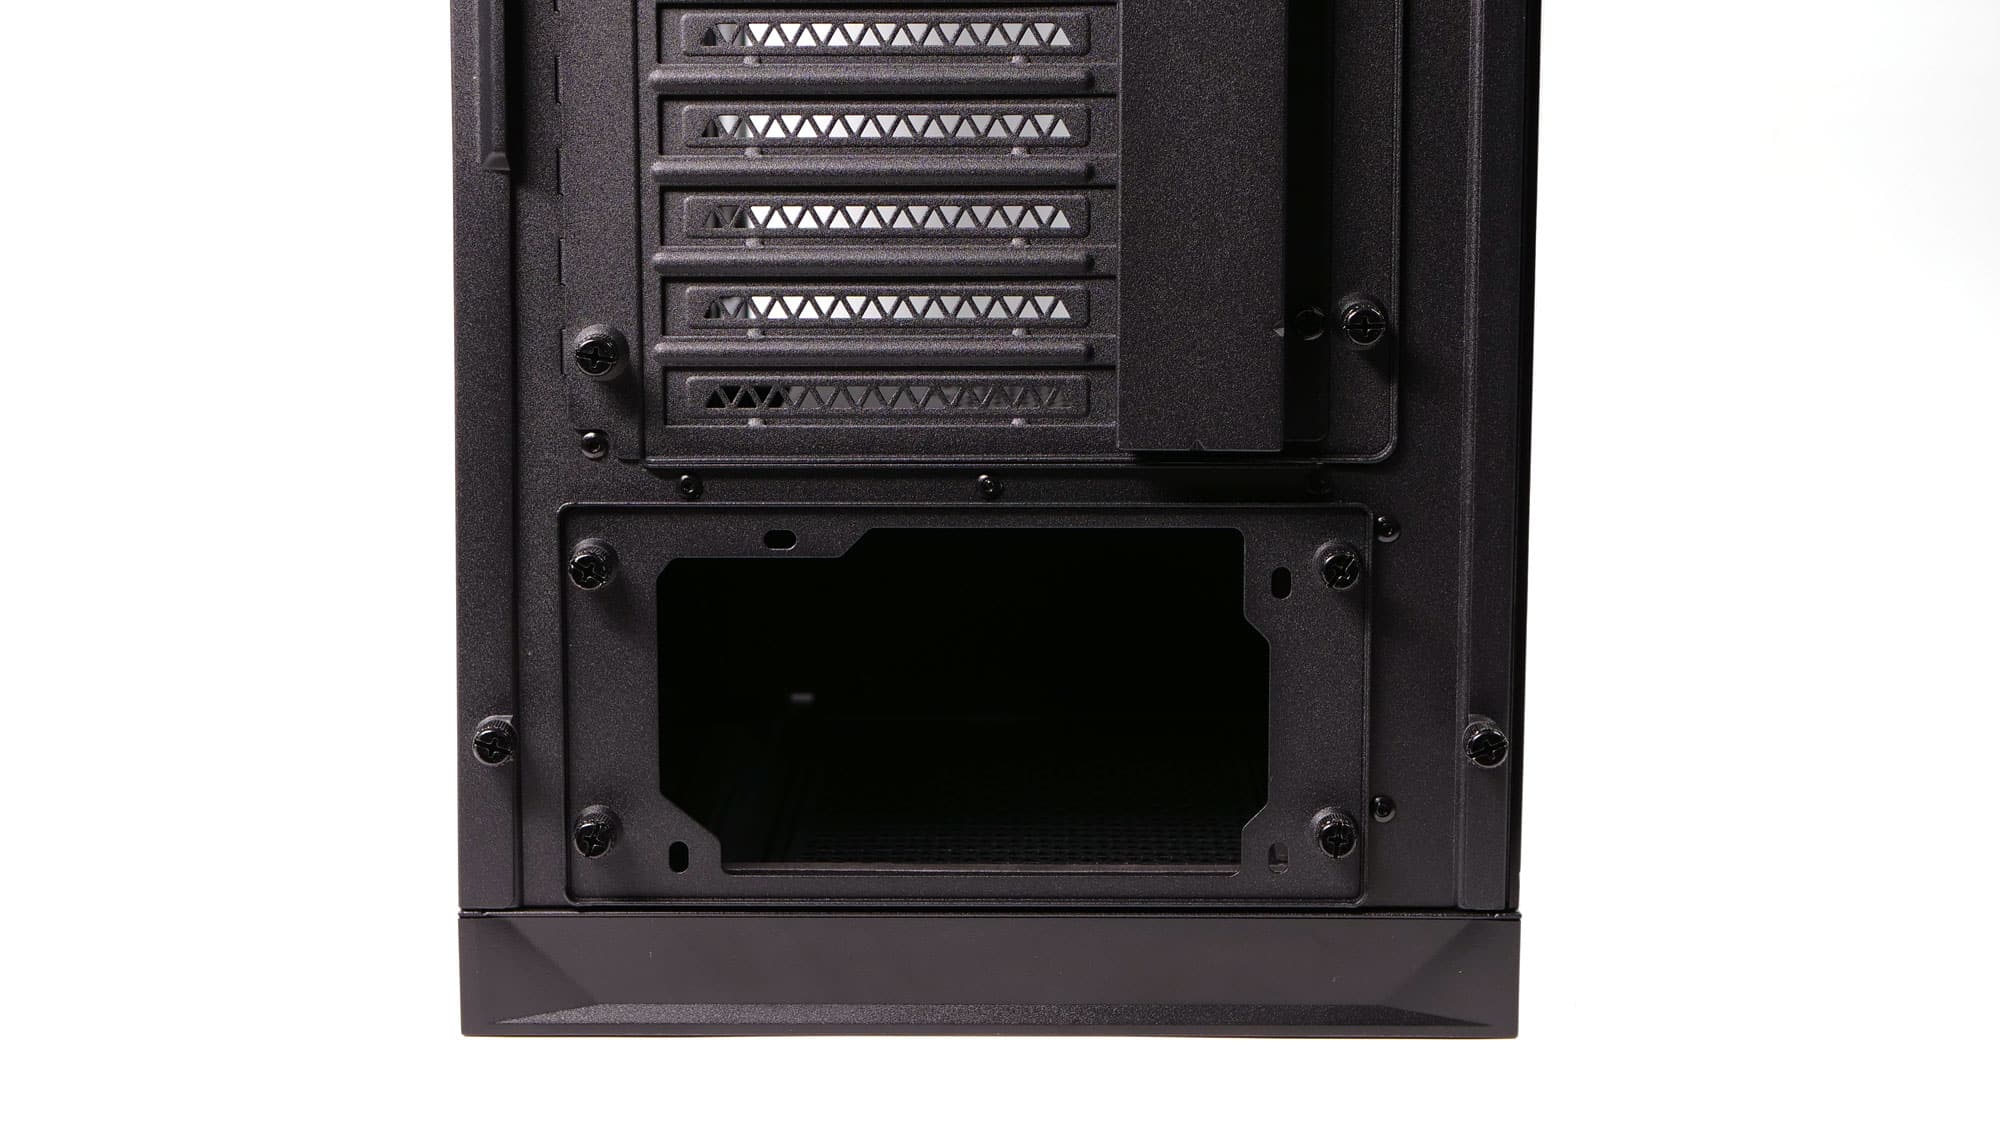
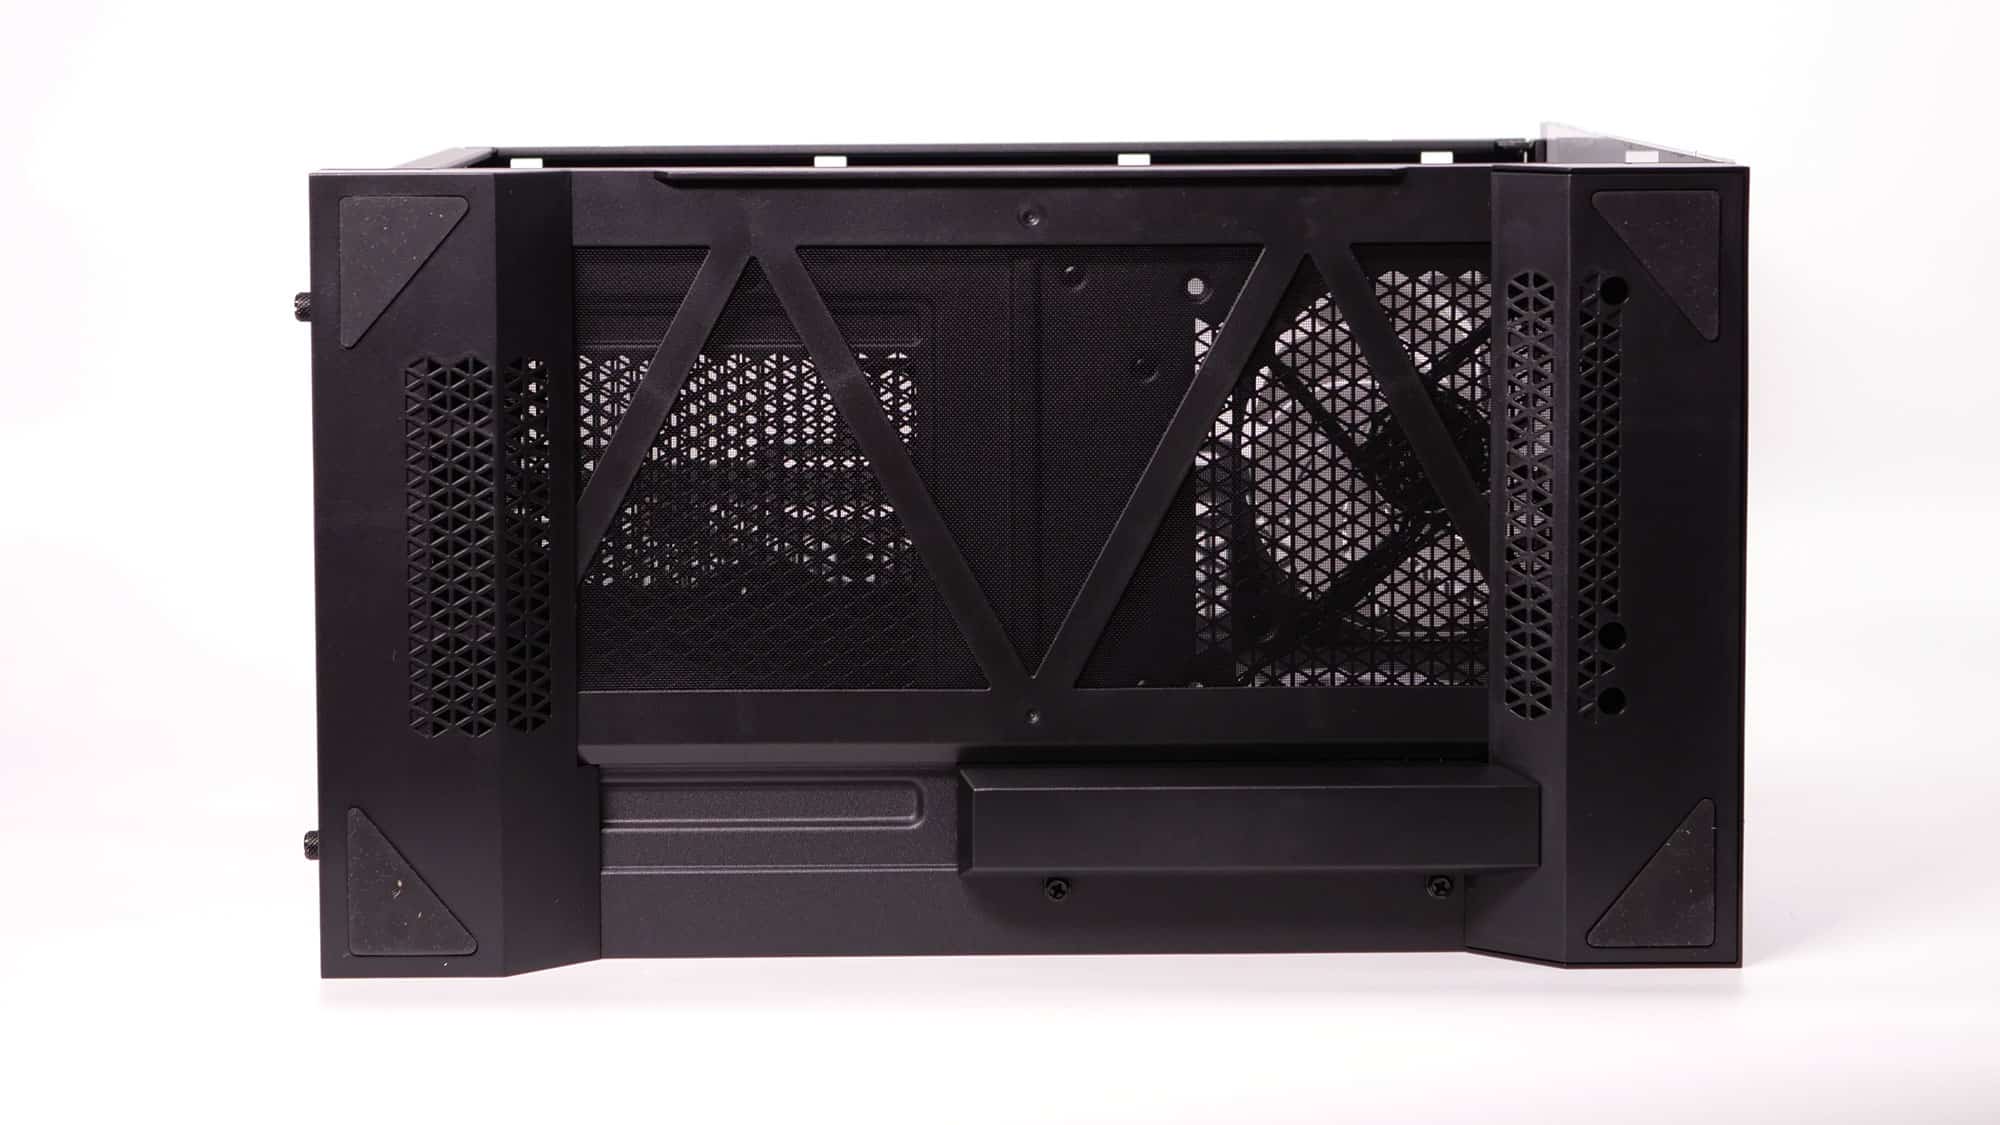
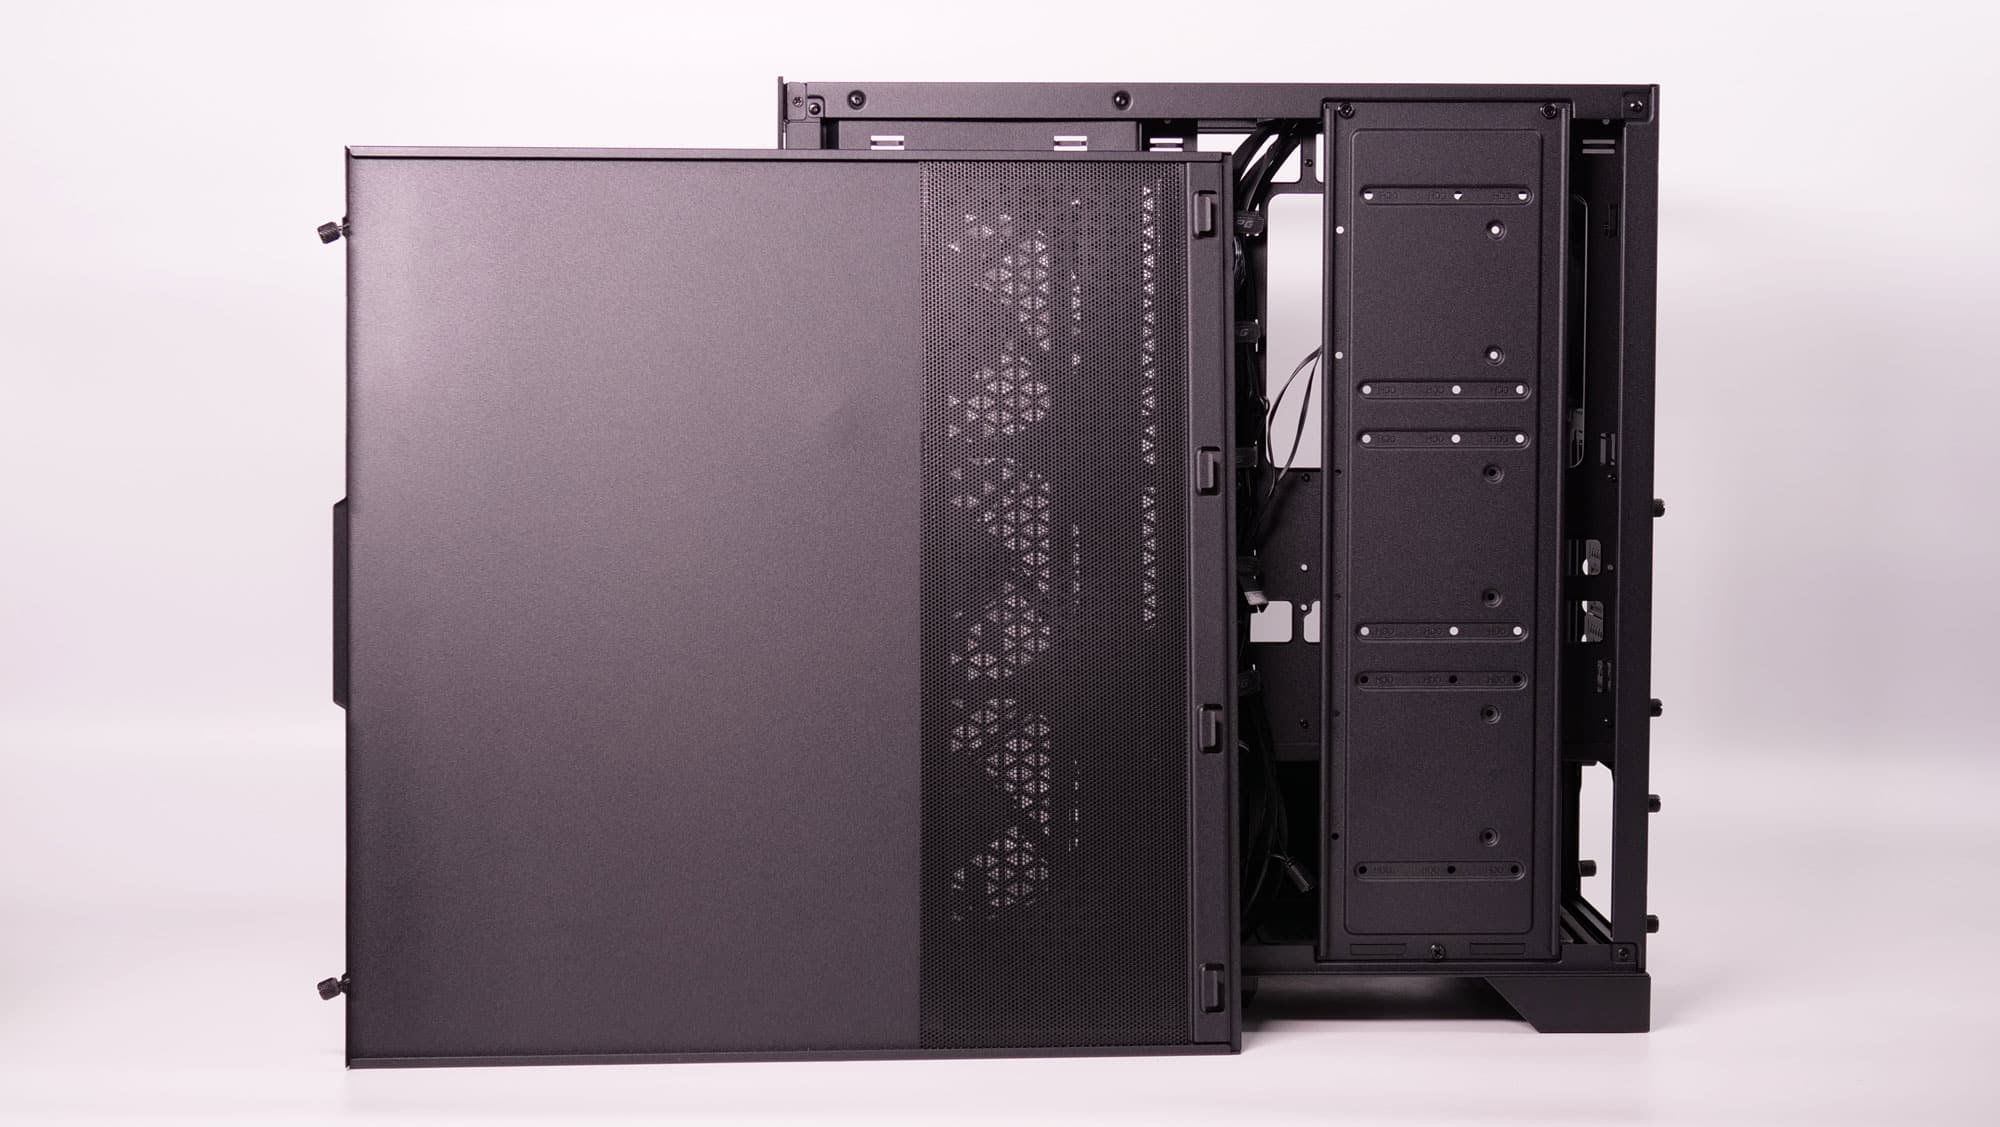
A rear view of the case. The PSU is installed through a bracket adapter, and the PCIe expansion ports bracket can be easily removed to install the vertical one.

There is a dust filter at the bottom side.
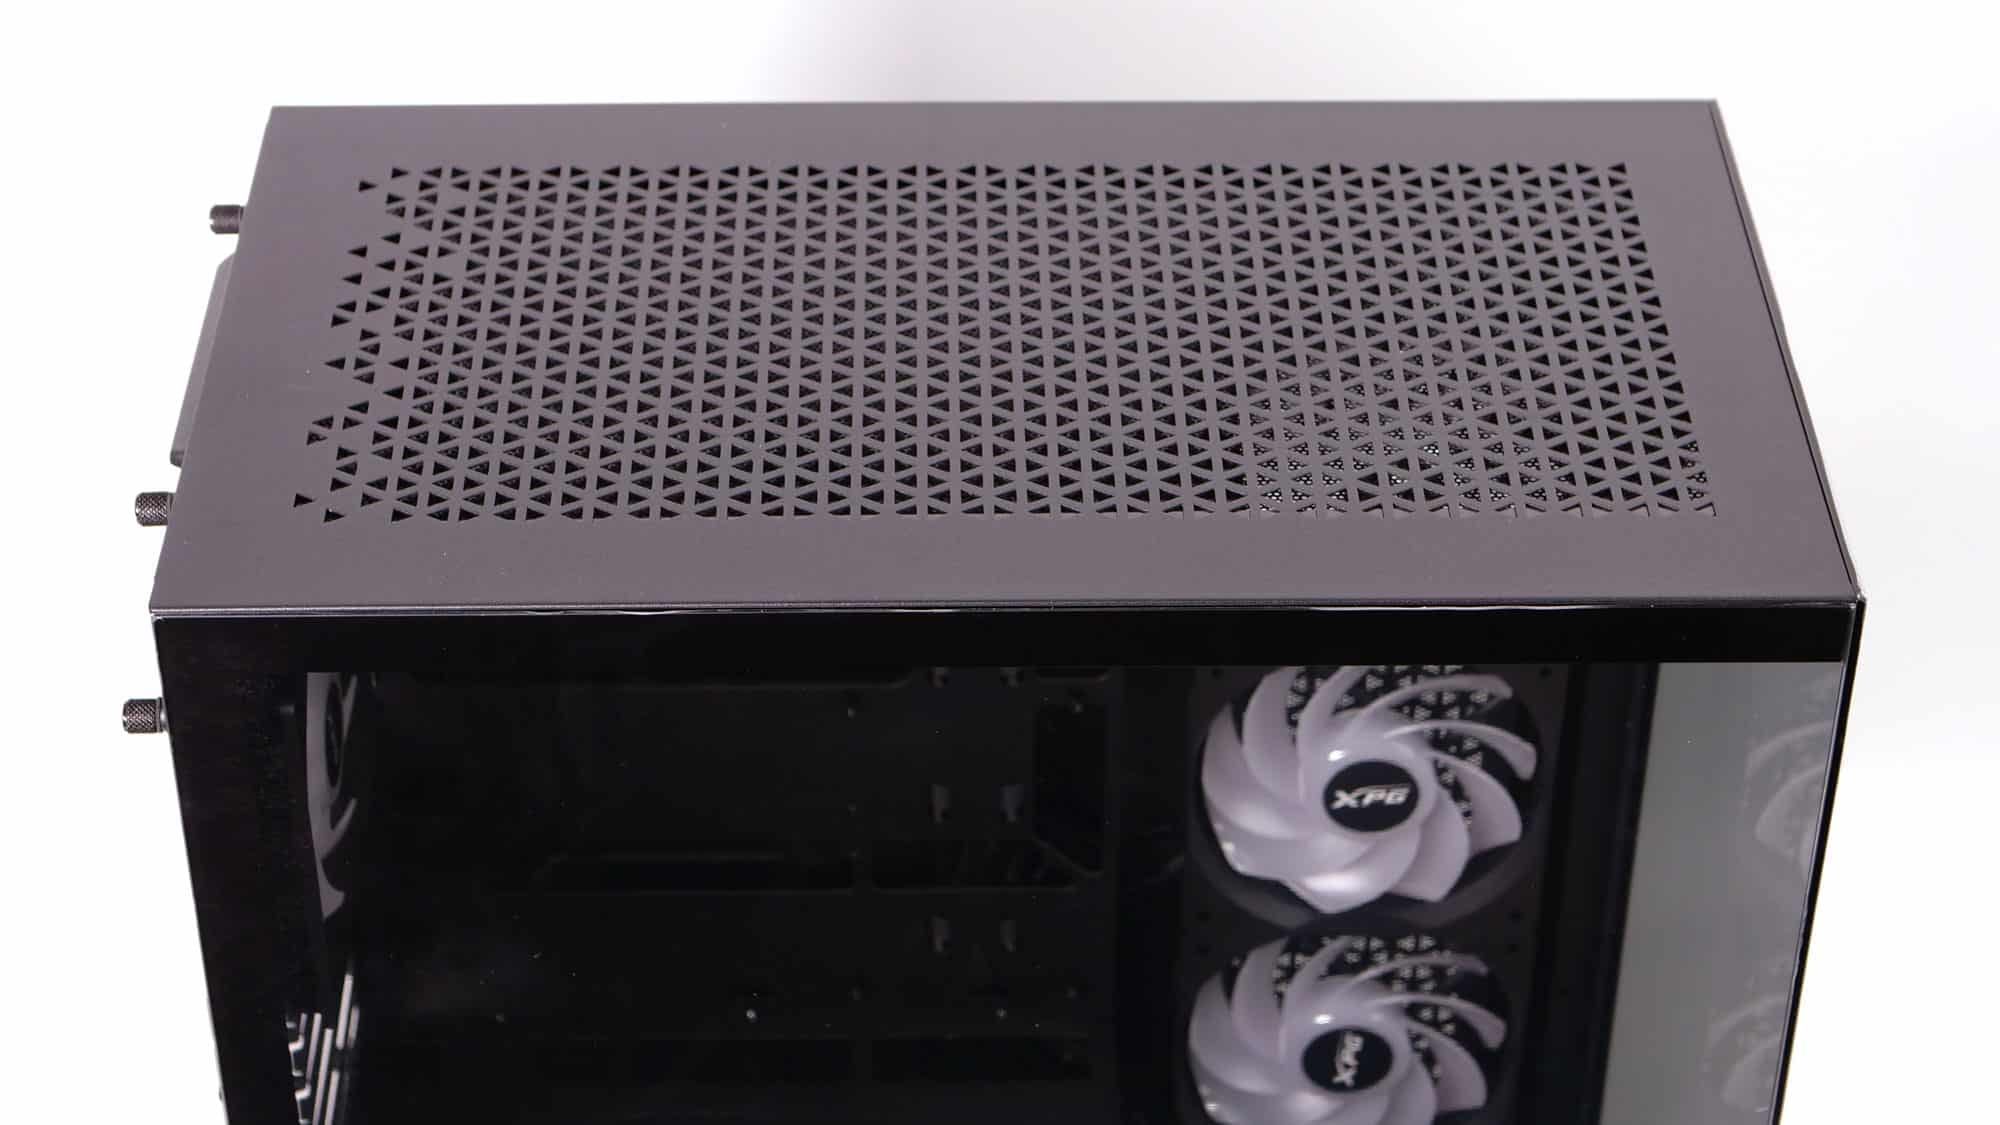

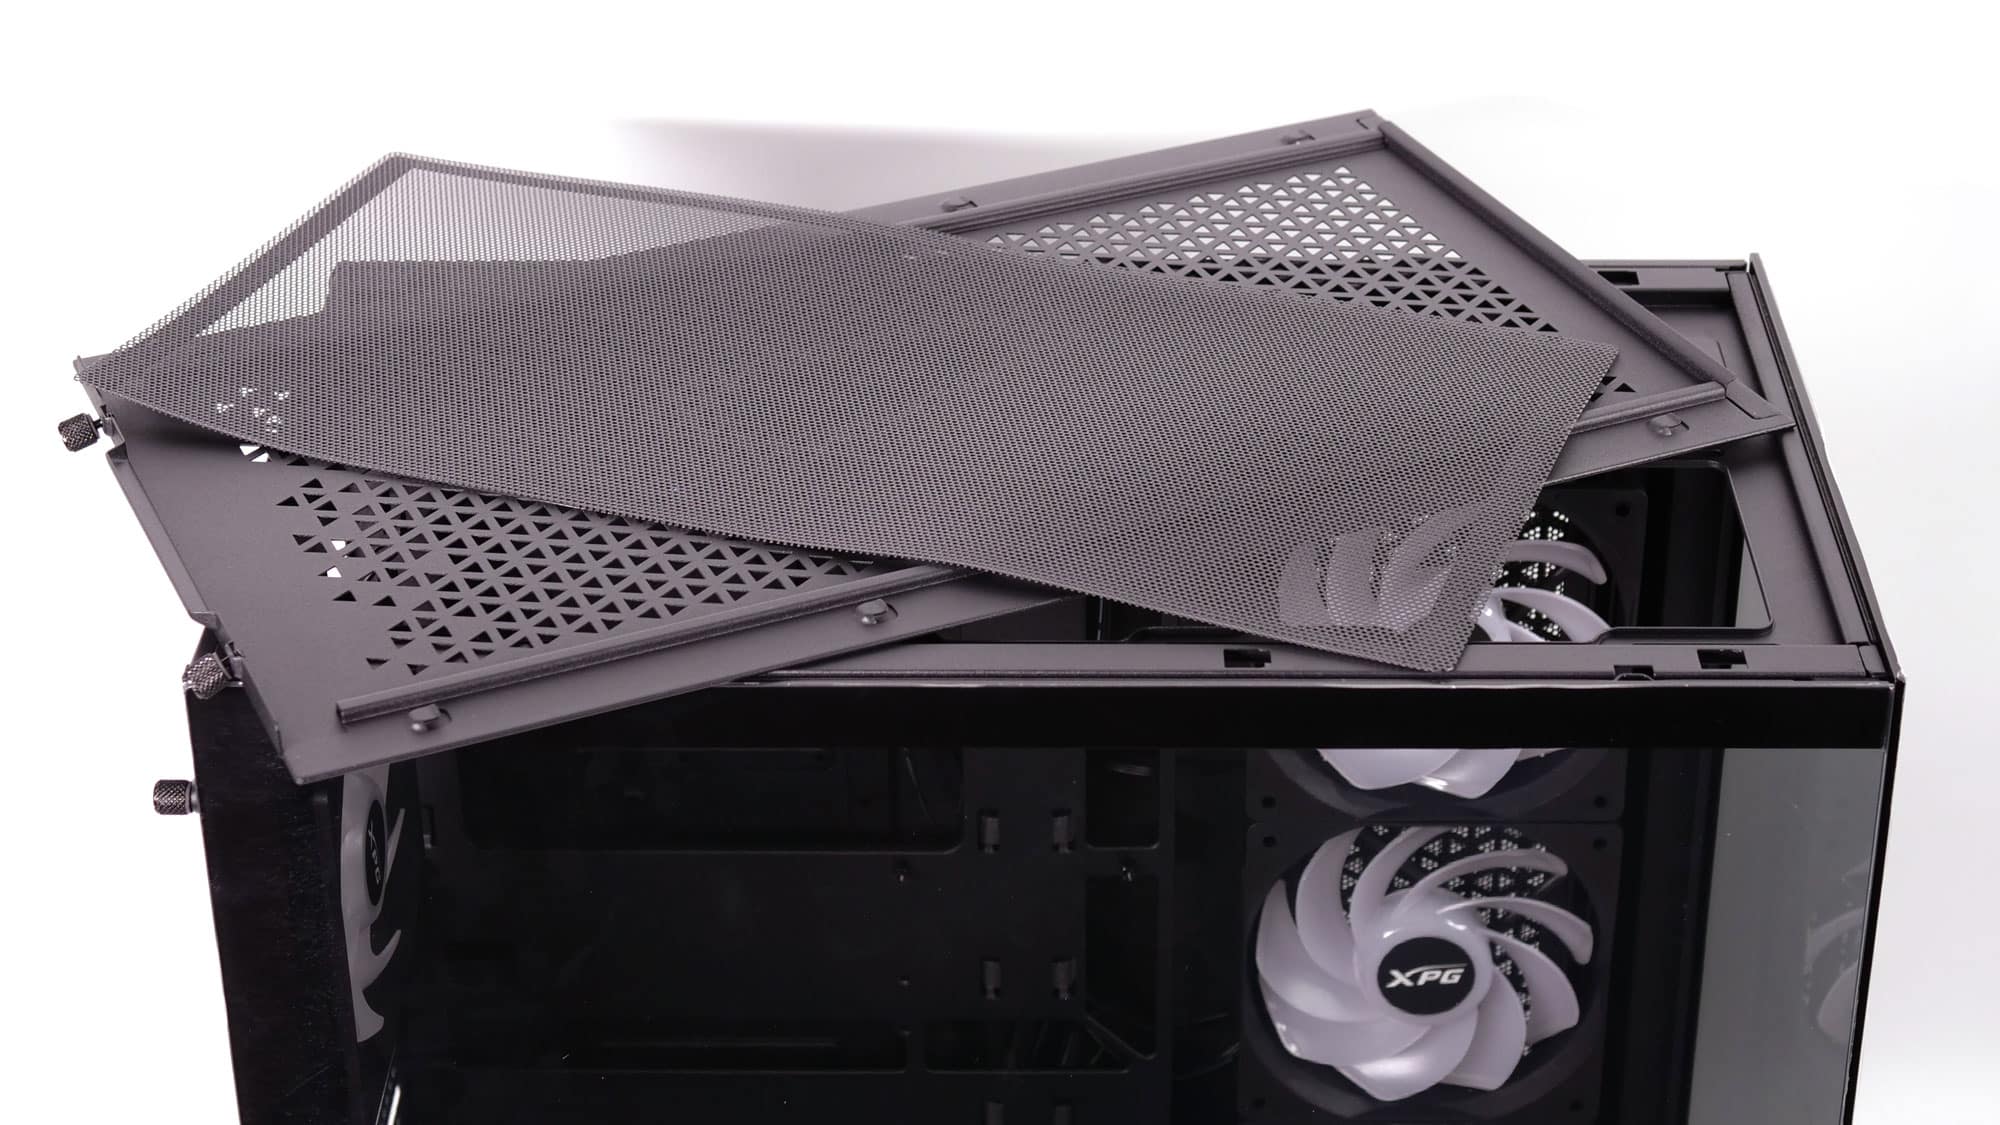
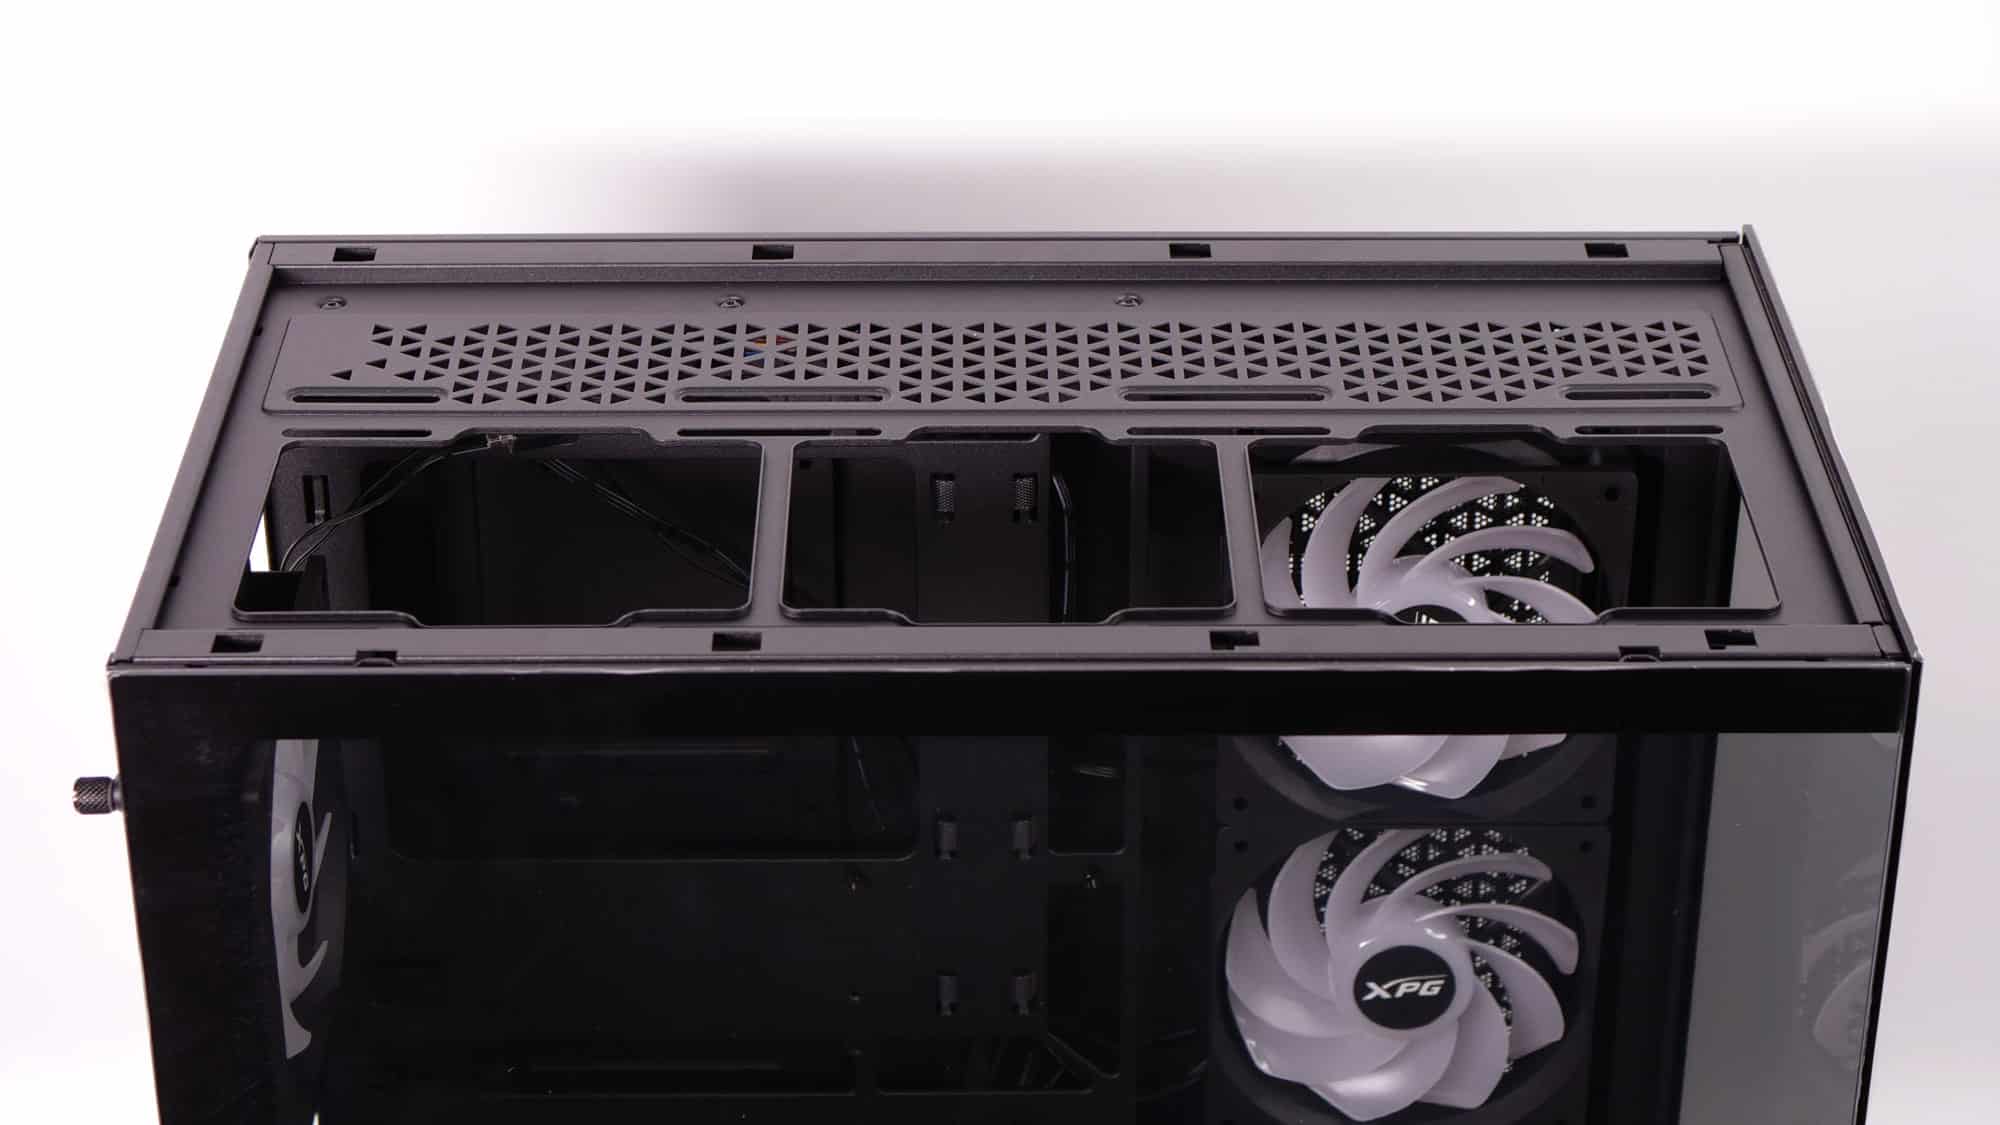

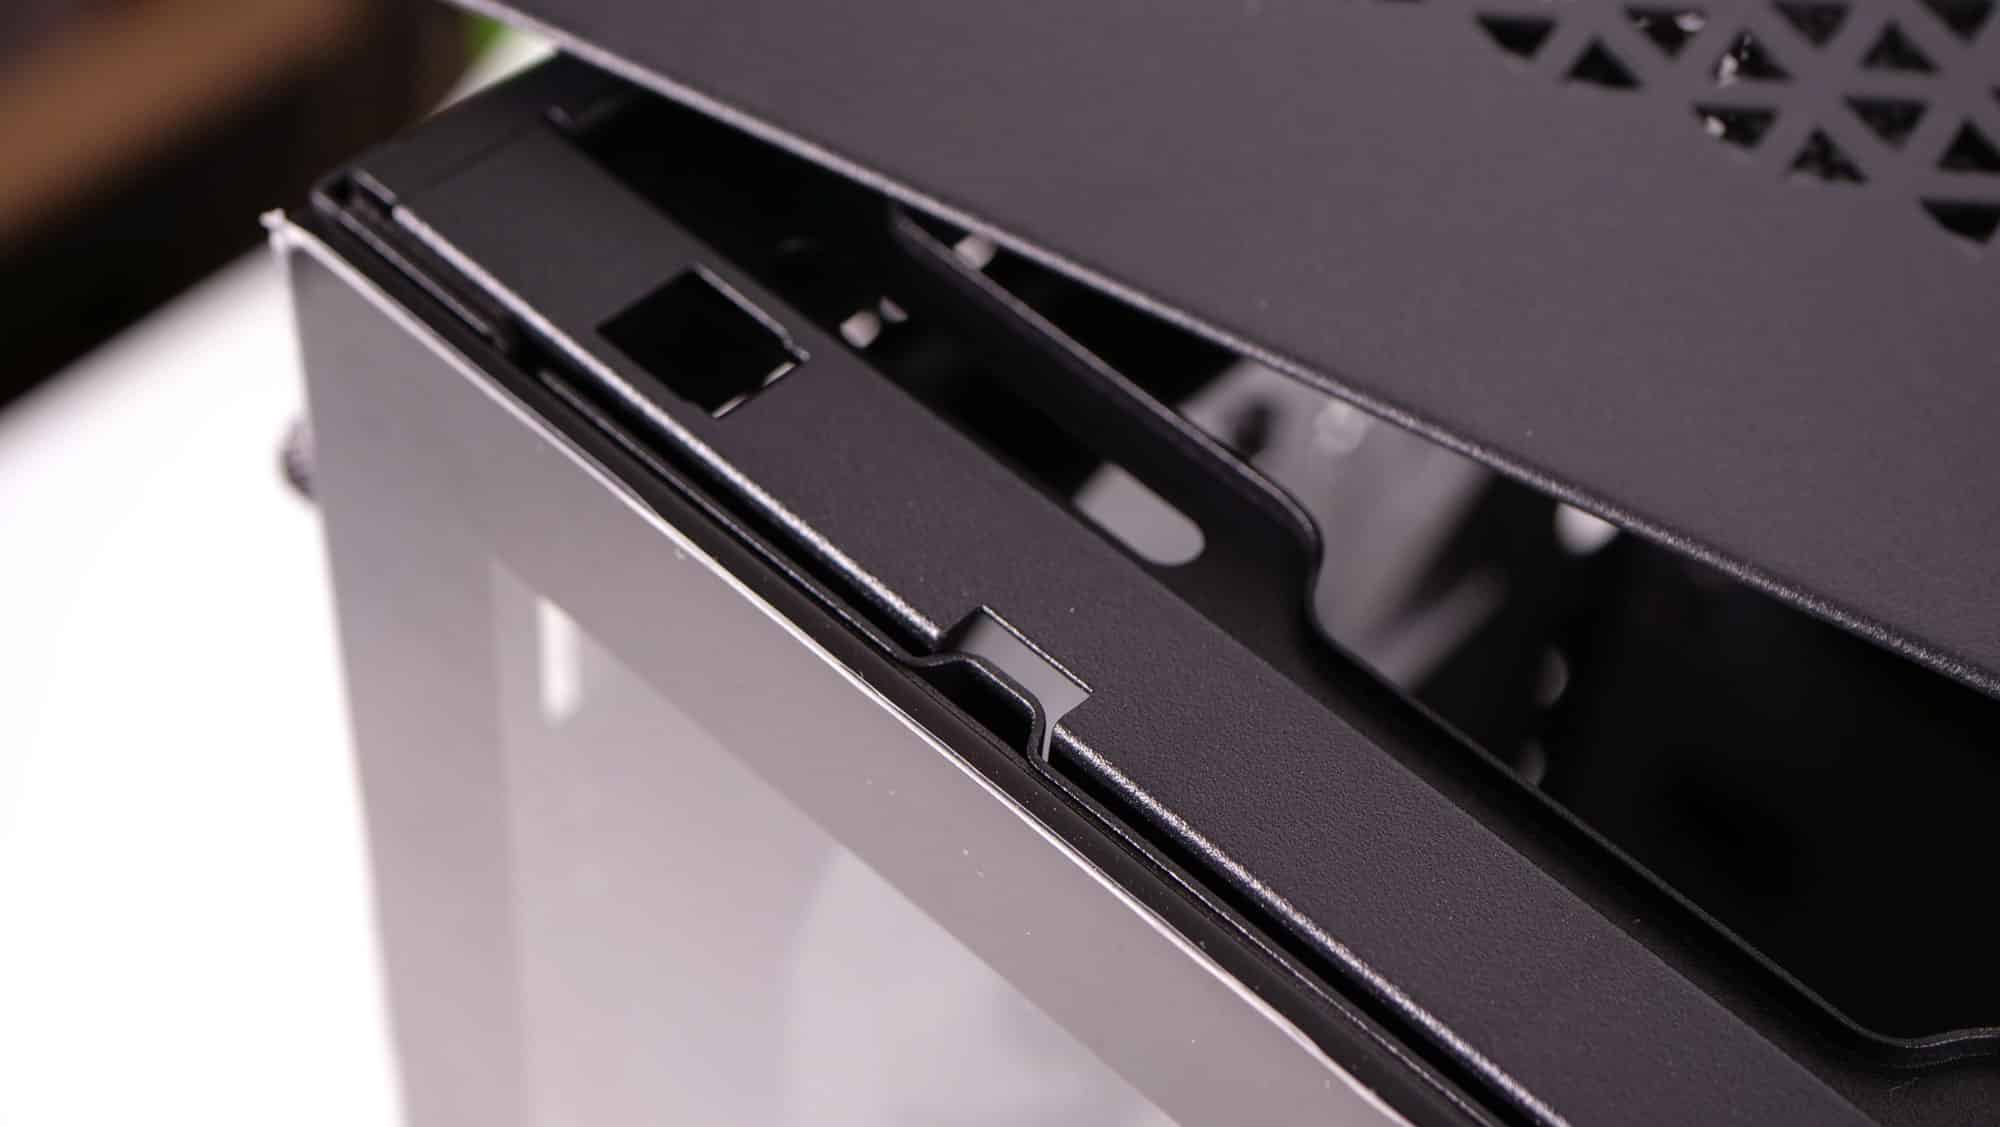
Another filter at the top! To remove the side glass panel, you must first remove the top panel. This is relatively easy since you only have to deal with a couple of thumb screws.
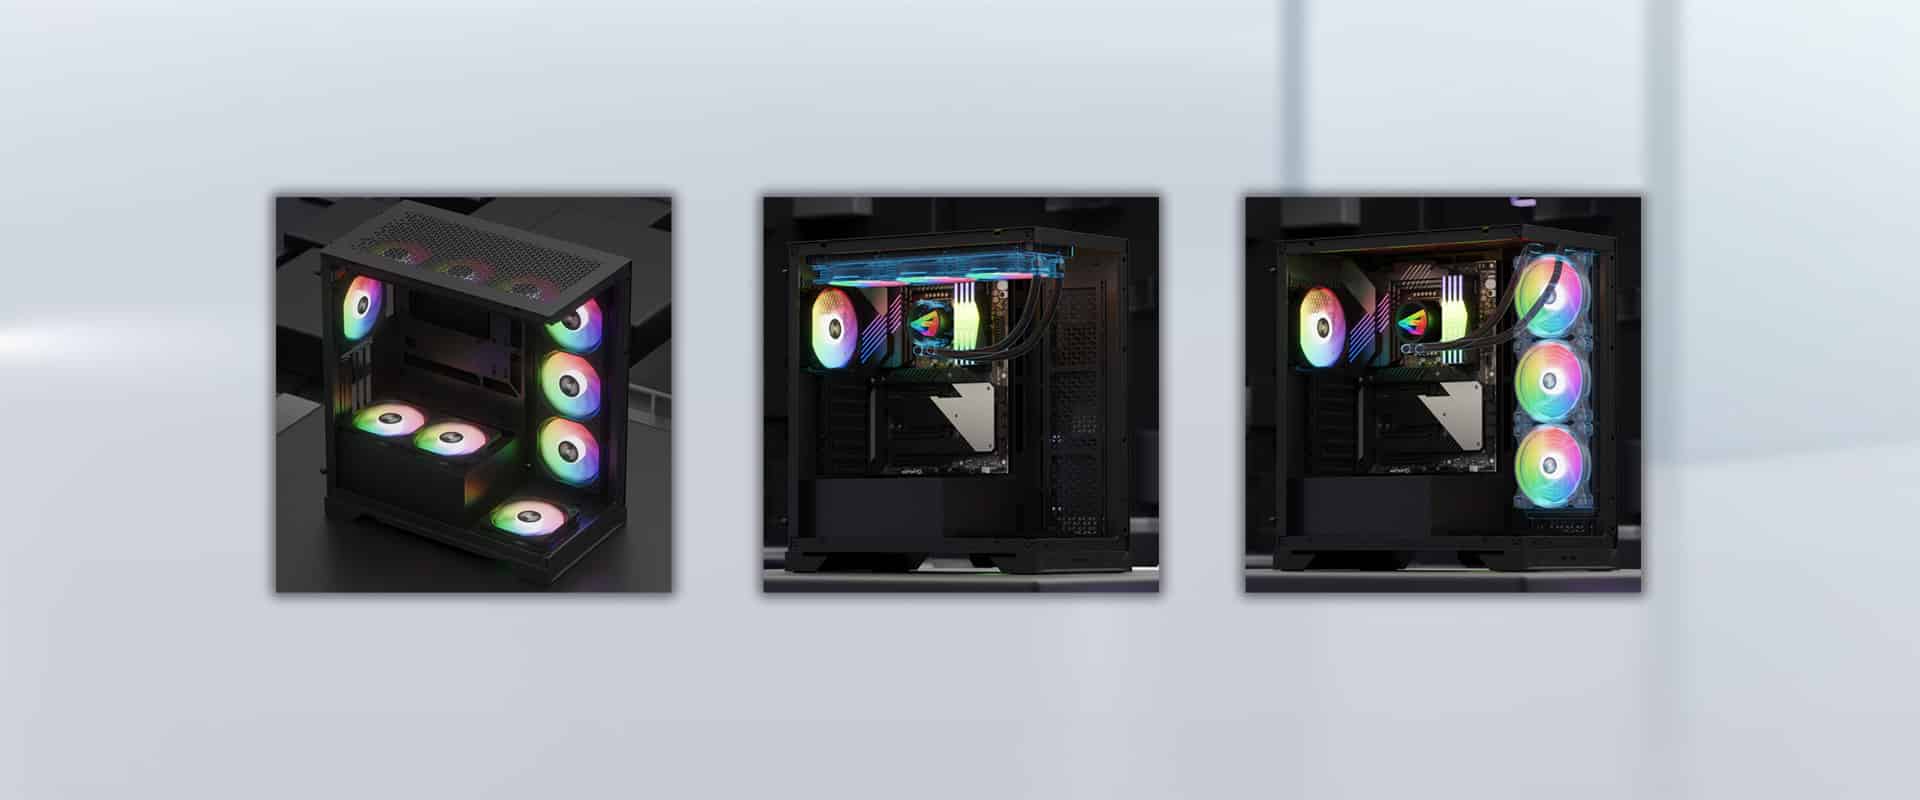
Chassis Photos – Inside

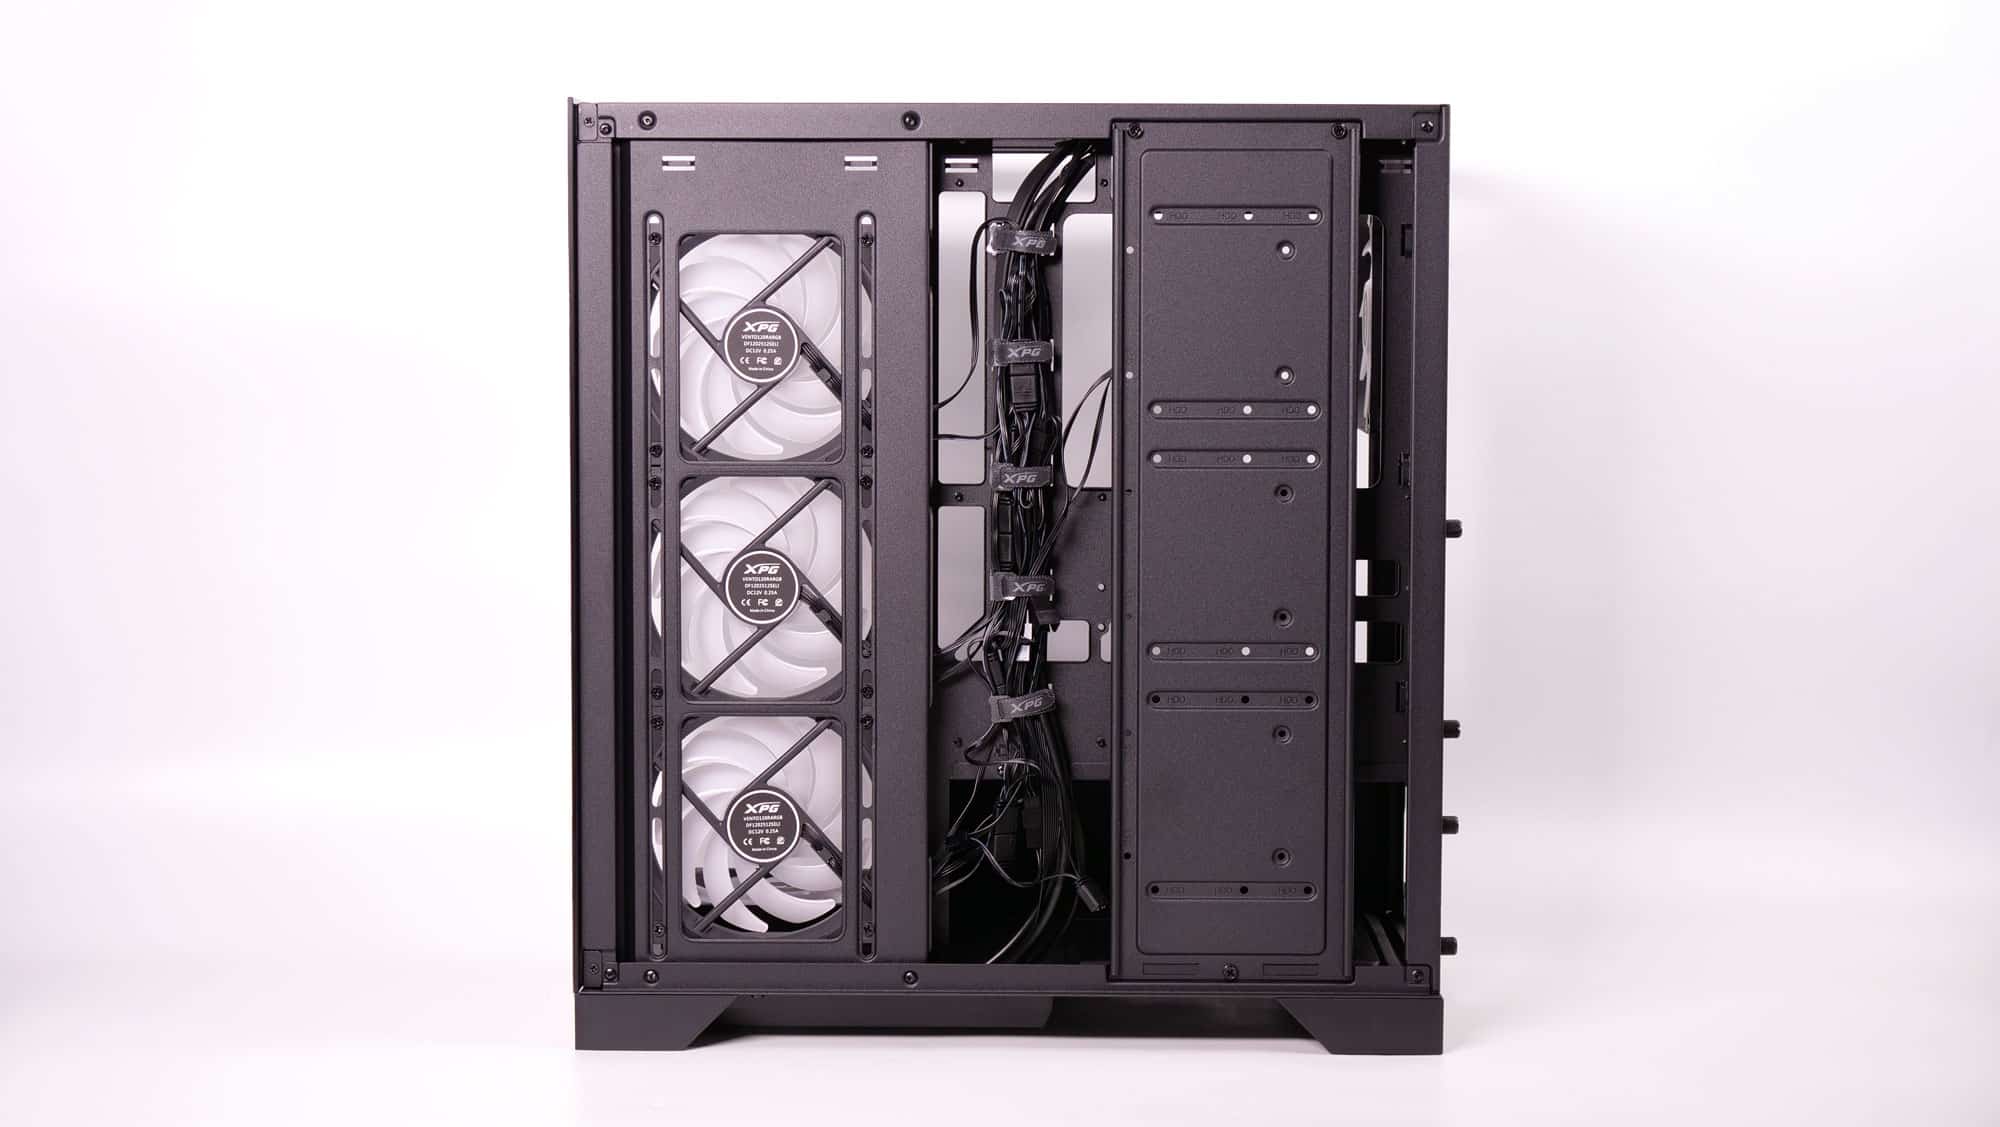
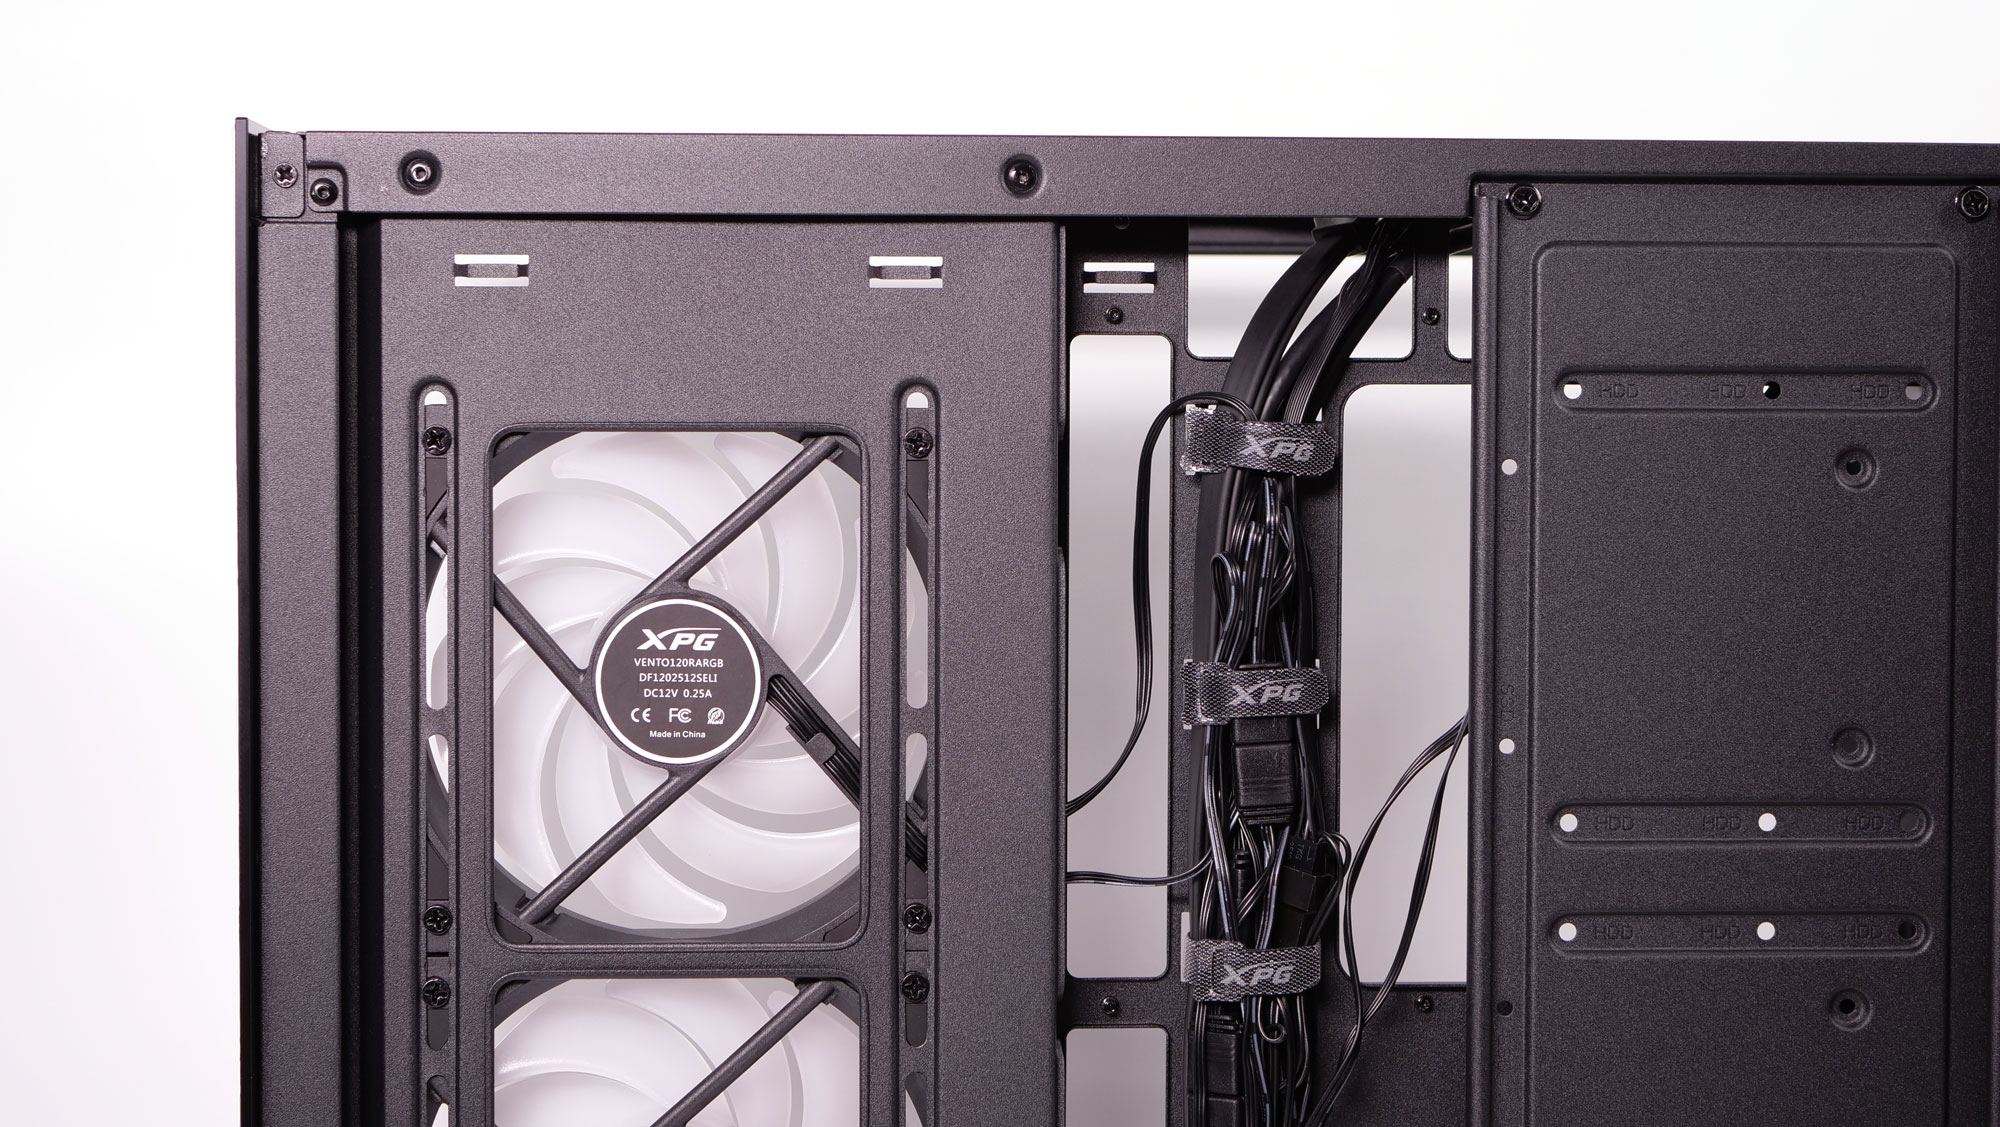
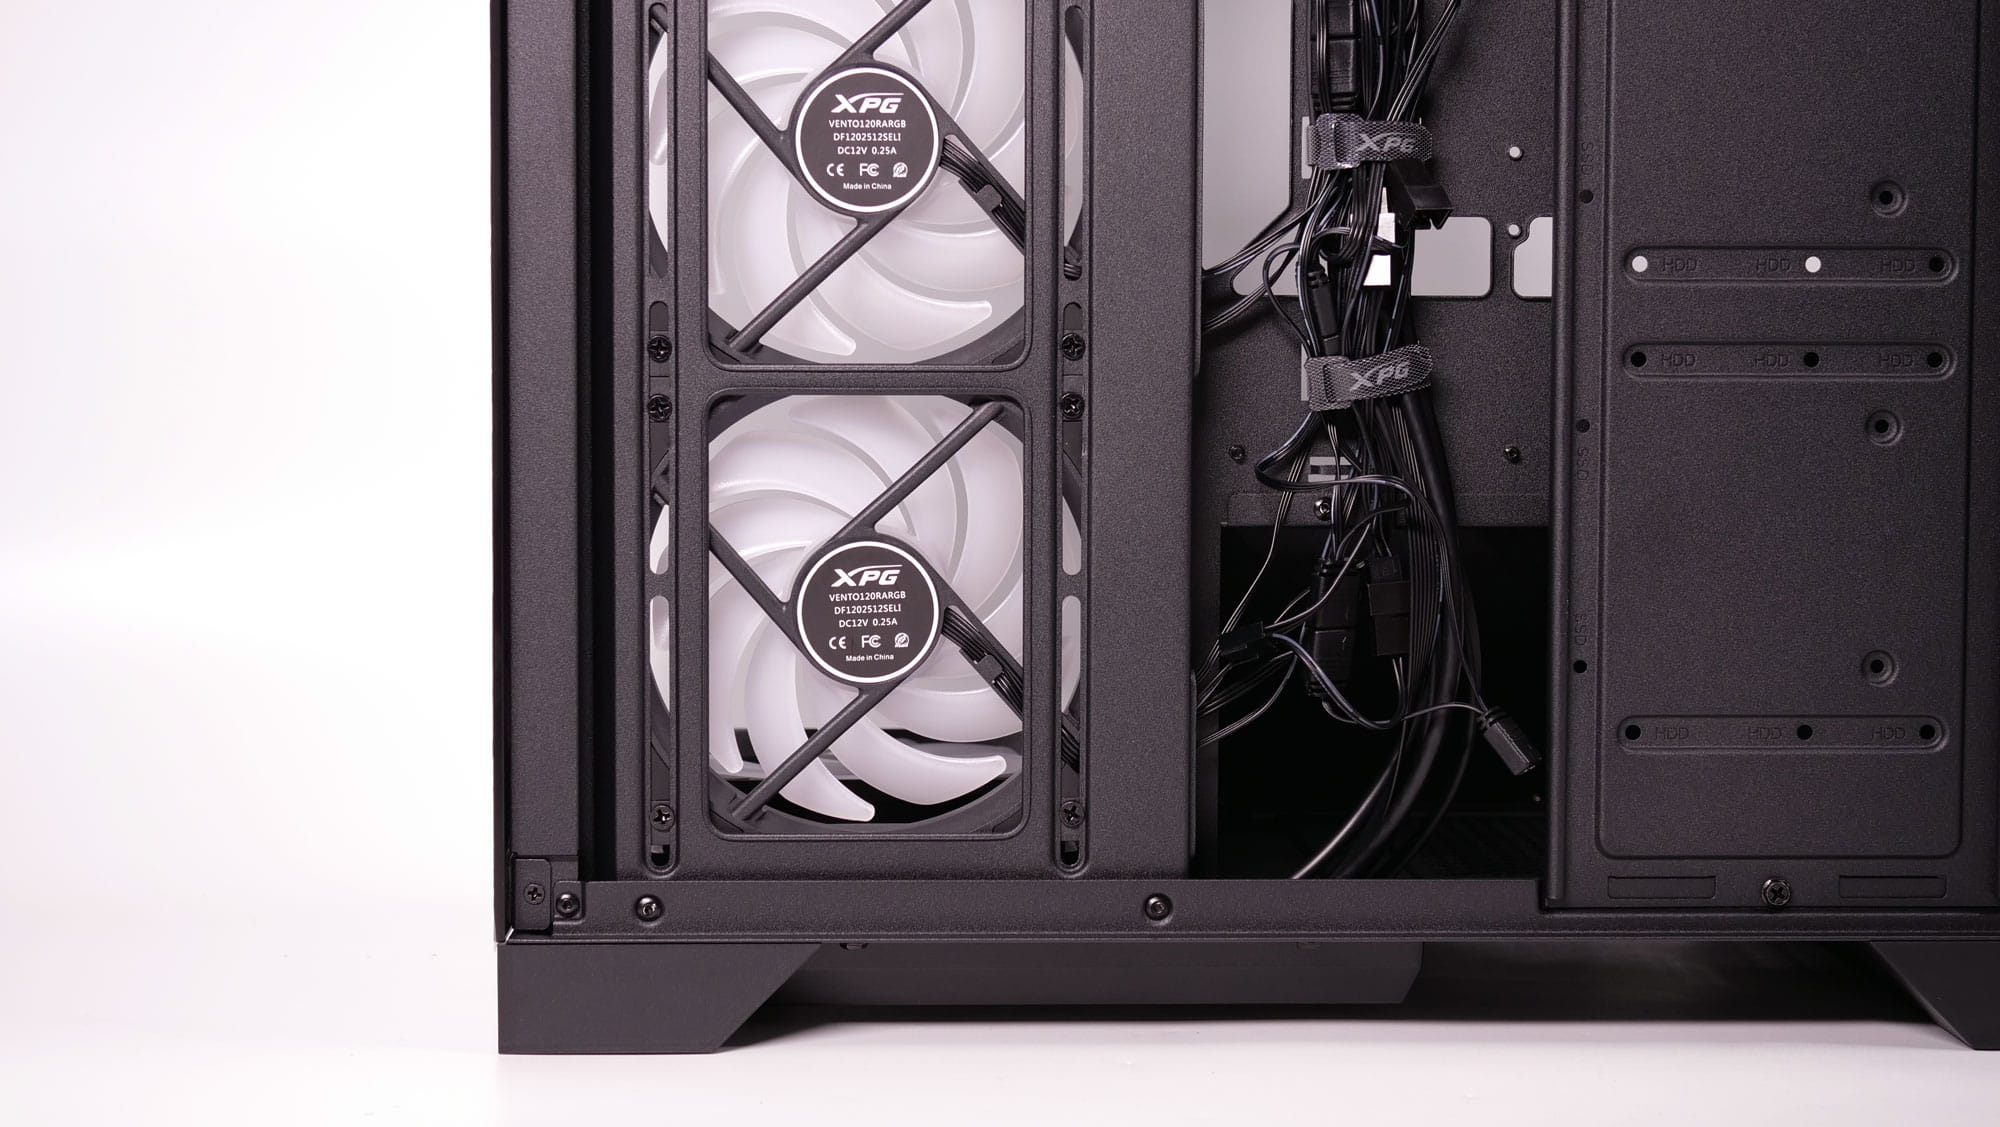
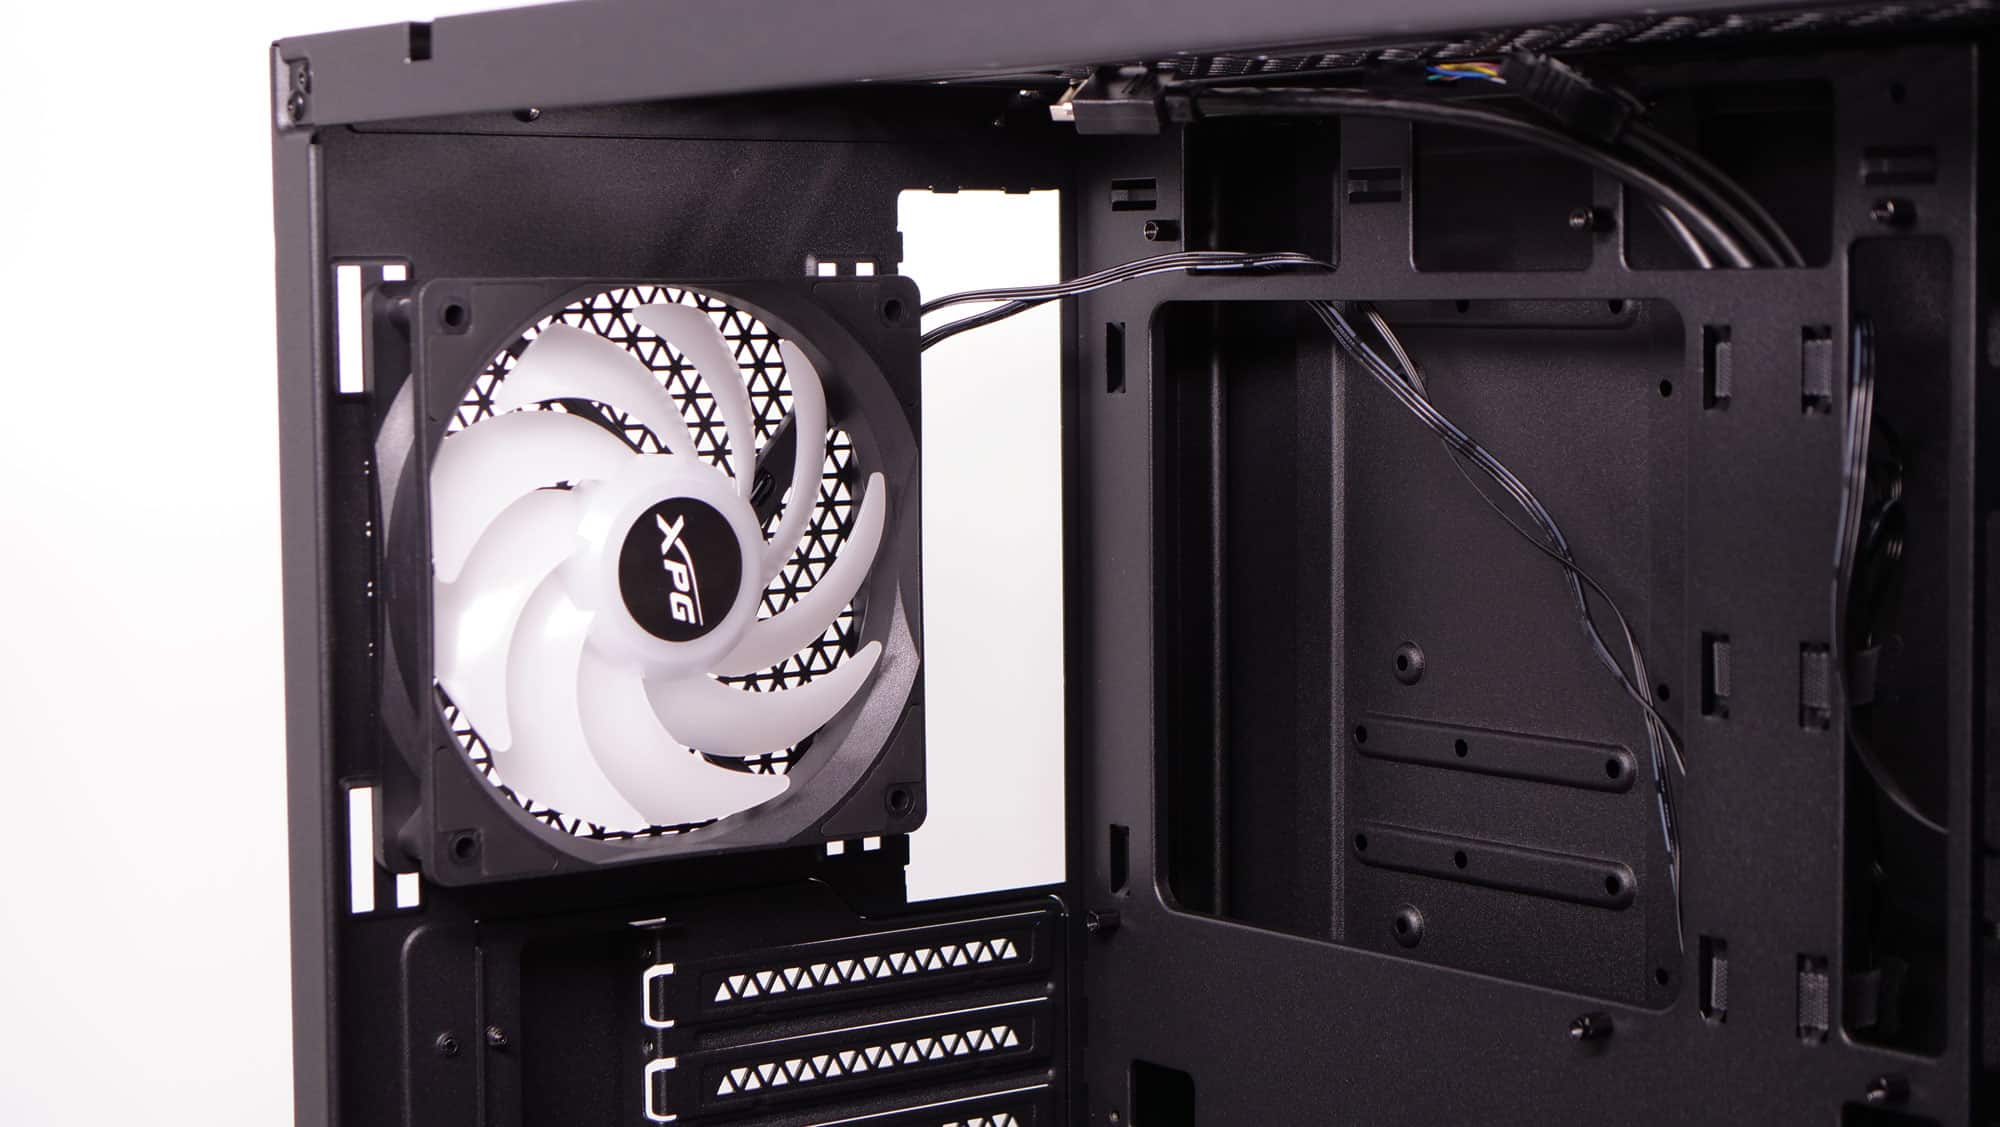
There is a third filter on the side intake. As the photos above show, all cables are routed through the center and secured through Velcro straps.
![]()
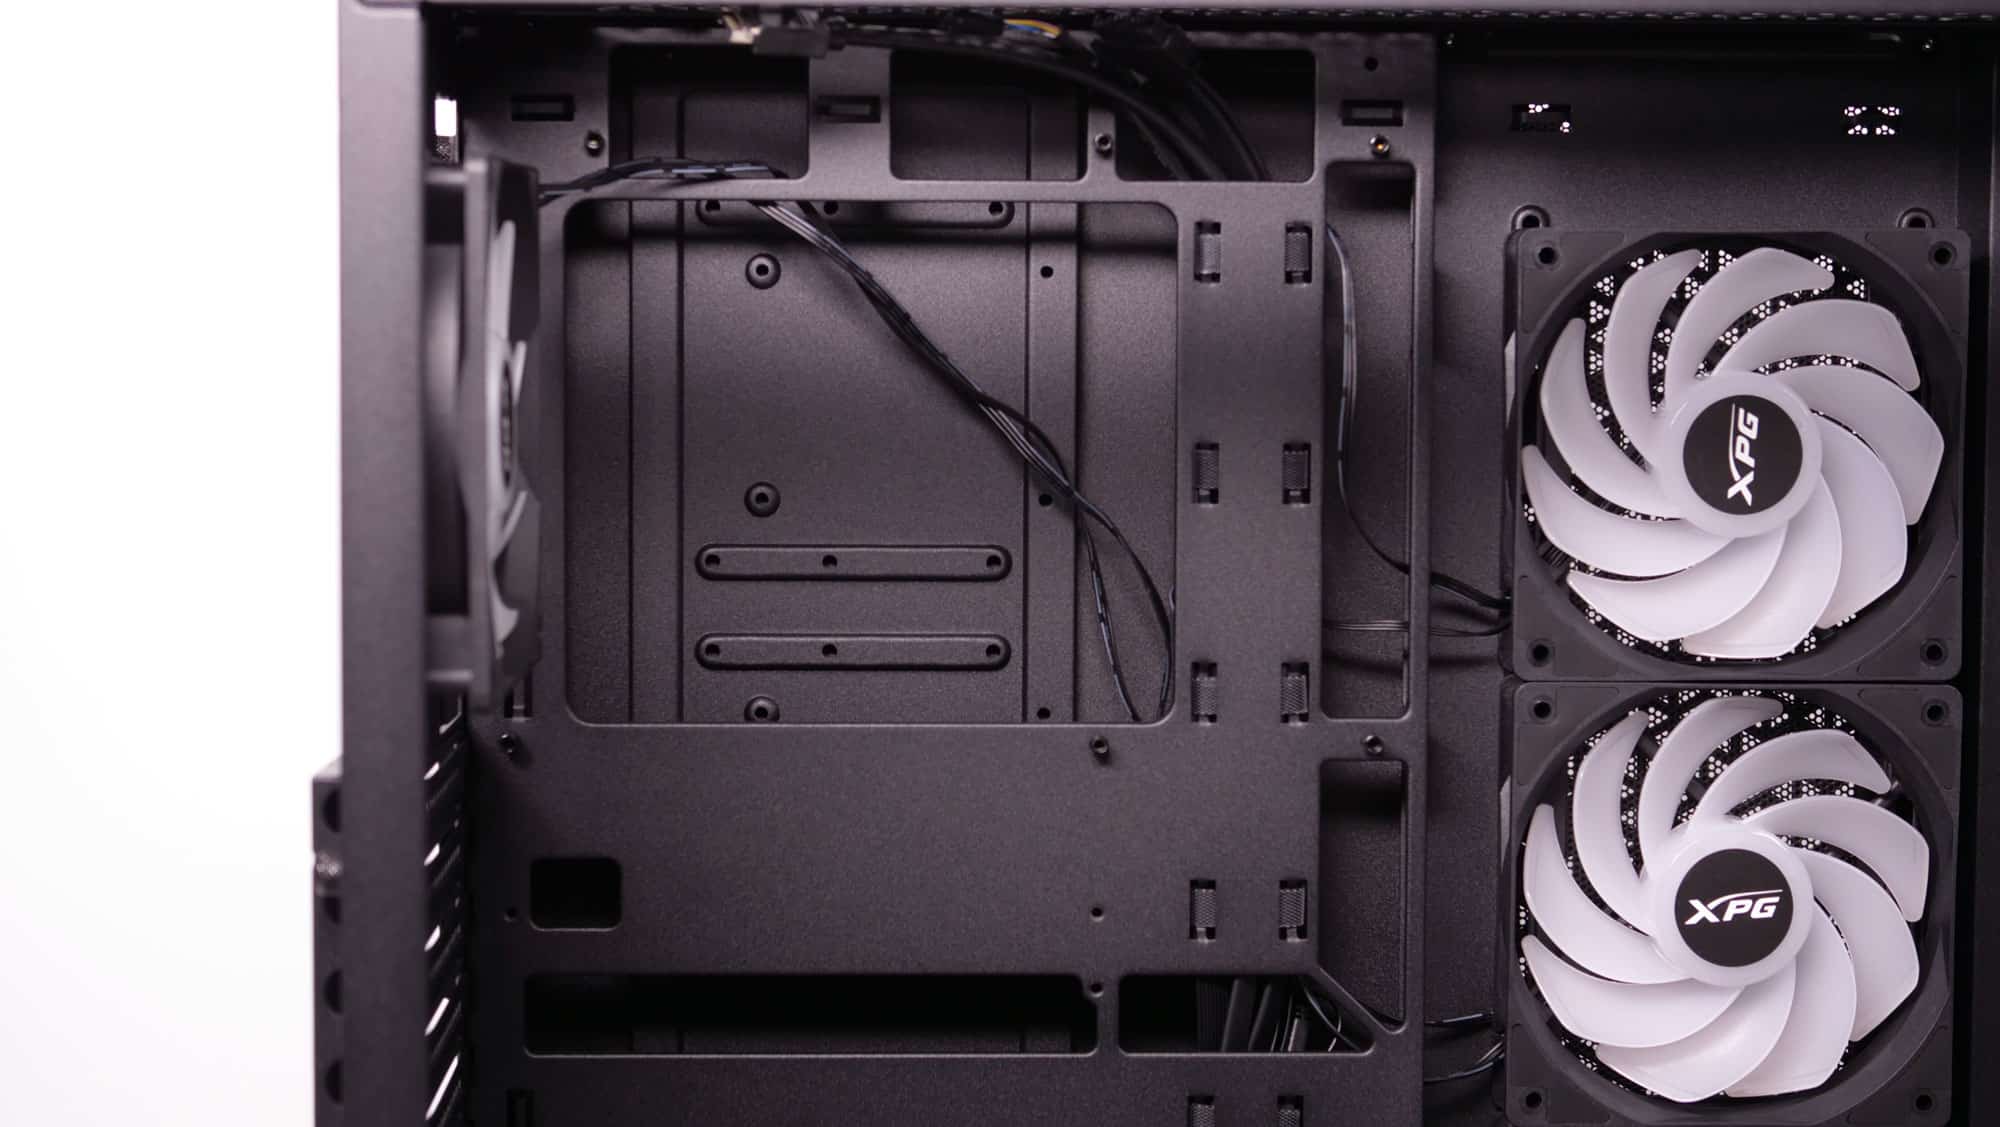
There is enough clearance behind the mainboard for cable routing and management.
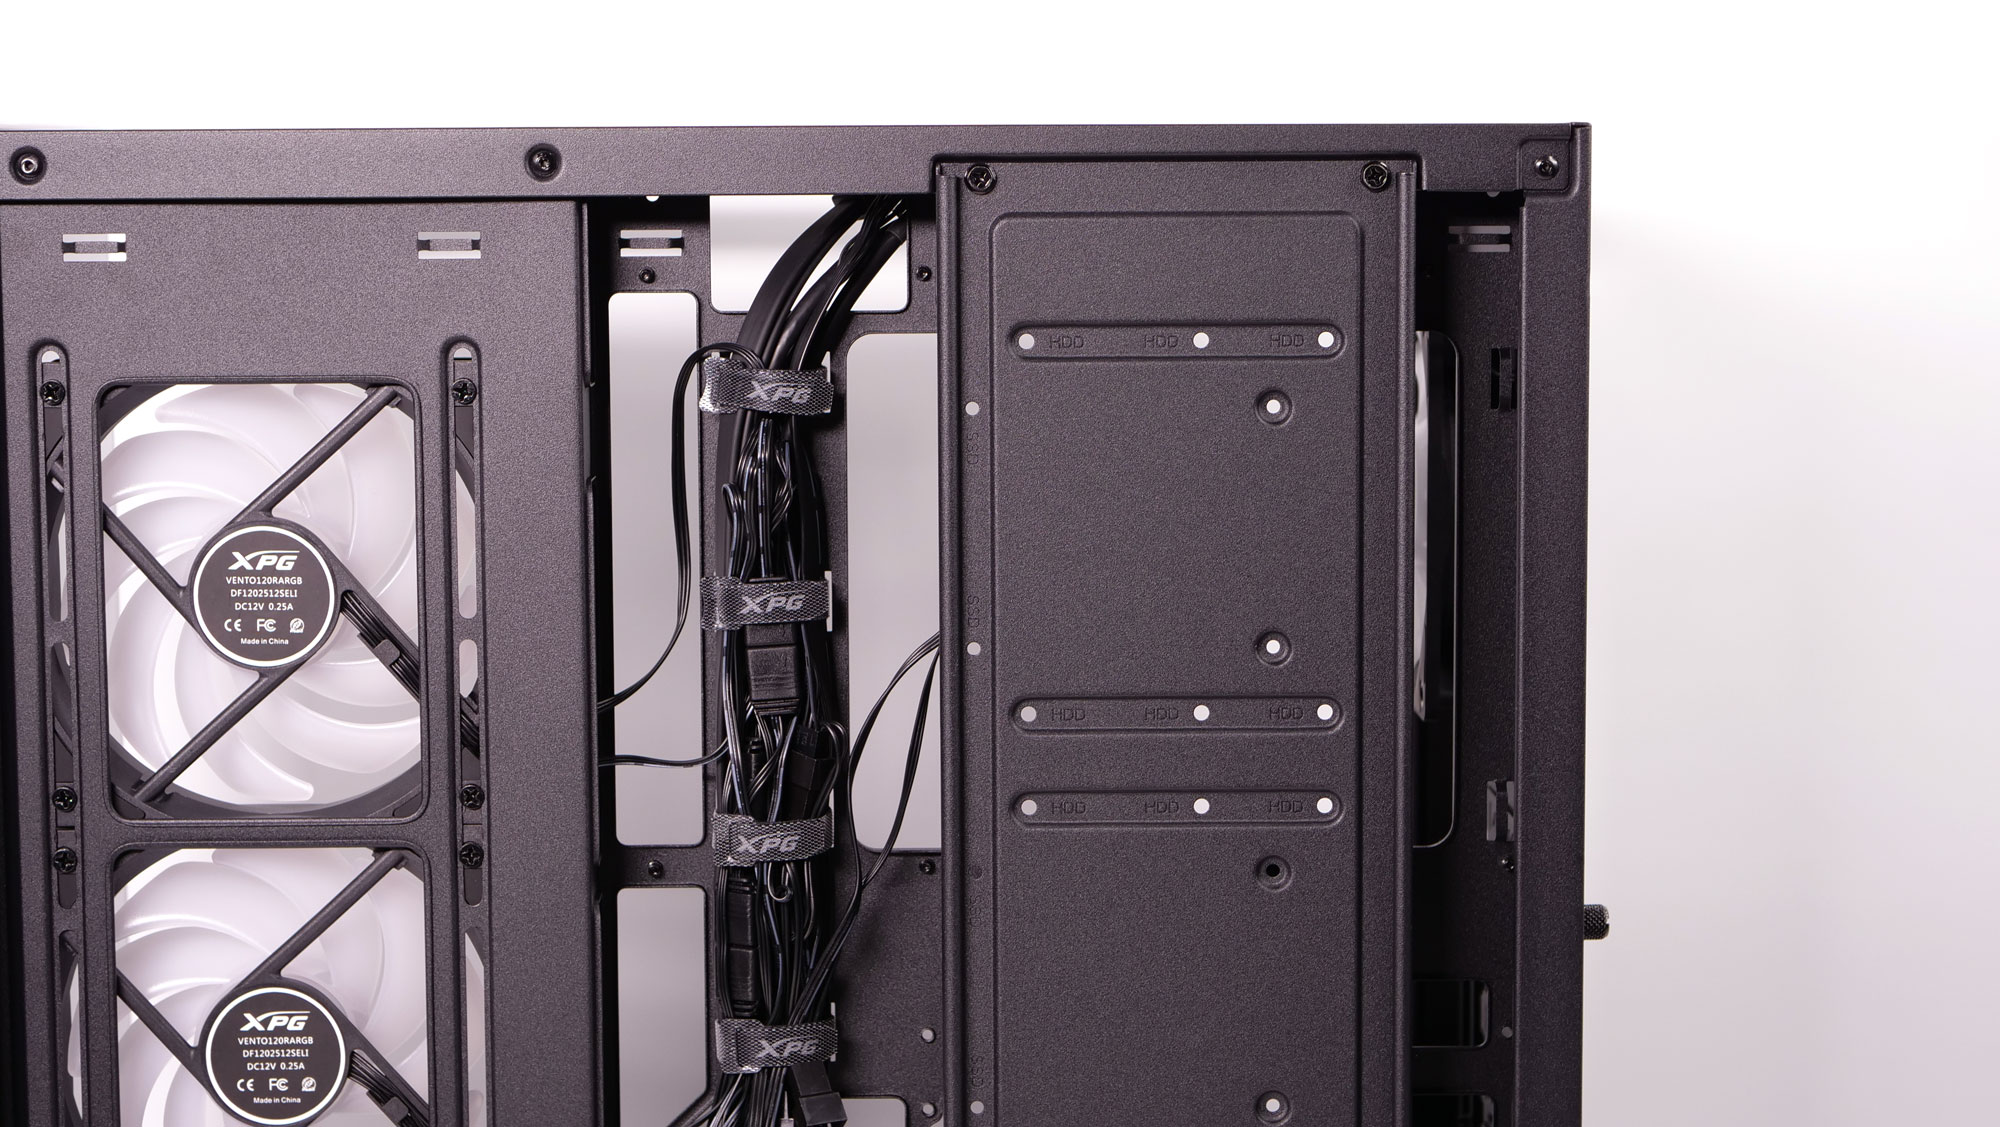
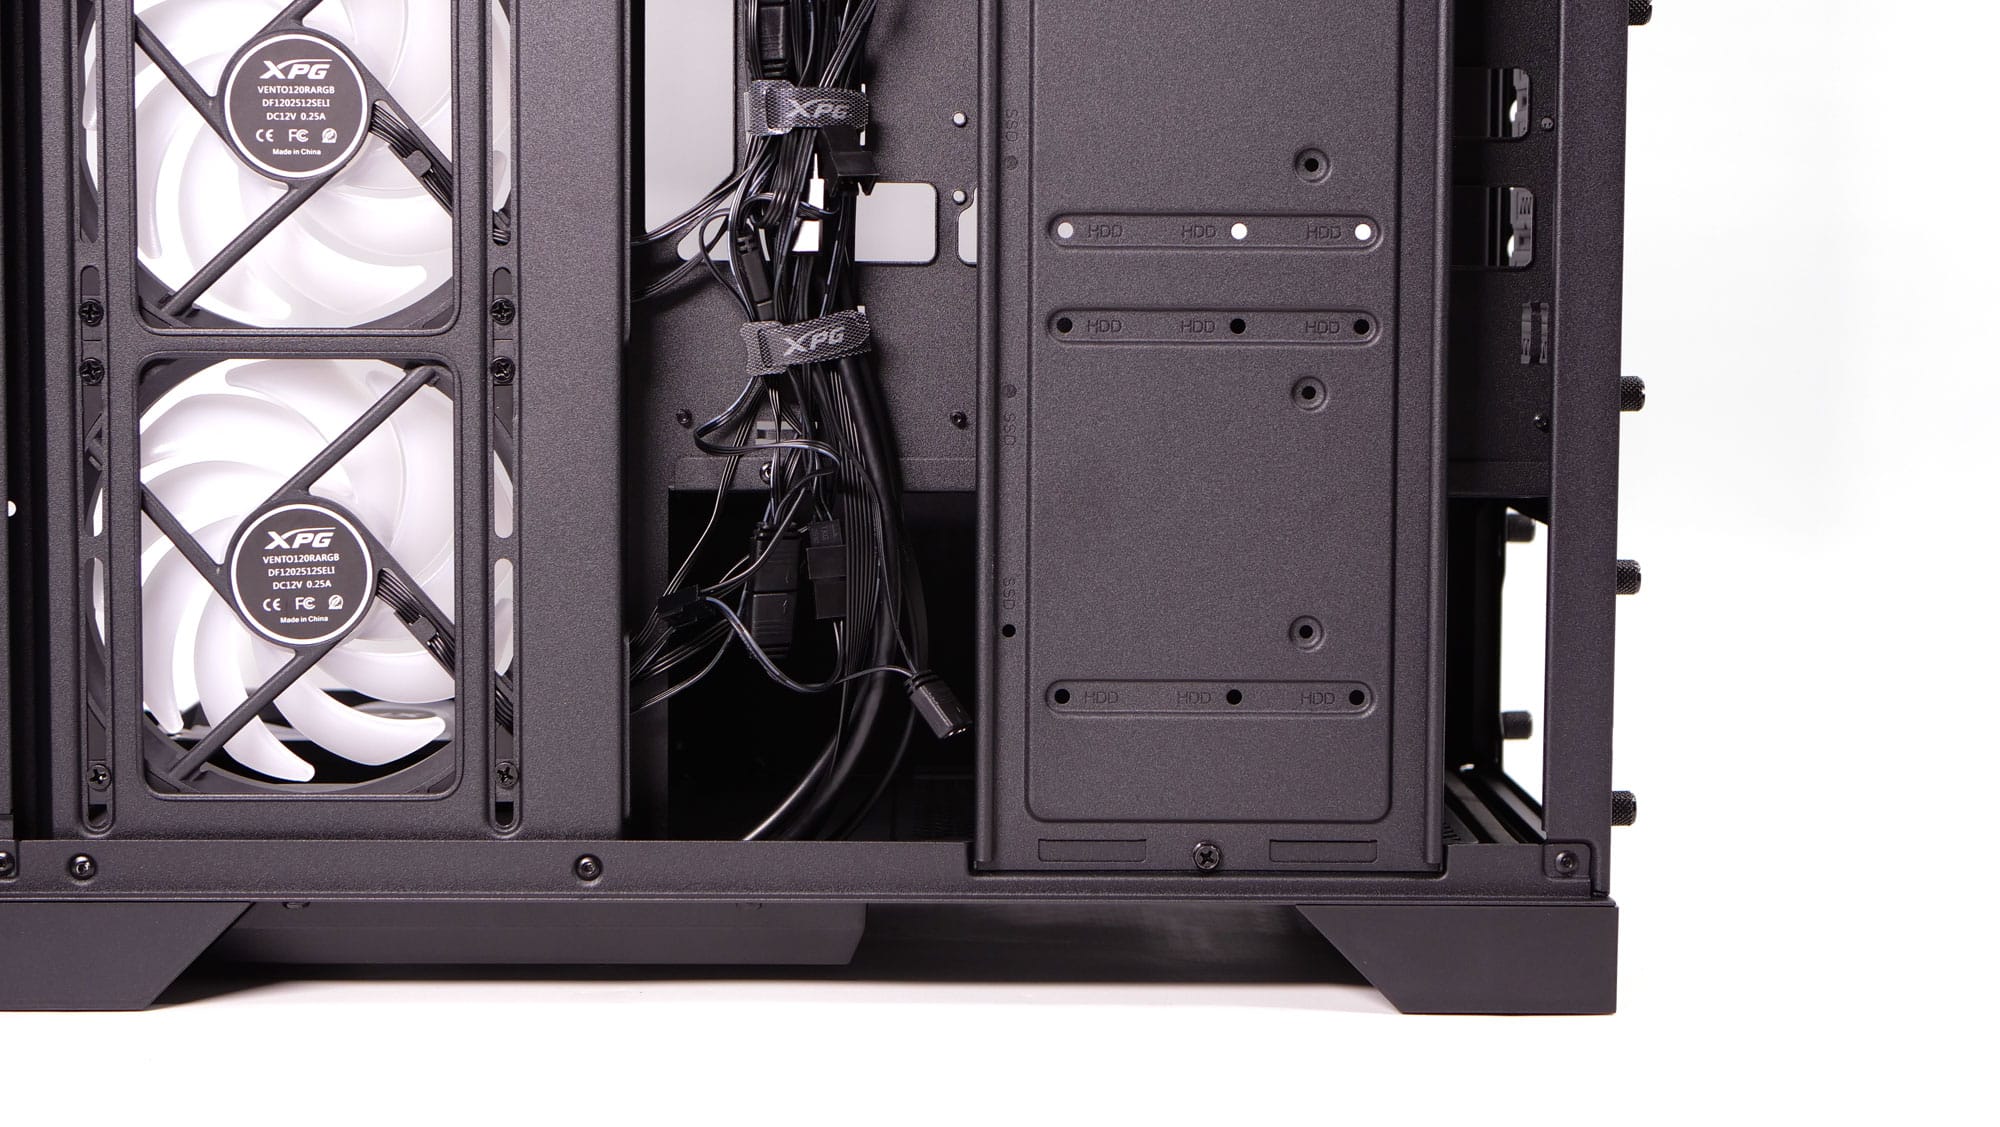
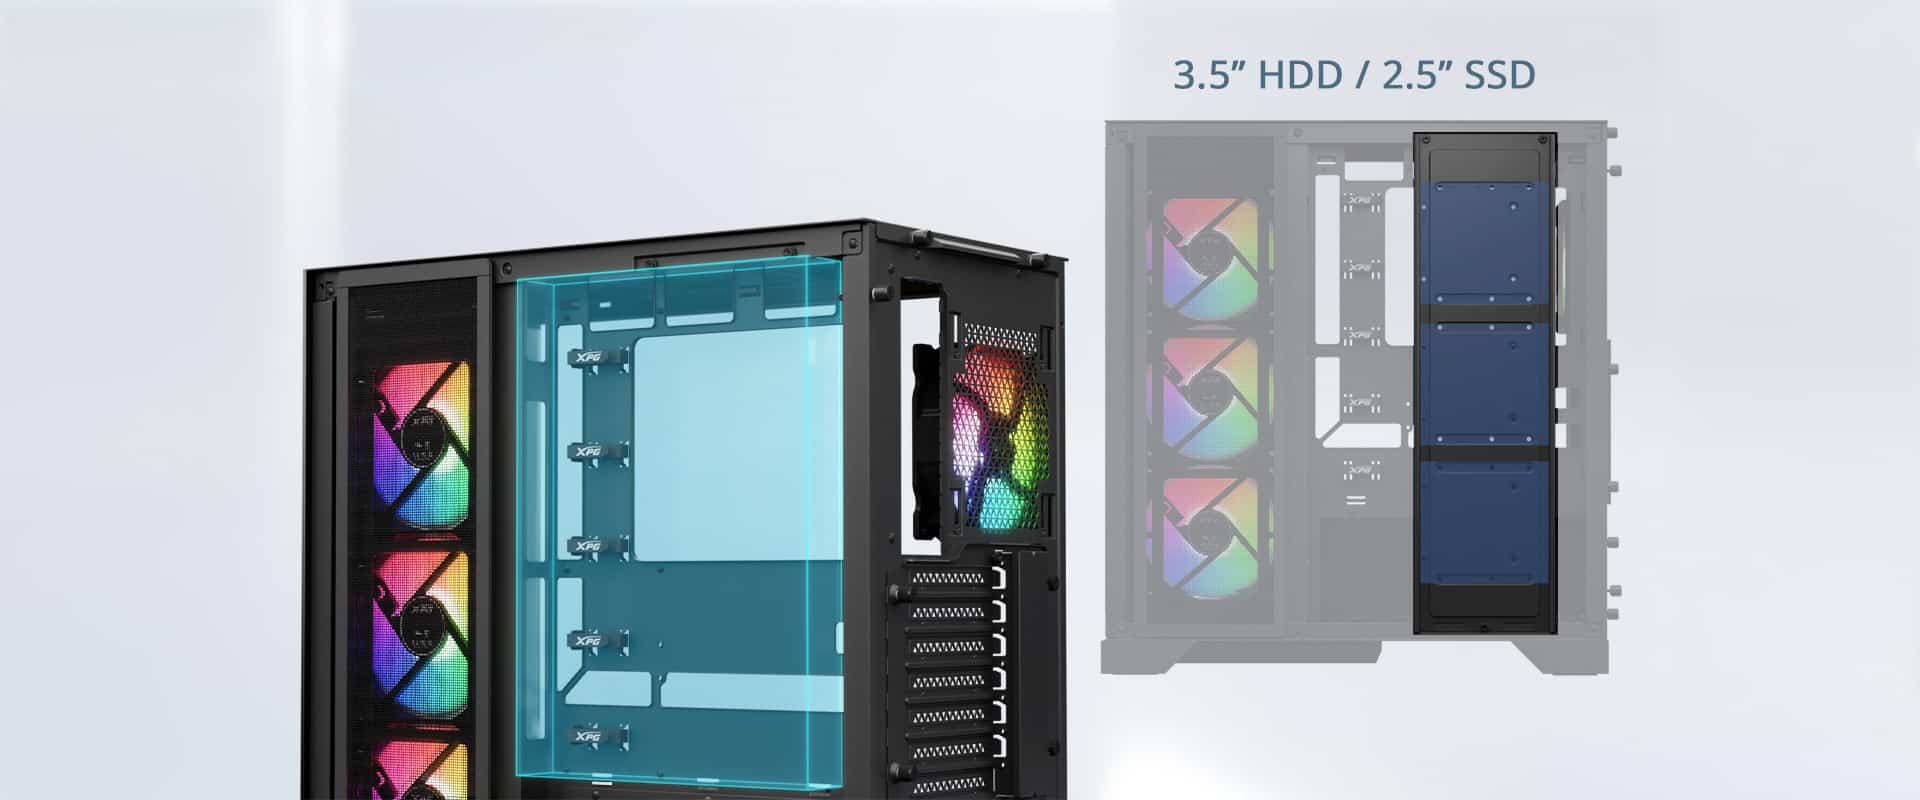
You can only install 3.5″ or 2.5″ drives on these positions. The only problem, besides the low number of drives that this case supports, is that the top one will be exposed to the processor’s heat, which can lead to reliability issues with the limited airflow in this area.
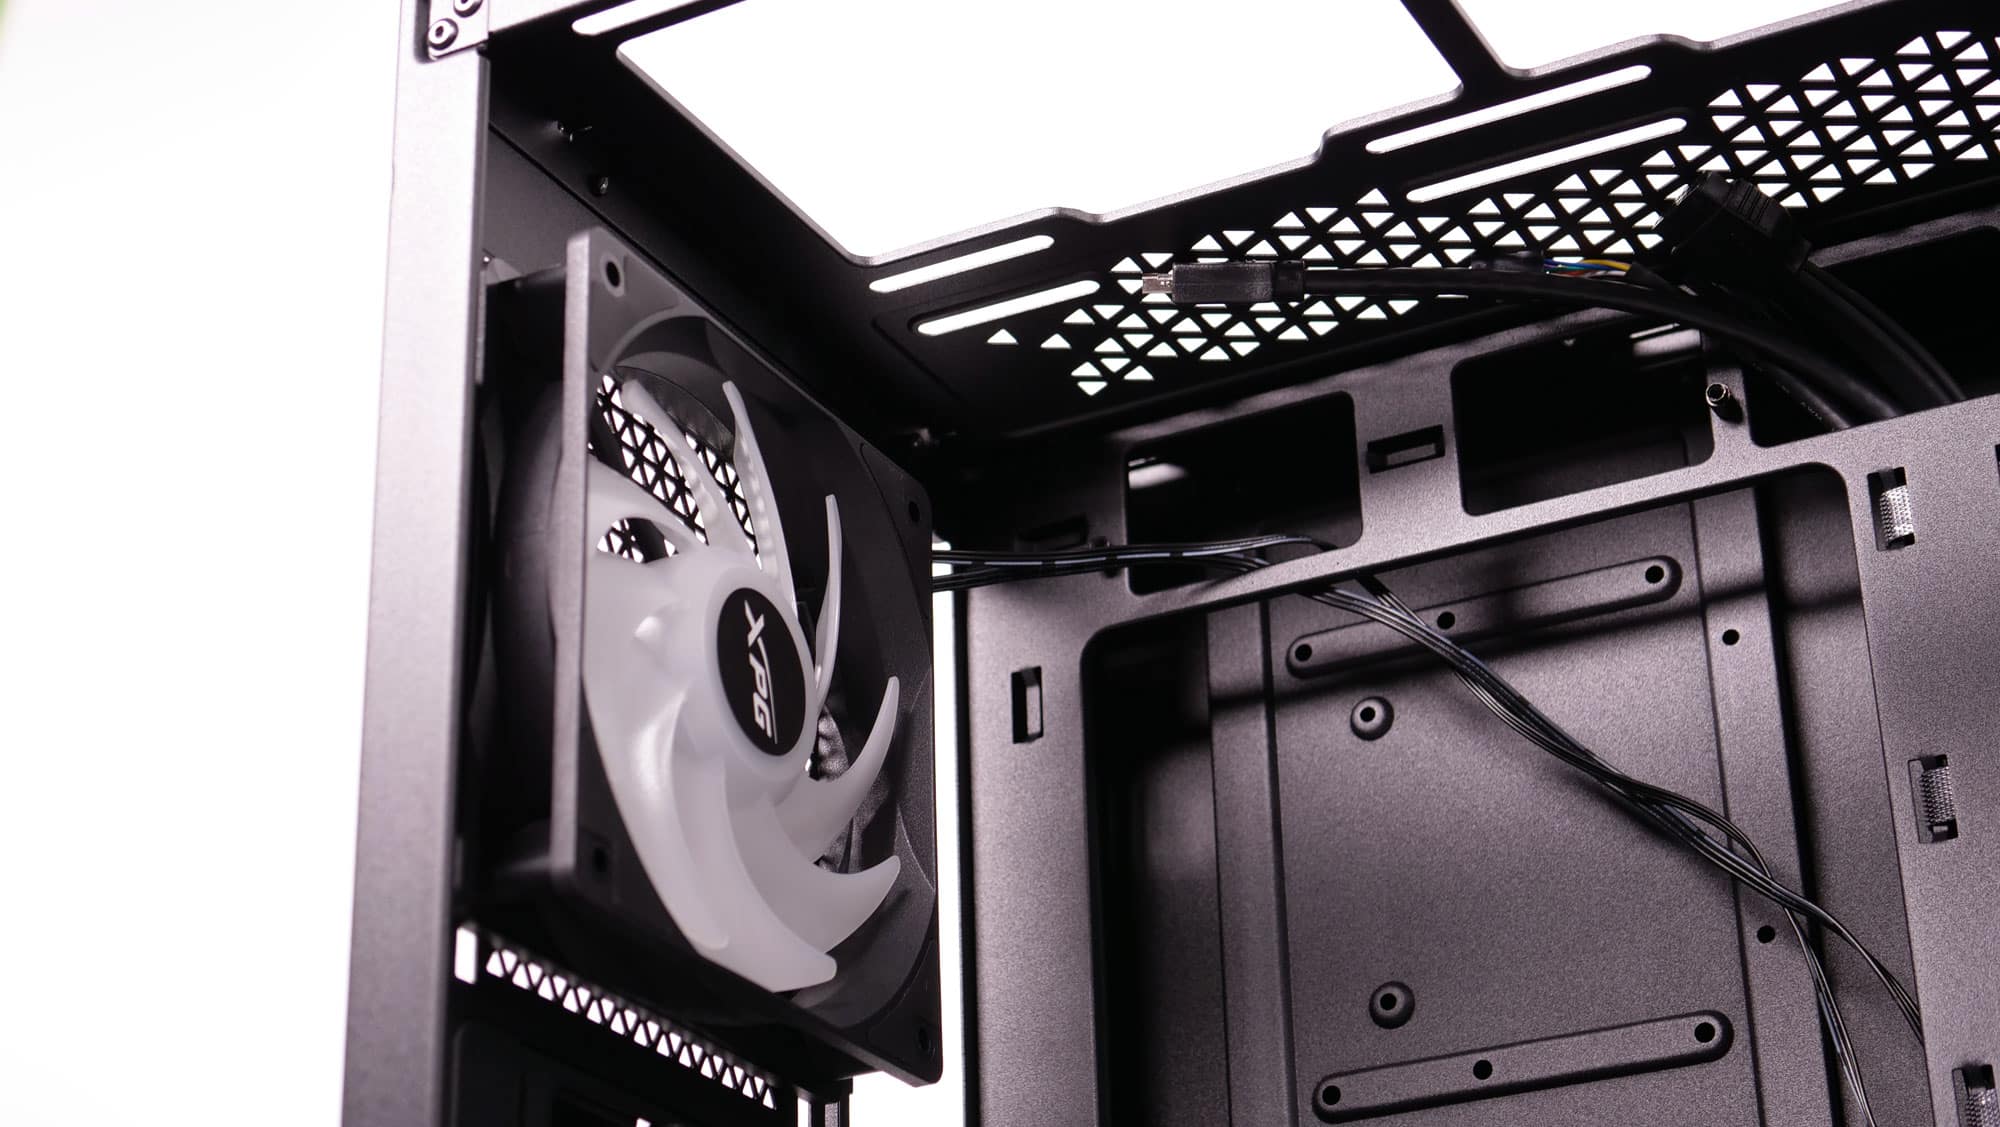
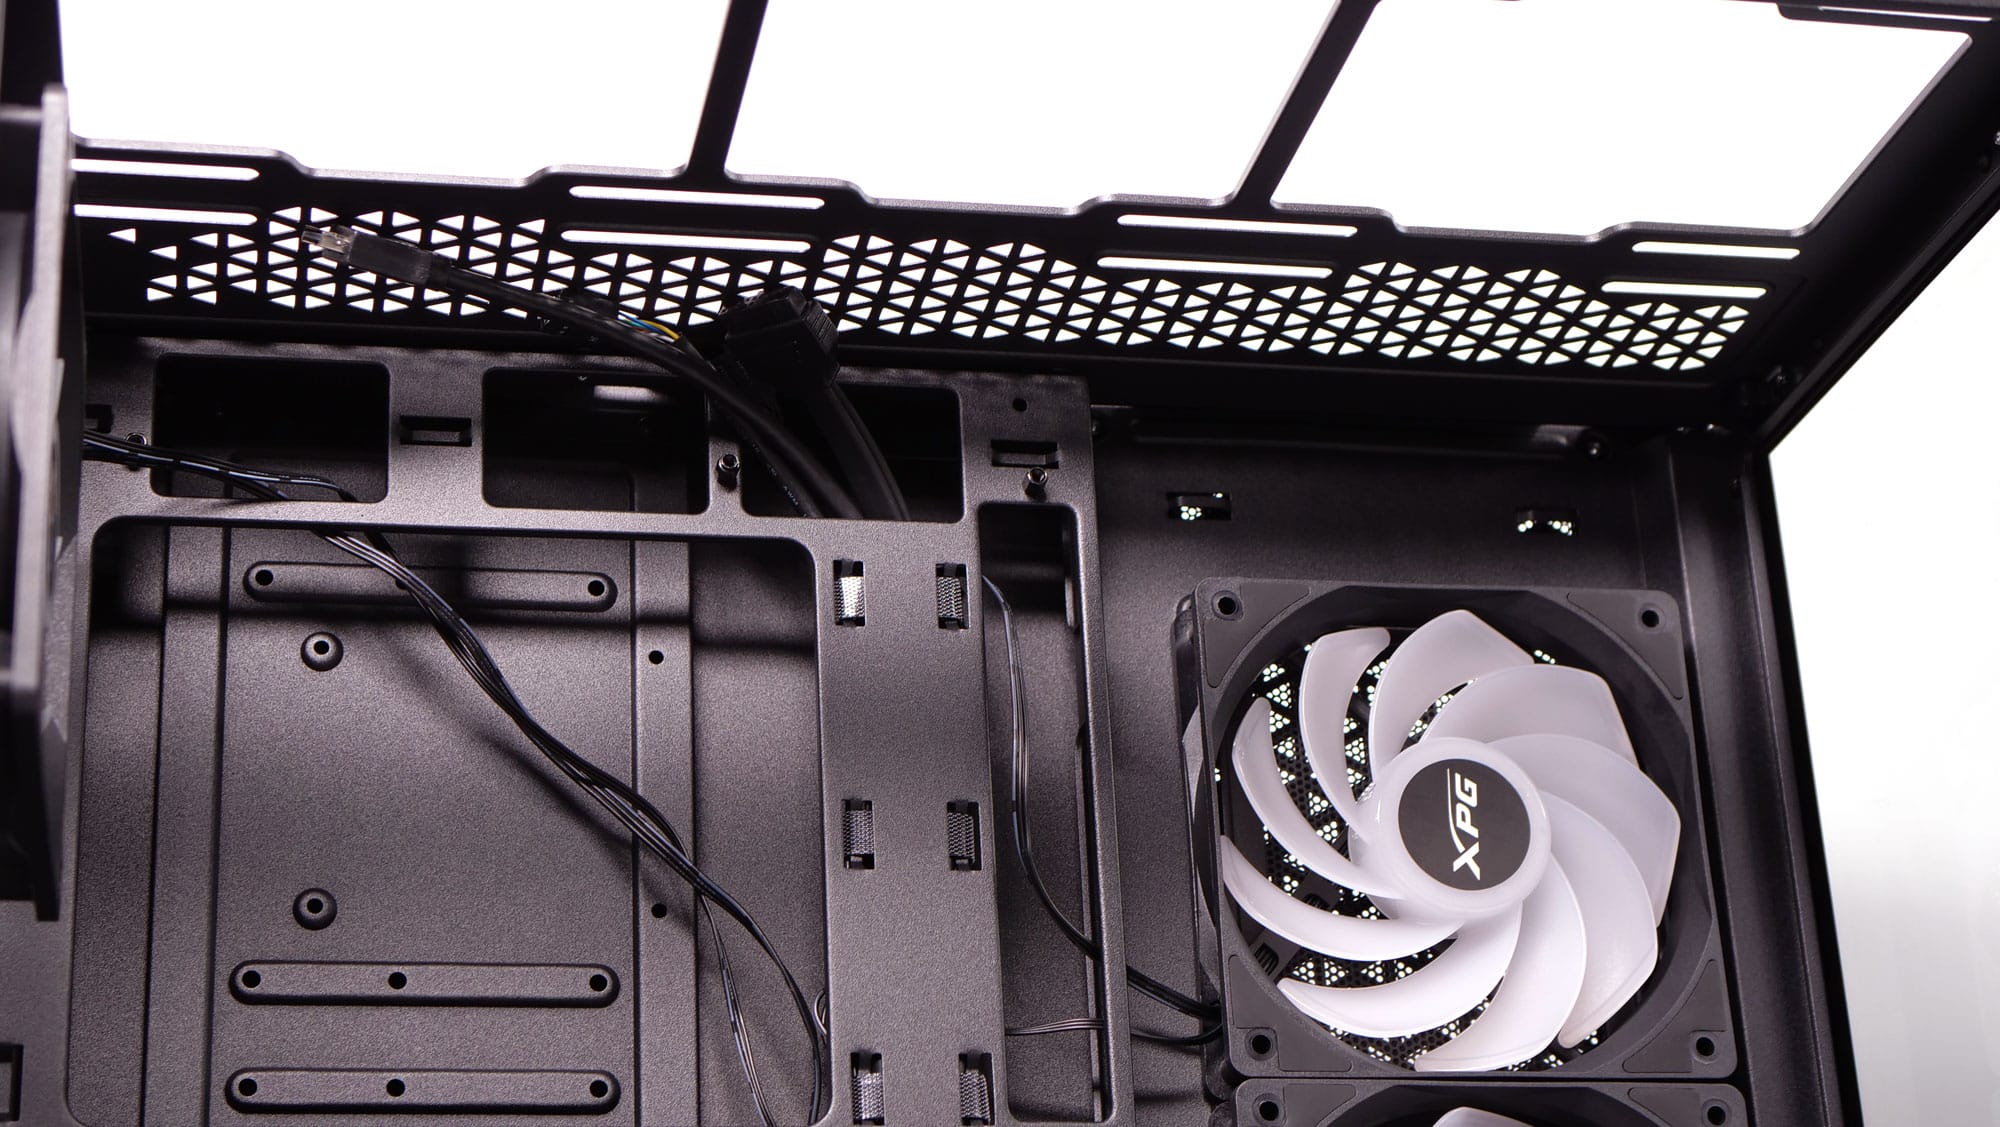
The cut behind the CPU socket’s area is huge since this chassis supports motherboards with connectors on their backside for optimal cable management. There are also several cut outs for routing cables.

The bottom mount fan helps hot air get to the top side faster.

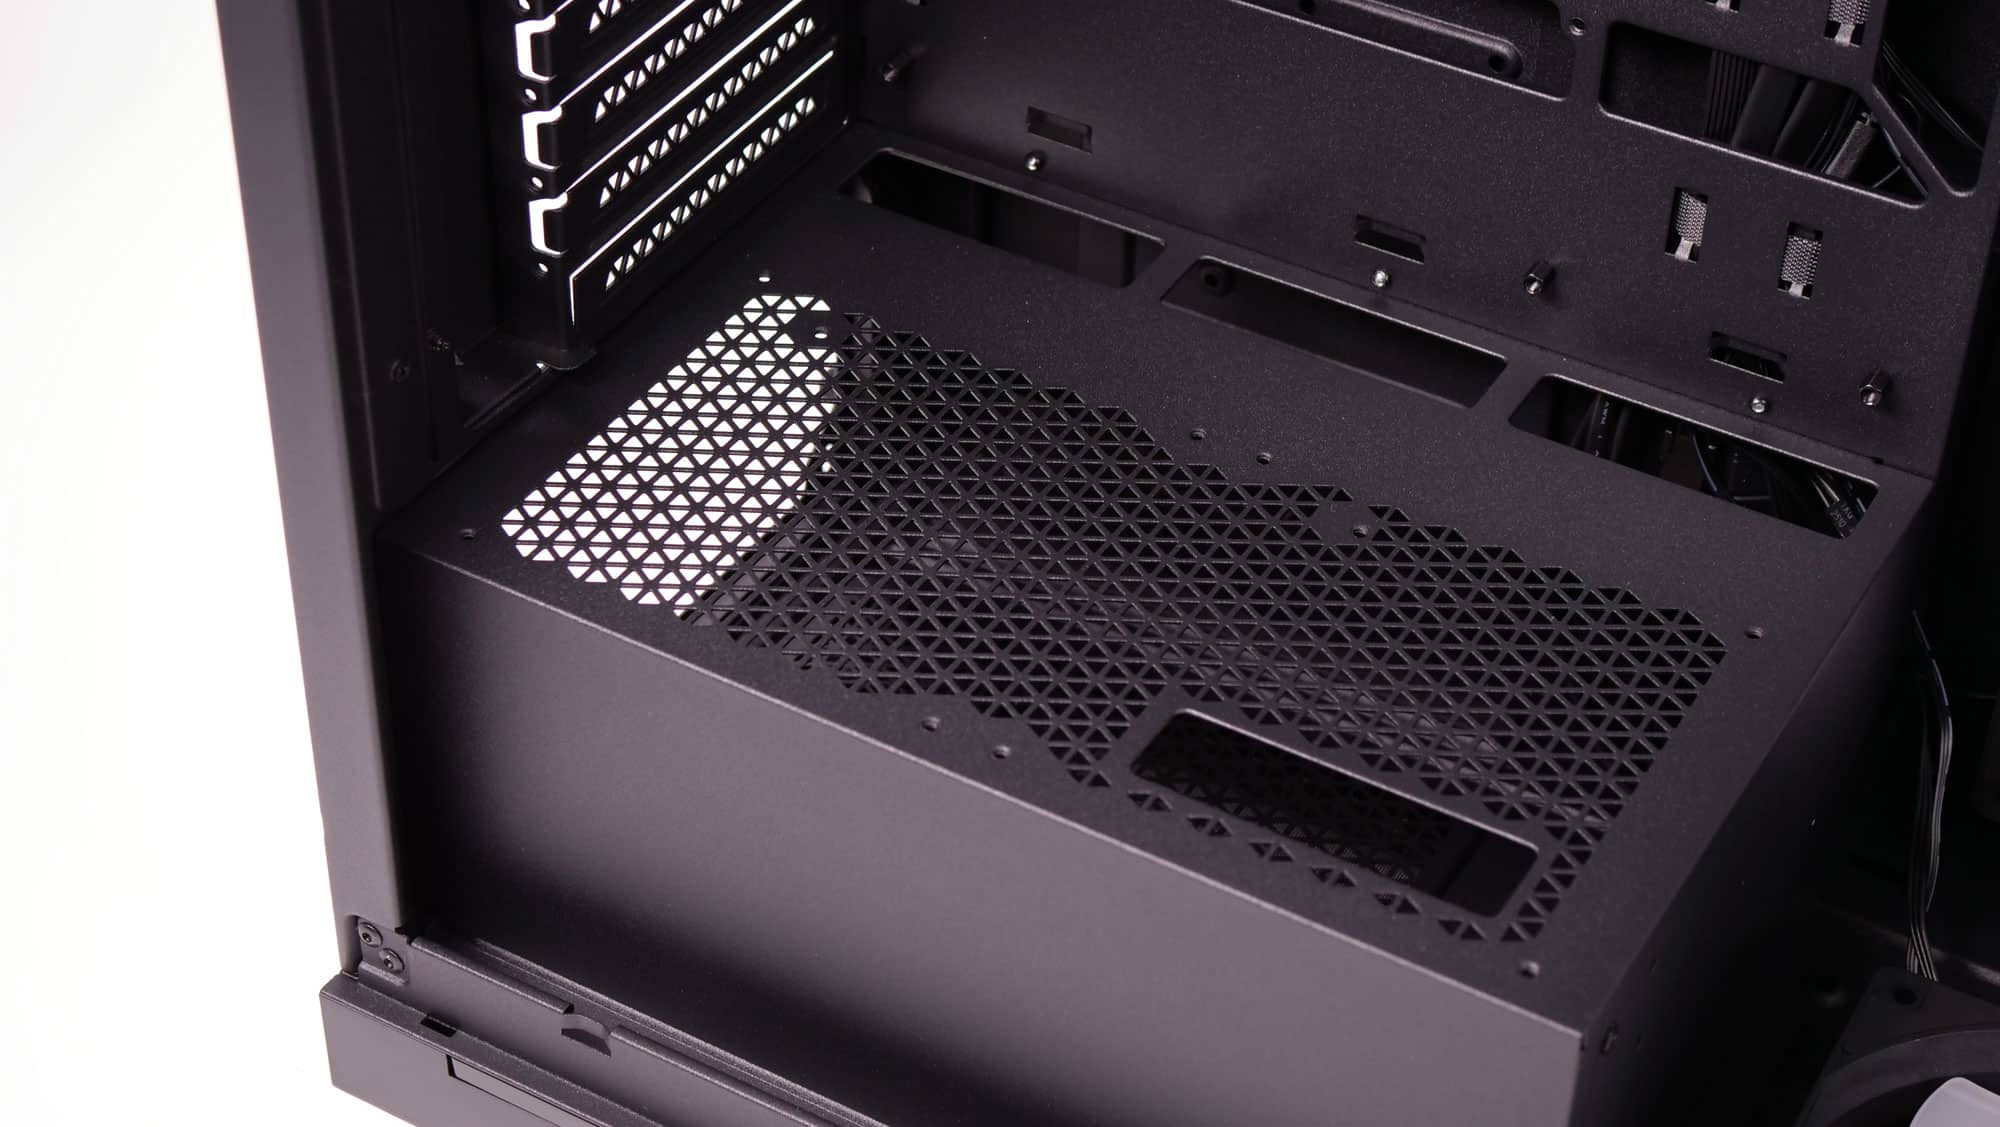
The PSU shroud has perforations on its top side, so you can mount the PSU with the fan facing upwards, which is the best for semi-passive and a must for passive PSUs. There are also cable routing holes, which give you direct access to the PSU’s compartment. It would be nice if the PSU’s shroud could be removed. If you need a pair of fans to cool down the graphics card, you can mount them on the PSU shroud.