Epilogue
The XPG Invader X has a tough job; it has to offer nice aesthetics and a clear view of its internals, thanks to the front and side glass panels, but at the same time, it also has to achieve the best possible airflow. From the moment, there are no ventilation vents at the front, but the glass panels cover the front and one of the sides, so keeping thermal loads in control can be challenging, especially if you use power-hungry hardware. This is why XPG installed so many fans, five in total, to ensure that thermal performance will be good enough. They also offered the side ventilation option. The lack of enough ventilation holes on the two sides of the chassis also leads to a very good sound-damping performance since noise doesn’t have an escape route.
The Invader X performed decently in my thermal performance tests, but not as someone would expect, given the five pre-installed fans. Since operating temperatures alone don’t provide the whole picture, looking at the average CPU frequency during gaming with 25 dBA normalized noise output is good. As you can see in the chart above, the XPG Invader takes over the last place, with the Battlecruiser achieving better performance and the be quiet! Shadow Base 800 FX dominating, with over 230 MHz average speed difference from the Invader. The clock differences are not worth mentioning for the GPU, at least the one I used.
The XPG Invader is a quality case, which, with some more tuning, can provide an easier building experience. This chassis is for users who want to build a nice system, show it, and see its internals without any obstacles. Needless to say, this case should be installed on top of your office and not below it, so you will need a spacious desktop to do so. Moreover, I strongly advise you to get the Prime Box PWM/ARGB controller, or dealing with all the fan cables will be challenging. XPG should also offer a bundle including the Prime Box, as it does with the Battlecruiser II.
Before I close this review, I want to add Themi’s opinion, the engineer who also worked along with me for this review. Themis handled both system installations, so his opinion matters:
The overall experience building a system in the XPG chassis was positive. The ample cable management space, along with the included straps and the neatly routed front I/O cables, helped a lot. The long fan cables, lack of easy access to the EPS connectors, and the SSD/HDD panel right behind the CPU were a bit disappointing. On a more positive note, the included vertical GPU mounting hardware is a very welcomed addition, despite its imperfections.
- Very good noise-damping performance
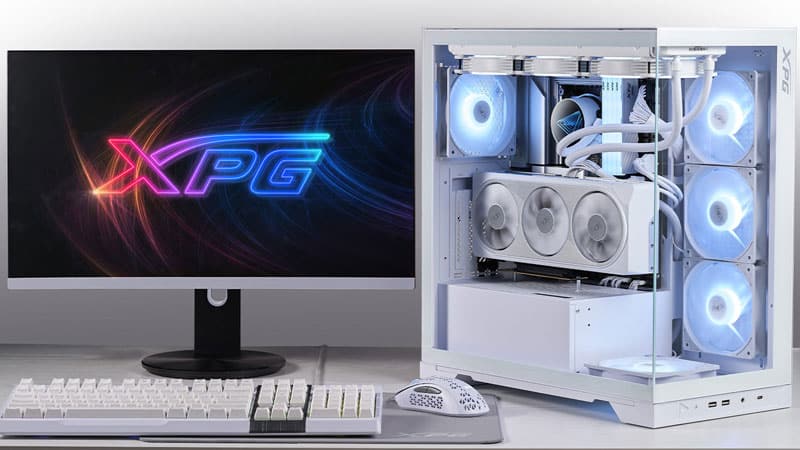
- Two glass panels offer a clear view of the internals
- Dust filters on all intake areas (side, top, bottom)
- Large cut-outs for mainboards with back connectors
- Two color options (black and white)
- It comes with 5x ARGB 120mm fans (XPG VENTO 120 ARGB) pre-installed
- Can take up to 10x 120mm fans
- Type-C USB port in the I/O panel with up to 20Gbps support
- Support for large PSUs (up to 240mm depth)
- Support for up to 400mm long graphics cards
- Support for up to 175mm high CPU coolers and up to 2x 360mm radiators
- Vertical GPU mount option (with the required hardware included)
- Without the HDD/SSD bracket, the area behind the mainboard is adequate
- Nice looks!
- I would like more headroom above the mainboard
- Support for only three 3.5″ and 2.5″ drive bays
- The top-mounted HDD/SSD will be exposed to increased operating temperatures, from the CPU