Chassis Photos – Outside
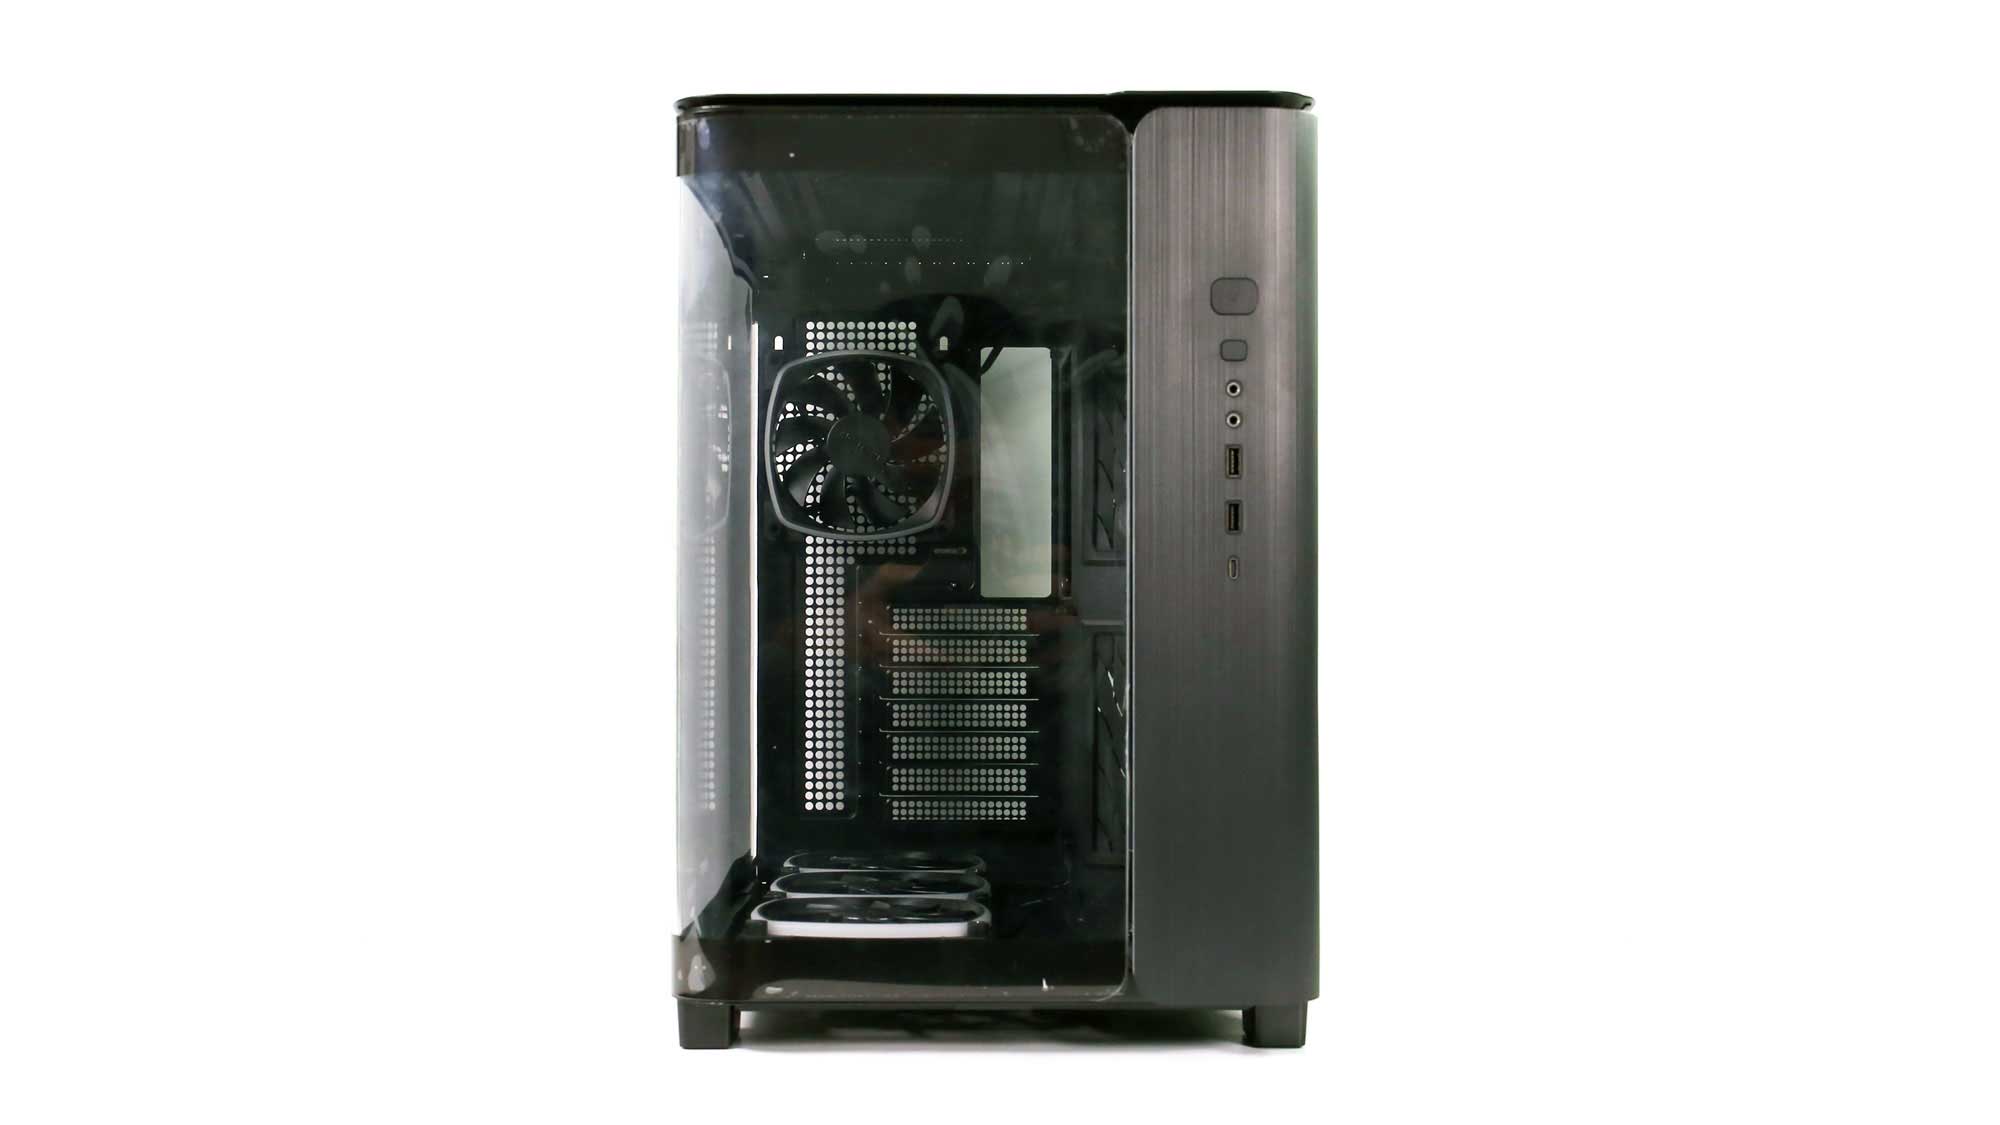

The overall build quality is very good, and many users have widely accepted the looks—the mesh side panel and top panel offer unobstructed airflow in combination with the six provided fans. The curved front tempered glass panel is a first in this price bracket and nicely bent; however, the light diffusion leaves much to be desired.
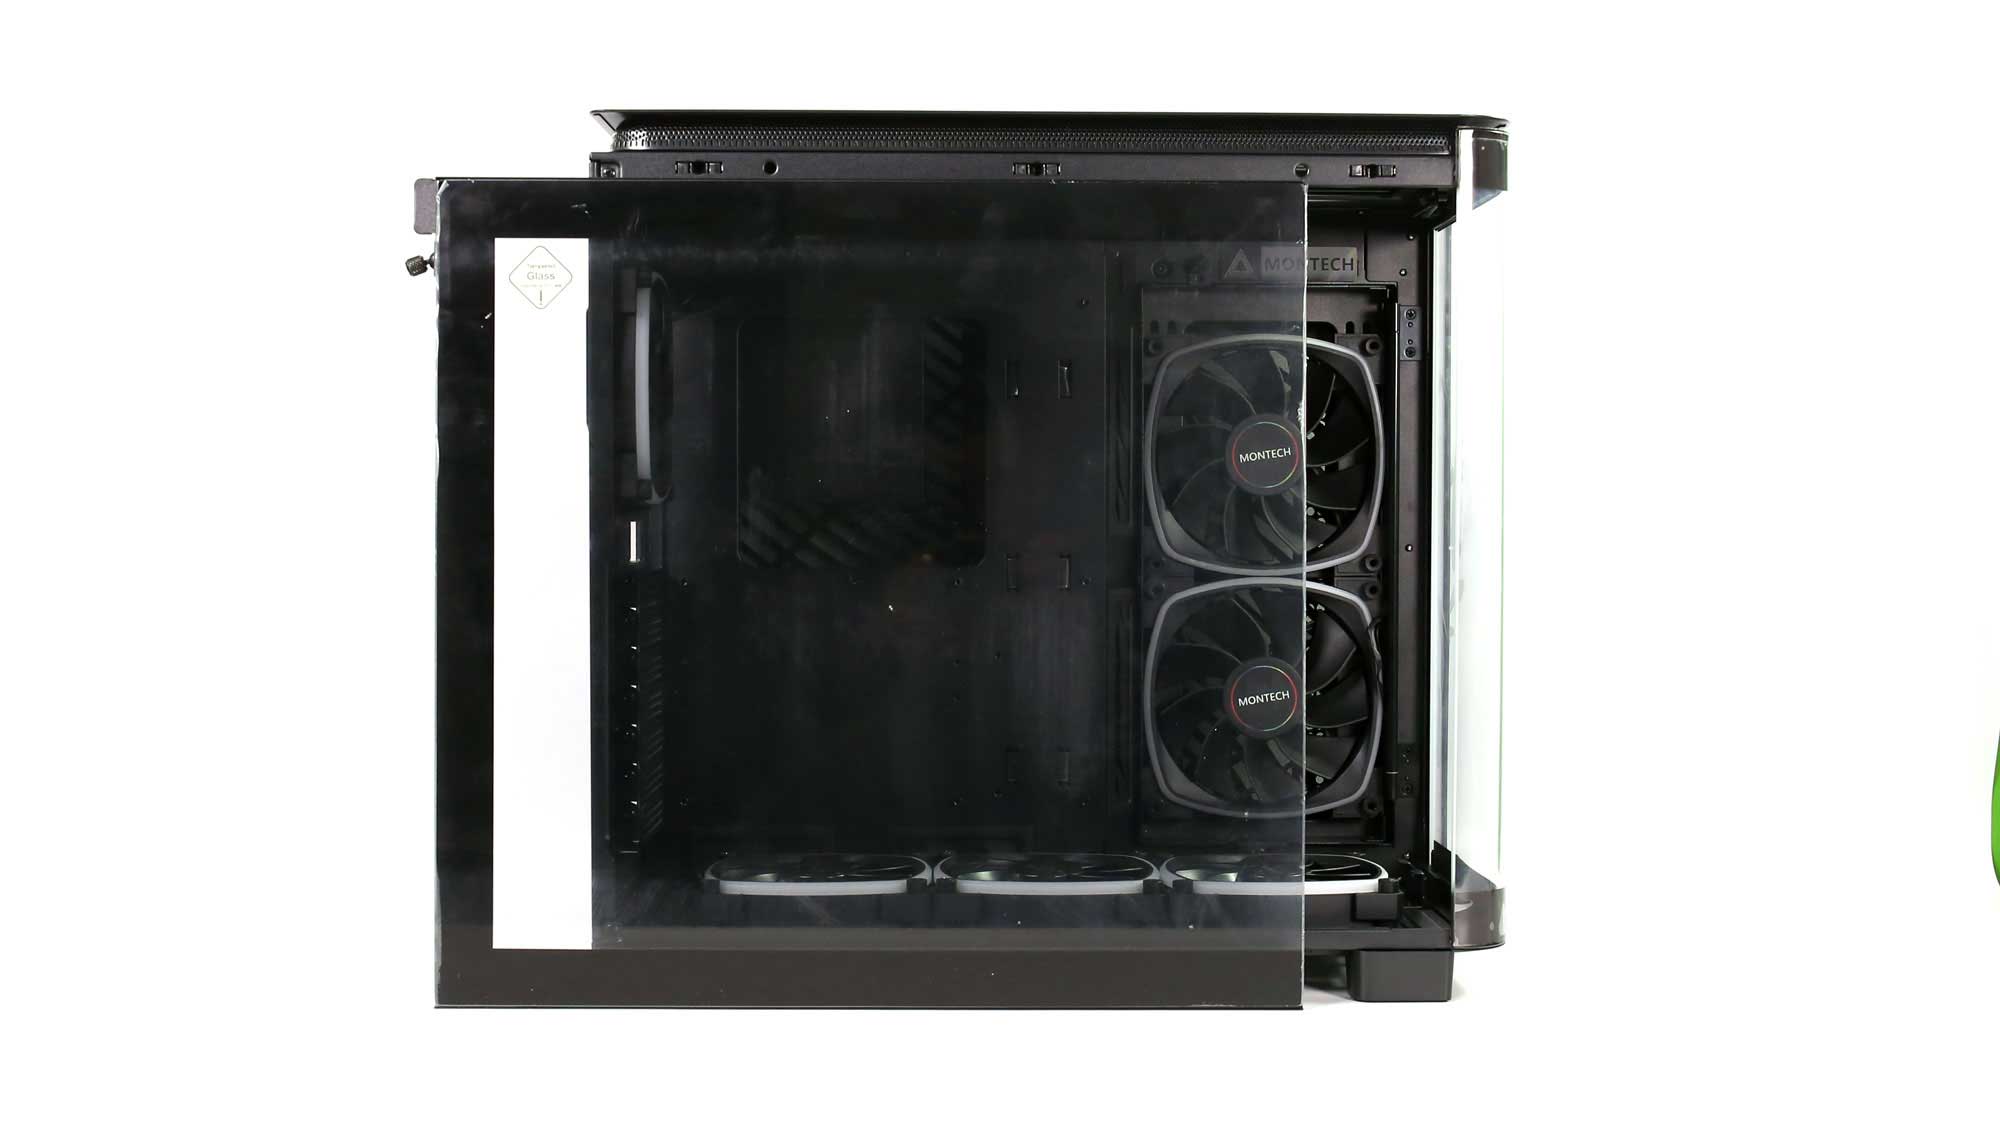
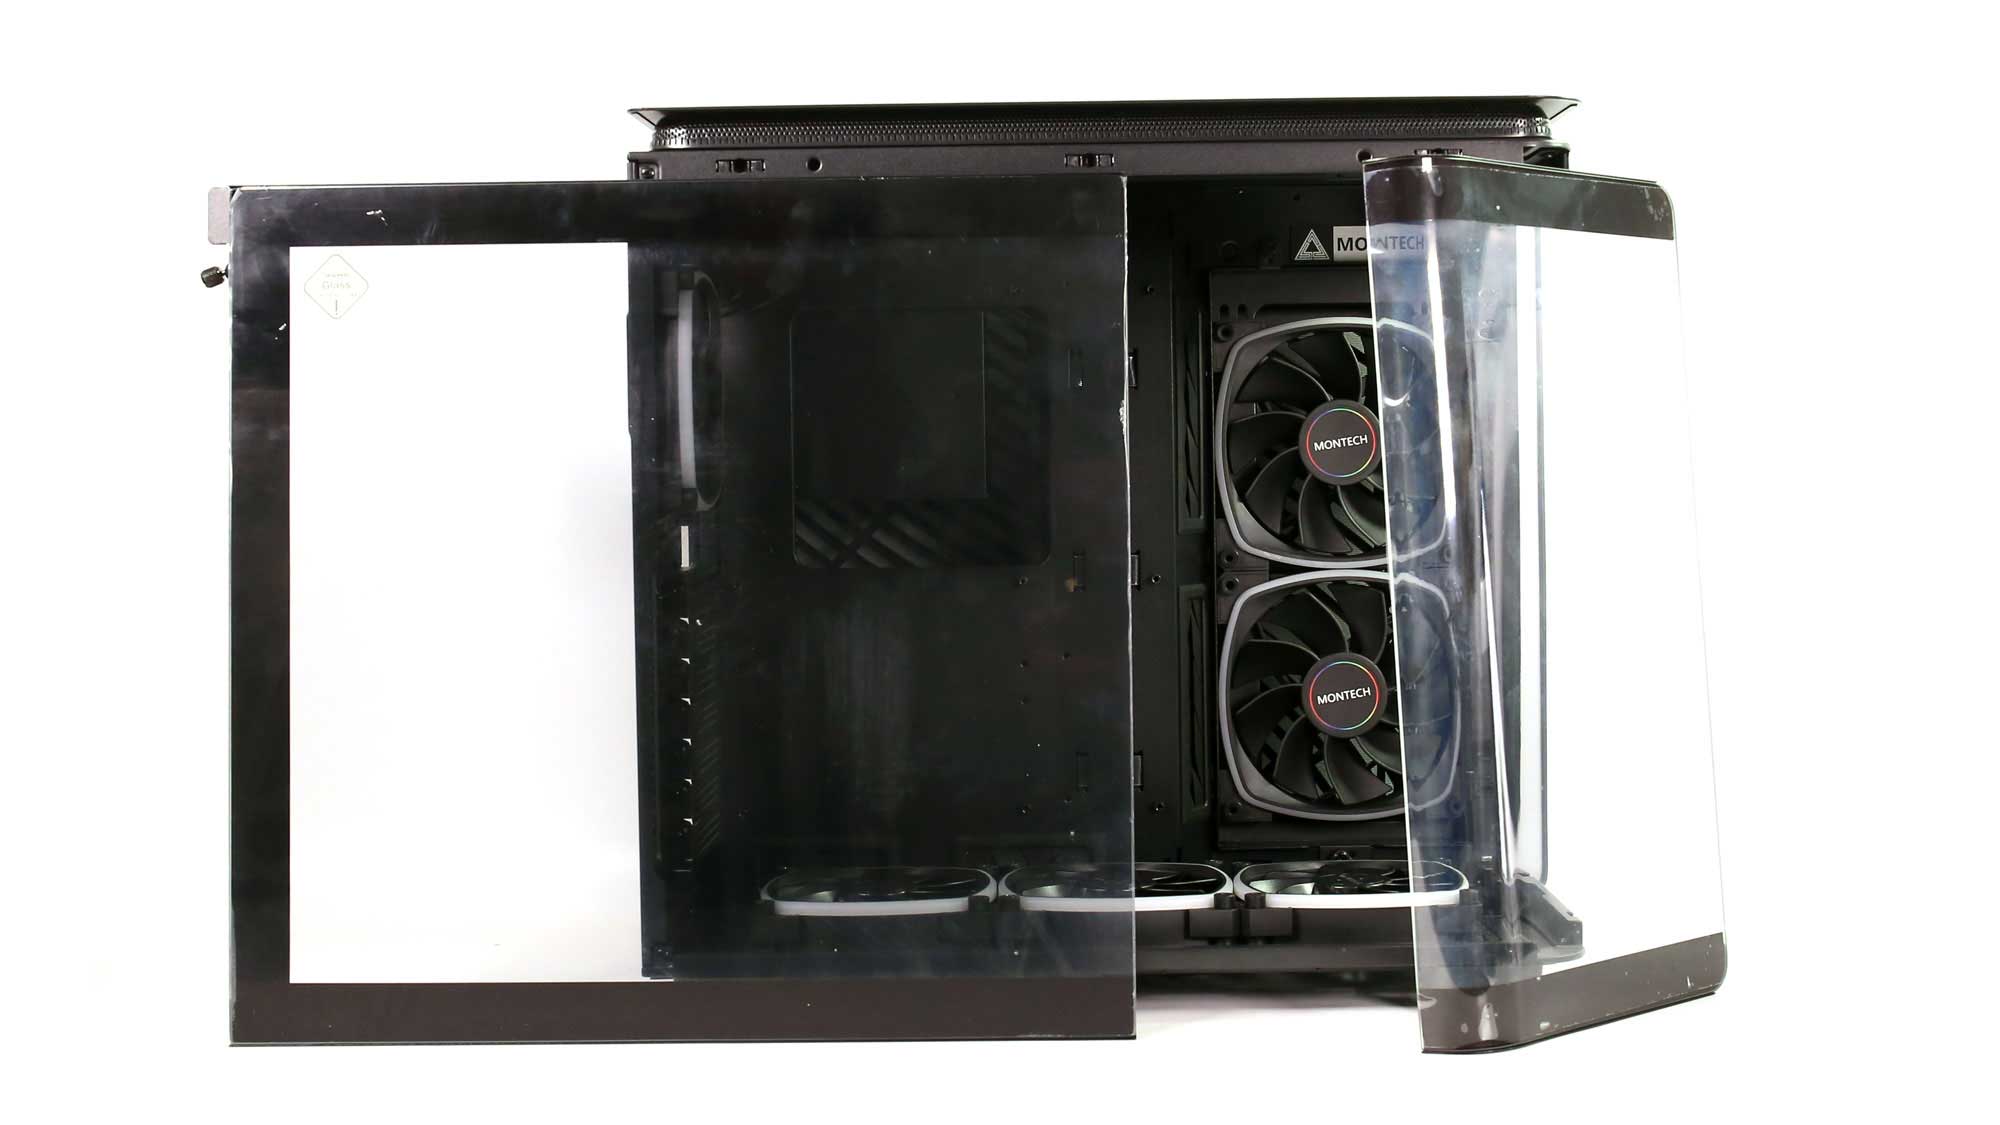
The tempered glass side panel is secured in place with a single thumb screw, and a metal pull tab is used to release it. It requires the ideal amount of force to release it, but the bottom is not fully hinged; it just sits on the chassis. Subsequently, after a few degrees of rotation, the panel will fall on the desk.
The tempered front glass is just as easy to remove and can be replaced with a mesh panel provided in the bundle. It also has an integrated ARGB light bar, which is a nice accent for the front panel.
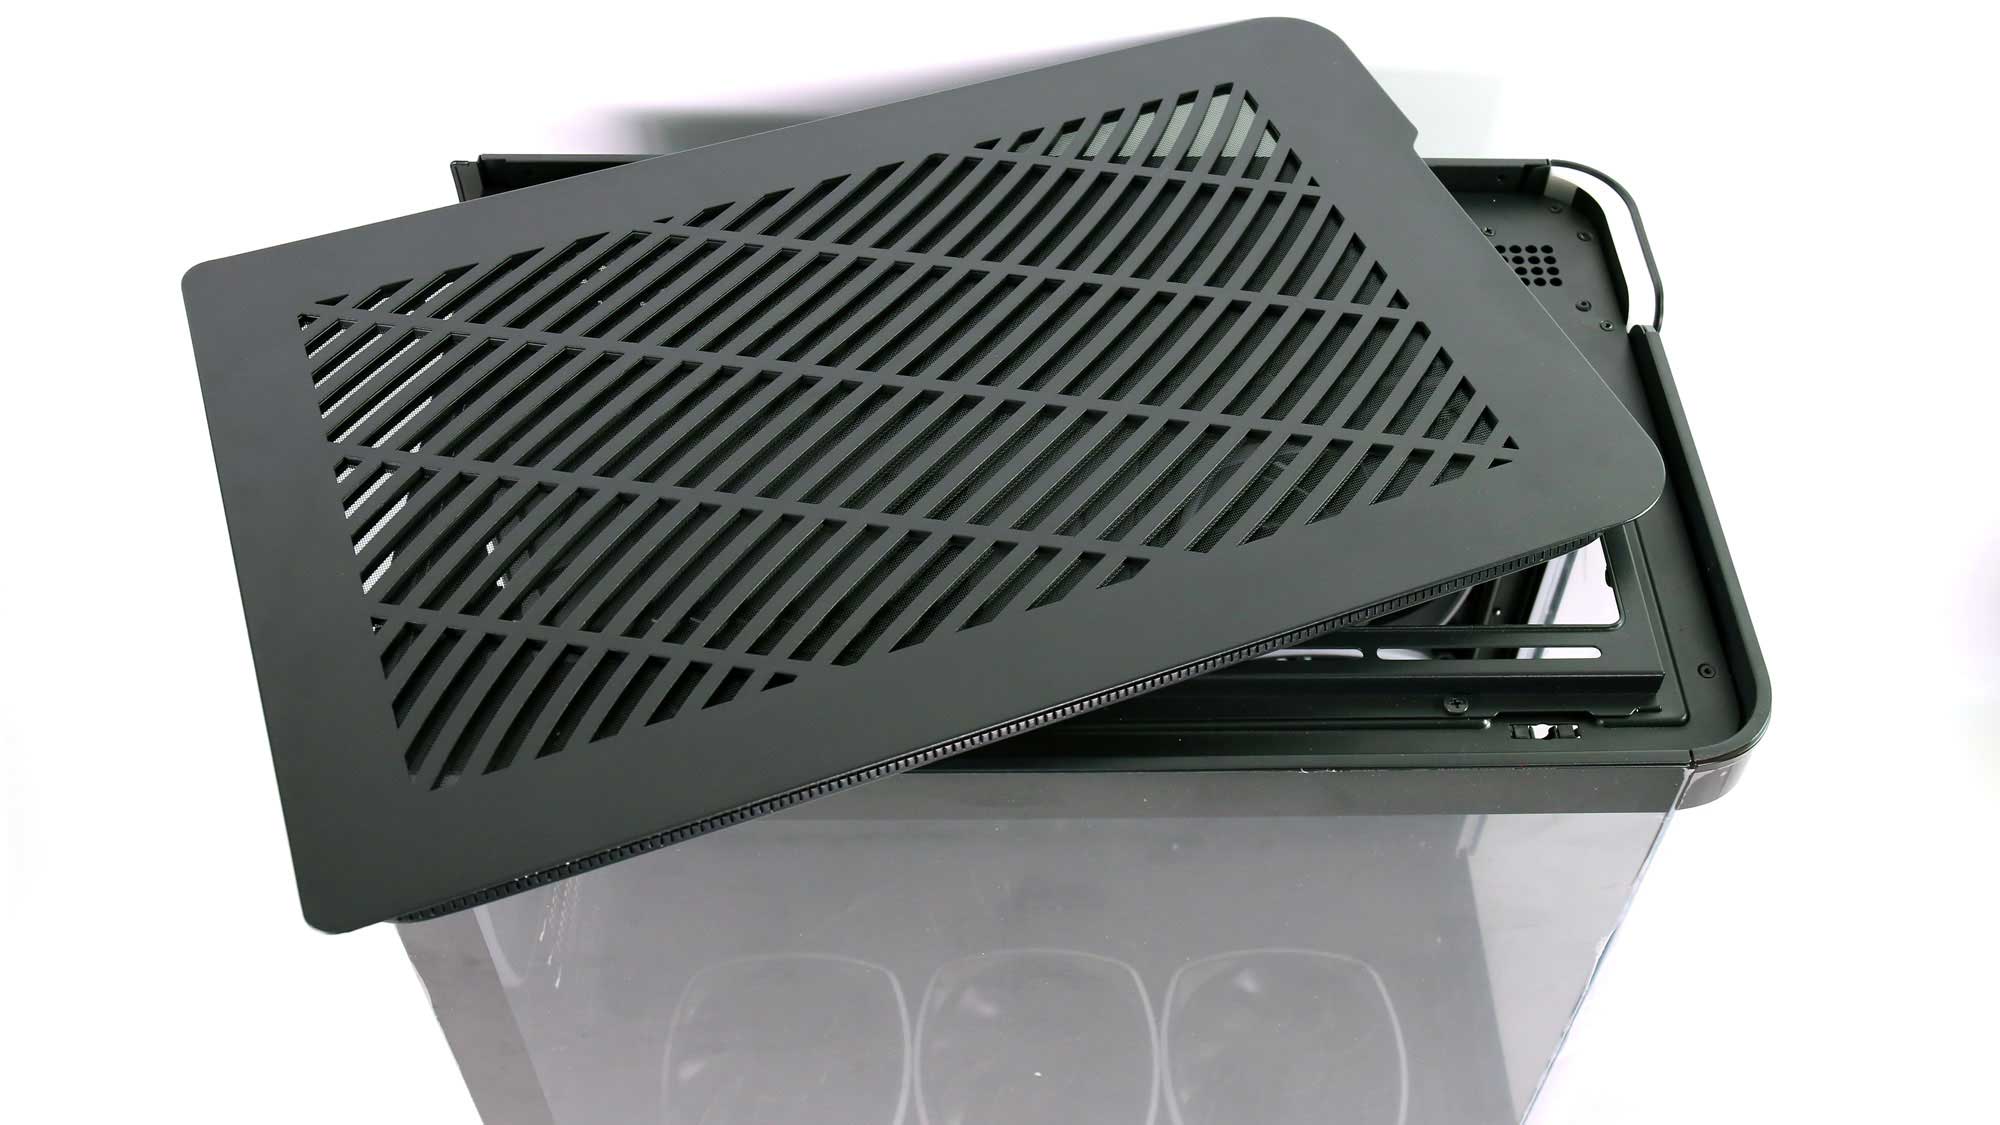
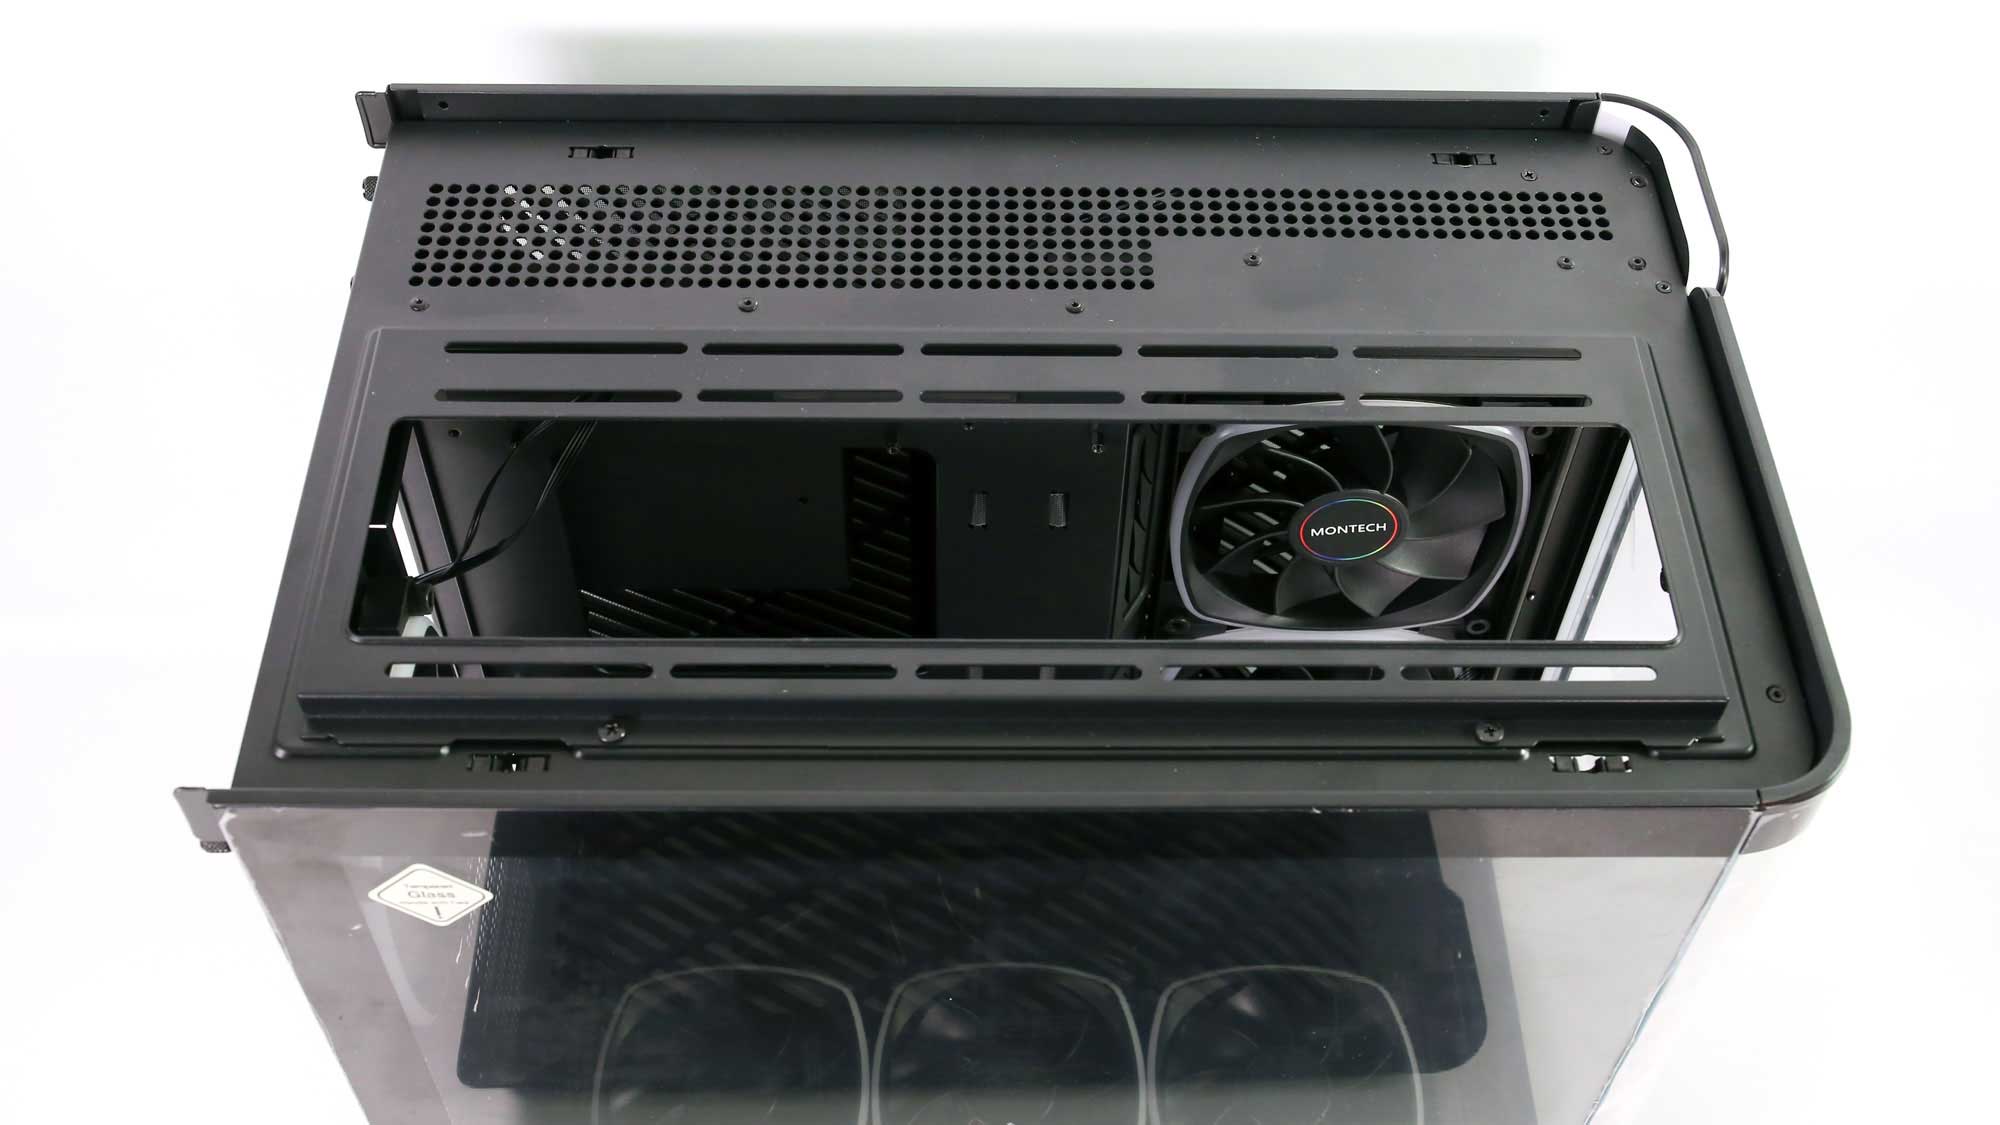
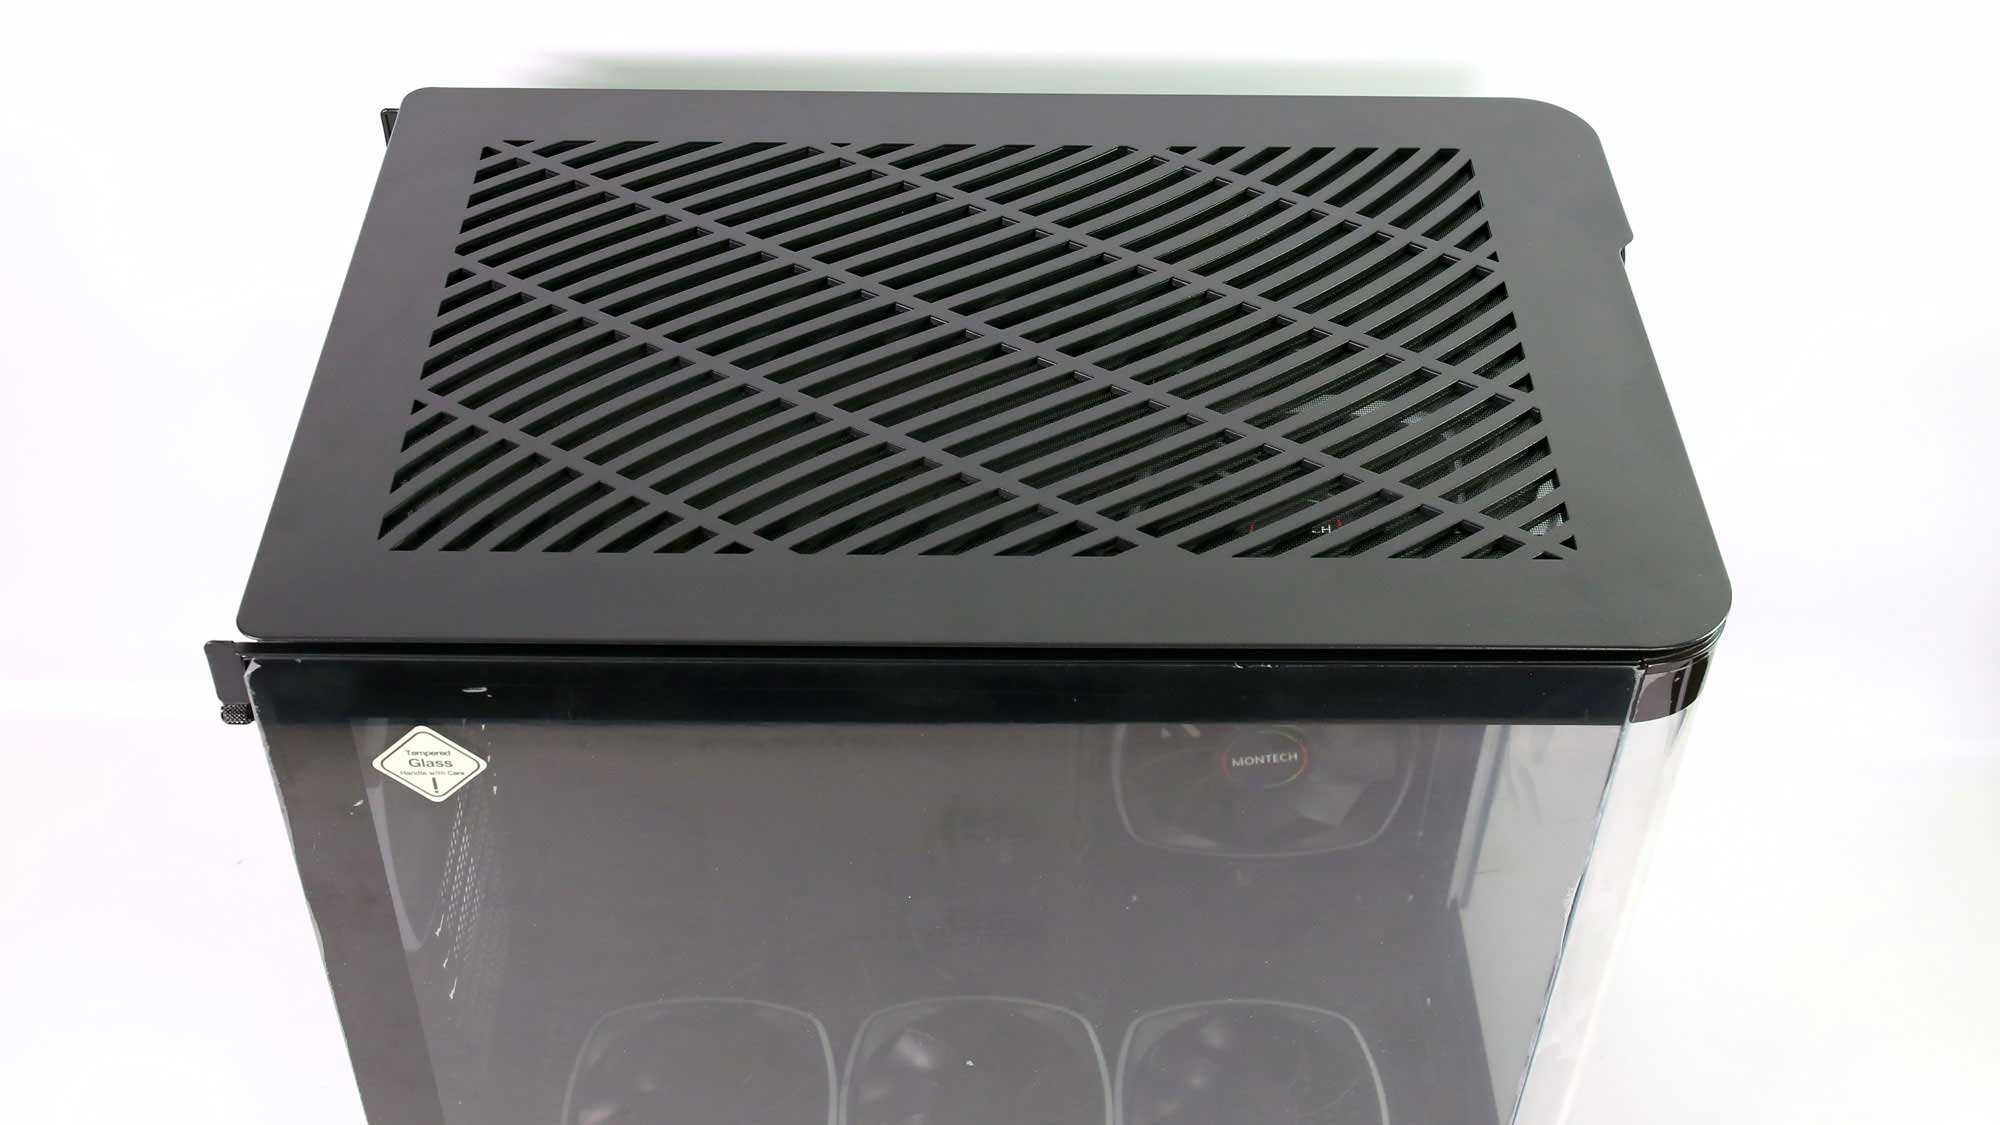
The top dust cover is also easy to remove, requiring no tools. It offers an unobstructed view of the top radiator/fan bracket. In addition, the bracket itself may be removed from the chassis for an even easier build. This may also be useful if you forget to plug in the EPS cables while installing a large AIO water cooler.
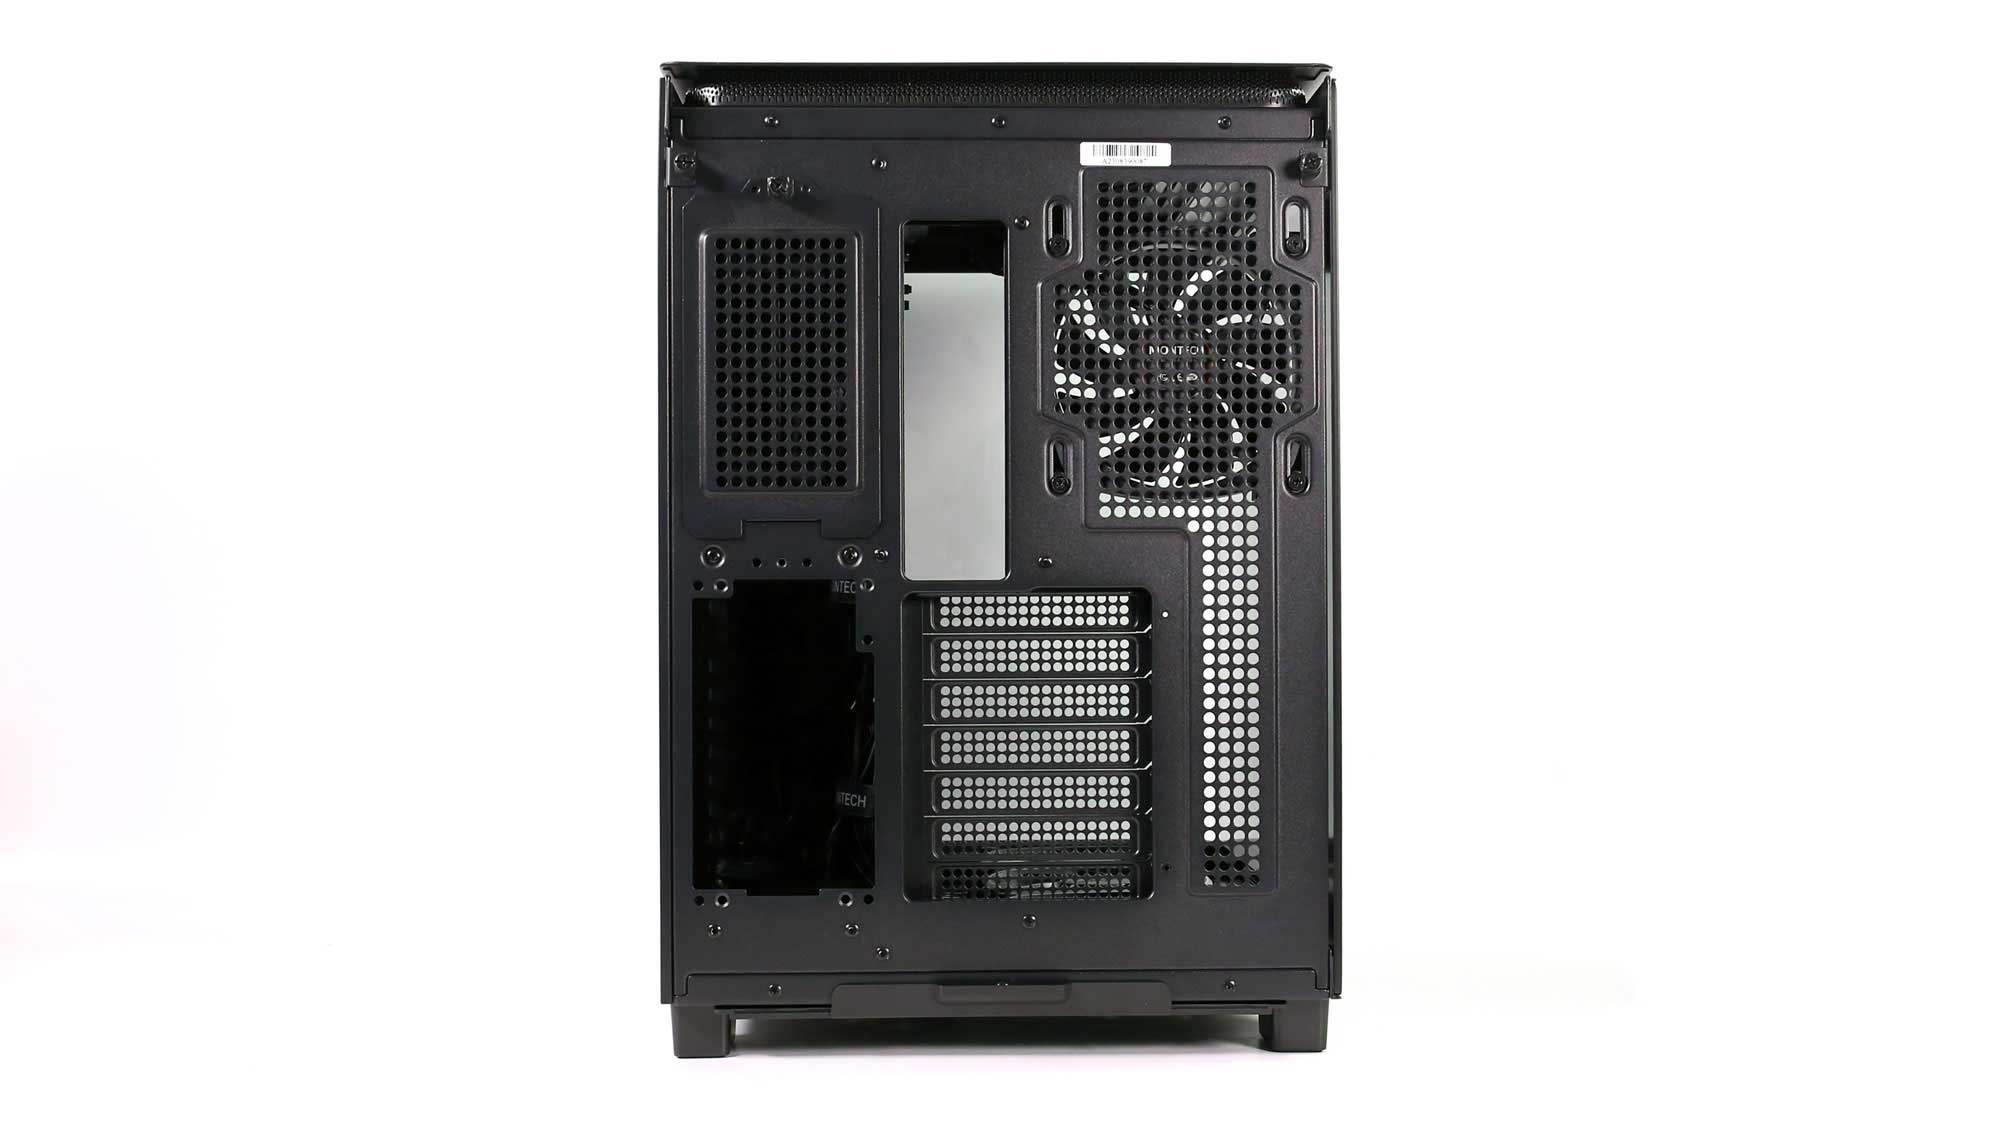
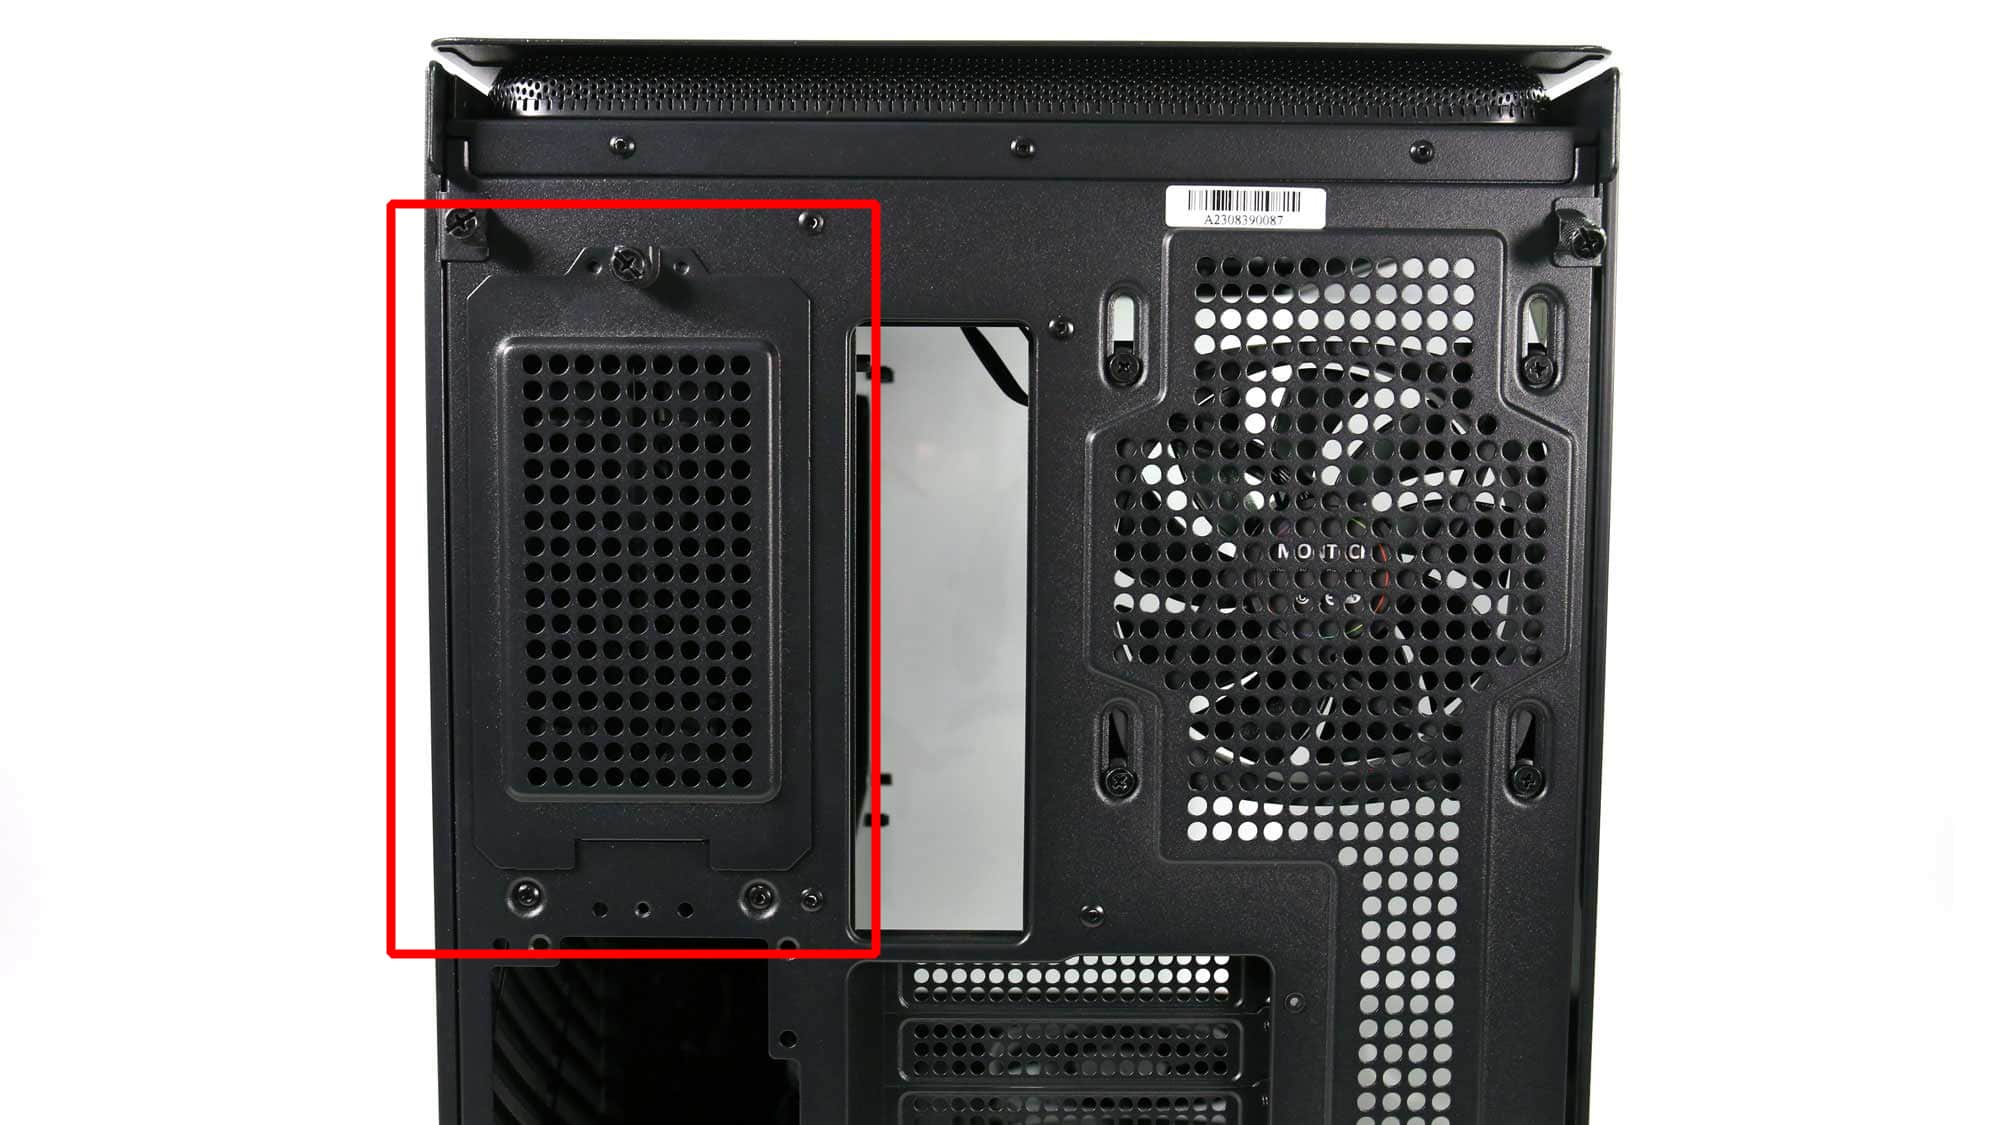
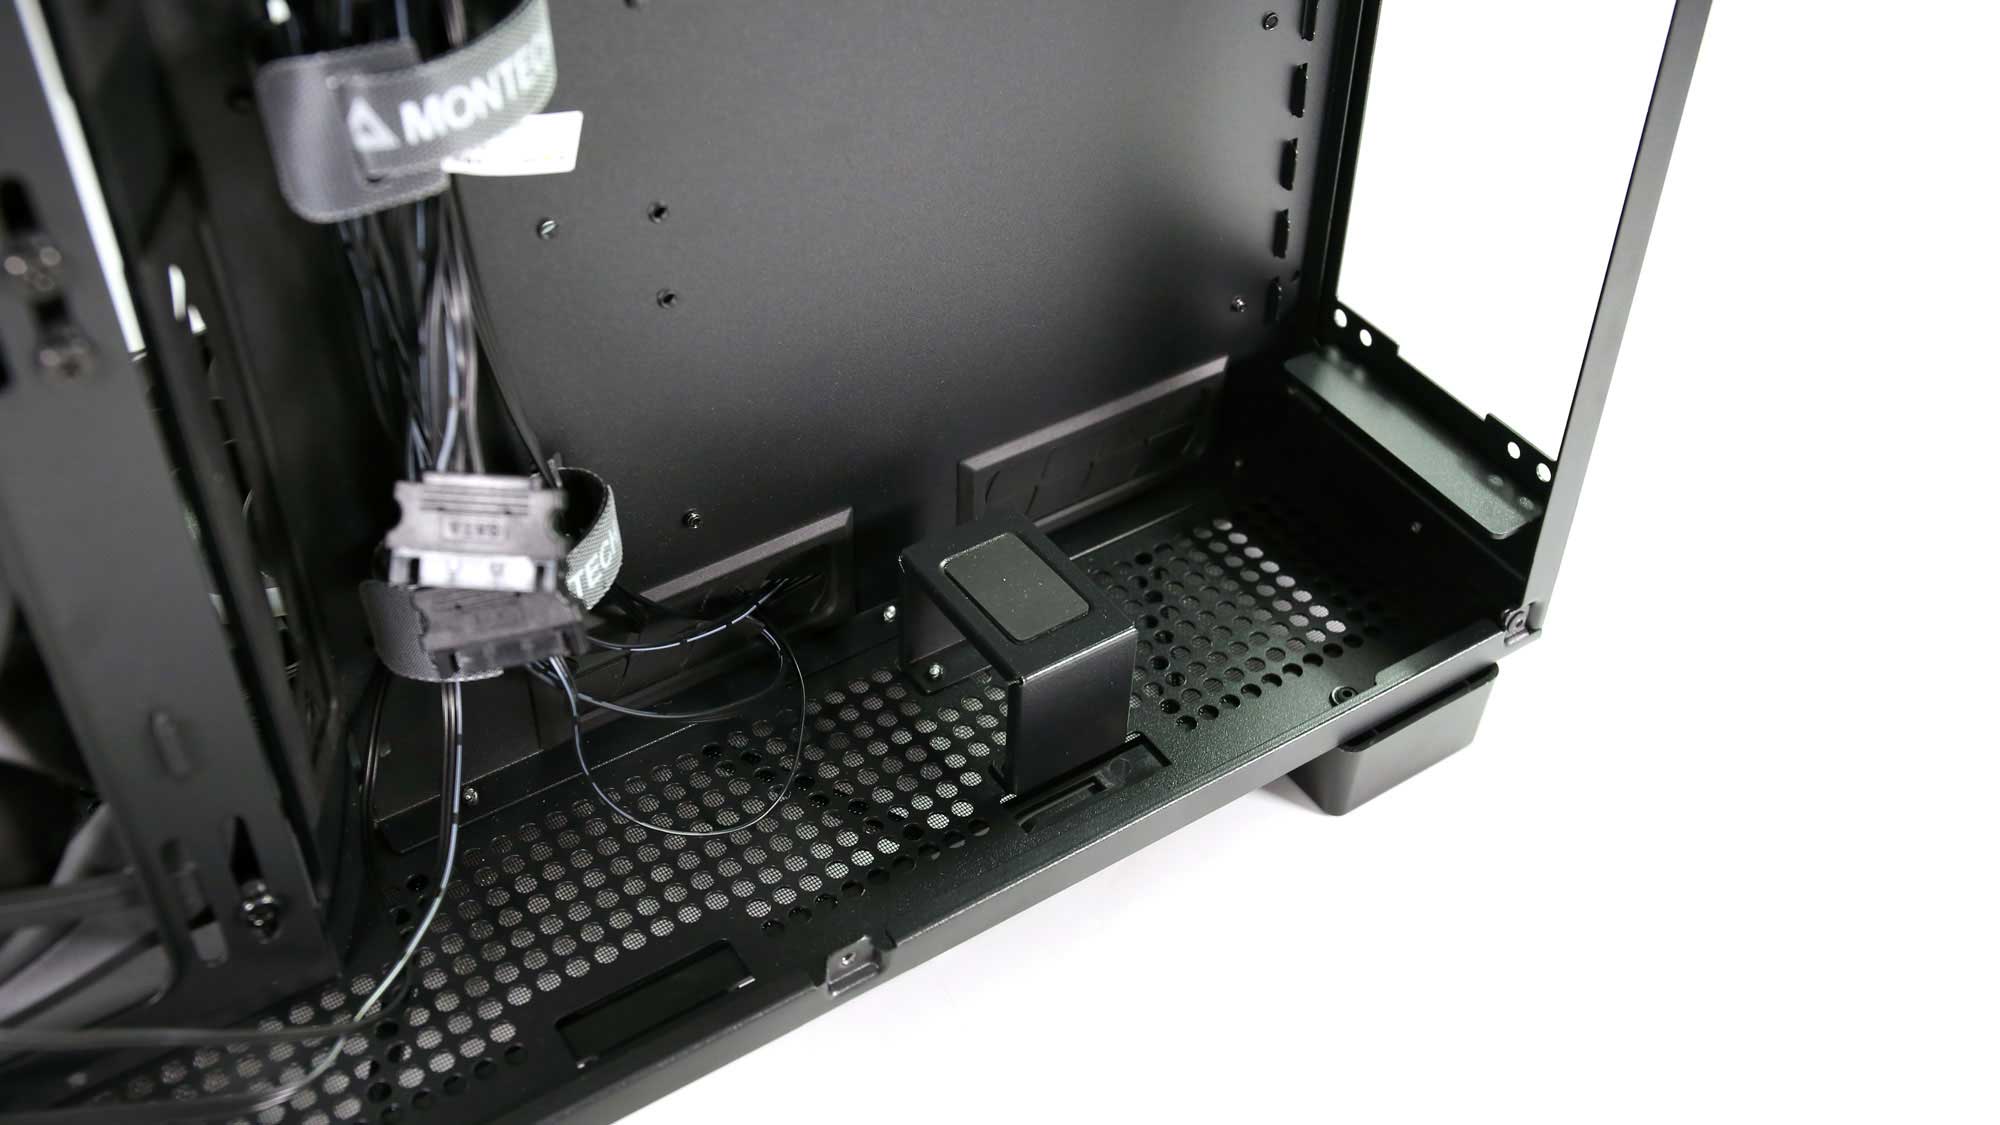
In the rear part of the chassis, you will find the quick-access HDD tray, accessible with just one thumb screw. The HDDs themselves are placed separately on removable trays for toolless installation. Moreover, the HDD tray may be entirely removed since it is held in place with just four screws. Finally, the HDD tray and the PSU can switch positions; however, this is not recommended because only the bottom slot has additional support for the PSU.

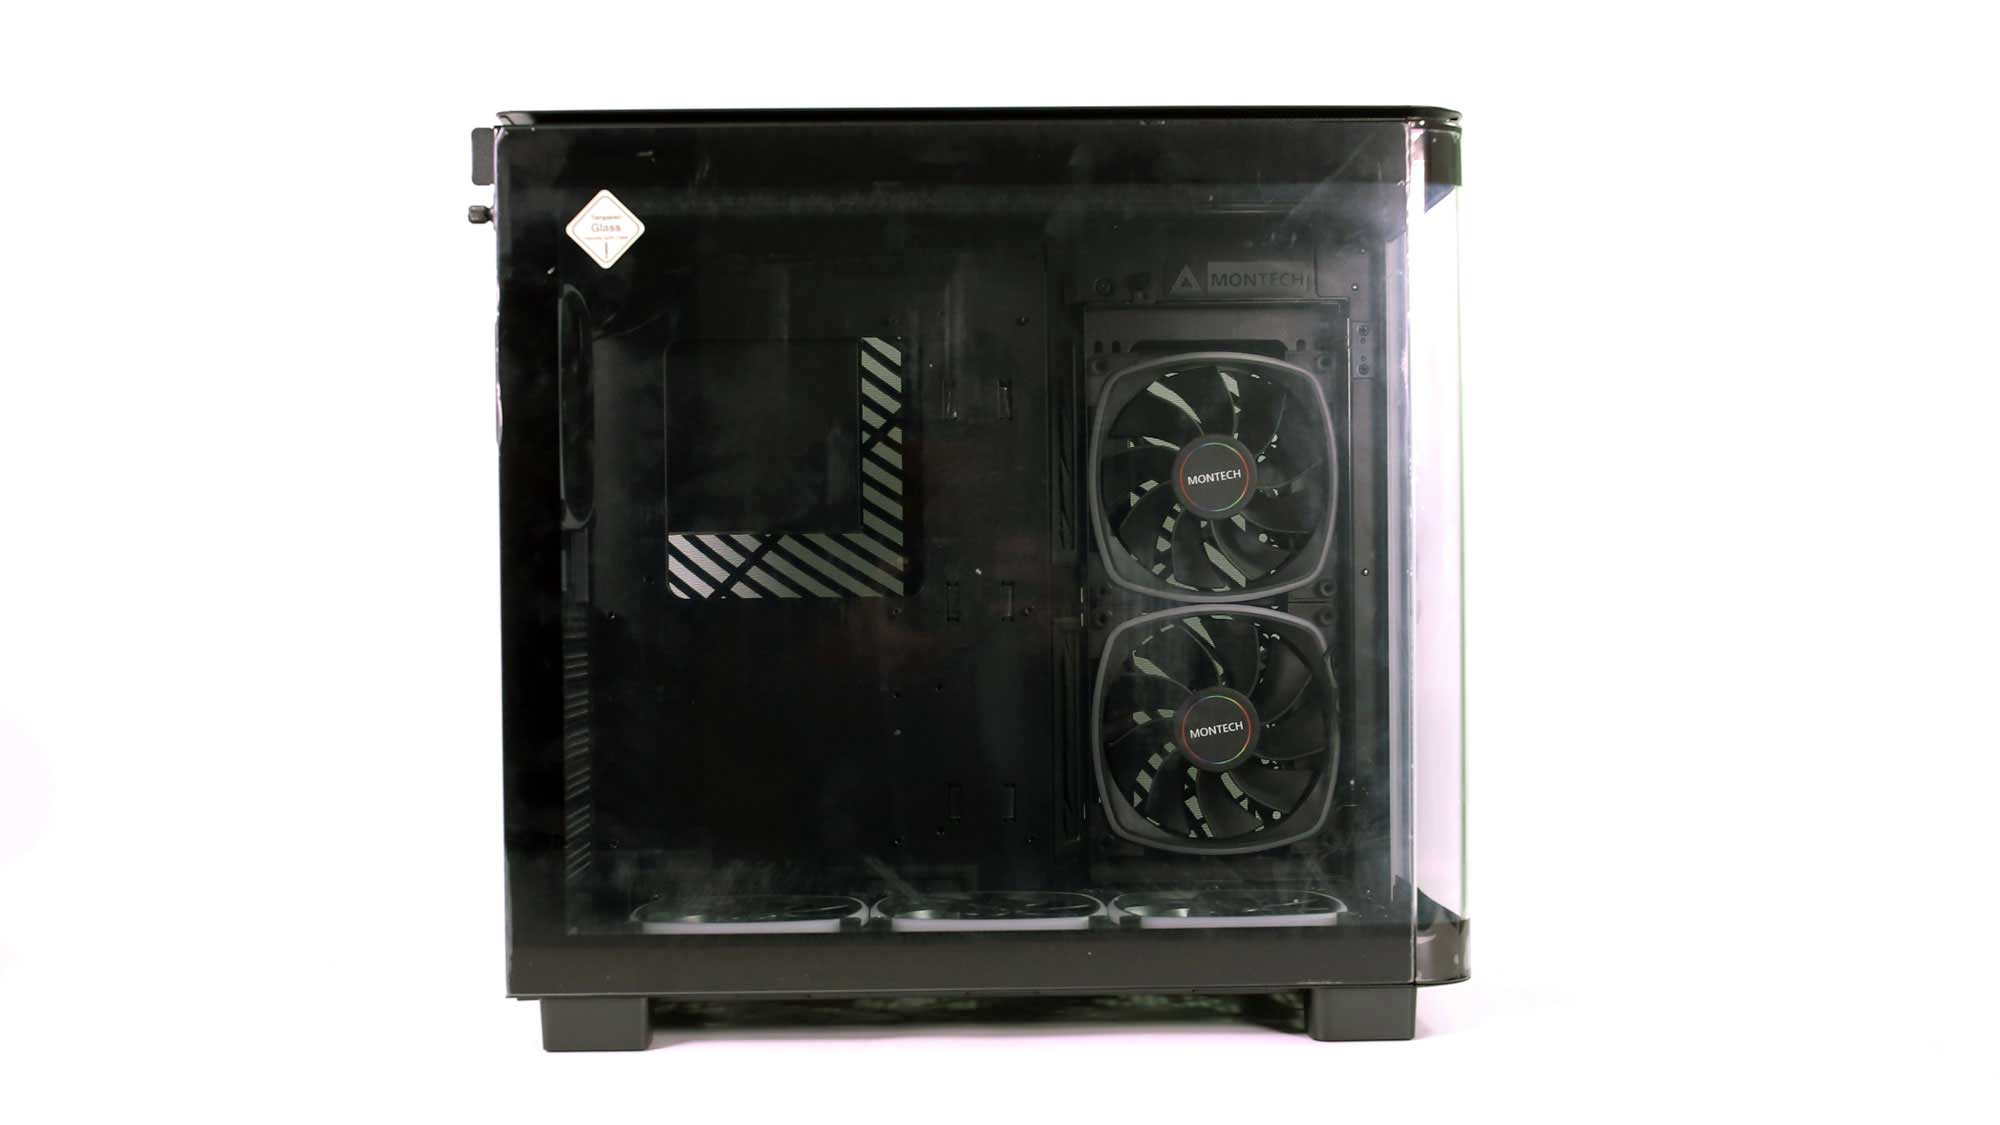
The mounting points for the rear fan allow for some vertical adjustment, helping accommodate larger top-mount radiators with fewer obstructions. A 120mm RGB fan comes preinstalled. The bridgeless PCIe design lets users buy and install an aftermarket vertical GPU mount.
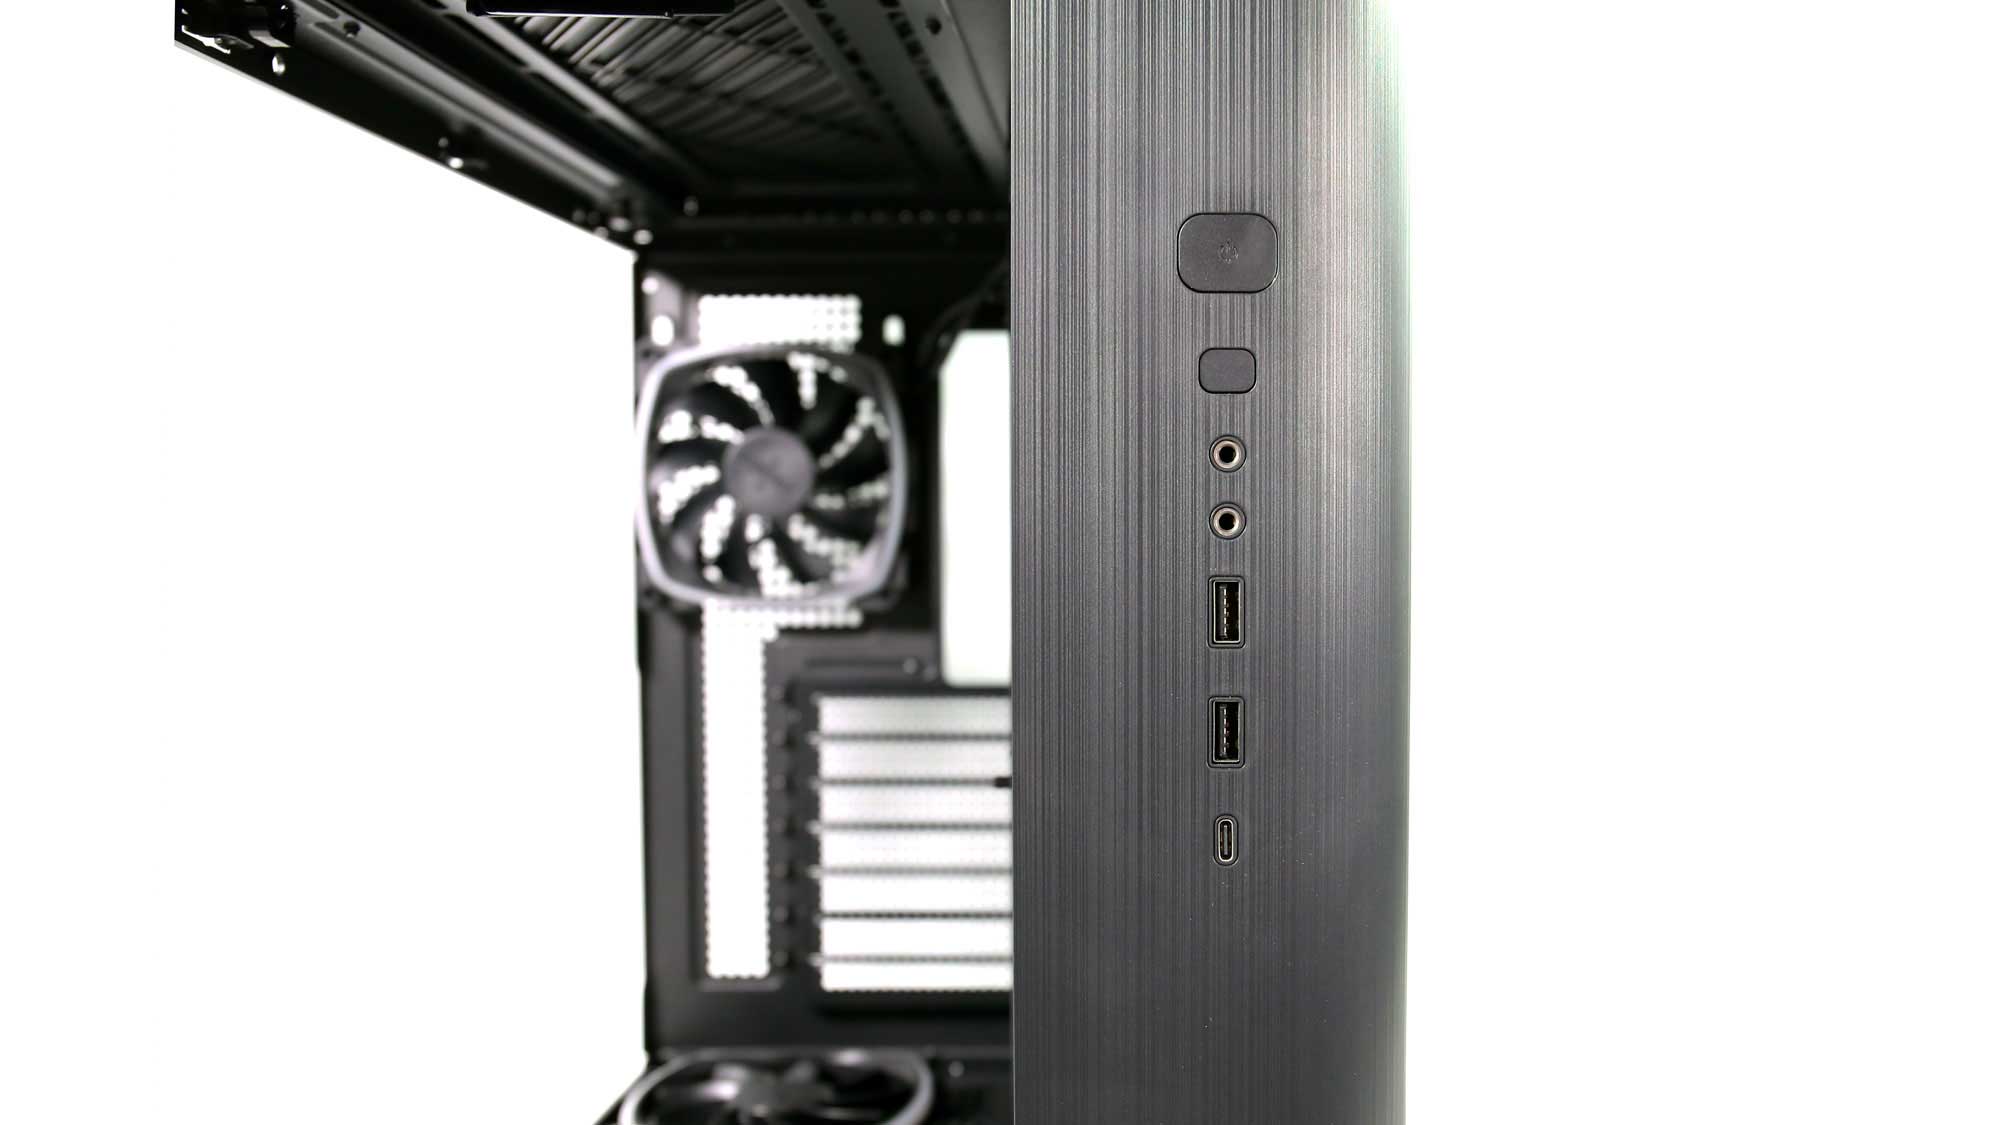
The front I/O is up to date with a USB 3.2 Gen 2 Type-C port, two USB 3.0 Type-A ports, and separate headphones and microphone 3.5mm jacks. In addition, the front panel has a light accent piece that syncs with the rest of the ARGB fans. The lack of labels gives a clean look, but you must find the headphone and microphone ports through trial and error.
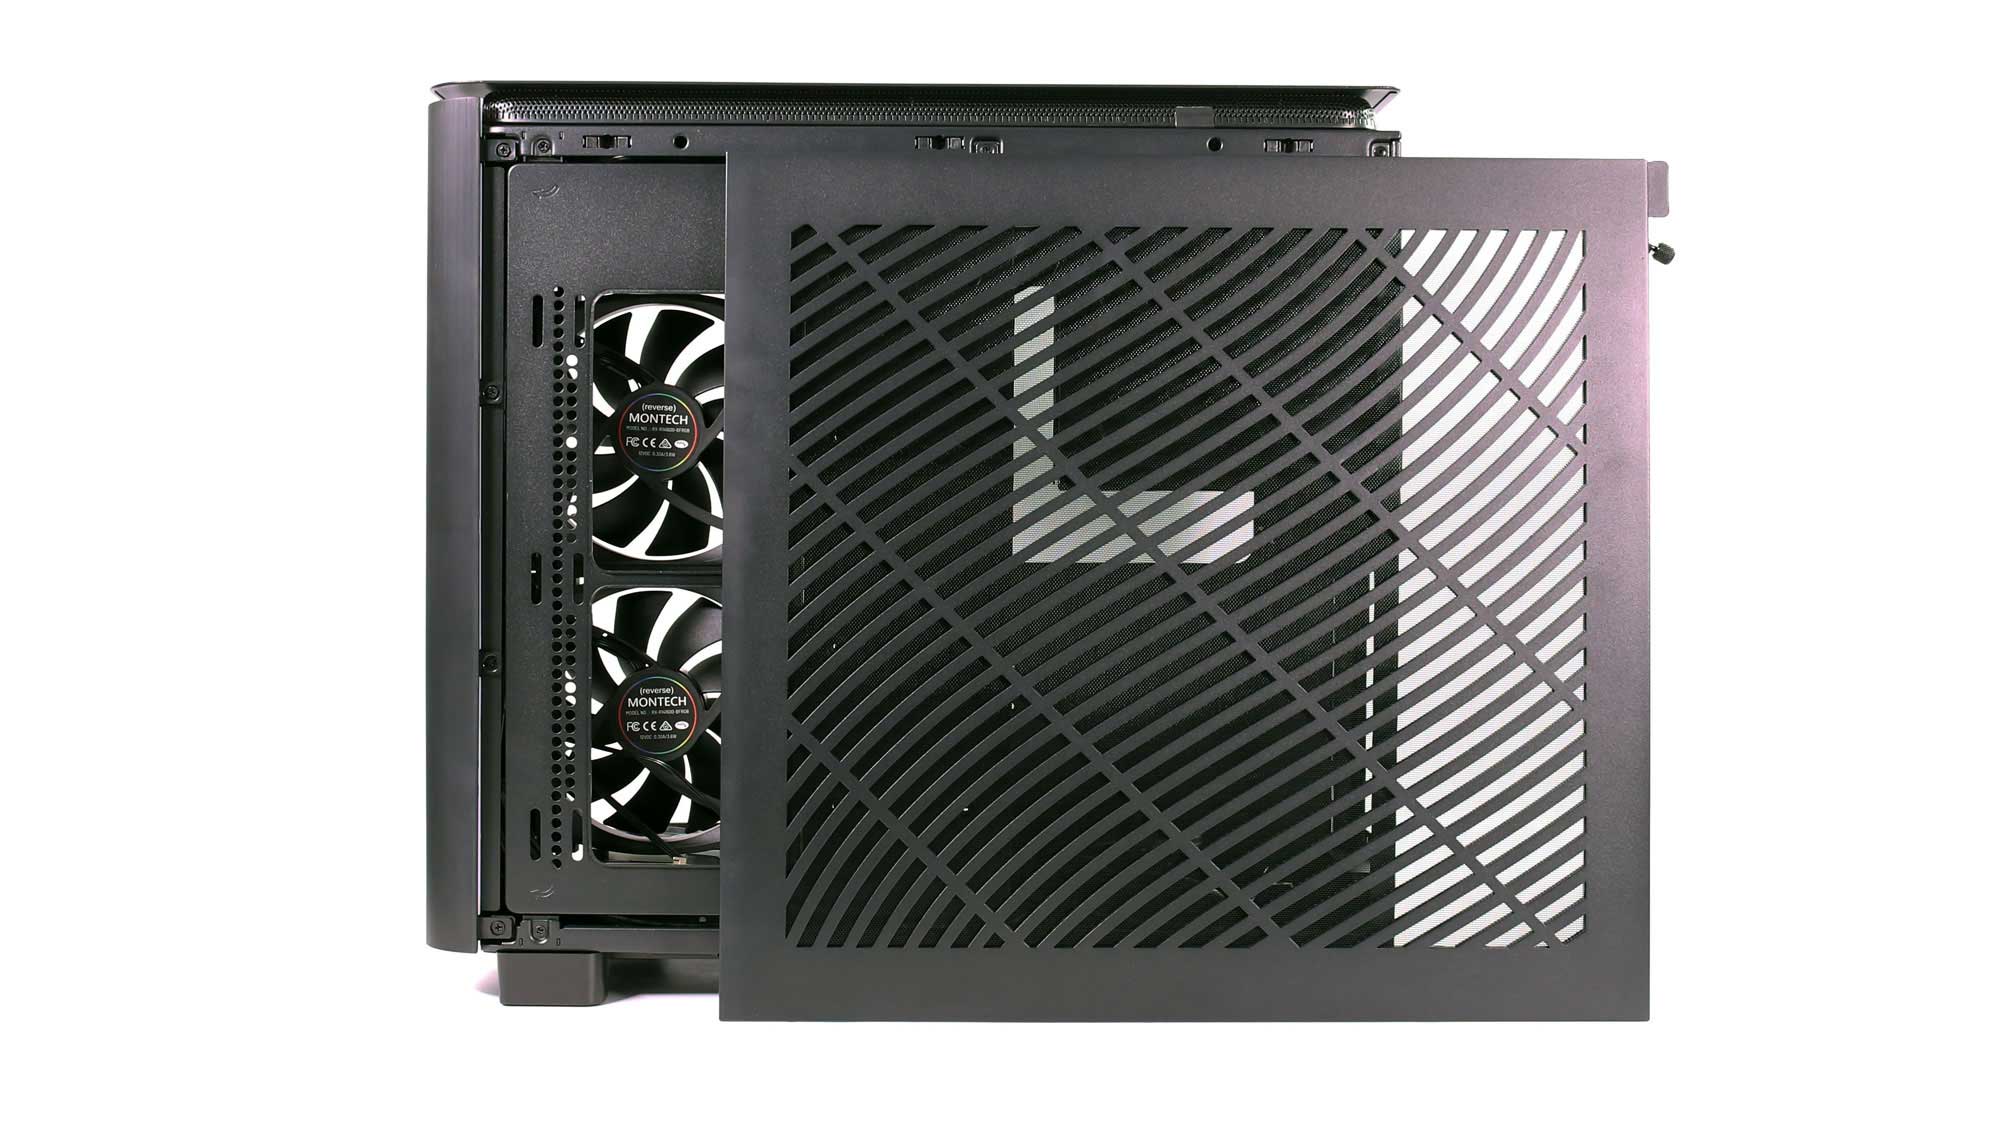
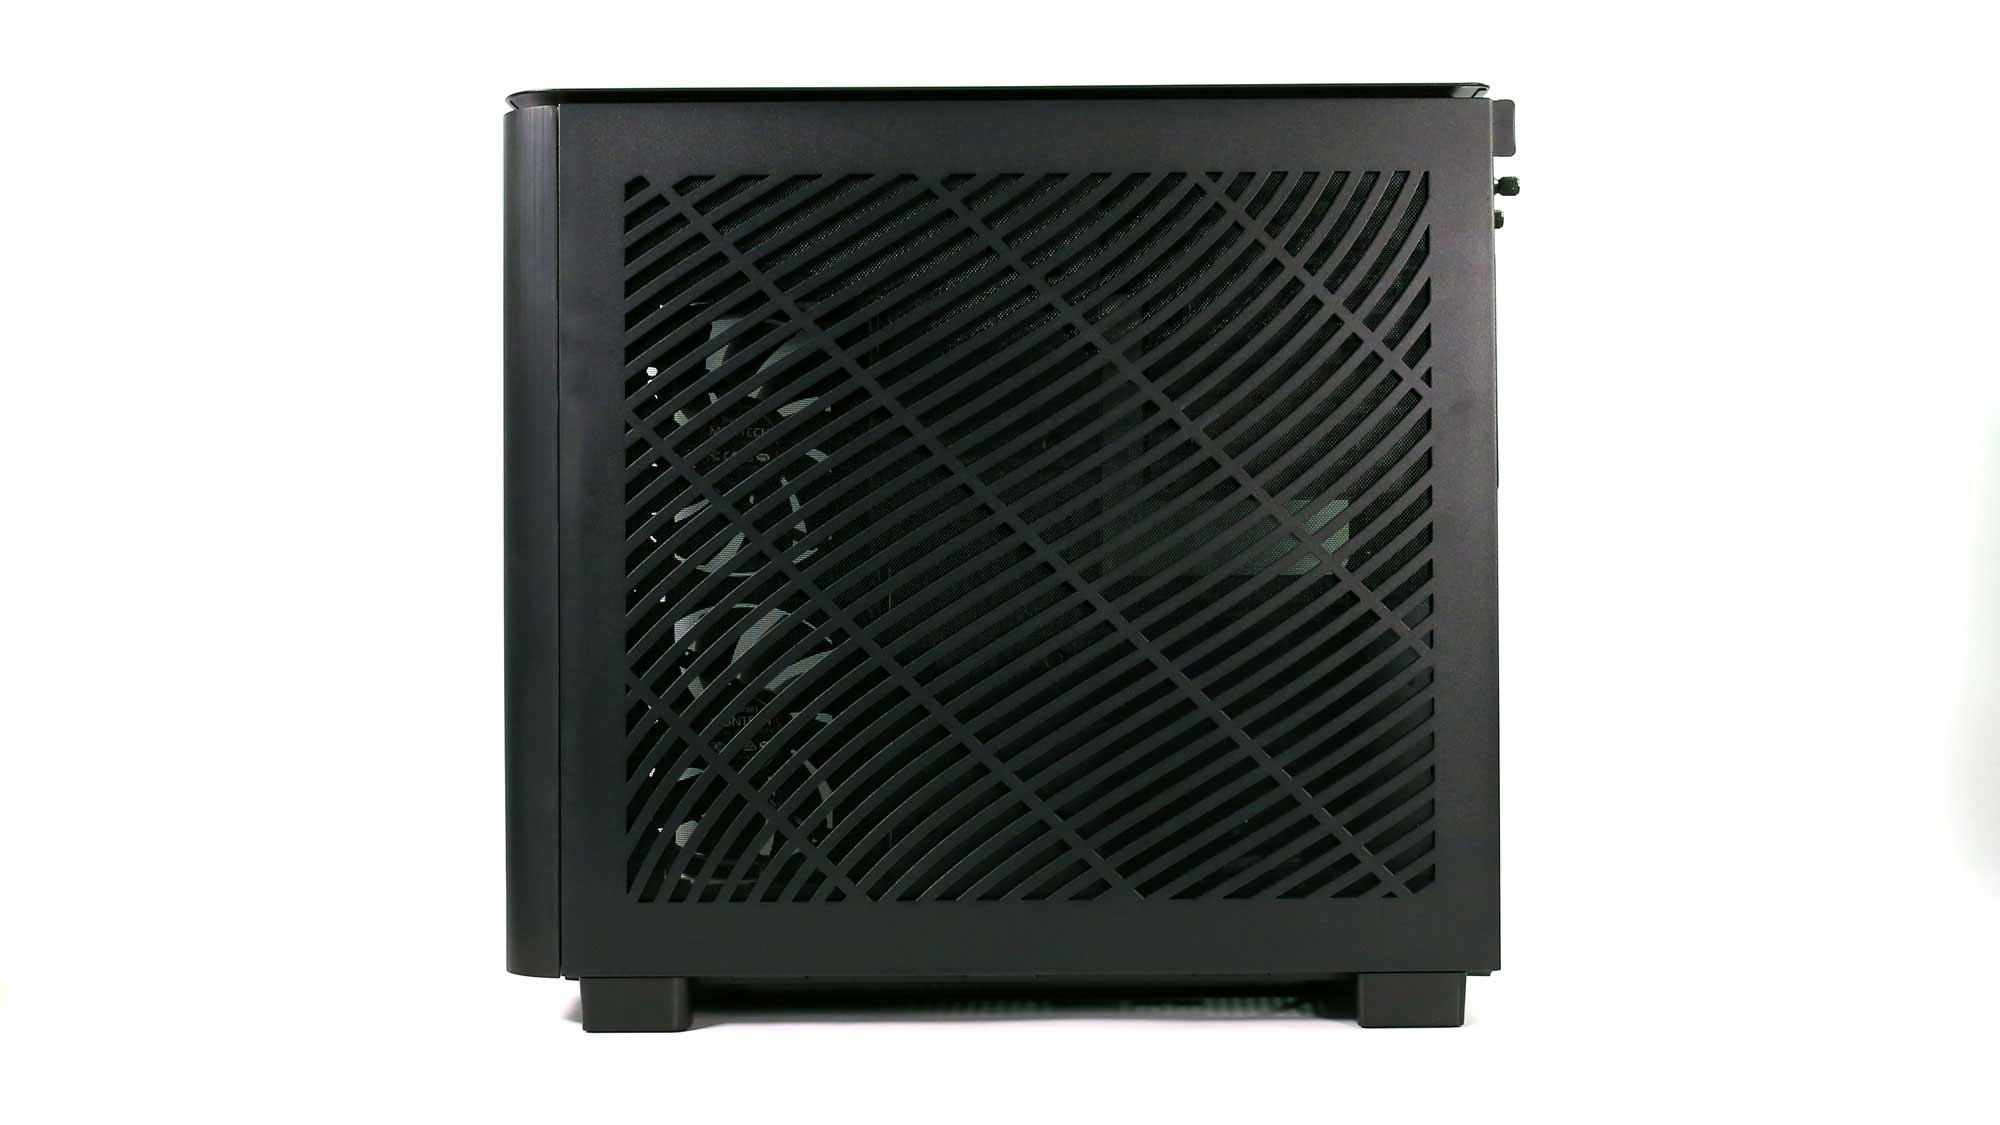
The back panel is perforated, having the same design as the top. Similarly to the tempered side glass, it is secured in place with one thumb screw and can be easily detached using a metal pull tab.
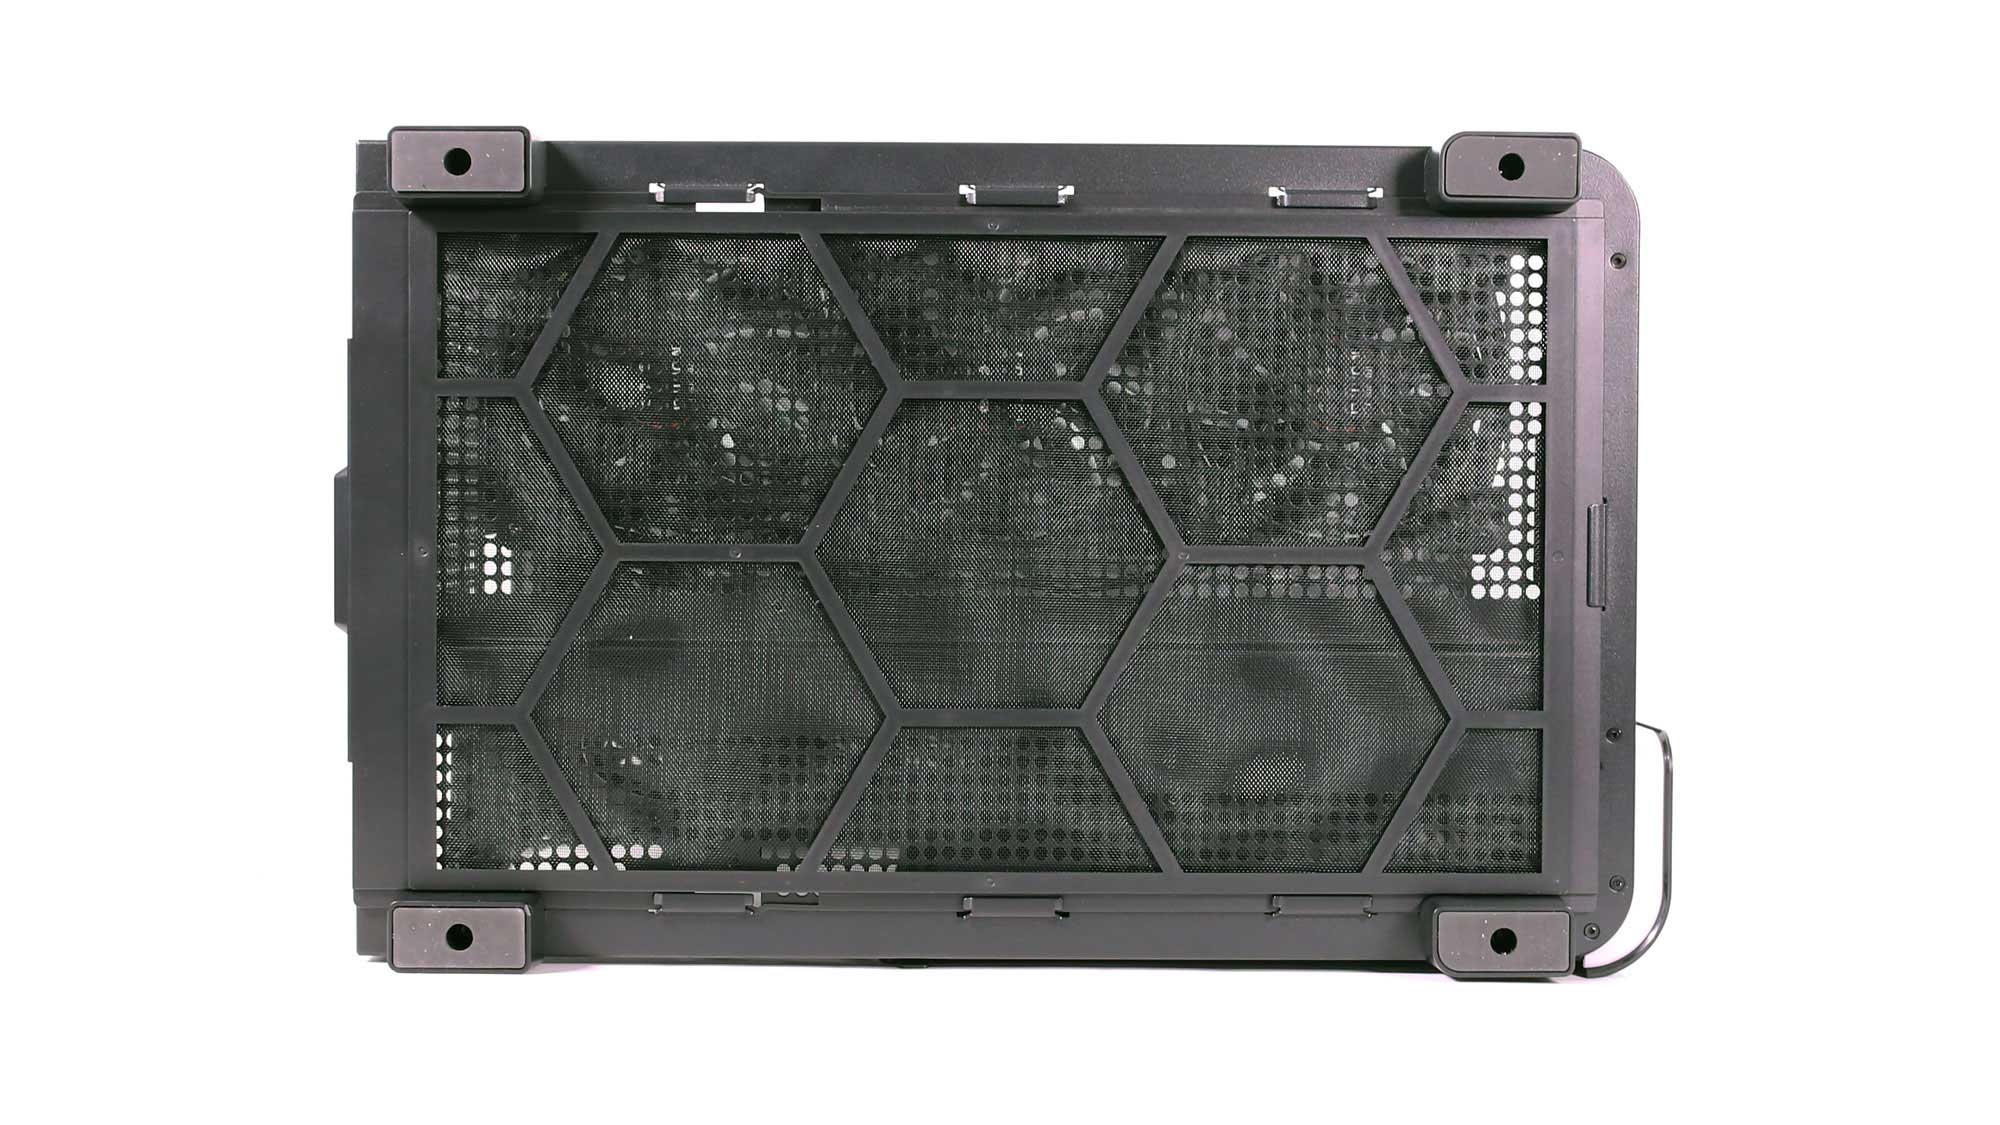
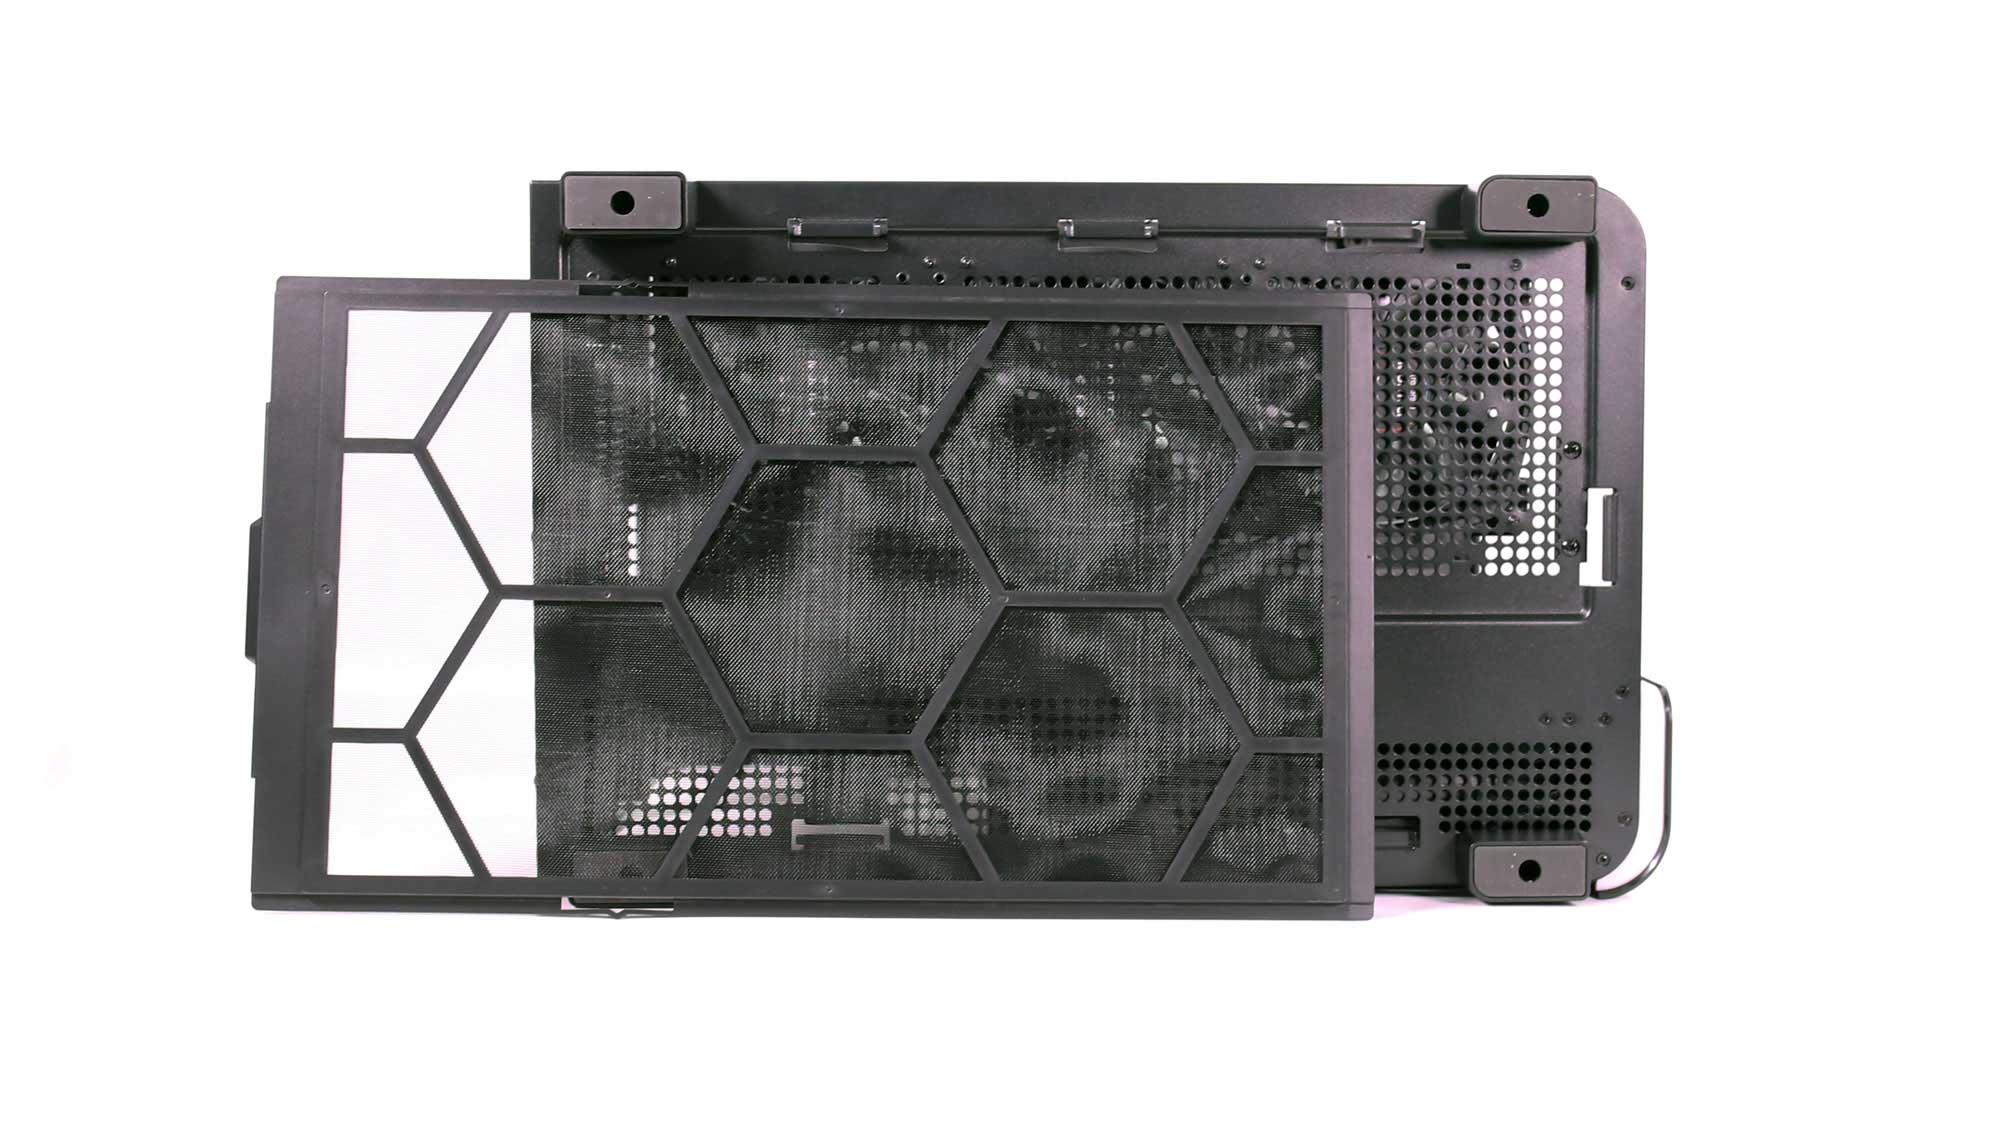
The wide feet offer good stability. On the bottom of the chassis, you will find a sliding dust filter that covers the entire bottom. It can be removed with the chassis in the standing position.
Chassis Photos – Inside
The inside of the chassis is as interesting, if not more, as the outside.
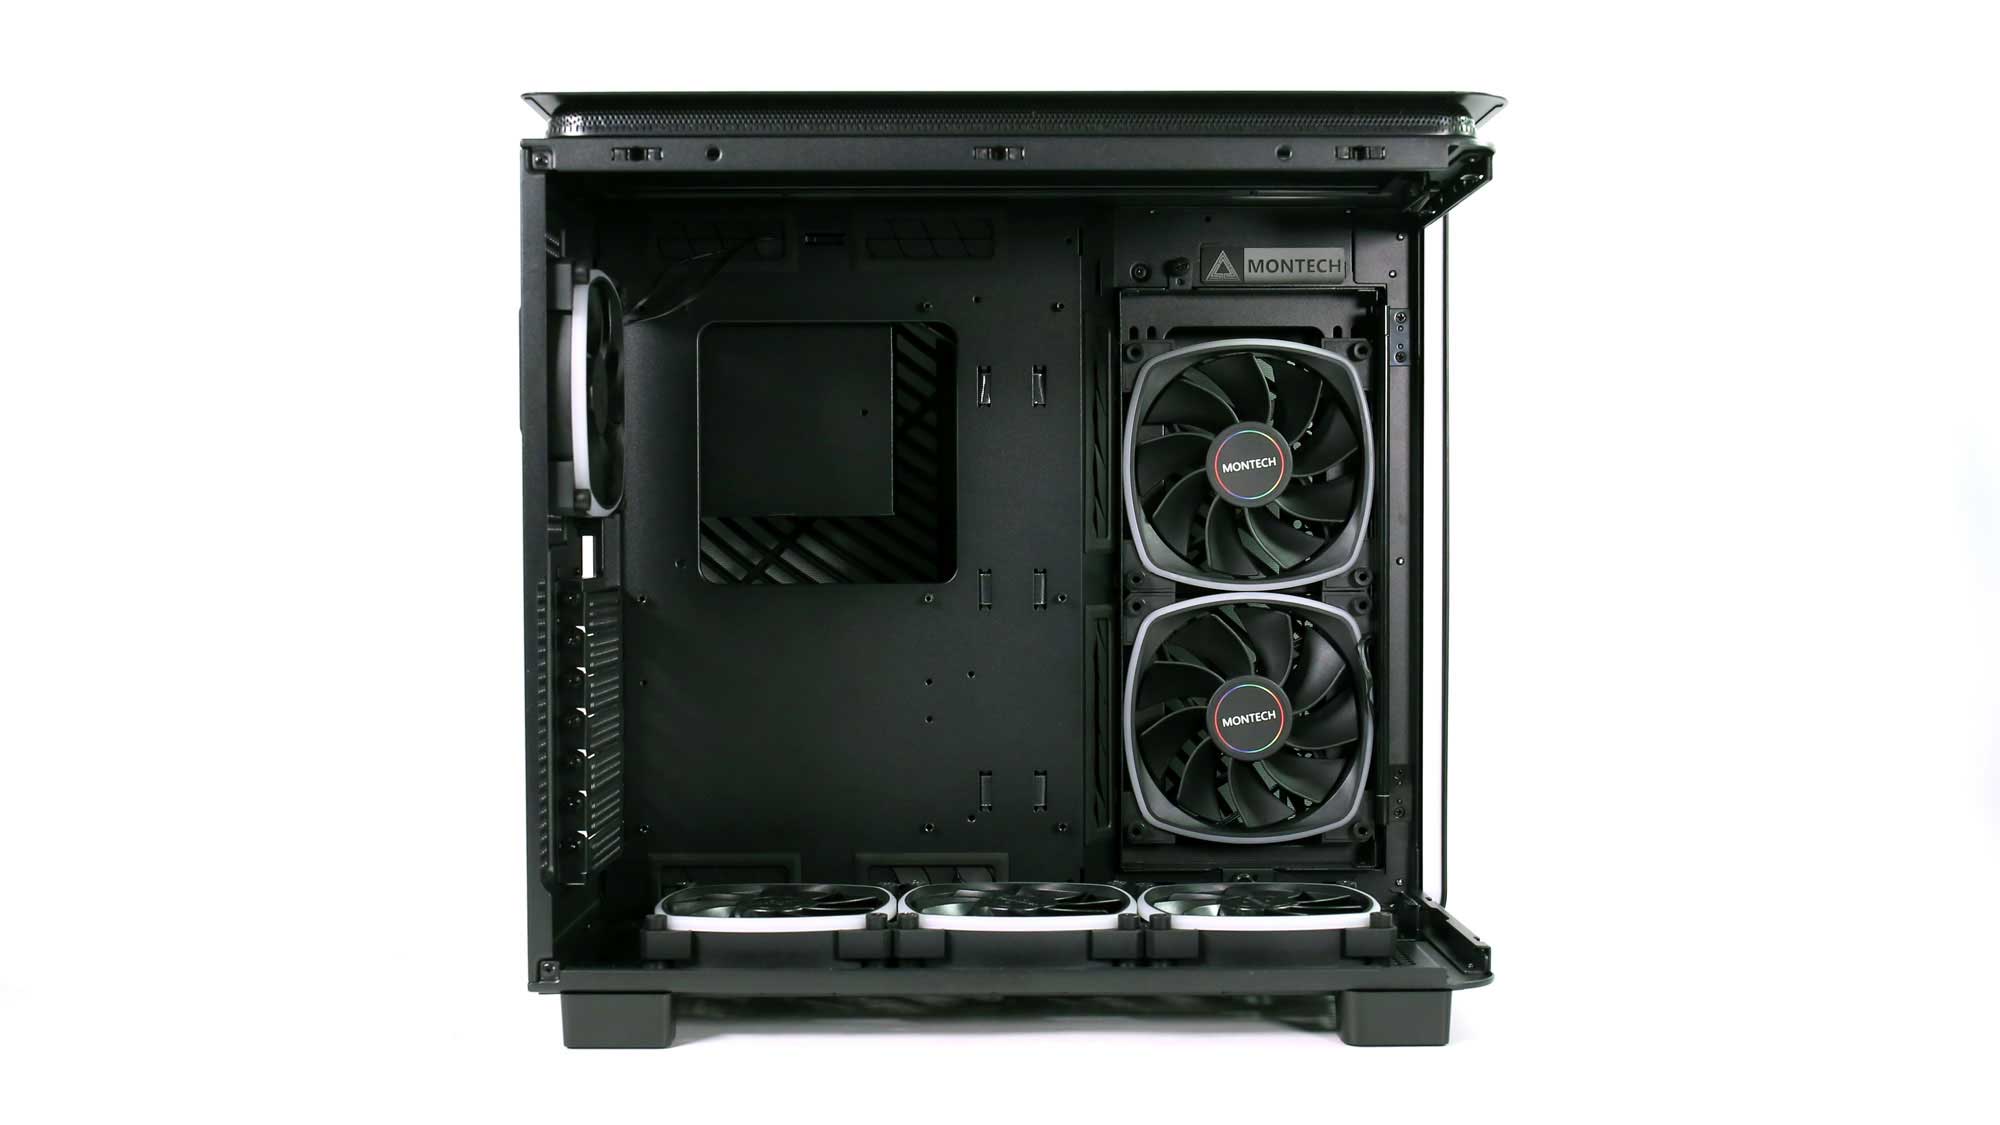
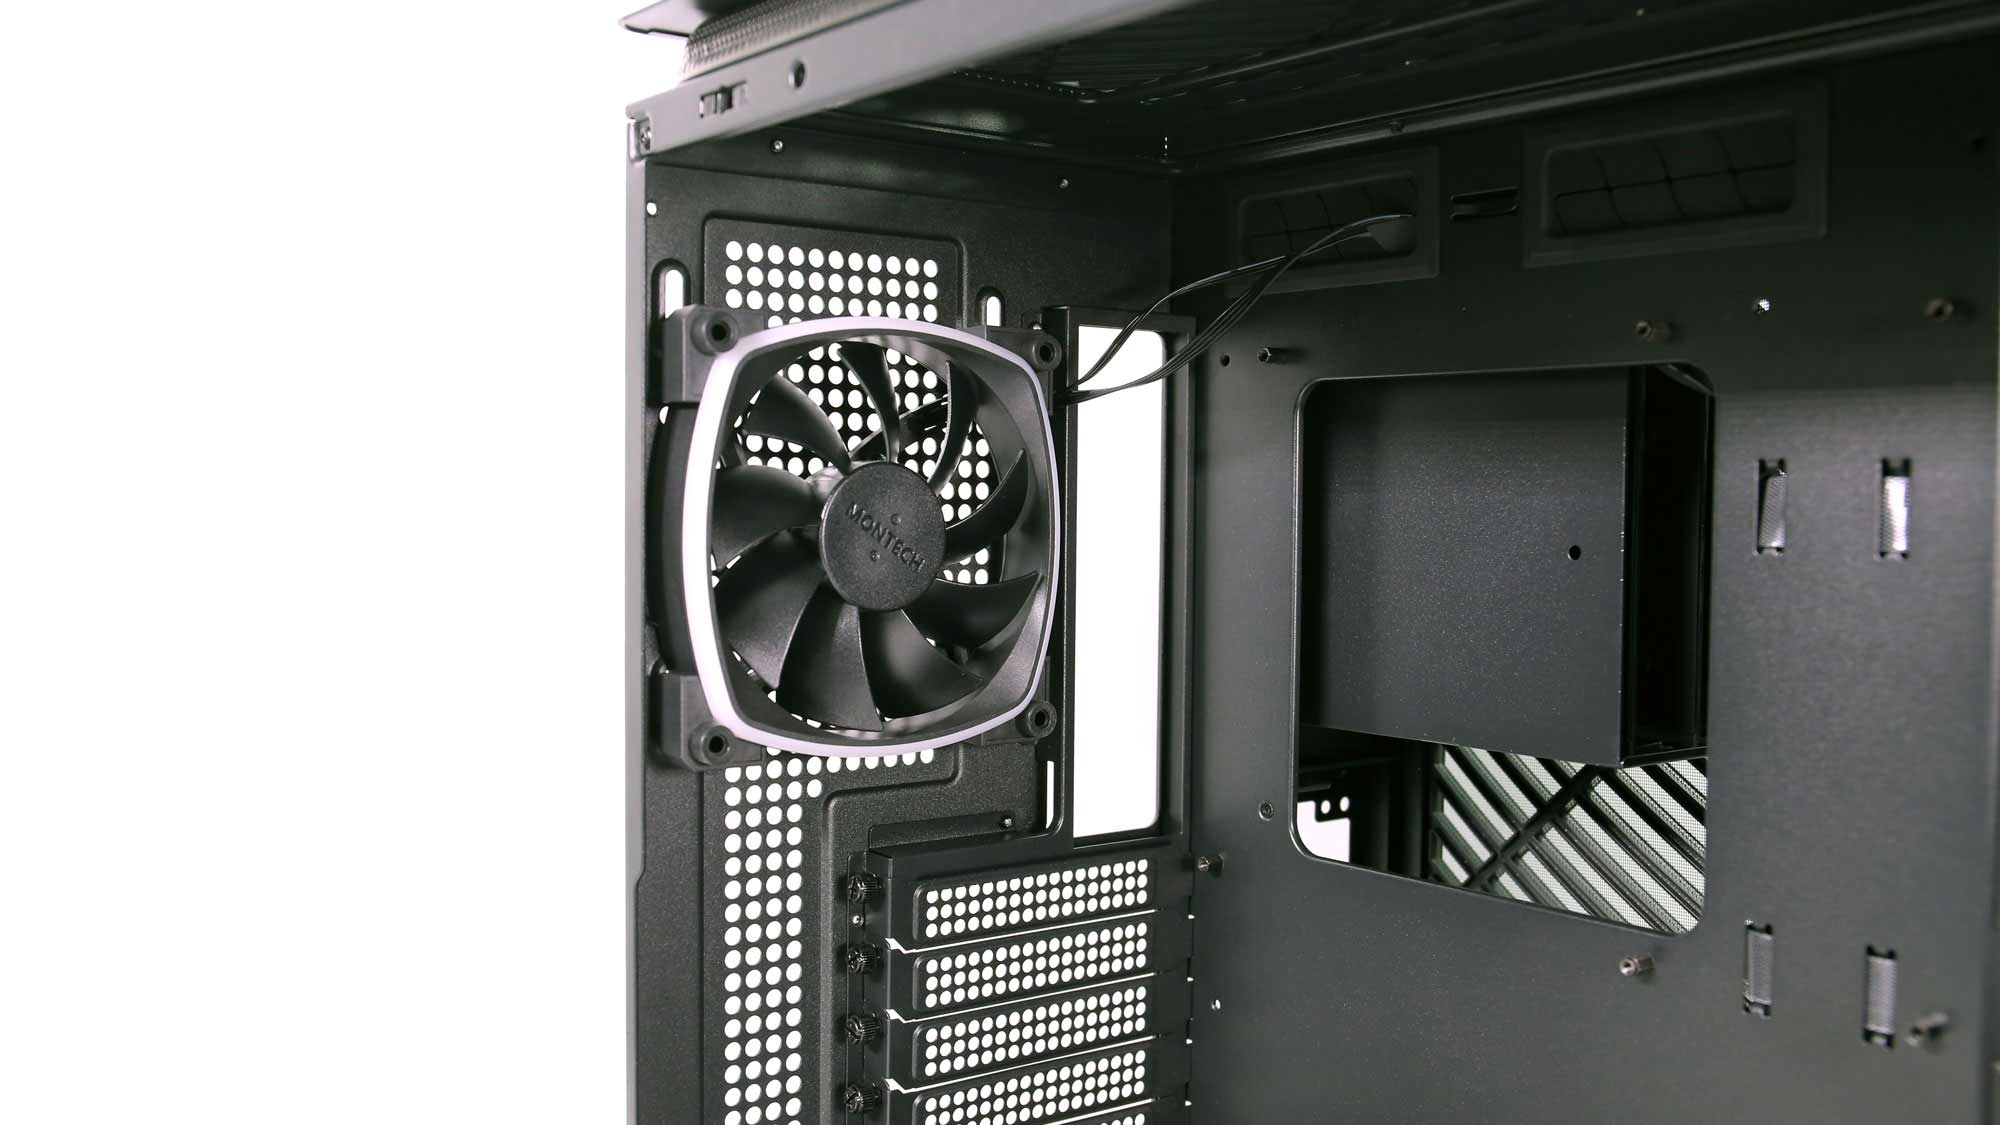
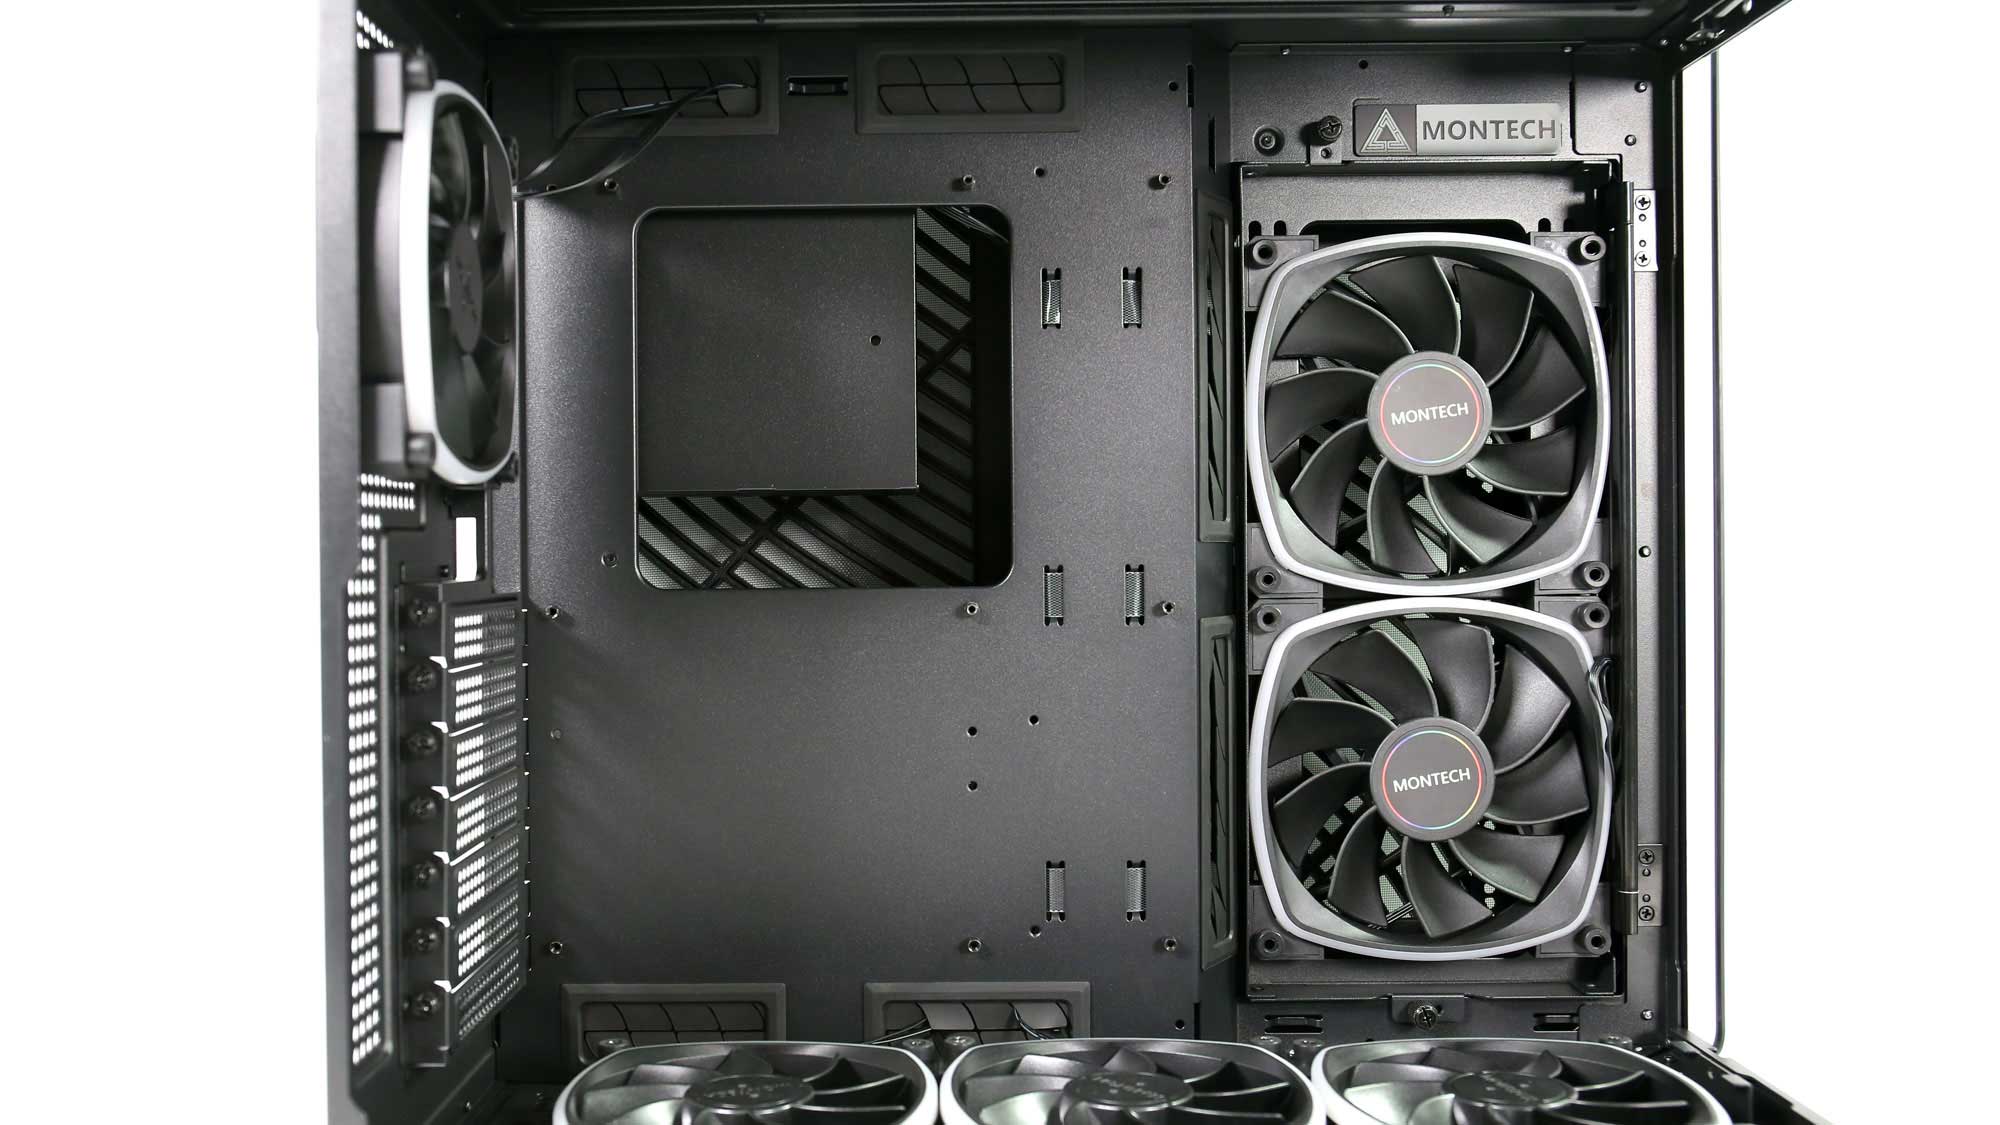
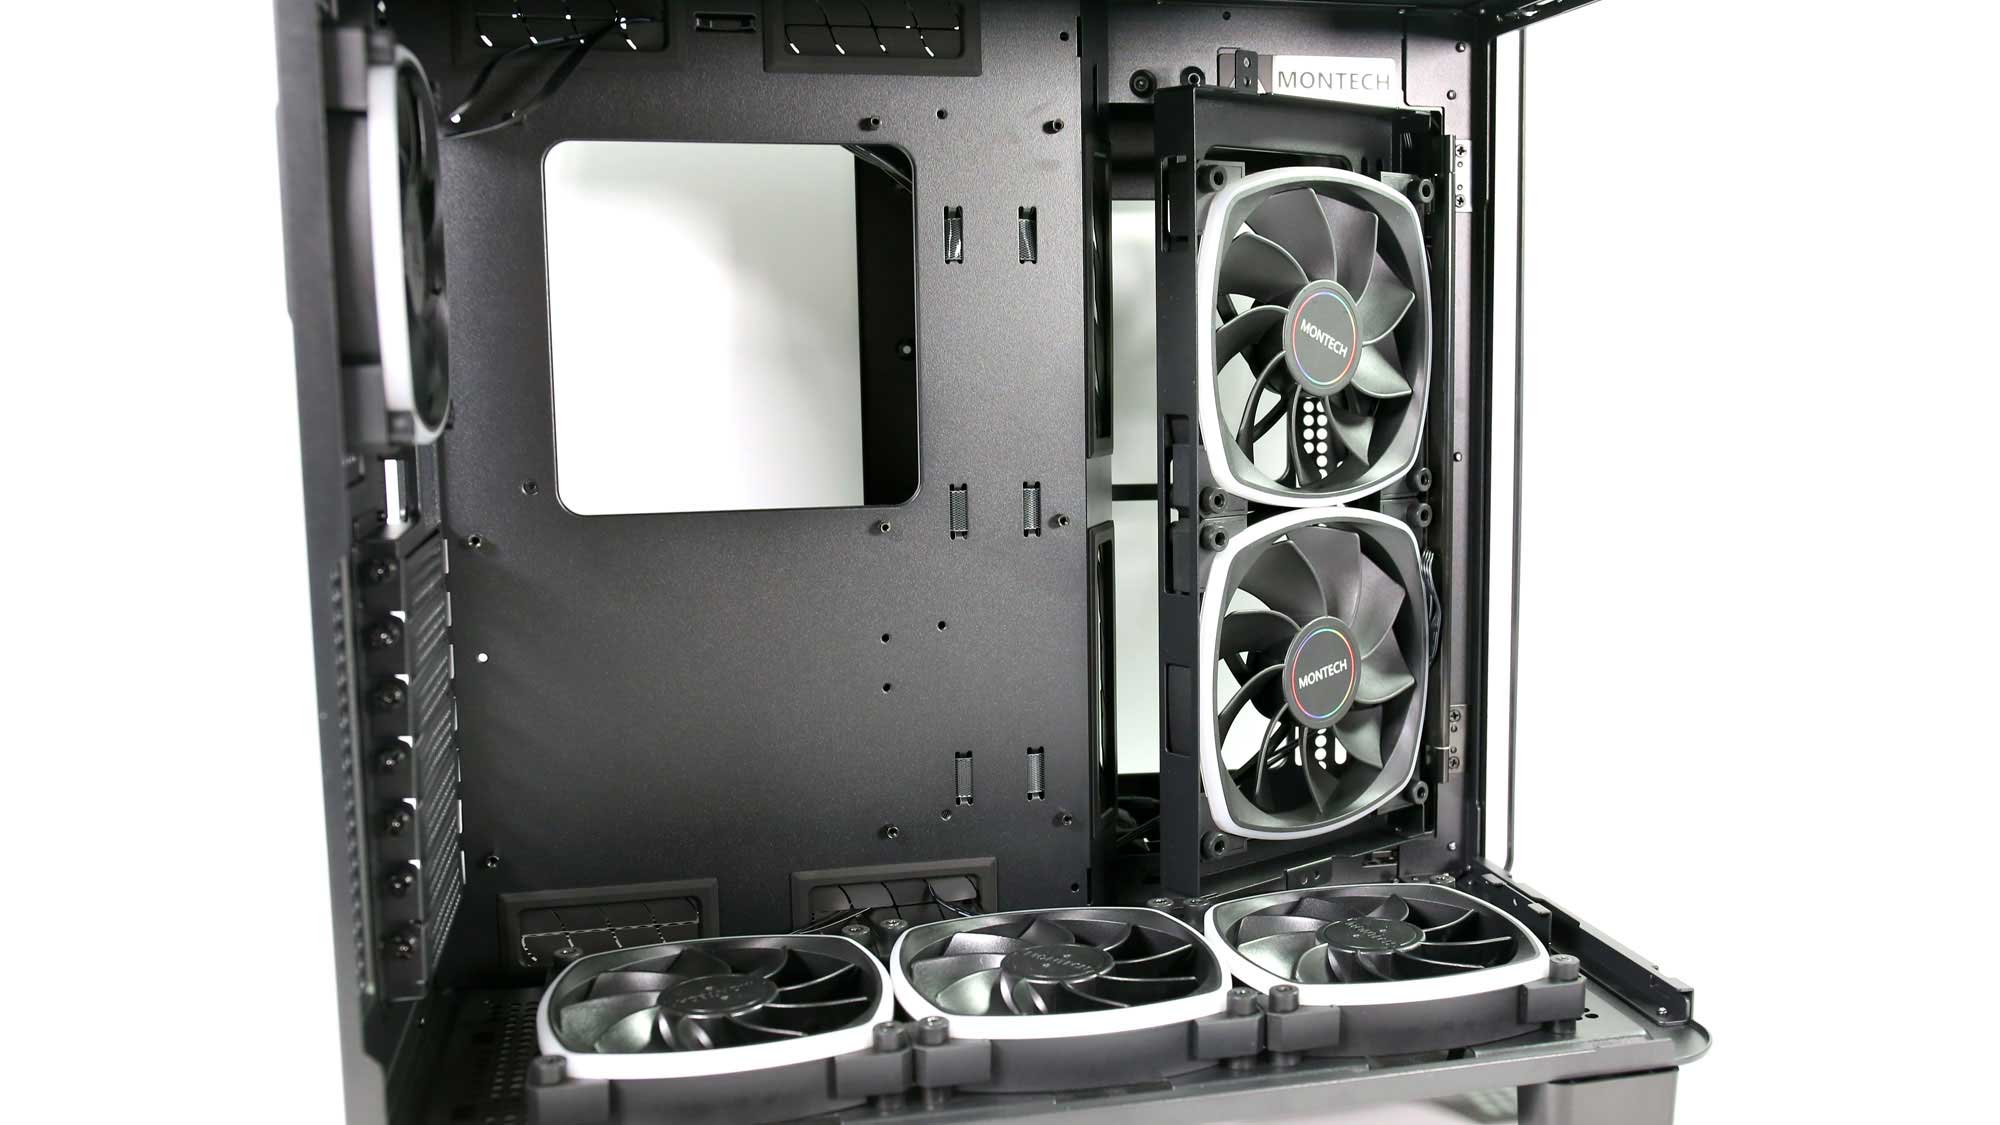
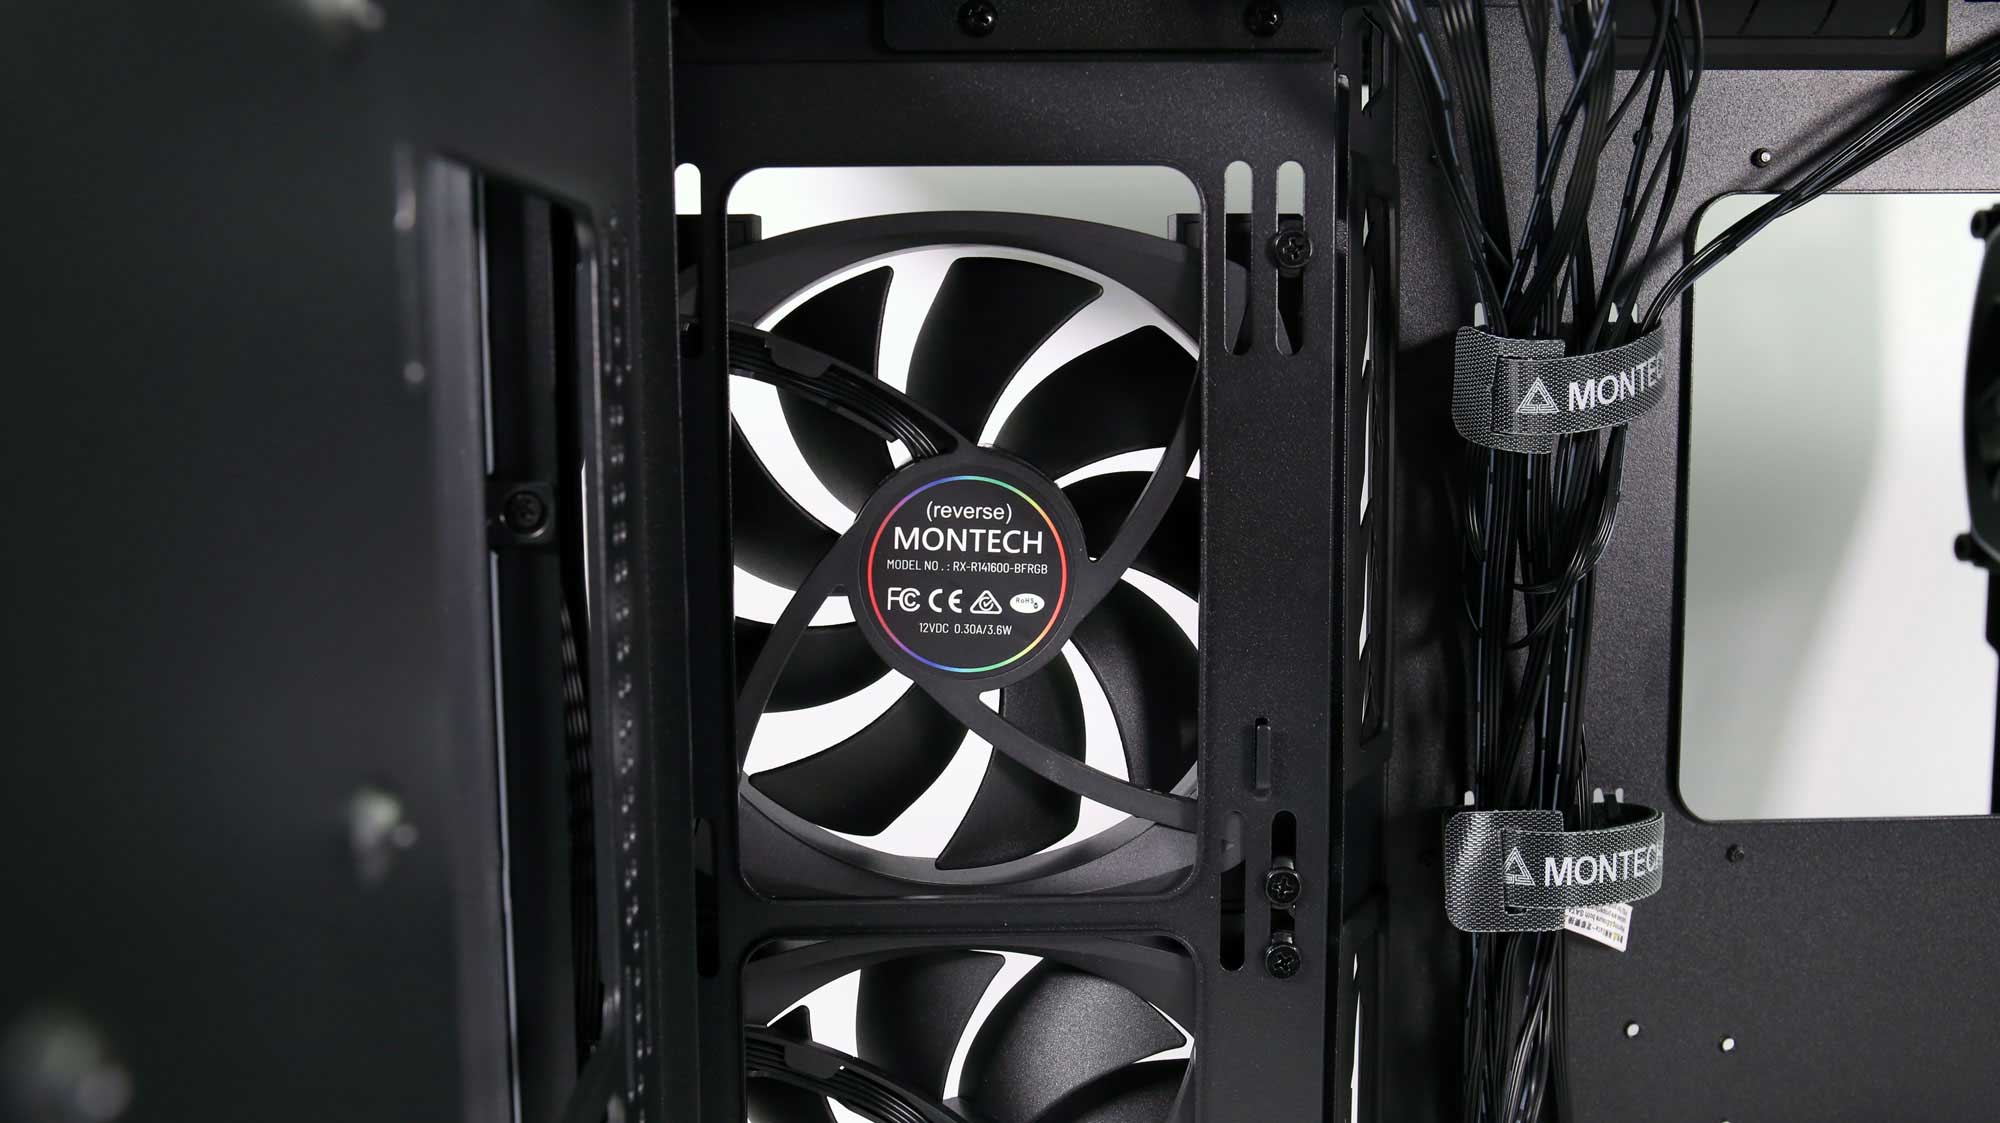
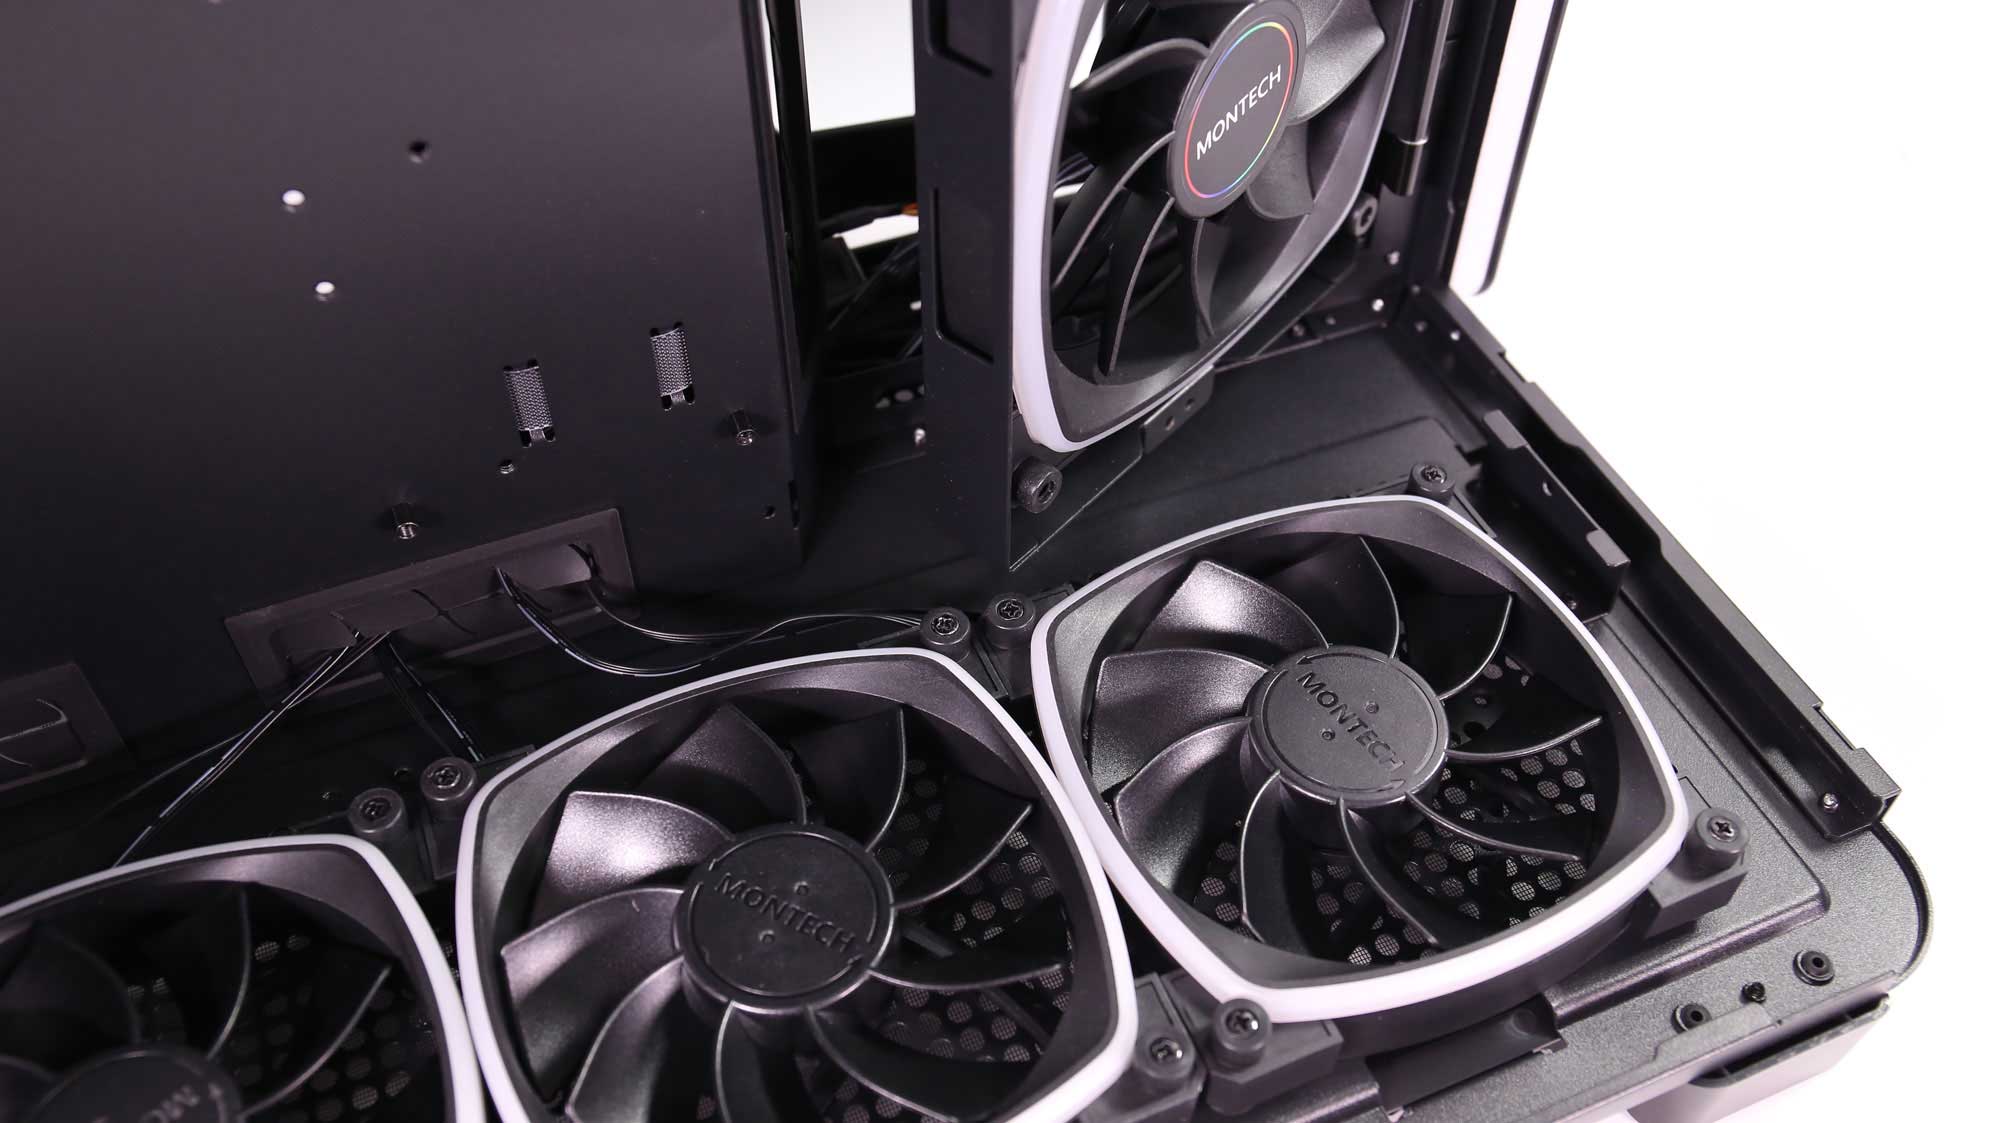
On the main chamber, there are a lot of cable pass-throughs with rubber grommets on the top, bottom, and beside the MB, positioned at an angle. Besides the motherboard tray, there are two more fans on a swiveling base that may be rotated and secured on a small tab that is on the bottom front side using a thumb screw. These fans are larger, with a diameter of 140mm each. It should be noted that five of the six fans are reverse-blade fans, with only the rear exhaust fan being an exception.
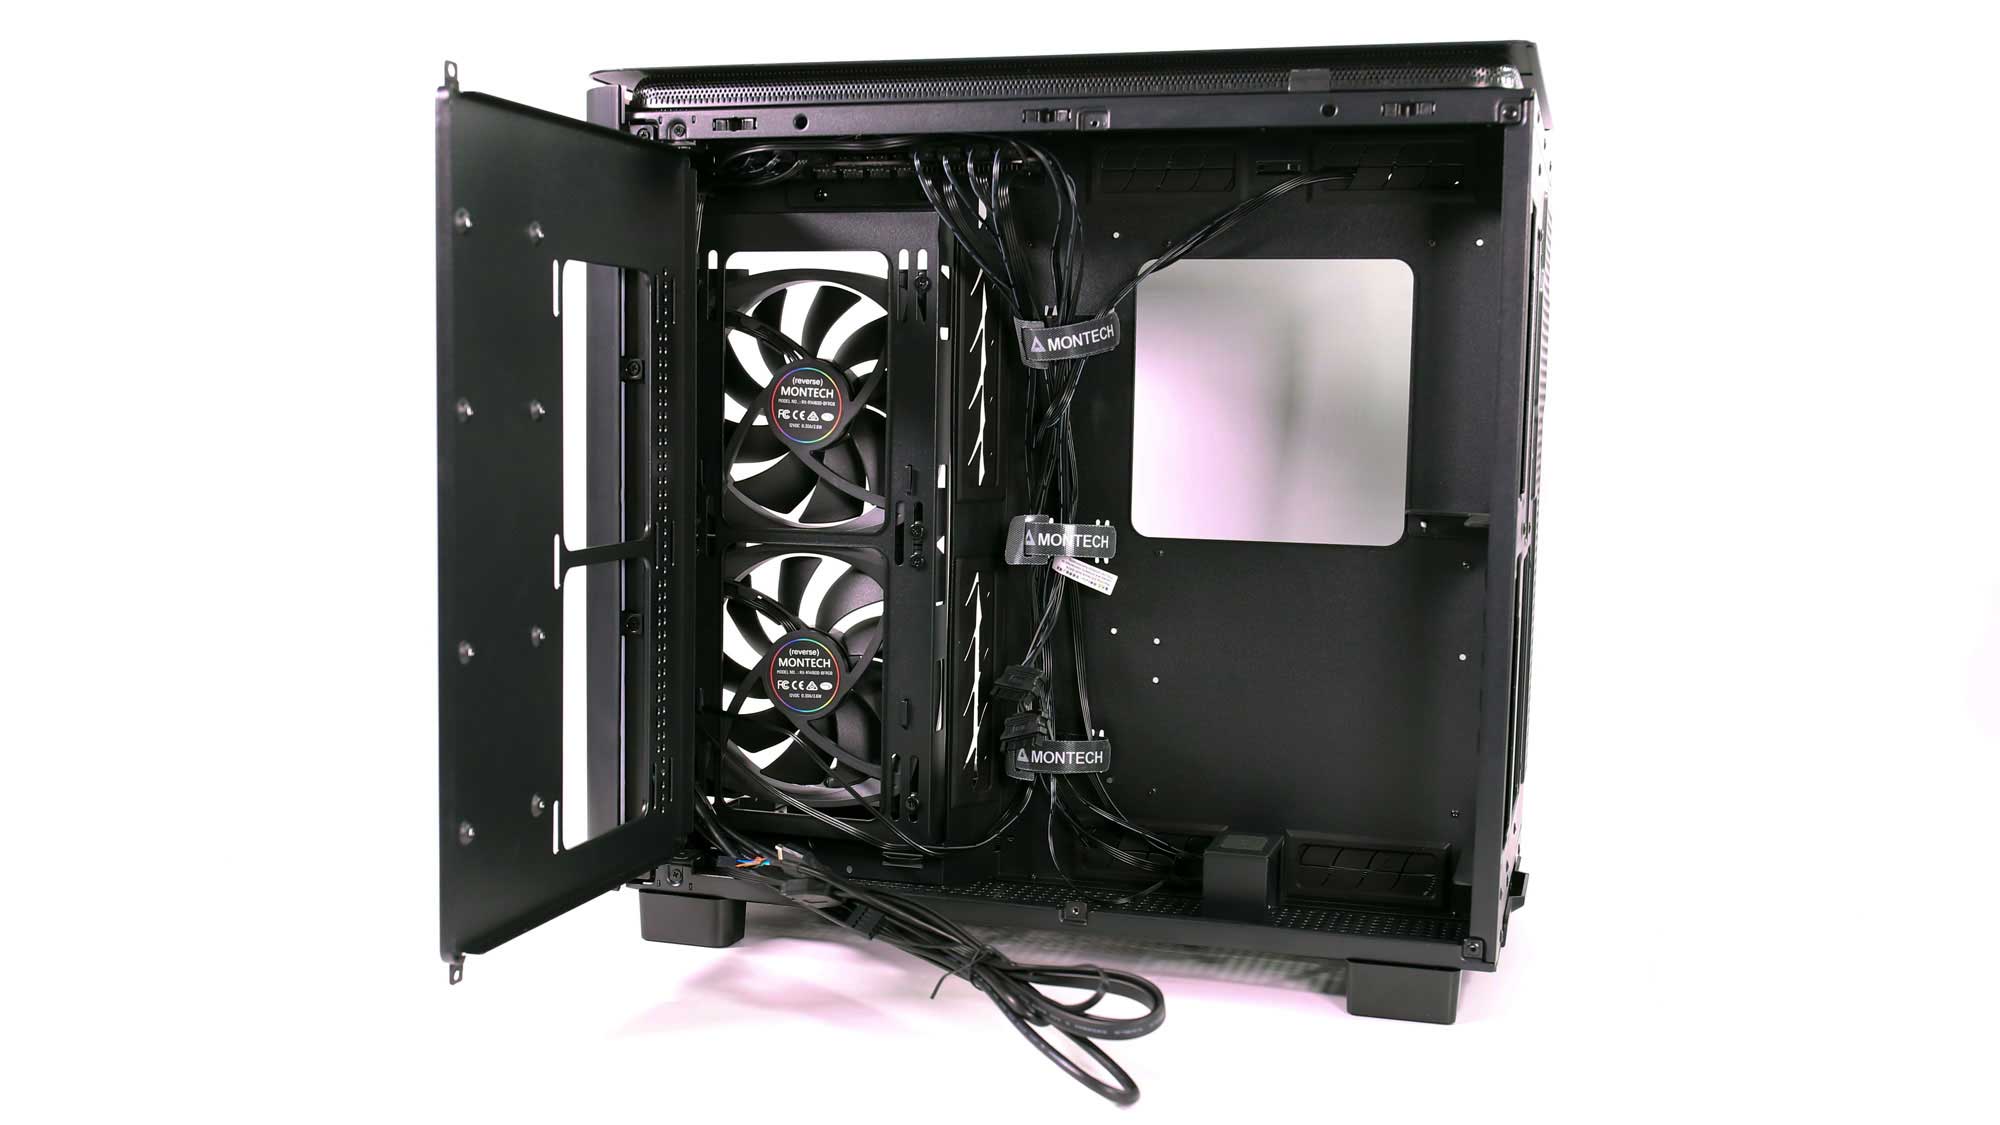
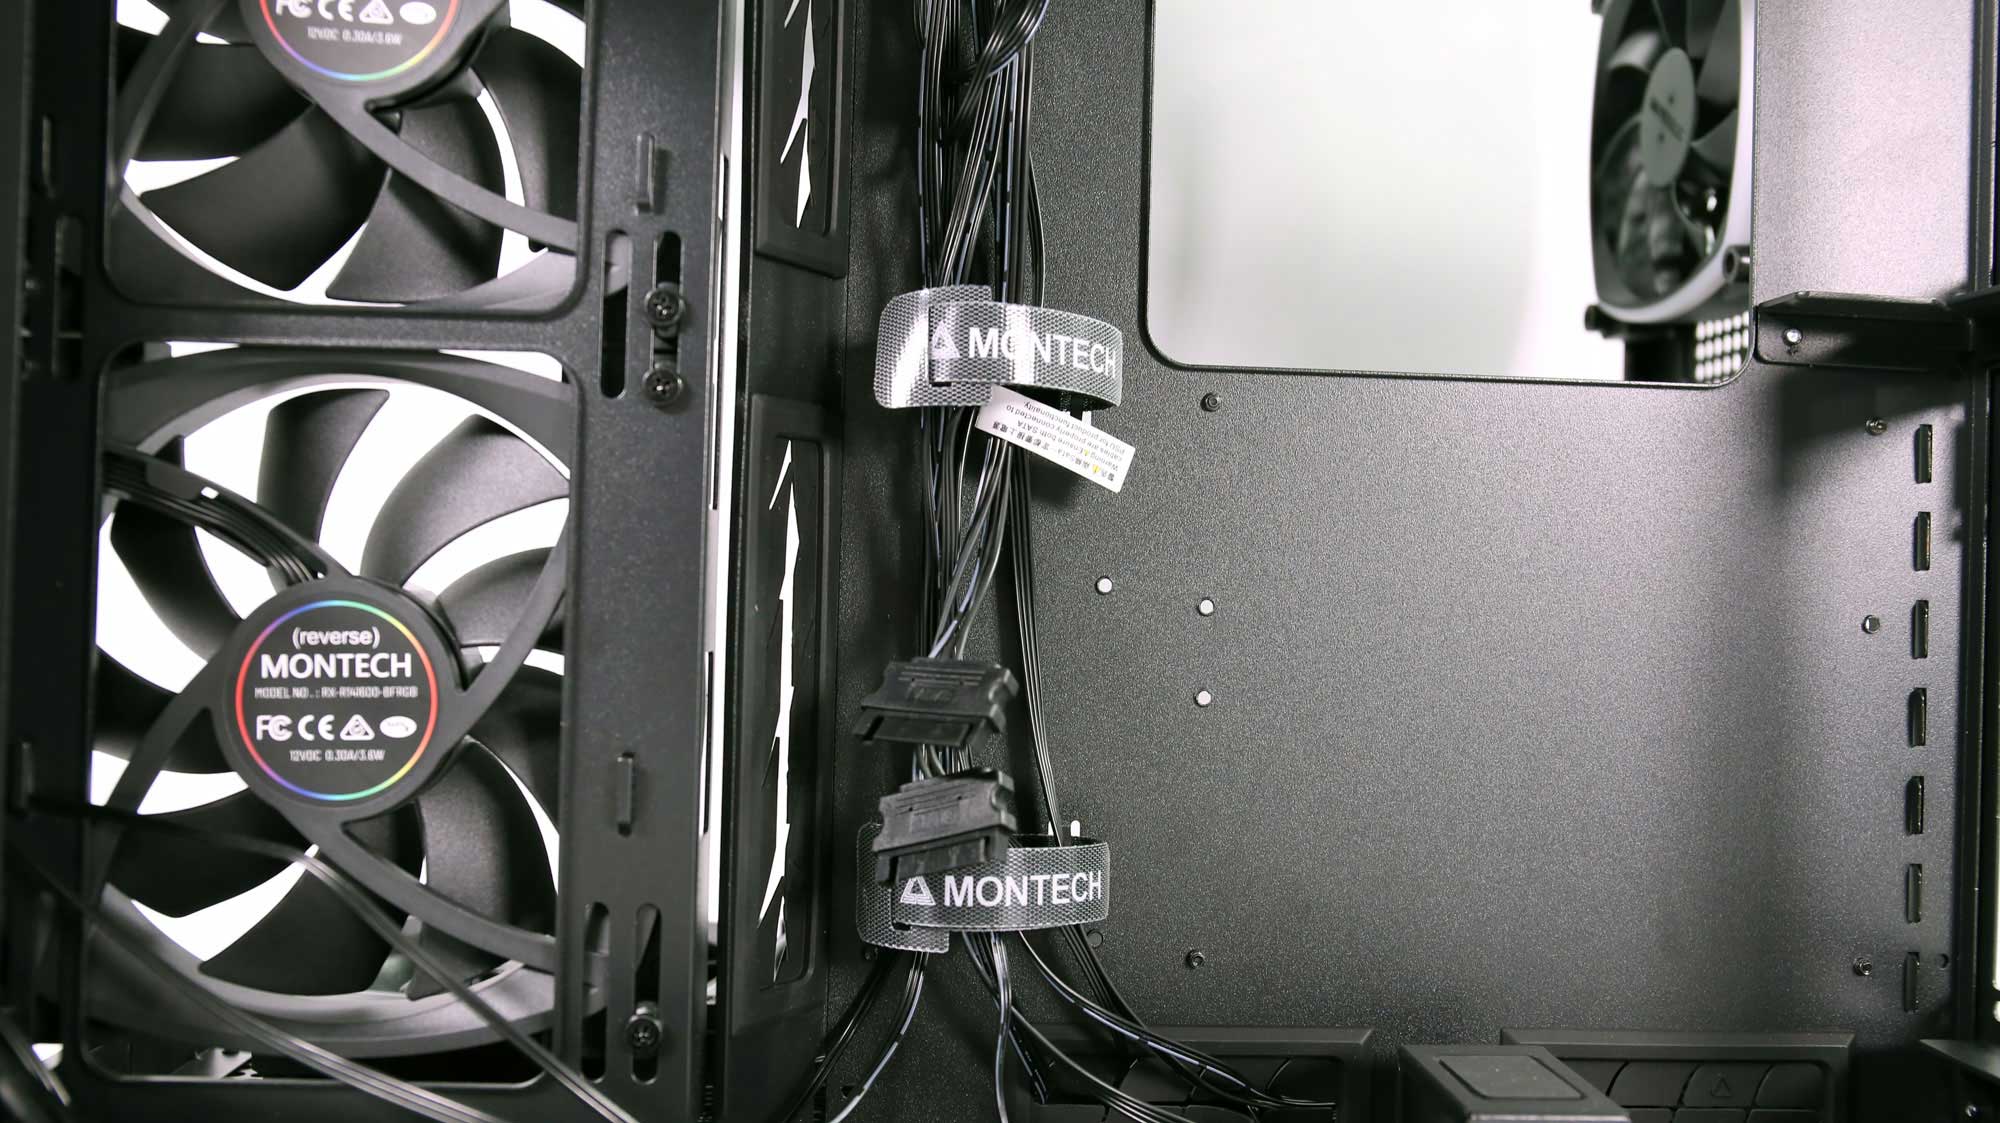
There is enough clearance behind the motherboard for cable routing and management. The hinged panel may also hide some of the cabling.
A bracket holds the side fans, making it easier to install them.
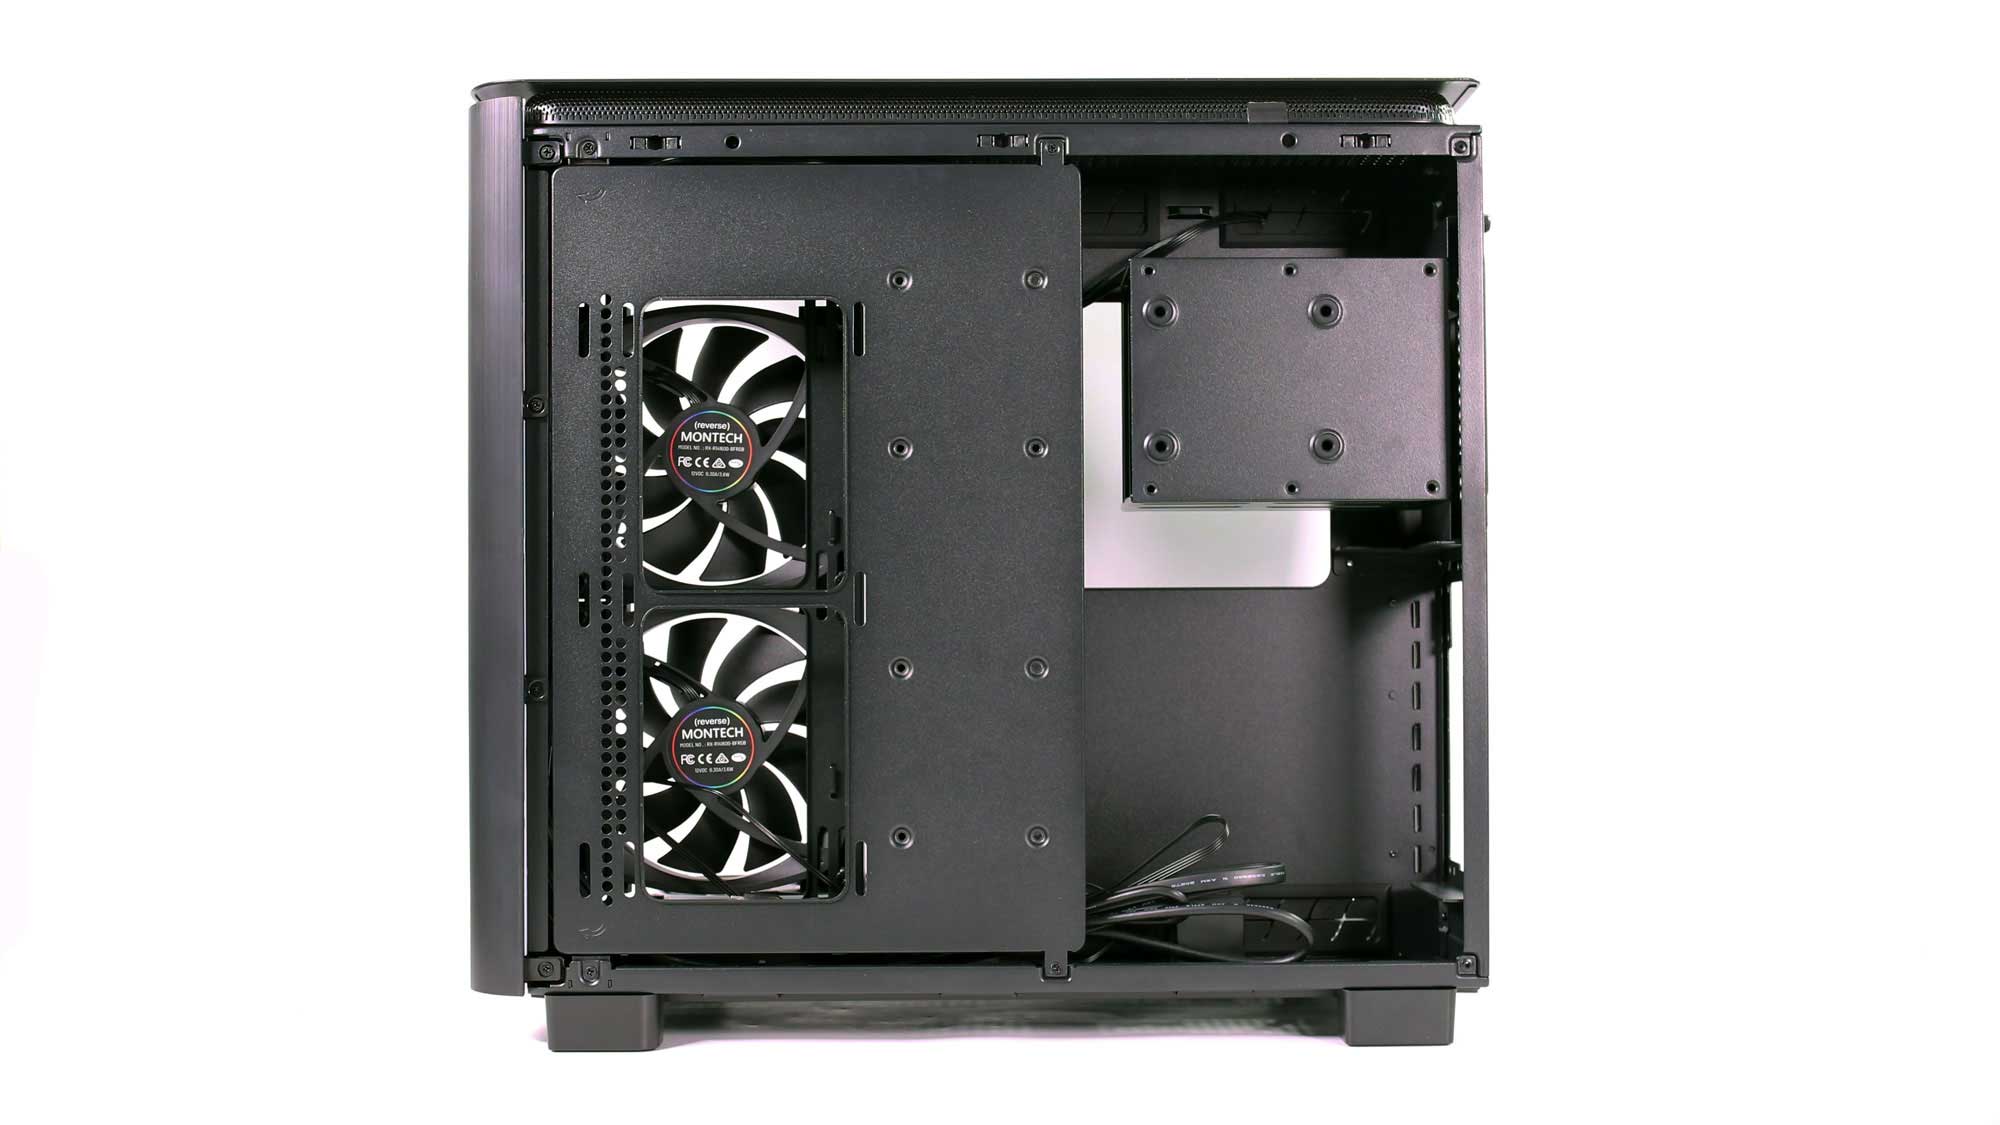
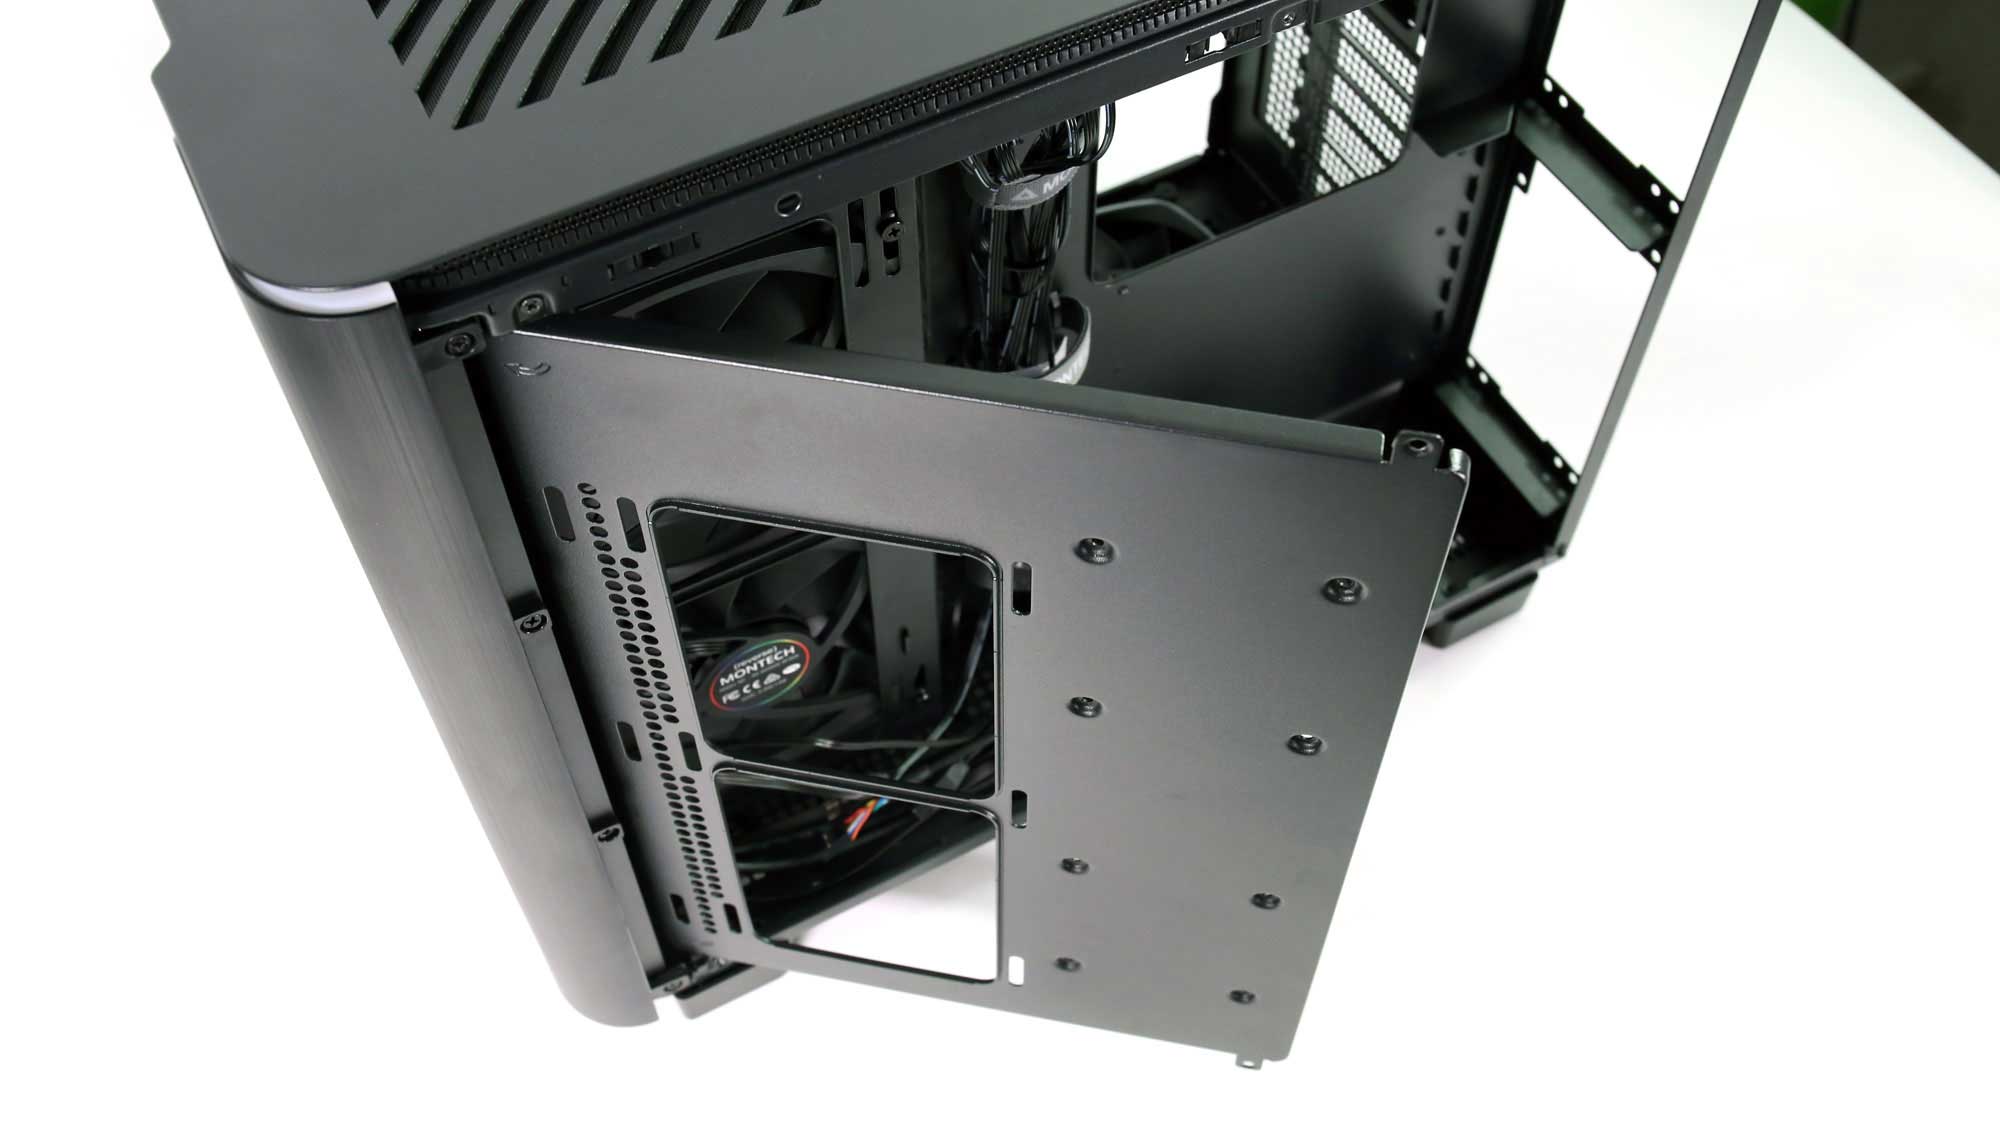
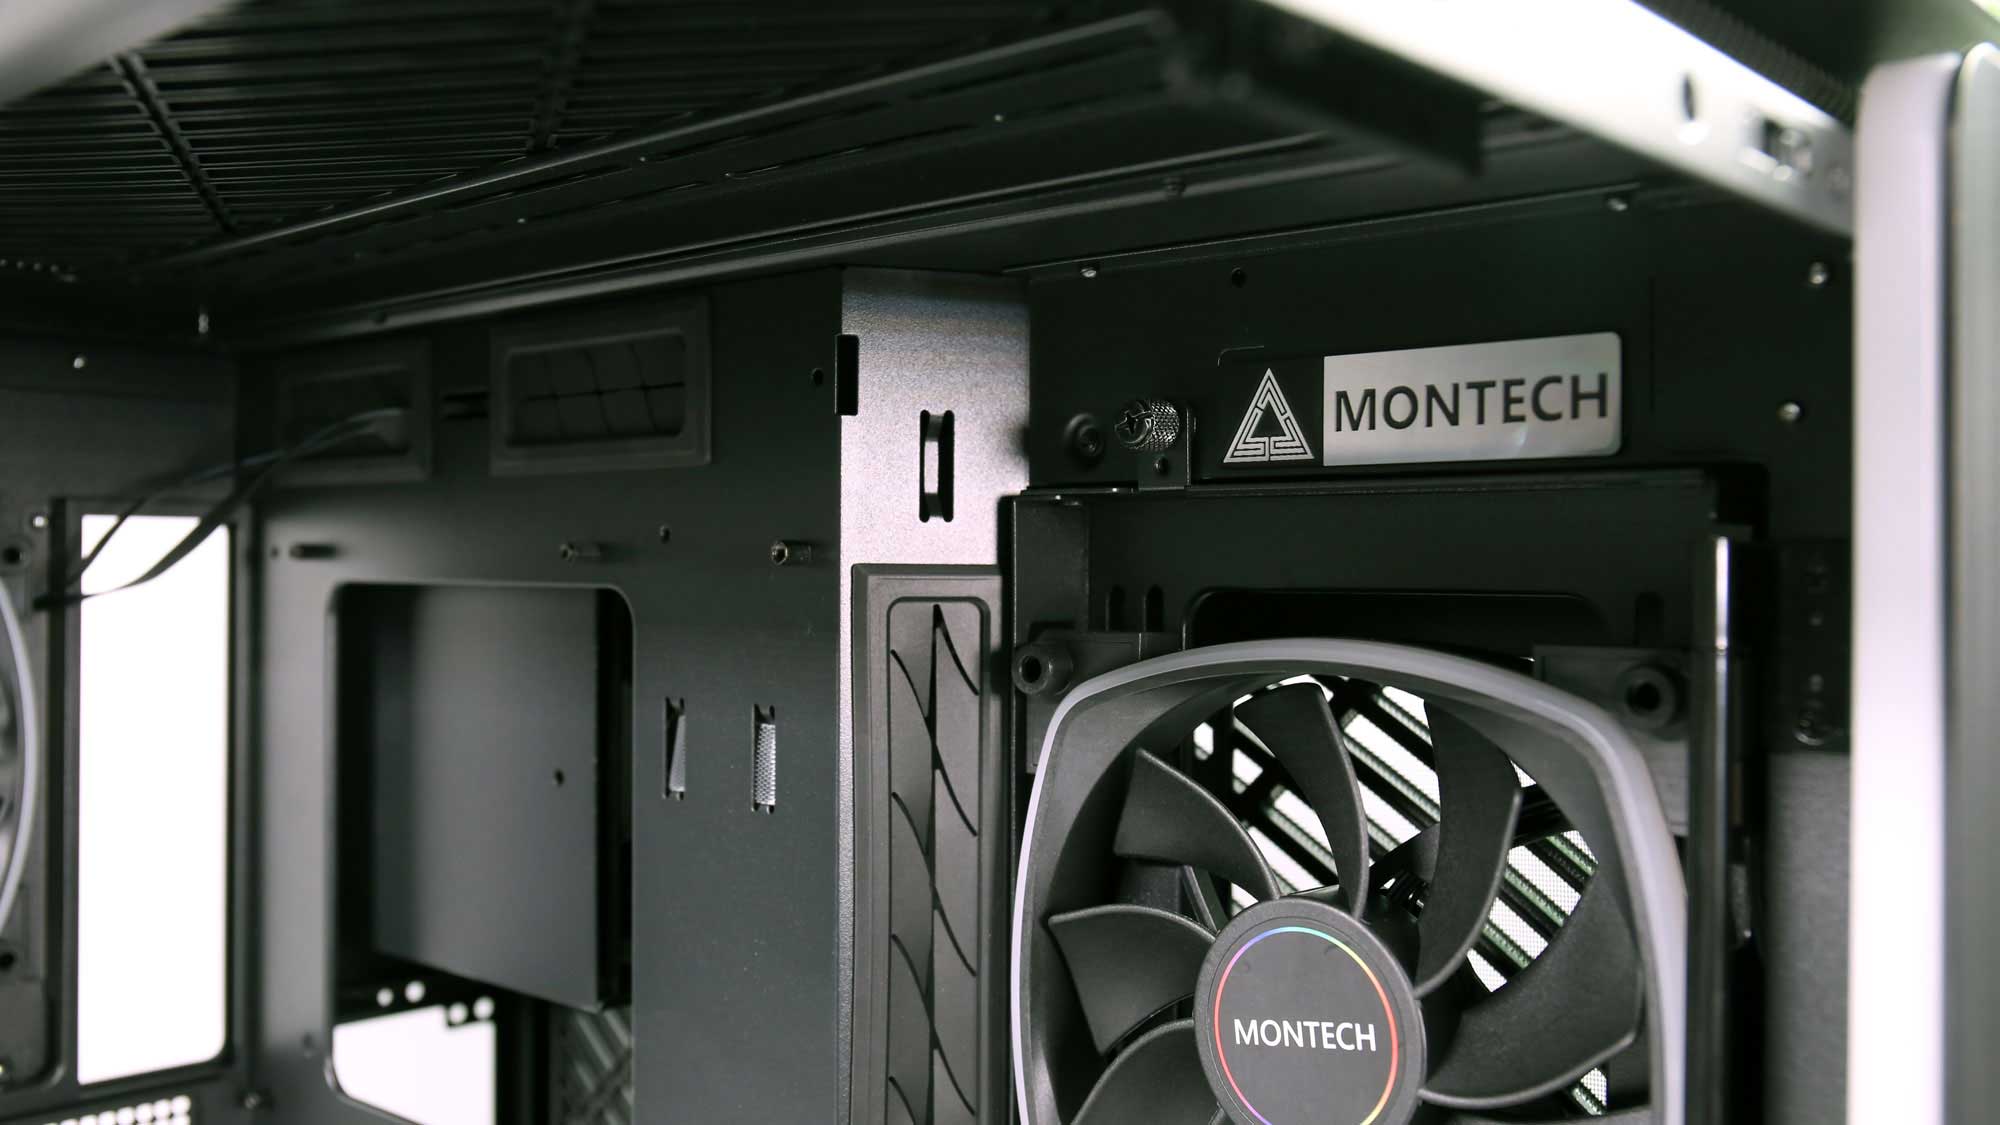
On the secondary chamber, you will find the rear-accessed HDD tray, the PSU mounting provisions, and a swiveling panel that may hold up to two 2.5-inch drives, two 120mm or 140mm fans, or even a radiator. This panel is also straightforward to remove, as the top hinge has a slot that makes it easy to slide out. The side panel covering the secondary chamber is mesh and mounted on the chassis like the tempered glass of the main side. Given the dual chamber design, building space is ample. In addition, the PSU vents directly outside the chassis.

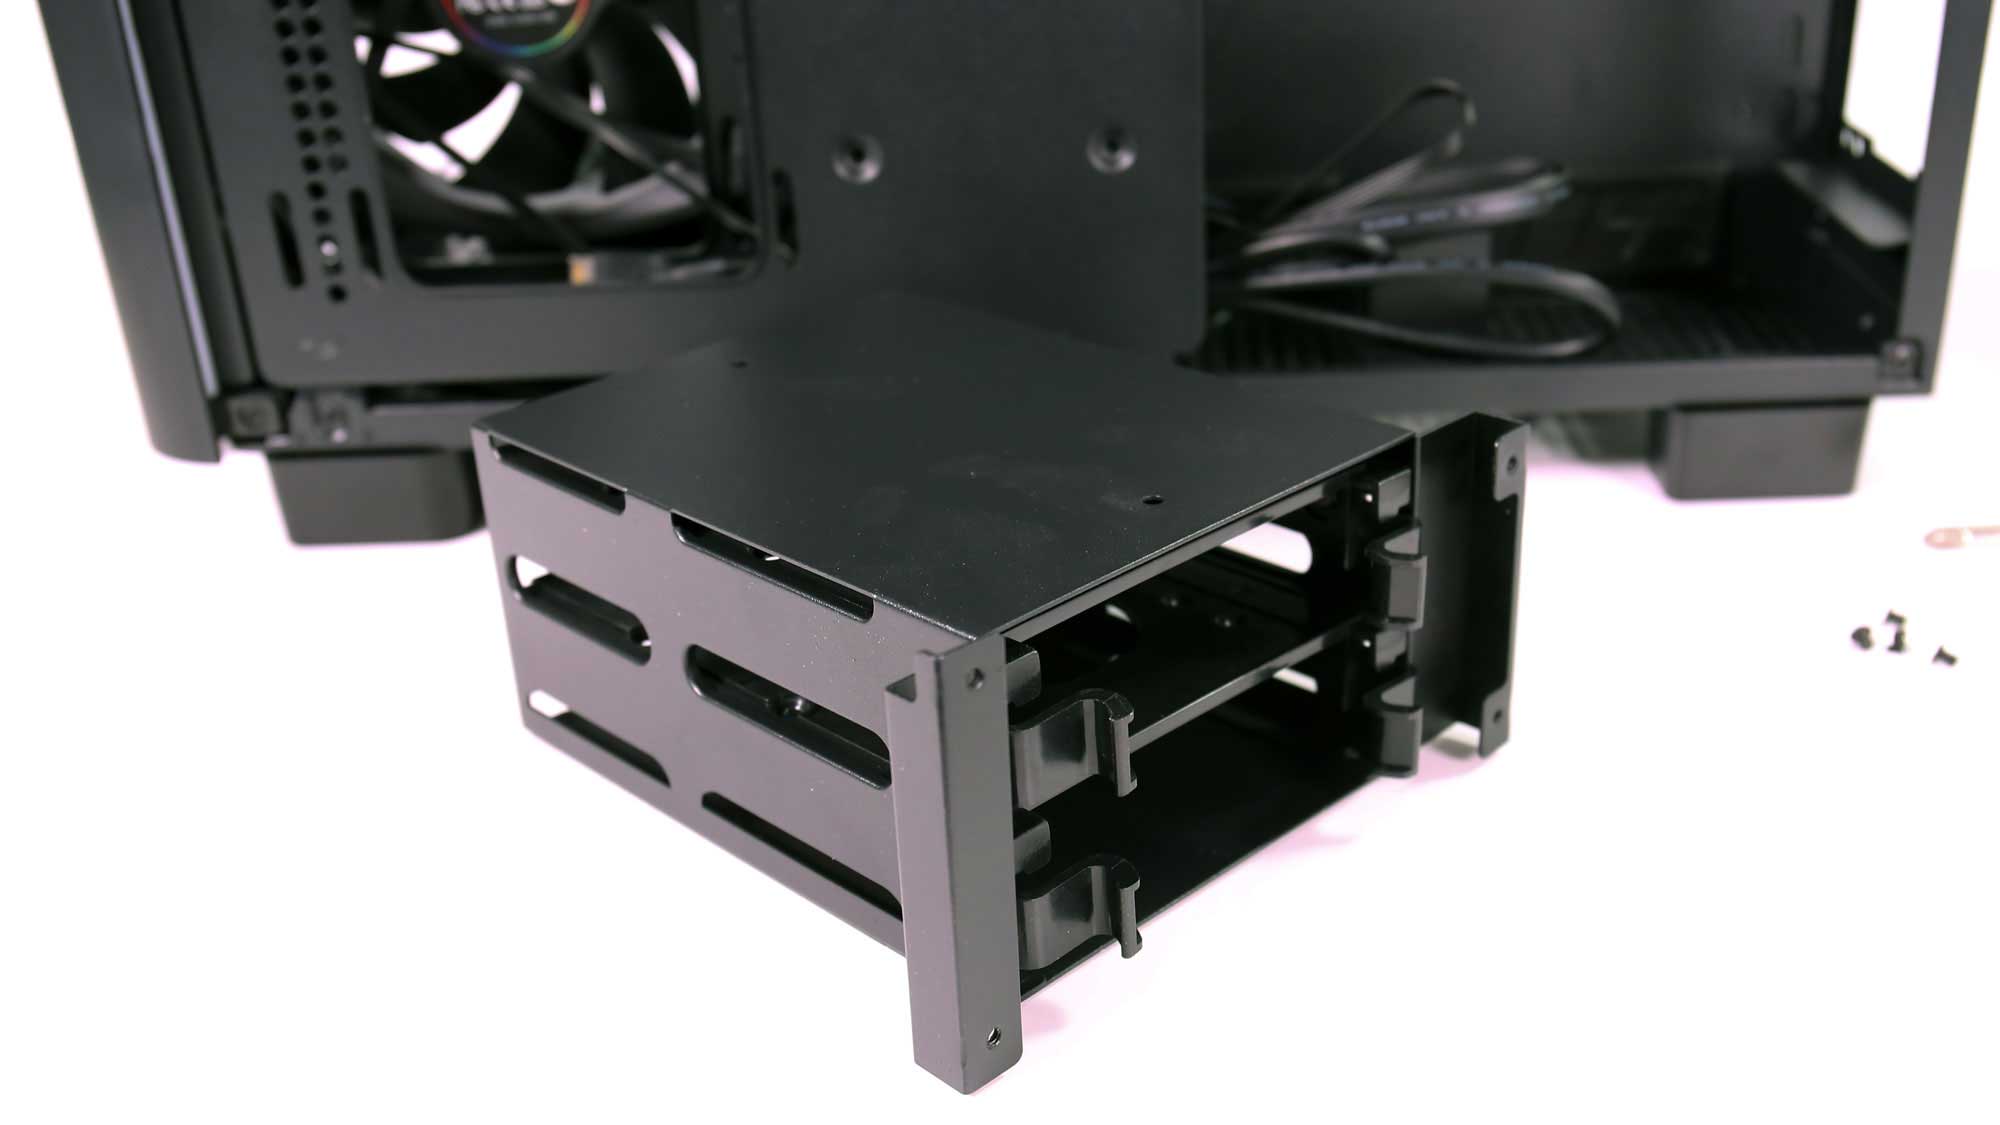
On the bottom of the chamber, you will find three preinstalled fans that may be removed and replaced with an HDD mounting bracket, also included in the box. The bracket allows the installation of three additional drivers, allowing for five HDDs or eight SSDs.
 |
 |
The cooler backplate access panel behind the motherboard is large enough to install any cooling solution without removing it from the chassis.
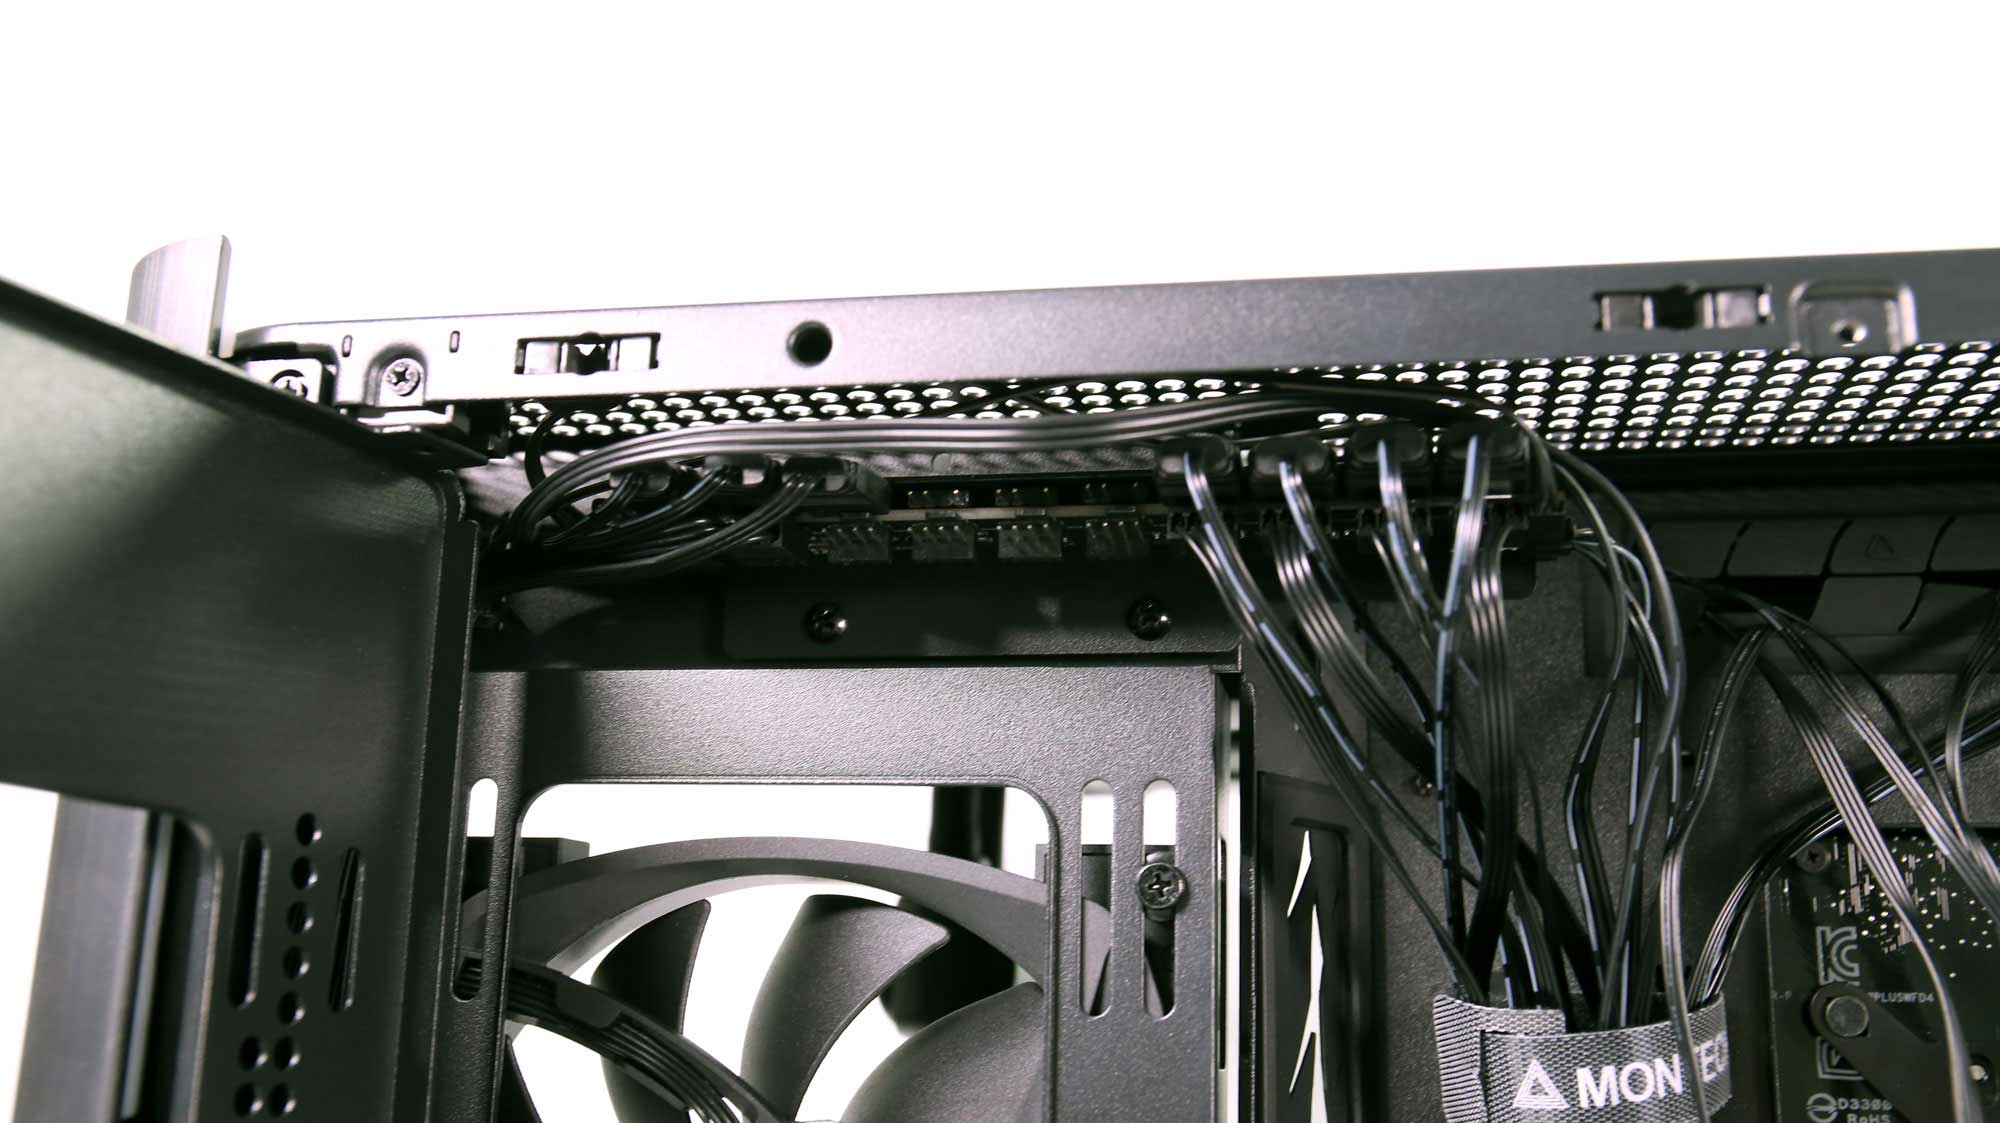
You will also find a nicely concealed fan controller with ten fans and ten ARGB connectors on this side of the chamber! Unfortunately, it is only a hub, meaning there is no individual fan control, but this is to be expected in this price bracket.