Remarks & Assembly Procedure
The mainboard tray comes with preinstalled mounting pegs; however, one of them was misaligned.
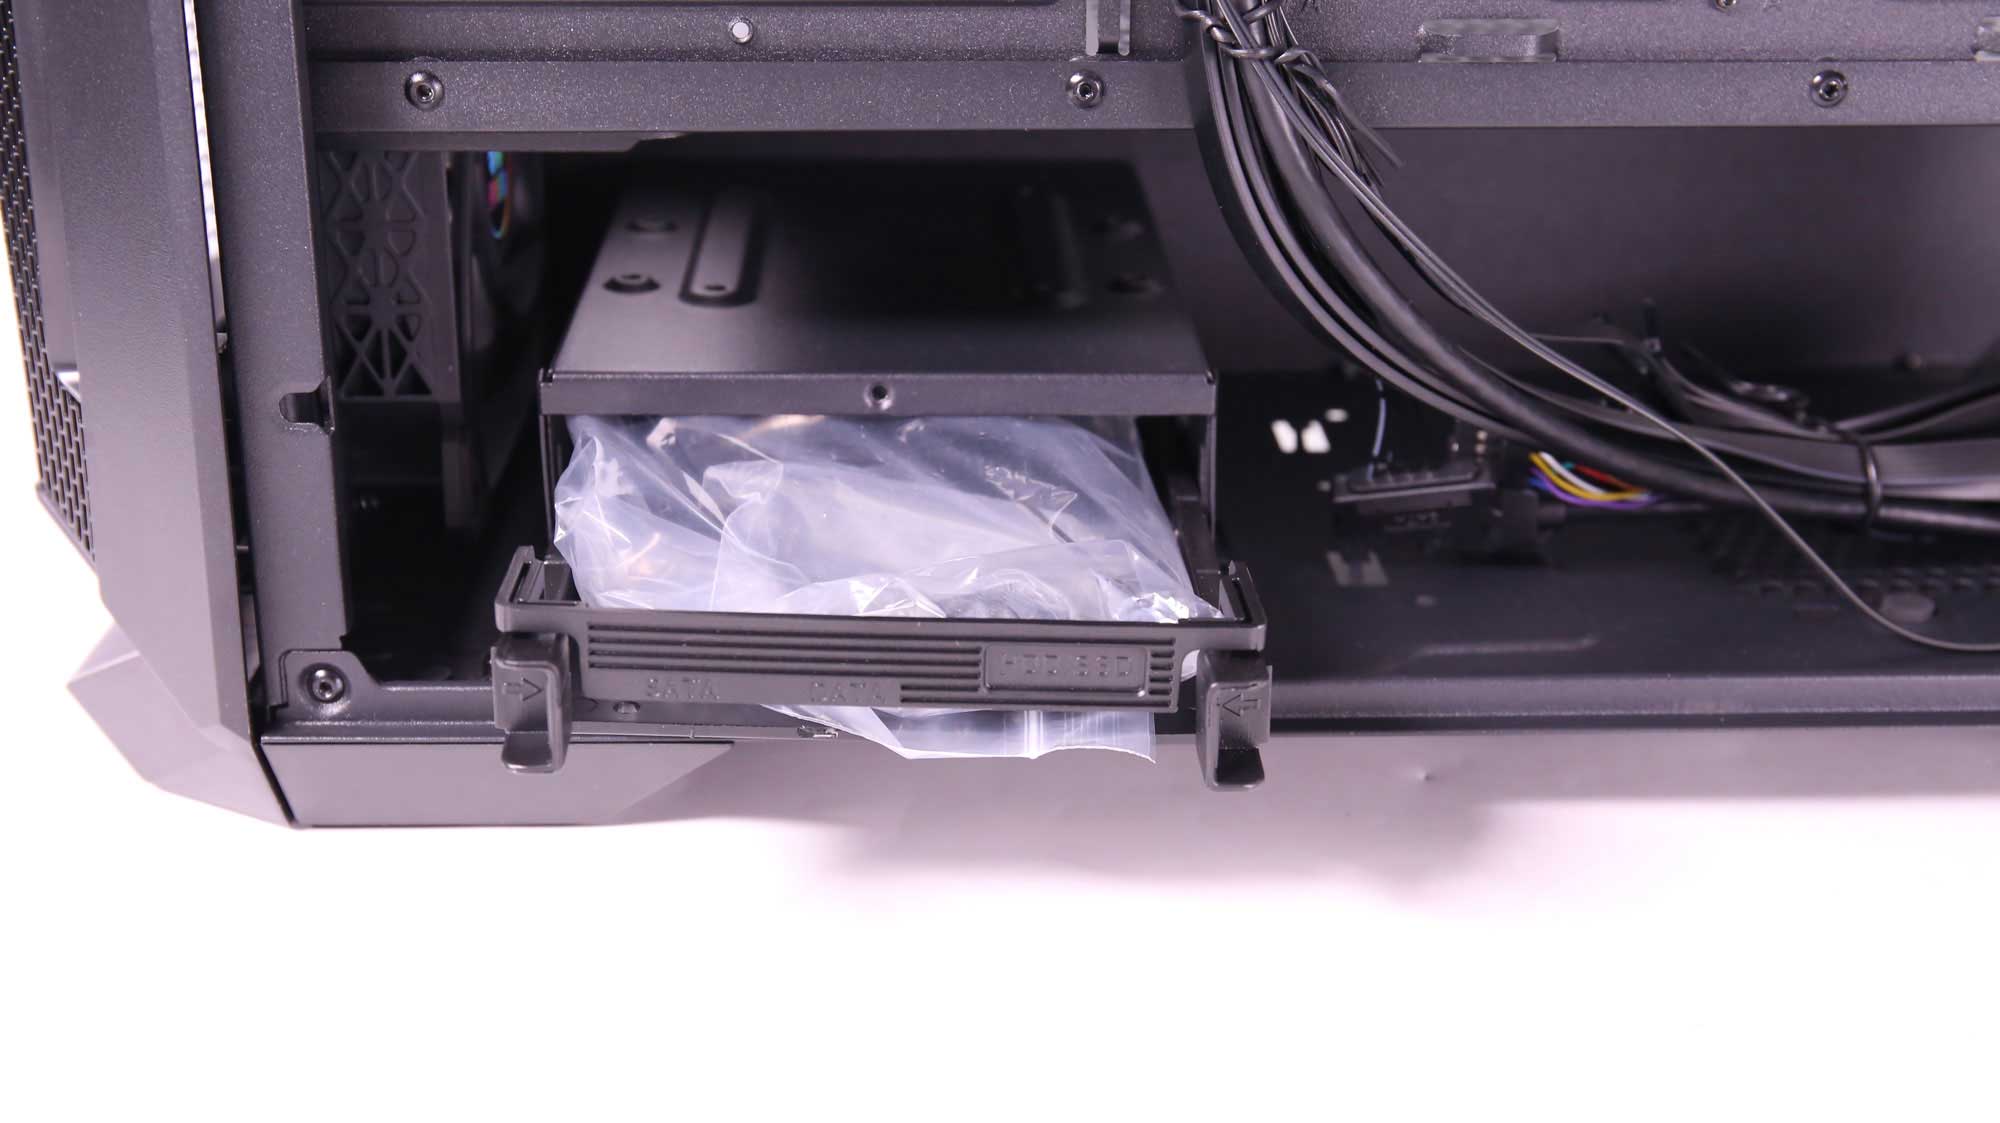
Removing the HDD cage requires the removal of just one thump screw and helps install the PSU, route, and connect its cables. The HDDs have to be screwed in place. The SSD brackets are mounted behind the mainboard but lower than the CPU, so we do not expect high thermal impact from the CPU.
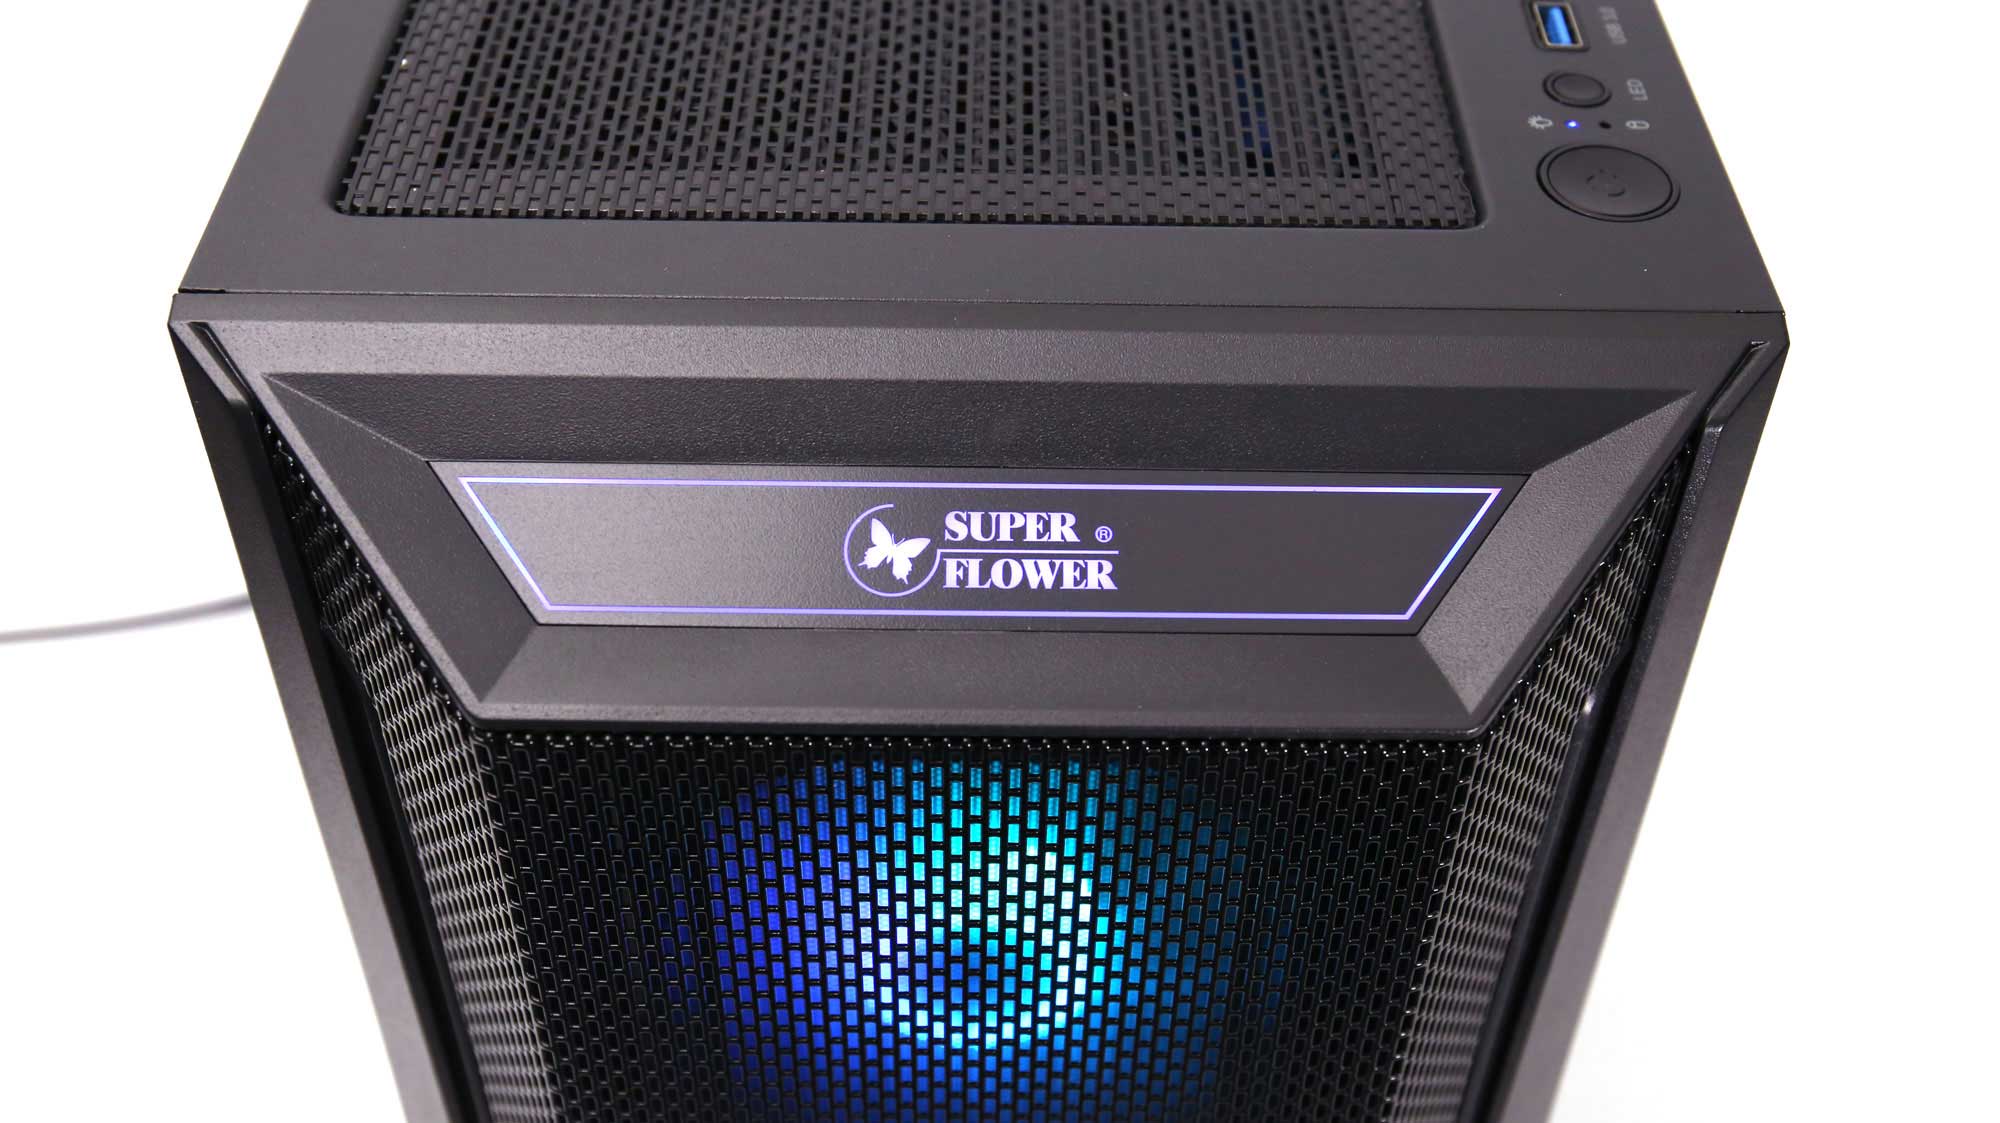
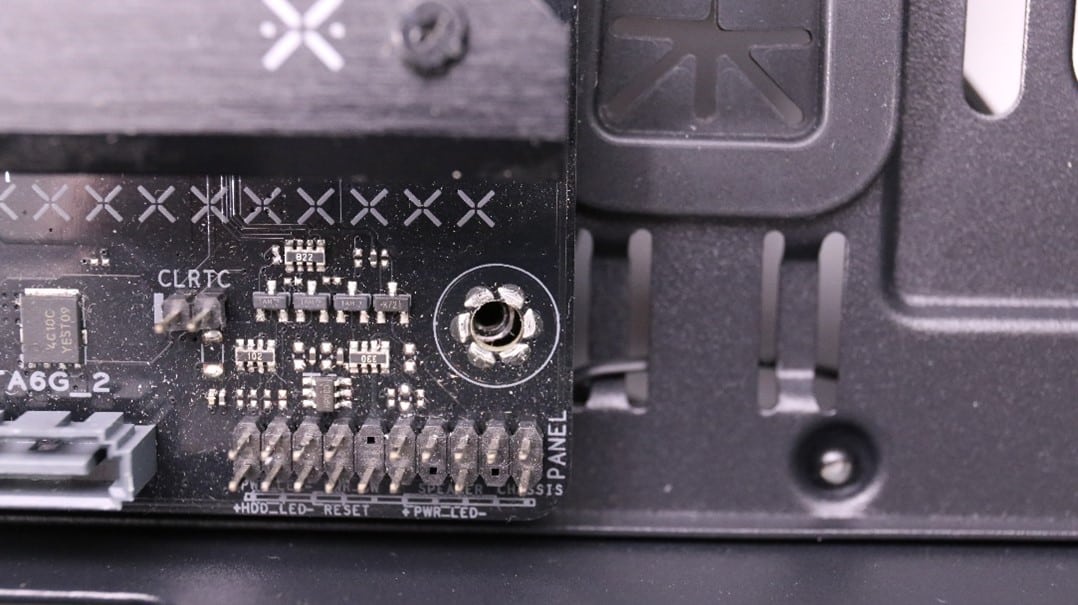
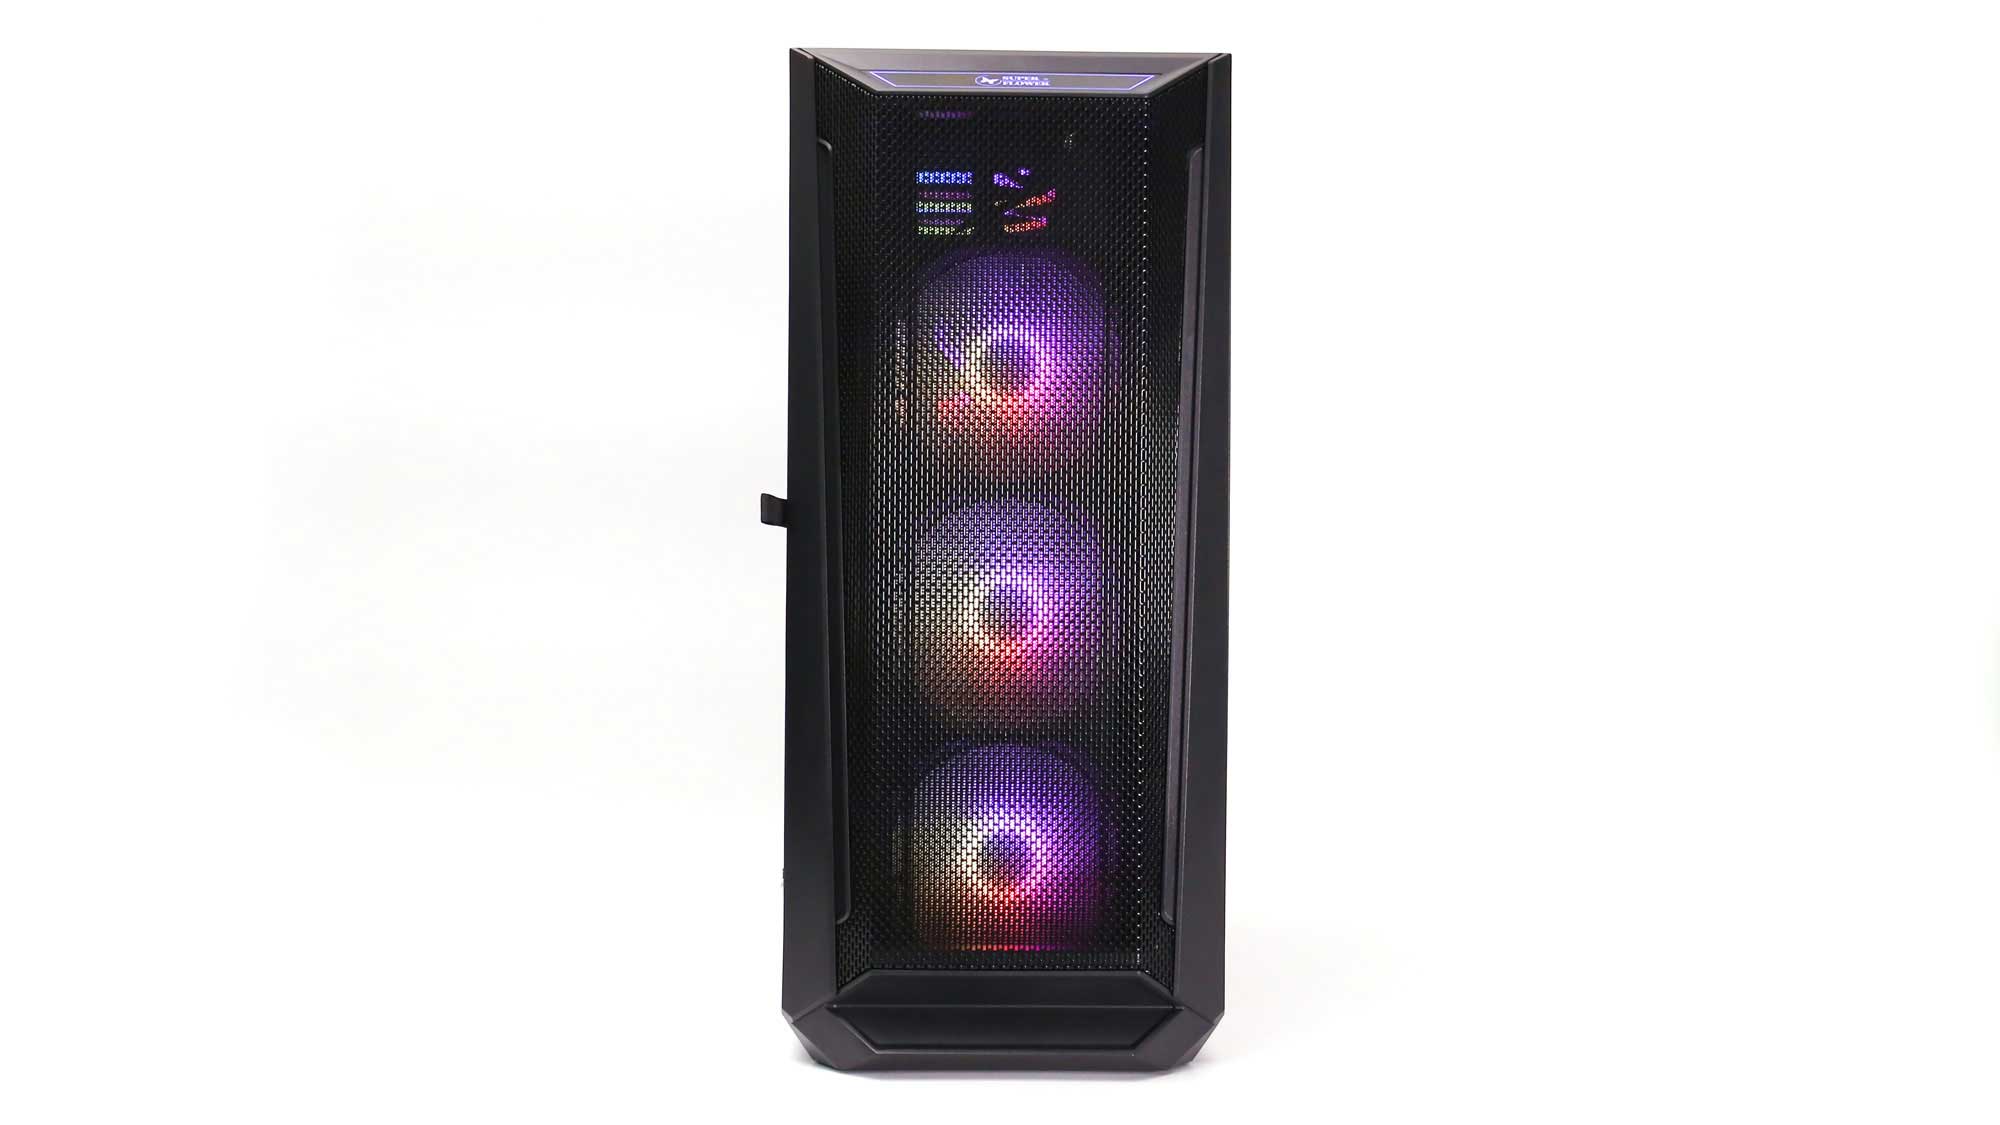
The Super Flower logo on the front panel lights up in the classic SF color, but it requires a Molex connector, forcing us to use another cable. Given the proximity to the fan and ARGB controller, it might have been better to attach the power connector directly to the controller or use a SATA connector instead of the no longer widely used 4-pin Molex.

The integrated fan hub is nice to be included, given the number of preinstalled fans. In the demonstration build, we used all of the available connections. The AIO pump and the water block’s ARGB were plugged into the mainboard.
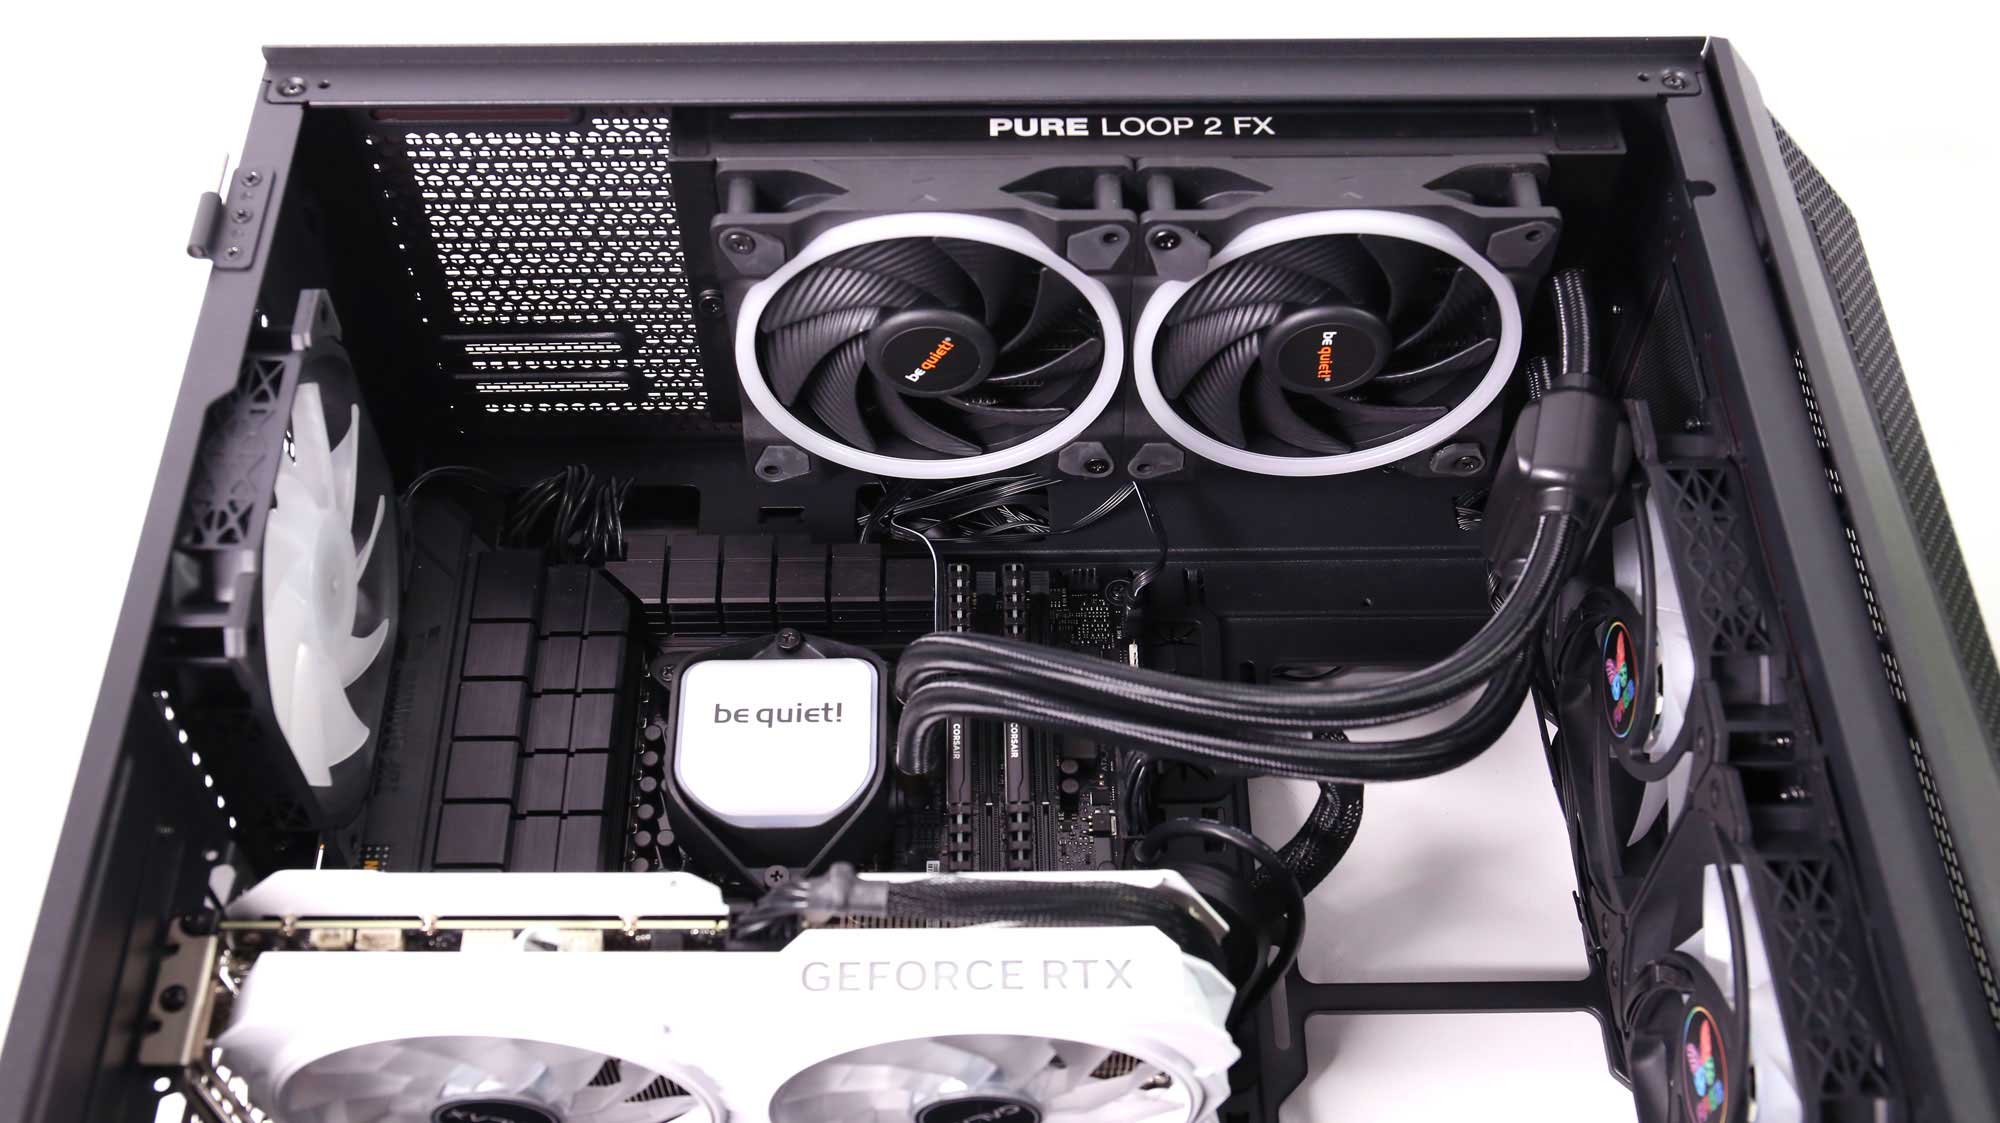
If the AIO mounted on top were larger or placed further to the left, installing the EPS cables would be harder, if not impossible. Therefore, attention should be paid to the installation order. Additional clearance would be very useful.
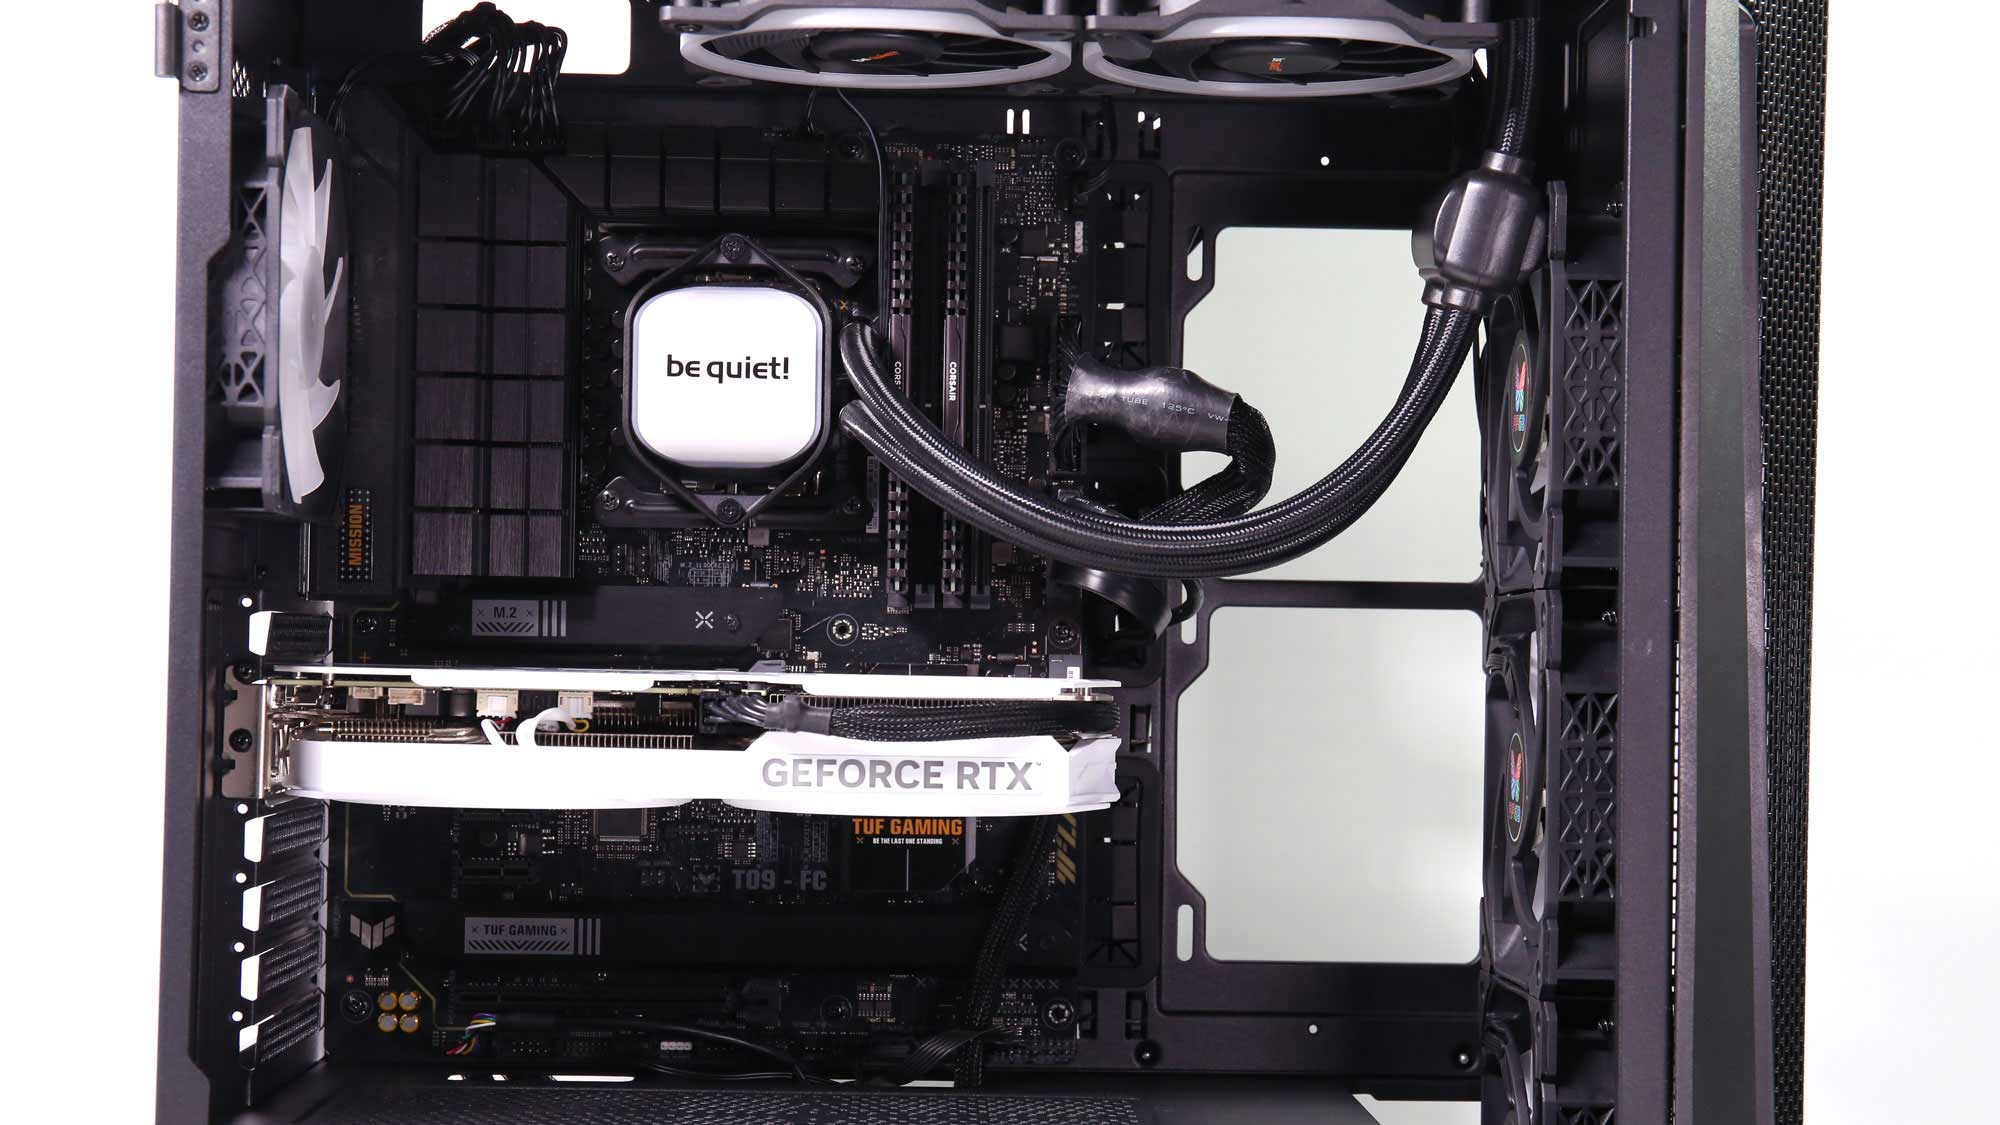
Despite the support for longer GPUs, there is no anti-sagging solution, which is a major downside. Although vertical mounting is supported, aligning GPUs with aftermarket PCIe extension brackets may be hard.
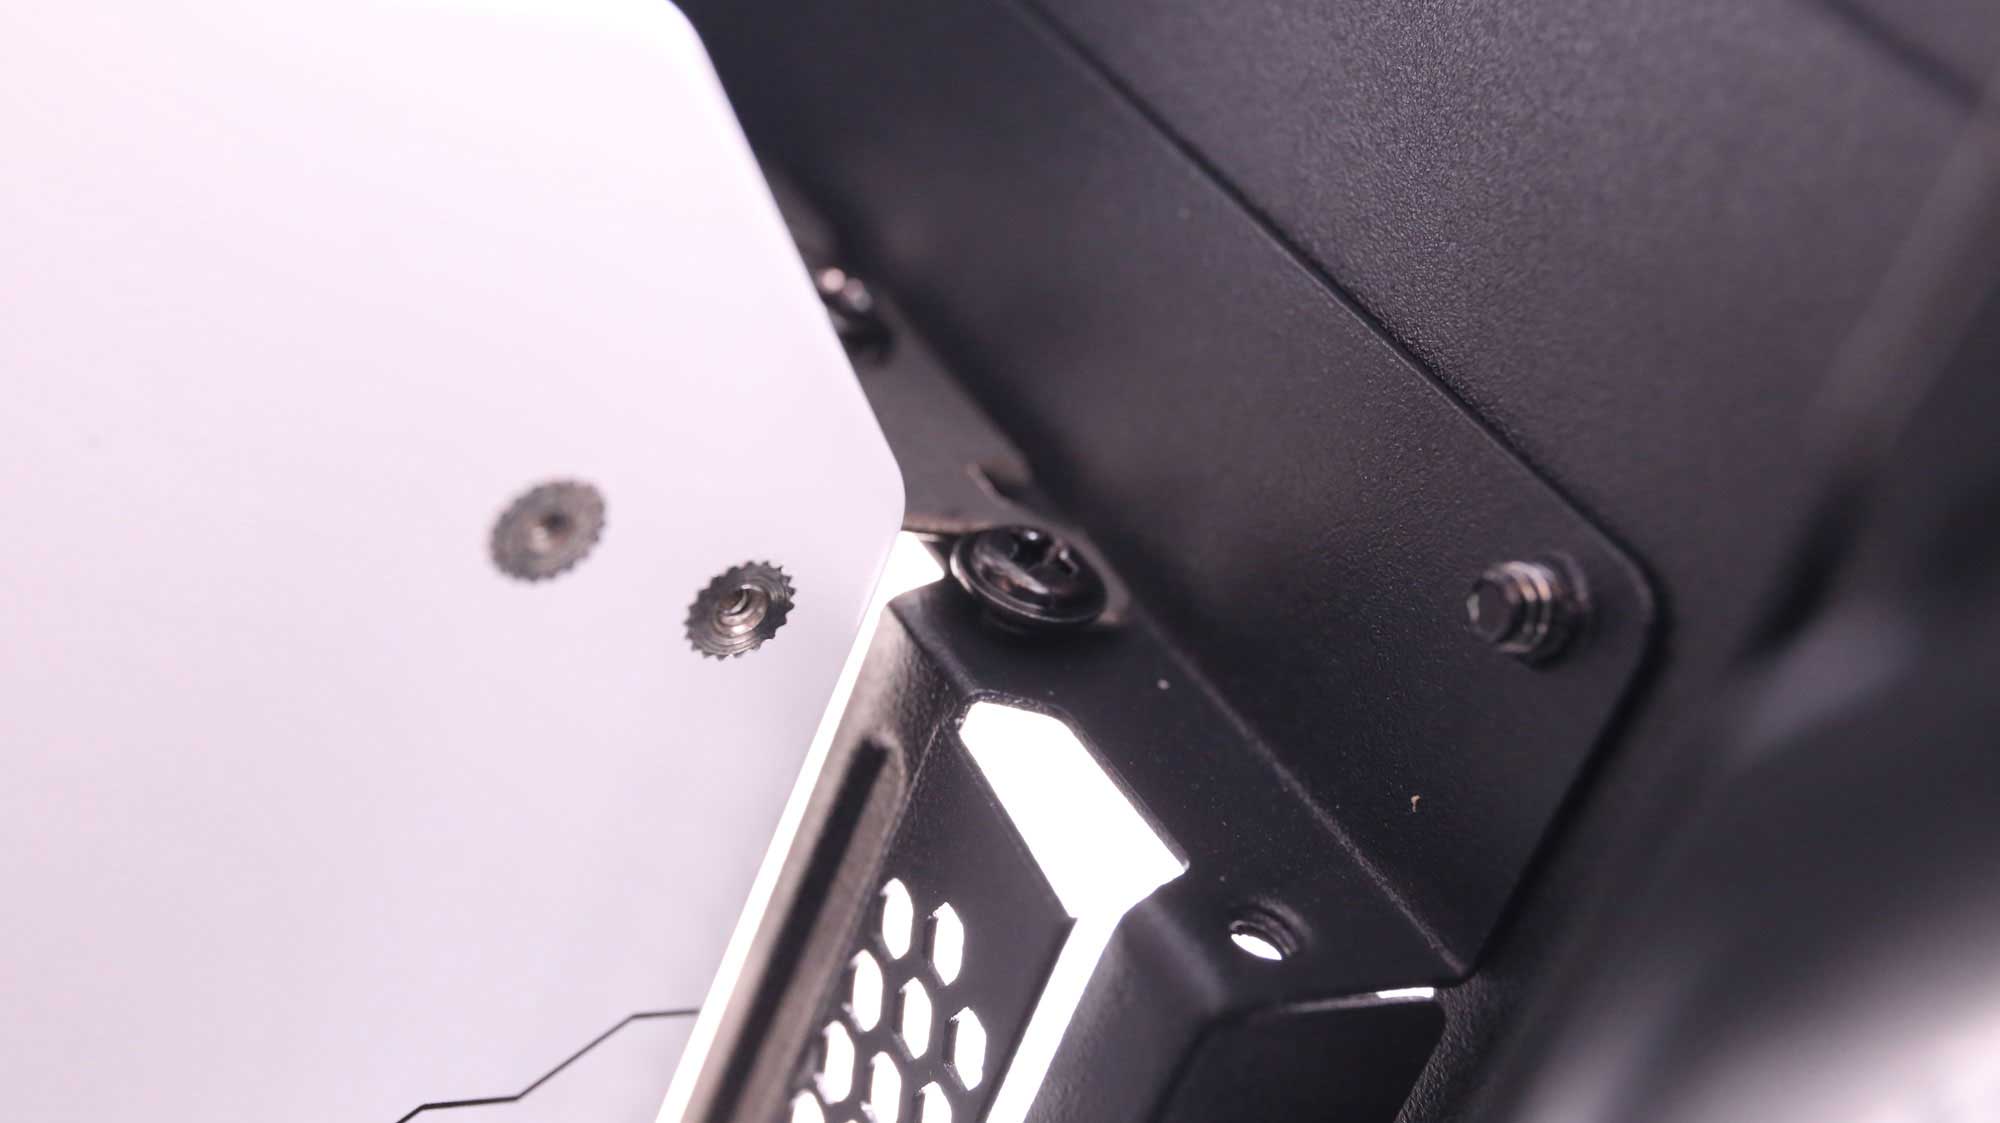
Securing the GPU on the PCIe brackets was a bit problematic, leaving a small gap when trying to screw the GPU in place. See the photo below to see what I mean.
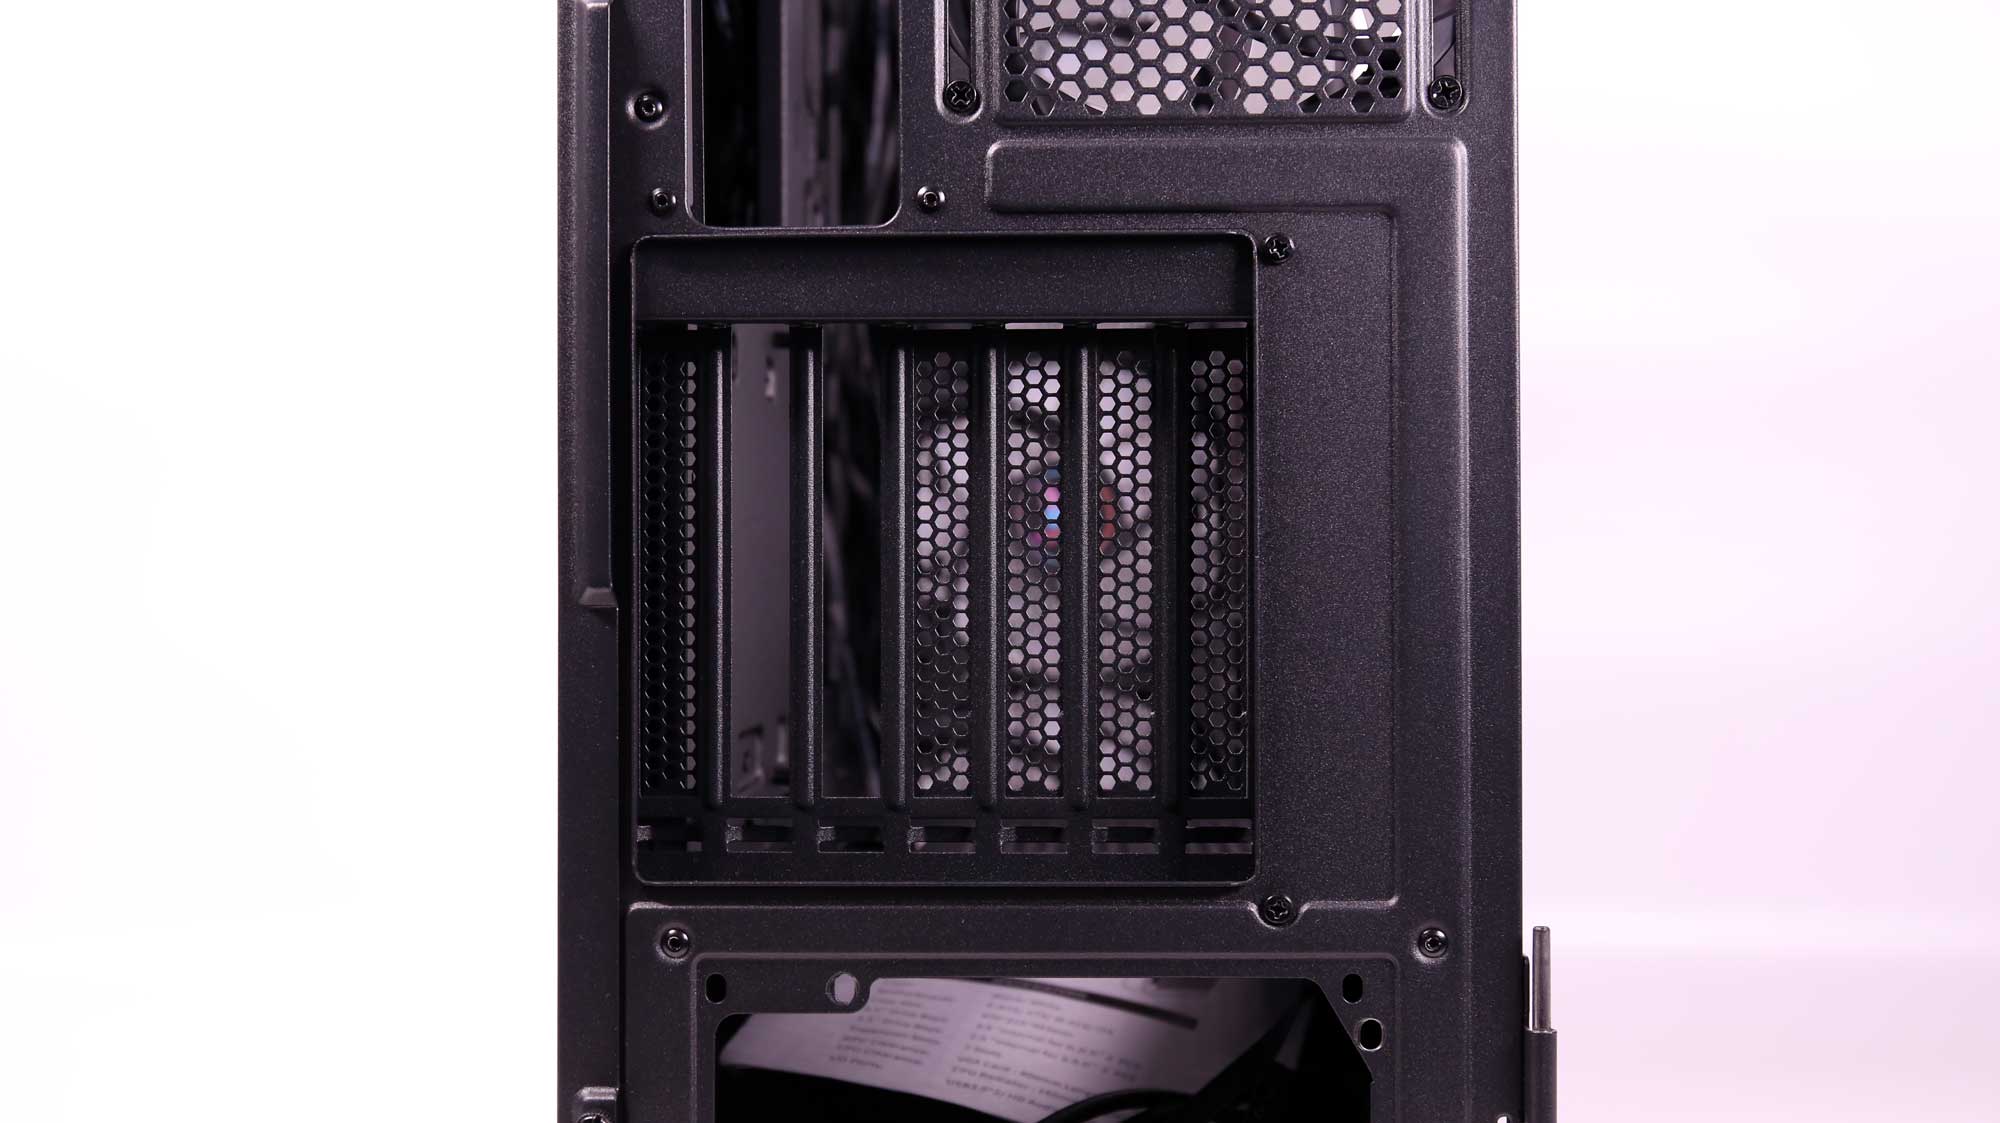
You can mount your GPU vertically, but no hardware is provided to do that, which is usually the case for most chassis. So, you will need a PCIe expansion cable and the required mounting hardware.
Compared to a more expensive chassis, the M705 doesn’t have a removable (and/or reversible) mainboard tray, which would boost its usability. Moreover, it has a PWM/RGB hub, which needs to be controlled by a mainboard header; it is not autonomous like in more expensive cases, where you can manually adjust the fan speed. In the M705, you can control the fans’ RGB lighting manually from the LED button on the top I/O panel, or through software.
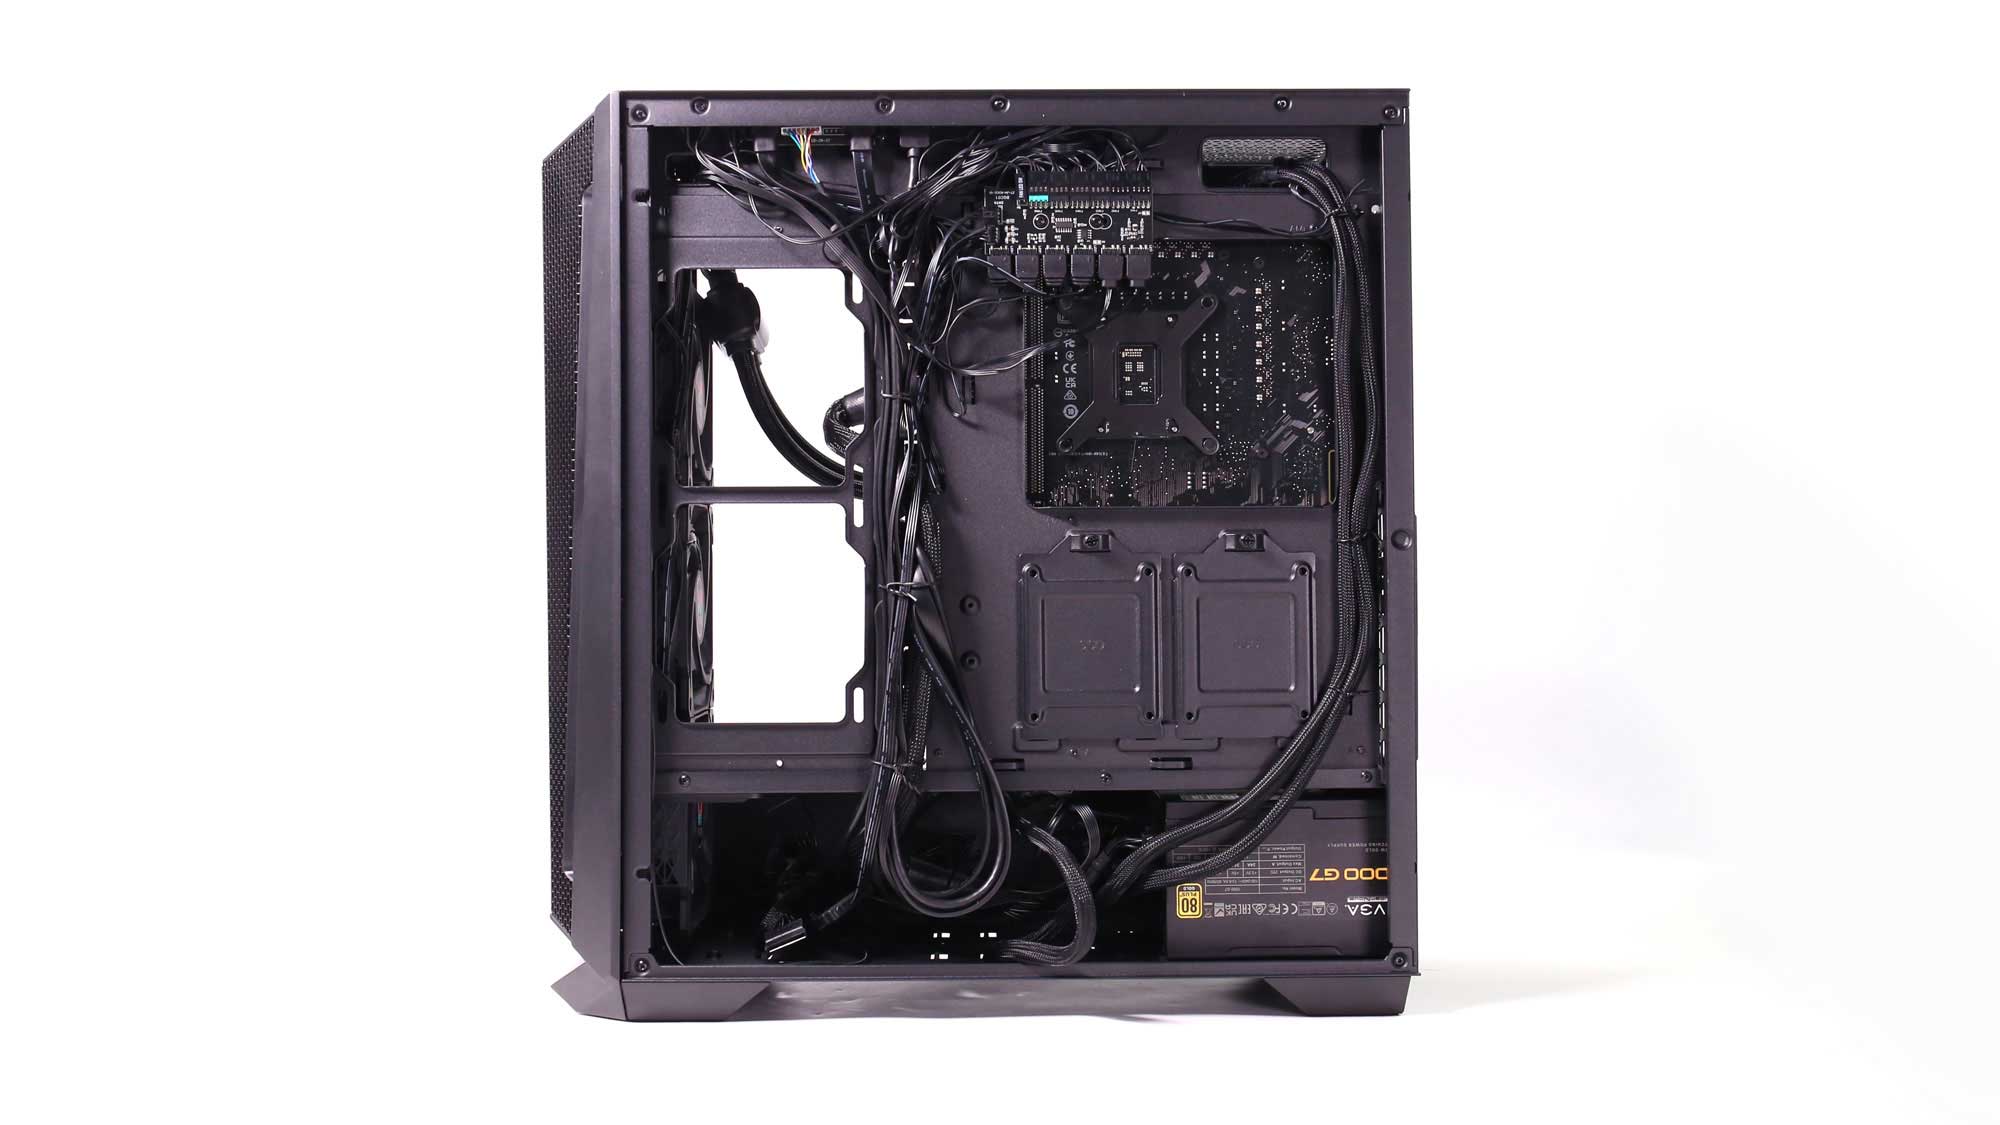
Because of cuts to the side fans, the cable pass-through grommets are close to the mainboard, restricting their usability. If you use an E-ATX mainboard, you won’t be able to use them at all.
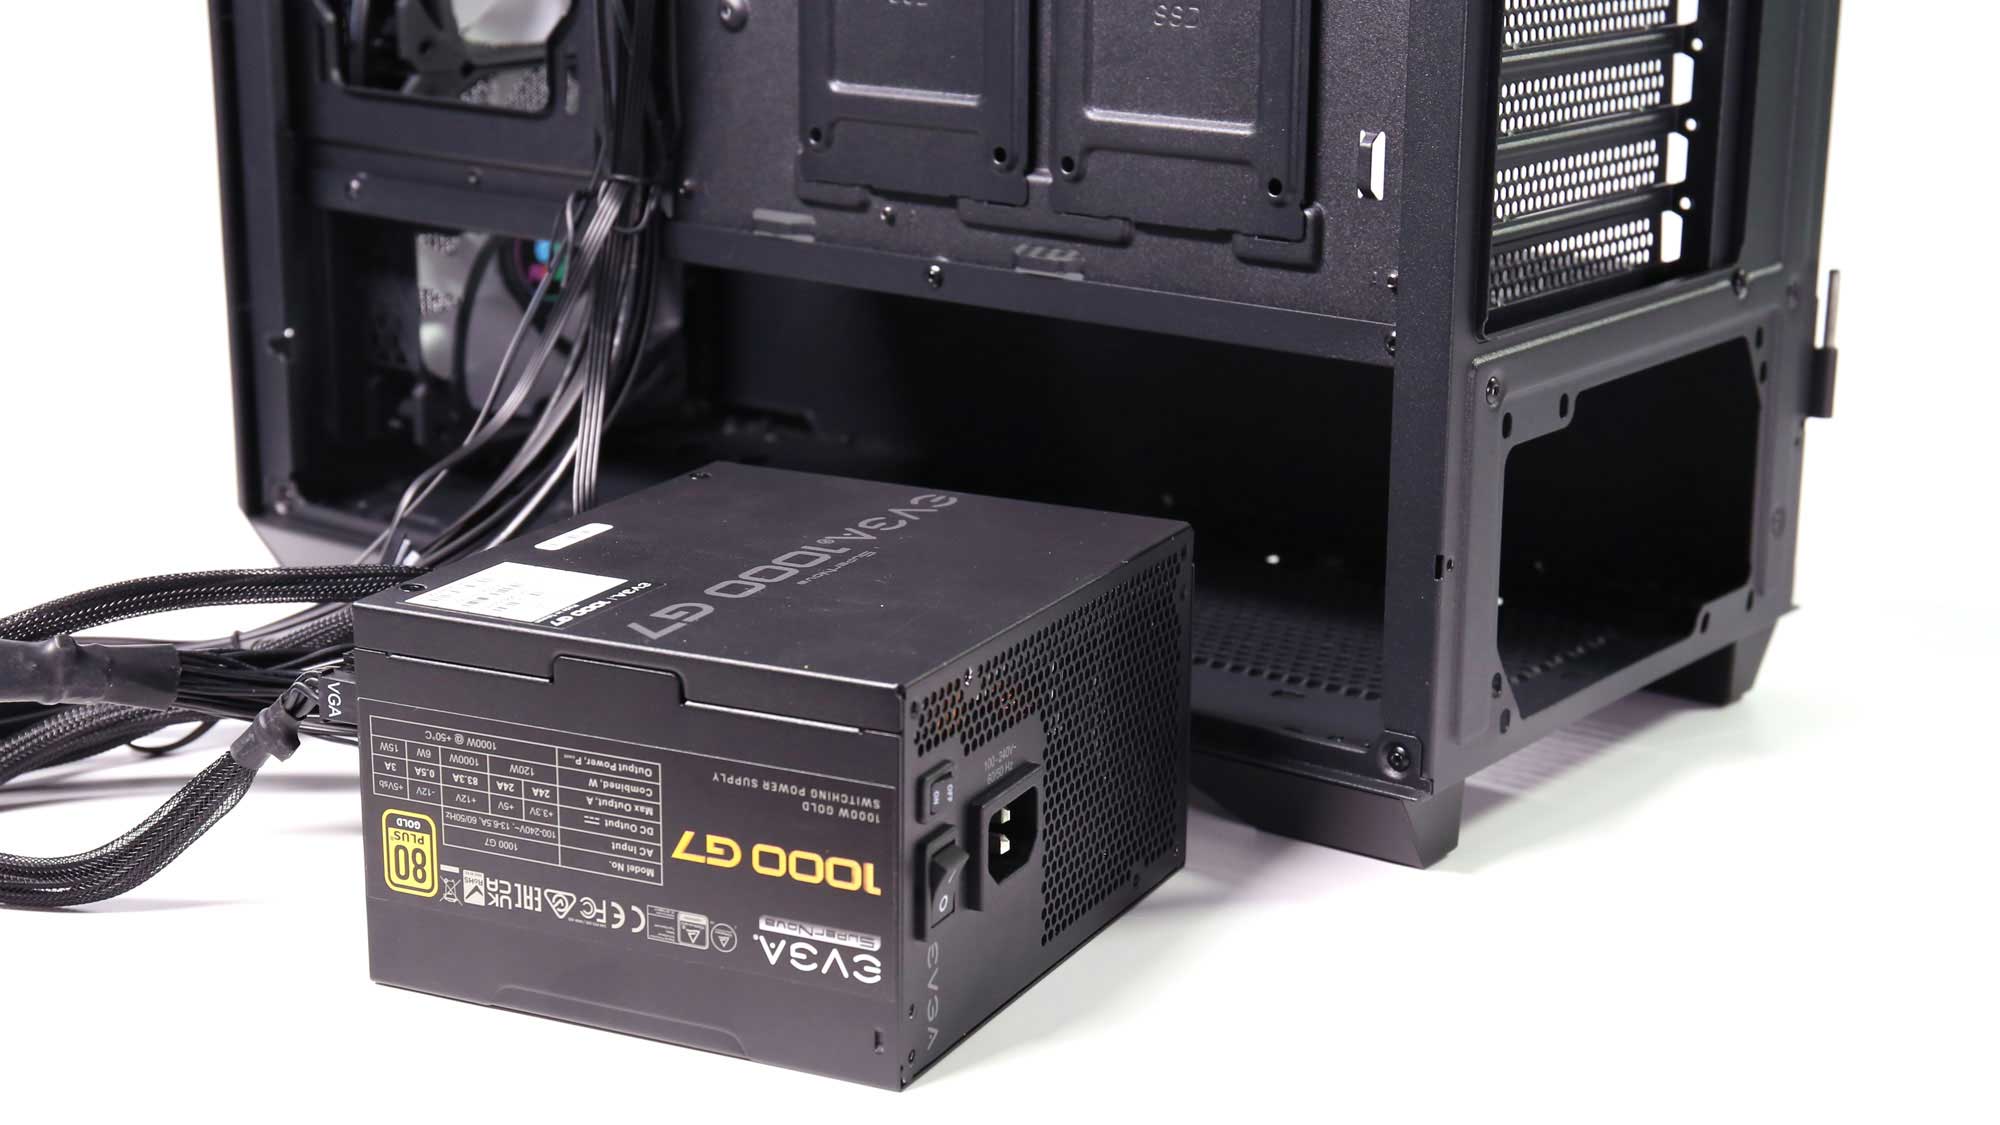
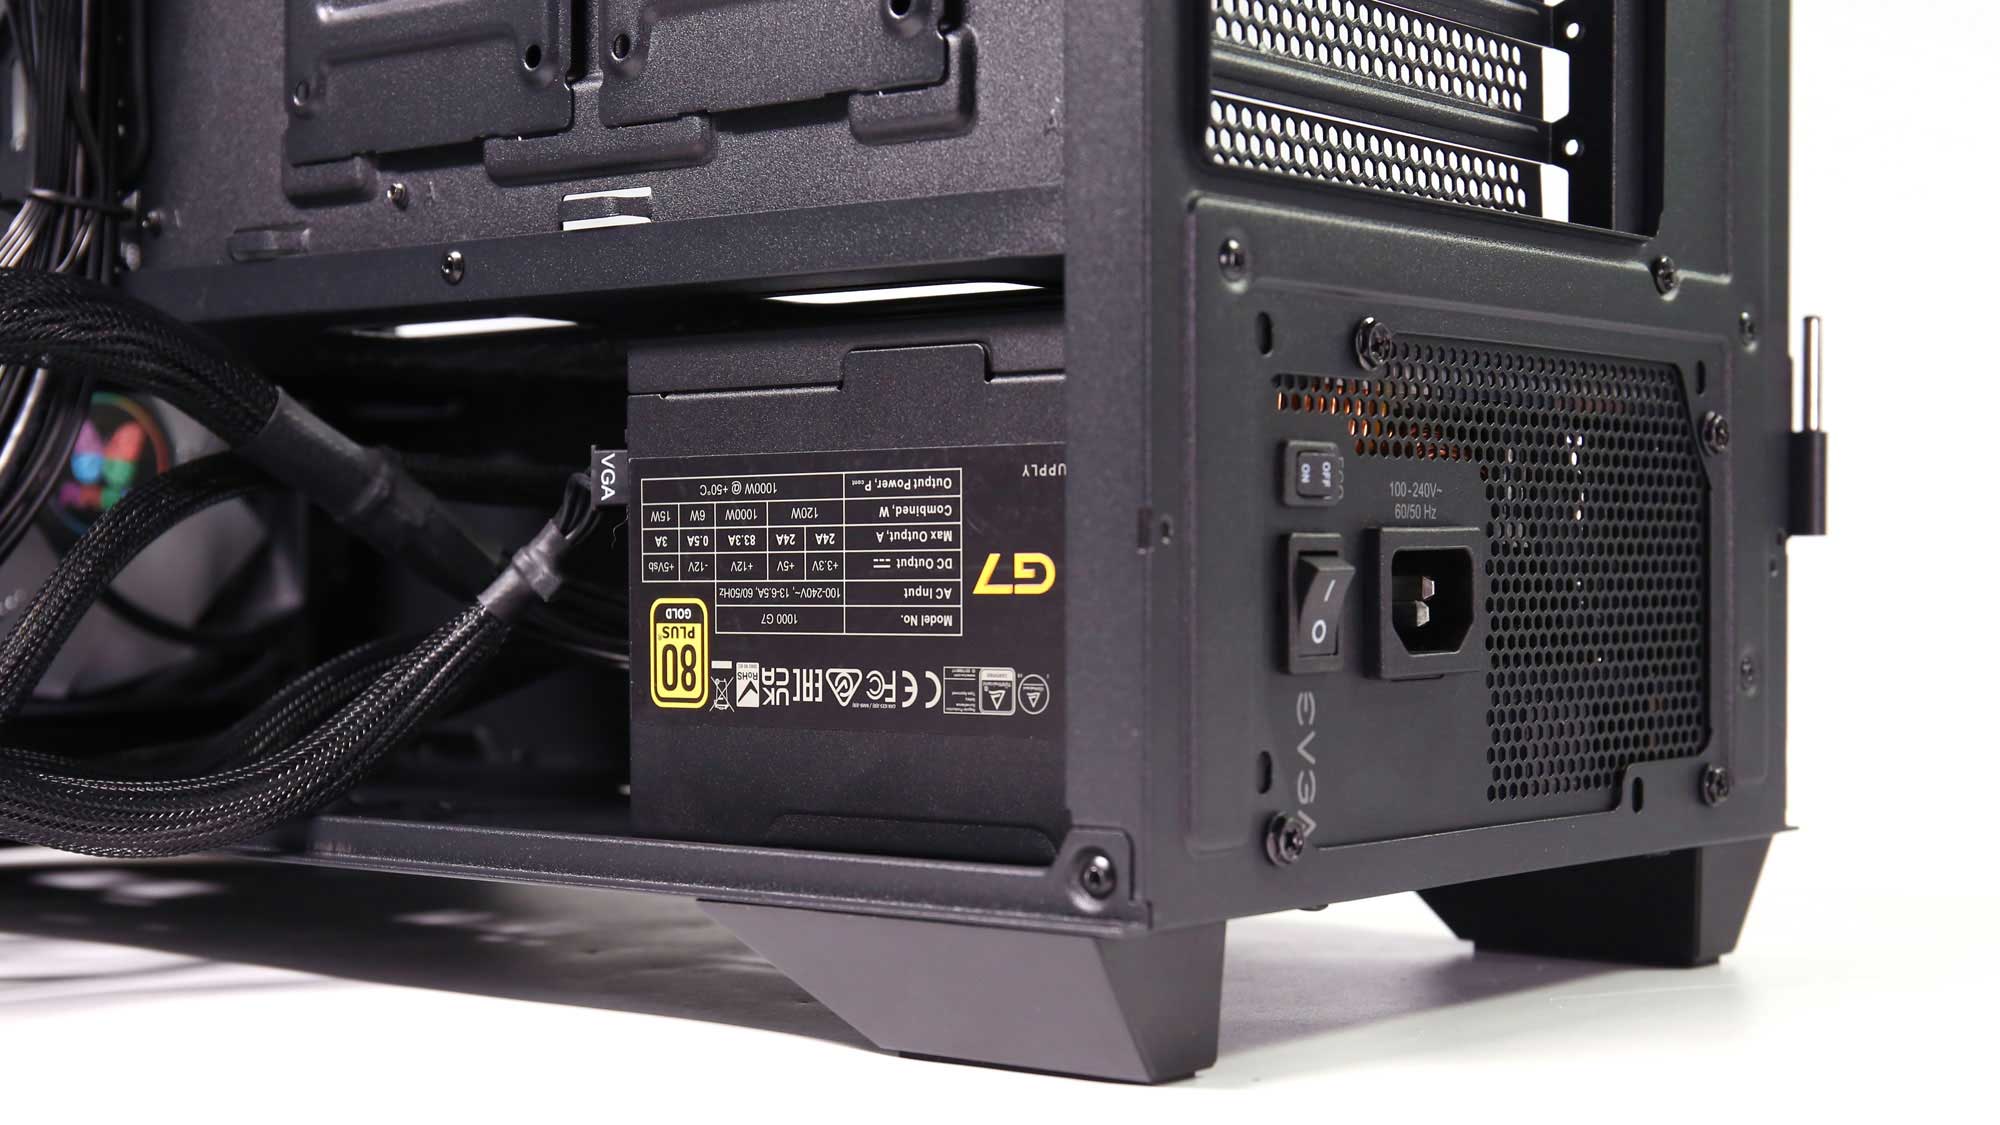
We use an ultra-short yet powerful PSU.
Finished System
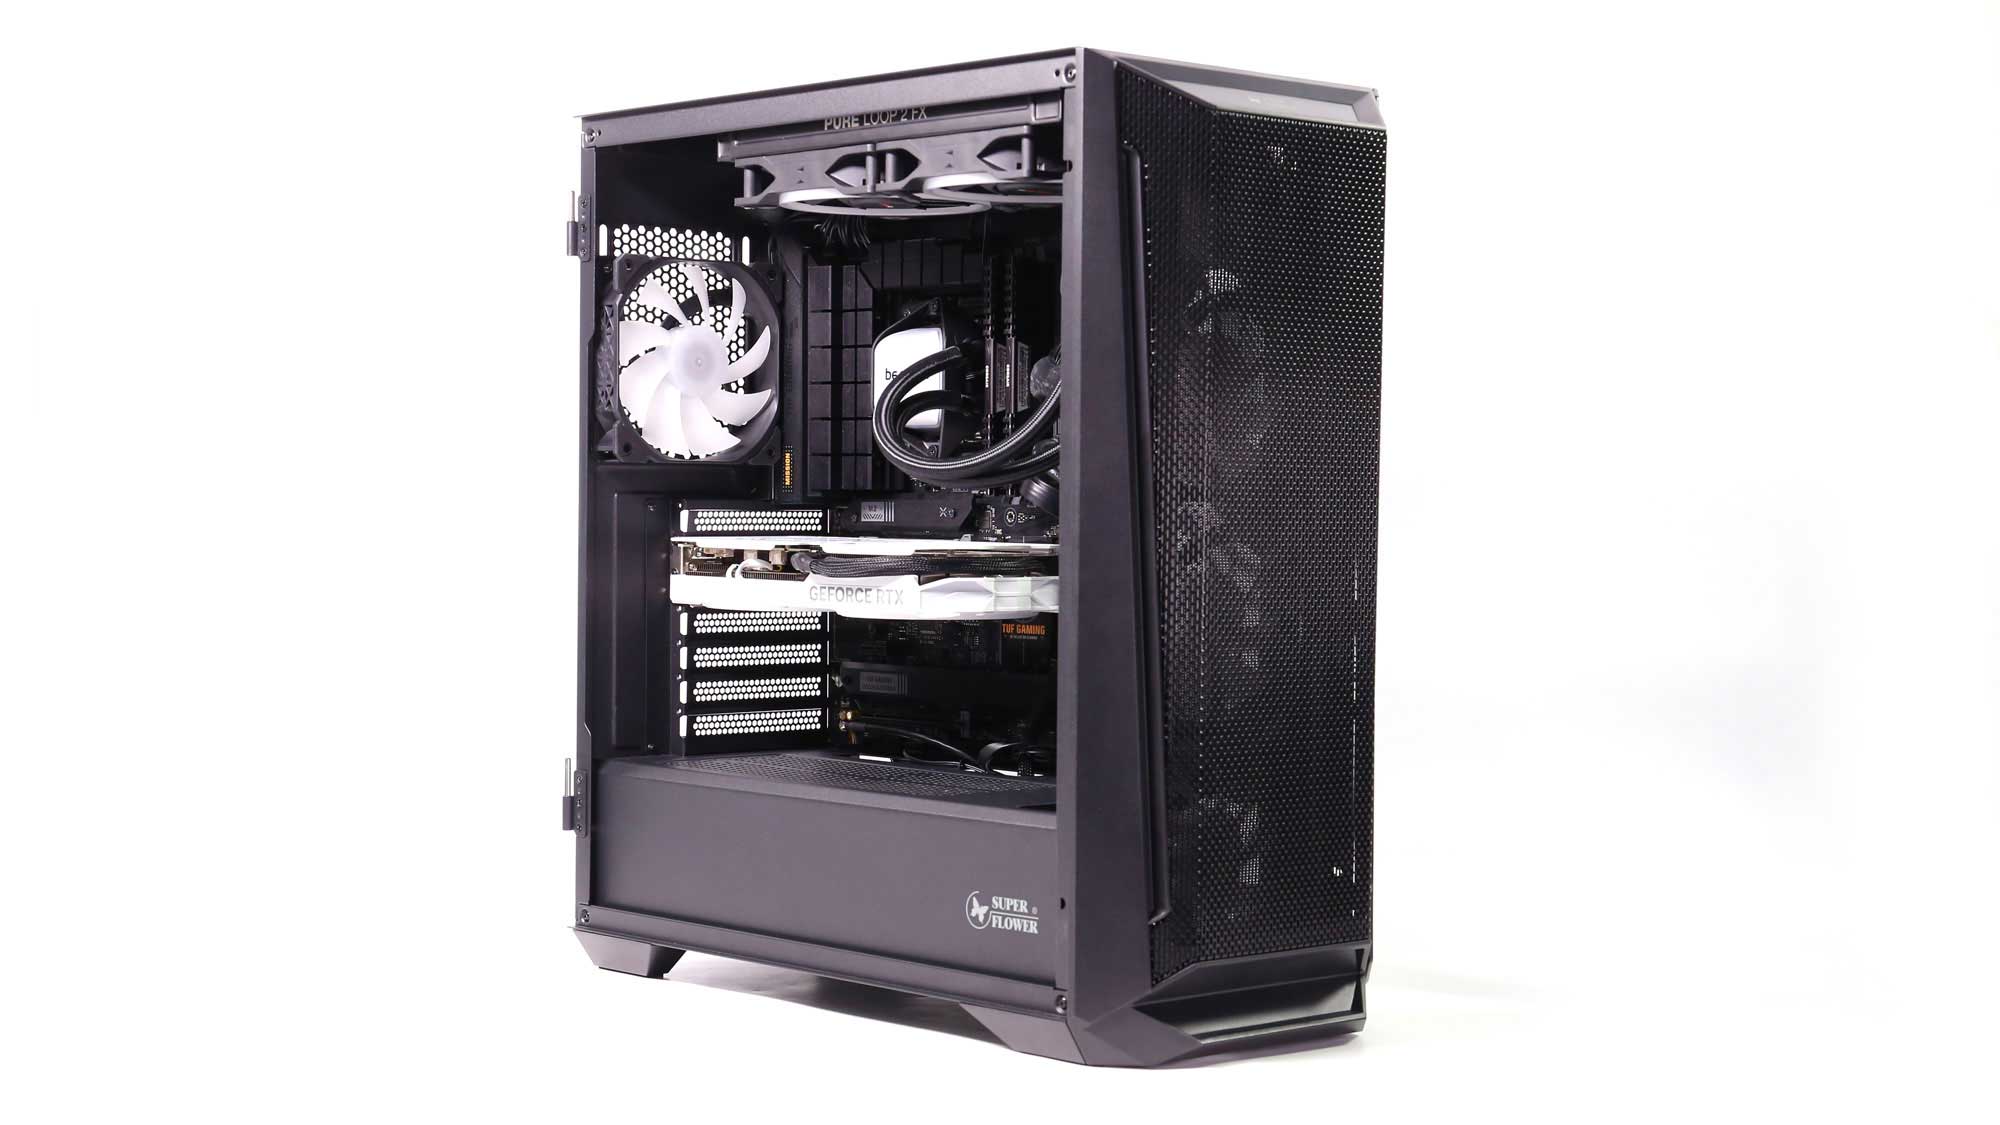
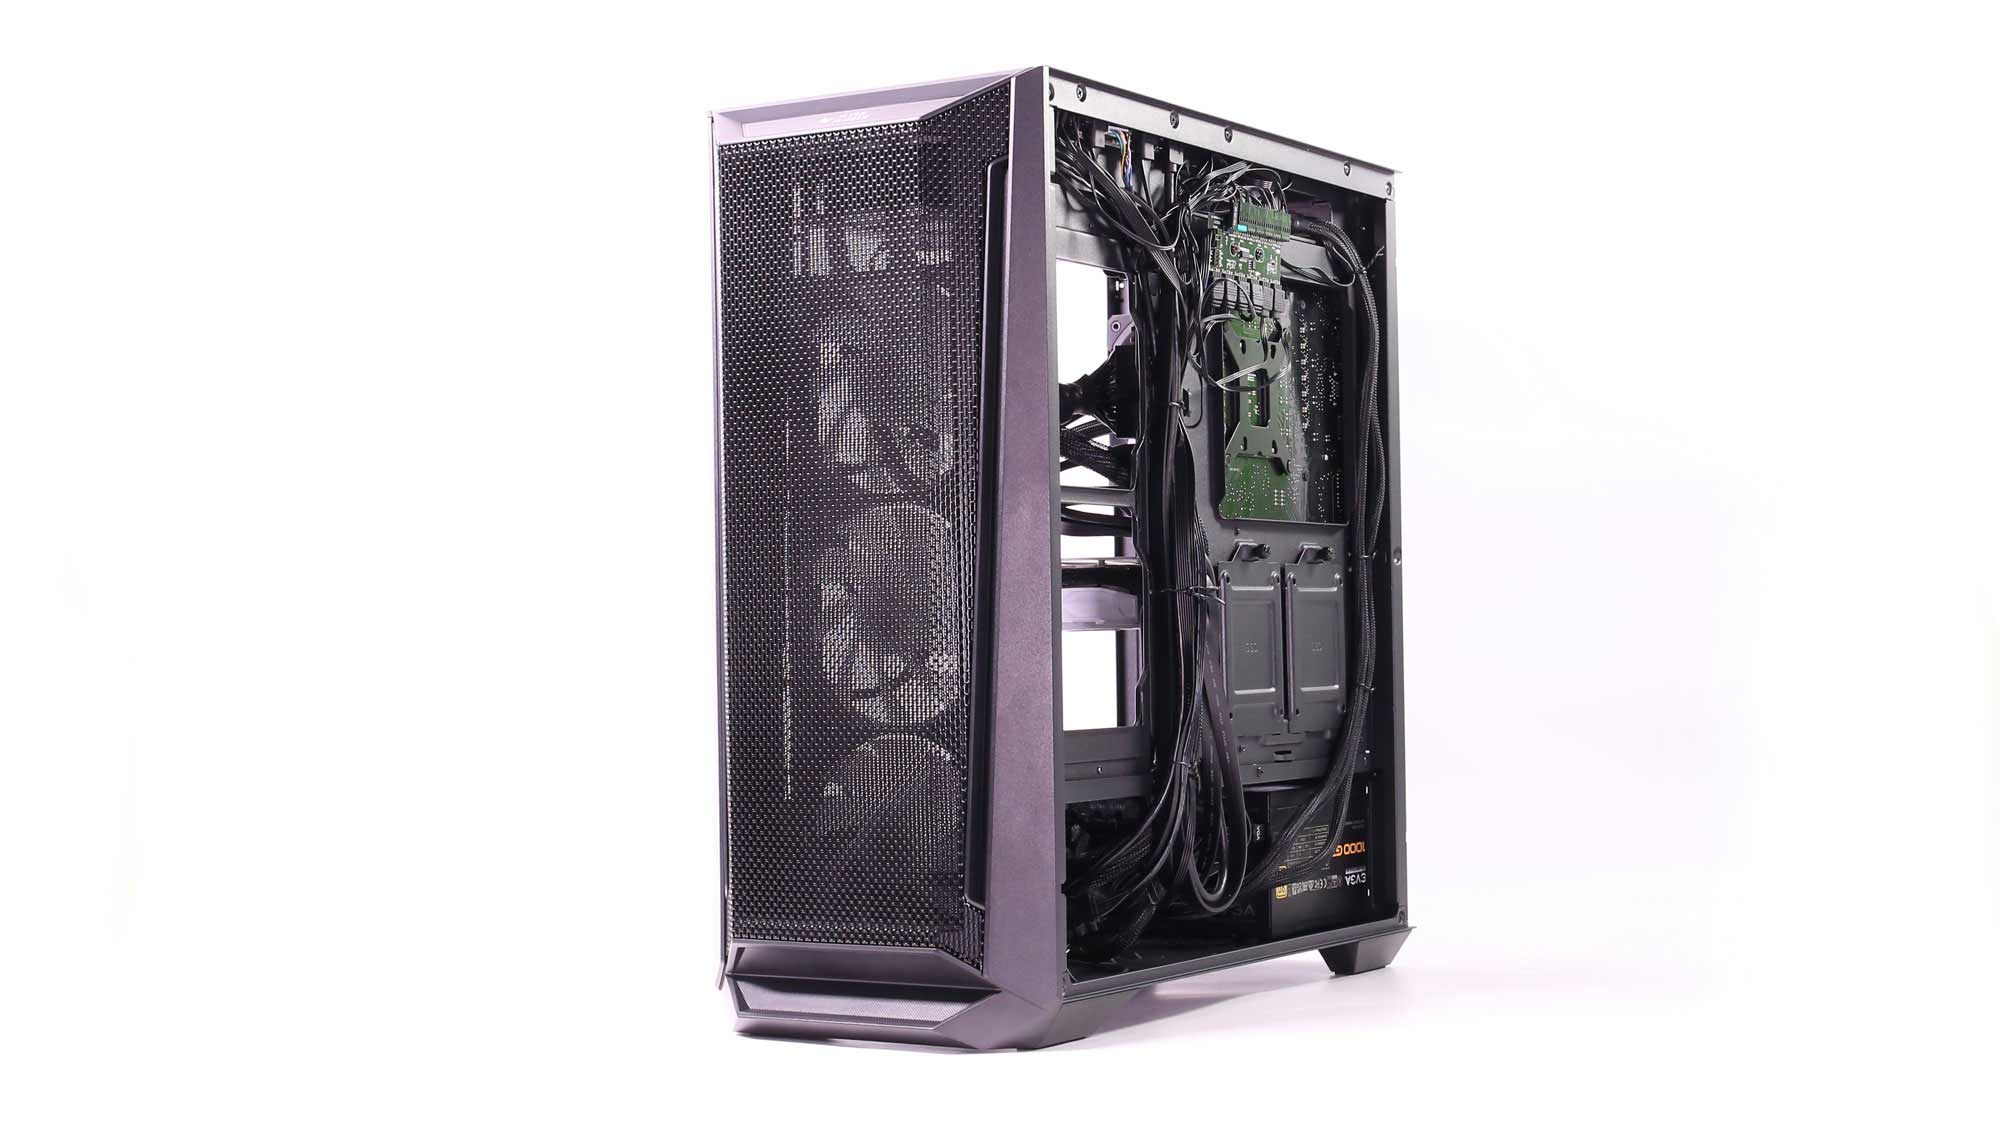

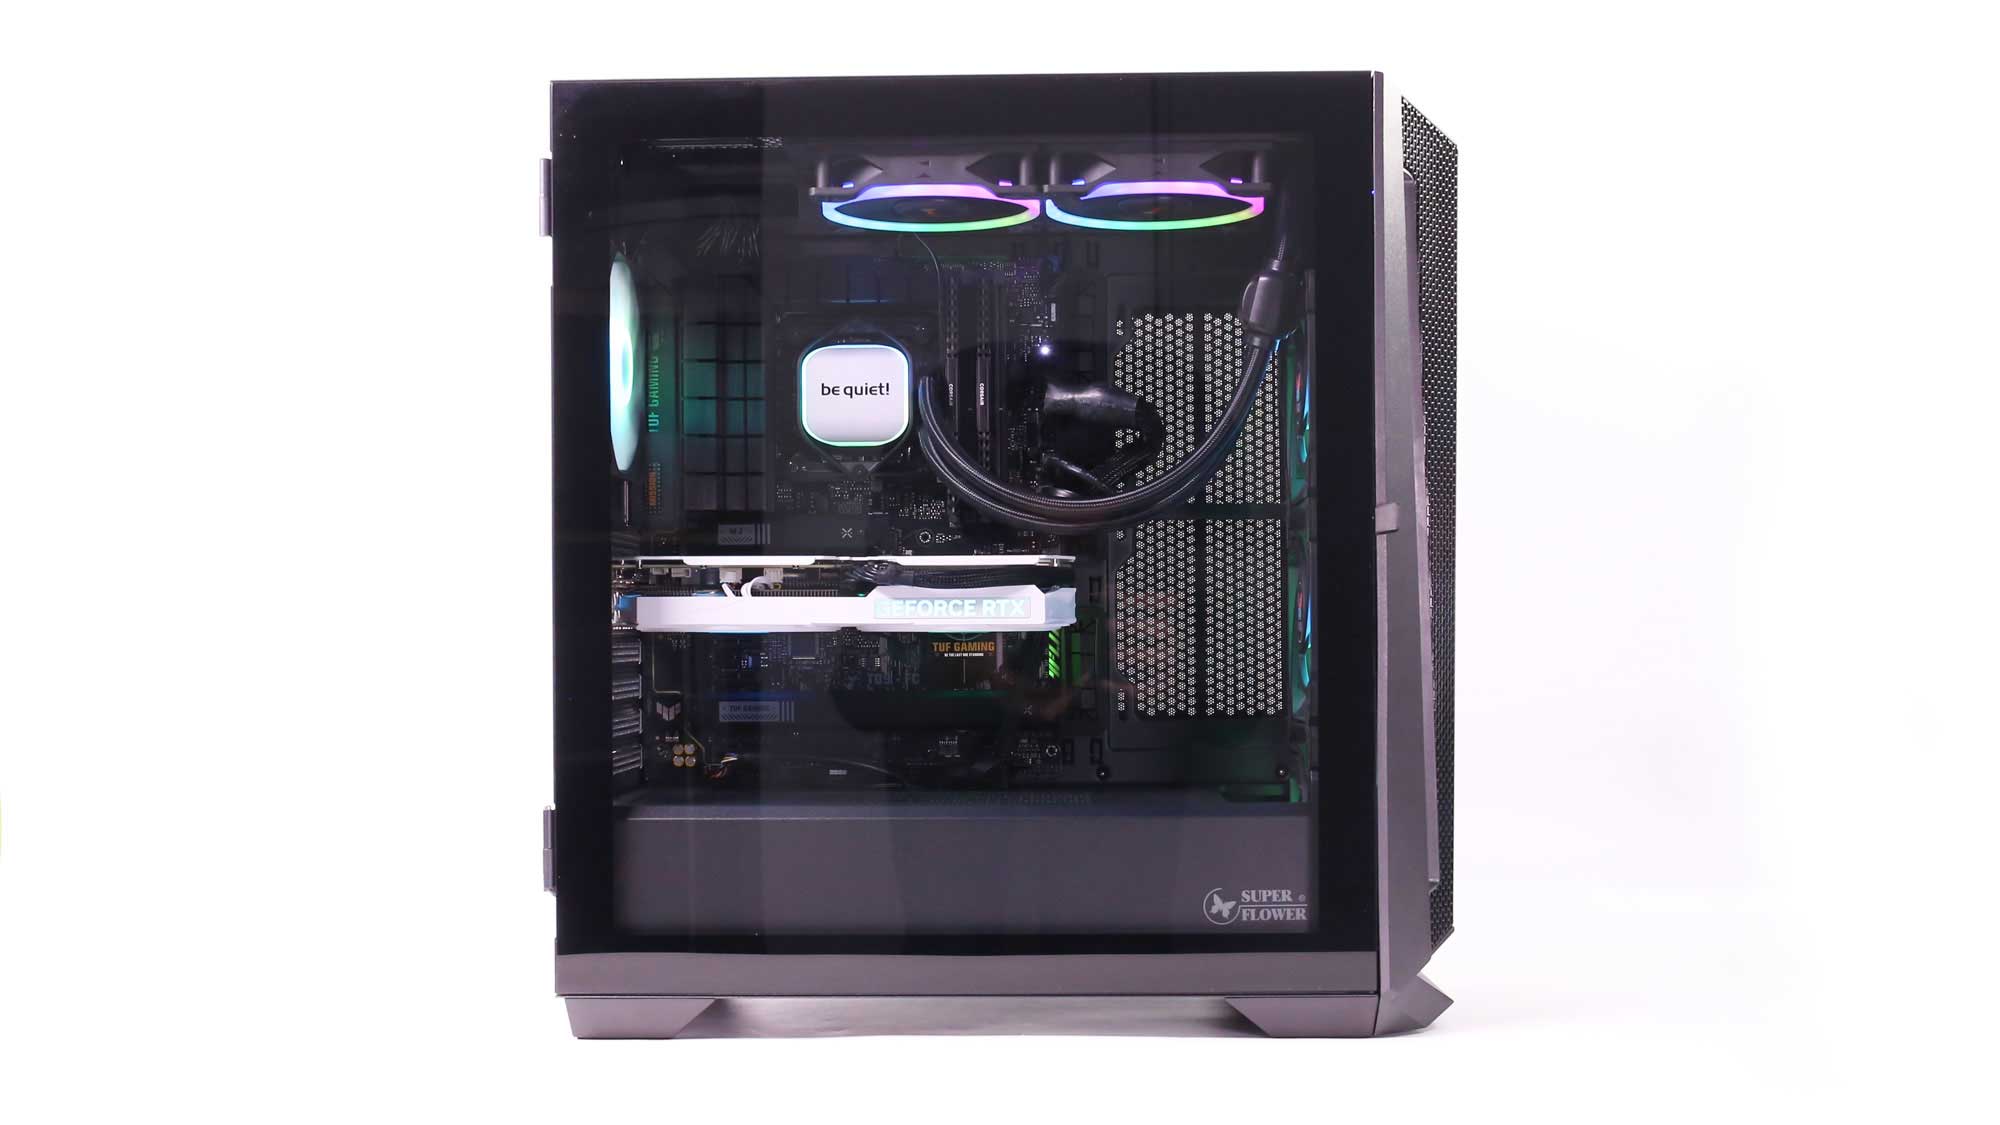

The system fully assembled and ready for action!