Chassis Photos – Outside

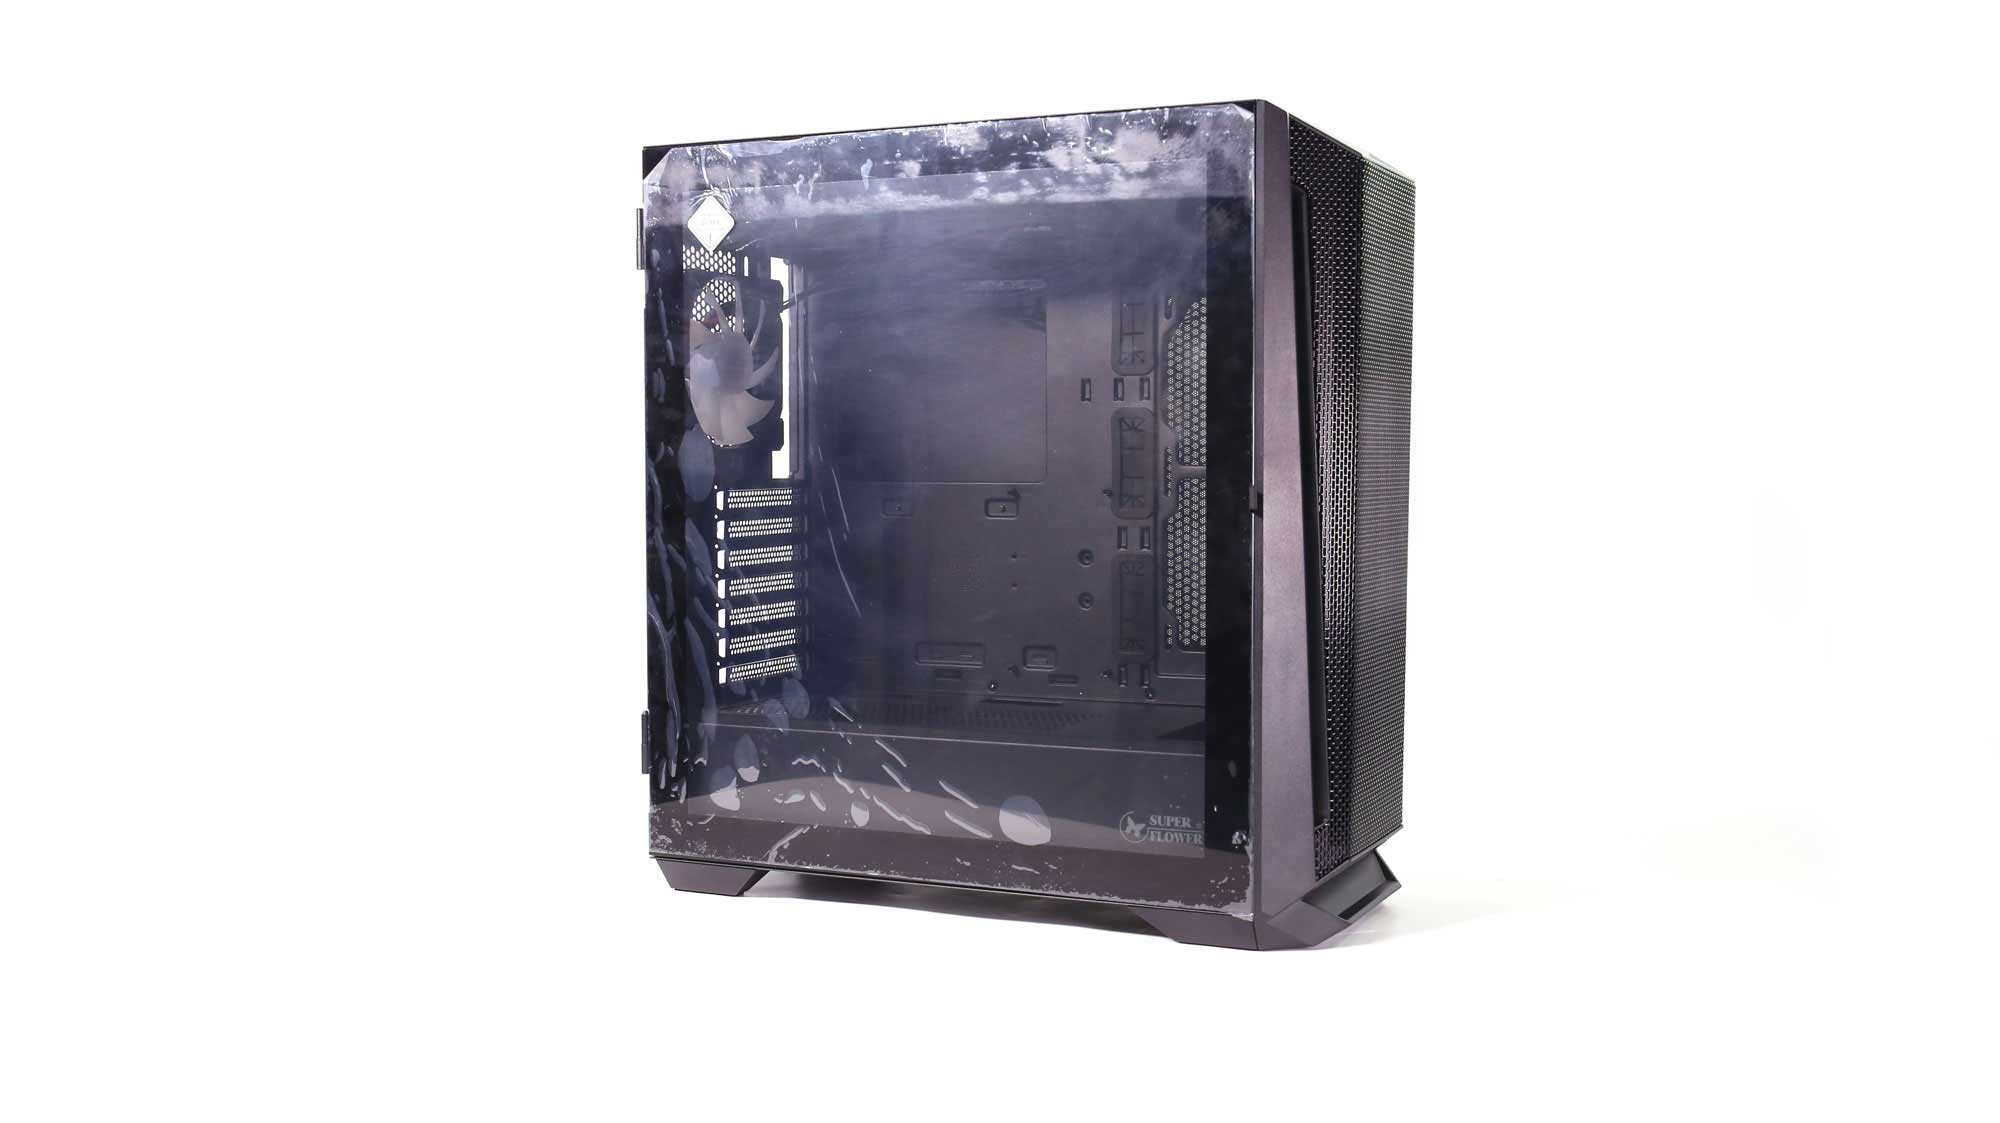


Here’s an overview of the chassis. The build quality looks good, and the overall aesthetics are appealing. Mesh panels and filters on most sides ensure good airflow at its internals, which is also boosted by the pre-installed fans.


The front panel requires considerable force to unclip. You have to pull it from its underside. Beneath it is a fan filter, and behind it is a trio of pre-installed fans, mounted from inside the chassis.


There is no information available on the fans that SF used.


The top magnetic dust cover may not be as effective as the mesh. However, removing it is very easy and provides easy access for mounting radiators and/or fans. On the top side, you can mount up to 360mm radiators. Both 120mm and 140mm fans are supported.

The I/O panel has two buttons, one for power and one for manually controlling RGB lighting, two inputs/outputs for headphones and mic, two USB 3.0 ports, and a USB 3.2 Type-C one.


The design of the backside is the typical one. The PSU is installed at the bottom side, which is the case for most contemporary chassis.


There is another small dust filter at the bottom side.
Chassis Photos – Inside


The tempered glass side panel is kept in place with an adequately strong magnet, requiring a reasonable amount of force to open it, but it is kept shut when transporting or moving the chassis. Moreover, the hinges mean you can easily open the side panel, and if you don’t have enough room, you can completely remove it.


It is better to completely remove the side tempered glass panel before you install the system, pushing it upwards to free it from the hinges. The internal space is enough for a full ATX mainboard. If you decide to install an E-ATX mainboard, as we did since we installed two systems for testing purposes, the grommets for passing the cables will be rendered useless since the mainboard will cover them fully.

The PSU compartment also has a perforation on its top side, meaning you can mount the PSU with its fan grille facing upwards. This way, the chassis also supports passively cooled PSUs, where the exhaust grille always has to face the top to allow hot air to get out of the PSU. The same goes for semi-passive PSUs if you want them to operate passively for longer. The PSU compartment is large enough to support up to 220mm long PSUs!


The back panel is secured in place with two easily removable thumb screws and has an air outlet along with a magnetic dust filter attached from inside. It provides adequate space for cable management. This panel has no noise-damping material, which would be a nice touch, but would also decrease the available space behind the mainboard.
![]()
The mainboard’s clearance is 19mm, which is enough.

The cut behind the mainboard is large enough to allow you to install any cooling solution without removing the mainboard. The controller covers a small part, but it won’t cause any issues, most likely.


This is a clearer view of the PSU’s compartment. You can also see the single HDD cage, which holds up to 3.5″ or 2.5″ drives.


You can install up to two 2.5″ drives on the chassis or four if you don’t use any 3.5″ drives. However, 2.5″ SSDs are not so popular anymore since the capacities of NVMe SSDs have increased and their prices have lowered. Most mainboards support more than one, covering most user needs. This is why there is no point anymore for PSUs to provide a dozen SATA connectors, increasing the production cost without reason.


The integrated fan controller is a highly welcome feature!