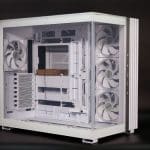
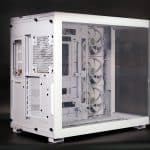
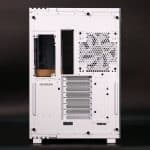
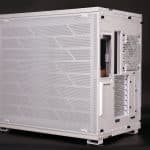
Chassis Photos – Outside
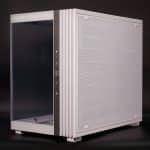
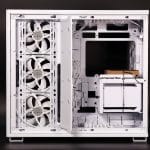
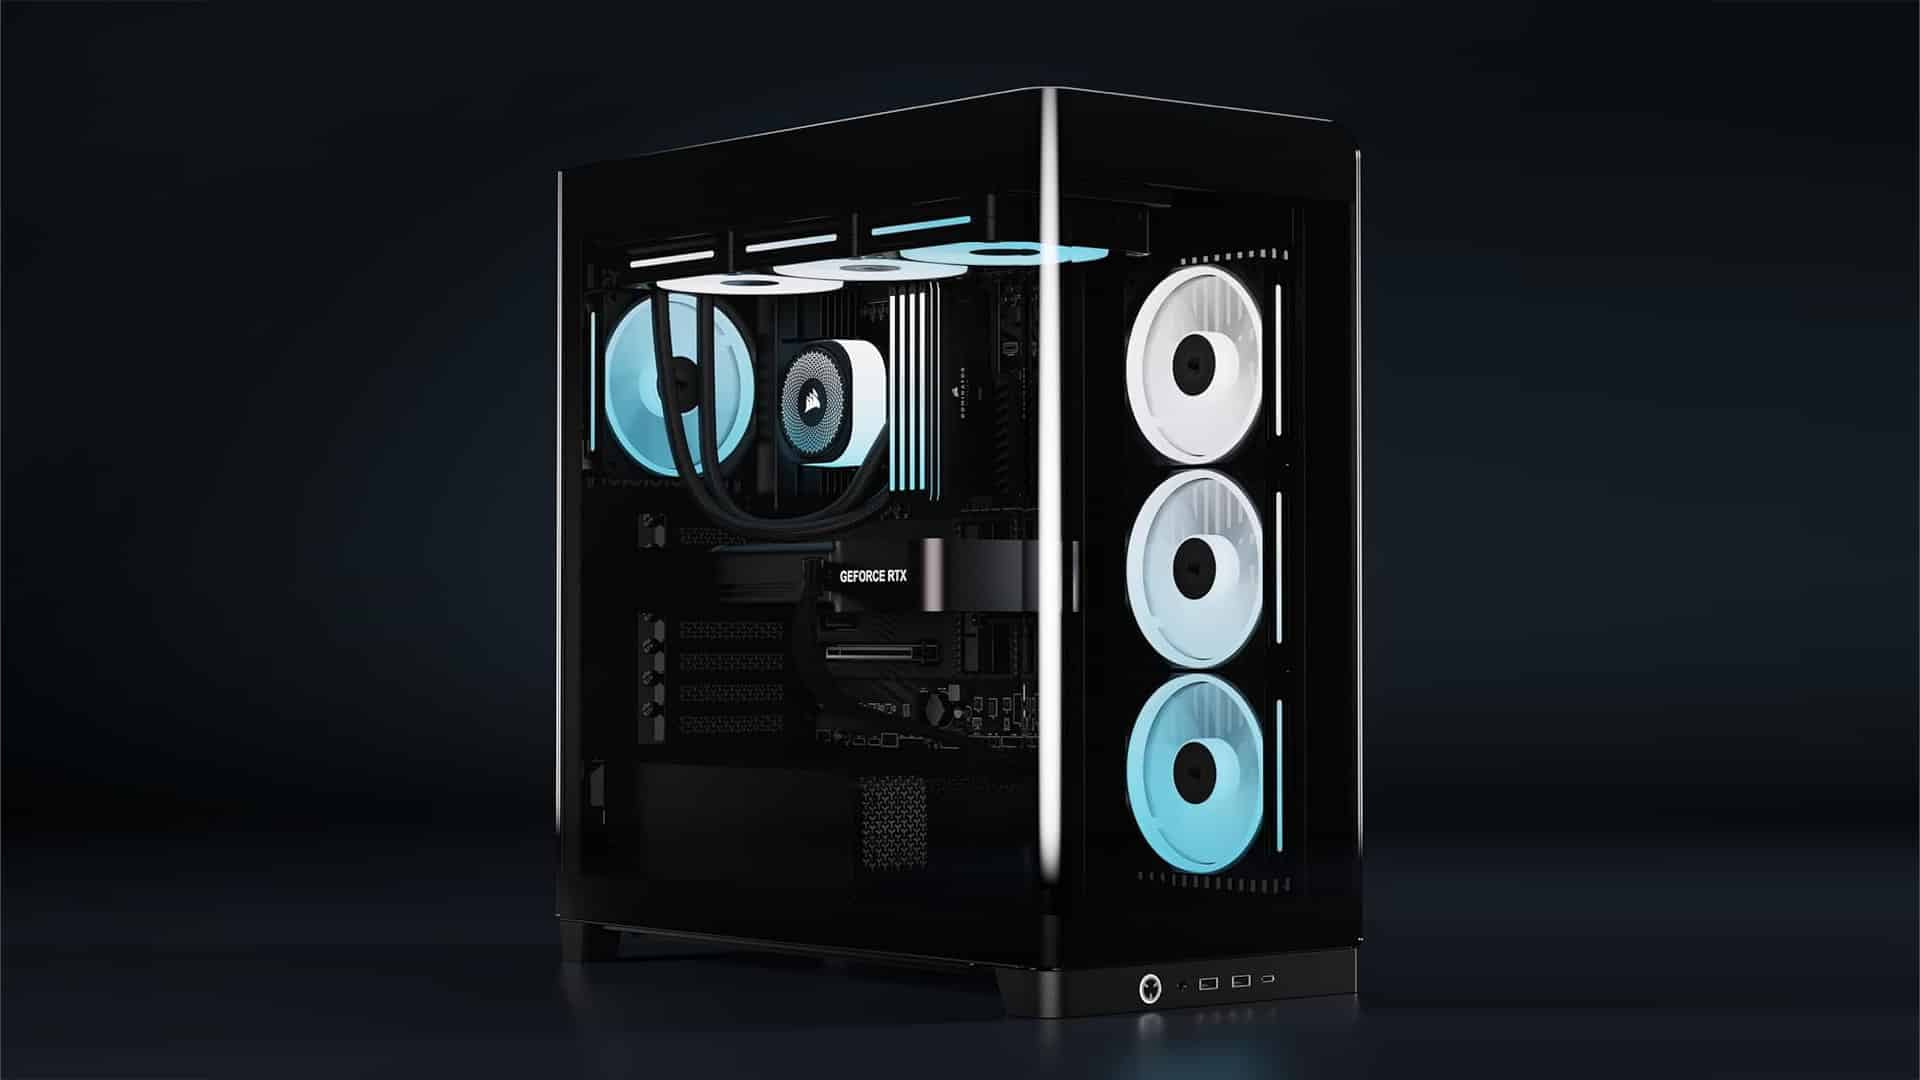
As discussed earlier in the introduction, the build quality is immediately evident. The chassis is heavy and feels robust. Our review sample is the 900 FX in white, but it is also offered in black. The FX models come with preinstalled fans, while the DX models don’t.
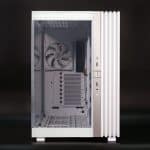
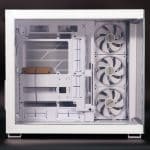
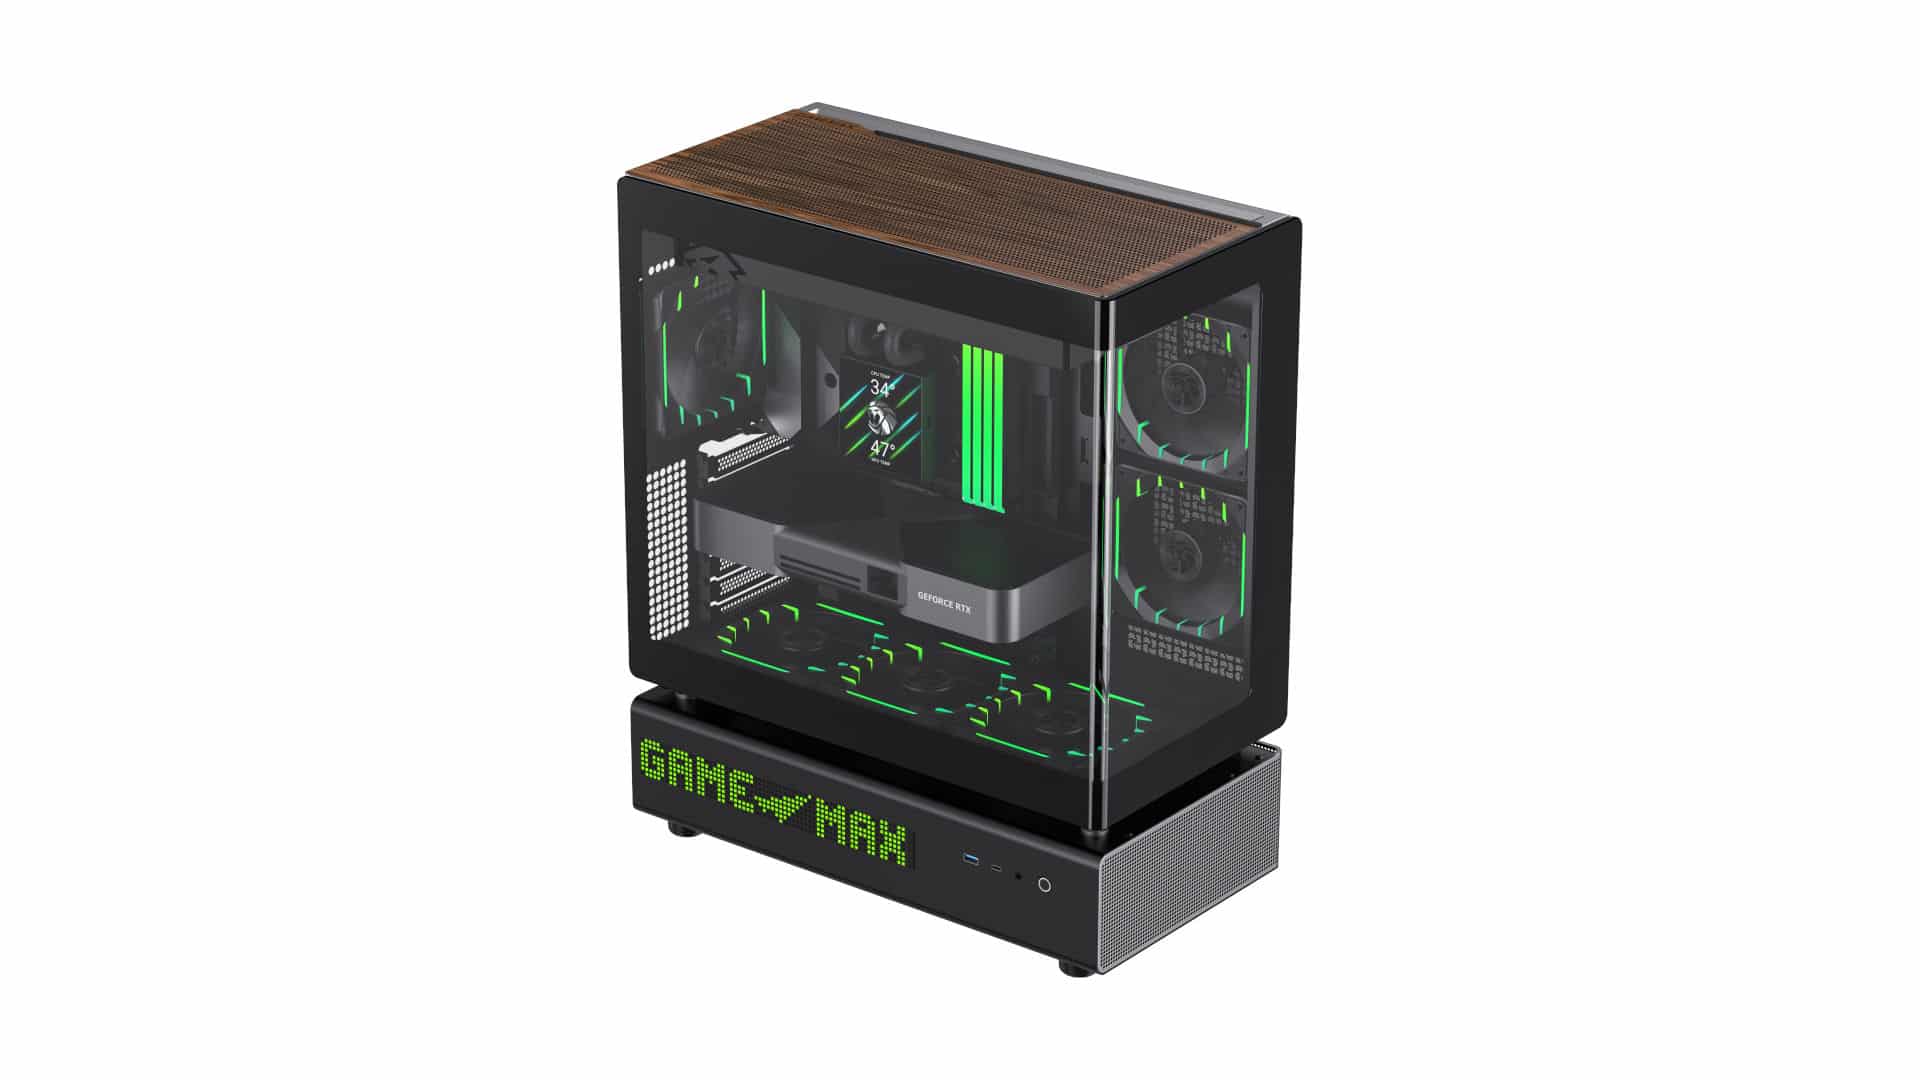
The tempered glass front panel doesn’t allow you to hide anything, as it provides a clear view inside. It’s held in place with four small screws attached to its metal frame and slides in place on tabs, but you might not have to remove it, given the available building space. The side glass uses the same tabs to slide in and remain in position, and two thumb screws secure it from the back. The edge on which the front and side glass meet is also perfect, leaving no visible gaps.
The front I/O includes one USB 3.2 Gen. 2 Type C, two USB 3.2 Type A’s, an HD Audio jack, and the power button. An RGB button allows you to switch colors directly.
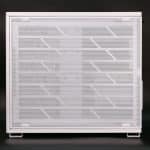
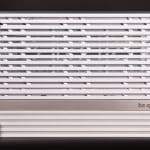
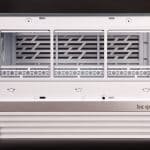
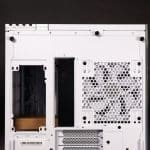
The back panel is perforated in its entirety. The dust filter is removable, which is an excellent design choice. It is secured in place, just like the glass side panel. Moreover, if you remove the white silicone feet, you will find the mounting holes for the removable feet used for horizontal placement.
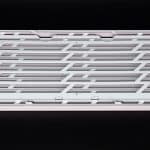
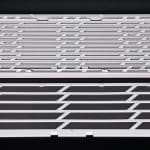
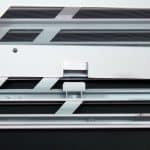
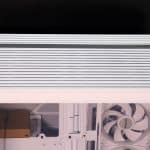
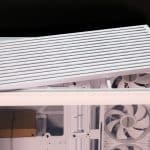
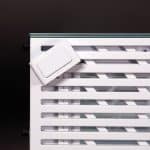
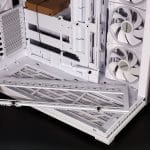
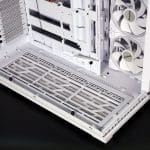
The top and bottom panels are identical, and there’s a good reason for it; you can rotate the chassis upside down and move the feet accordingly. Subsequently, both the top and bottom have the same removable mesh filters, which are a bit tricky, as the design of the panel essentially hides the clipping points.
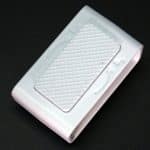
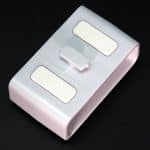
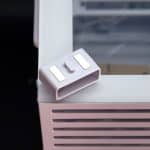
The feet can twist in place on three of the six sides, allowing you to place your computer as you wish. With this novel toolless design, removing and replacing the feet is also a breeze.
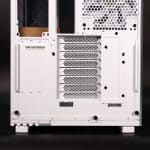
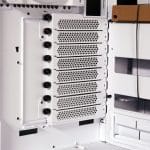
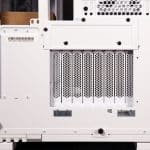
Moving to the rear of the chassis, you will, of course, find the motherboard I/O panel, a rear fan mount, the PSU bracket positioned close to the top of the chassis, and the removable expansion slot bracket that can be rotated or removed and replaced. You can also see all the thumbscrews holding the panels in place.
Chassis Photos – Inside
Inside, there is more than enough space to work, even for the biggest components. There are many cable pass-throughs and support for back-connector motherboards. There is also lots of headroom above the motherboard, which will be more forgiving if you forget to plug any connectors at the top.
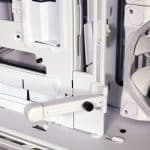
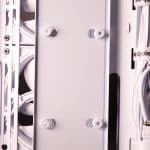
A very convenient and most likely necessary inclusion is the GPU holder. A simple thumbscrew mechanism is used to operate it. You can also move it up or down by accessing some screws from the backside. Below the motherboard area, you will find some big rubber grommets, which will help maintain a cleaner aesthetic.
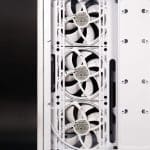
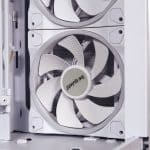
On the right bedside of the motherboard area, you will find an indented area with three reverse-blade Light Wings fans on the FX variant and no fans on the DX variant. This indentation allows you to install thicker radiators and fans without obstructing the front view and while being closer to the back side panel, bringing in fresh, cool air.
The removable fan/radiator panels, which allow you to install these components outside the chassis, are located on the top and bottom.
You will also find the pre-installed rear, normal blade Light Wings fan with a 3-pin connector.
Move a bit lower, and you will find the expansion slots. The screws that keep it in place can be accessed from the outside. A total of four screws have to be removed to switch the orientation of the panel. The mechanism is not the simplest, but it’s practical and sturdy.
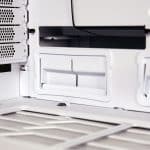
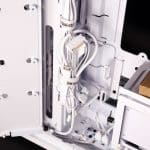
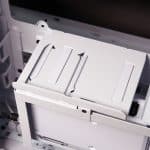
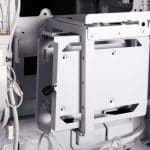
Now, let’s explore the secondary chamber. The first thing you have to do is remove the 2.5-inch drive mount (it supports two drives). Then, you will be able to see the nicely packed front I/O cables and can start working.
While it may not be obvious at first, there are two(!) separate fan and RGB controllers, one mounted at the top and one at the bottom. Together, they allow you to connect up to 12 devices, eliminating the need for additional controllers.
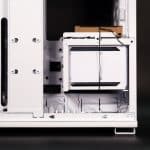
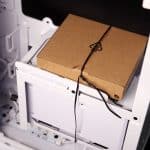
Right below the PSU mounting area, you can see the HDD cage. Remove four screws, and you can extract the cage from the chassis. You may be disappointed that there is only one HDD bracket, while there is obviously space for two. While some users may opt for back-connector motherboards that would probably interfere with the drive closer to the partition divider, including a second bracket for those using it would have been nice. So, the 2x HDD drive support comes with an asterisk.
Access to the HDDs from the rear and the ability to exchange positions with the PSU, like with the 6500D we reviewed a few months back, would be a good design change for future designs.

