Did you ever need to try a program without the hassle of uninstalling it after you went through with it? Of course, a program is only a lesser example. The same applies to any other usage scenario. Some of you might think about virtualization solutions like Virtualbox, etc. But what about testing an application without extra software and installation procedures? Then, the Windows Sandbox is the perfect feature for you. In this Quick Tips article, I will reveal how to enable it easily.
What is Windows Sandbox
If you own Windows 10/11-Pro/Enterprise/Education version, this feature is available. All you need is to enable it by the Windows Features menu and virtualization through your BIOS. Sandboxing, in plain words, provides a lightweight virtualized Desktop environment in your current OS installation where everything is discarded after finishing your session. It is temporary, and a fresh sandbox environment is available for every new session. This is ideal for testing purposes of every kind. Note that you should be extra careful if you install unsafe programs or for Sec Testing. Especially for the latter, a VM might be best. This depends on you, of course. Windows Sandbox is here and is helpful, as well.
How to
You can enable it through the Windows Features environment, but the Powershell way is far more convenient. Just run Powershell as Administrator and paste the following script:
Enable-WindowsOptionalFeature -FeatureName "Containers-DisposableClientVM" -All -Online
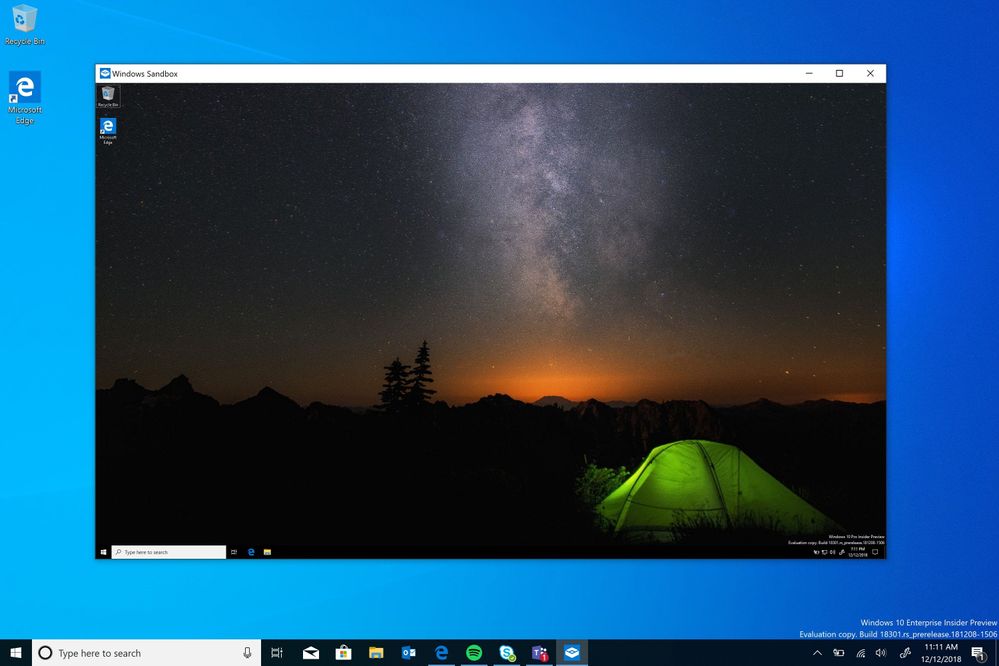
That’s it. You can now locate the Windows Sandbox in the Start Menu and run it for the first time. Copy the file you want to test in the Sandbox Environment and run it. After you finish with it, close the Sandbox and select OK in the confirm dialog box that appears. Welcome to the Windows Sandbox! Enjoy responsibly!