Build Experience
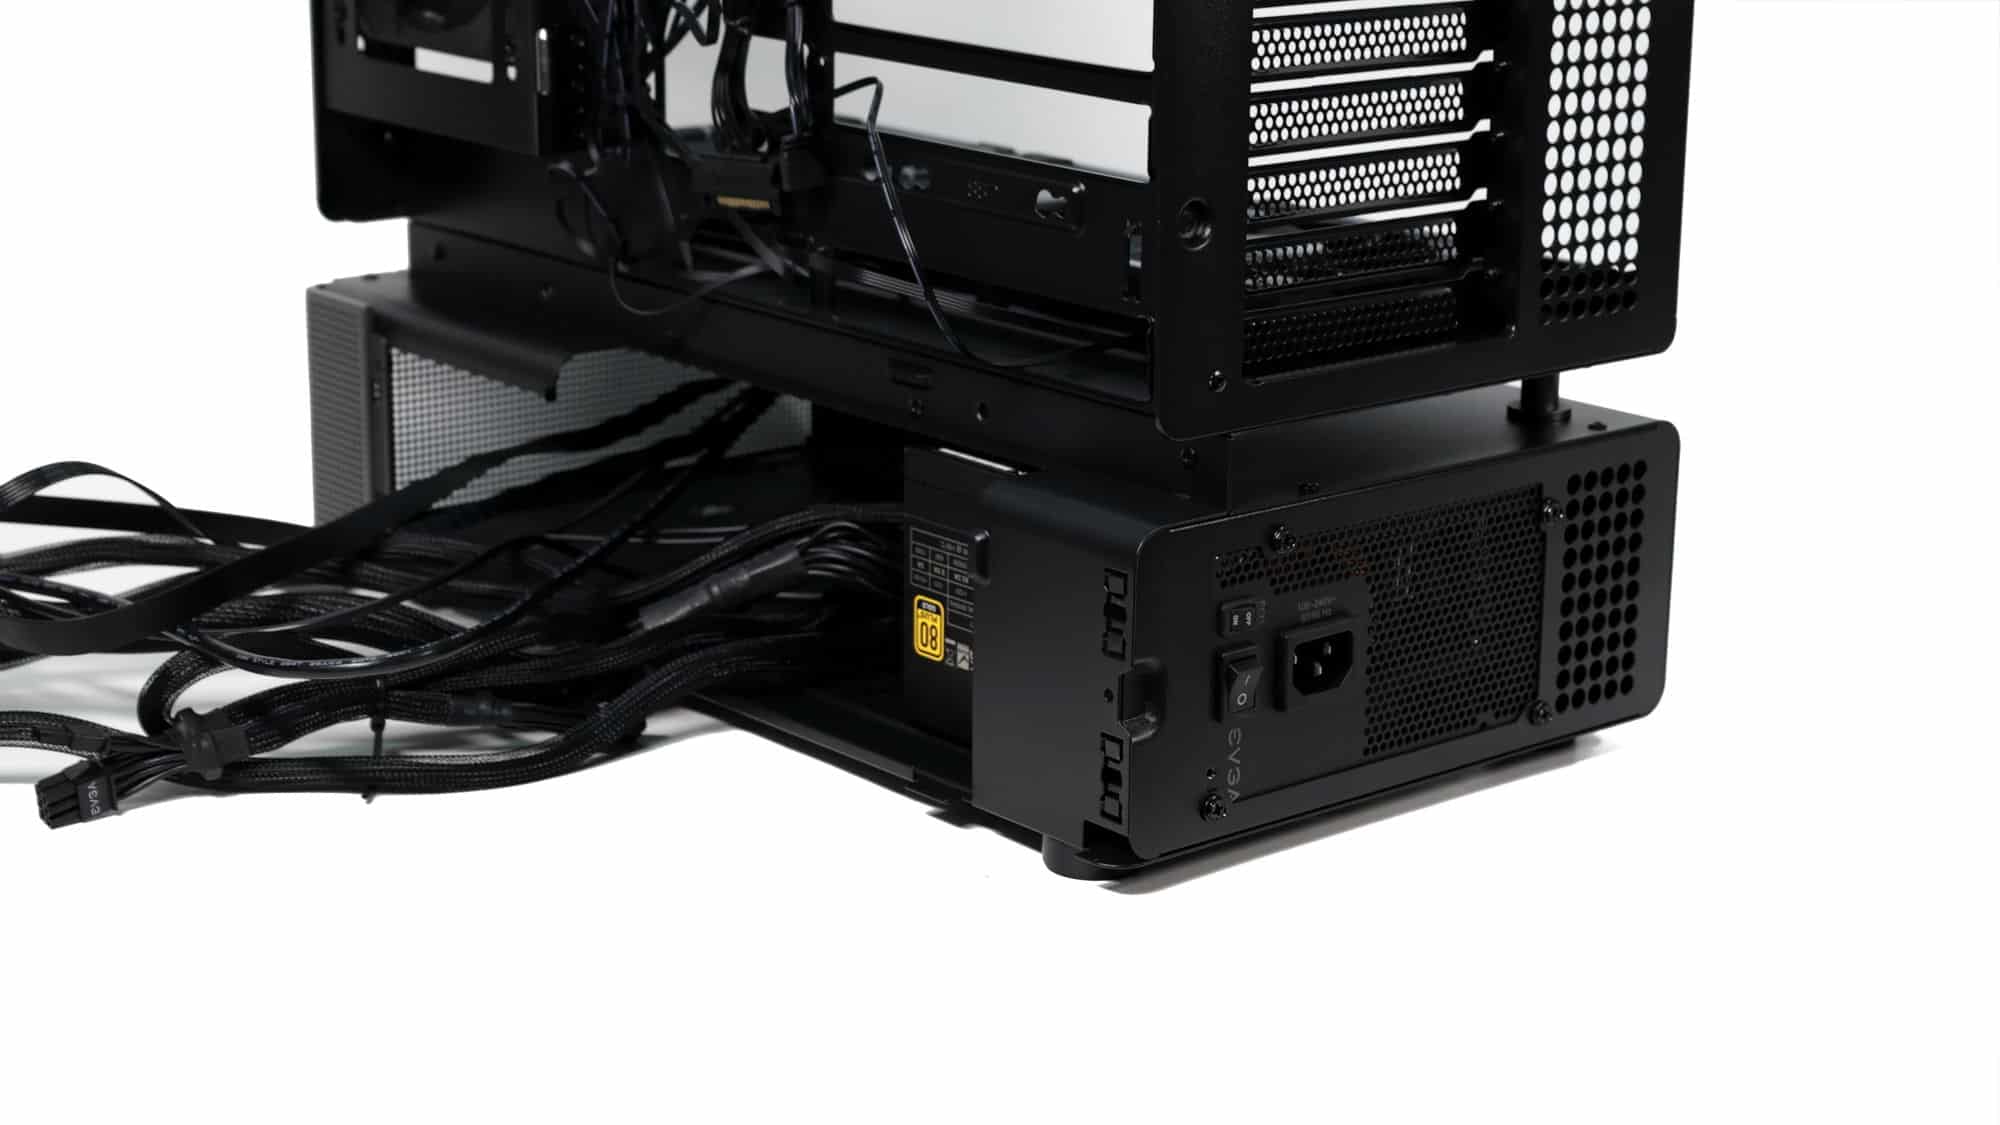
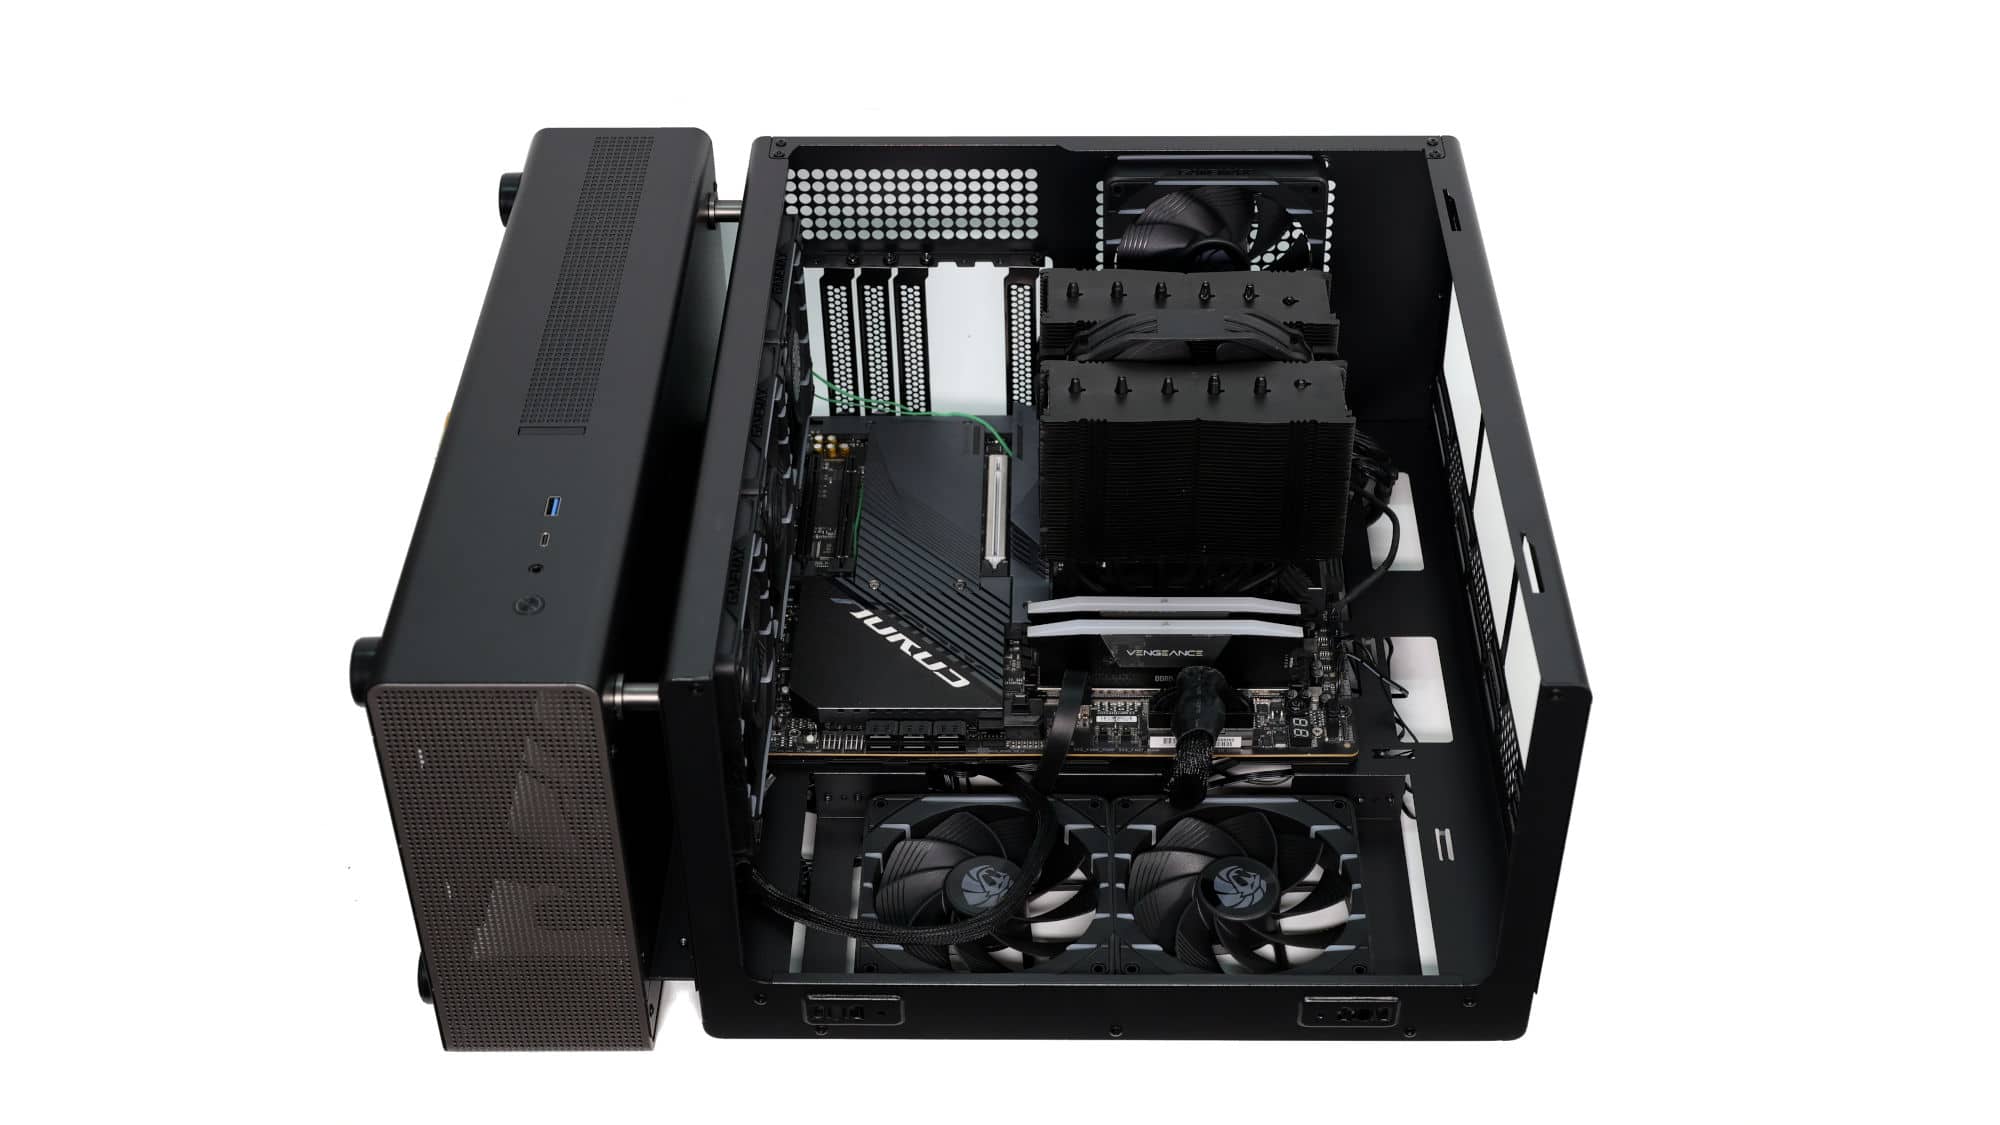
Building in this chassis starts with the PSU, as you’ll need to pre-route the CPU and motherboard power cables before installing the motherboard. The motherboard goes in next with the CPU, cooler, and RAM pre-installed. Installation is straightforward, and everything lines up properly.
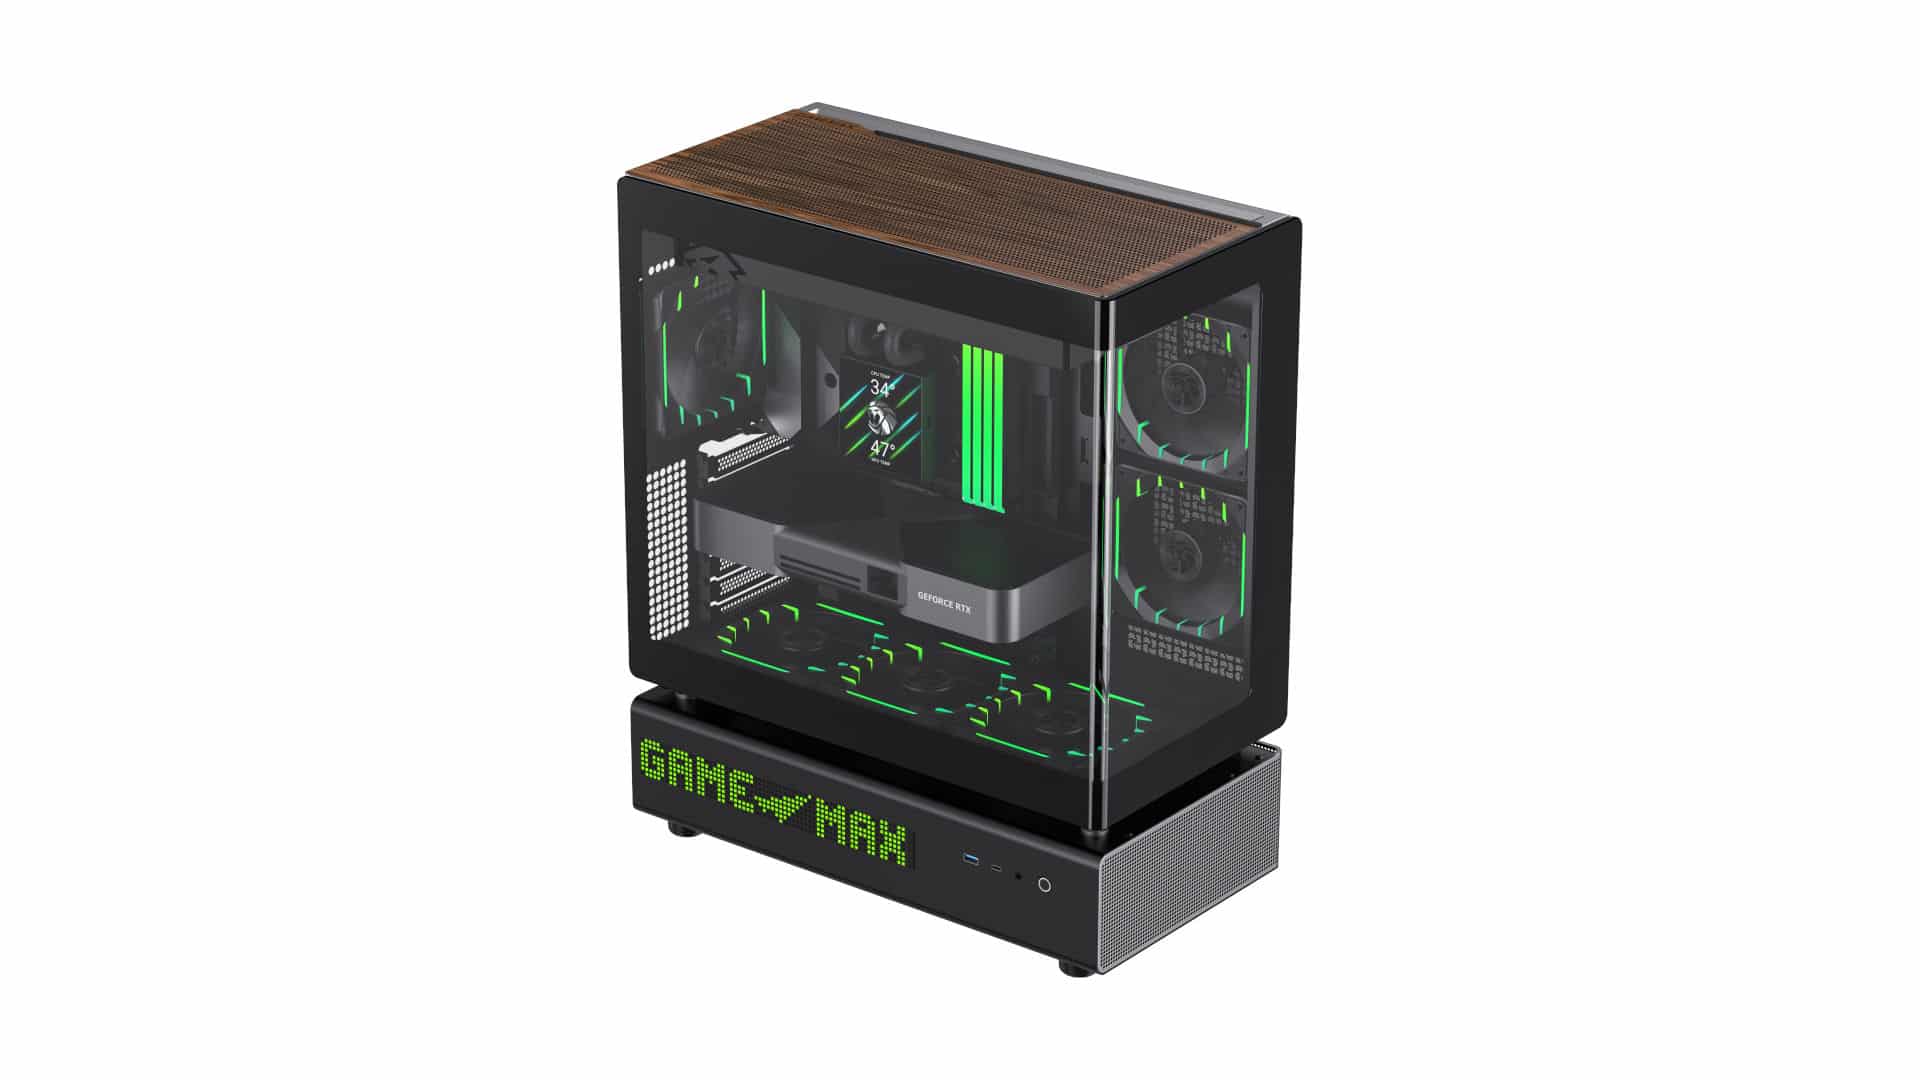
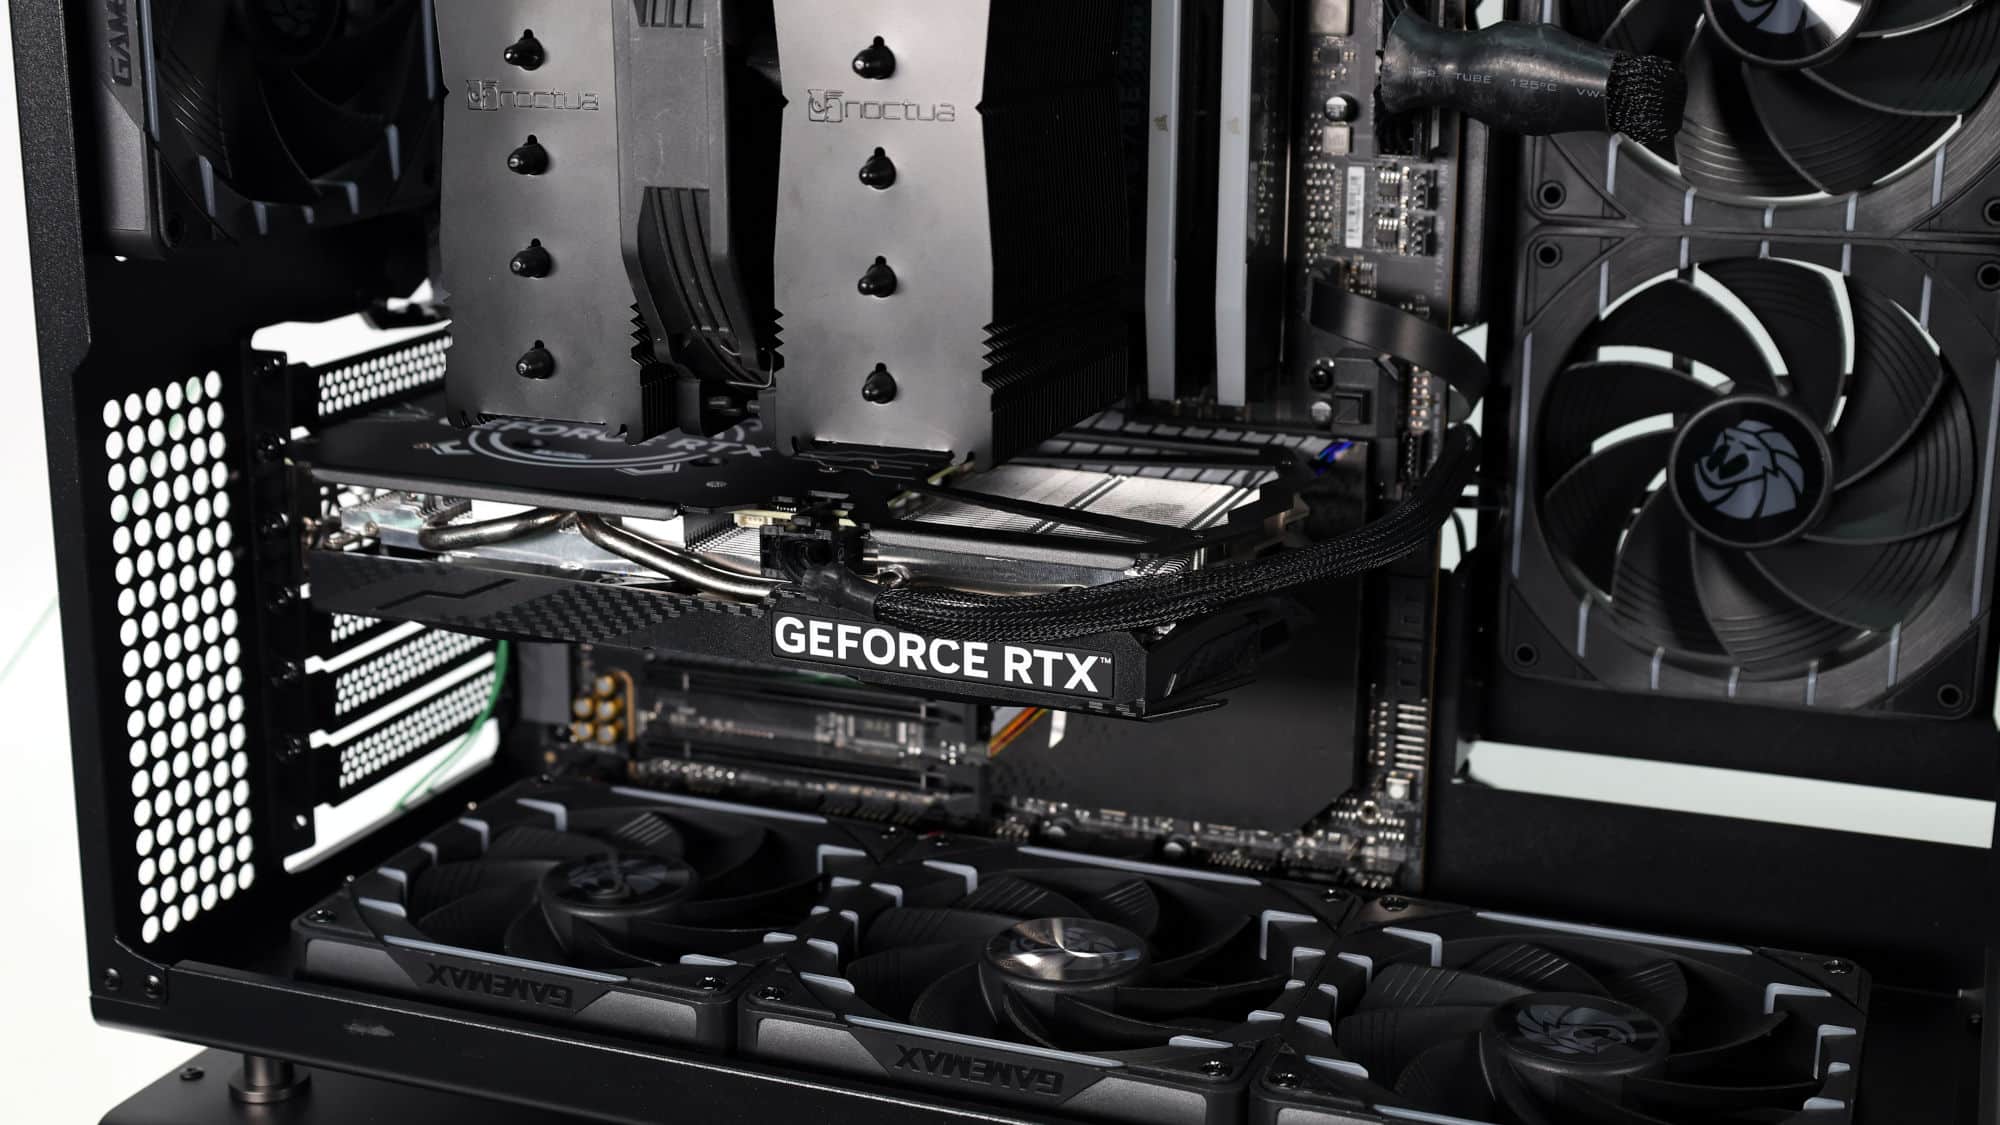
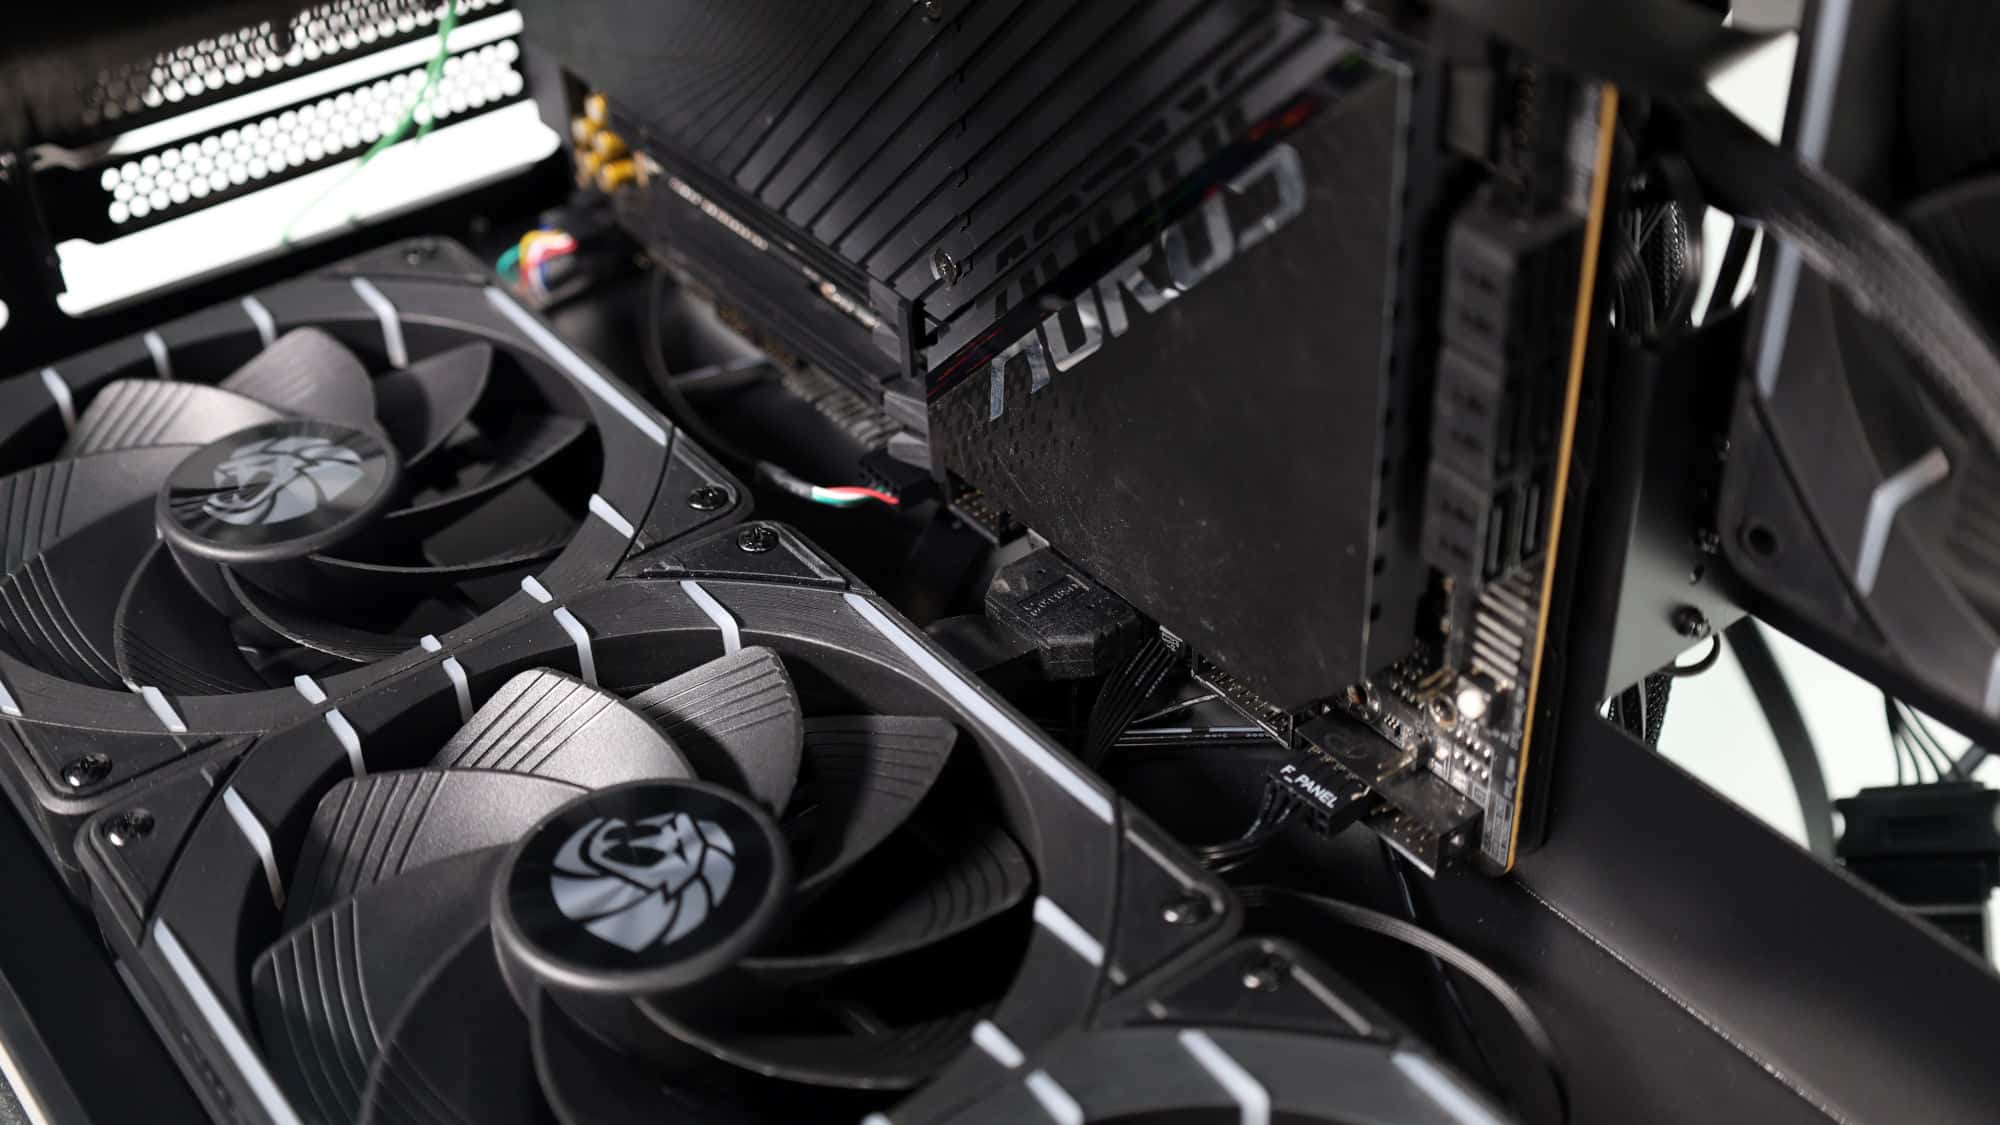
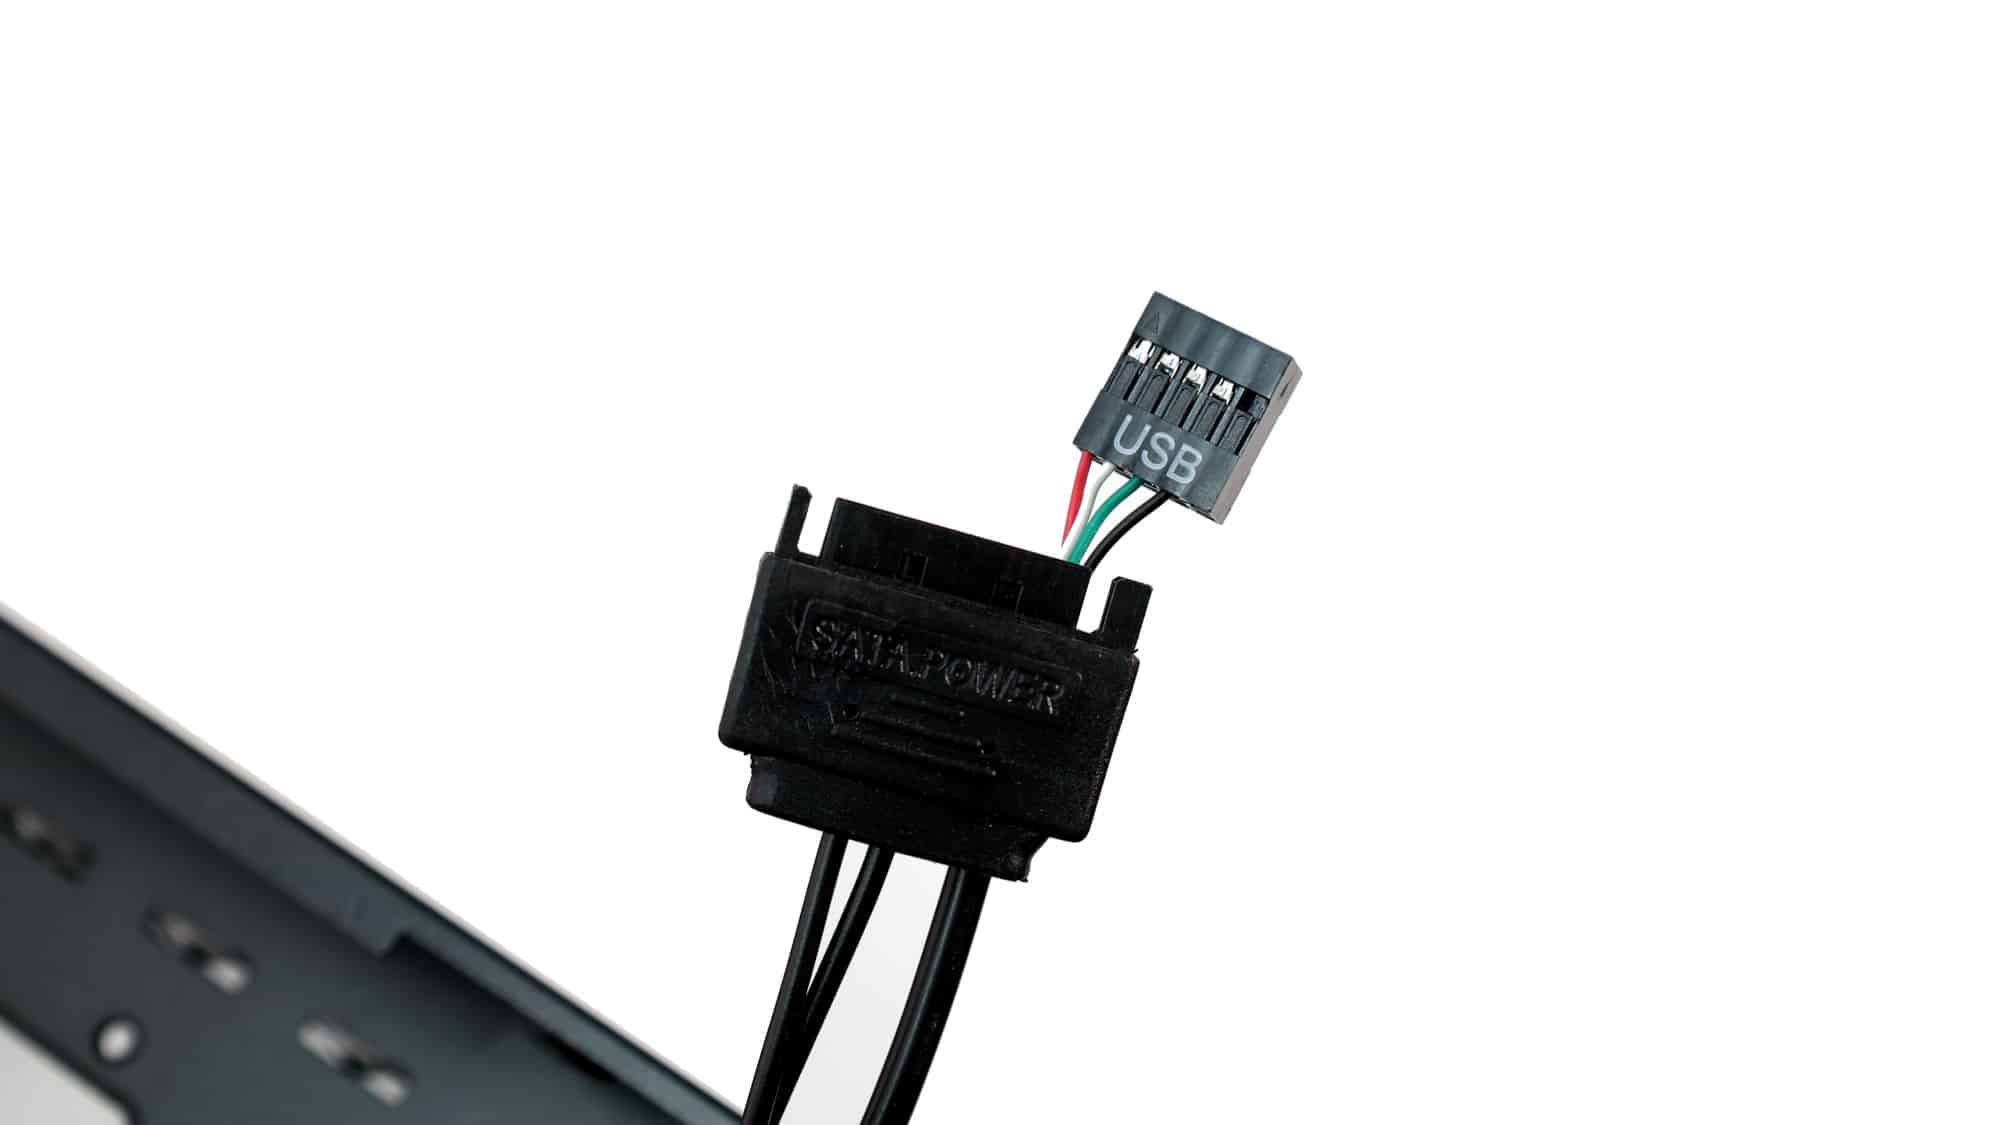
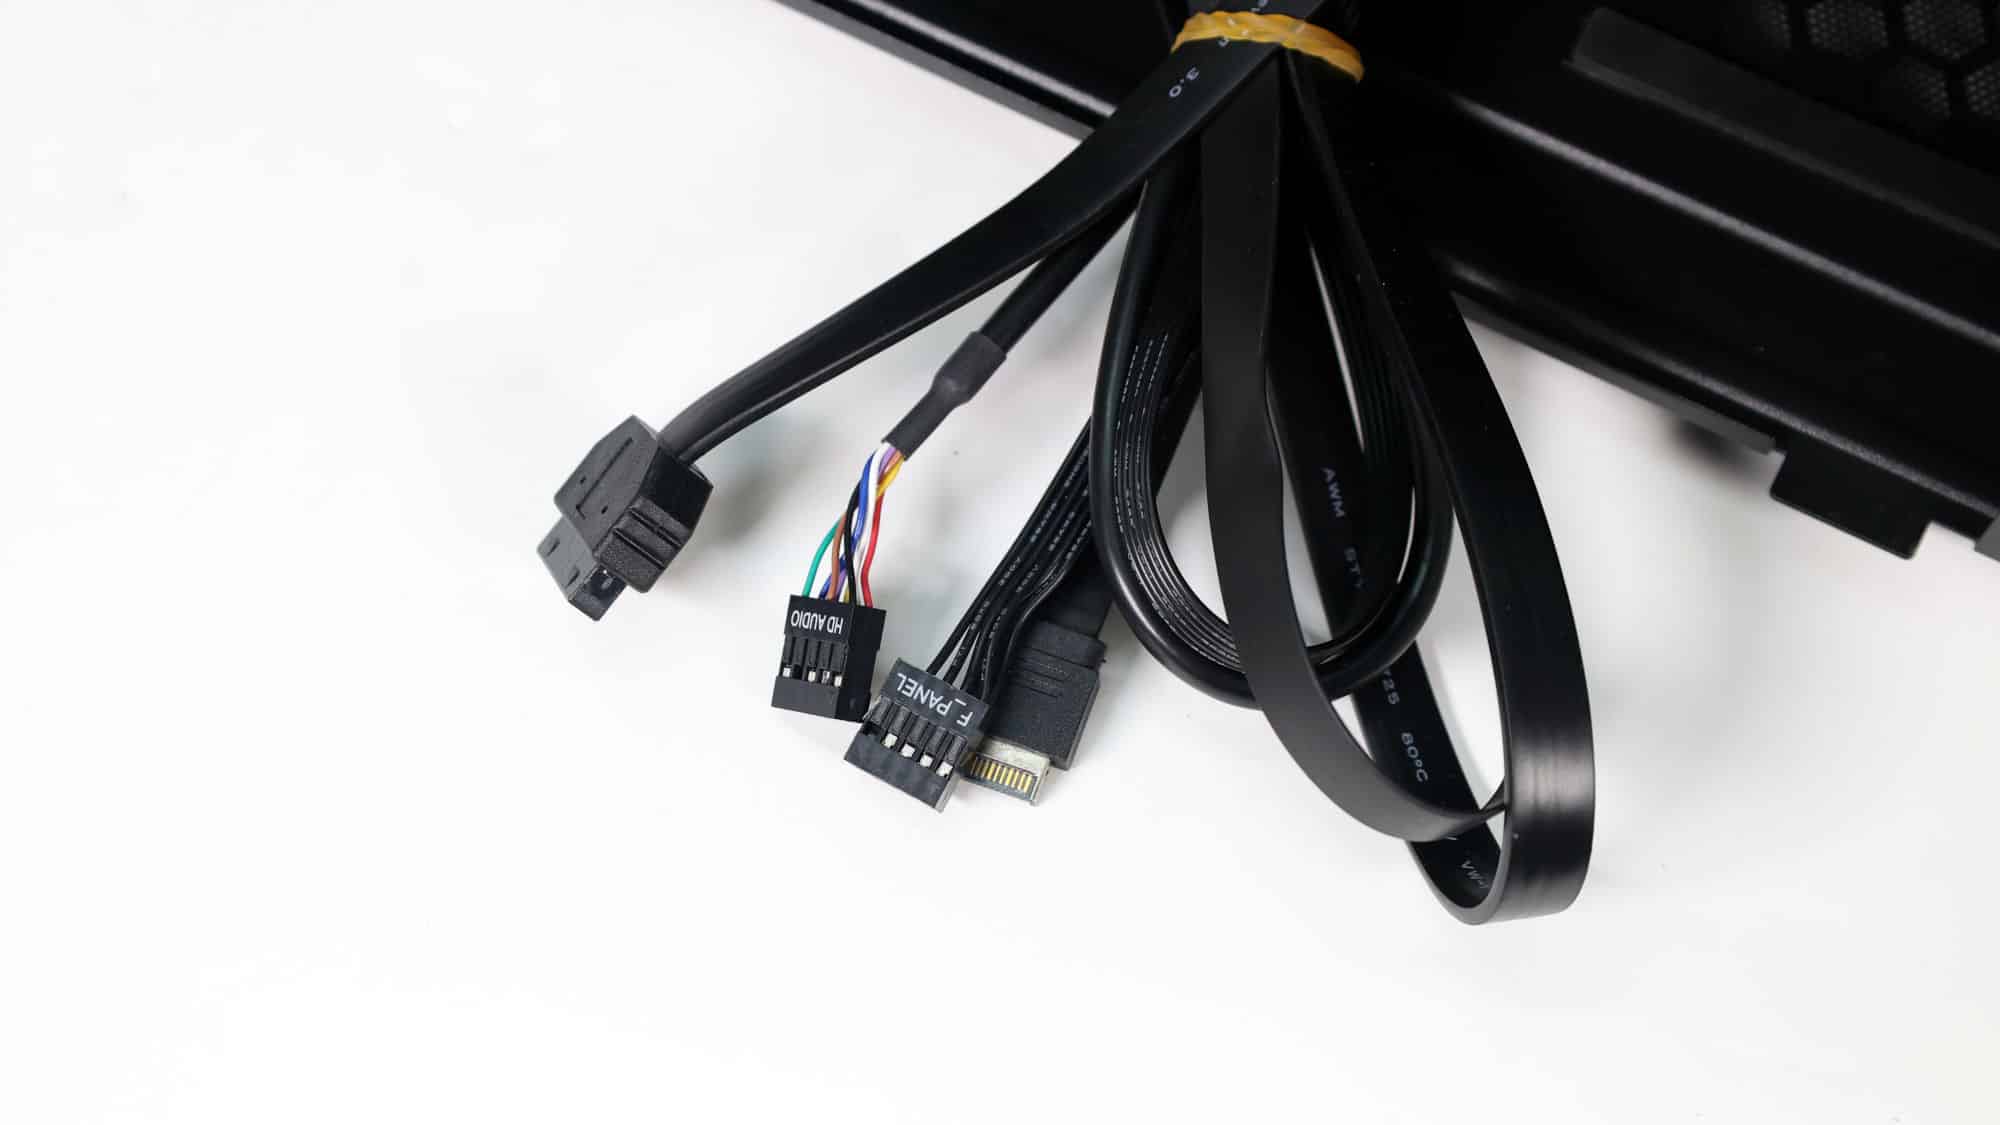
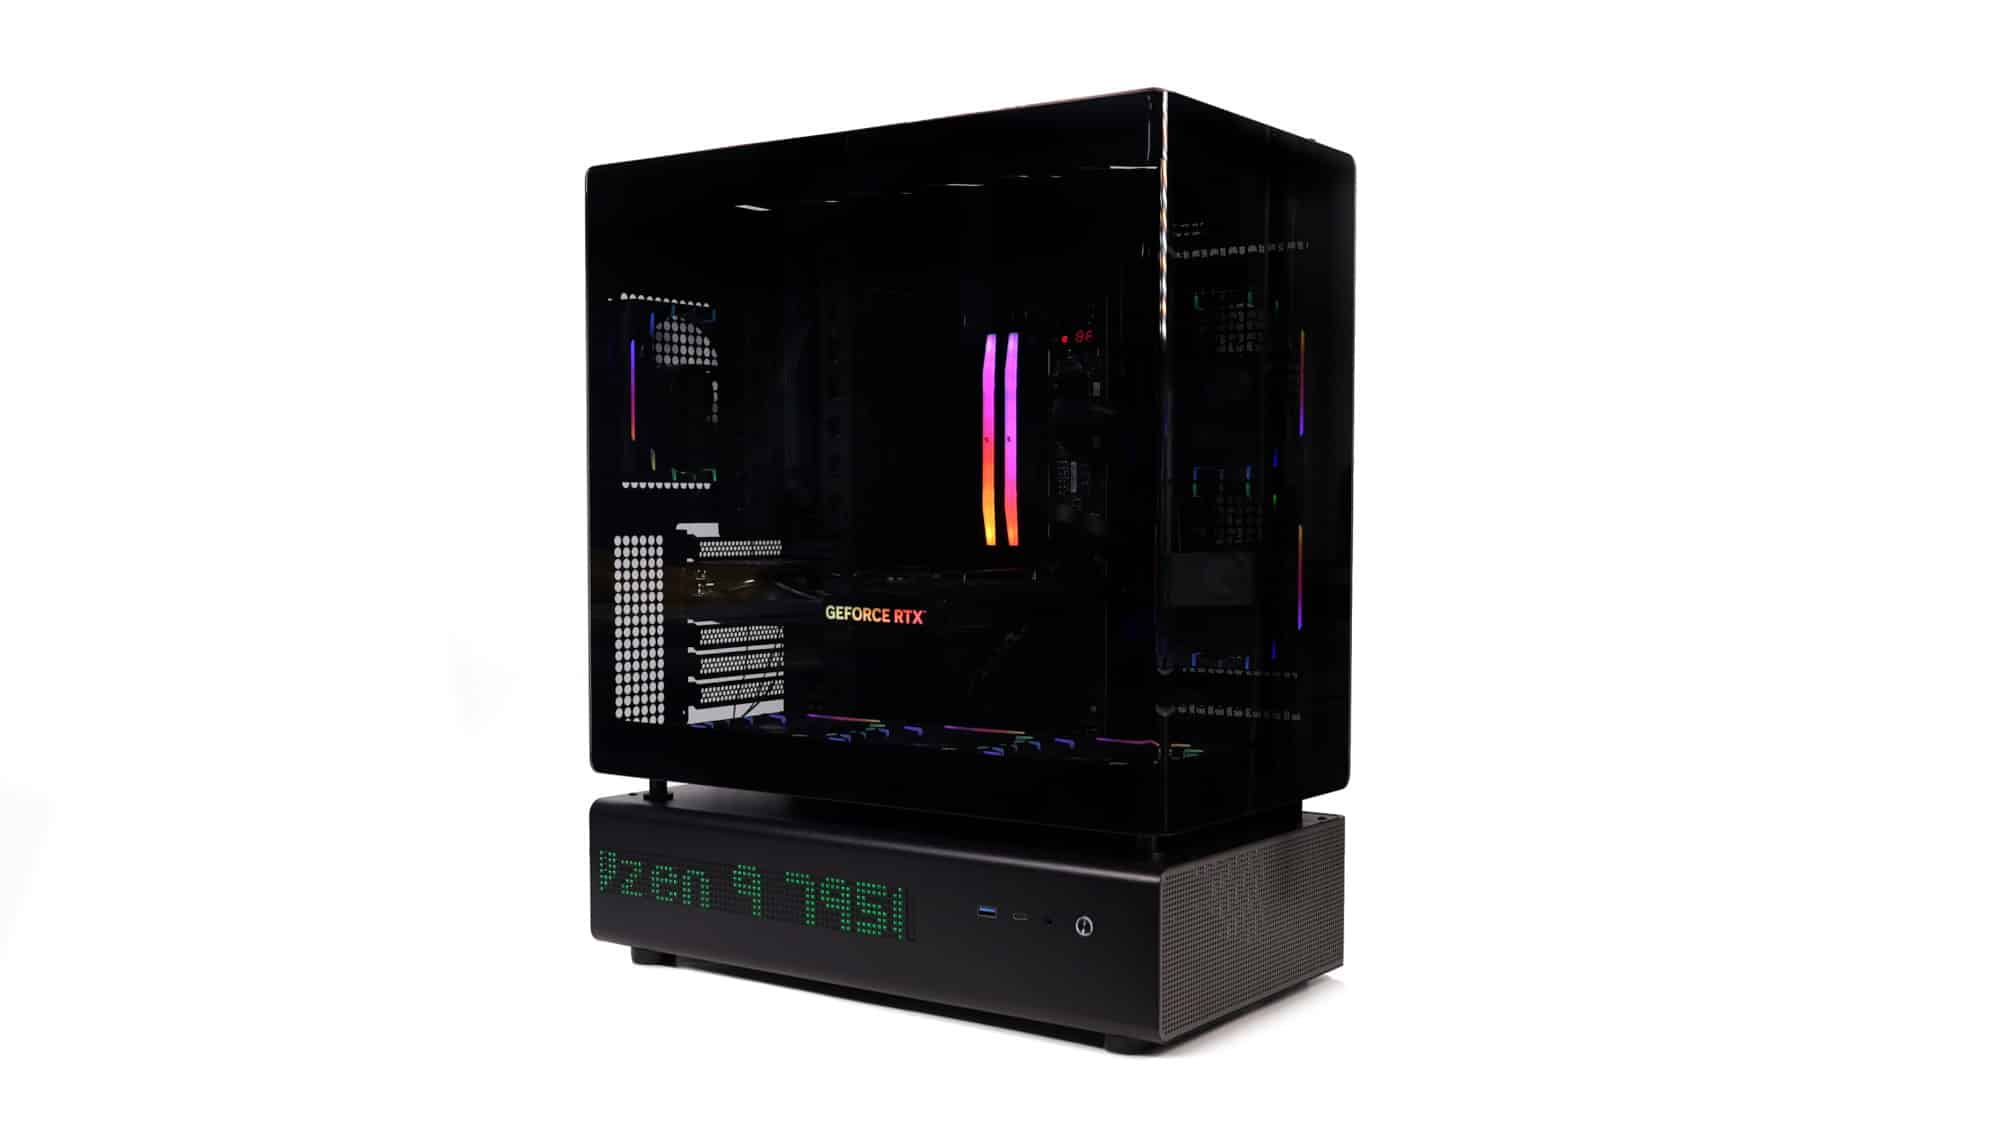
It’s crucial to pre-route any cables that need to plug into the bottom of the motherboard, as doing so becomes impossible with a full-height ATX board installed. The GPU is the last major component to install before final cable management. The dot-matrix display uses a SATA connector for power and a USB 9-pin header to connect to the motherboard.
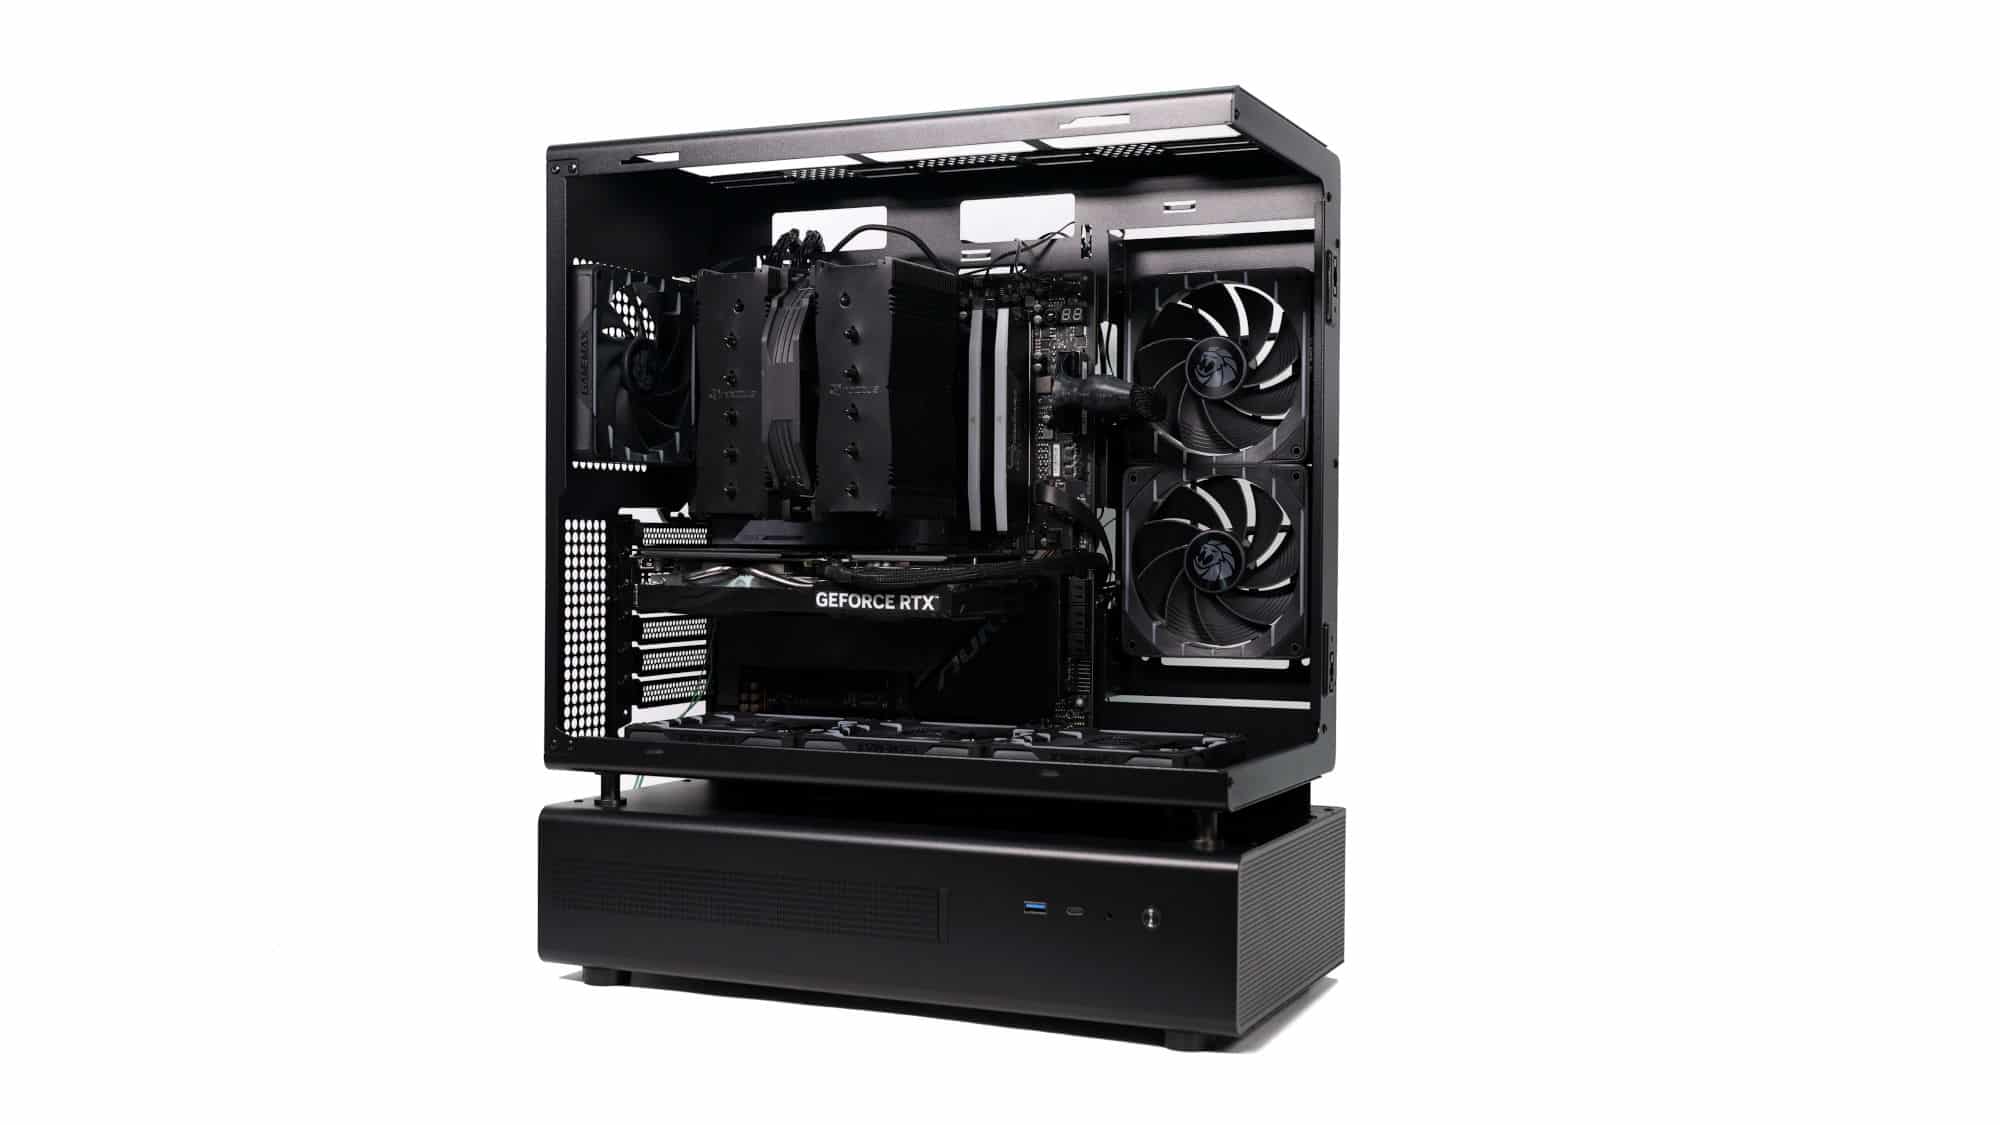

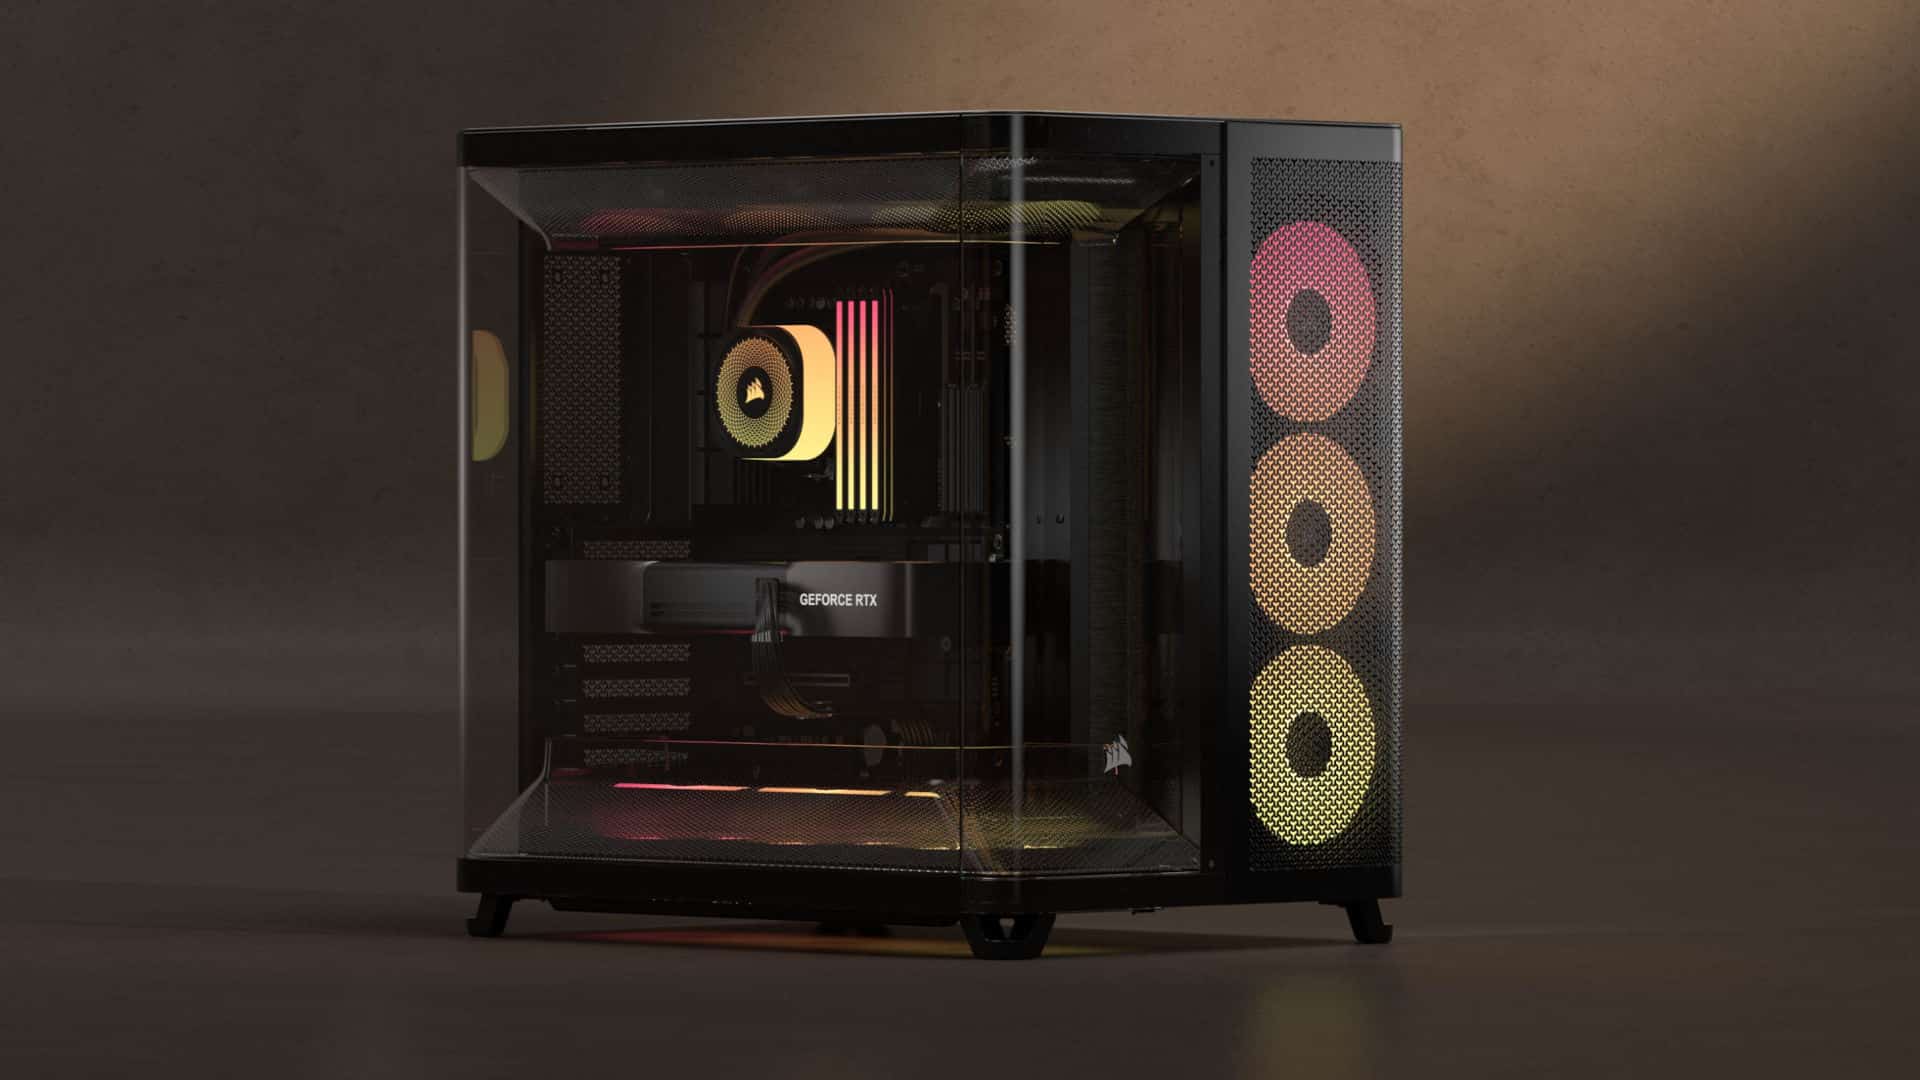
With our component selection, the final build looks excellent with a clean all-black aesthetic.
ARGB Lighting and Aesthetics
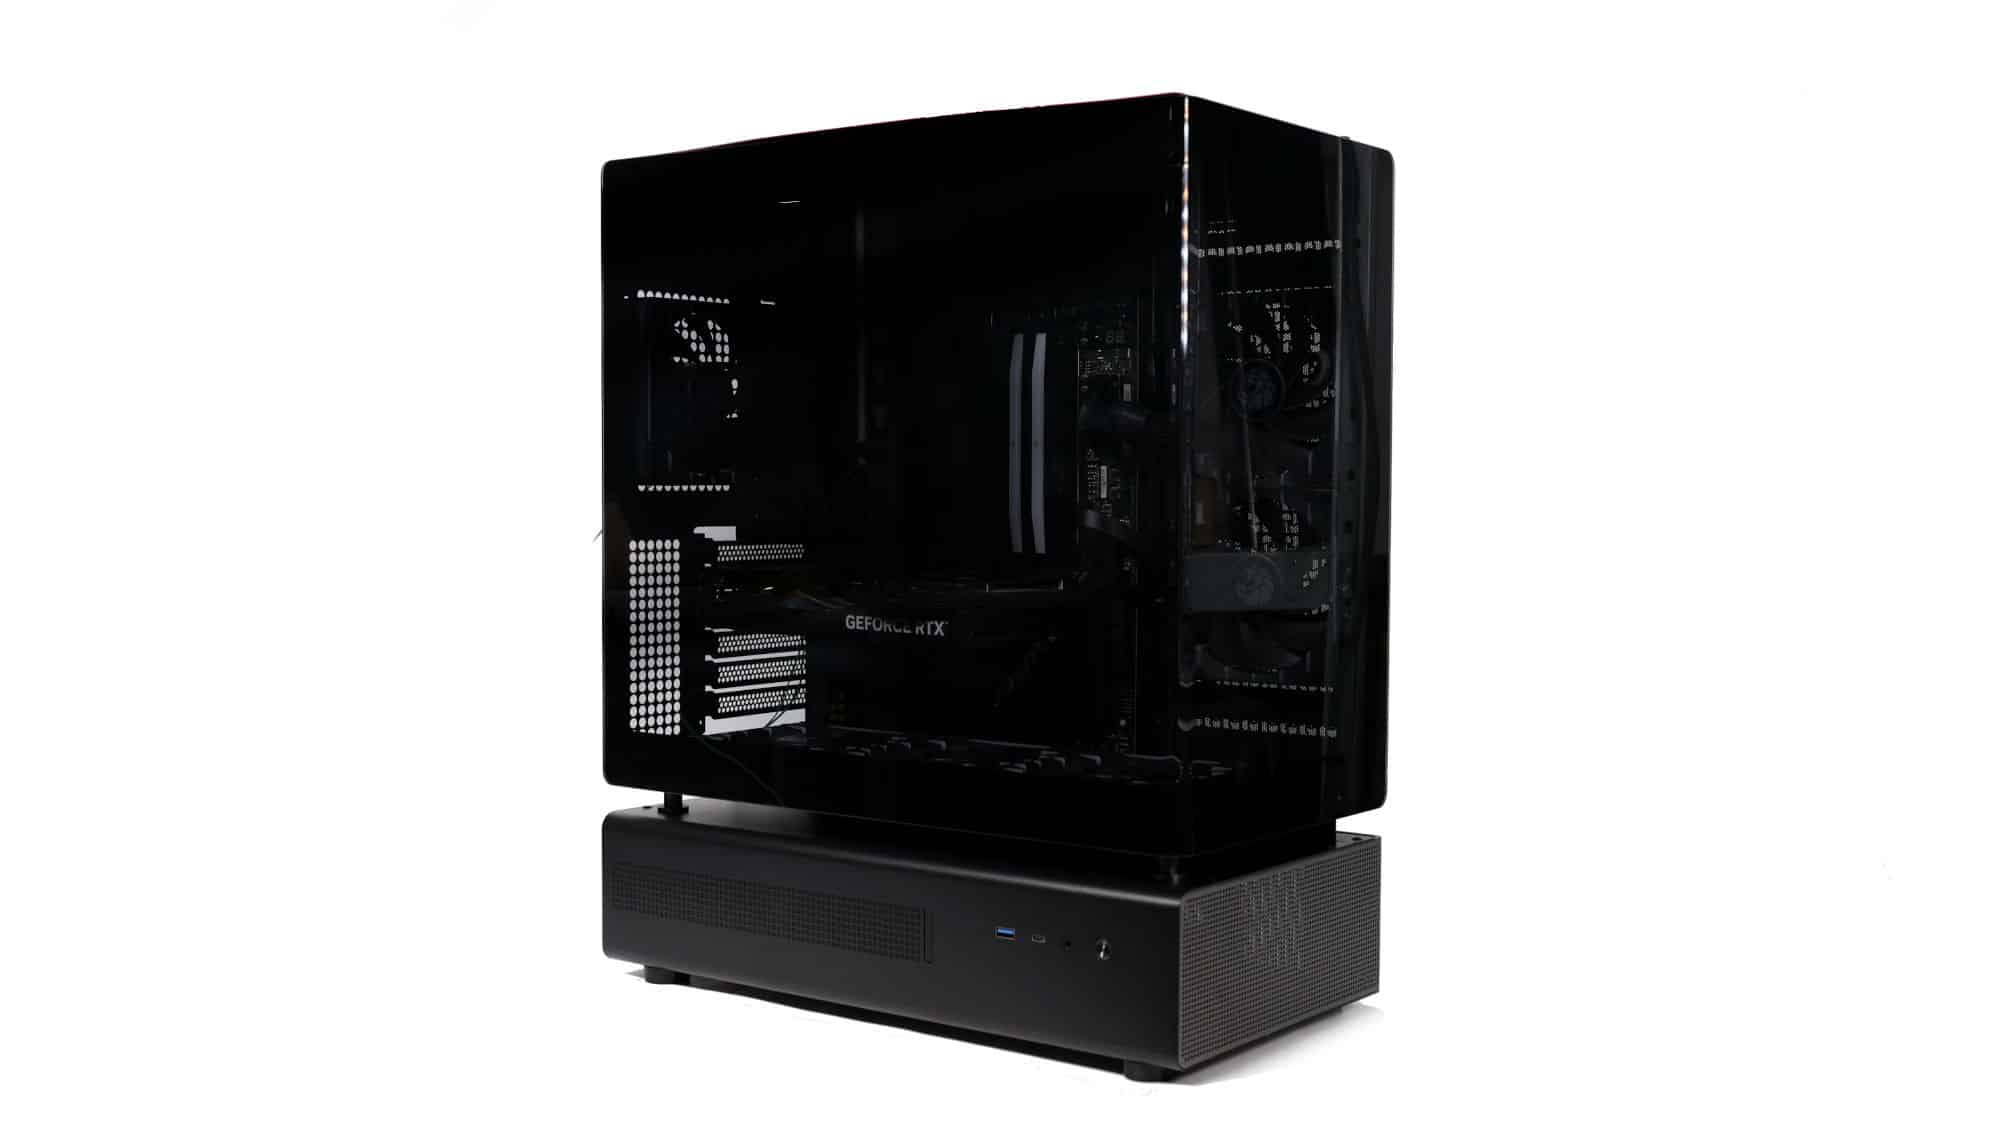

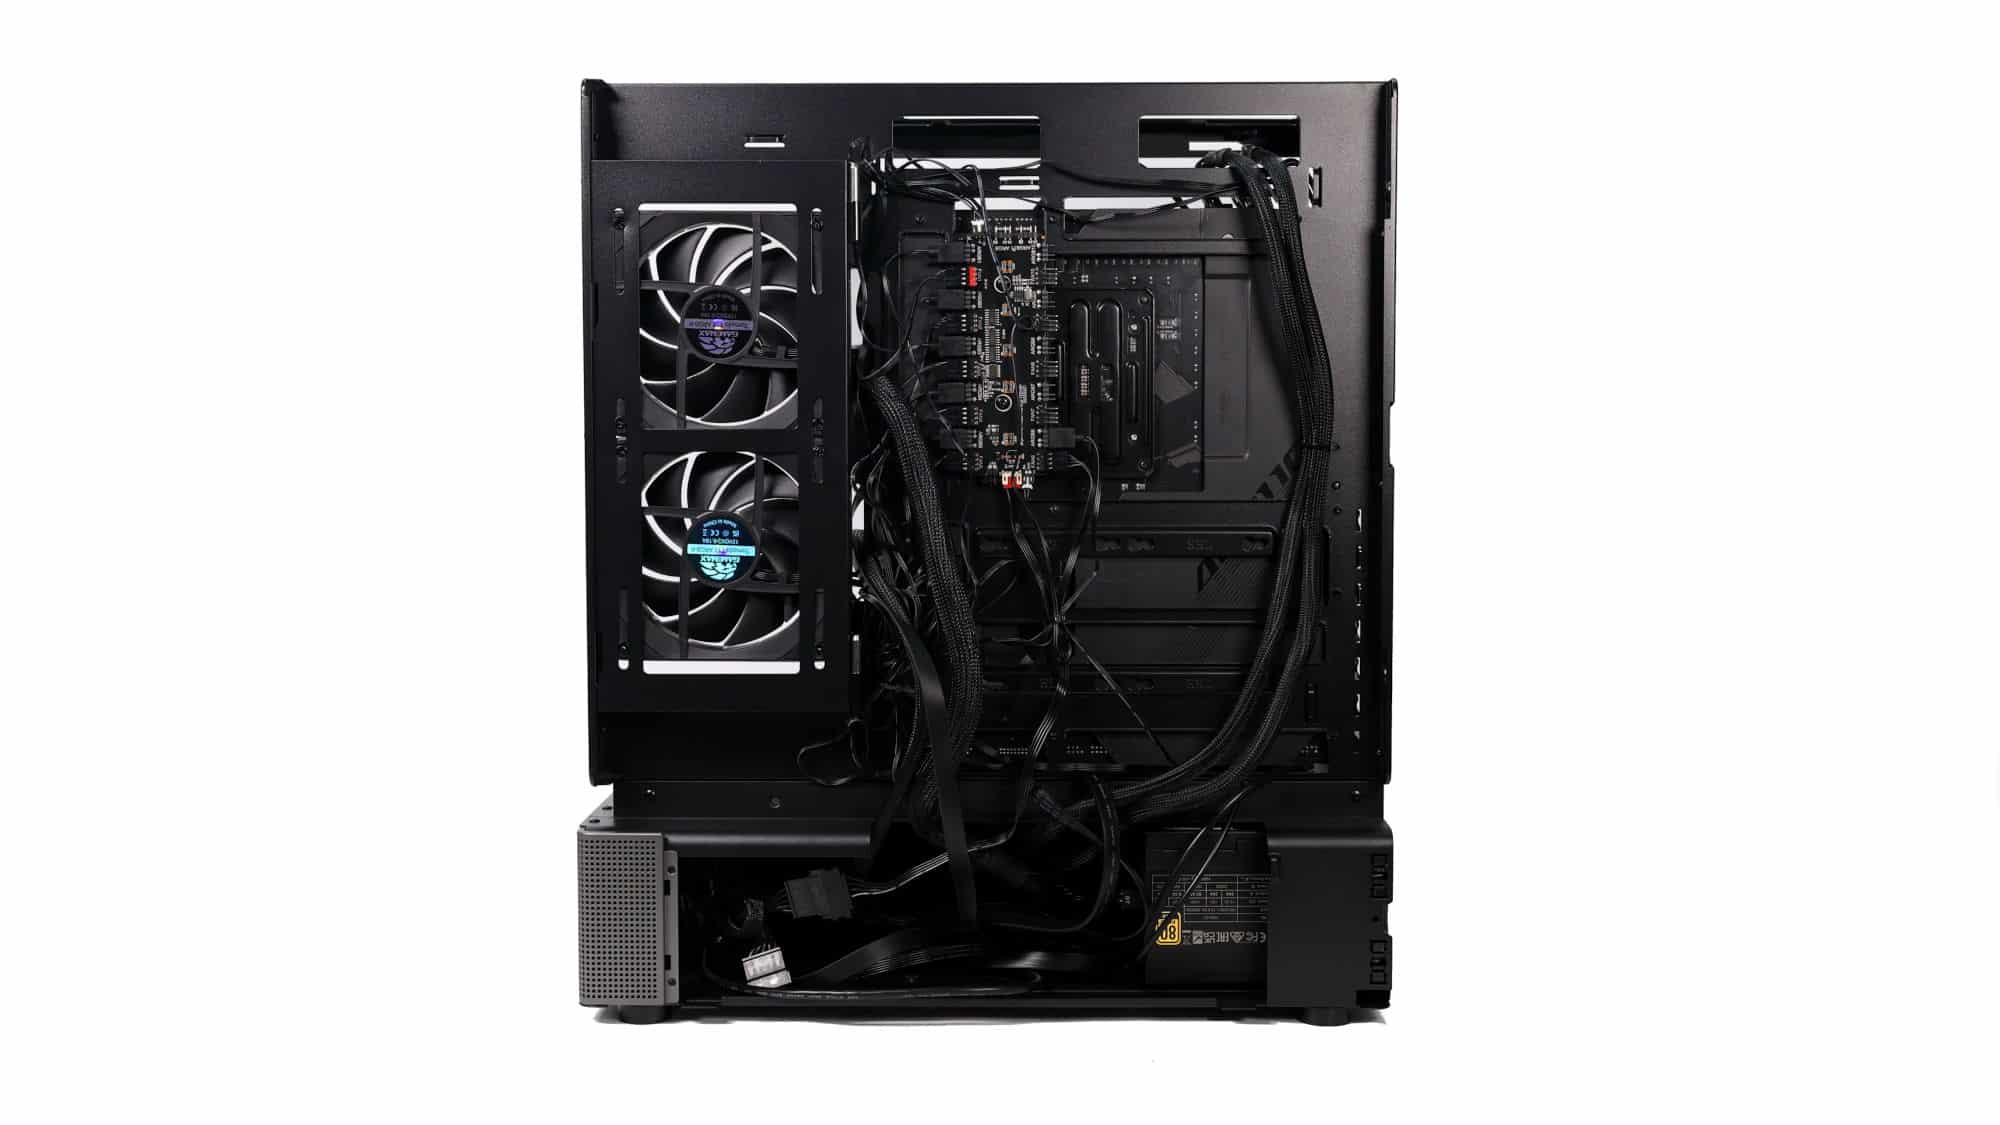
The glass panel enhances the appearance, but this chassis would greatly benefit from a back-connector motherboard, provided the rear clearance is sufficient.
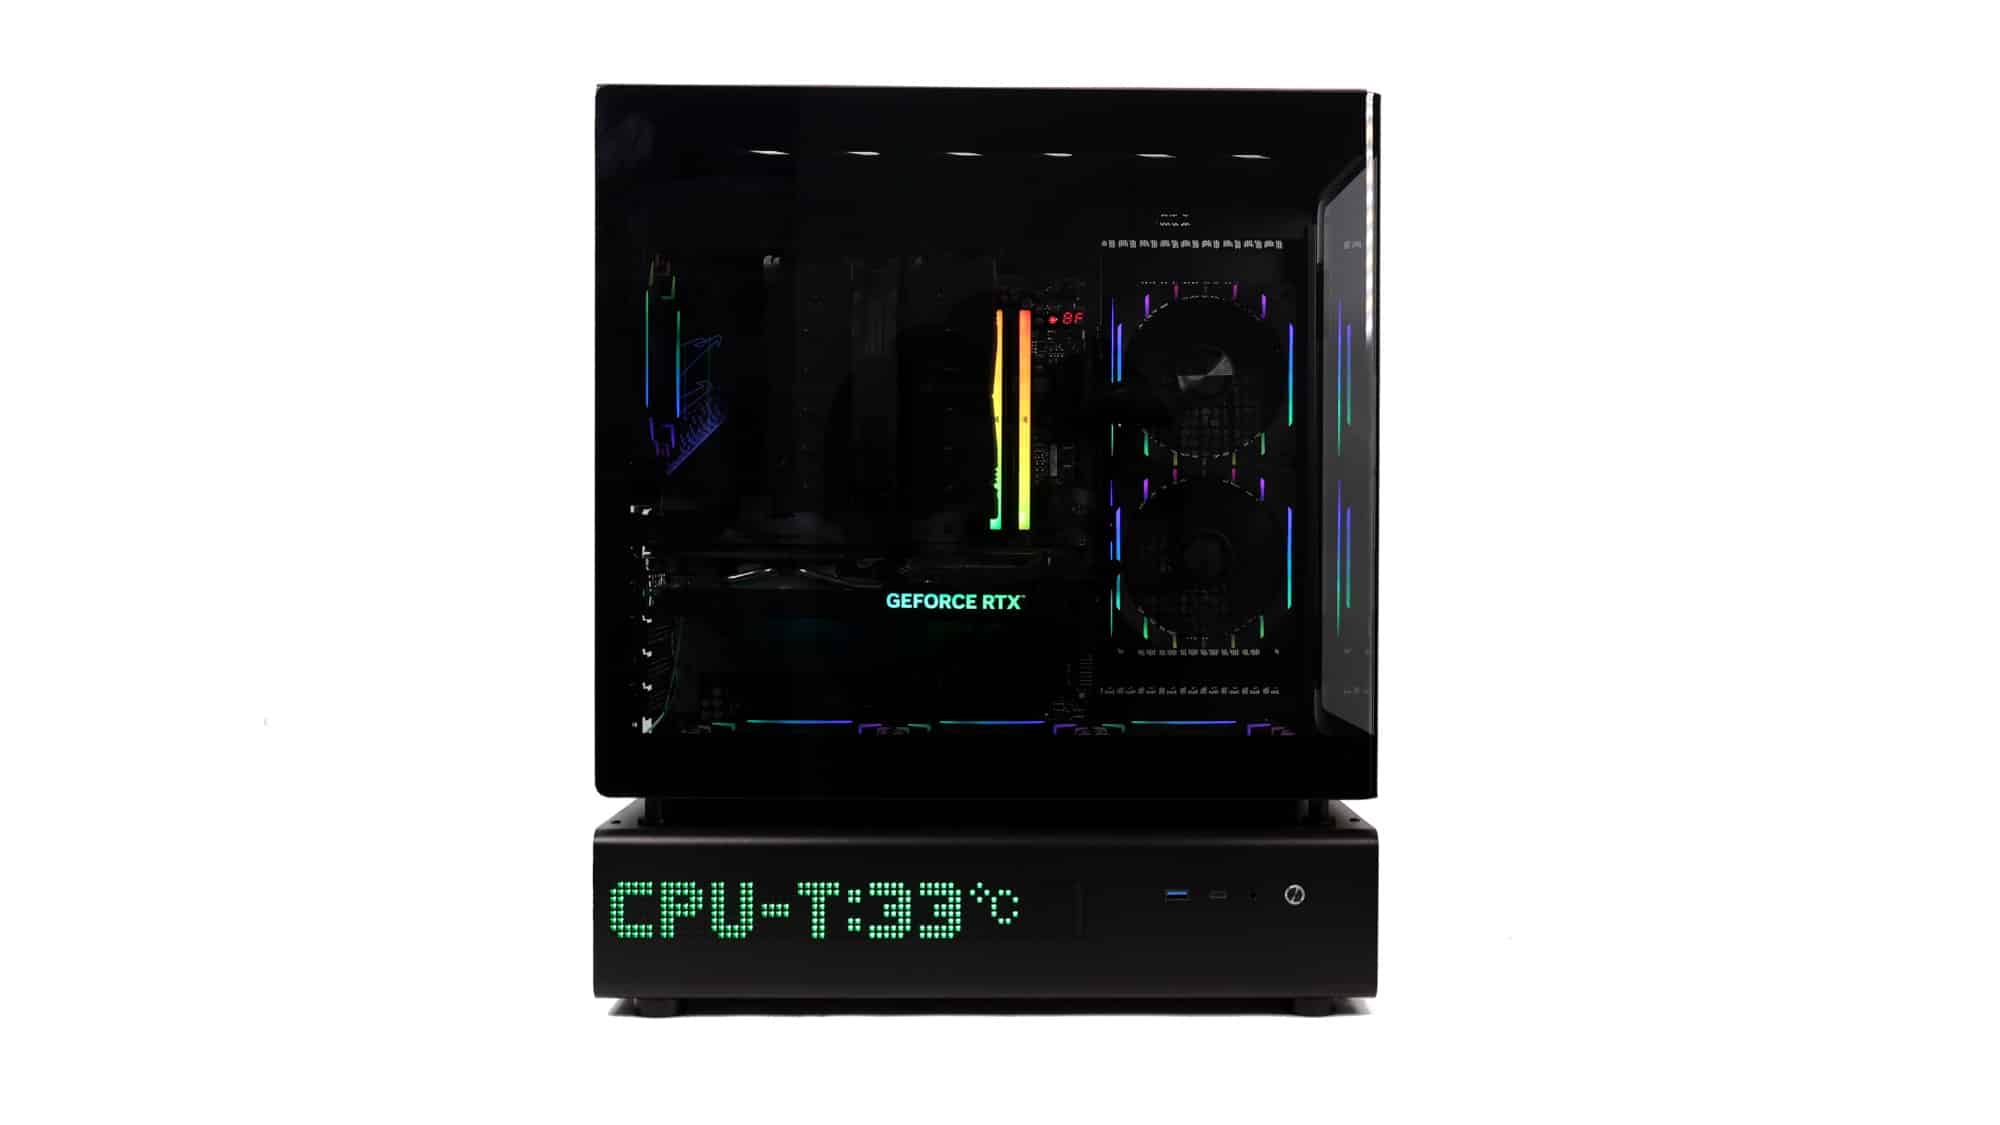
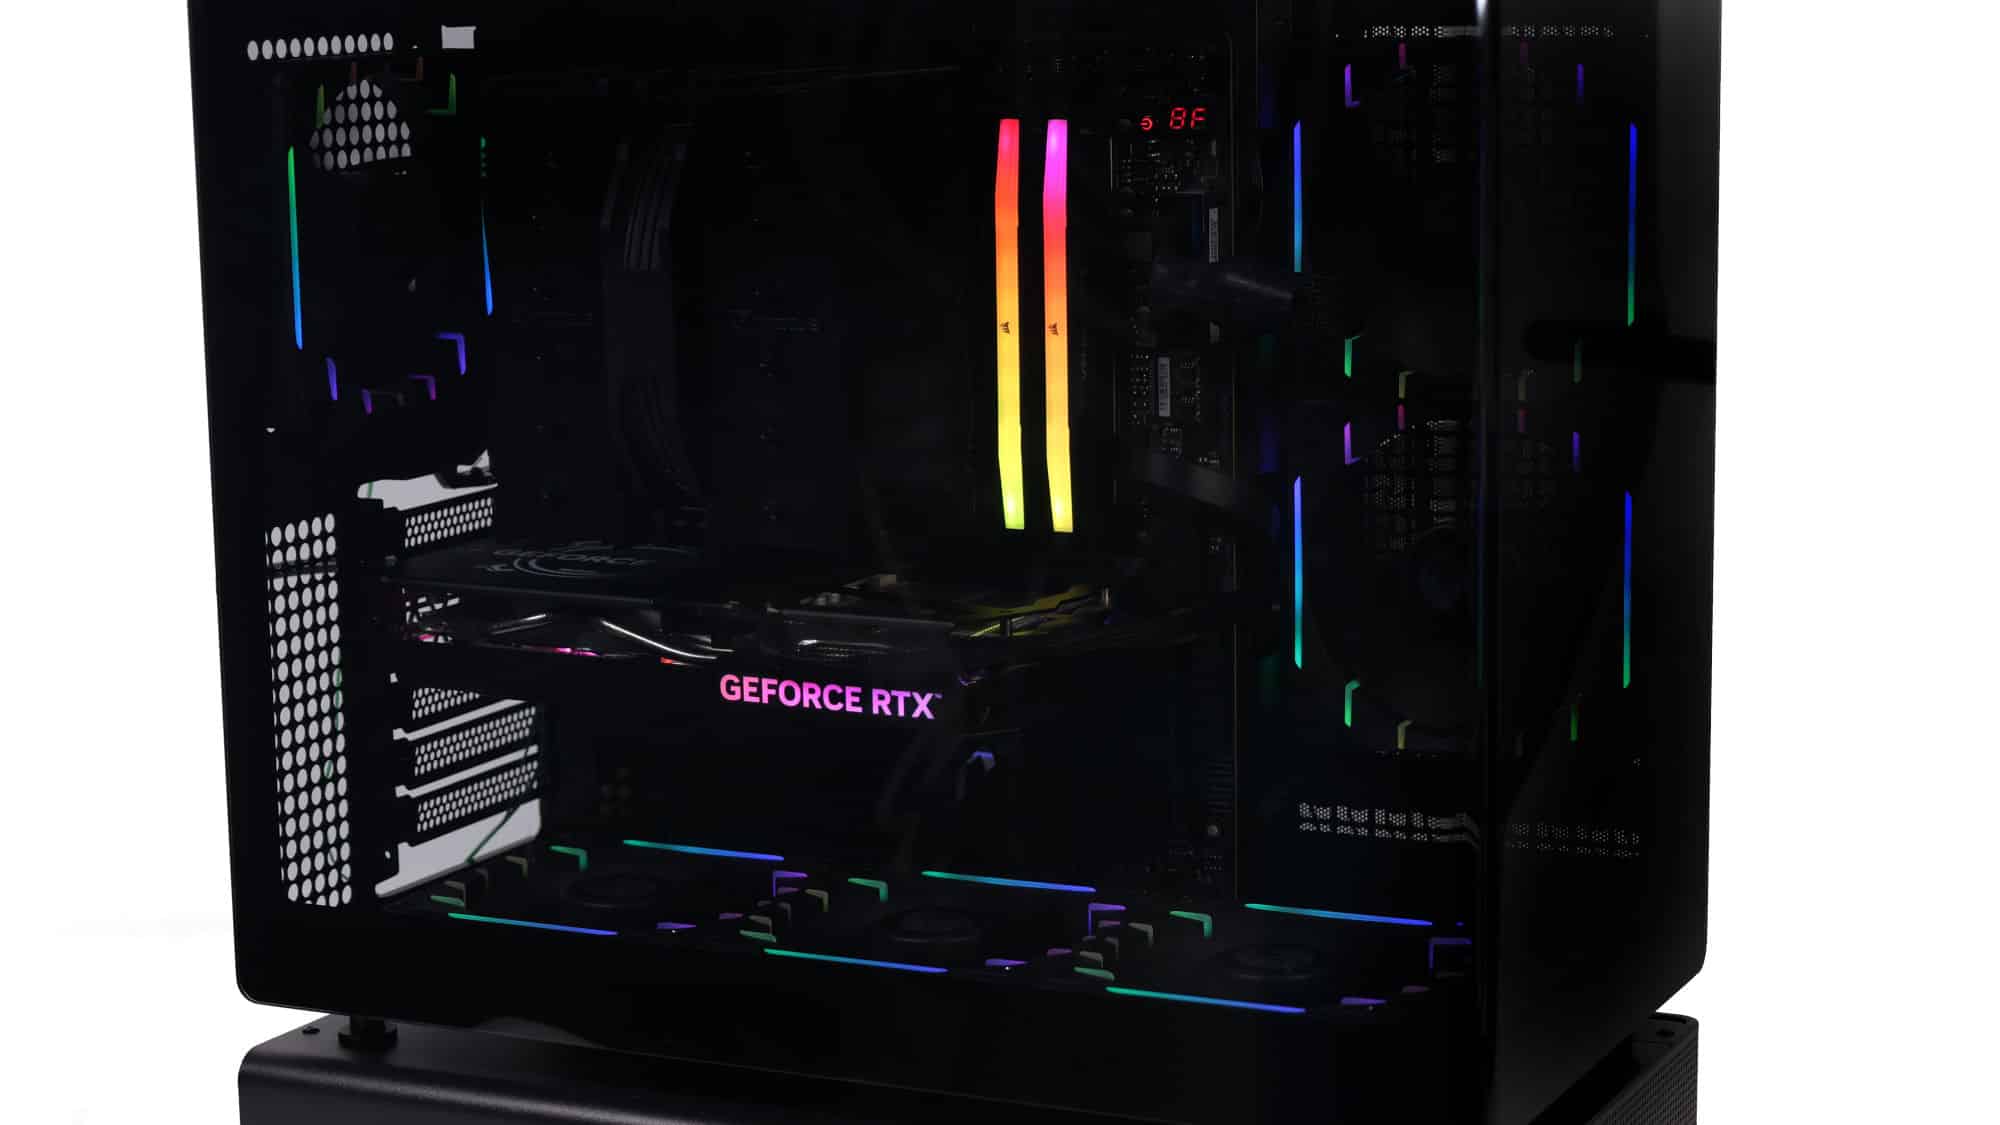
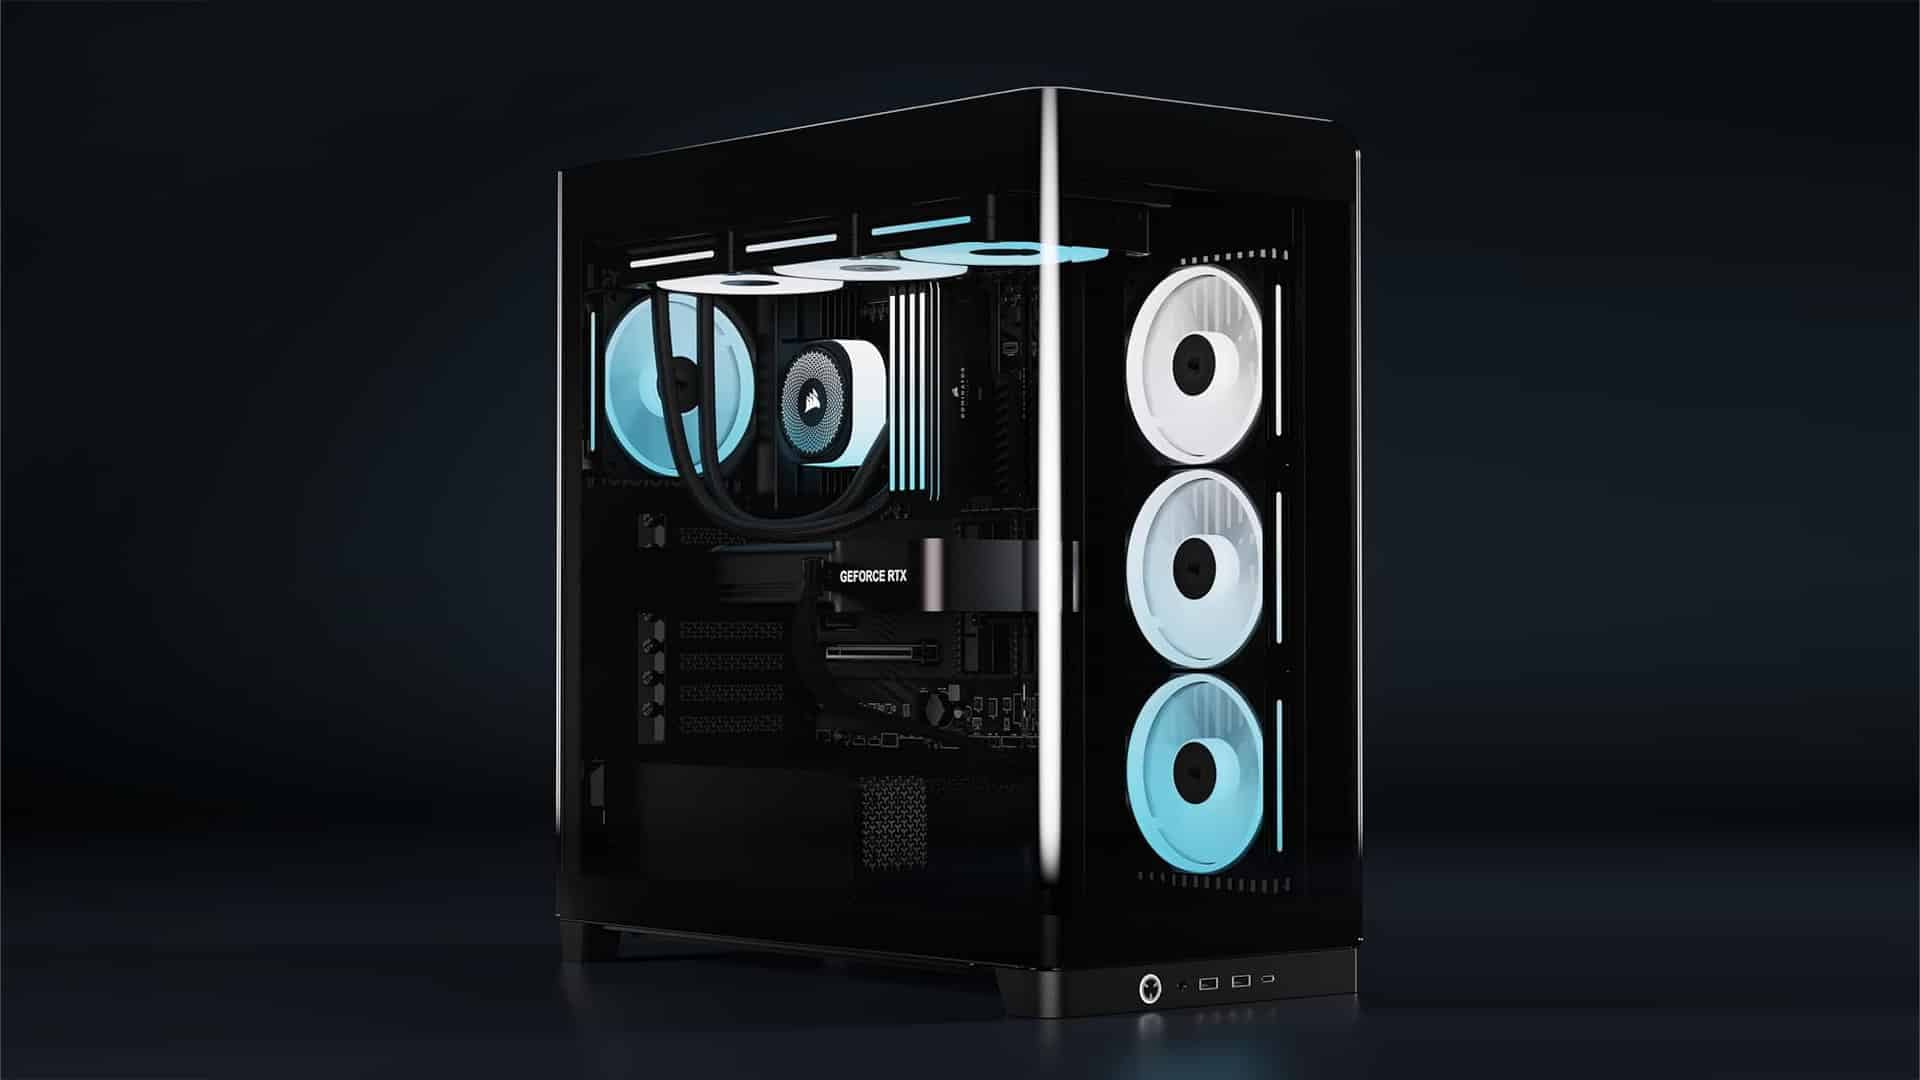
The system with the lights on is quite impressive.


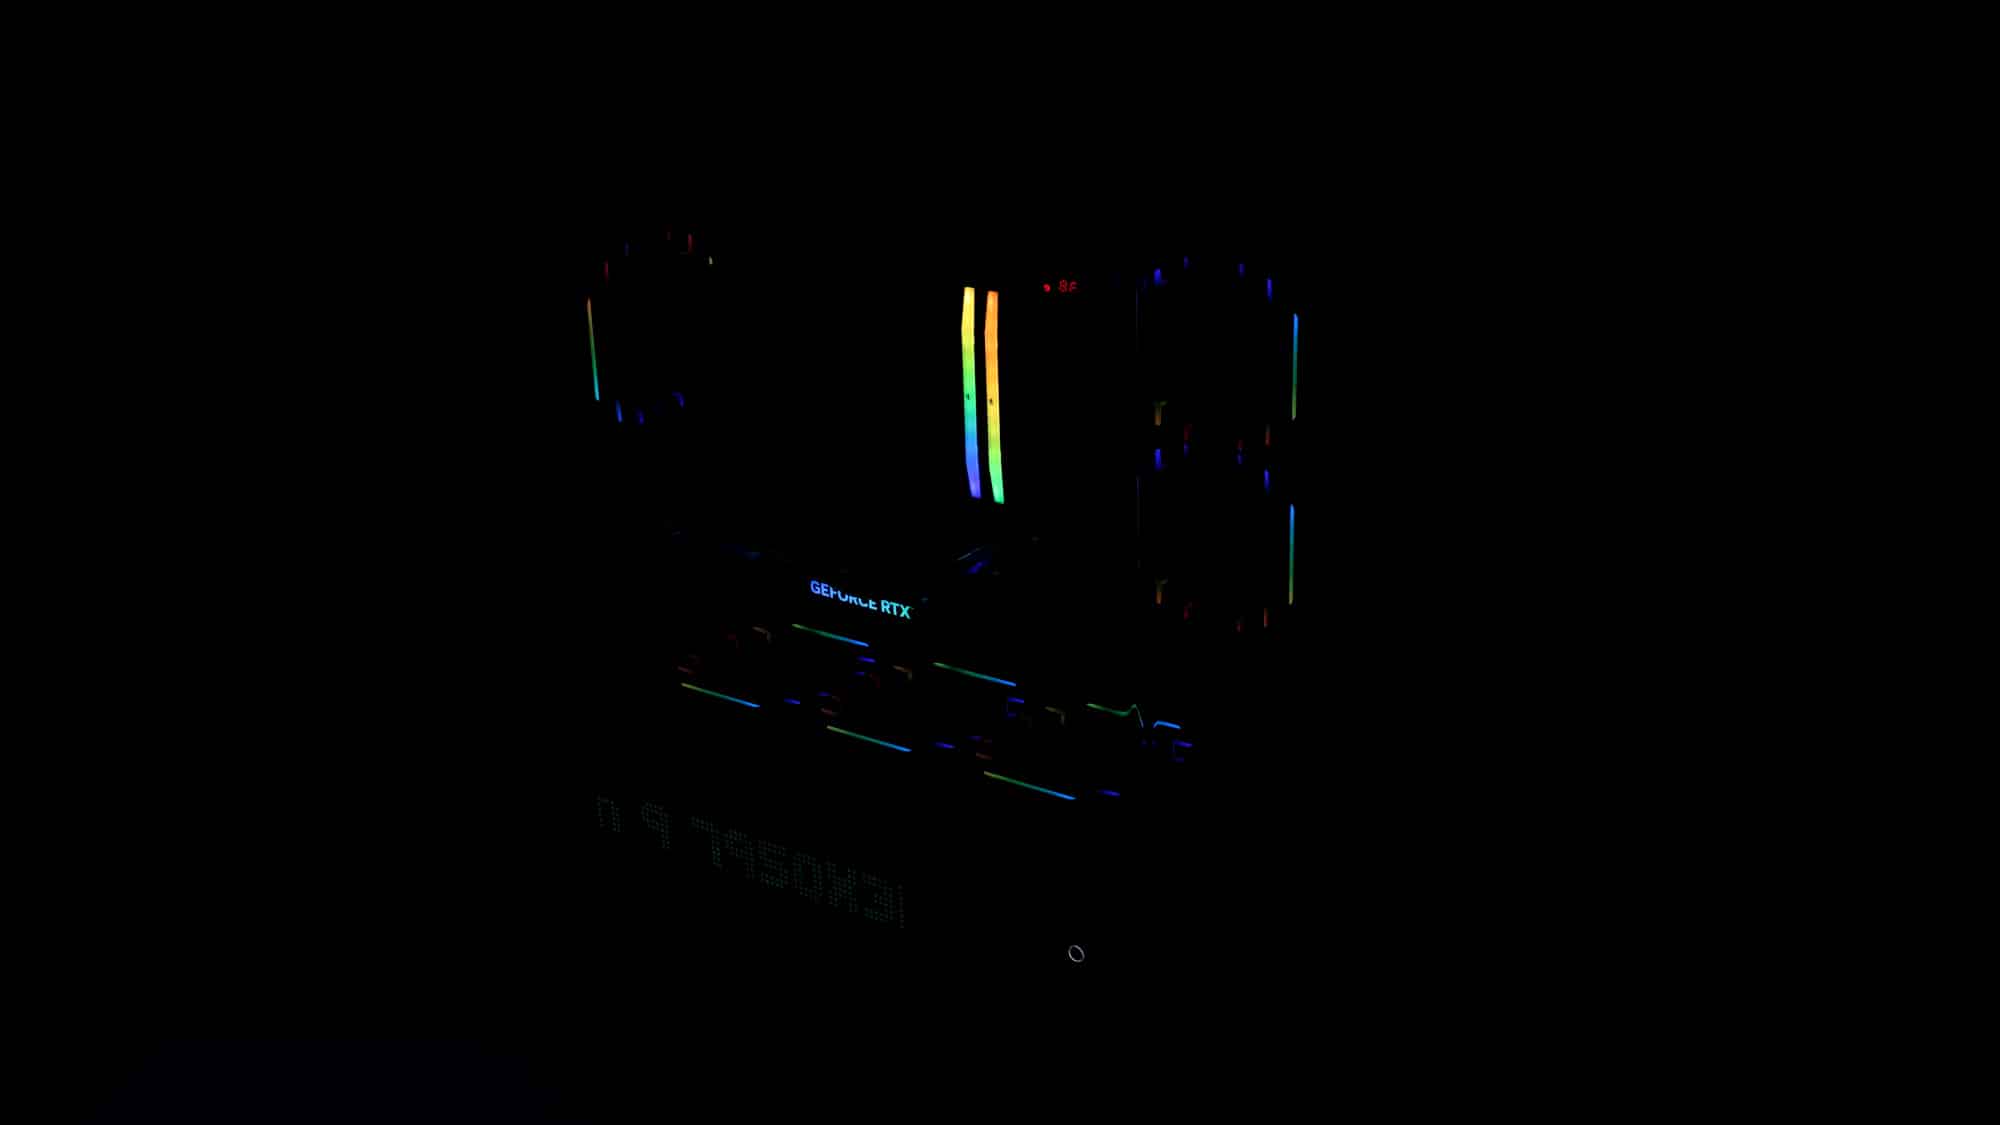
Turn the lights off, and the new fans provide a unique look. From the front, they look like a runway!
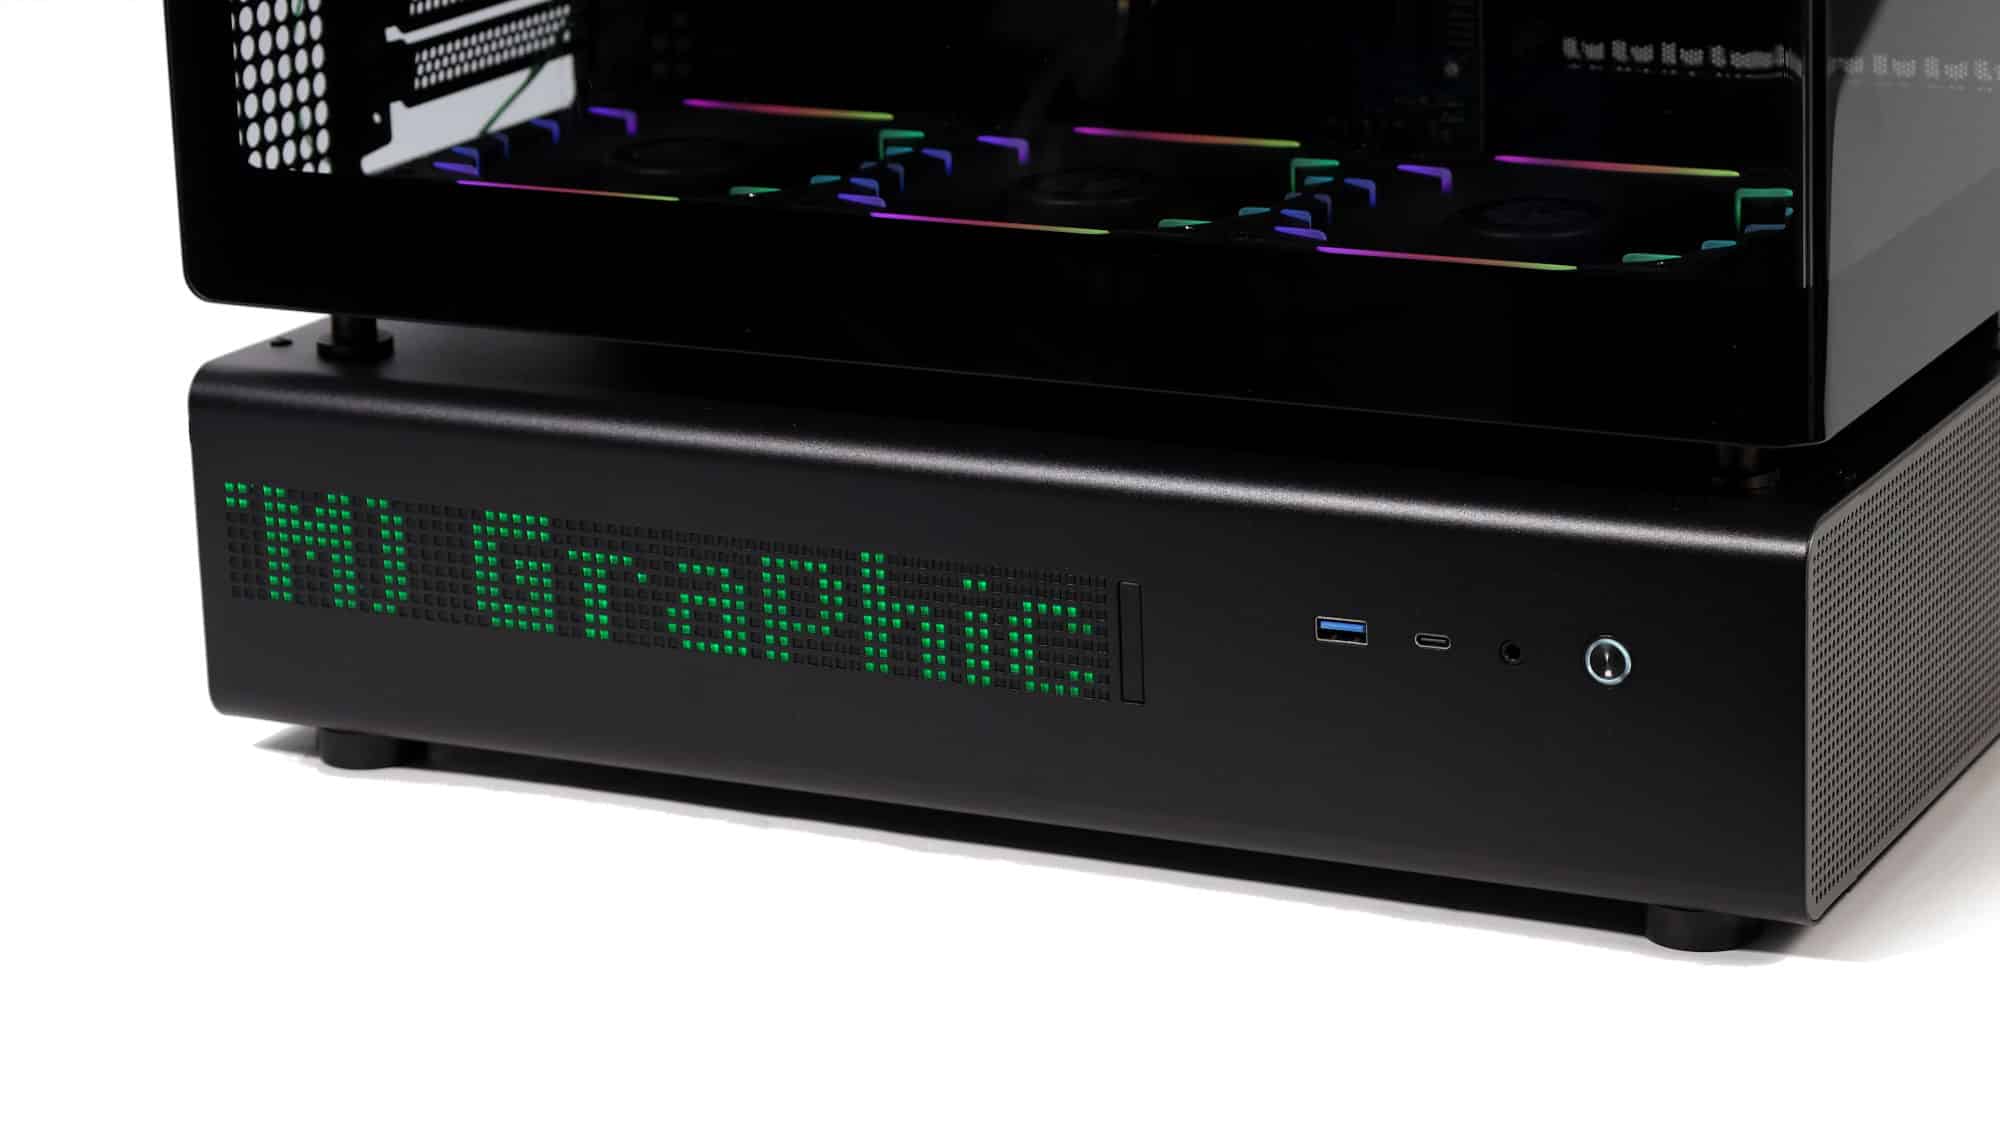
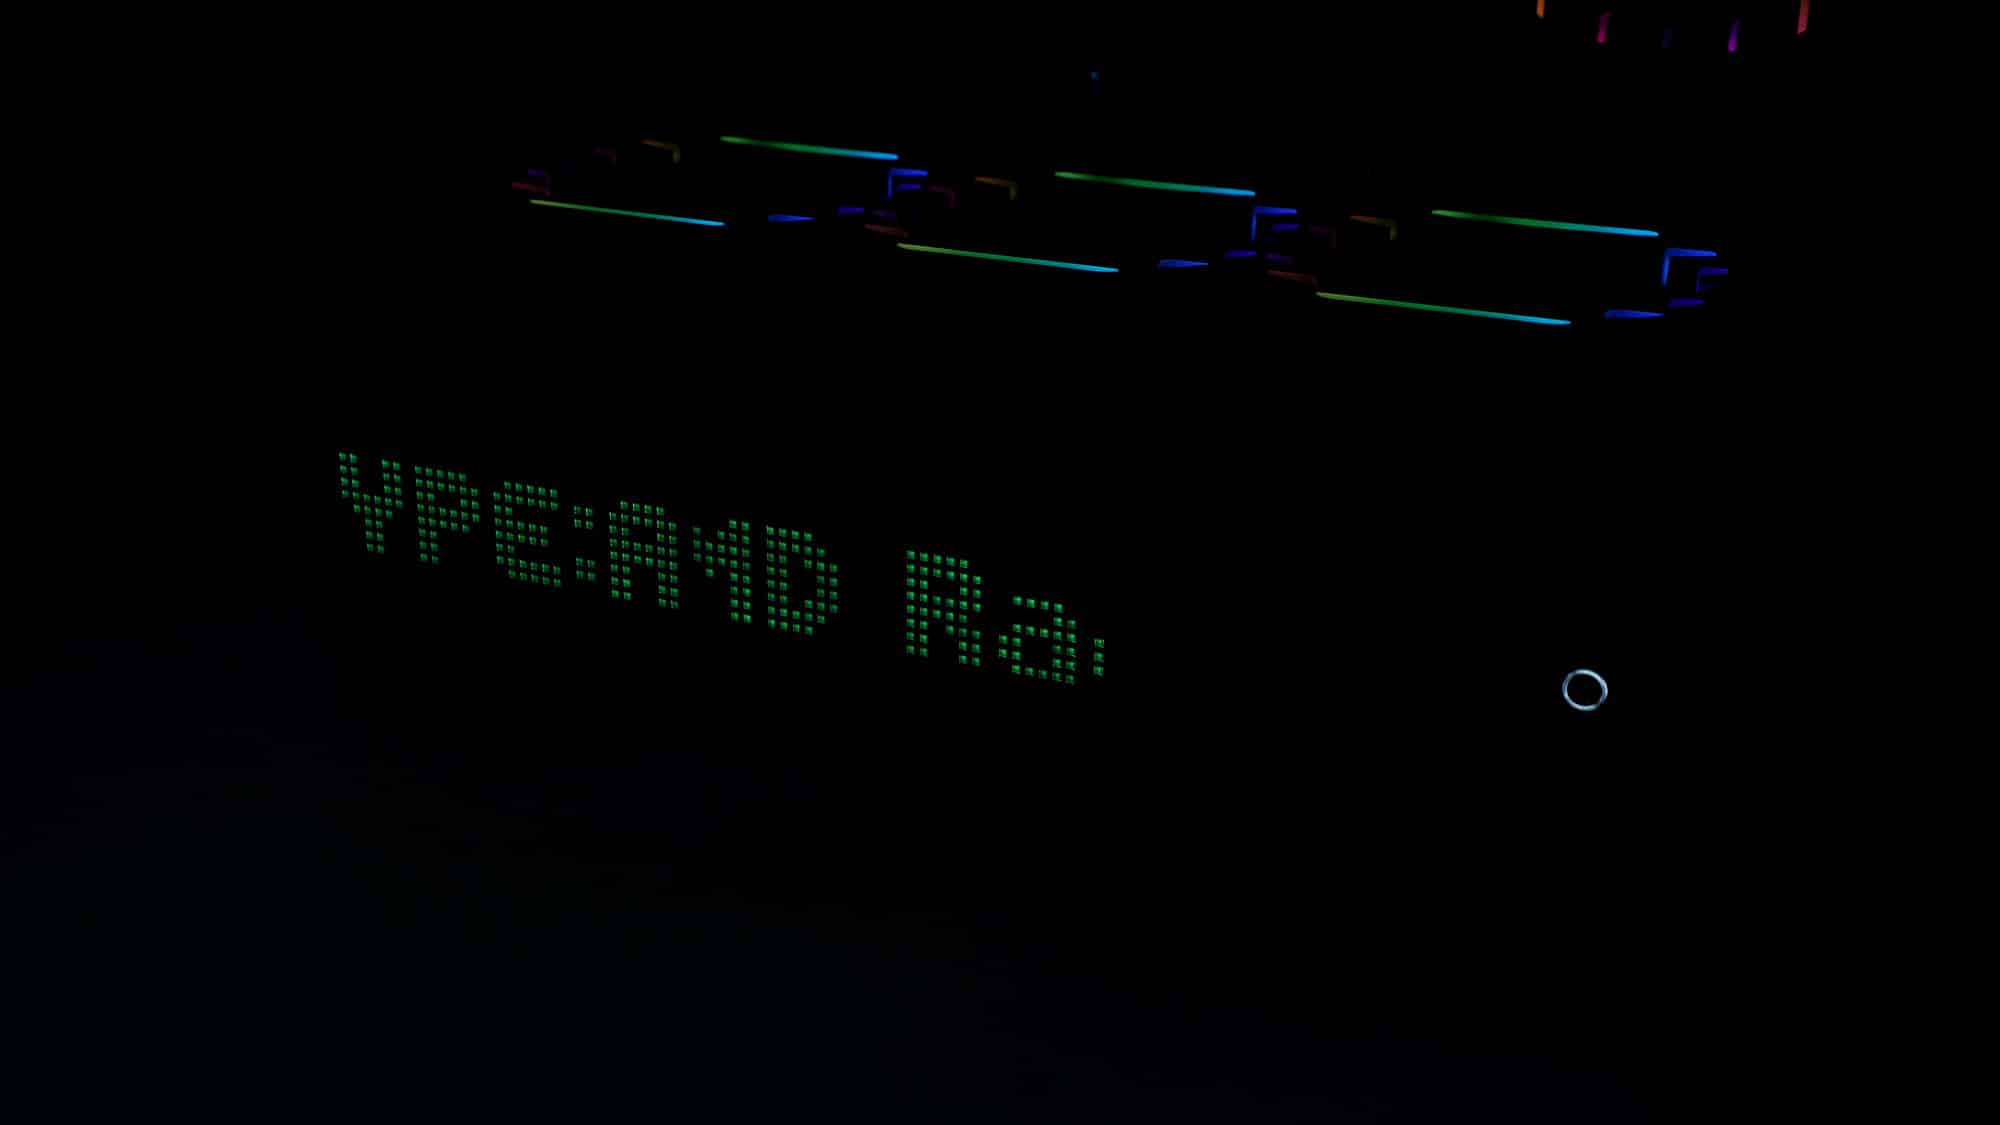
Once powered on, the side display lights up. It’s impressive, though the size may not appeal to everyone.
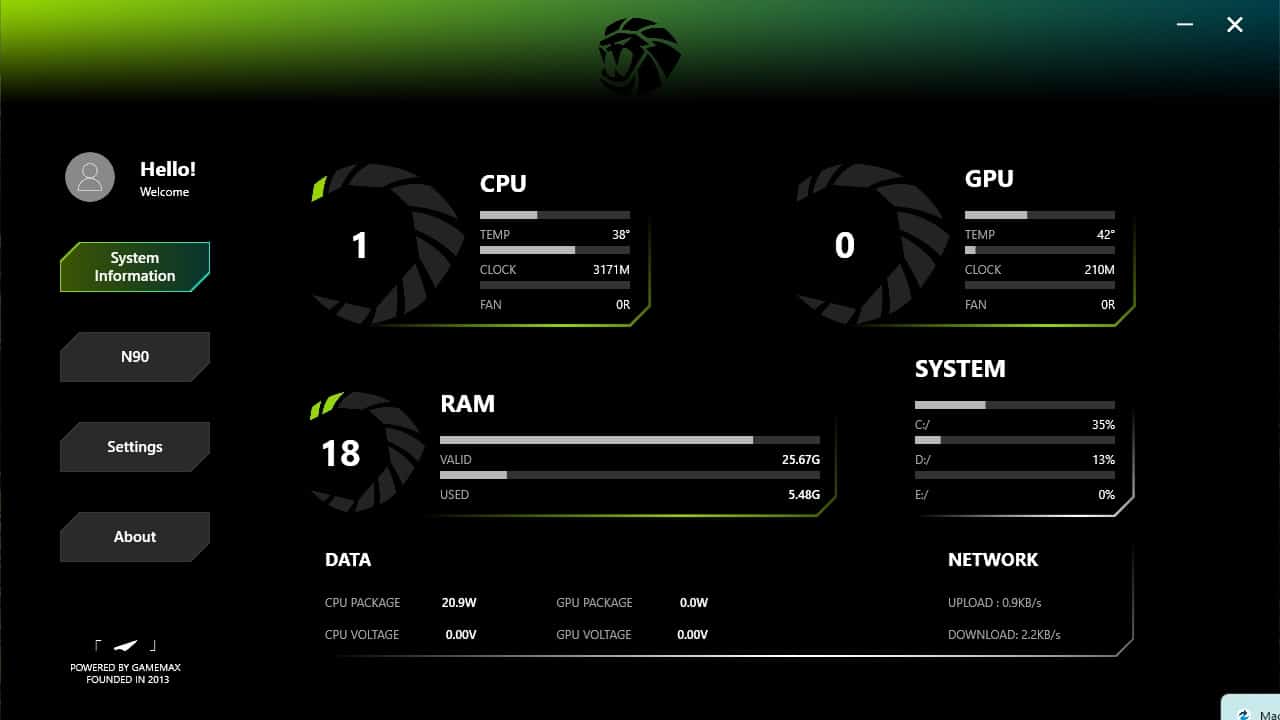
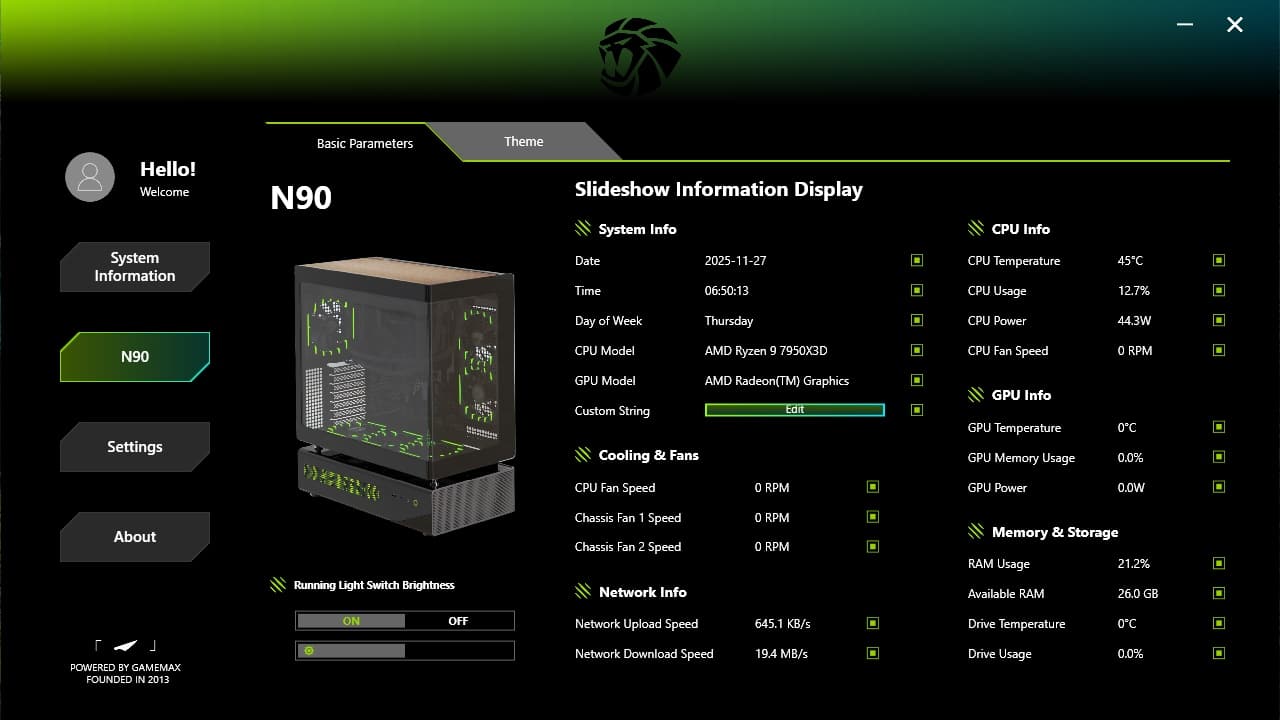
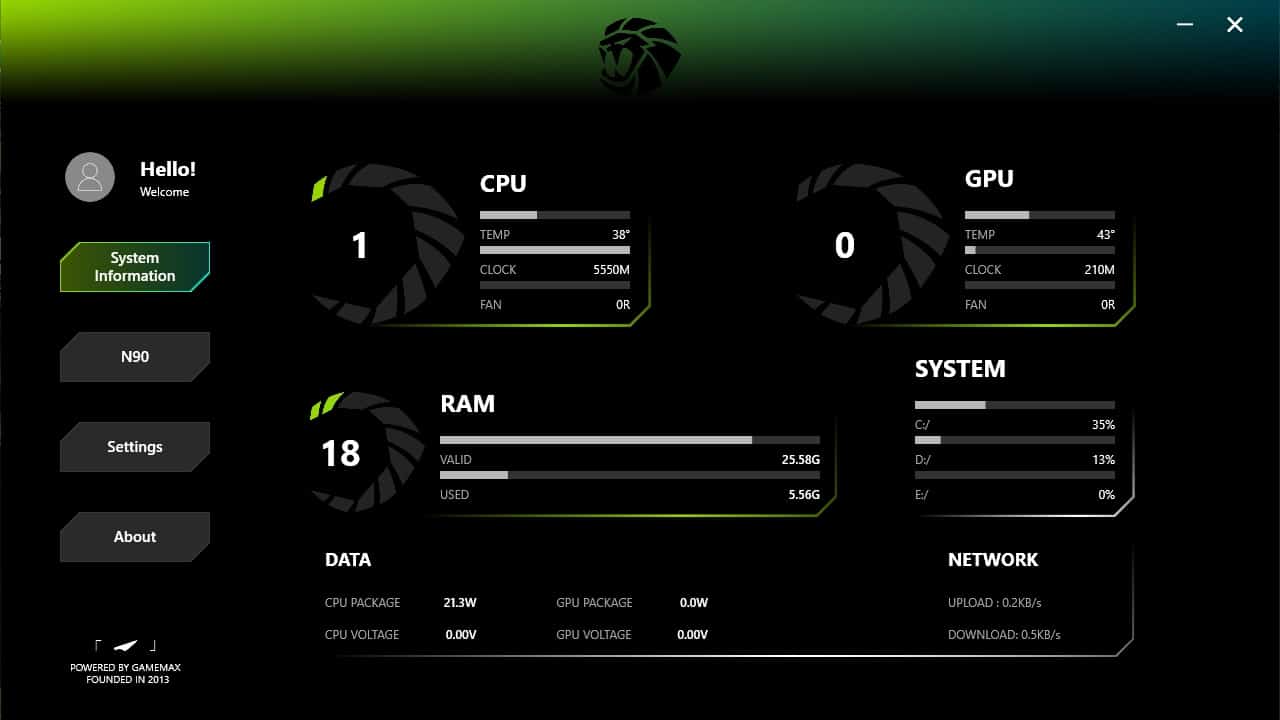
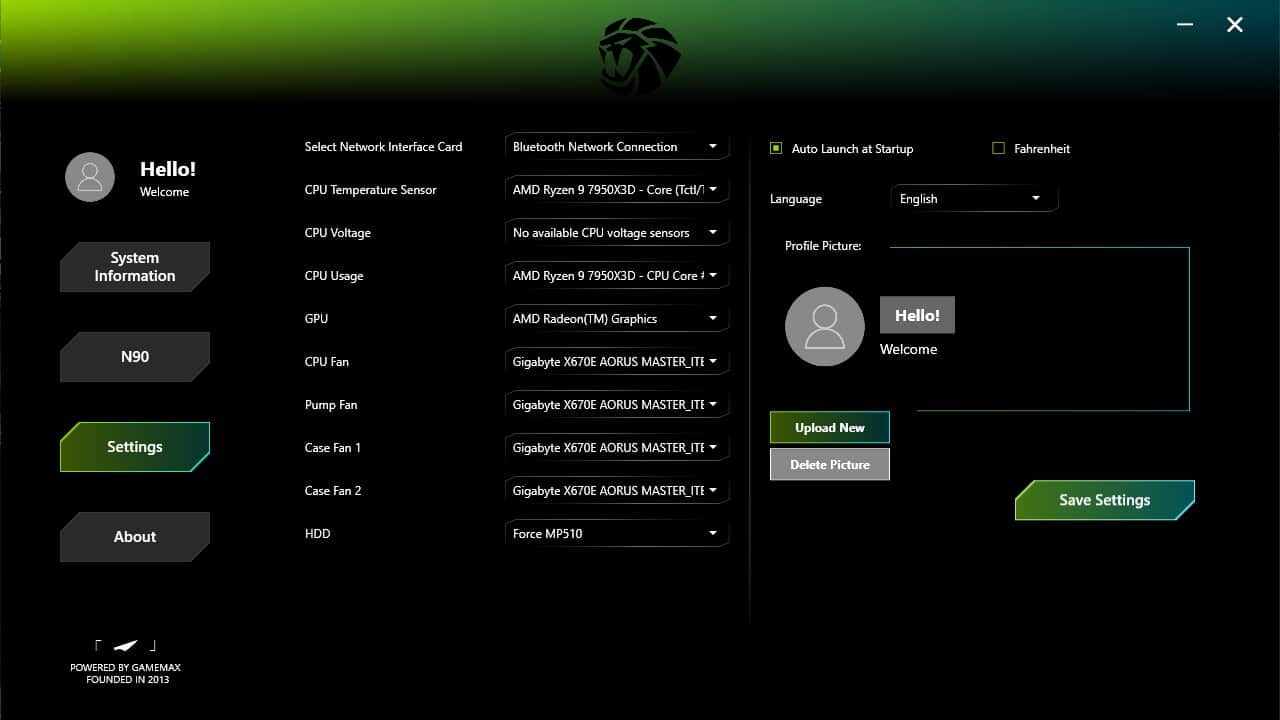

The display can be controlled via a Gamemax Windows application. Here’s a quick overview.