Unboxing and First Impressions
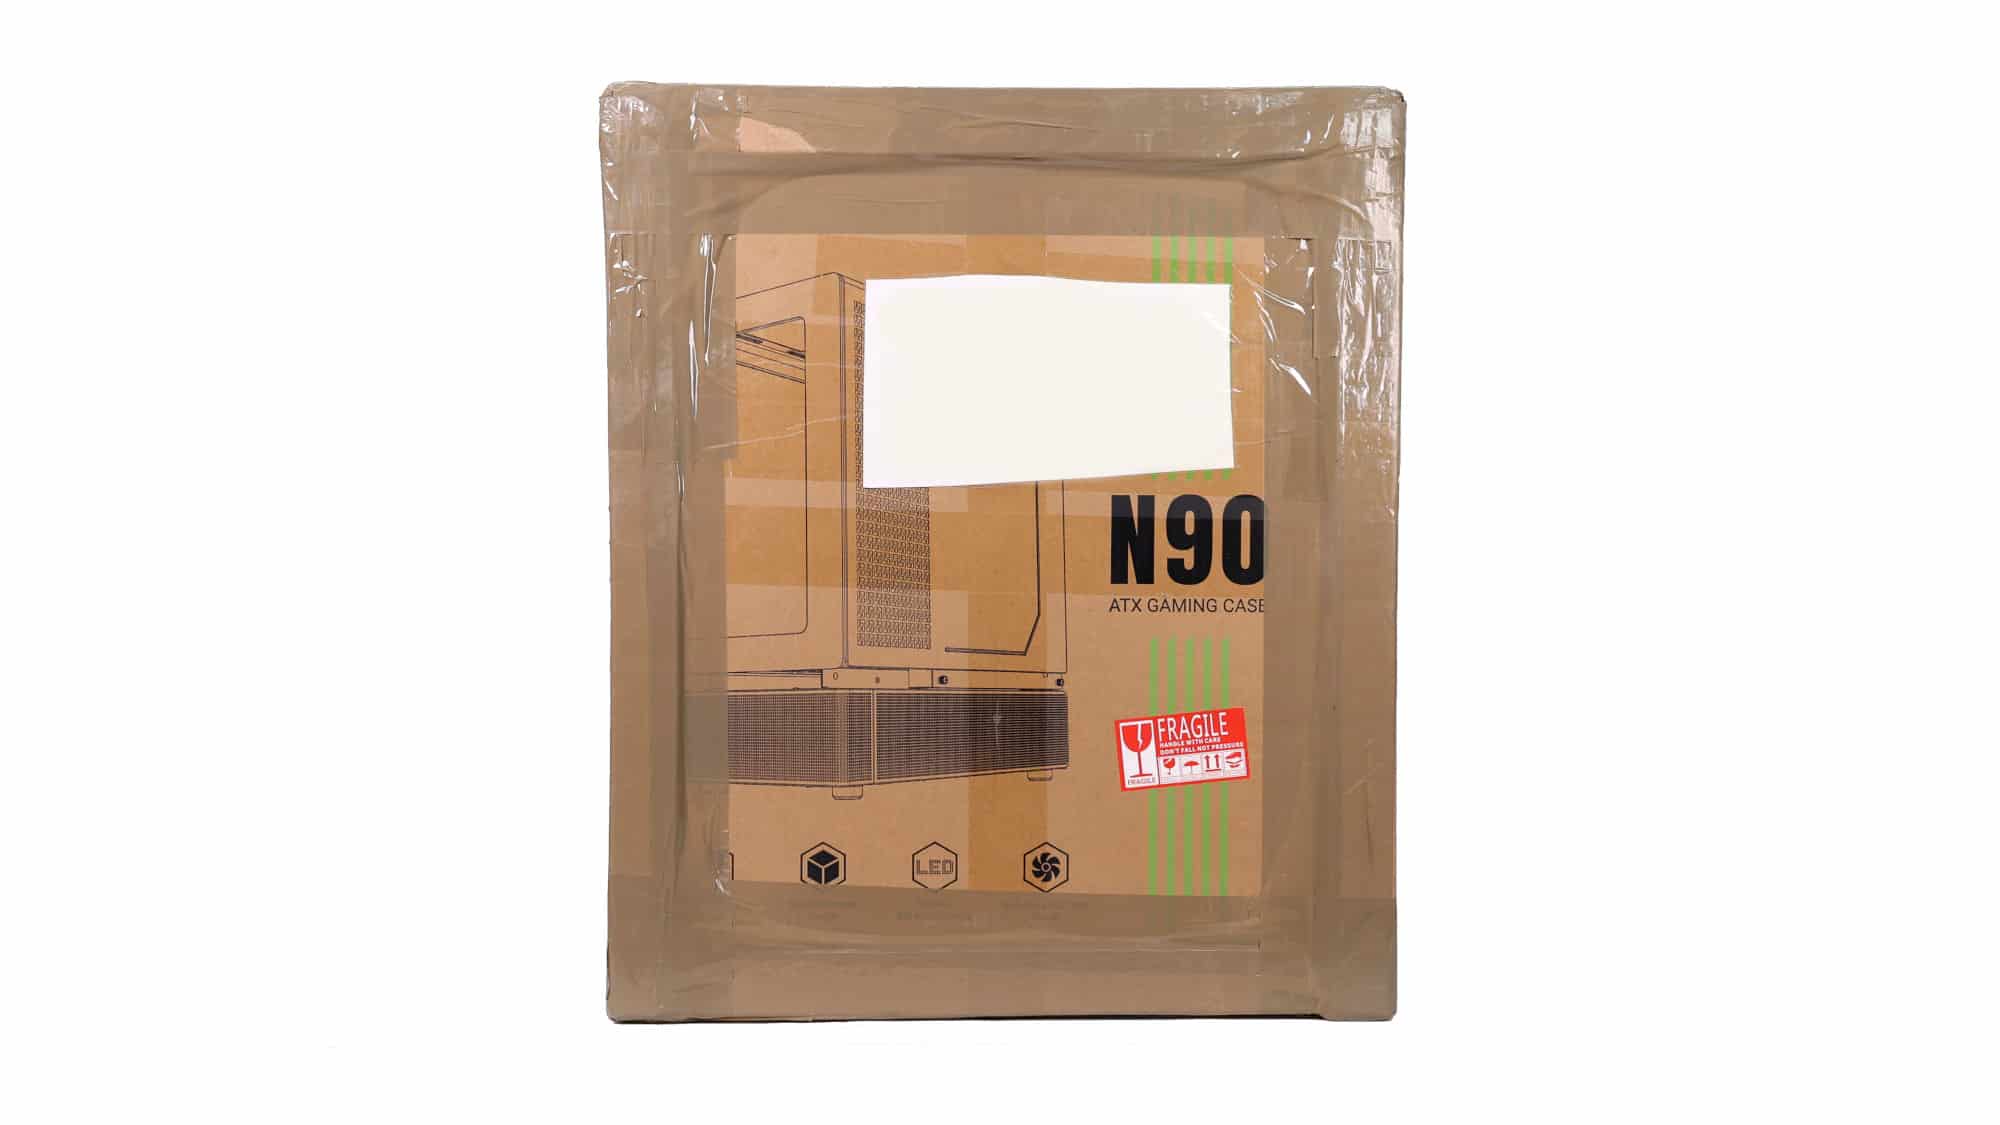

The Gamemax N90 doesn’t come double-boxed, but the additional thick cardboard corner pieces provide excellent protection. Inside, you’ll find the typical foam padding and a plastic bag.
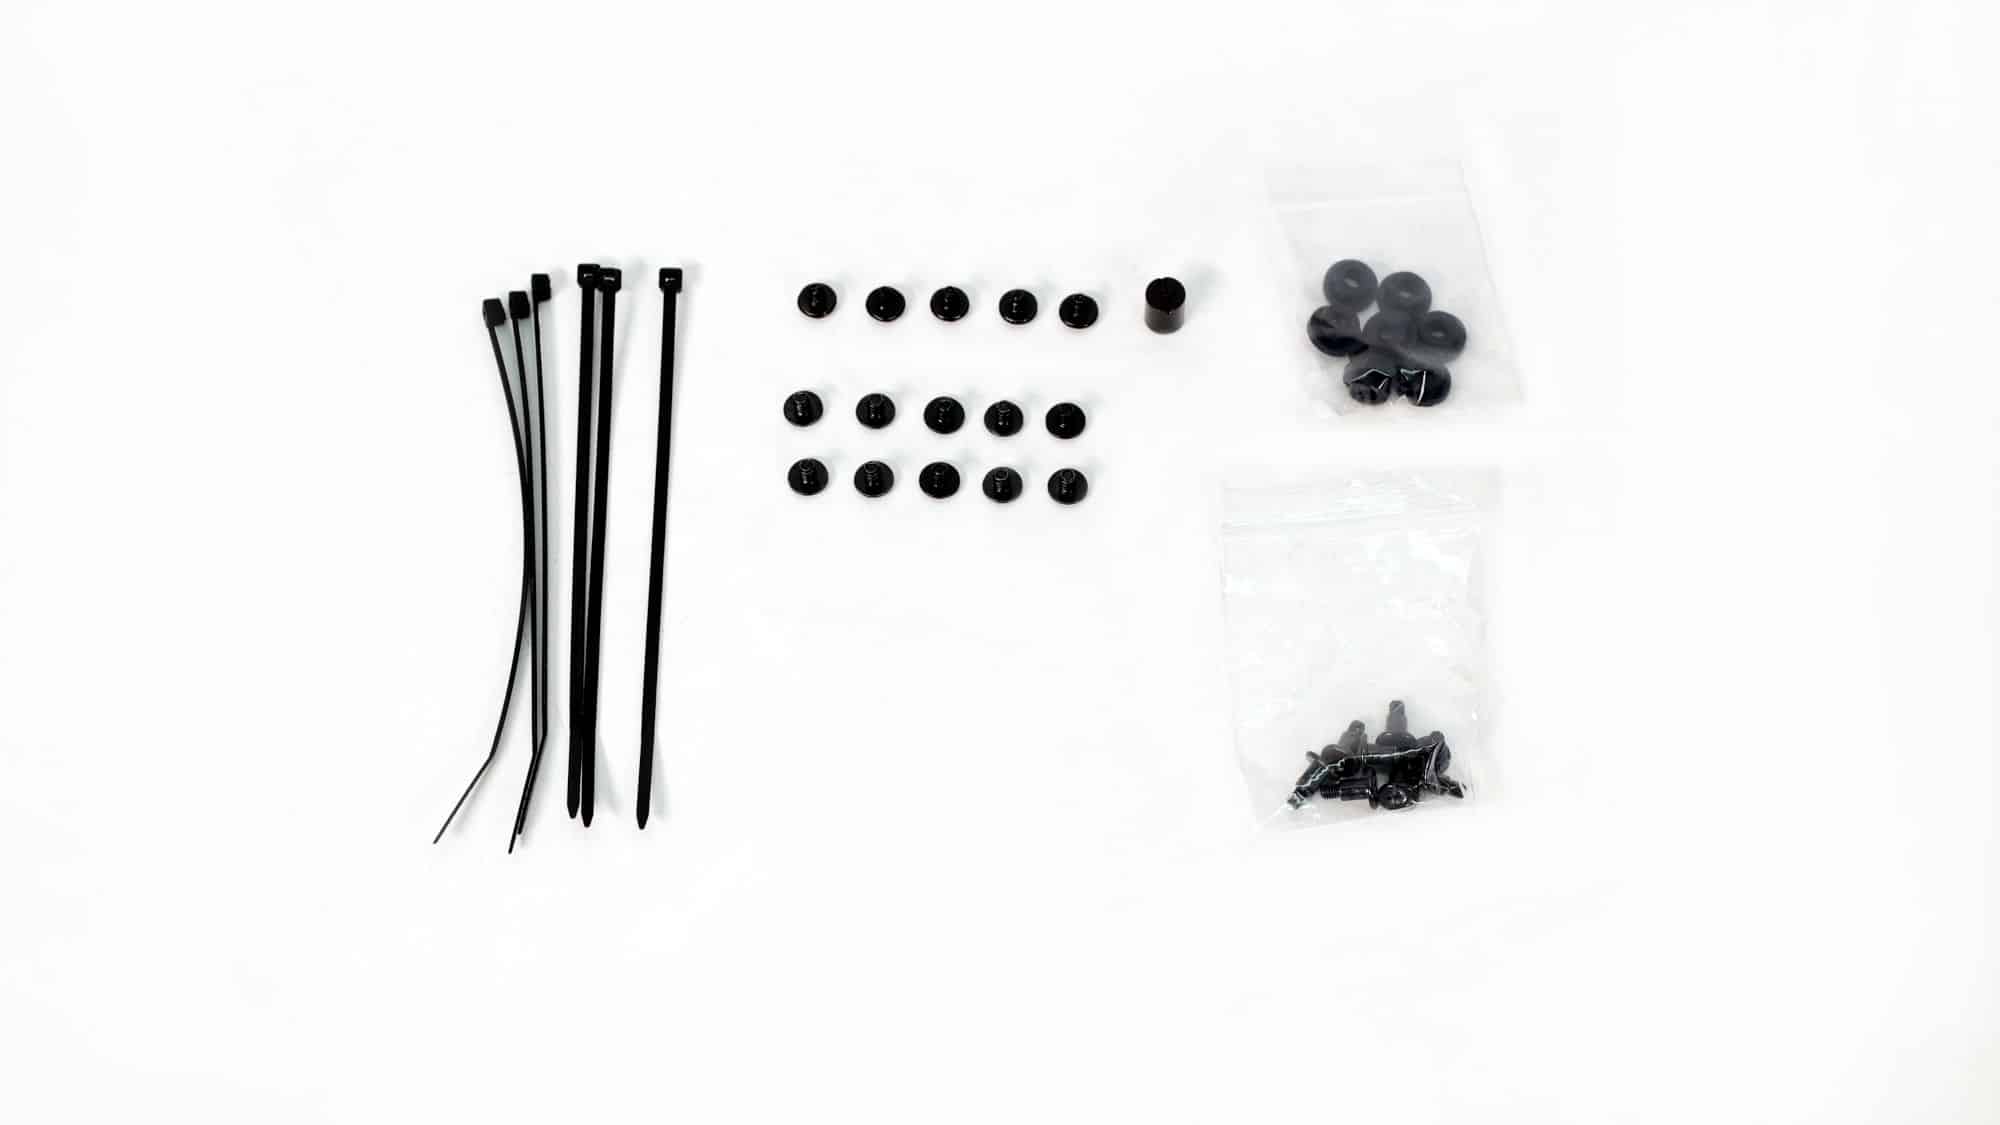
Inside the accessories box, you will find the following:
- 6x Zip ties
- 8x Rubber storage disk mounts
- 8x Disk mounting screws
- 5x PSU screws
- 10x #6-32 screws
- 1x Standoff removal tool

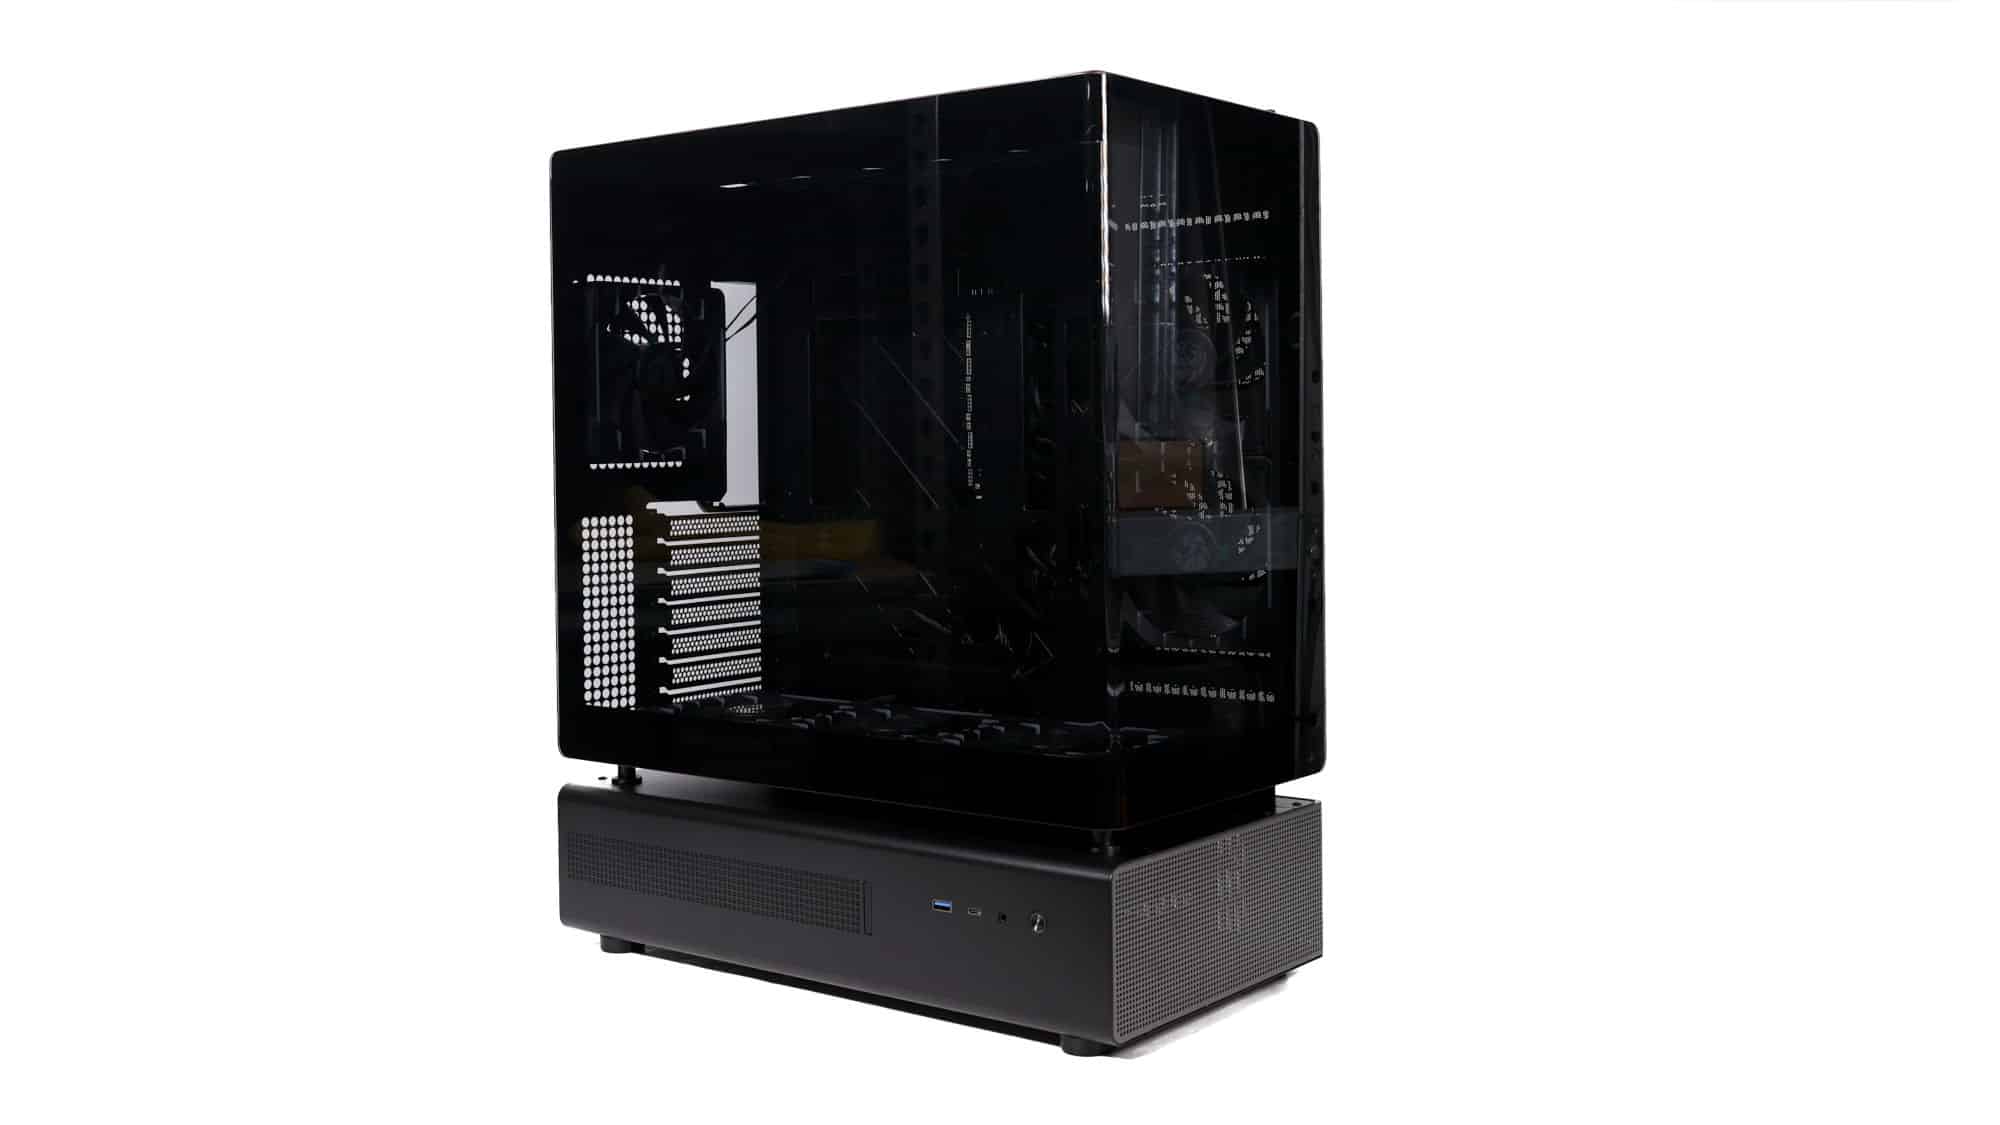
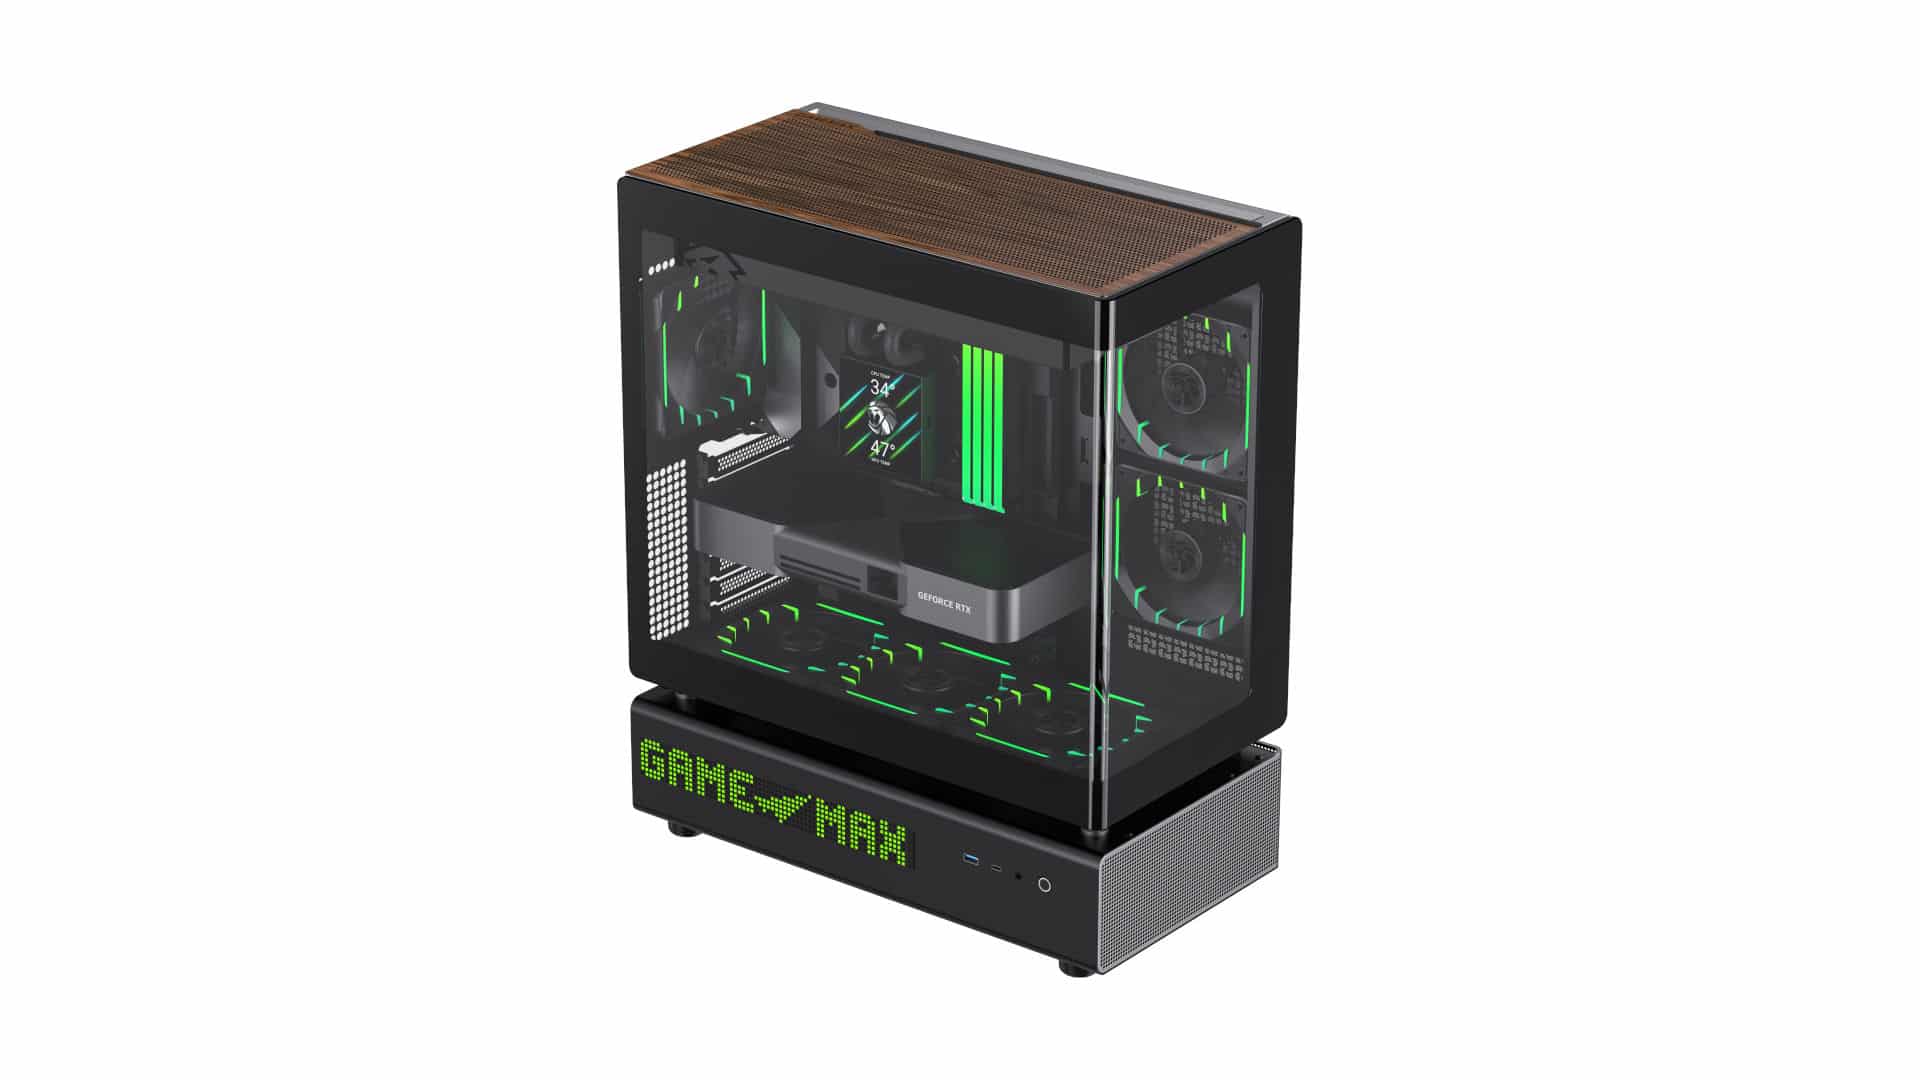
Taking a look around the chassis, it’s evident that the N90 is an evolution of the N80. The most significant differences, aside from the color palette, are the revised top section of the external panel that spans the back and top, as well as the new side-mounted display.
Design and Build Quality
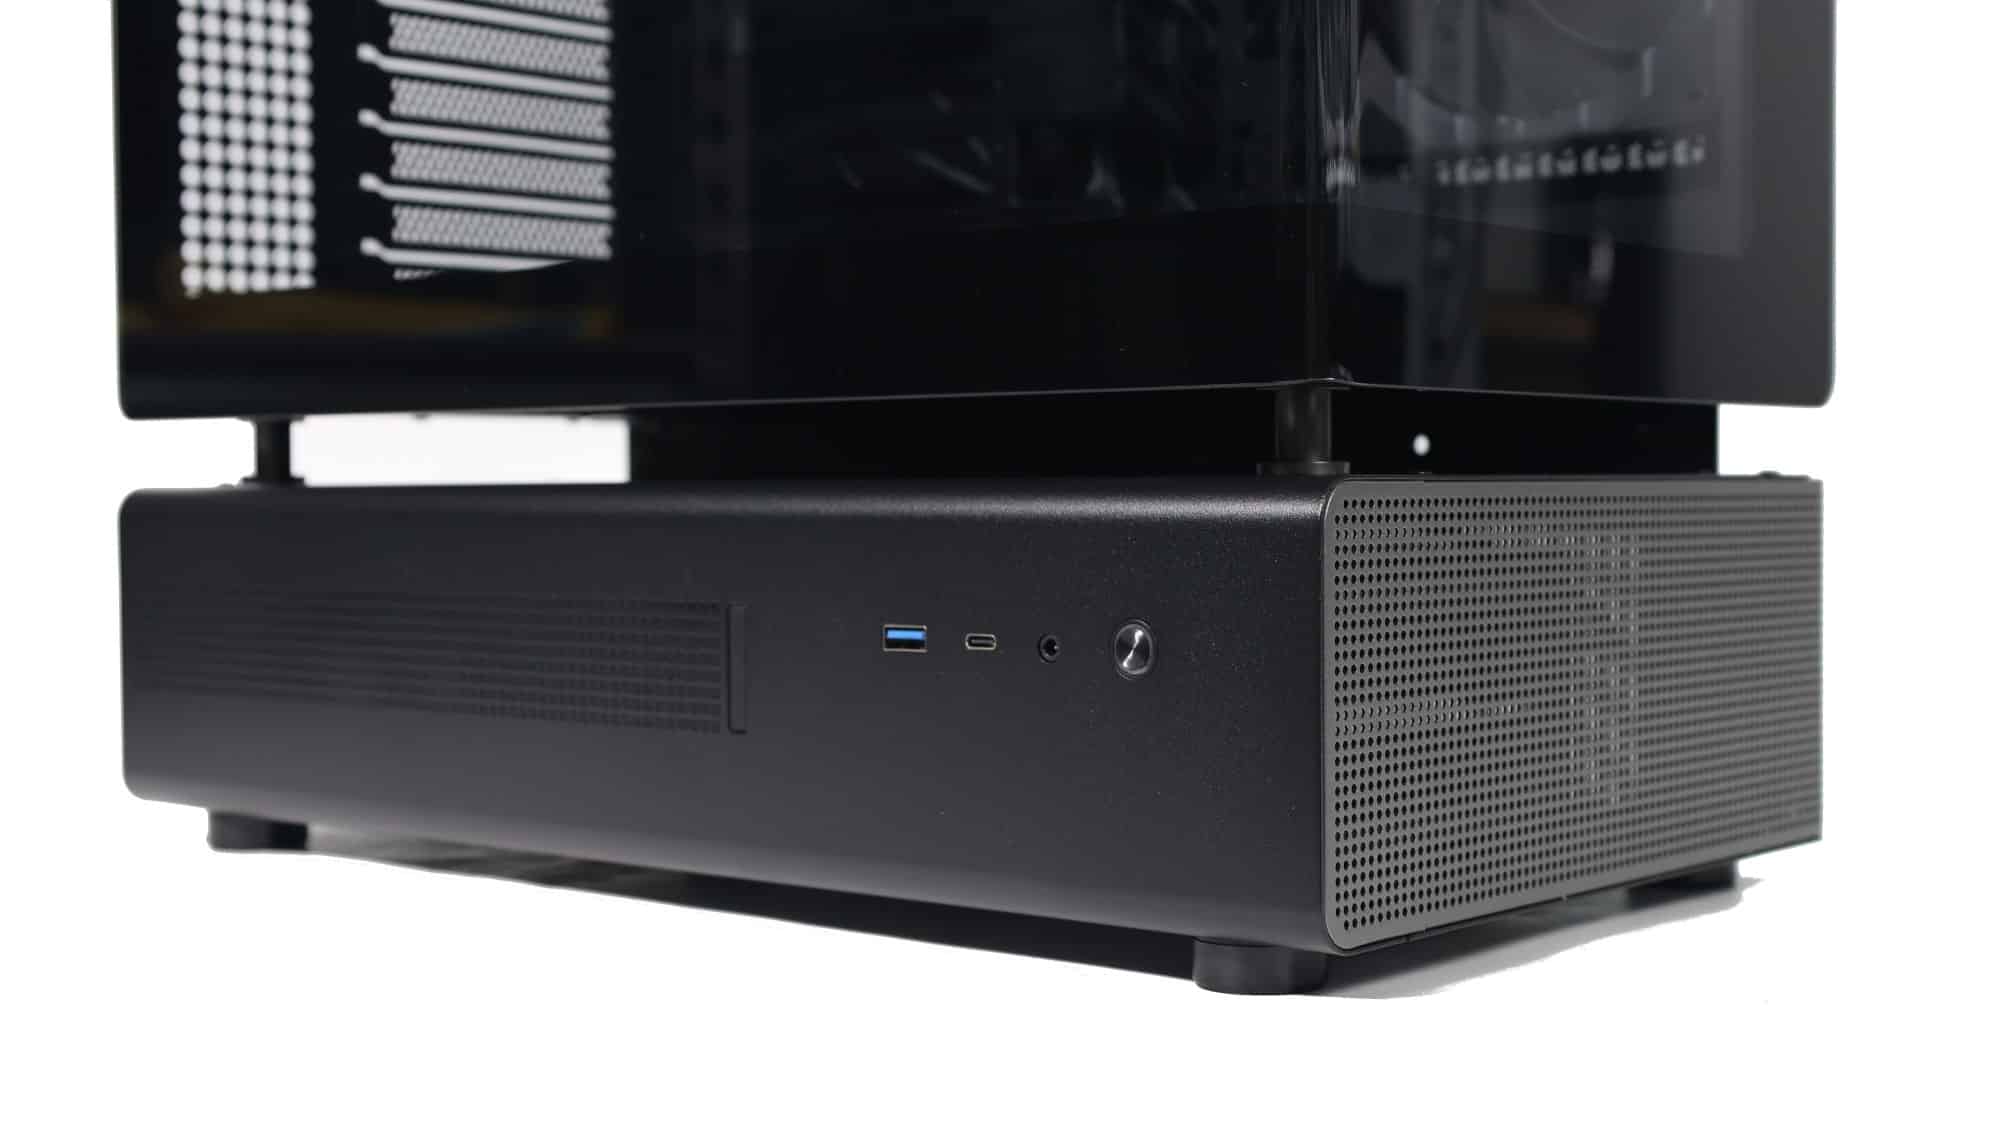
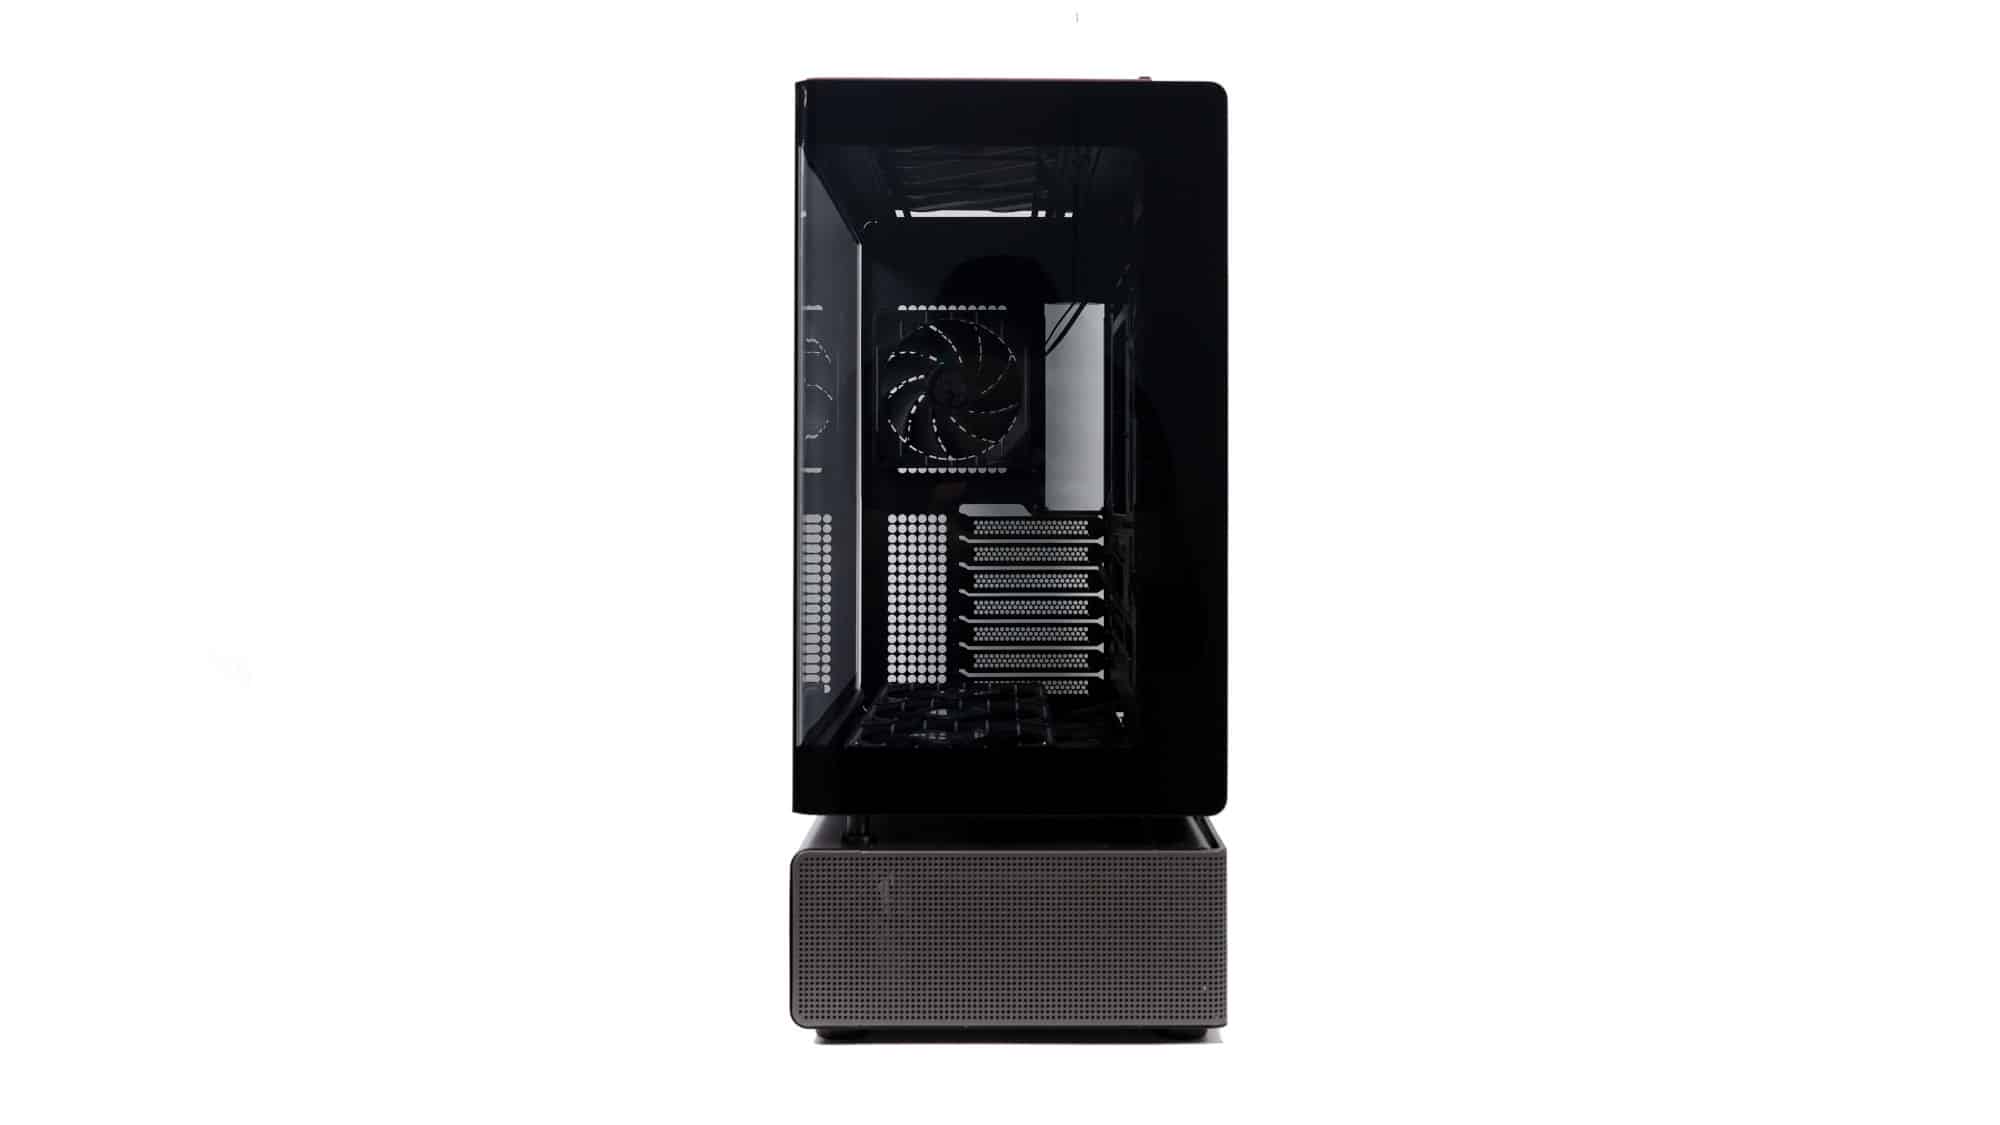
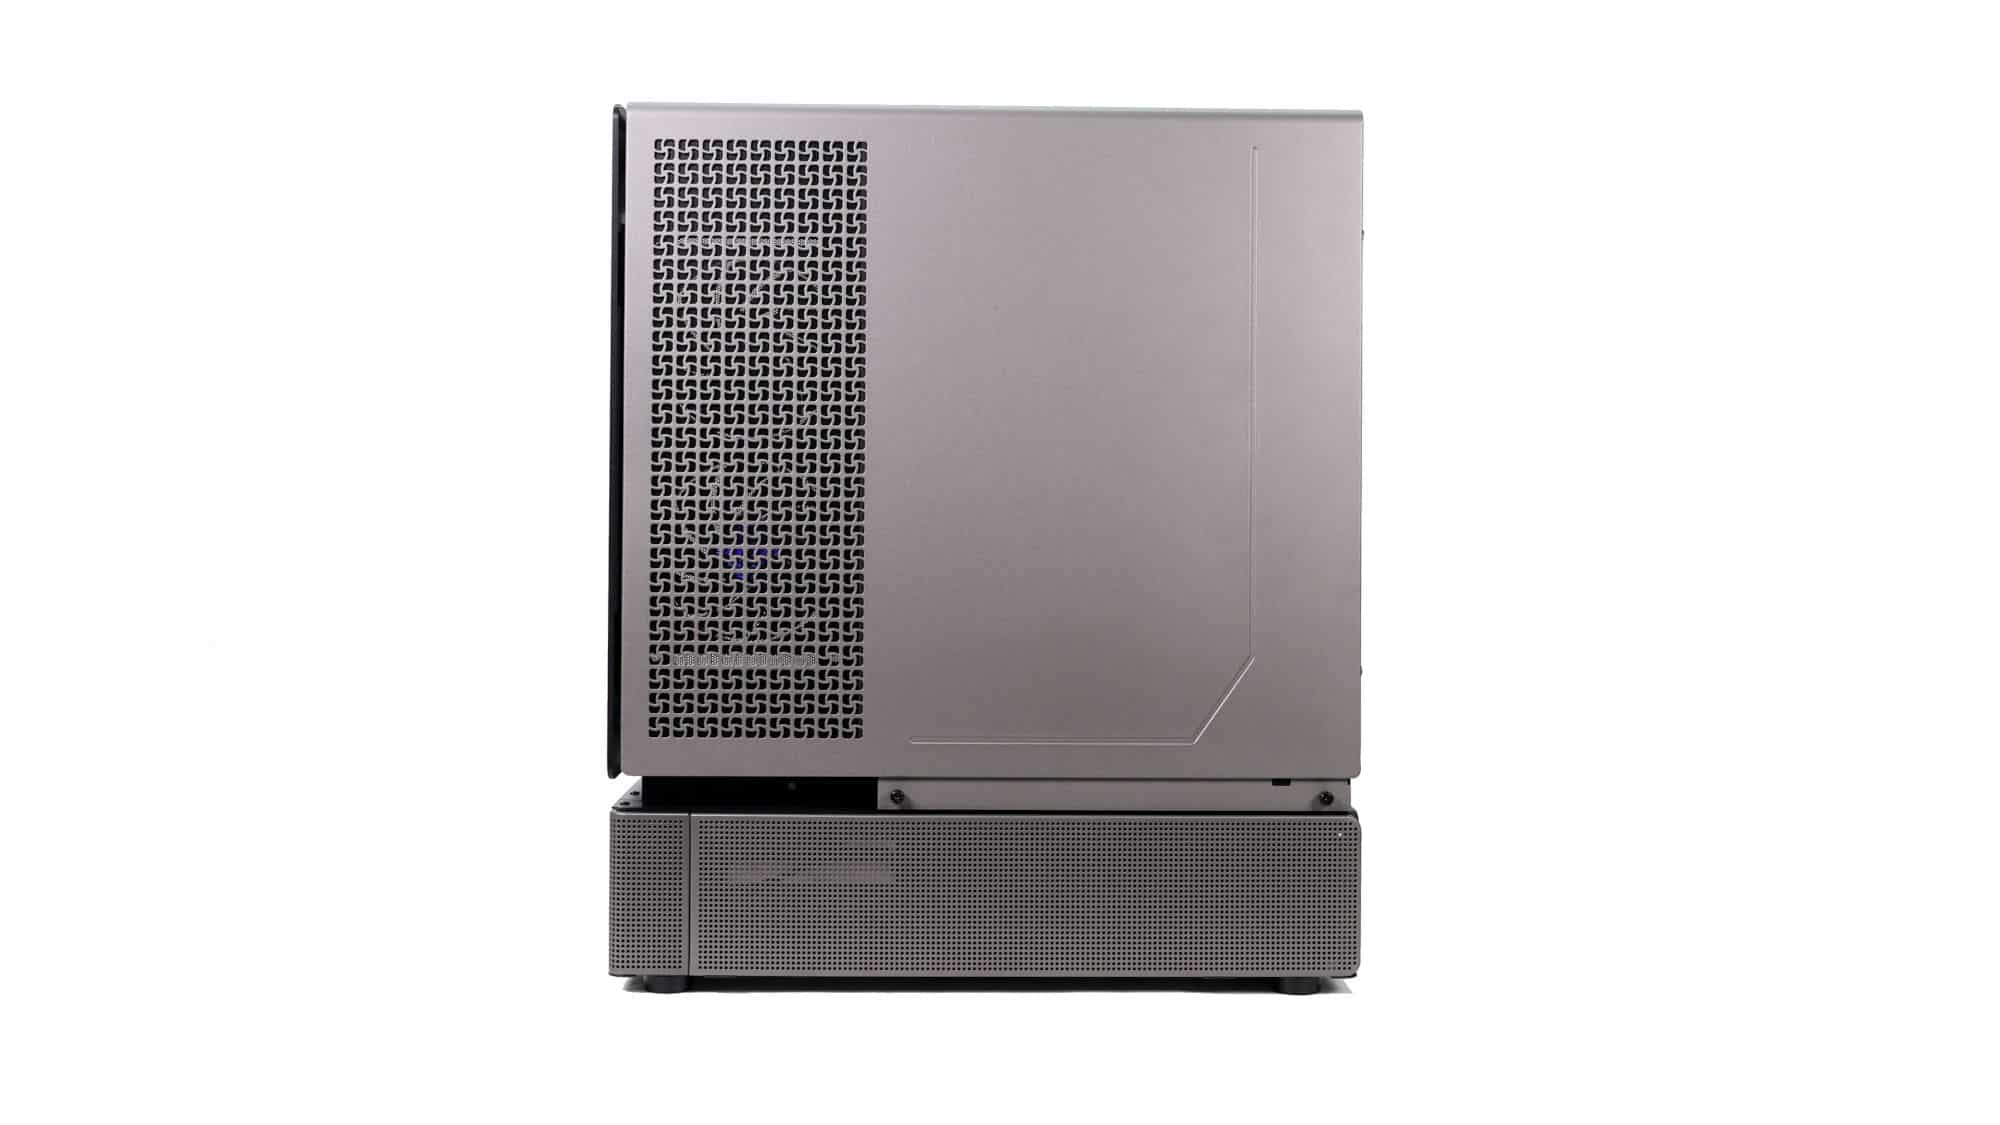
Starting the exterior tour from the side, we have wrap-around glass on top and a dot-matrix LED display accompanied by the chassis I/O at the bottom. The I/O includes a USB Type-A port, a USB Type-C port, a headphone jack, and a power button. It’s the same I/O selection we saw on the NZXT H5.
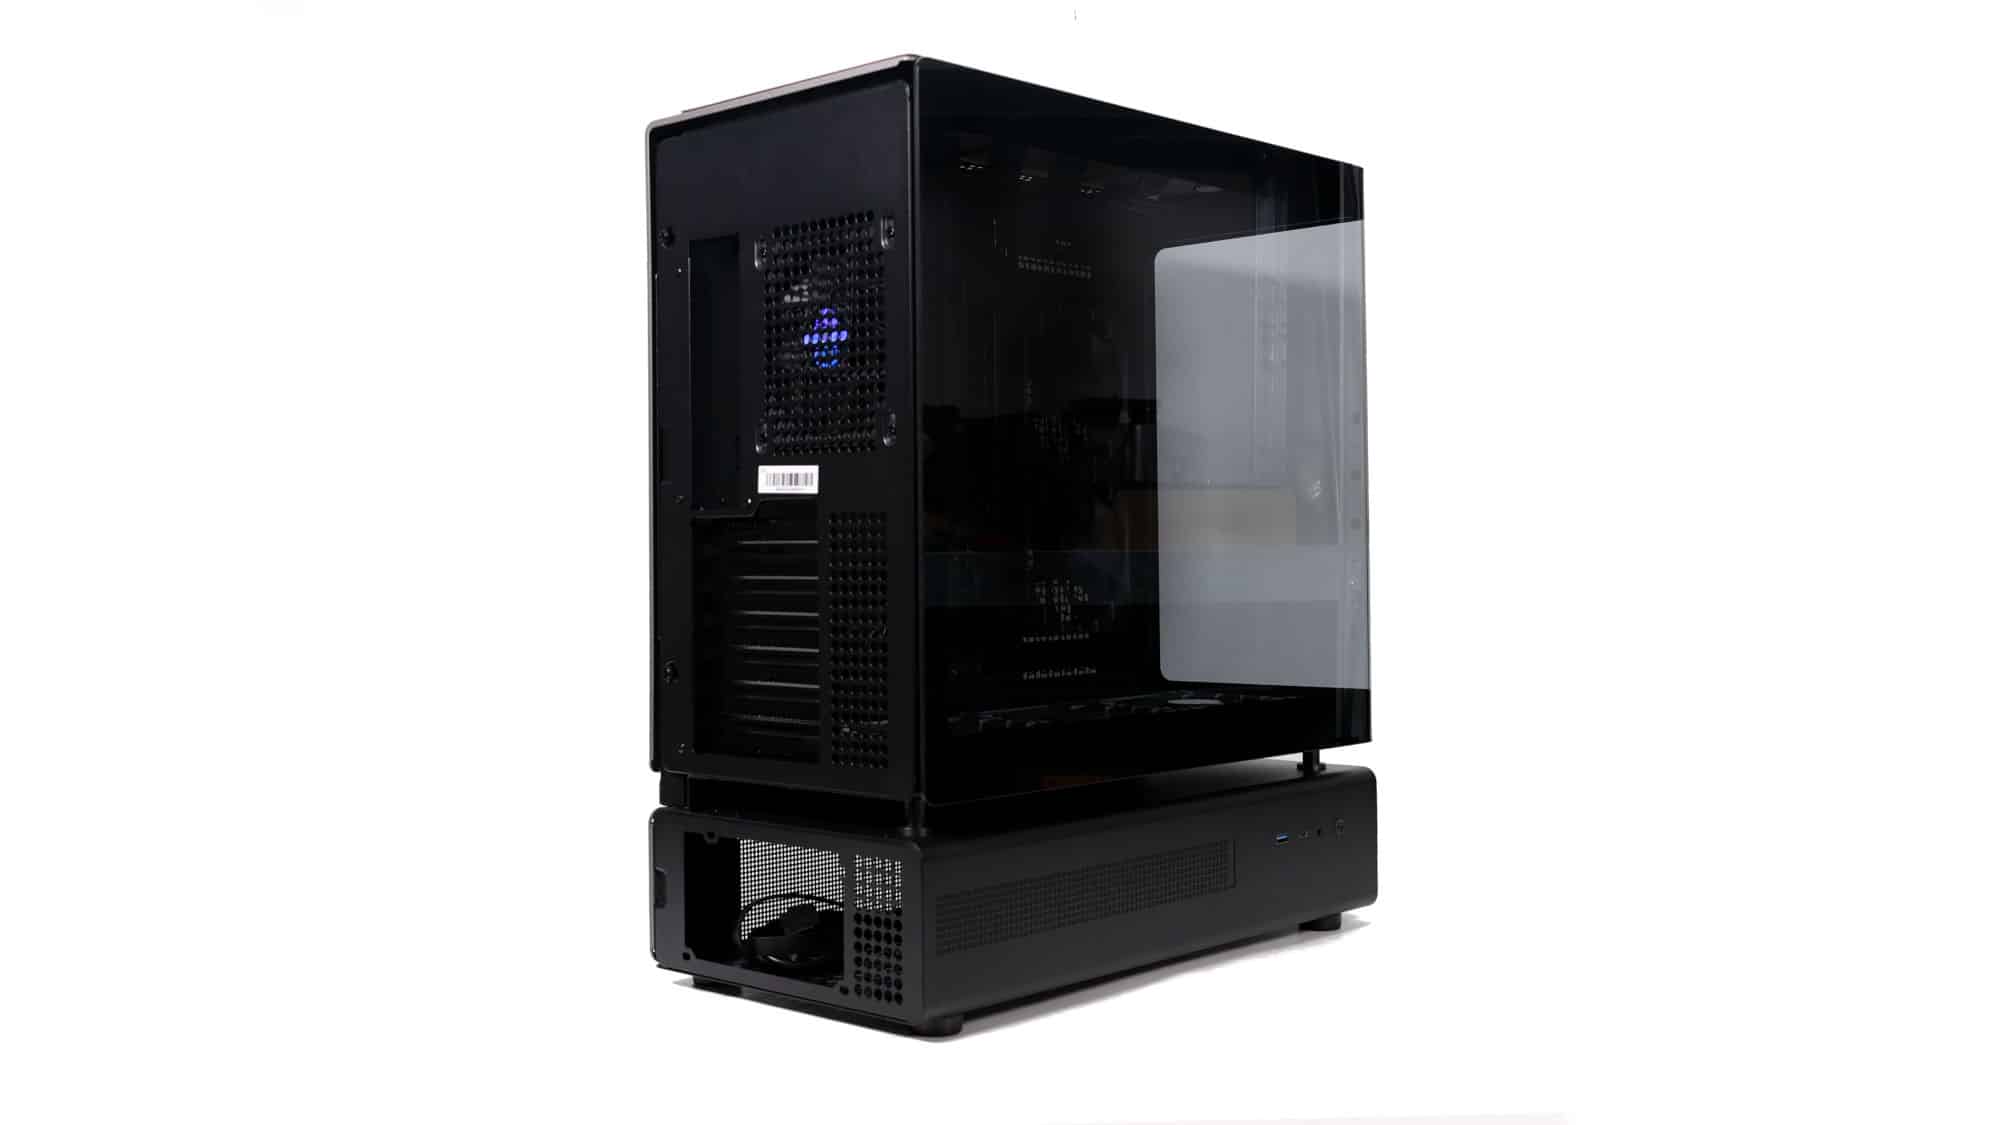
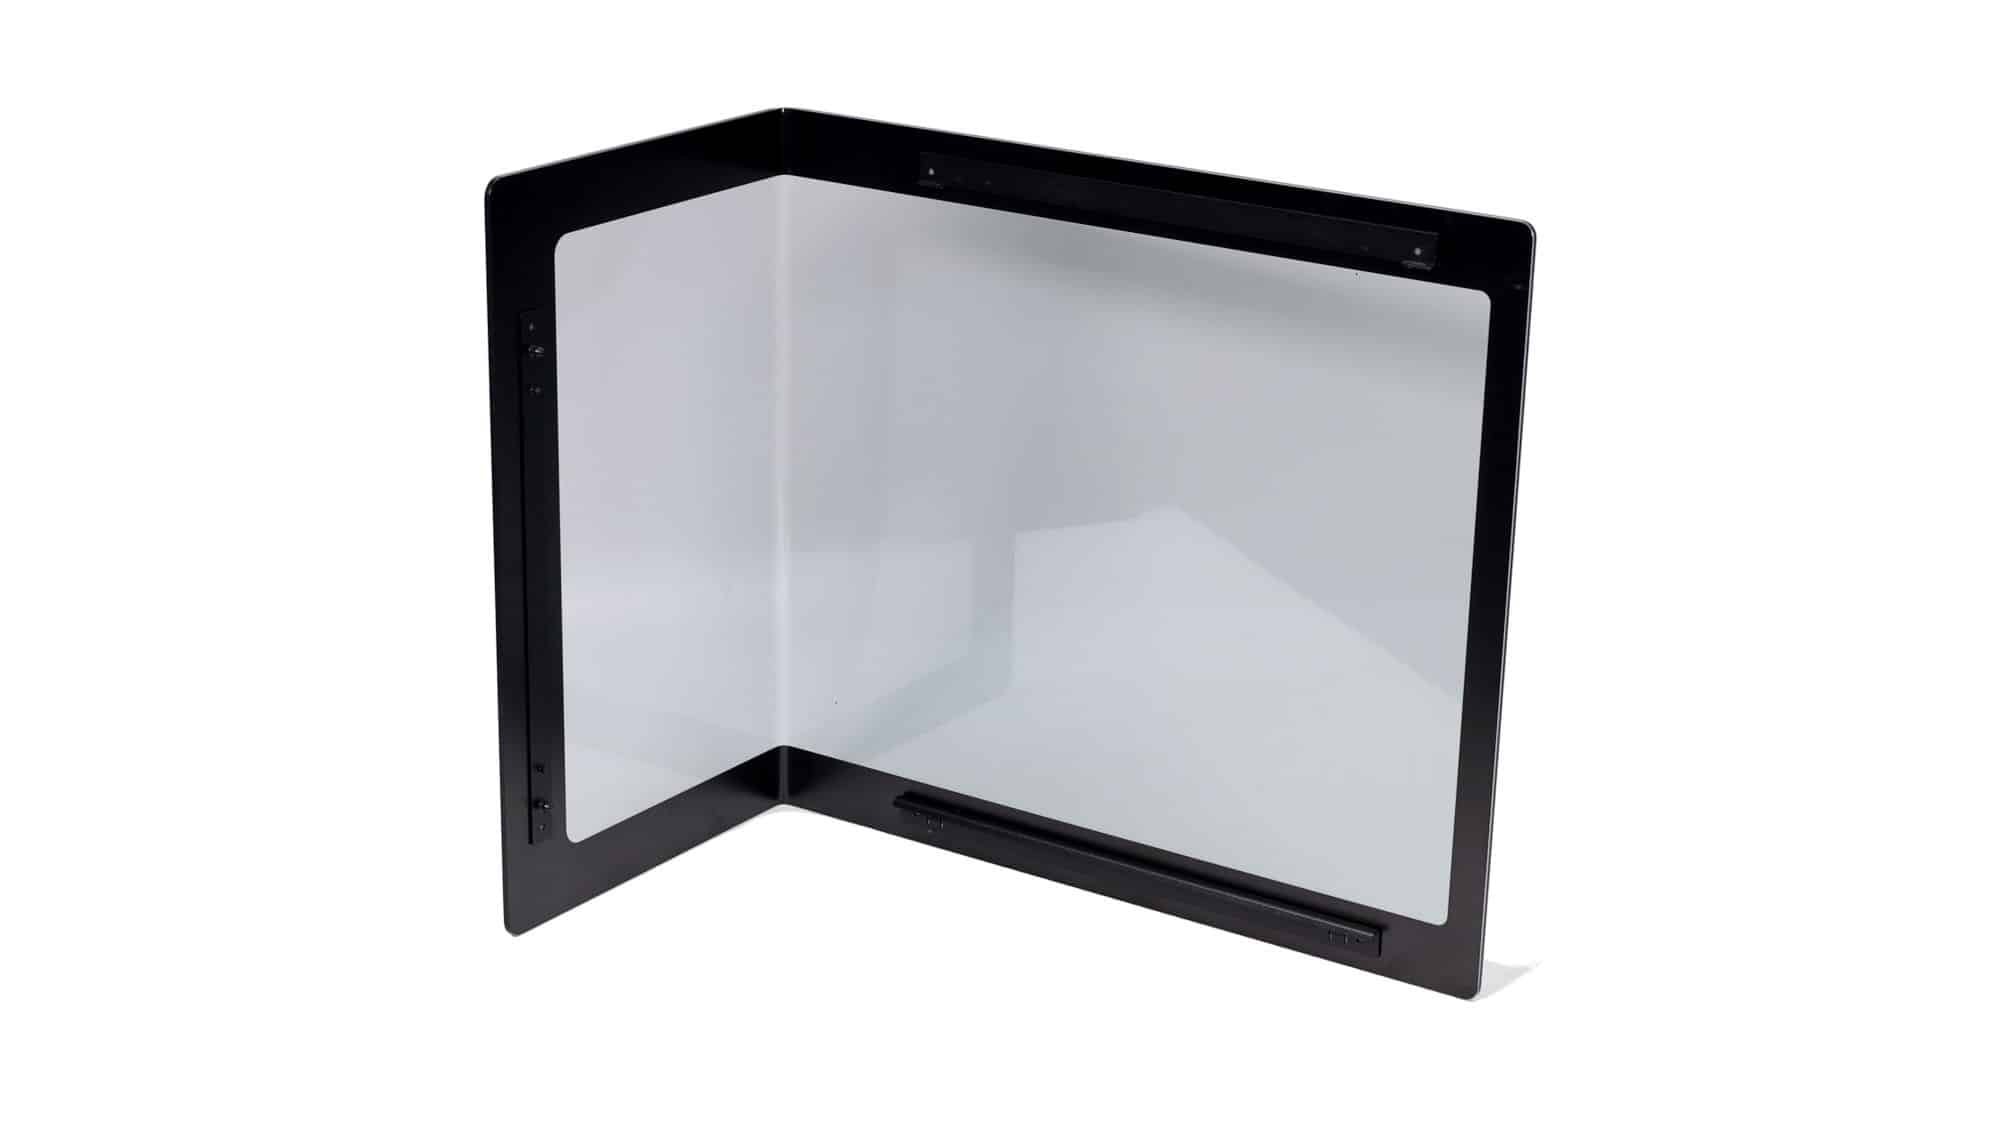
Following the glass, it stops at the front. The glass quality is very good, certainly above average, and the radius is similar to the very tight curvature we recently saw on the competing Corsair Frame 4500X. The bottom chamber is ventilated at the front to allow cool air to enter.
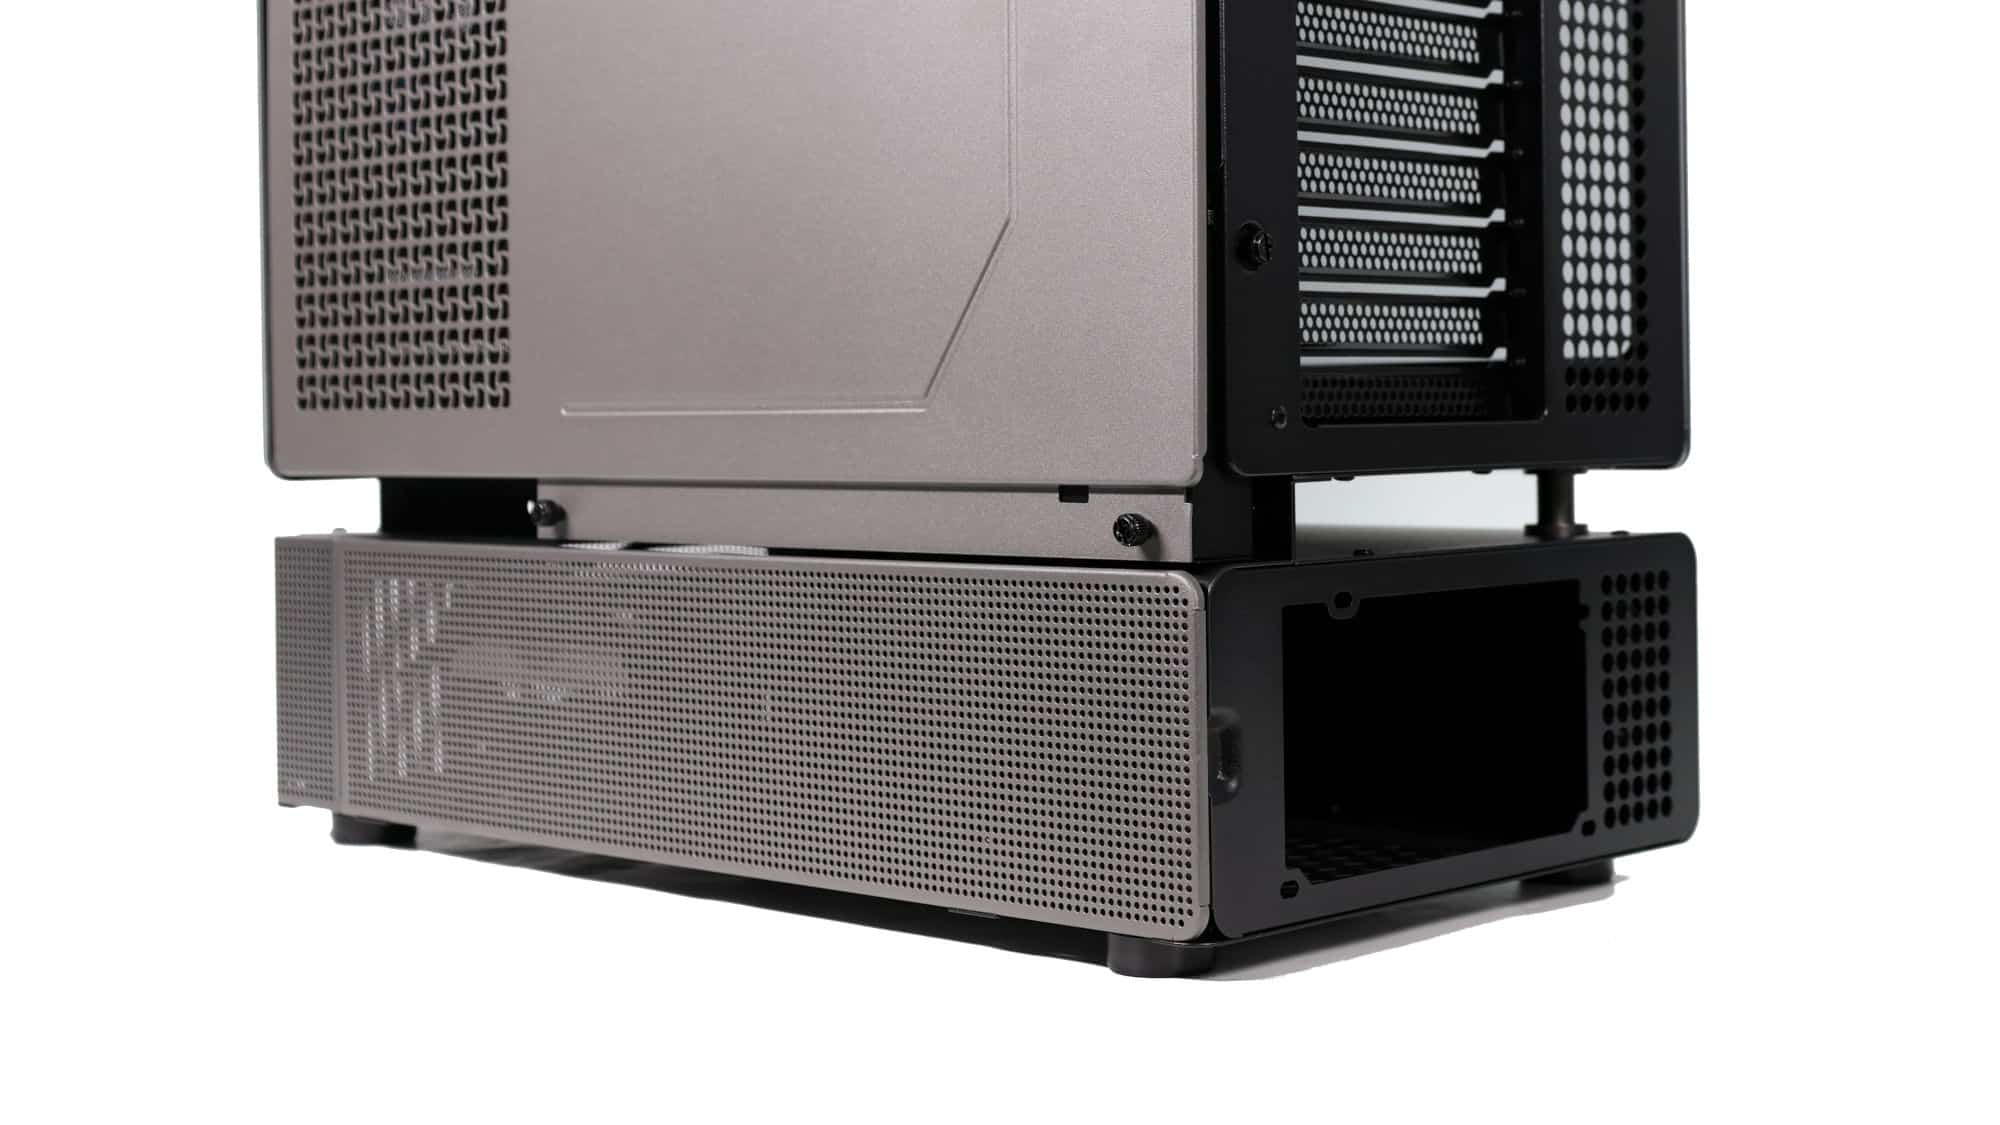
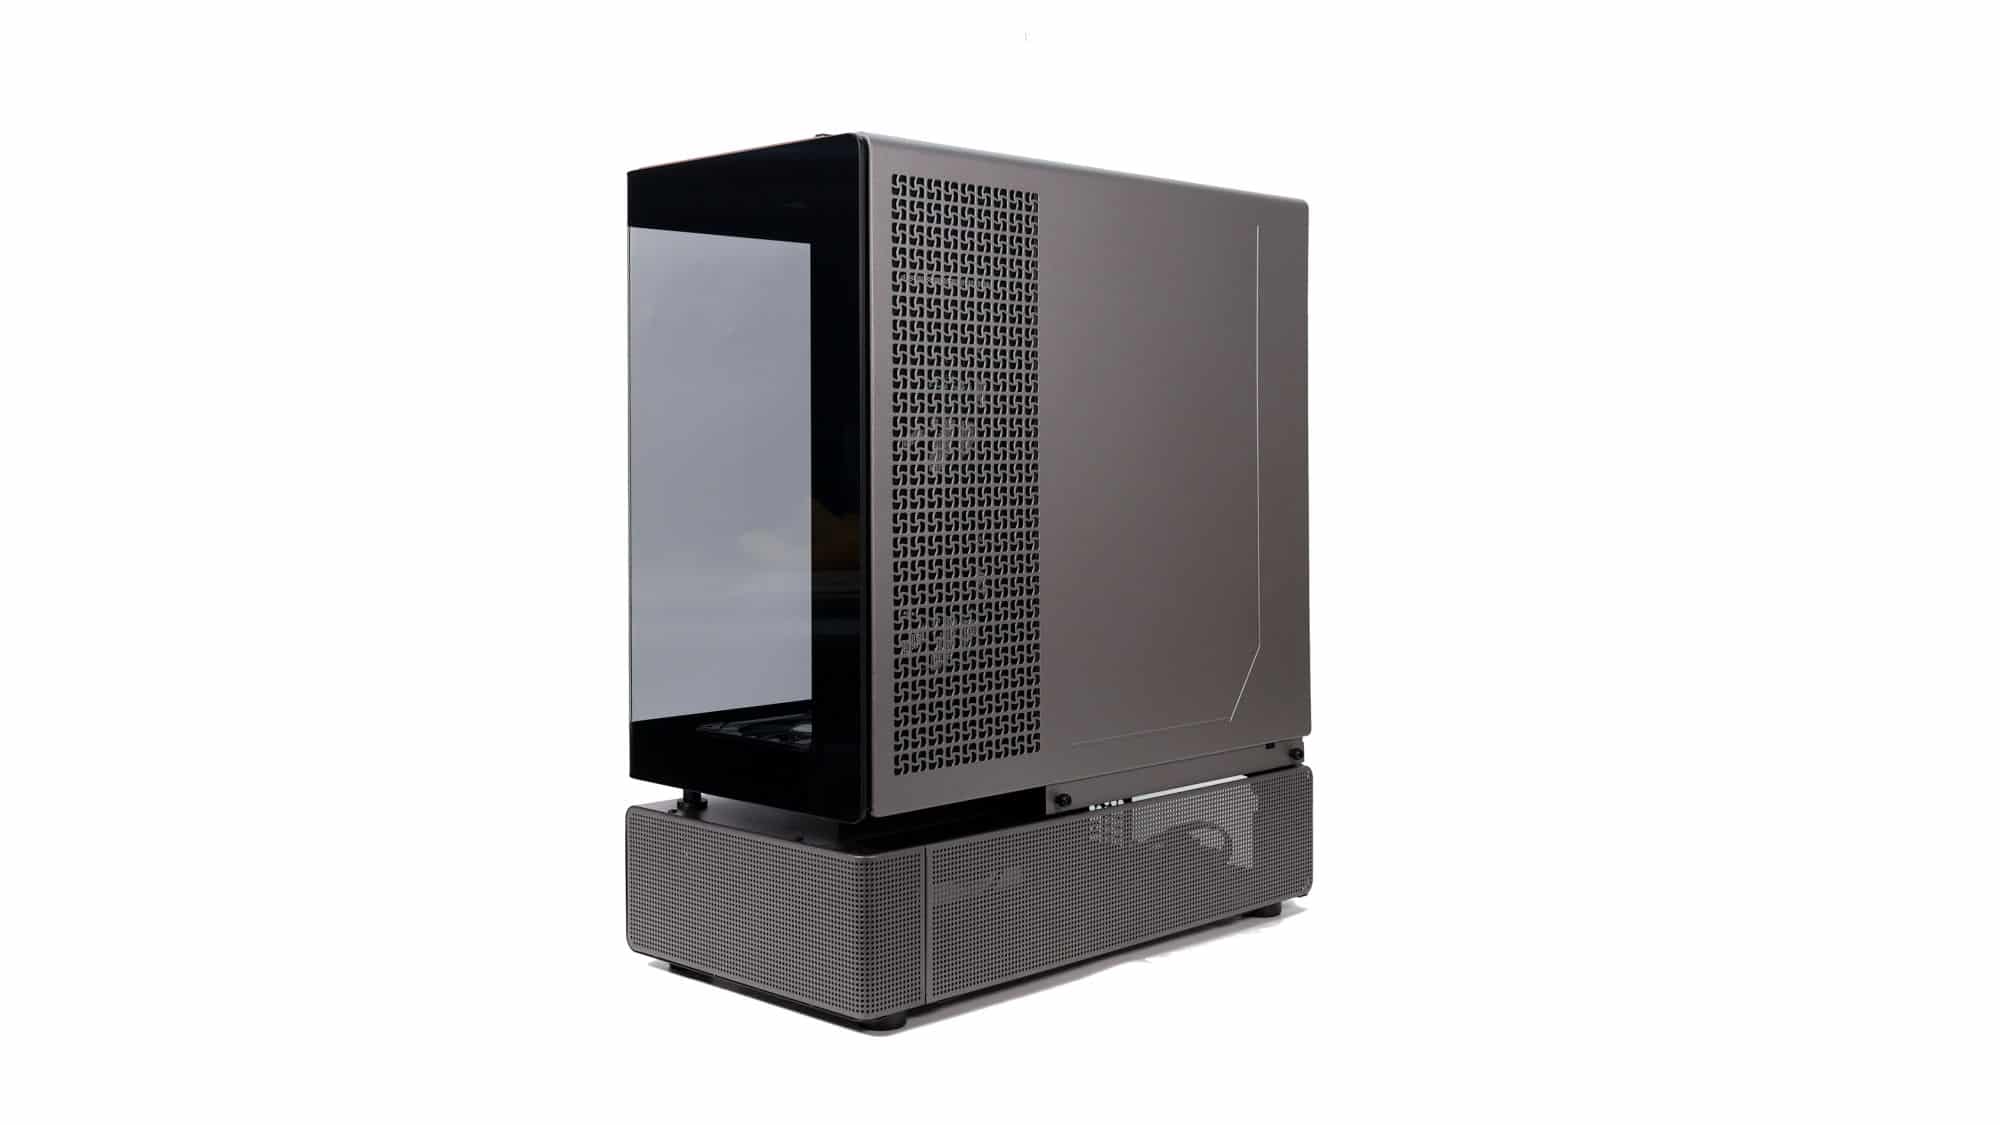
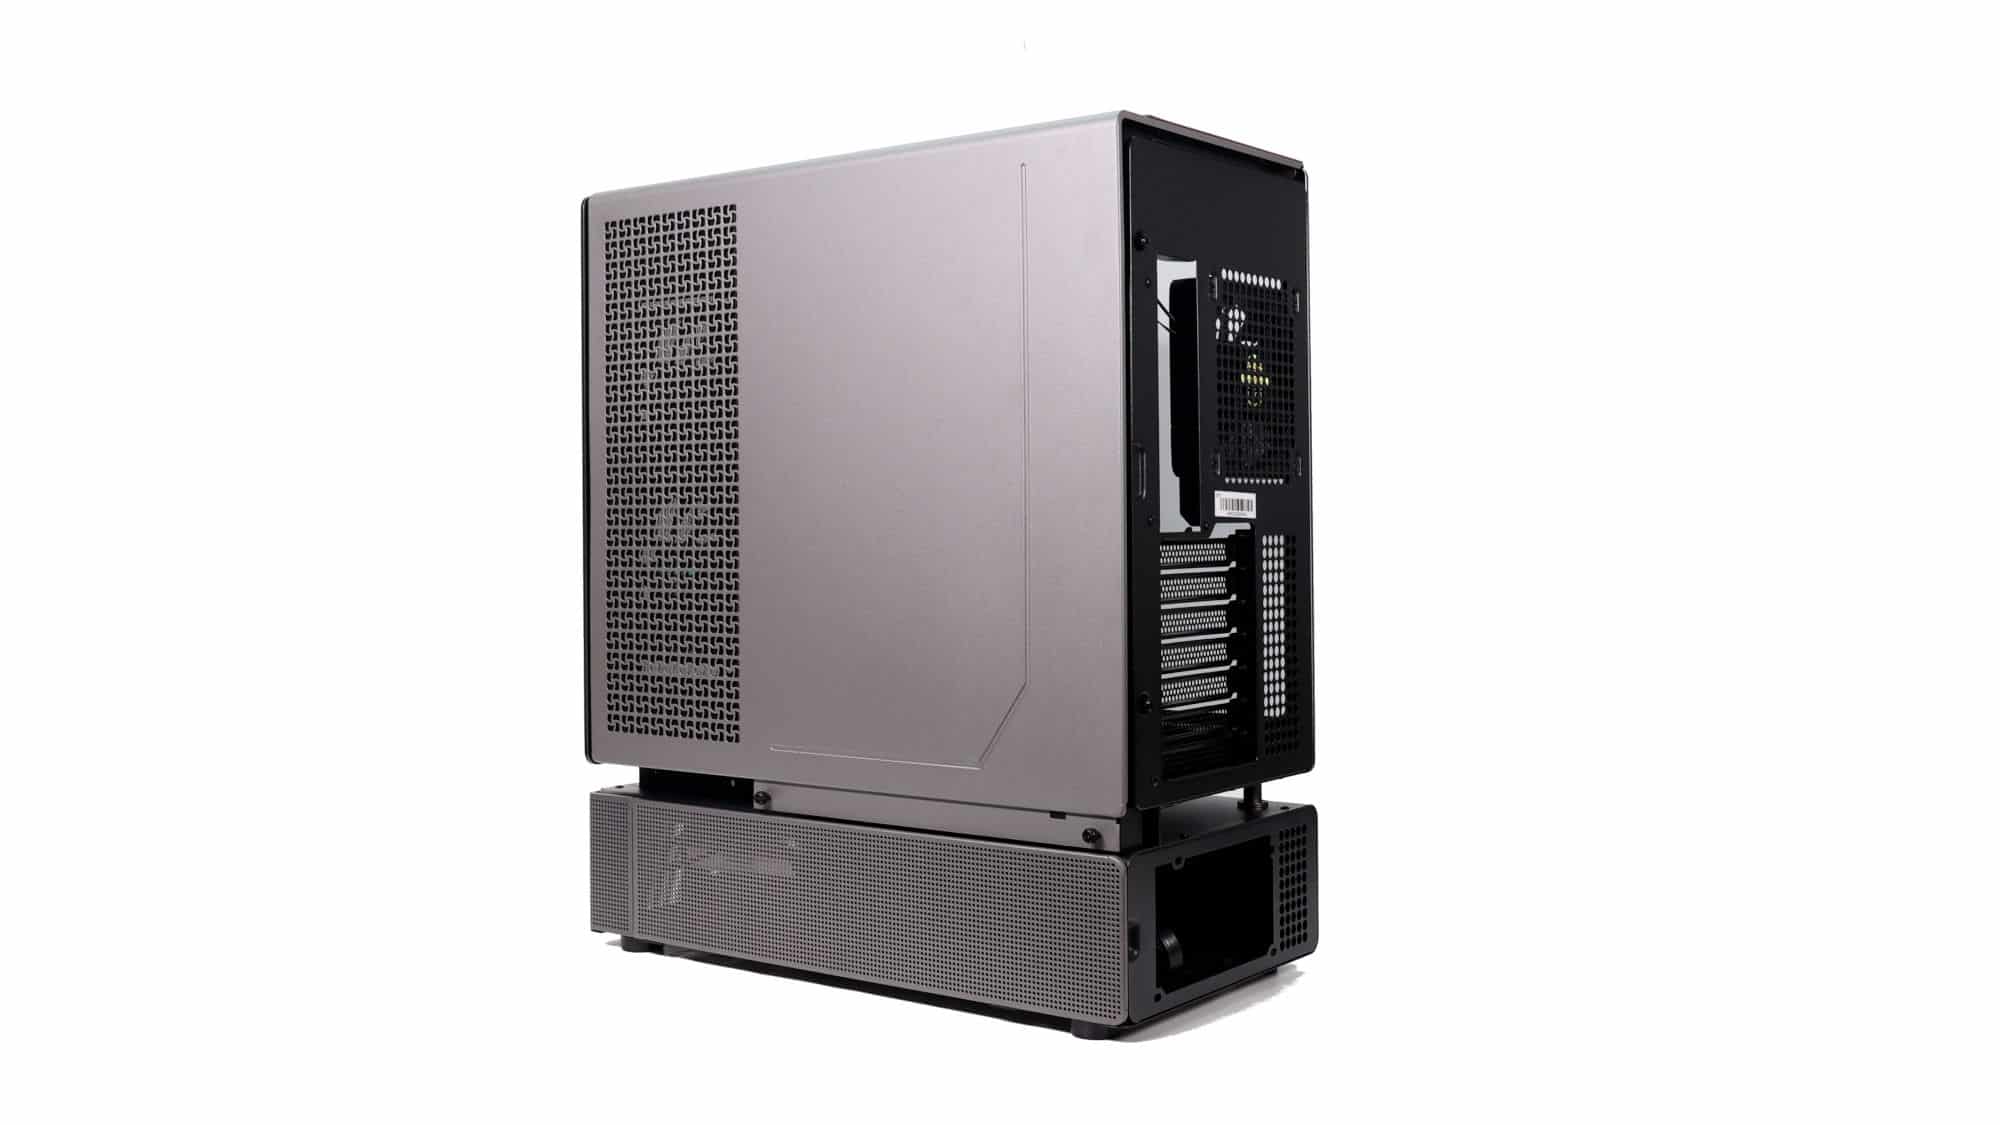
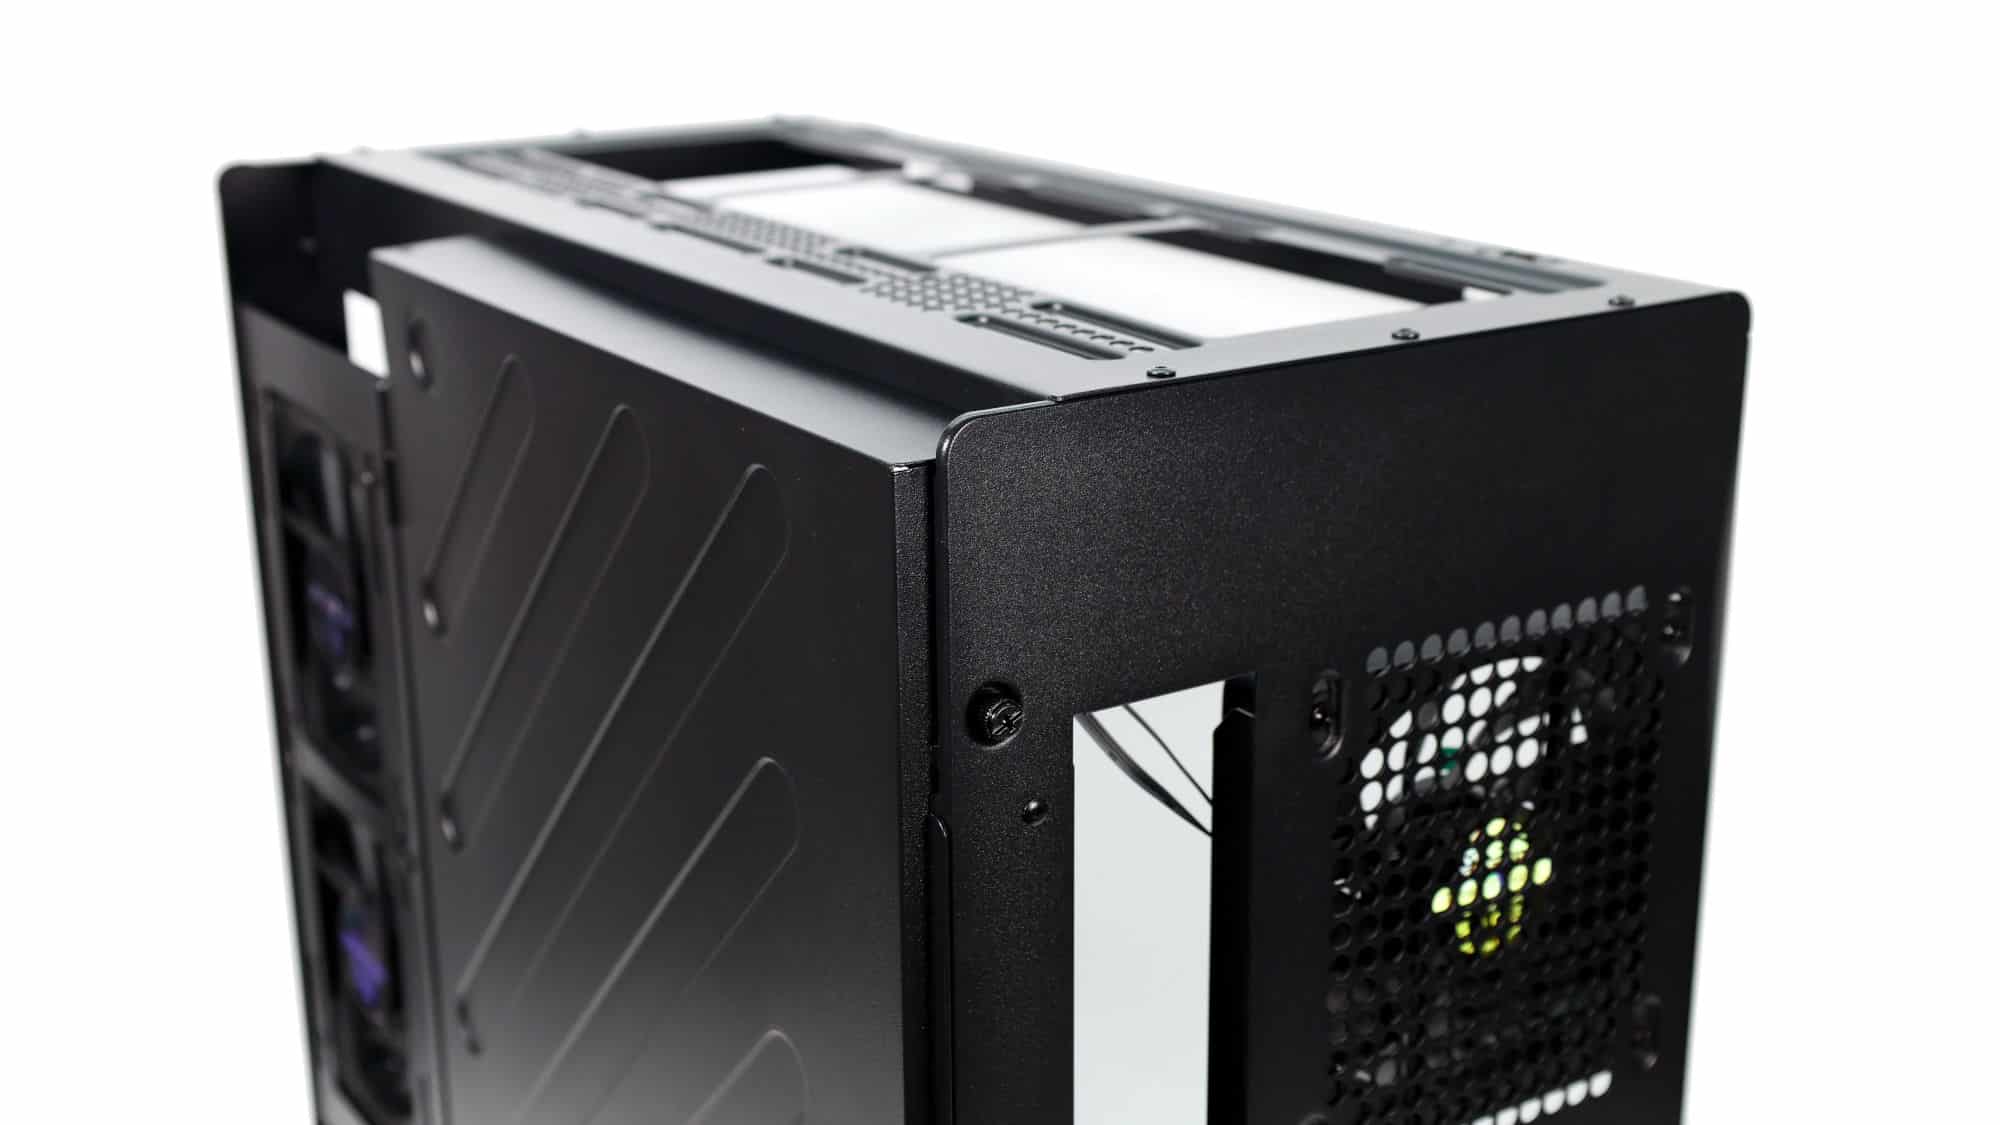
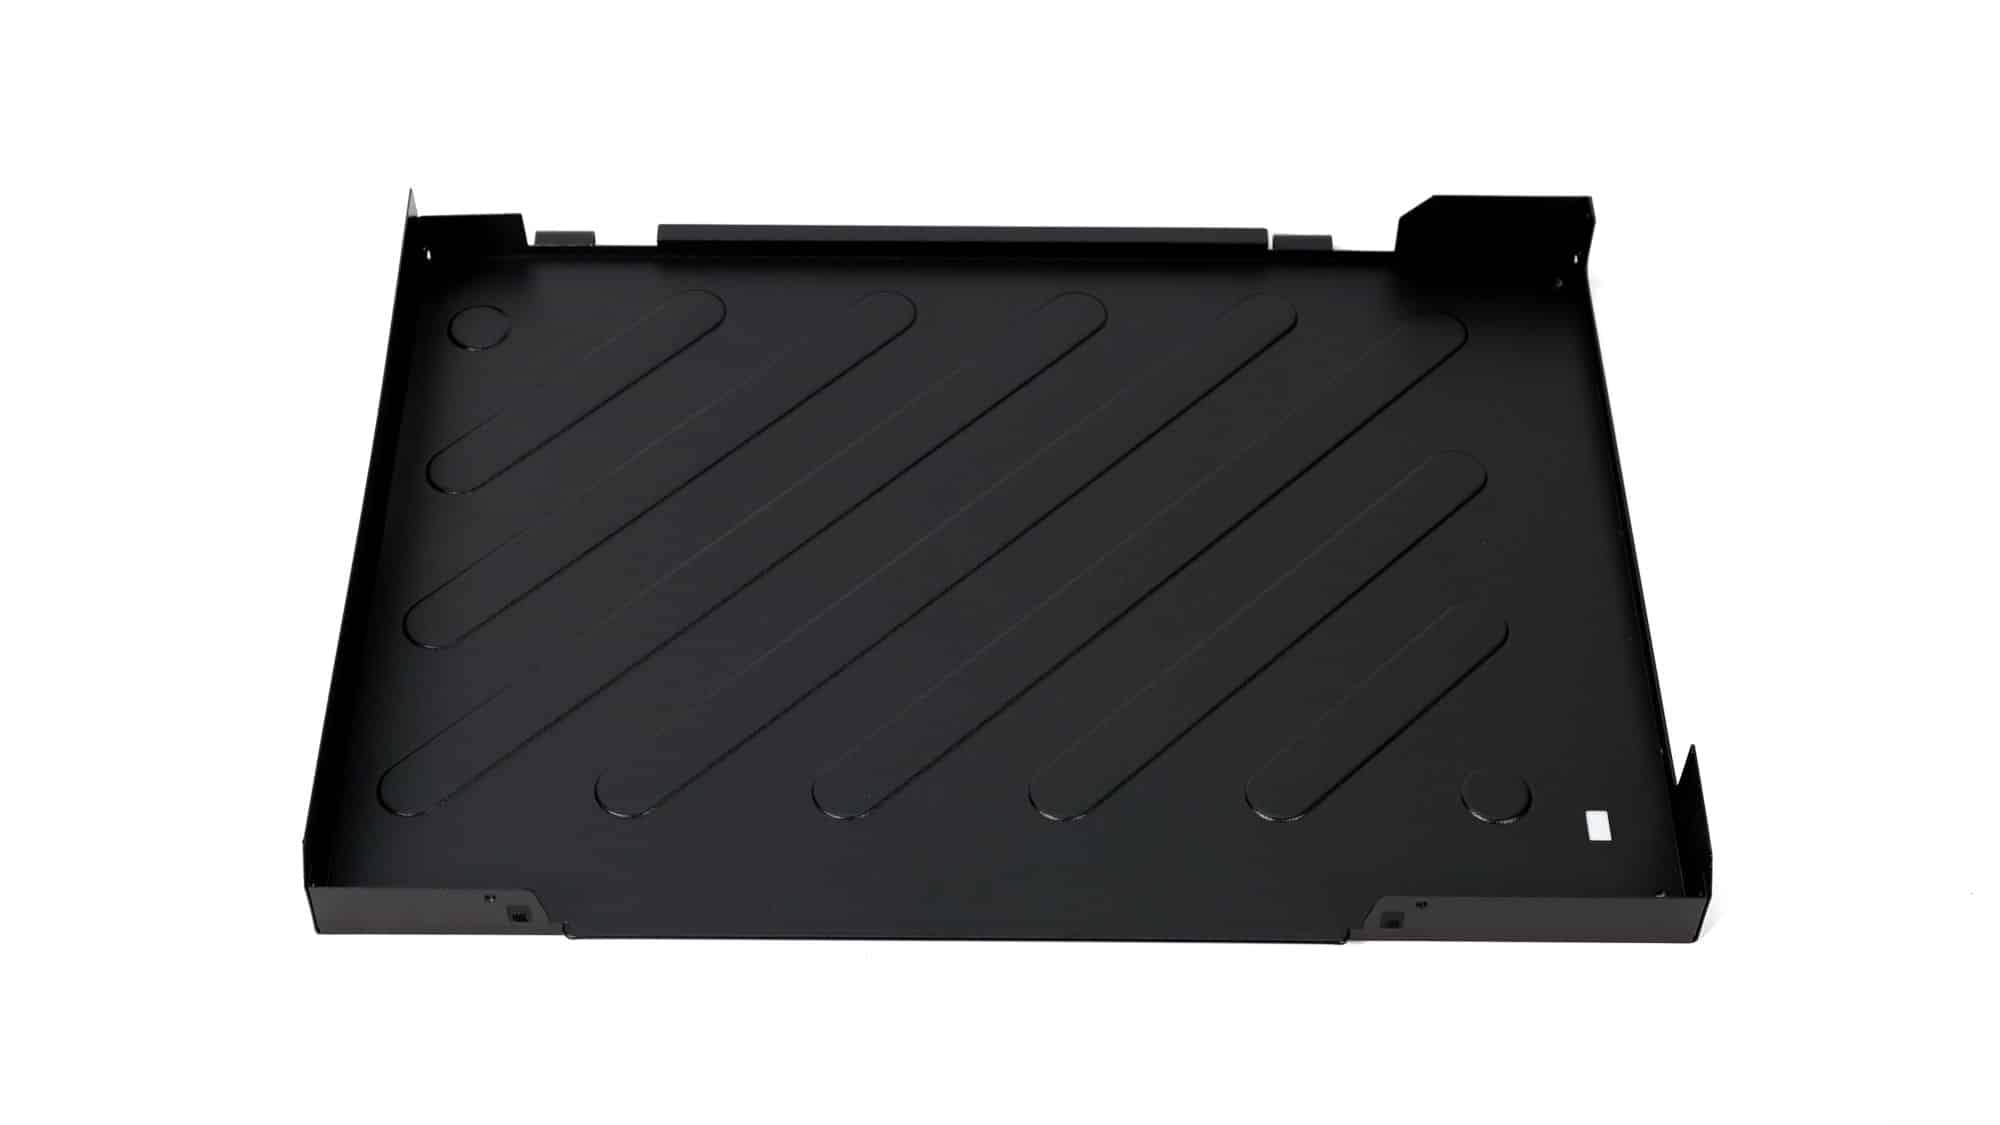
Turning to the back, we see a large steel panel that covers both the back of the main chamber and its top. This panel attaches with plastic clips at the top, while two thumbscrews secure it at the rear. Both the top and sides of this panel include vents for airflow. The bottom chamber is also fully ventilated from the side.
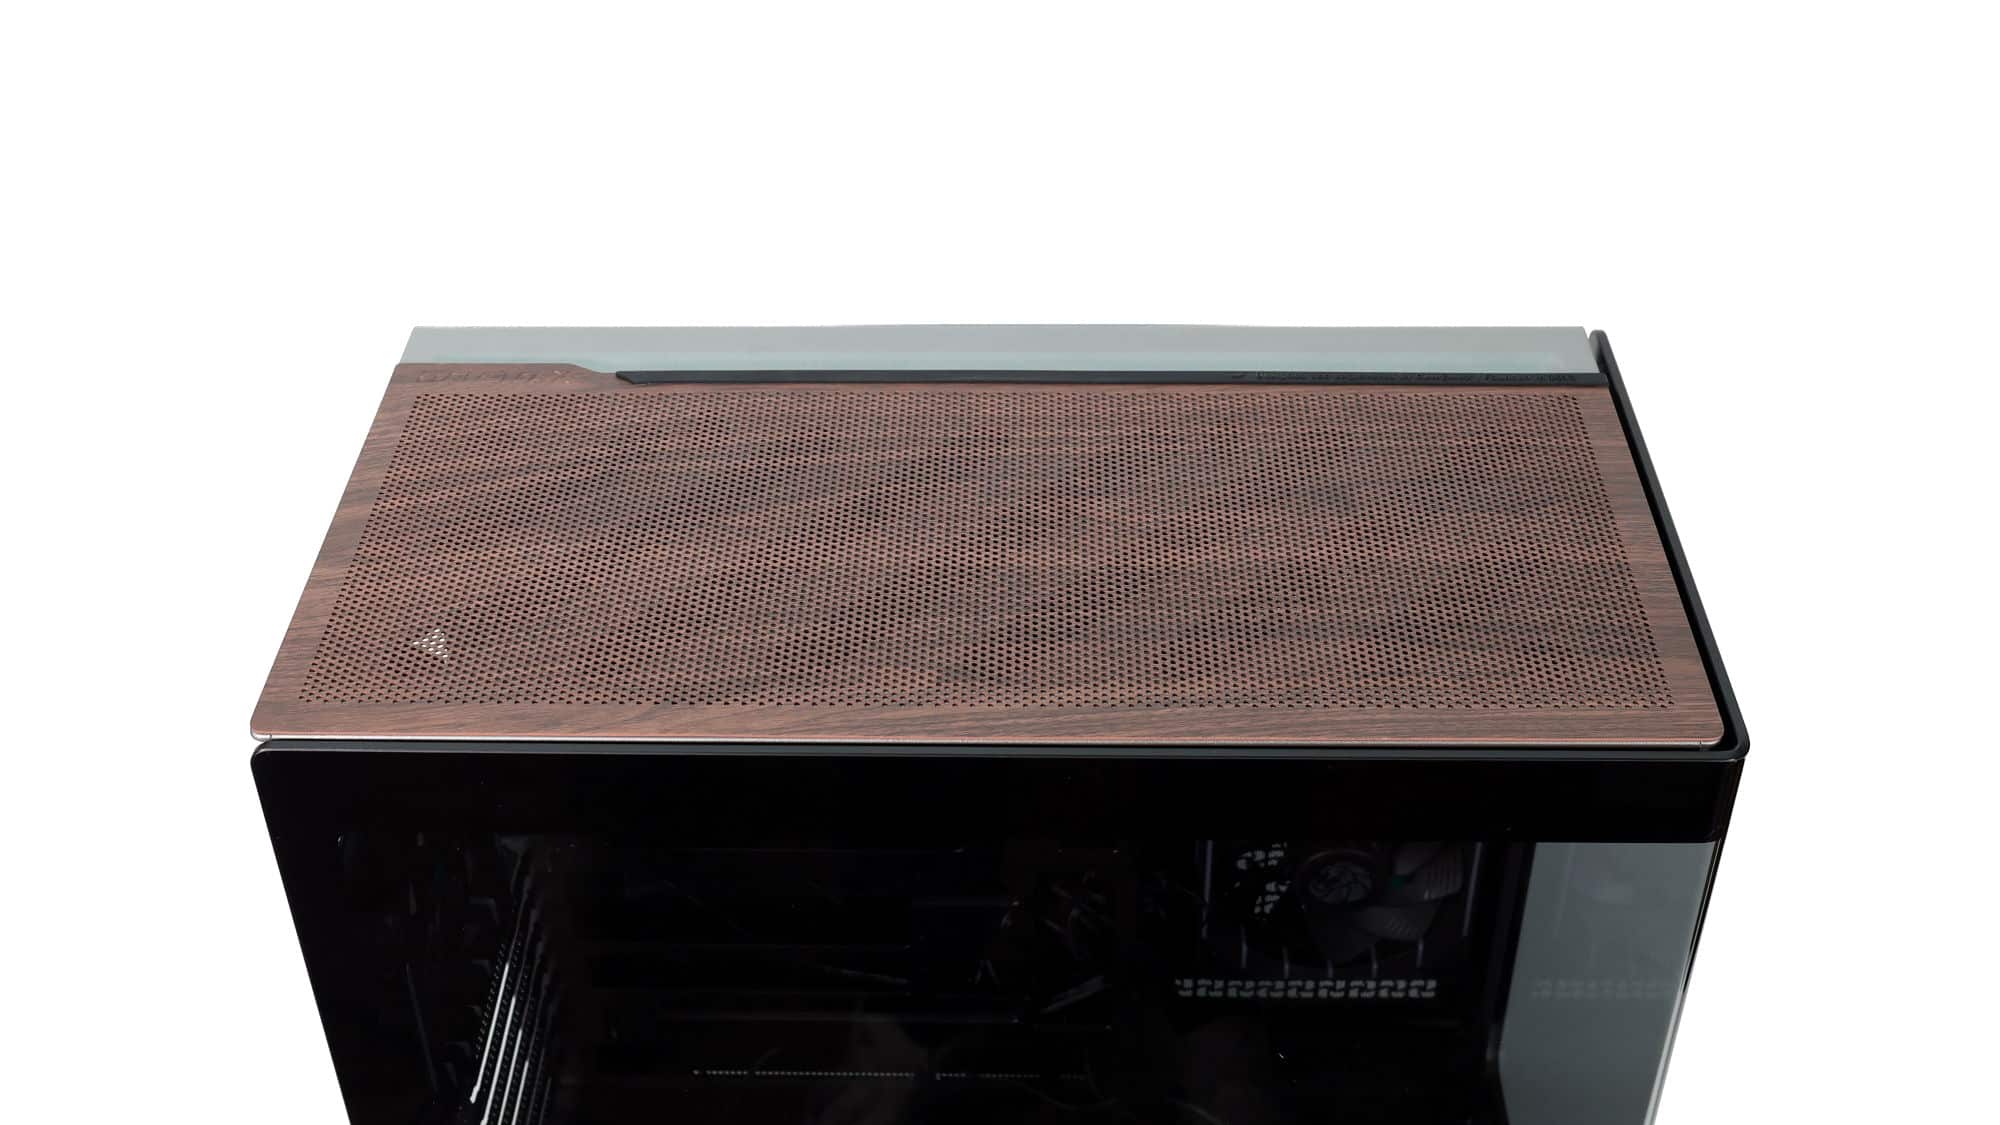
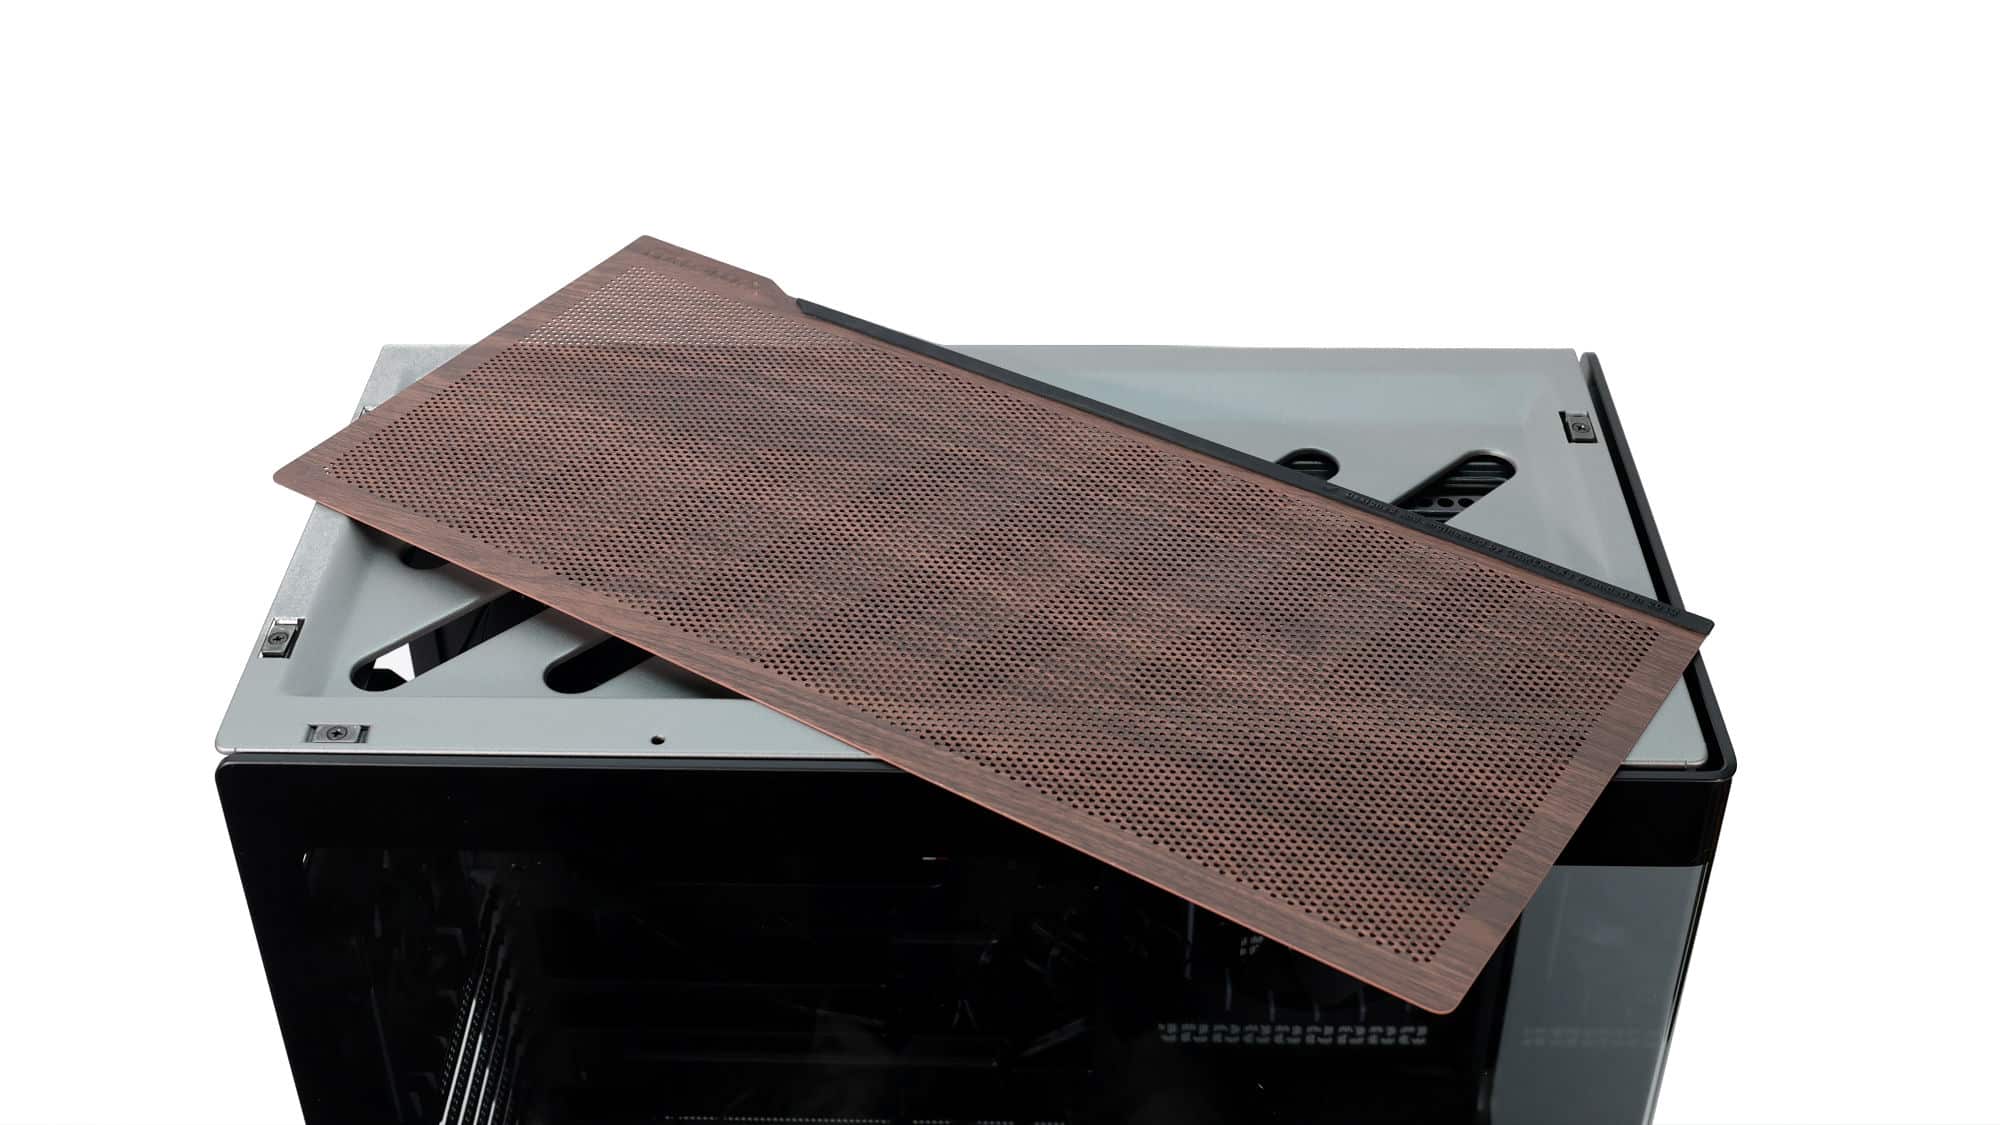
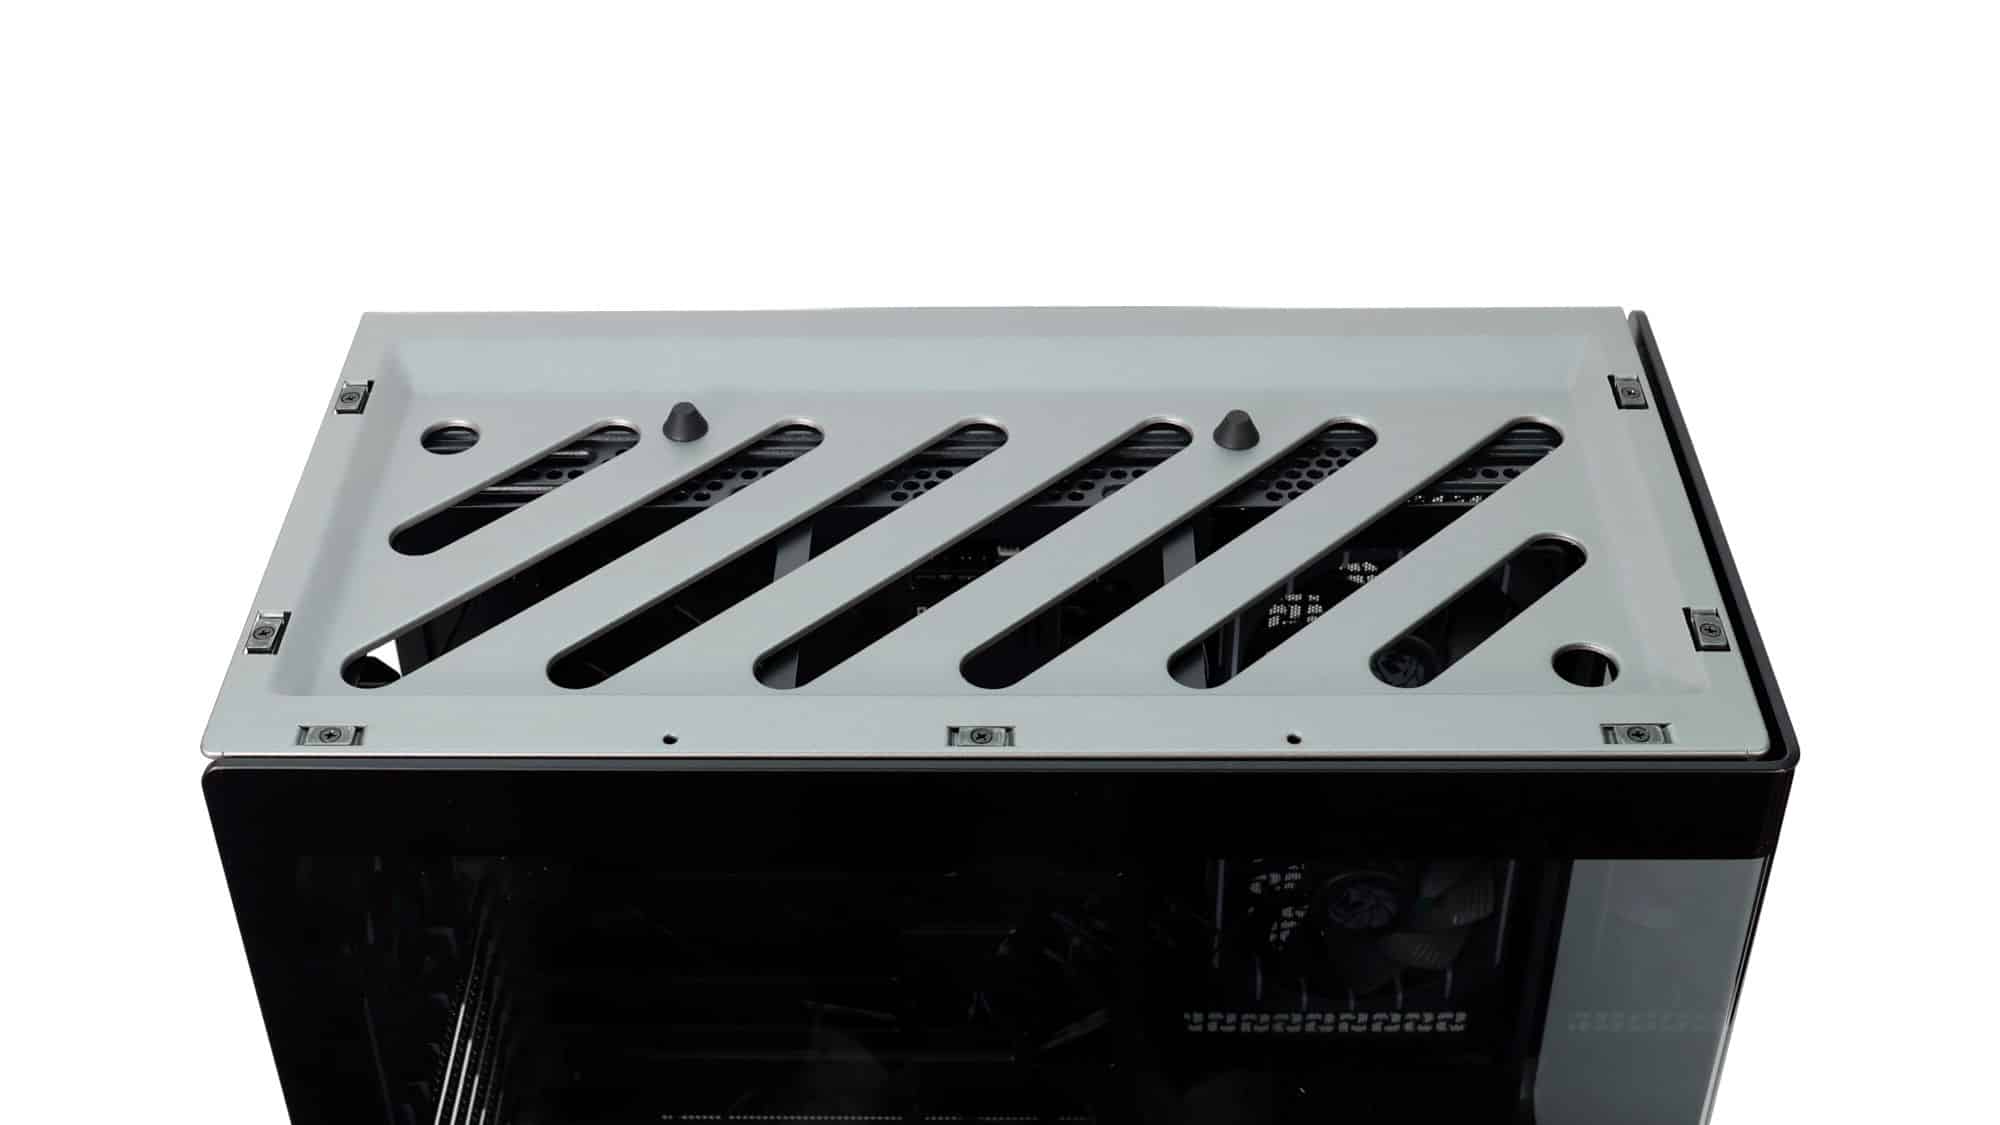
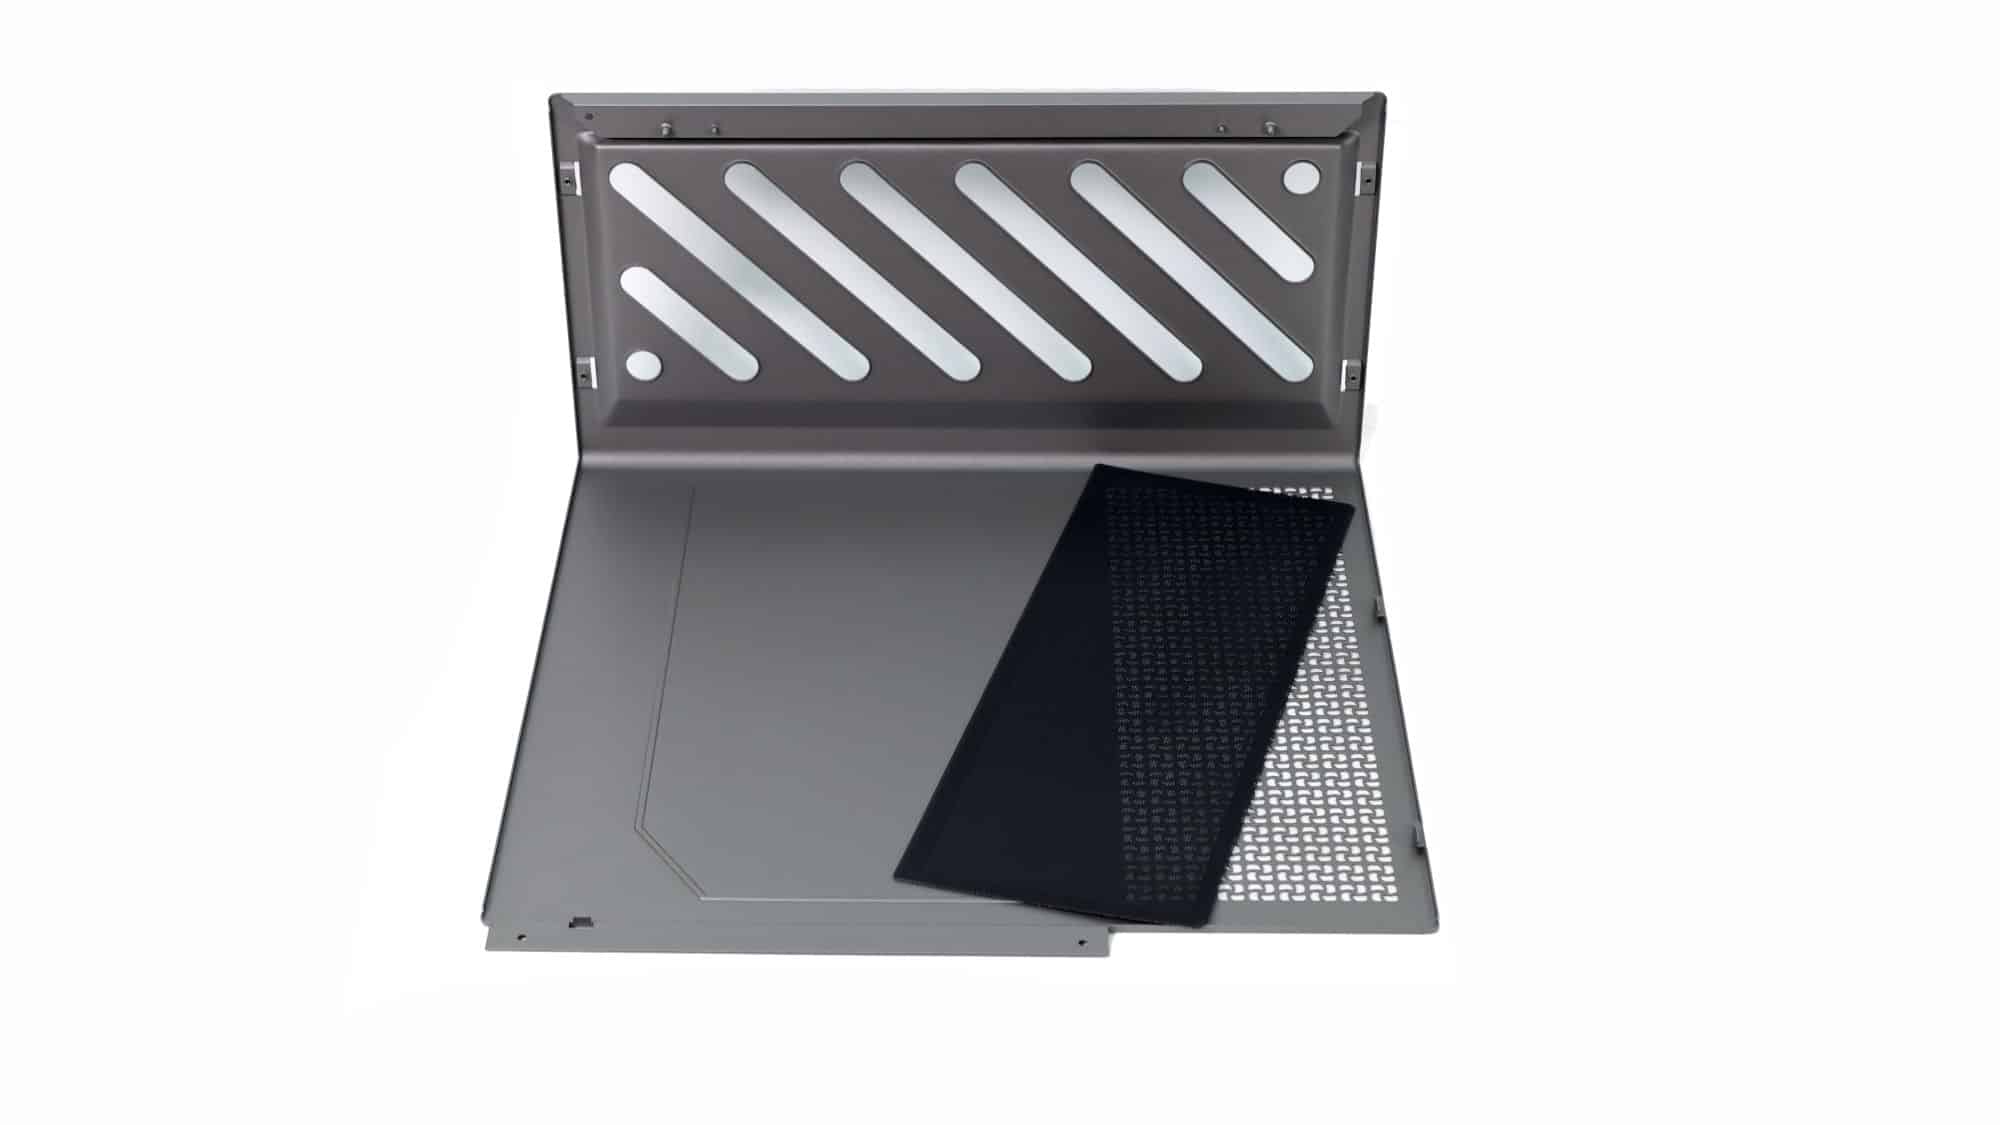
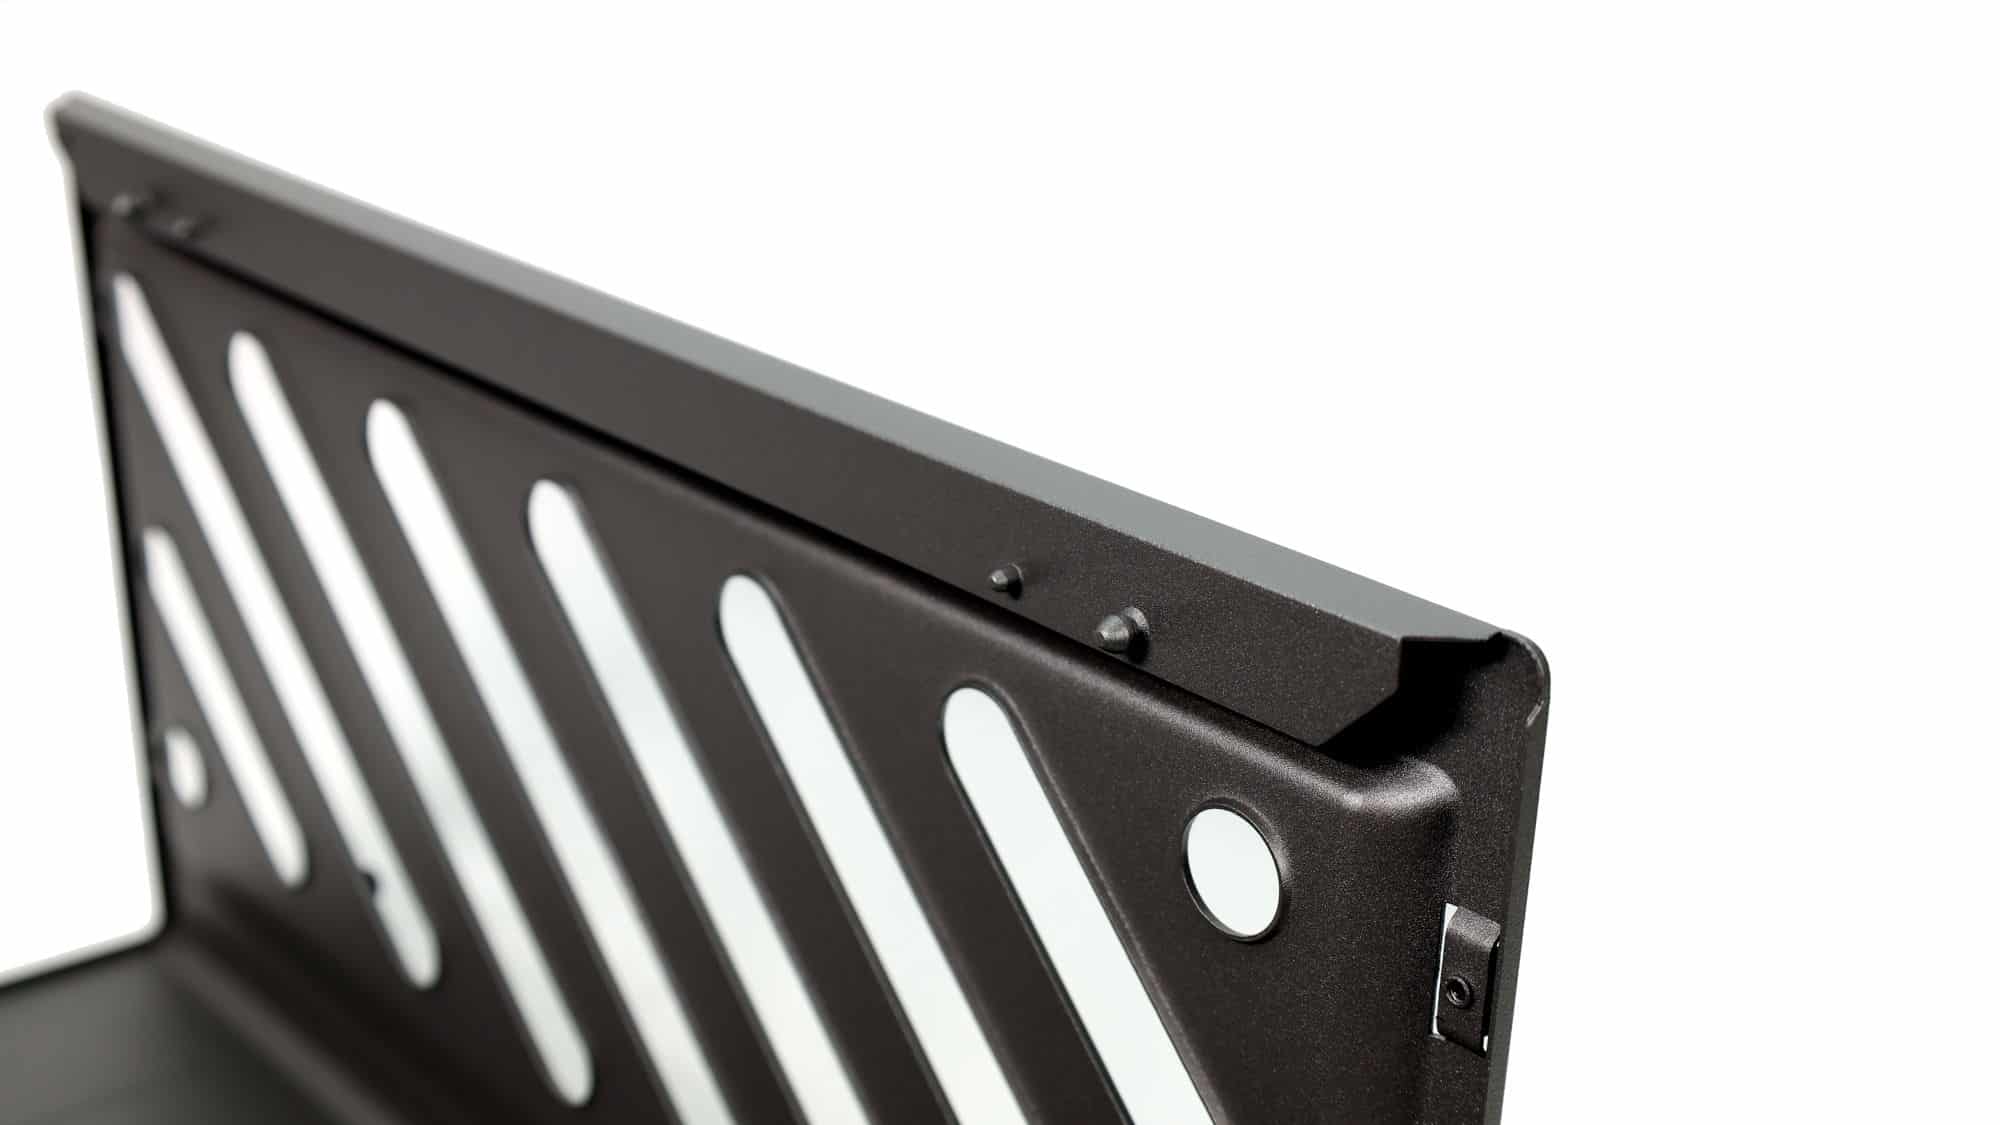
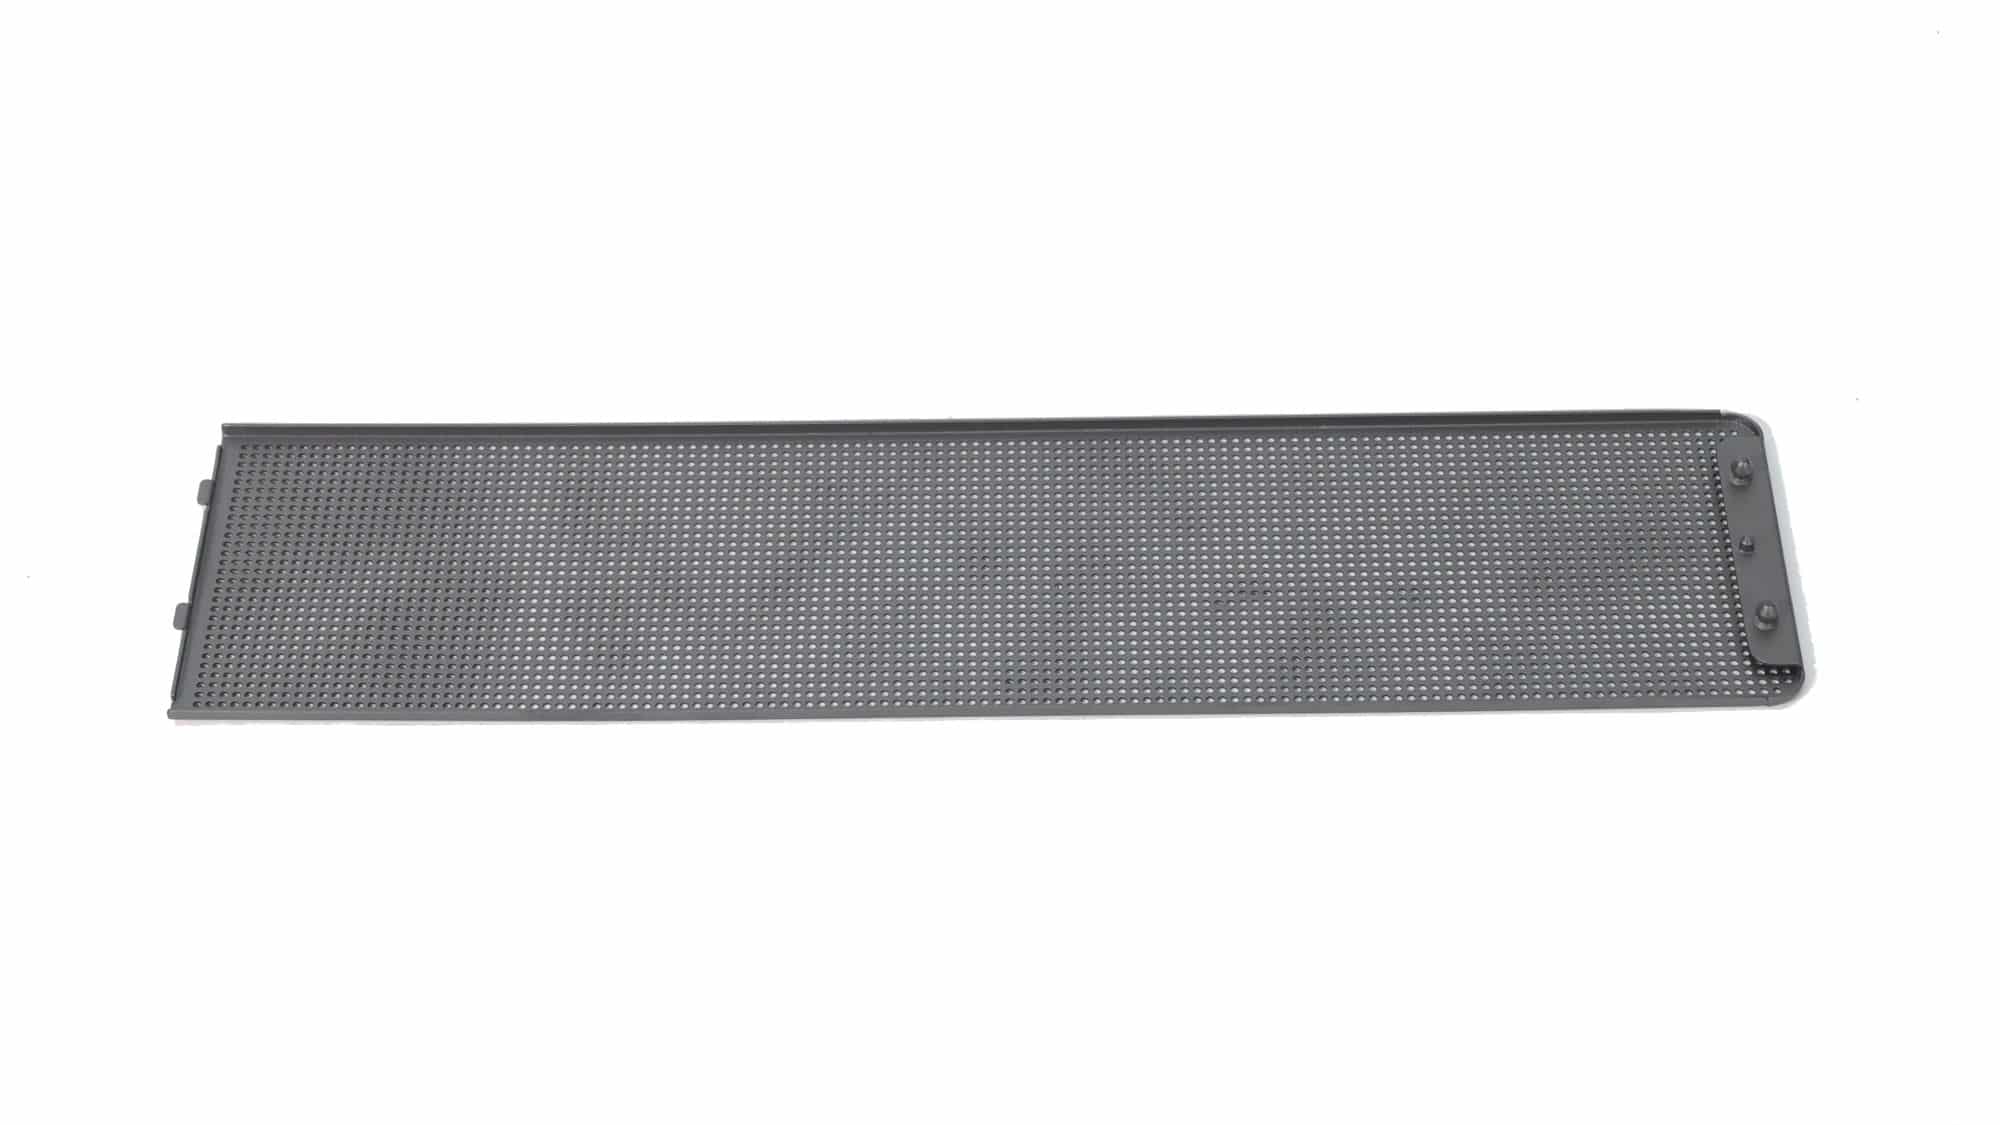
On top, you’ll also find a magnetic panel that sits over the larger panel beneath it. This additional magnetic piece serves as decoration and as a cover for the large opening below. It aligns with two pegs and is held in place by strong magnets. It doesn’t offer as much dust protection as the mesh filter it replaces, but it’s not that bad.
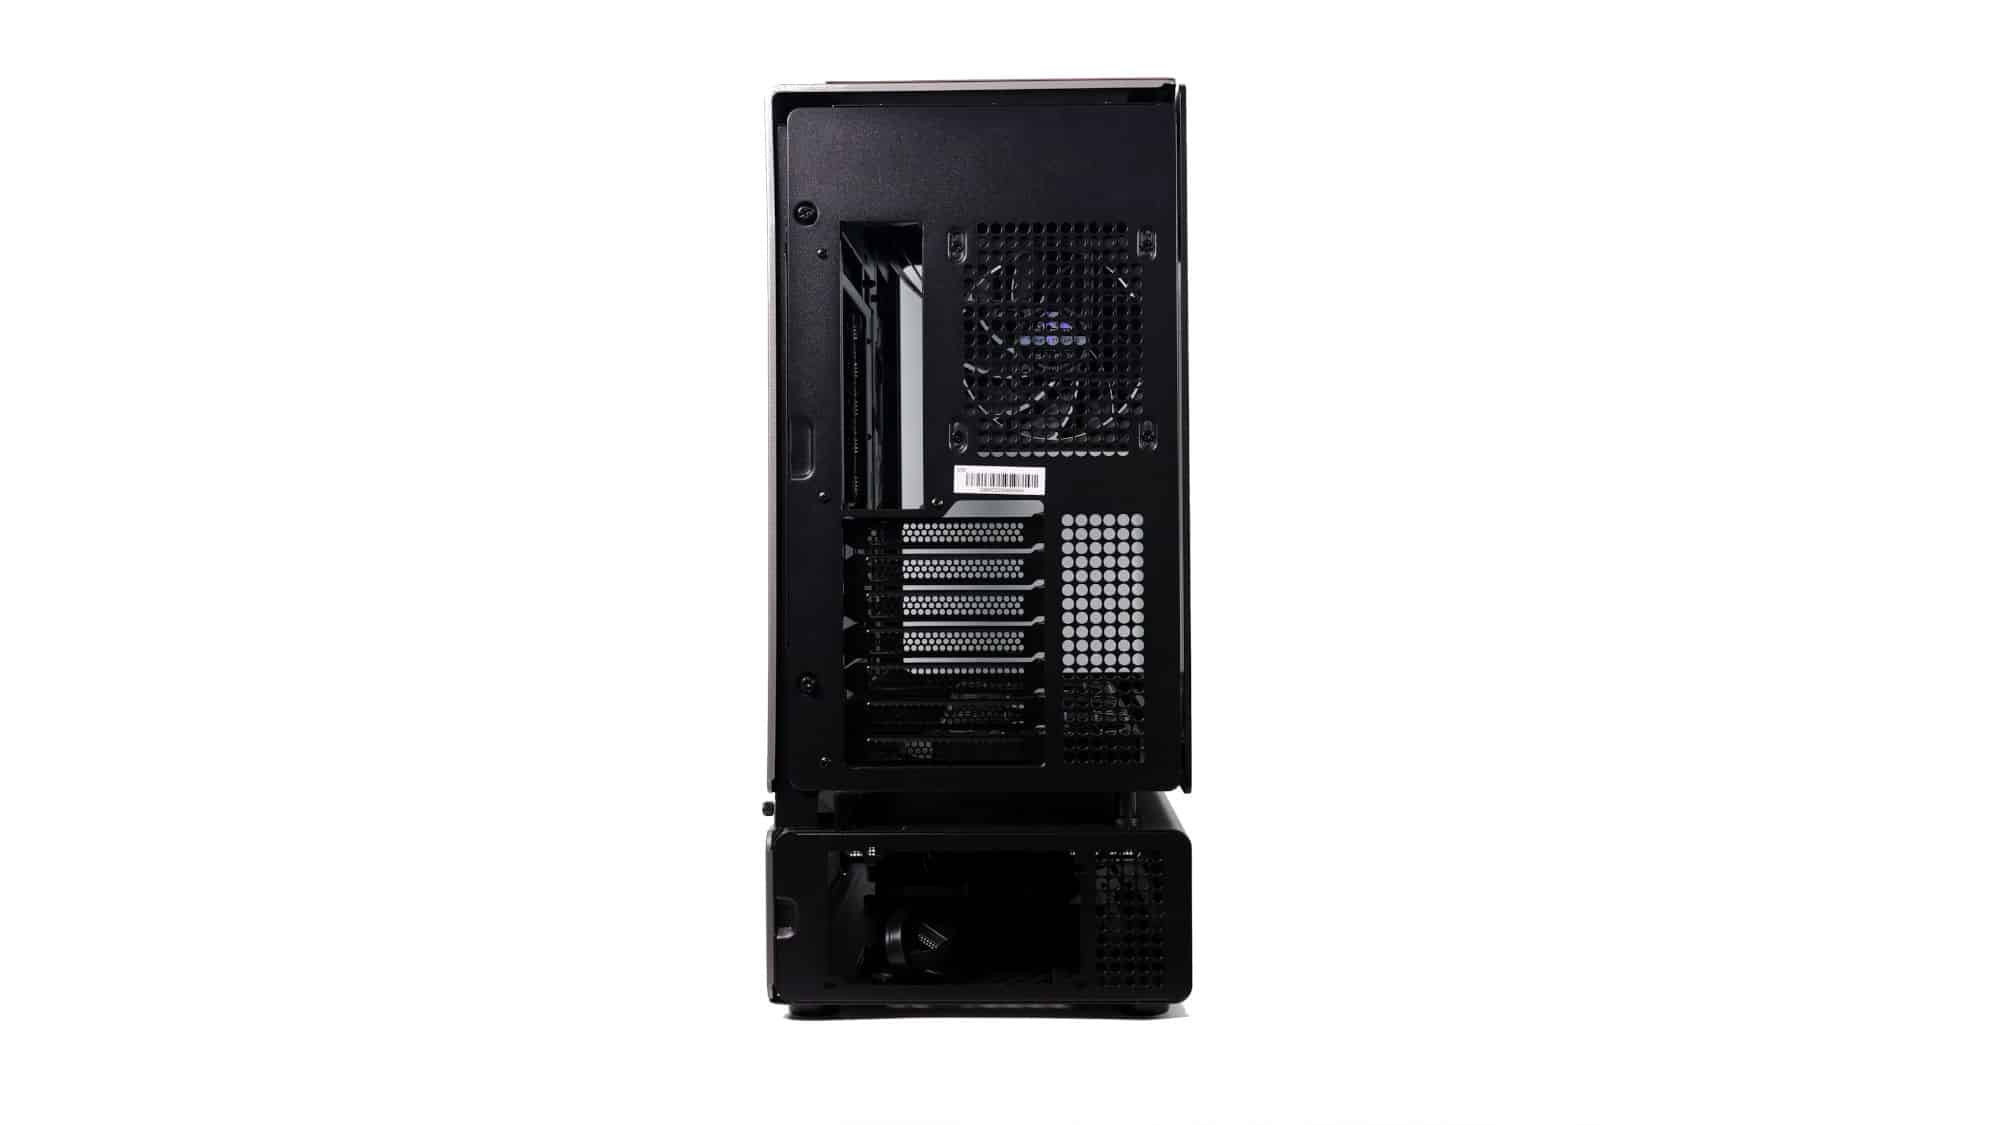
At the rear of the chassis, the layout is pretty standard: the PSU in the bottom chamber, and the motherboard I/O, exhaust fan, and expansion slots above it. The indents at the top and bottom make panel removal easier, and there are also two additional thumbscrews securing the inner panel, which we’ll examine later.
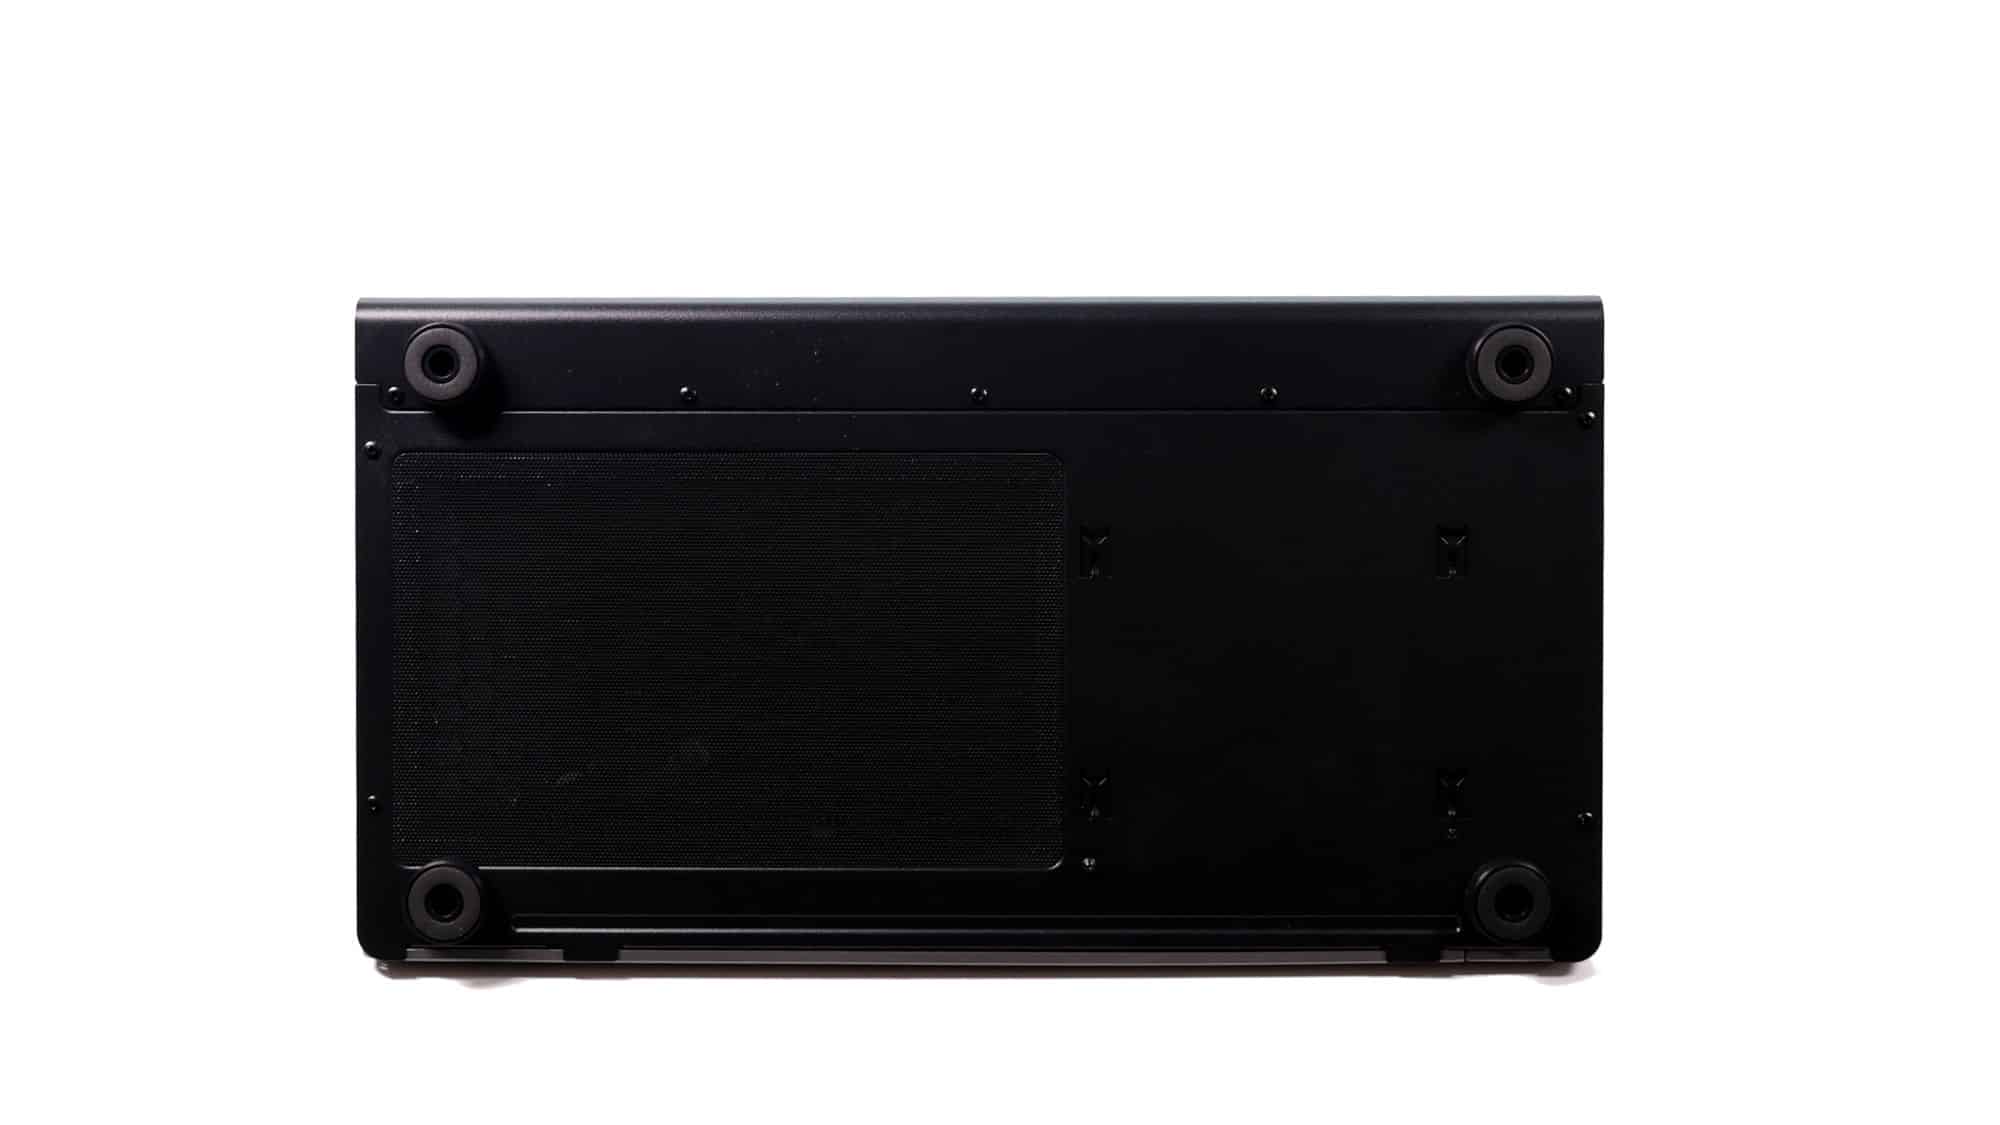
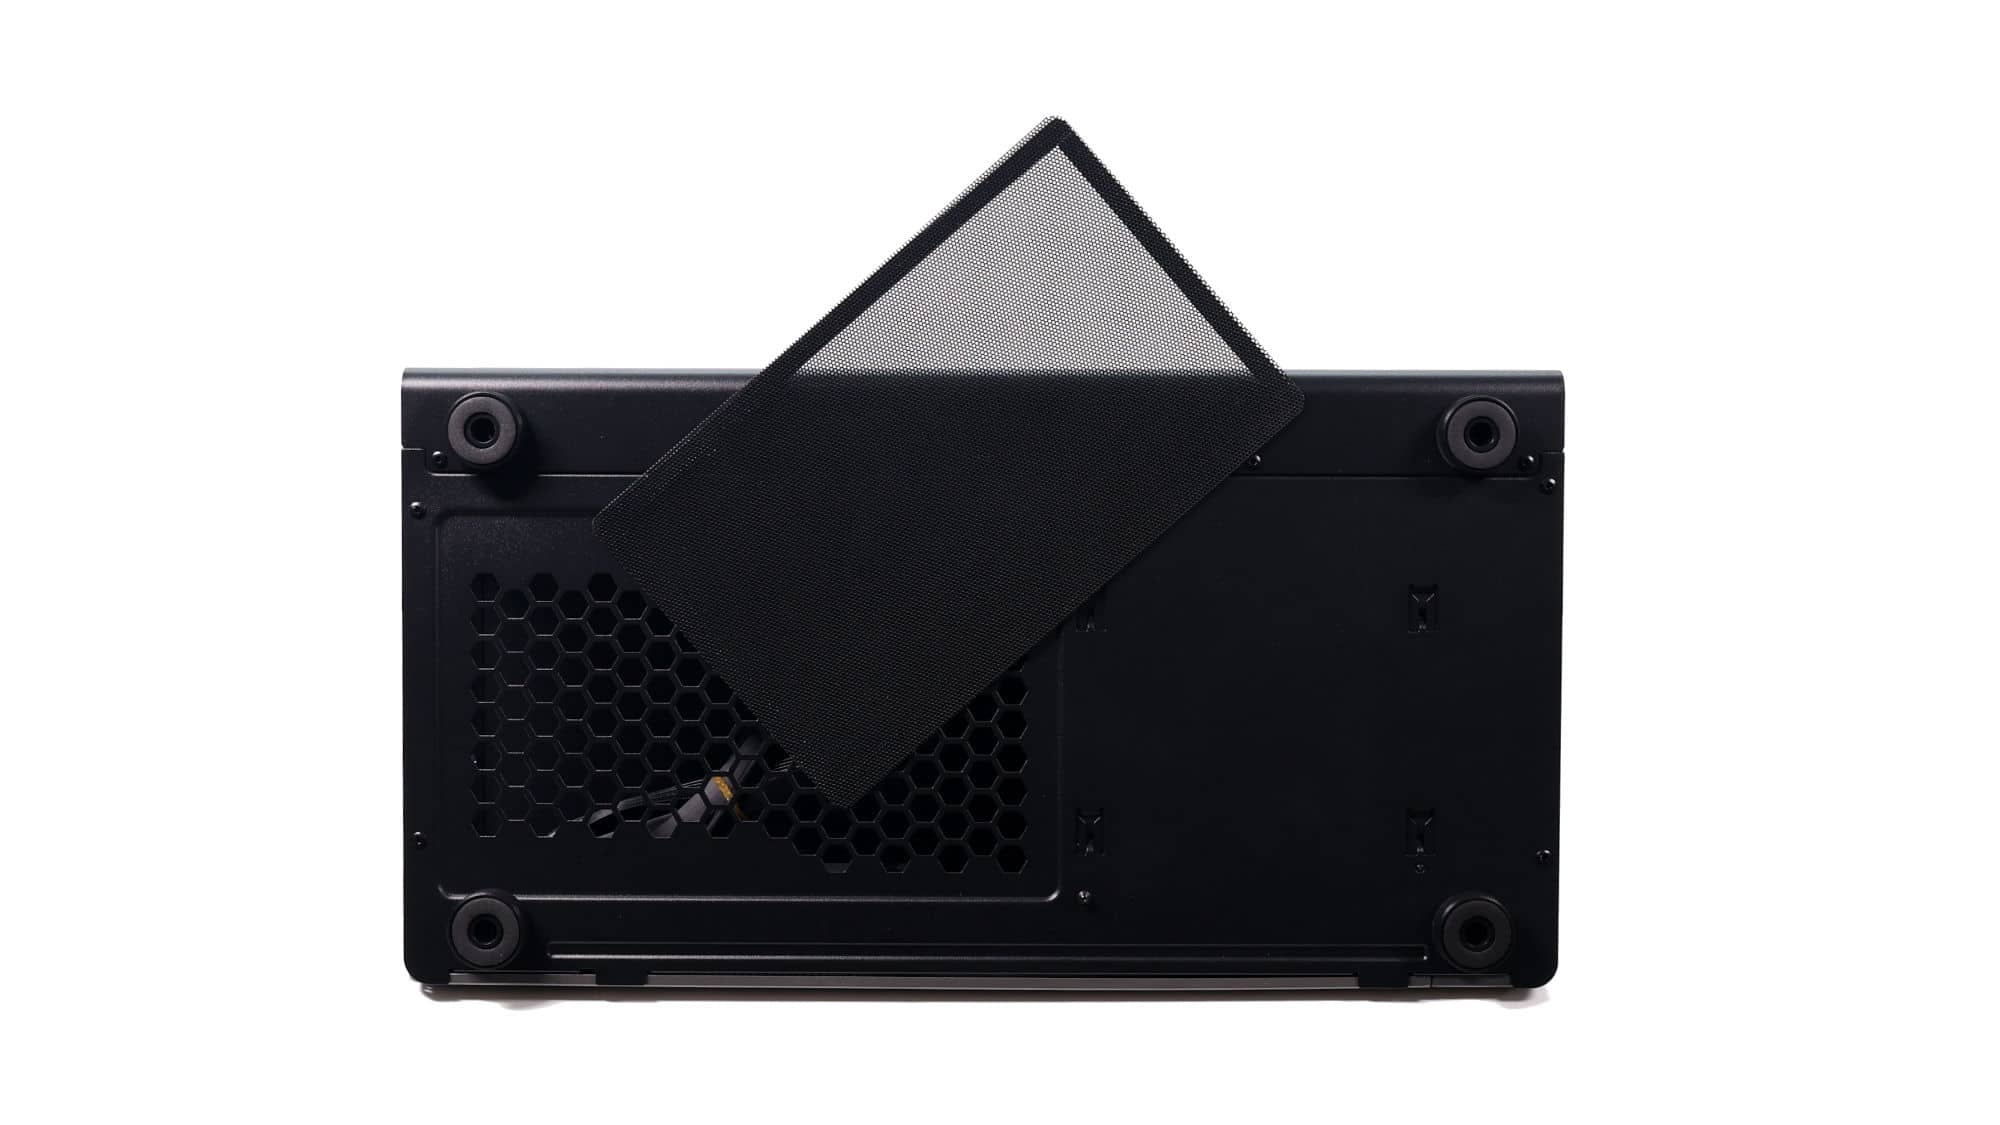
At the bottom of the chassis, we have additional ventilation for the PSU intake, a magnetic dust filter, case feet, and visible mounting slots for the drive cage.
Compatibility and Space Utilization
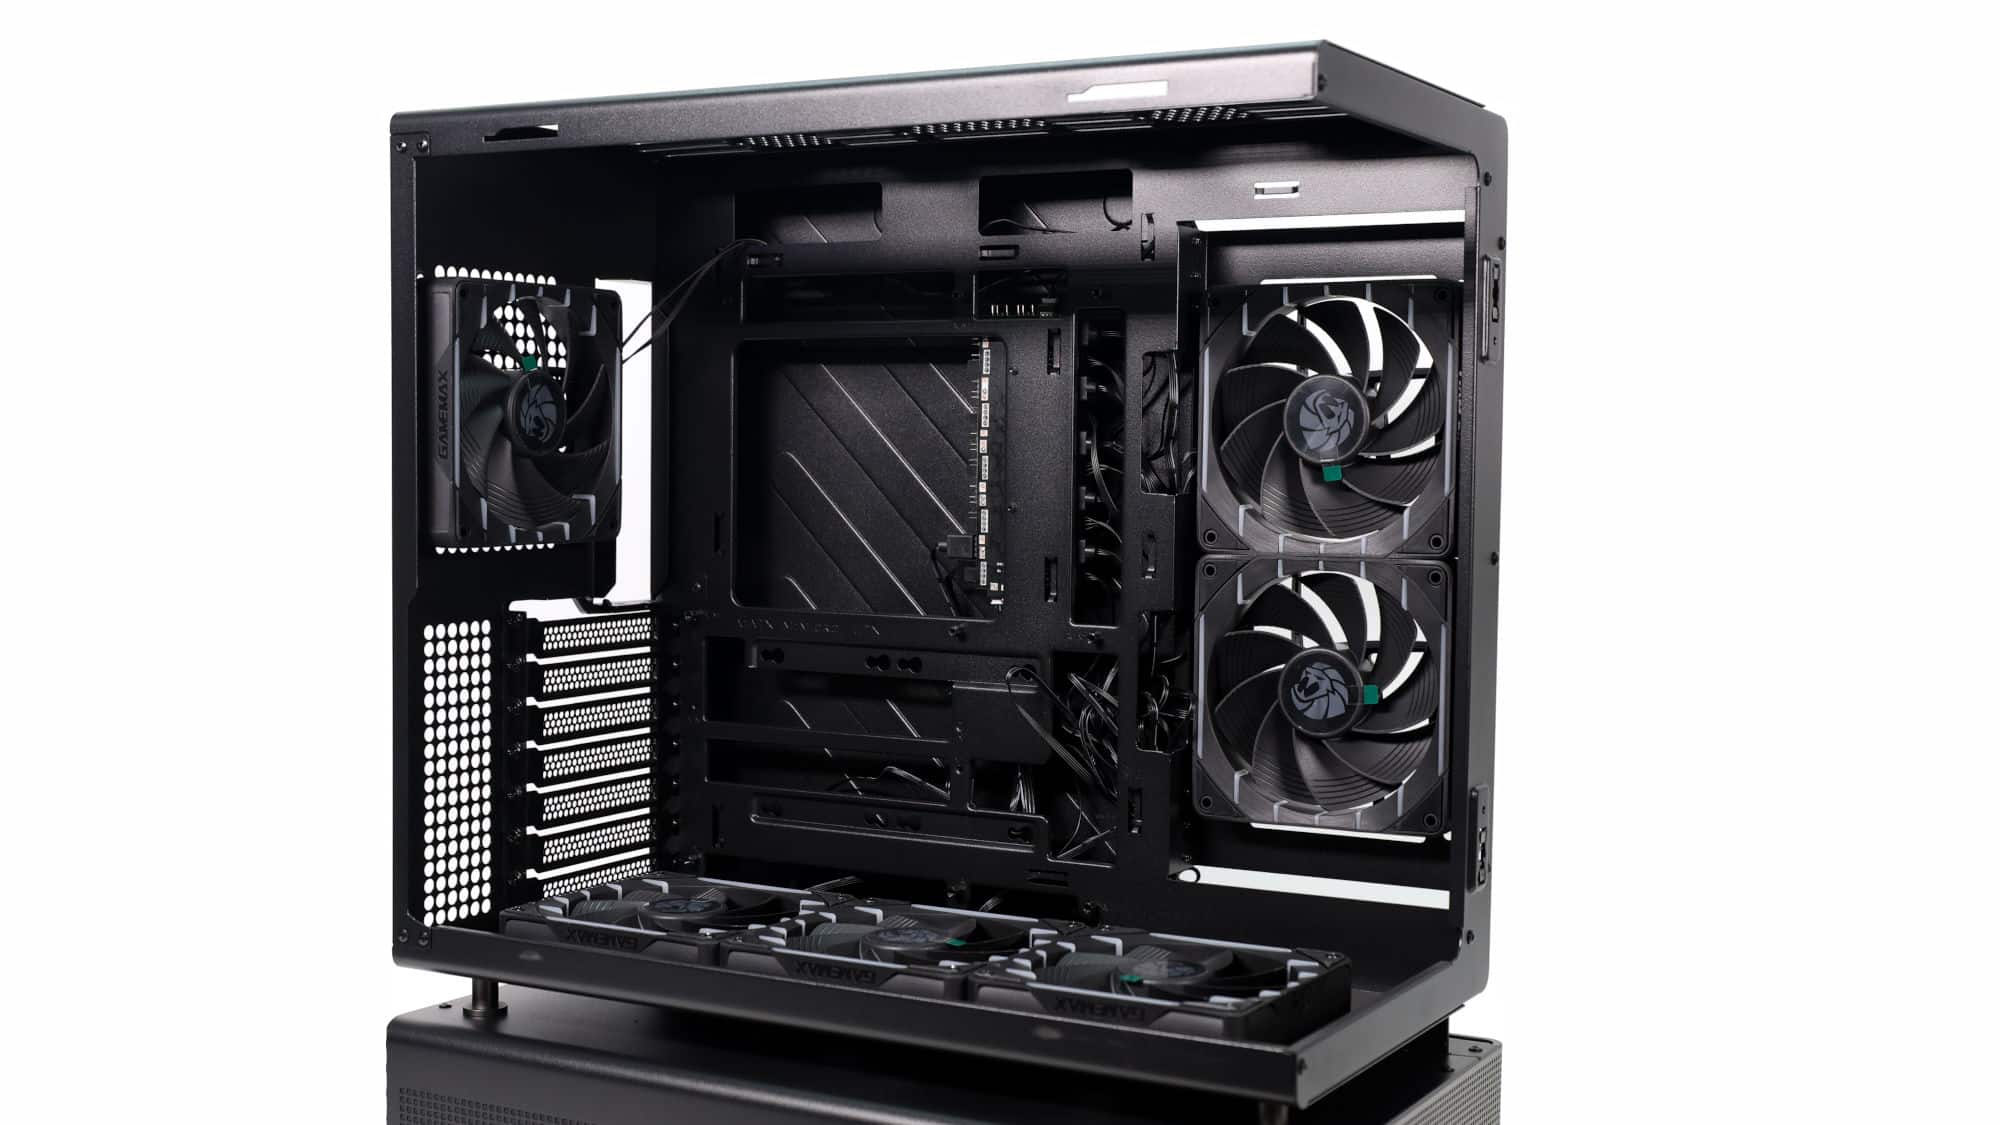
Inside the main compartment, the first thing you’ll notice is the six pre-installed fans. You’ll also find a motherboard tray that accommodates up to ATX-size boards (officially), with support for back-connector motherboards, making for an immaculate build. There is even enough space for our E-ATX test system, thanks to the inset side-intake fans that allow E-ATX boards to overhang slightly.
Above and below the motherboard tray, there are cable-routing cutouts, though none have rubber grommets. With an ATX board, the bottom openings are mostly covered, leaving just enough space for the required cables. At the top, the cutout will be hidden if you install fans or a radiator.
To the right of the motherboard, you’ll find two pre-installed intake fans, with three more at the bottom.
At the rear, we have the final of the six fans and bridgeless expansion slots, a feature we always appreciate, as it makes GPU installation easier in all situations. The space below the fan and beside the expansion slots includes an appealing design pattern.
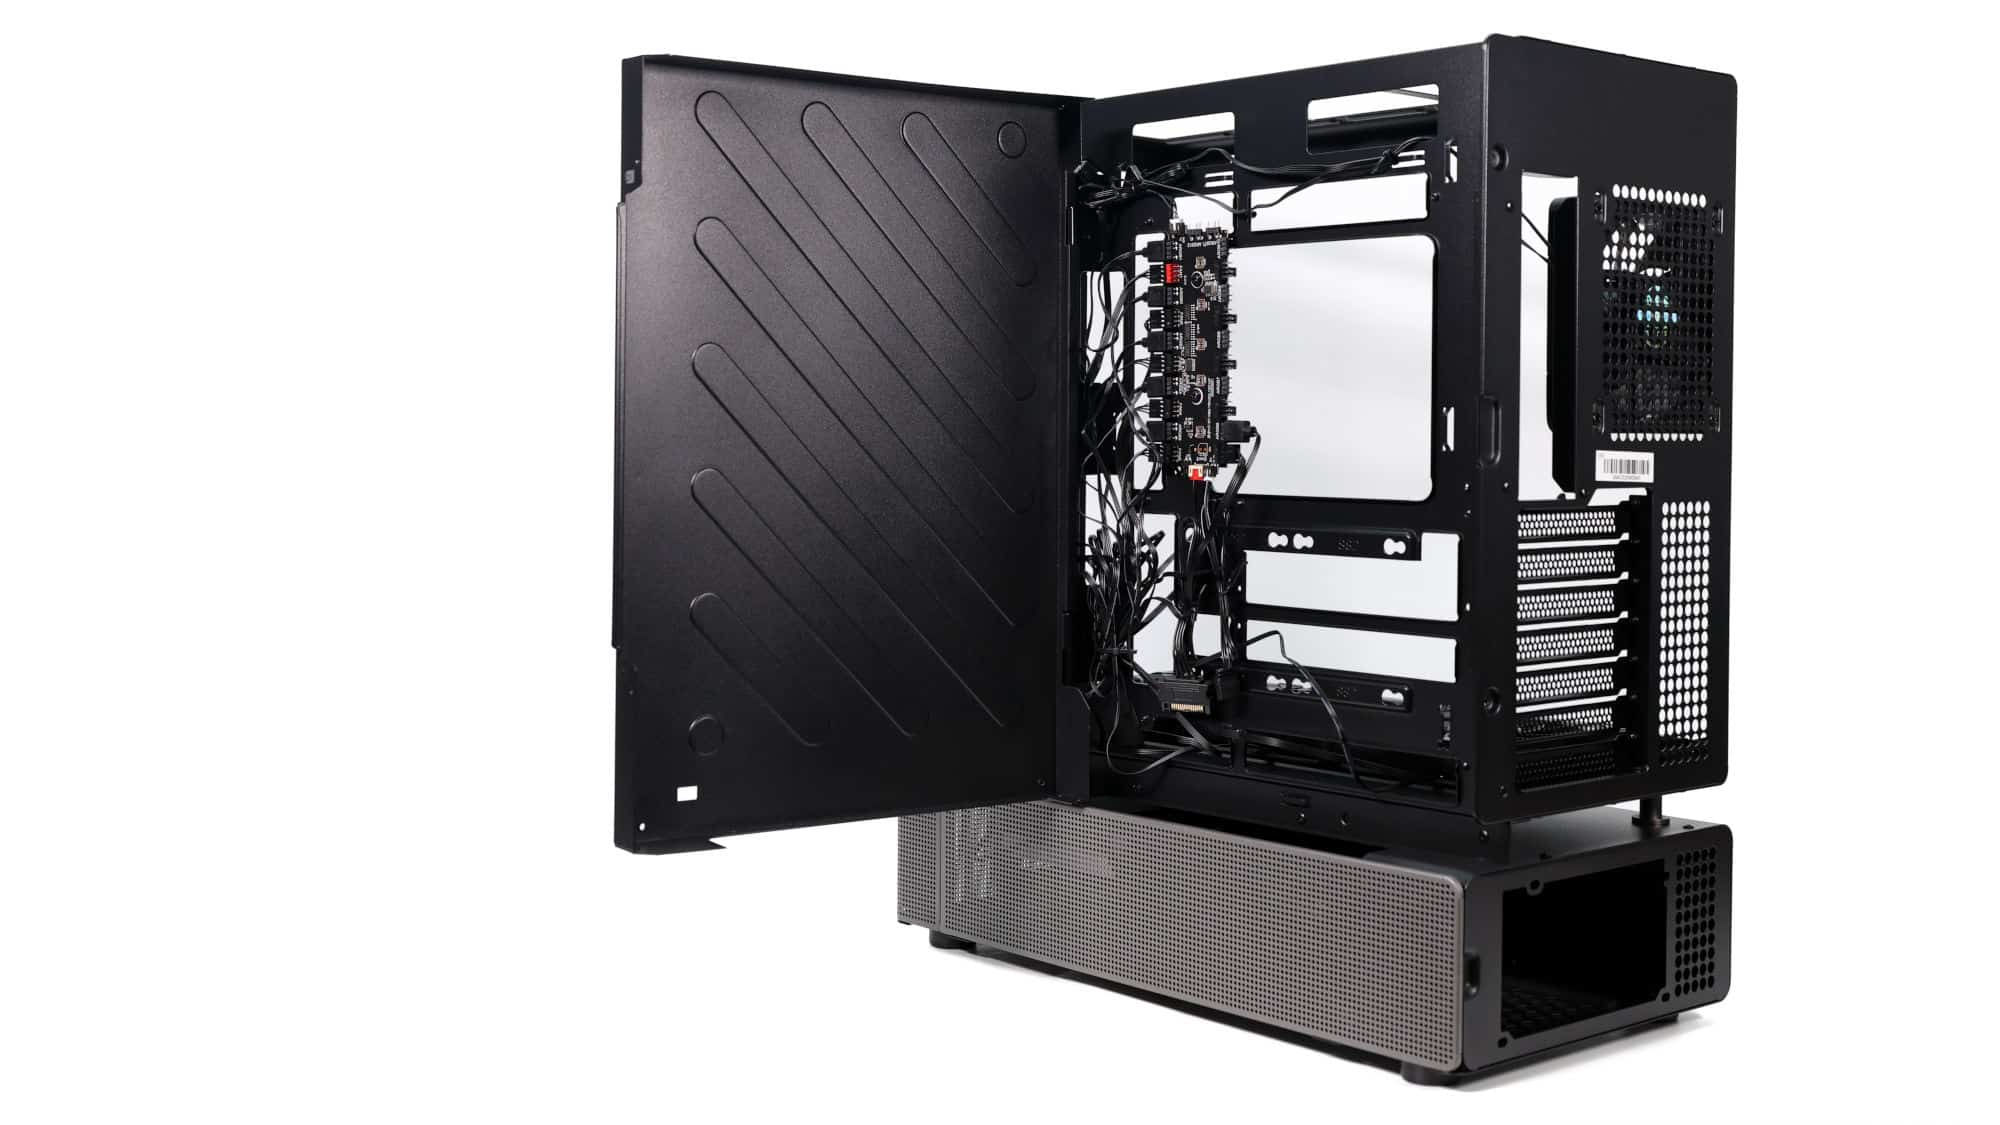
Behind the motherboard tray is another panel that hides everything away. This panel is hinged and can also be entirely removed. Behind it, you’ll find the fan hub, mounting points for 2.5-inch drives, and limited, yet workable, cable-management space. Thankfully, there are several metal hooks stamped into the motherboard tray to help with securing cables.
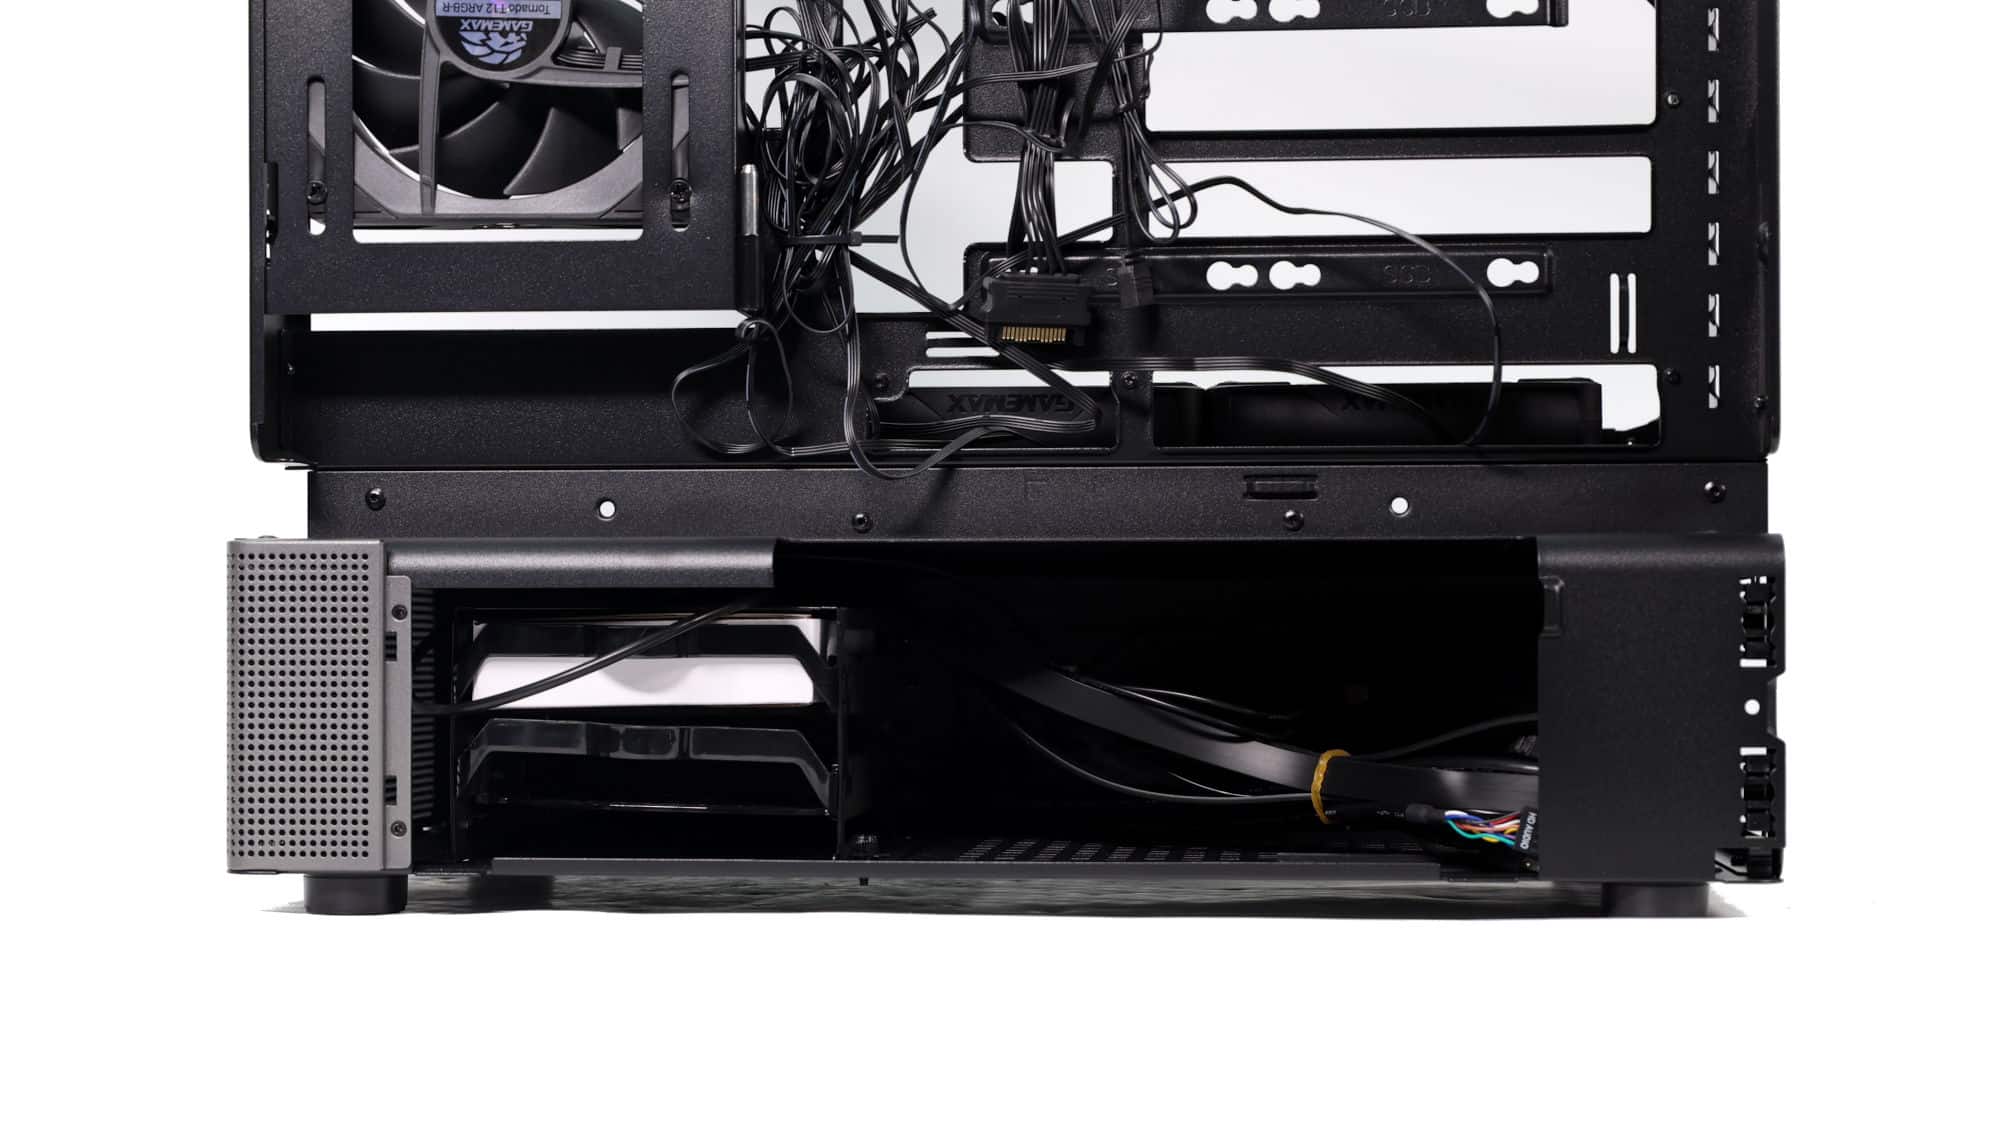
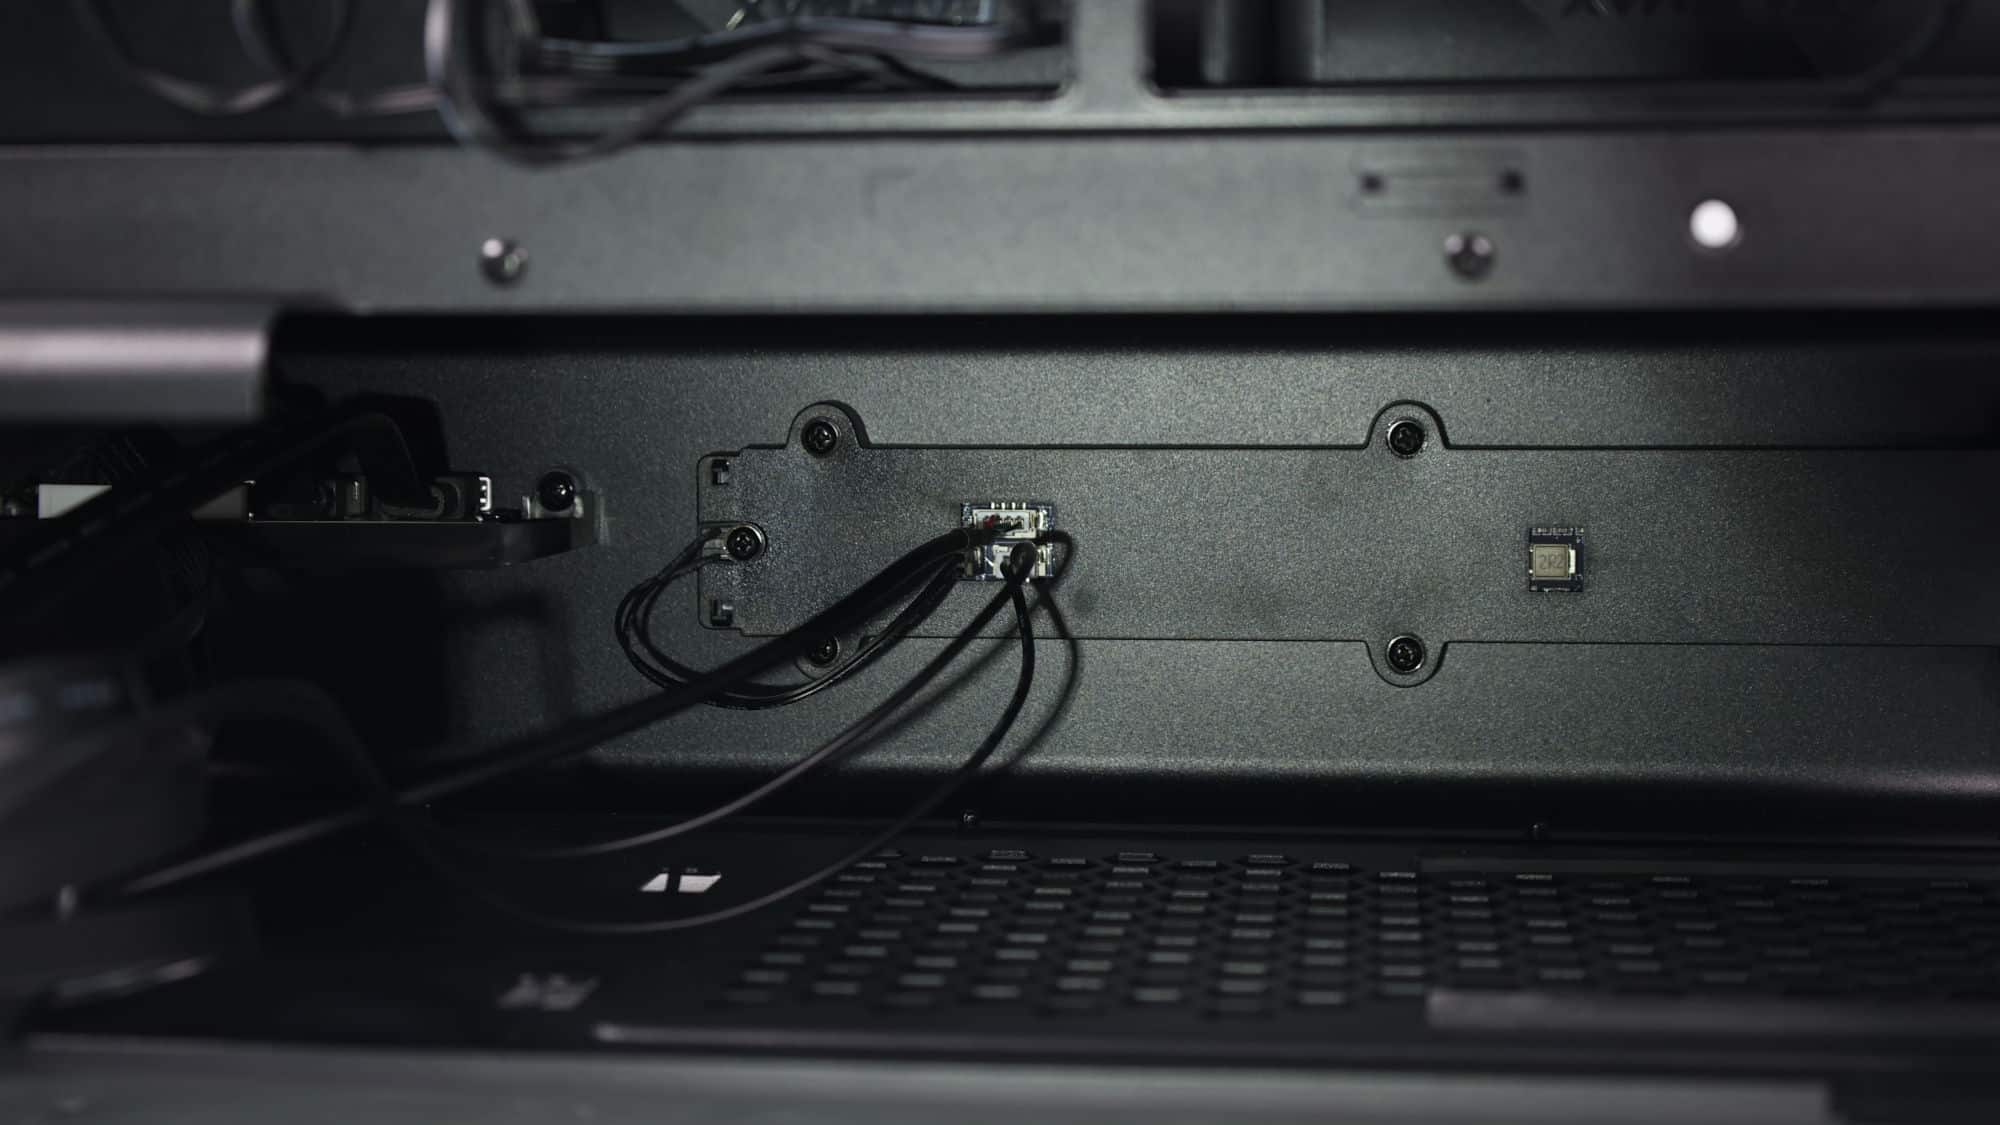
The bottom chamber houses a storage cage at the front and the PSU mounting area at the rear. In between, you’ll find the front I/O and dot-matrix display cables, which will be routed into the upper chamber and connected to the motherboard along with the PSU cables.
Cooling and Airflow
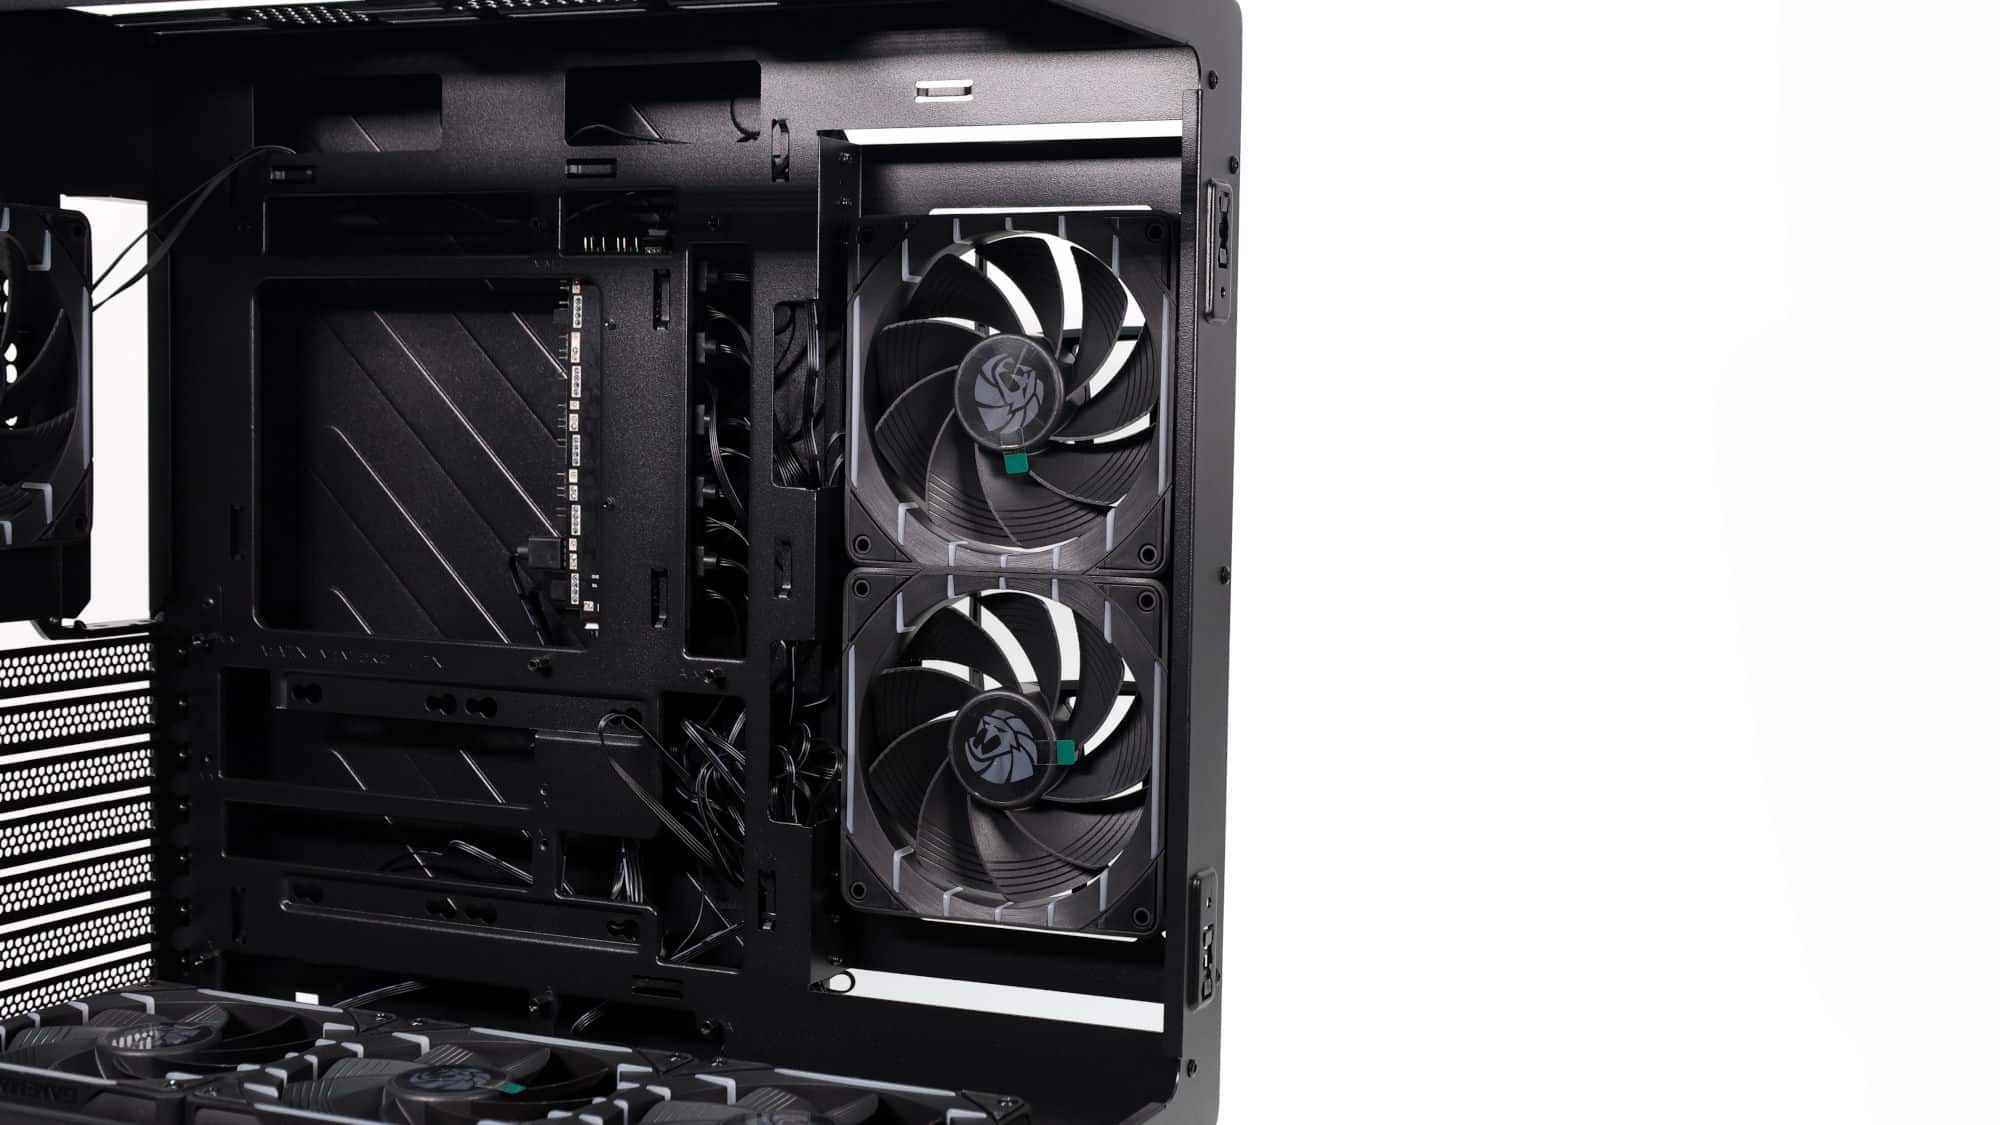
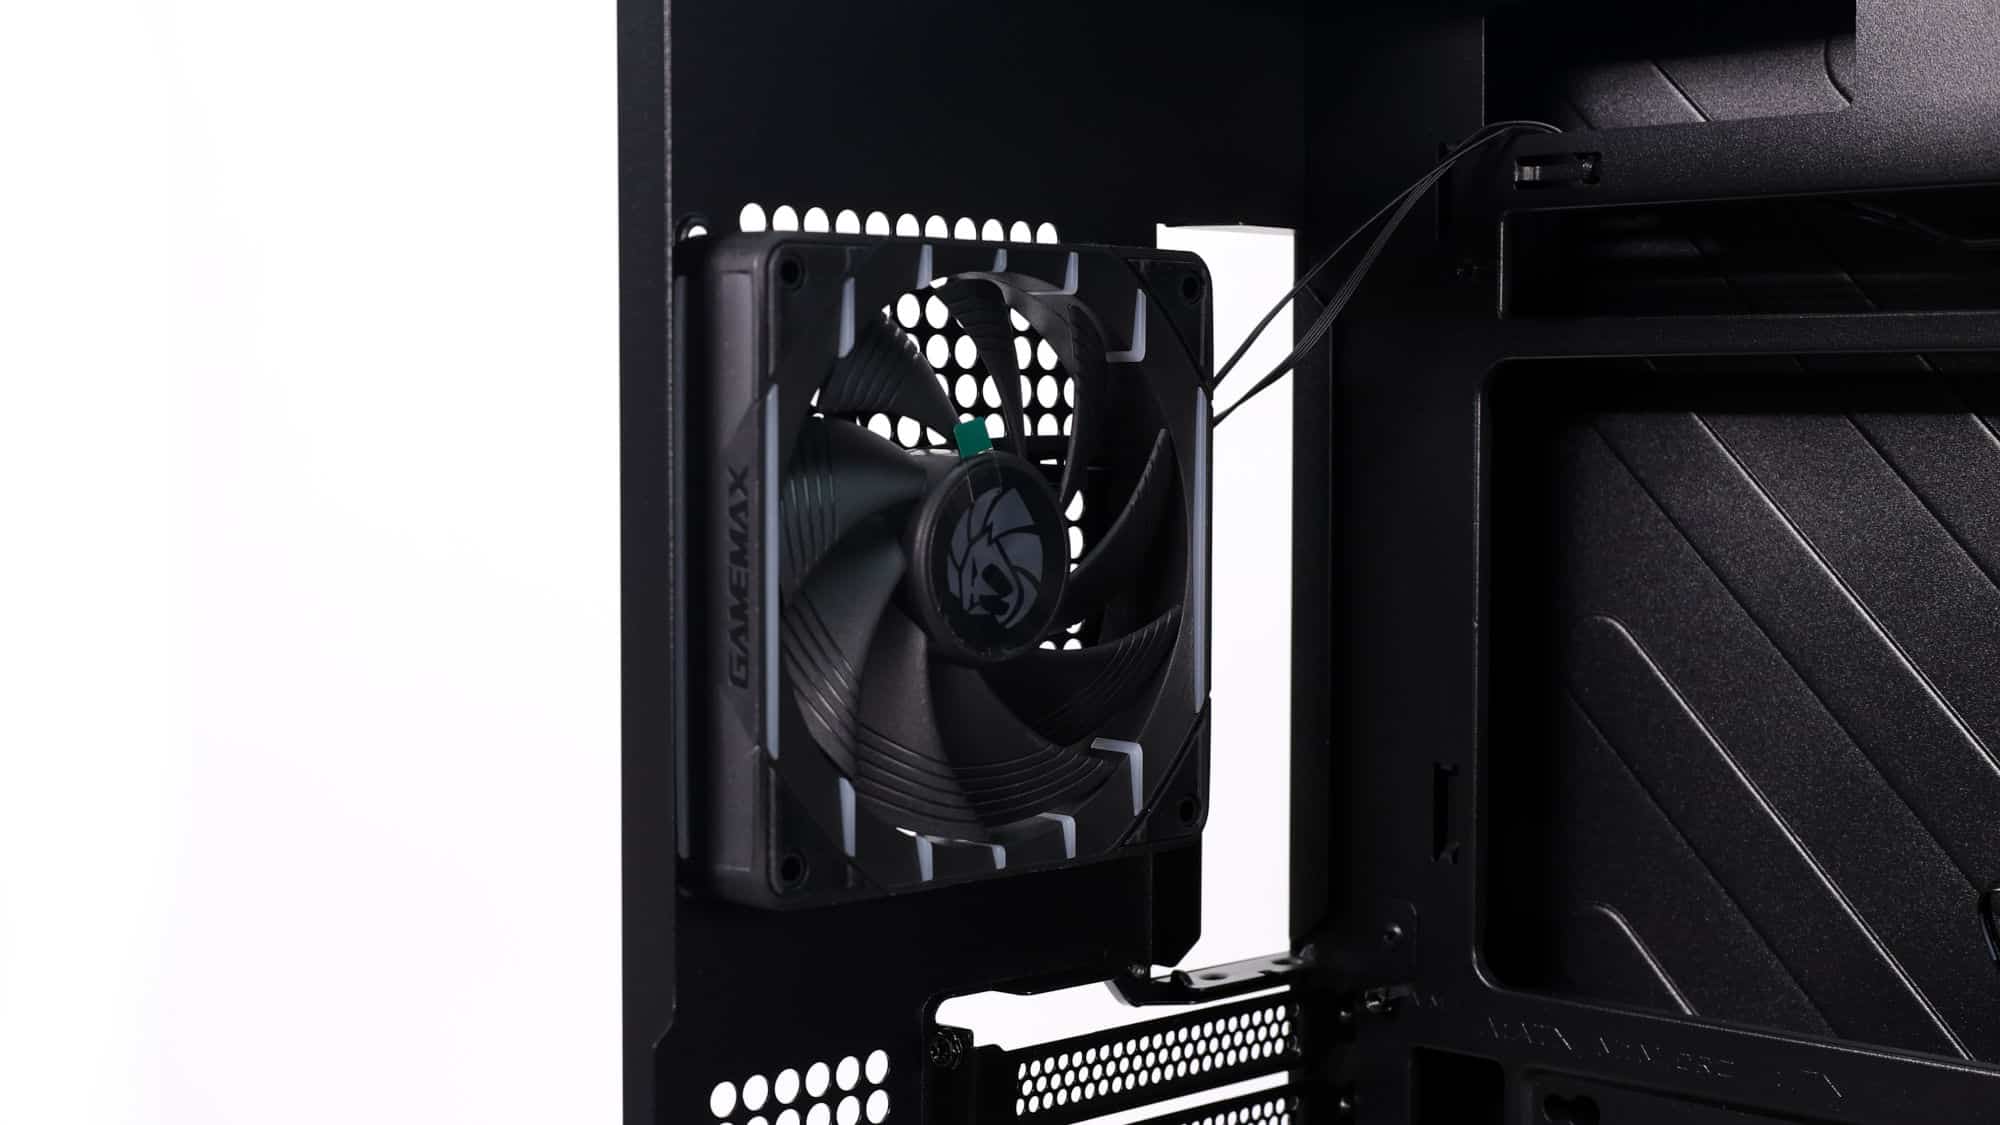
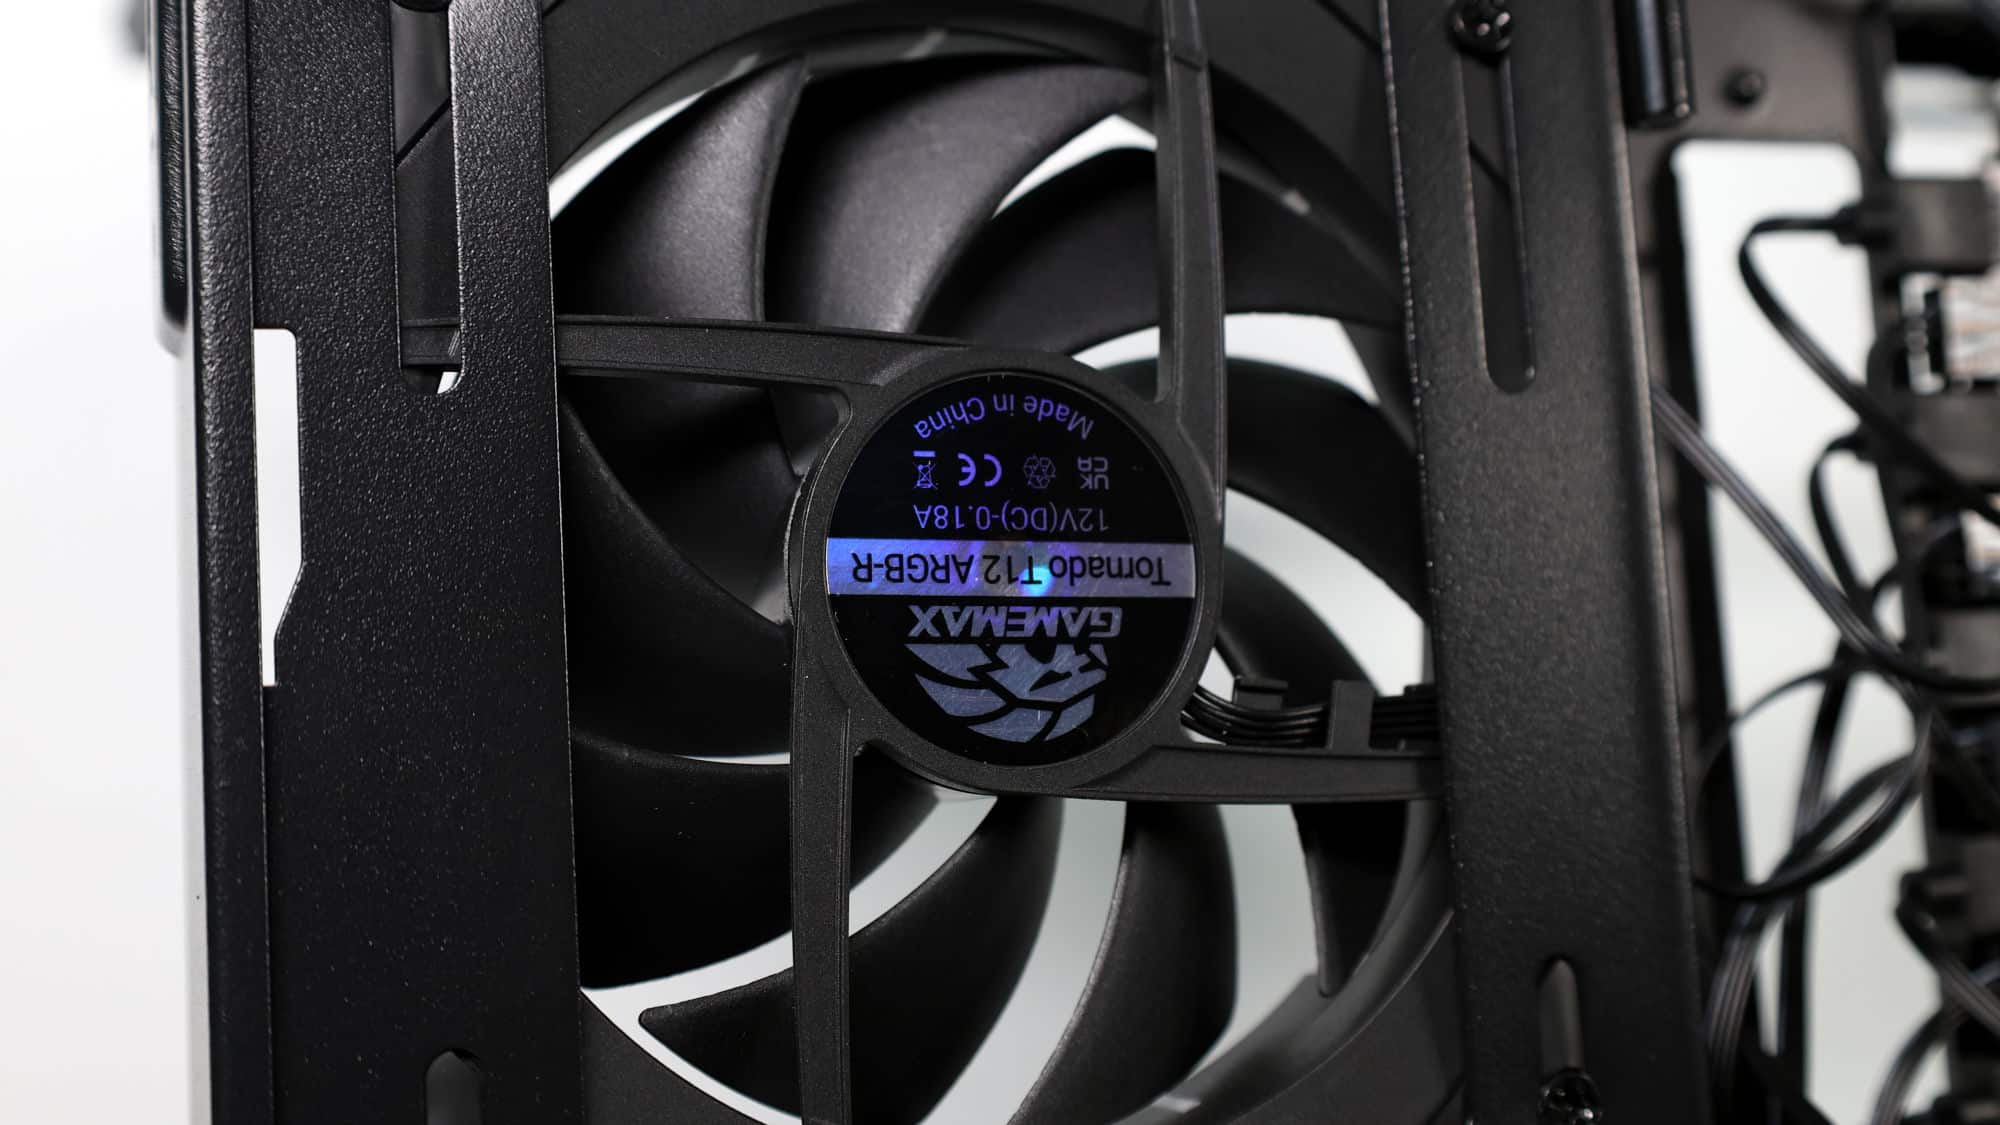
Just like the N80, the N90 includes six pre-installed fans, three bottom intakes, two side intakes, and one rear exhaust. While this setup may not be perfect for every scenario out of the box, it provides everything you need to get started.
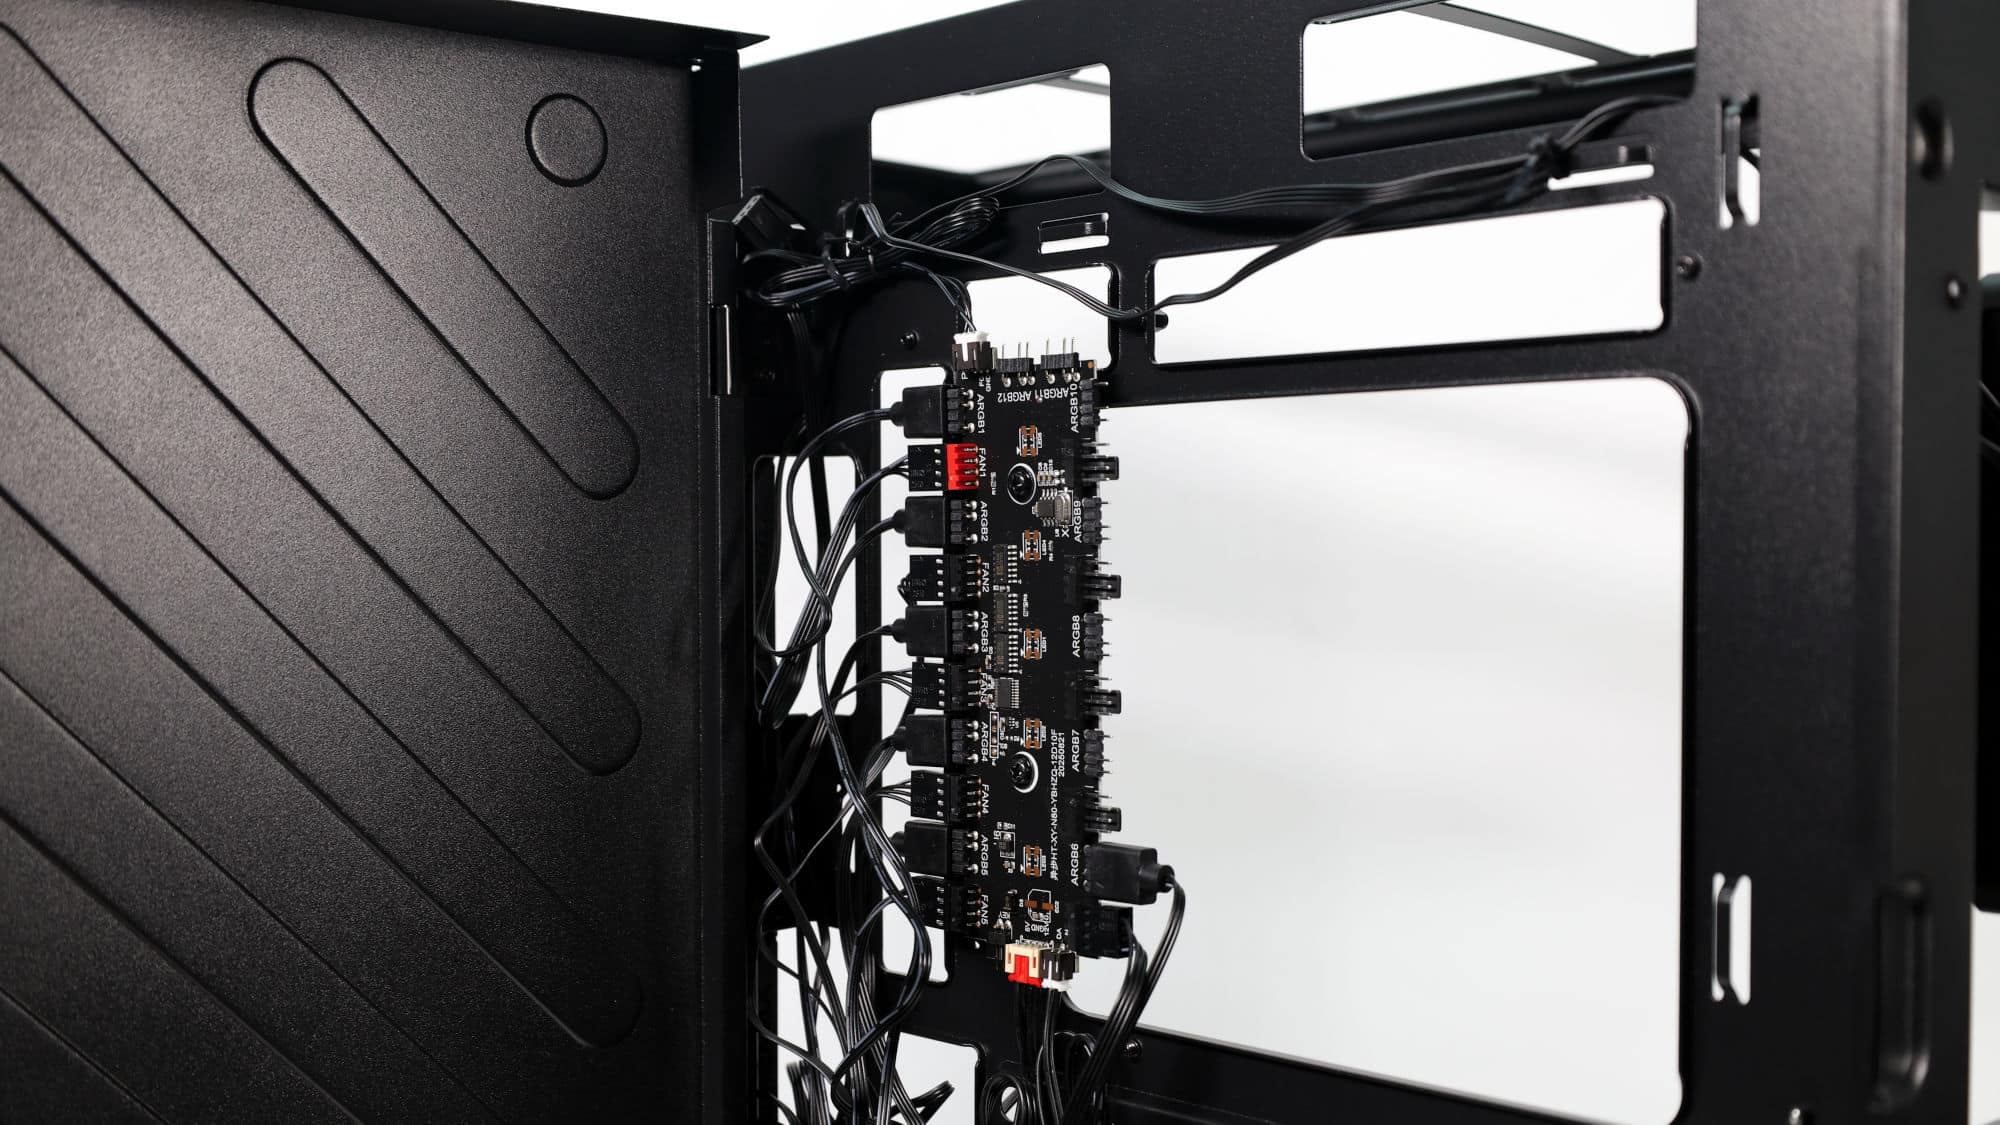
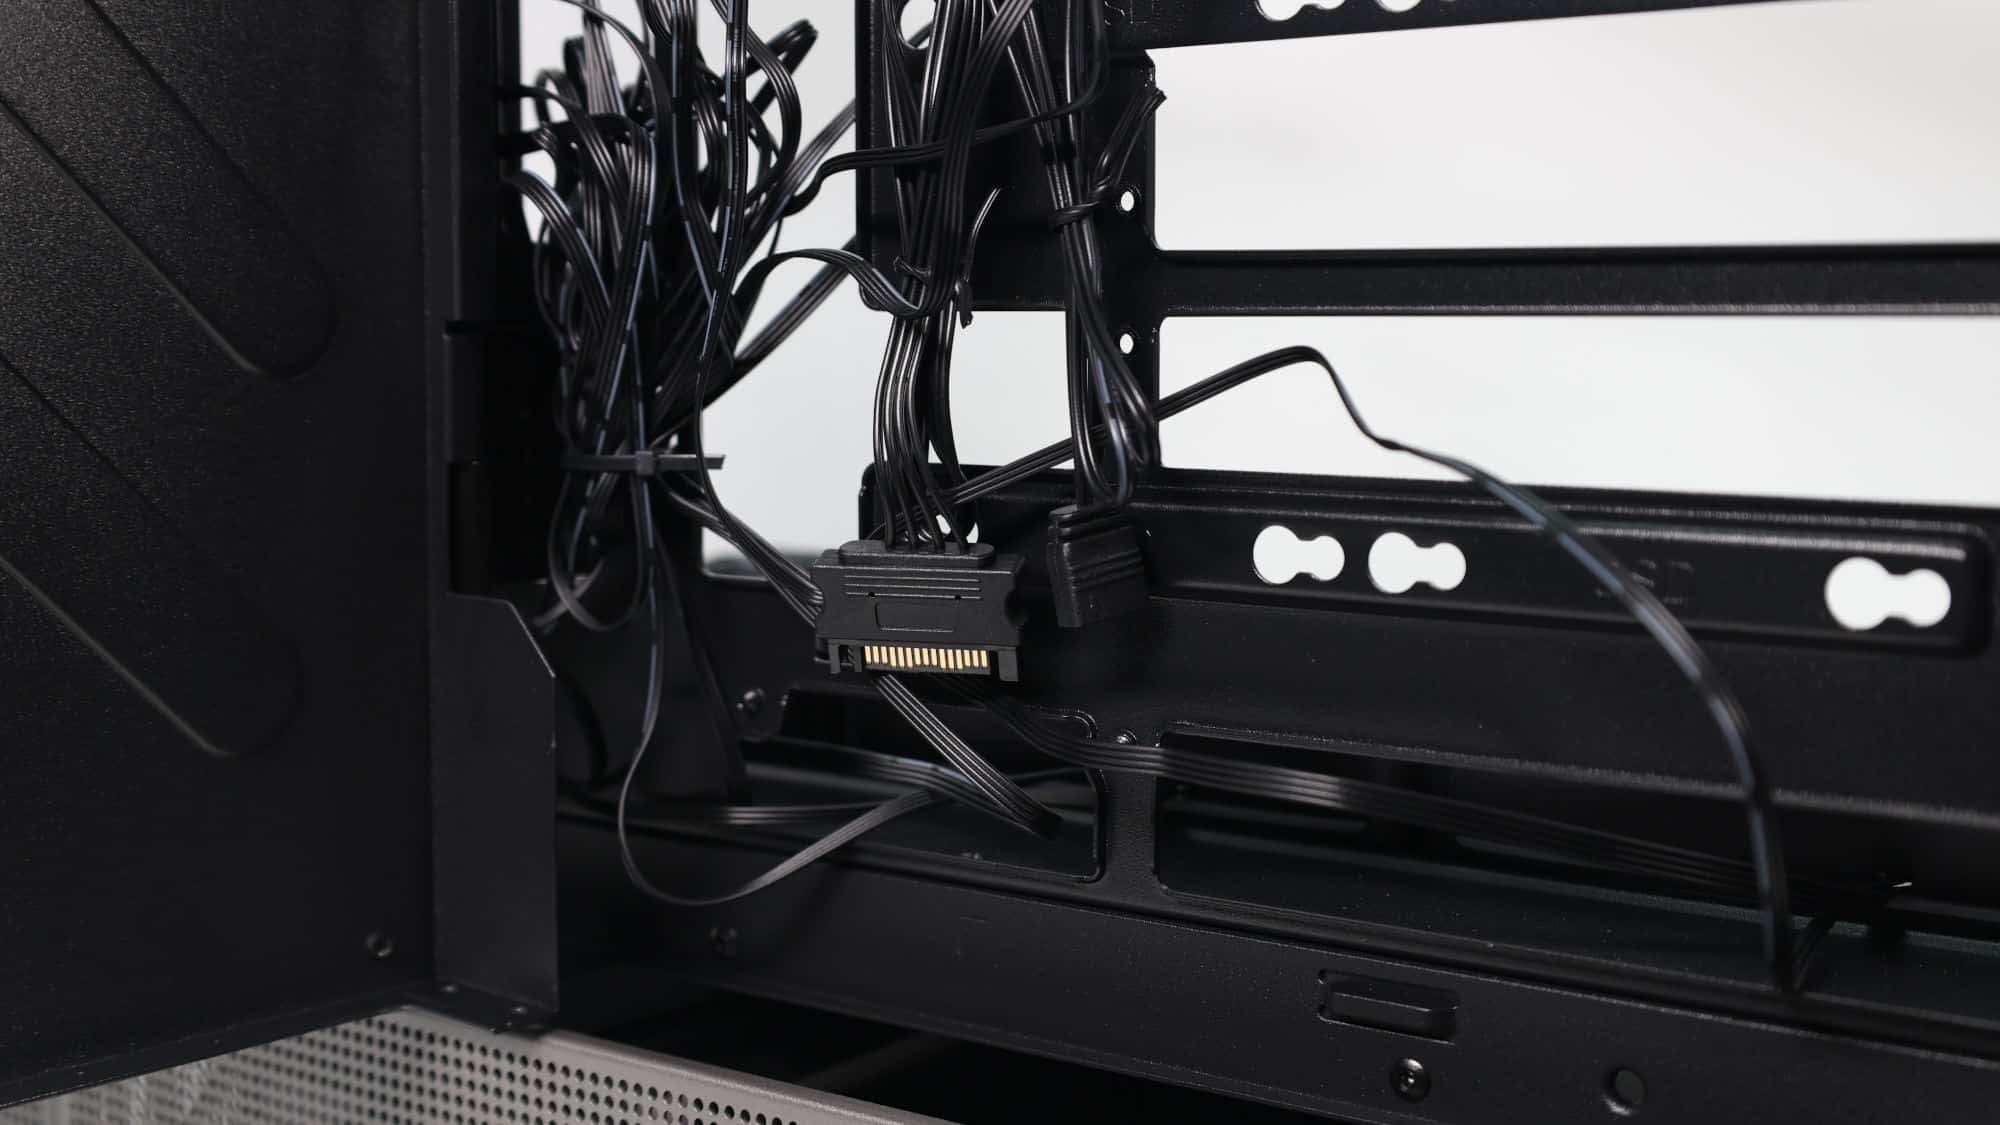
Gamemax also includes a 10-port fan hub with ten PWM and ten 5V ARGB connectors, allowing you to add up to four additional ARGB fans. The hub is powered by SATA and connects to your motherboard via a standard PWM connector and a 3-pin 5V ARGB header.
Storage Options
There is room for storage devices in both chambers. At the top, you’ll find two mounting points for 2.5-inch drives using the provided rubber mounts. Space is tight, but workable. Flat SATA connectors will be necessary, though most PSUs include them.
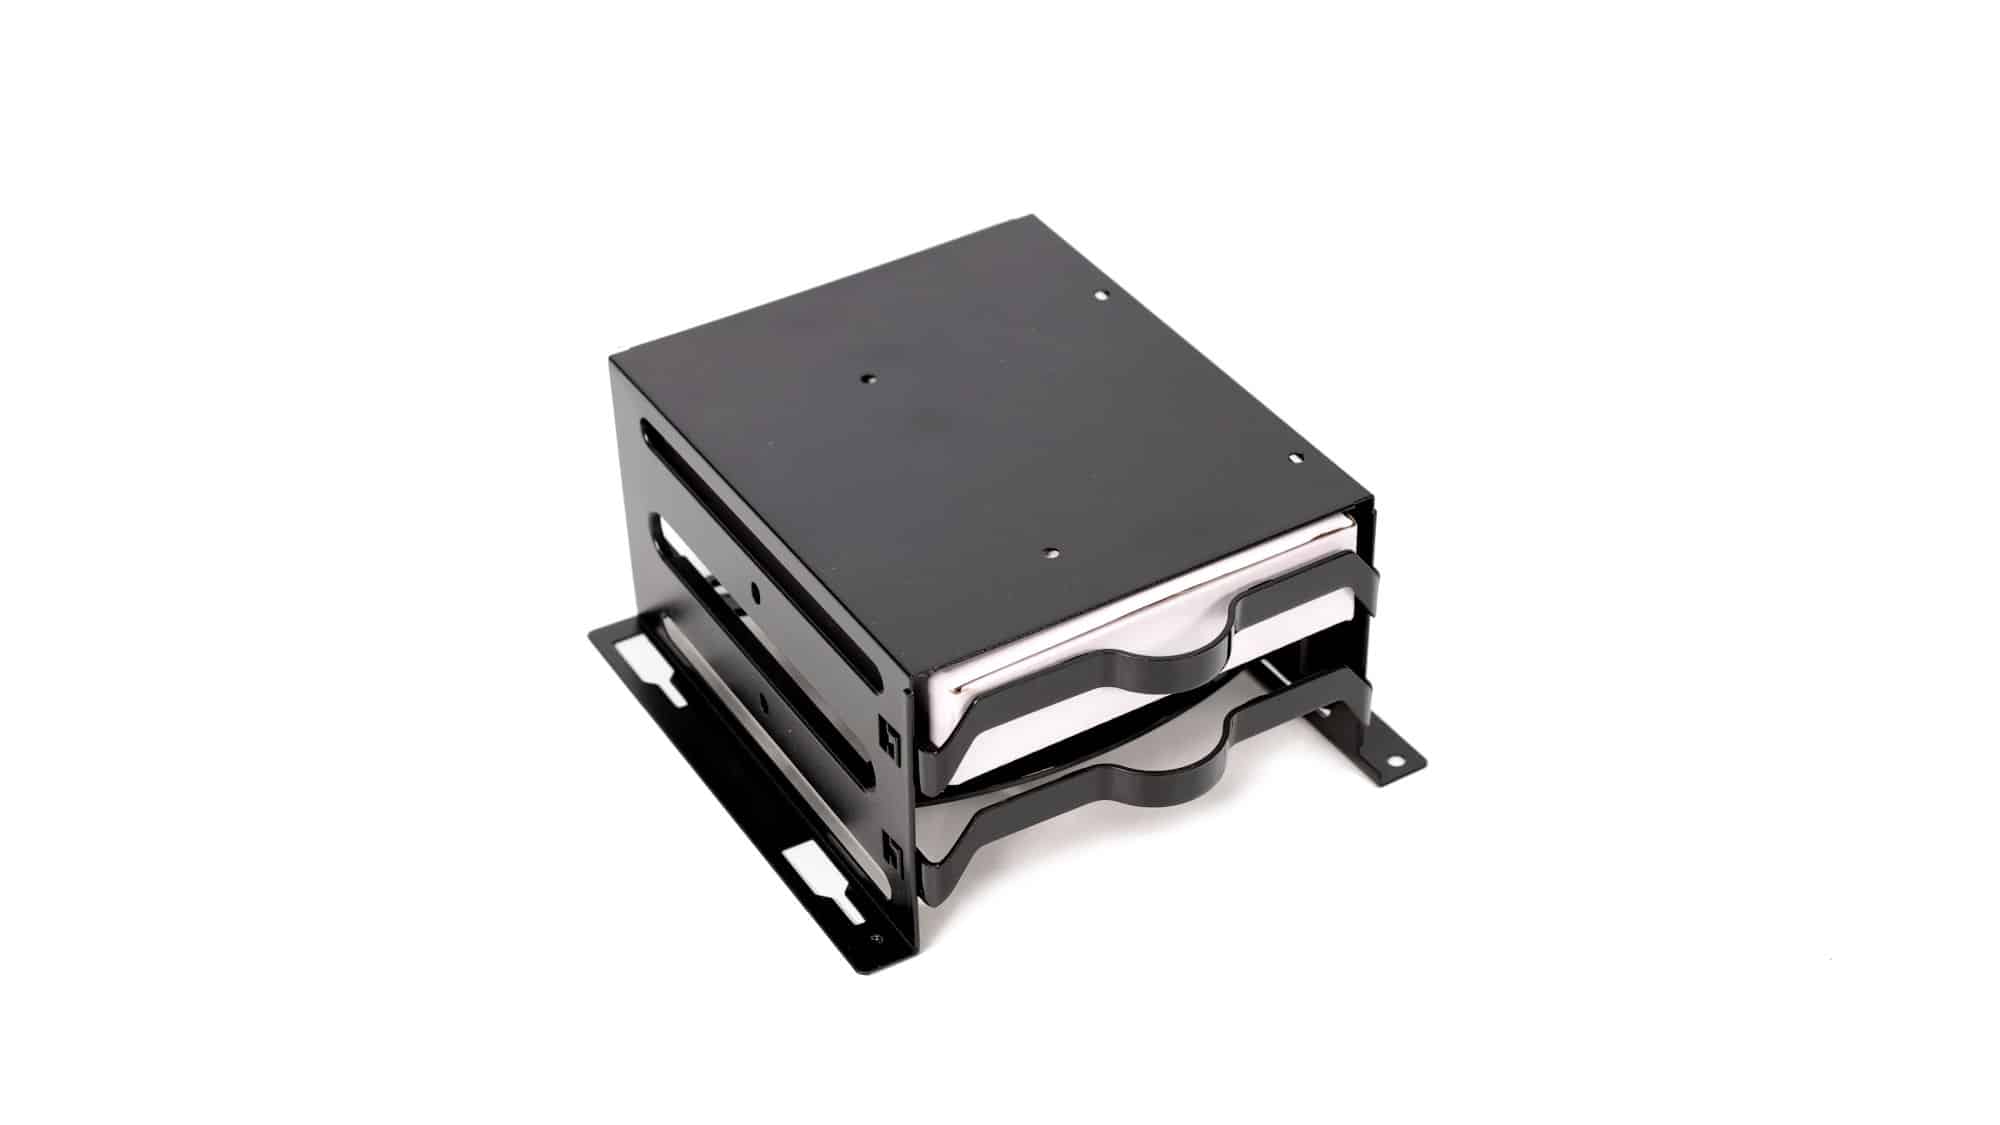
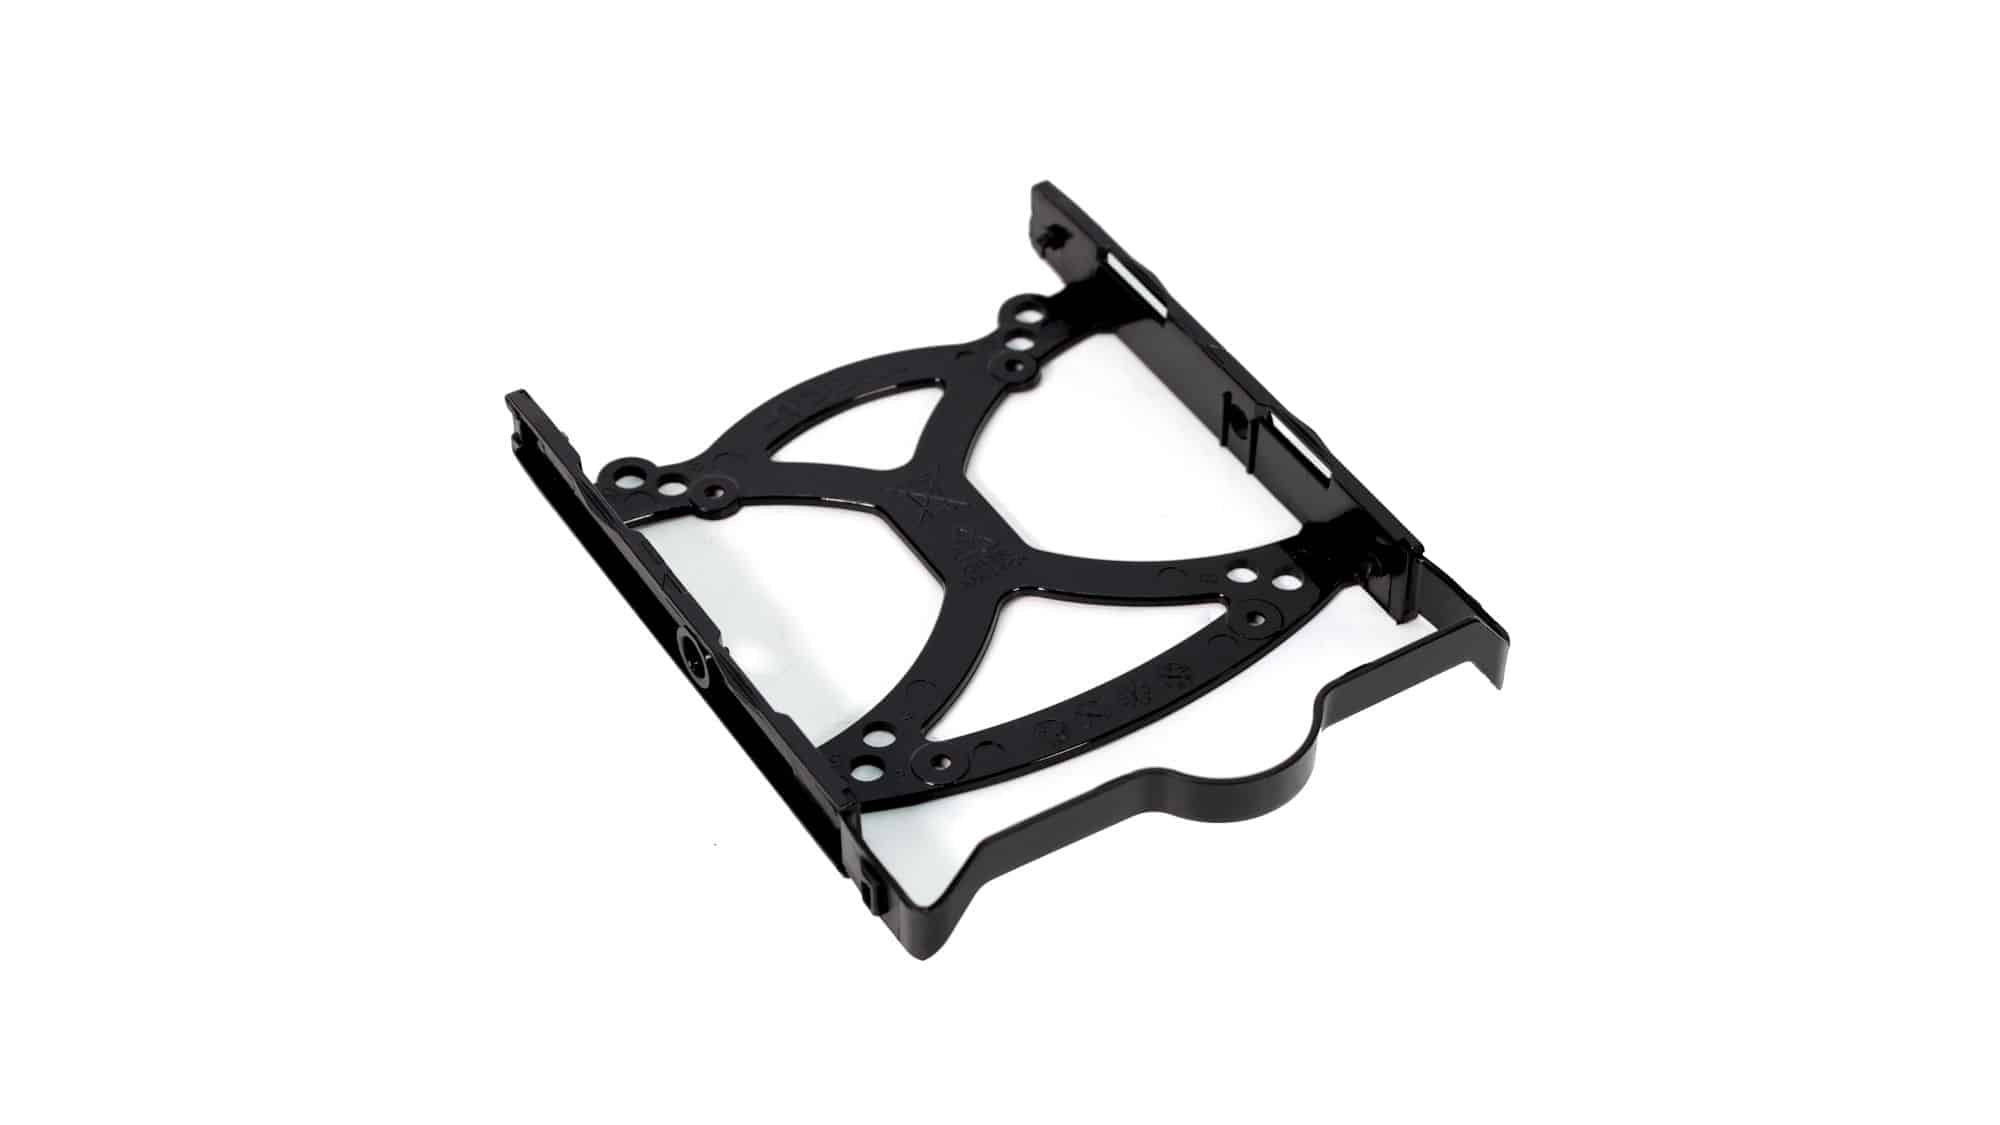
In the bottom chamber, you have a more traditional drive cage with space for two 3.5-inch or two 2.5-inch drives inside, plus room for an additional 2.5-inch drive on top. The drive trays are plastic, somewhat flimsy, but functional. The 3.5-inch drives can be installed tool-free, while 2.5-inch drives require screws.