Have you ever needed to check another operating system or a program but didn’t want to risk your main PC? Fortunately, this is possible due to virtualization. To this day, virtualization is the best and most convenient way to test without affecting your main equipment. Large organizations and businesses rely on virtualization, among other practices, to secure their precious data. Of course, most of us don’t need strict protocols as the businesses follow, but tech for fun is still a thing. Virtualization is our best bet for virtualizing an entire operating system. There is sandboxing for light virtualization, but virtual machines are a better option.
Moreover, sandboxing is better for testing a program running on our main PC without affecting it than utilizing it as a one-way option. If we want the complete package, VMs are our best bet. VMware and Oracle offer the most popular virtualization tools. Although both are great, Oracle’s free option provides the complete package without a price tag. So, it is the preferred method for the average user. Welcome to Oracle’s VirtualBox world. This article will guide you through the complete installation path. The latest VirtualBox versions require some extra steps, which will be covered in this guide. Now, we are ready to go down the Virtualbox’s path.
How to
- First, you must enable the virtualization feature through your BIOS or any other way if supported. Many devices might have it enabled by default, so messing with your BIOS settings is unnecessary. You can check it through the task manager under your CPU section. If it is enabled, you are ready to go. If not, you should enter your BIOS, CMD, etc., and enable it. Usually, it is in the Security or the Enhancement section. Depending on your motherboard, you might need to google it to find out how to enable it. After you enable it, proceed to the next step. You should know that virtualization depends on your hardware. The more powerful your components are, the better the experience will be. CPU, cores, RAM, etc., are necessary factors for virtualization.
- If you want, it is better to proceed with the Visual C++ and Python installation described below. In this guide, we will follow the typical process for beginners. If you want, go to the corresponding section to install them now. It is up to you.
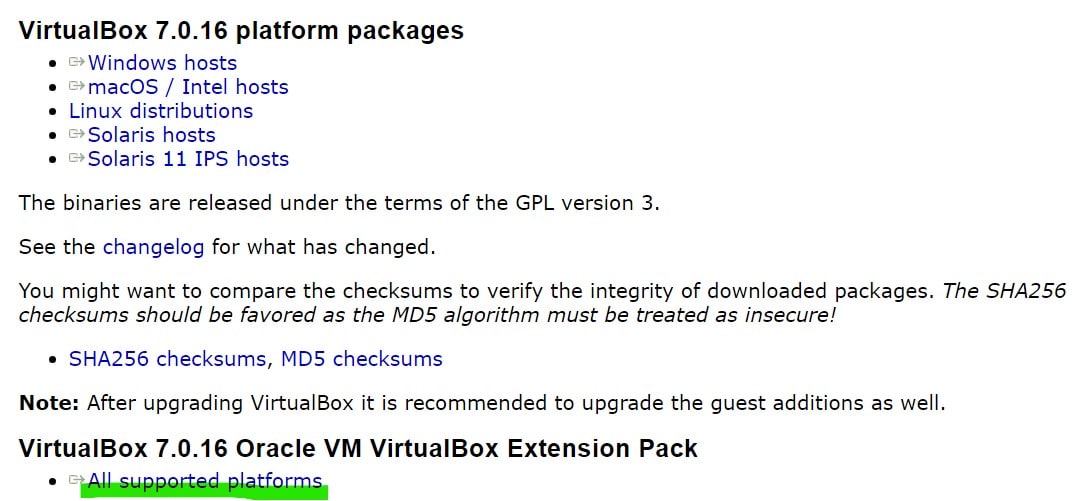
- Visit VirtualBox’s official site and download the file according to your OS and the extensions package file. Extensions are unnecessary, but they provide useful features, so it is best to install them. Always check for any warnings or notes about issues with the latest version.
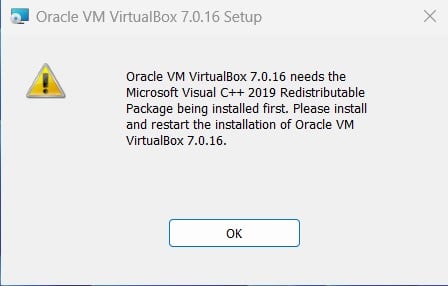
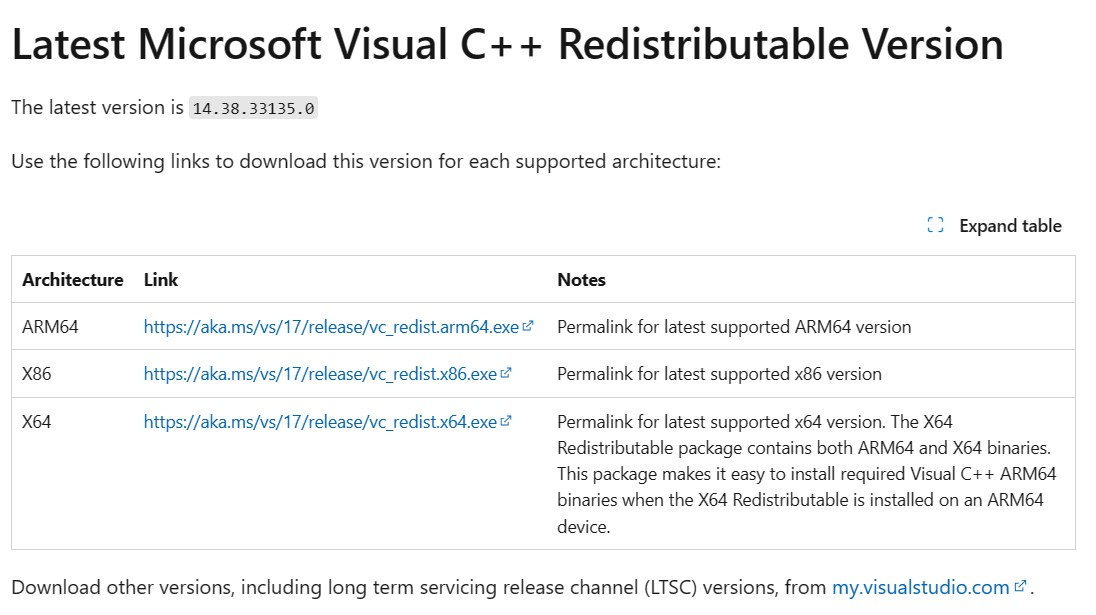
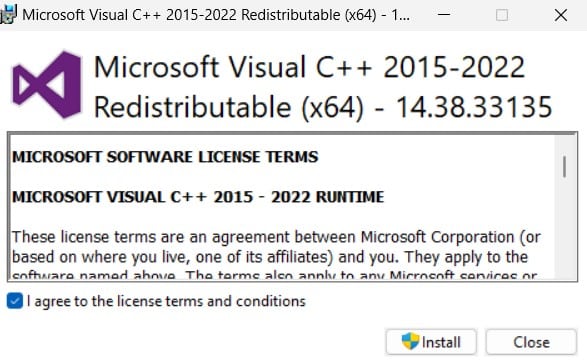
- VirtualBox won’t start its installation wizard if you don’t have Visual C++ 2019 Redistributable installed. So, you should download the X86, X64, or ARM version, depending on your hardware. Most of us would need the X64 file. Install it and rerun the VirtualBox file.
- Now, the welcome screen will pop up. Click Next. Choose where you want to install it.
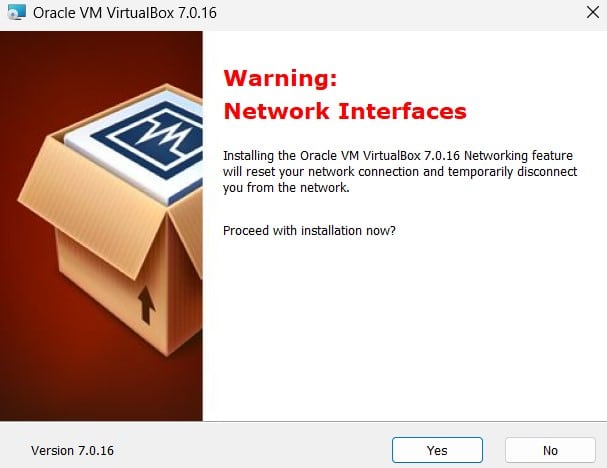
- You will see a warning for your network. Click Yes.
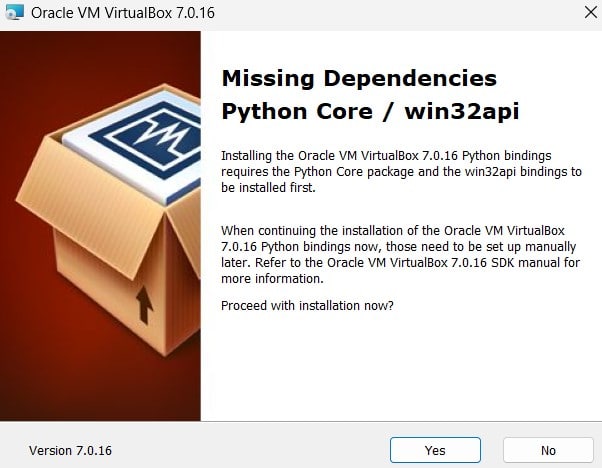
- A warning about missing Python files will appear. Although you can proceed without installing them, it is best to do so.
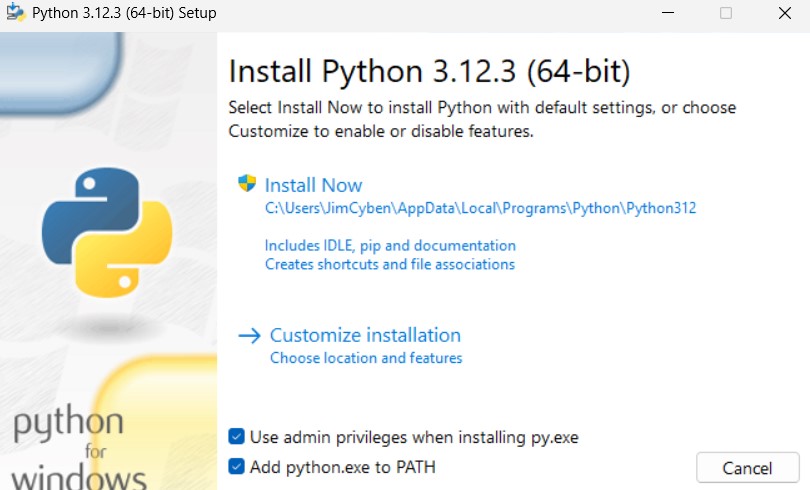
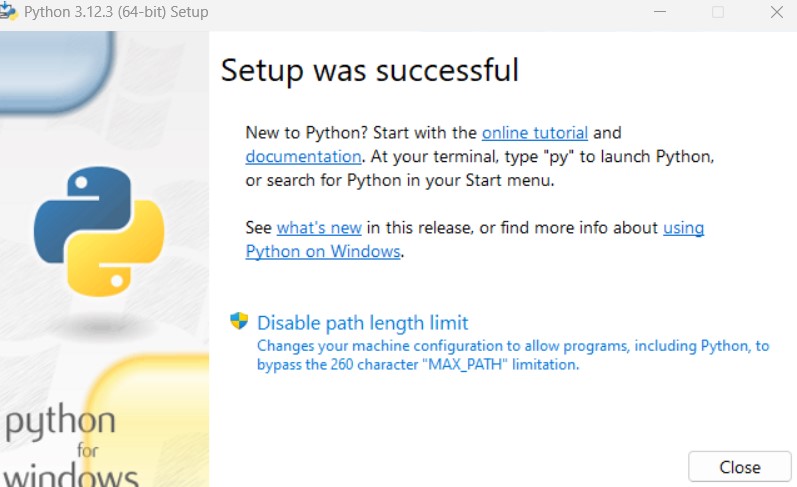
- Visit Python’s official site and download the installation file. Run the file and tick the boxes shown in the image below. Also, click “Disable path length limit.”
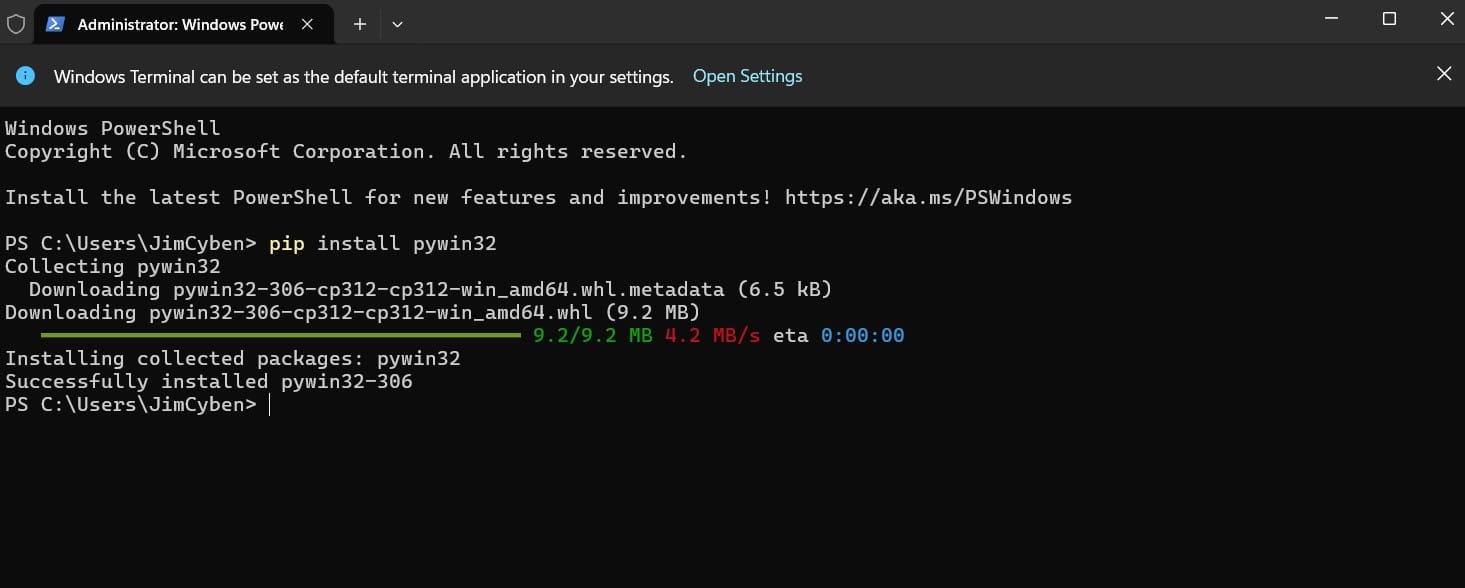
- Open Windows Terminal or Command Prompt and “Run as admin.”
- Paste the following command and the Enter key from your keyboard:
pip install pywin32
- Now, rerun the VirtualBox file. From now on, you are free to go.
- Click Yes and Next to proceed normally with the installation.
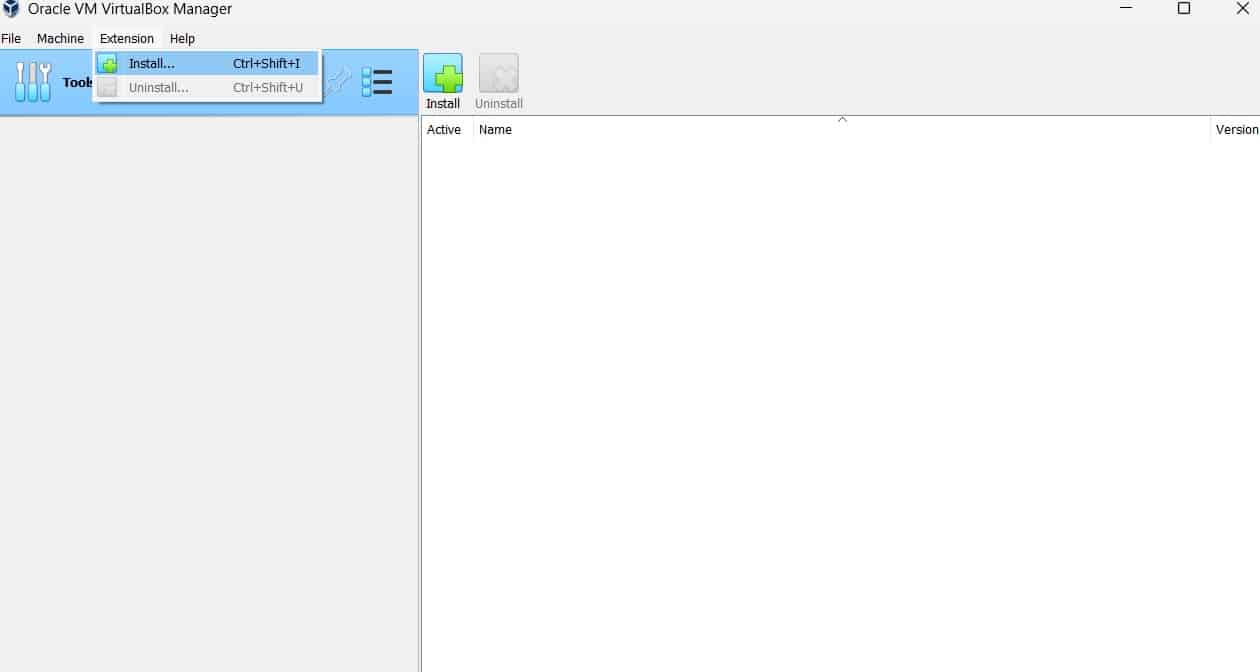
- After the installation is complete, it is time to install the extensions package.
- Click on the Extensions tab and Install, or choose Tools> Extensions> Install.
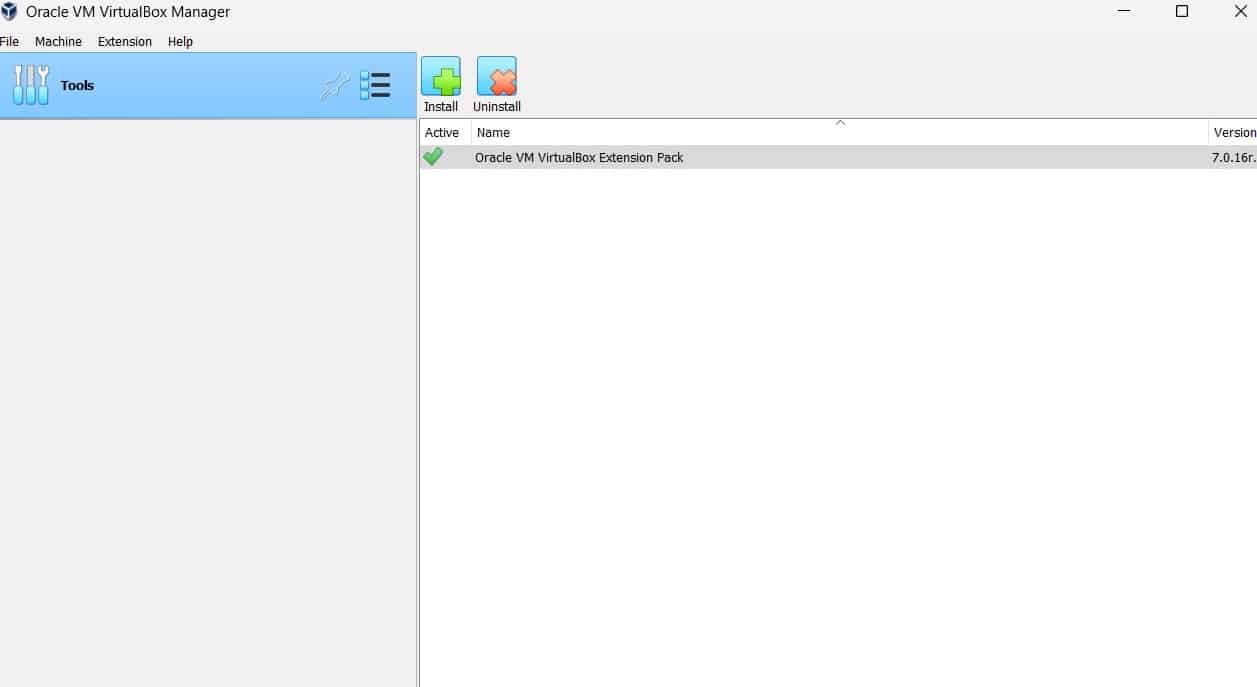
- Add the extensions and click Yes to the confirmation pop-up window.
That’s it. Now, you can have fun with VirtualBox and test or check what you want without affecting the host. Be very careful with suspicious files, though. The guest might be isolated from the host, but nothing is 100% safe. Drag ‘n’ Drop, network settings, and malware are risky factors. The more you expose the guest or link it to the host, the more risk you take. So, be modest with how you treat your Virtual Machines. As always, stay safe and stay in the know.