Device Analysis
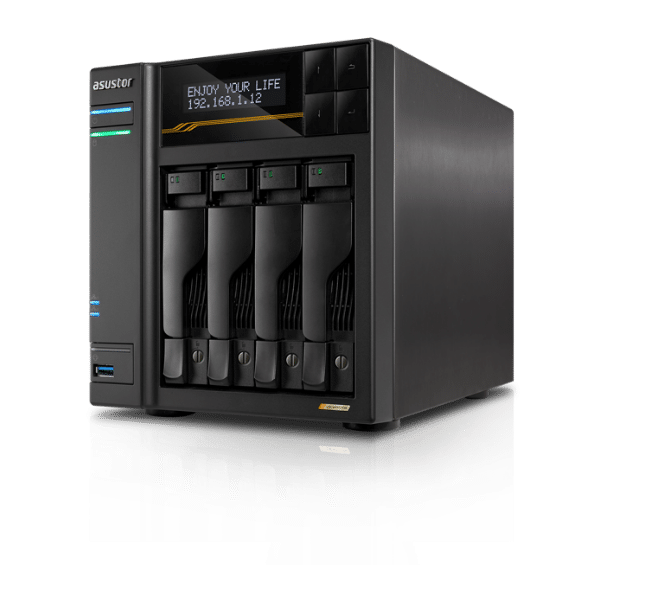
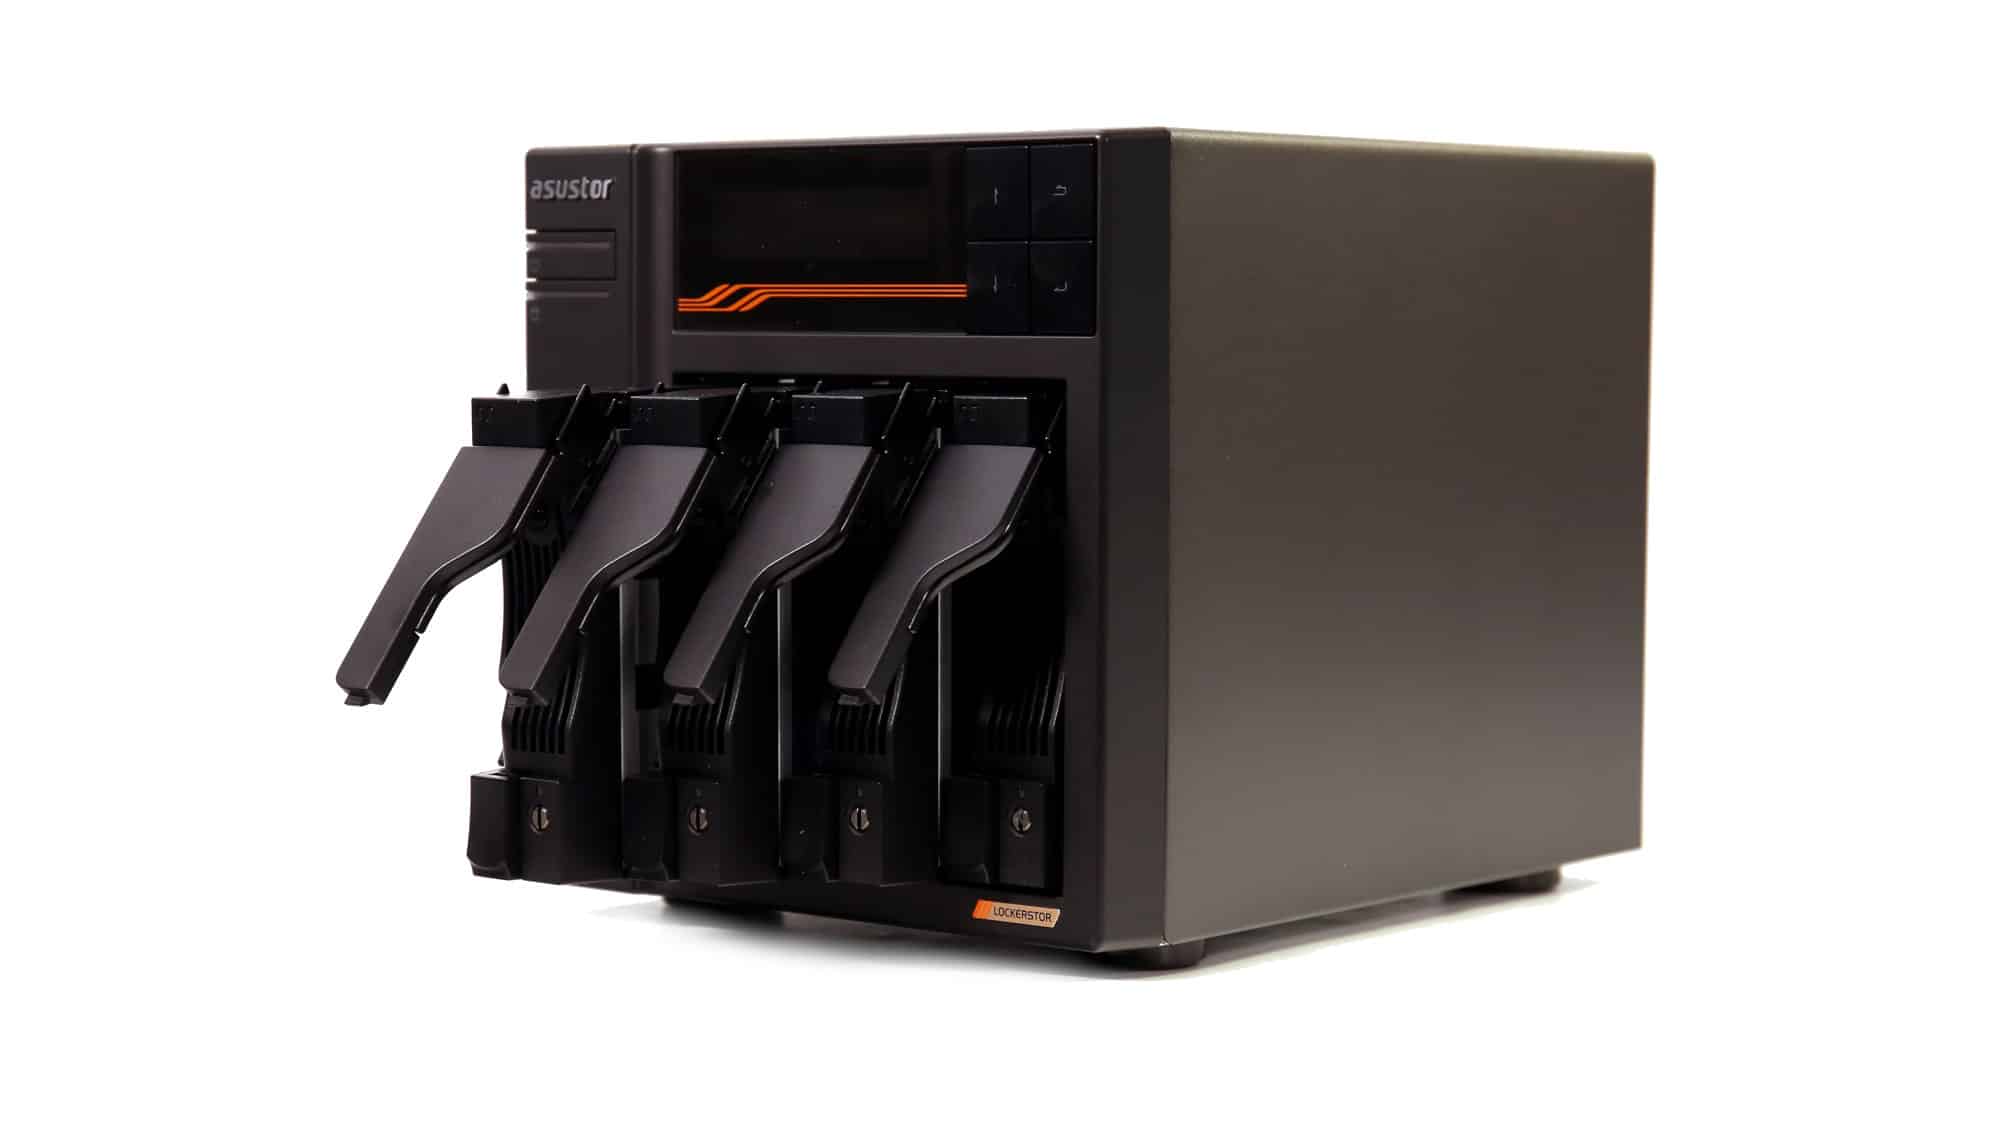
The design is almost identical to the Gen 2. It has a metal construction, except for the front panel, which is mostly made of plastic, with a screen, buttons, and LEDs.
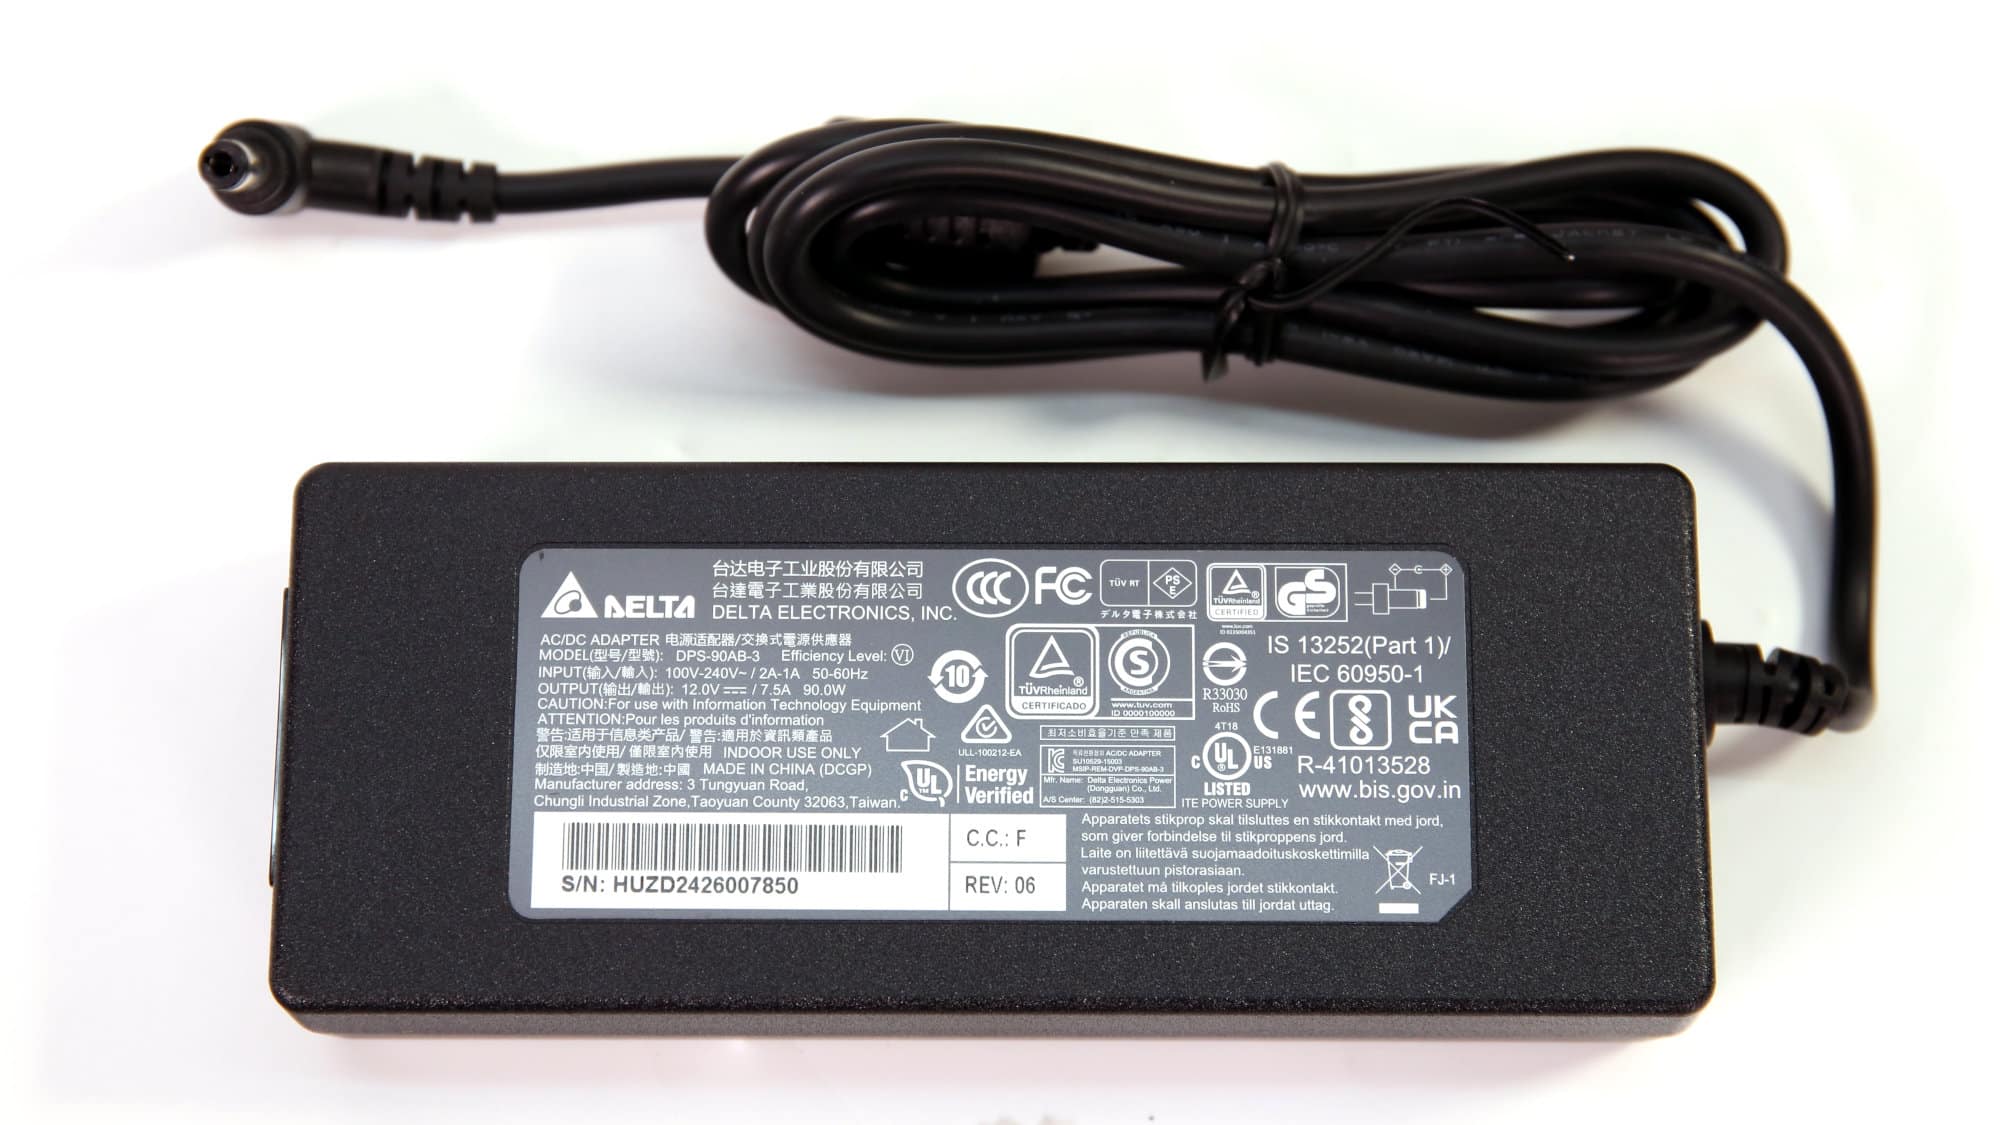
The NAS makes use of an external 90W power supply. This ensures the NAS doesn’t have to deal with the extra heat it will produce. Also, in case it fails, you can easily replace just the power supply instead of replacing the entire device.
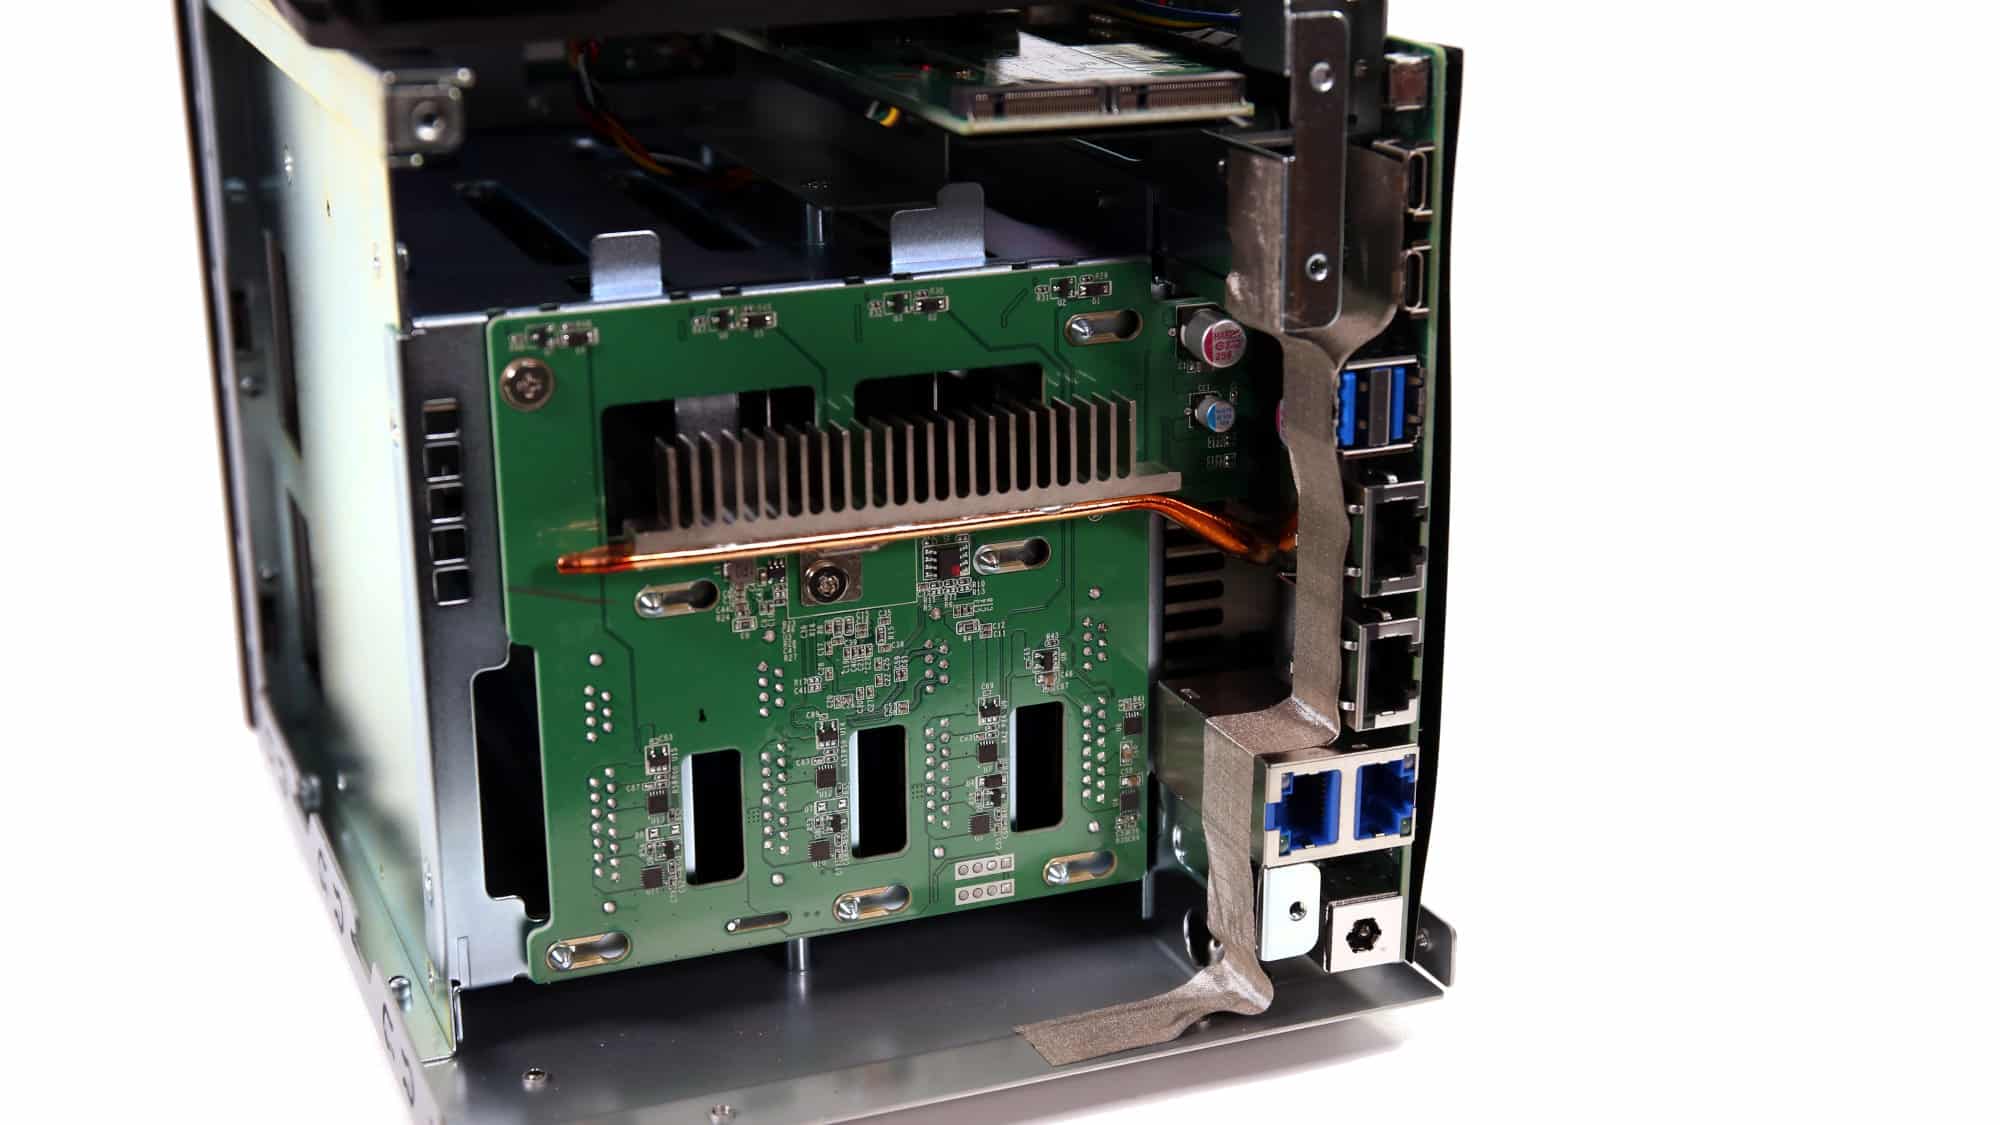
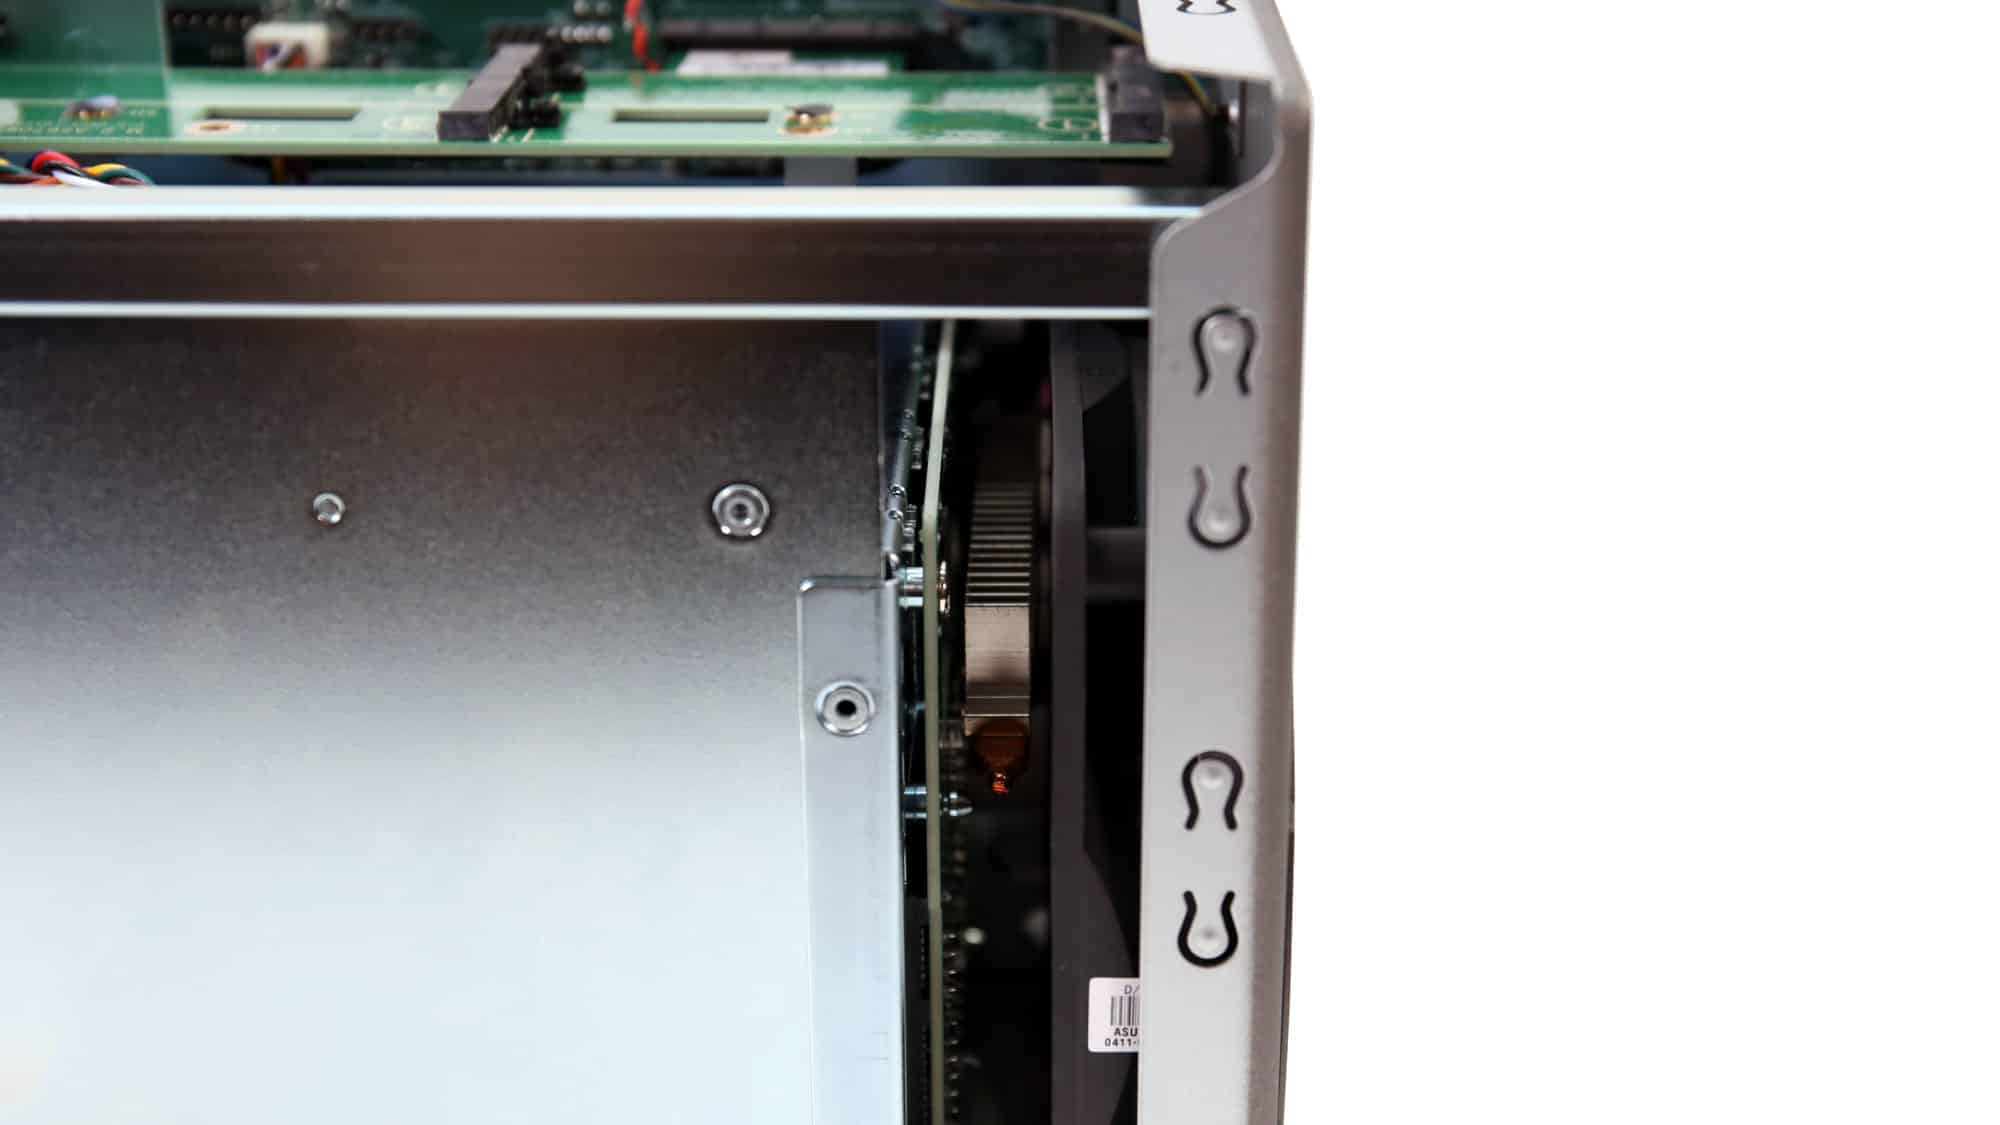
Thermal design and related limitations are very important for a NAS. This one has ventilation cut-outs in the front of the drive trays, on one of the sides, and top. The front and side ventilation is targeted more for cooling down the drives and the CPU, while the top one is designed to directly dissipate the heat of the NVMes sitting on top of the environment. The CPU has a significant amount of copper piping to help cool it down without much effort from the single fan at the rear.
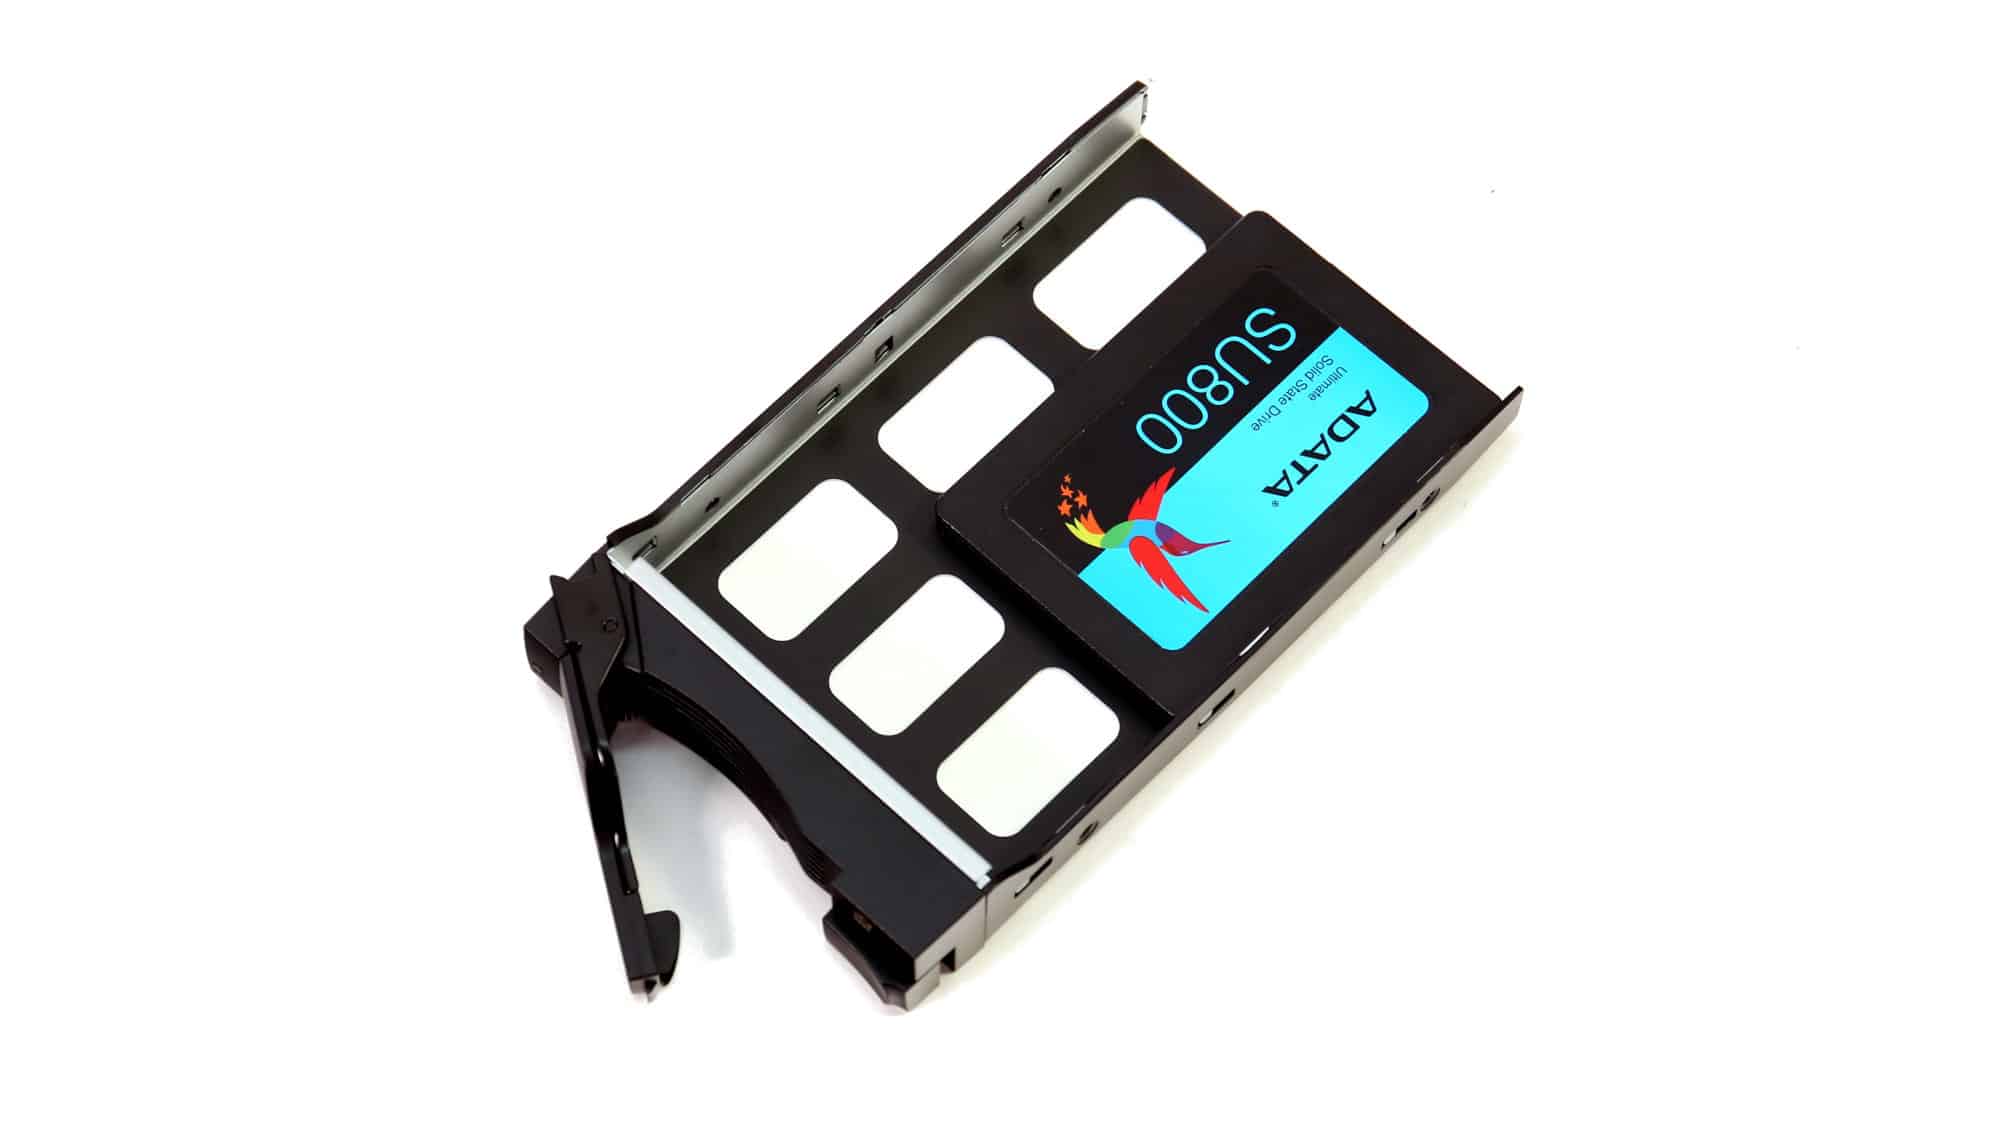
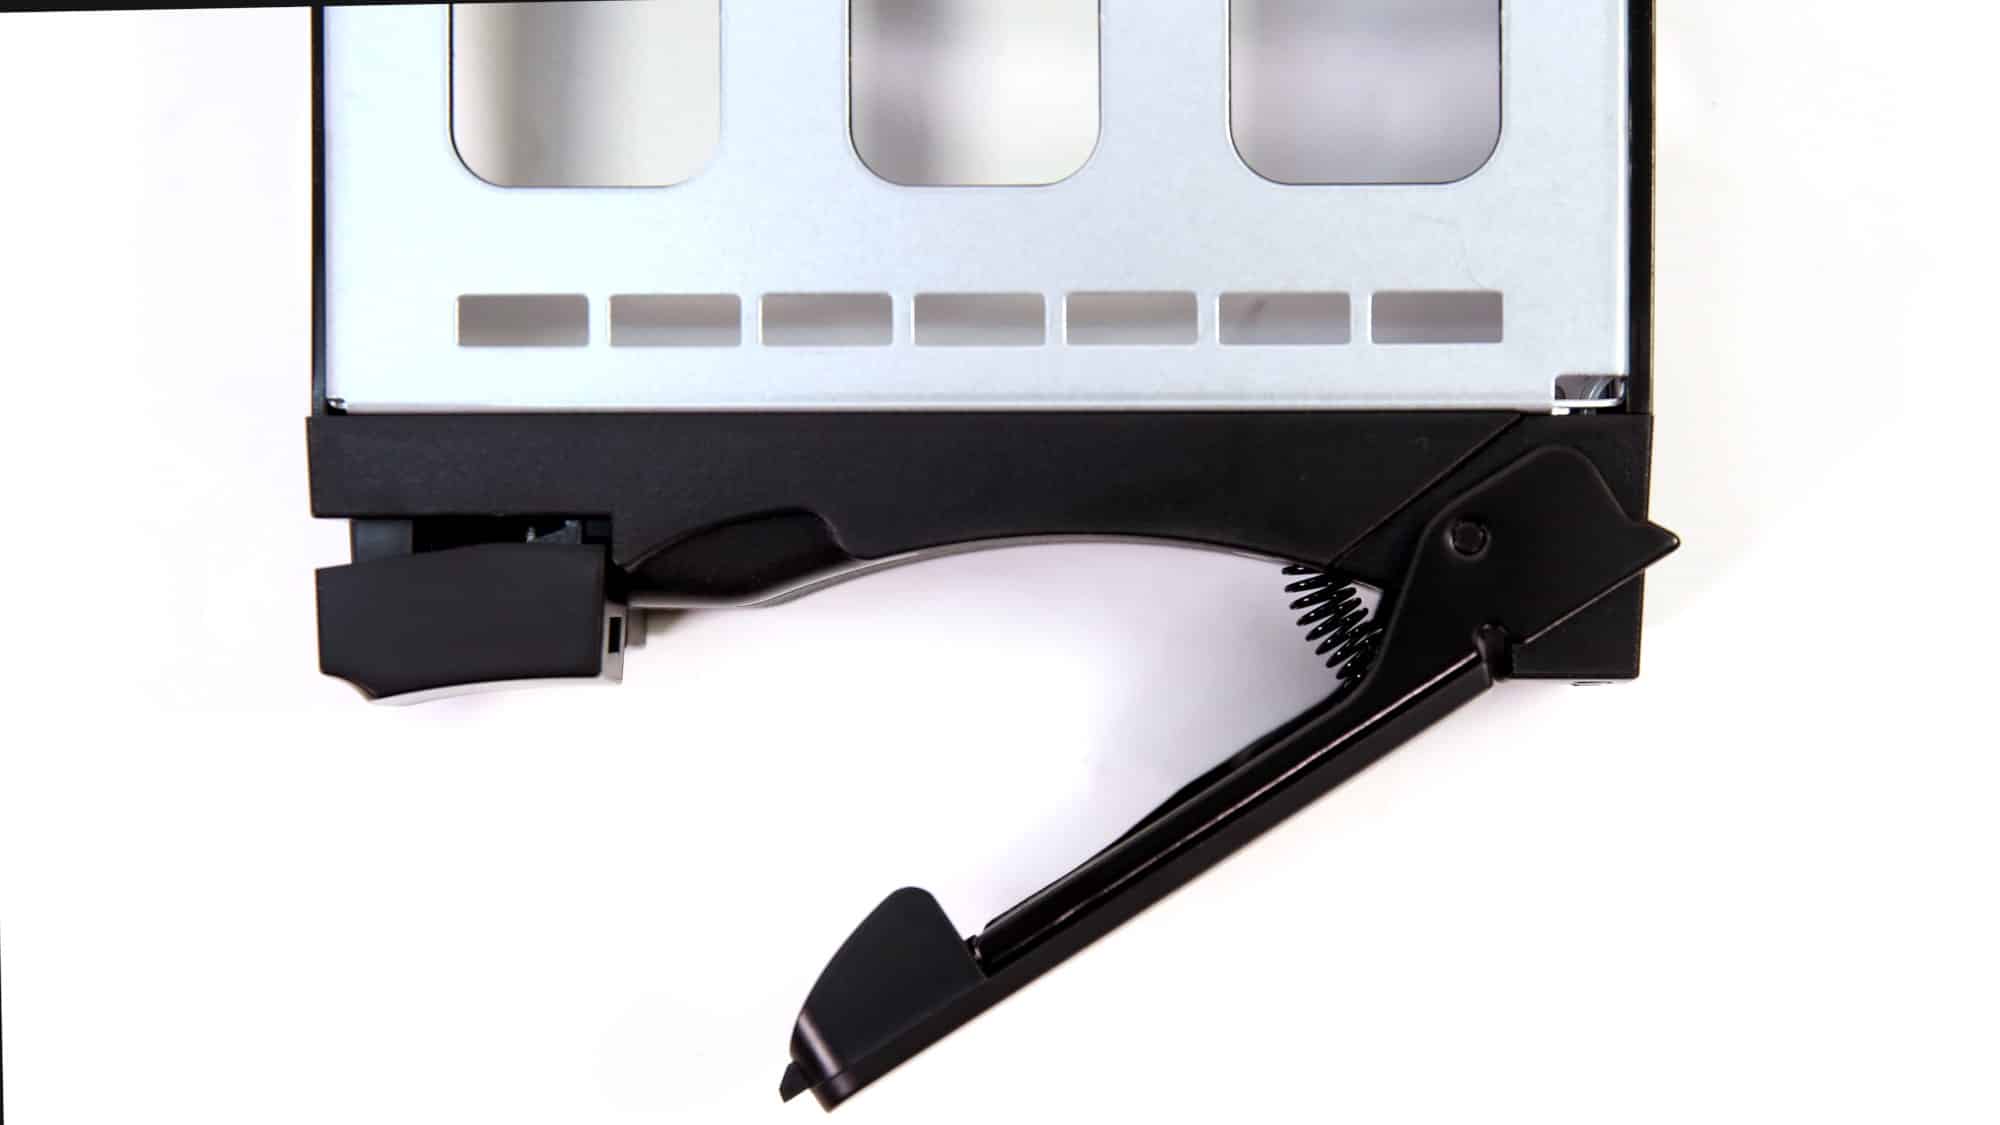
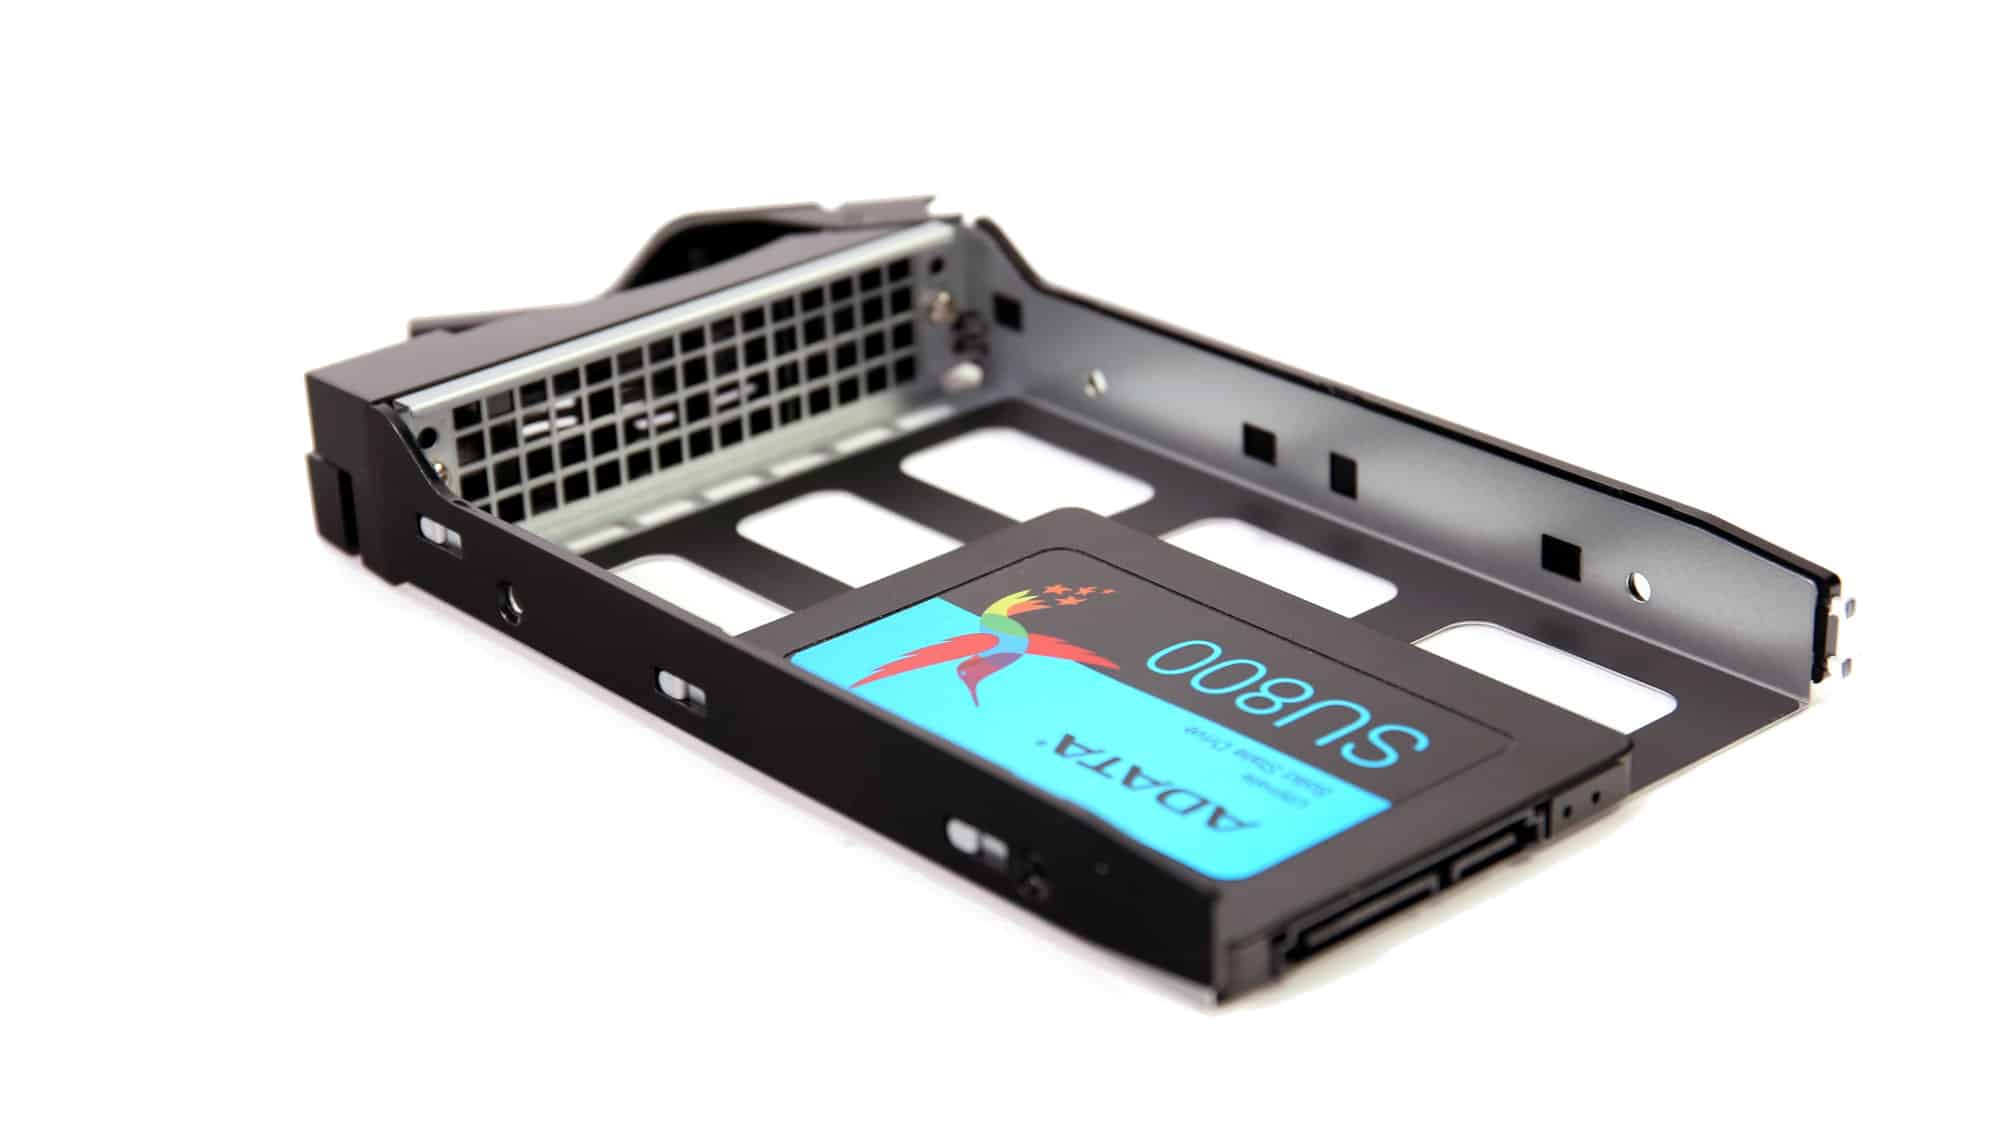
Push the plastic lever to remove the drive trays, and the handle will present itself using the included spring. The drive trays are made of metal, which feels good and is higher quality than plastic ones. They also slide in place very pleasantly. The experience was way better than the AS5404T we tested earlier this year, which had plastic-only trays. The only potential downside would be the noisier operation for HDDs.
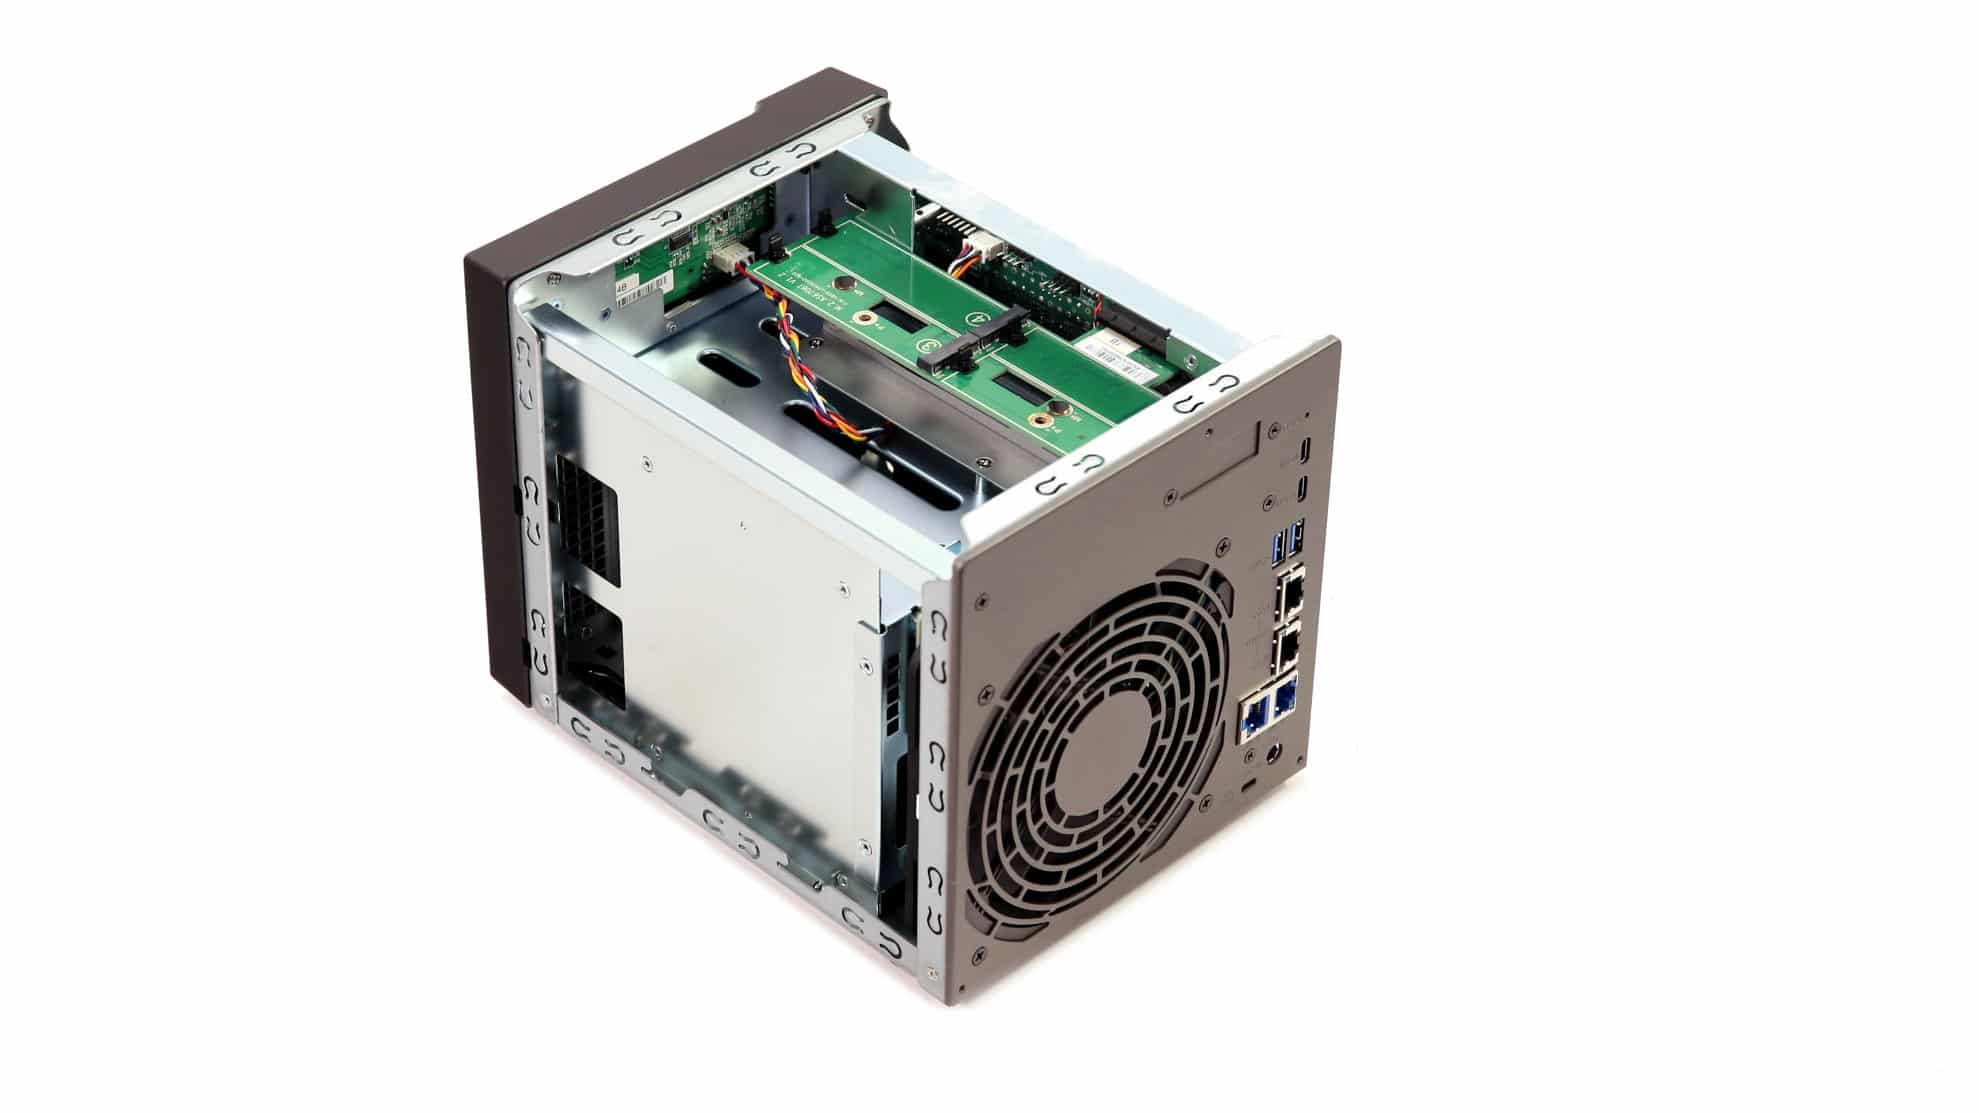
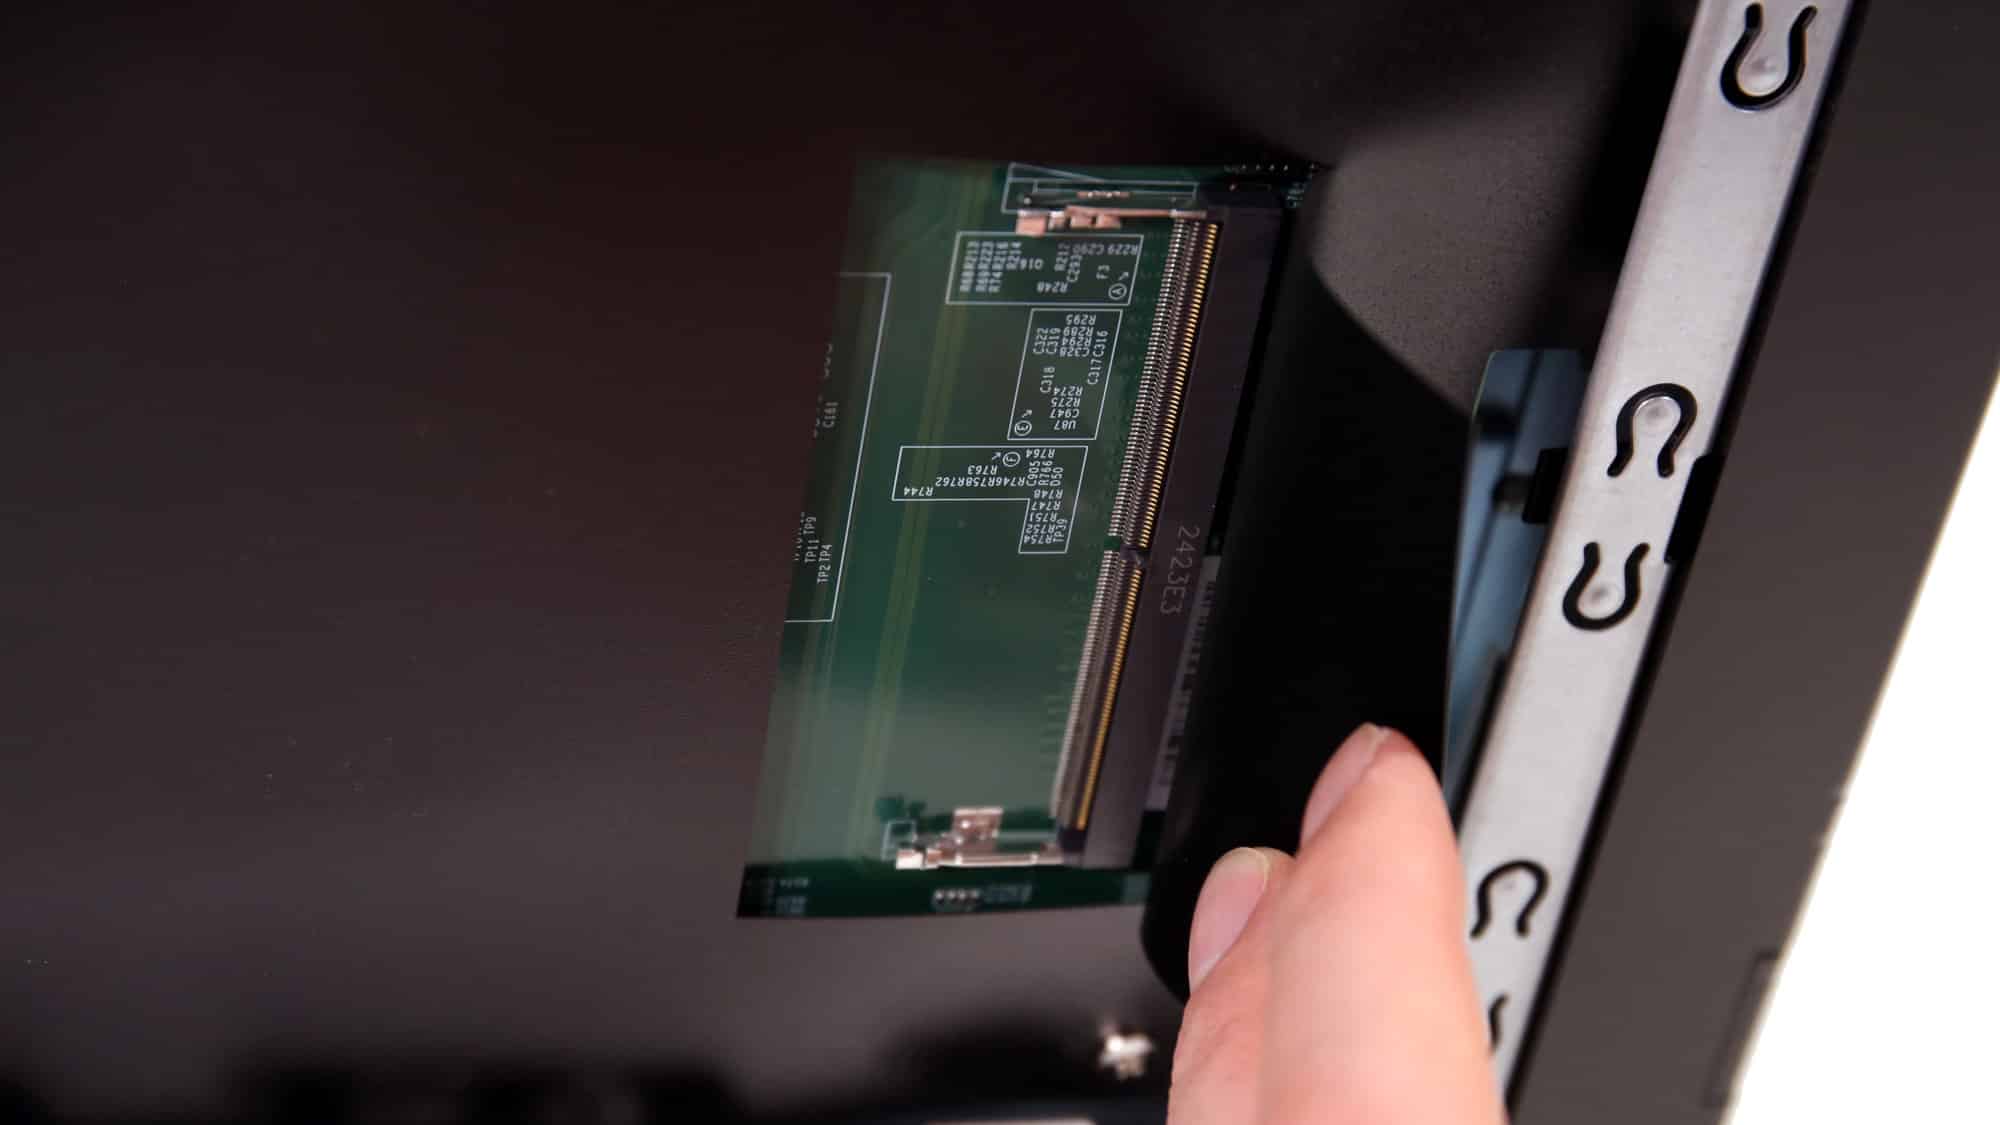
Removing three screws from the rear of the unit lets you remove the surrounding enclosure. This grants you access to the NVMe slots, the expansion slot, and the empty DDR5 slot on the bottom of the mainboard. There is a lot of space for NVMe heatsinks, but given the PCIe 4.0 x1 design, it will most likely be unnecessary.
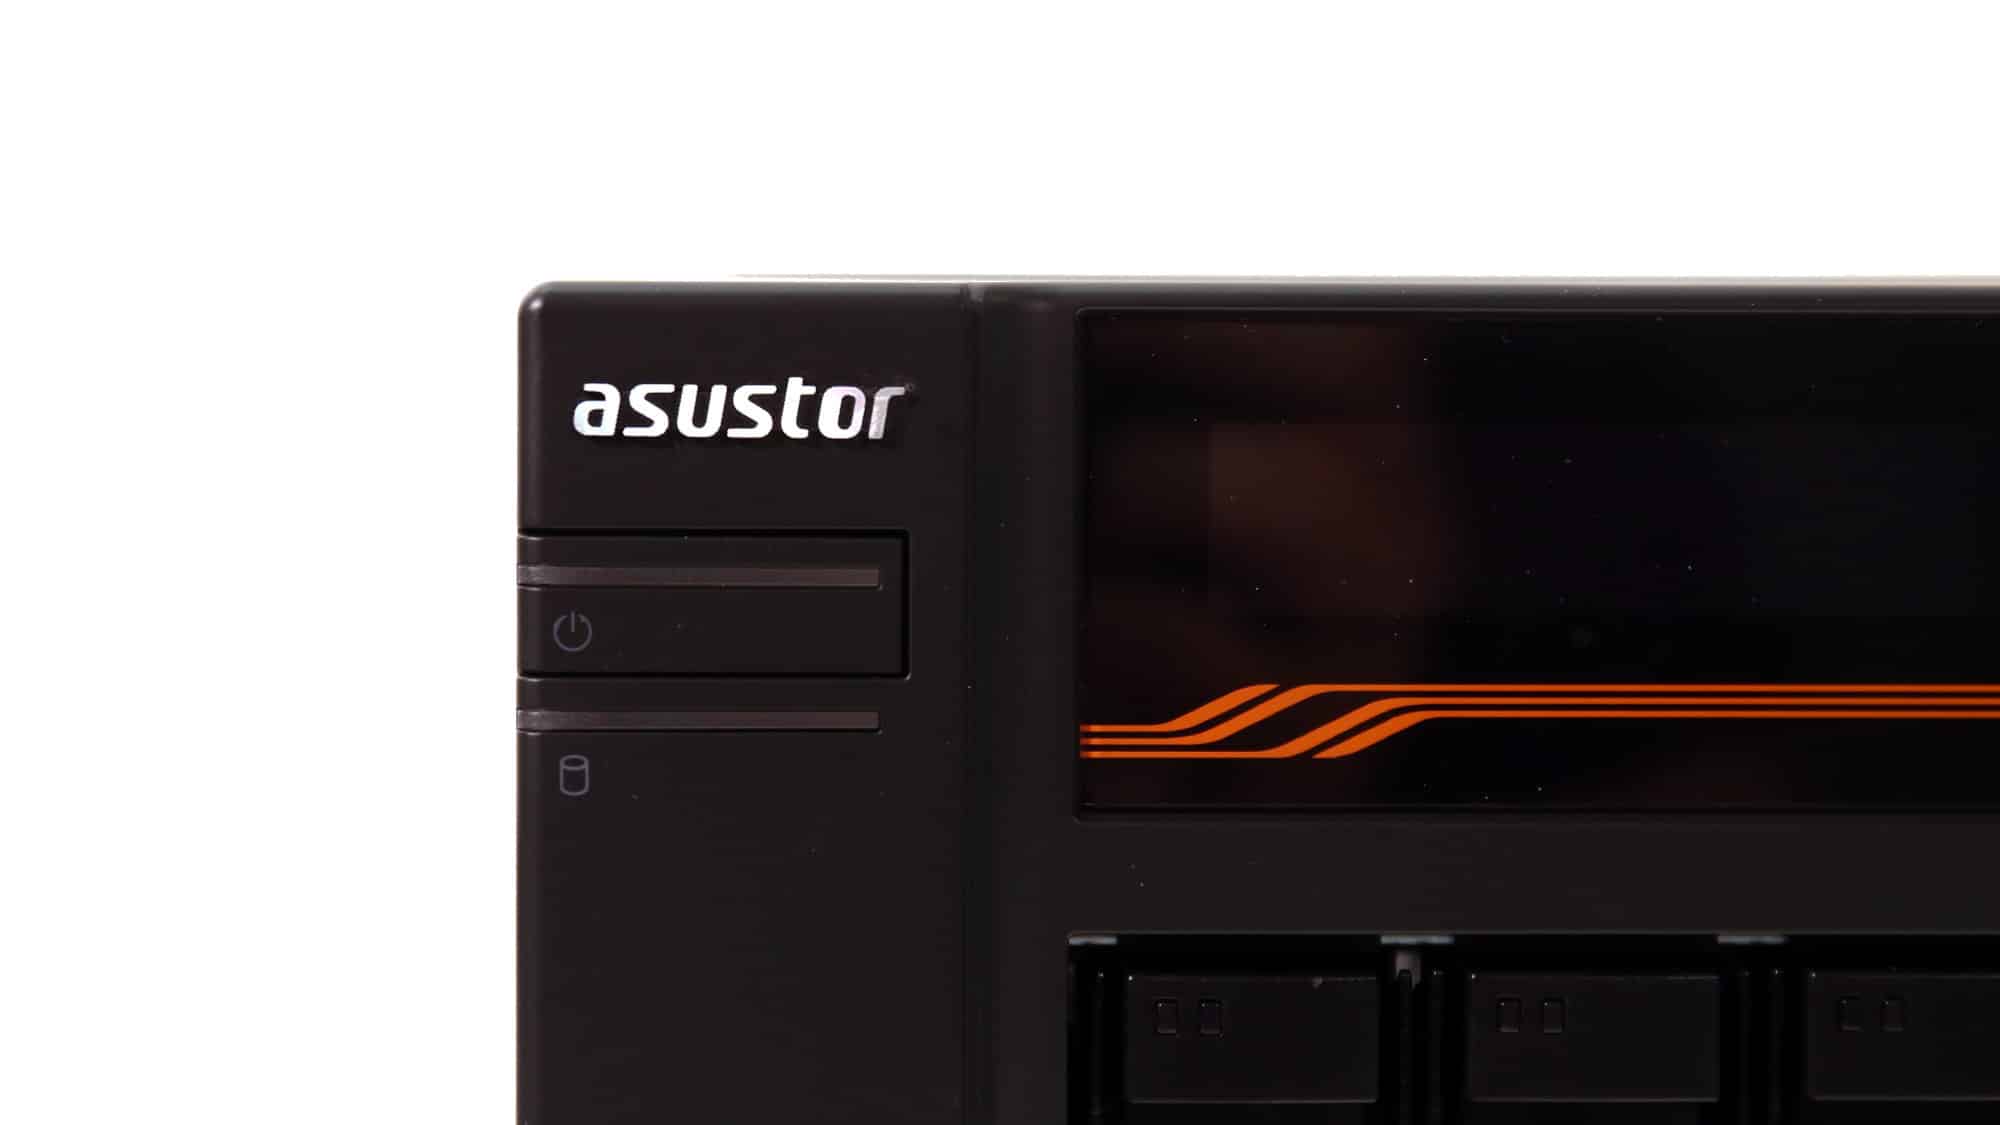
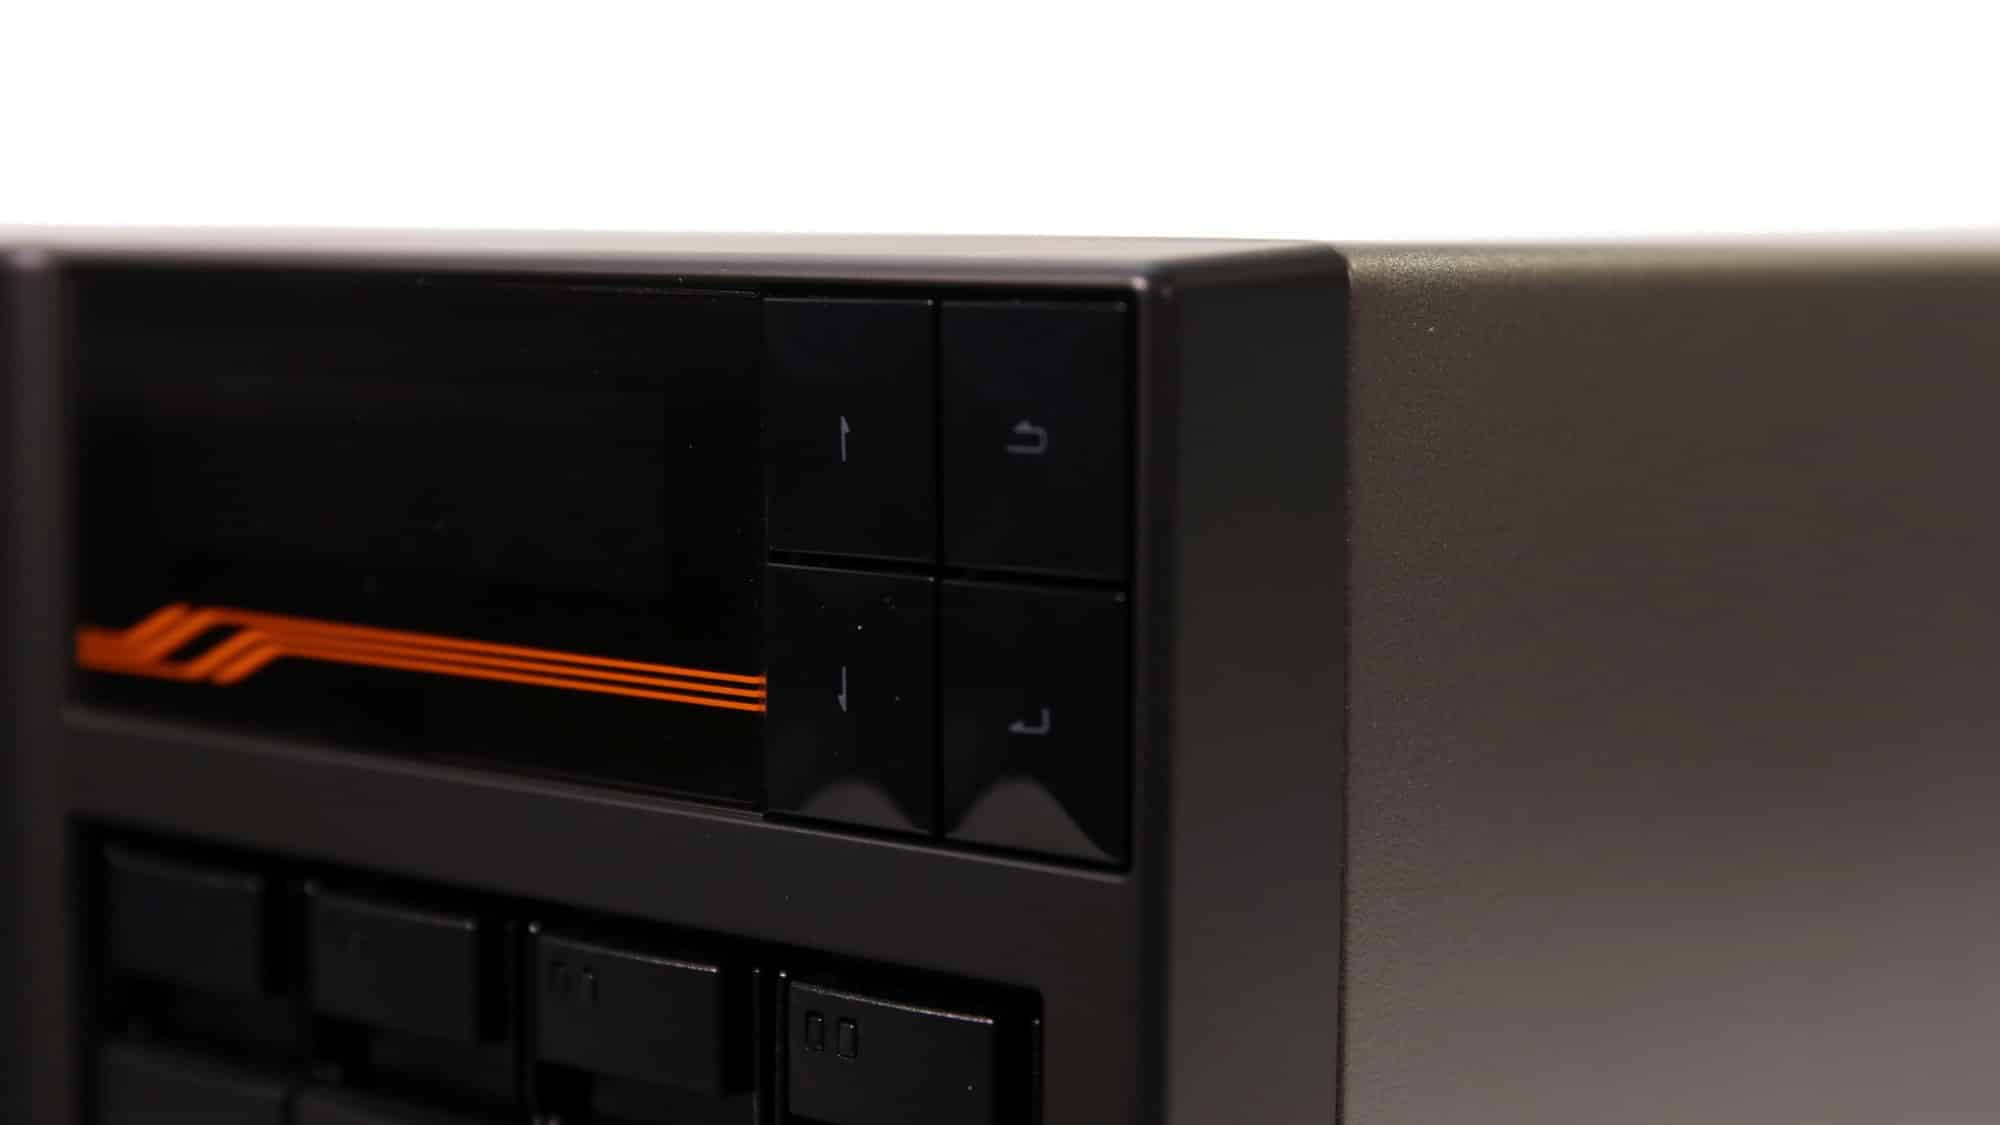

On the front of the device, starting from the top, you will find the power button, two LEDs indicating the power state, and disk activity. You will also find a handy screen that can be customized and used for the initial setup. The four navigation buttons will help you do that. Below, you will find the four drive trays, which include LEDs to indicate power and activity for each drive separately, while on the bottom left, you will find a USB 3.2 Gen 2 port with a single-press backup button surrounding it. Lastly, there are two more connection status LEDs in the front panel, one for each of the 10 Gbit ports on the rear.