Build Experience
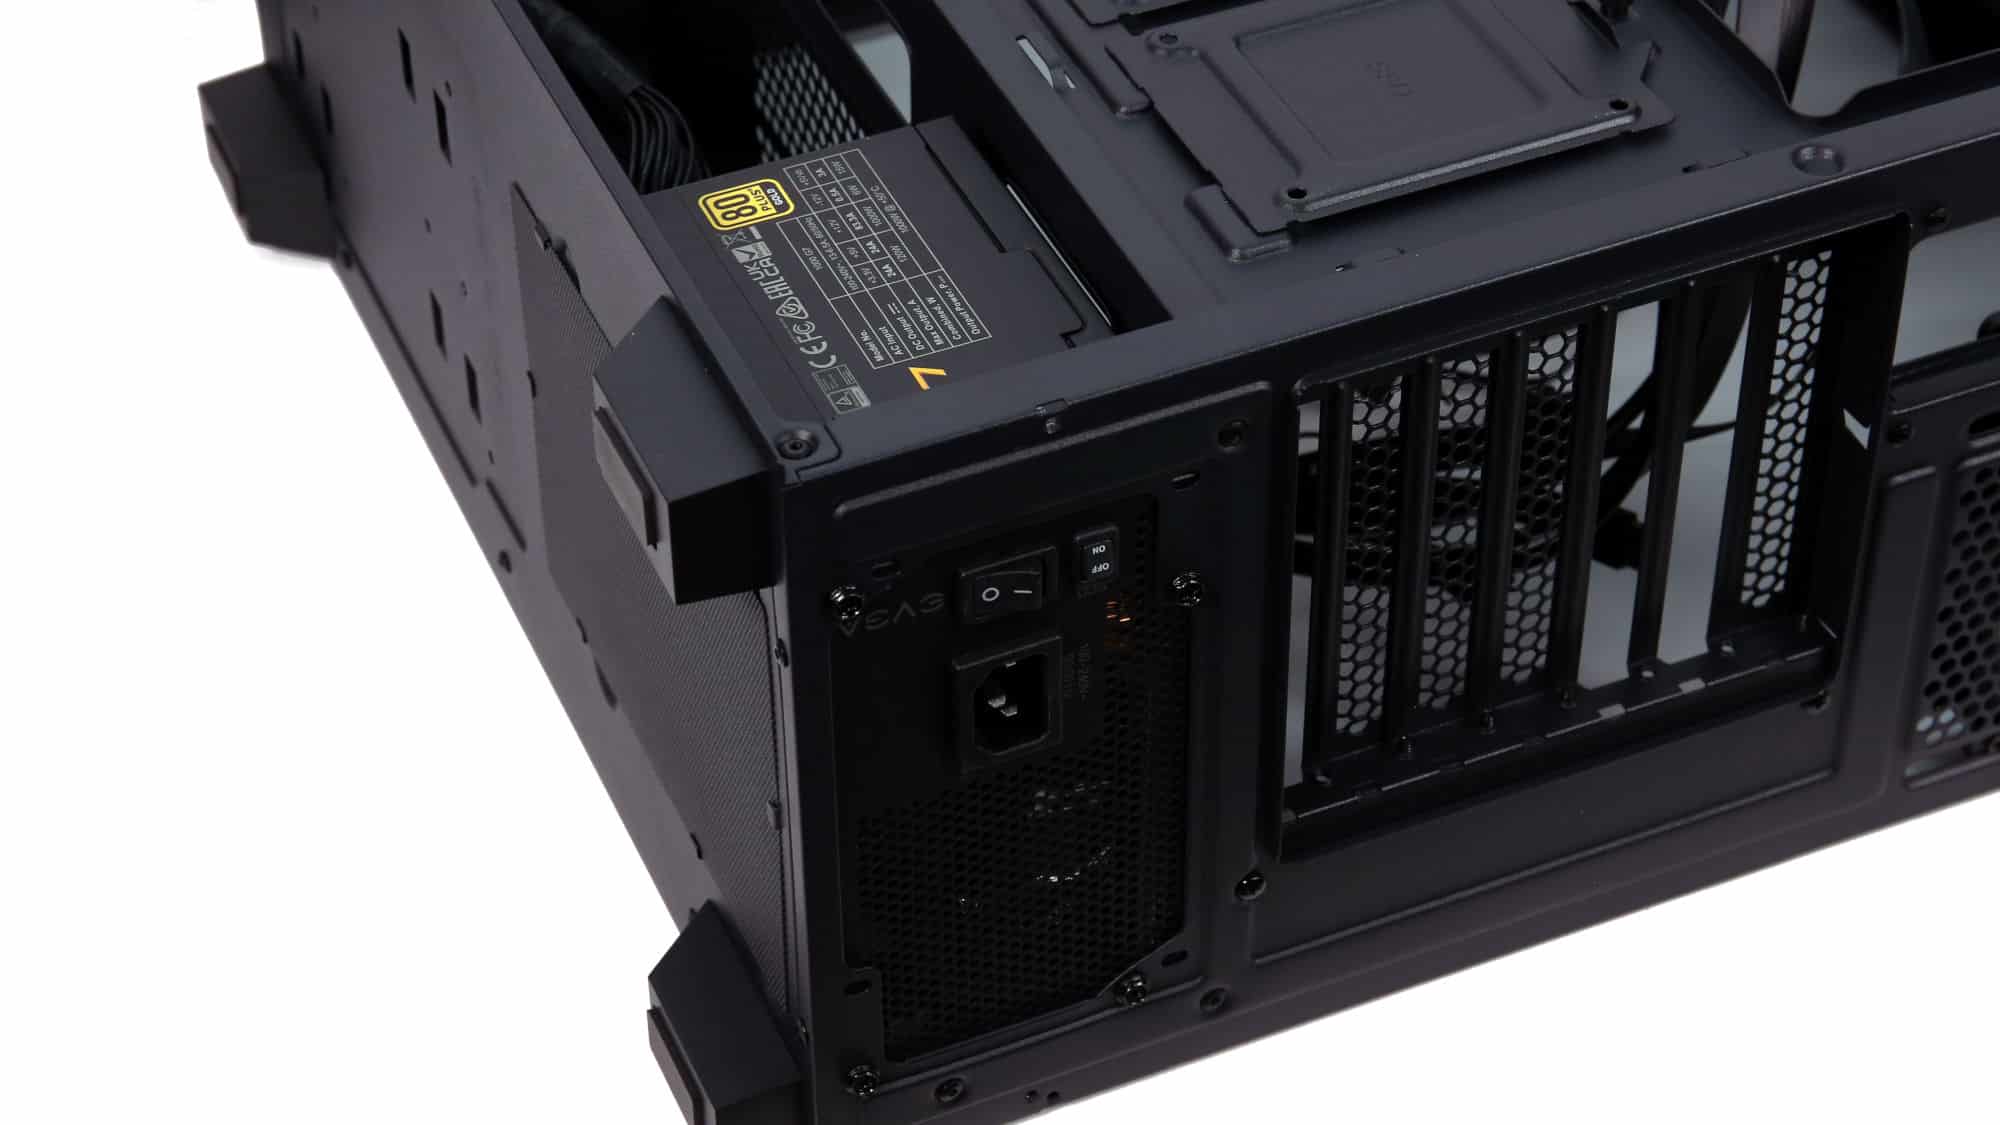
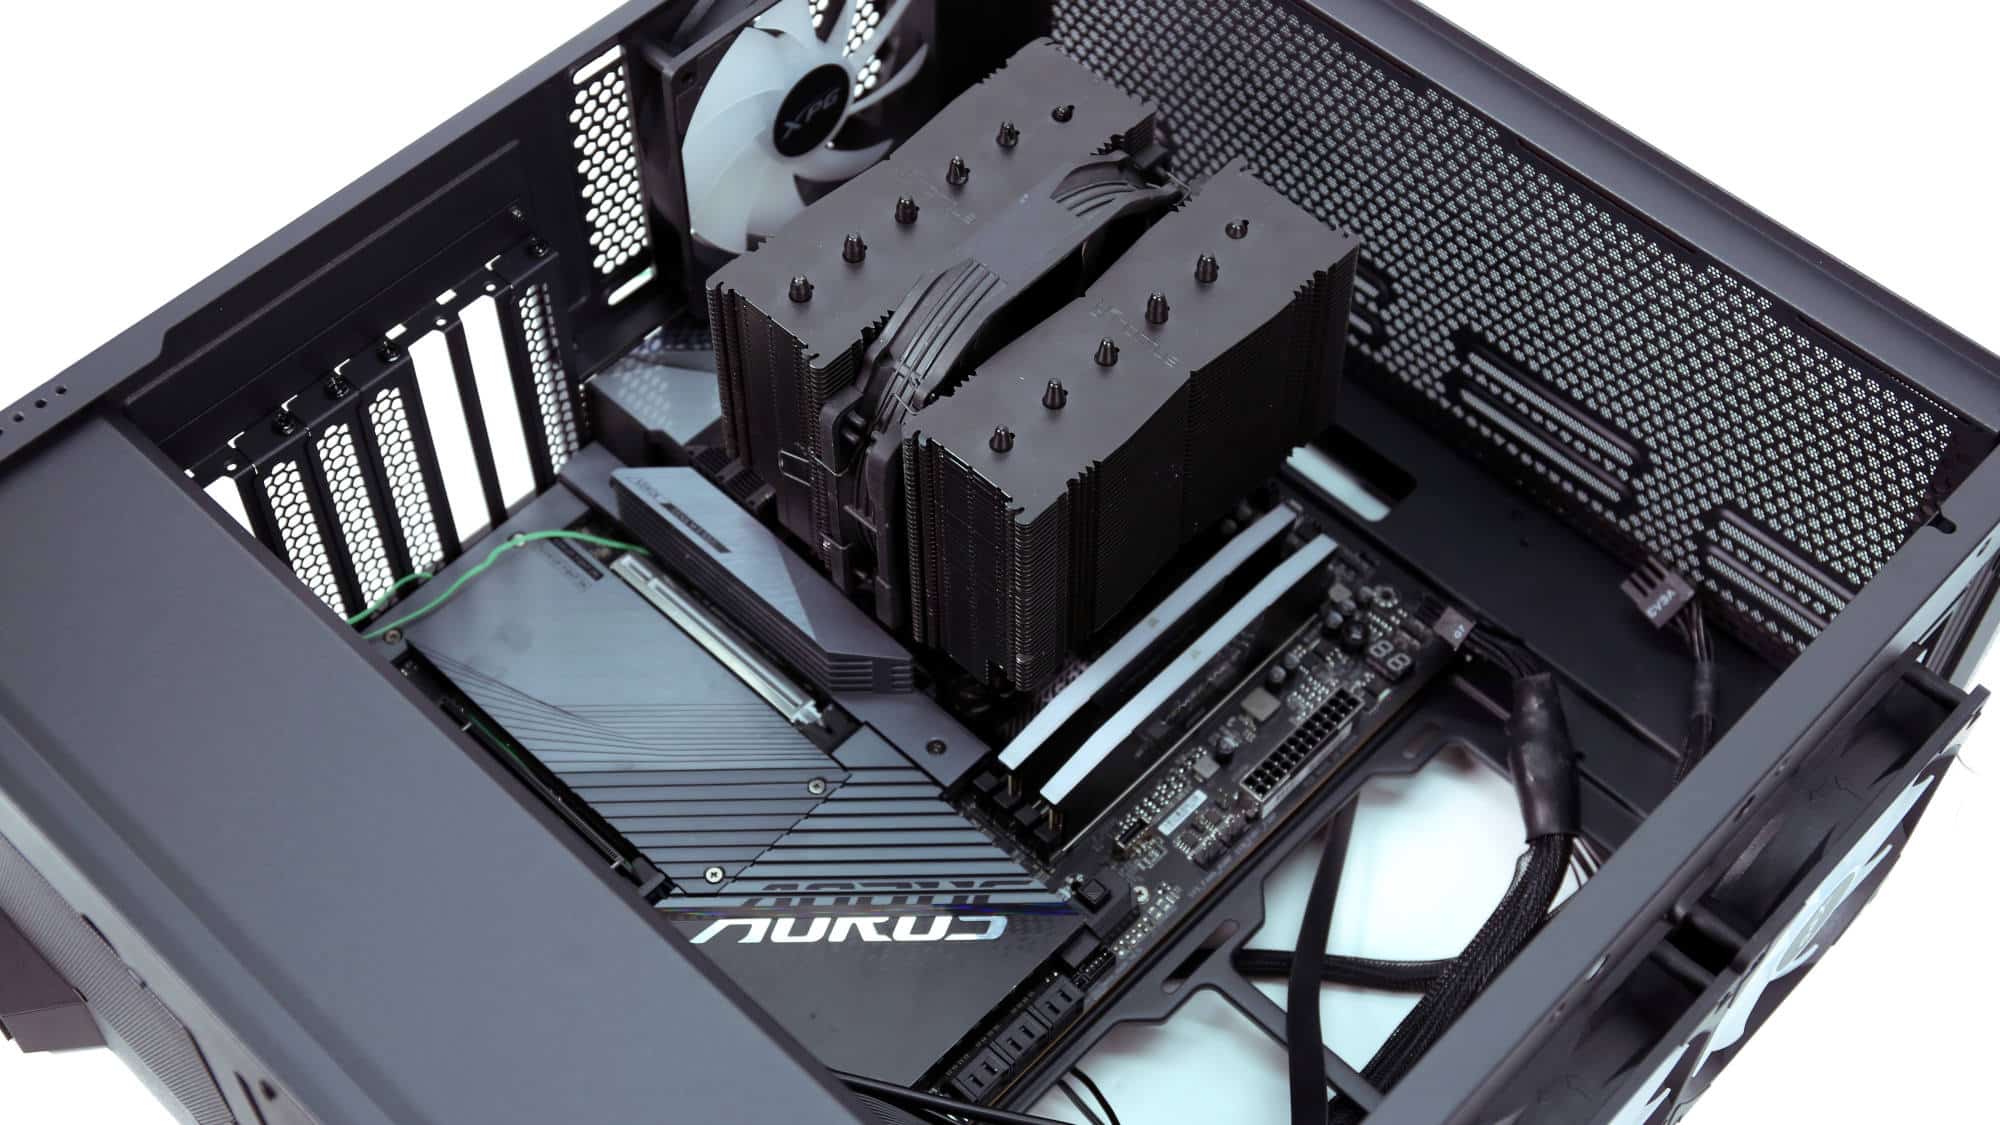
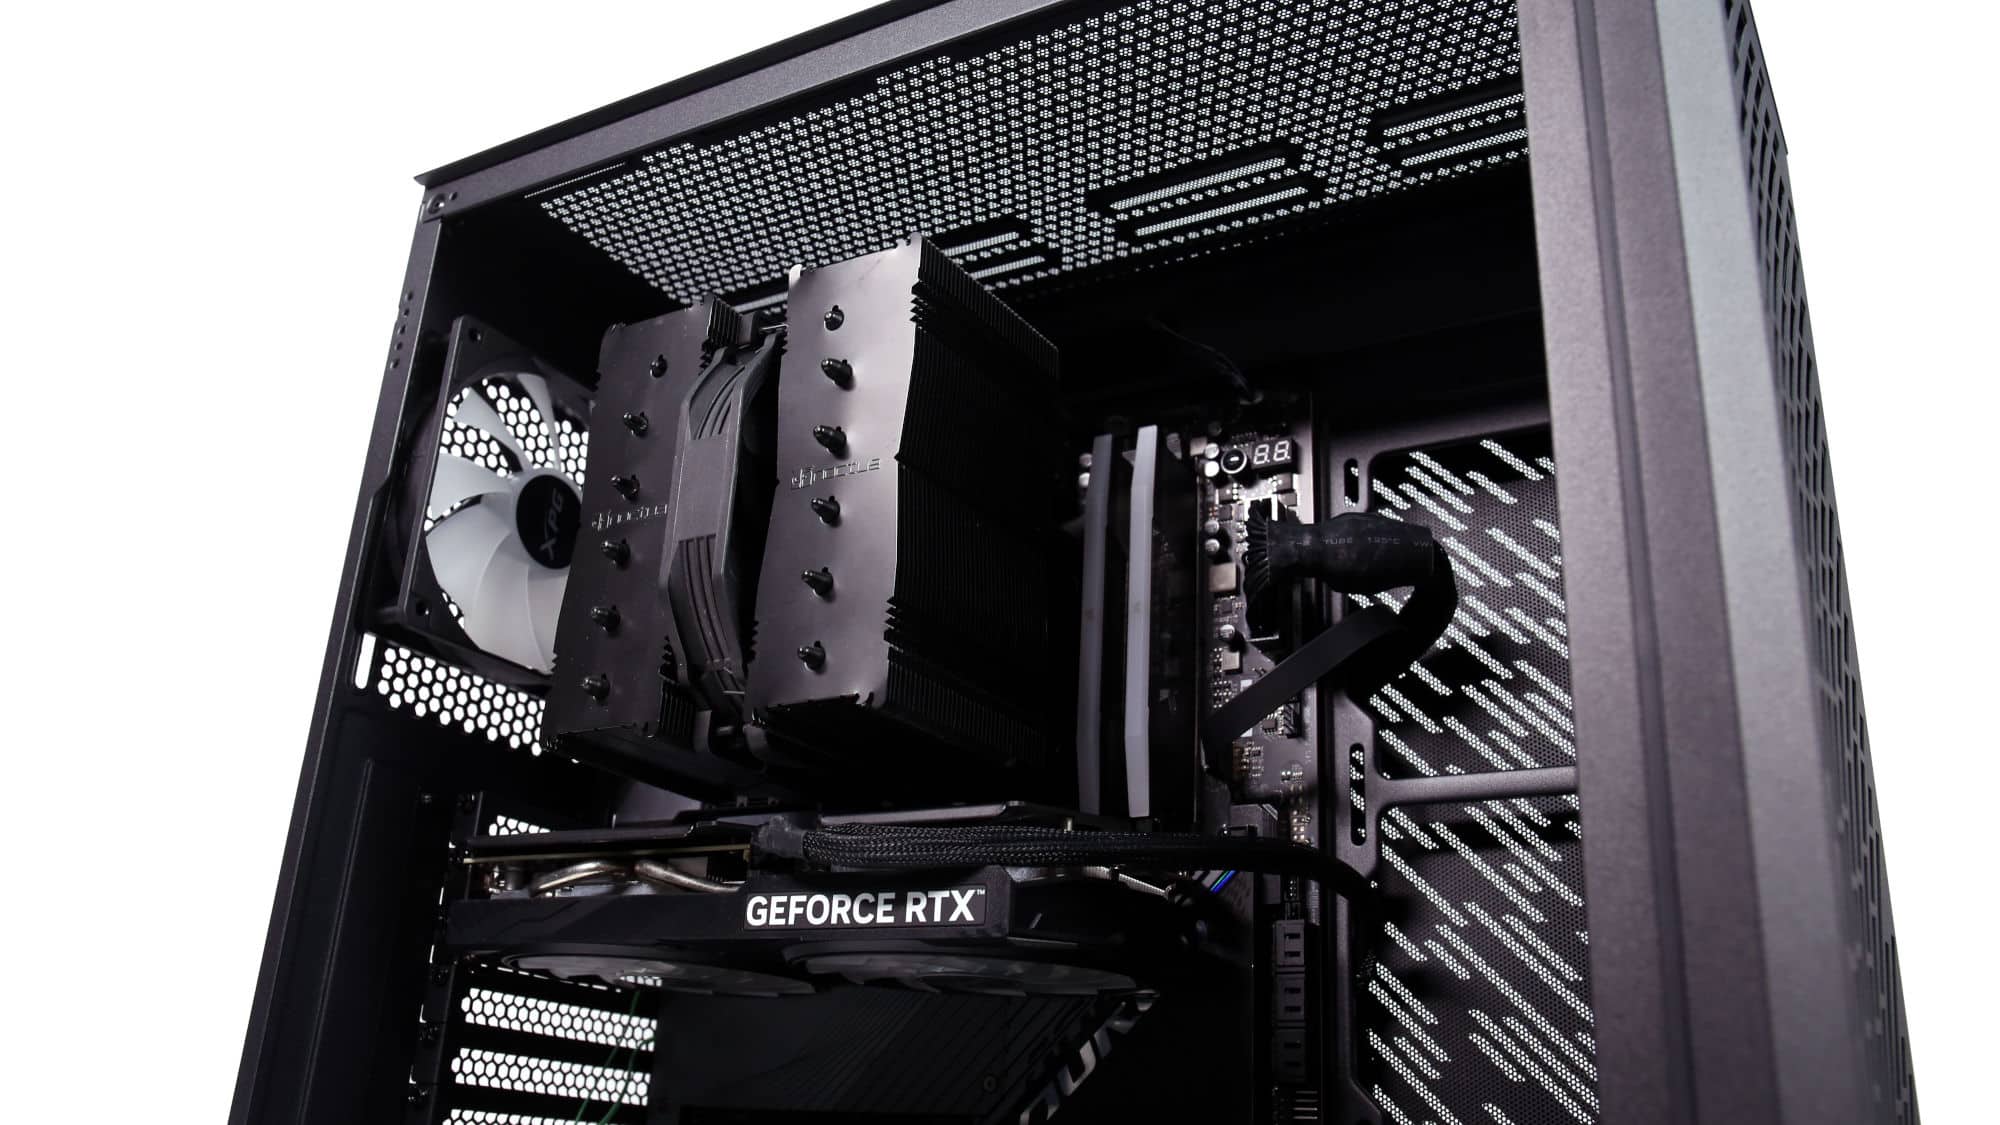
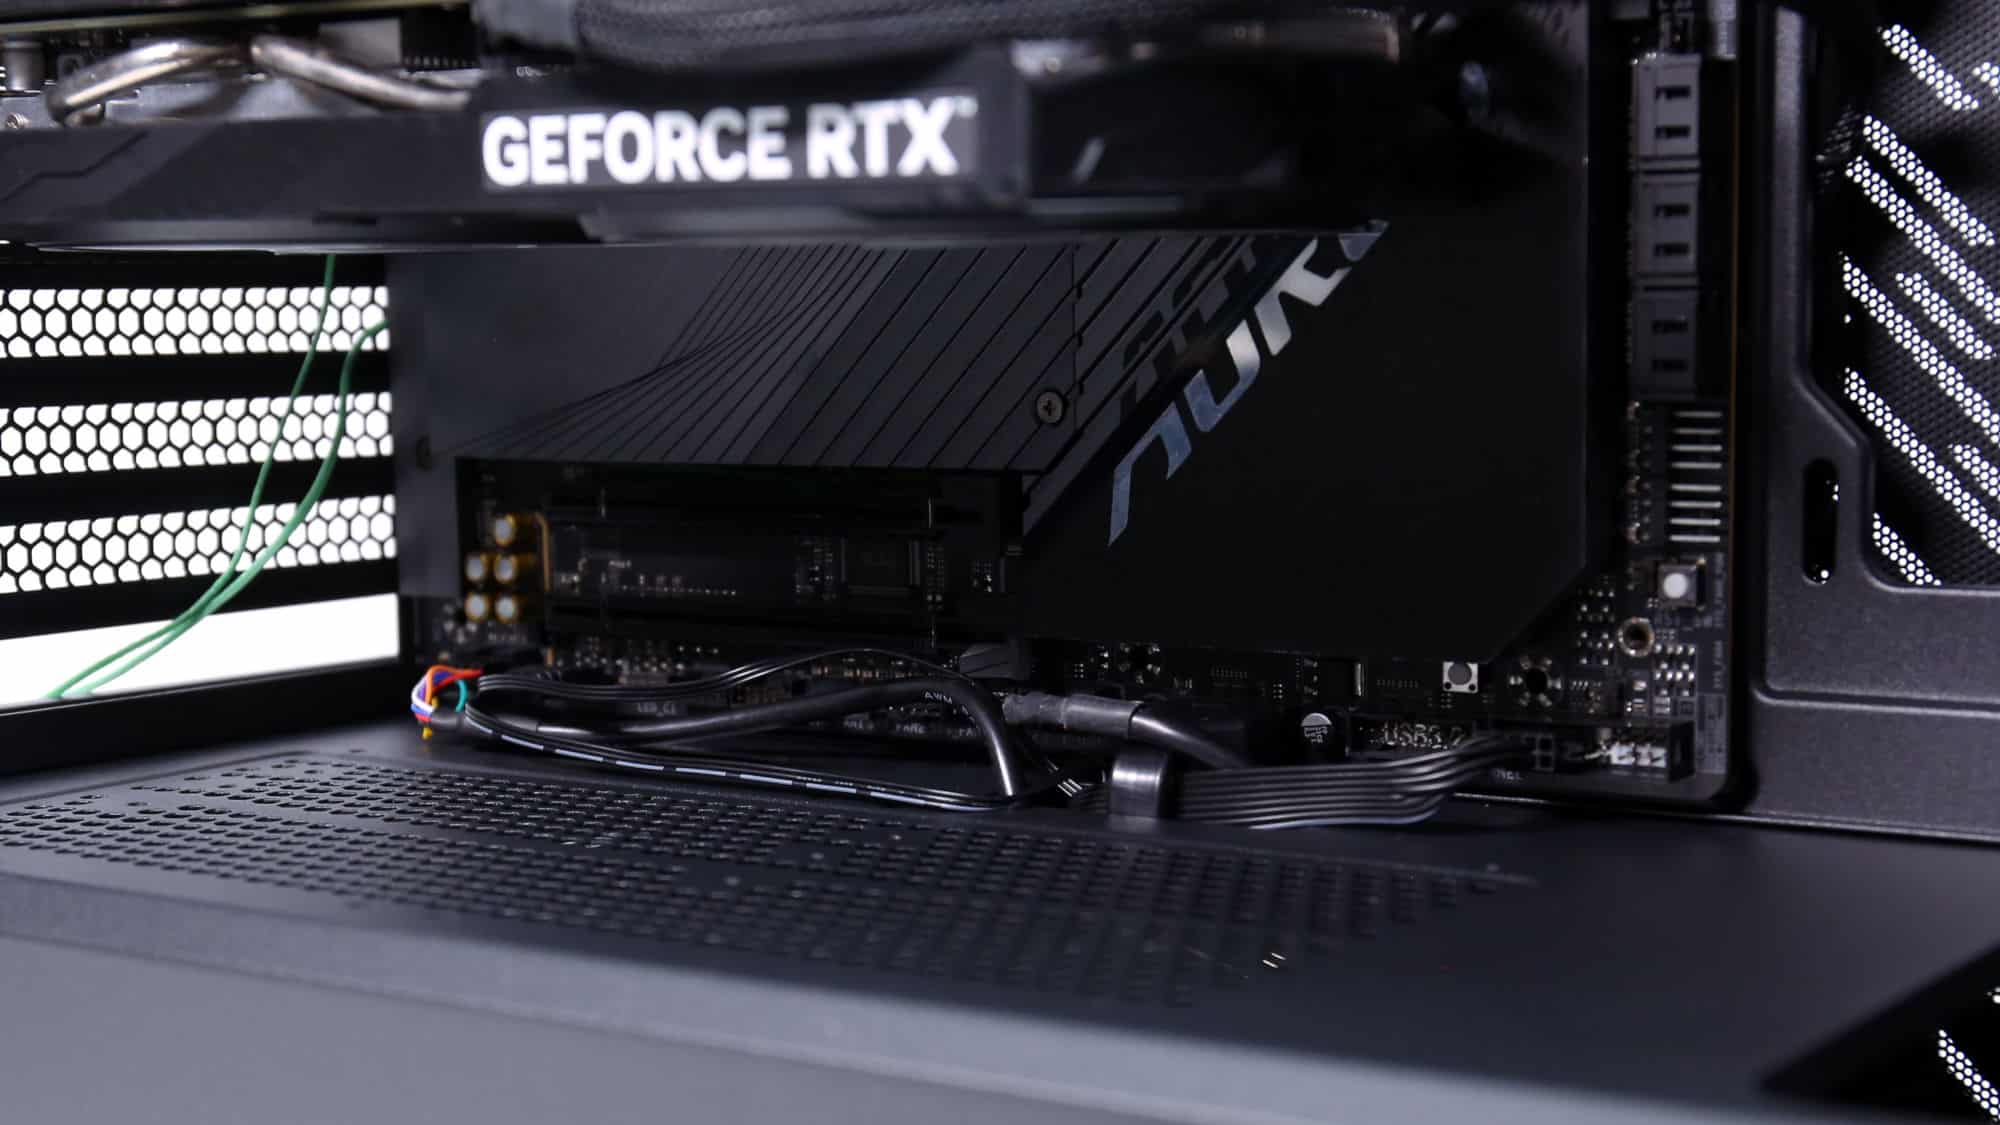
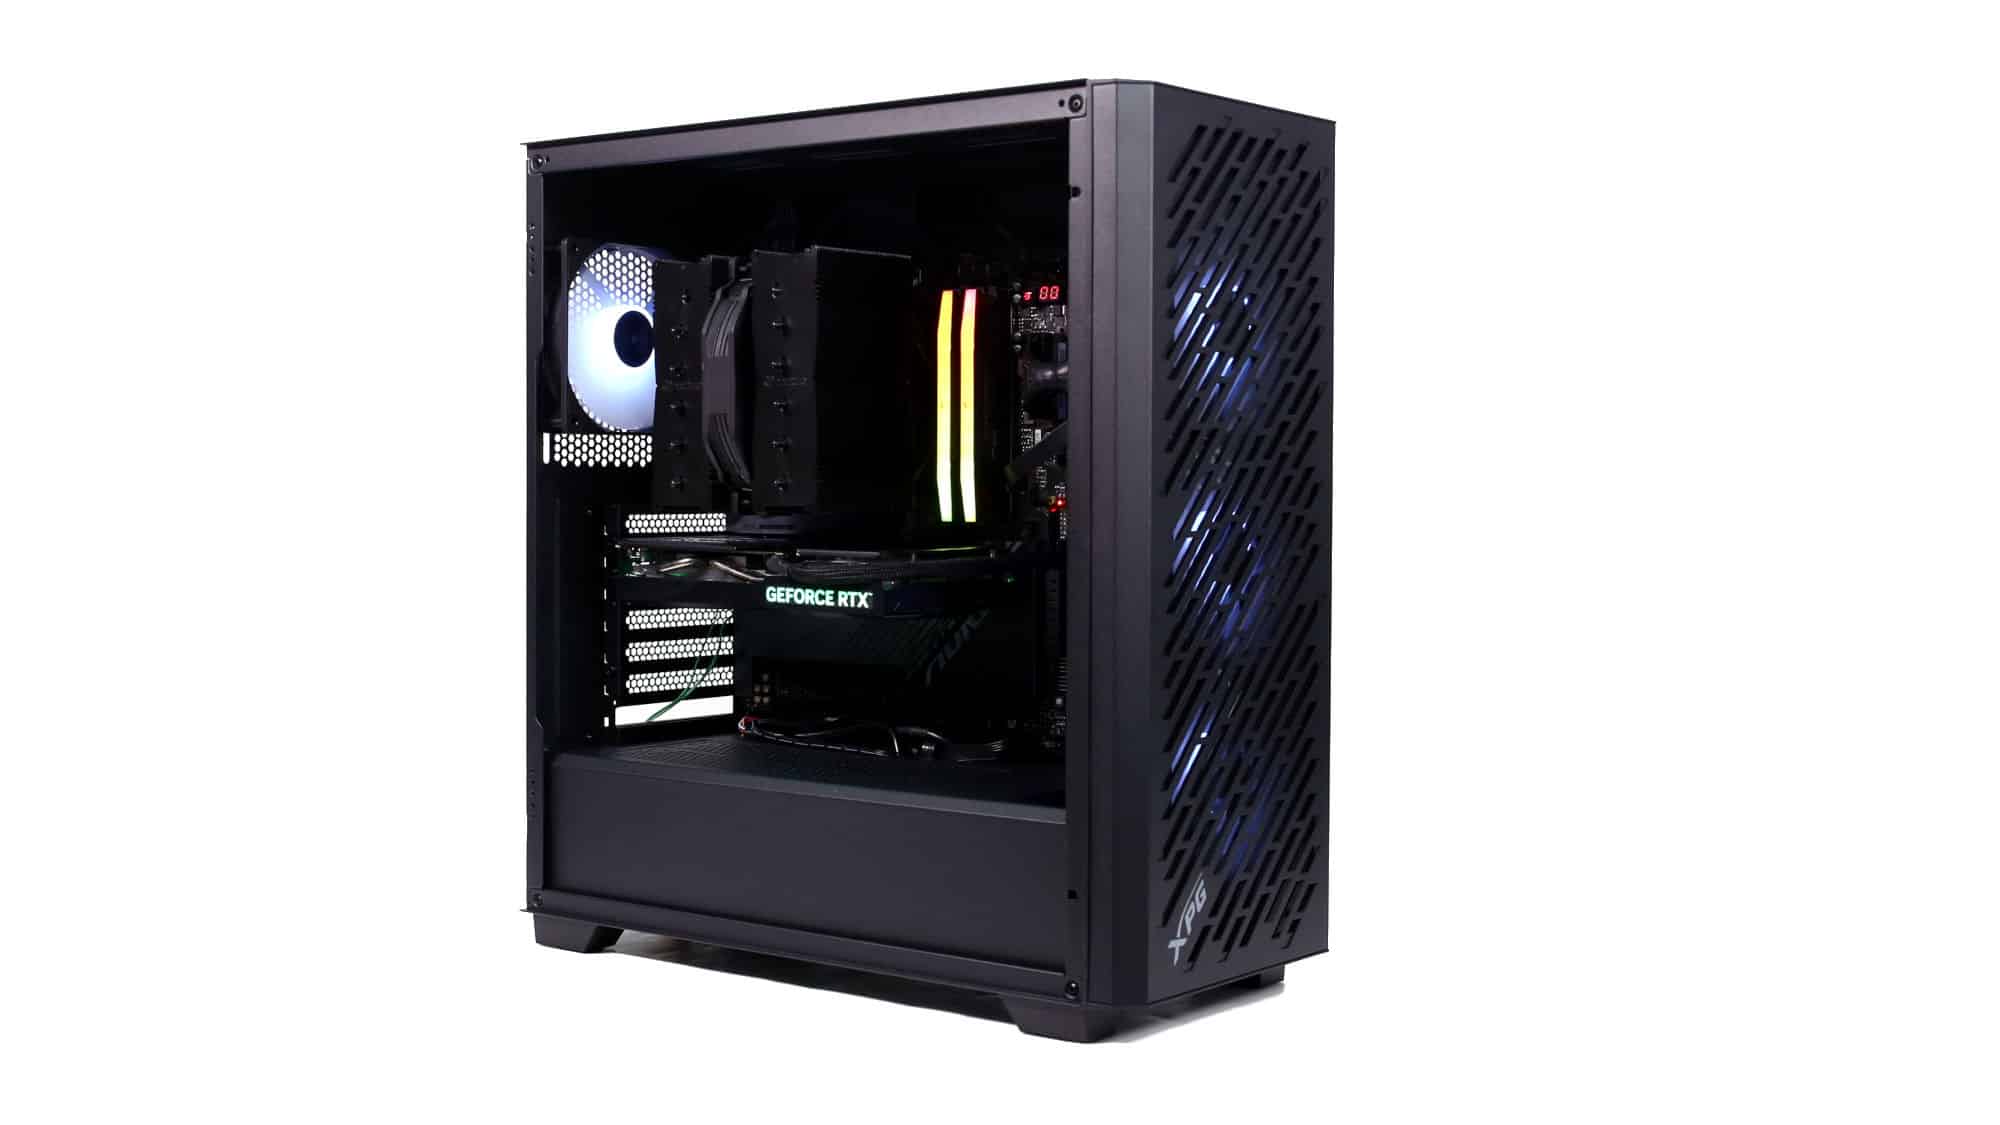
The PSU was installed first, sliding in from the side and mounting to the rear with its fan facing down. Padding beneath the PSU adds stability. Next, the motherboard and principal components (CPU, RAM, and cooler) were mounted. Fitment is excellent, the standoffs align perfectly, and the integrated I/O shield clears easily without requiring fan adjustment, as is often the case. All cables were connected before the GPU installation. The chassis’s tall design makes connecting CPU power cables simple, even for larger hands.
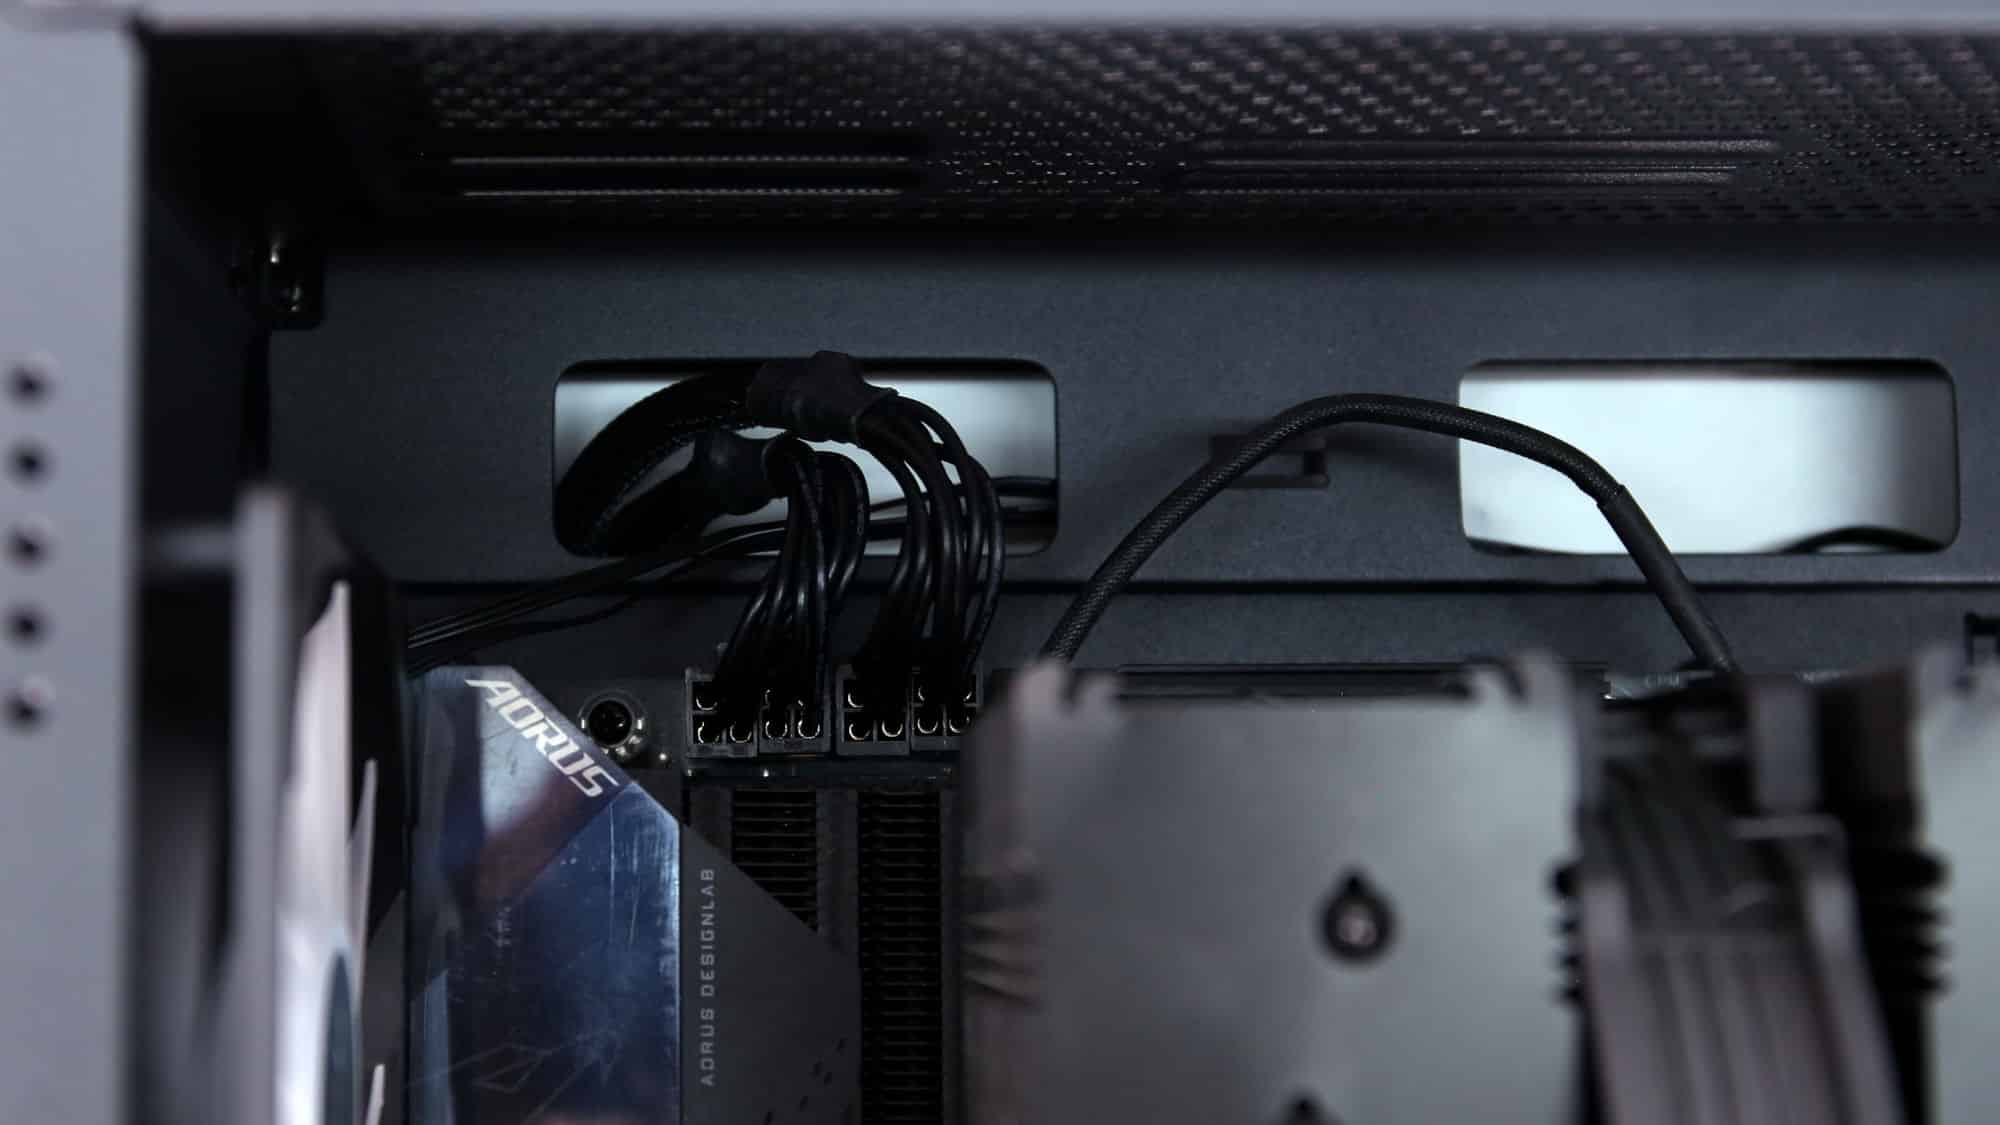
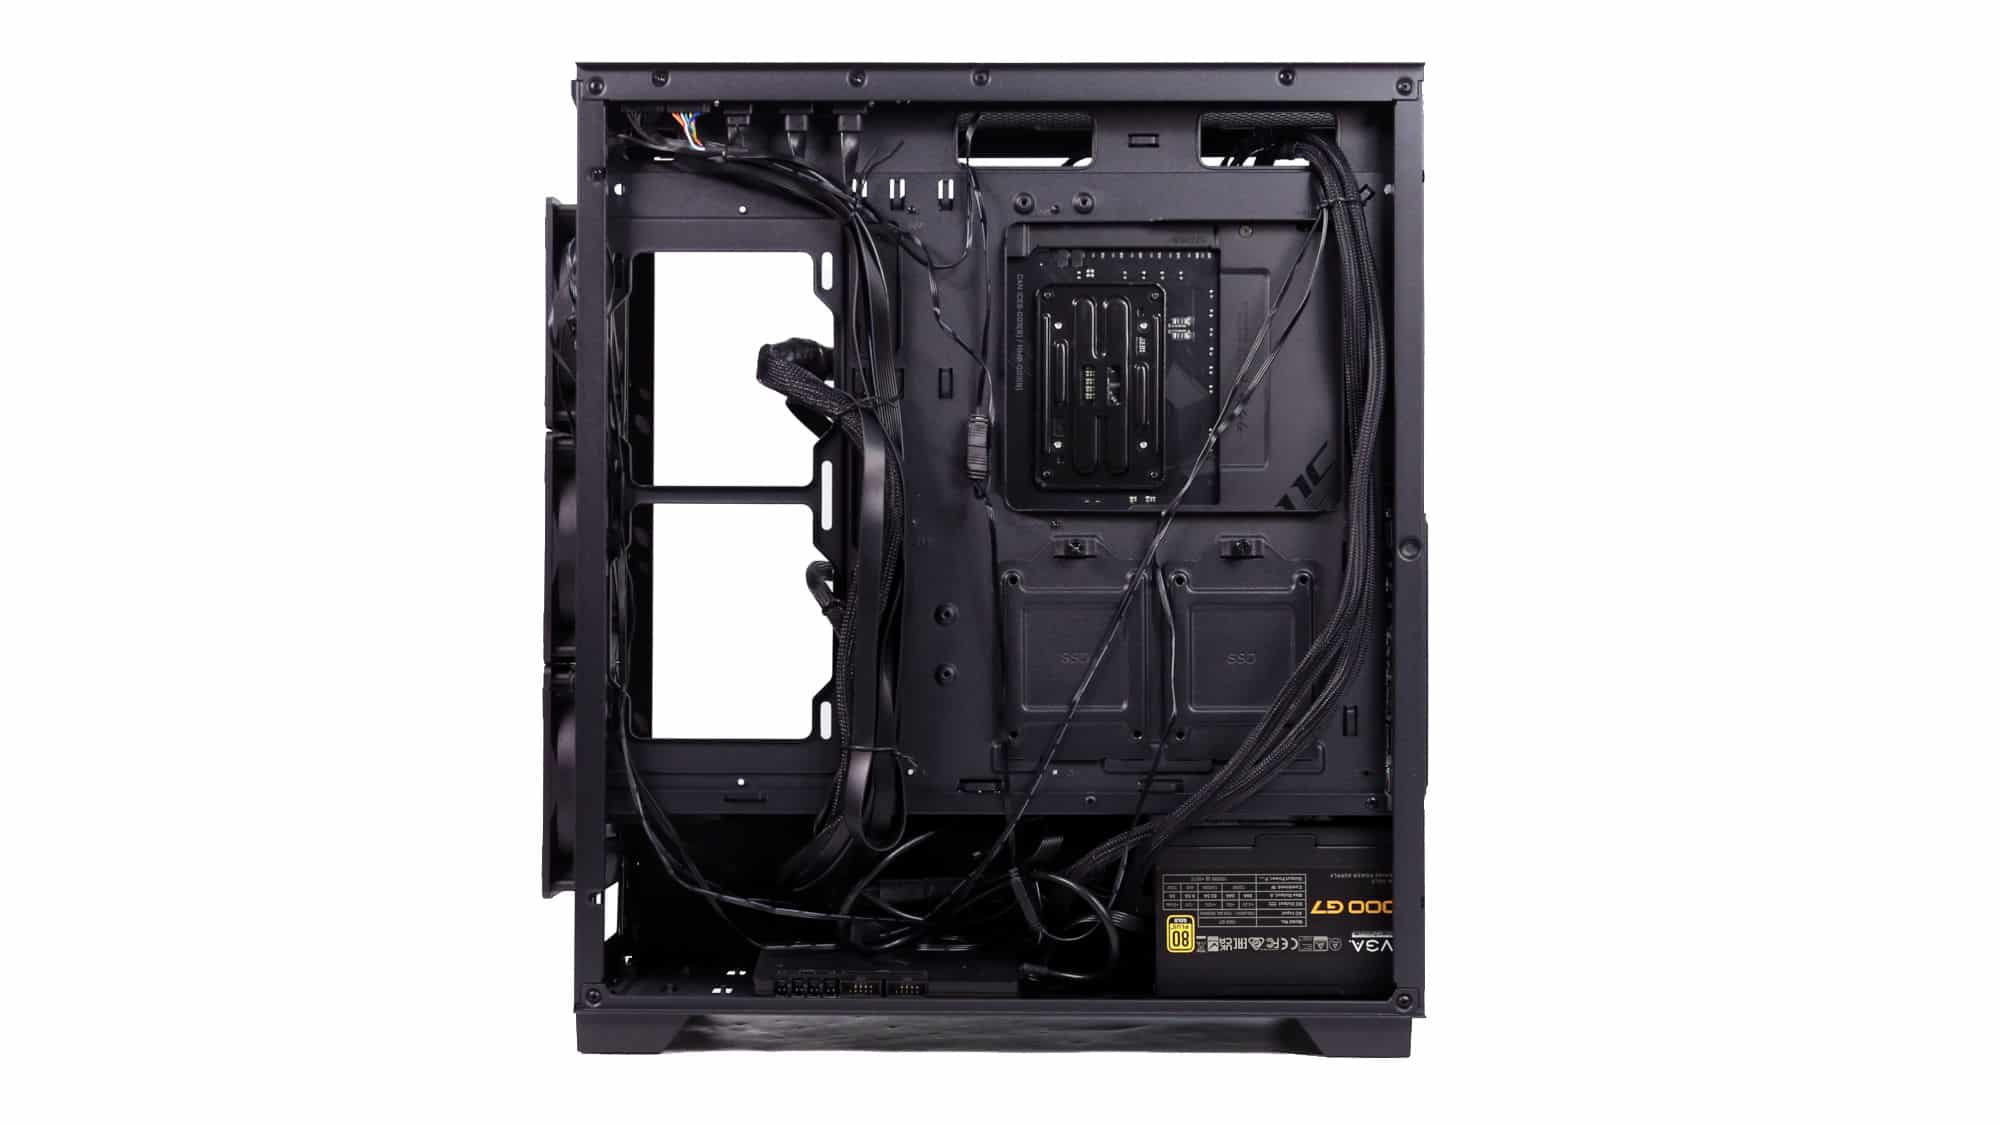
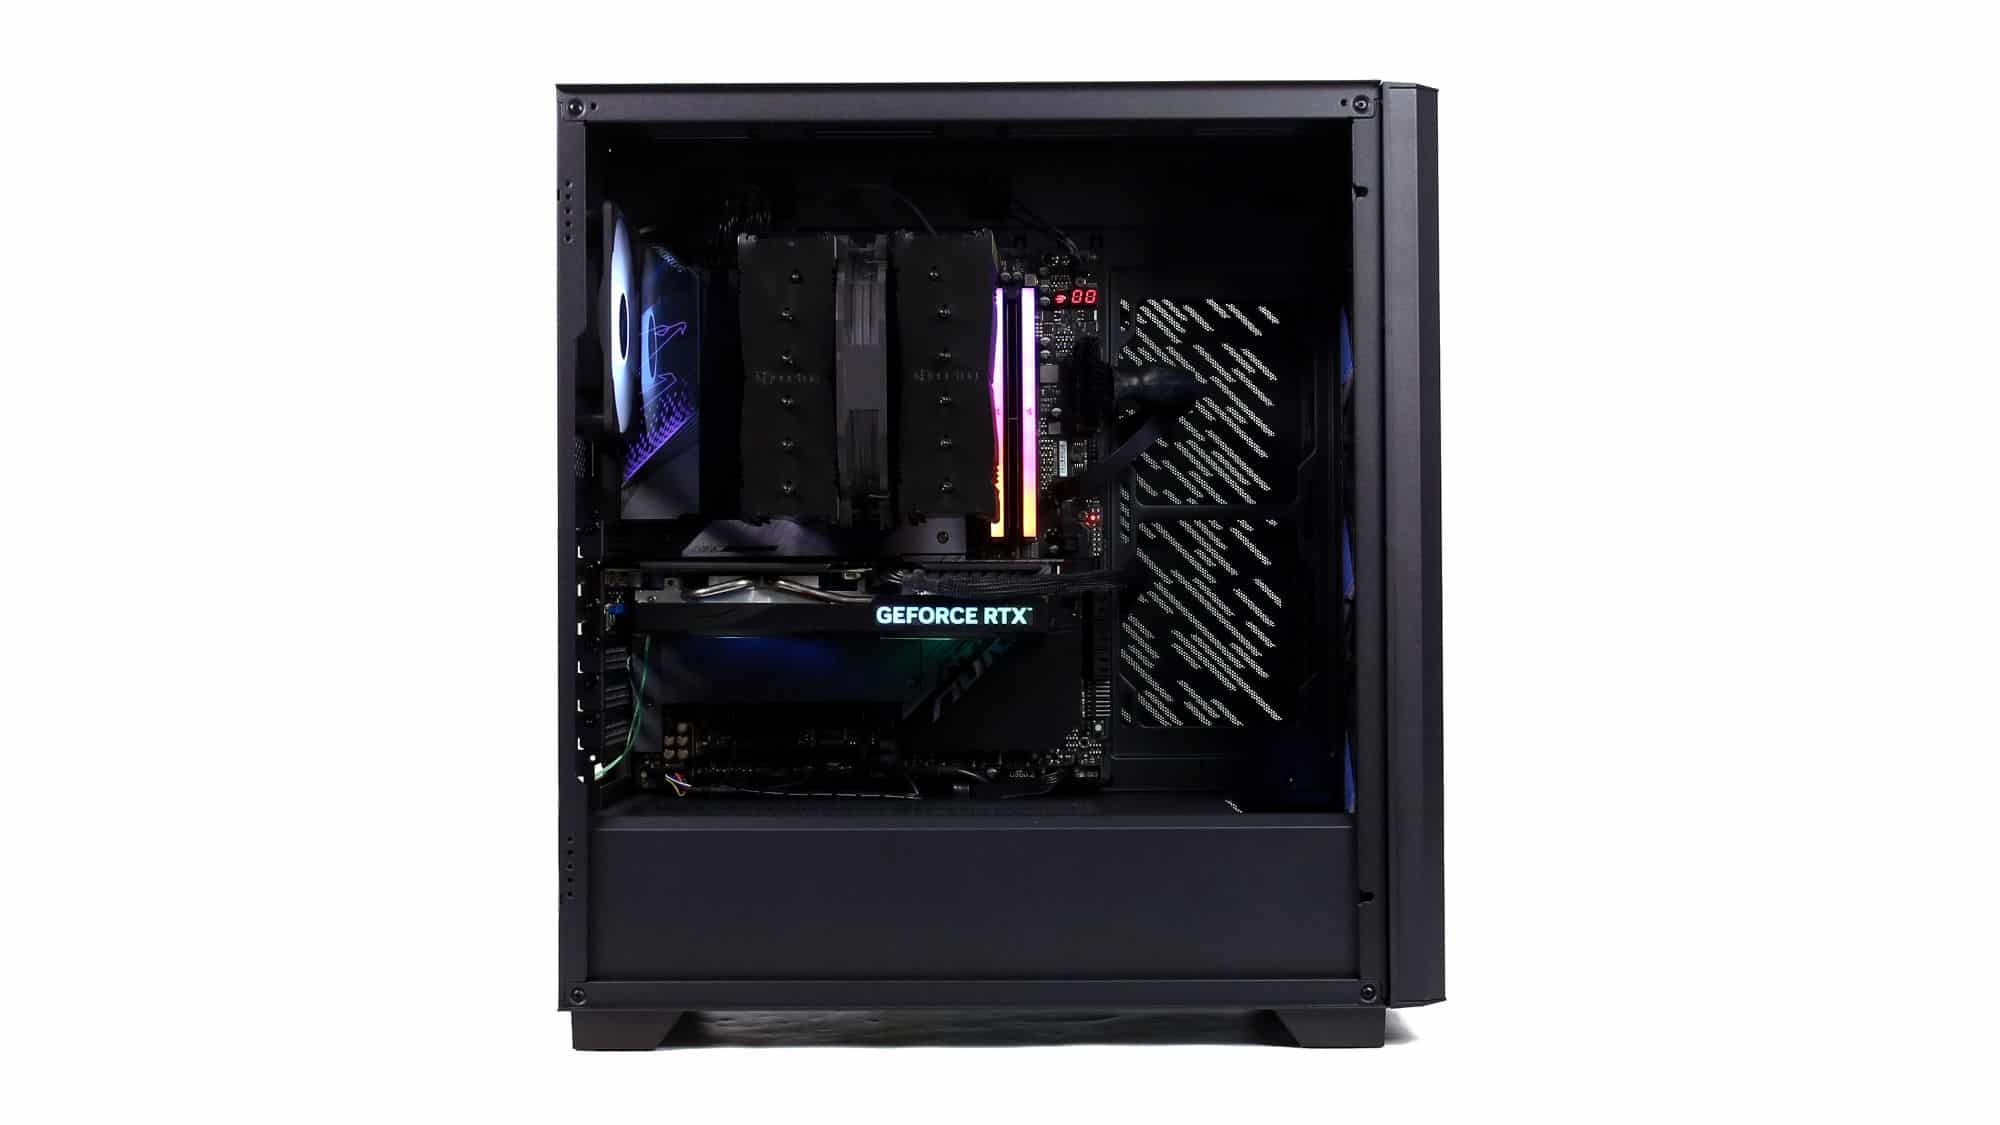
As shown, opting for an E-ATX motherboard like the one in this build requires routing some cables through the side fan mounting area. The included cable management hooks proved helpful during this process. With PWM extensions or direct motherboard connections, cable routing could have been even cleaner; however, considering the chassis relies solely on hooks, the final result remains neat and well-organized.
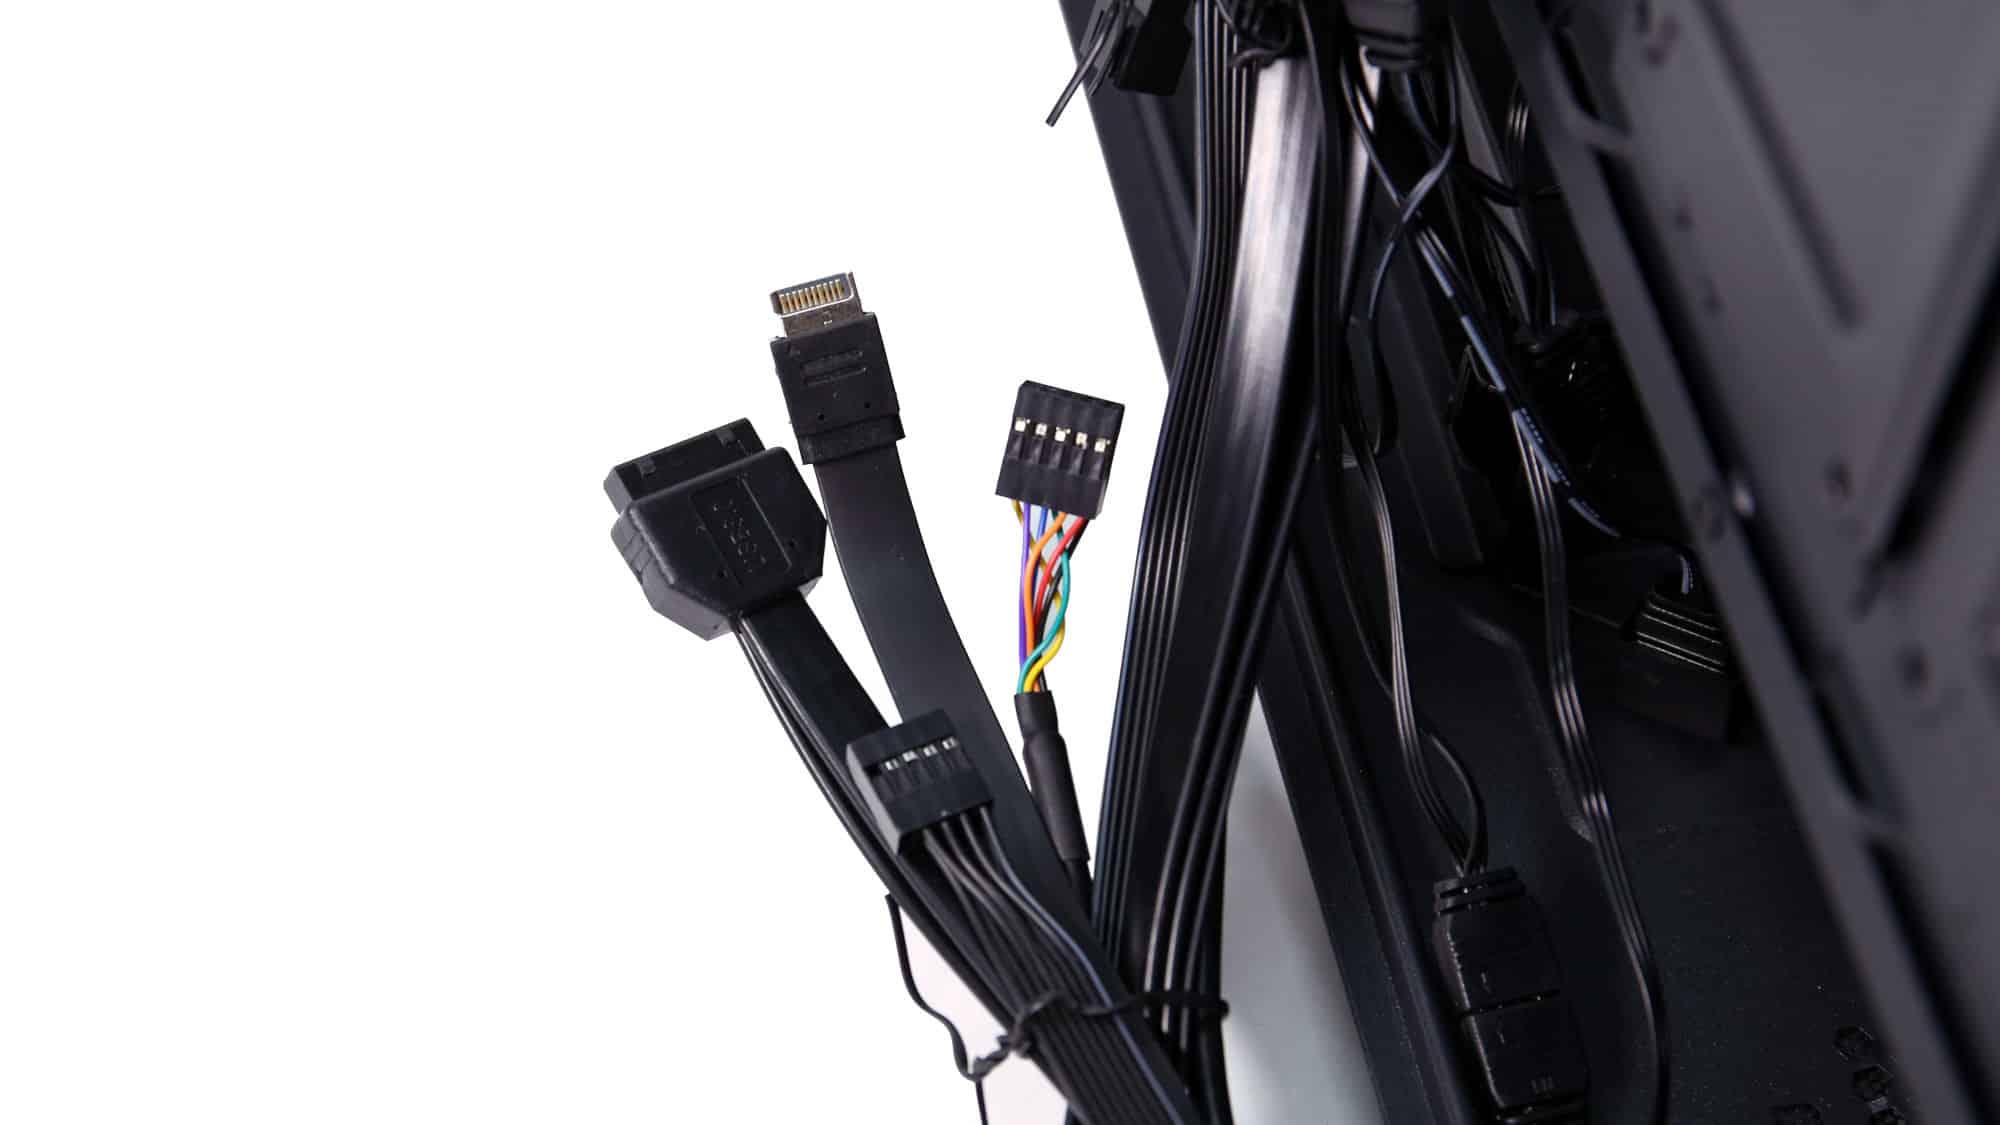
The top I/O cables include:
- USB 3.0 19-pin header
- Front panel HD Audio
- Fused I/O connector
- USB Type-E connector for the front Type-C port
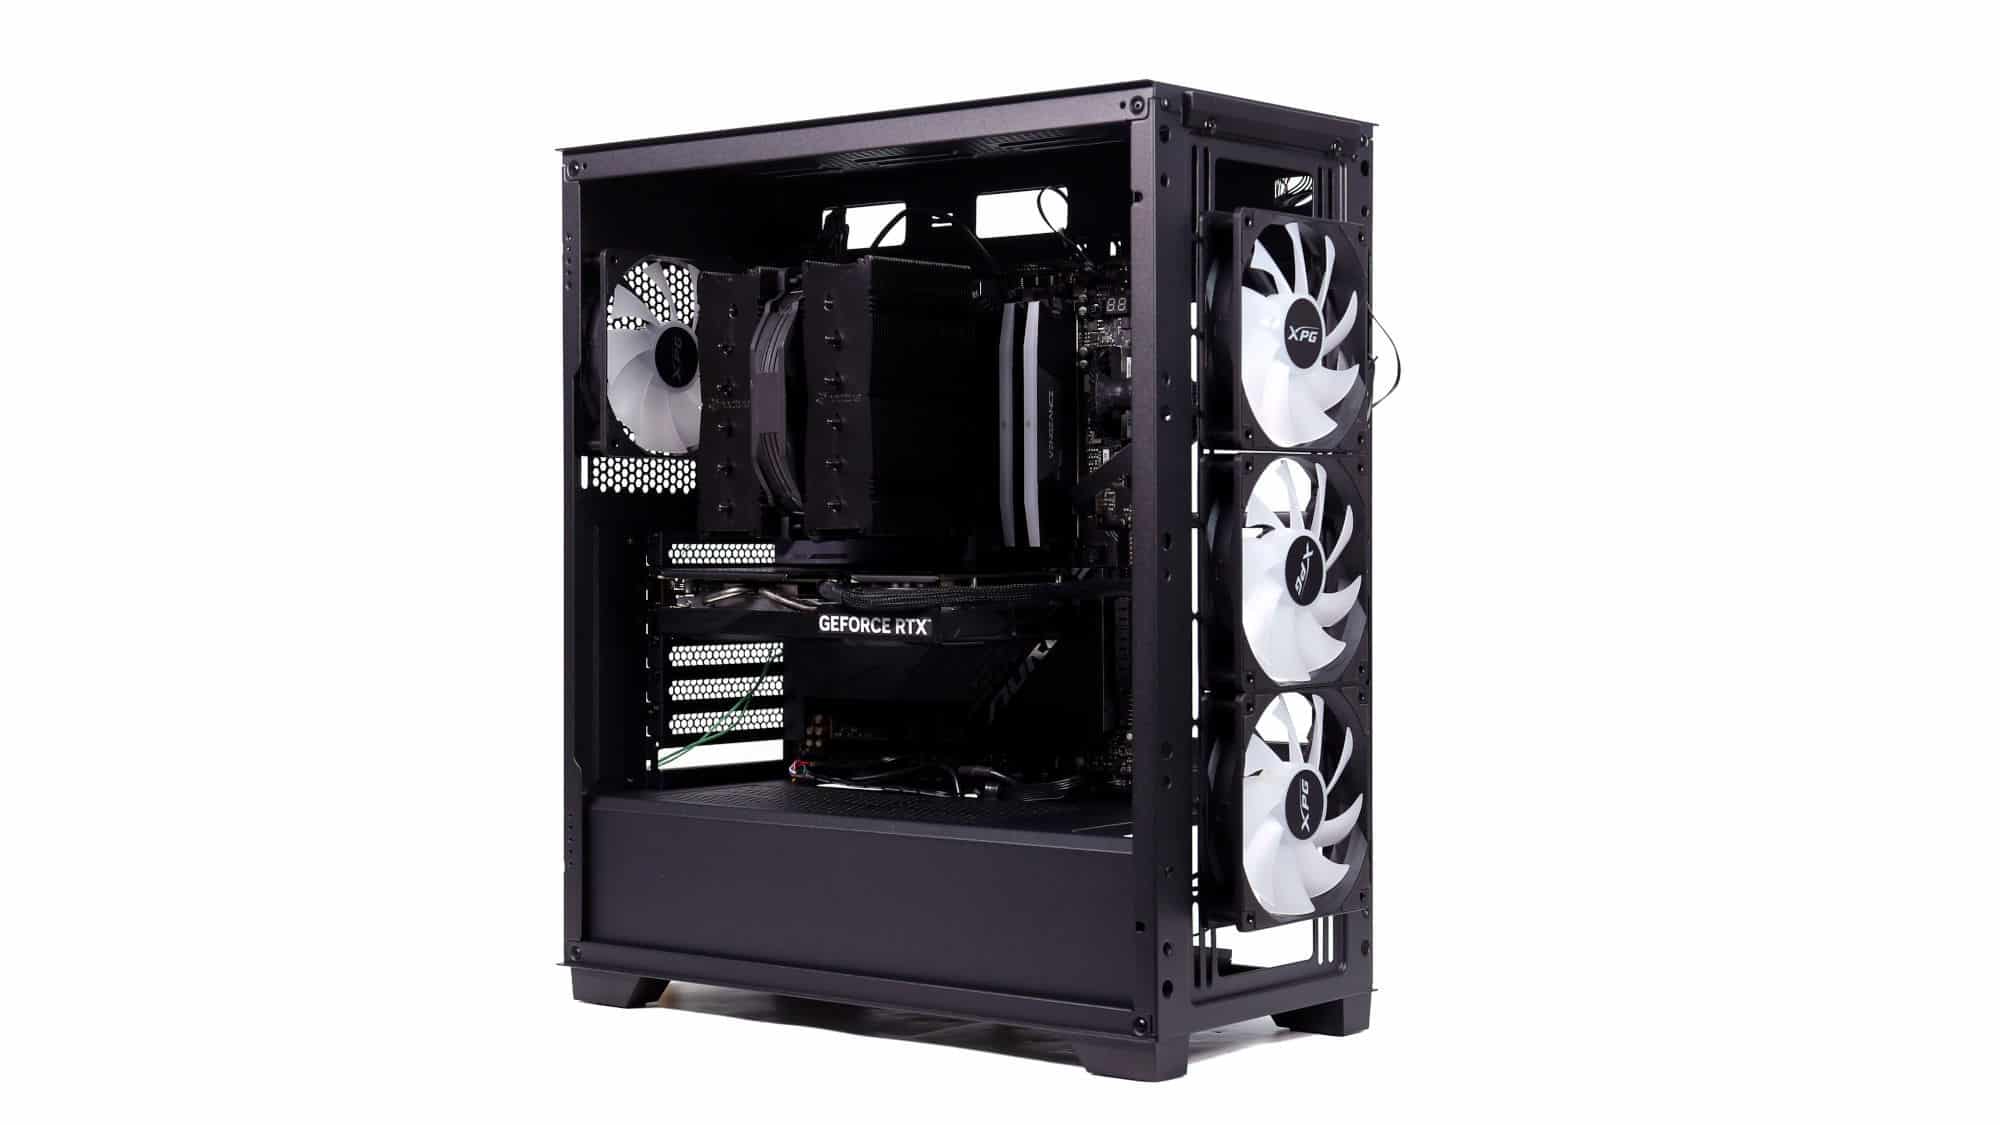

The finished build looks cohesive and fits the chassis nicely. The assembly process was straightforward and required no special planning. Installing an AIO (top or front) may require minor preparation, but overall, the Valor Air Pro provides an enjoyable, frustration-free building experience.
ARGB Lighting and Aesthetics
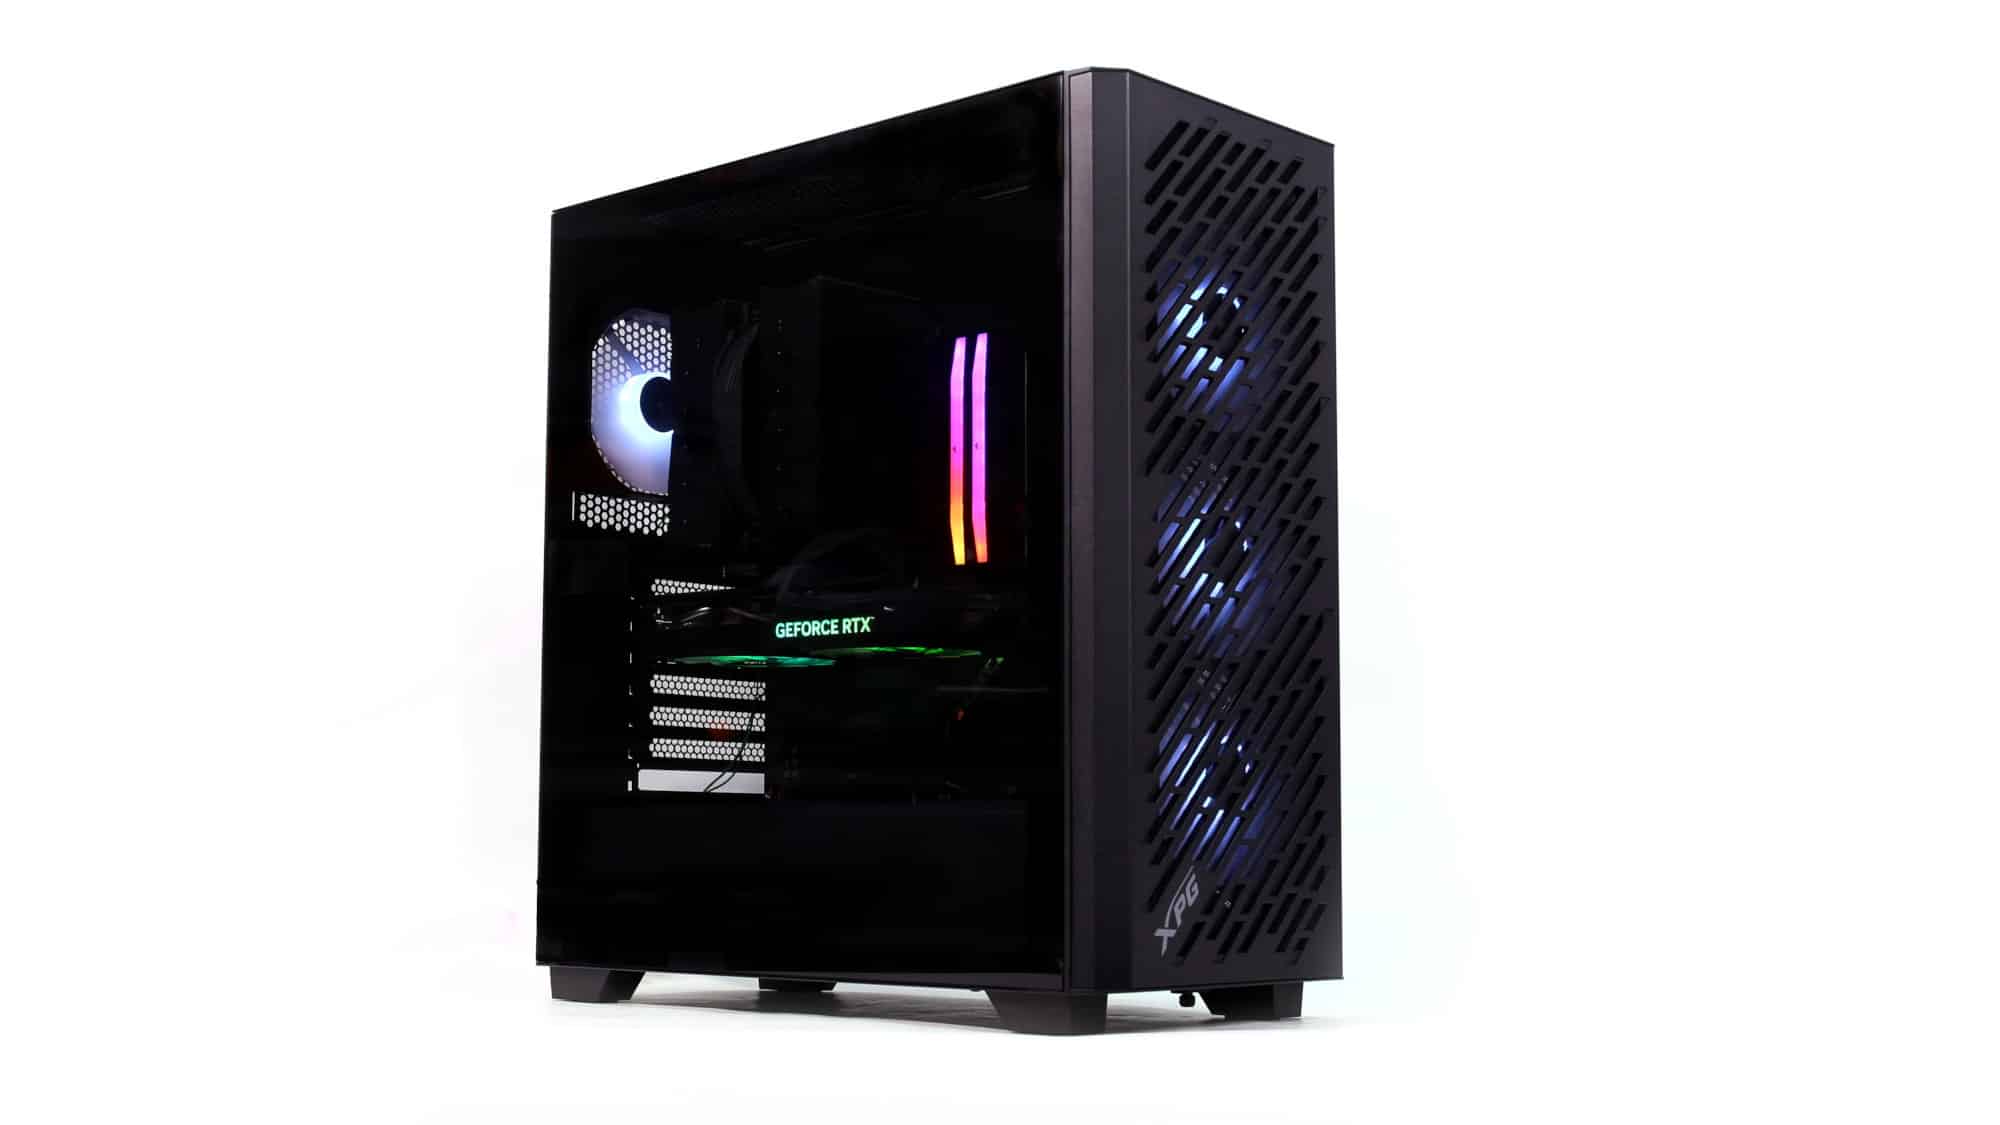
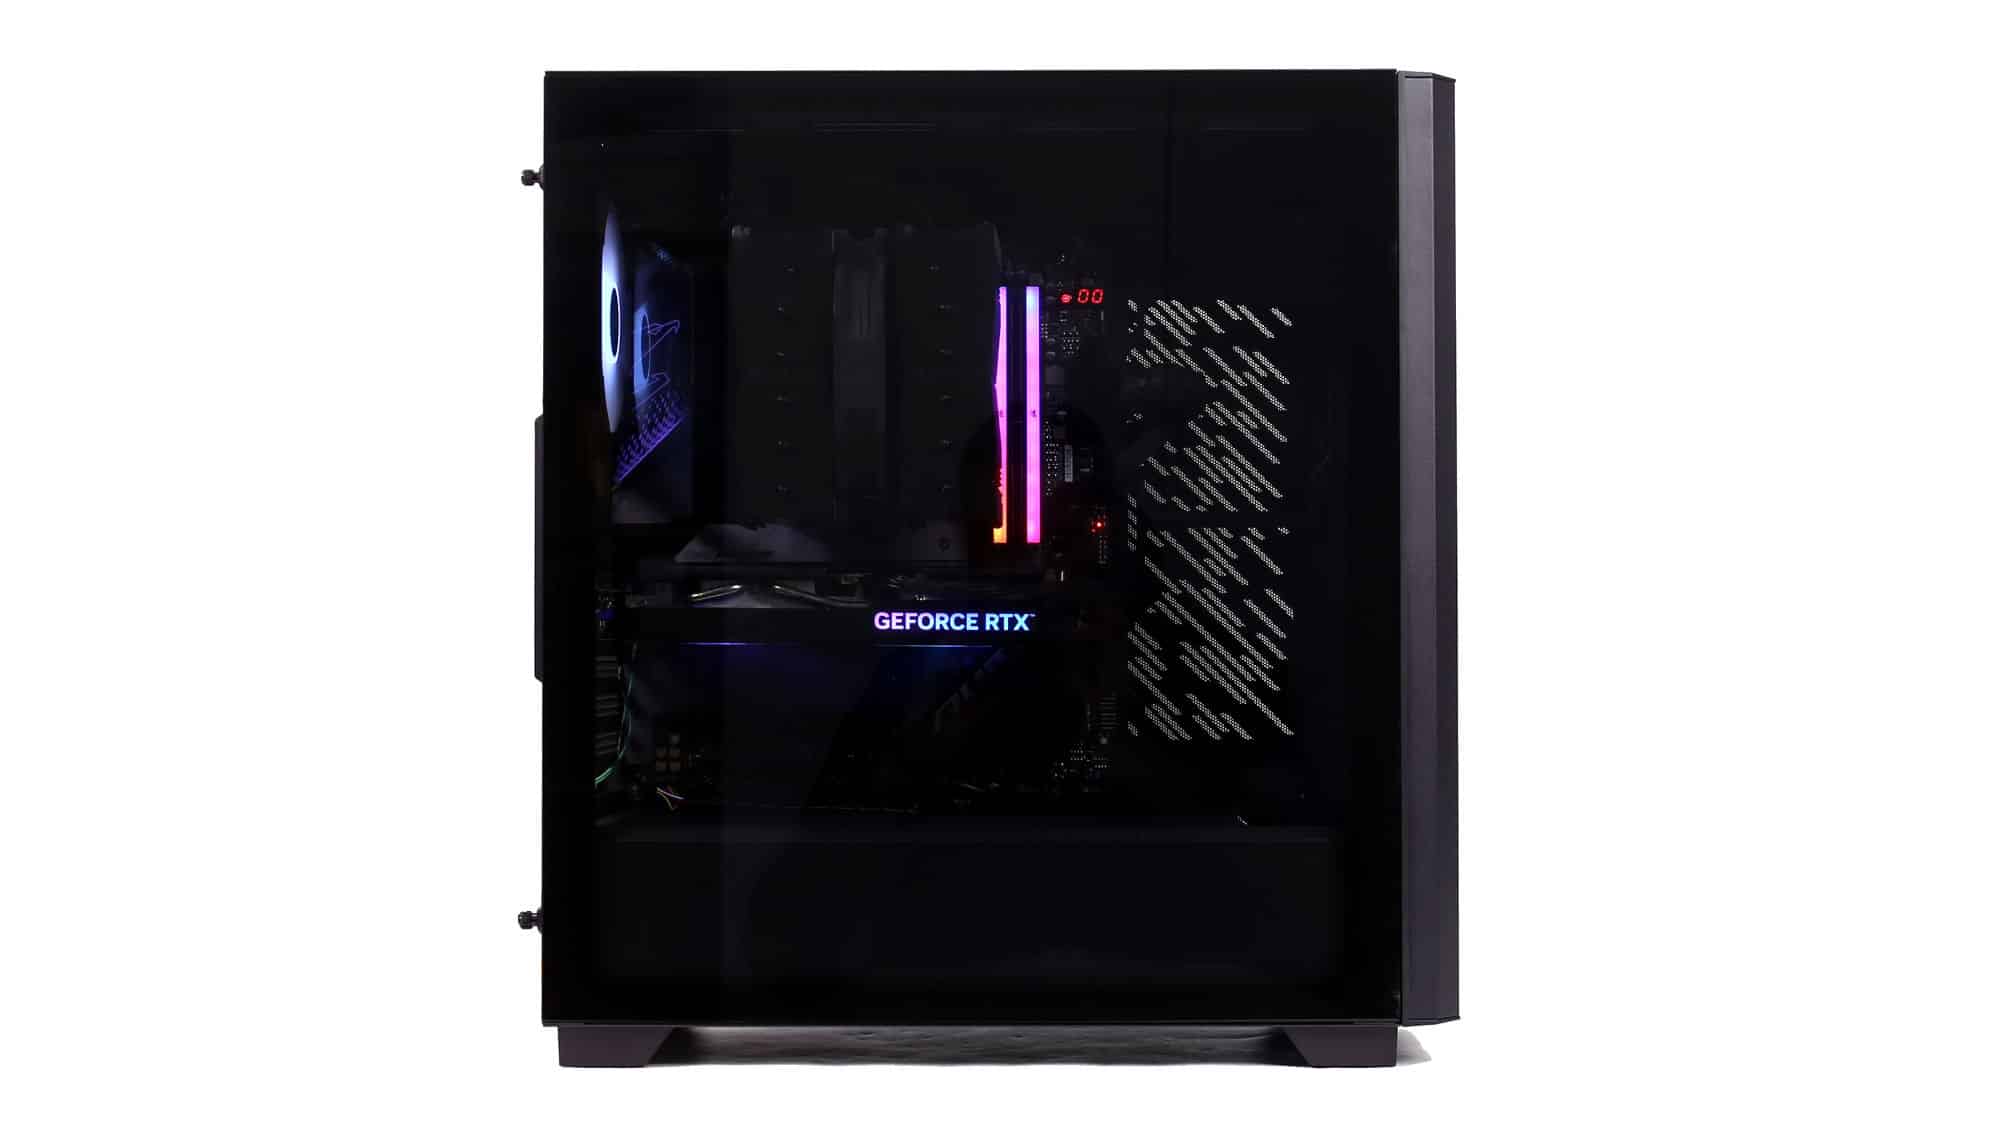
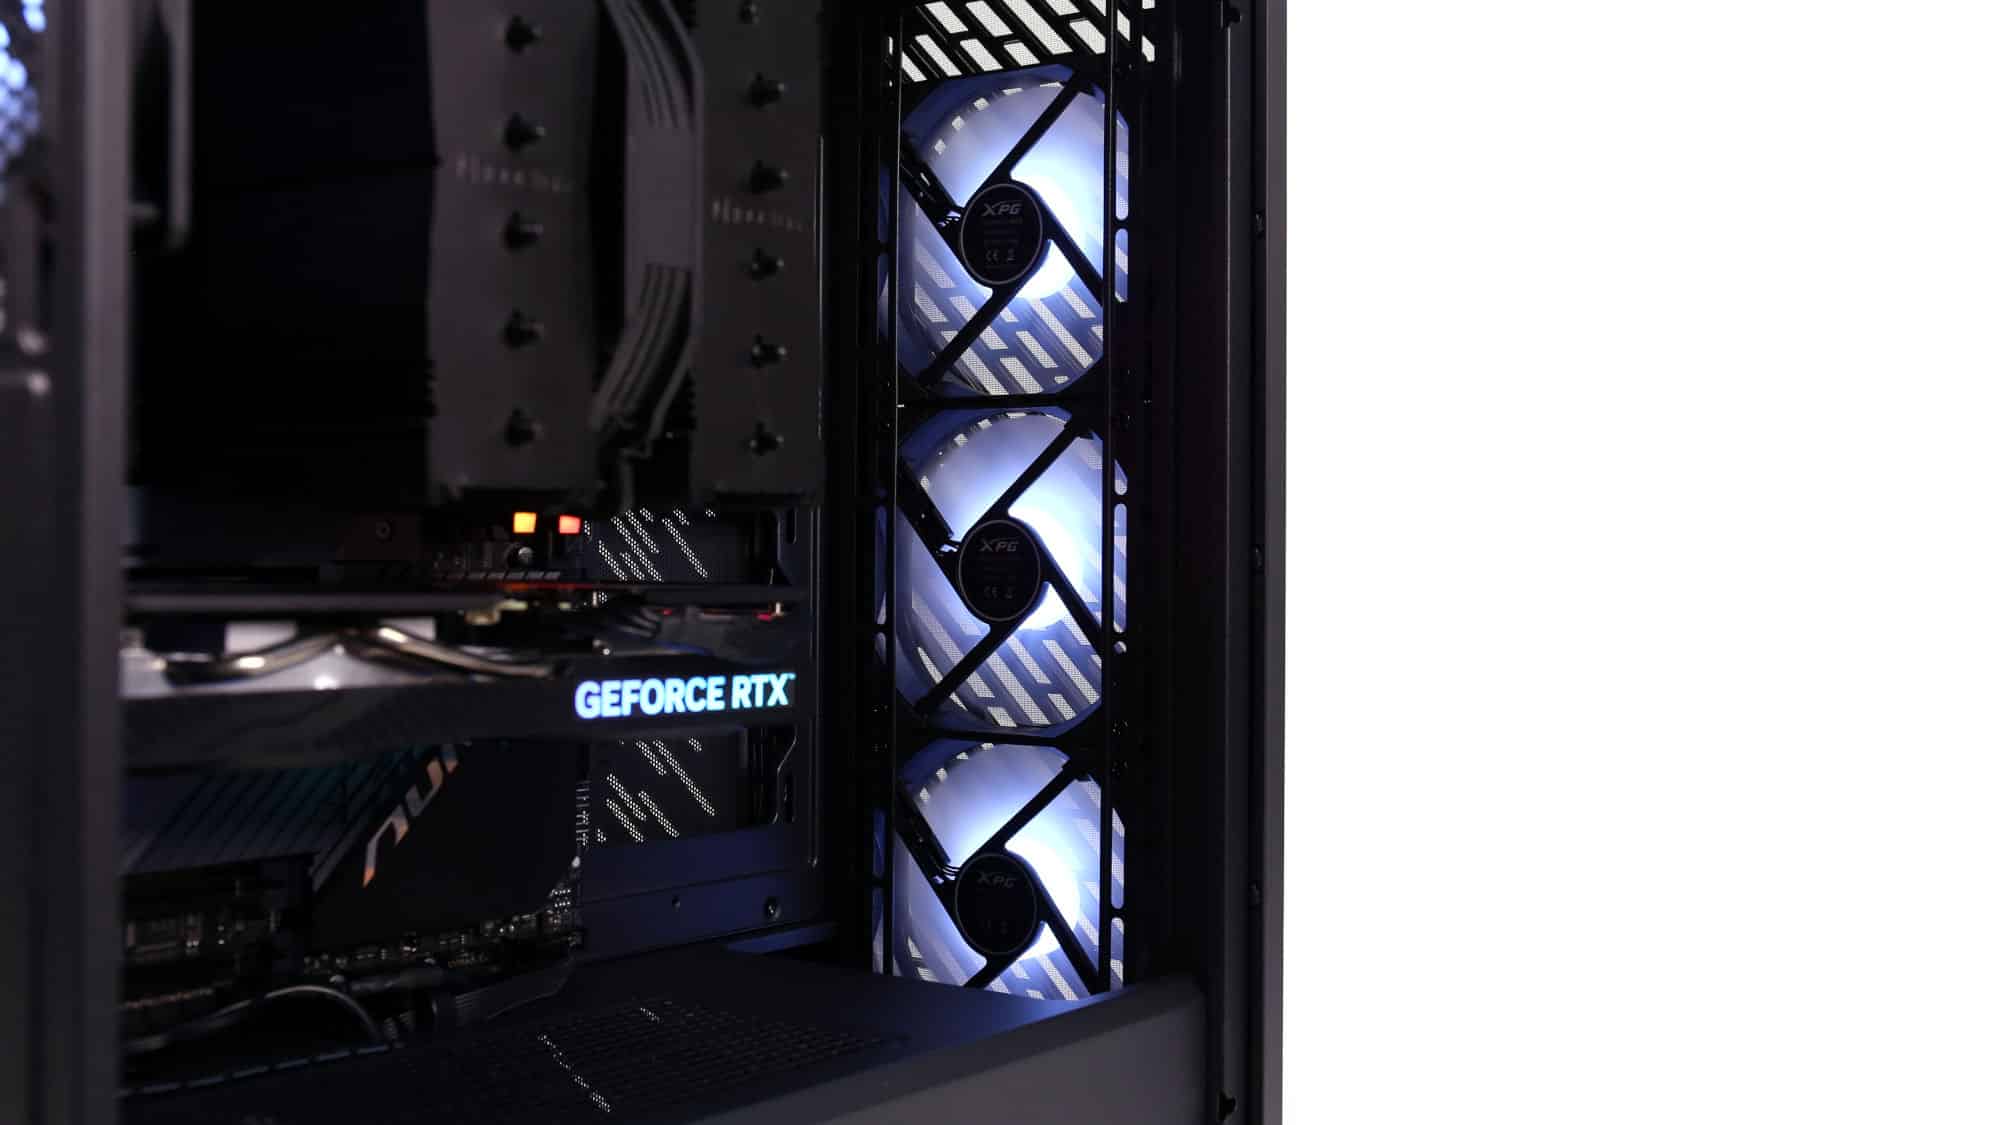
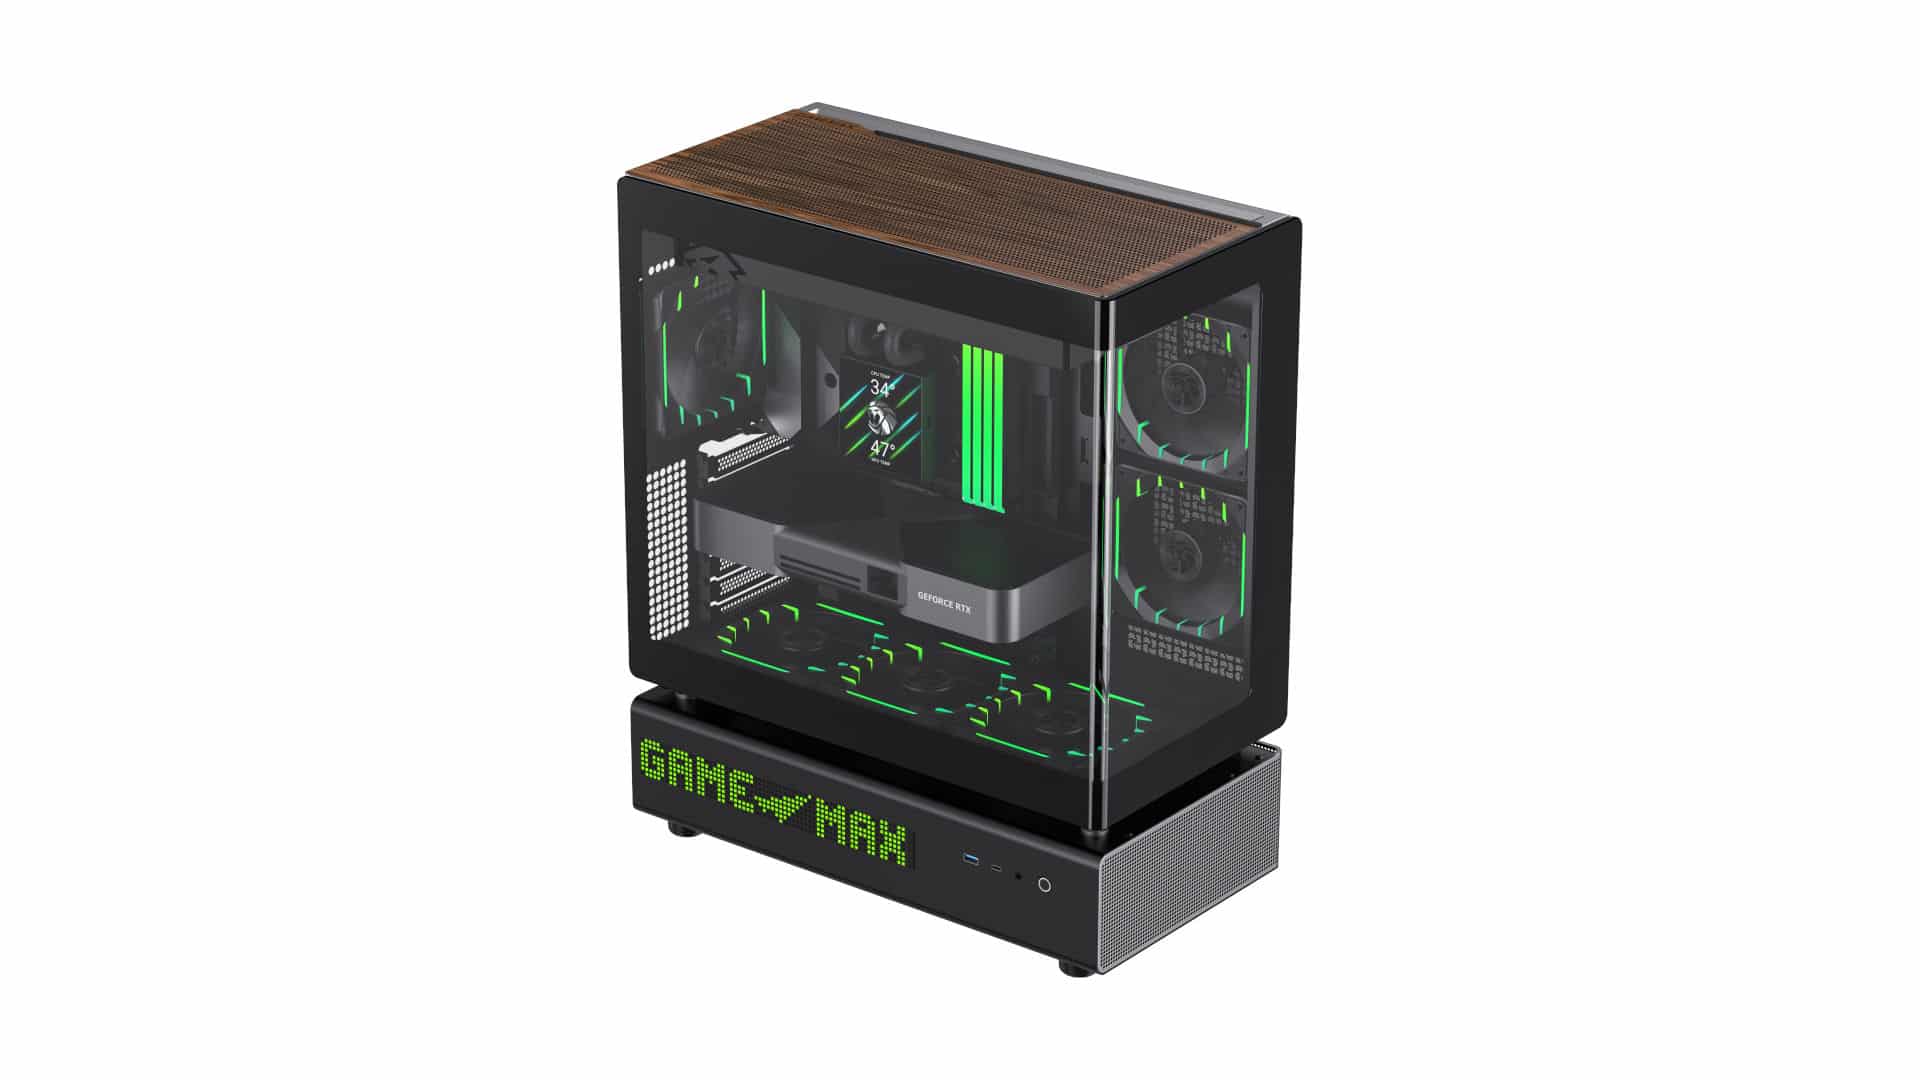
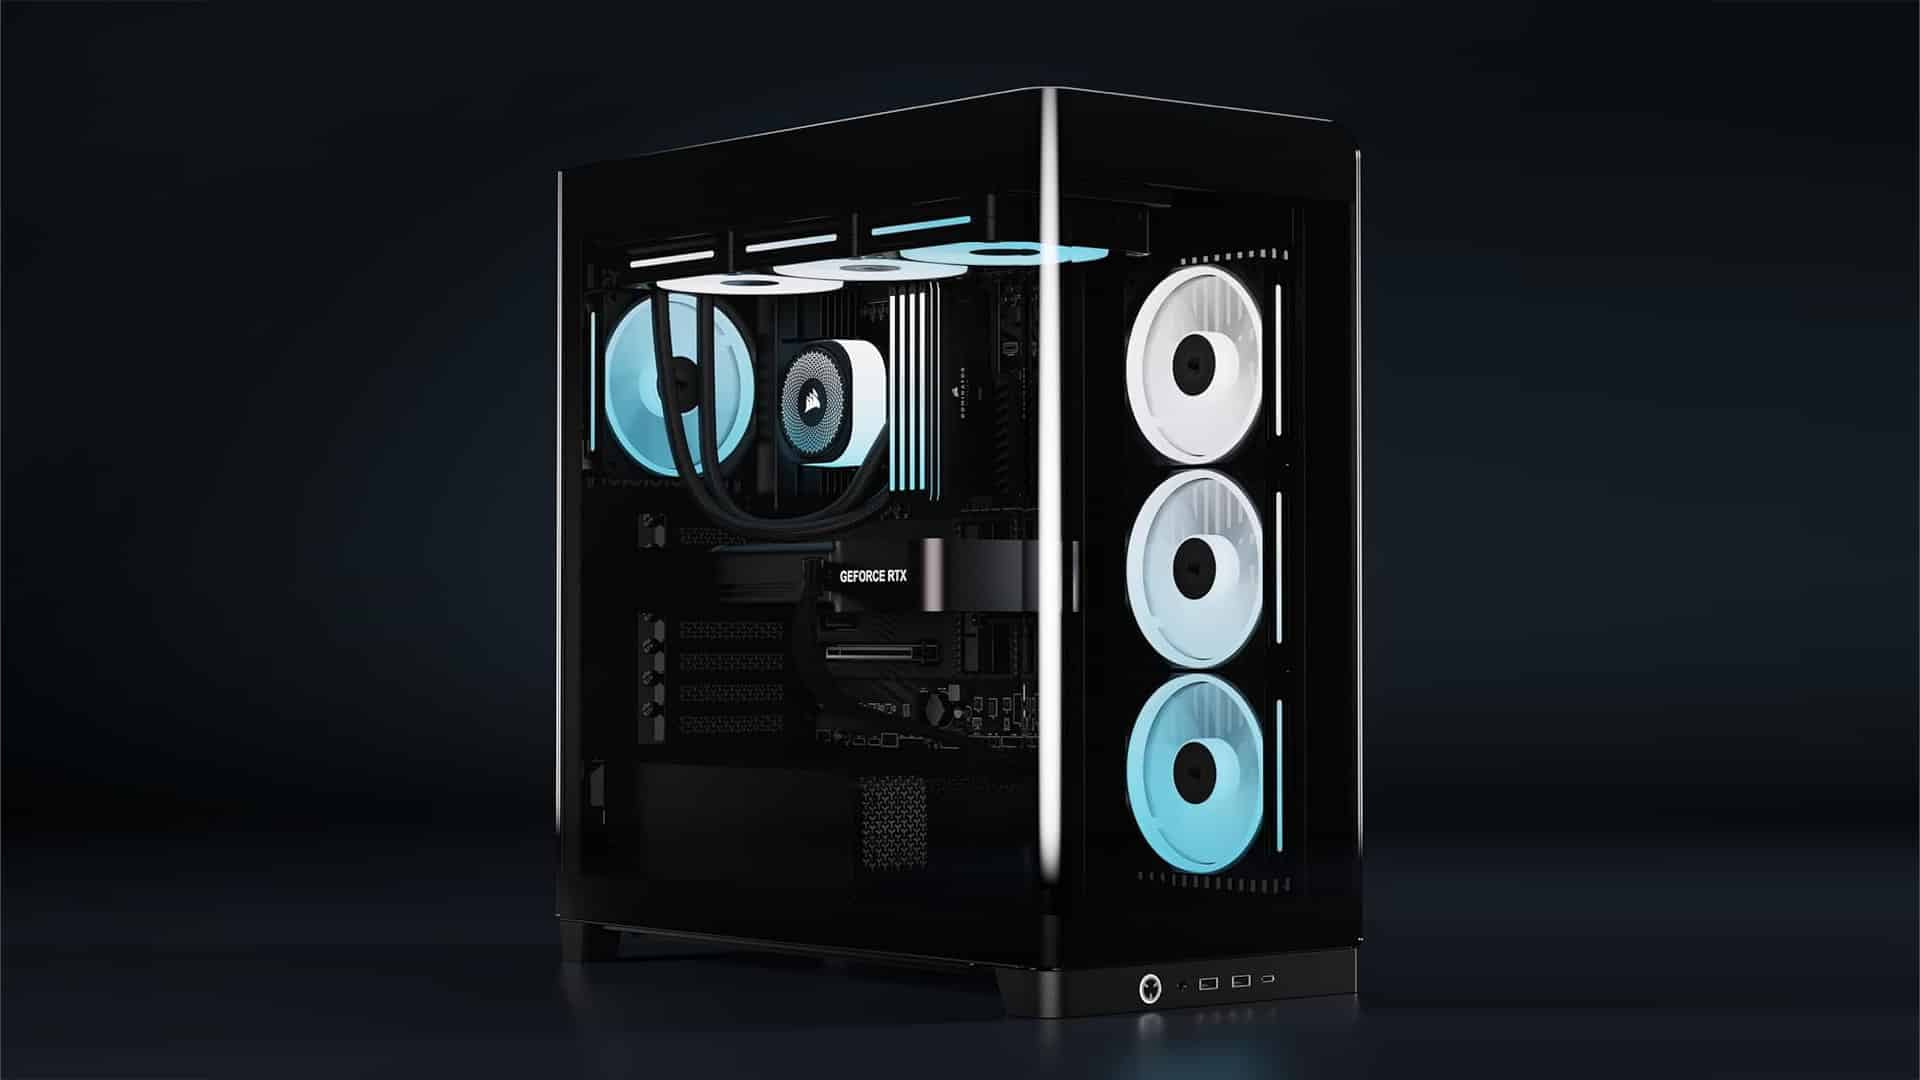
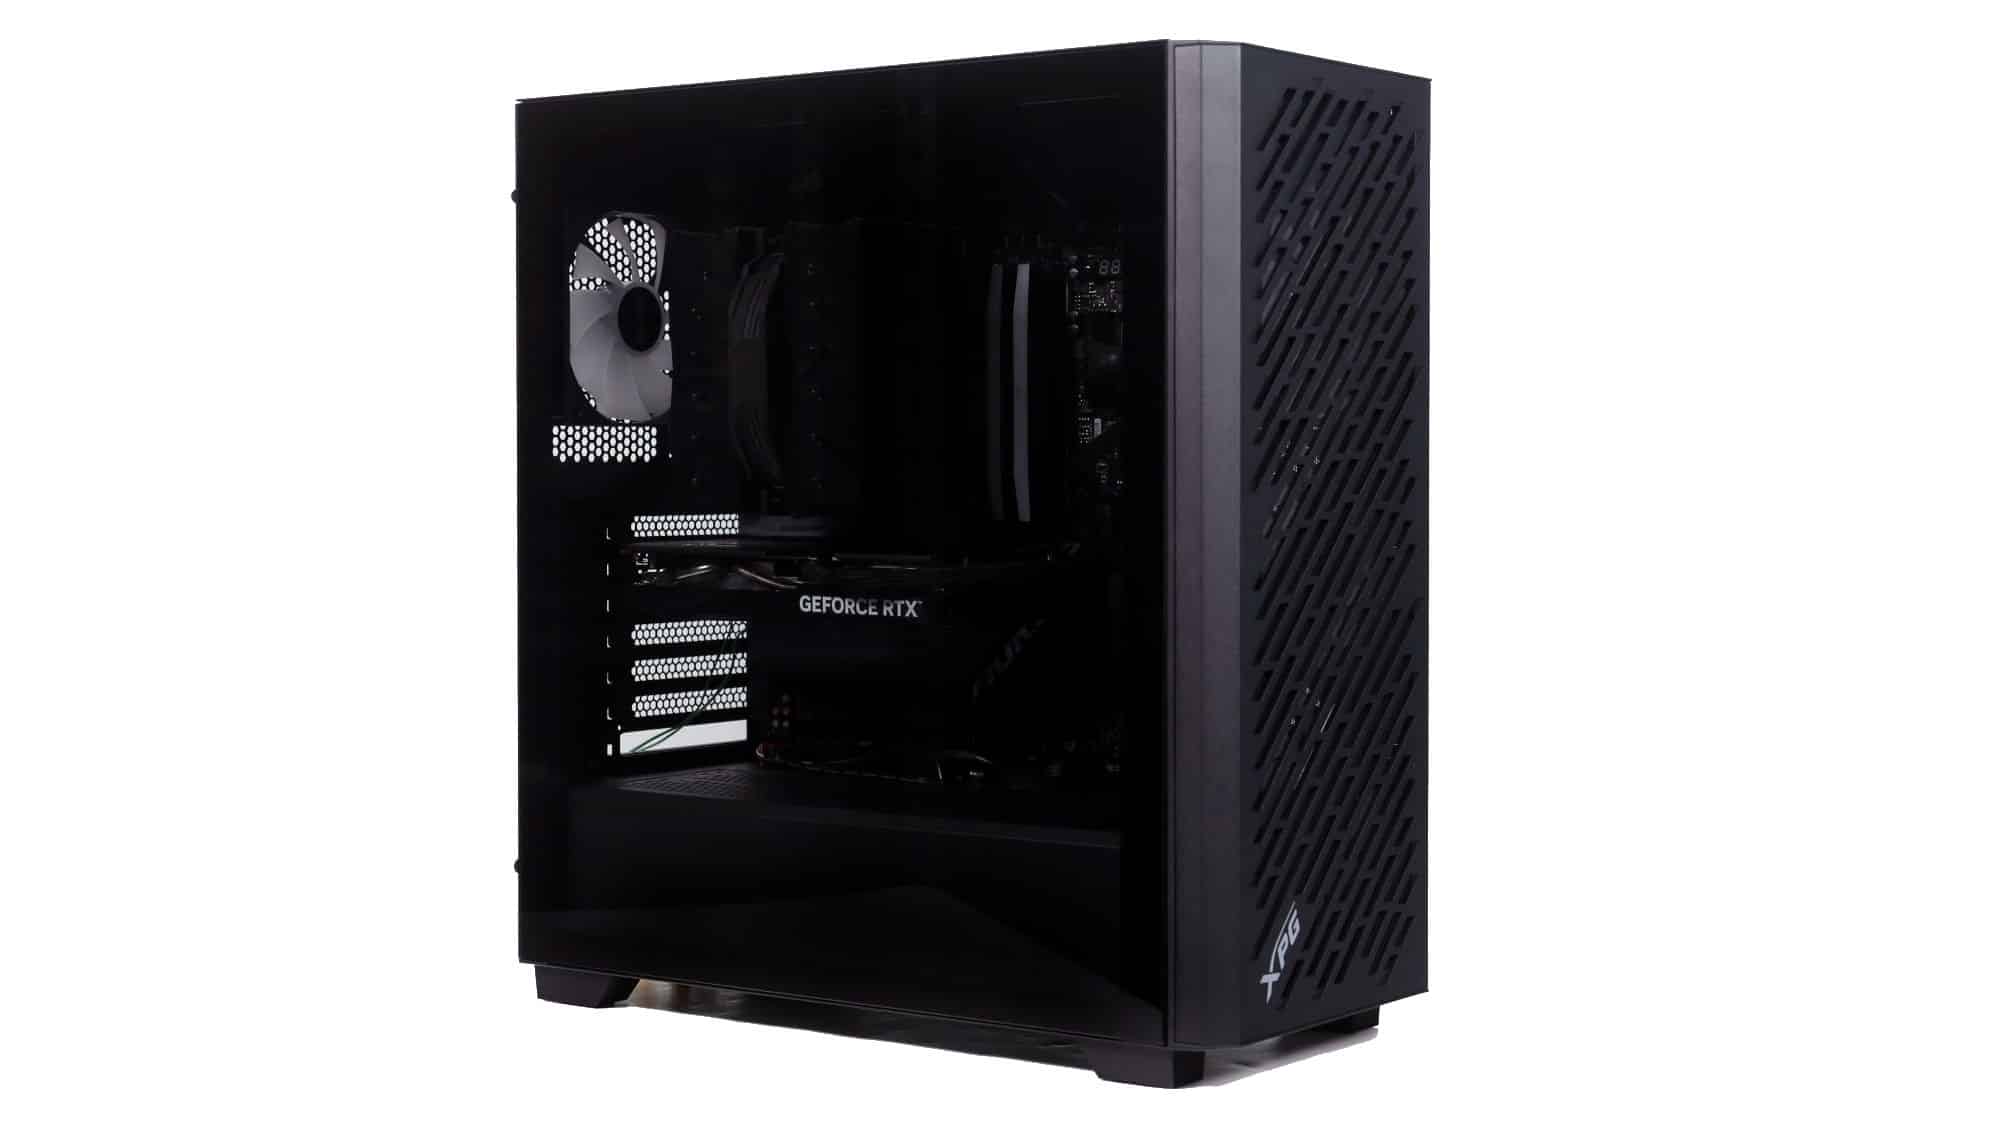
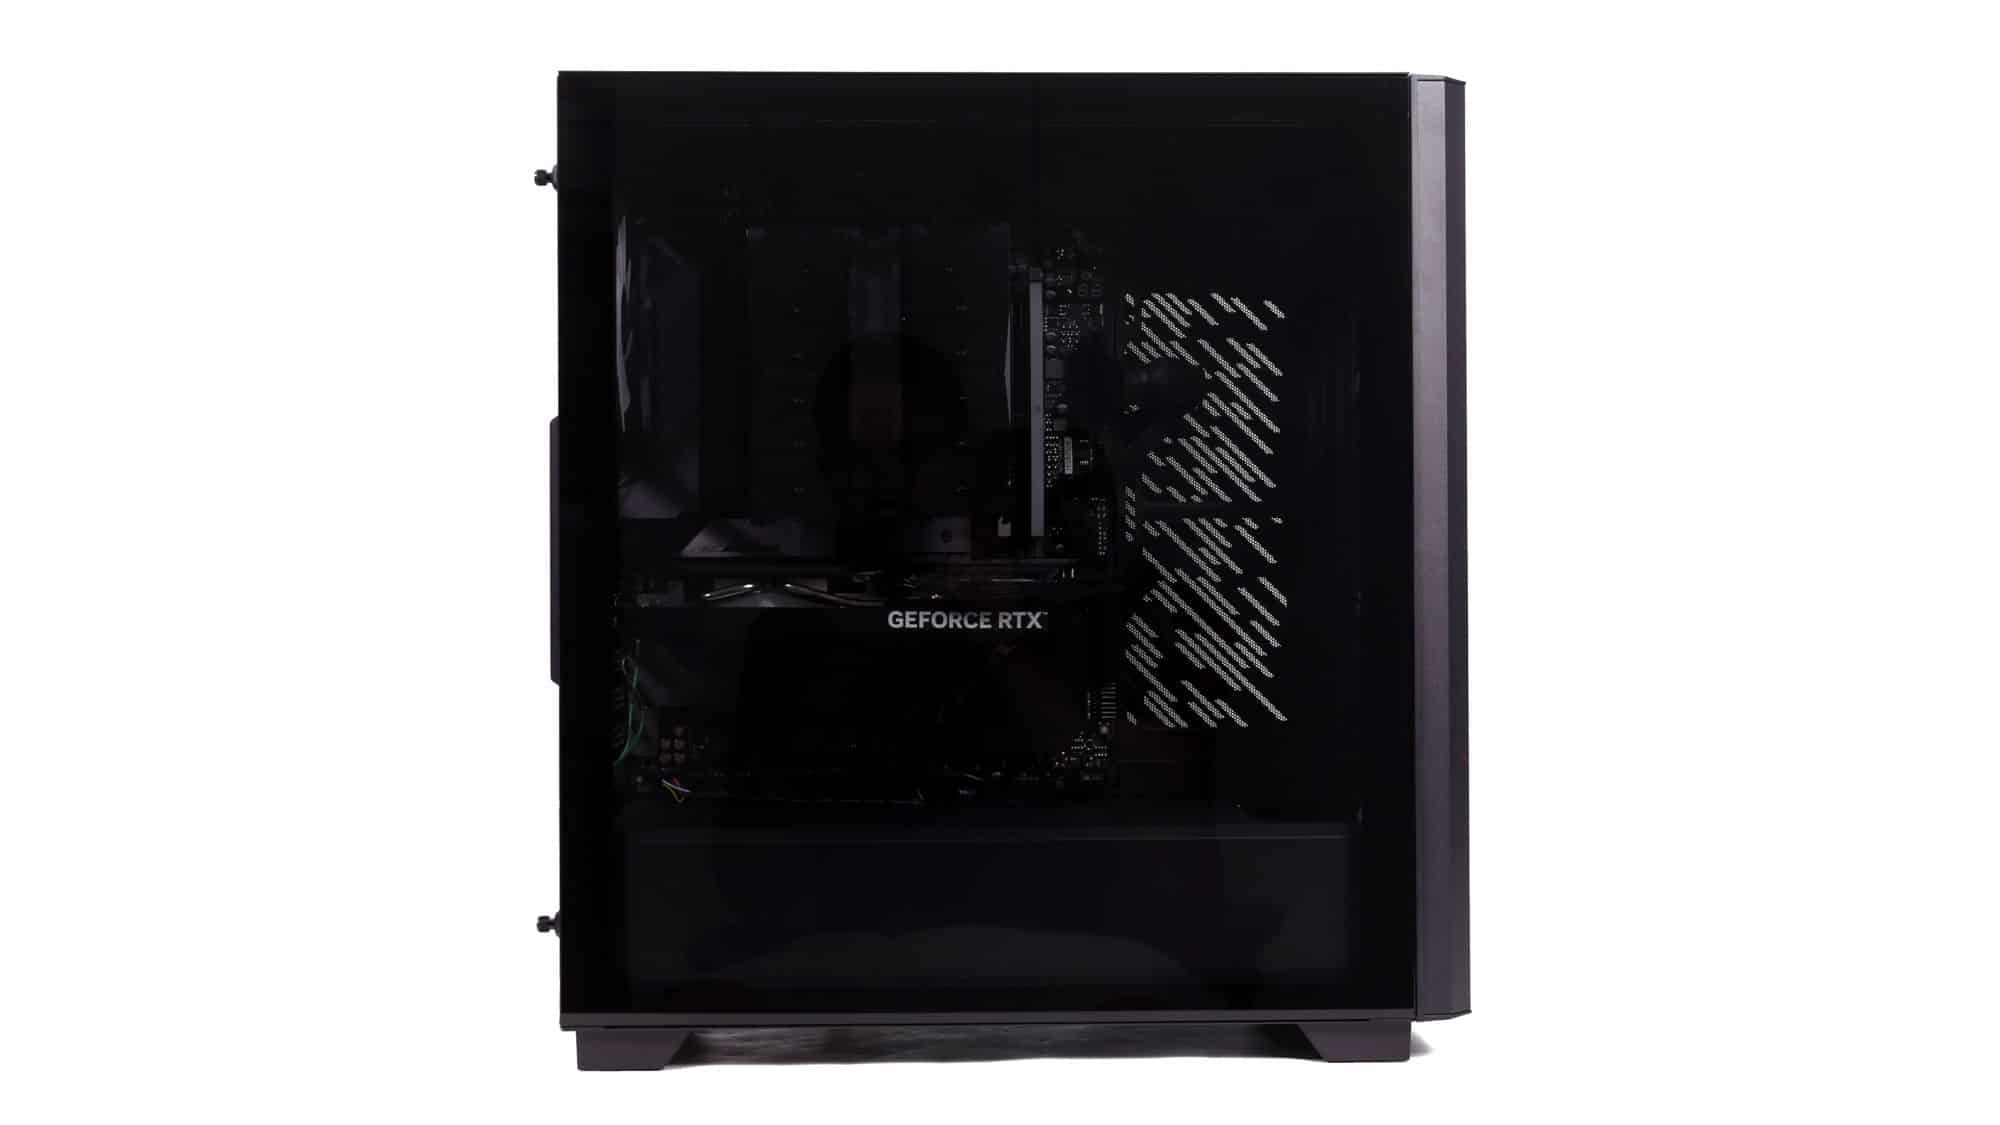
The final system, with its ARGB lighting, looks clean while keeping the PC’s interior dark.
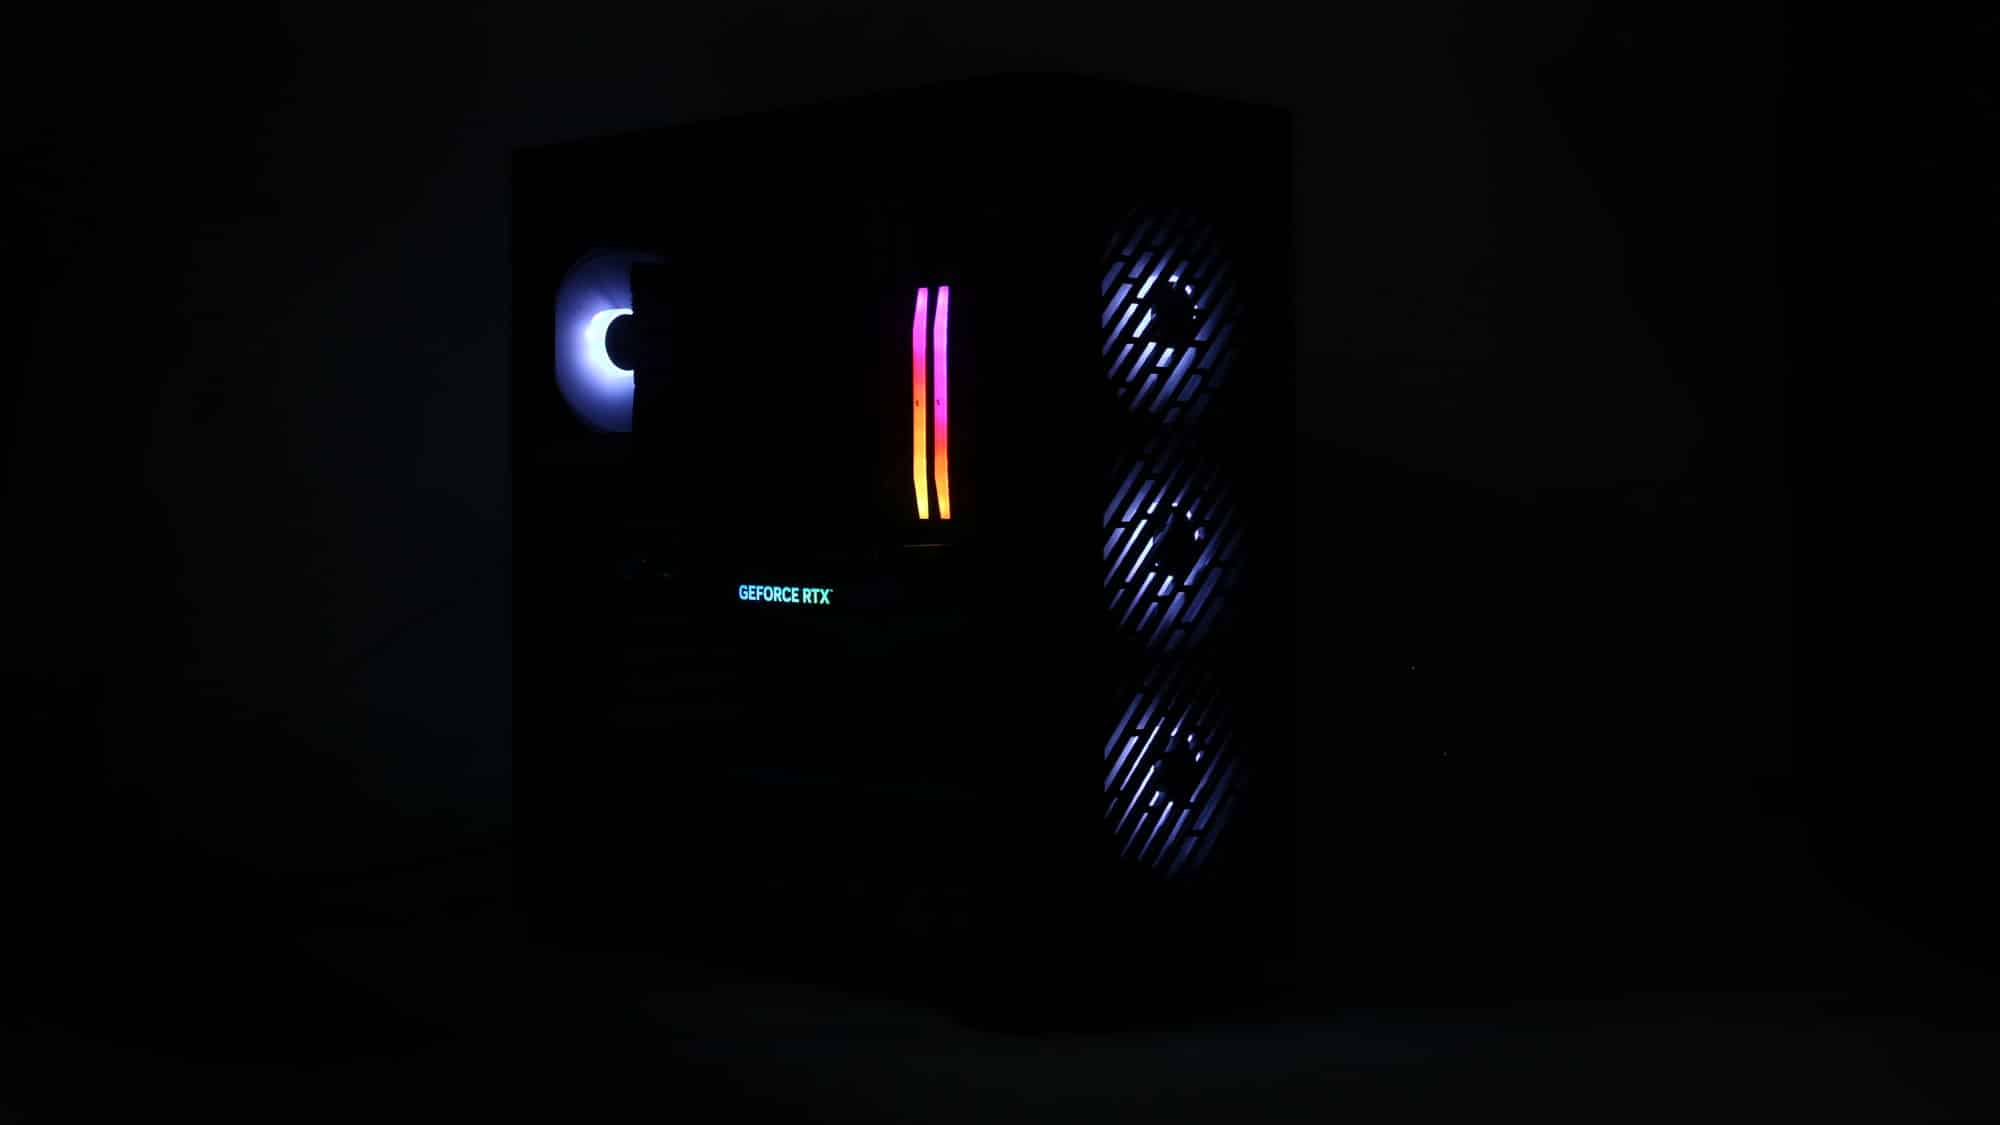
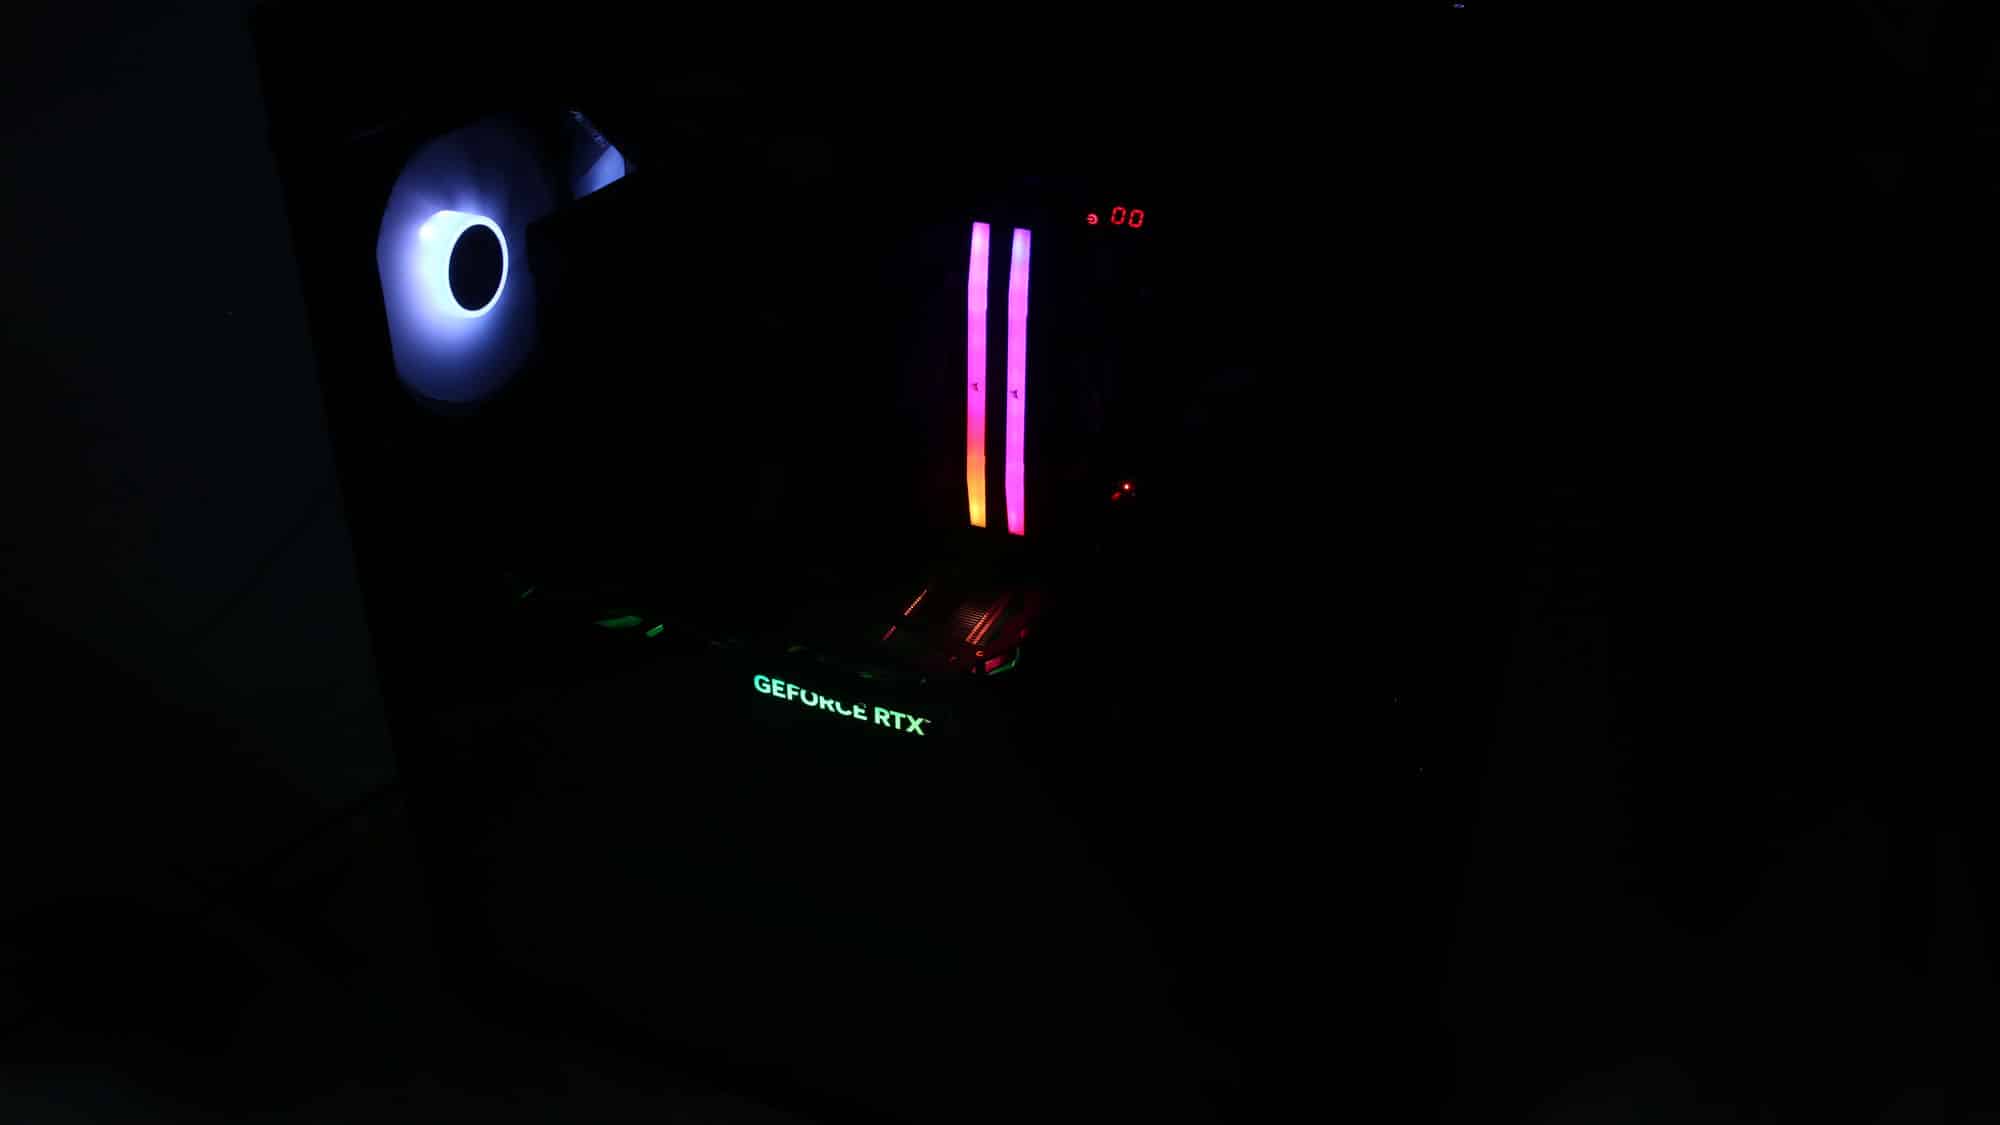
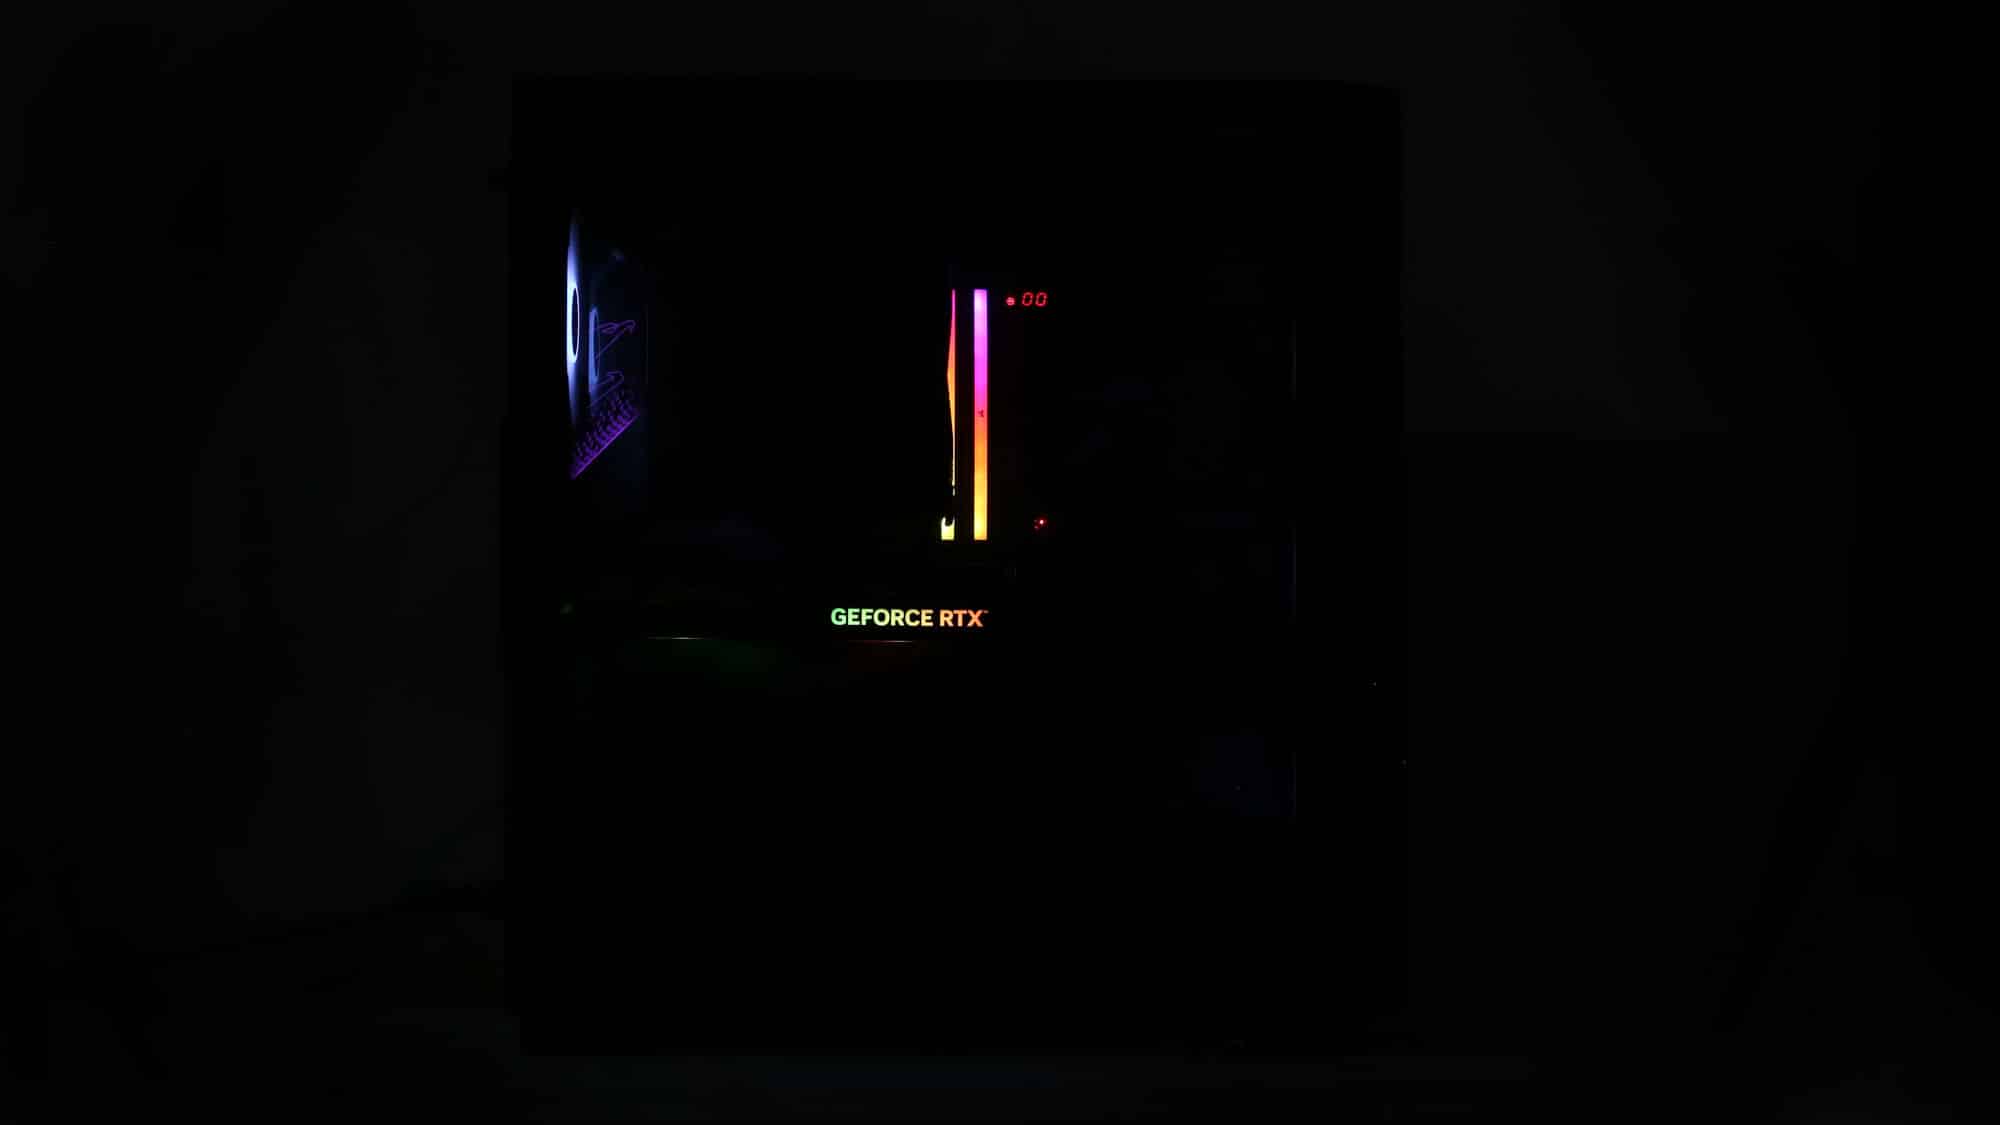
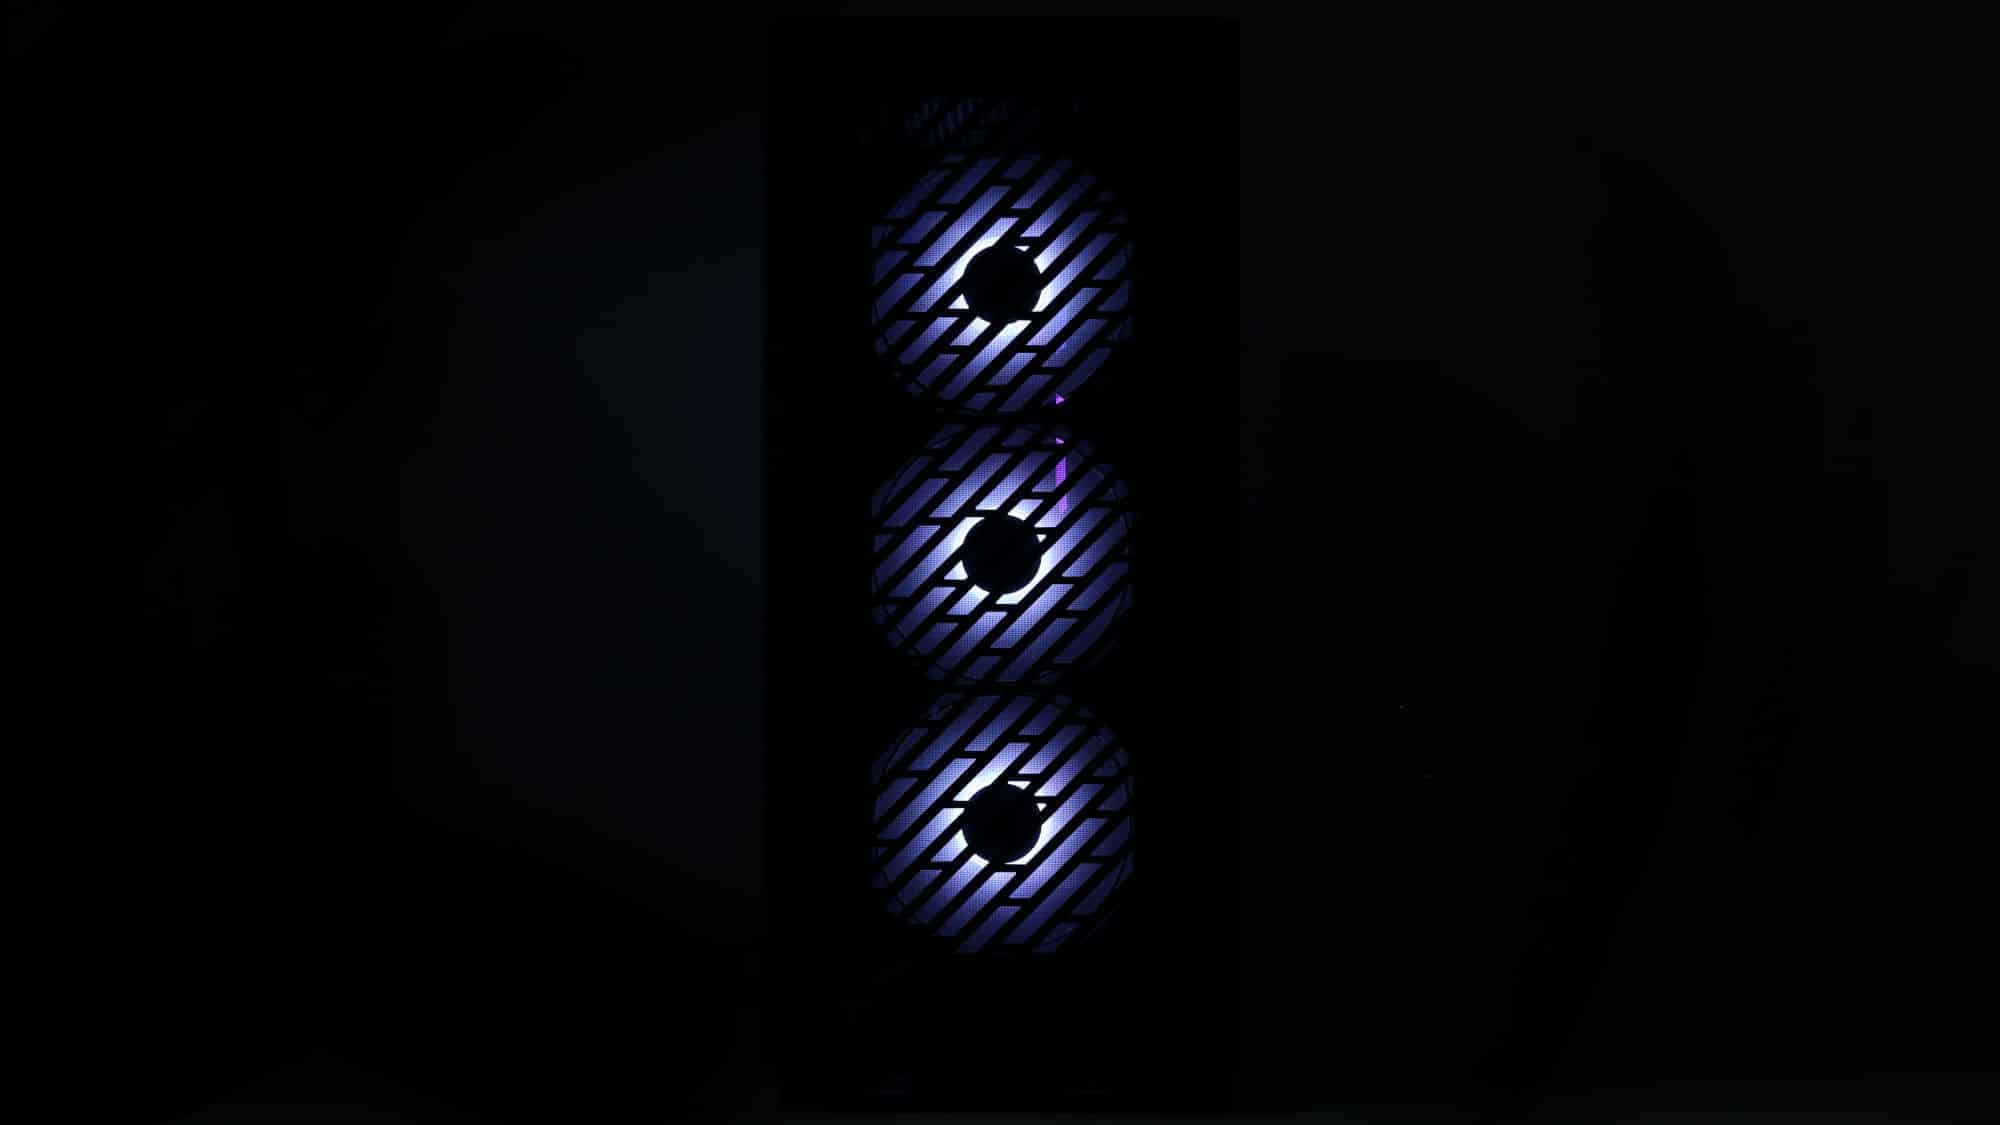
With the lights off, the fans command attention from every angle. In addition, the fans’ ARGB lighting is clear and bright.