Build Experience
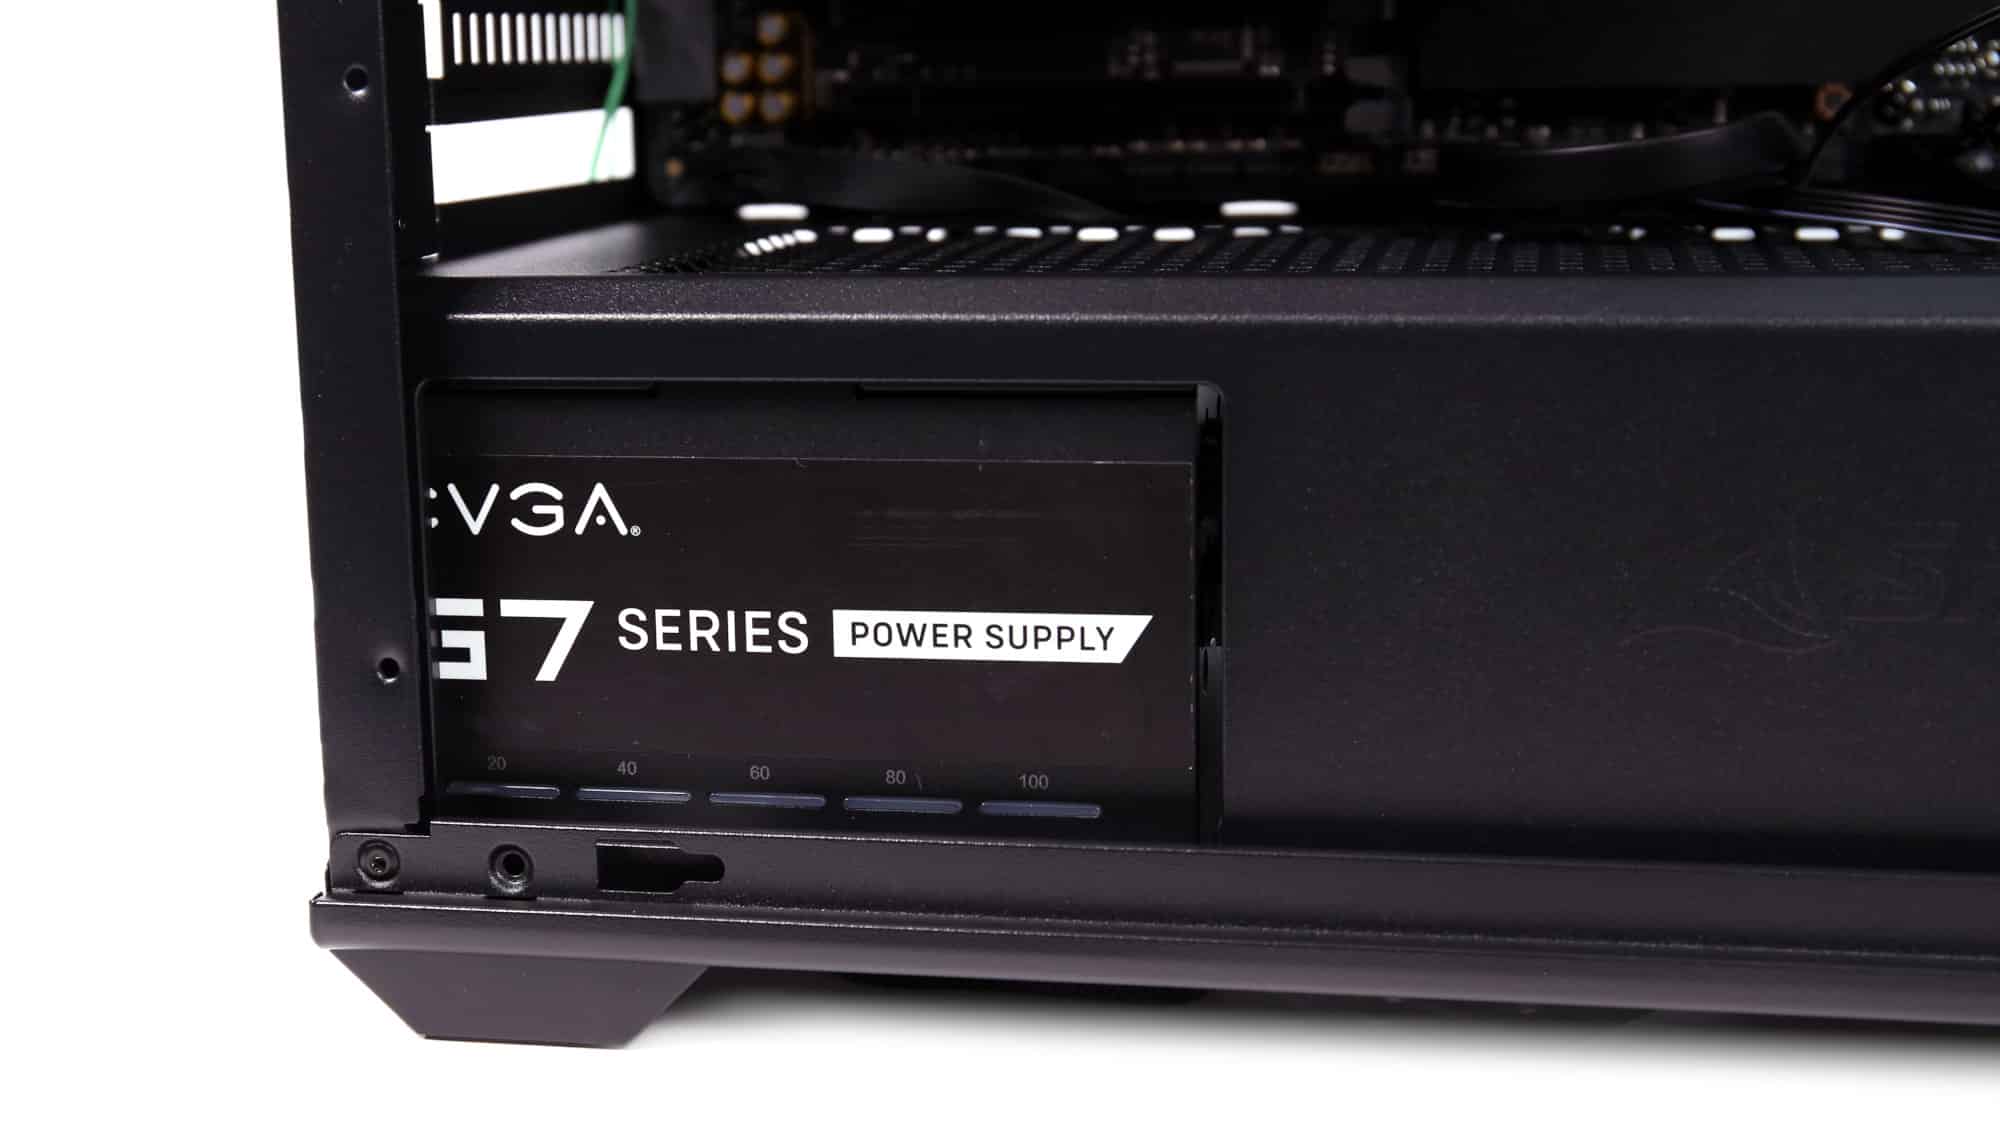
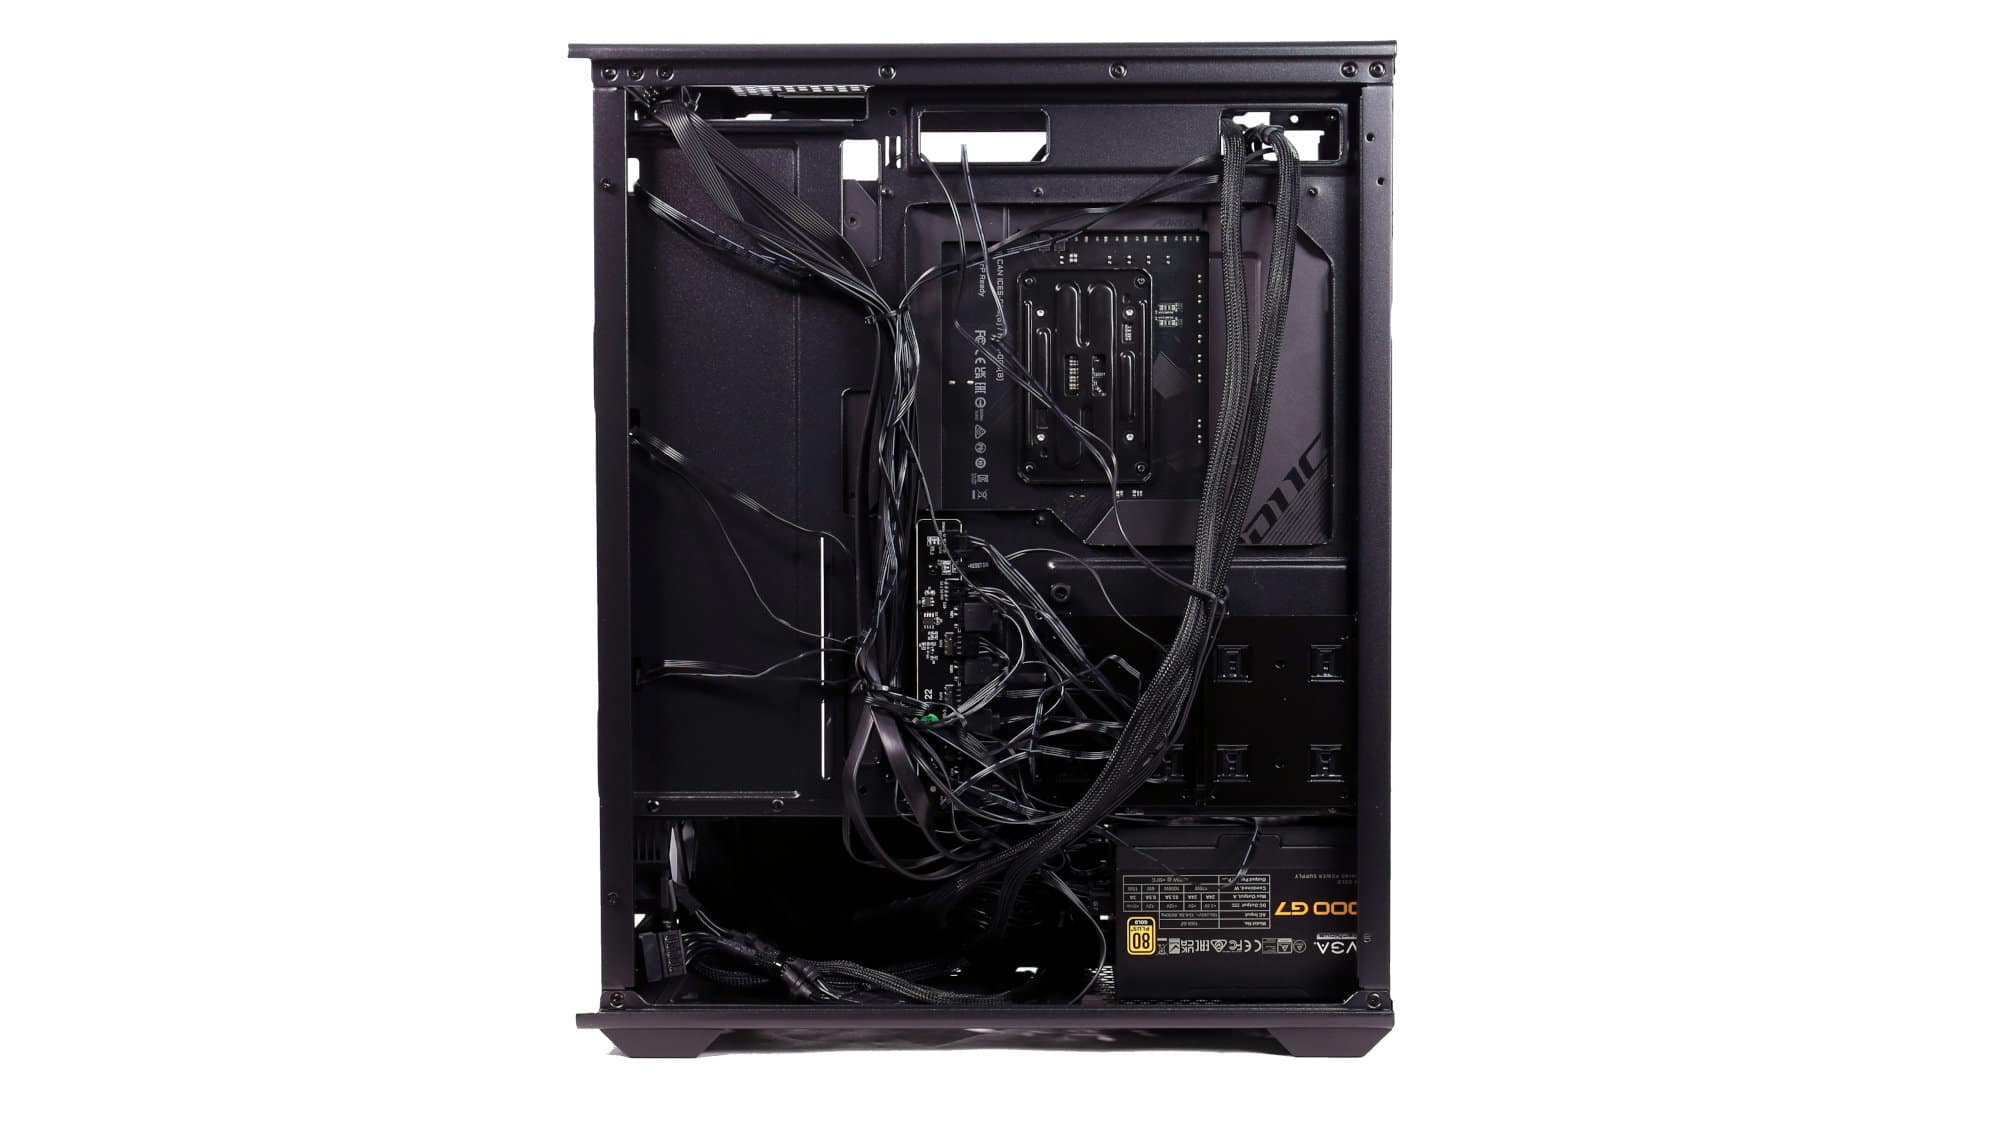
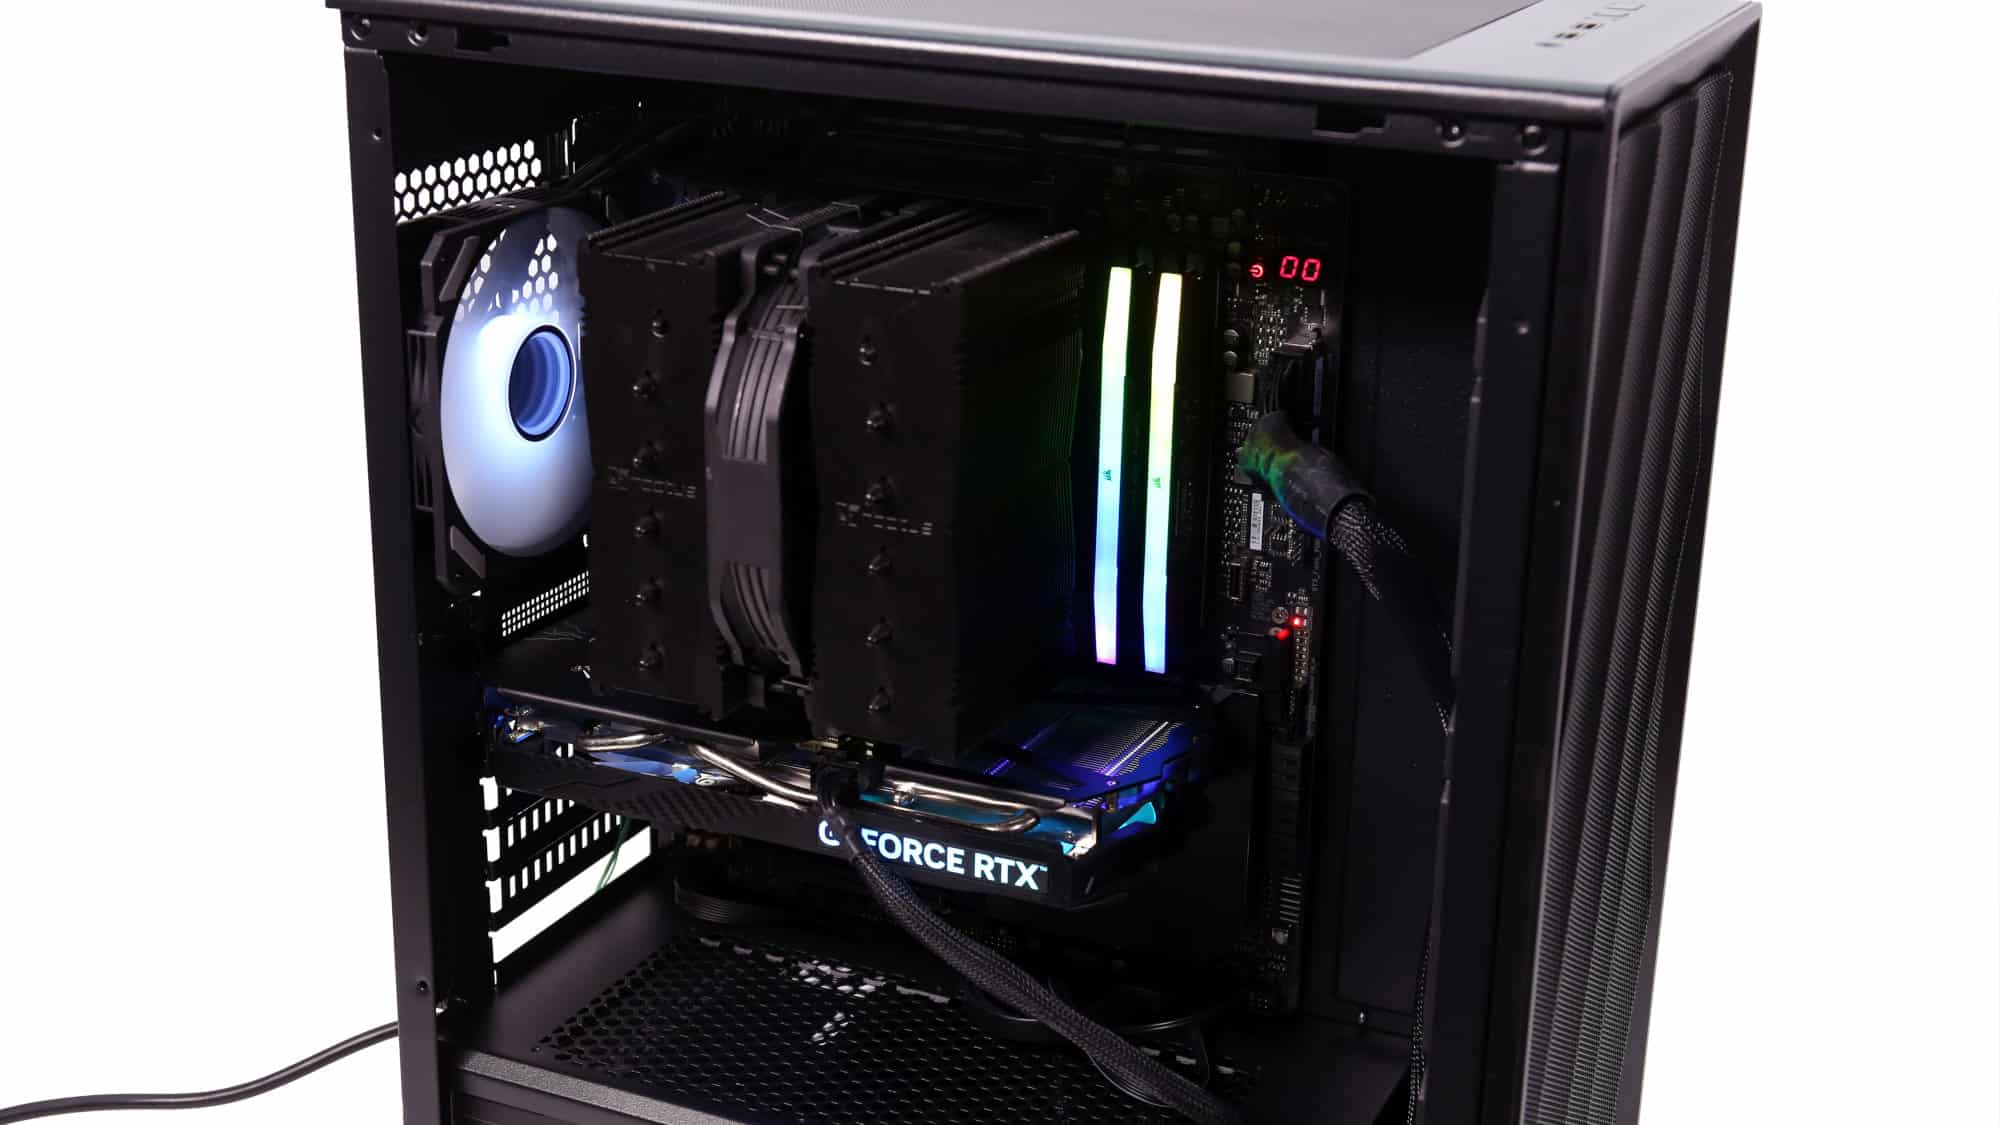
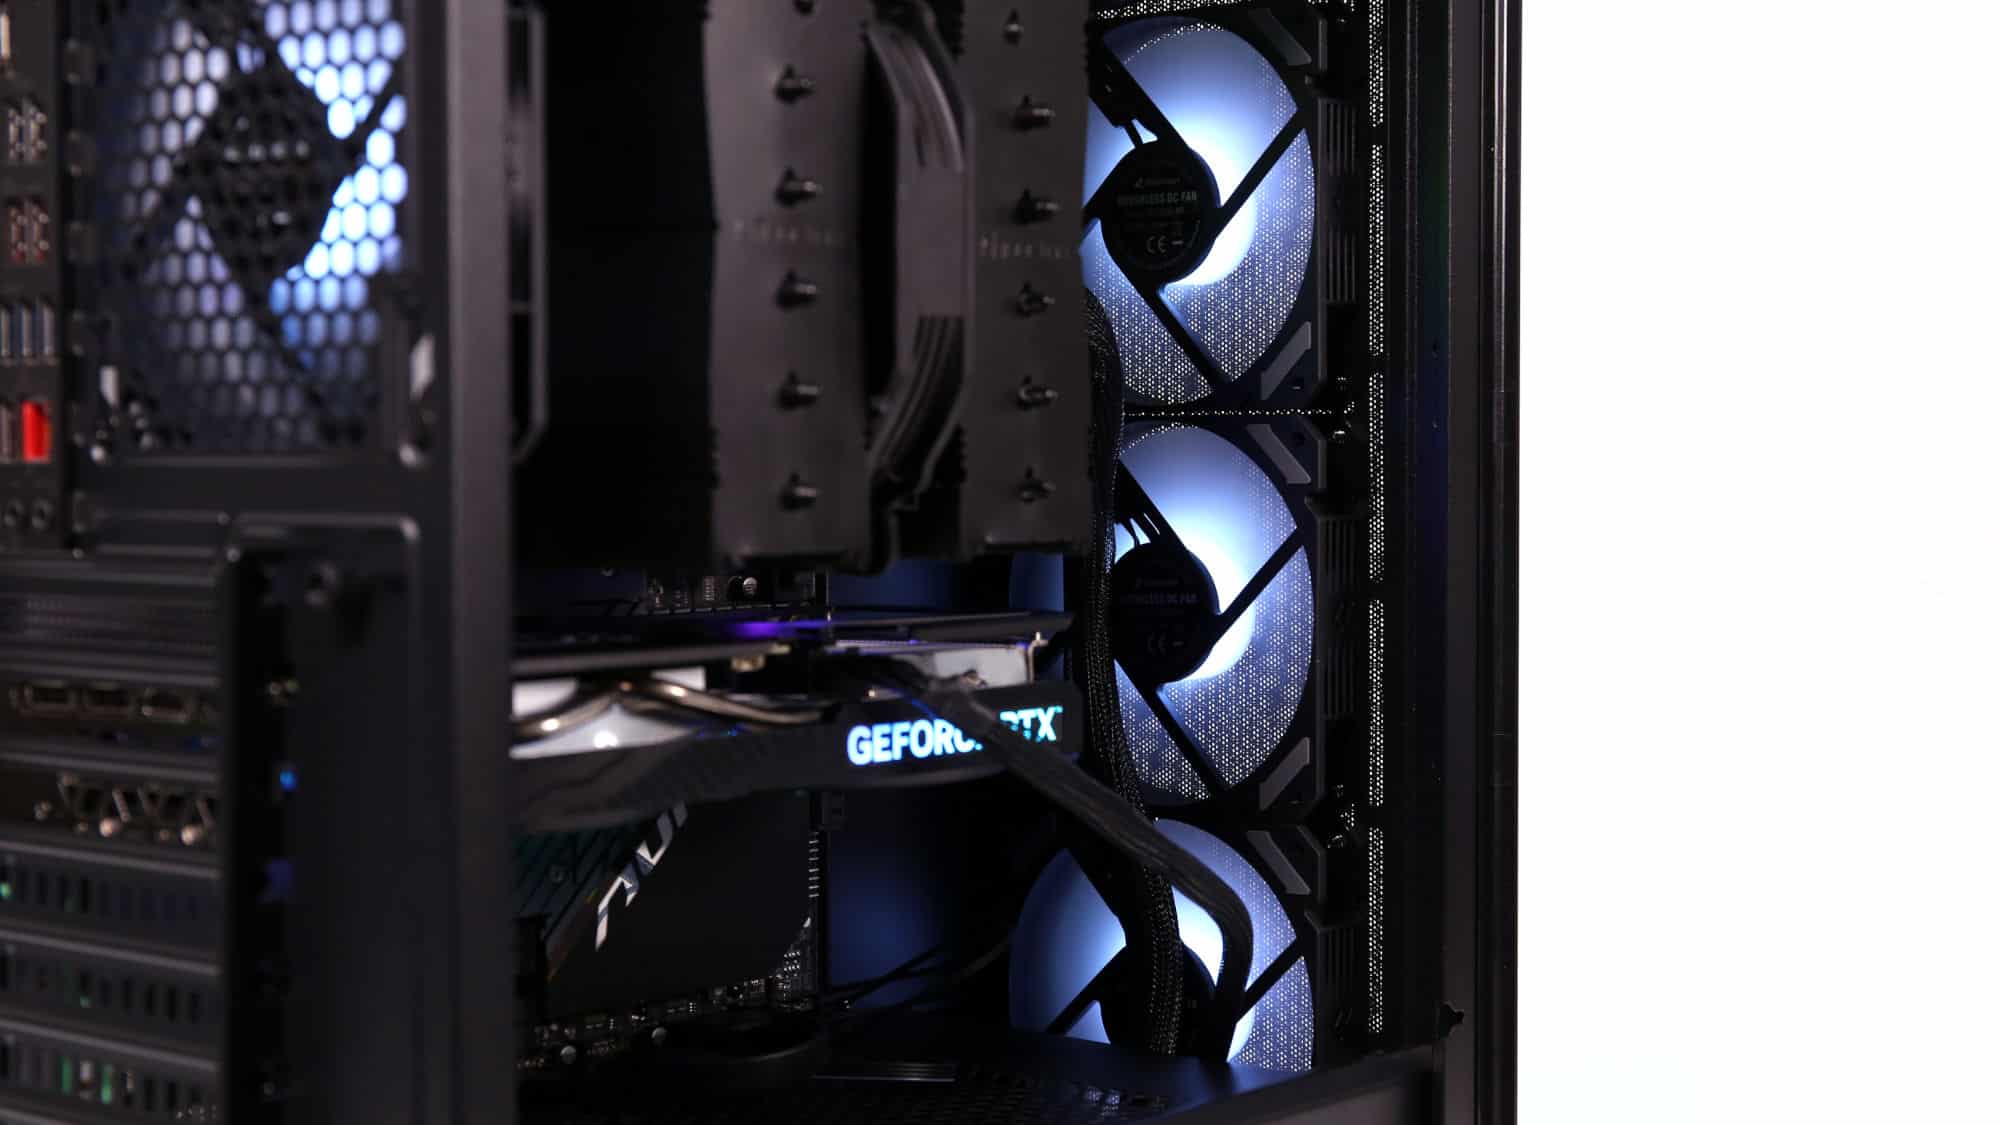
We began by installing the PSU in the bottom bay. Removing the storage cage gave us extra room for cables. Our E-ATX motherboard went in next, but because it covered the passthroughs, the ATX cable had to be routed through the front radiator cutout. To fit the board, we also had to loosen and remove the rear fan due to the tight clearance.
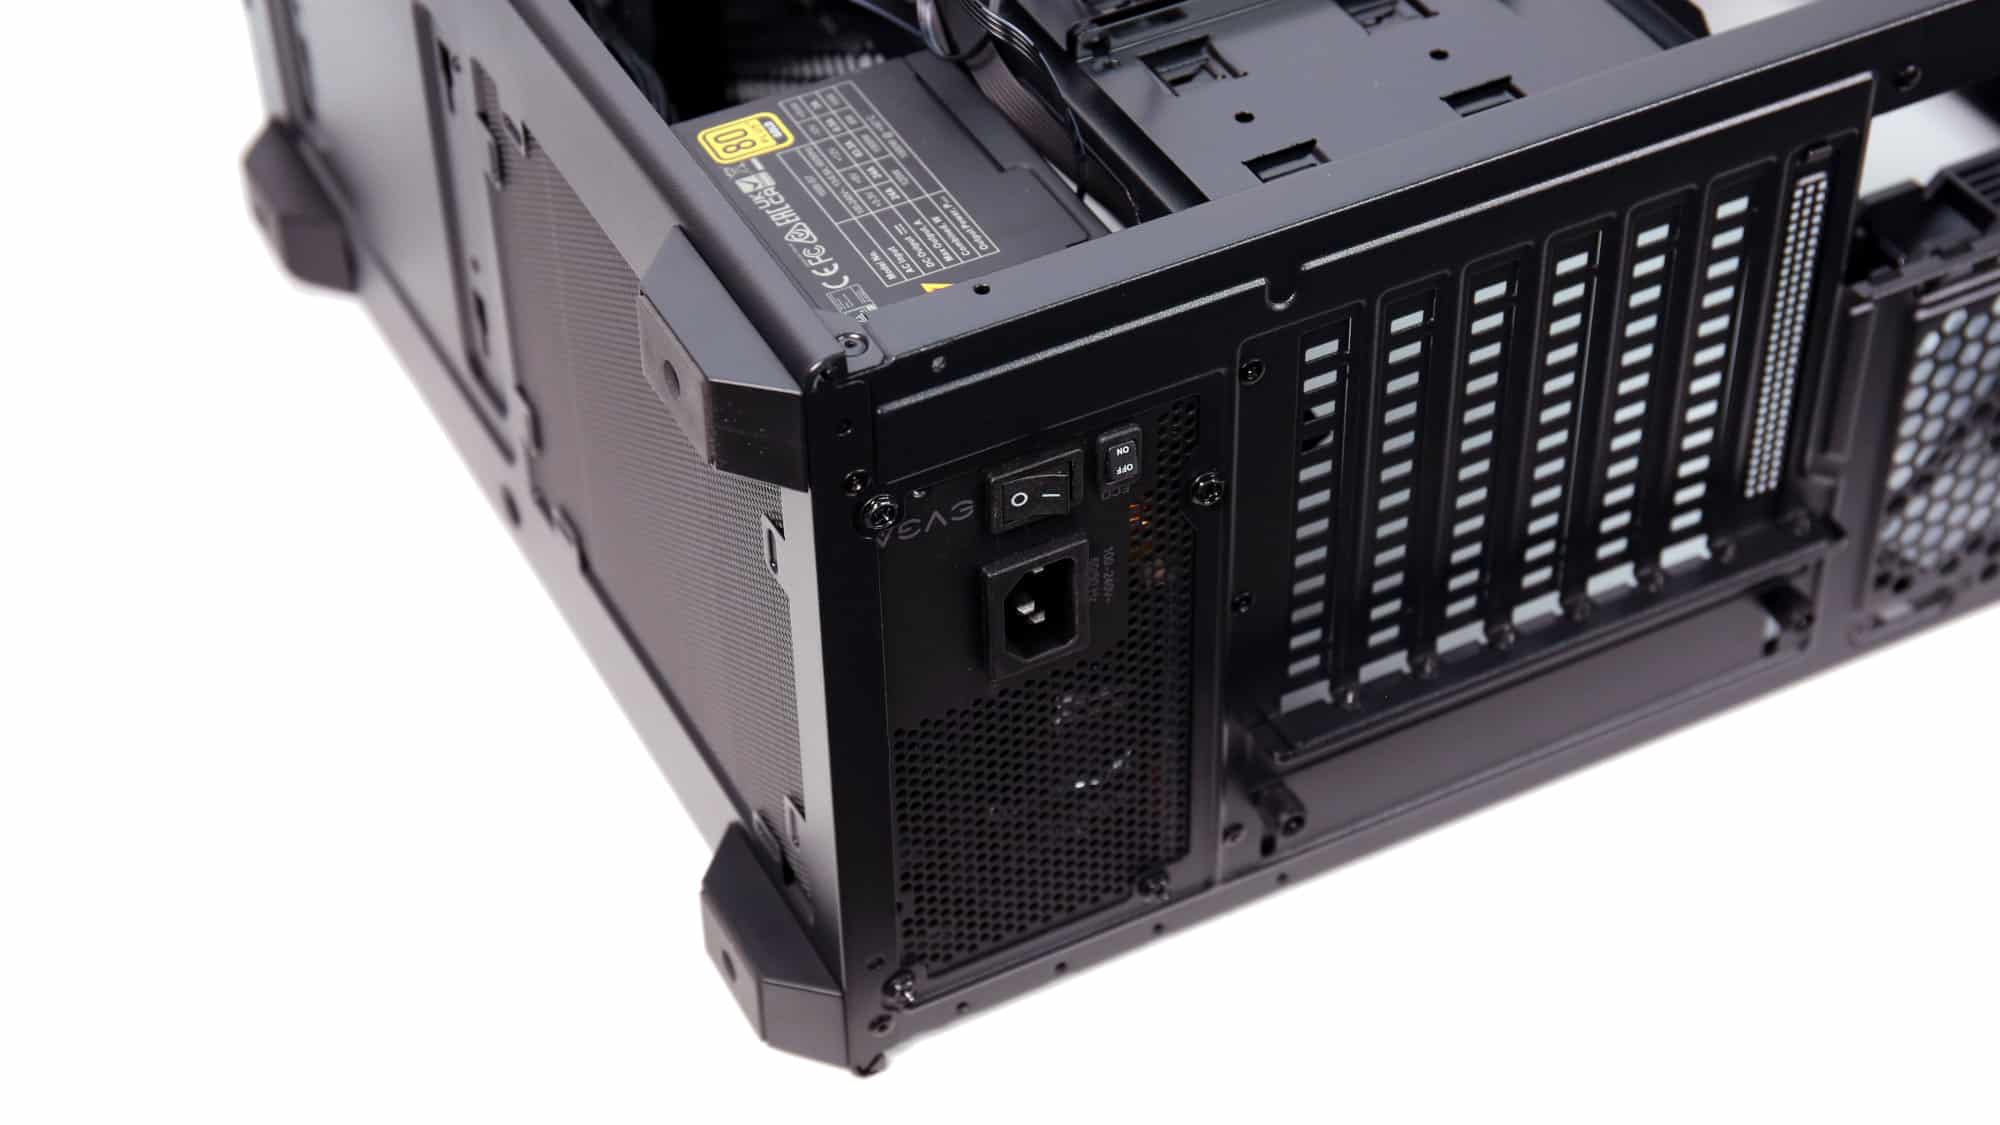
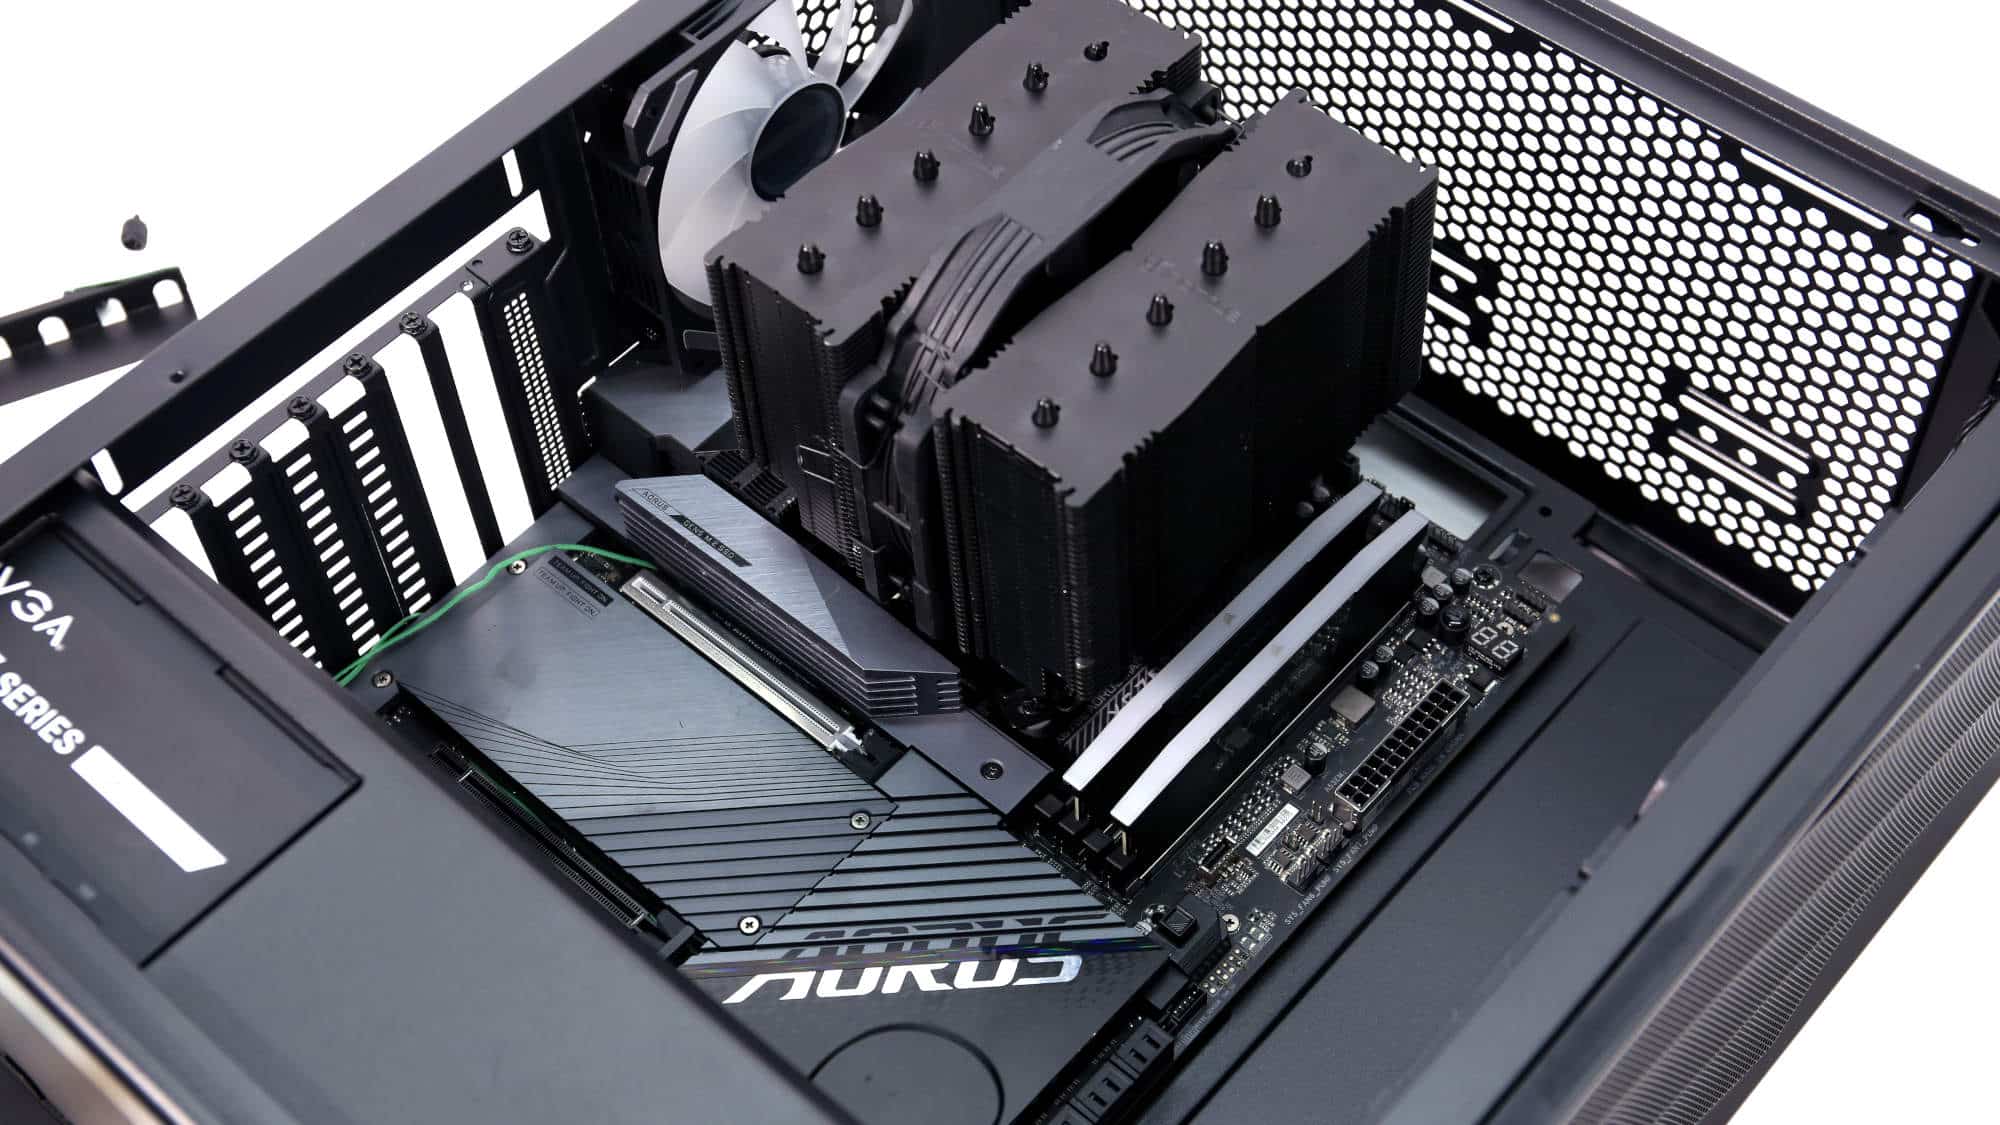
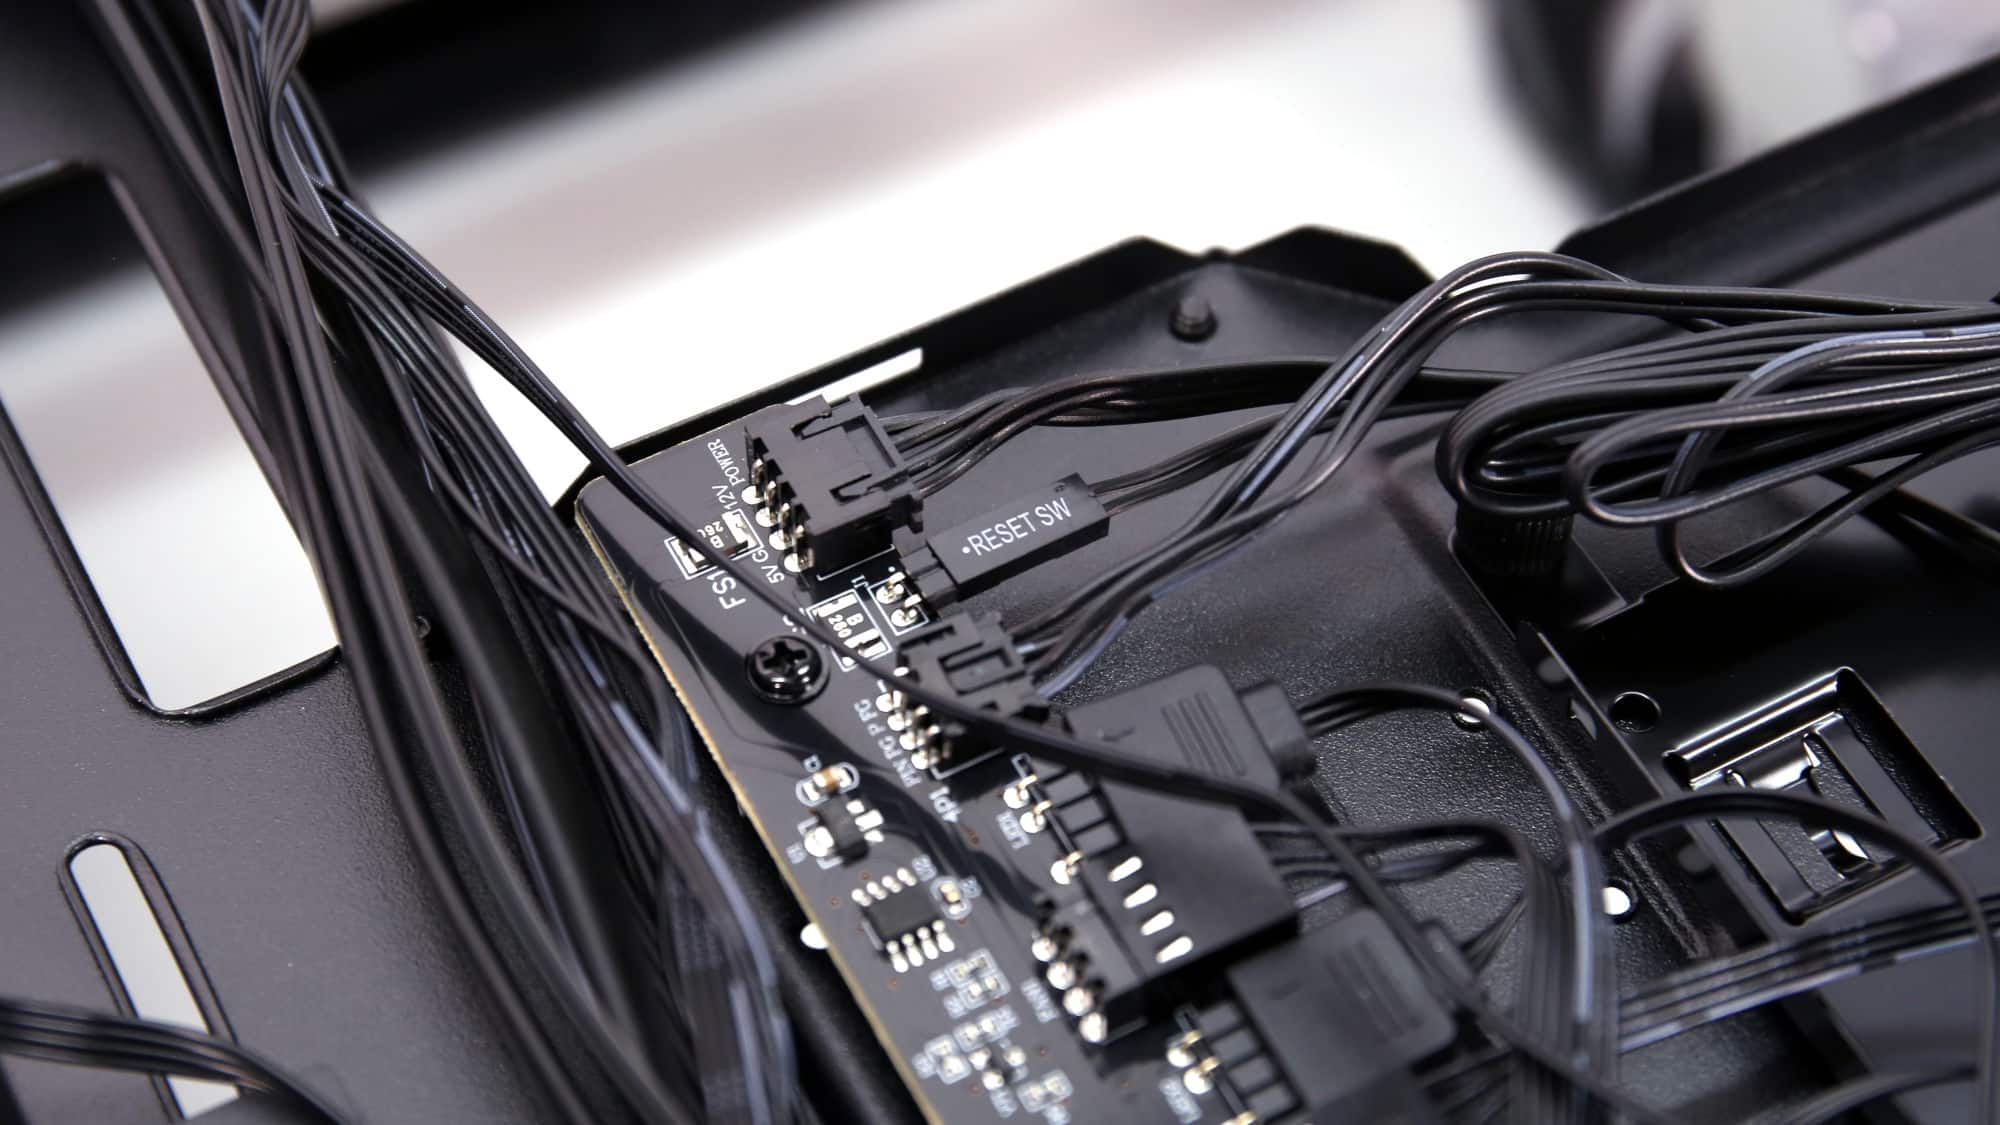
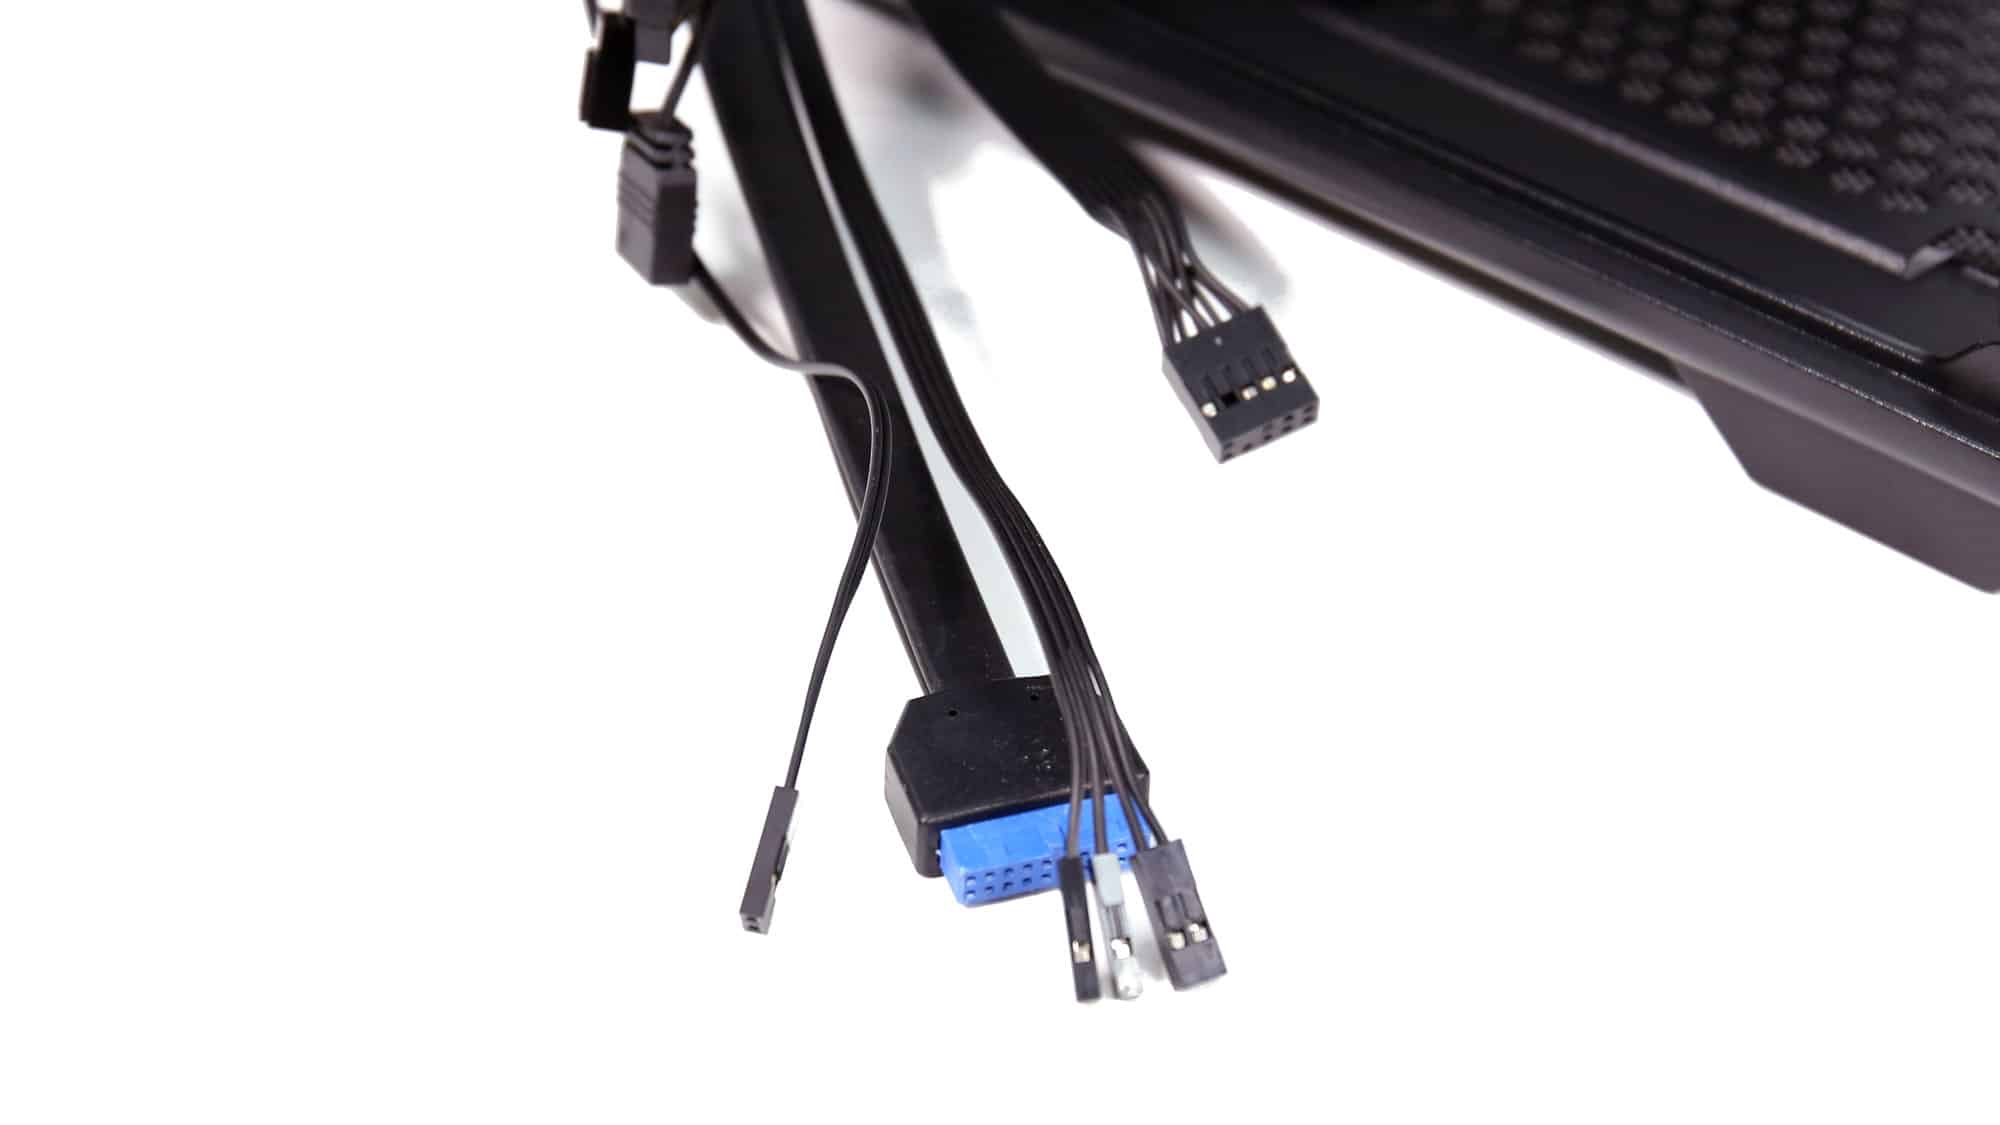
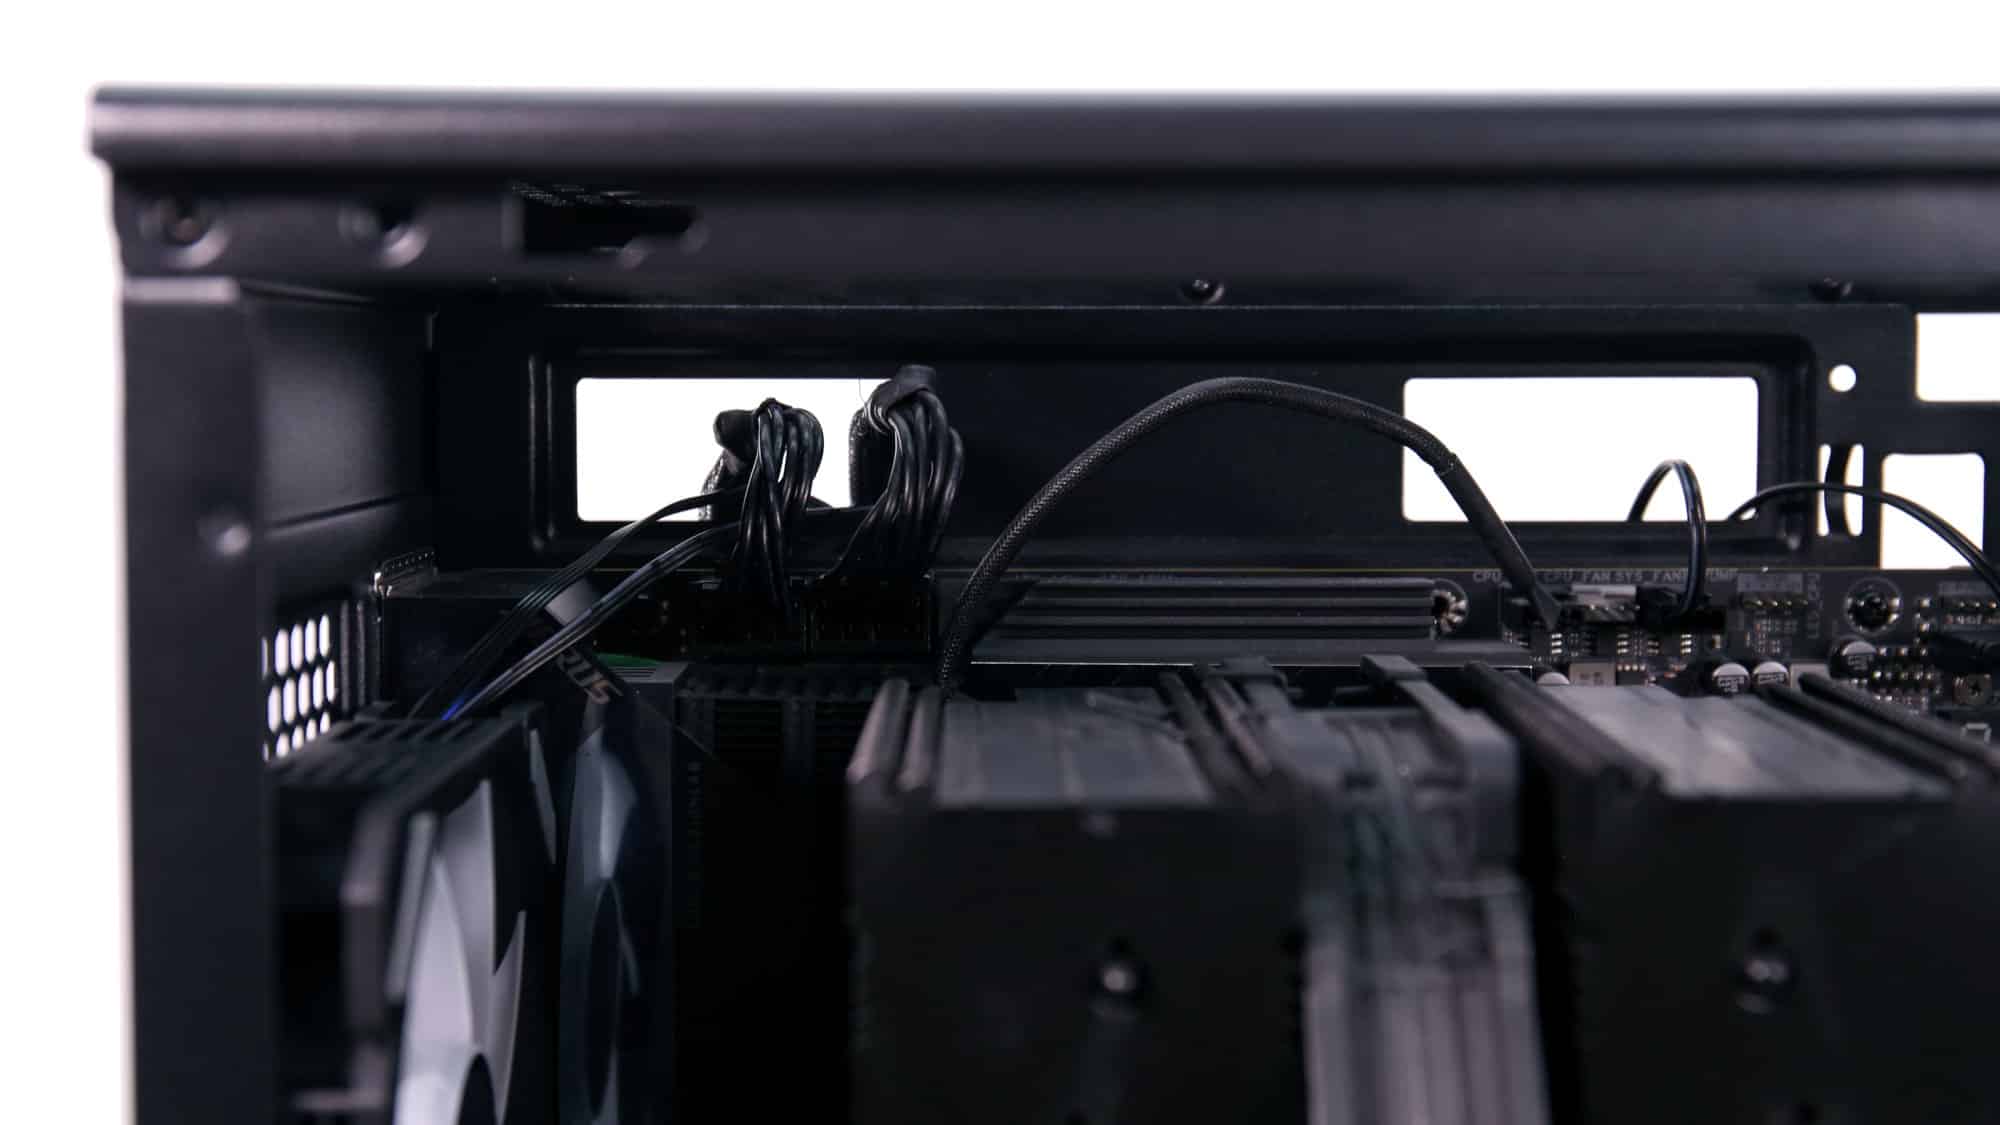
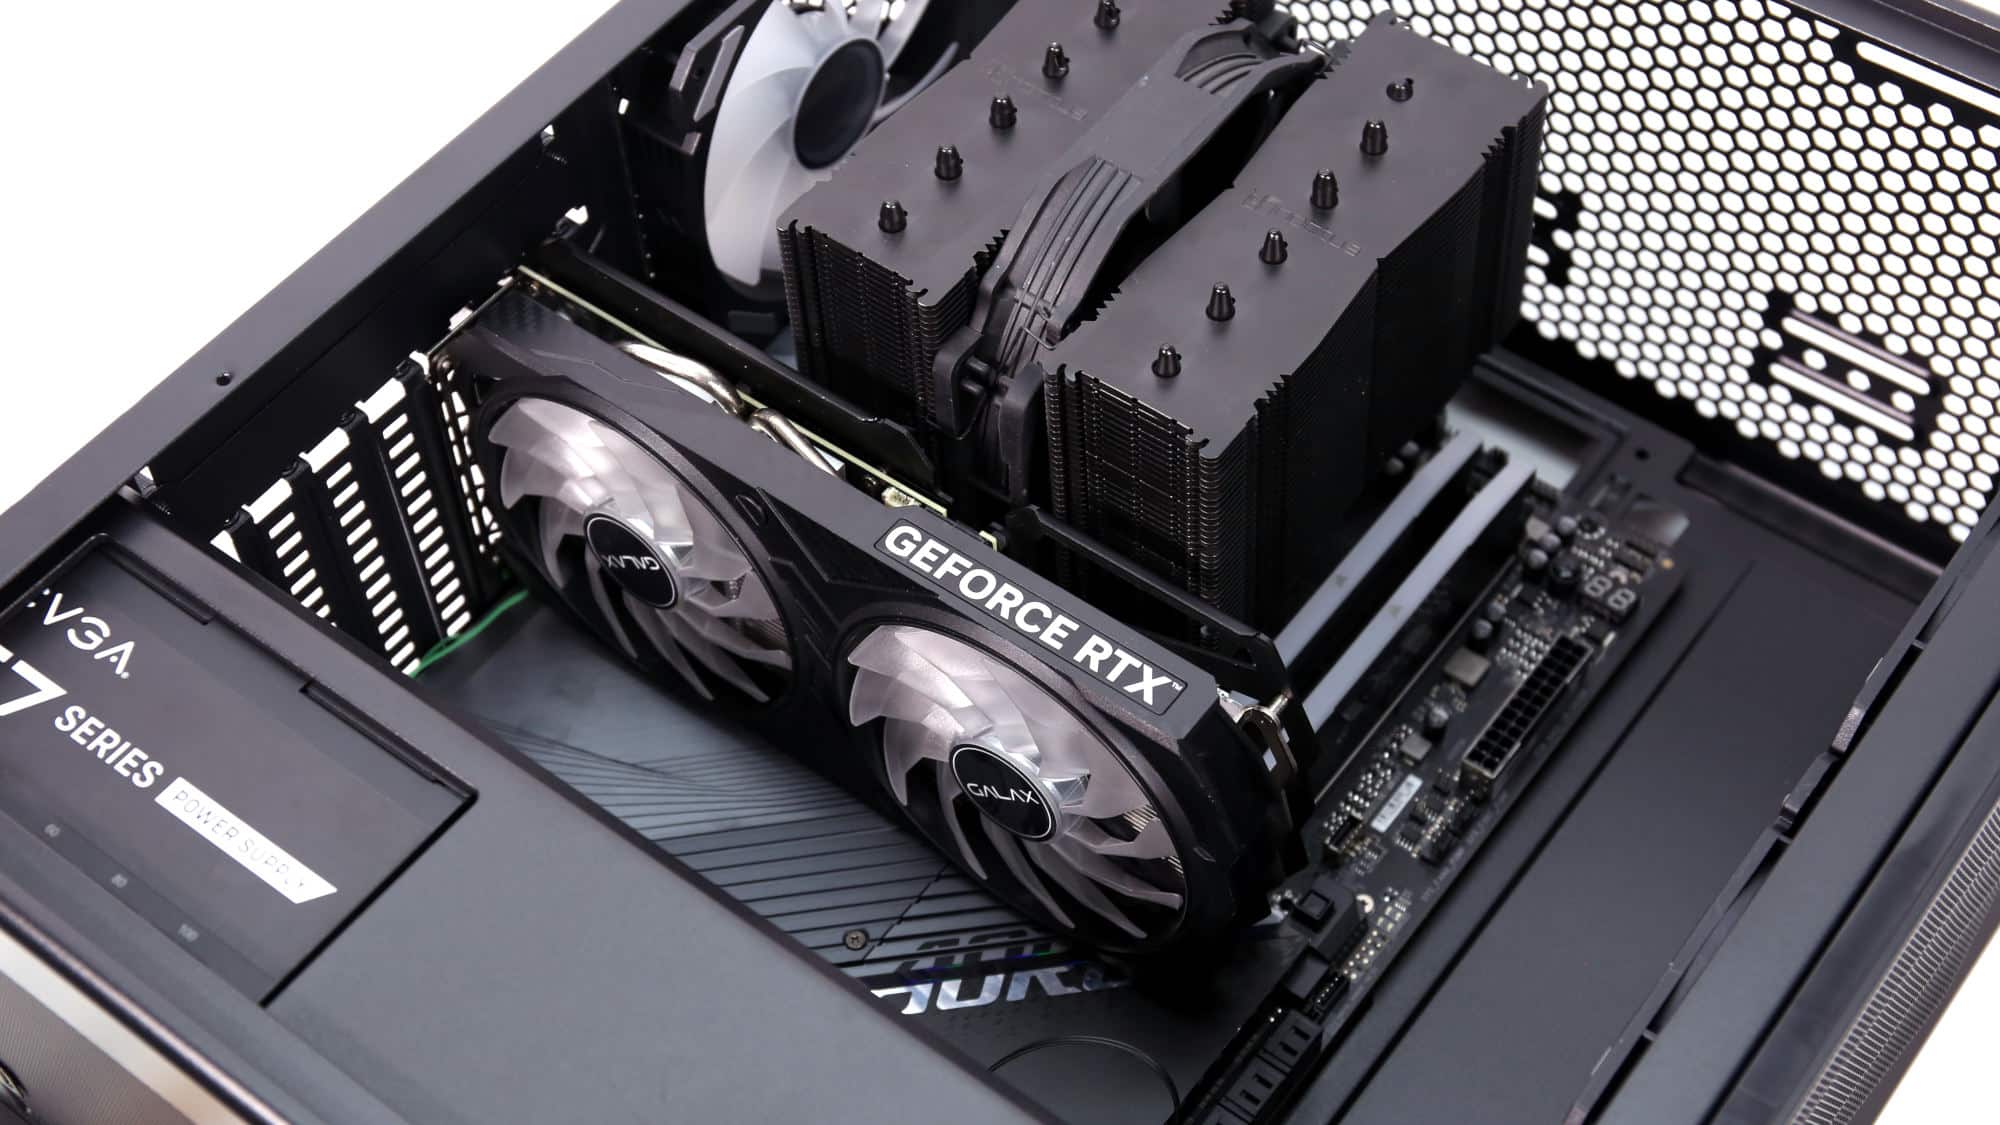
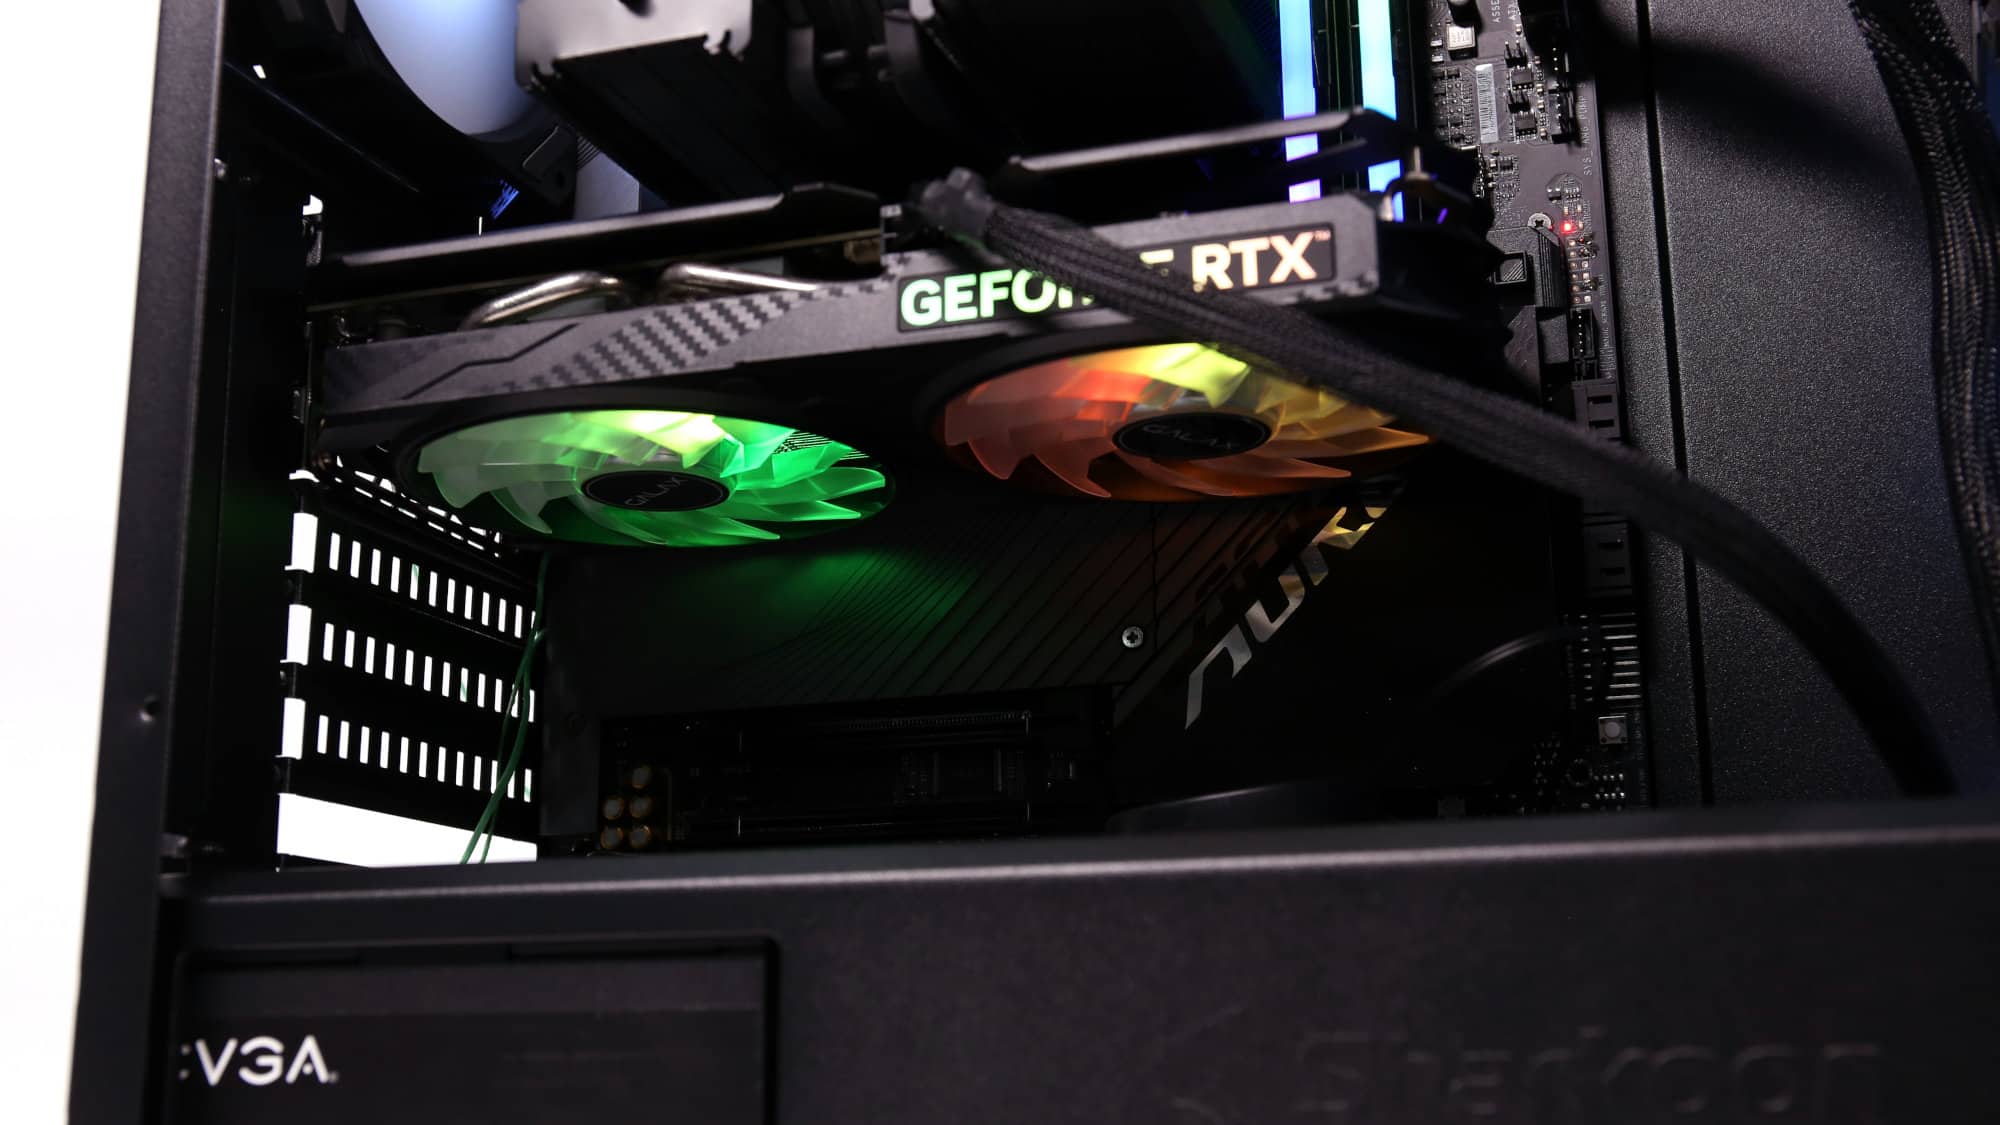
The front I/O cables were connected at the bottom, and the hub cables were routed toward the top. CPU power cables were easy to install thanks to the generous clearance above the motherboard. Finally, we installed the GPU and secured the expansion slots. As you can see, the Reset cable connected to the hub could be repurposed as a regular Reset button.
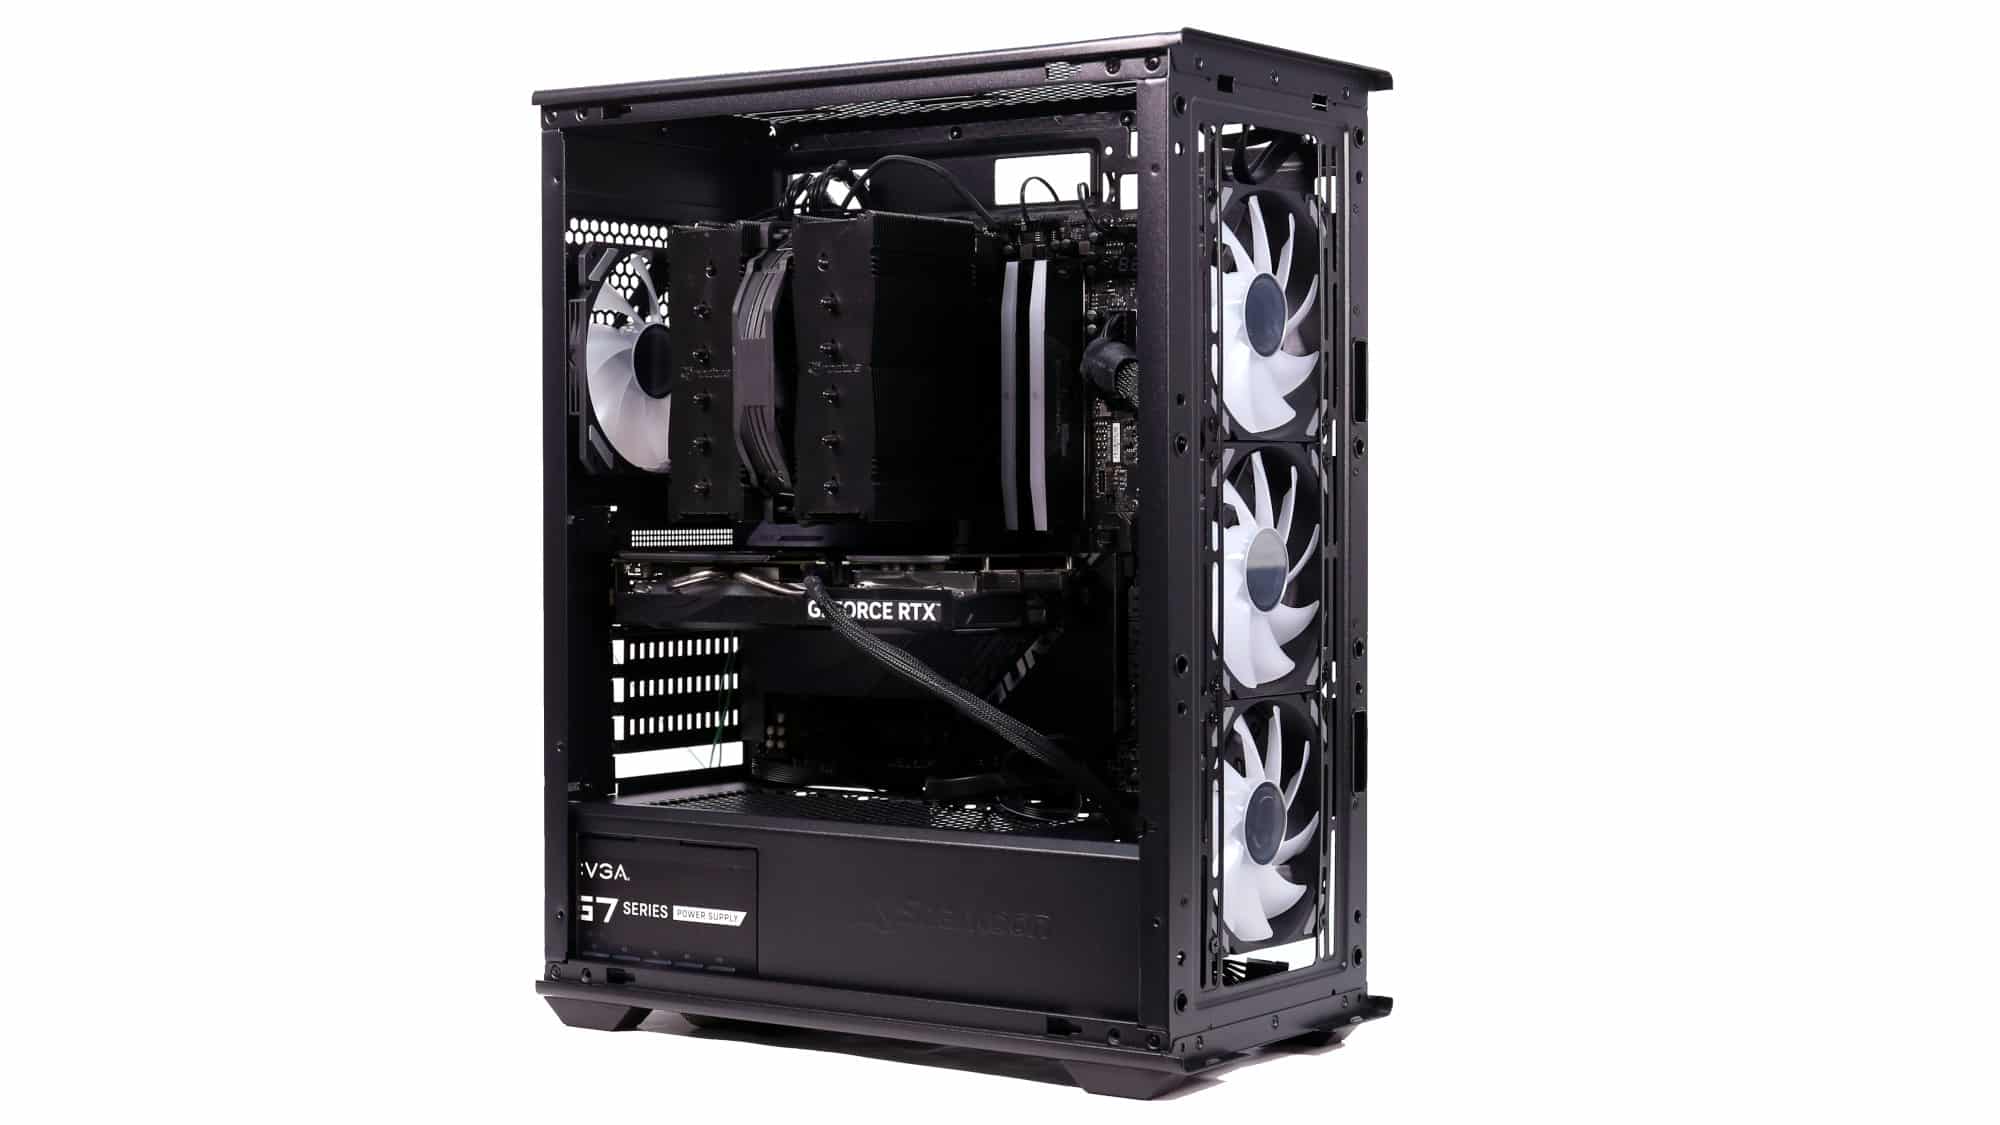
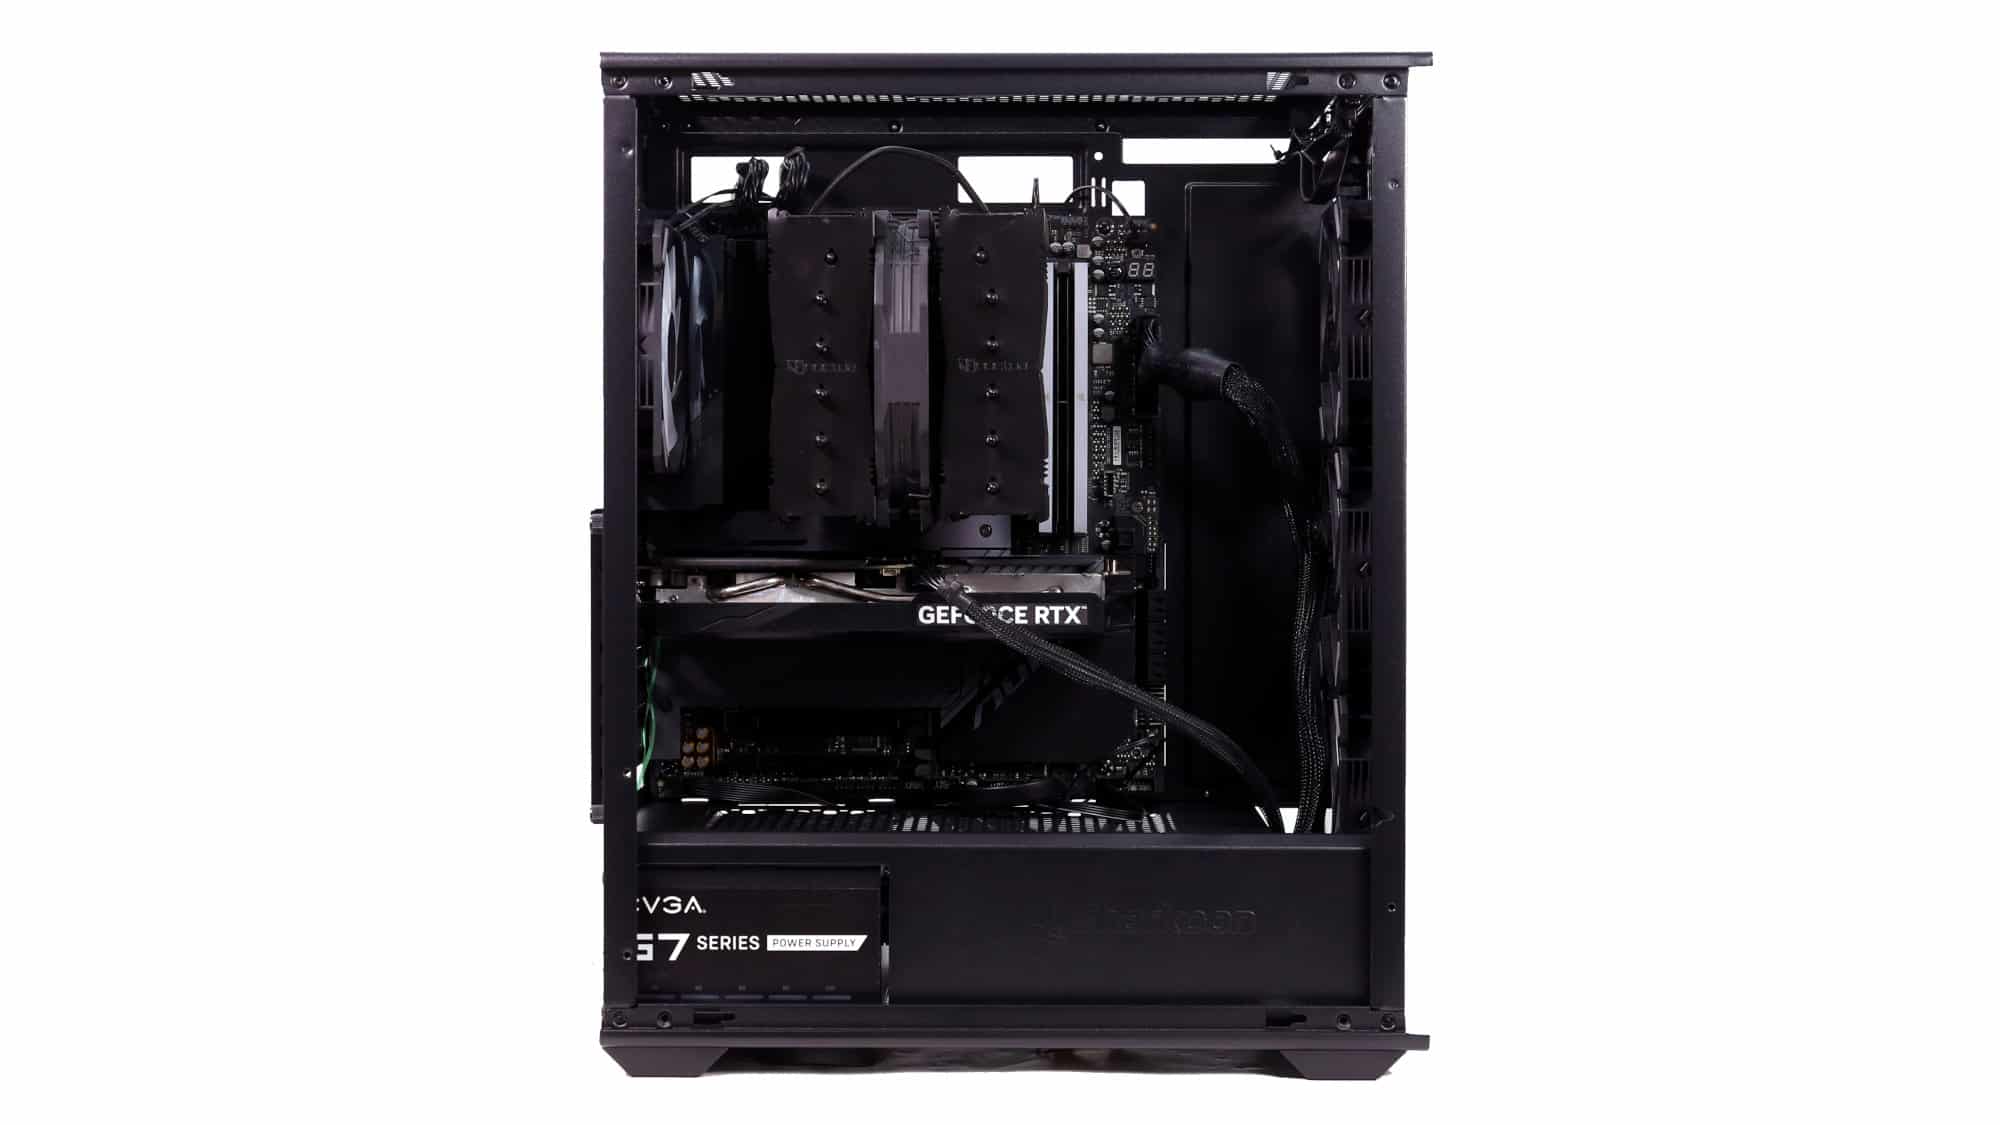
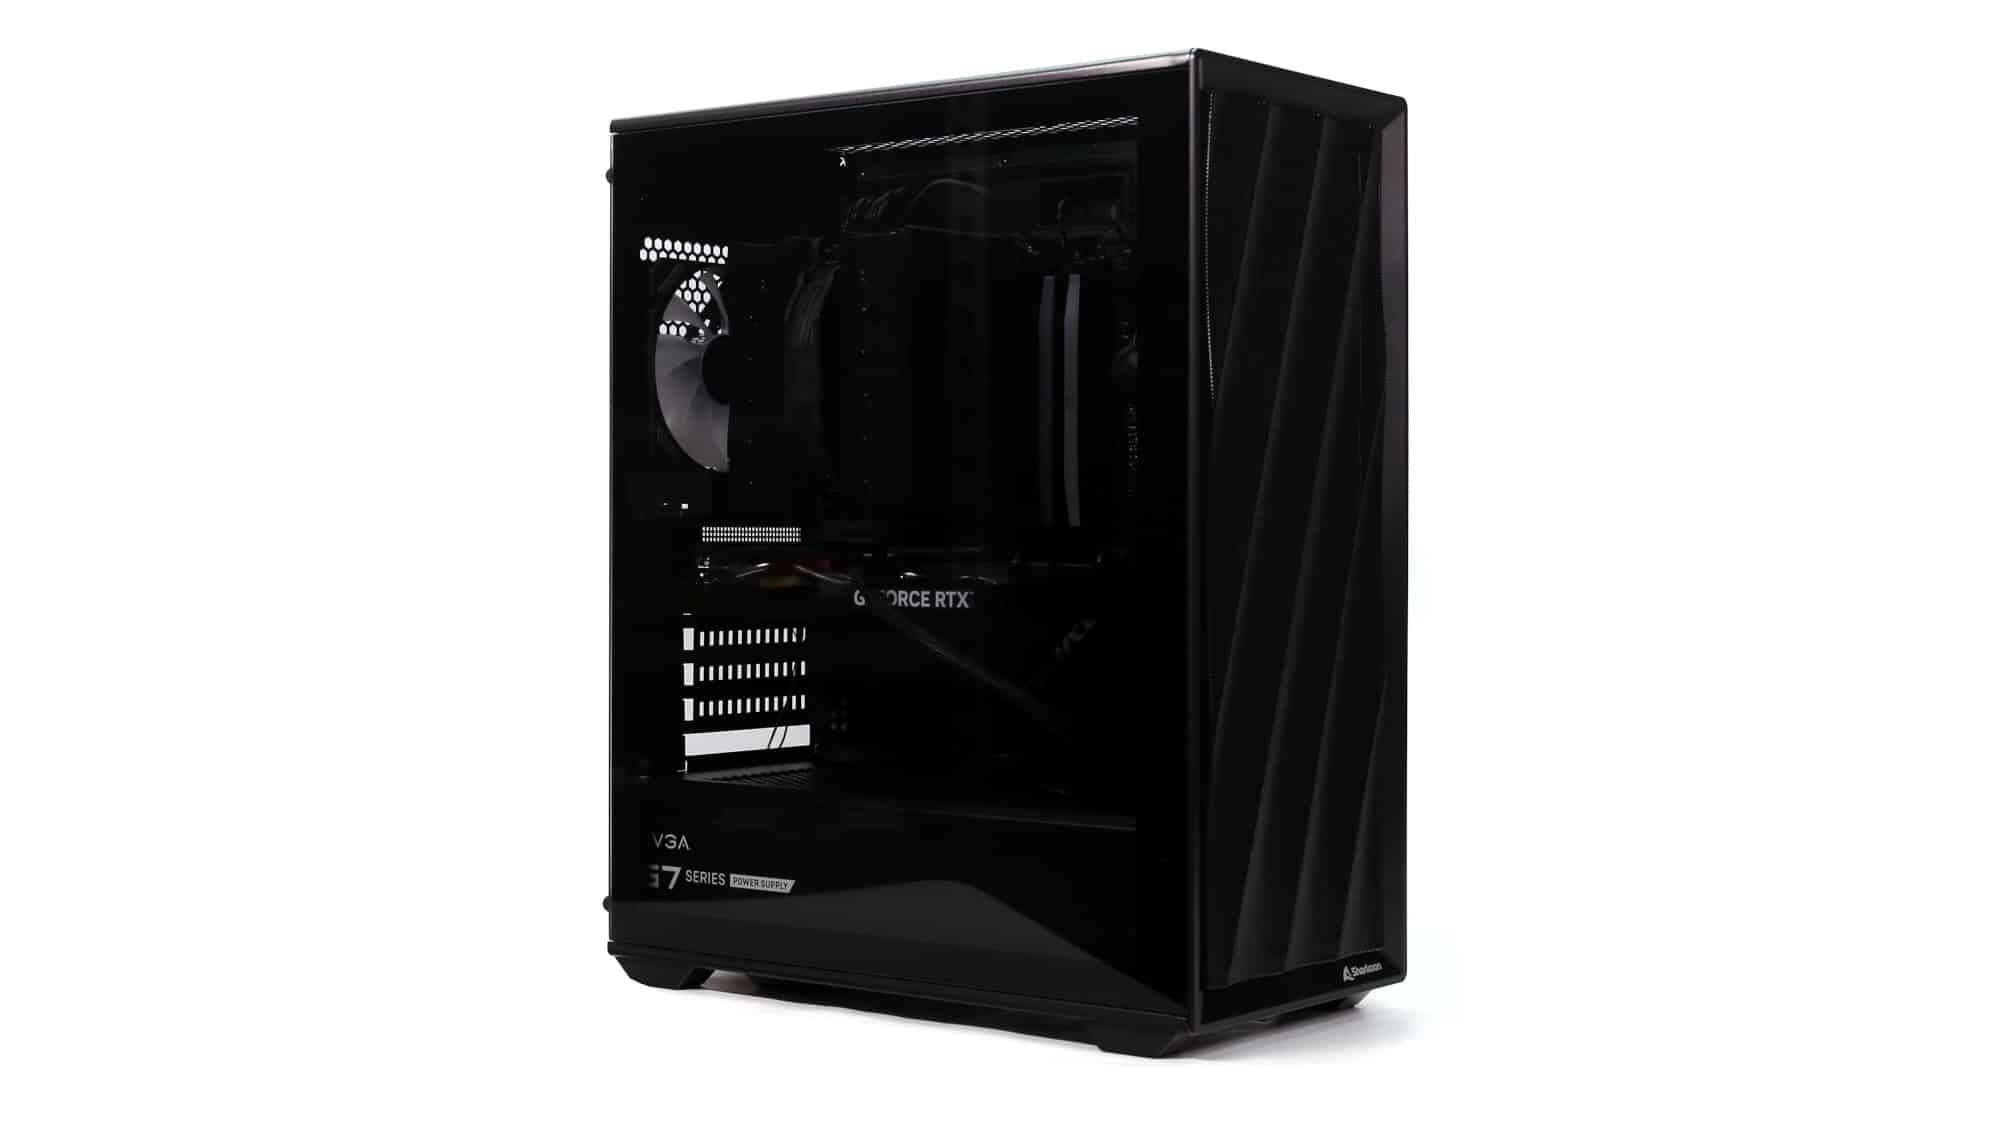
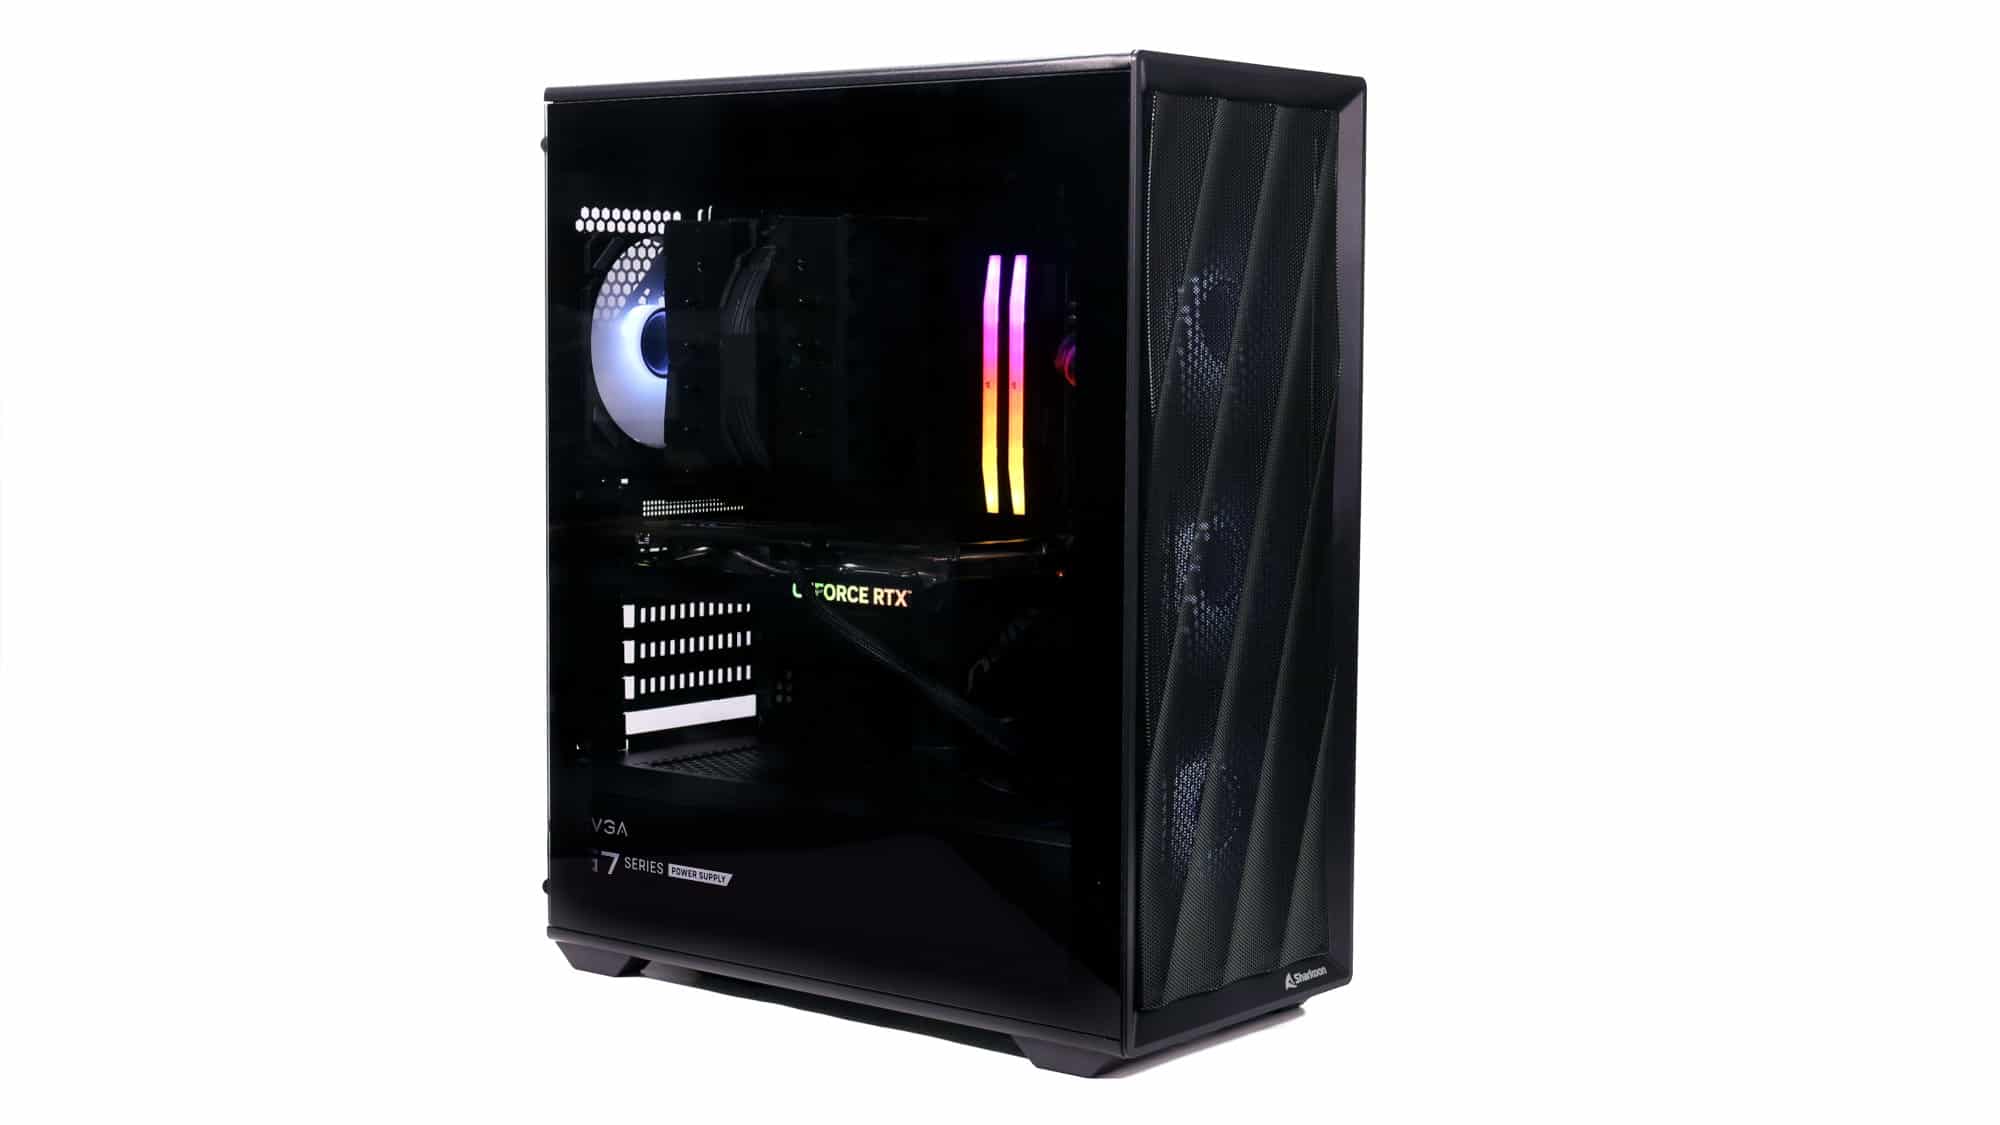
Here is the final system.
ARGB Lighting and Aesthetics
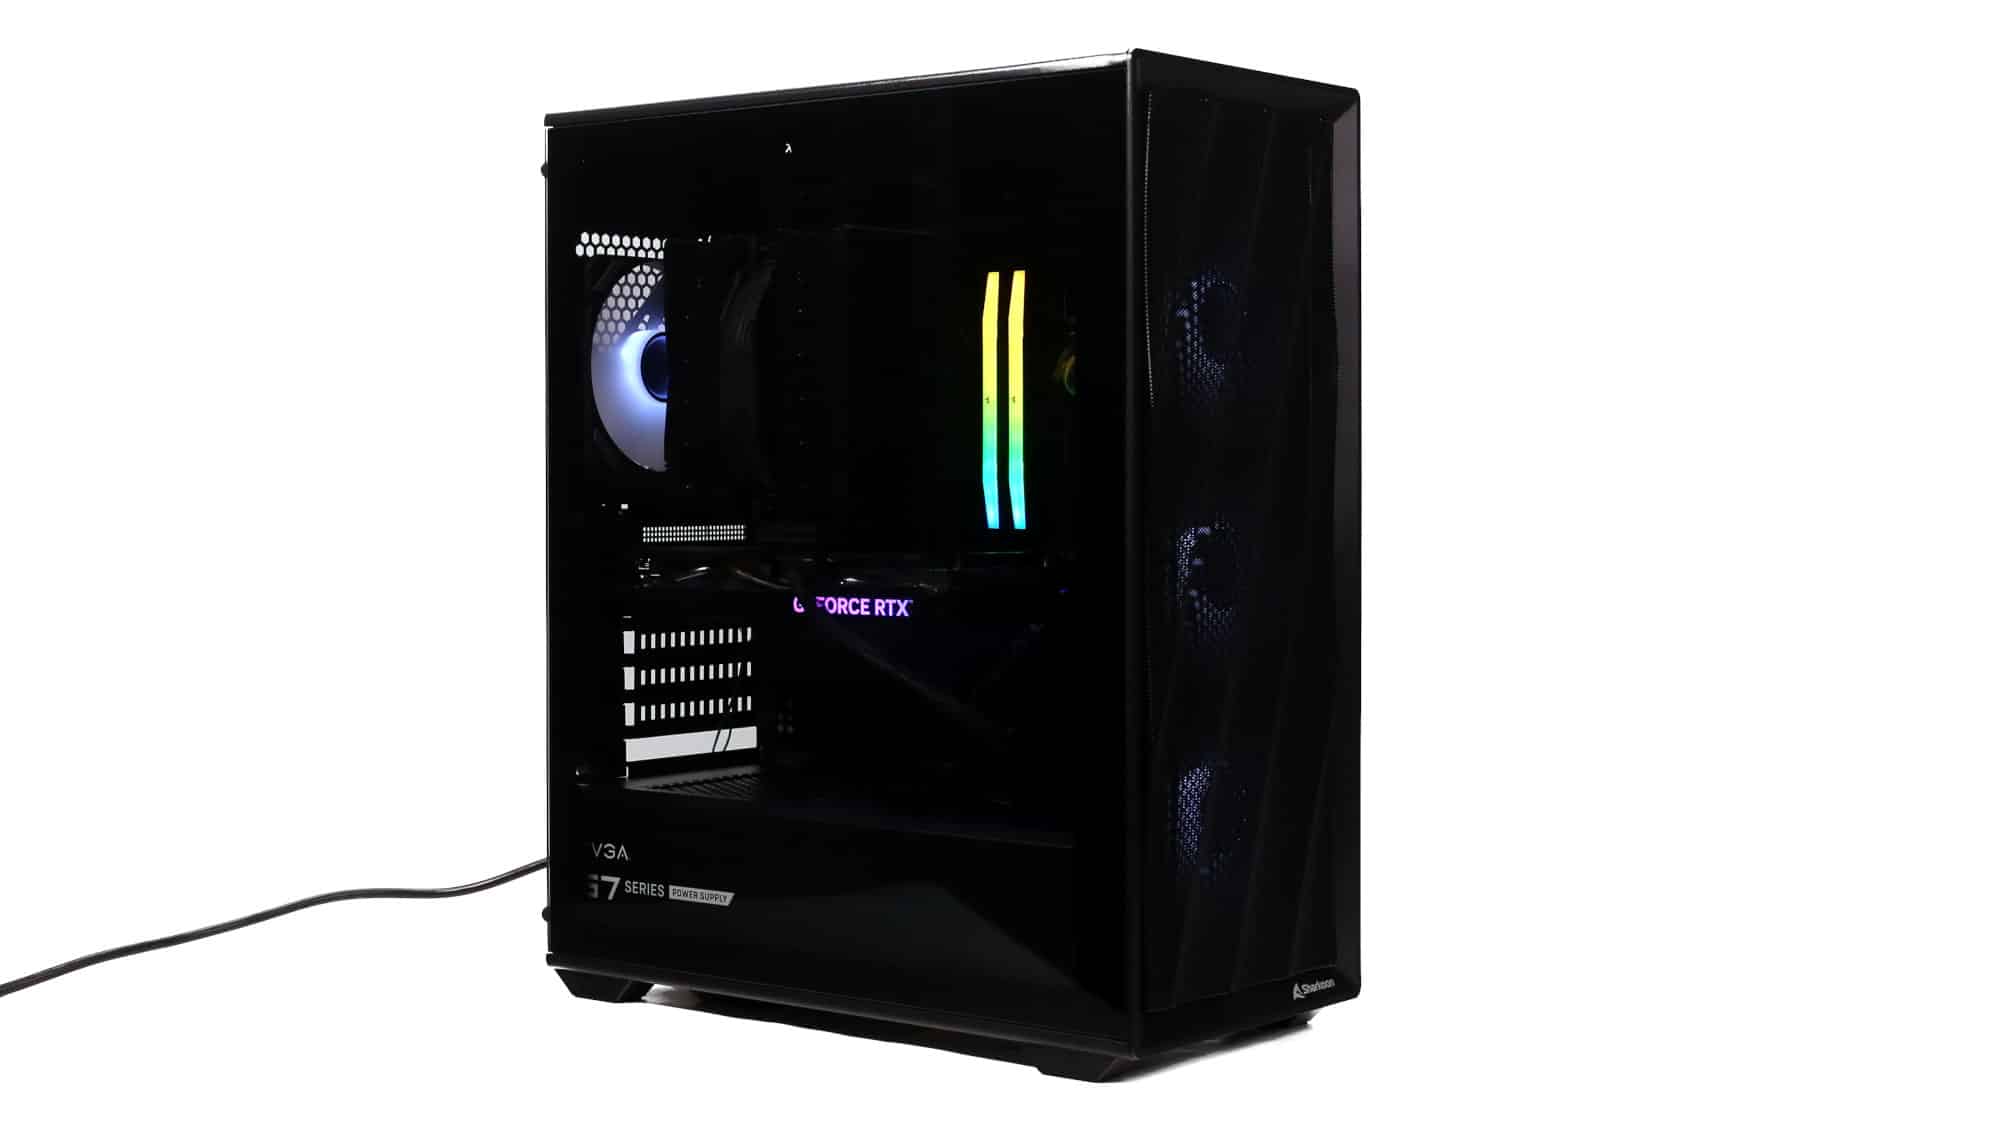
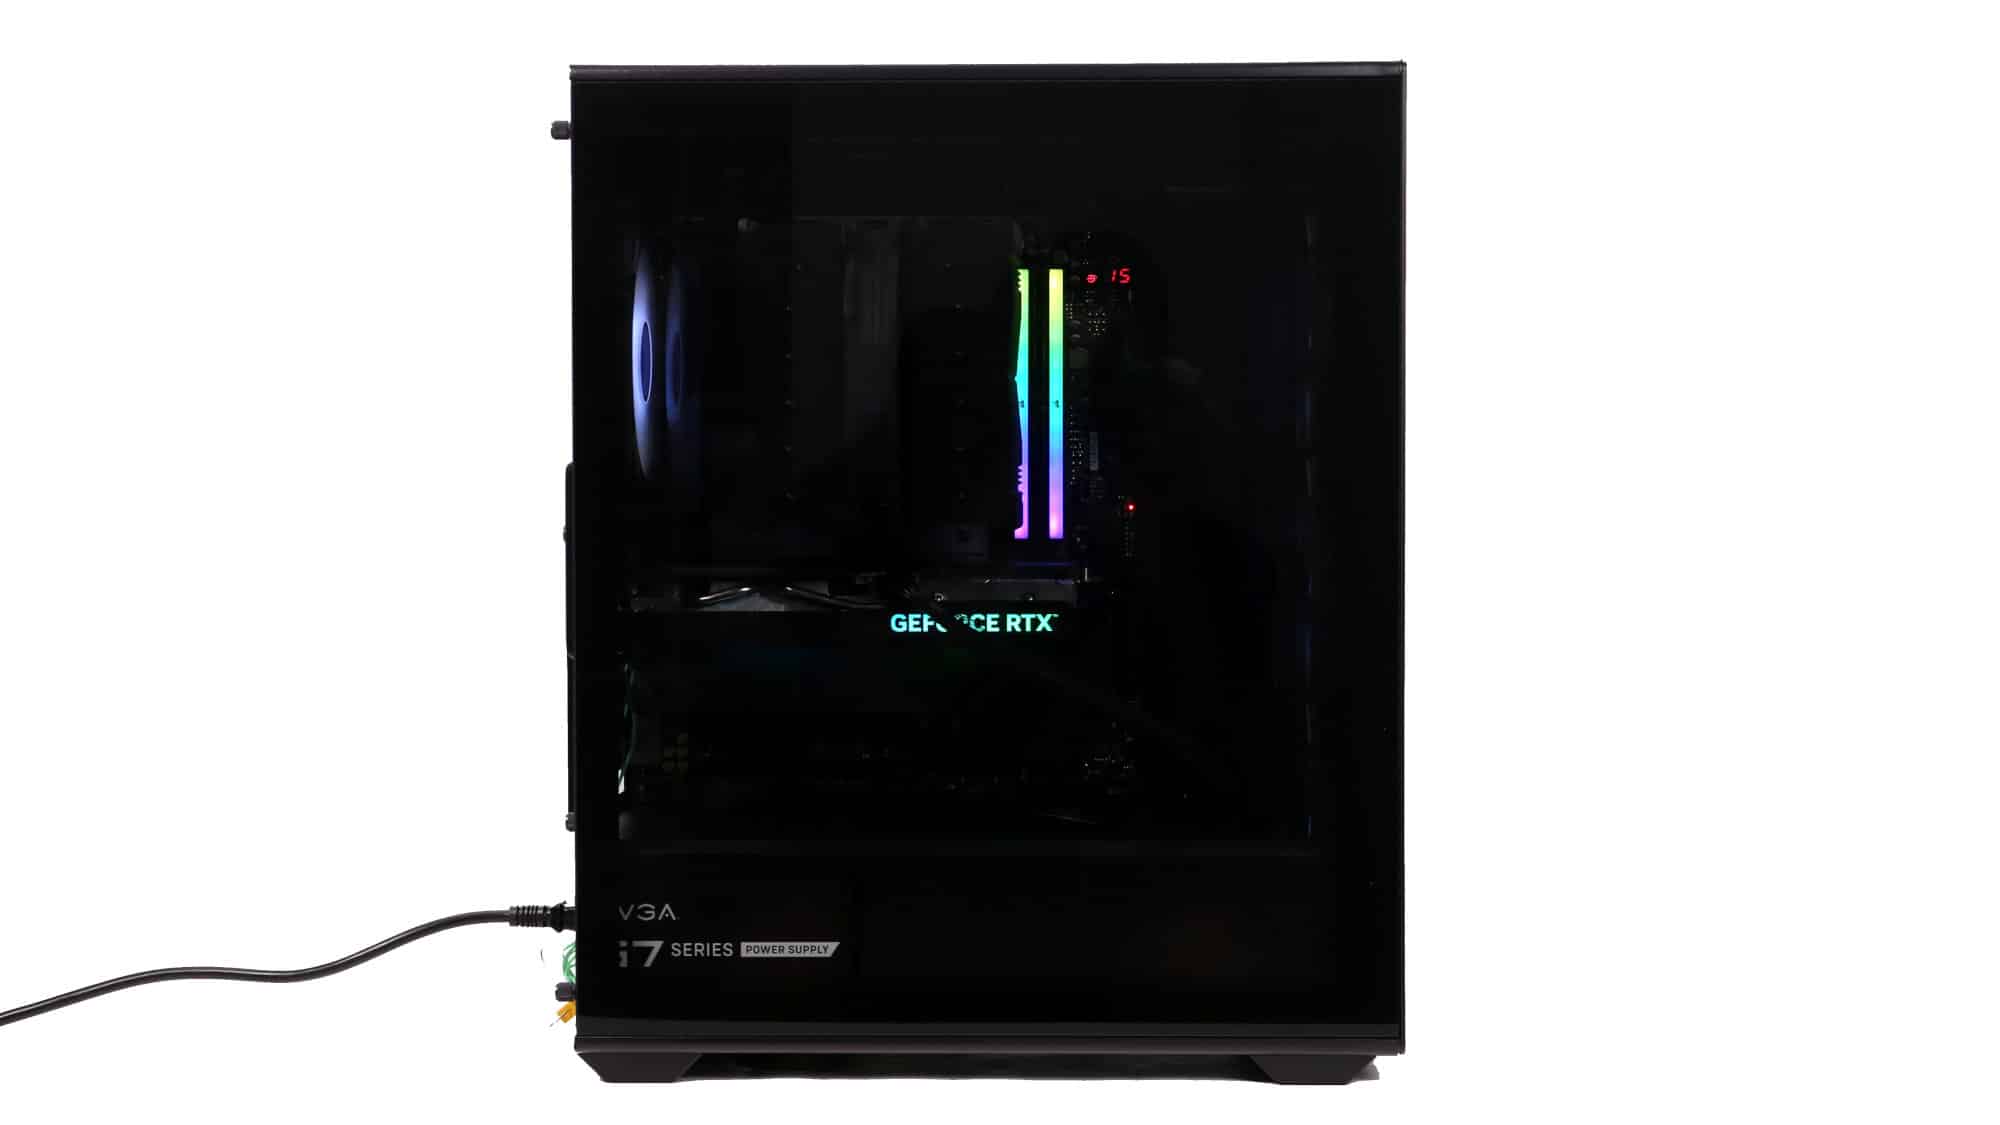
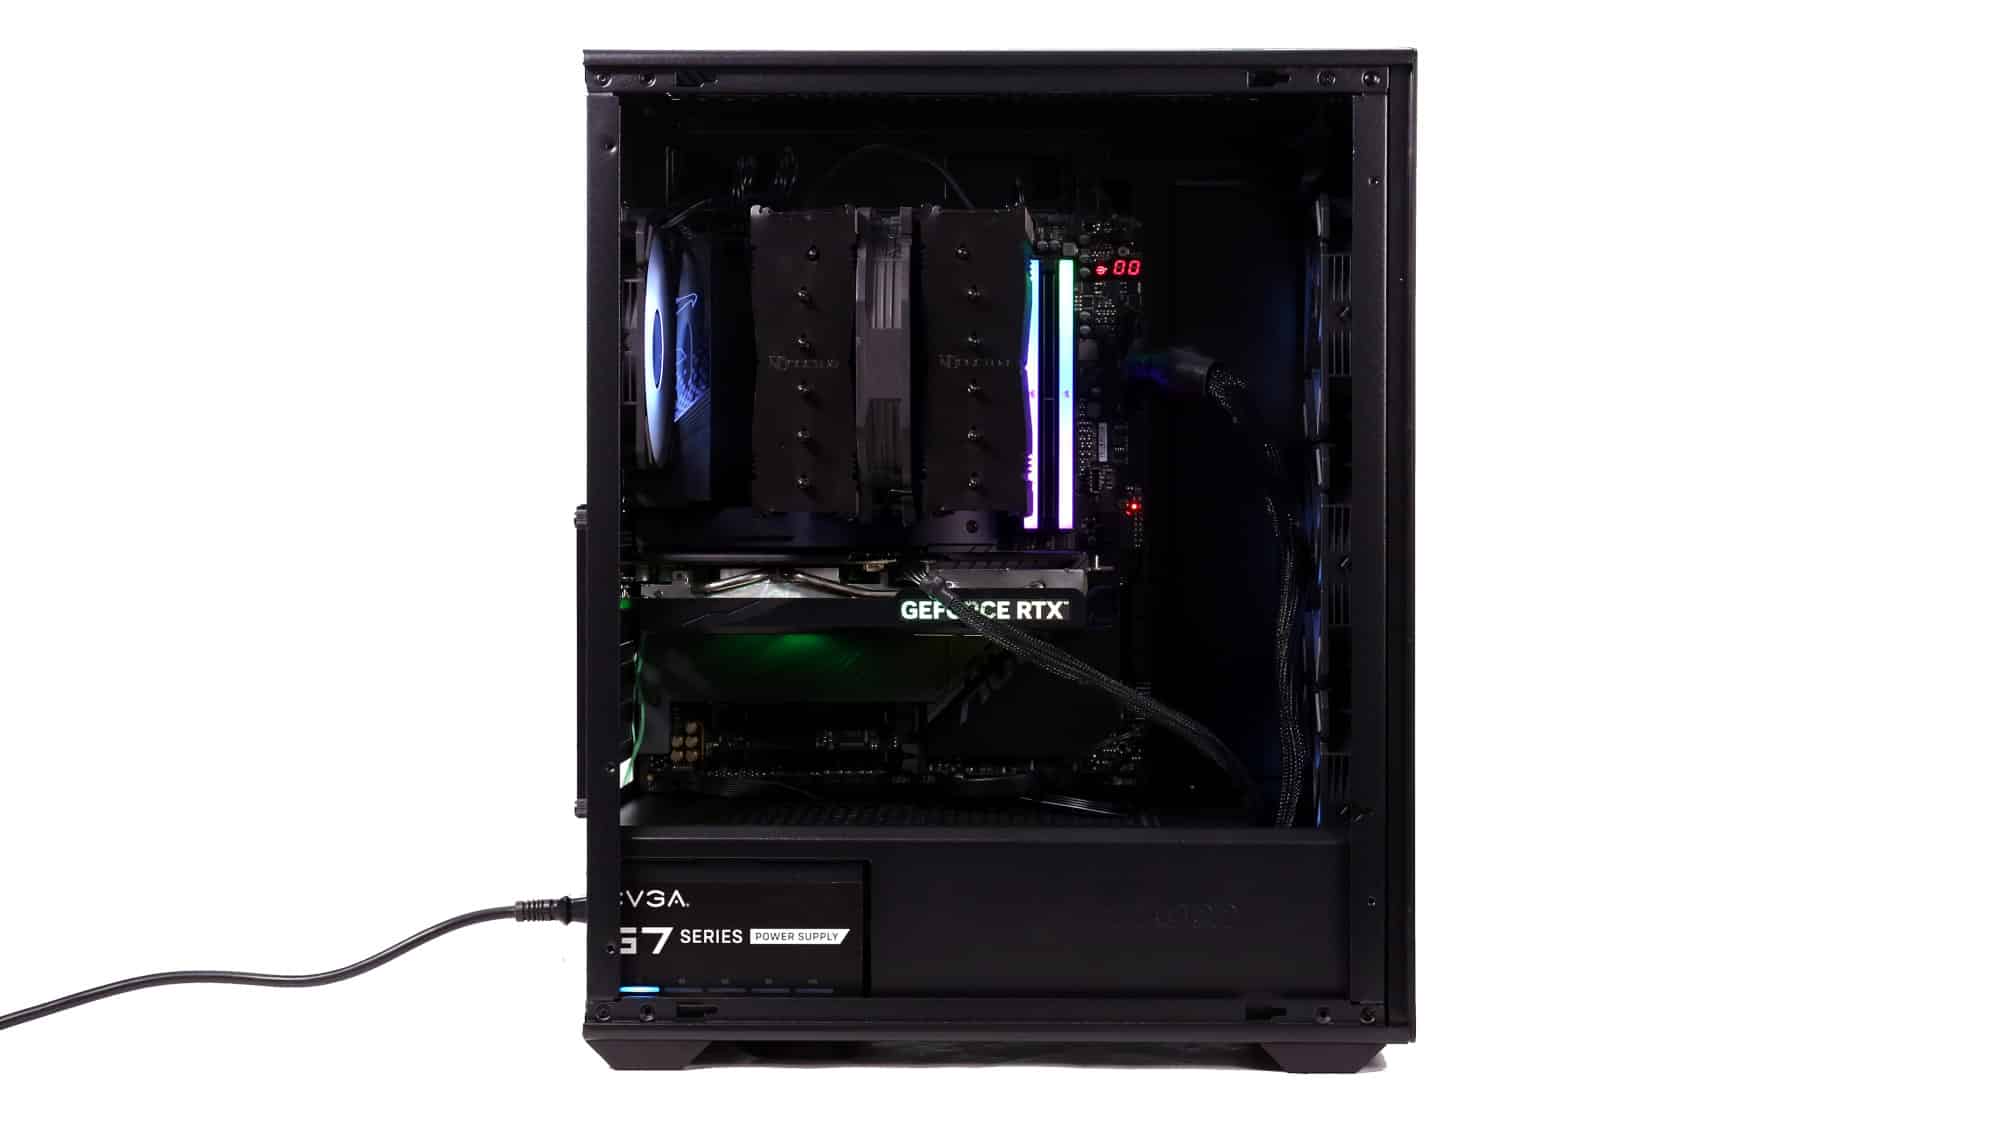
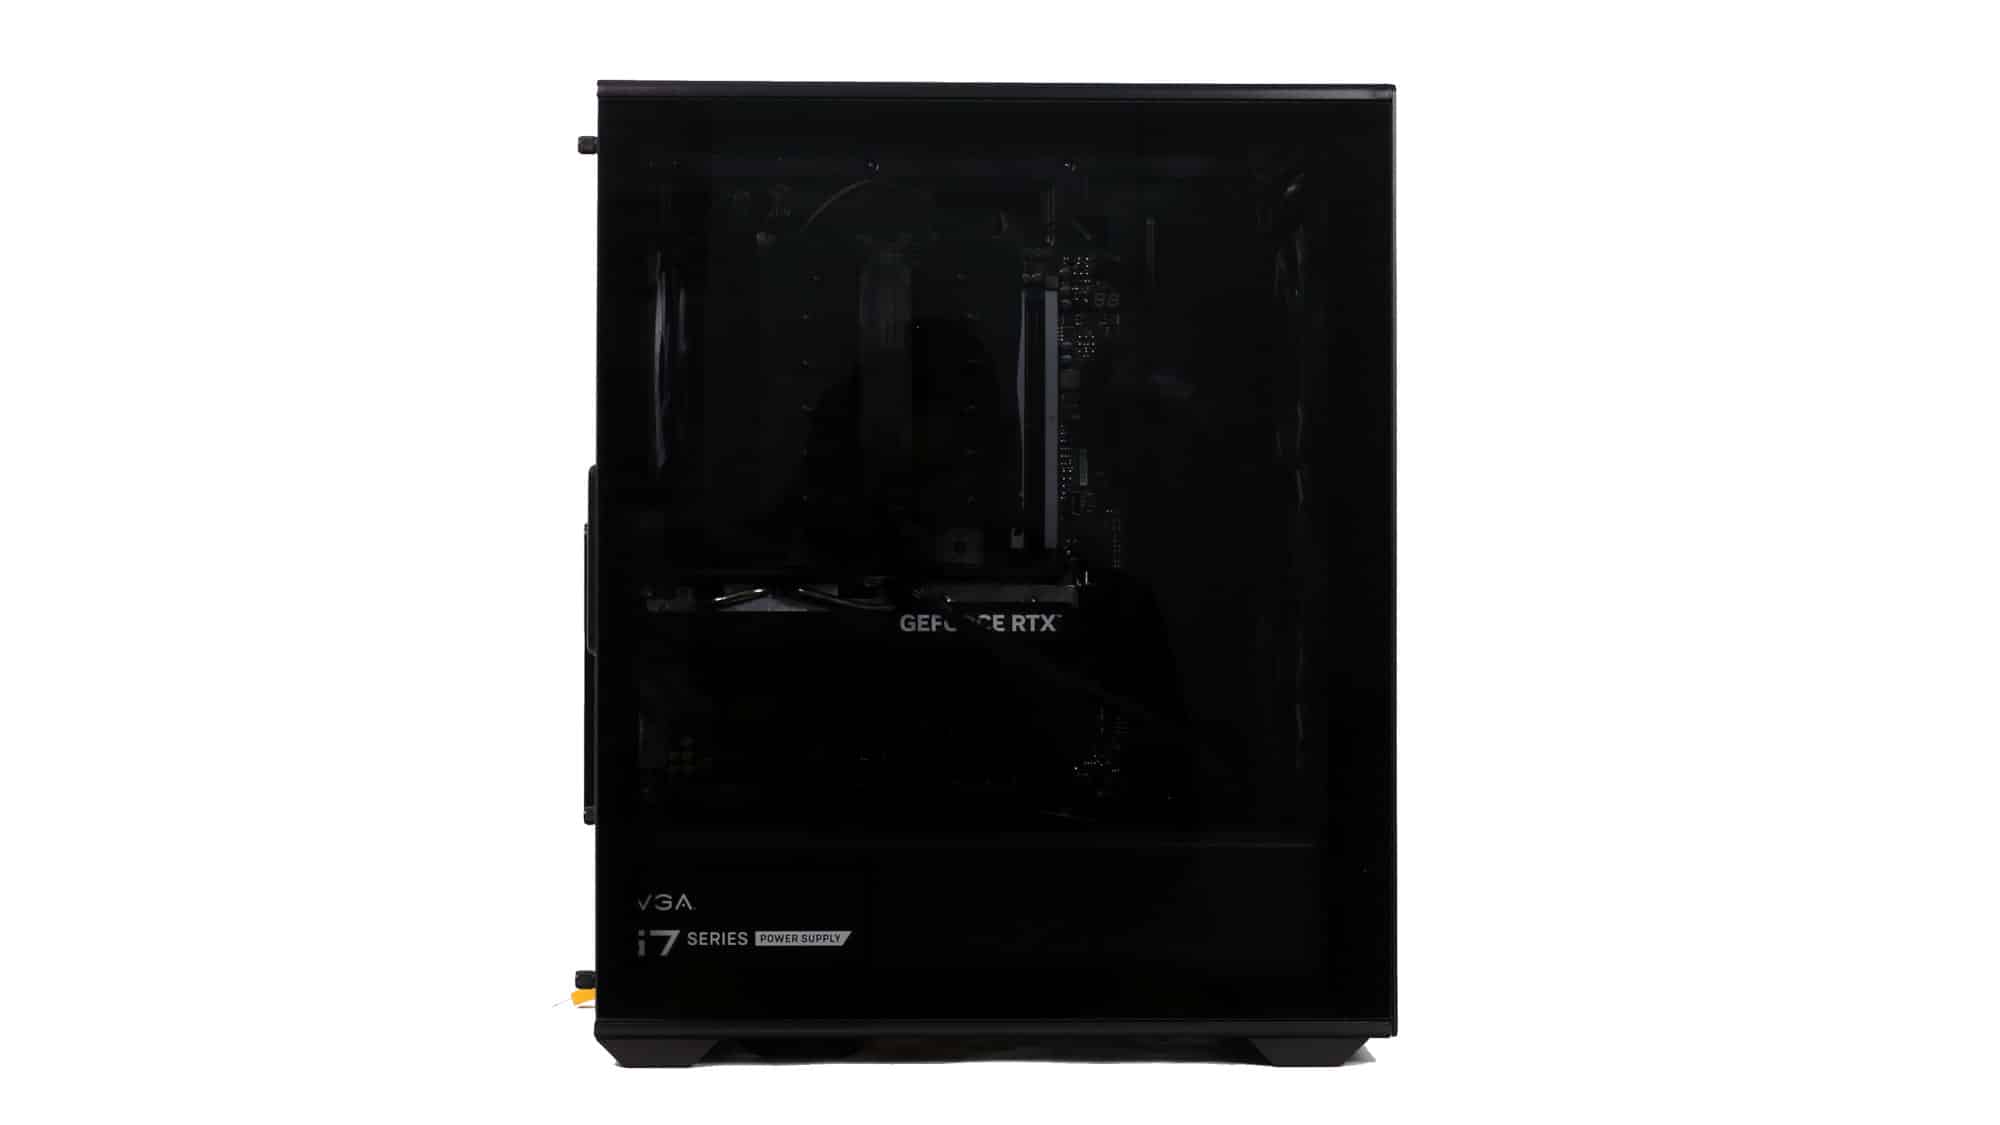
The finished build had a clean, all-black theme. With the ARGB lighting on, the case transforms visually; the front mesh mutes brightness, but the side glass still provides a bold glow.
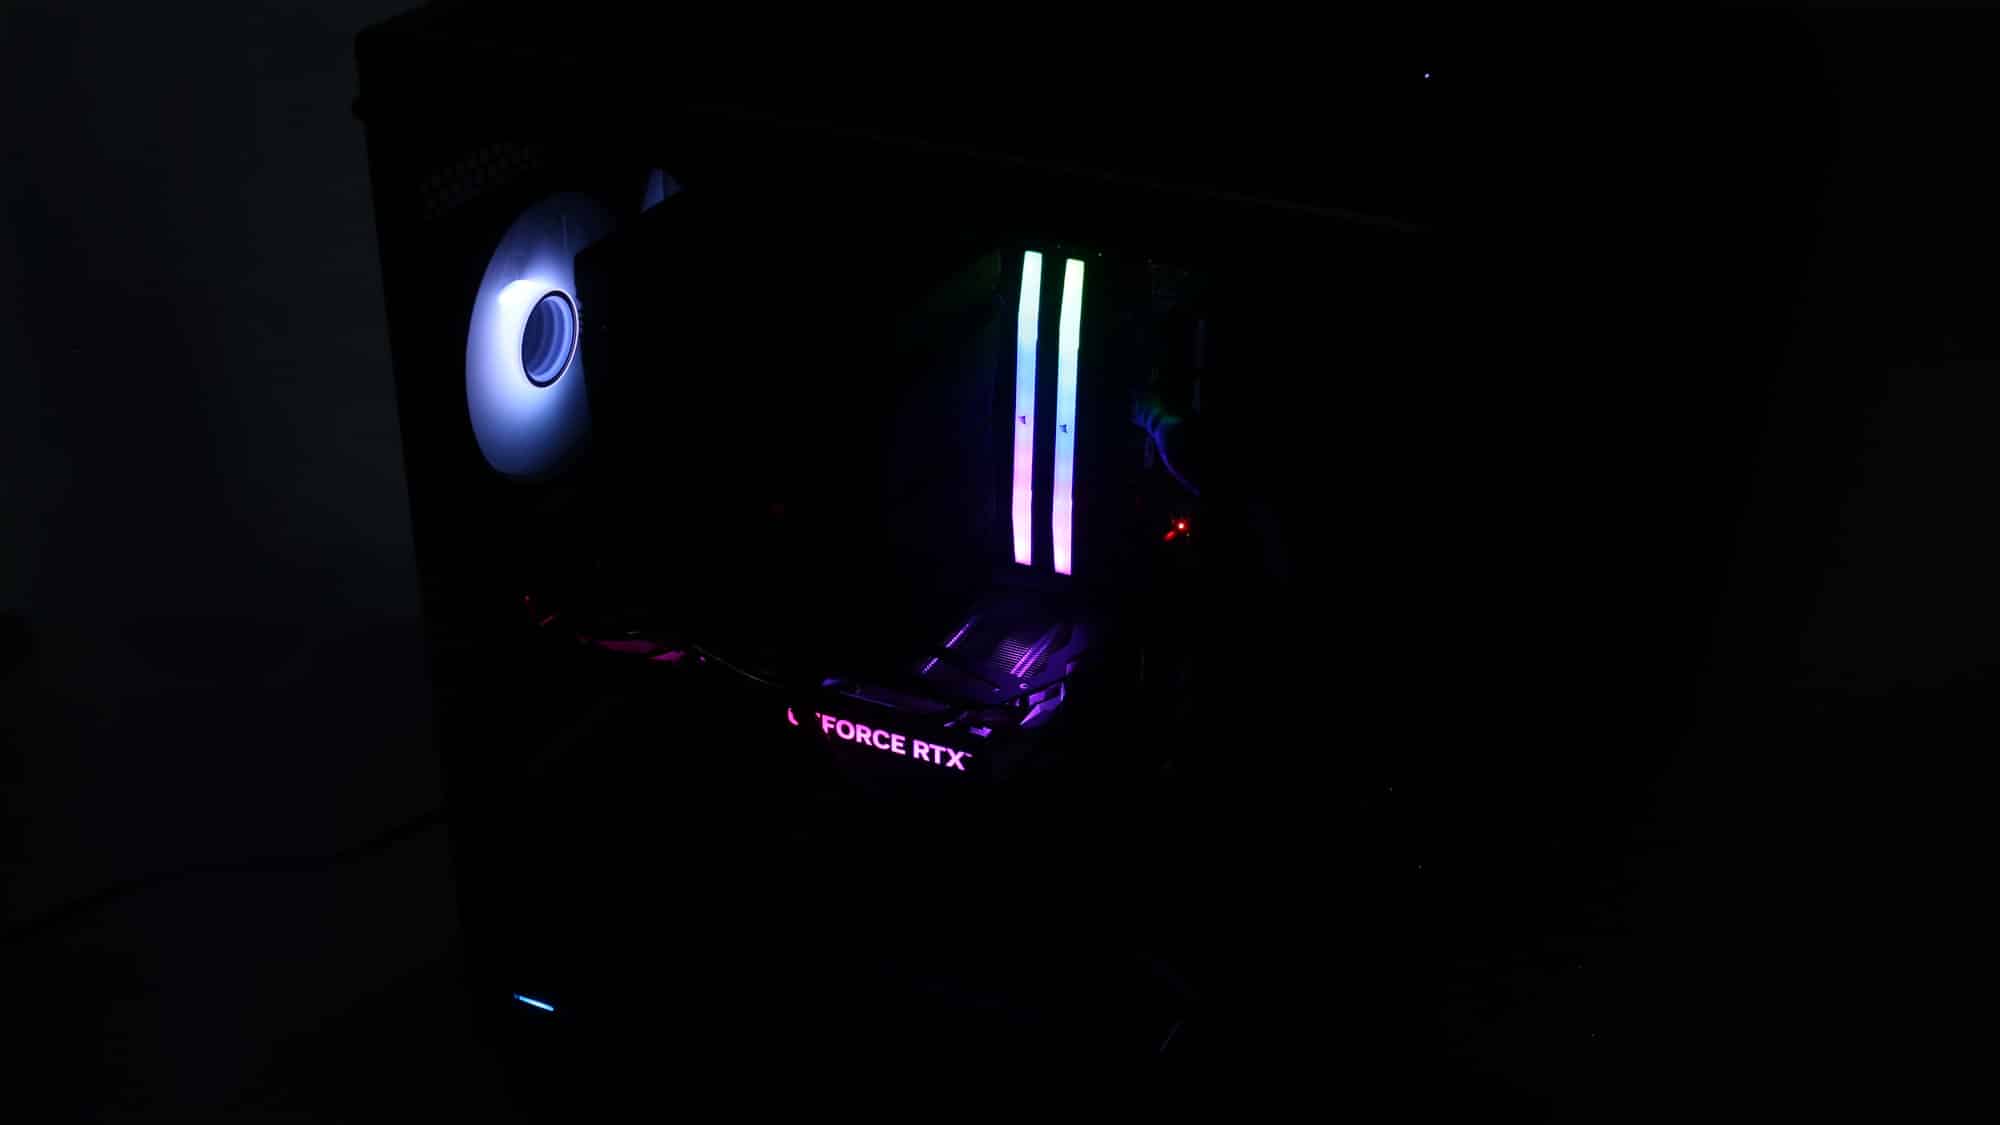
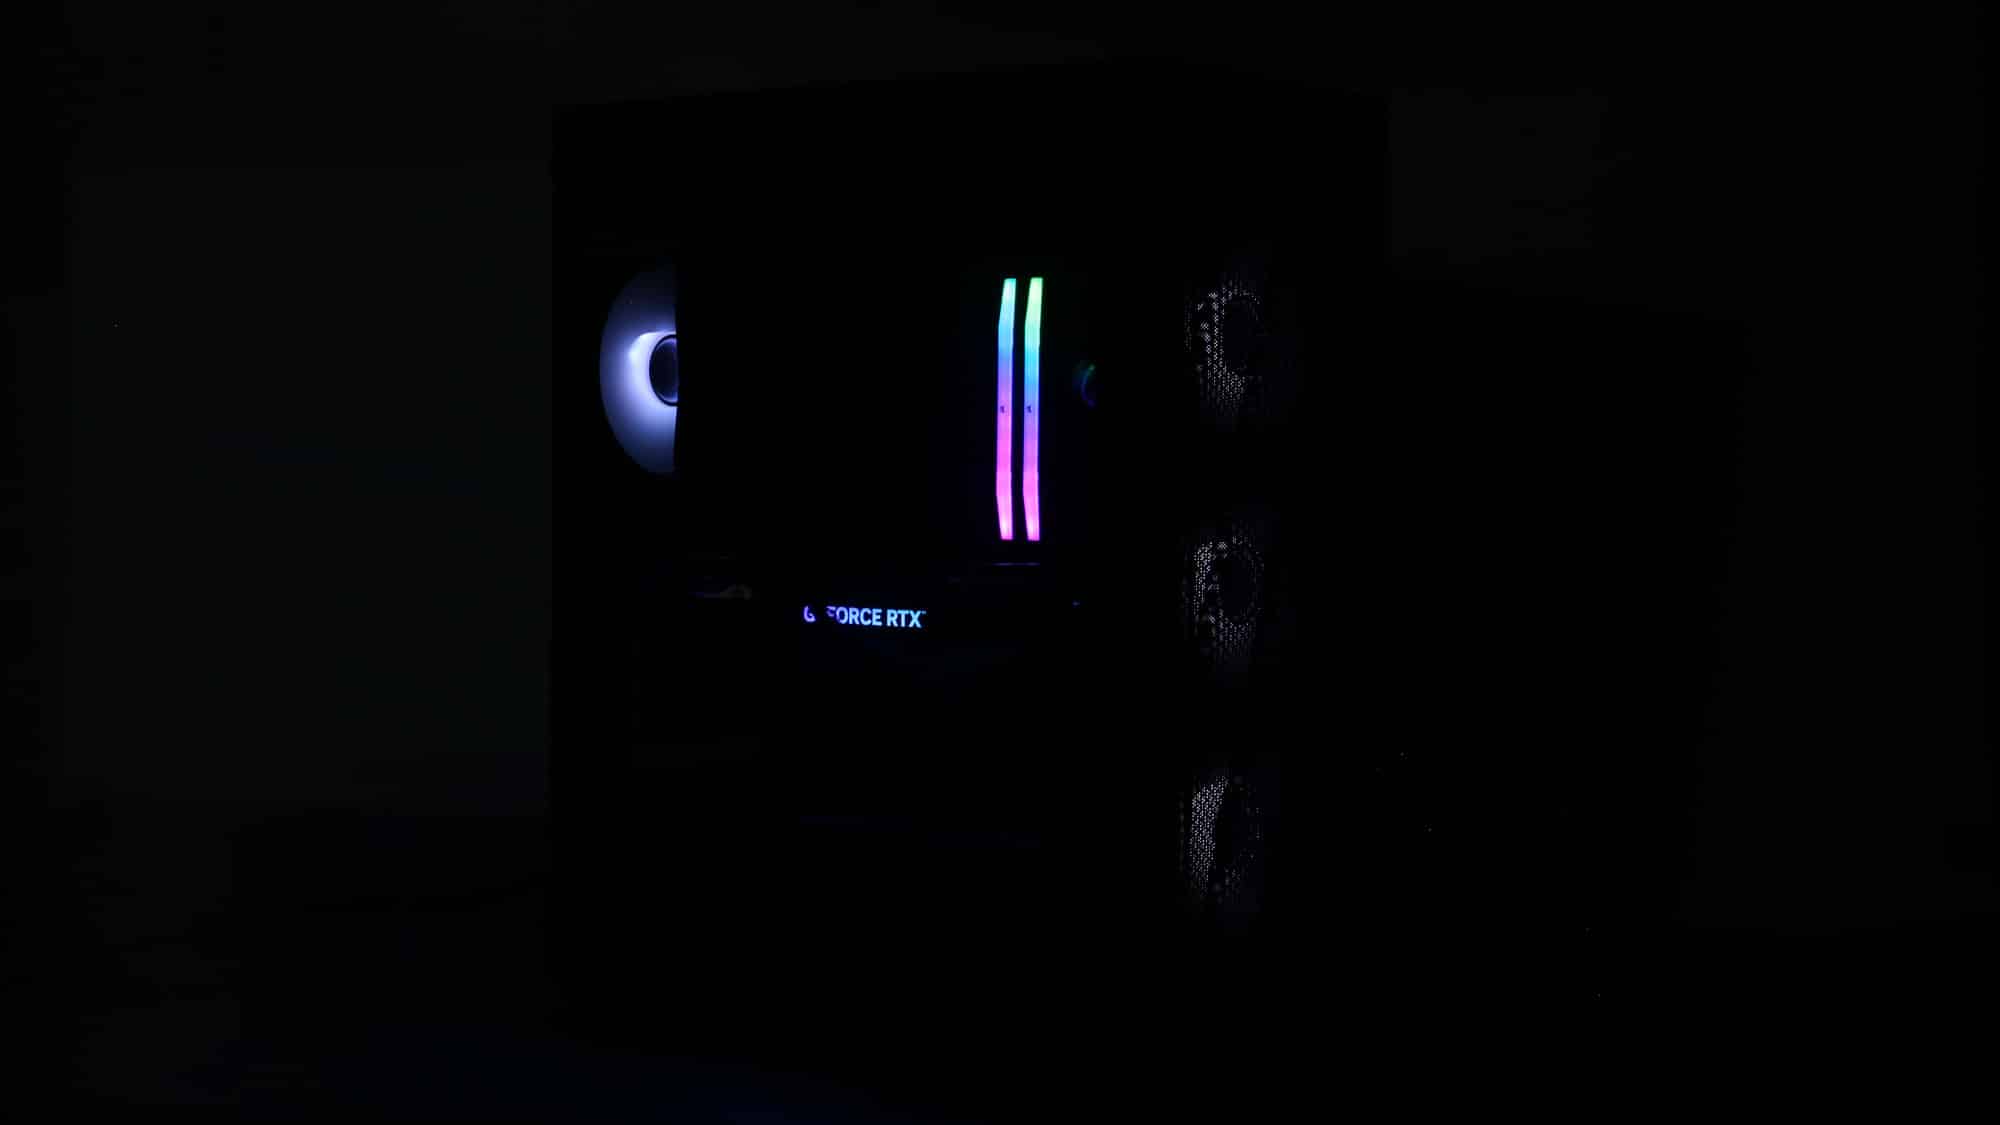
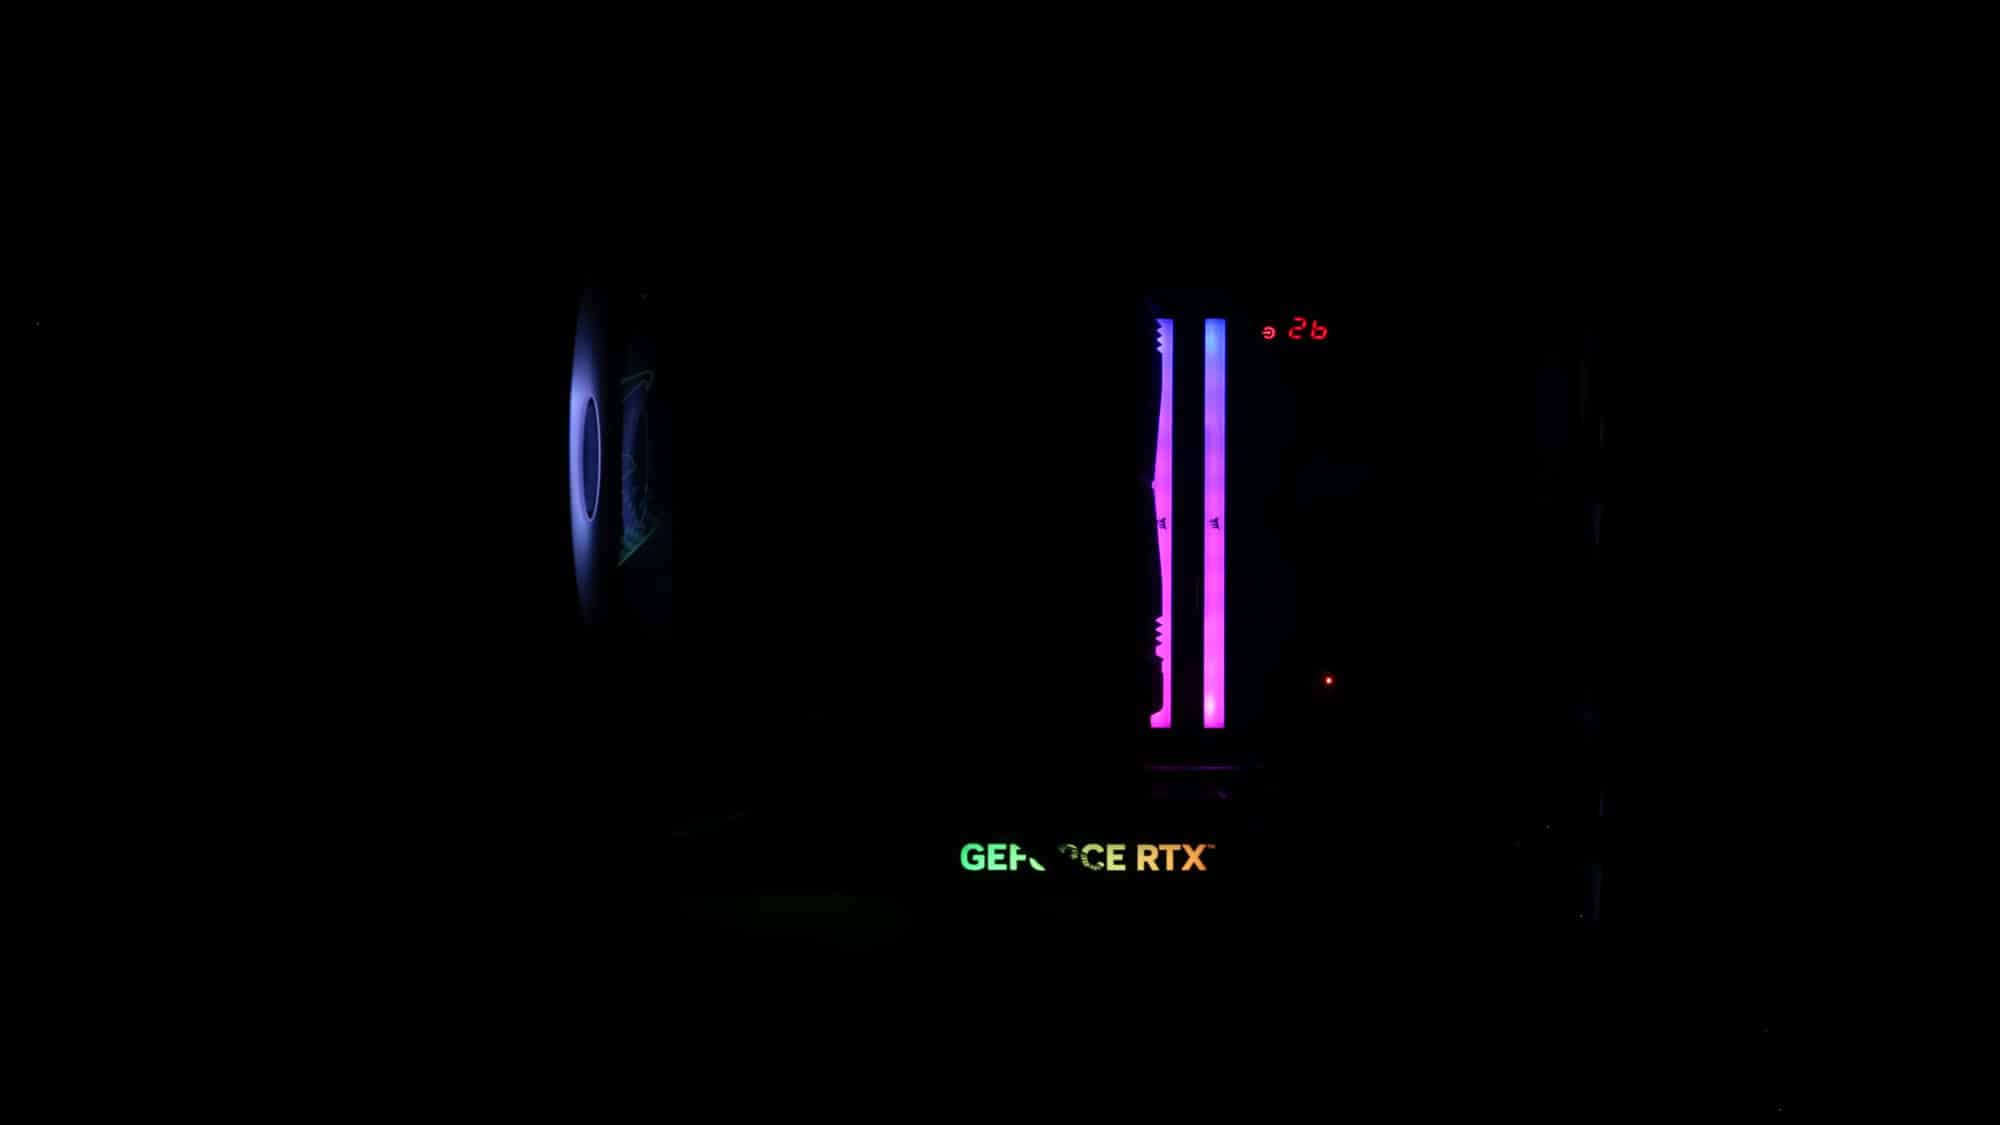
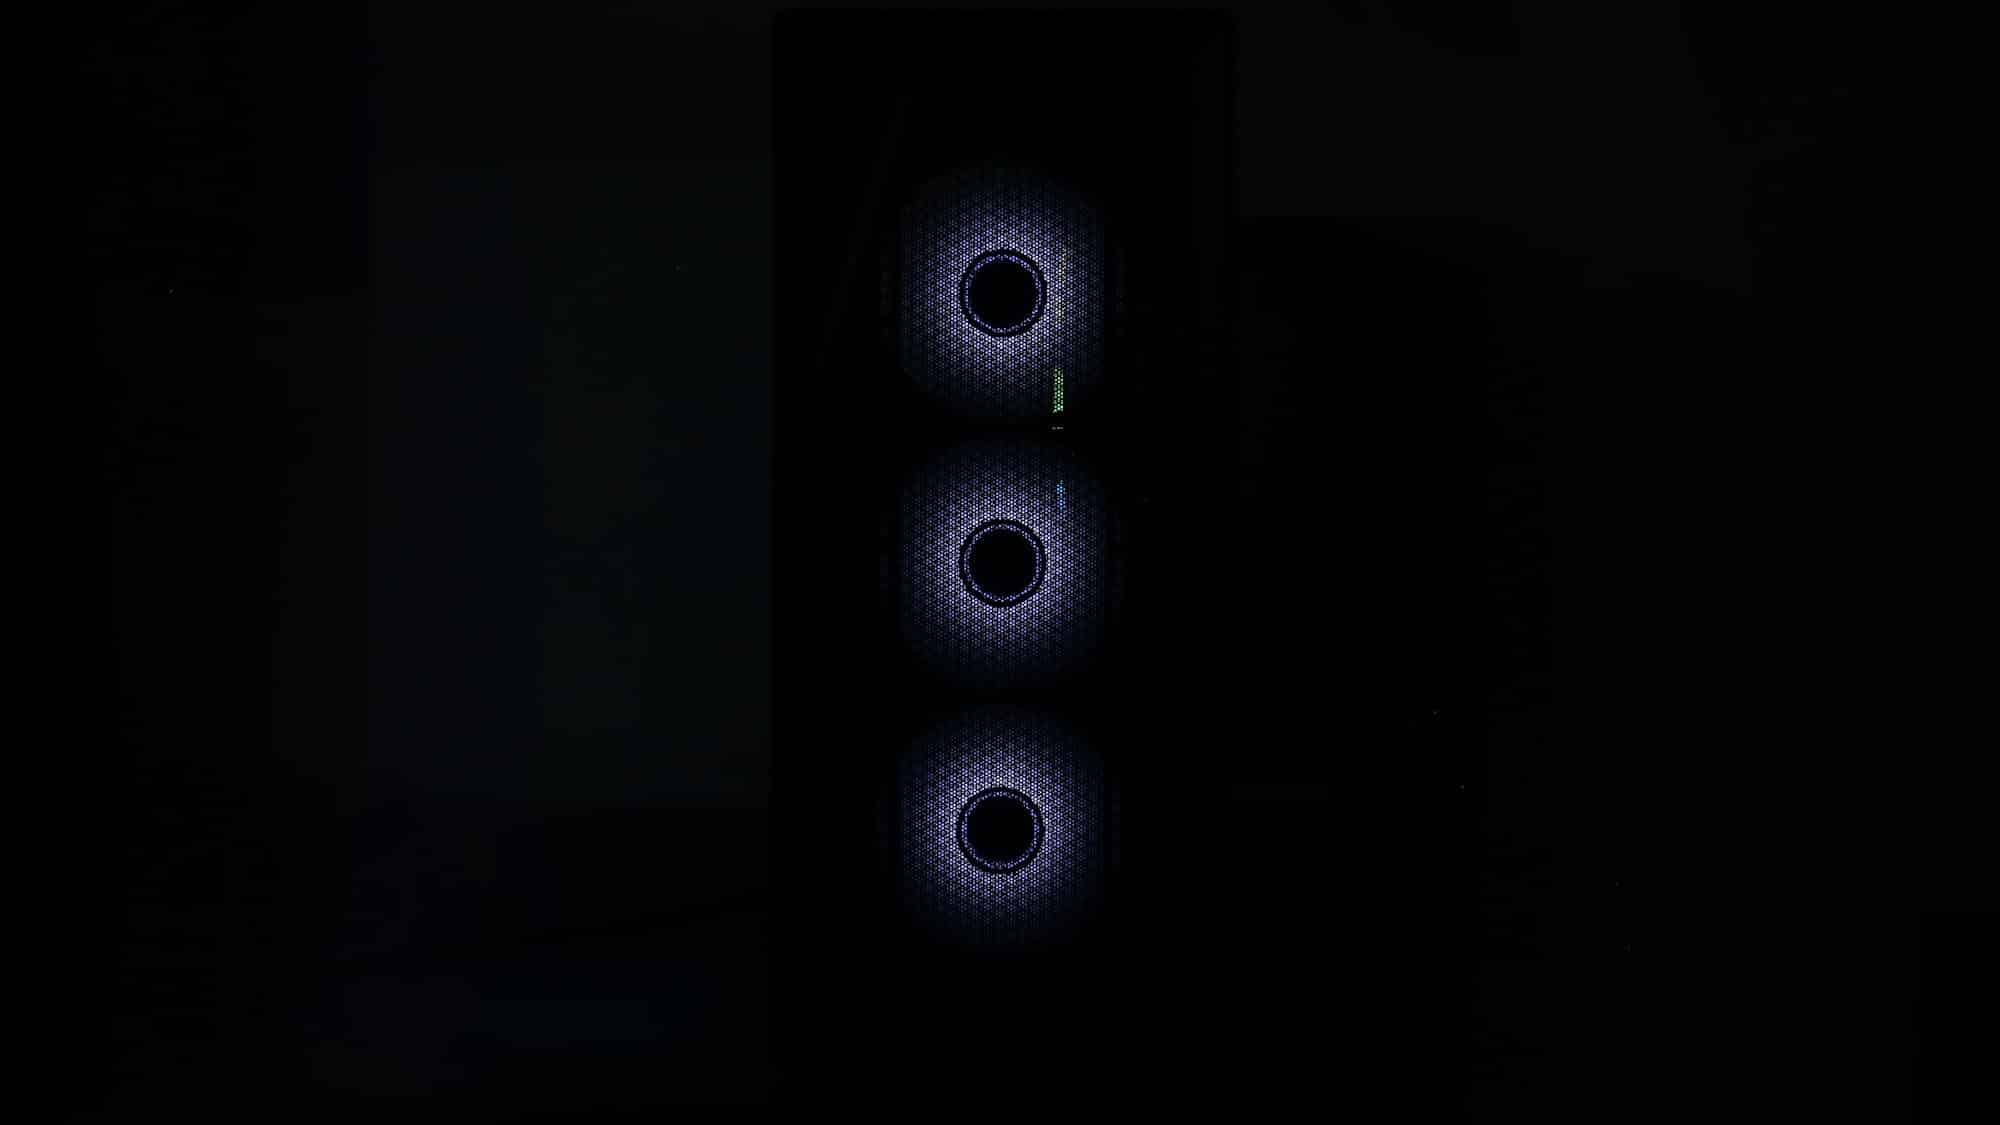
In darker environments, the ARGB really pops.
Pages: