Unboxing and First Impressions
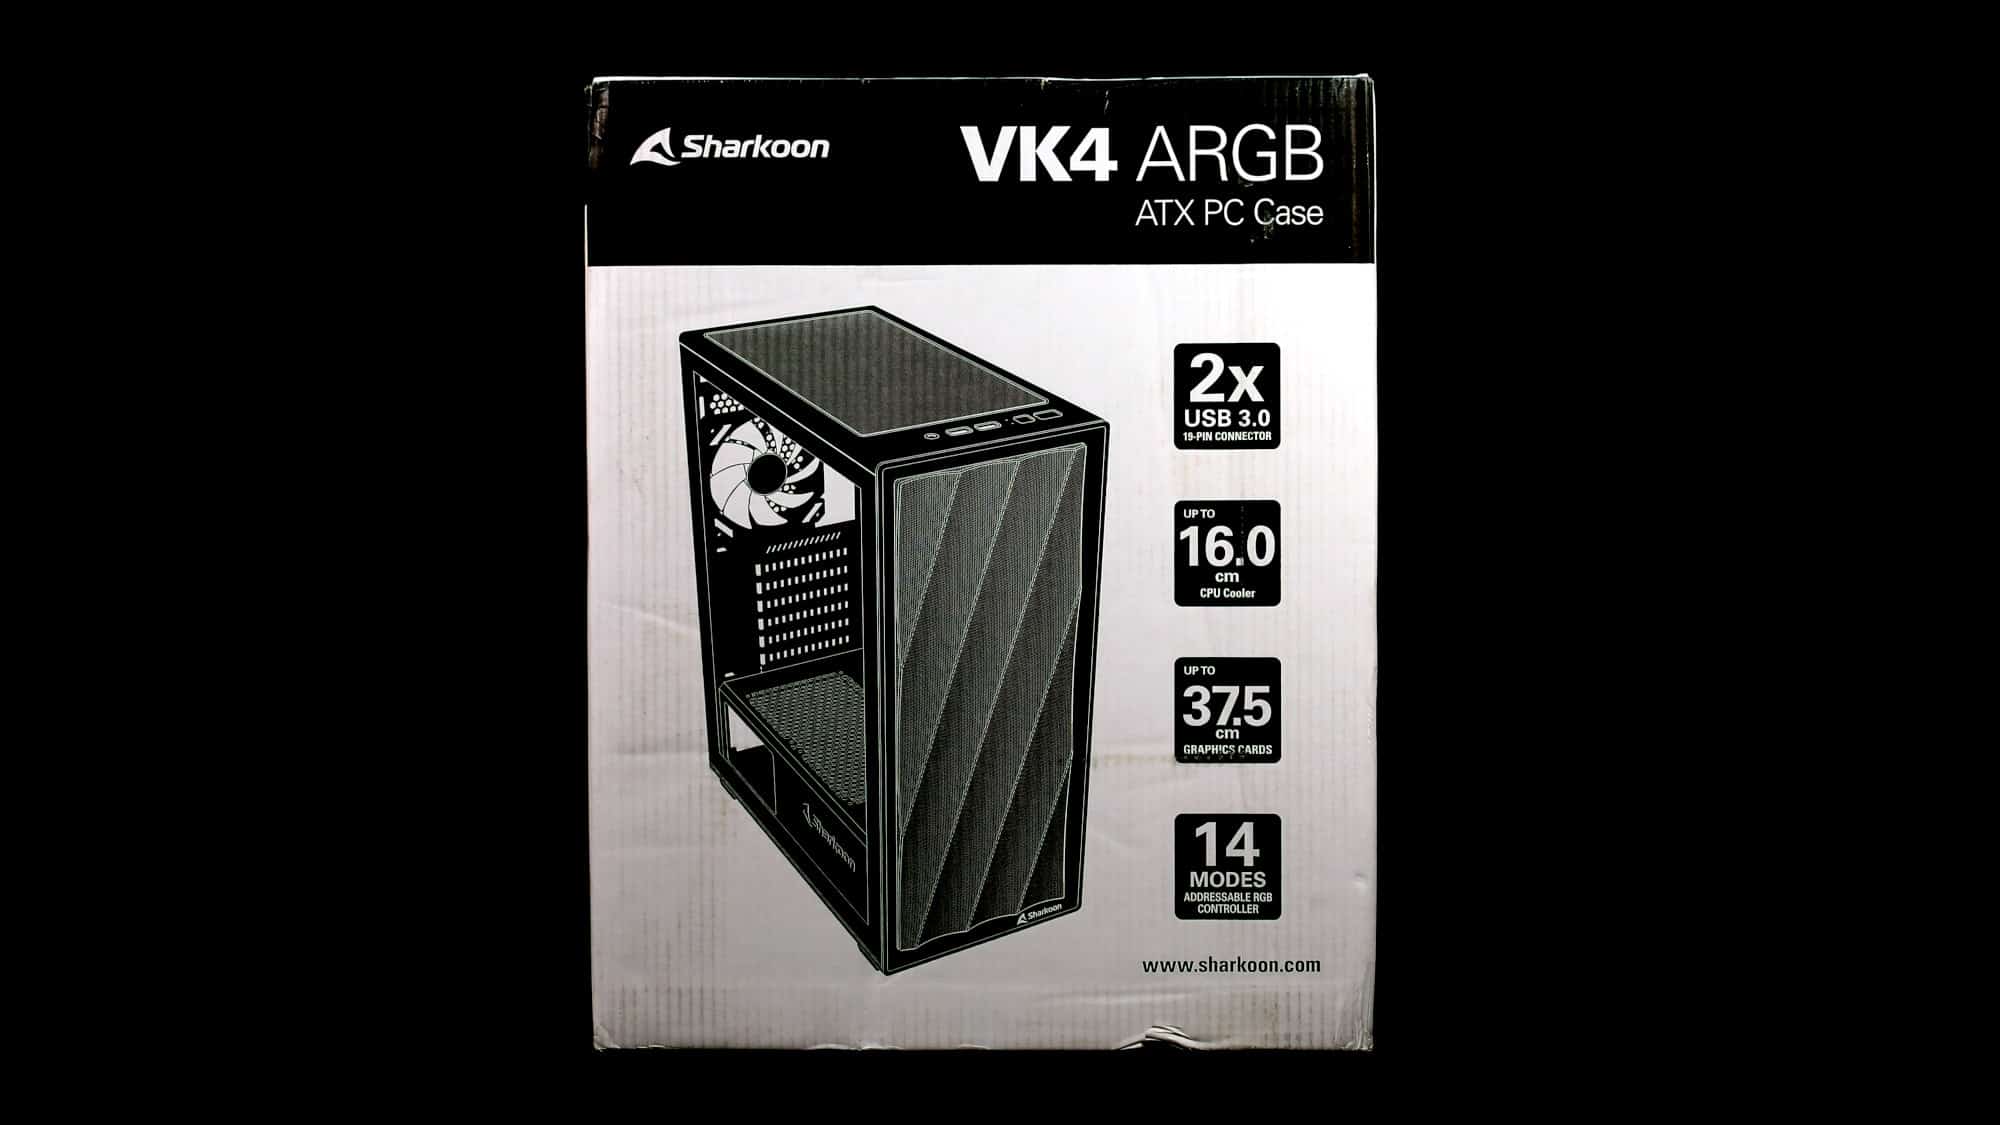
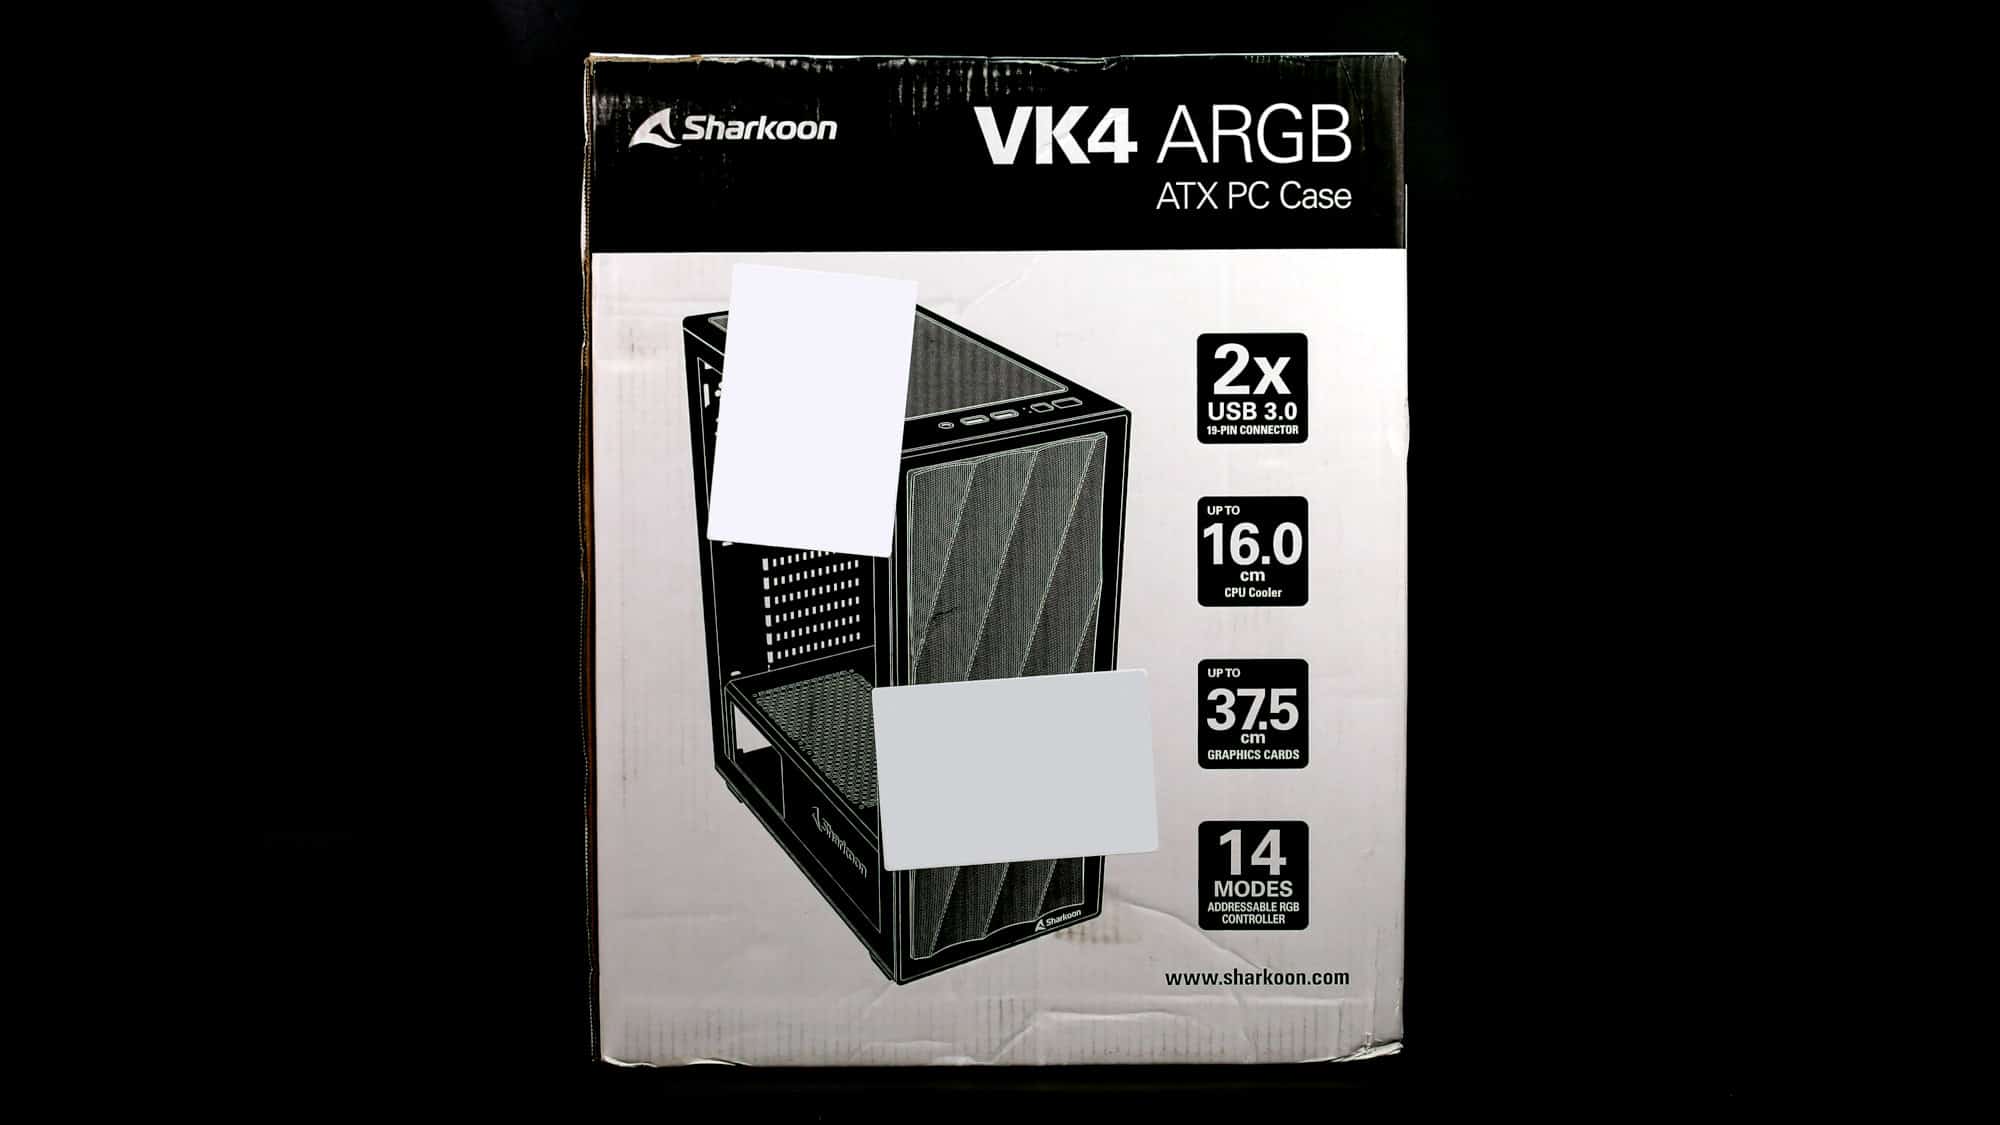
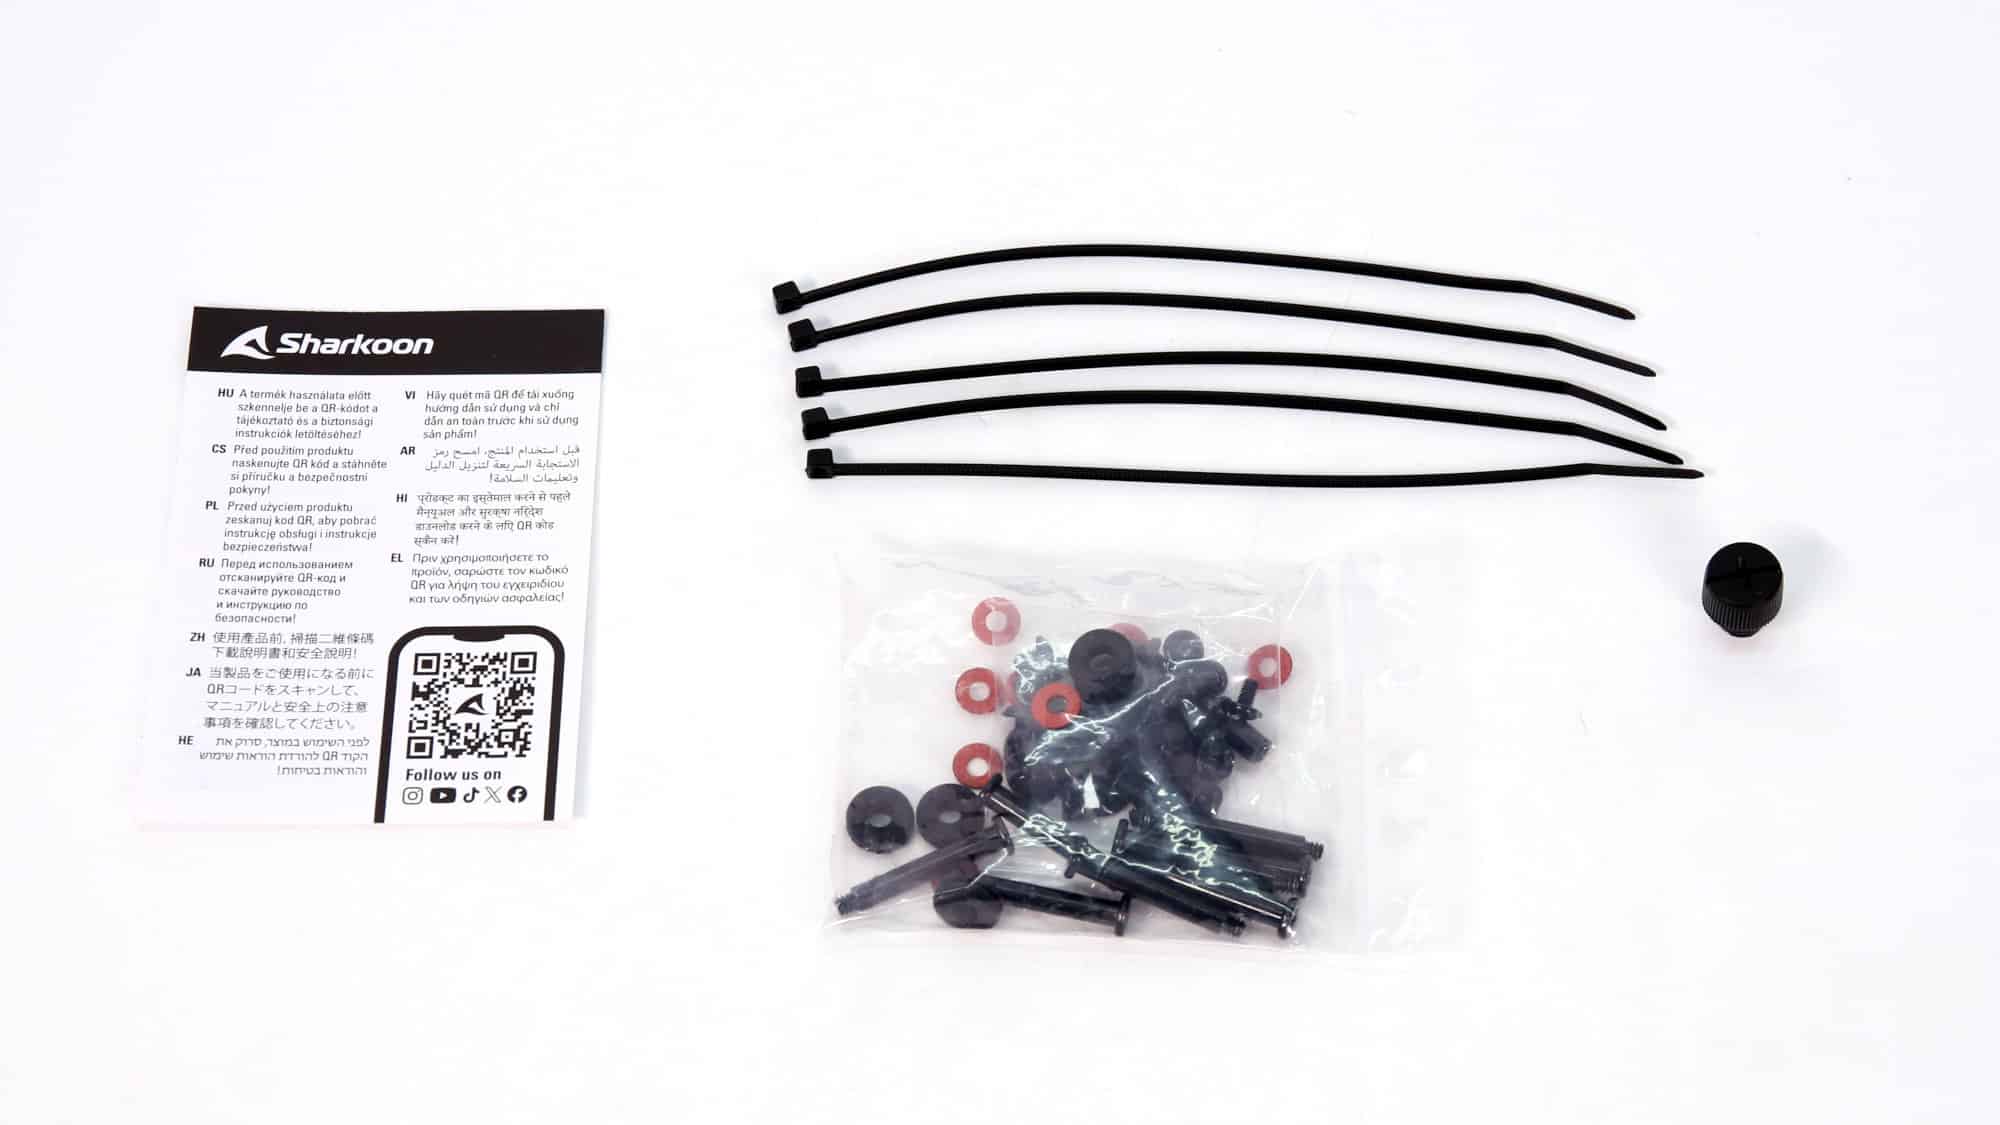
The VK4 arrived in a single box, protected by foam and a plastic bag. Inside, you’ll find a smaller box secured in a storage tray. The included bundle contains:
- 9x Motherboard screws
- 4x PSU screws
- 4x Rubber HDD isolators
- 4x HDD screws
- 8x 2.5-inch HDD/SSD screws
- 8x 2.5-inch HDD/SSD pads
- 8x long fan screws
- 1x Stand-off
- 5x Zip-ties
- 1x Stand-off removal tool
- Leaflet with QR for instructions
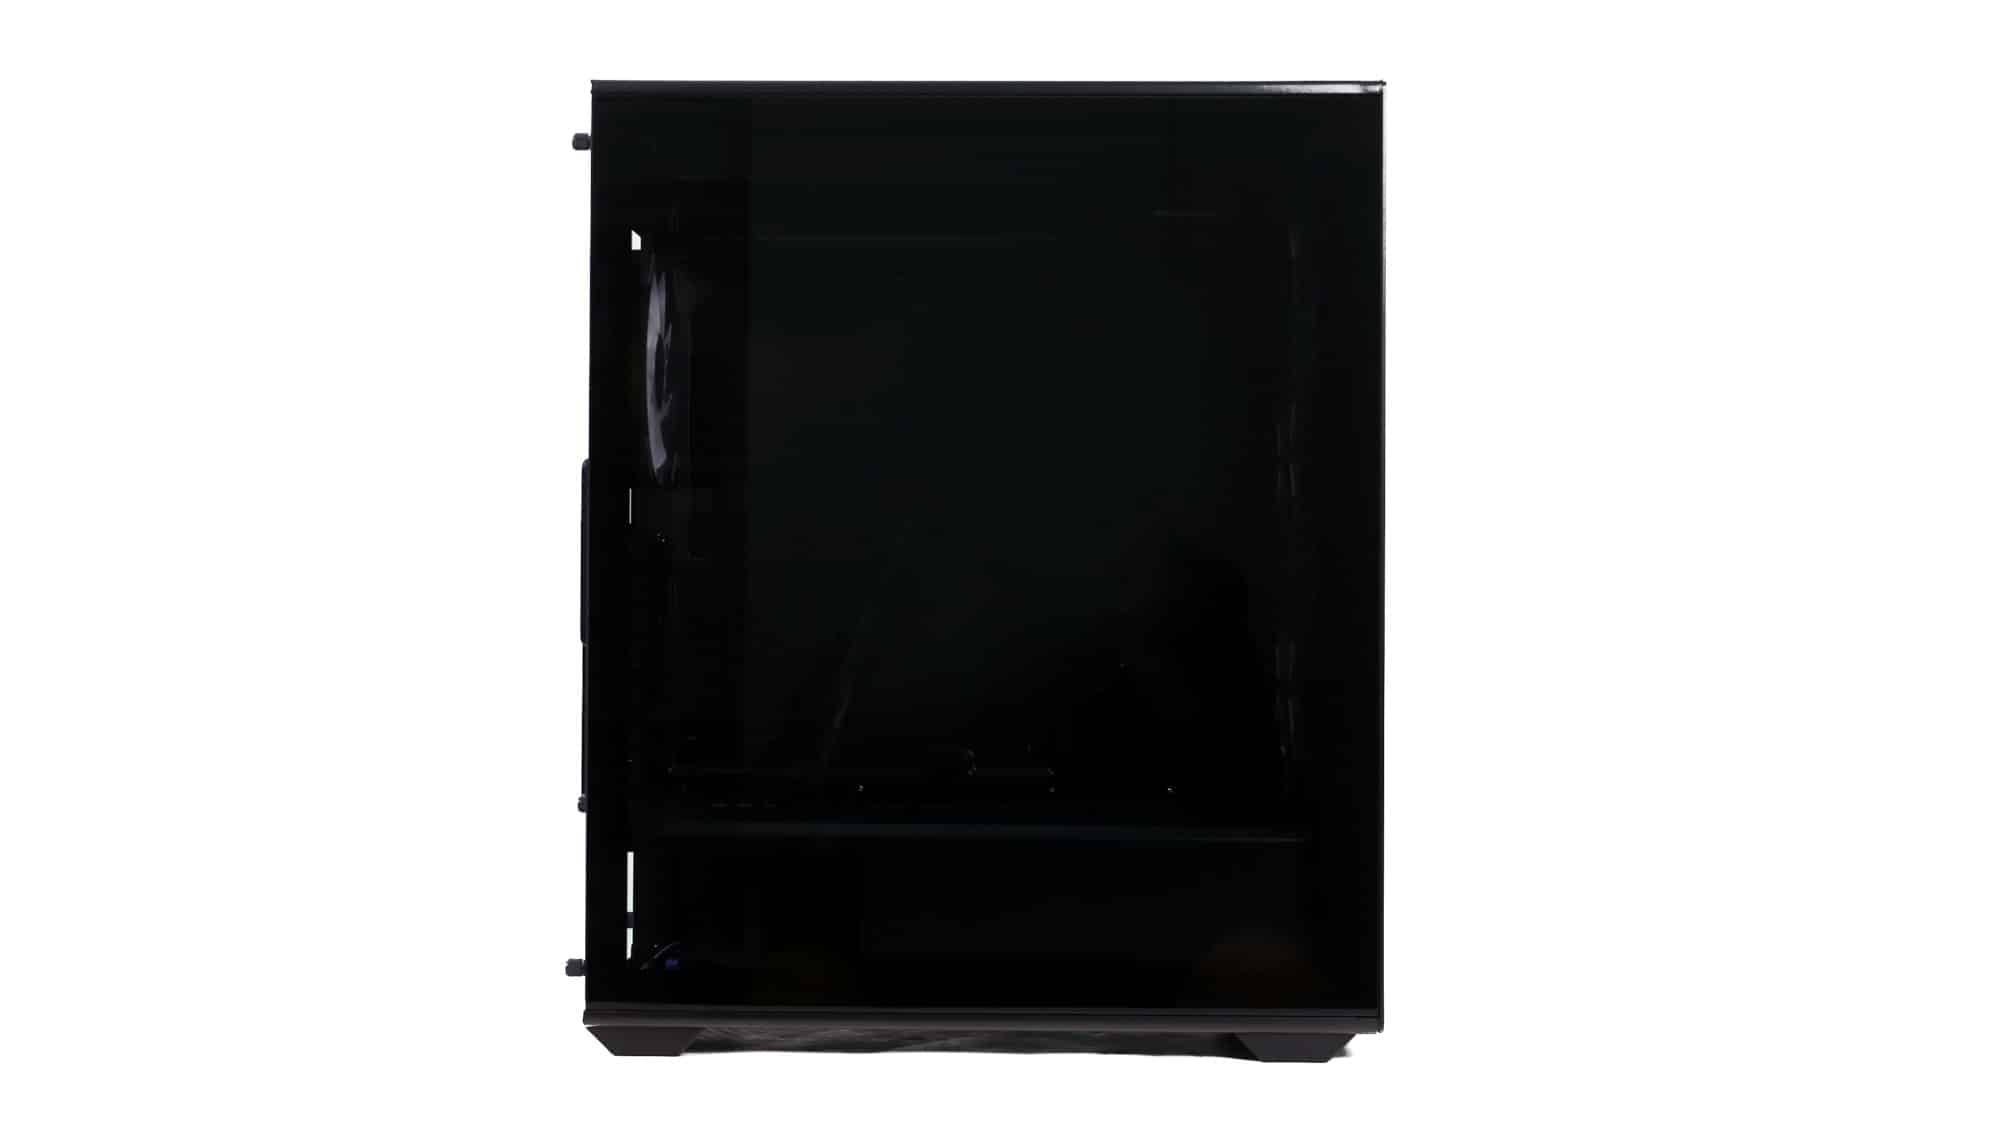
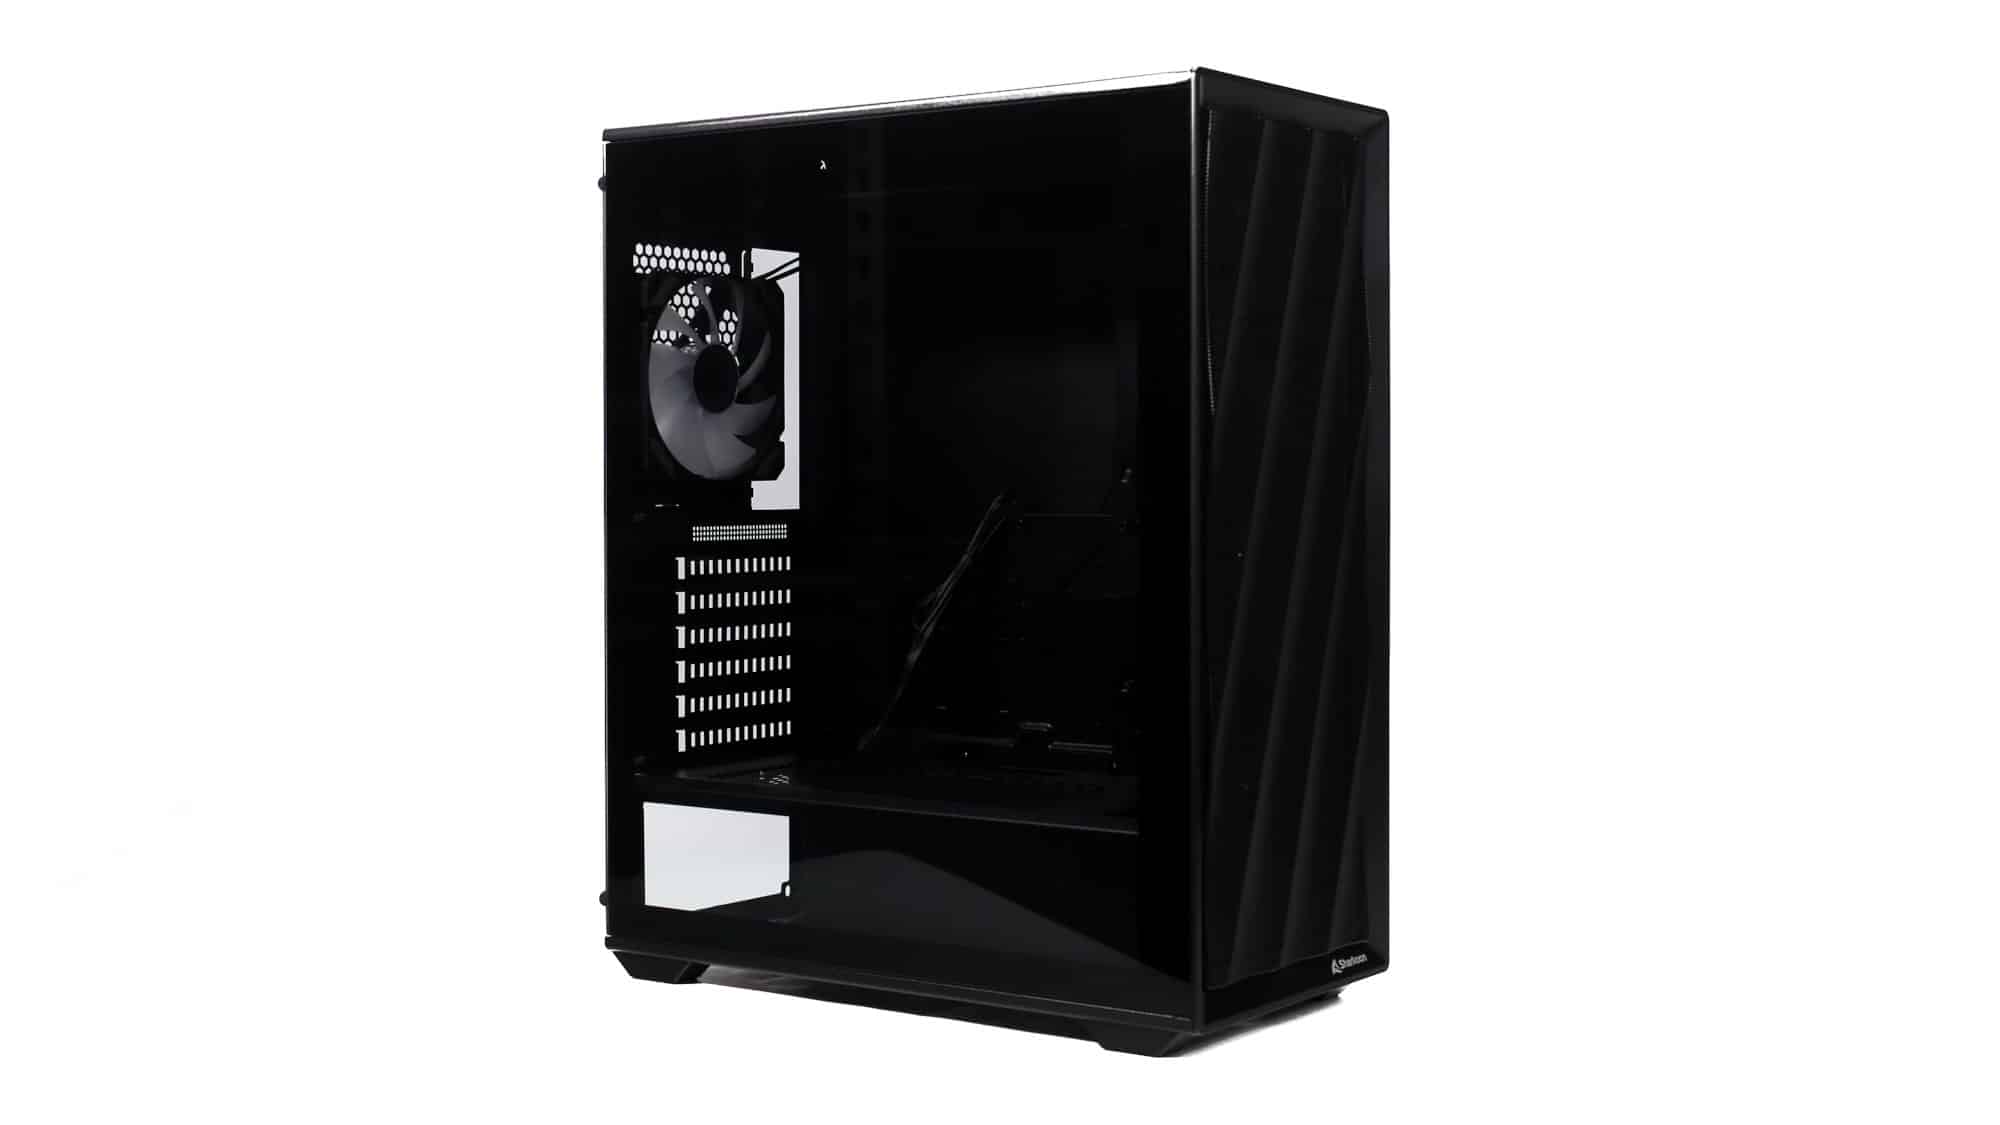
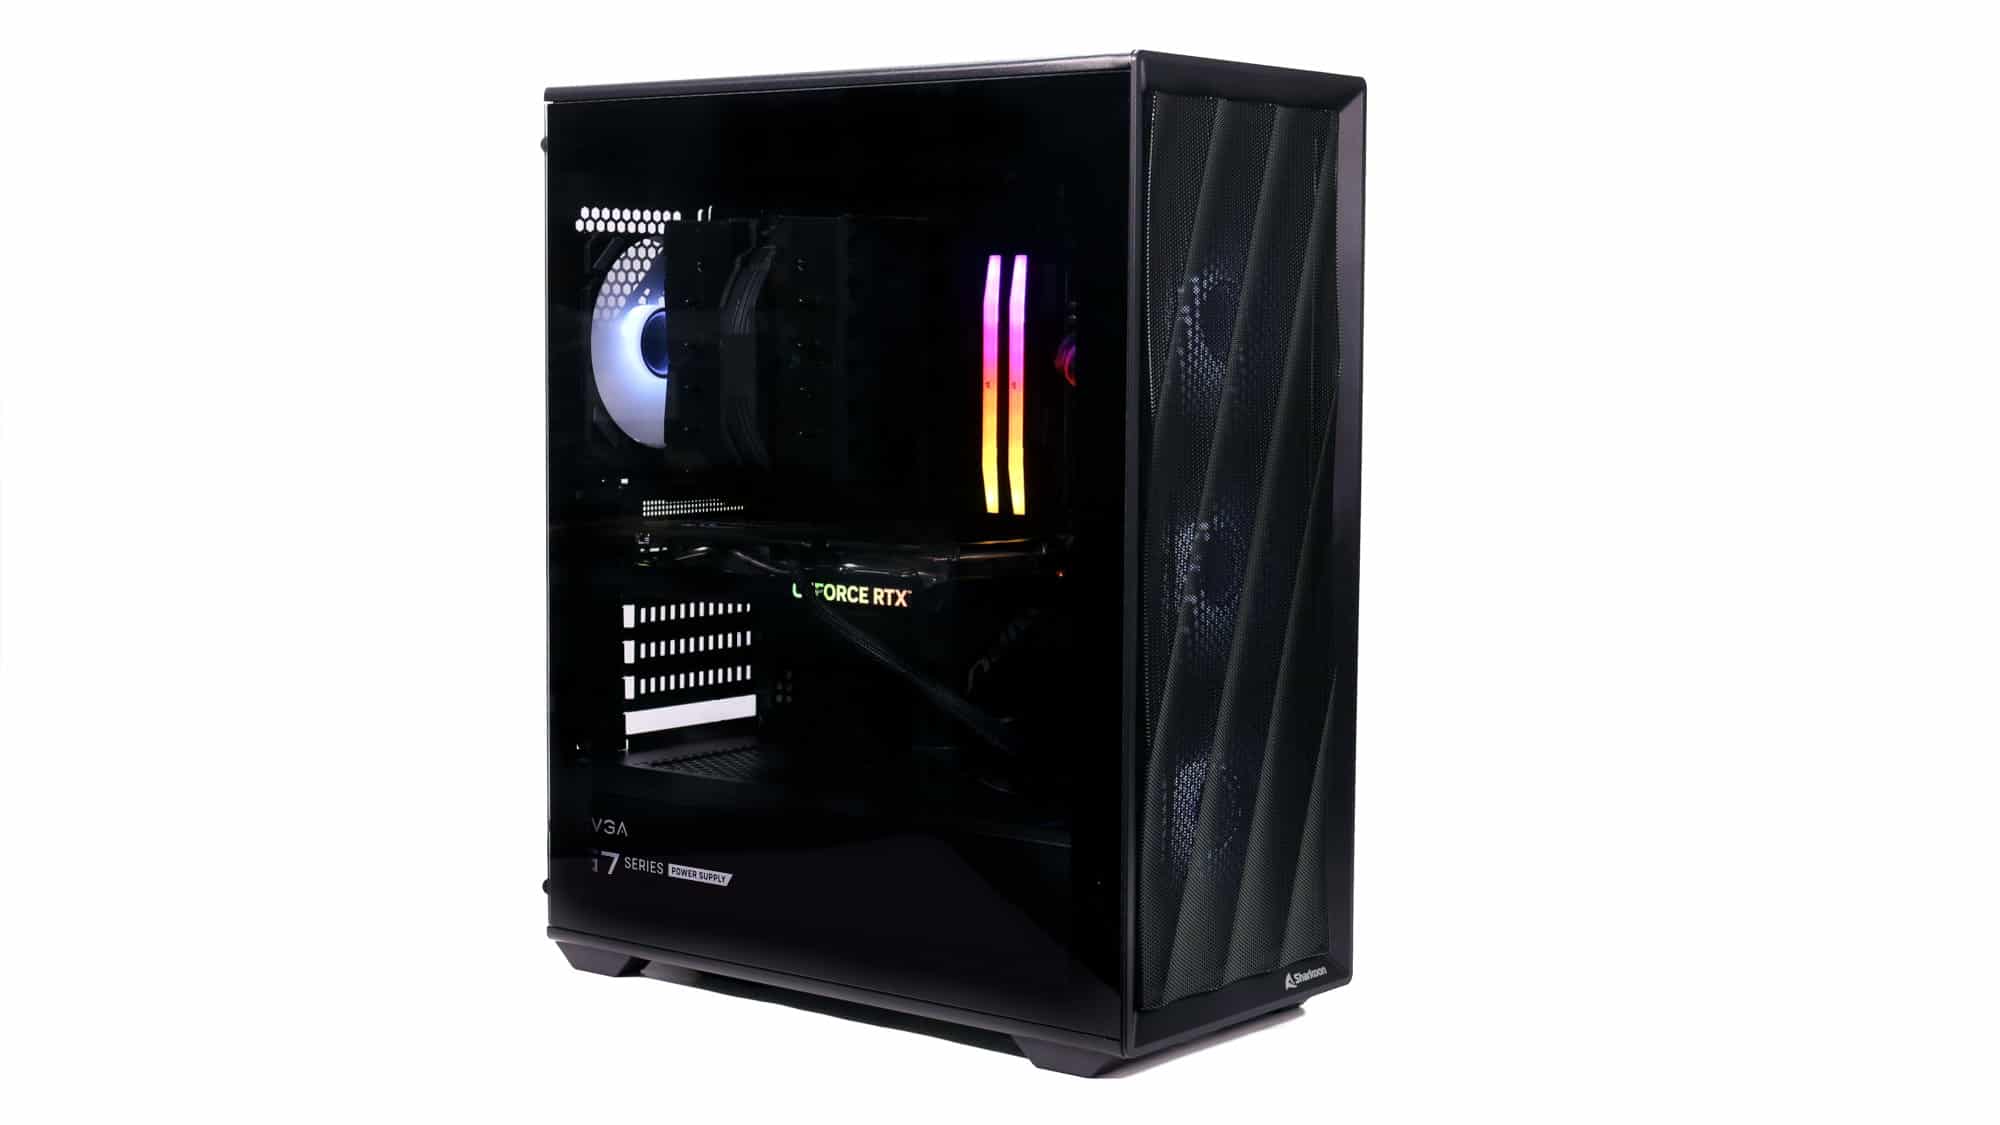
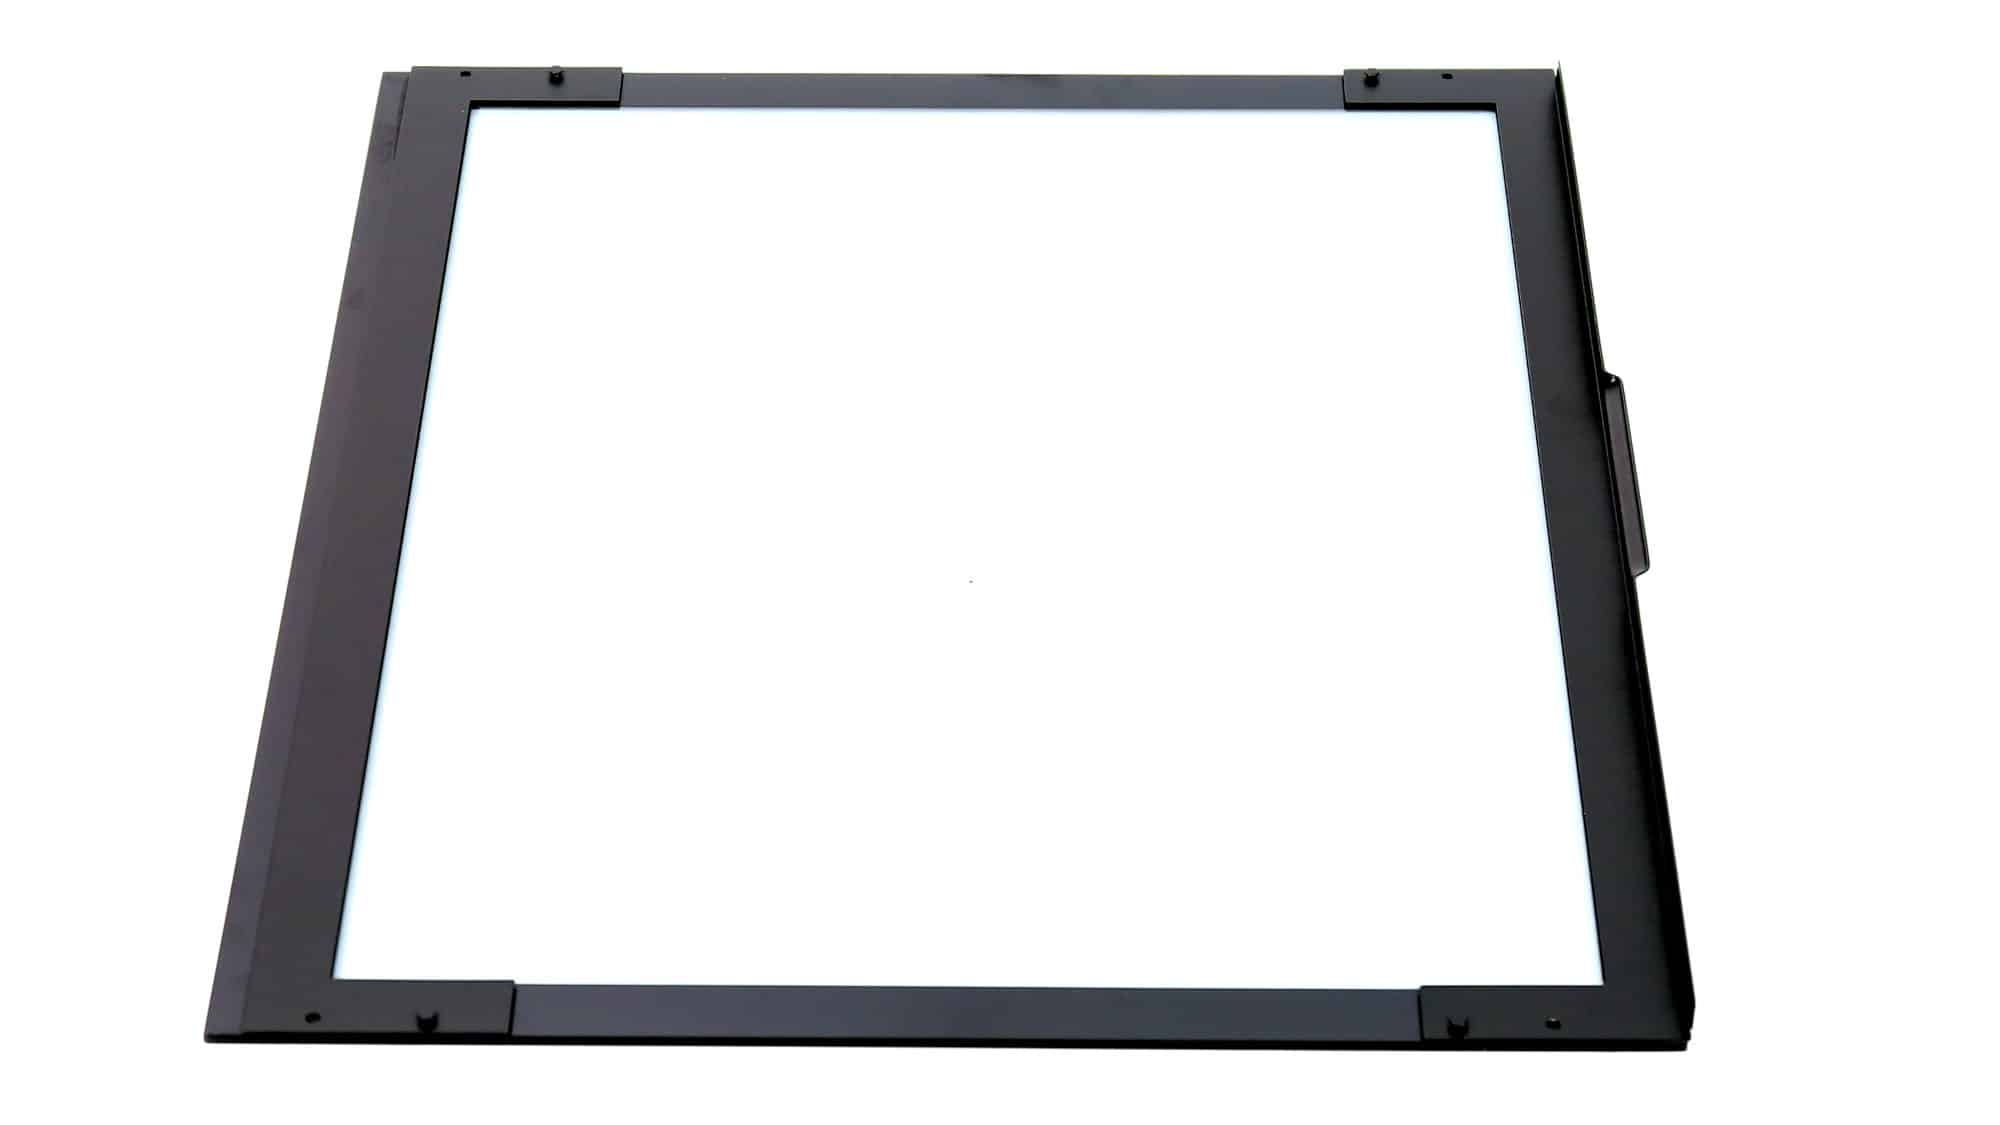
Upon first inspection, the features that stand out are the unit’s height and its dark appearance. It isn’t the lightest case we’ve tested, but it’s still on the lighter side. The tempered glass panel contributes a significant portion of the weight.
Design and Build Quality
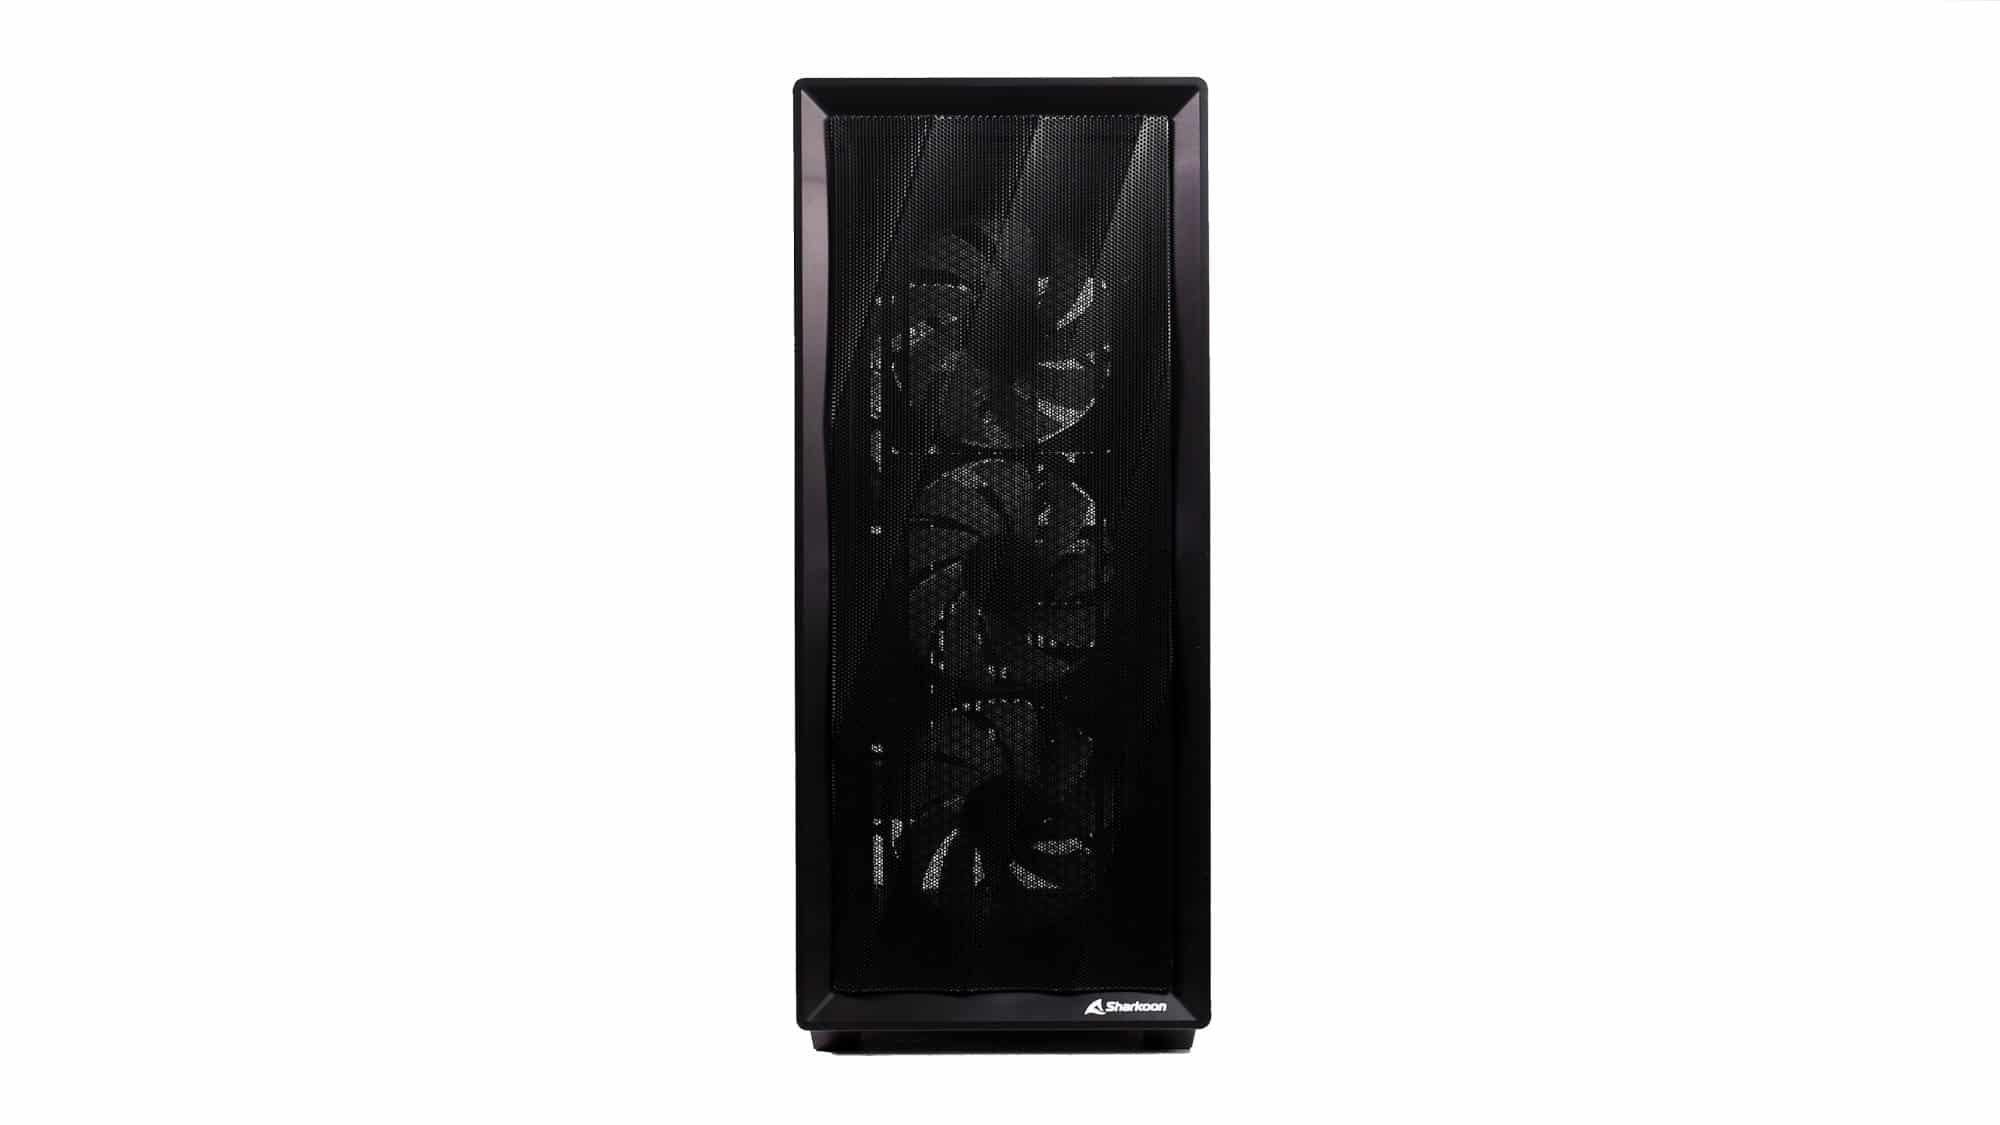
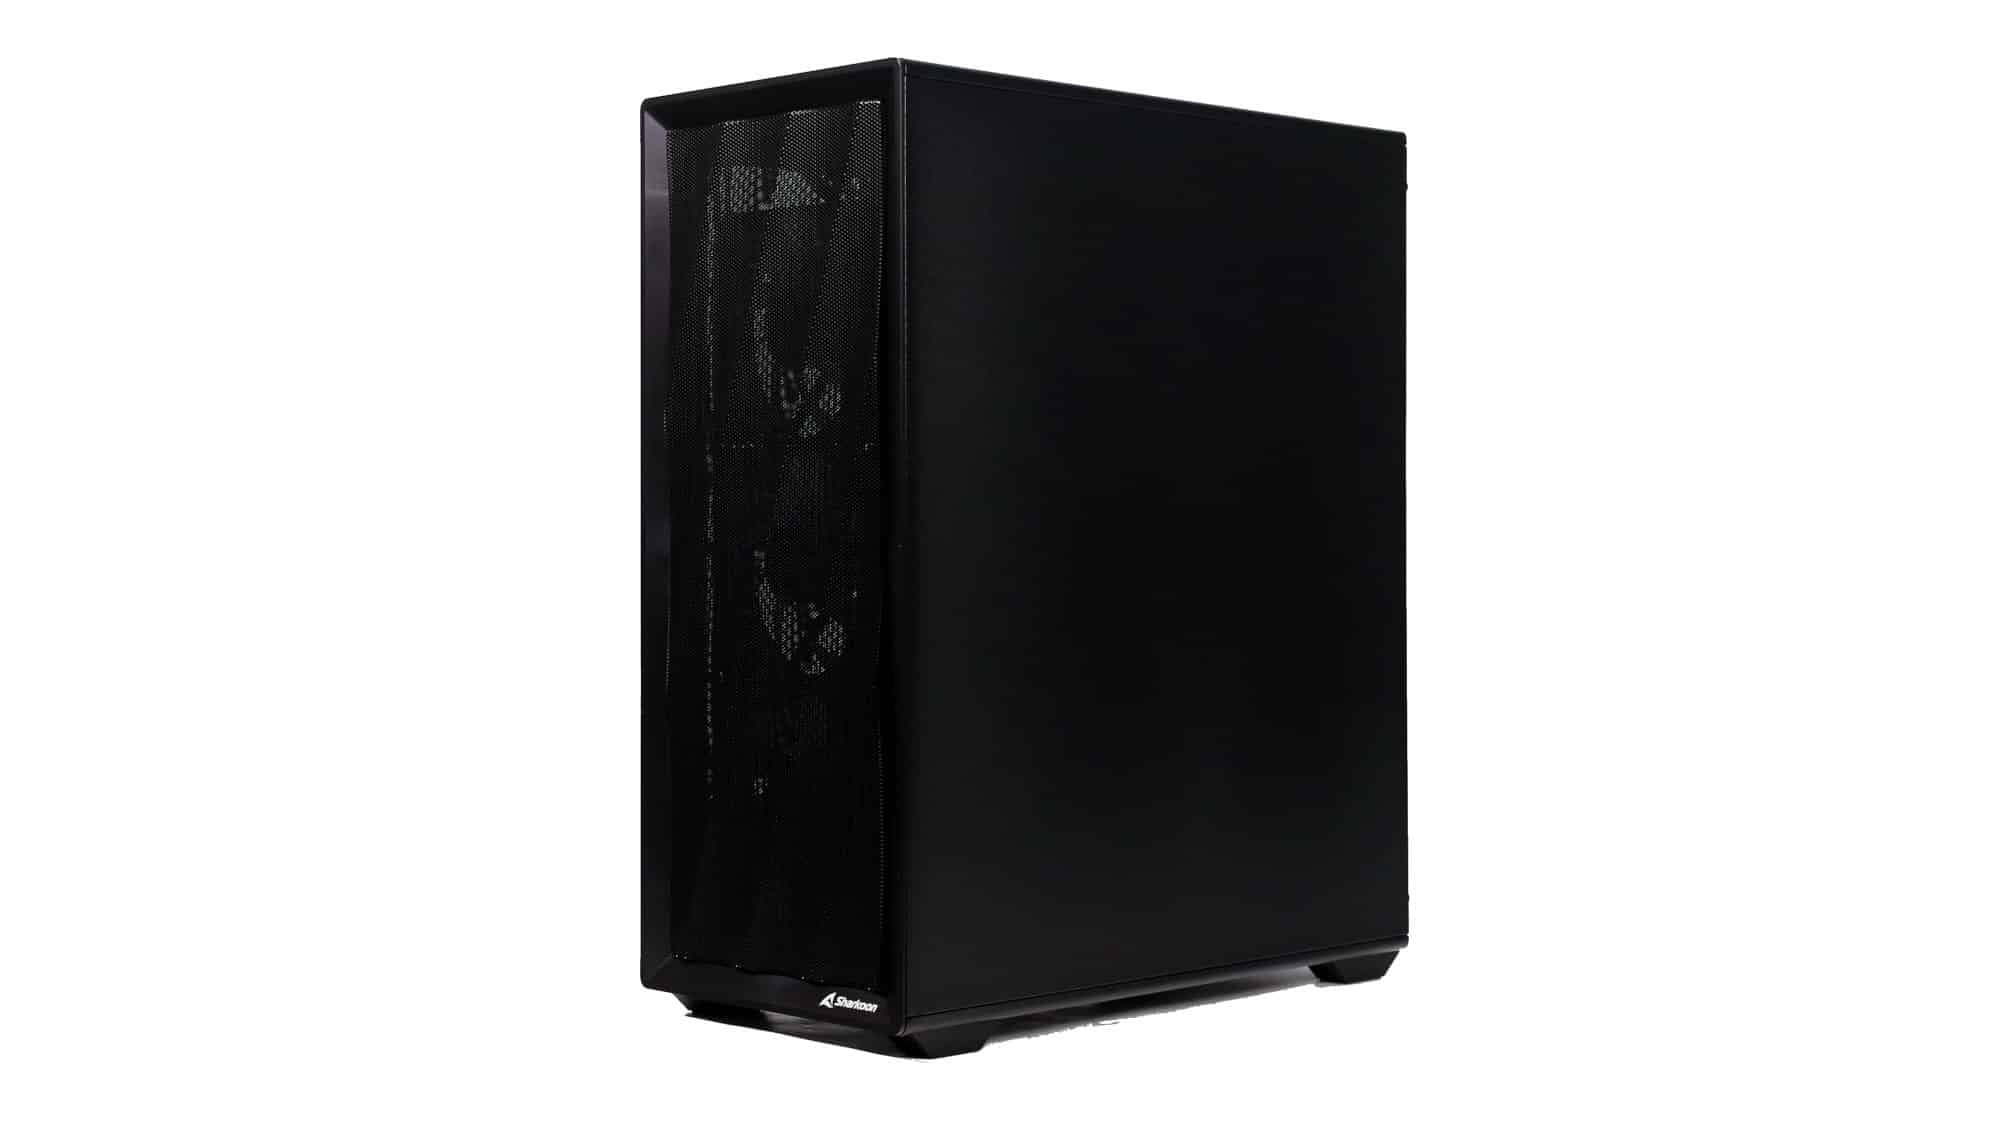
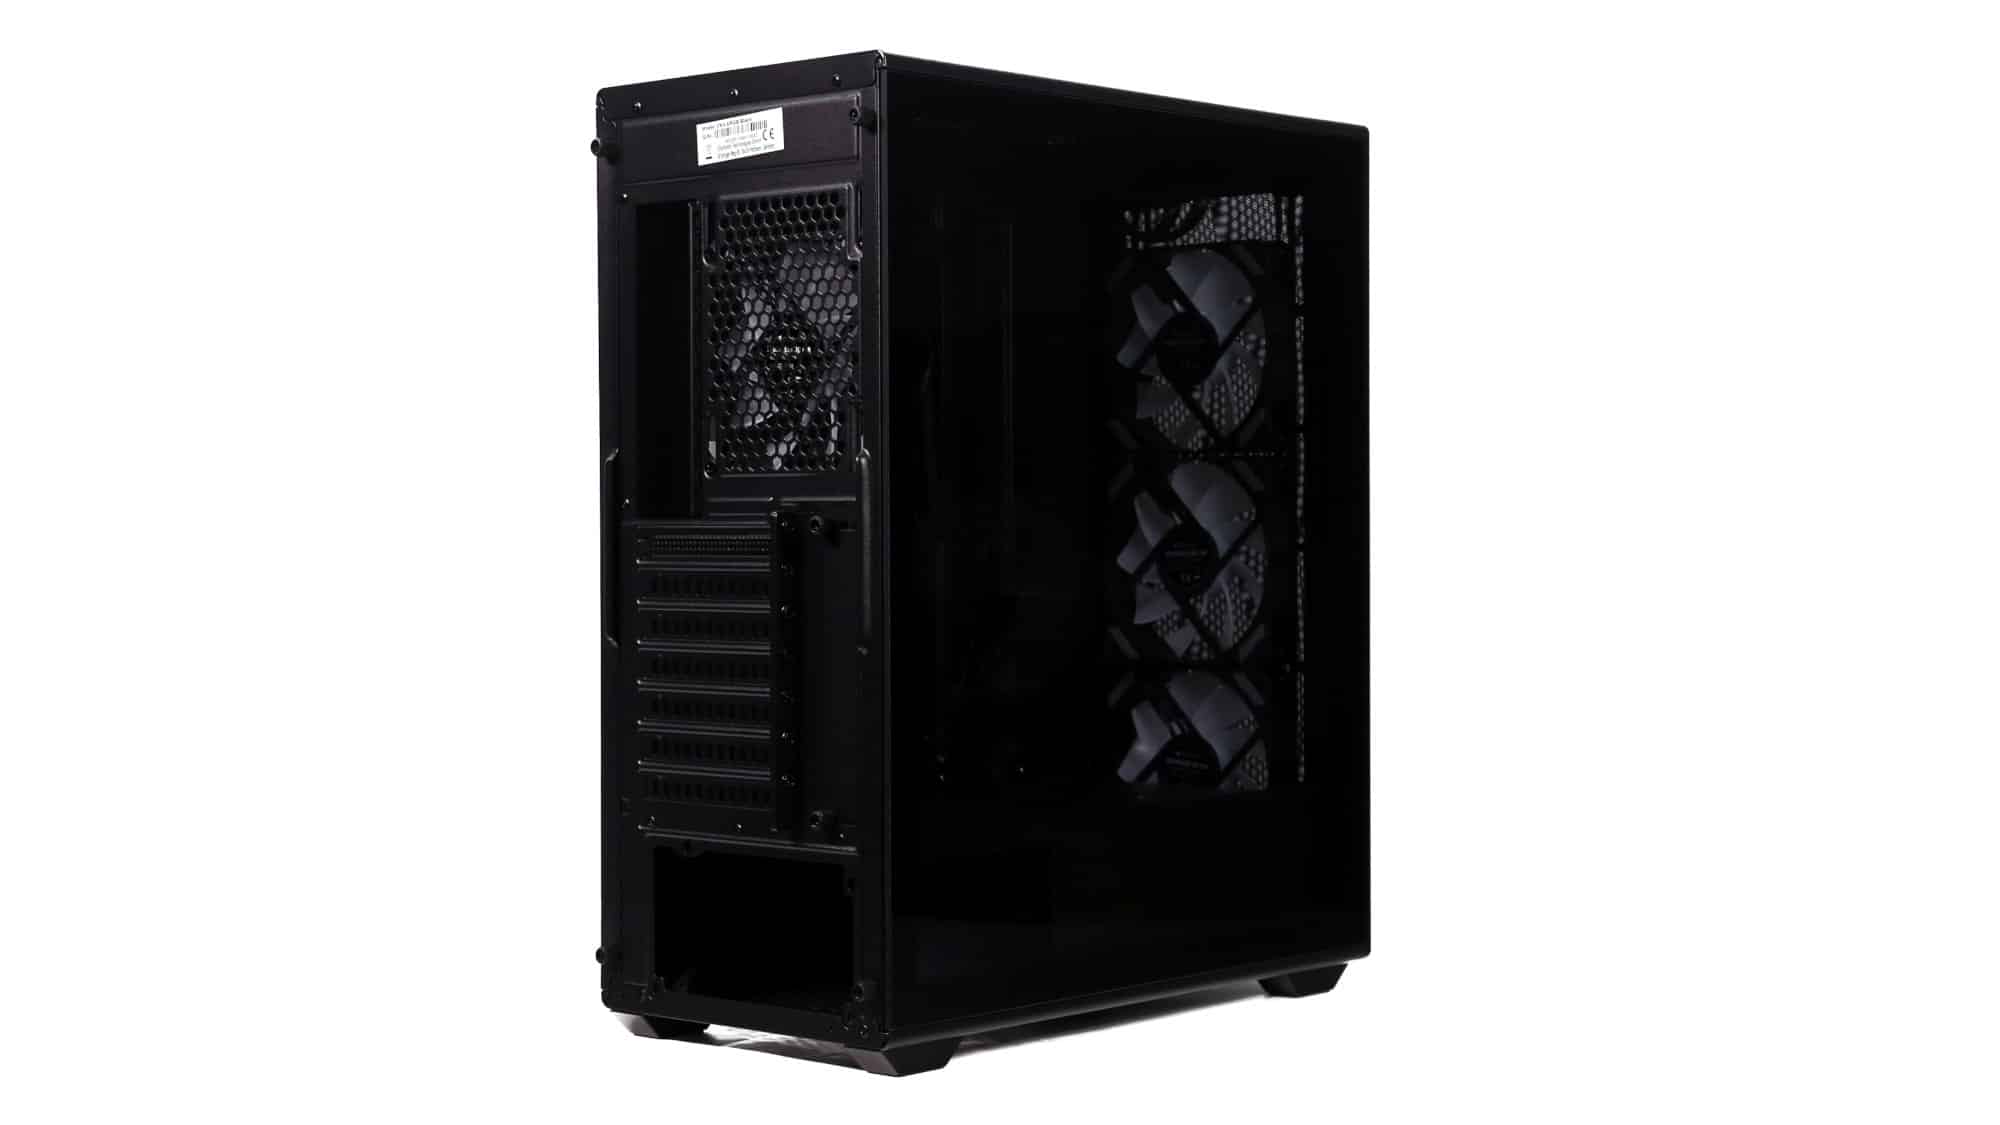
The entire left side is covered by the glass panel, running from top to bottom. The front panel is removable, featuring a classic bottom cutout for a secure grip. The mesh features a wavy pattern that adds both visual interest and rigidity. A silver Sharkoon logo sits at the bottom right.
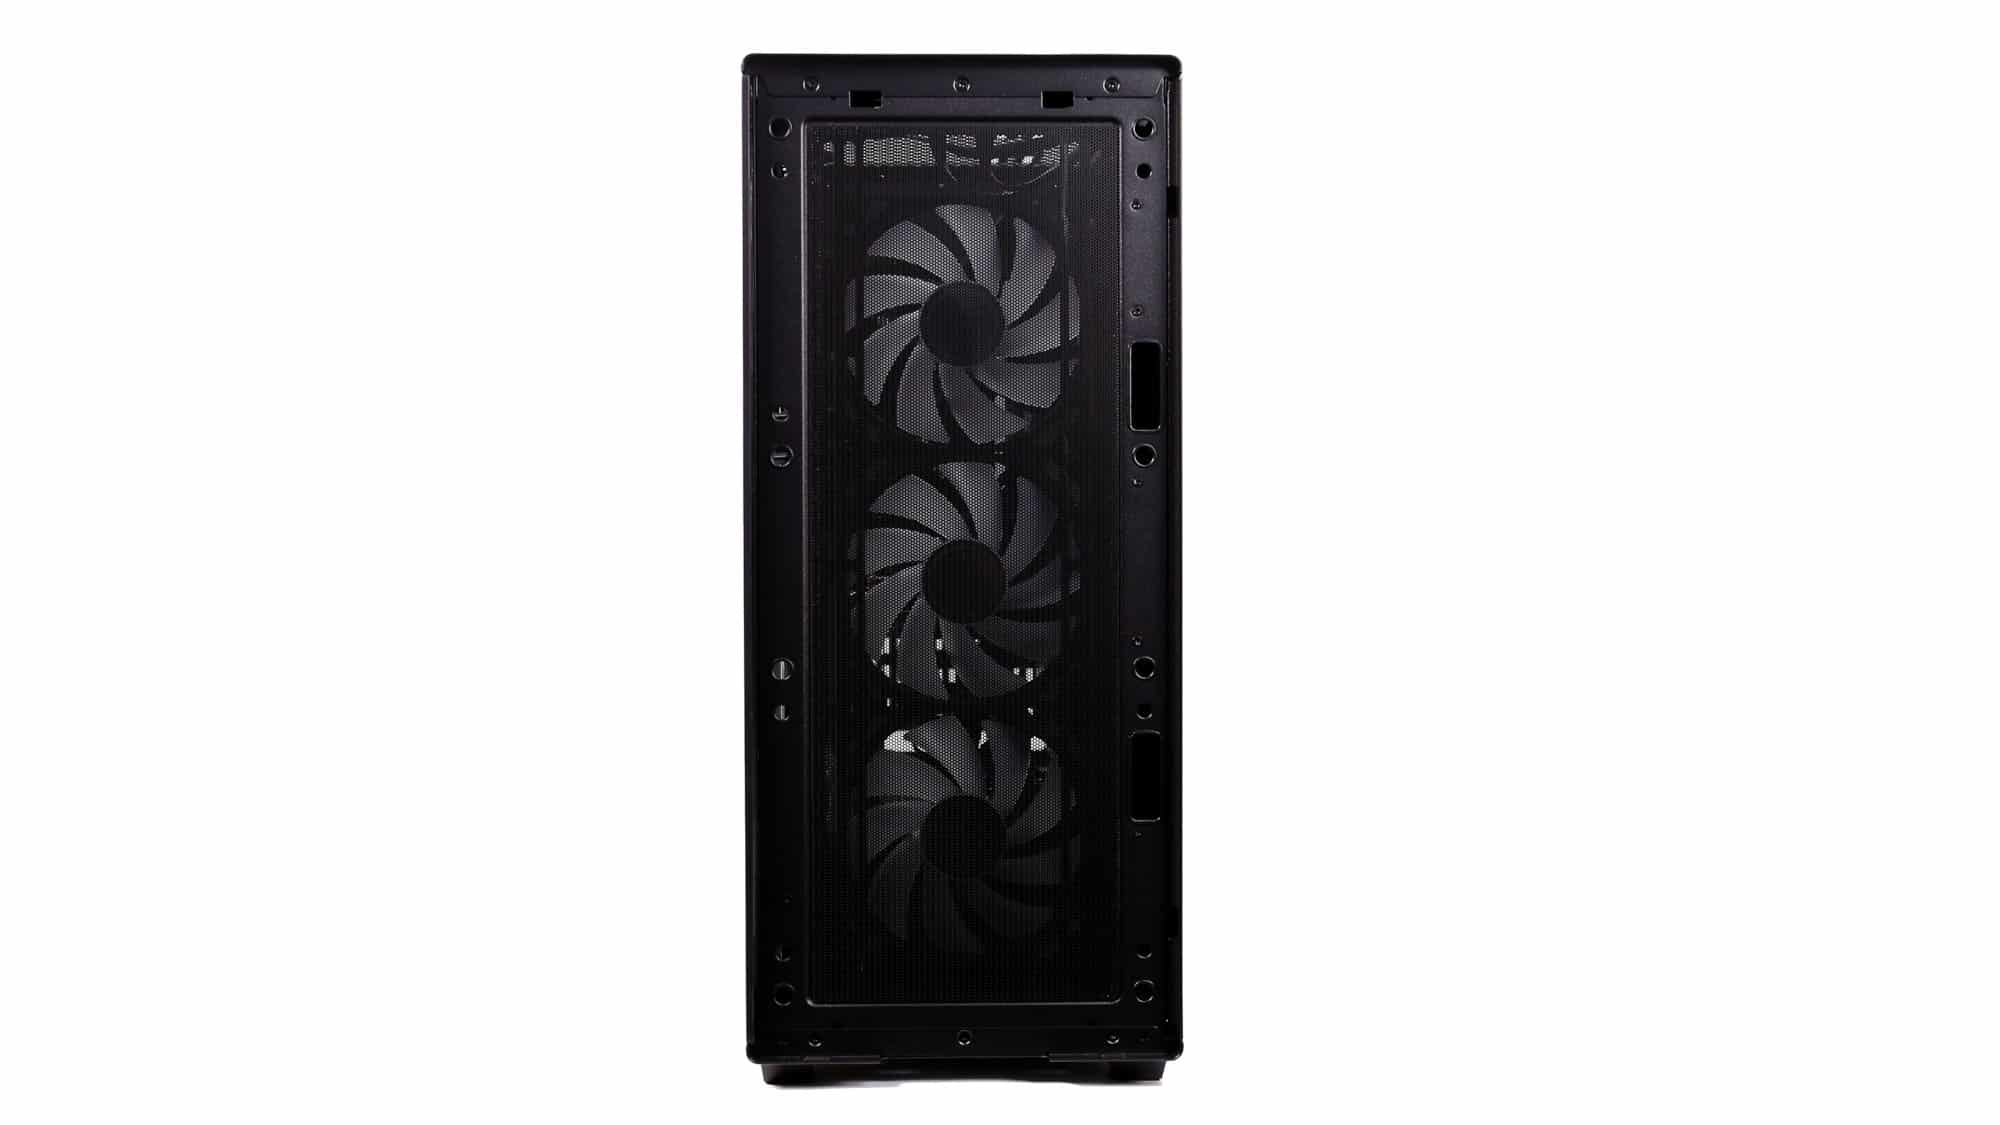

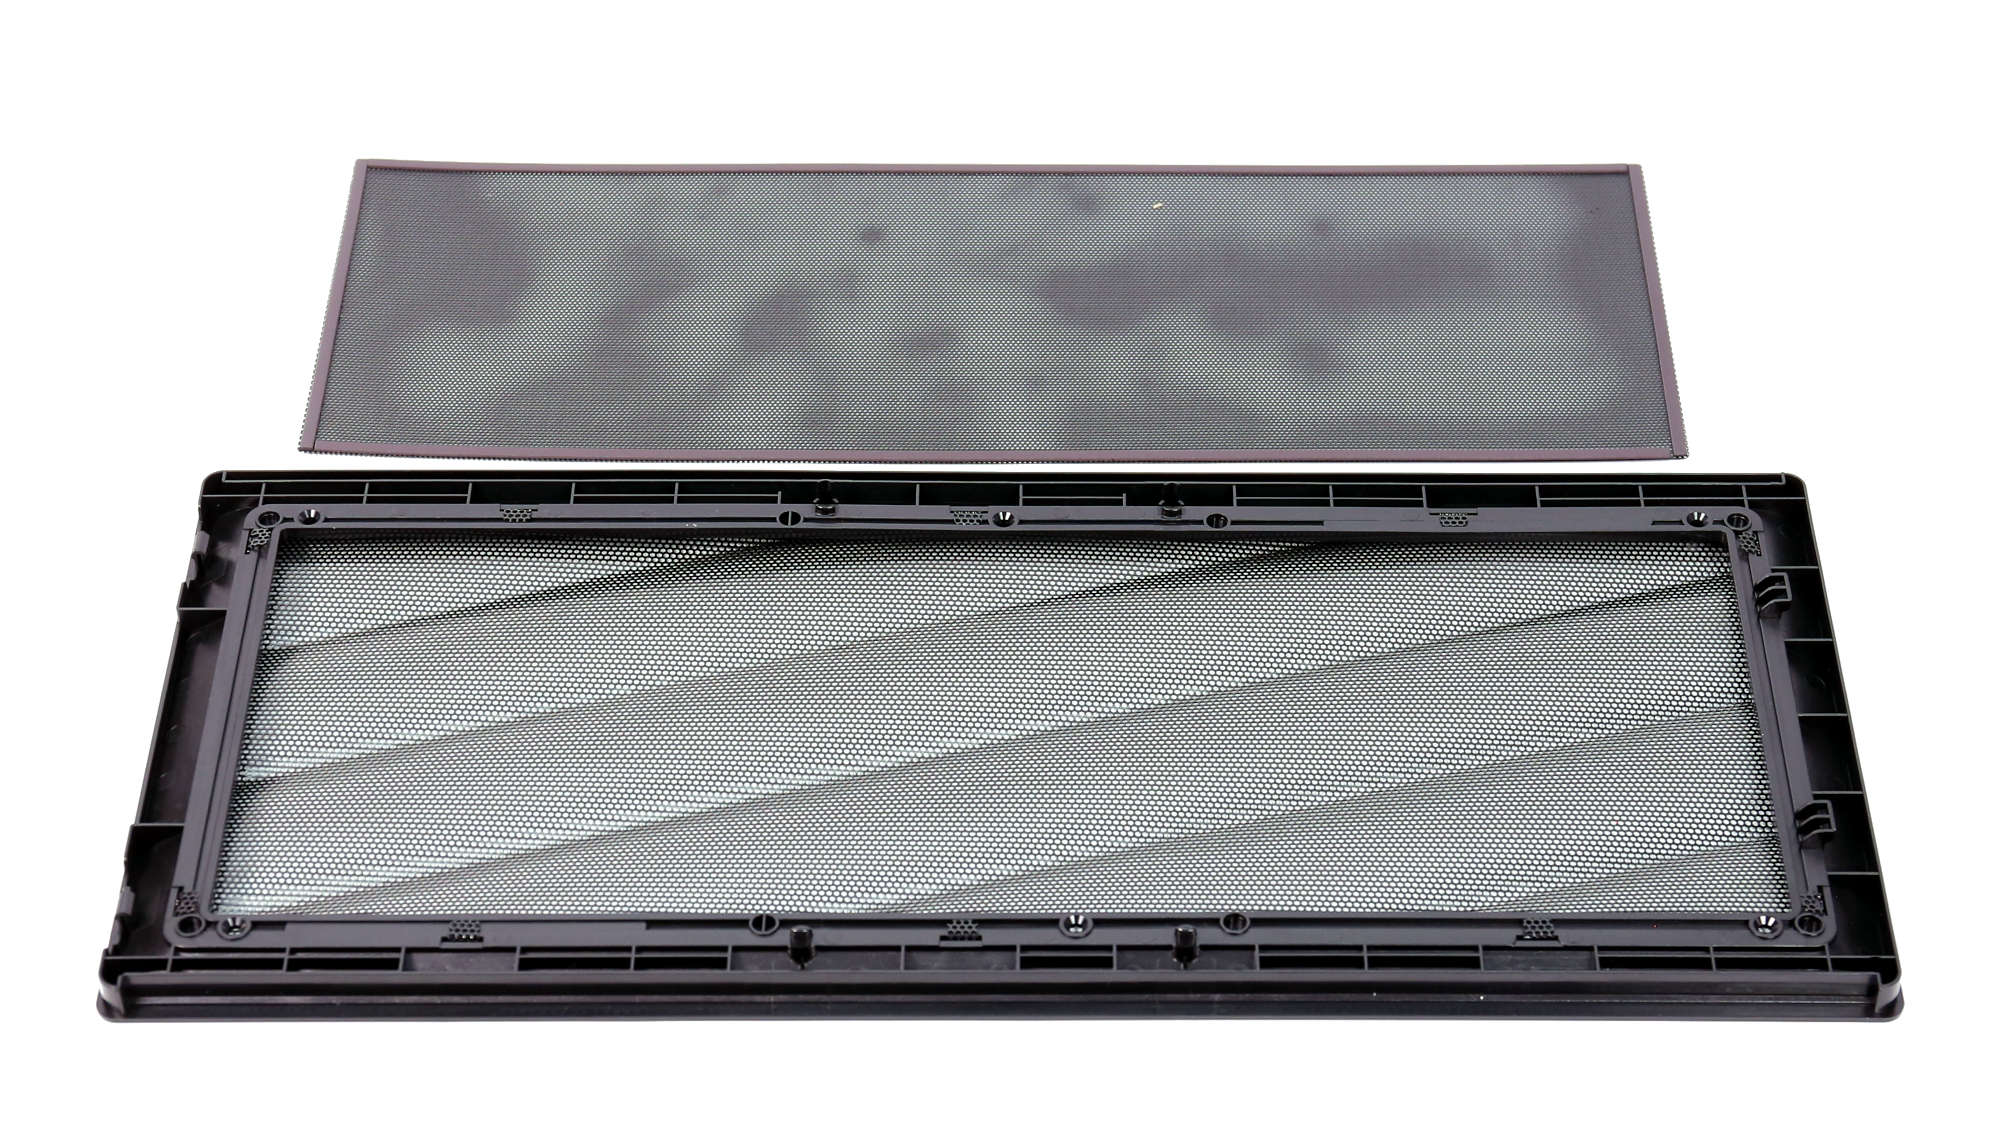
Behind the front panel is a magnetic dust filter positioned in front of the intake fans. This double-layer filtration may reduce airflow.
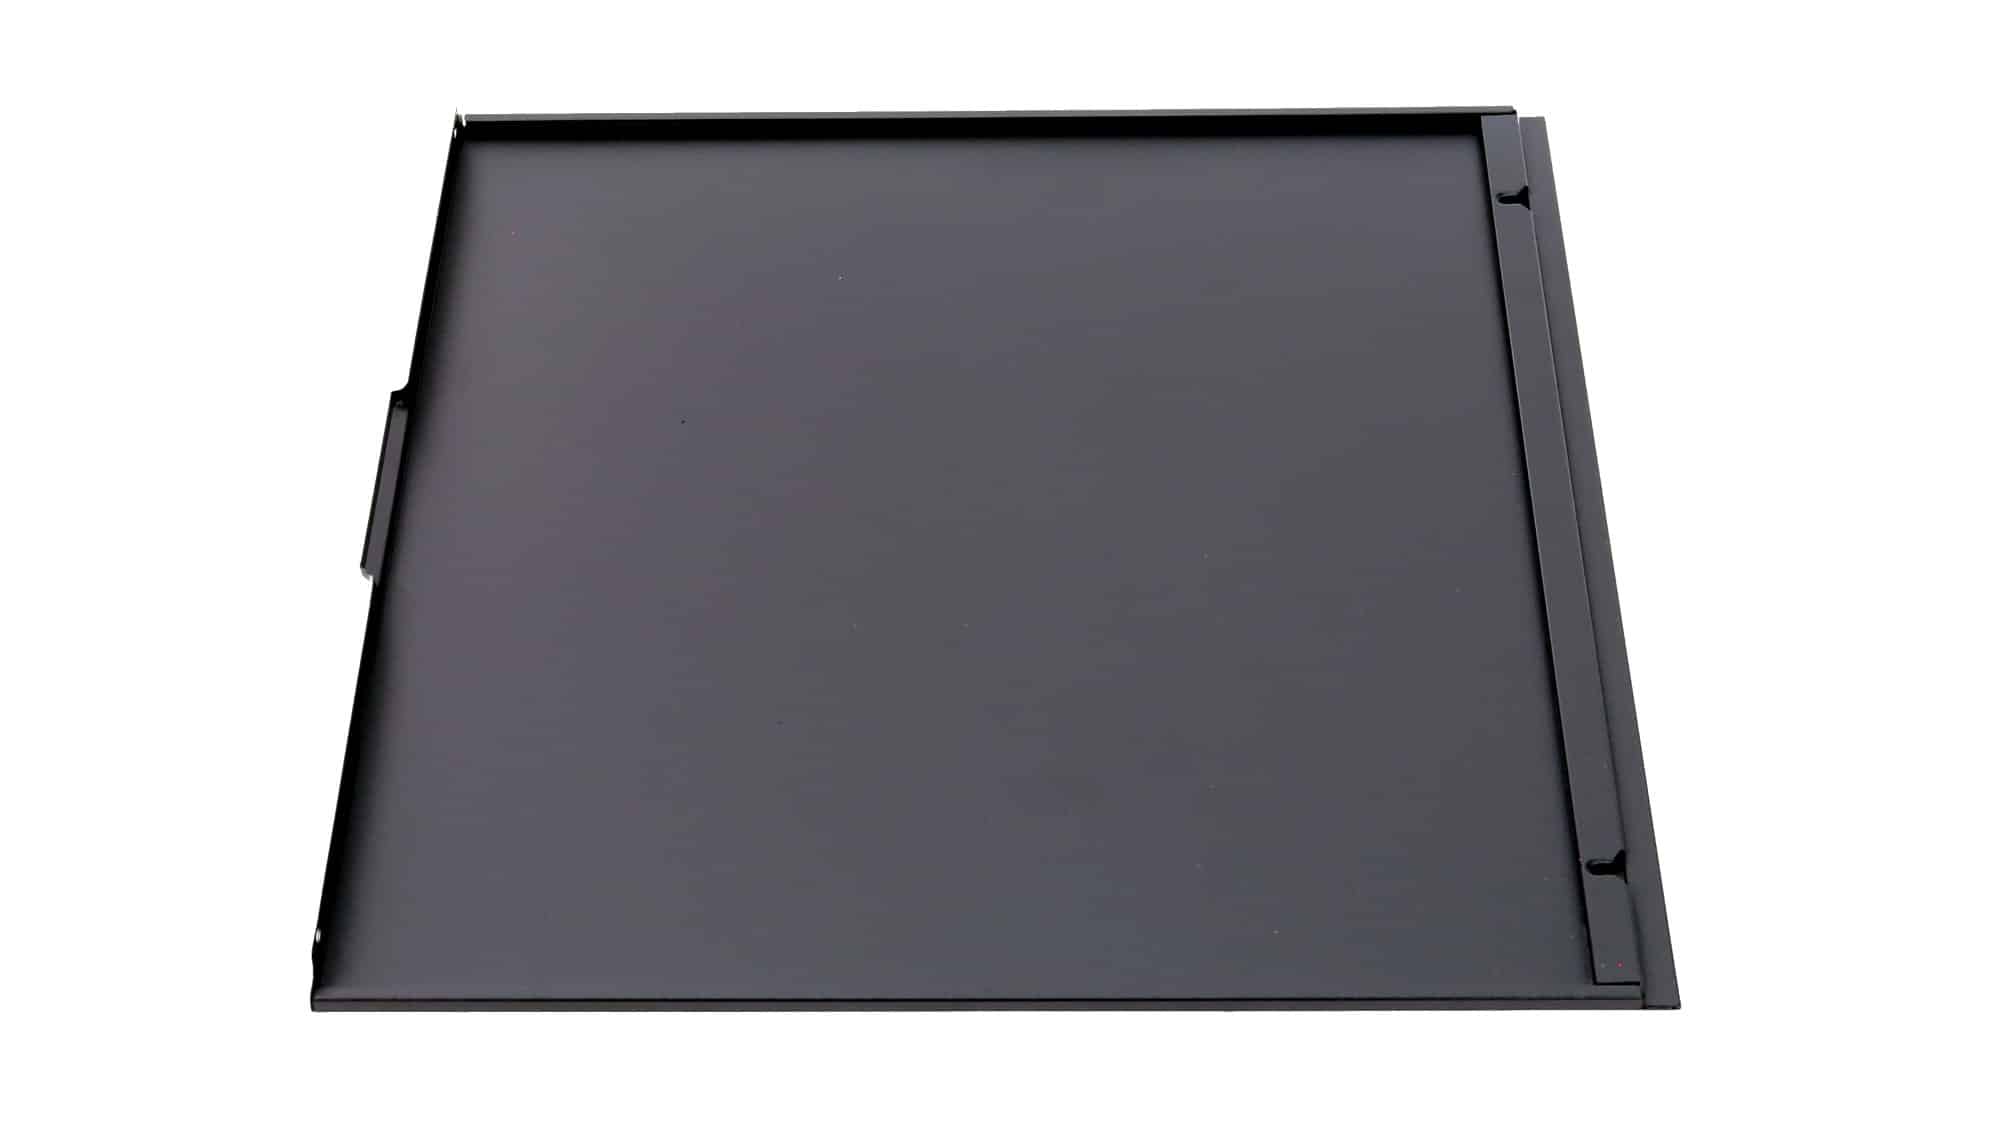
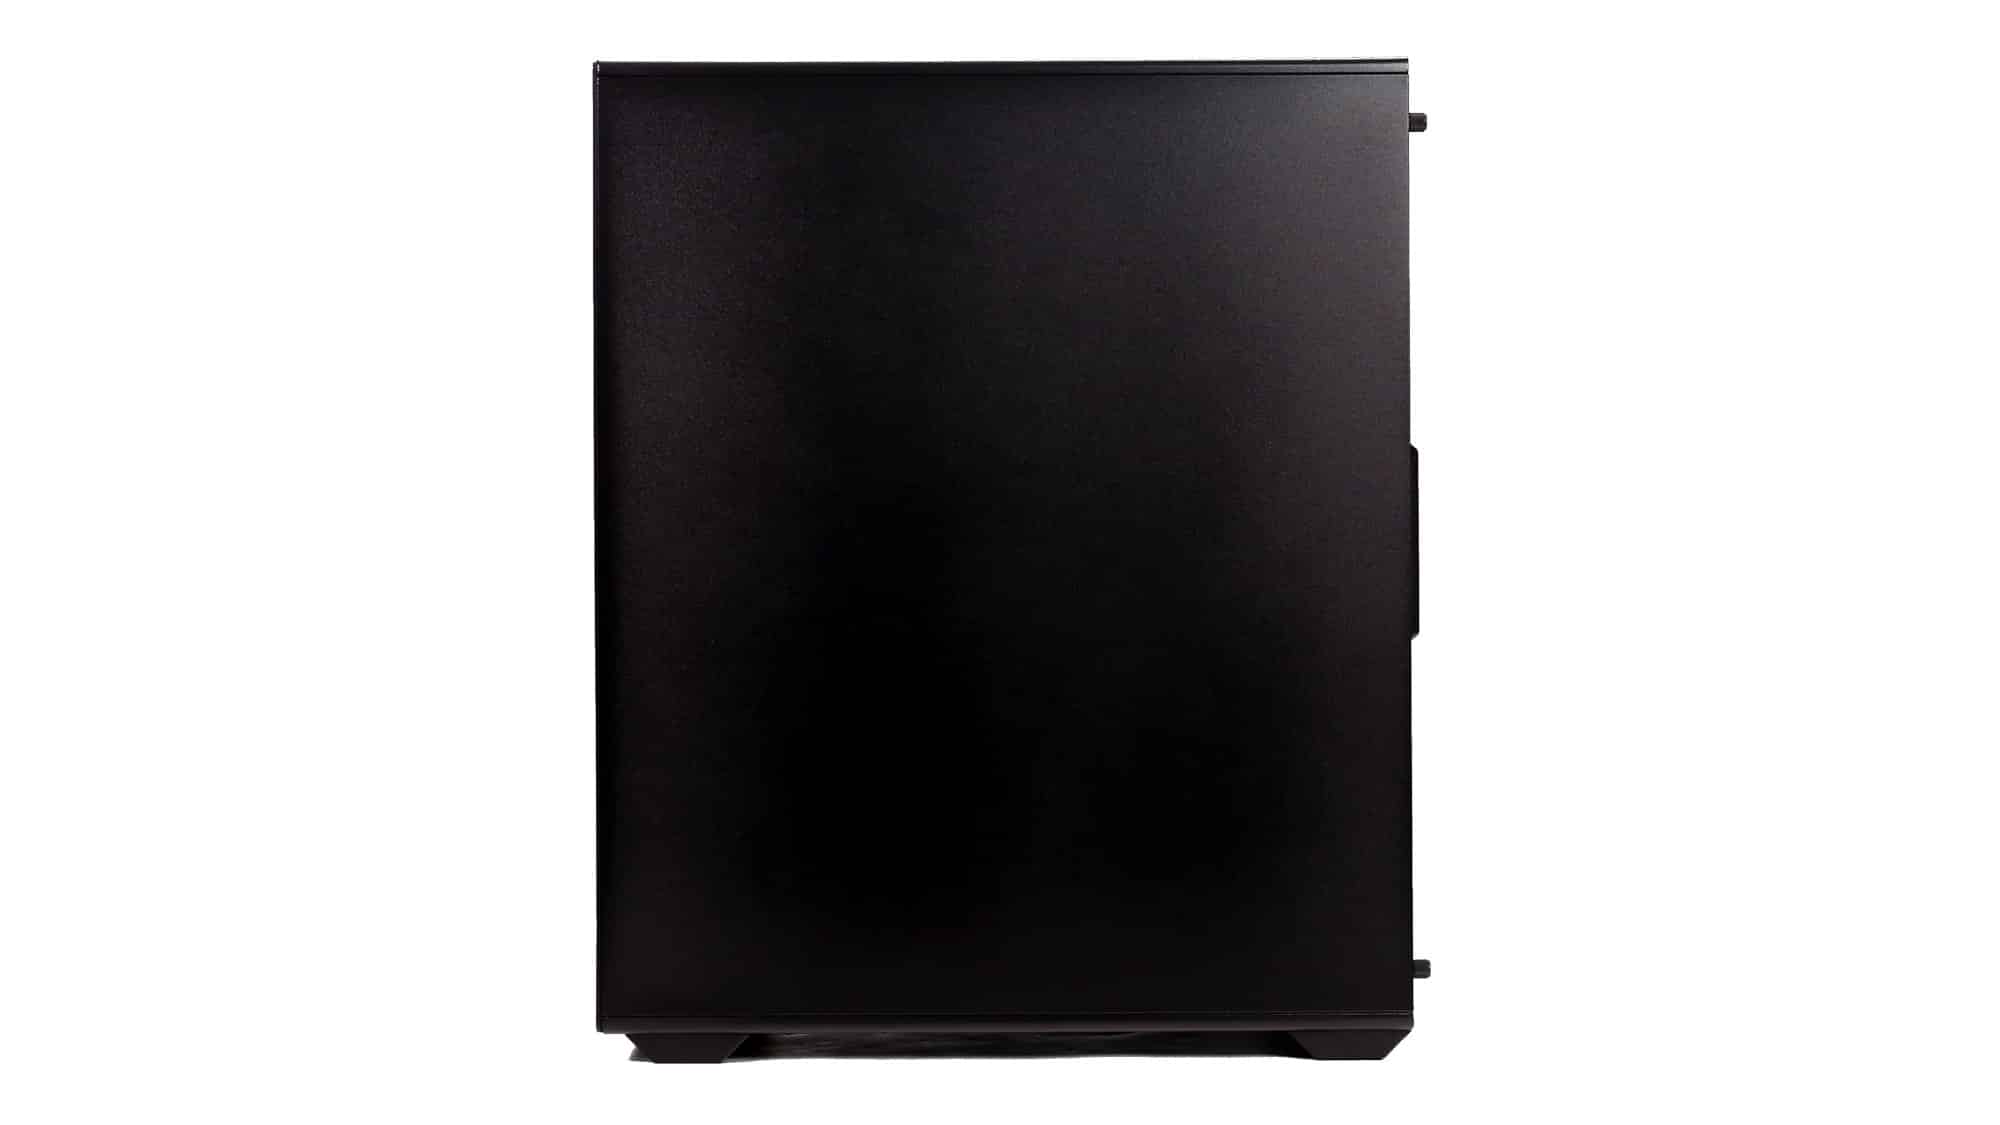
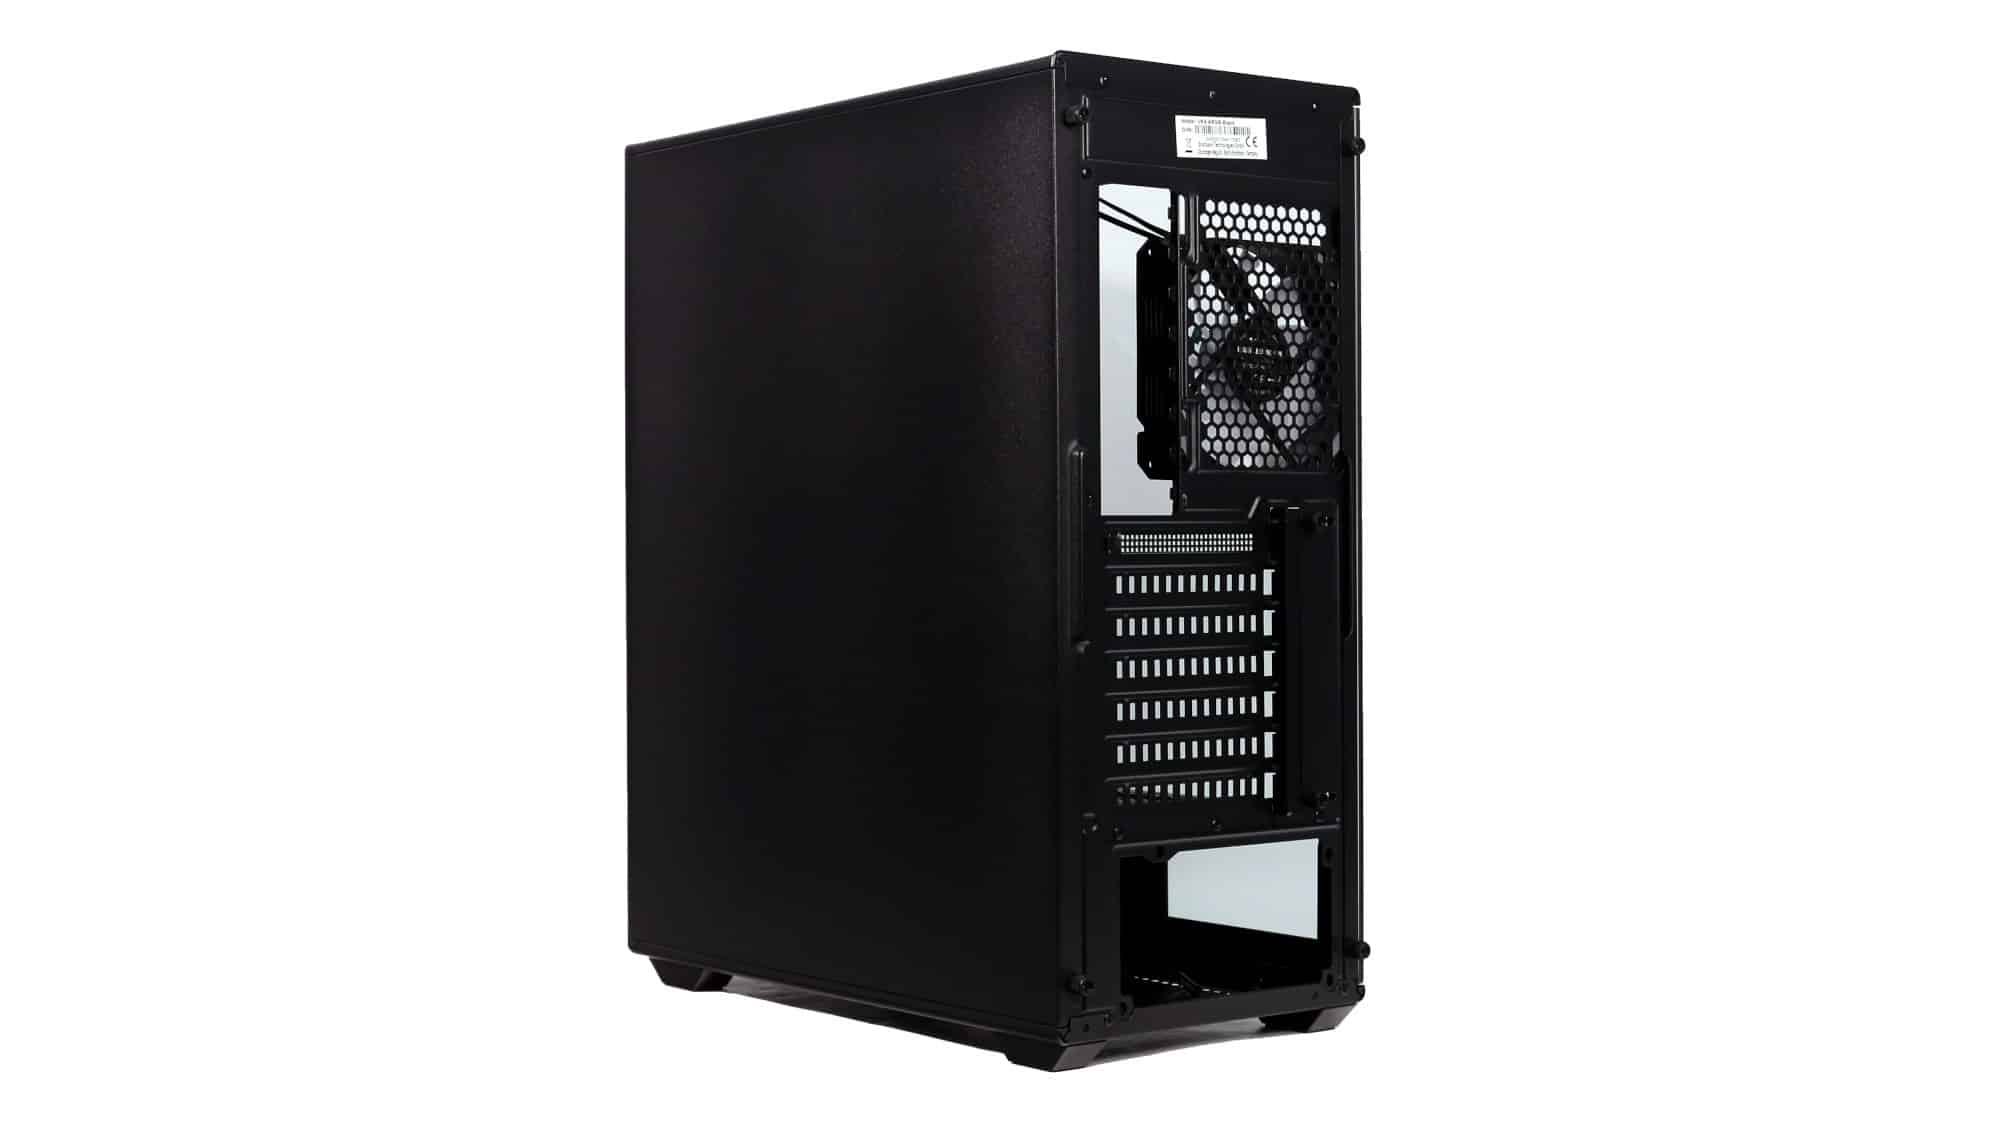
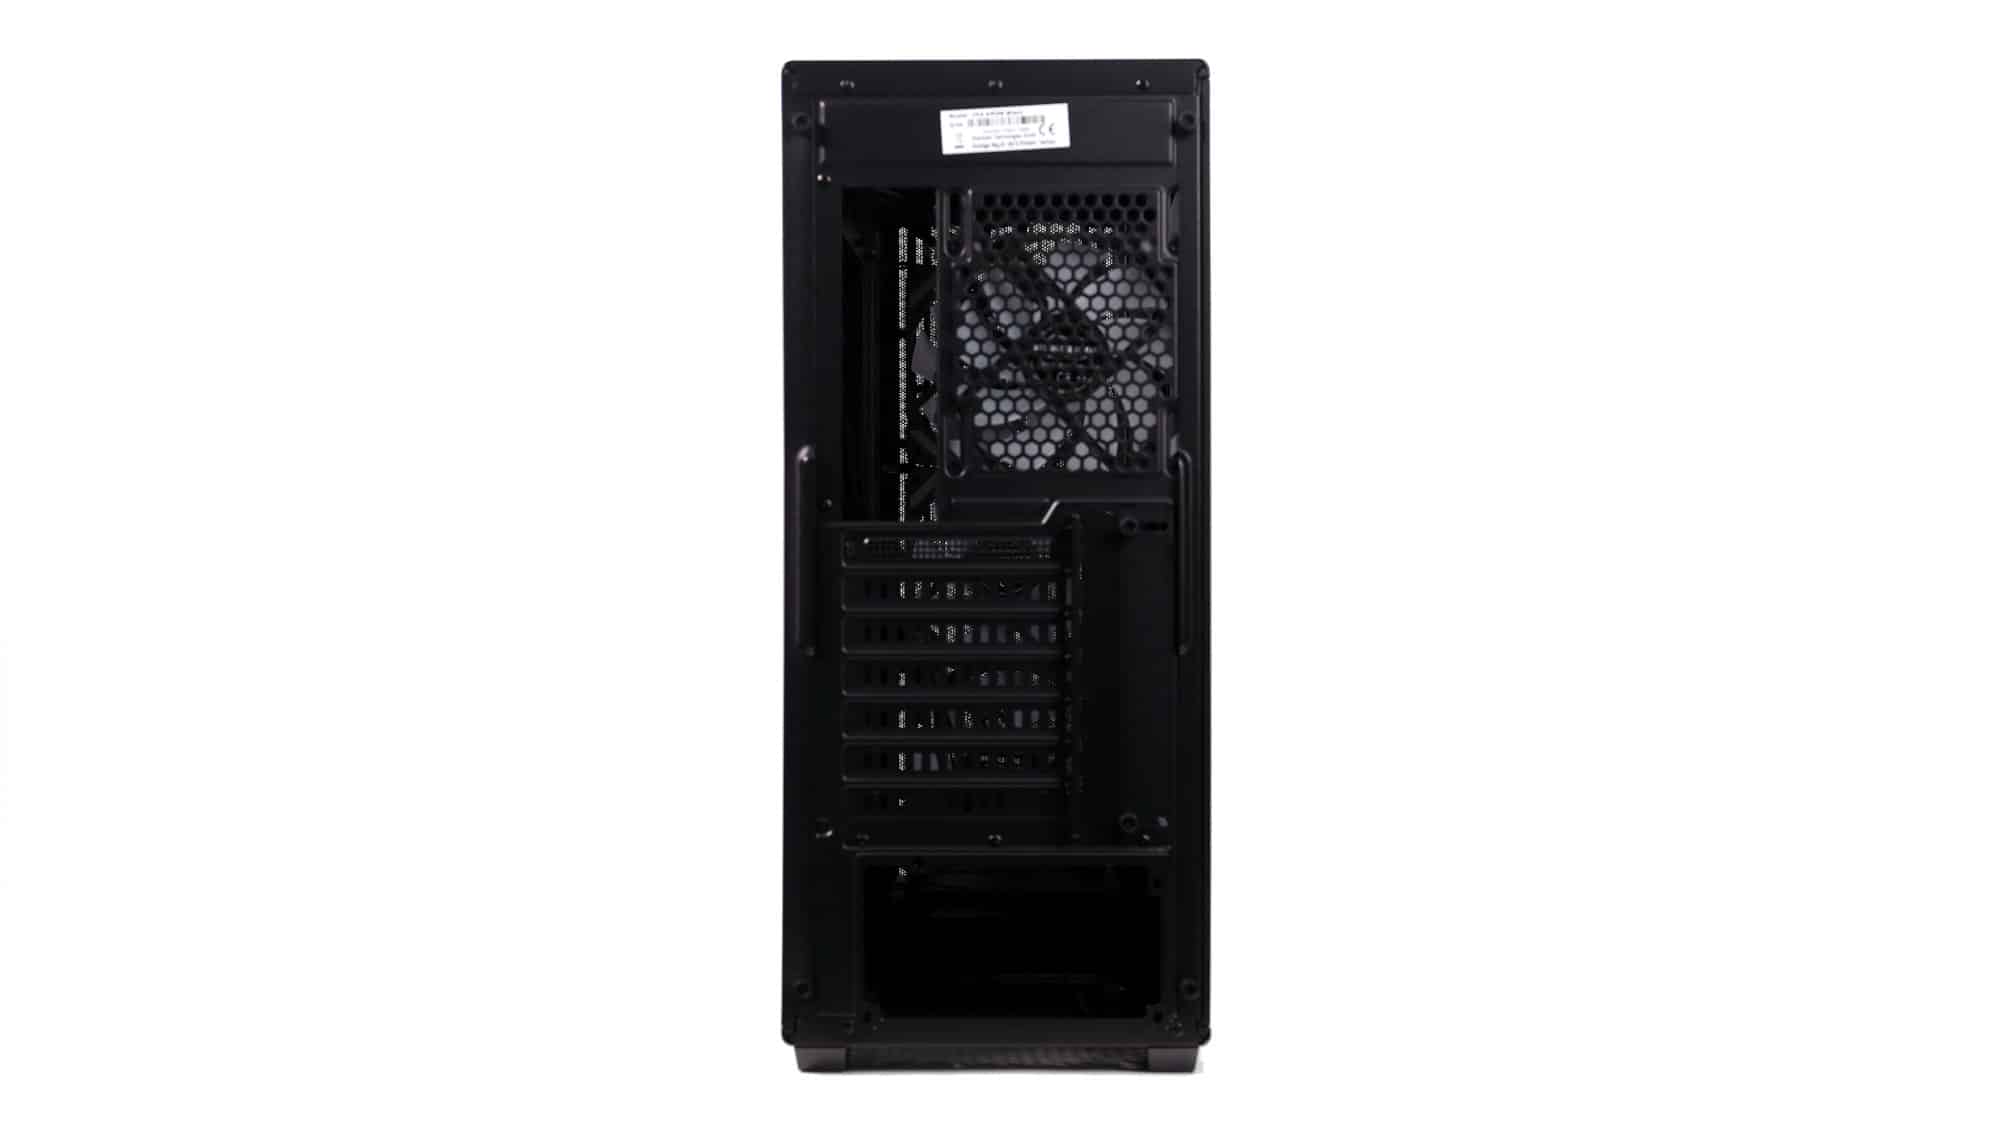
The rear panel is a plain steel sheet.
At the back, you’ll find a 120mm fan opening, the motherboard I/O cutout, seven expansion slots (with the top one using a different design), and a bottom-mounted PSU bay. The PCIe cover panel, as well as both side panels, are secured with thumbscrews for tool-less access. Most expansion slot covers are the break-away type, except for the top one.
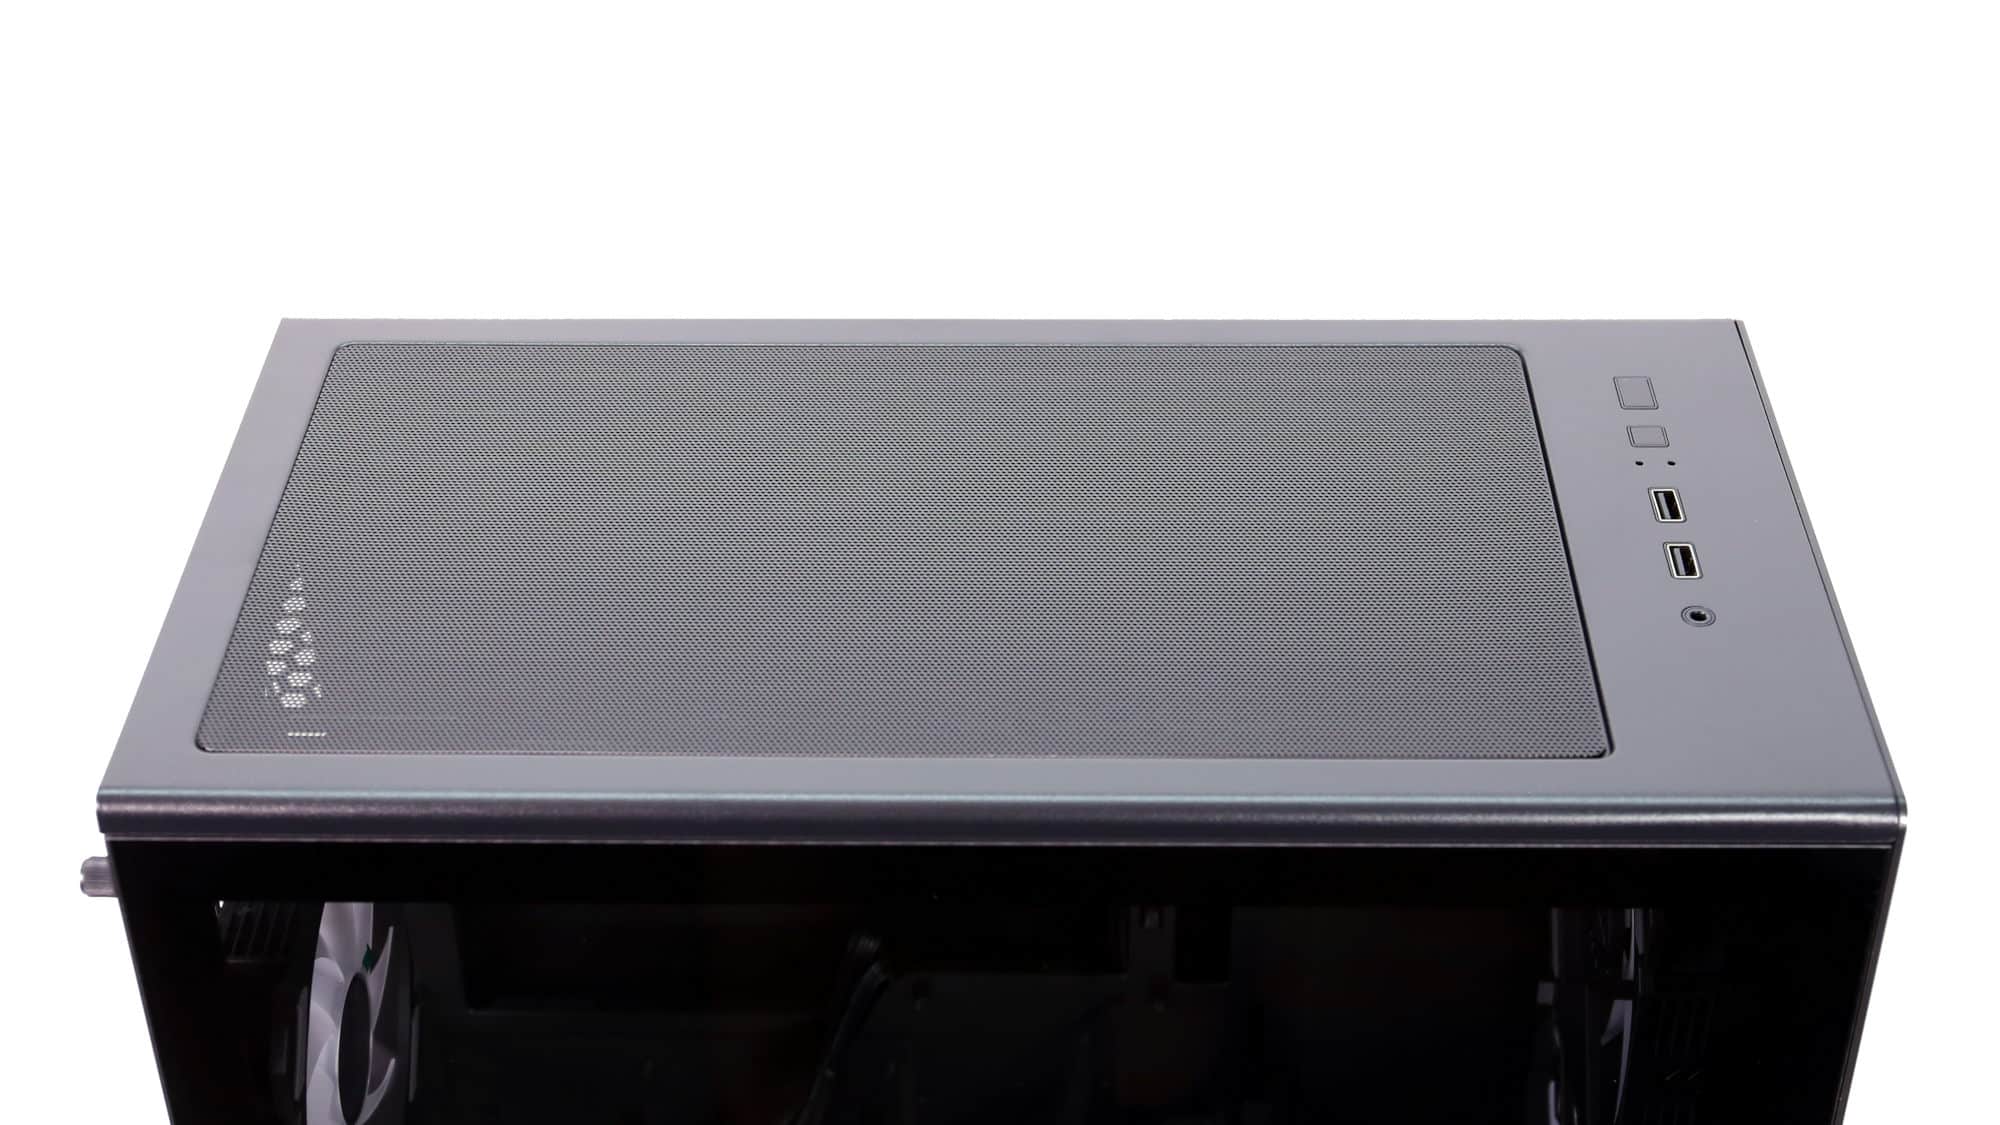
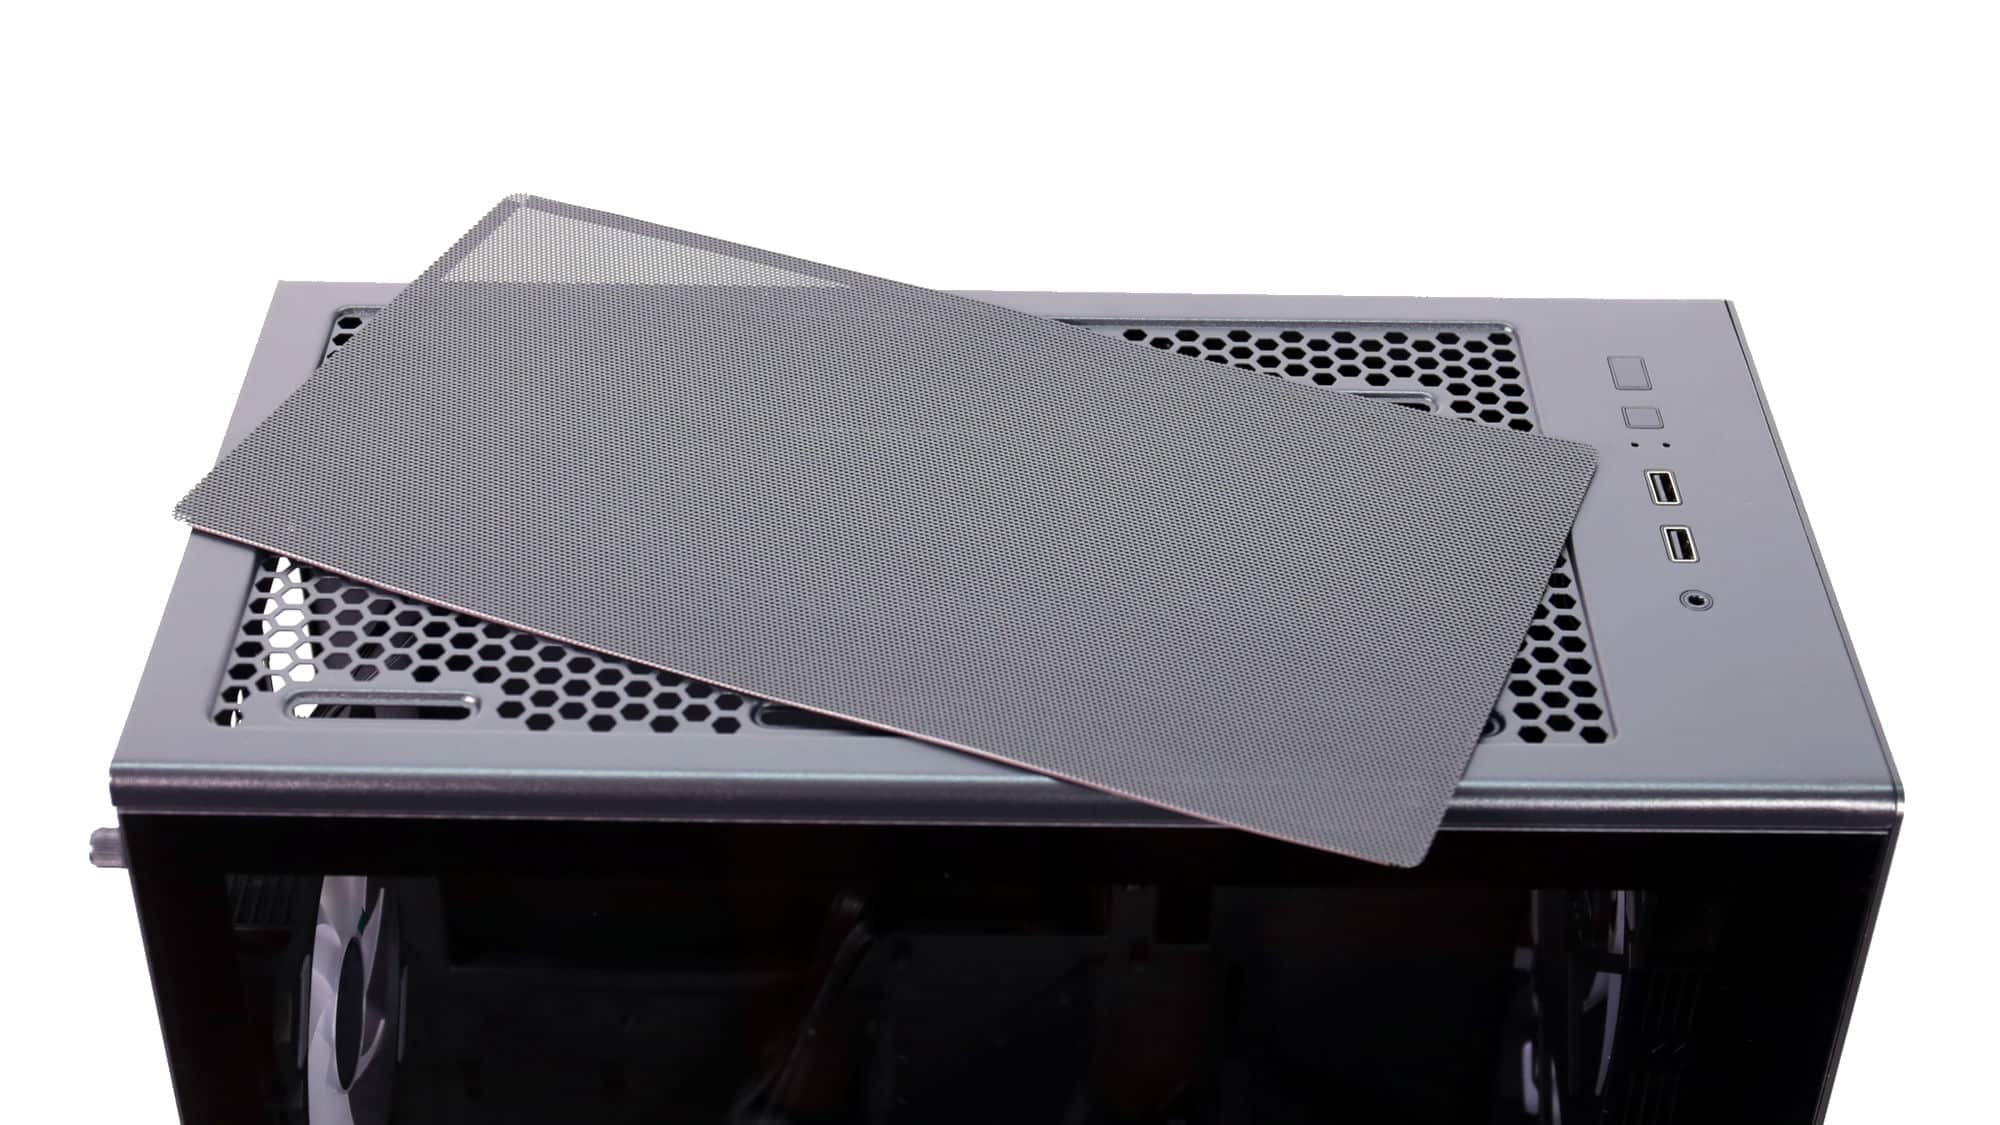
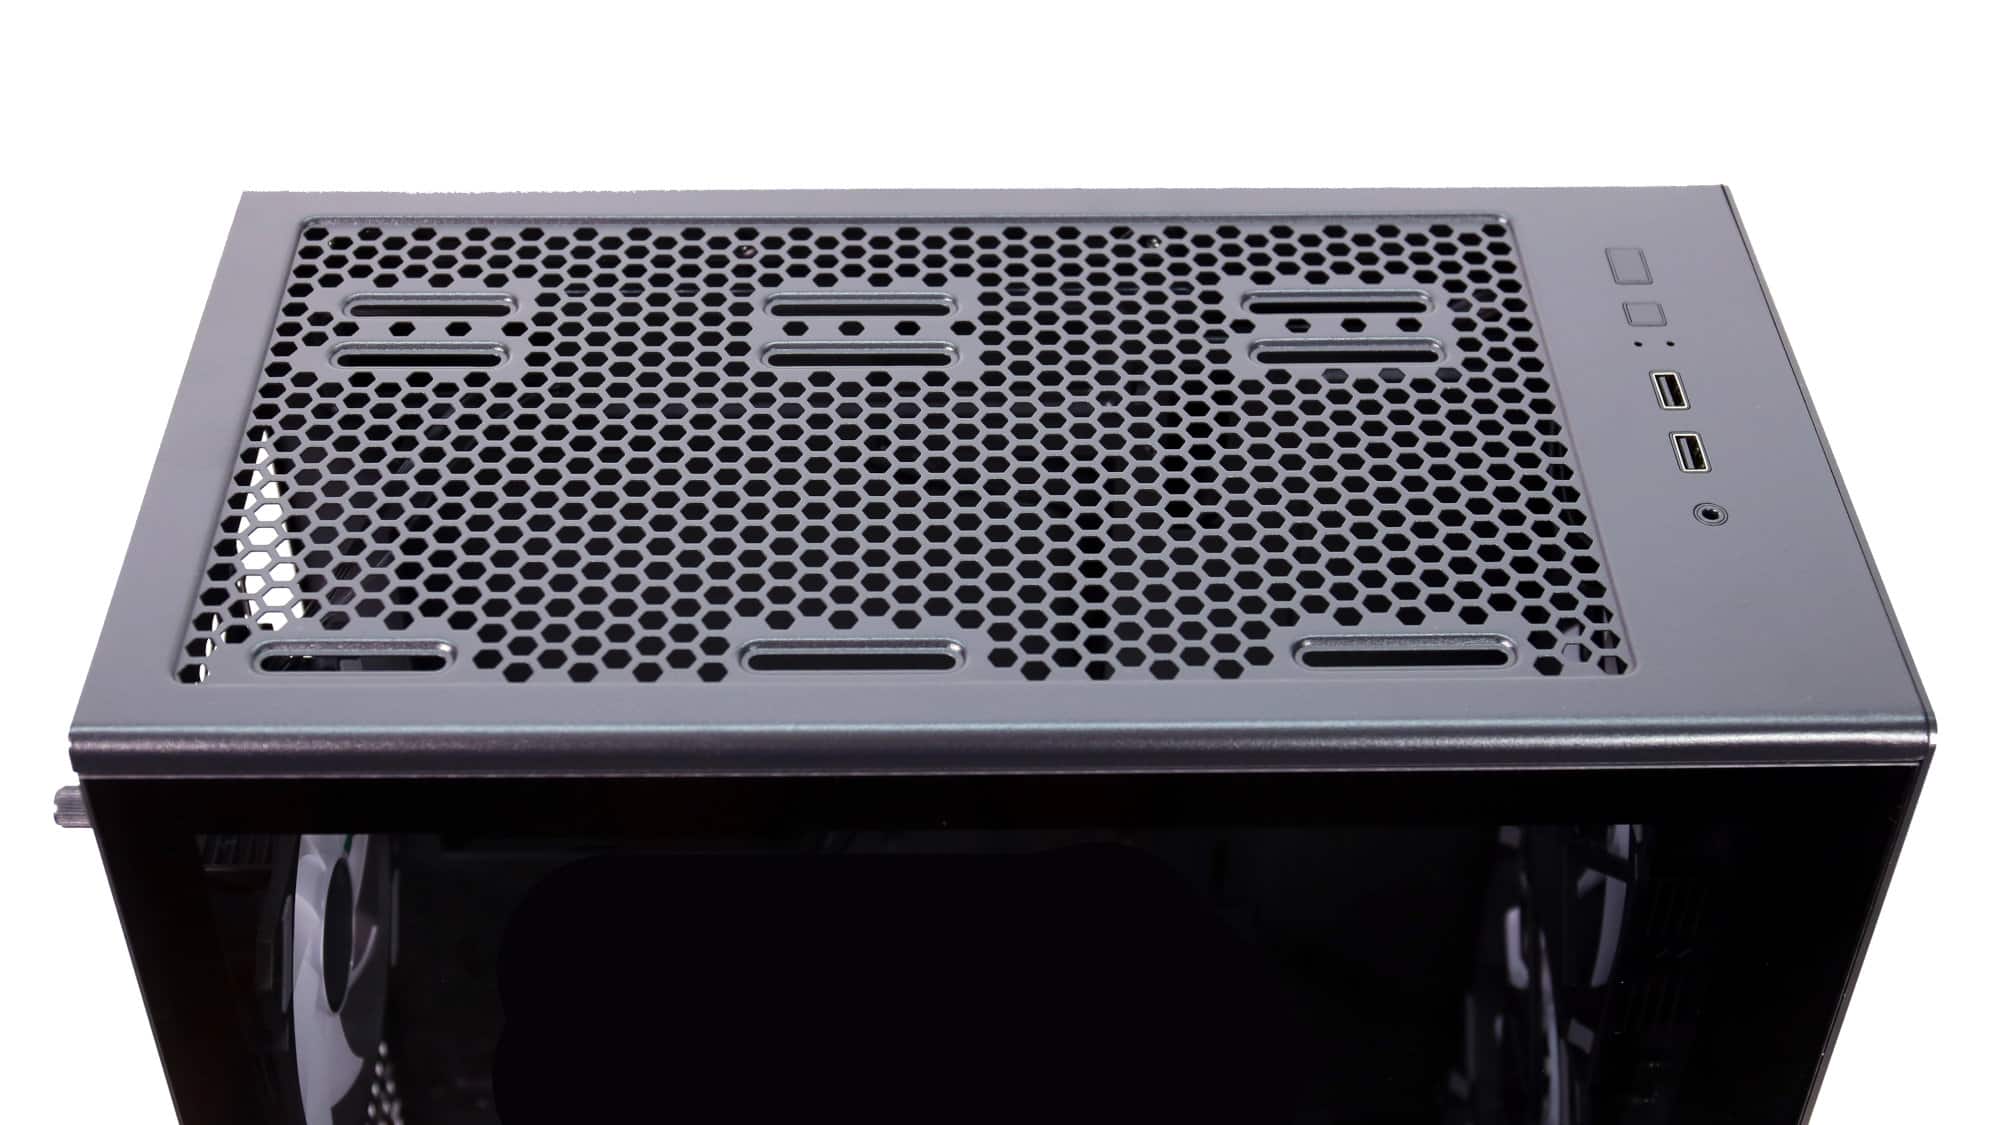
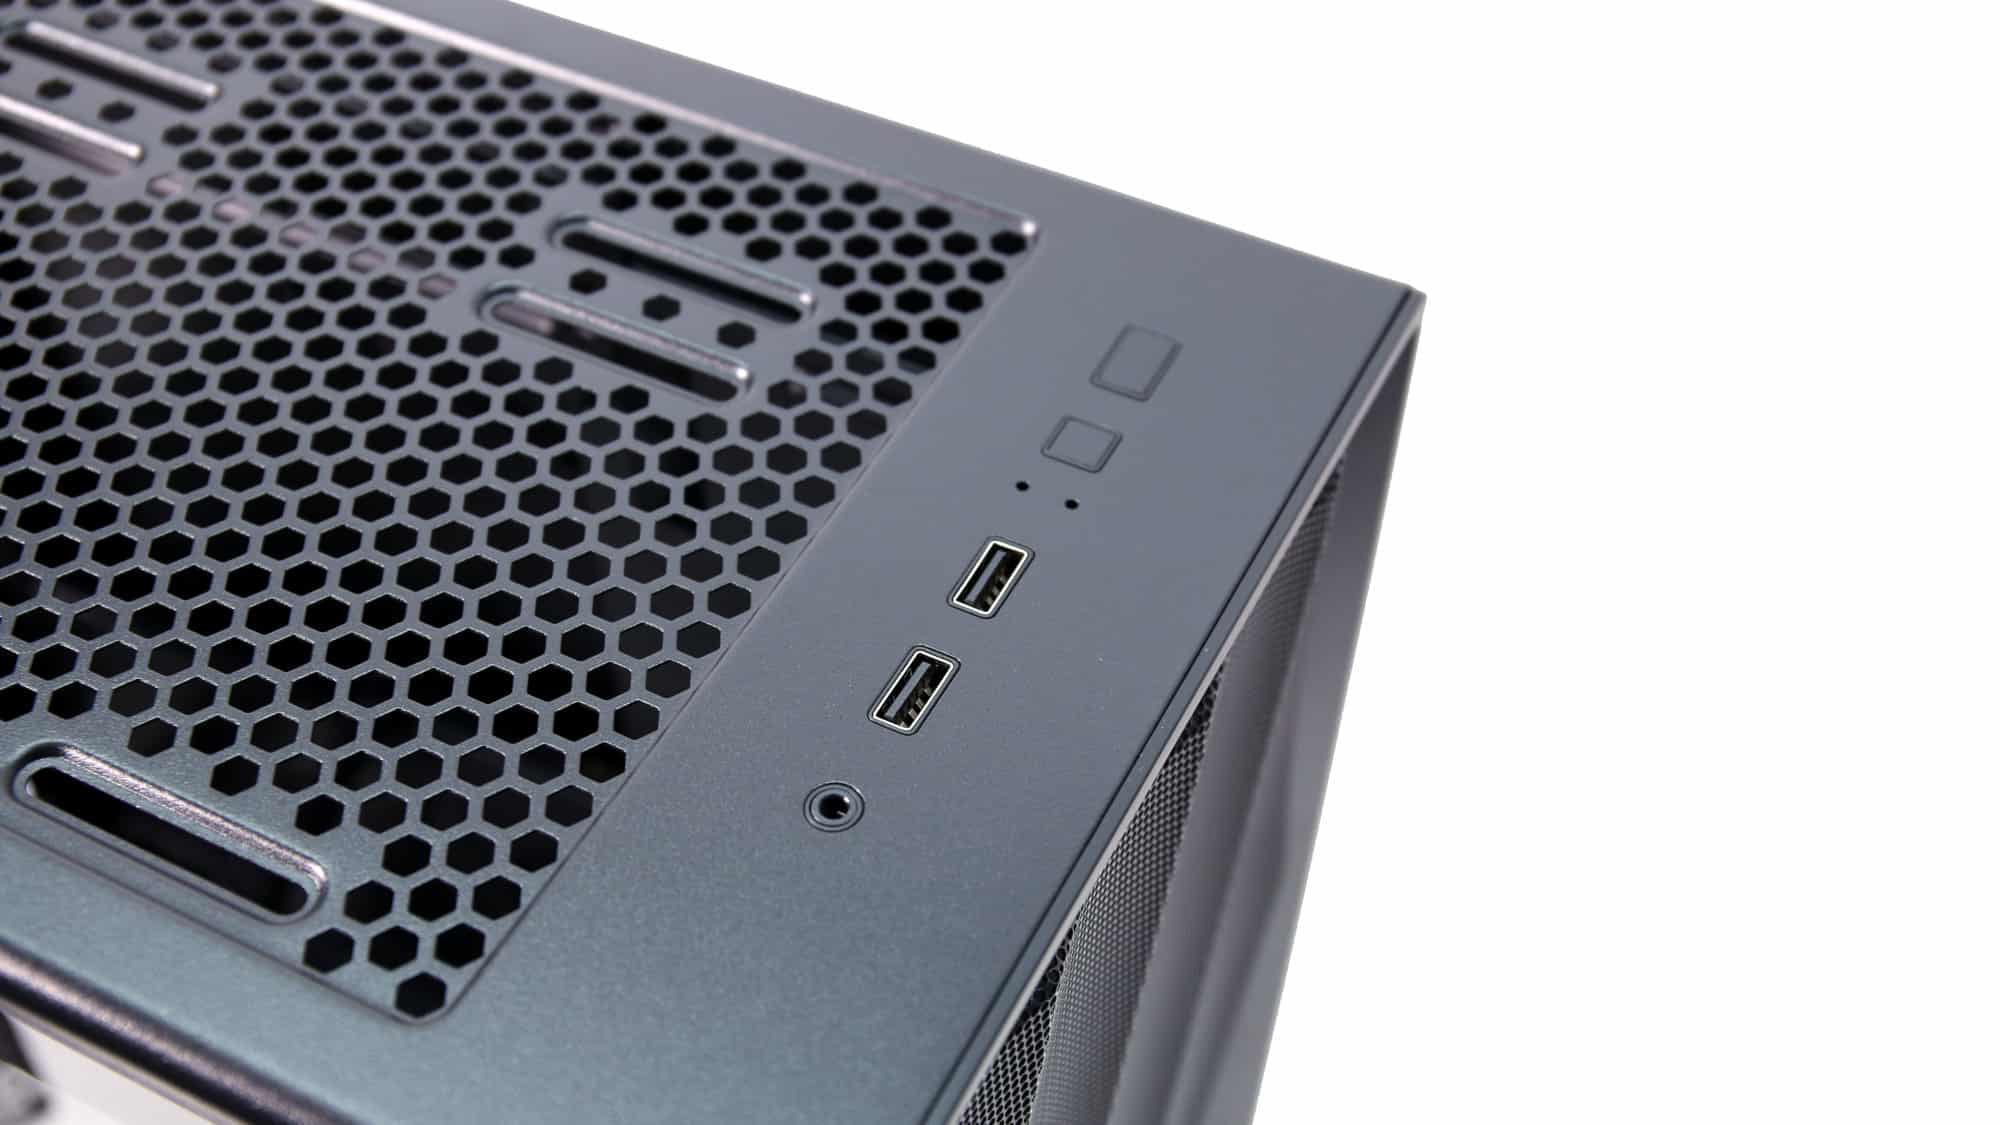
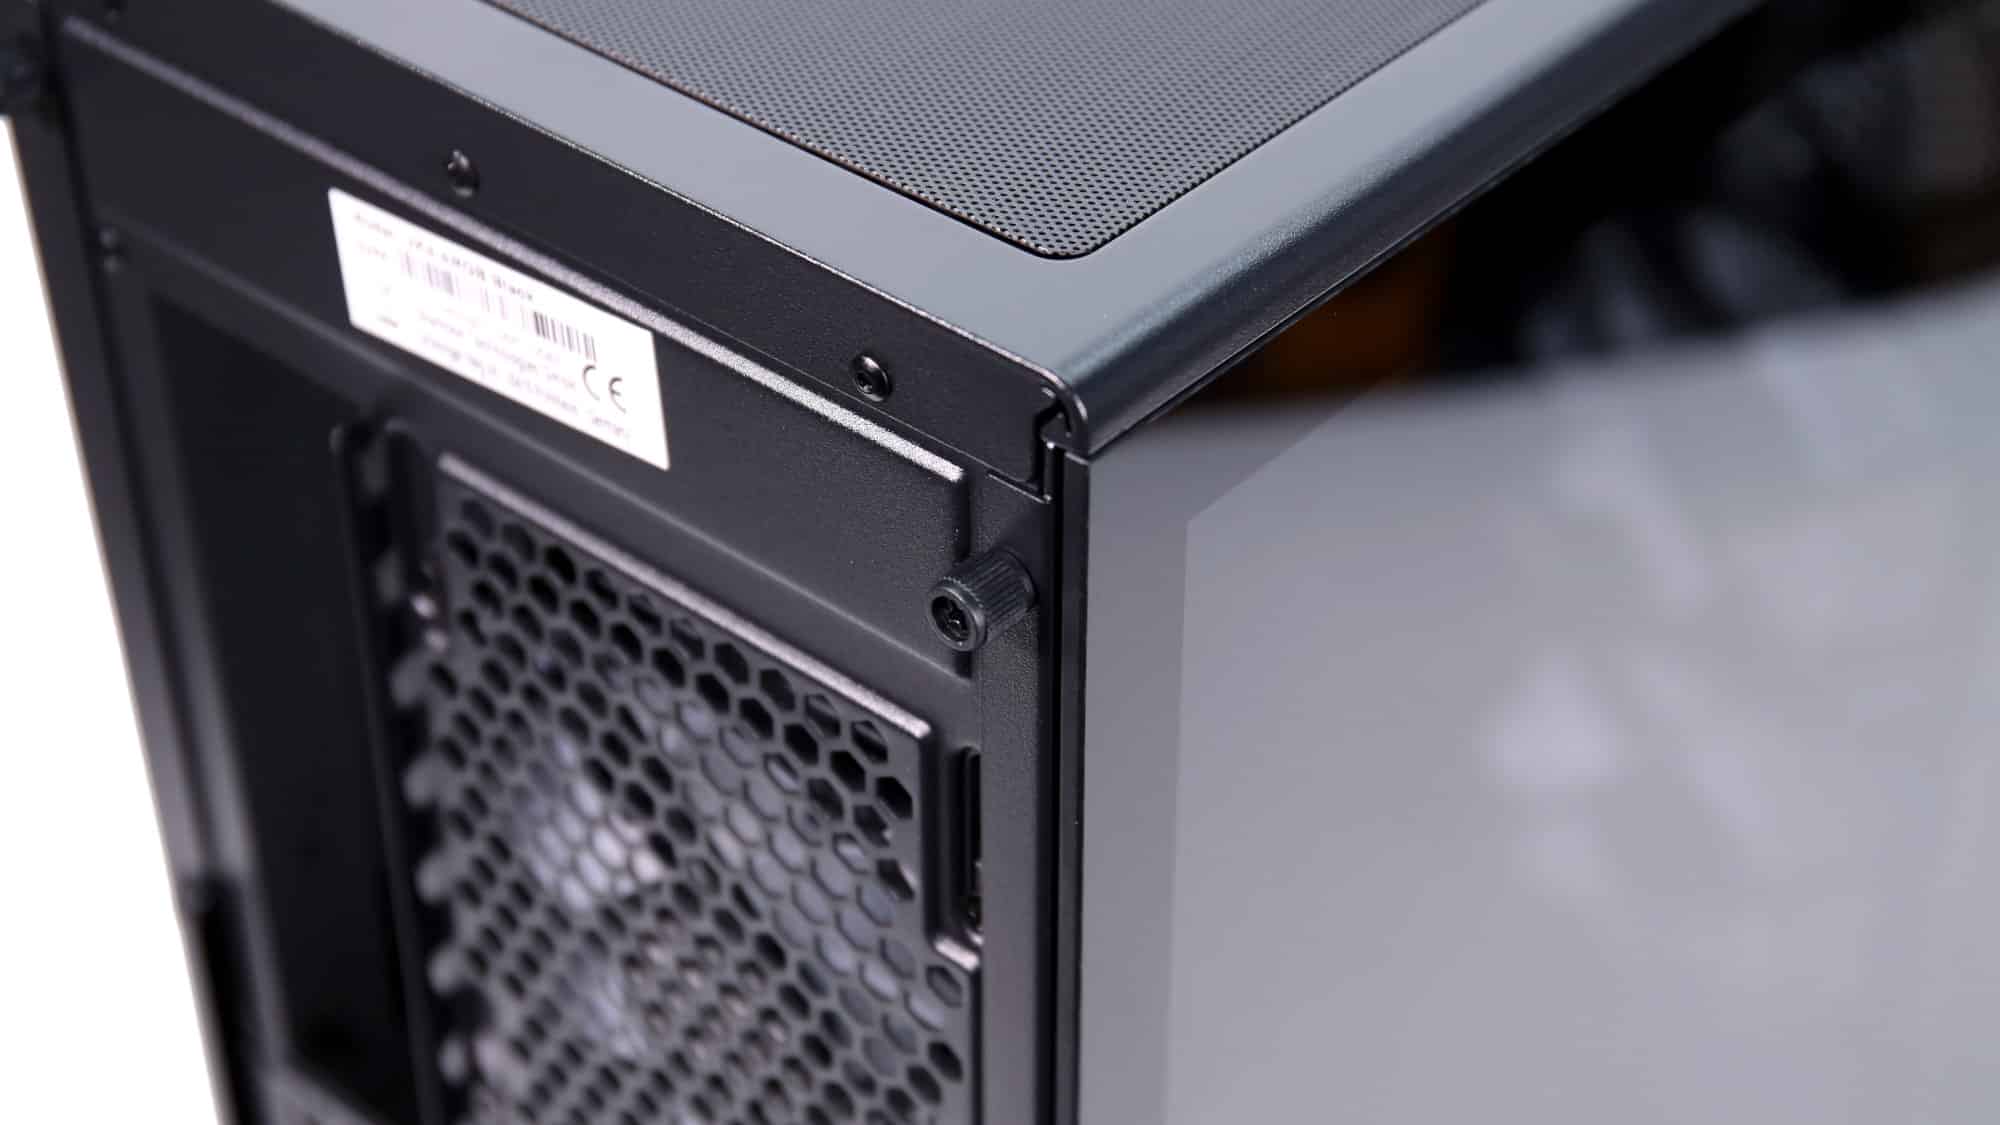
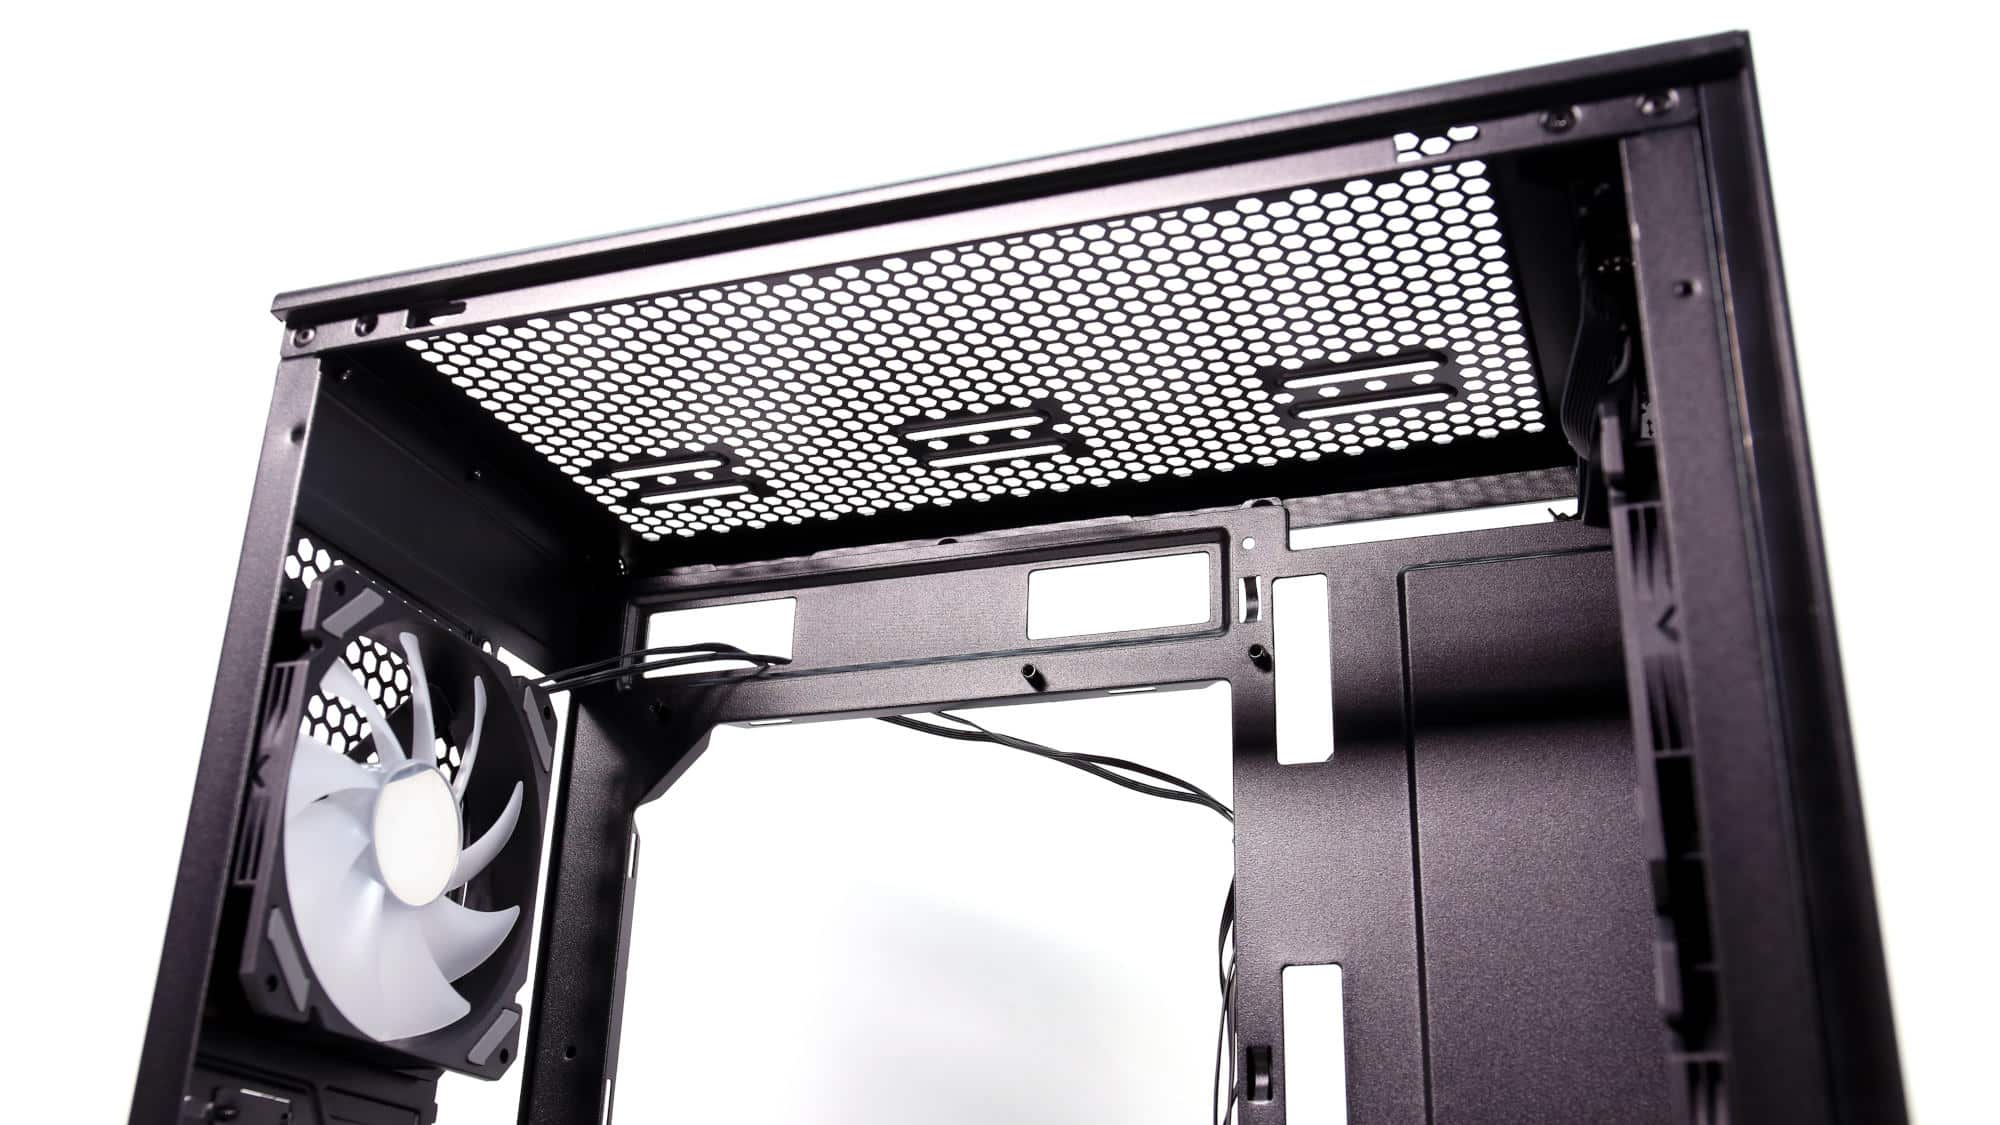
The top panel houses the chassis I/O and a magnetic dust filter. Beneath the filter is a hexagonal cutout pattern with mounting slots for cooling hardware. The I/O includes two USB 3.0 ports (USB 3.2 Gen 1 / 5Gbps), a combo audio jack, and a power button. Interestingly, the reset button has been repurposed to control the ARGB fans through the included hub.
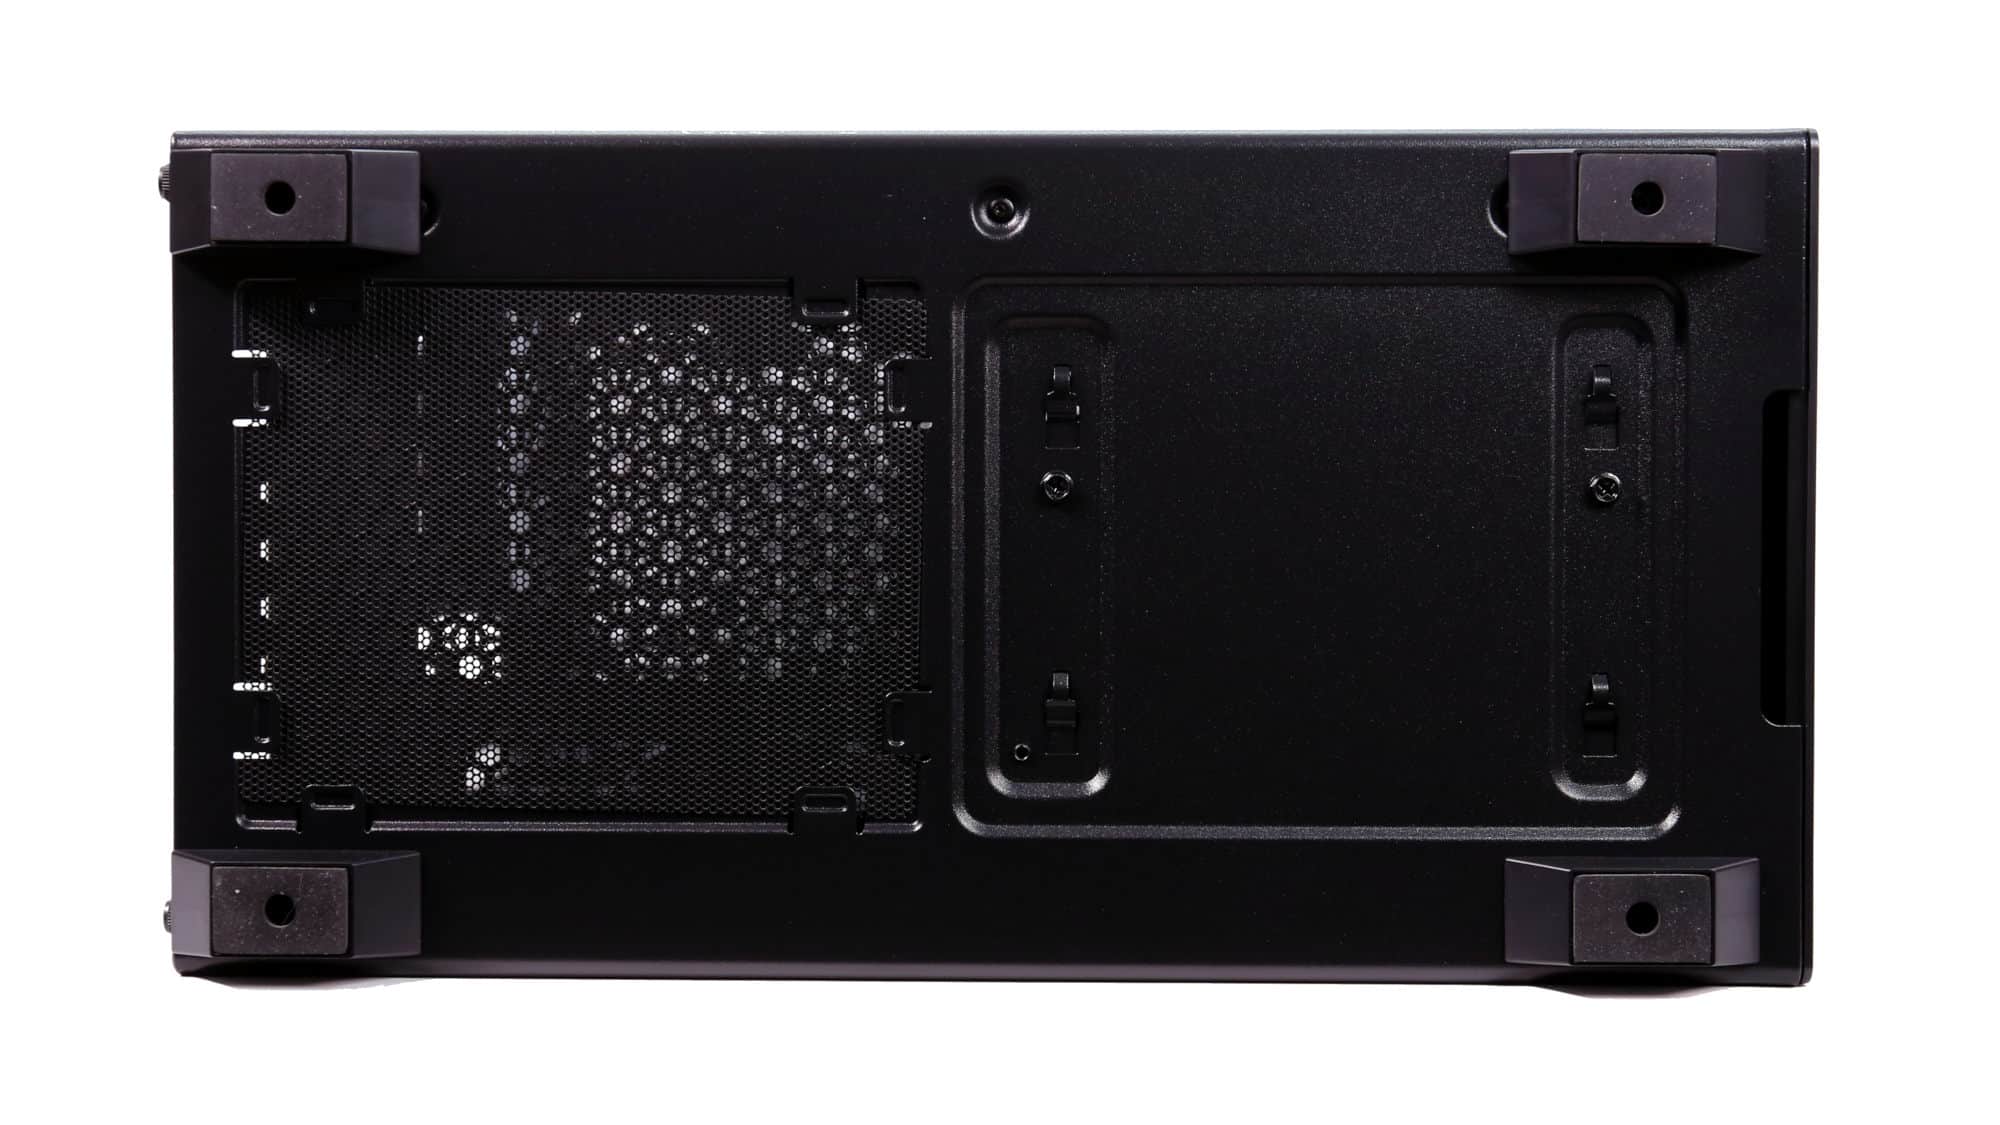
On the underside, you’ll find four feet that lift the chassis off the floor, a PSU intake with a removable filter, and a view of the metal clips used for the storage cage.
Compatibility and Space Utilization
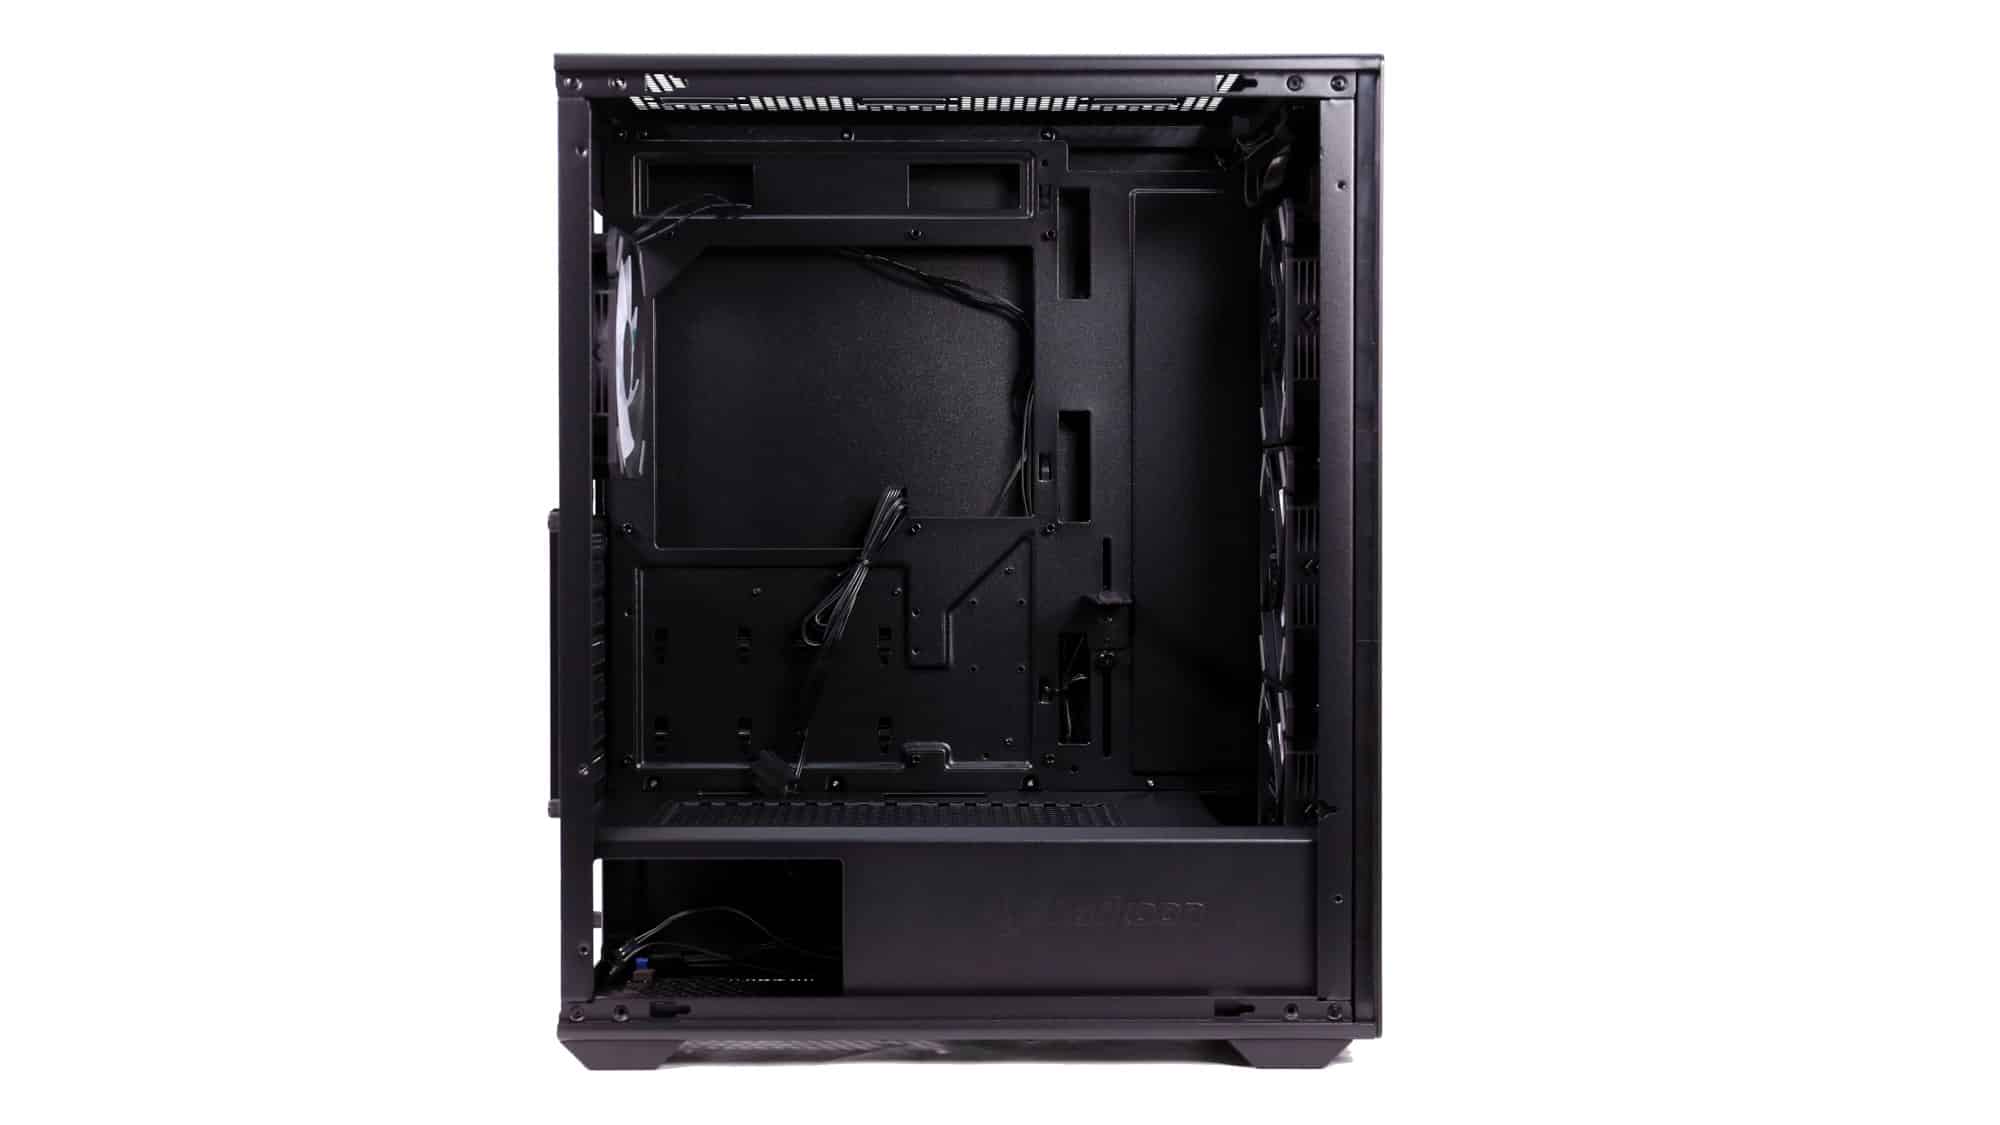
Inside, the VK4 has a classic layout with a few noteworthy extras. It officially supports motherboards up to ATX size (but not BTF). A vertical GPU support bracket is included, which is a nice feature but may interfere with the GPU fans. If removed, you can fit an E-ATX motherboard (like ours), but it will cover the cable passthroughs. The case lacks rubber grommets for those passthroughs.
At the top right, a cutout routes the front, or rather, top I/O cables behind the motherboard tray. Above the motherboard, there’s sufficient clearance for a liquid cooling setup.
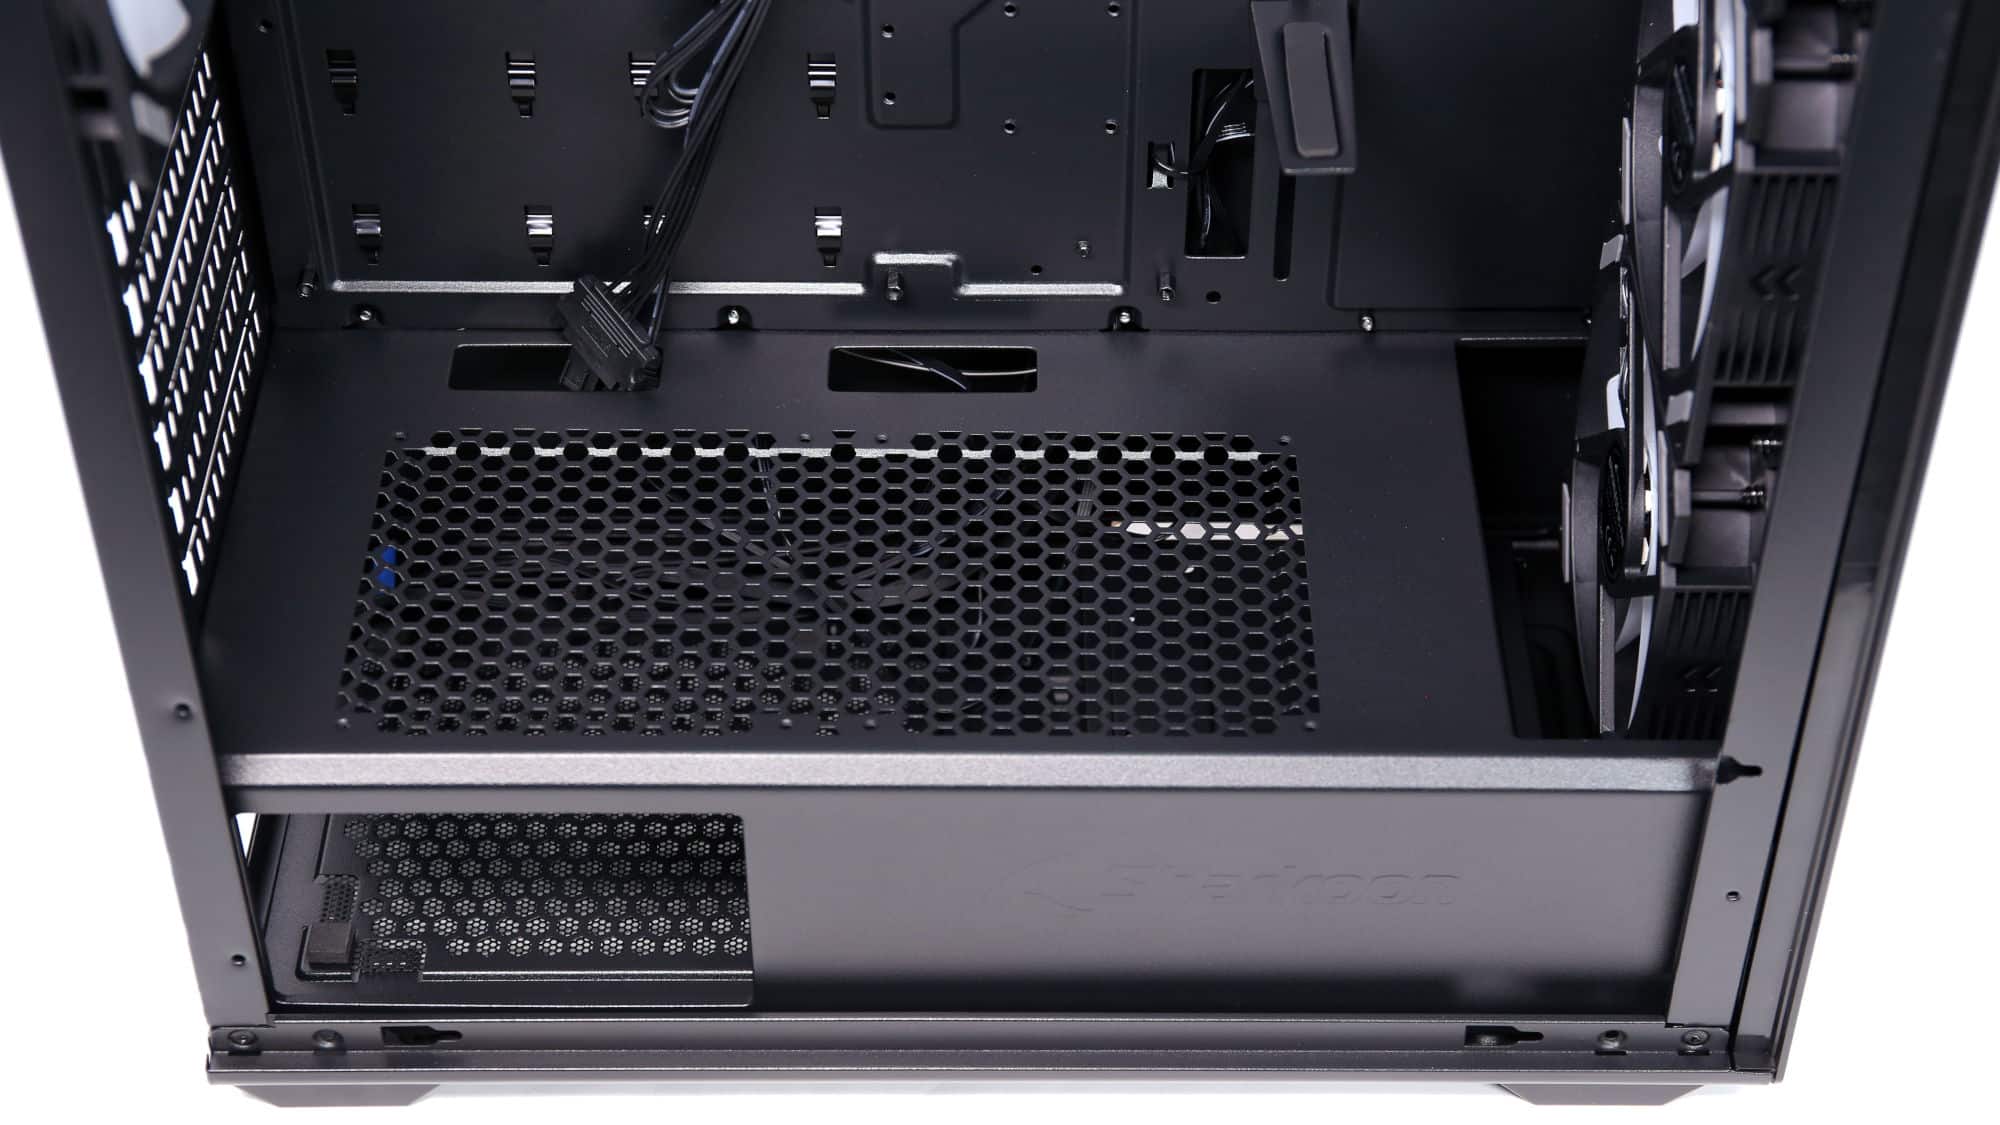
Below the PSU shroud is a perforated design for airflow, which includes mounting points for fans. Three openings provide cable routing: two near the motherboard and one at the front. A cutout on the side of the shroud, visible through the glass panel, highlights your PSU, with a subtle punched-out Sharkoon logo.
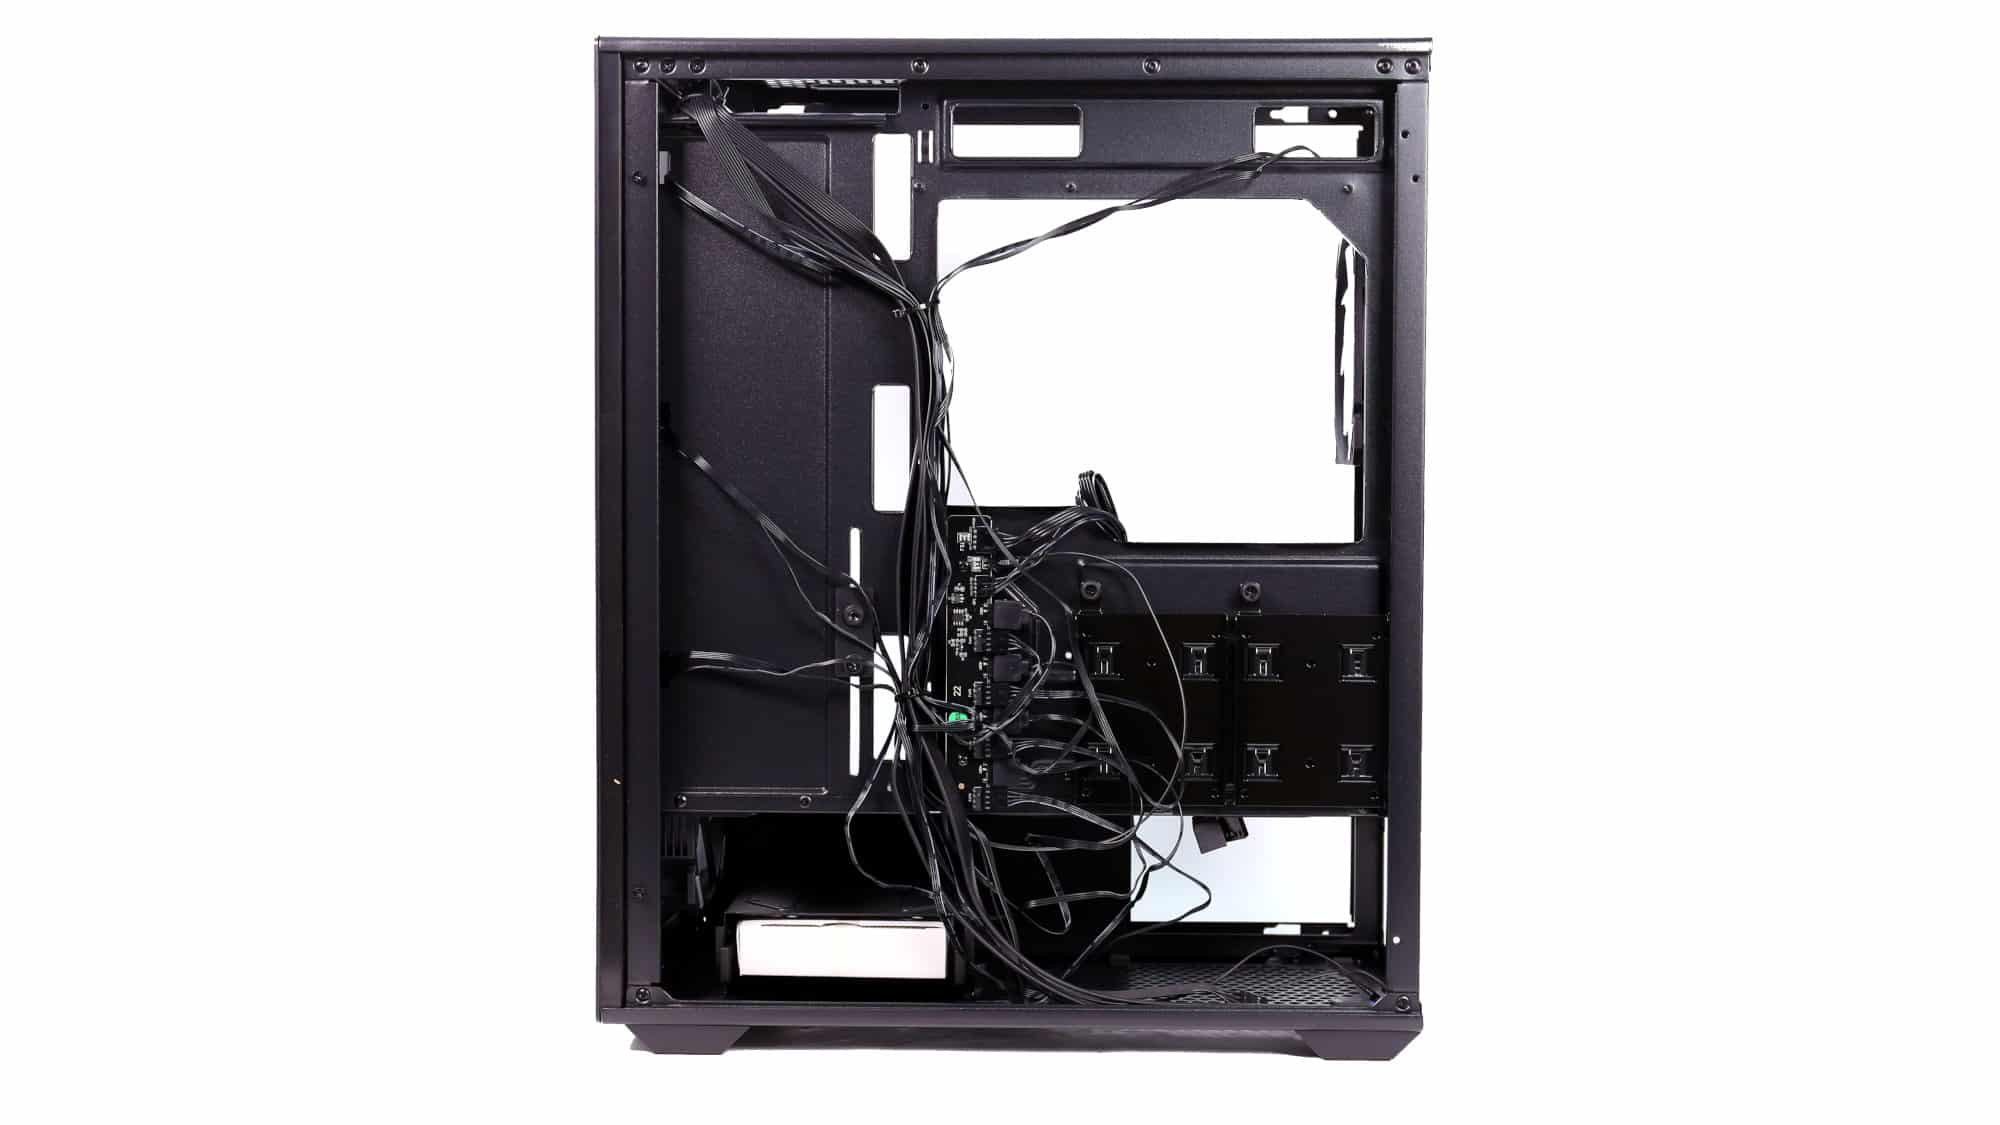
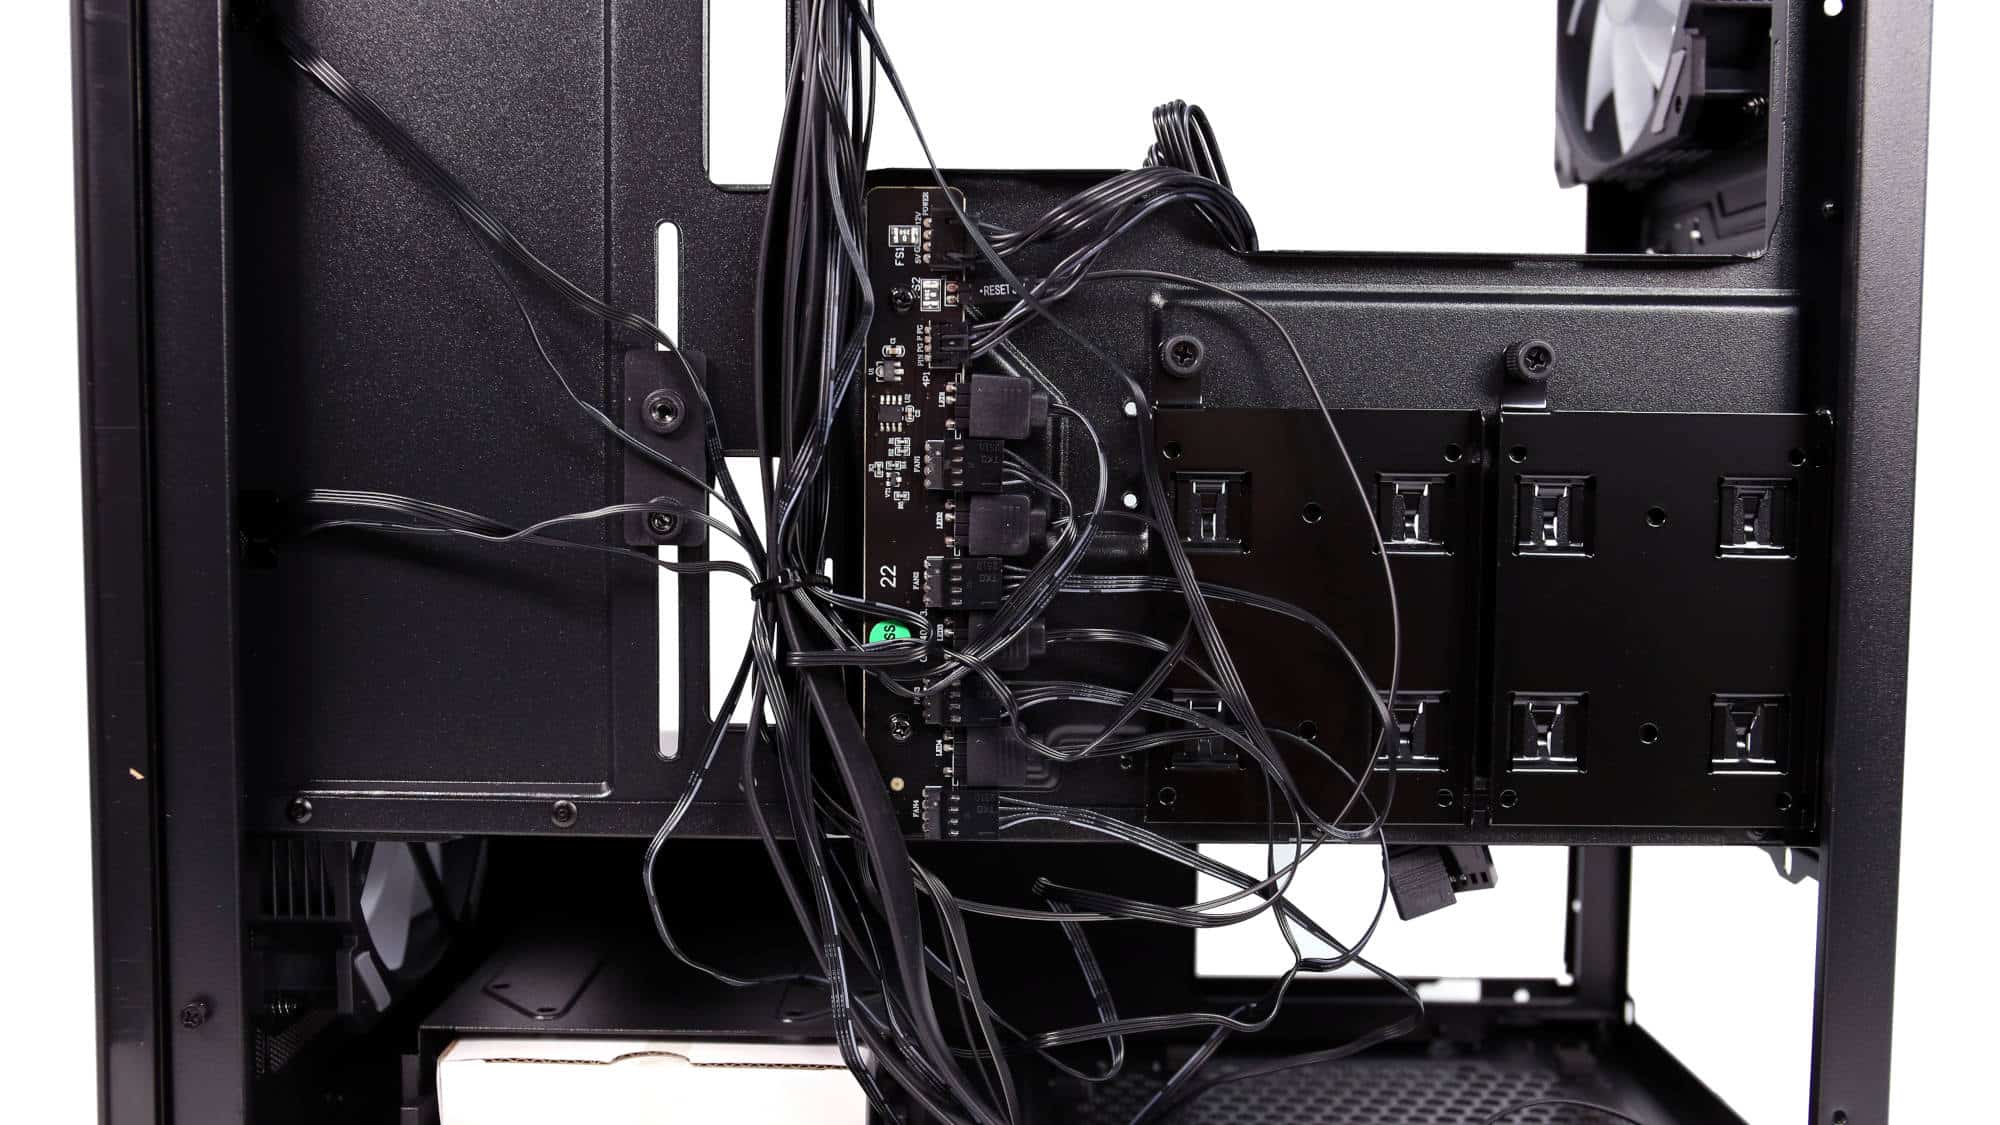
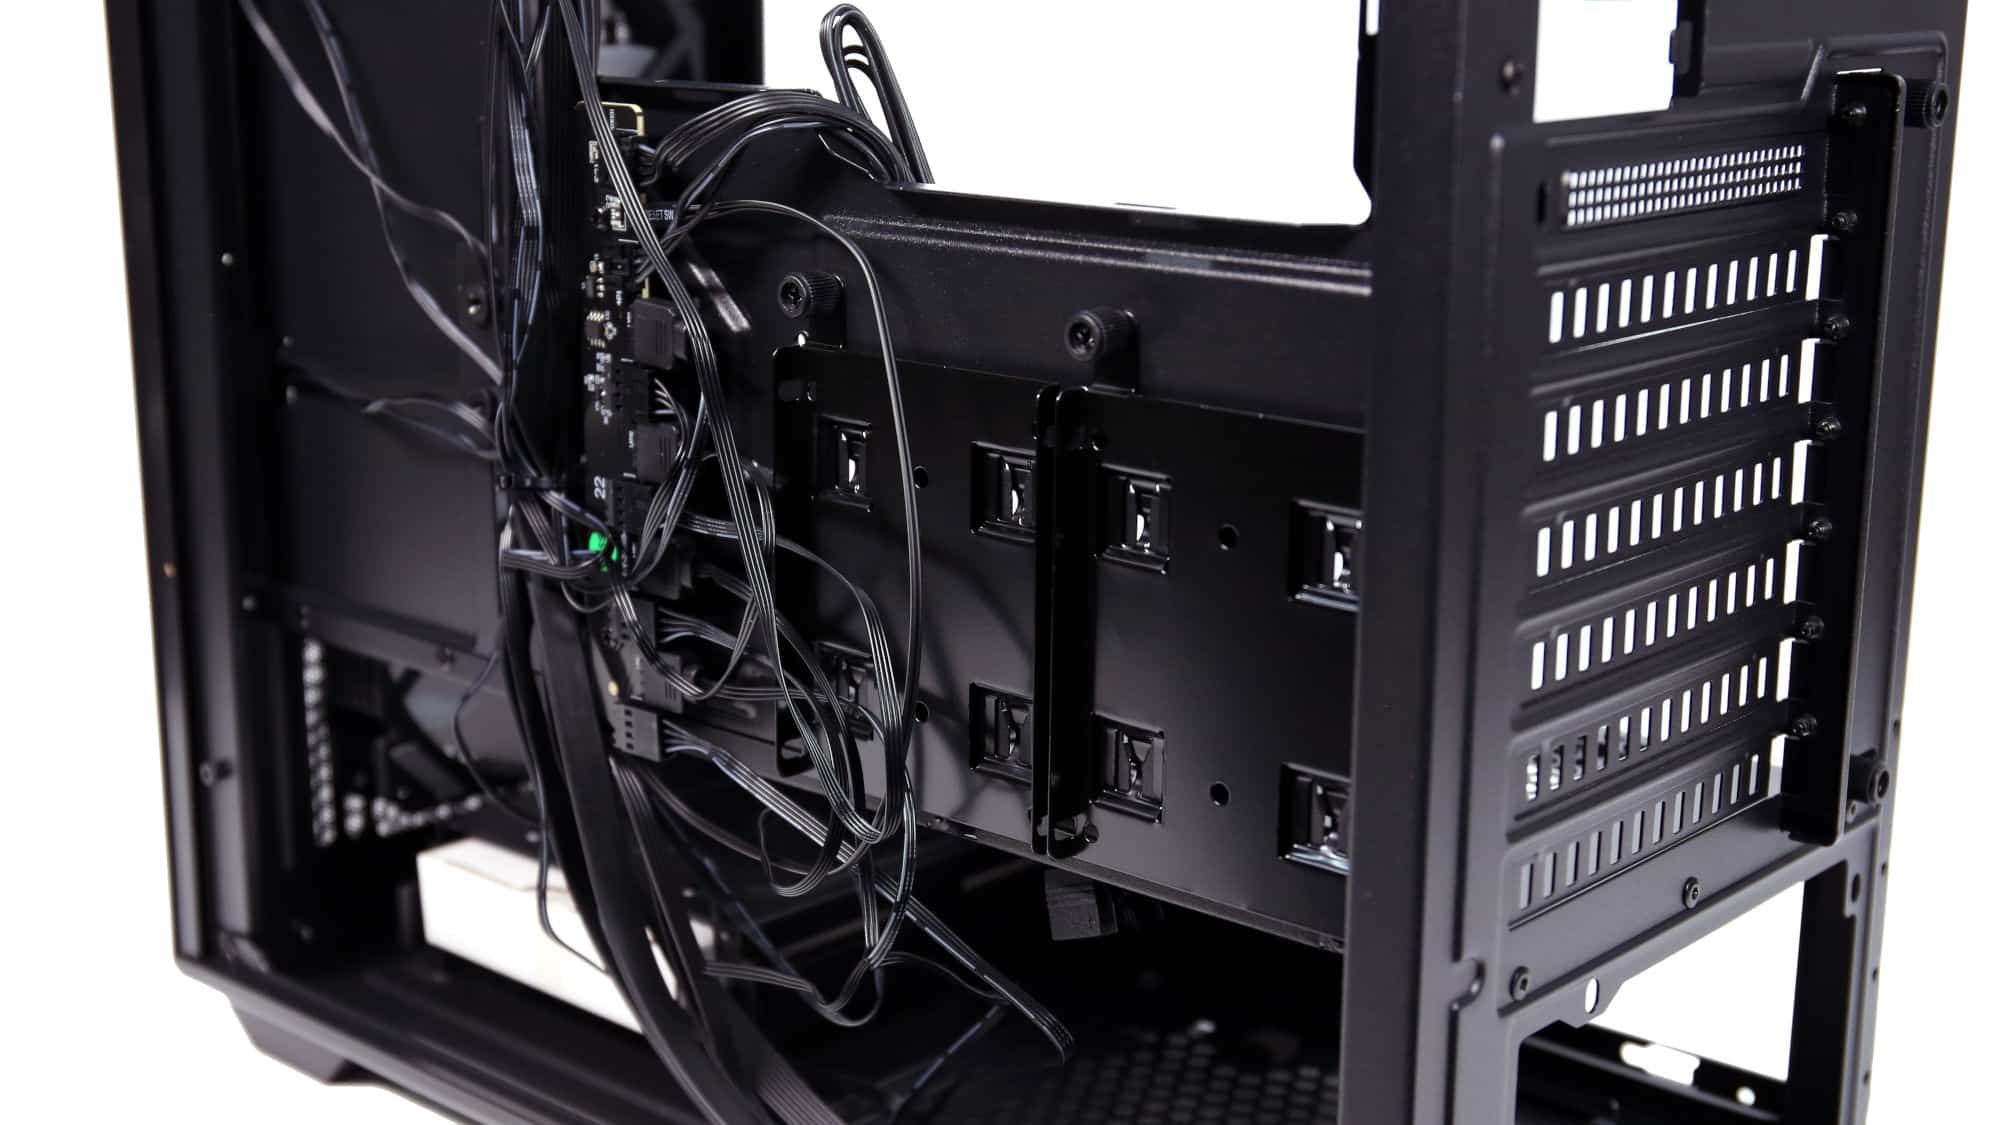
Behind the motherboard tray is the included fan hub. It utilizes standard PWM and ARGB connectors, powered by the SATA interface. Both PWM and ARGB can be synced with your motherboard. The reset button cable can be detached from the hub if you prefer to use it as a traditional reset button. The hub is centrally located, making cable runs easier; however, you’ll want to replace the factory zip ties to avoid a messy appearance. The space here is a bit limited, at 19mm deep.
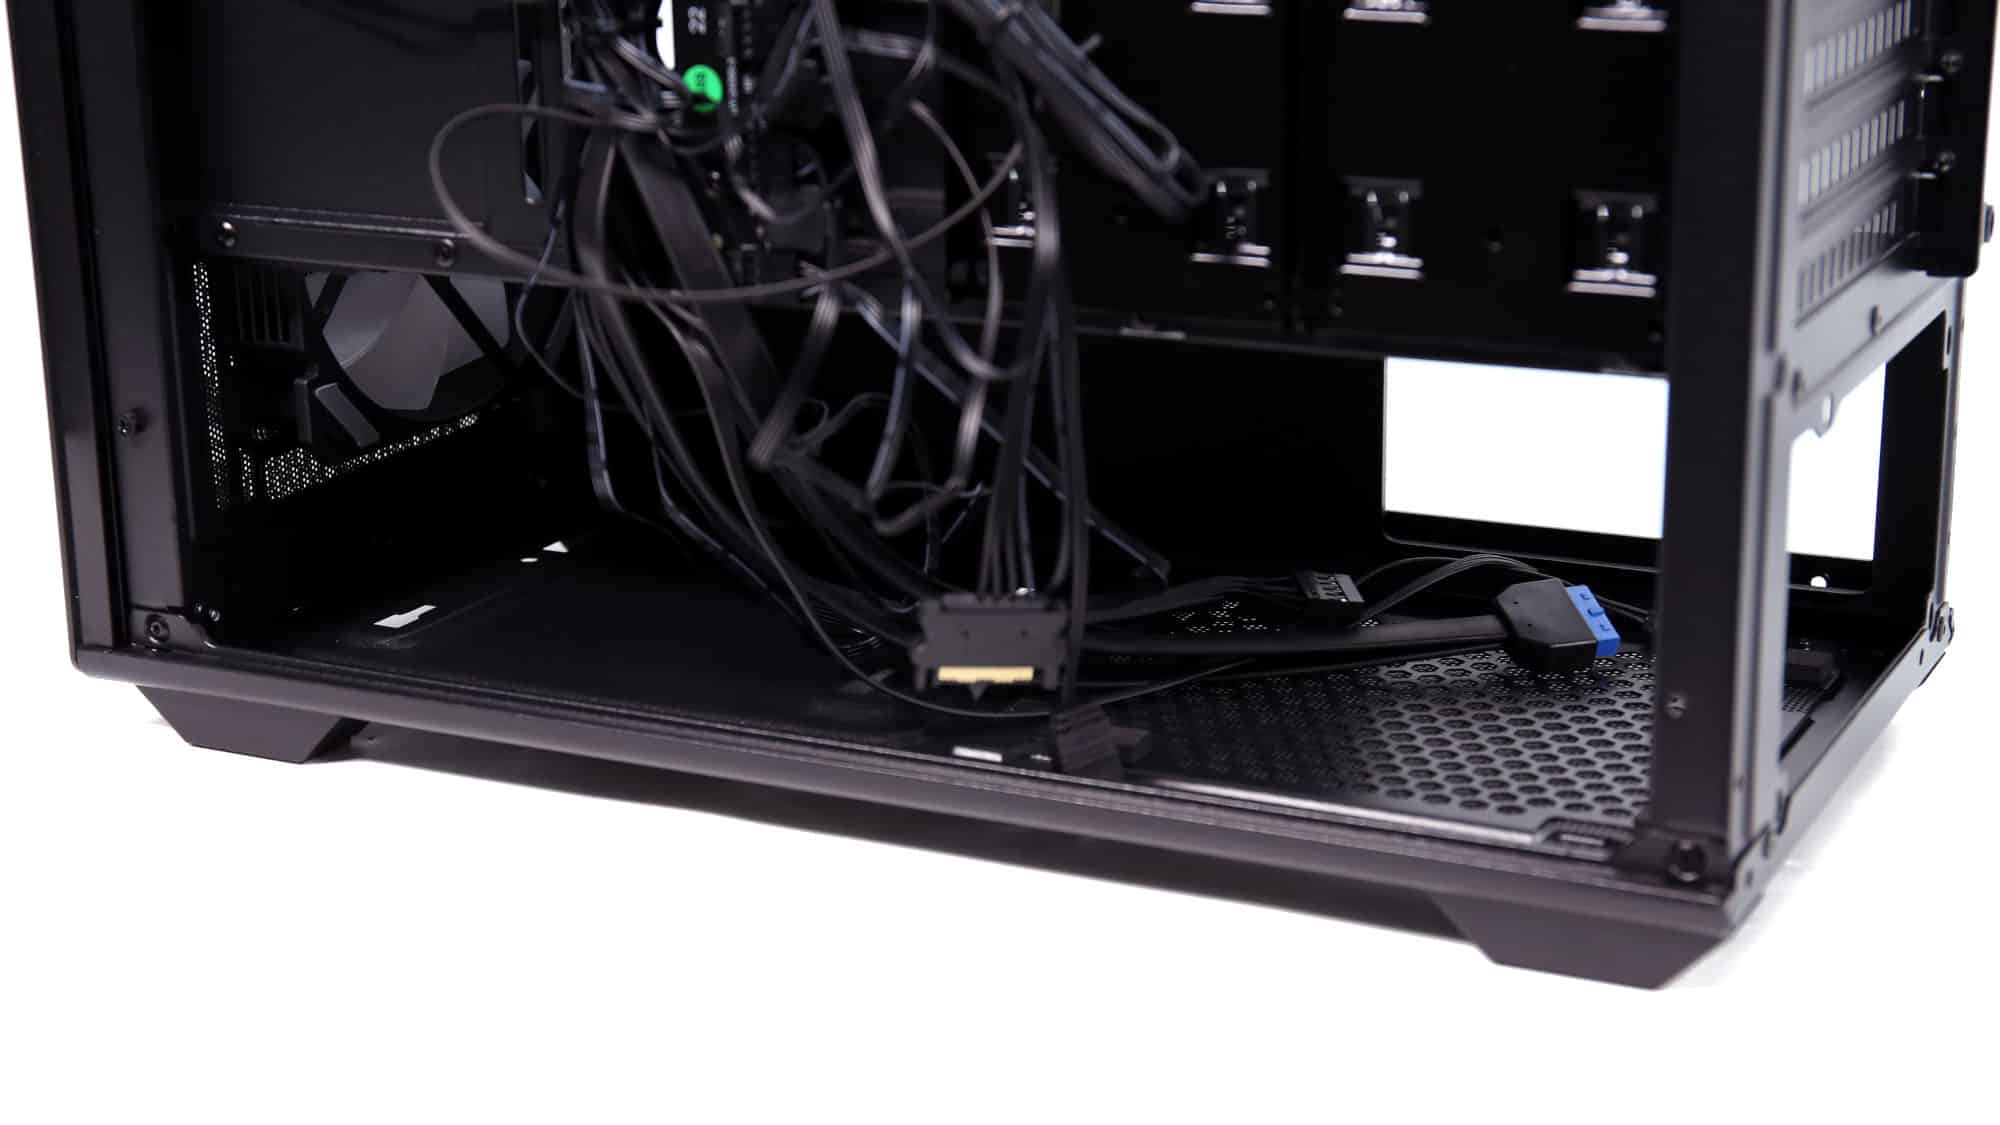
At the bottom, you’ll find a storage cage alongside the PSU bay. While the PSU is intended to pull fresh air from the underside, the cage design allows some additional airflow from above.
Cooling and Airflow
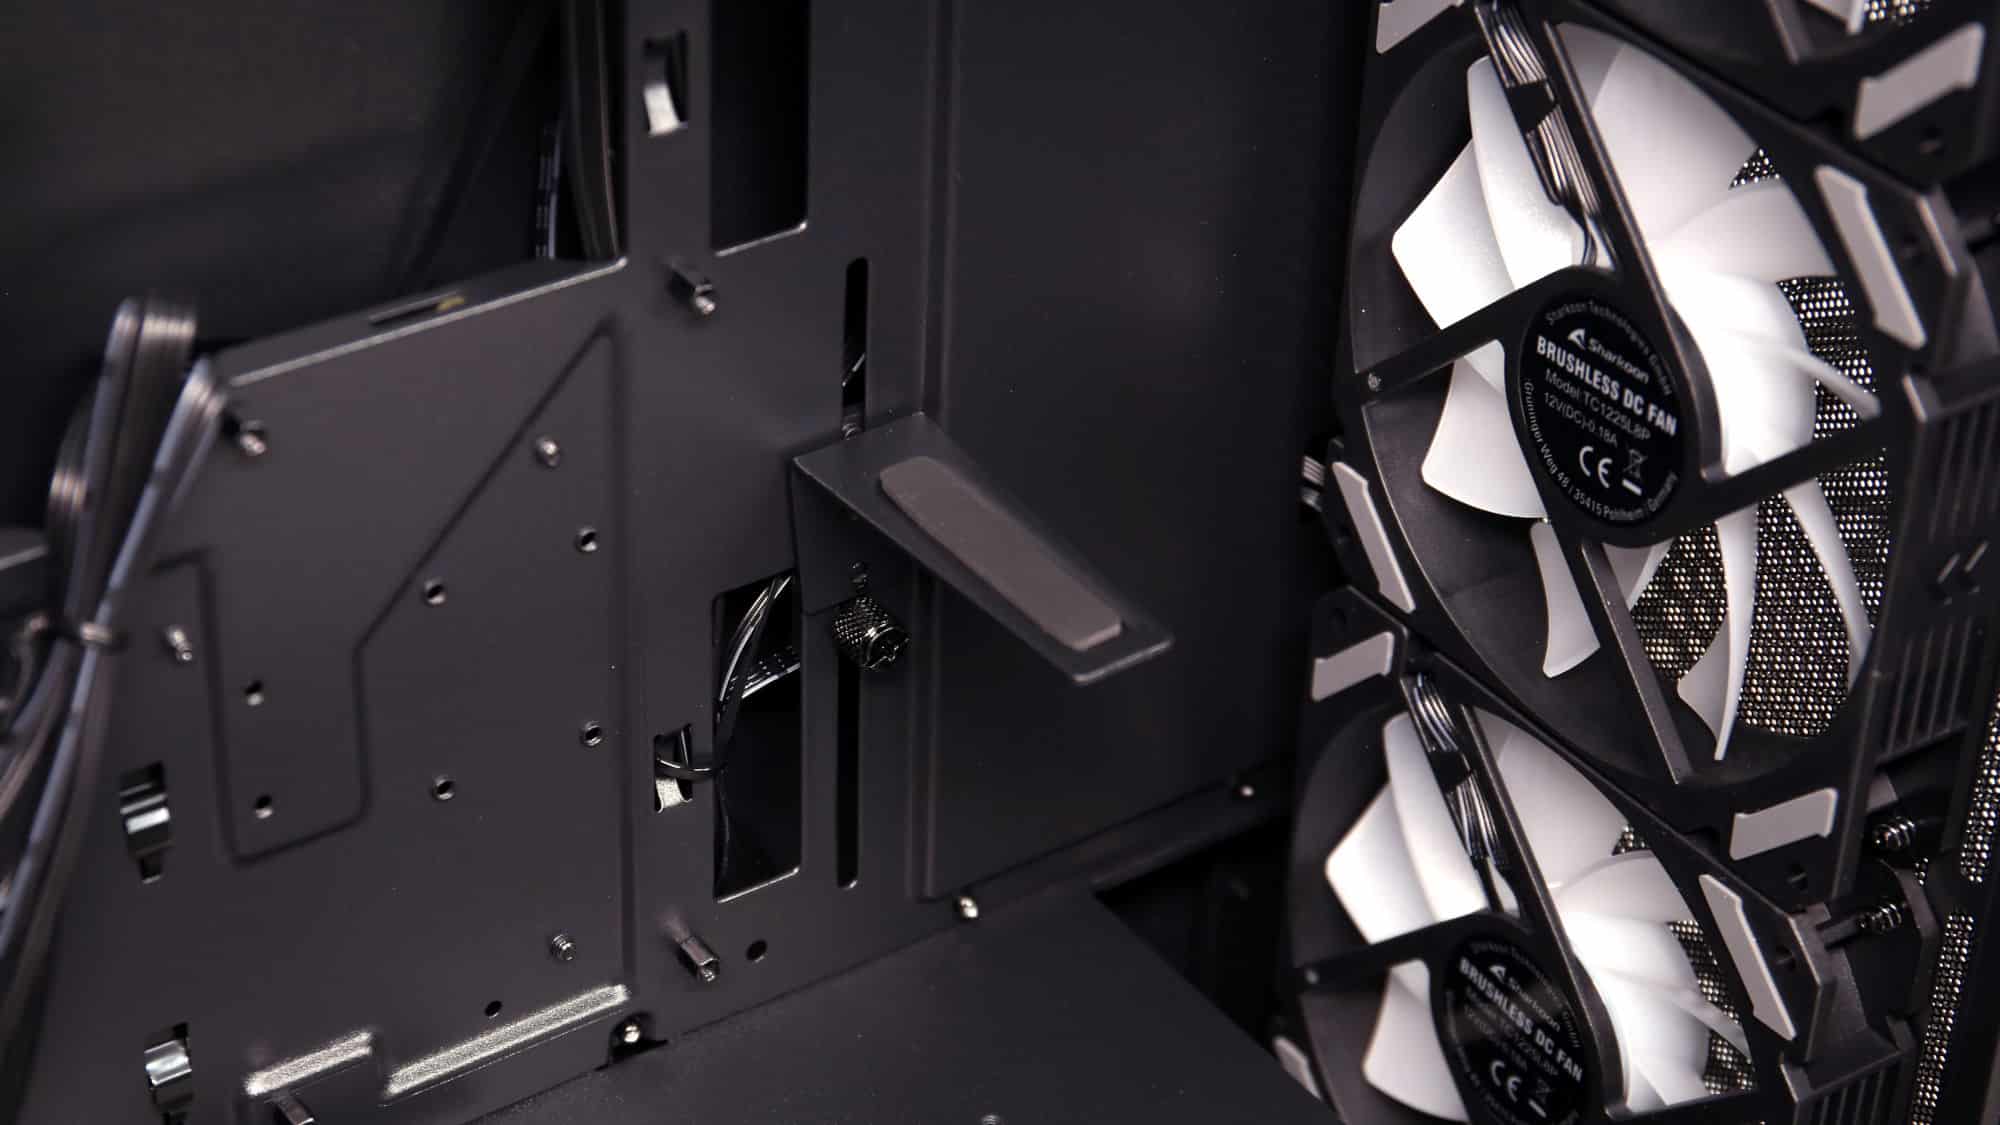
Sharkoon has equipped you with four 120mm Shark Force ARGB fans, but they spin at a slower speed than the classic retail versions, as most case fans do. They don’t have any daisy-chaining options, but the included fan hub makes up for it. It may have just enough space for the included fans only, but it saves you the headache of figuring out how to connect everything to your motherboard or having to buy a separate hub.
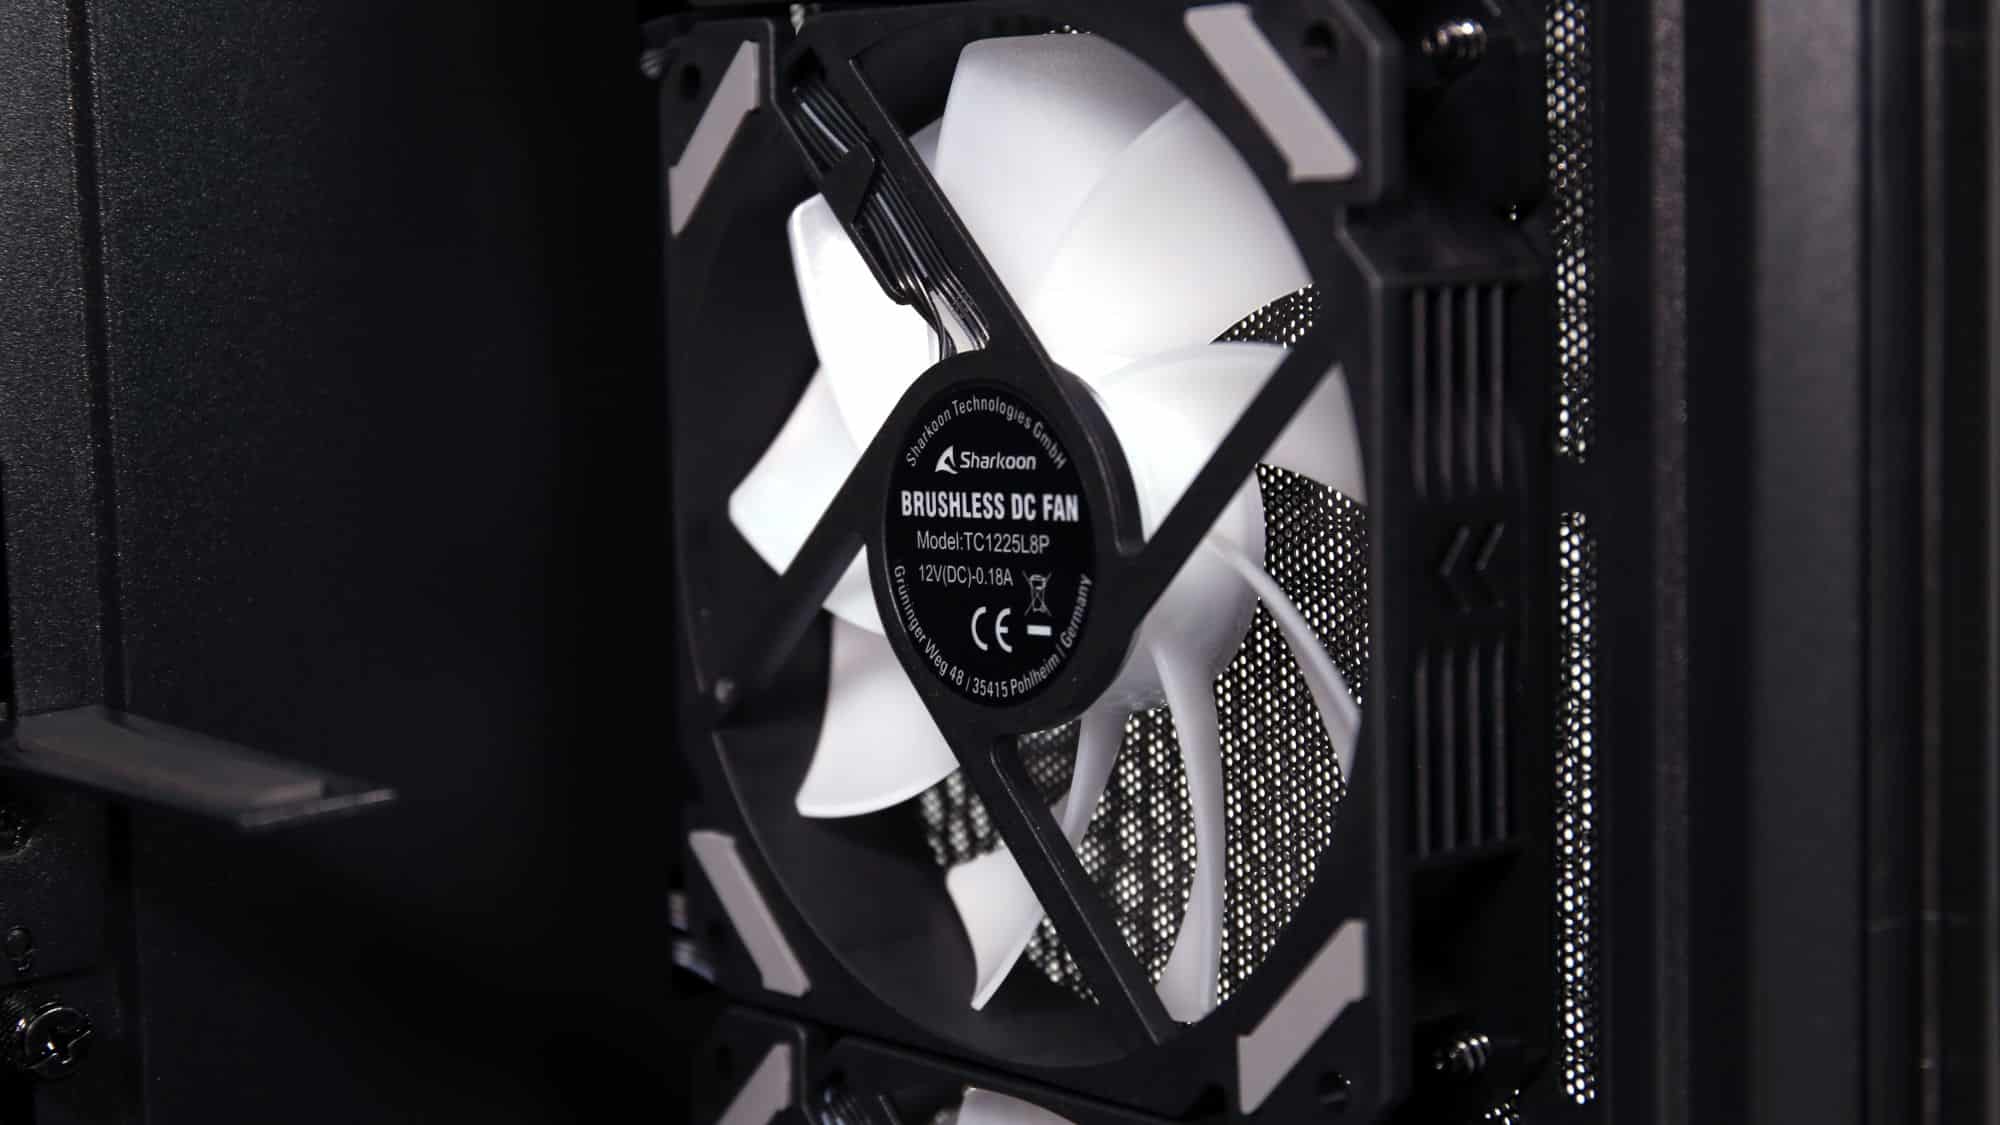

At the front, you’ll find three of the four included fans used for intake, and at the rear, the last one serves as exhaust. The elongated slots allow for vertical adjustment. At the top, there is the option for dual 120mm or 140mm fans, with support for up to a 280mm AIO. The front also supports up to a 360mm radiator. Lastly, for an extra cooling boost to your GPU, you may install two more 120mm fans on top of the PSU enclosure.
Storage Options
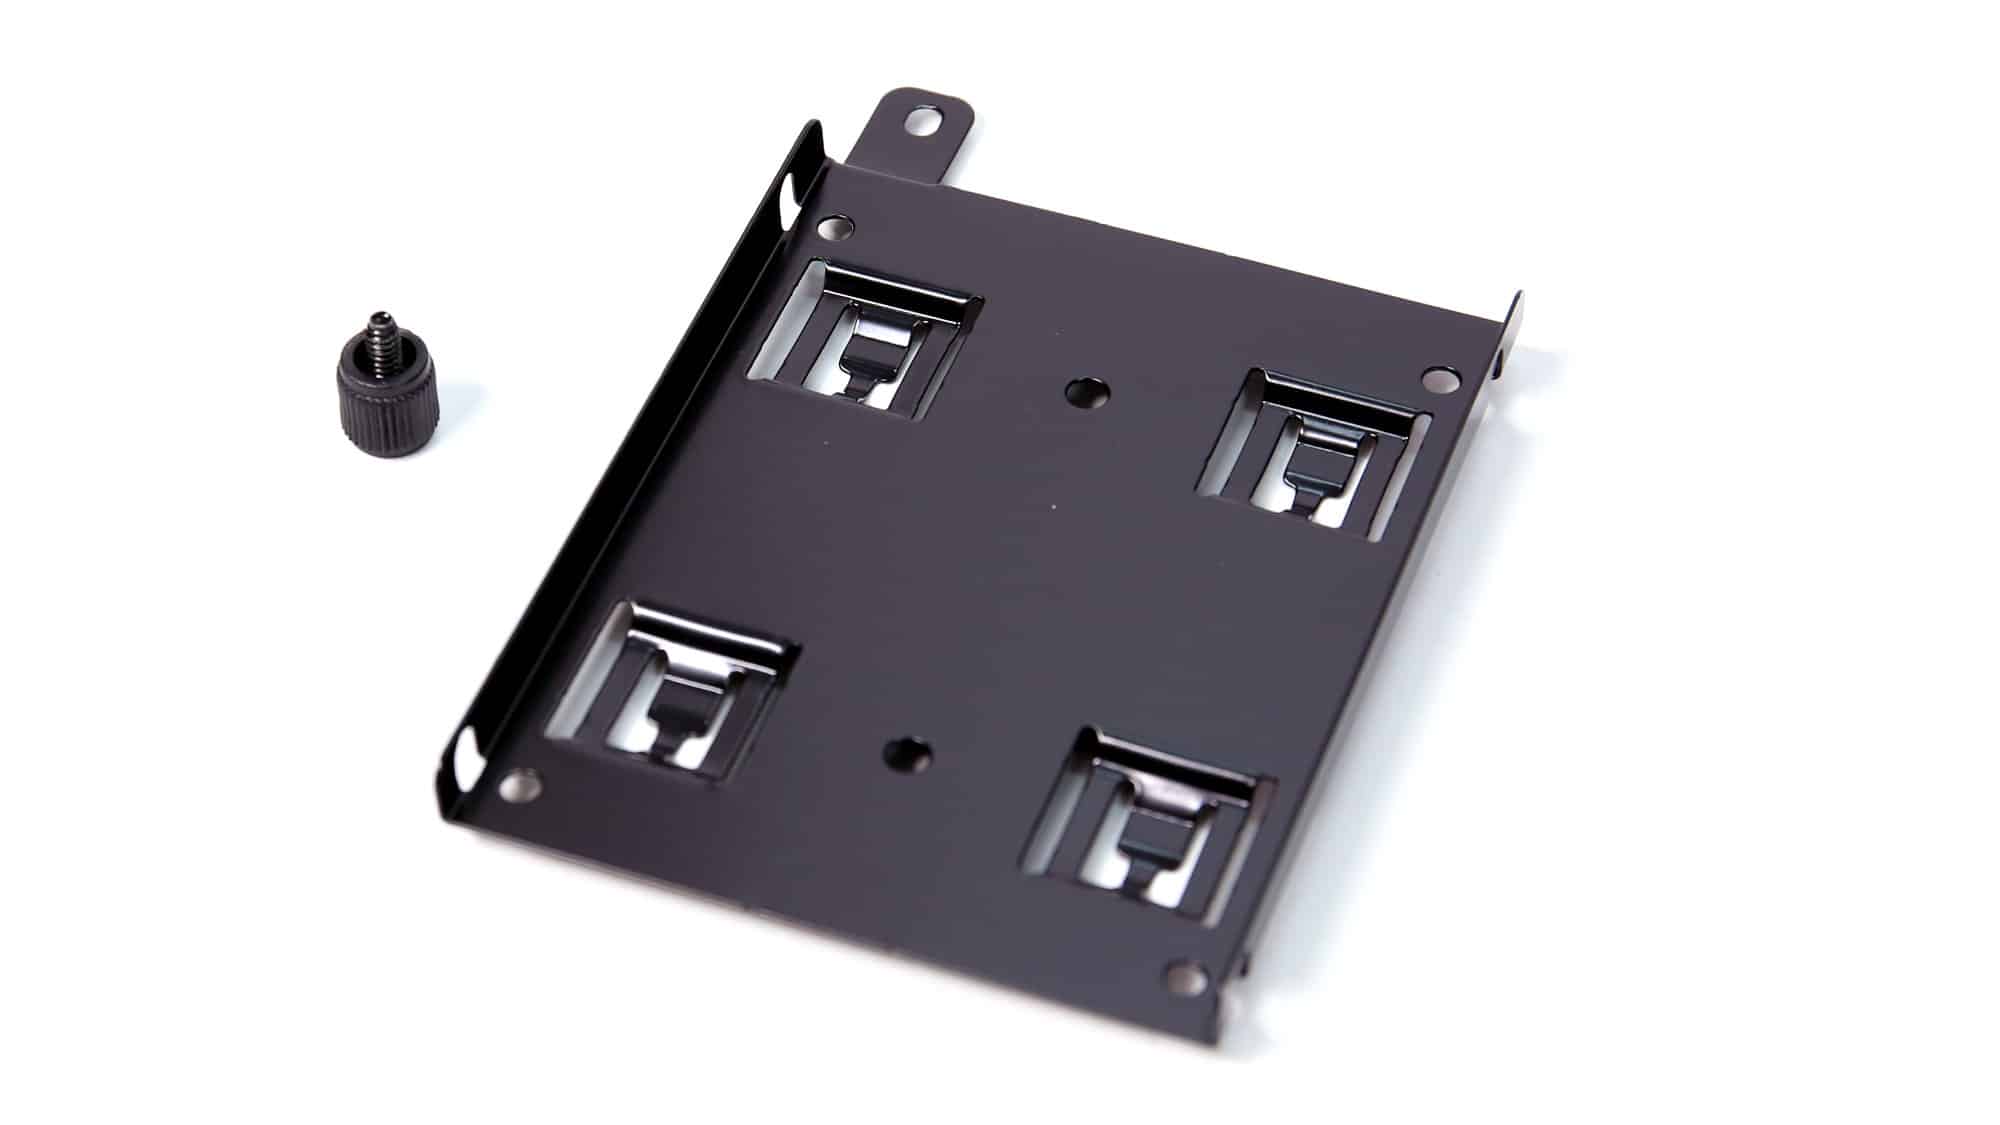
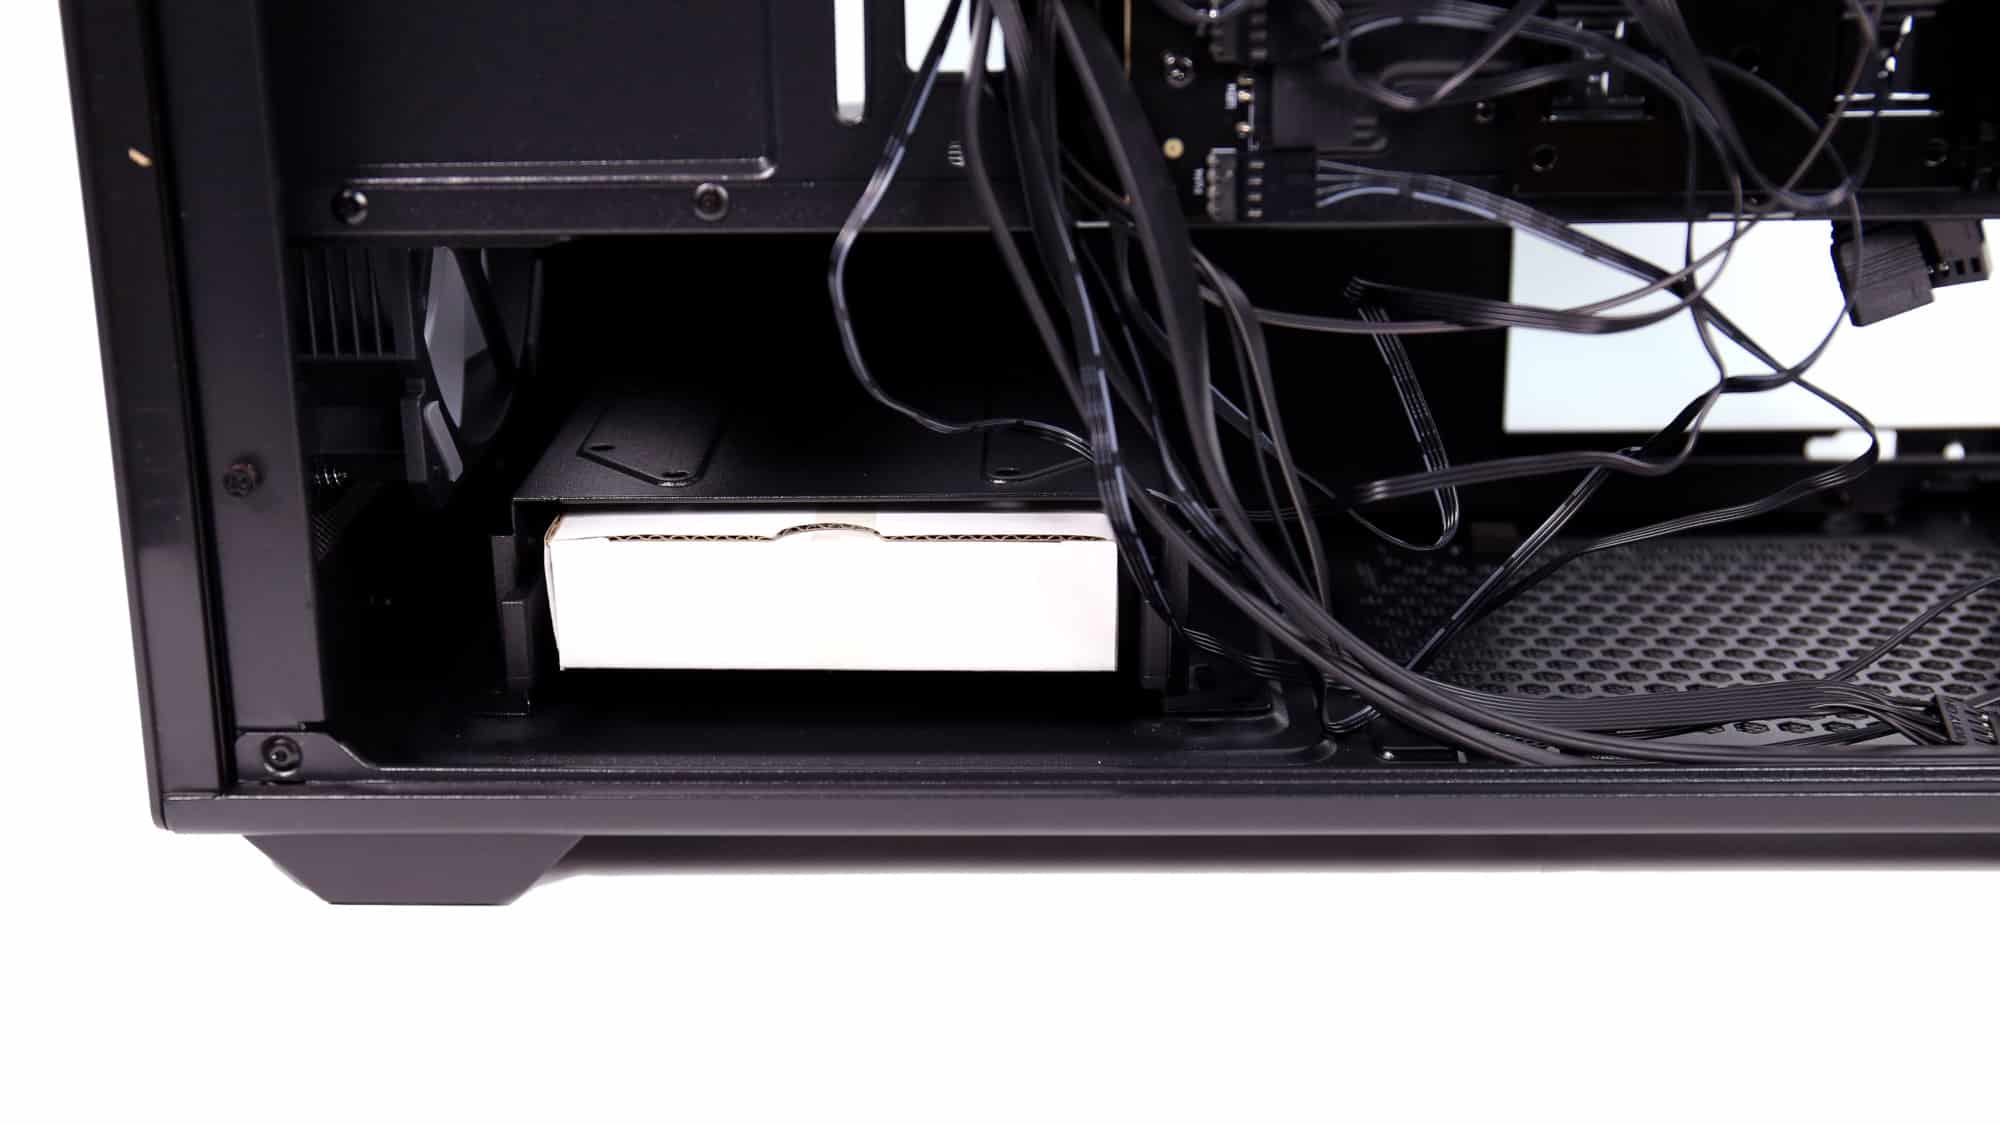
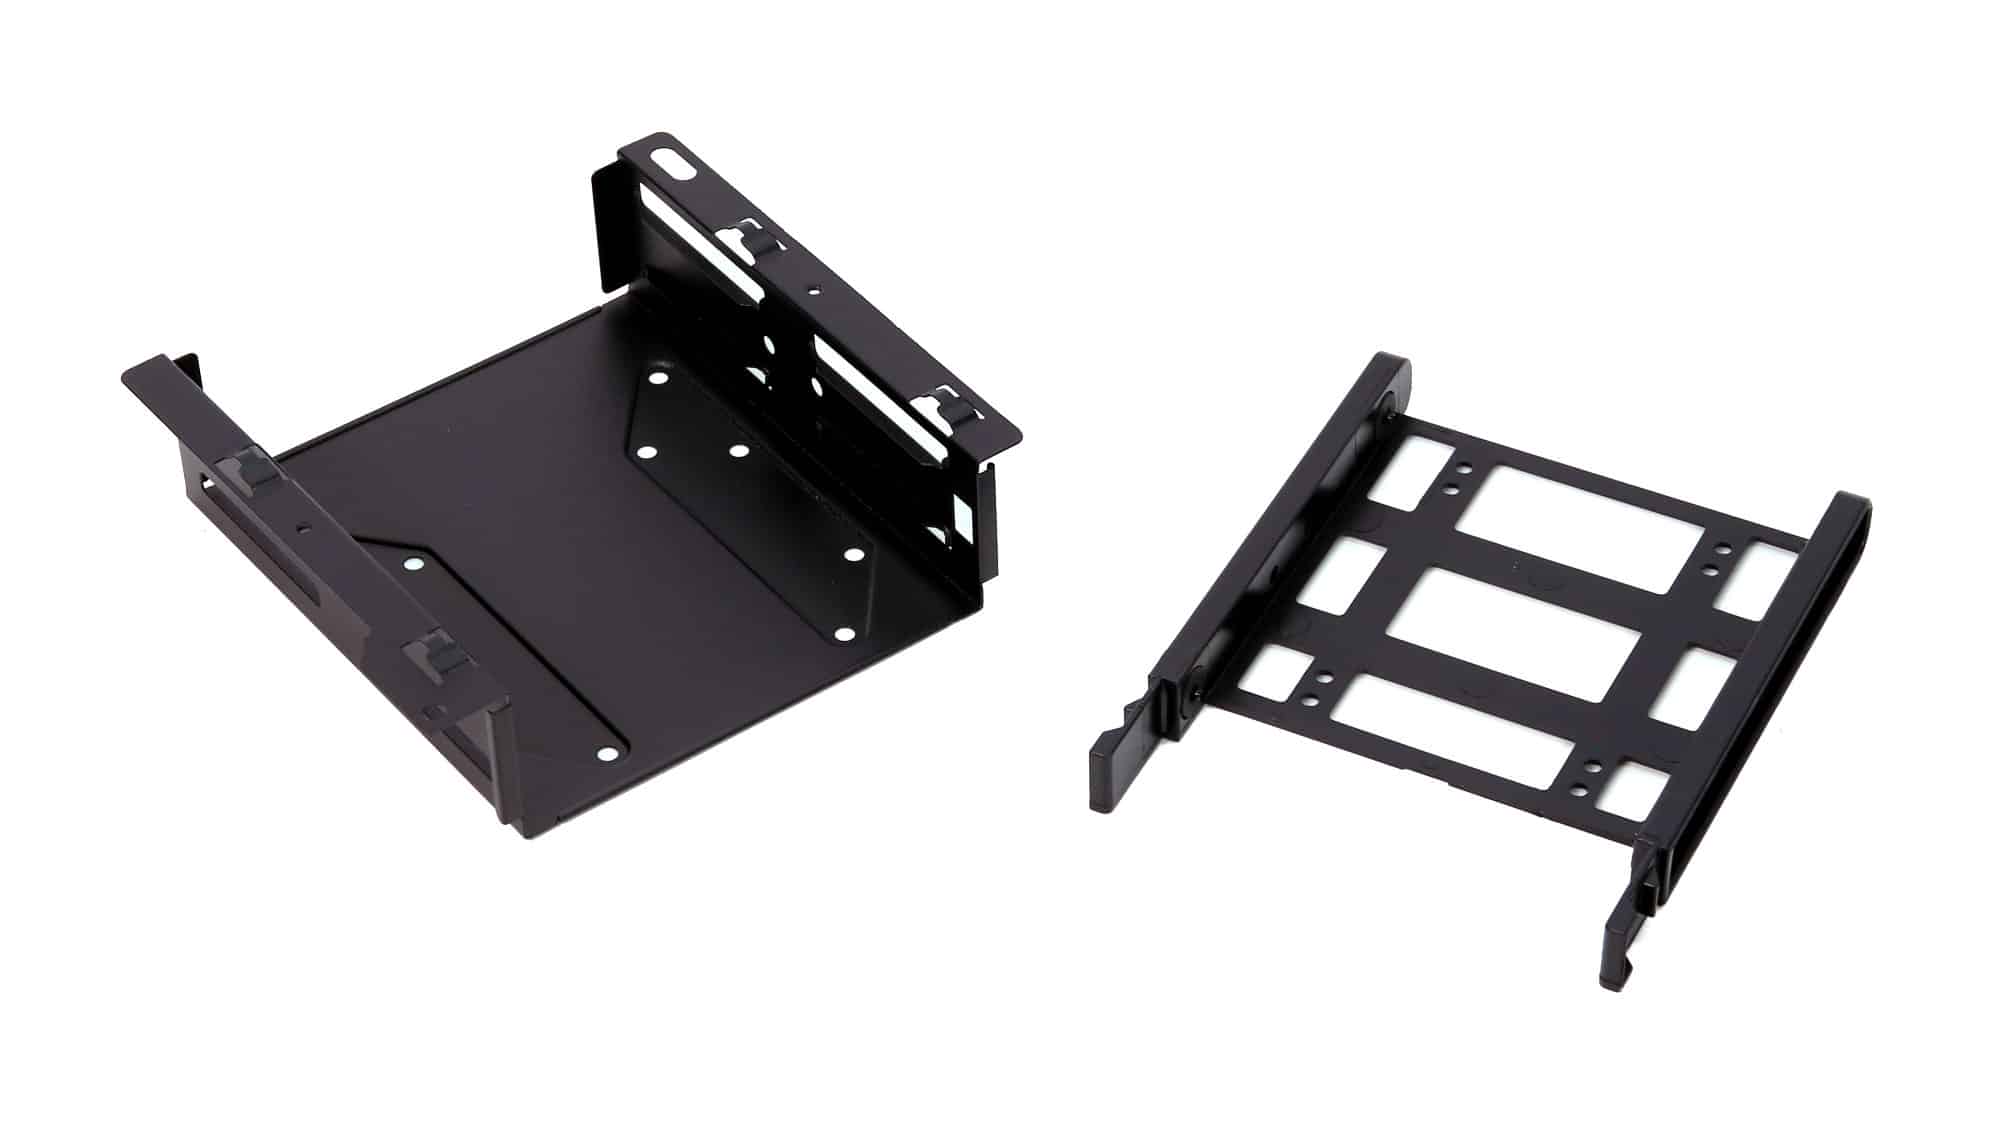
Storage is accommodated by two 2.5-inch drive slots located on the right side of the fan hub, which is mounted directly to the chassis. The rest are inside the lower PSU enclosure. There you will find a storage cage that bolts to the chassis from the bottom. One of the drives can be installed in the removable, tool-less slot, while installing the other requires removing the cage from the chassis. The slots on the cage can accommodate either 3.5-inch or 2.5-inch drives.
Sharkoon notes in their specifications that installing storage at the bottom may interfere with a front-mounted 360mm radiator.