Unboxing and First Impressions


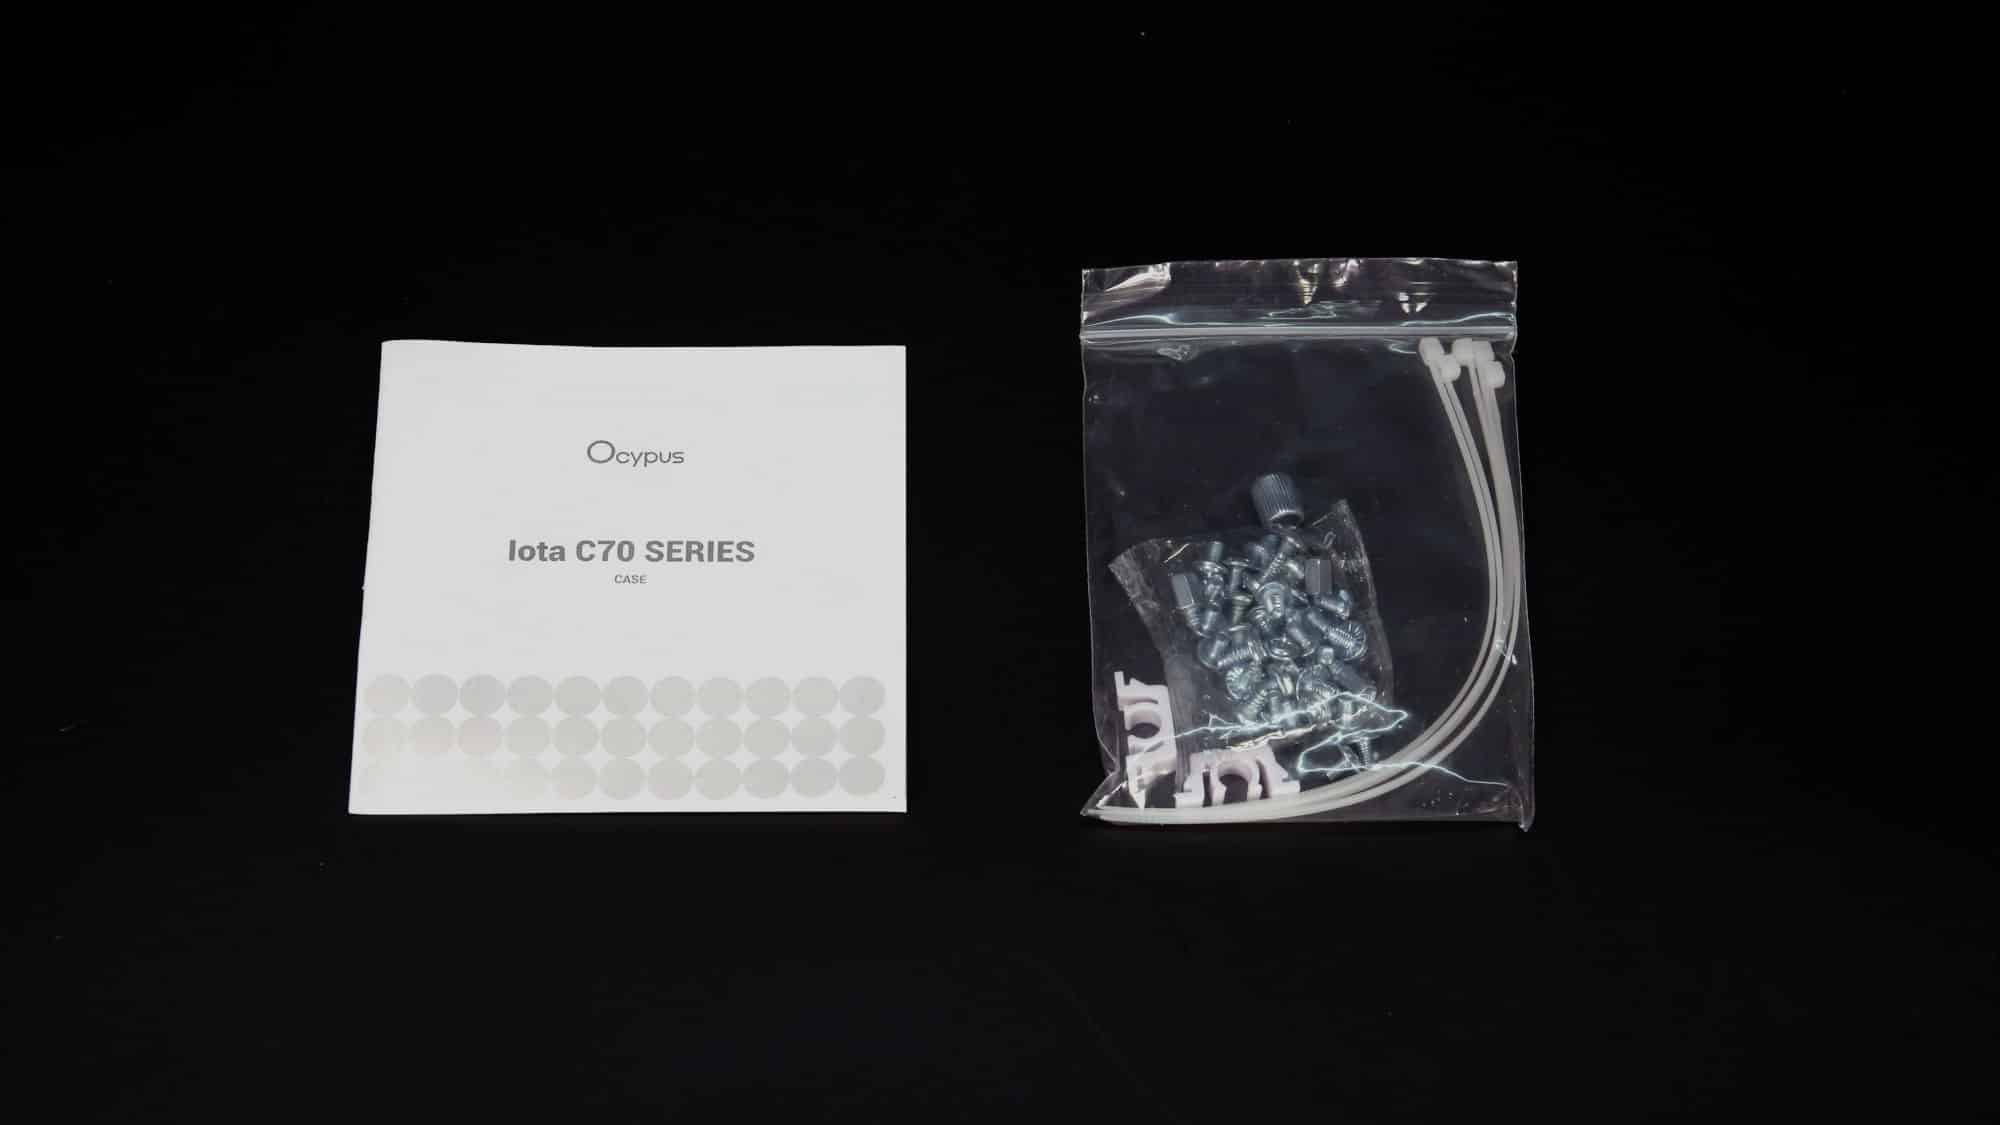
The C70’s packaging is pretty standard. While it isn’t double-boxed, sturdy cardboard corner pieces keep everything secure and aligned adequately during shipping. Inside, you’ll find two large foam inserts with generic cutouts and a protective plastic bag encasing the chassis. A small brown accessory box is housed inside the case, containing screws, zip ties, and replacement plastic clips for the side panels. Admittedly, we’d have liked to see a few reusable cable straps included, especially since there’s already one preinstalled in the chassis, as you’ll see later.
The case has a satisfying heft, giving a solid first impression of its build quality. Although the camera might not capture the C70’s true proportions, it feels compact in person, which is impressive considering the size of components it can accommodate.
Design and Build Quality


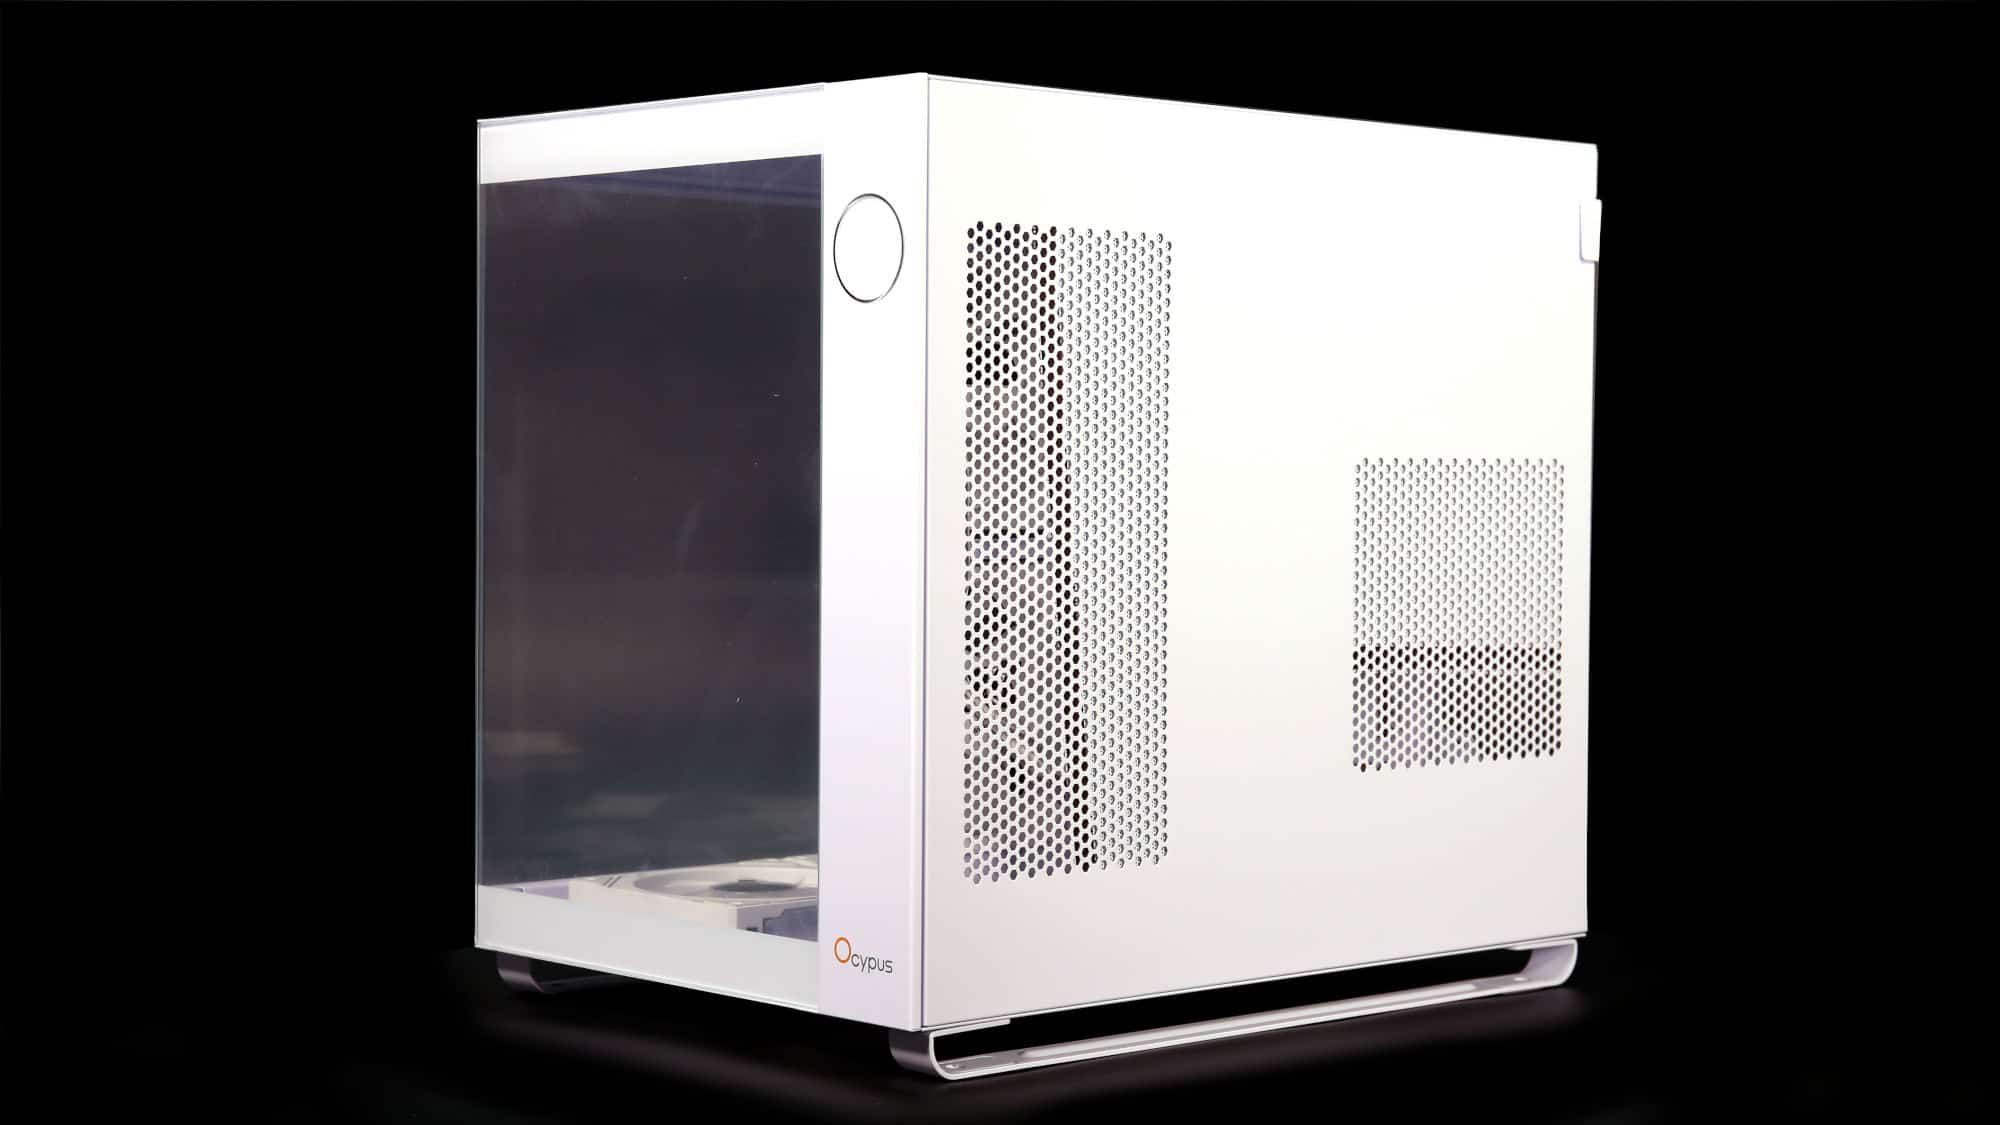
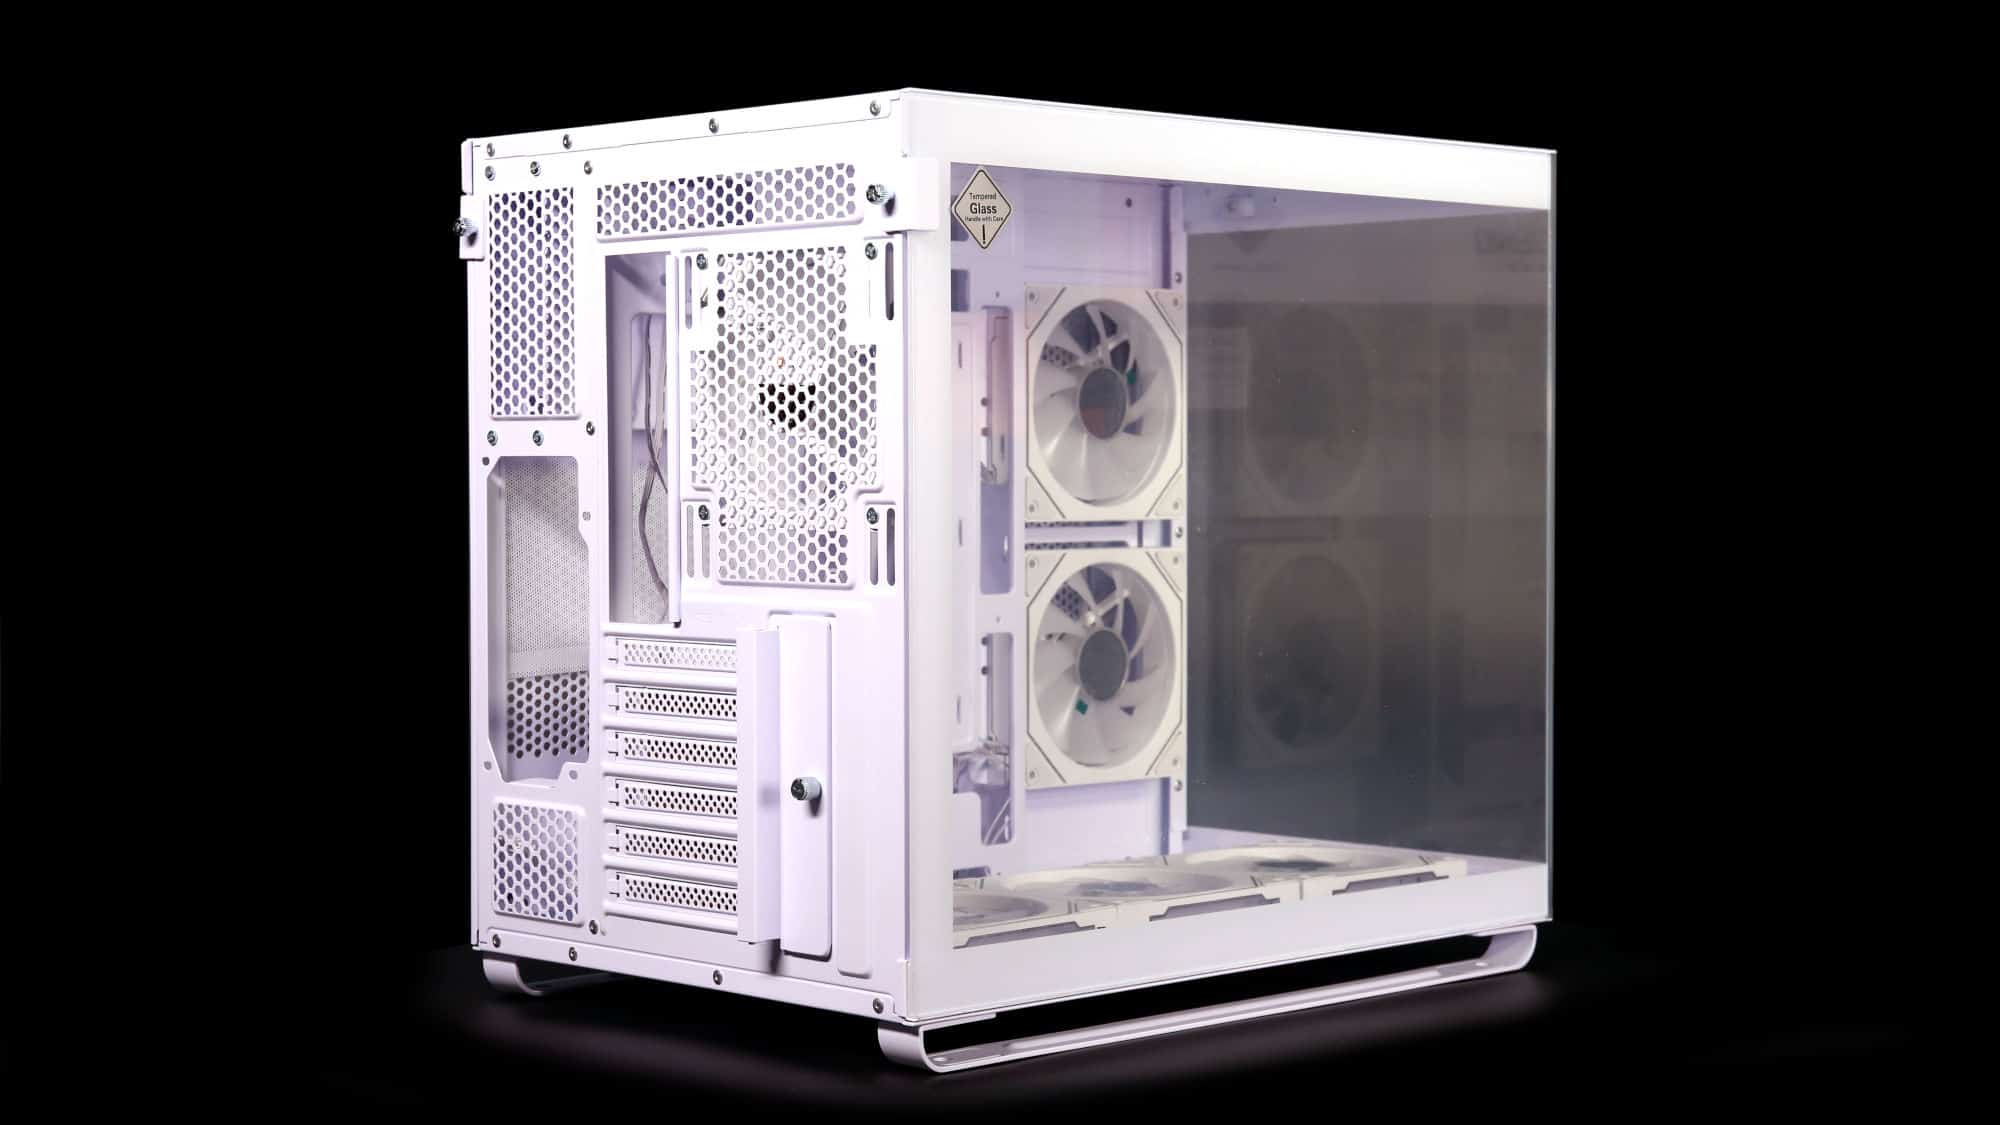
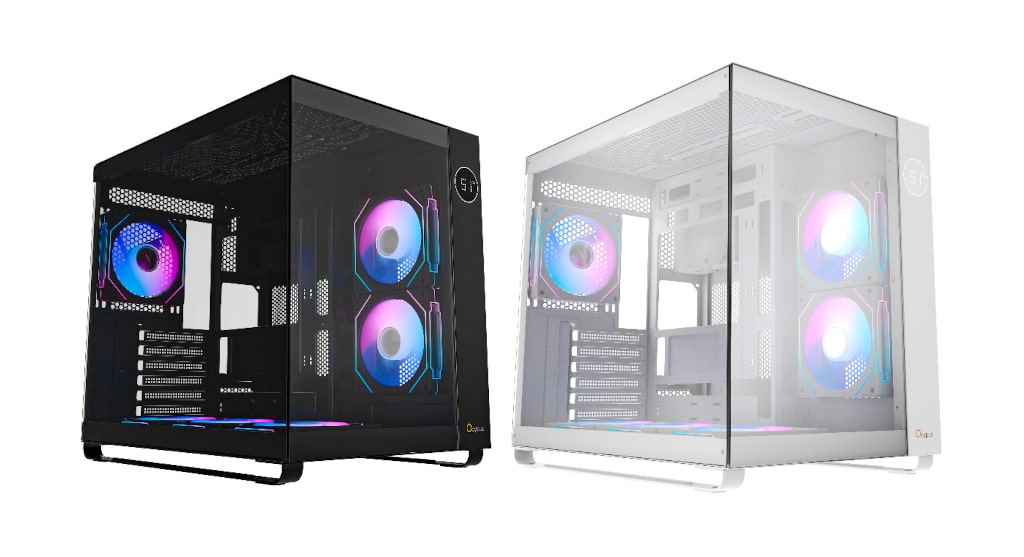
Constructed from steel and tempered glass, the Iota C70 delivers a sturdy build paired with a sleek, modern aesthetic. Its cubelike shape features a vertically partitioned layout, allowing for clean and efficient component organization. The case rests on two rail-style feet, adding stability and a unique design element. The motherboard tray offers generous space and supports ASUS BTF and MSI Project Zero motherboards that utilize rear connectors.
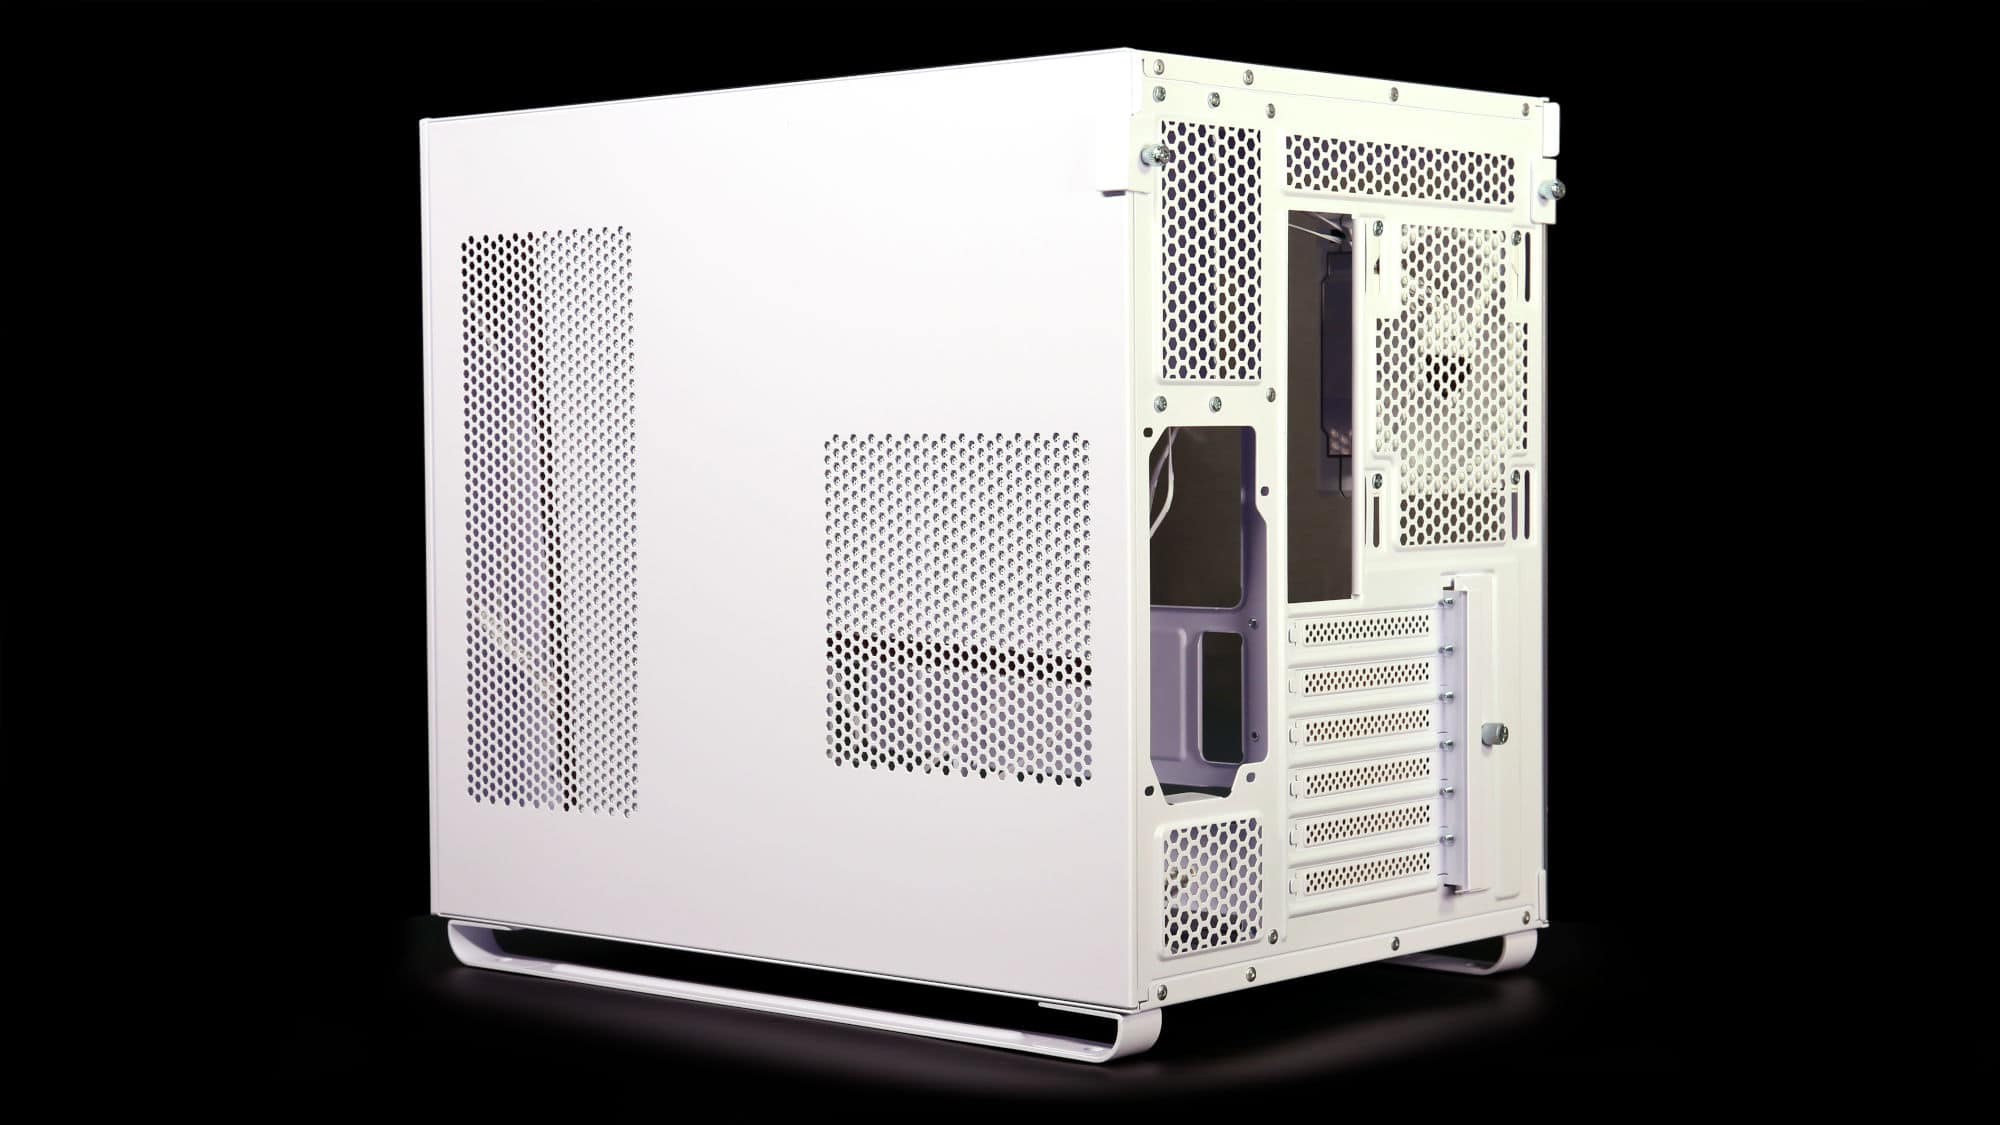
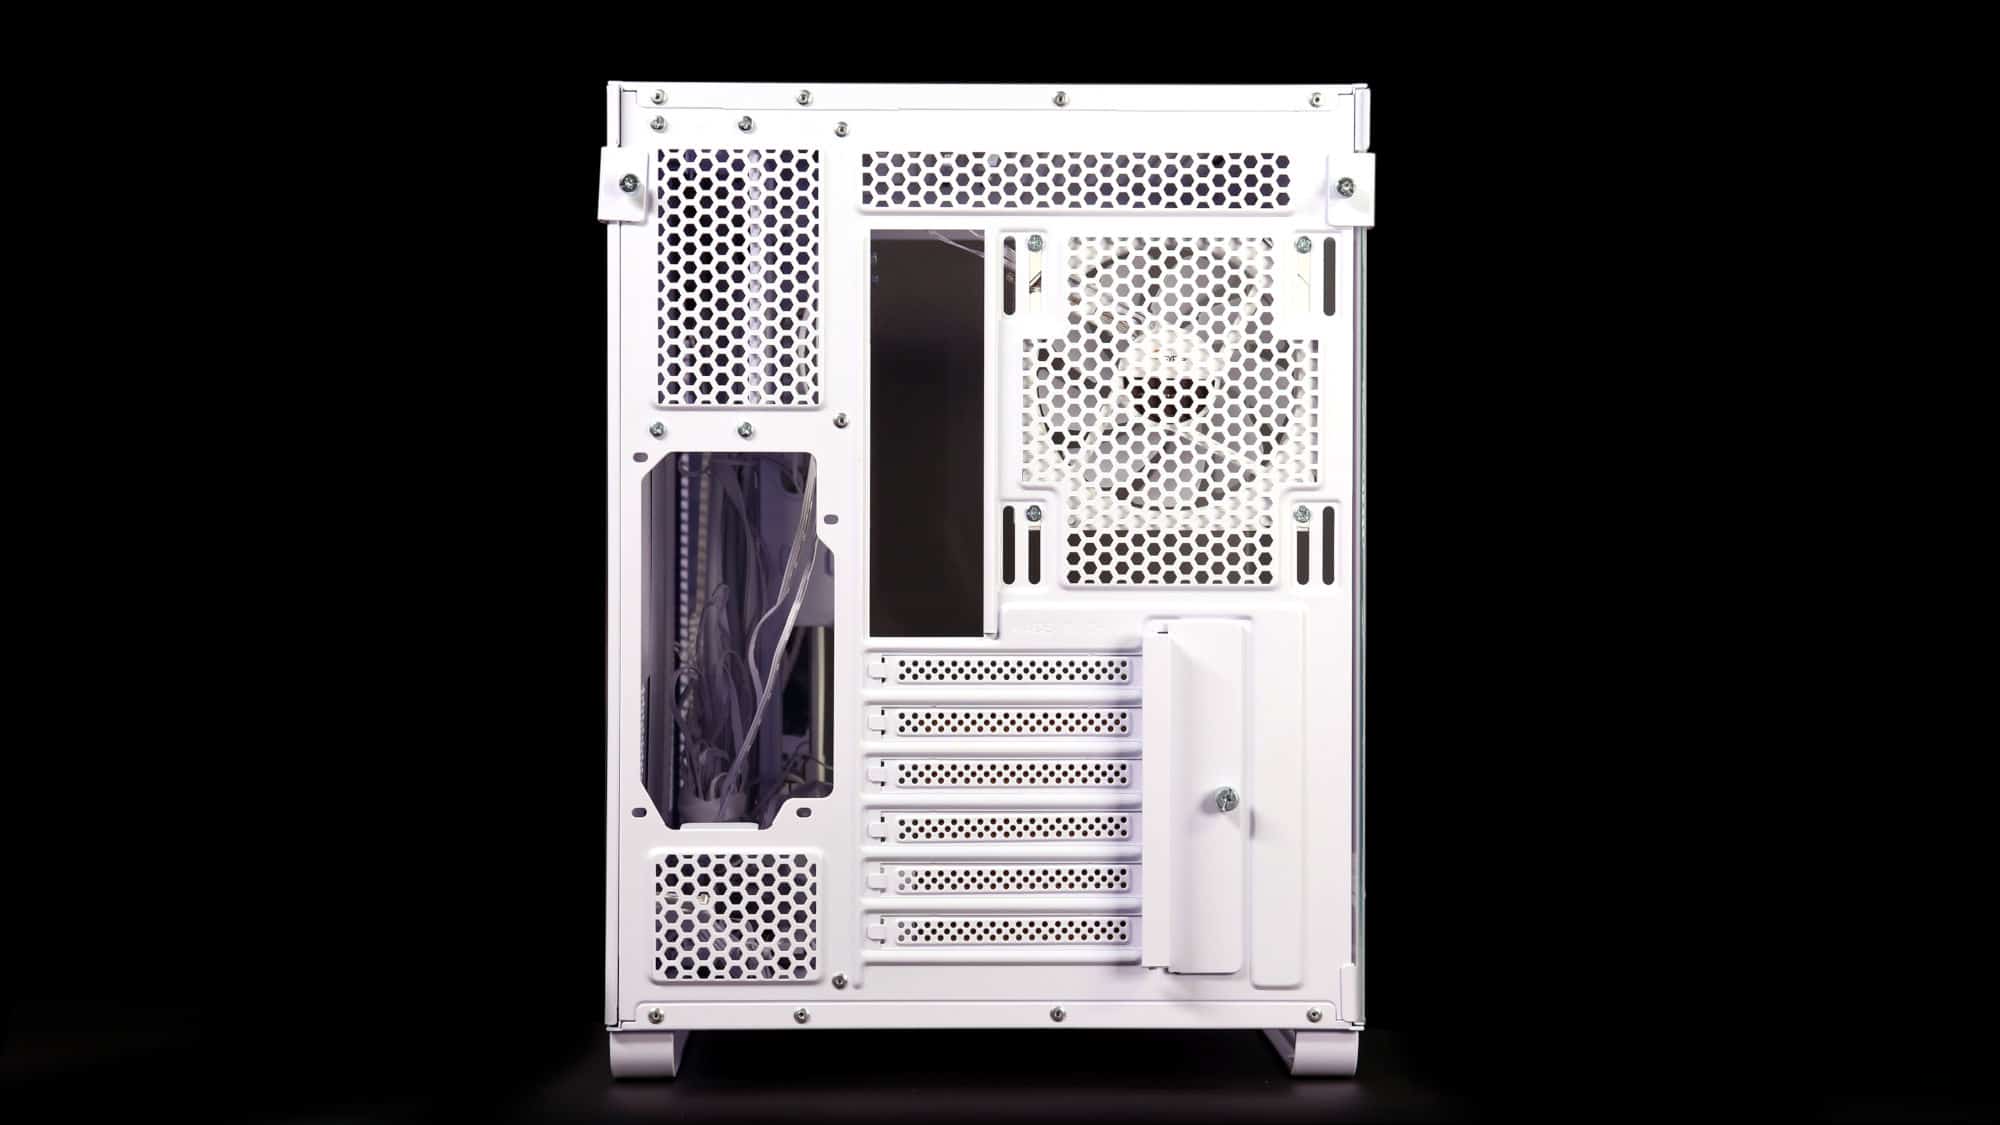
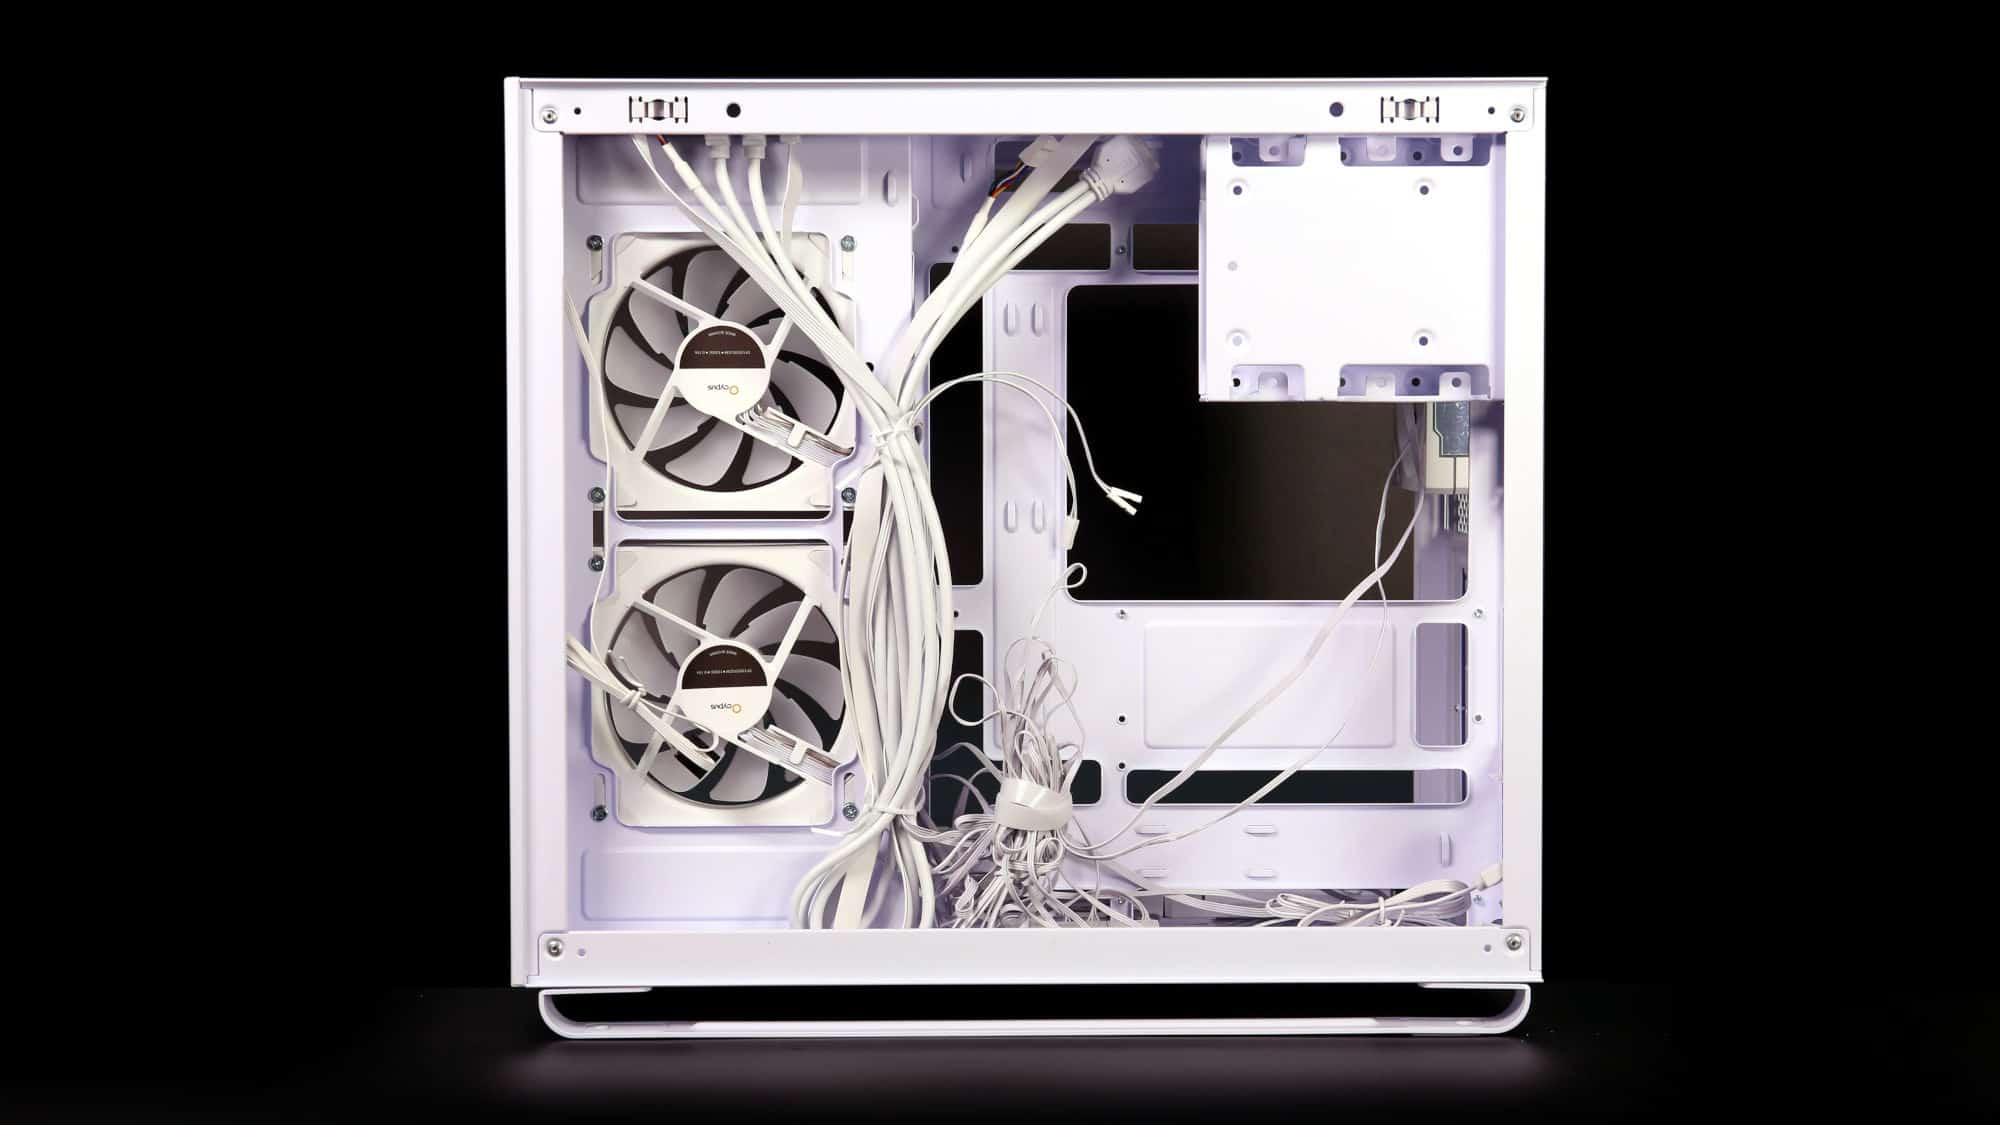
The chassis has a wide footprint due to its dual-chamber design. The PSU is mounted near the middle of the secondary chamber. You’ll find a rear exhaust fan in the main compartment, additional mounting slots for a 140mm fan, six expansion slots, and their corresponding cover. The expansion slots are bridgeless, which could allow compatibility with some third-party vertical GPU mounts, depending on clearance. The dual-chamber design goes a long way in helping with cable management and contributes to a clean, organized layout. However, the lack of rubber grommets between the chambers slightly detracts from the otherwise tidy look.
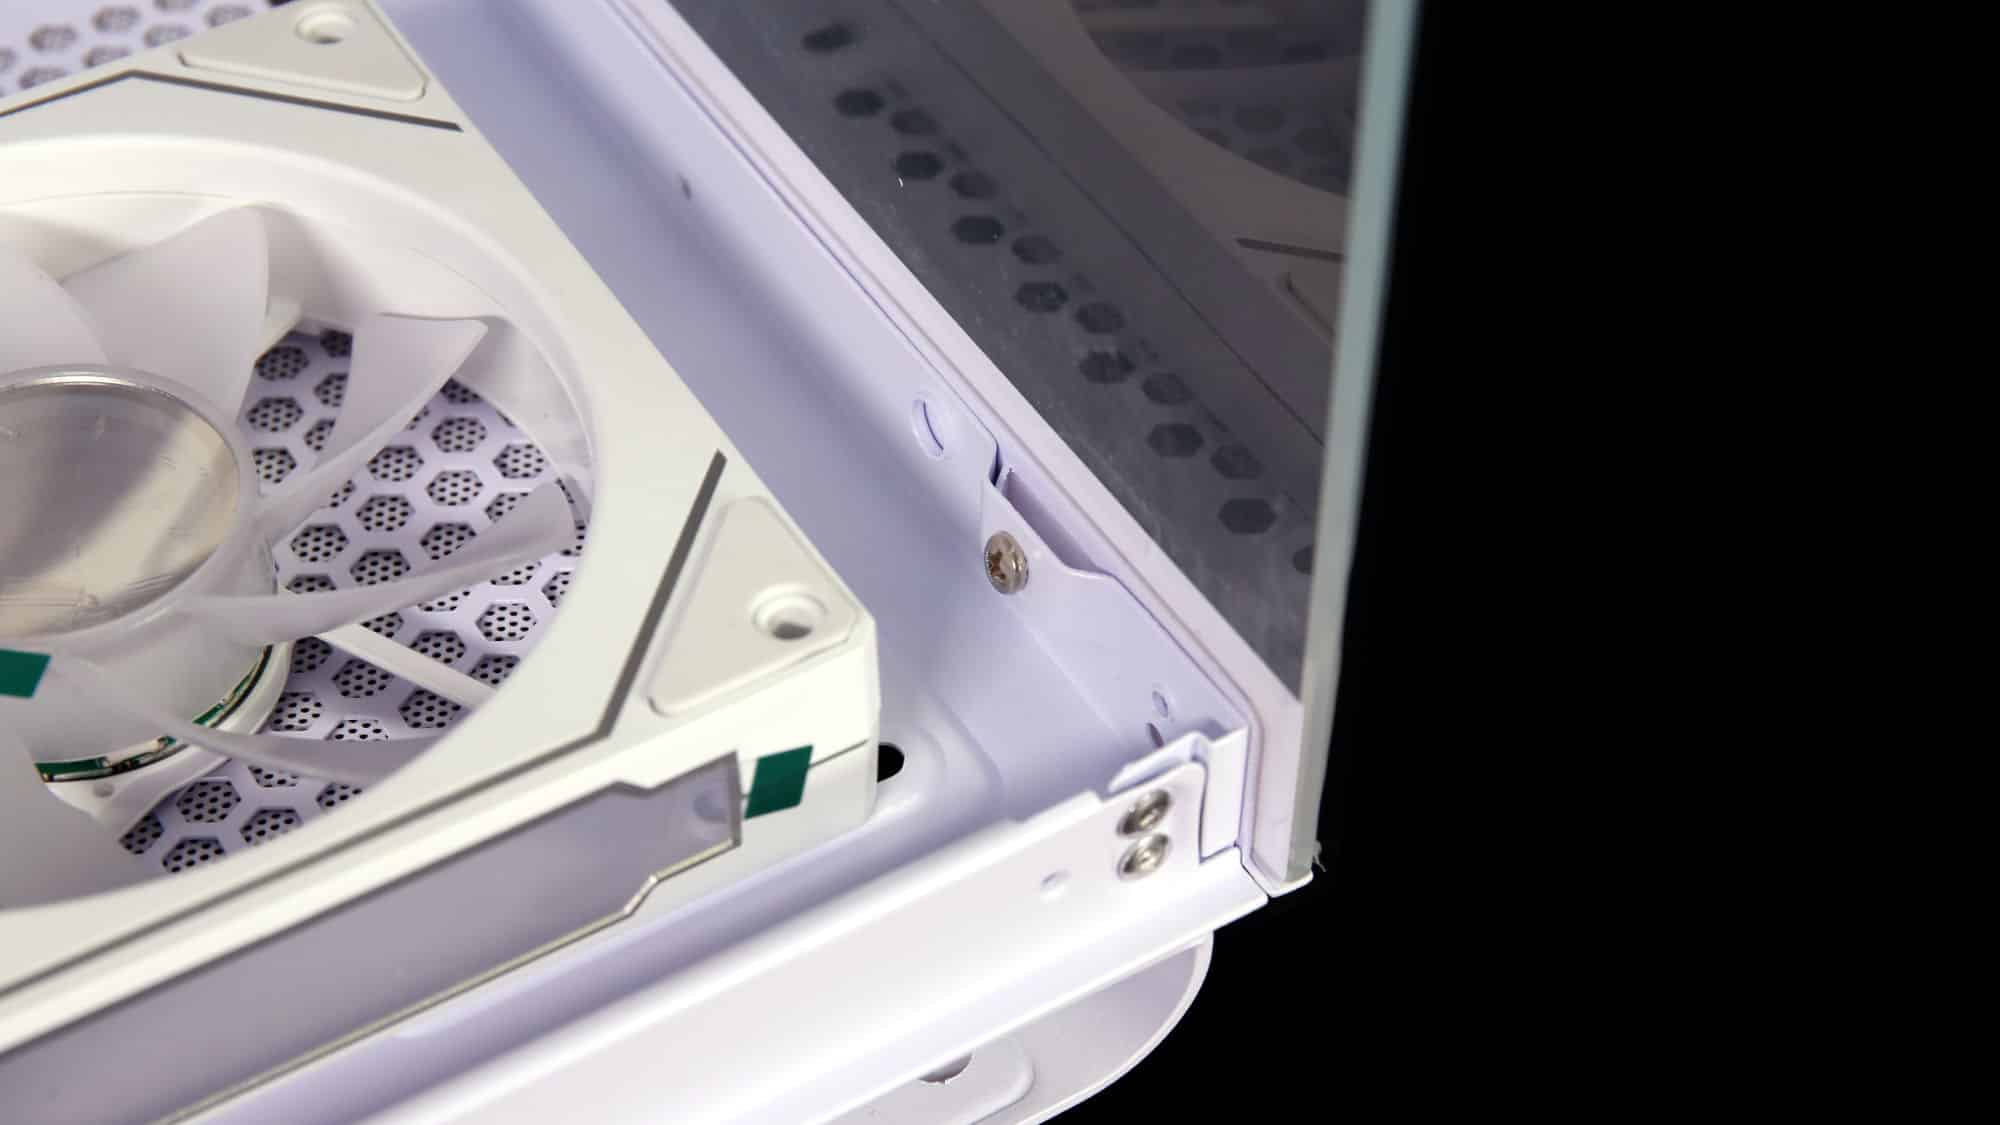
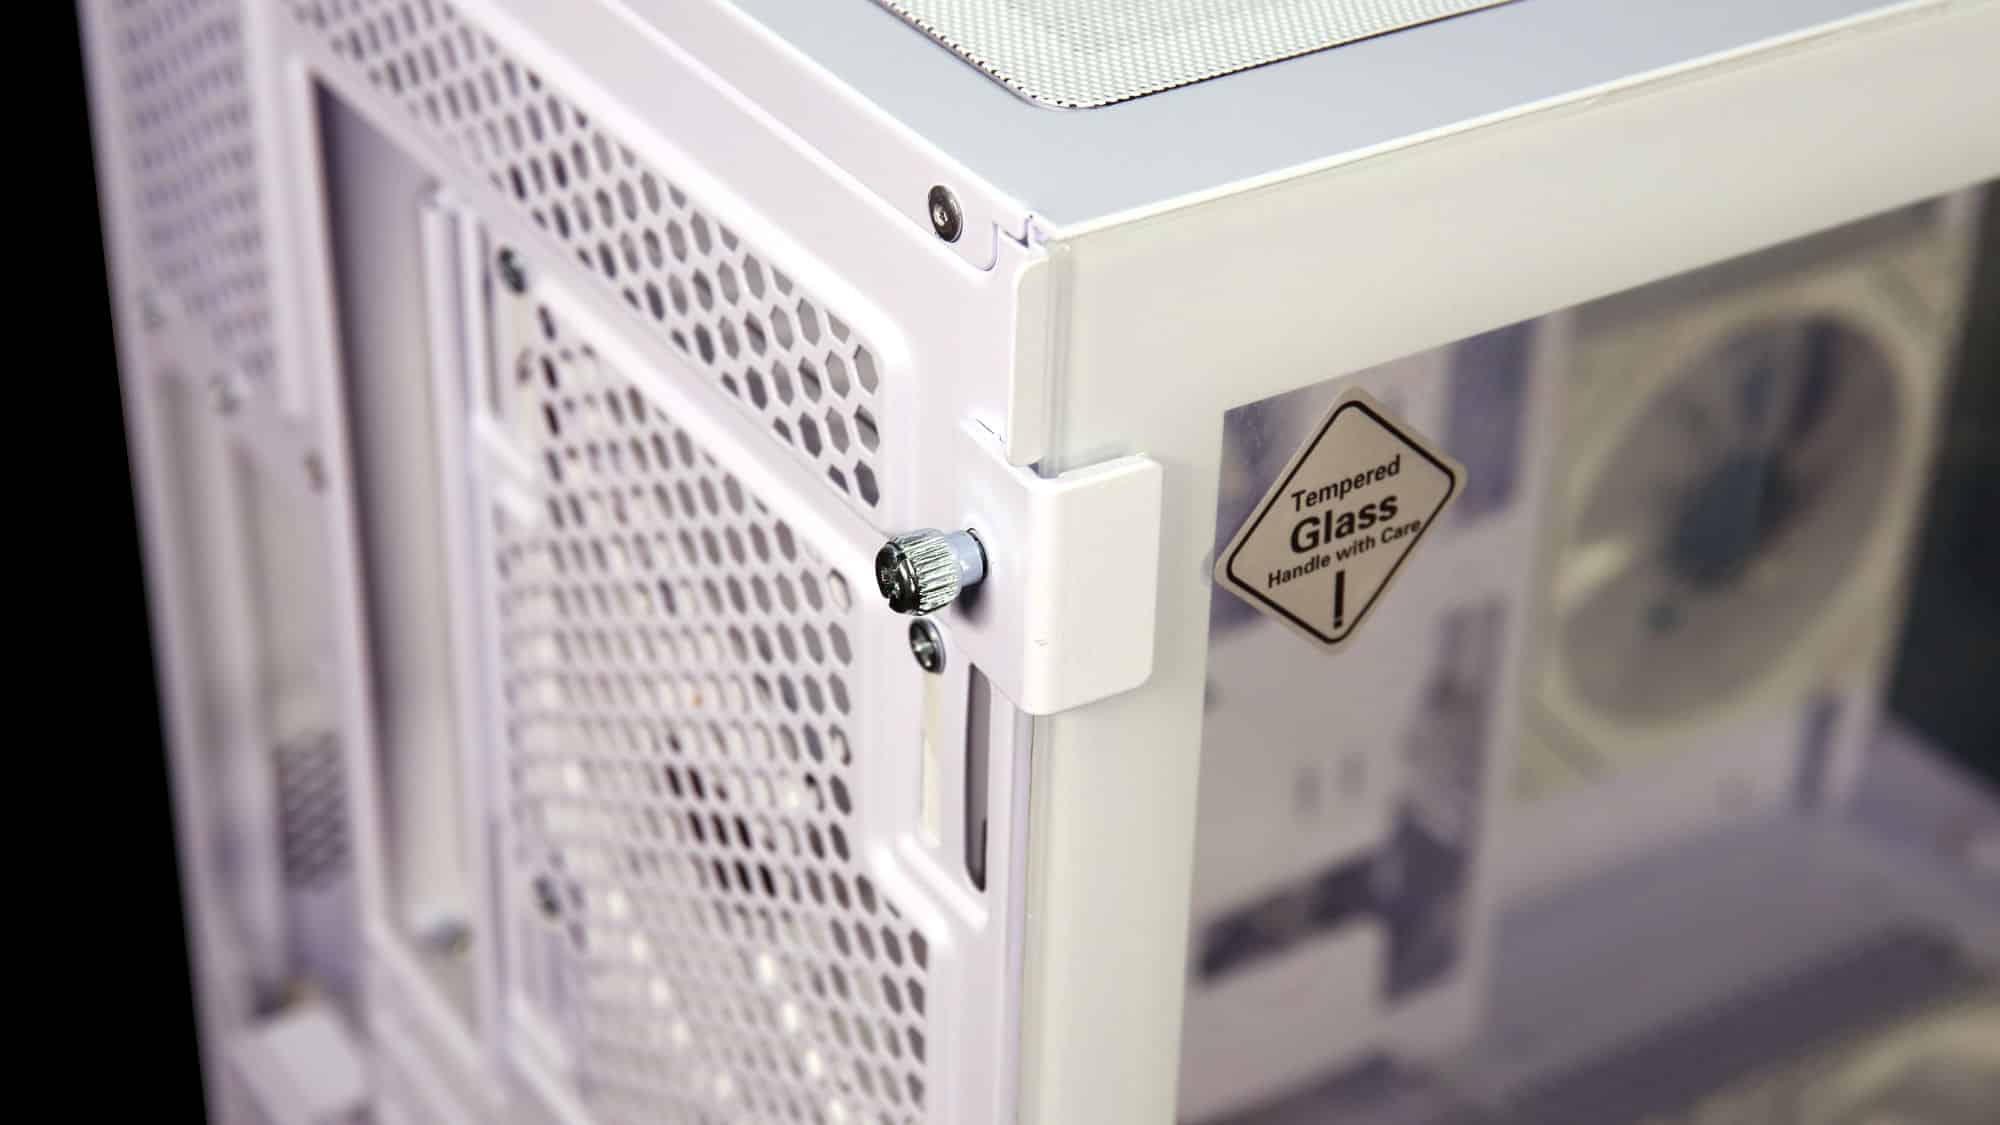
The front glass is secured with screws, though you likely won’t need to remove it. The side panel seamlessly connects to the front via plastic clips and a rear tab that keeps it securely in place. If the tab disrupts your build’s aesthetic, it can be removed without compromising safety.
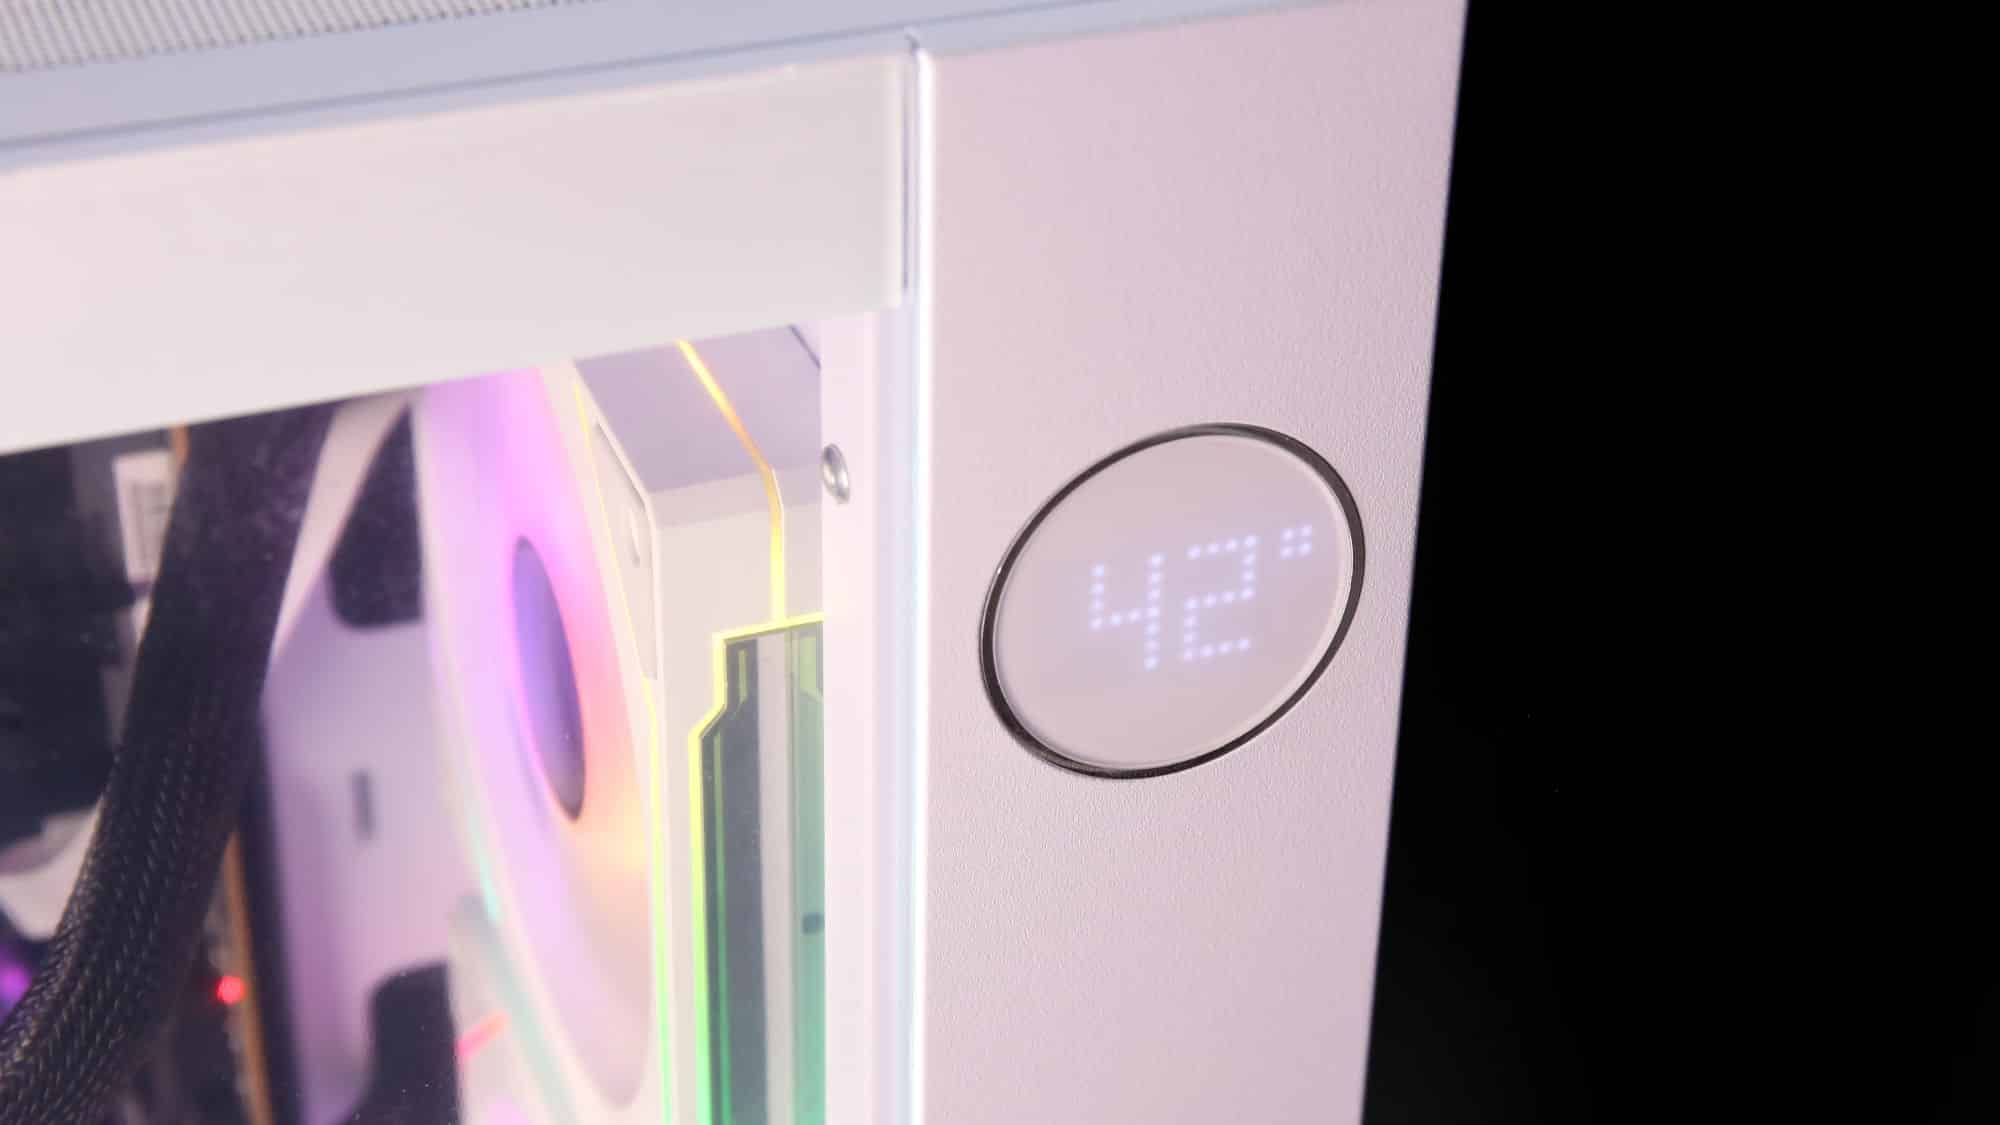
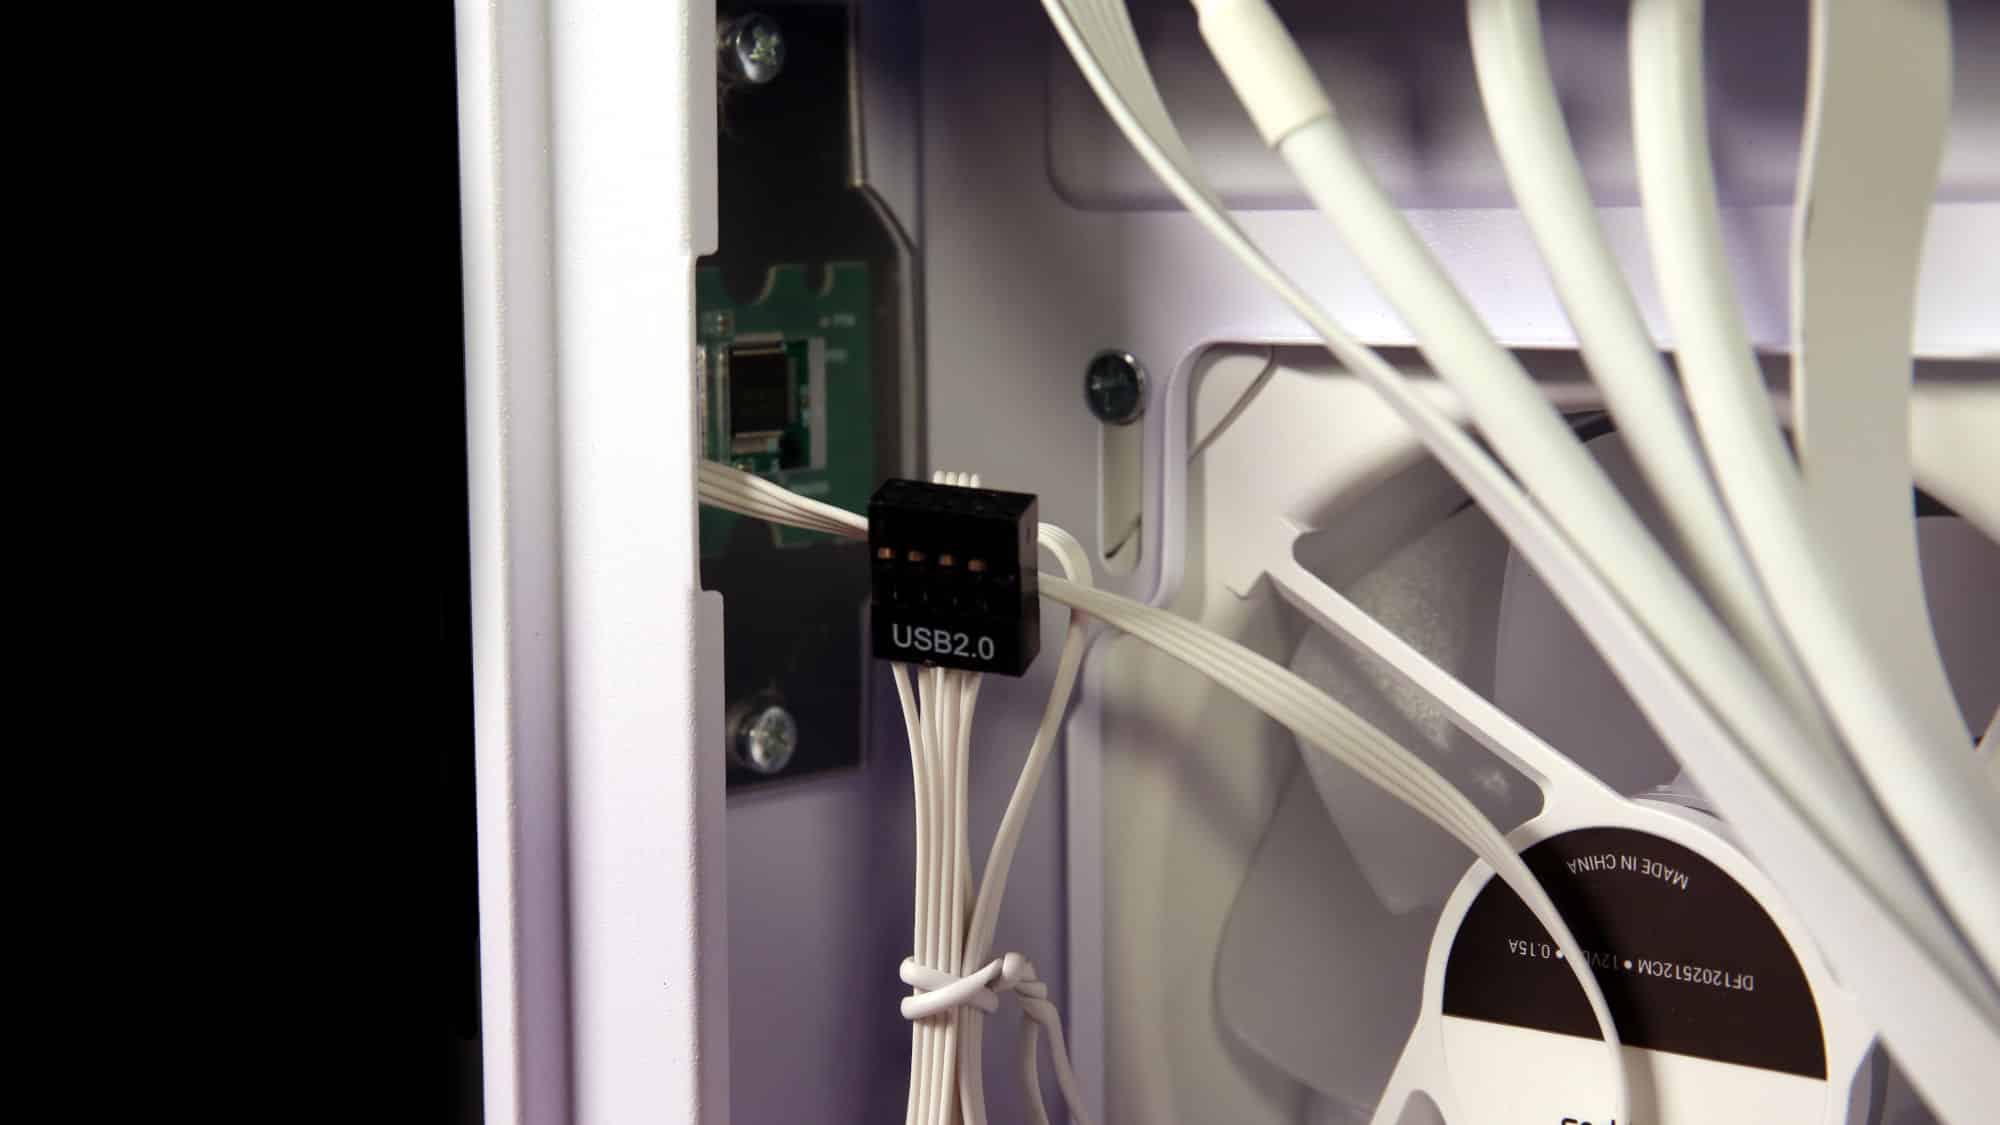
The standout feature is the circular temperature display. It draws power from a 9-pin USB header on your motherboard and requires the Ocypus software to operate. Fortunately, setup is simple; download and install the app. From there, you can toggle the display on or off, switch between Celsius and Fahrenheit, and choose whether to monitor CPU or GPU temperature. While requiring additional software isn’t ideal, the process is at least straightforward. From the inside, you can also get a peek at the internals of the front temperature screen and trace the 9-pin USB header connection. The PCB is exposed but hidden once the rear panel is back in place.

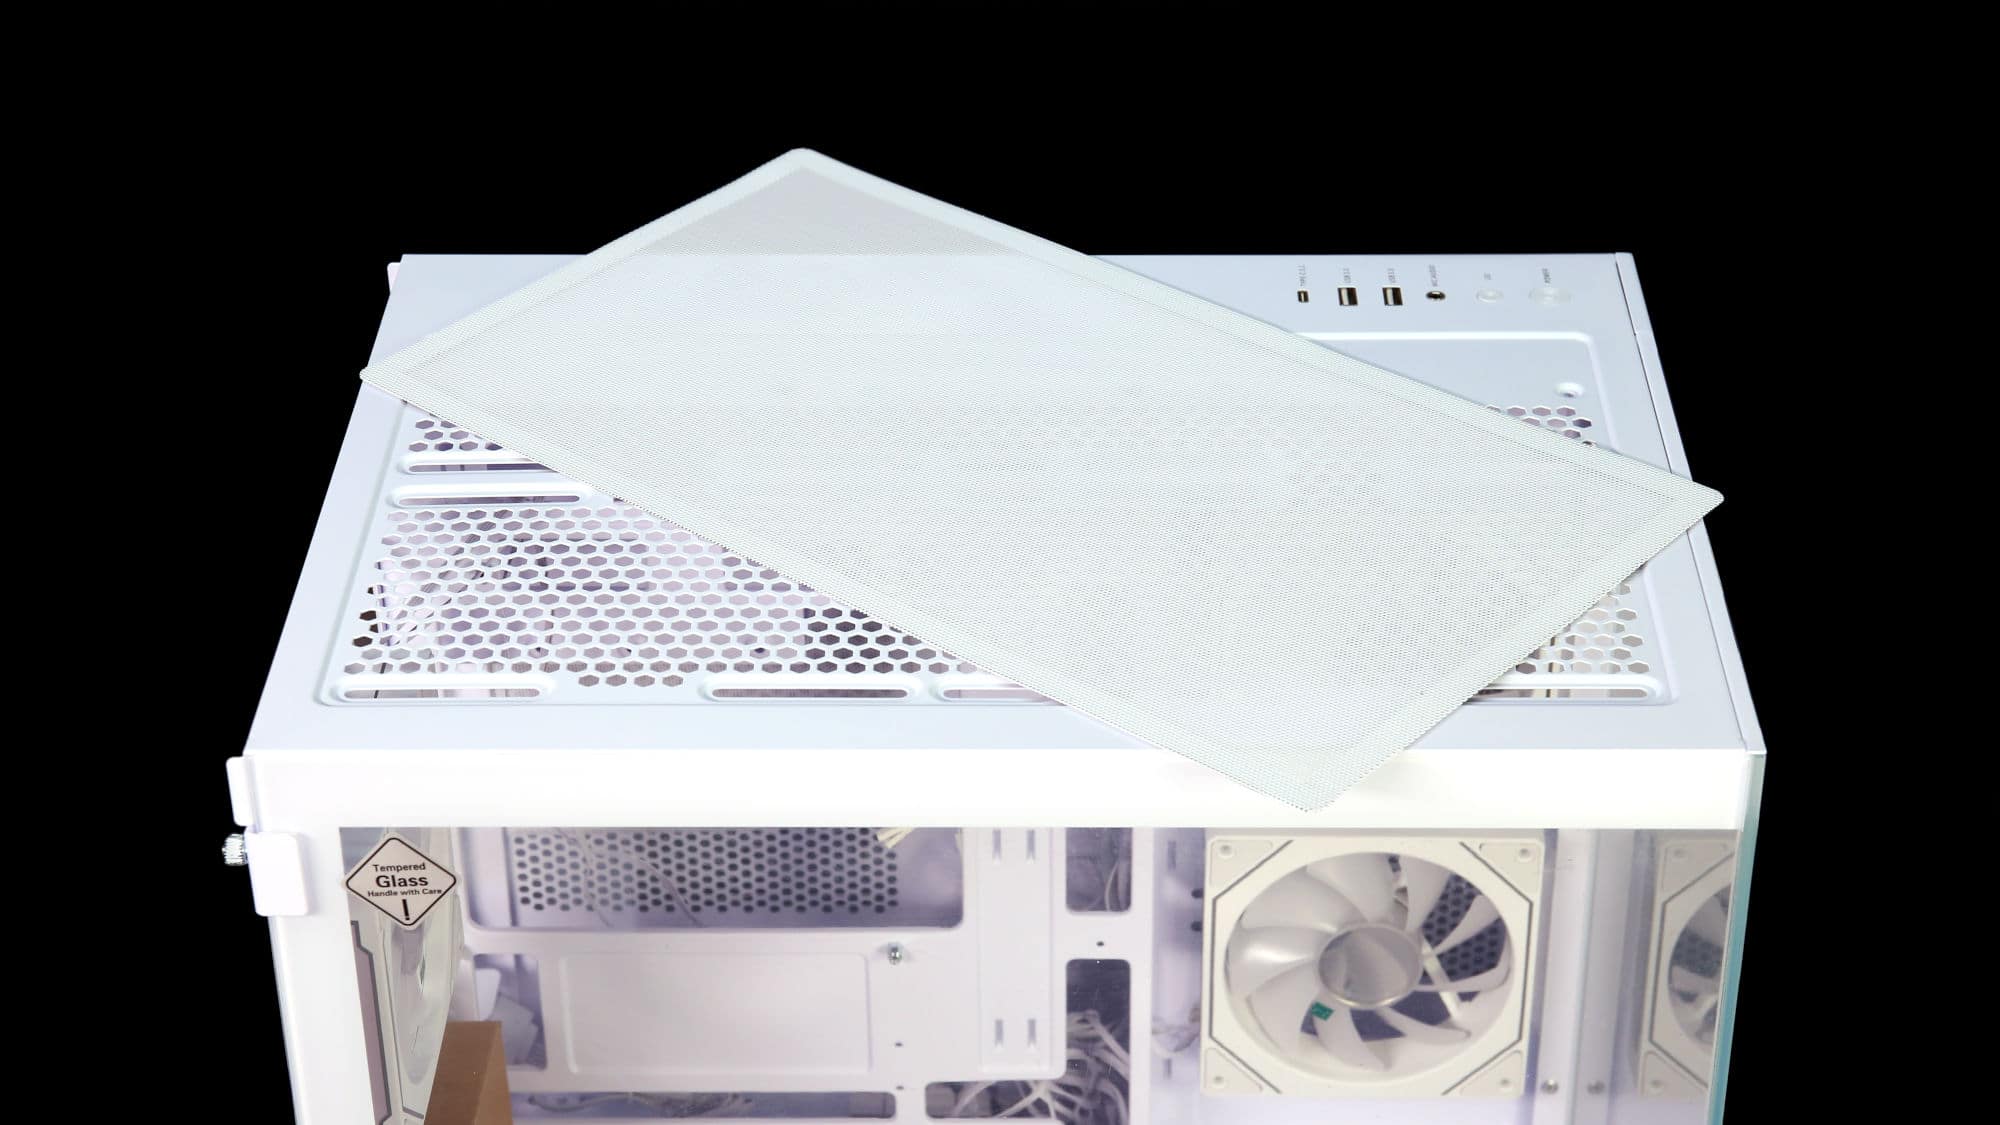
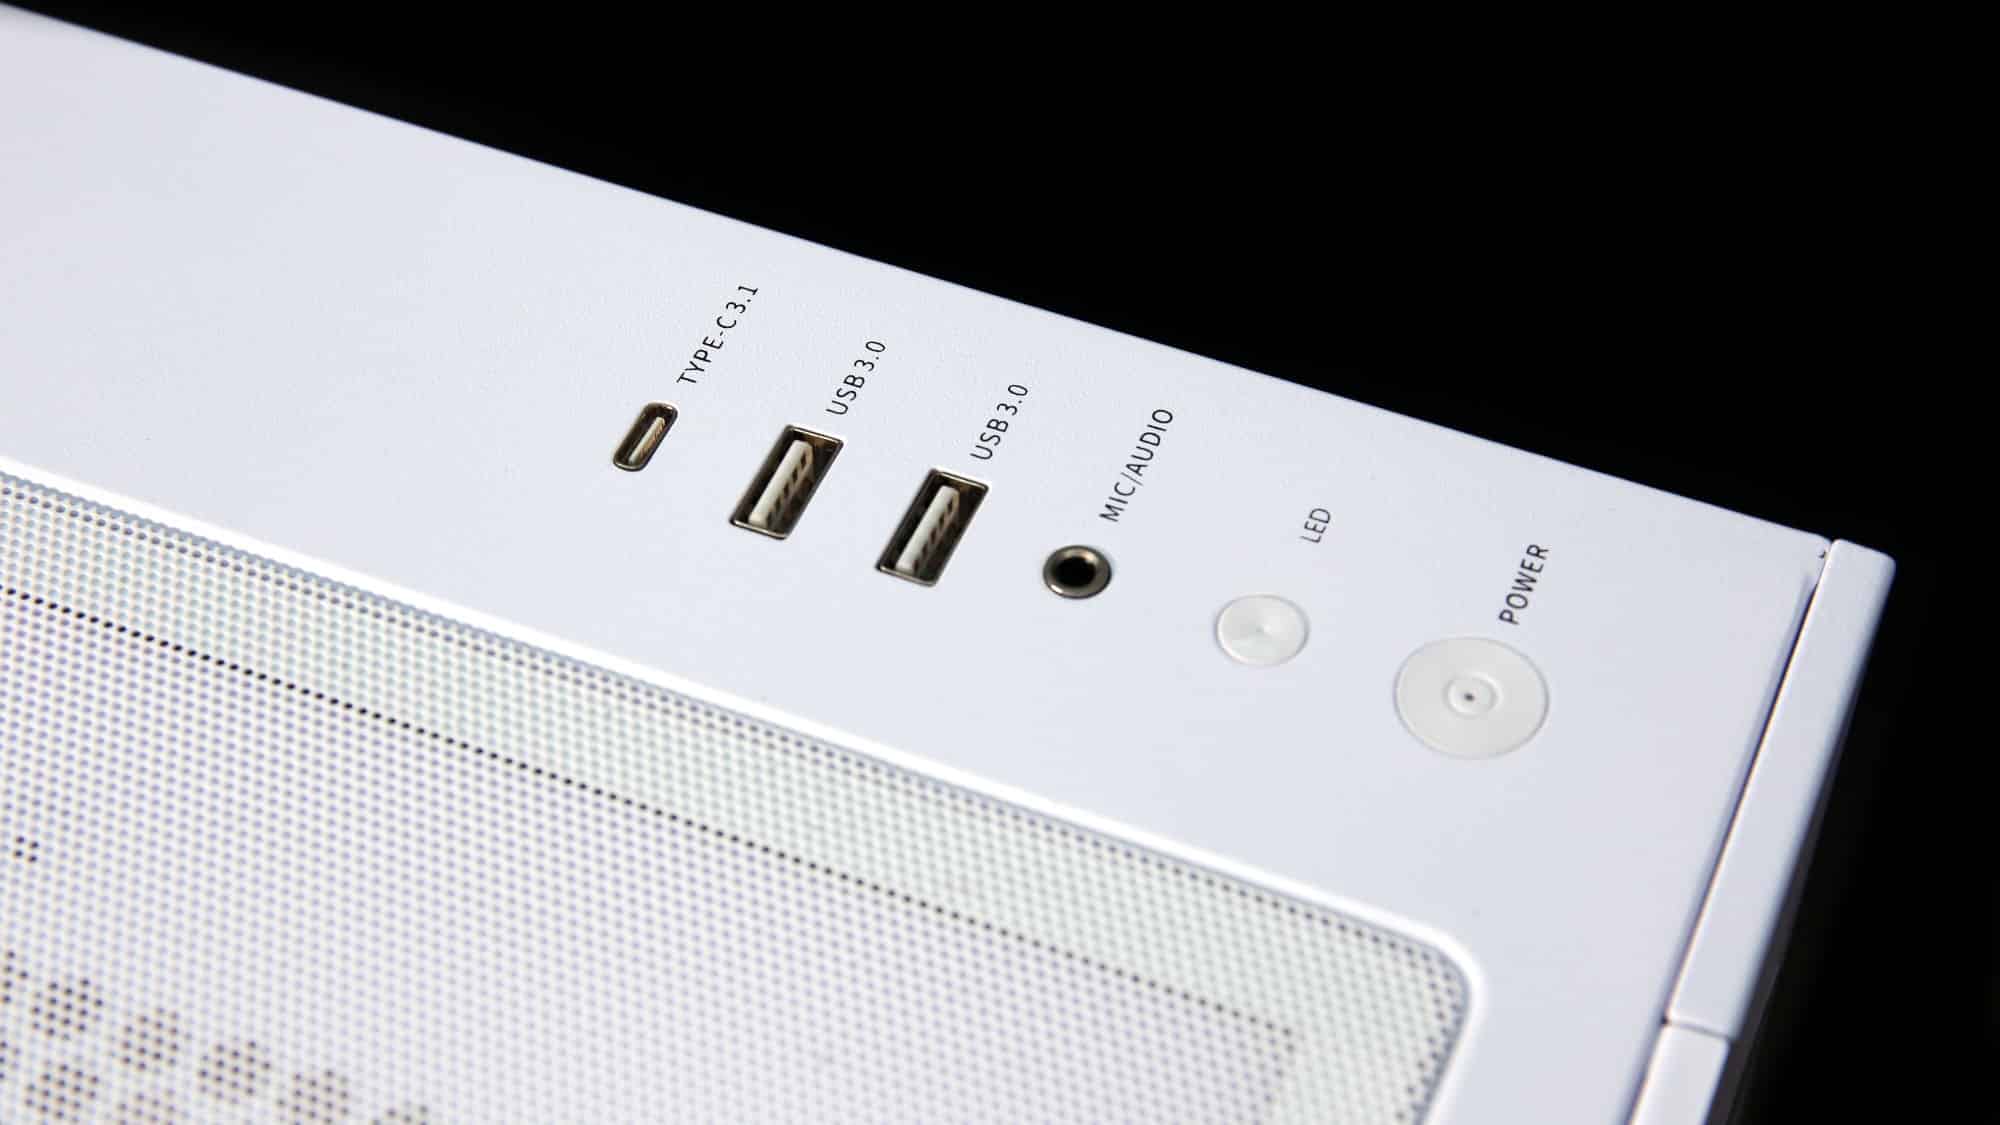
The top panel houses a magnetic dust filter and the I/O ports: one USB Type-C, two USB Type-A, a combo audio jack, a power button, and an LED button. It’s worth noting that the LED button is a repurposed reset switch—marked accordingly on its cable—so you could reconfigure it as a reset button if desired.
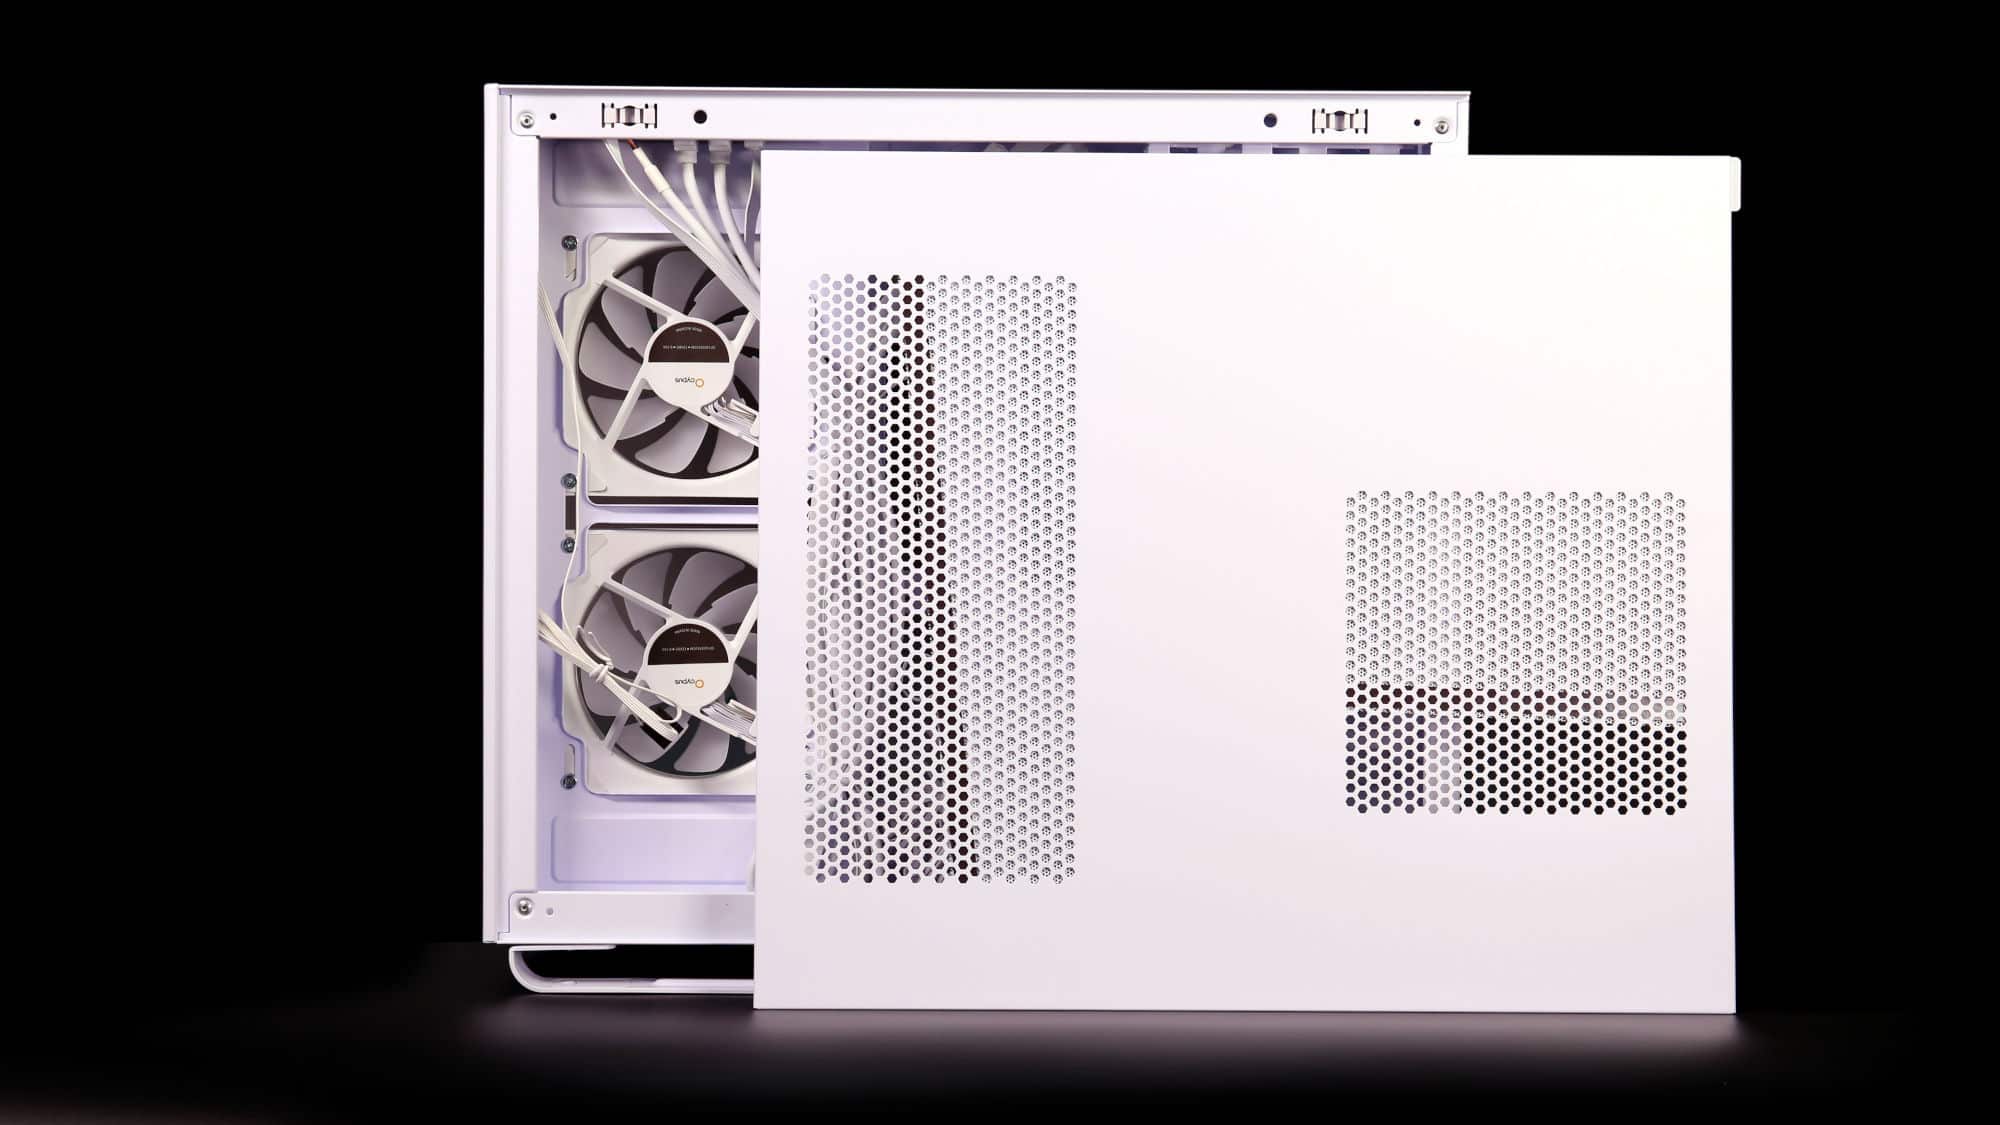
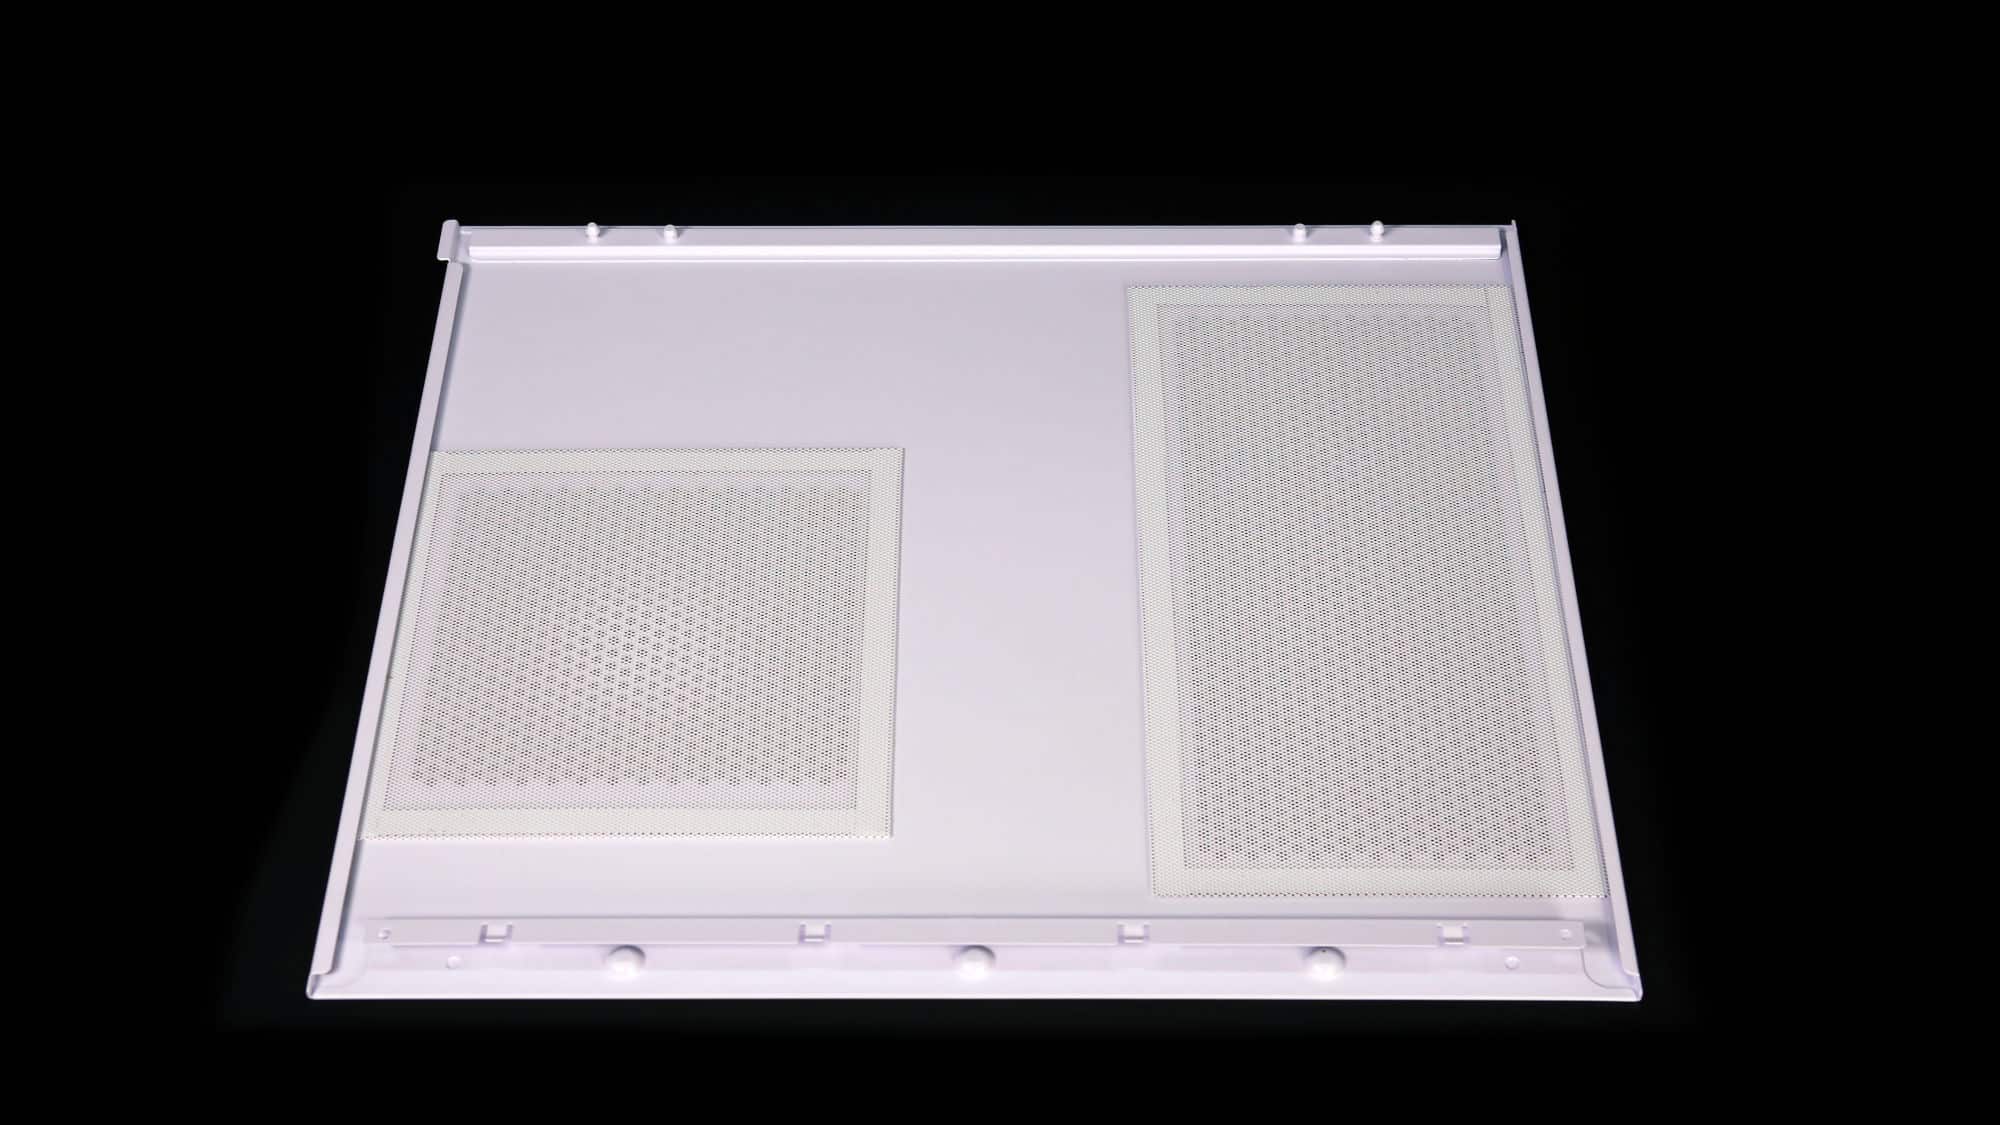
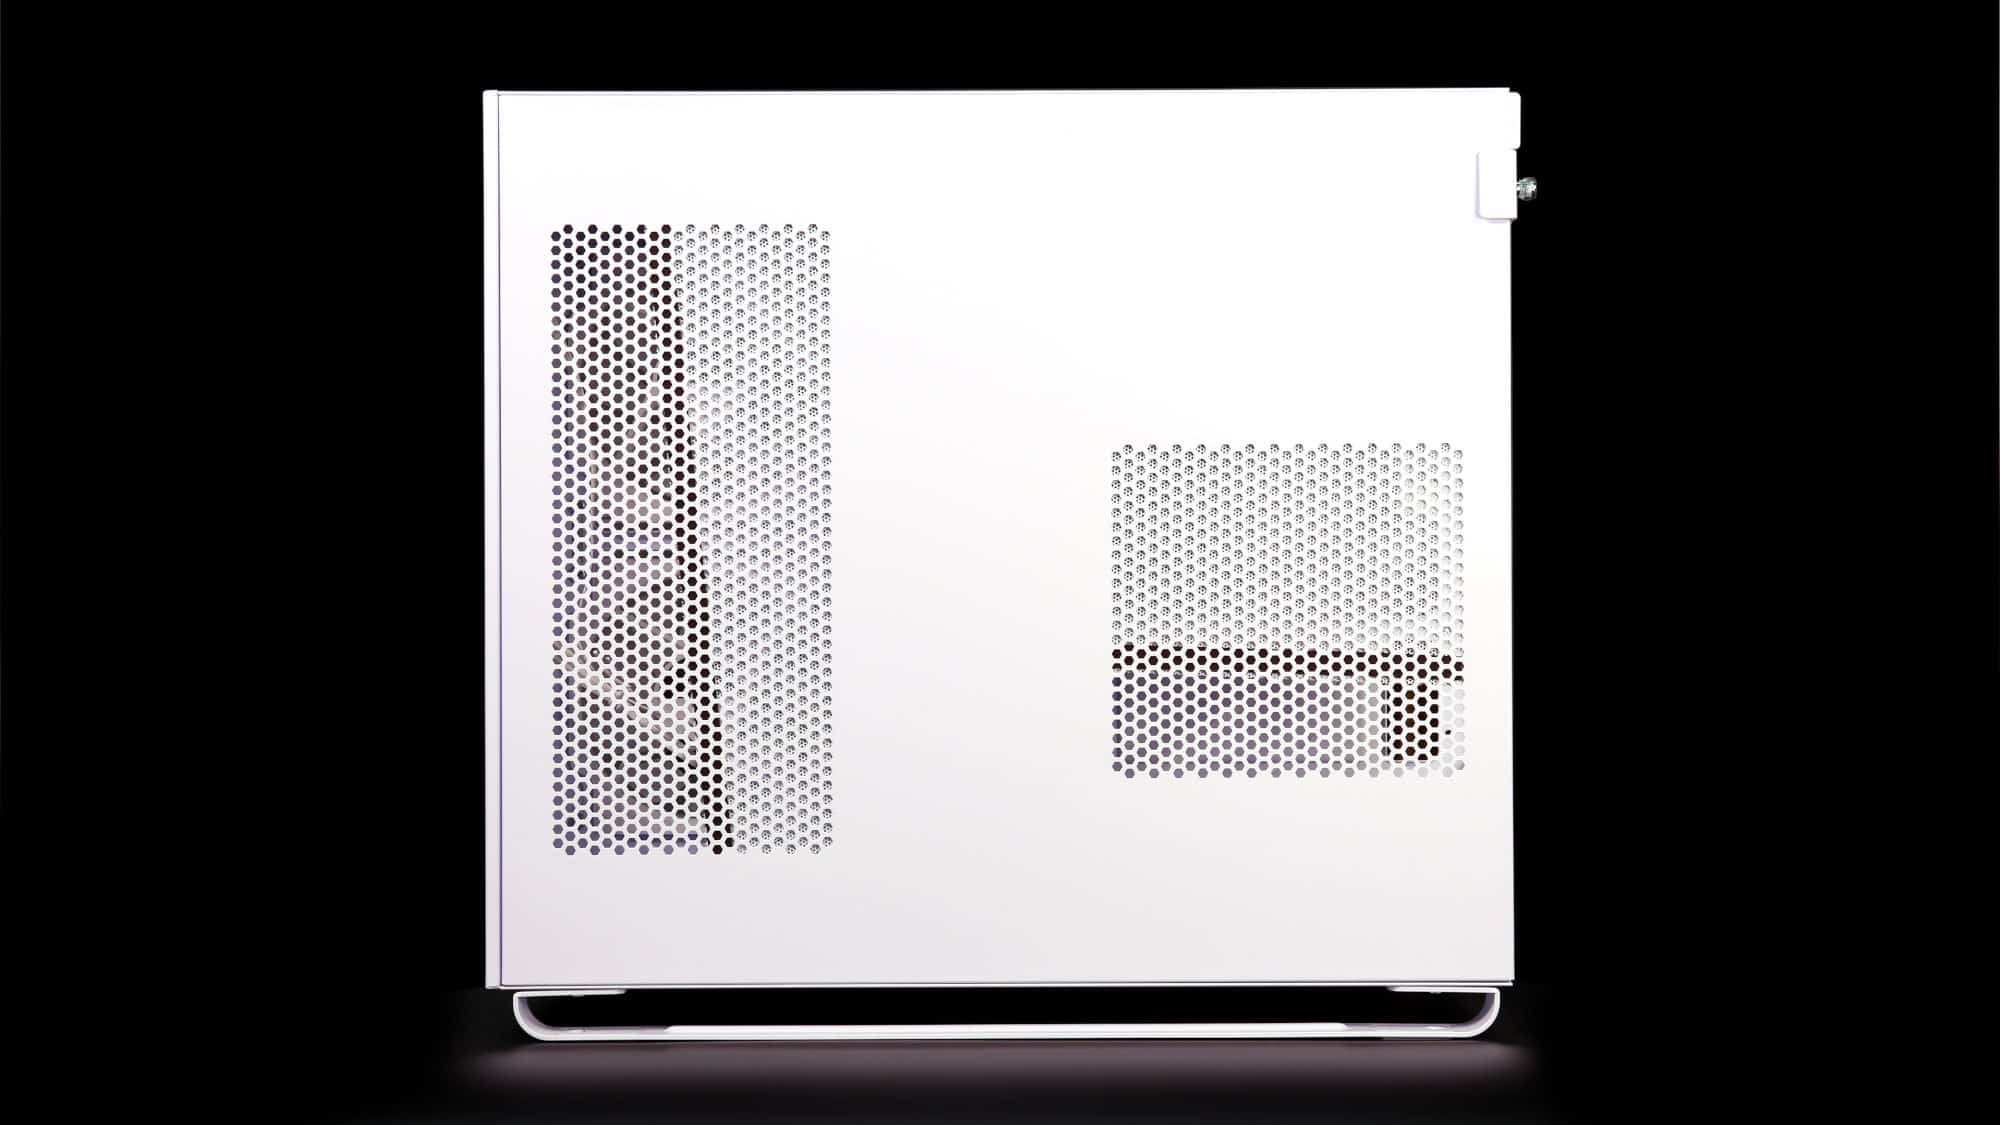
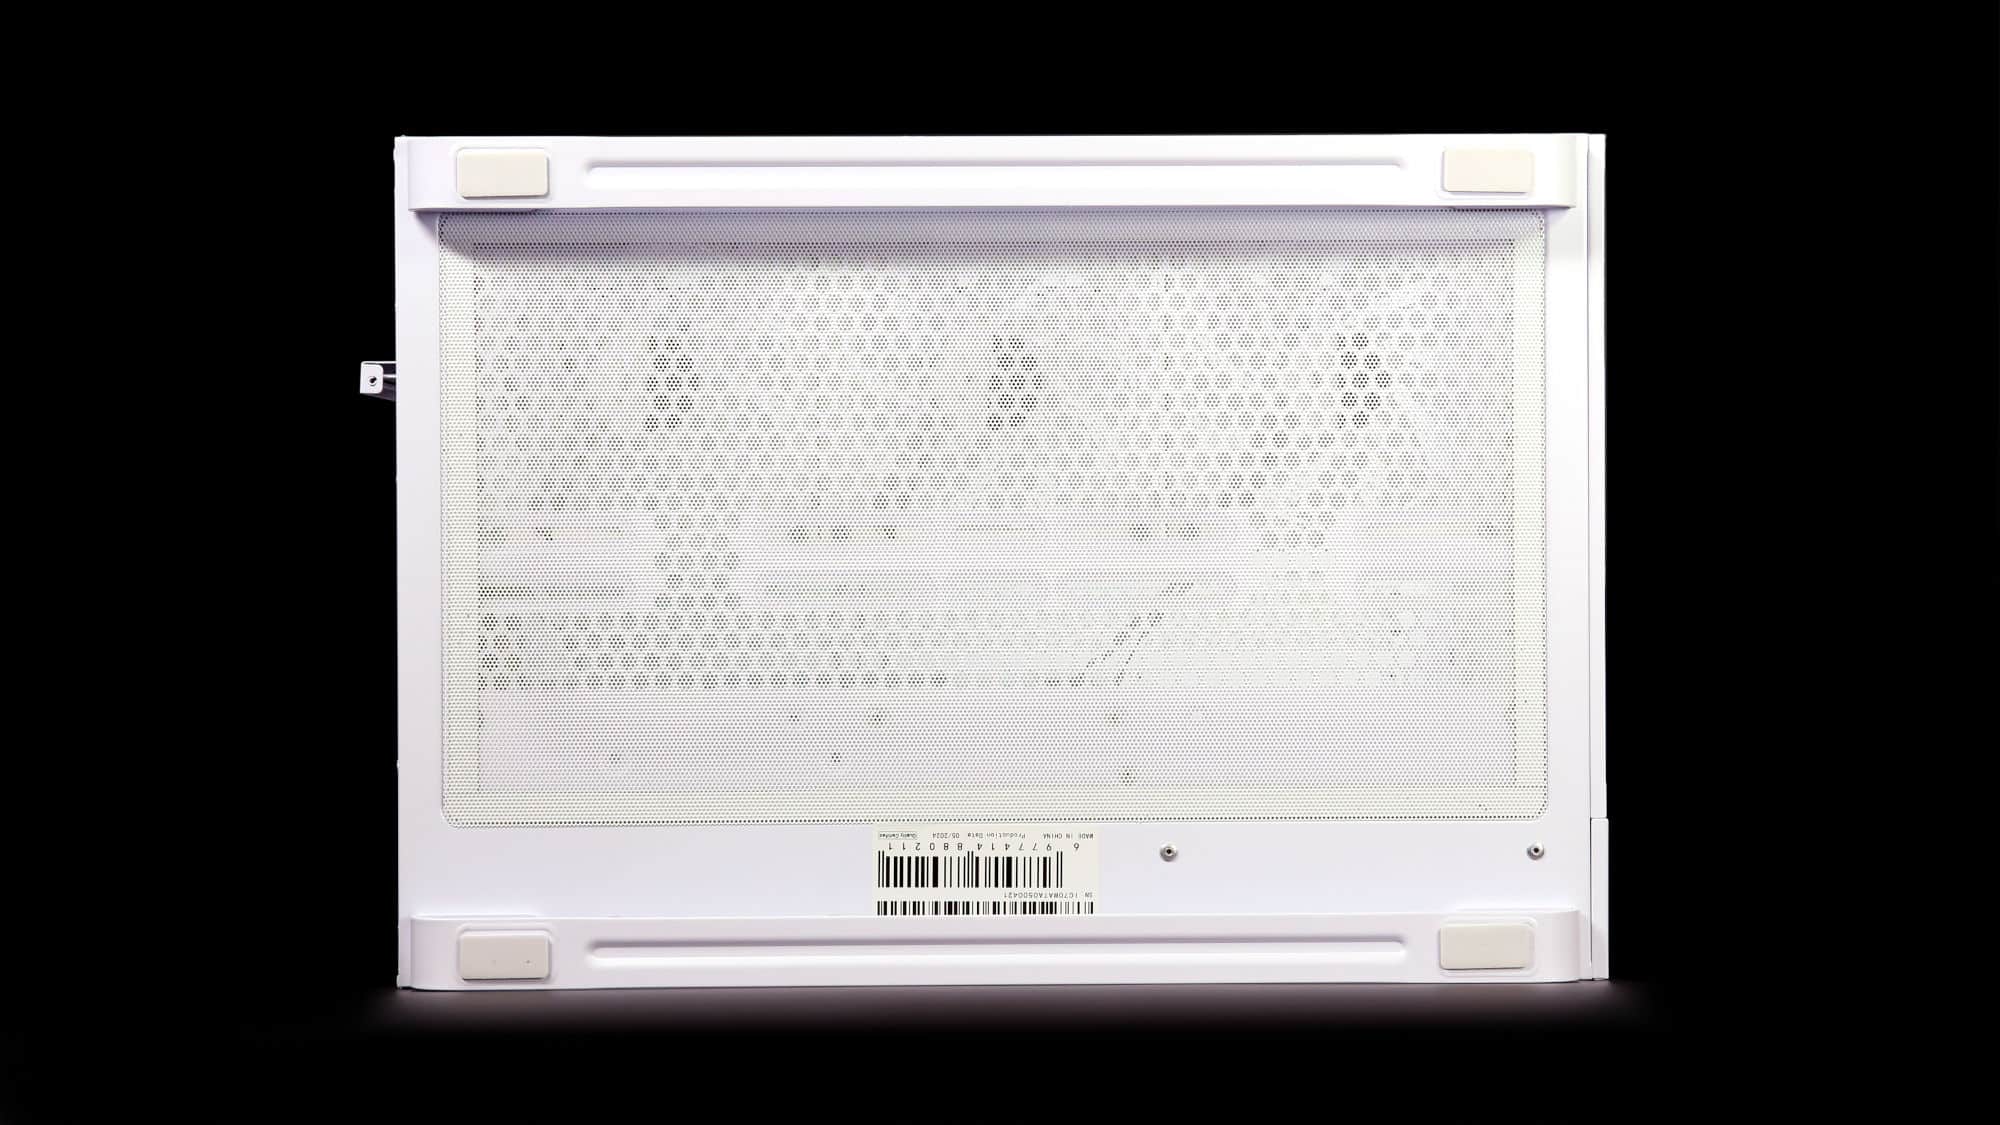
Around the back are two vented sections and a clip similar to the one used for the side glass. The smaller vent serves the PSU, while the larger one is used for side exhaust fans (yes, exhaust). Both vents are equipped with individual magnetic filters on the interior.
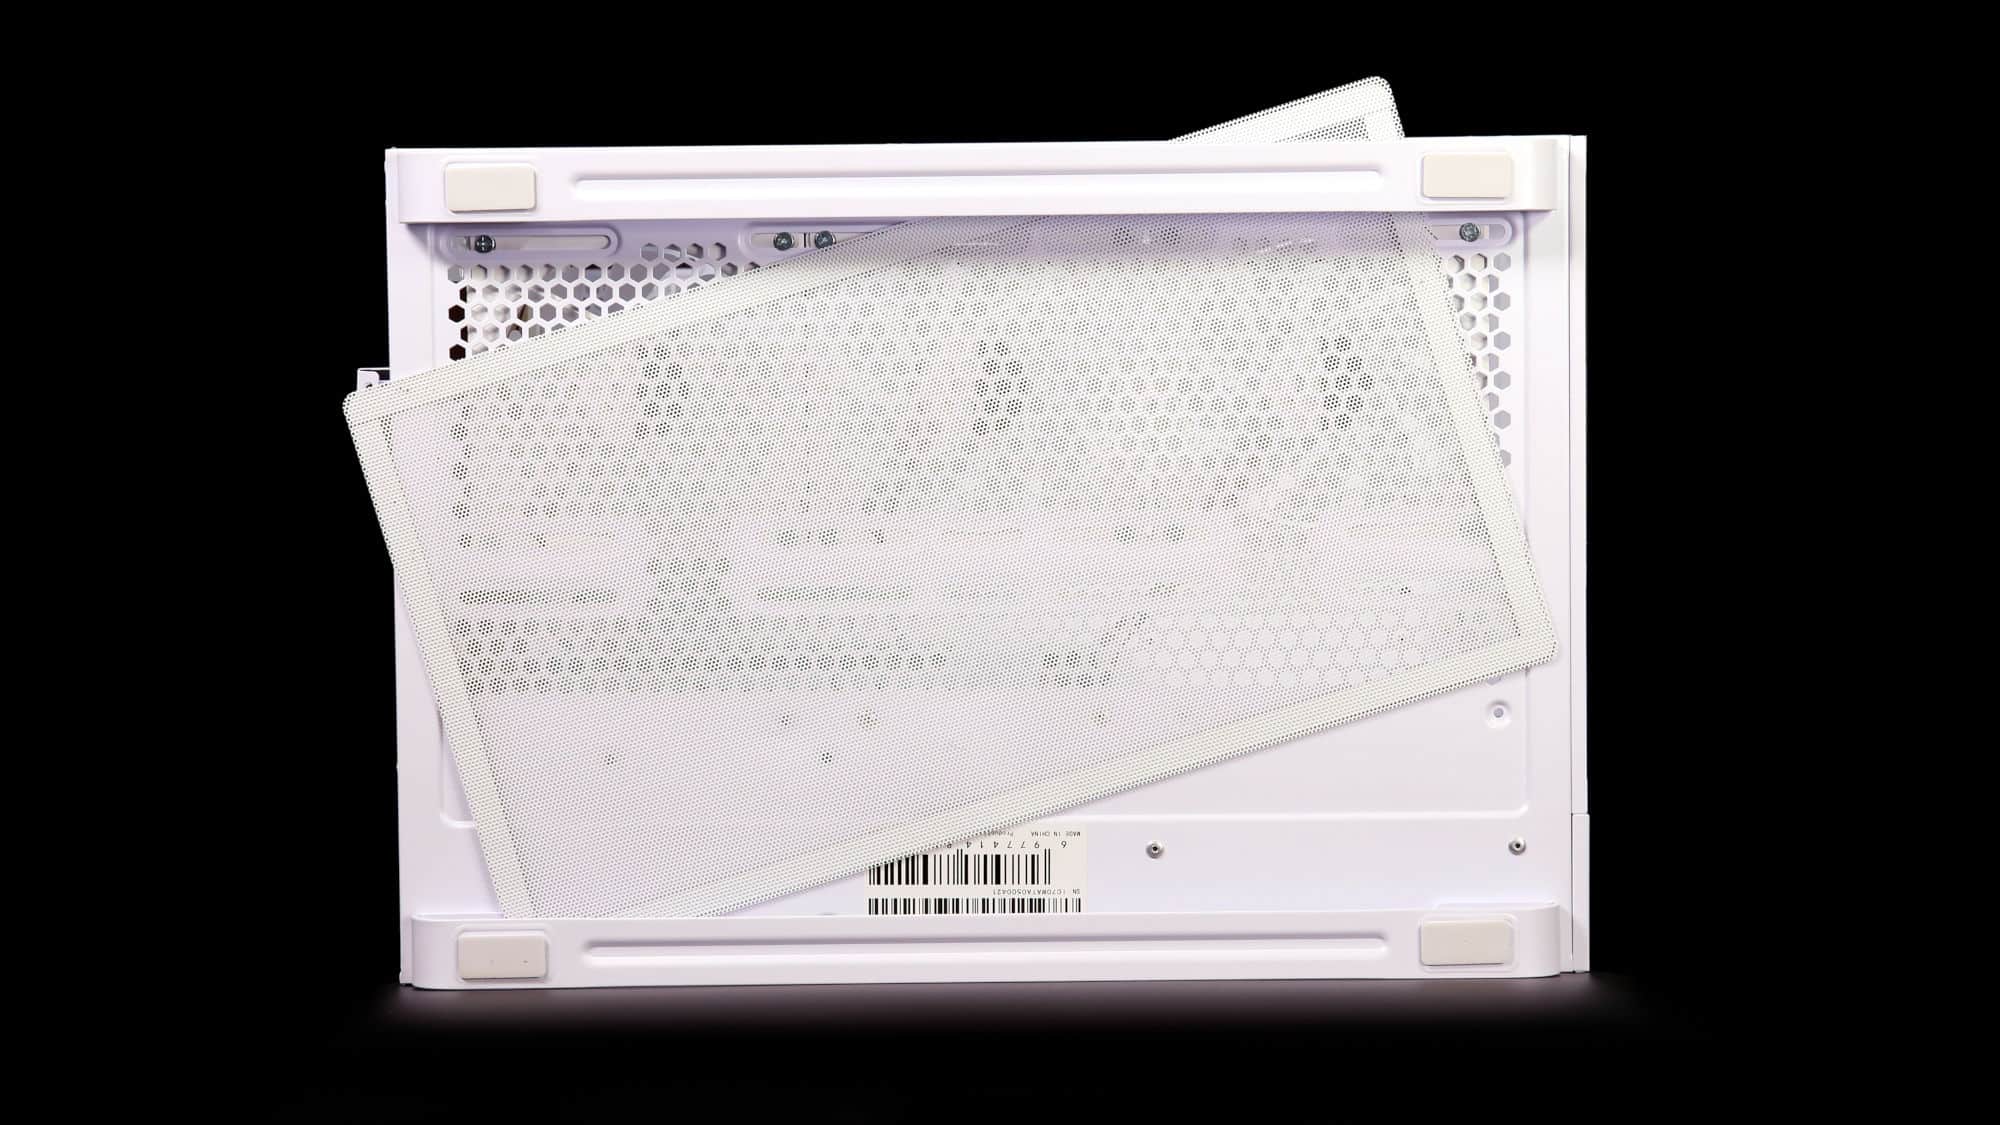
Finally, the bottom of the chassis features yet another magnetic dust filter and the sled-style feet that complete the C70’s distinctive look.
Compatibility and Space Utilization
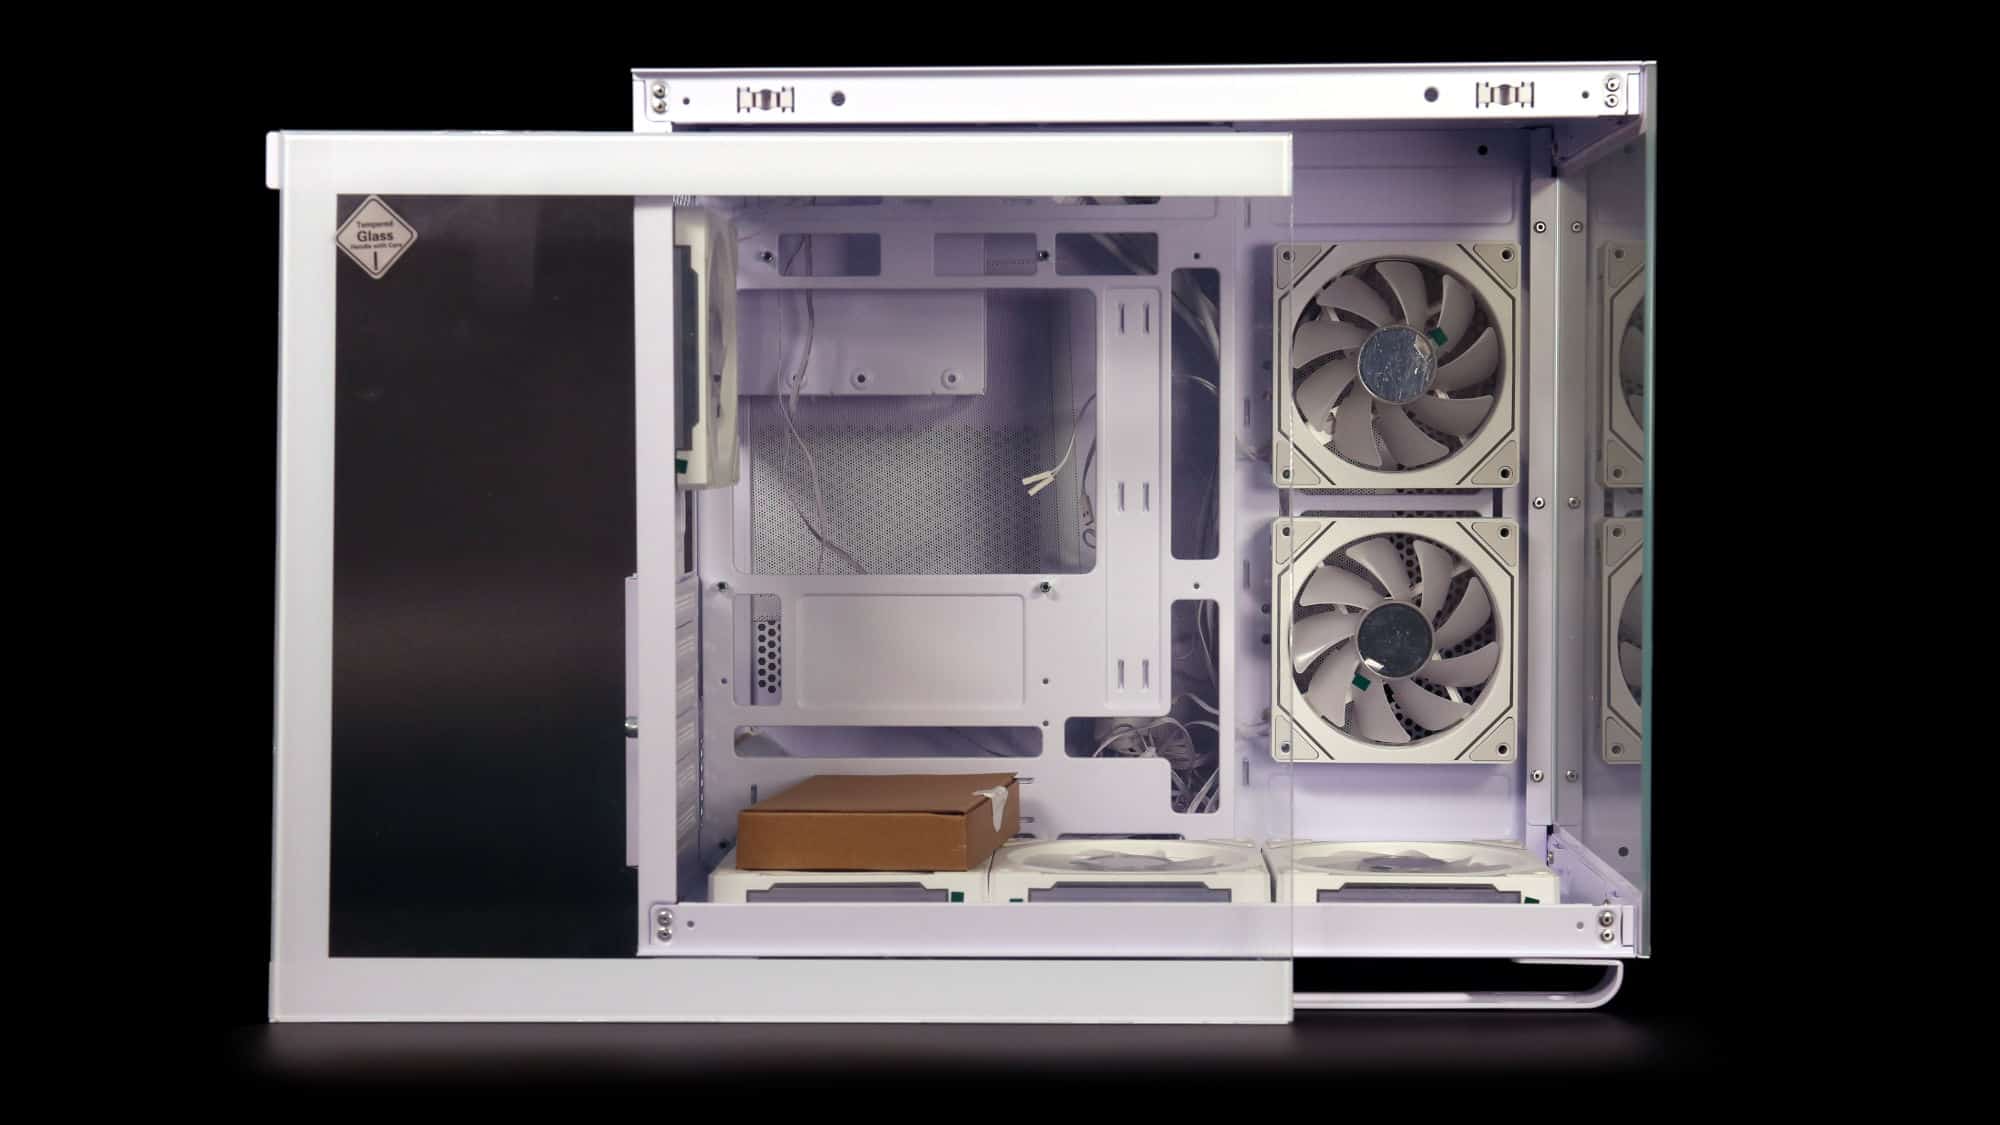
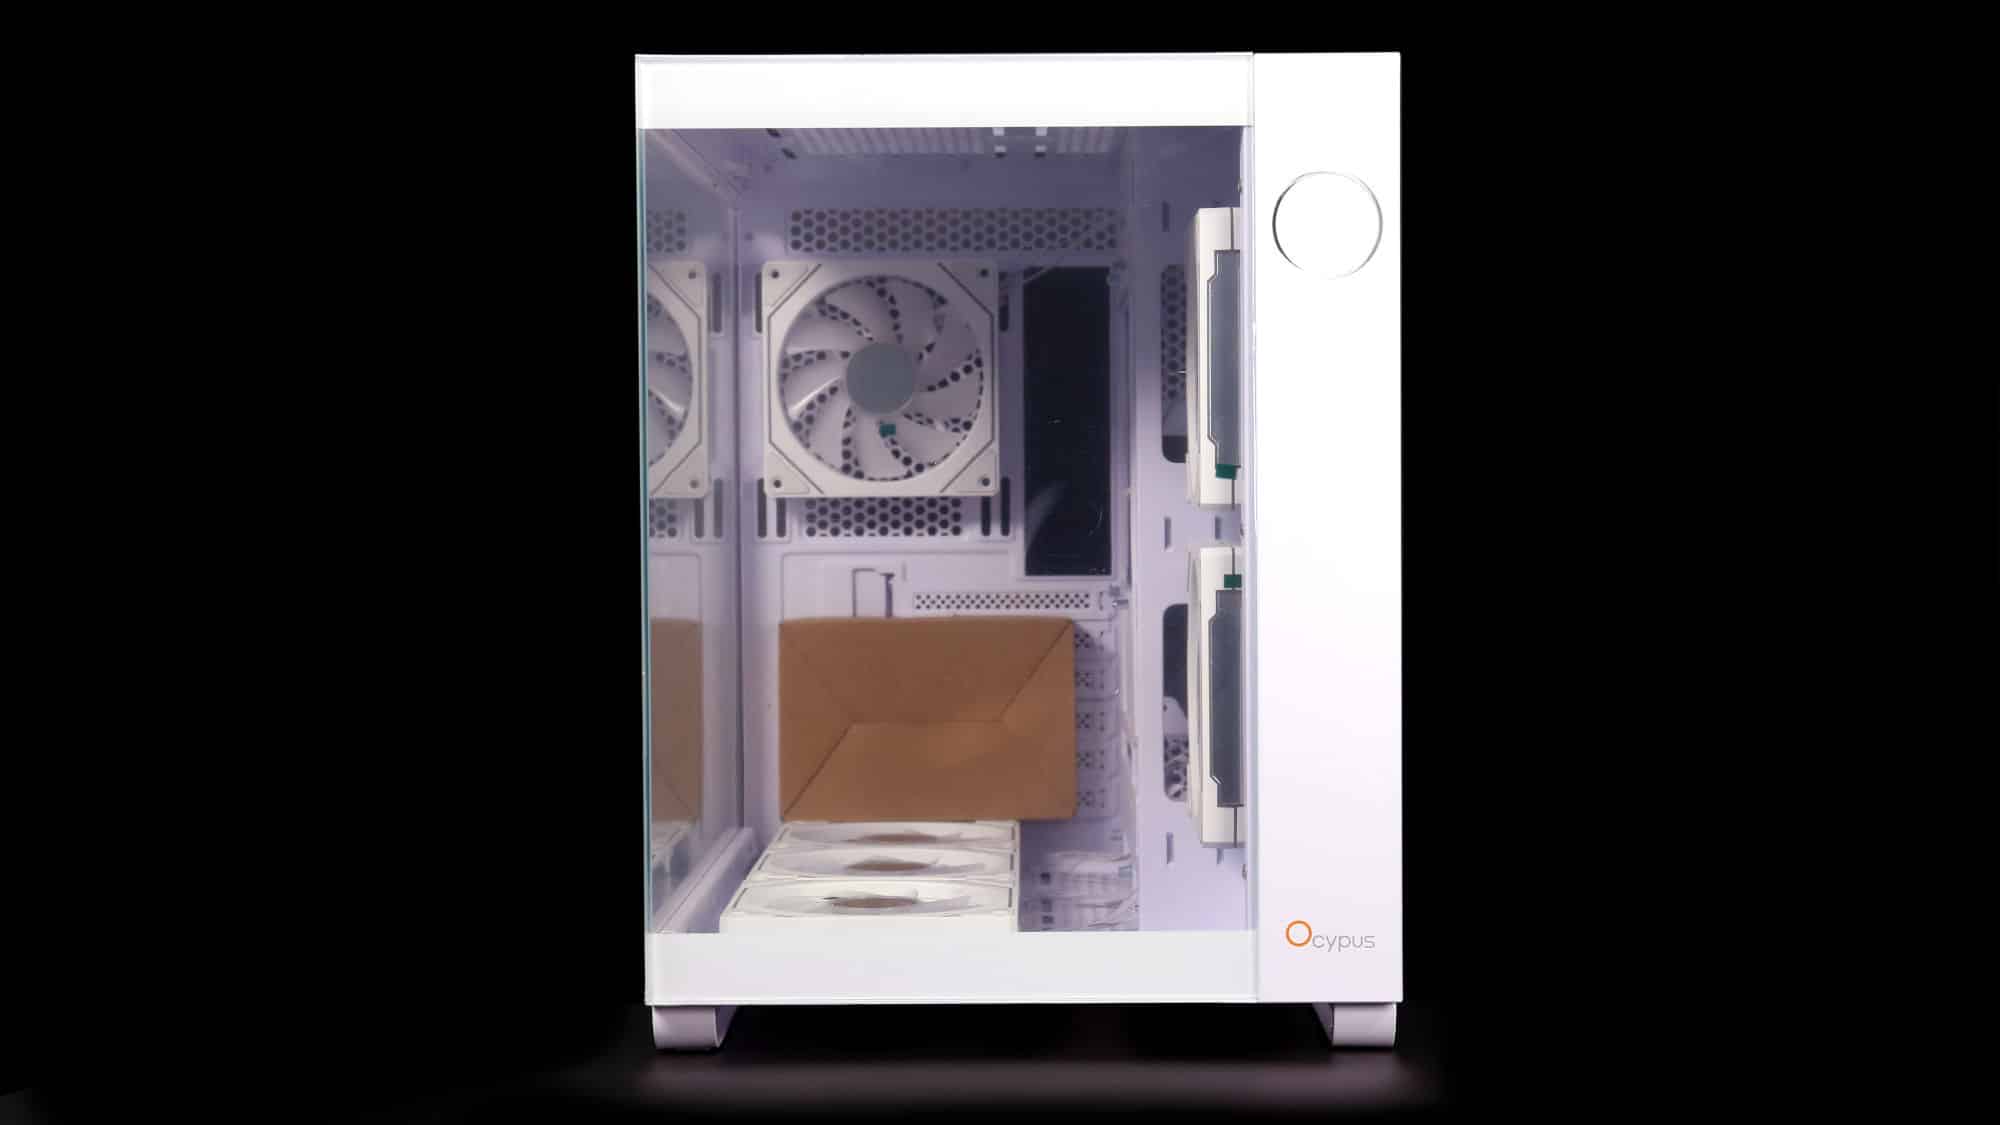
There’s plenty to talk about on the inside. First and foremost, you’ll notice the six included fans. While they aren’t color-matched to the white chassis, something fairly common with white-themed builds, they still look great on their own.
Despite its compact footprint, the Iota C70 supports full-size ATX and BTF motherboards. It can accommodate GPUs up to 400 mm long and CPU coolers up to 175 mm high, ensuring compatibility with high-end components. For reference, we used an EATX board in our test build, and surprisingly, it fit without needing to remove or reposition any of the fans. That said, installing a board of that size takes some planning, especially regarding routing cables underneath or around the motherboard. While it is possible, builders will have an easier time with an mATX board.
Turning to the secondary chamber, above the PSU mounting area, there’s a cage for SATA drives. If you’re using a standard motherboard, you’ll want to run the EPS cables through first. If you’re installing a BTF board, you may need to remove the cage entirely—it’s a tight fit! In our build, we ran the cables and plugged them in before mounting the board, which worked well.
Cooling and Airflow

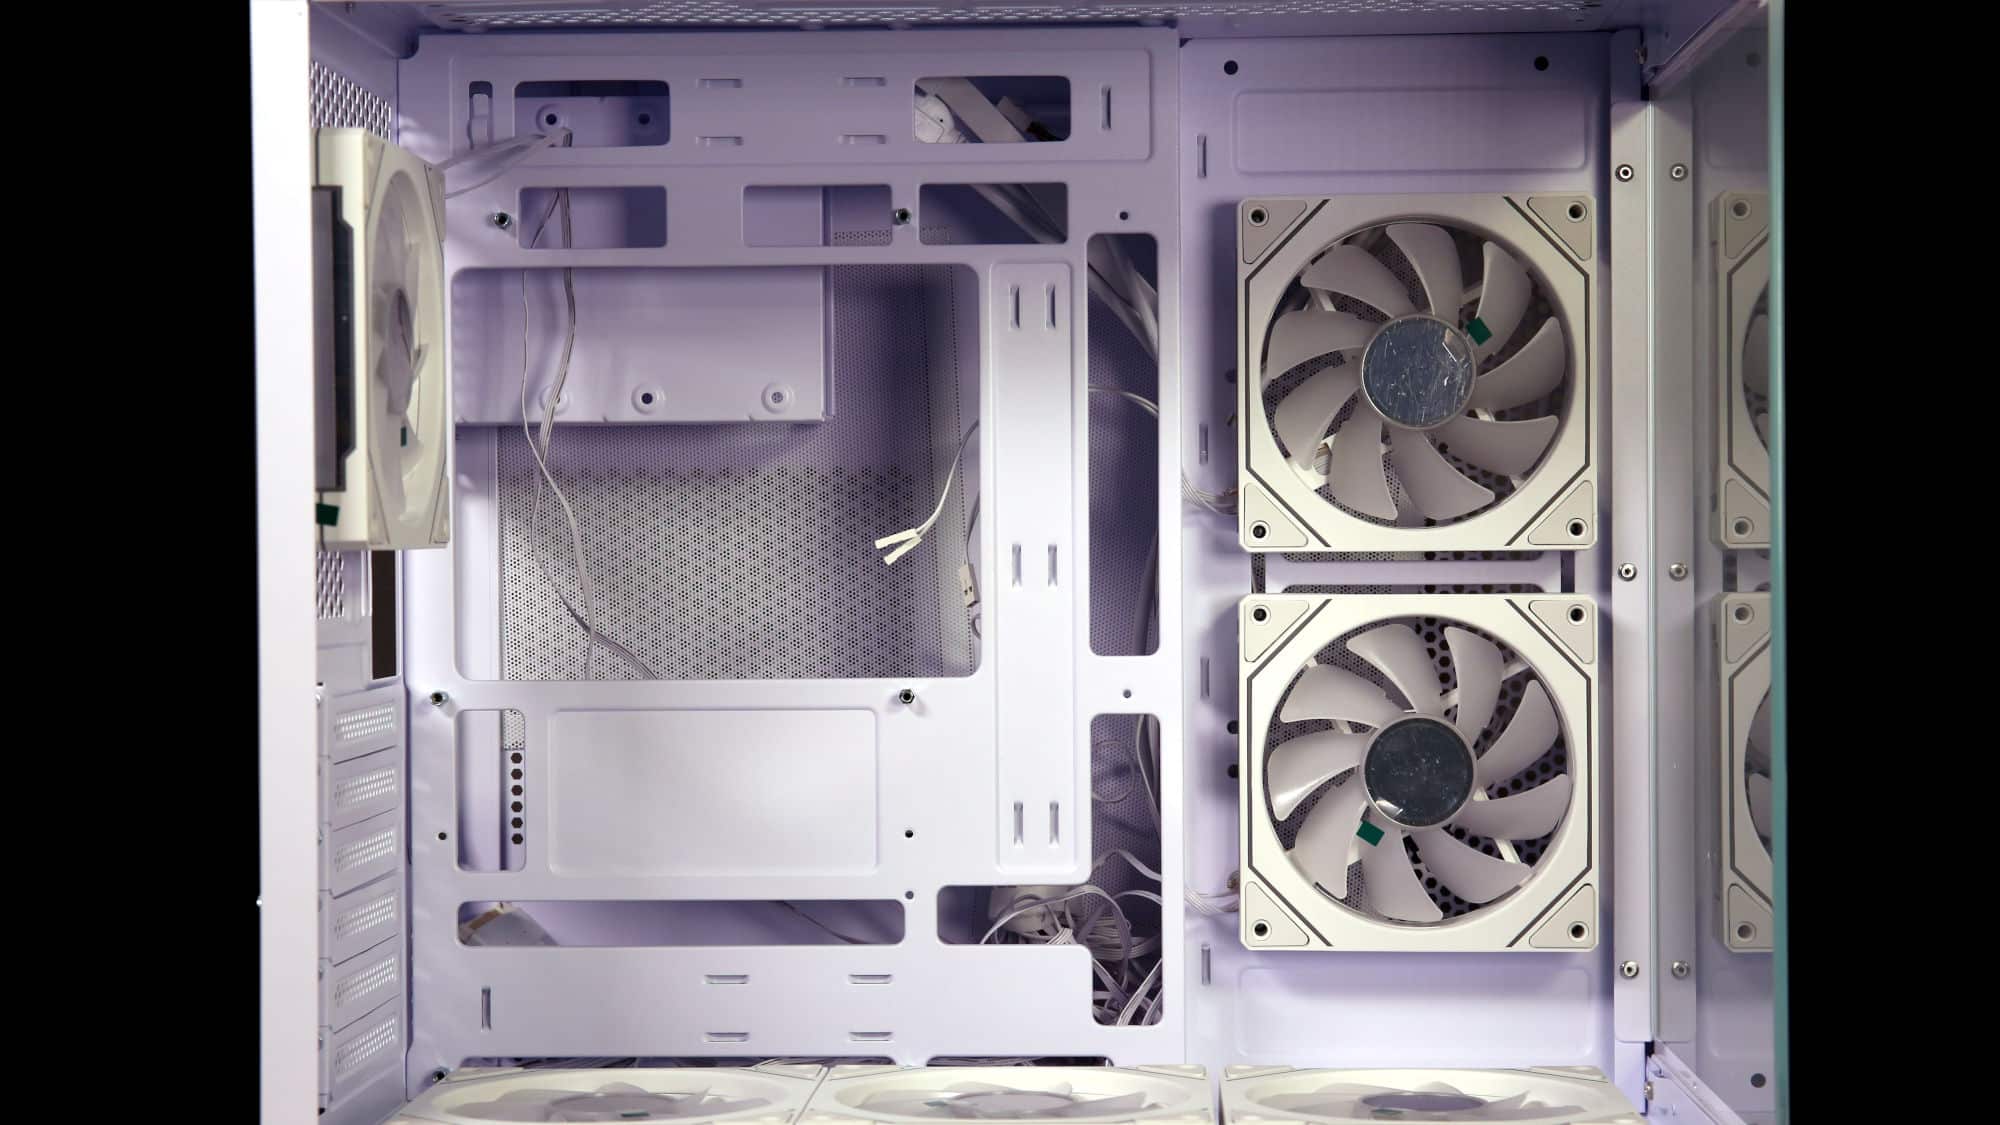
The Iota C70 includes six preinstalled ARGB fans in a rather unconventional layout: the side-mounted fans act as exhausts, while the three bottom-mounted reverse-blade fans serve as the sole intake.
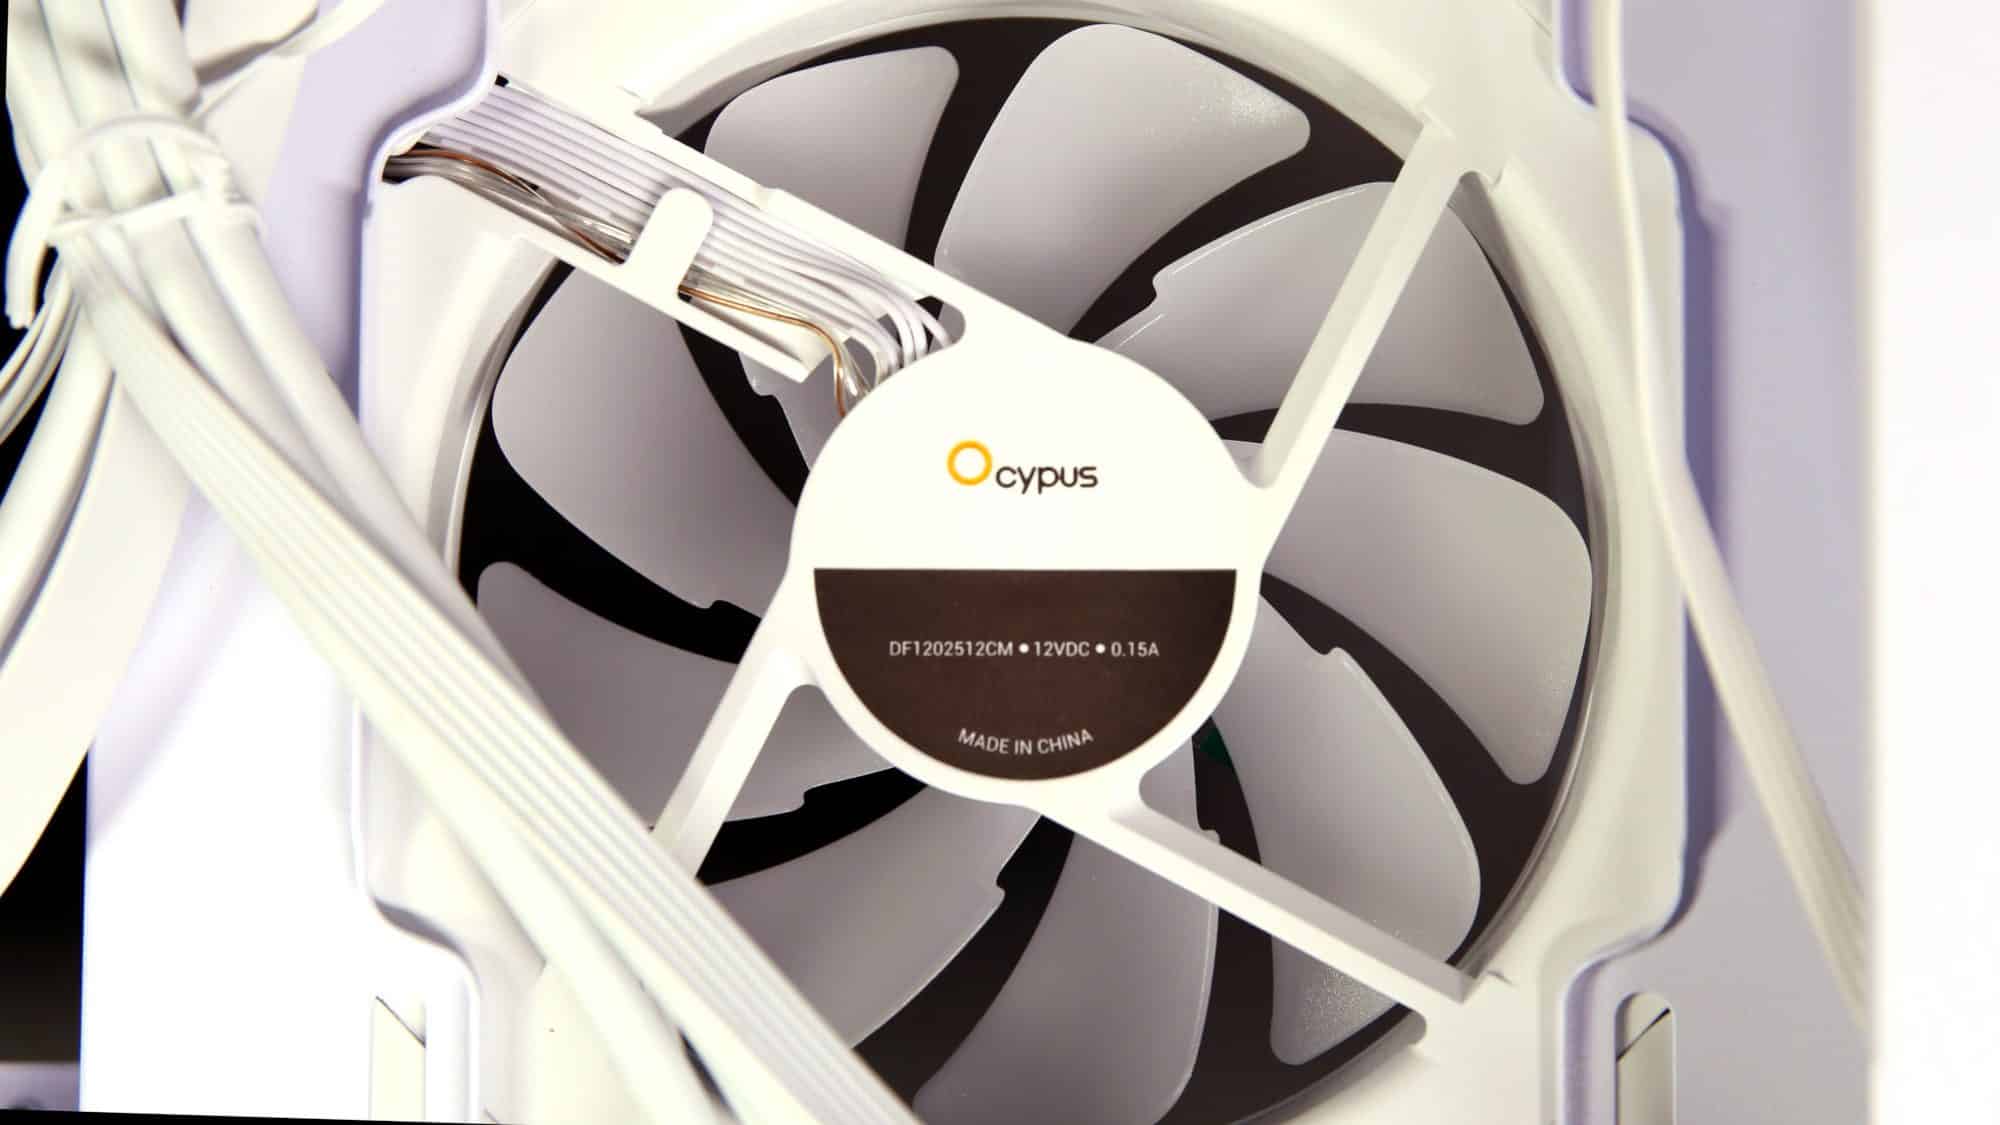
The fans use standard 4-pin PWM and ARGB headers but do not support daisy-chaining, which results in quite a bit of extra cabling. They’re based on an older design with a mirrored center and sides, and Ocypus also sells them separately under the Gamma F12 model name.
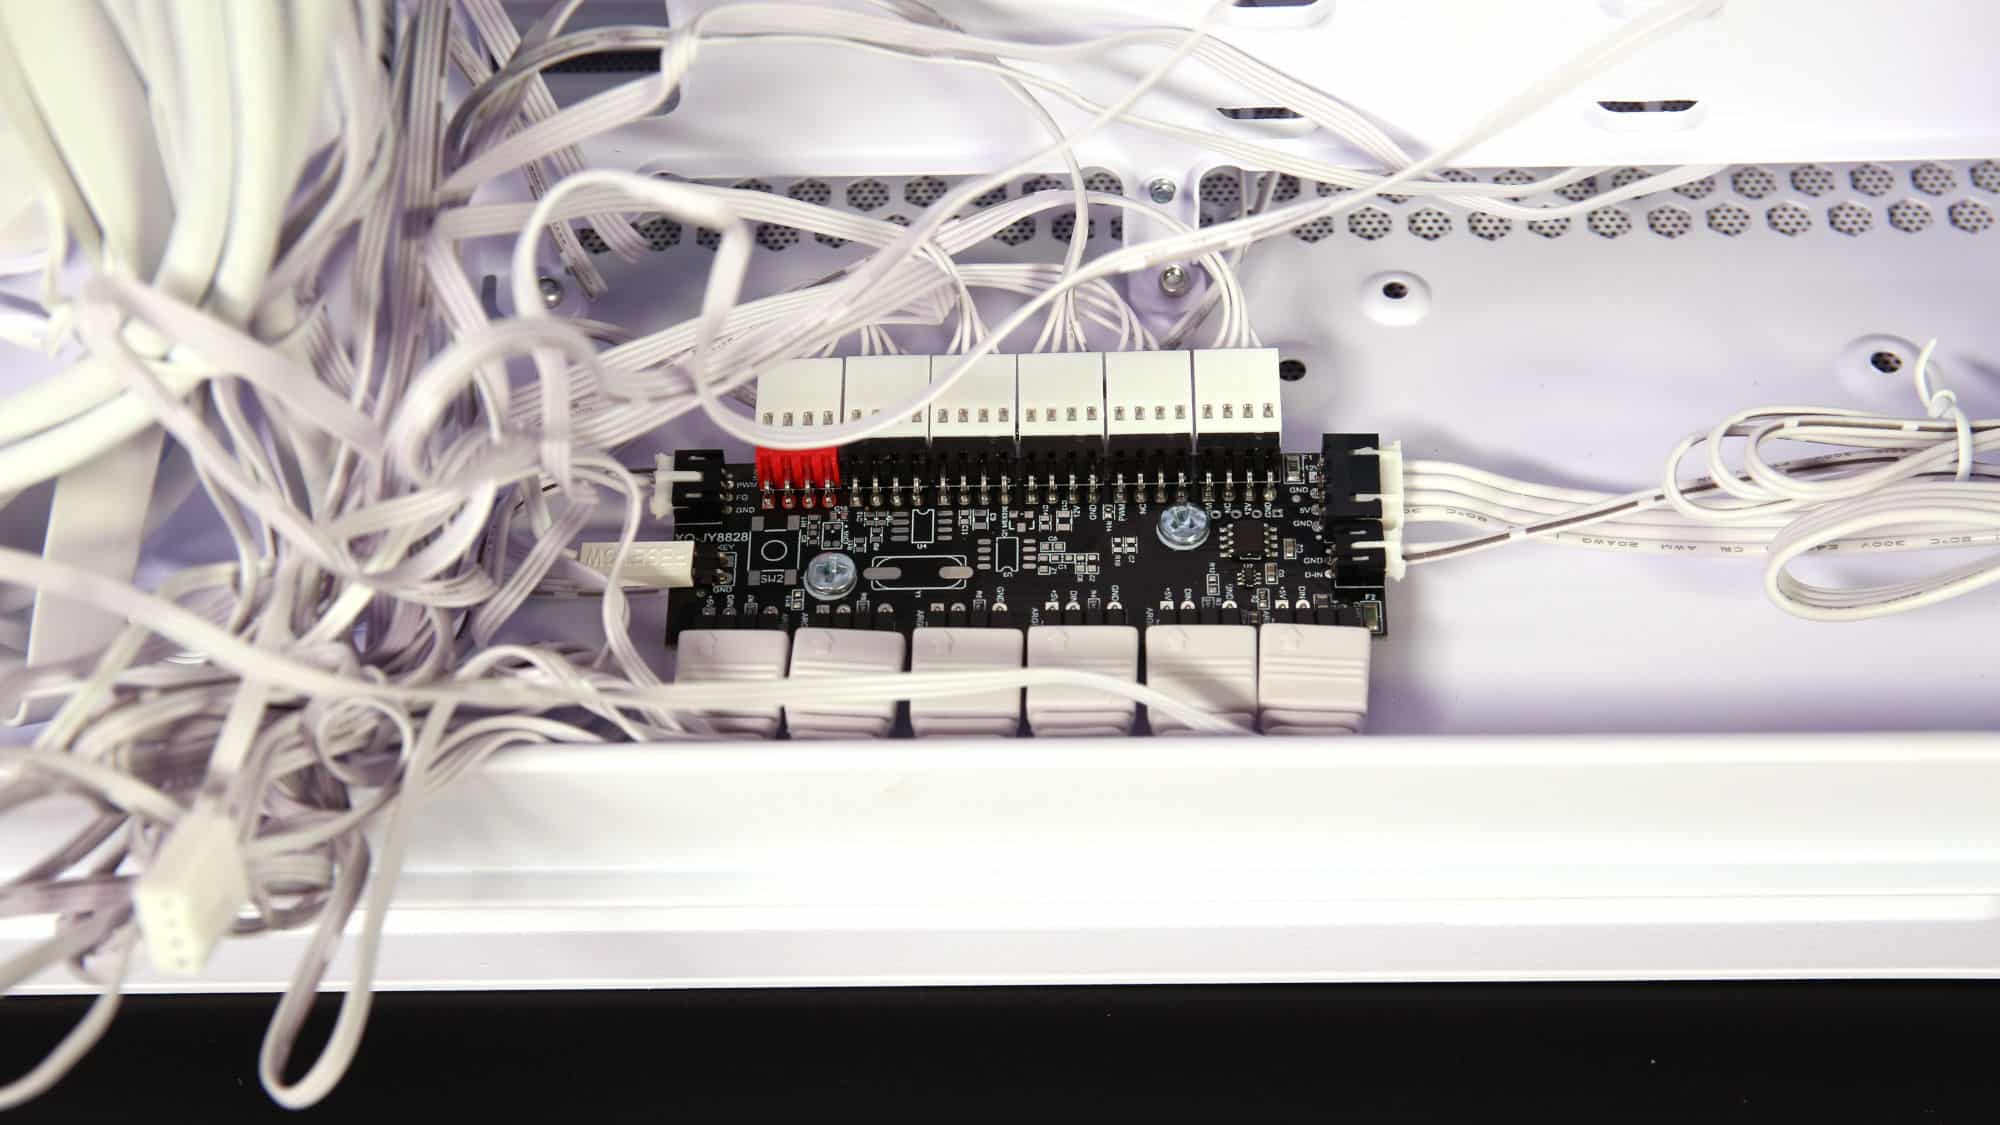
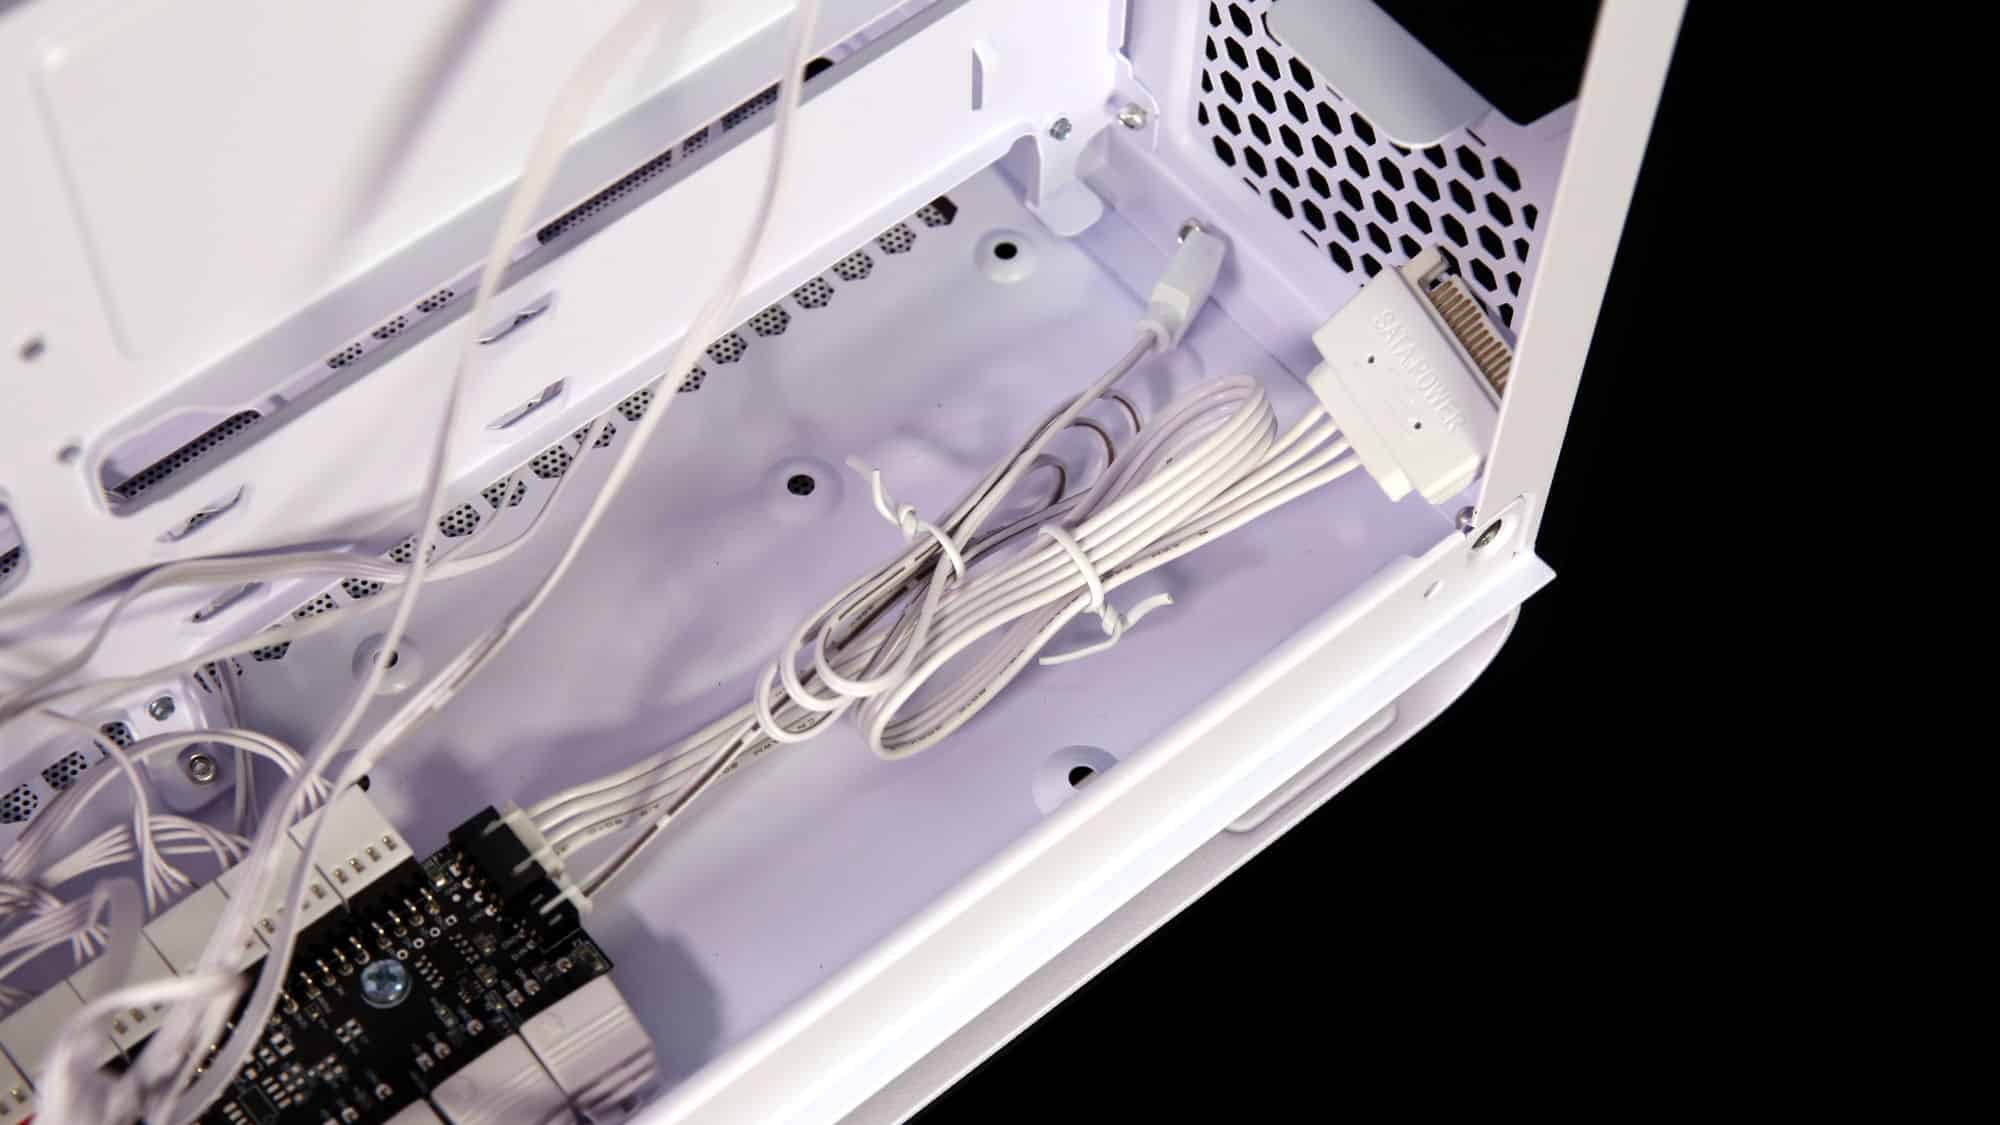
At the bottom, you’ll find a fan/ARGB hub included in the box—a very welcome addition, especially with six fans preinstalled. It has six PWM and six ARGB outputs—just enough to support the included fans. It connects via one 4-pin PWM, one ARGB, and one SATA power cable. The LED button from the top I/O panel connects directly to this hub, offering on-the-fly control.
In terms of fan compatibility, the chassis can support:
- Up to three 120mm or two 140mm fans on the top and bottom
- One 120mm or 140mm fan at the rear
- Two 120mm fans on the side
That gives you a total of up to nine fans. Liquid cooling support is also solid, with room for:
- 360mm or 280mm radiators on both the top and bottom
- 240mm radiator on the side
- 120mm or 140mm radiator at the rear
Storage Options
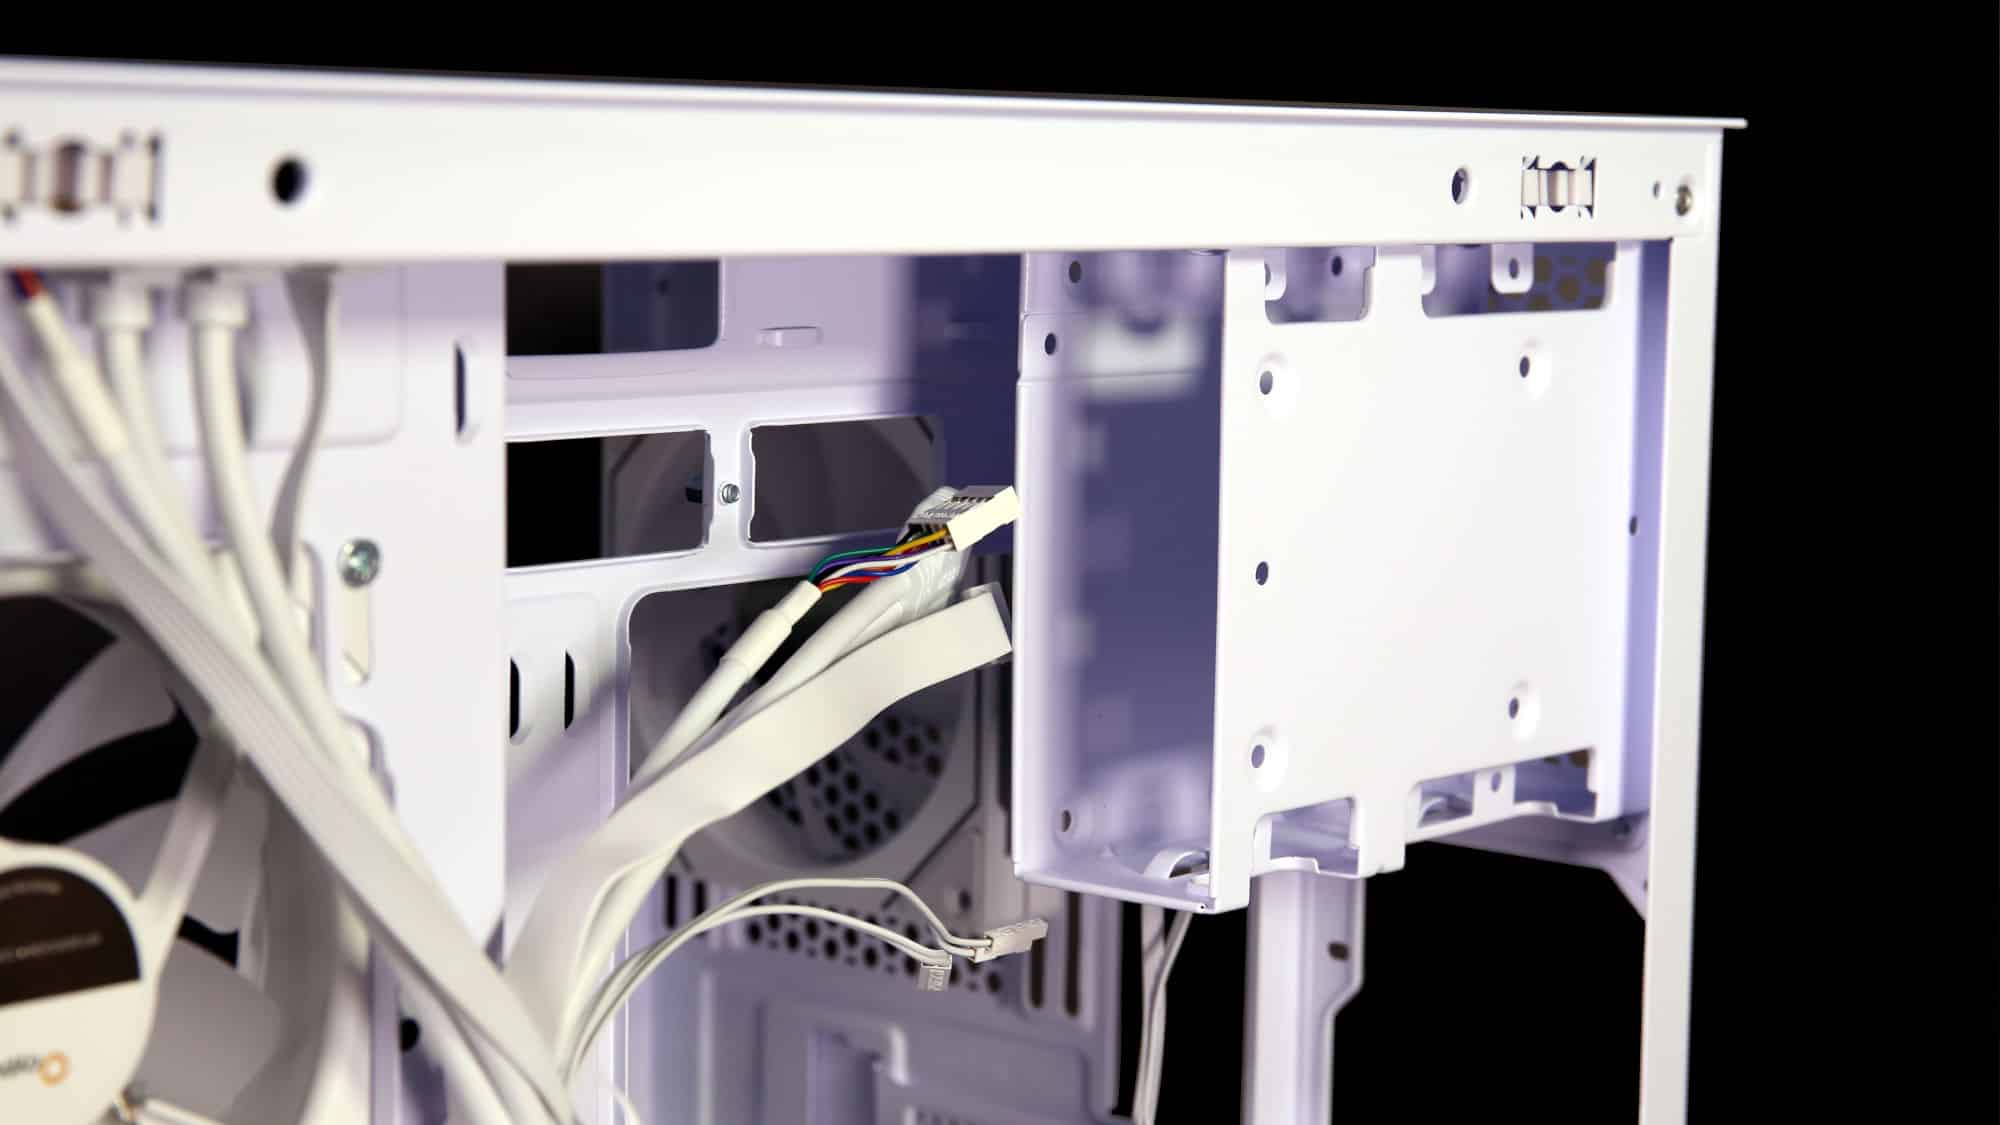
Above the PSU mount, there’s an HDD cage that can hold up to three while supporting just one drive. One drive can be mounted facing the motherboard using wide cutouts in the case, allowing you to secure it without removing the cage—an elegant touch. Inside the enclosure, you can mount either one 3.5″ drive or two 2.5″ drives.
Additionally, there are four mounting holes on the bottom of the secondary chamber (below the PSU), but the fan controller partially obstructs them. In this case, using double-sided tape or Velcro might be a better option for mounting drives.