Build Experience

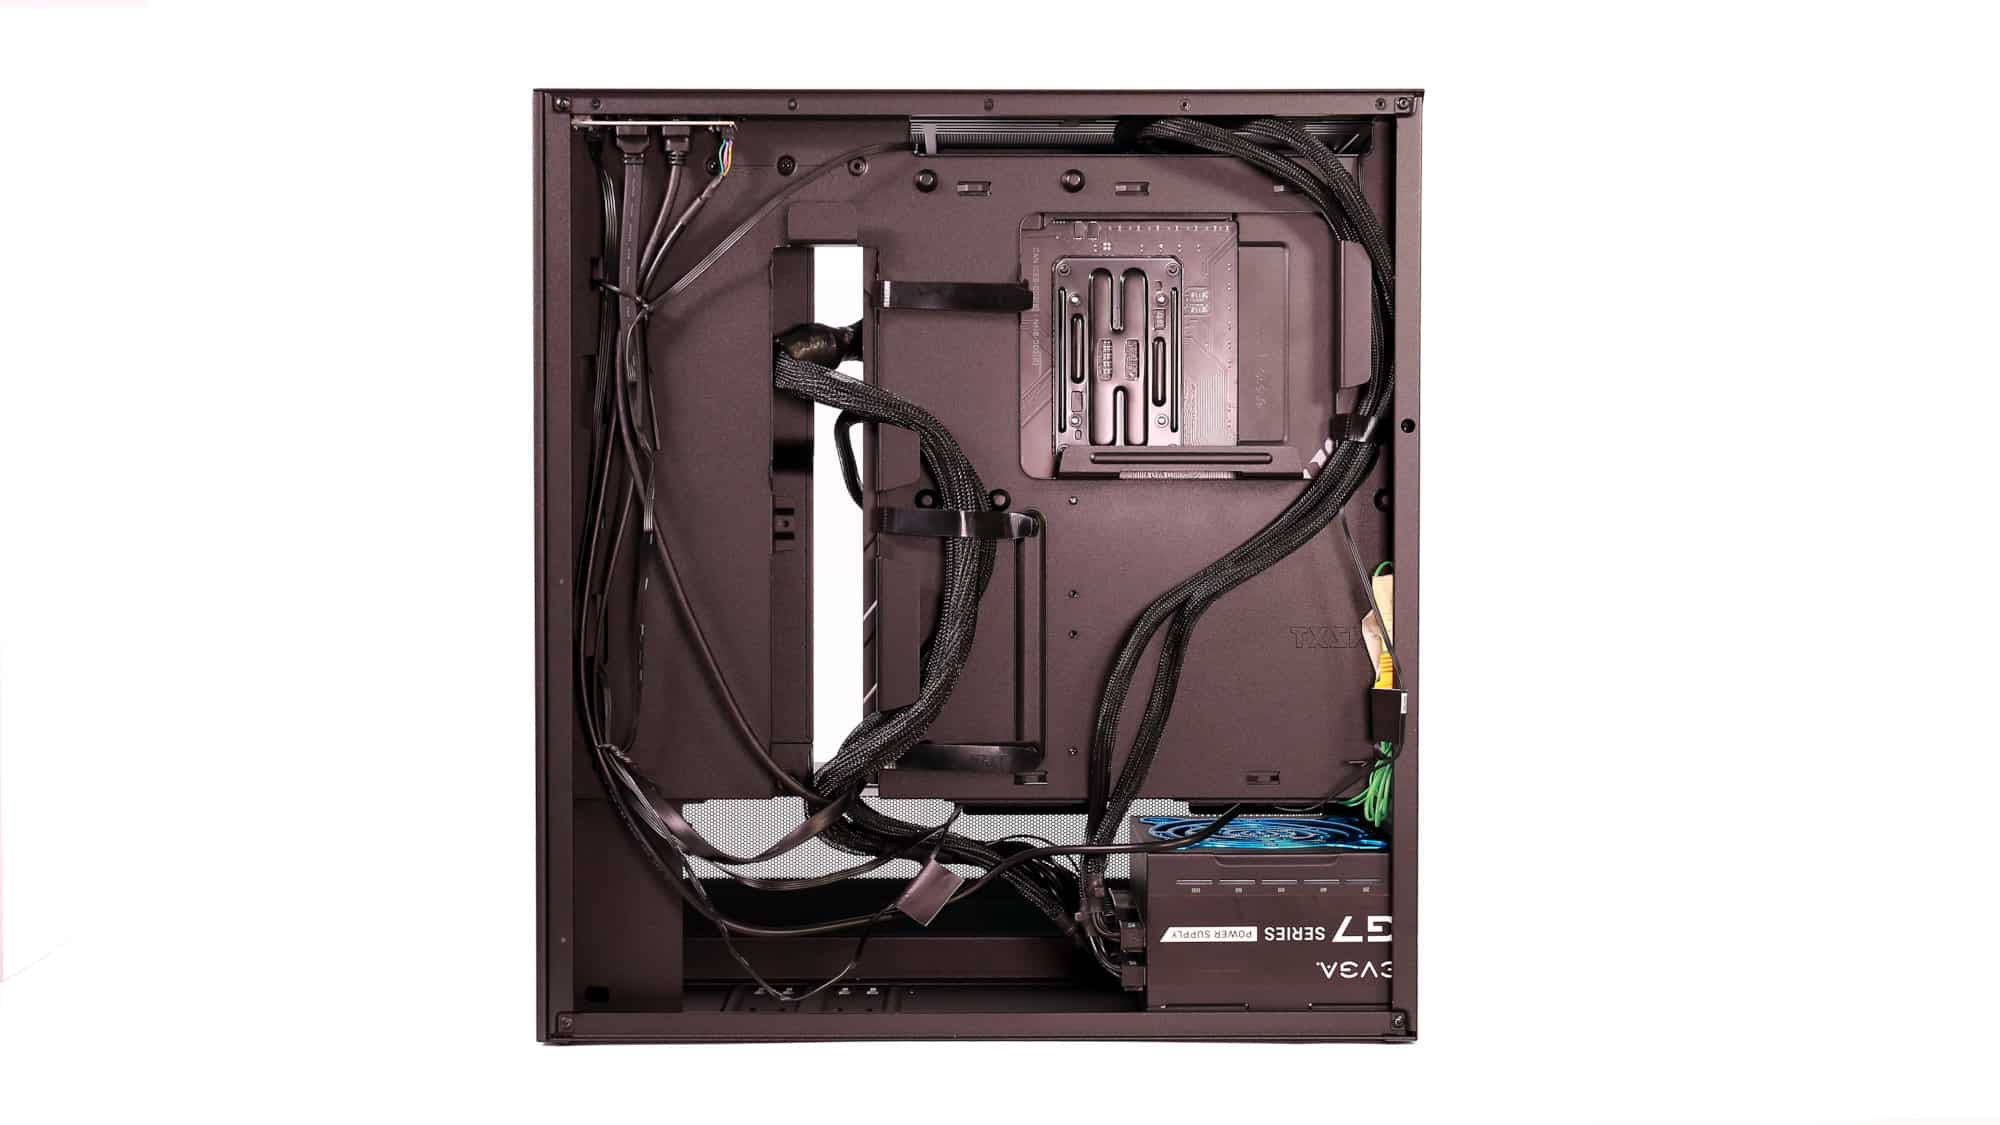
We began by plugging the necessary cables into our PSU and then placing it in the chassis. We need to ensure the fan faces upward, as there’s no bottom perforation for PSU ventilation. You’ll notice that the PSU opening is off-center, and air is fed through the openings on either side. Continuing, we routed the cables from the PSU and the I/O to their appropriate destinations. The pre-installed Velcro straps are a great touch.
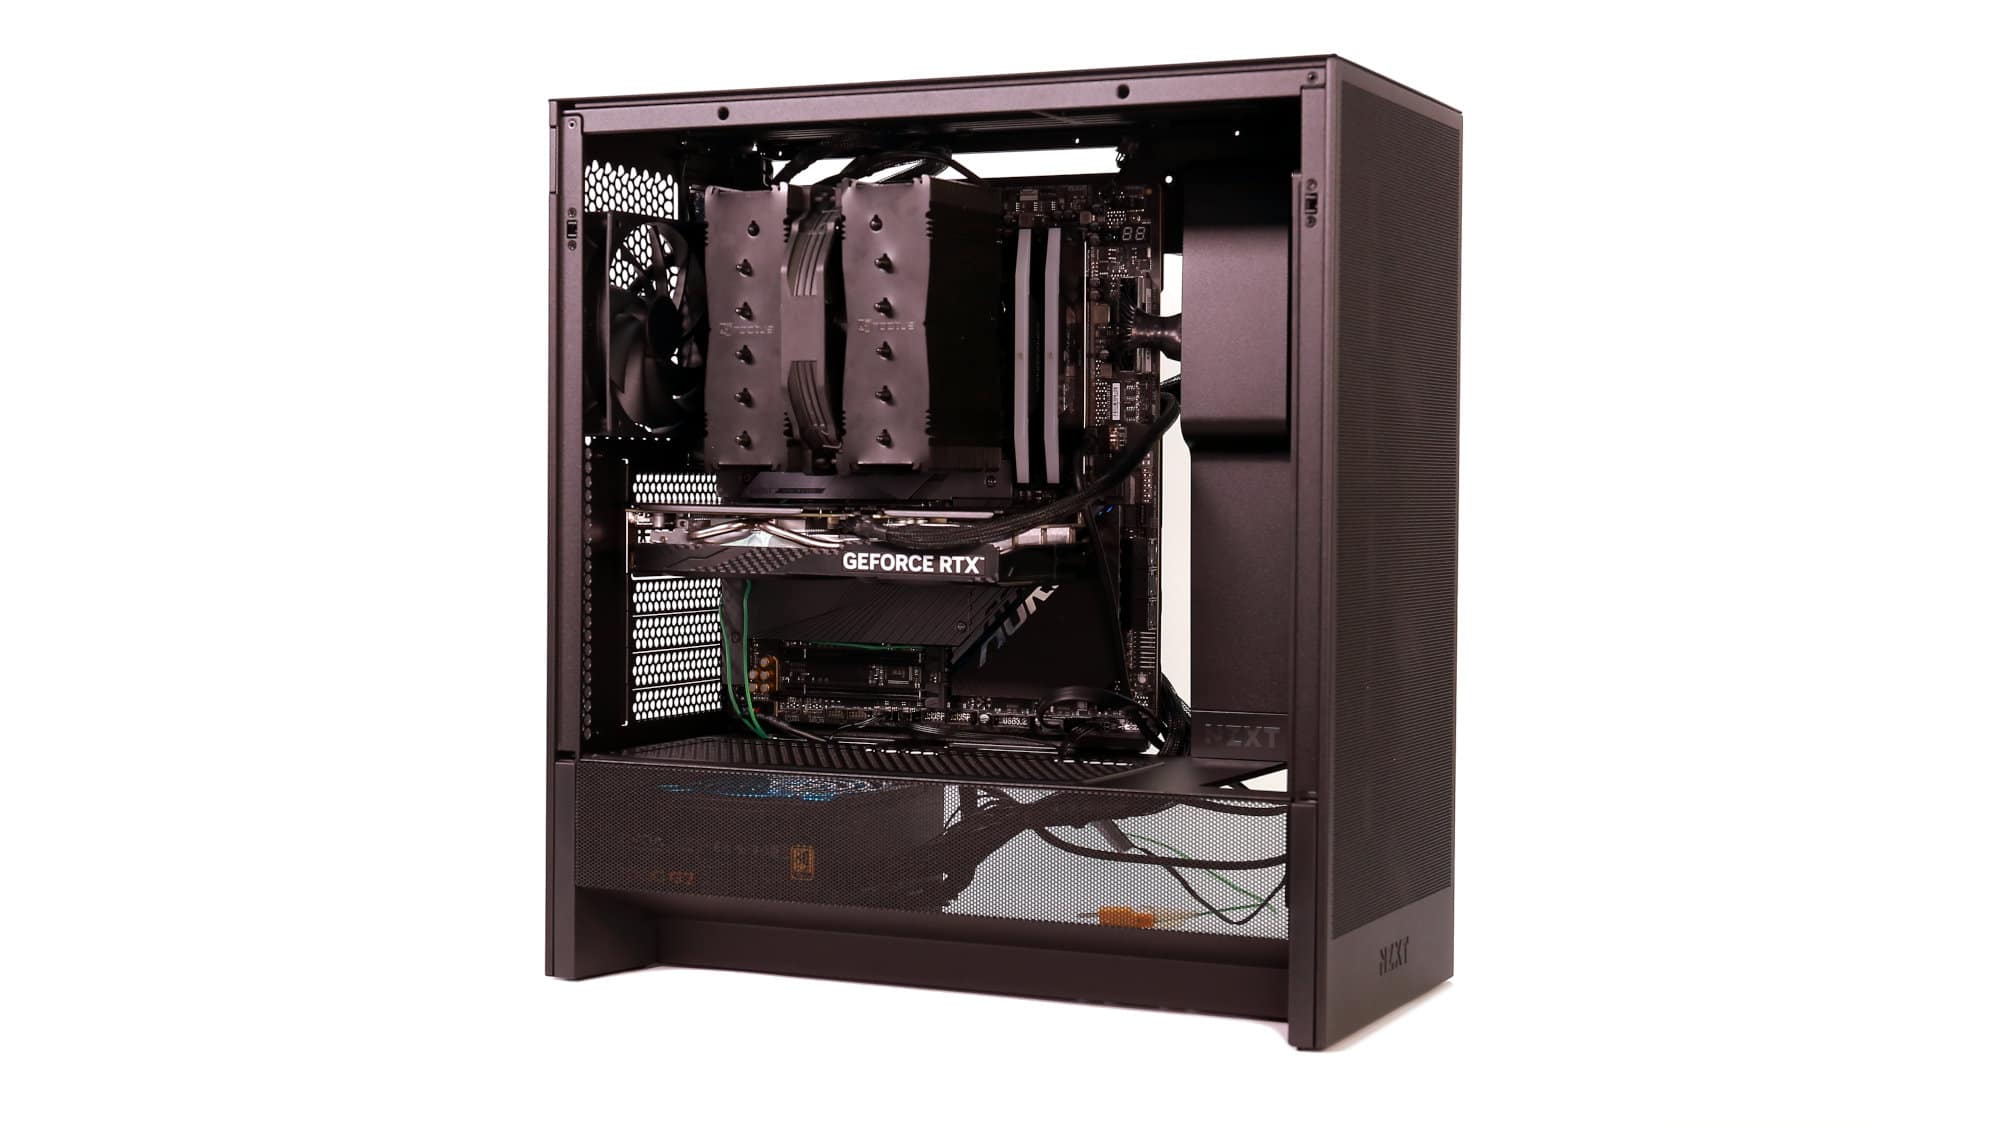
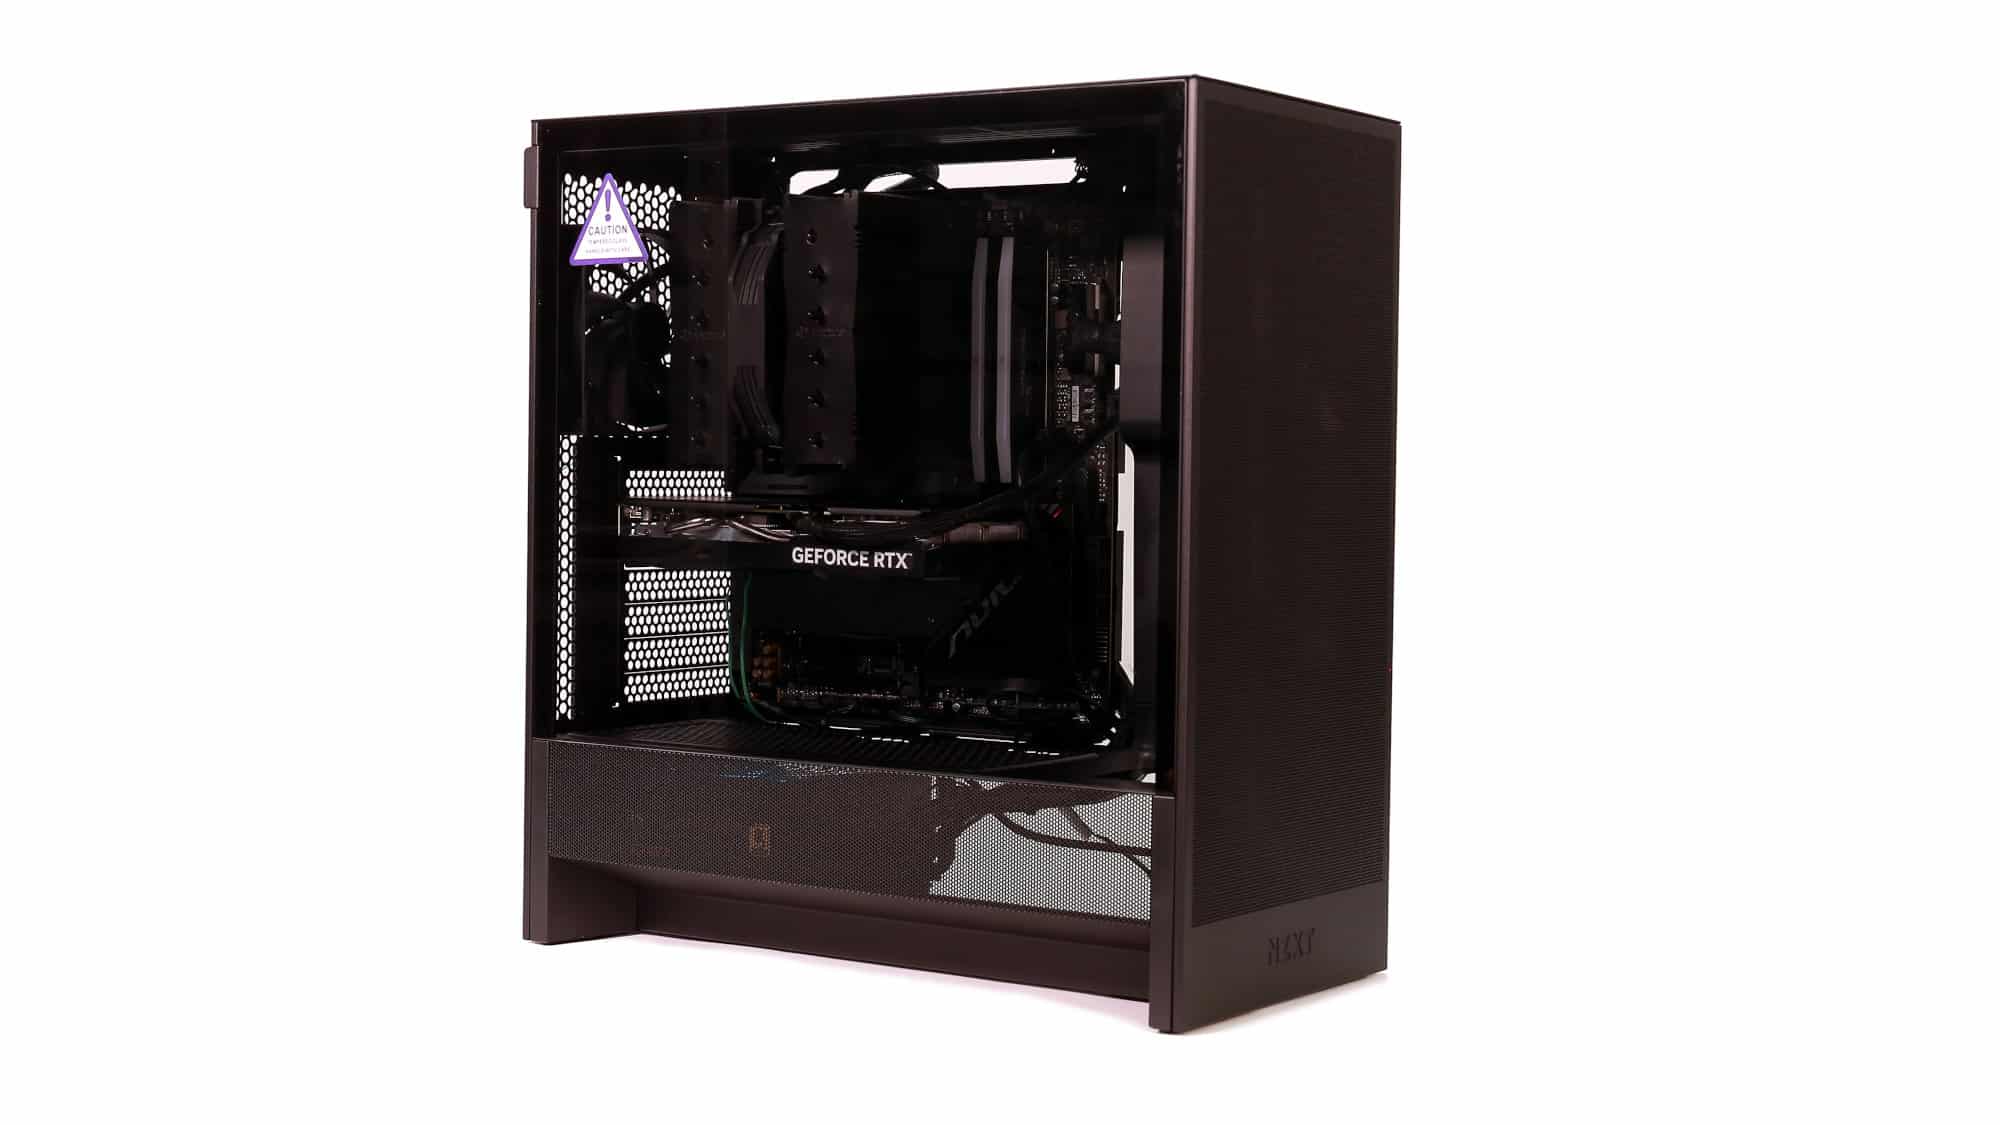
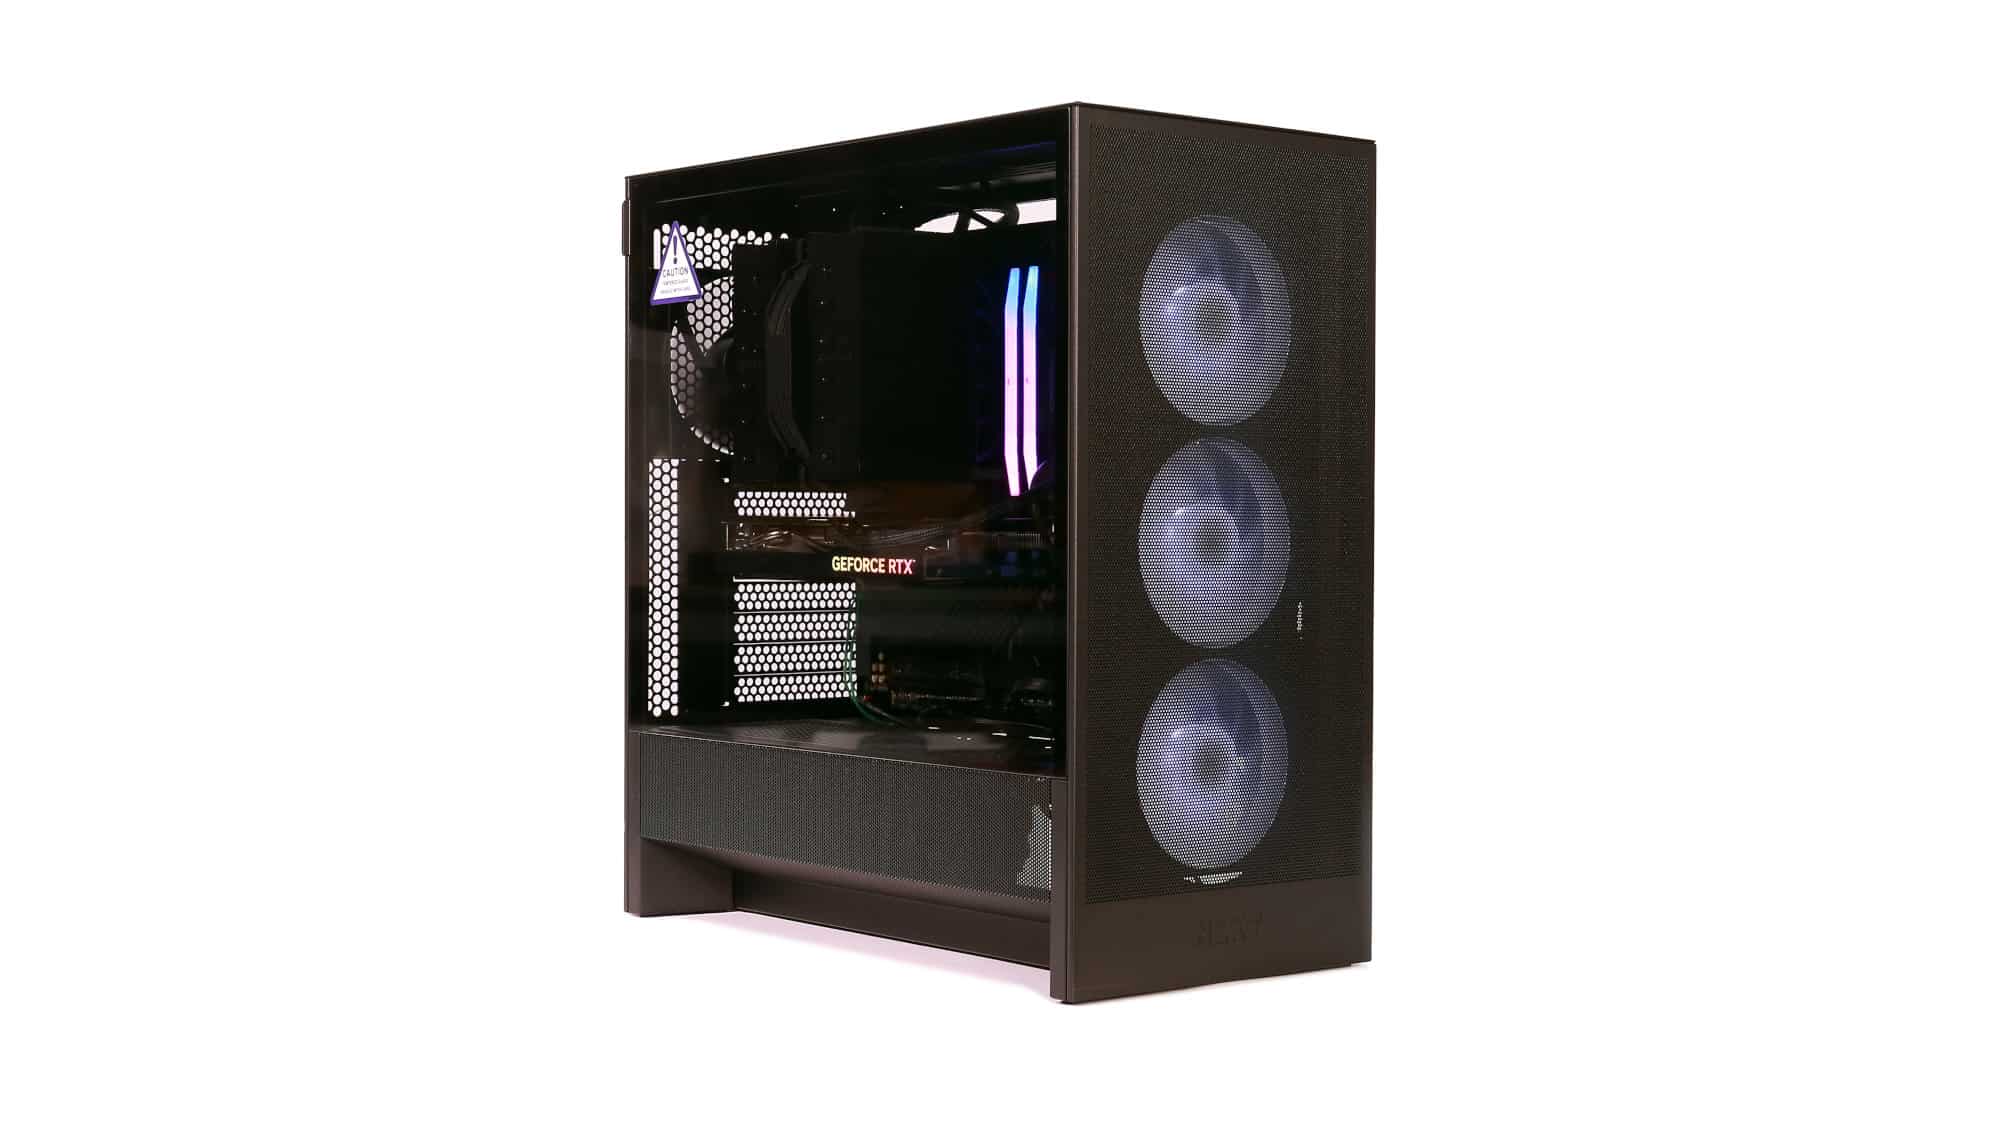
Flipping the chassis over, we installed the motherboard with the CPU, cooler, and RAM already attached. Then we connected all the necessary cables, installed the GPU, and the build was ready. Even with all the wires in place, there’s still plenty of space for the storage tray and lots of room behind the motherboard. With a little extra time and effort, you could achieve incredibly clean cable runs in this chassis.
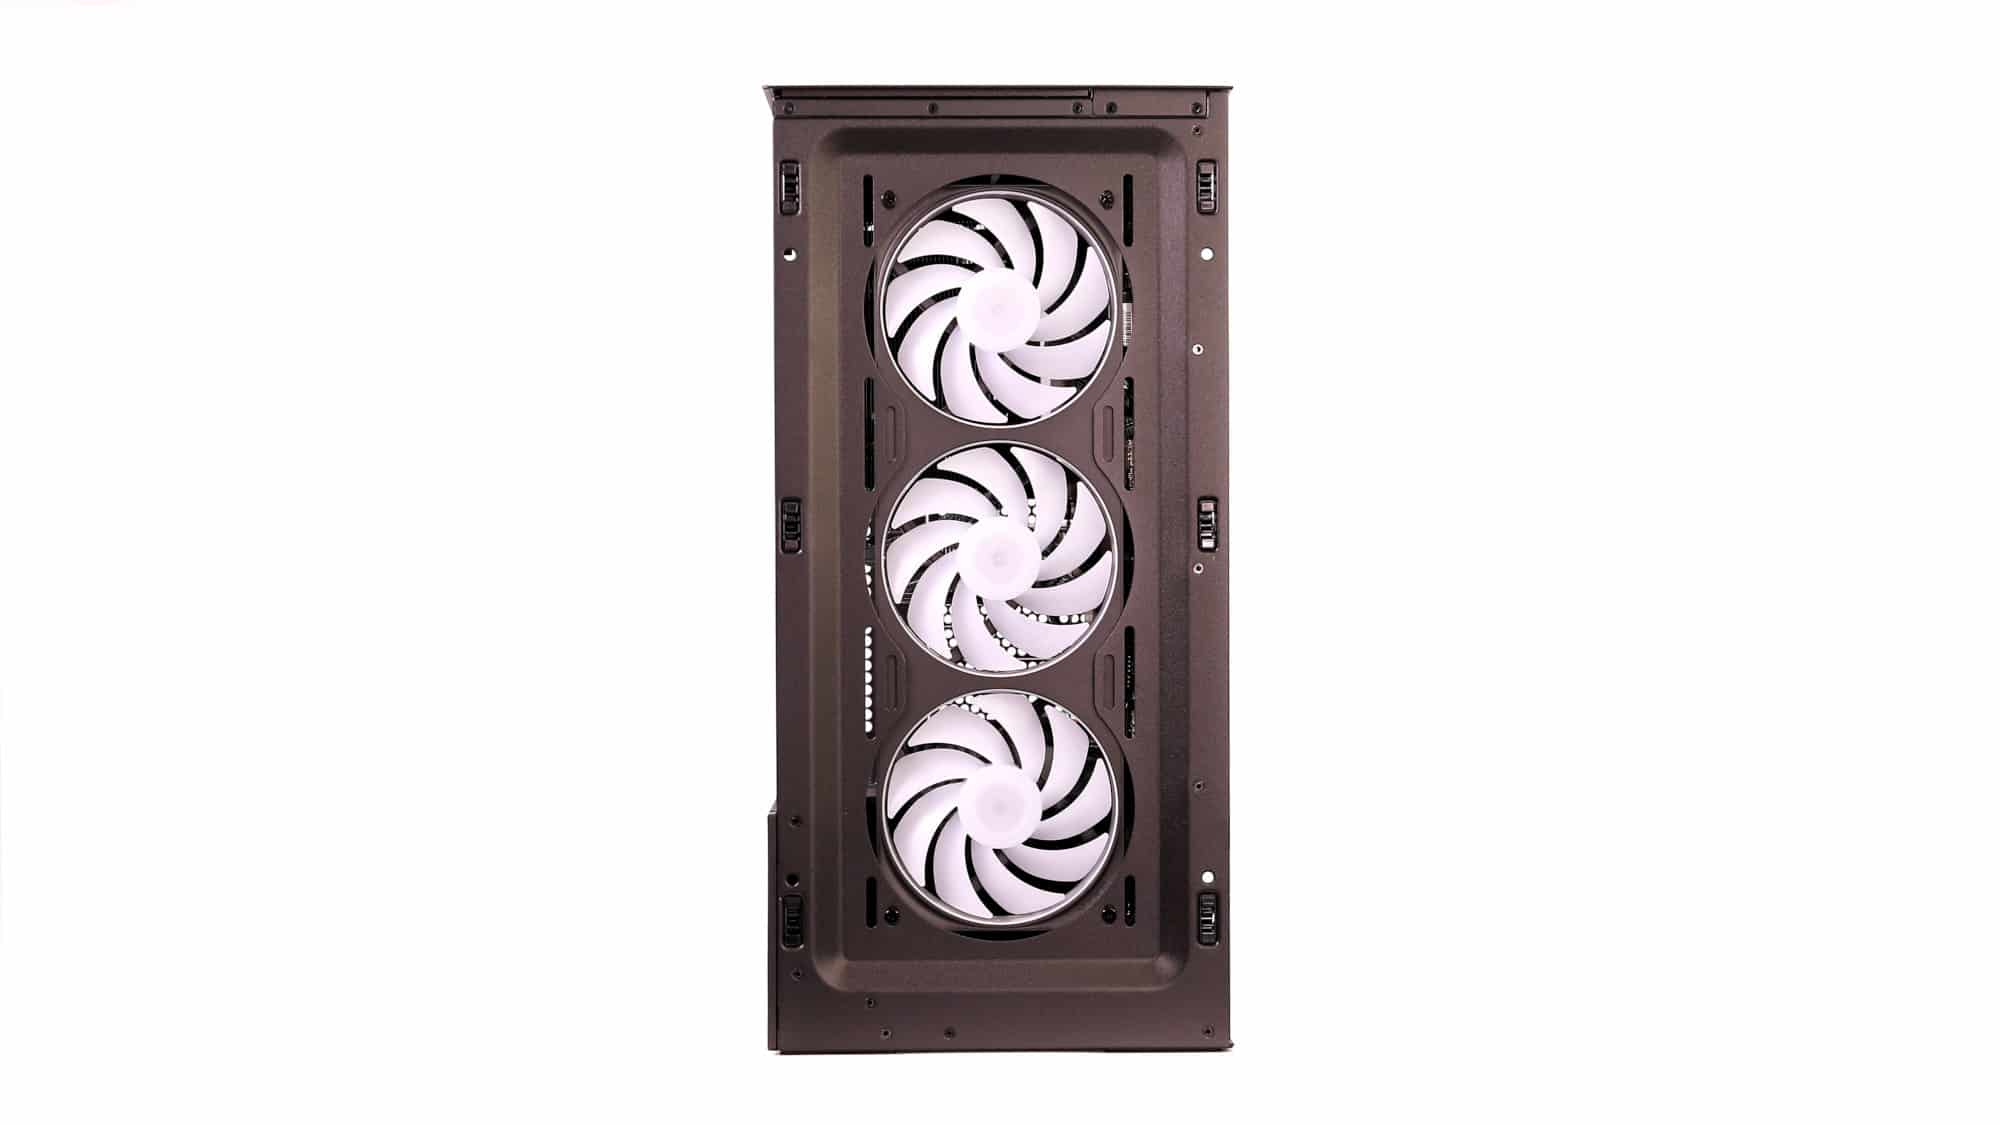
Our review unit came with NZXT’s F360 (three fans combined into one module). It connects via a single 3-pin fan cable and one ARGB cable, which significantly simplifies cable management. Our build may look sparse from the back due to the compact EVGA PSU (130mm), but this allows for better airflow. Despite the smaller size of the case, the building experience was just as smooth as with the H7. Having only two cables from the front fan unit made cable management far easier.
ARGB Lighting and Aesthetics
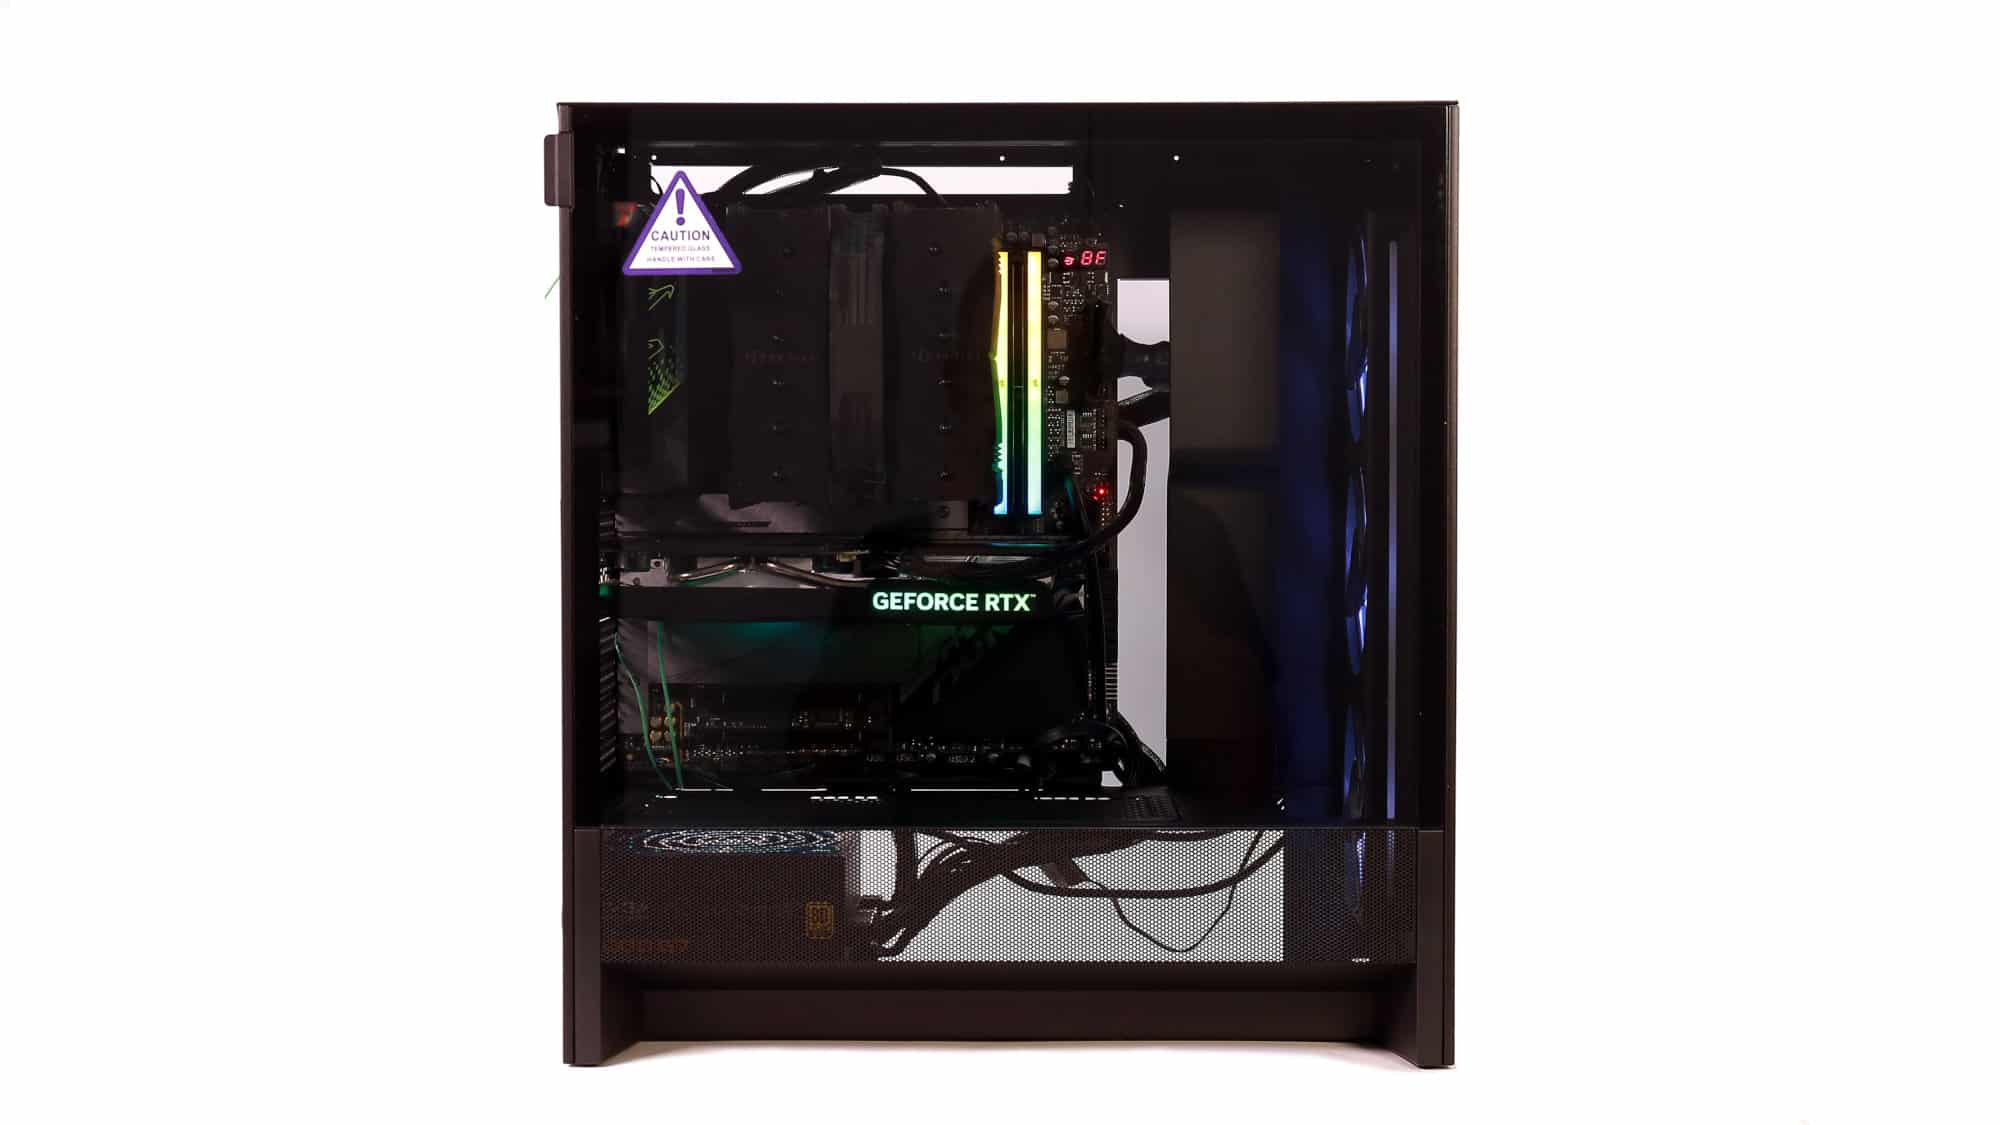

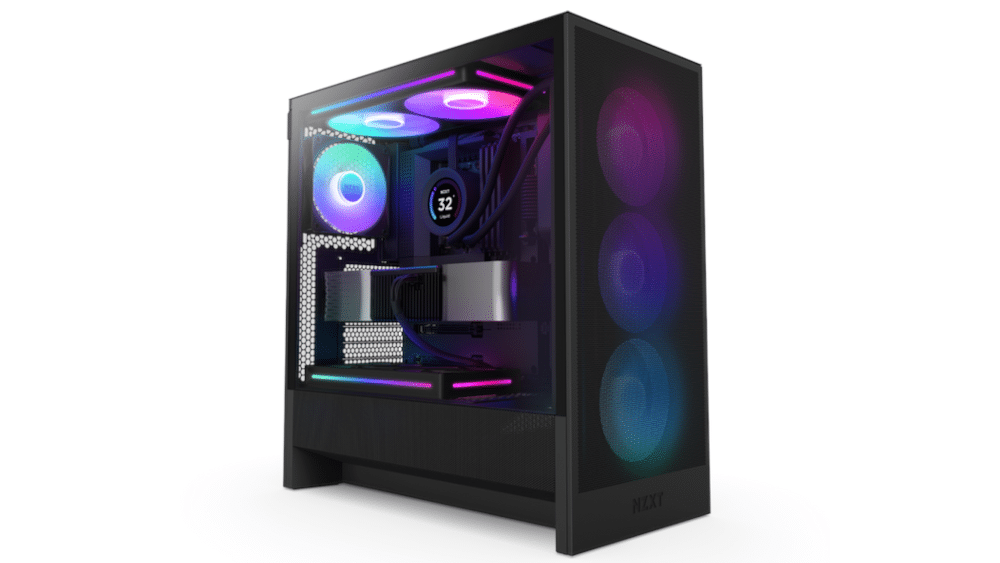
The only ARGB element in the case is the front fan, which justifies the “ARGB” in the product name. The lighting quality is excellent.
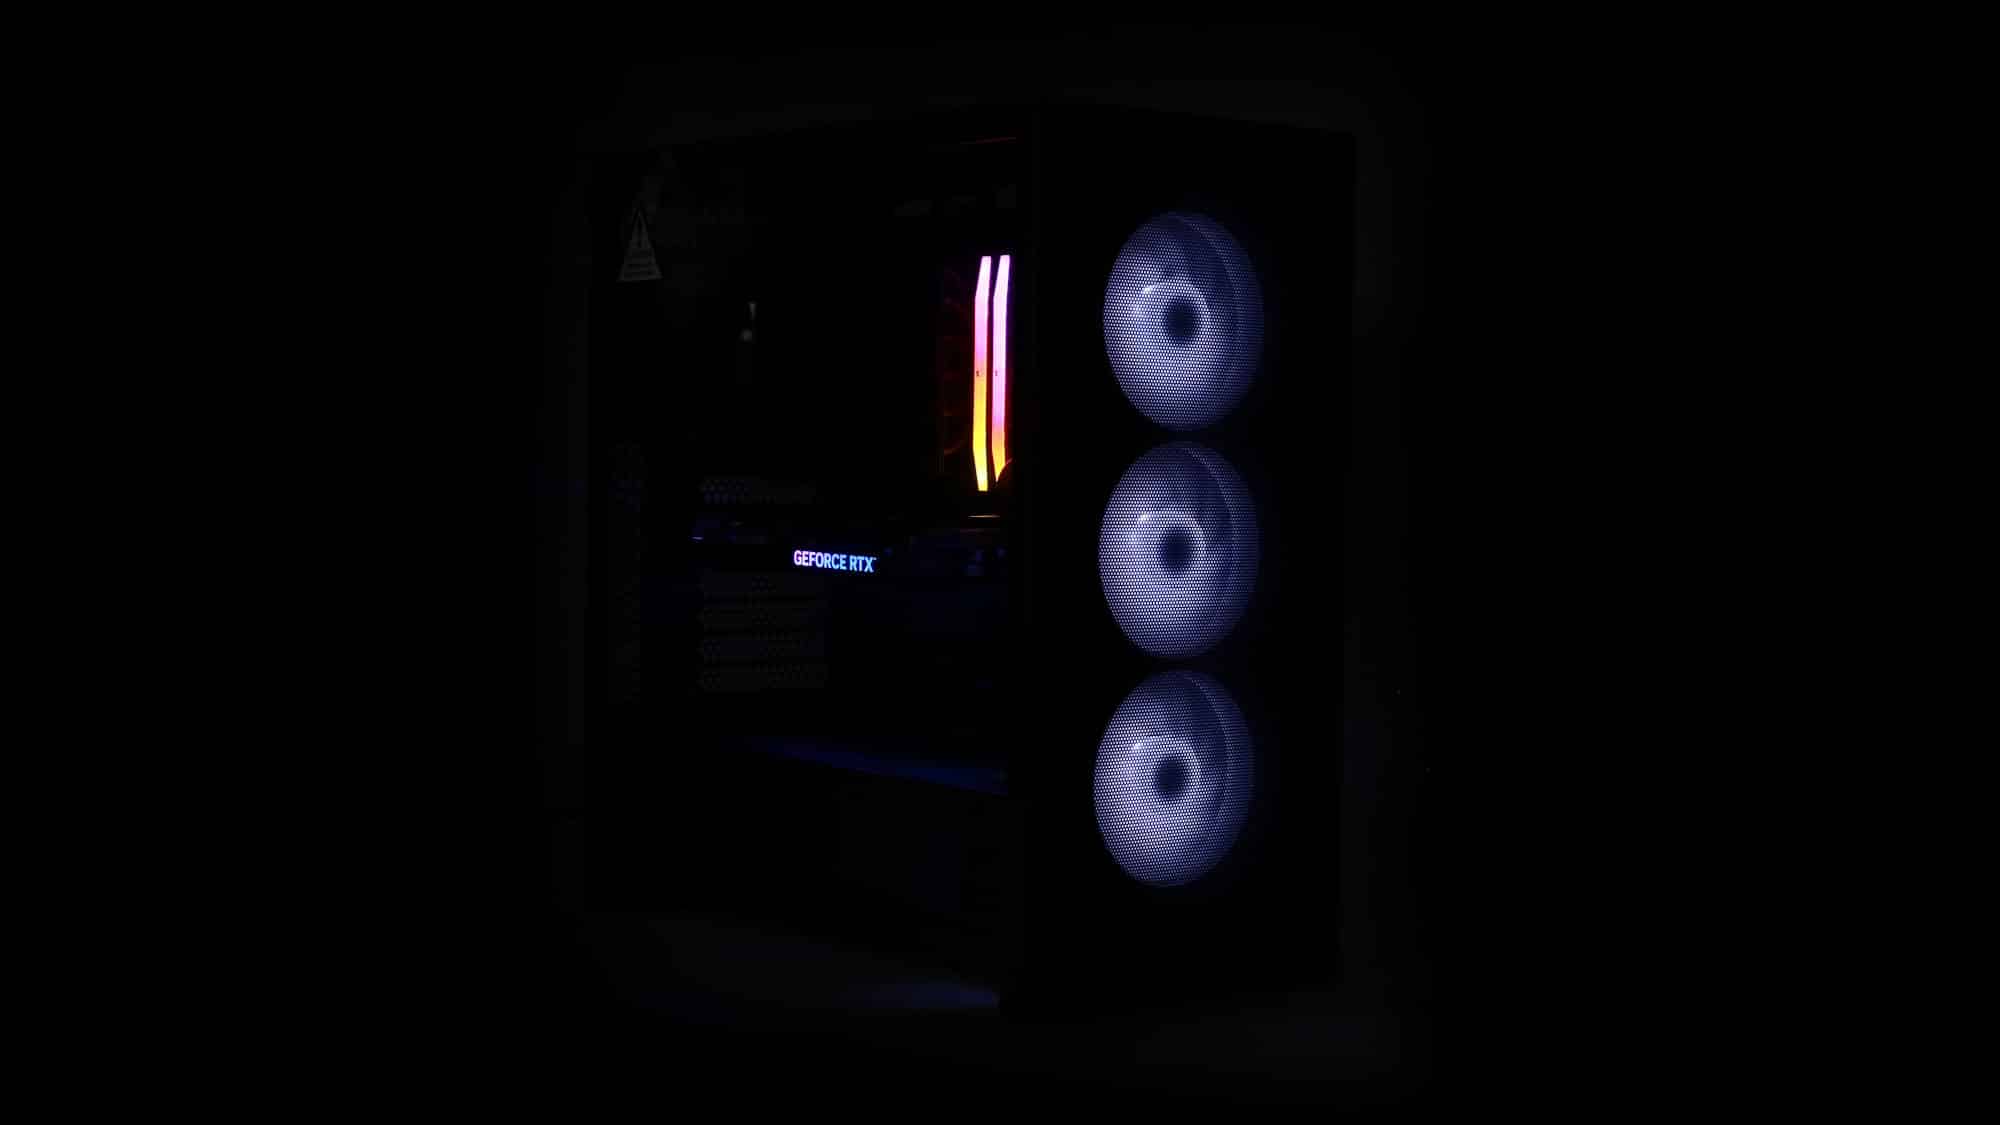
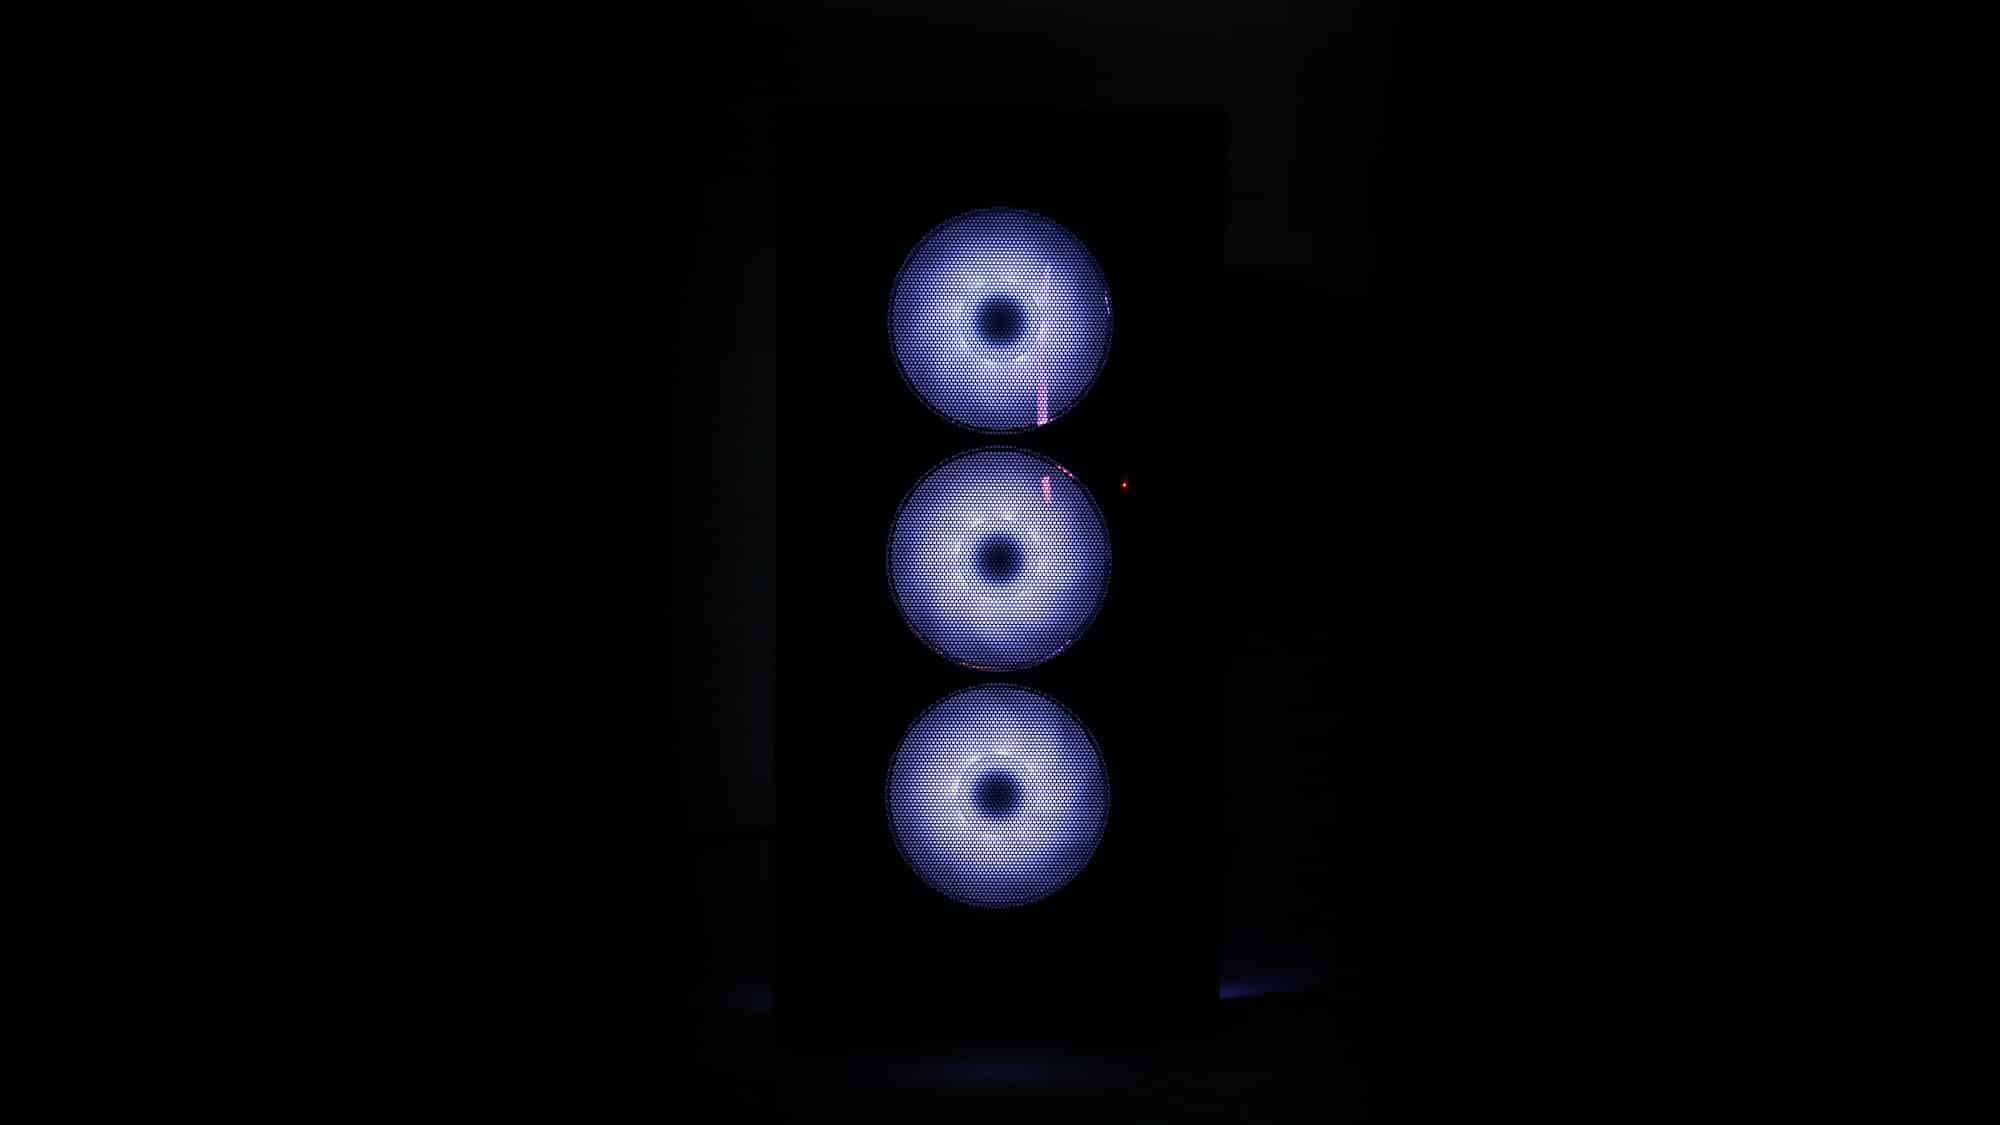
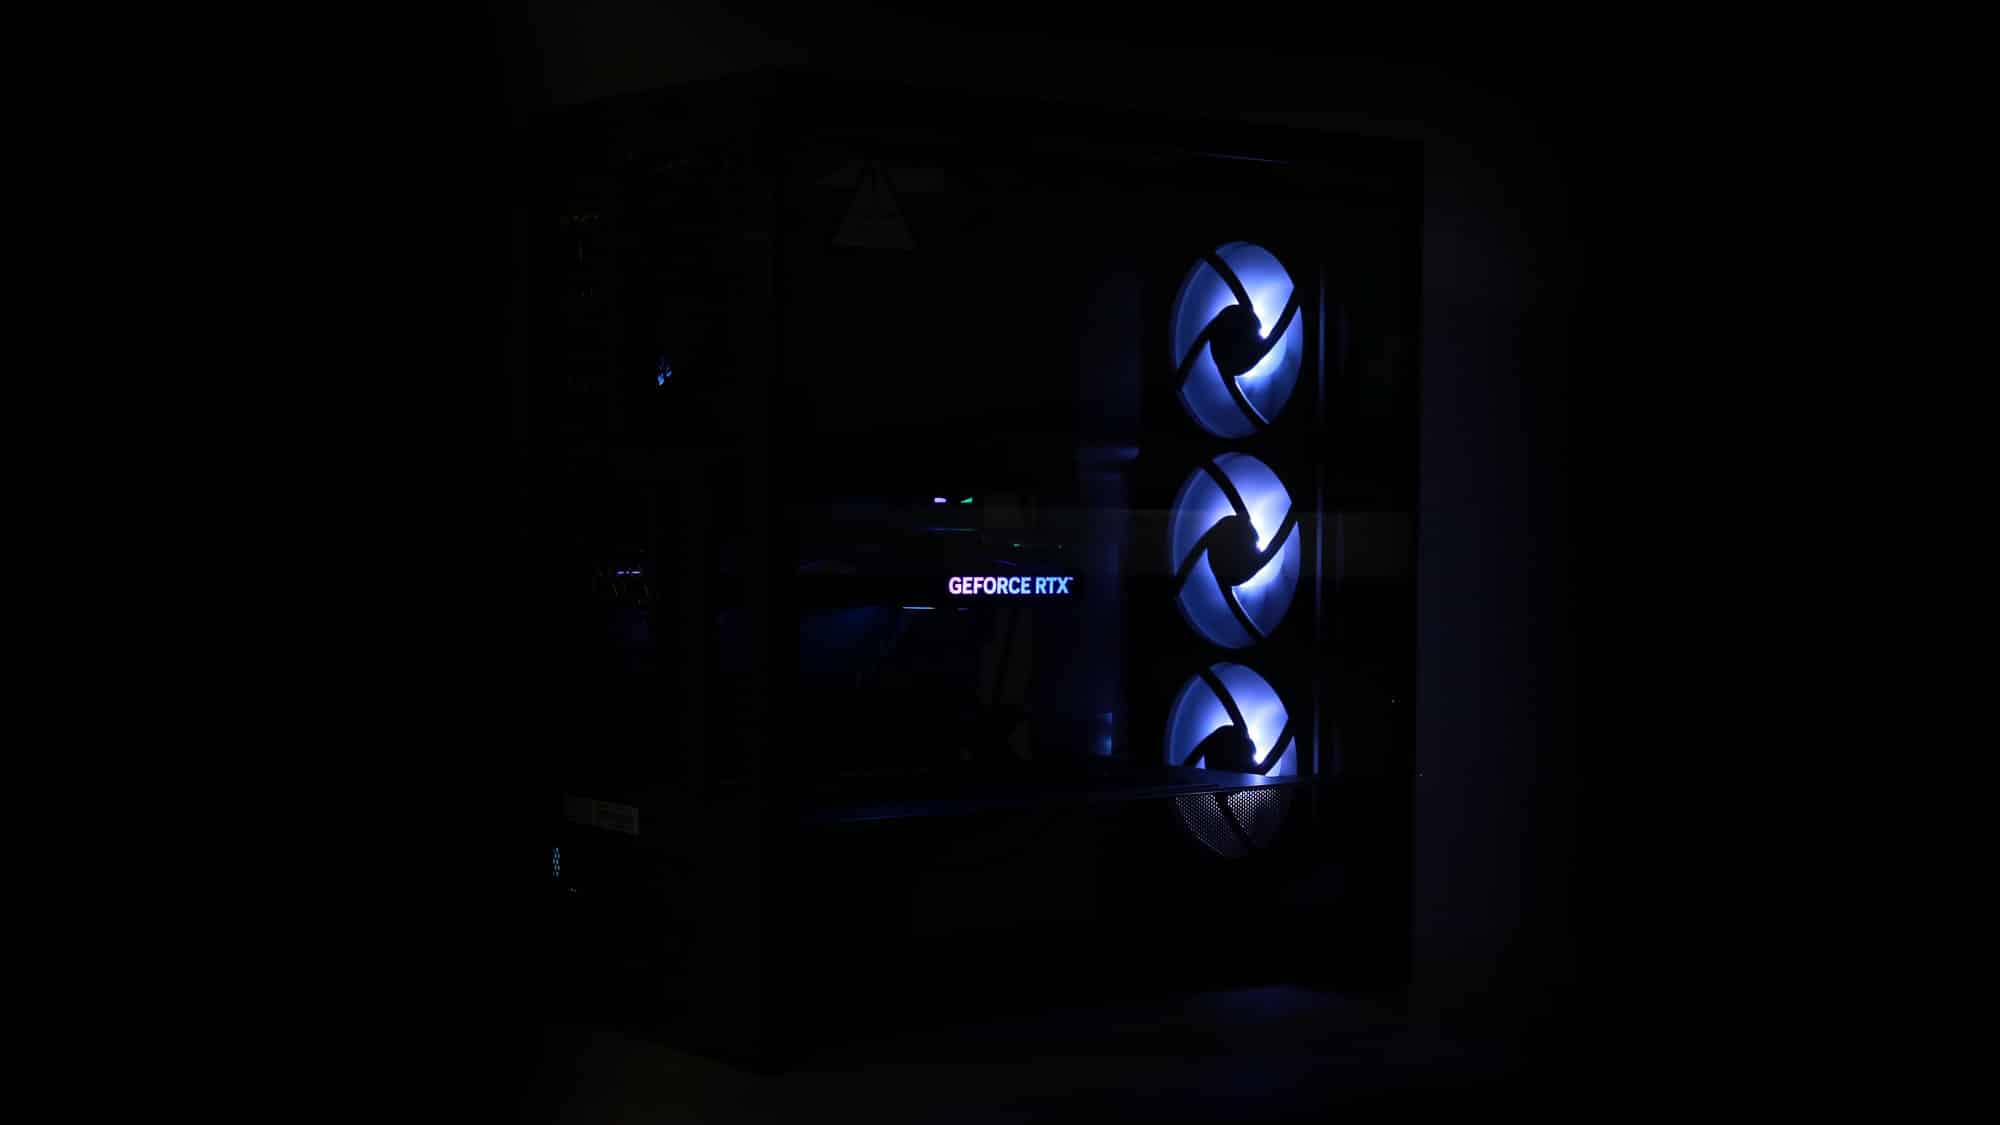
You can also check how it looks in the dark, especially when paired with the rest of your ARGB components.