Unboxing and First Impressions
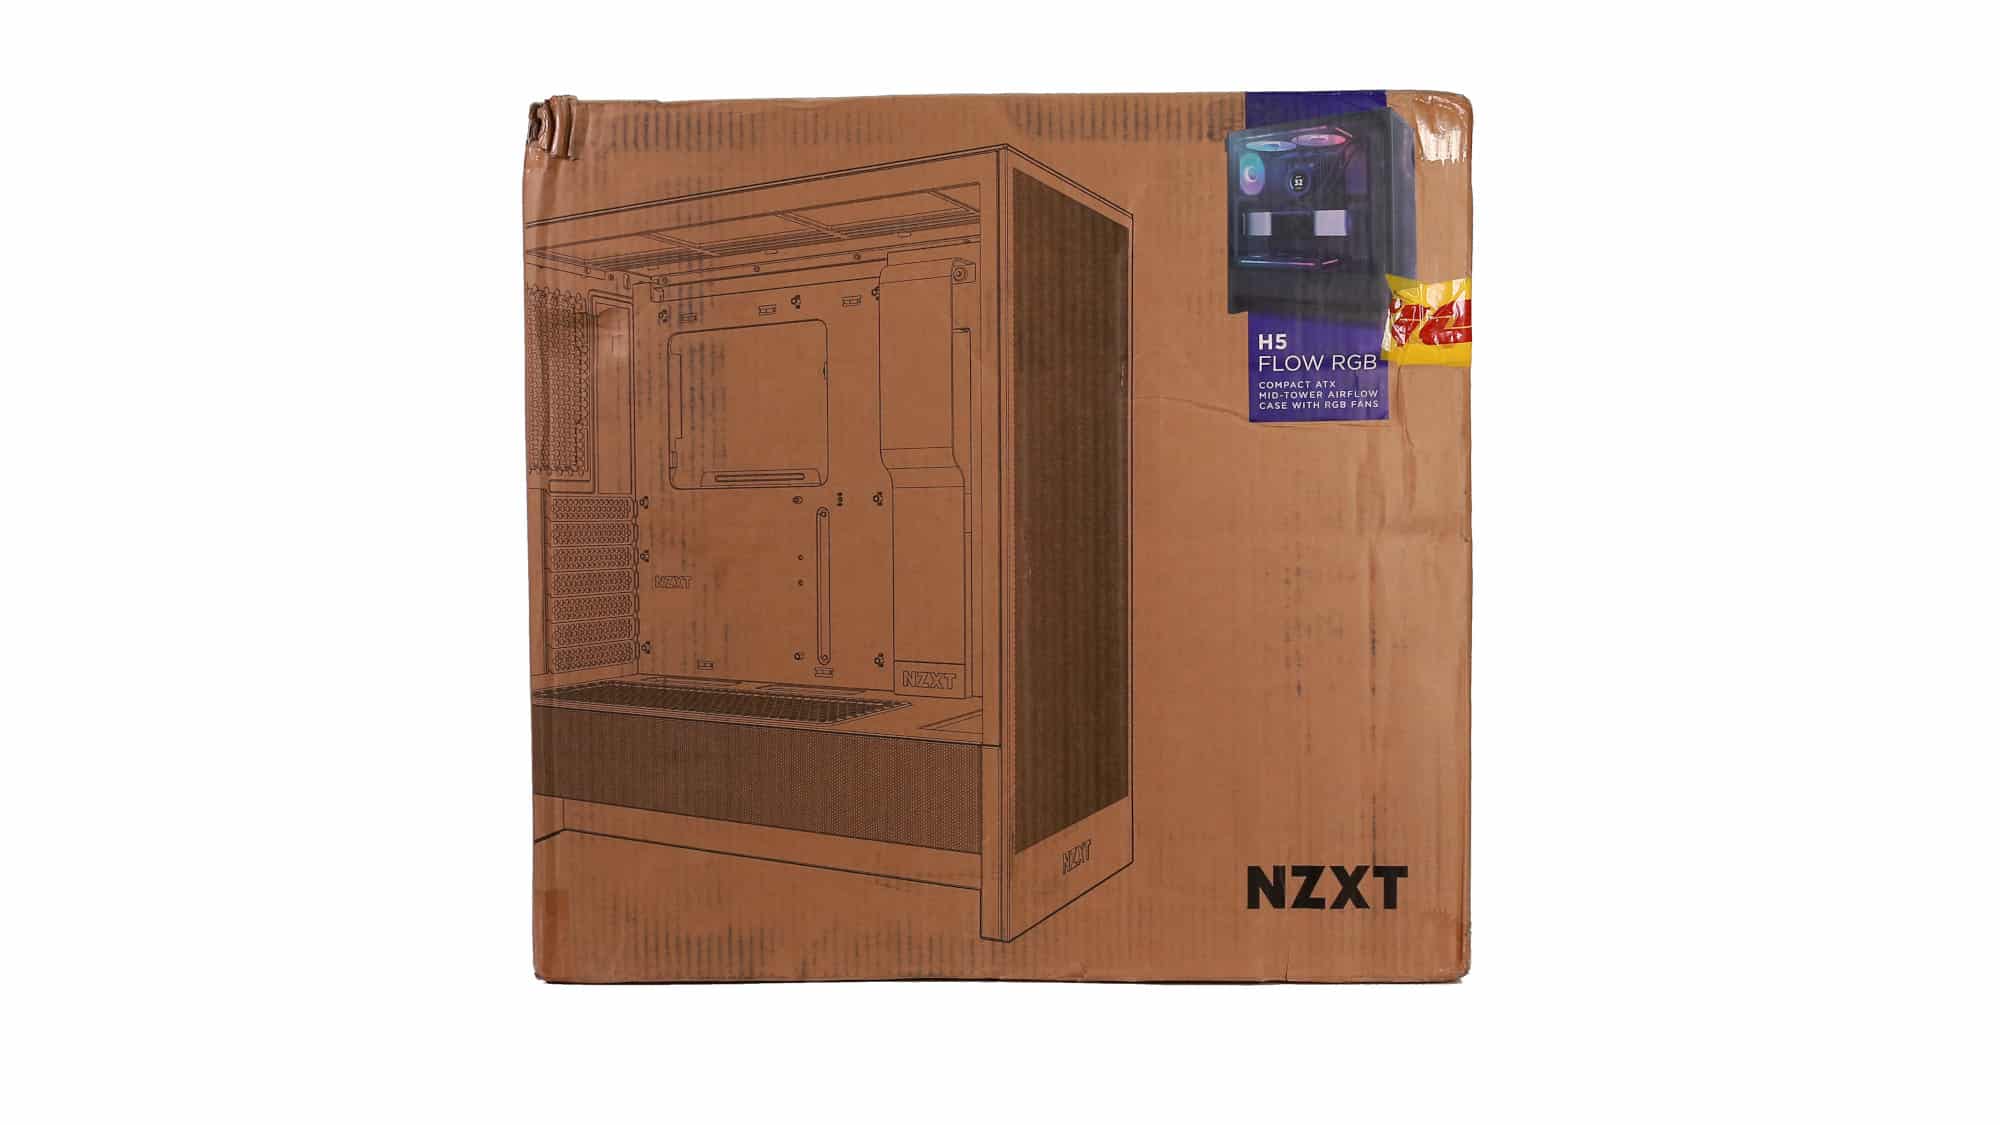
The H5 arrived well-protected in its box. Although it wasn’t double-boxed, it featured an additional cardboard insert and foam padding, similar to the H7, to protect it during transit. Once unboxed and free from its protective layers, the build quality and finish immediately stand out. It essentially looks like a smaller H7, with a more elegant appearance and less awkward footprint.
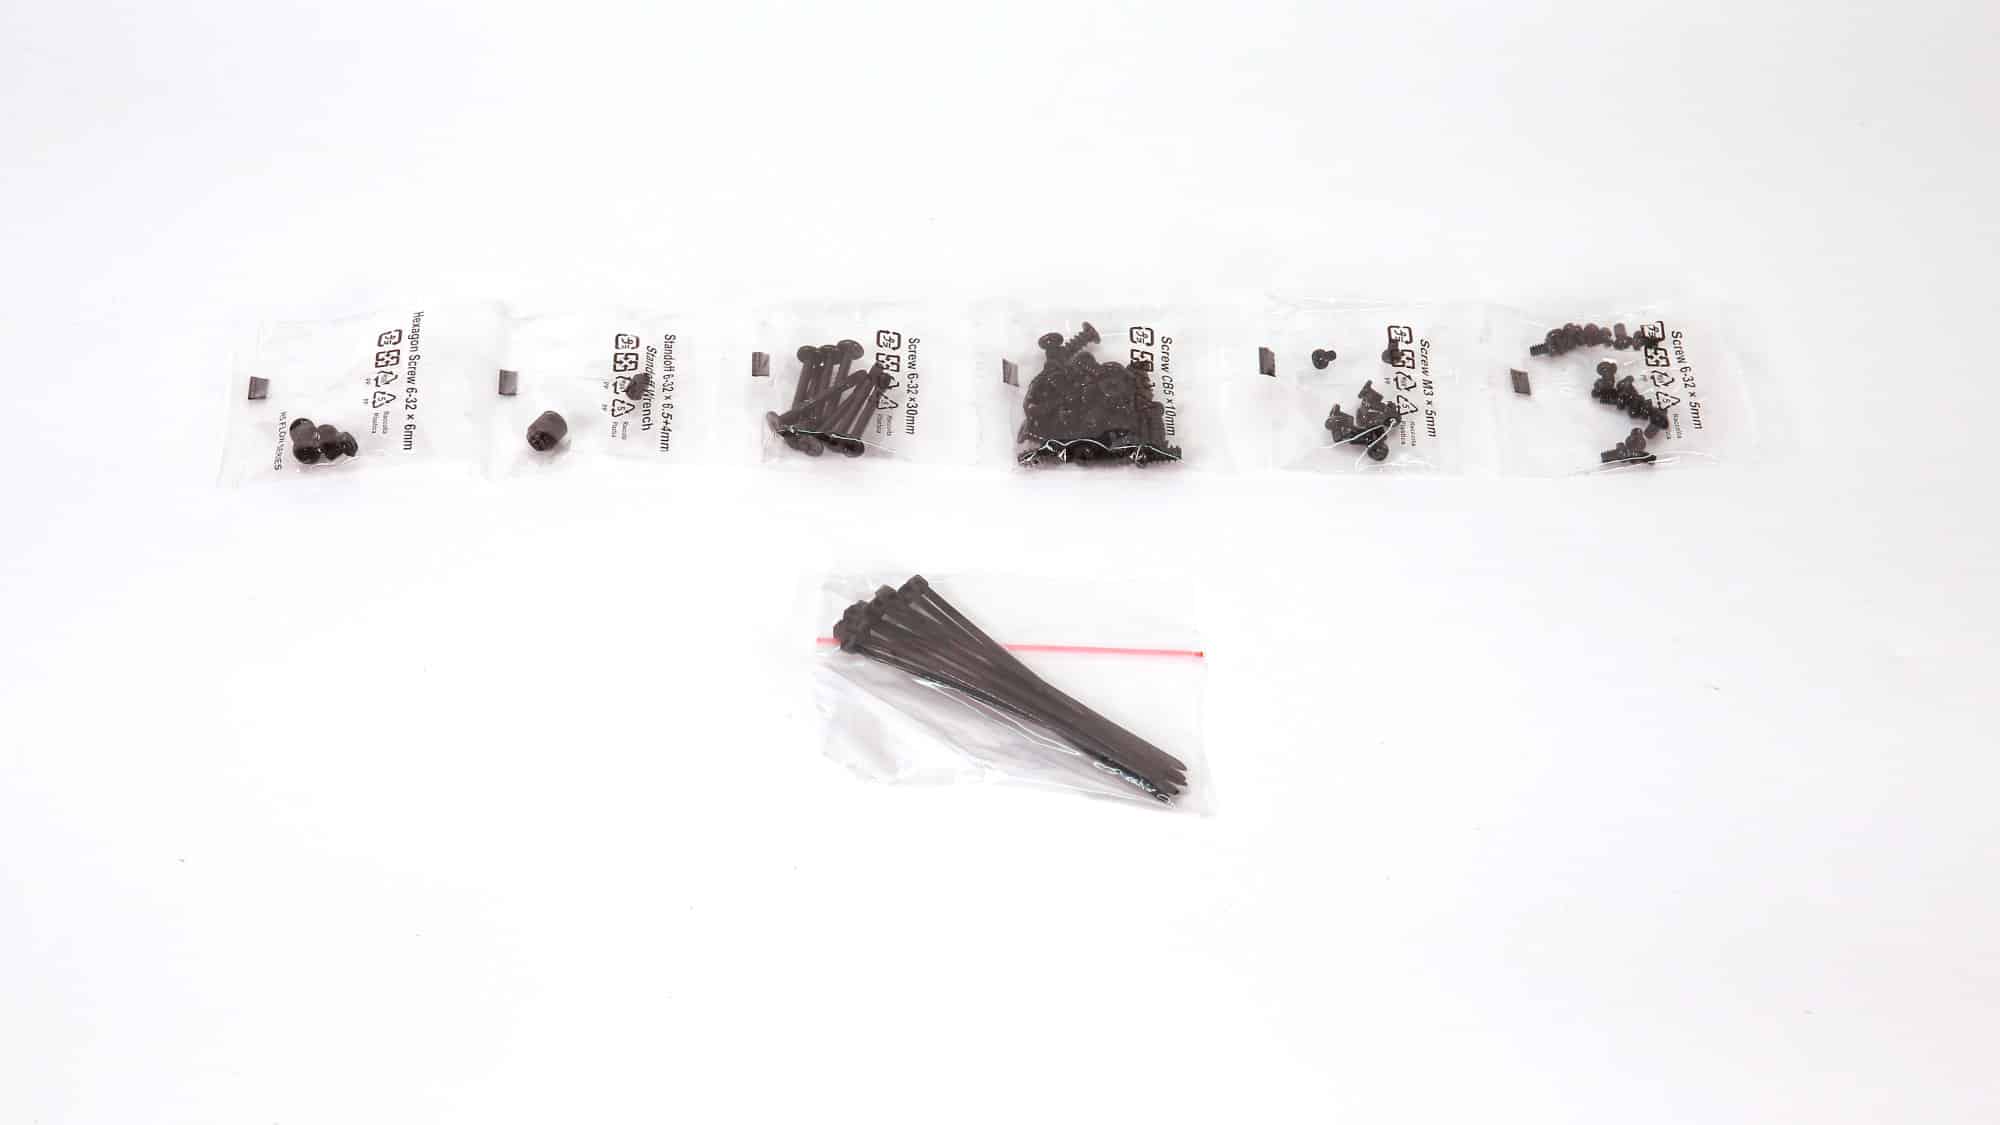
Inside, you’ll find the typical bundle: a few sets of screws and some zip ties. You’ll want scissors to open the zip tie bag; otherwise, you might start your build with a mess of screws and a bad mood. We’d like to see manufacturers shift from including zip ties to reusable Velcro straps instead.
Design and Build Quality
There may not be much that jumps out at first, but there’s a lot to unpack once you start looking closer.
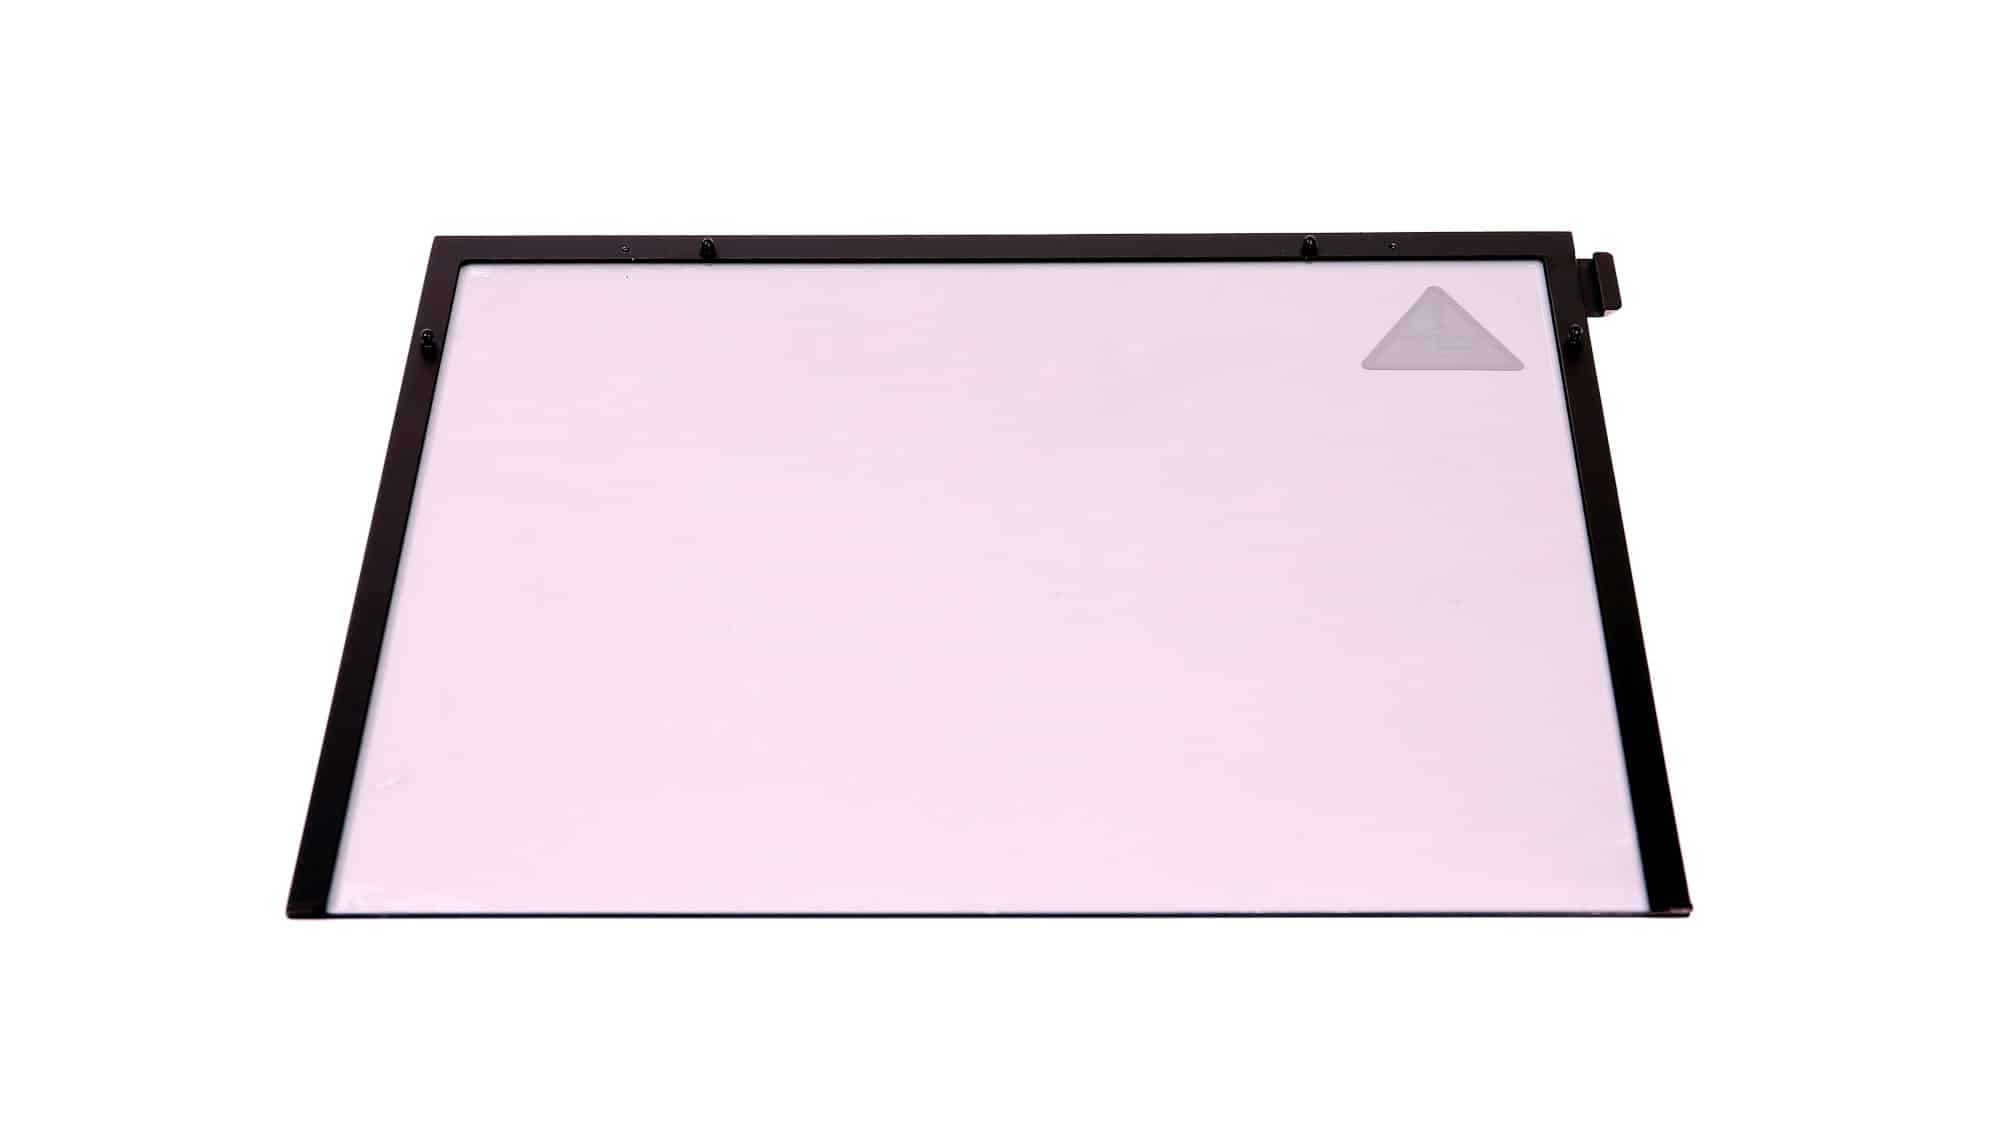
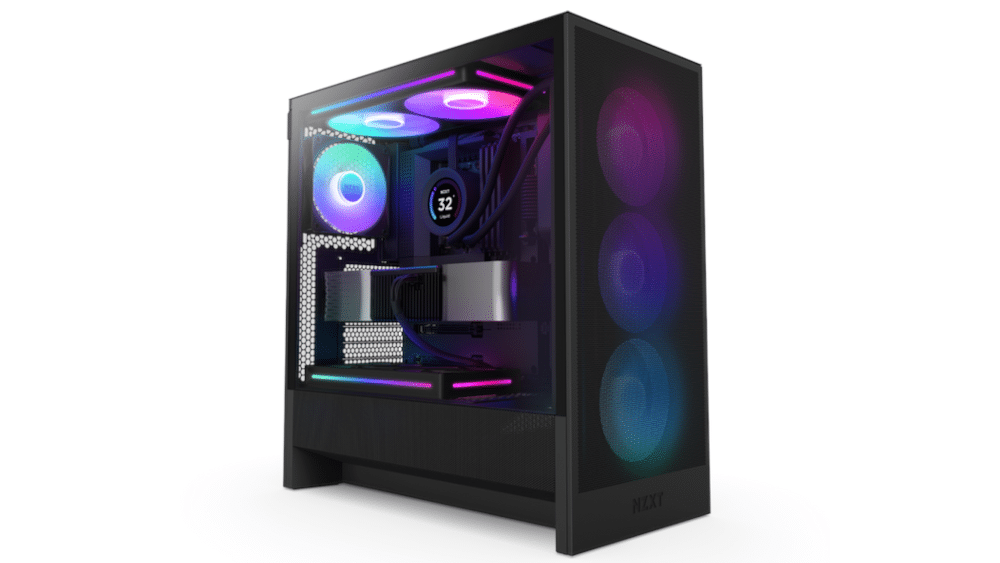
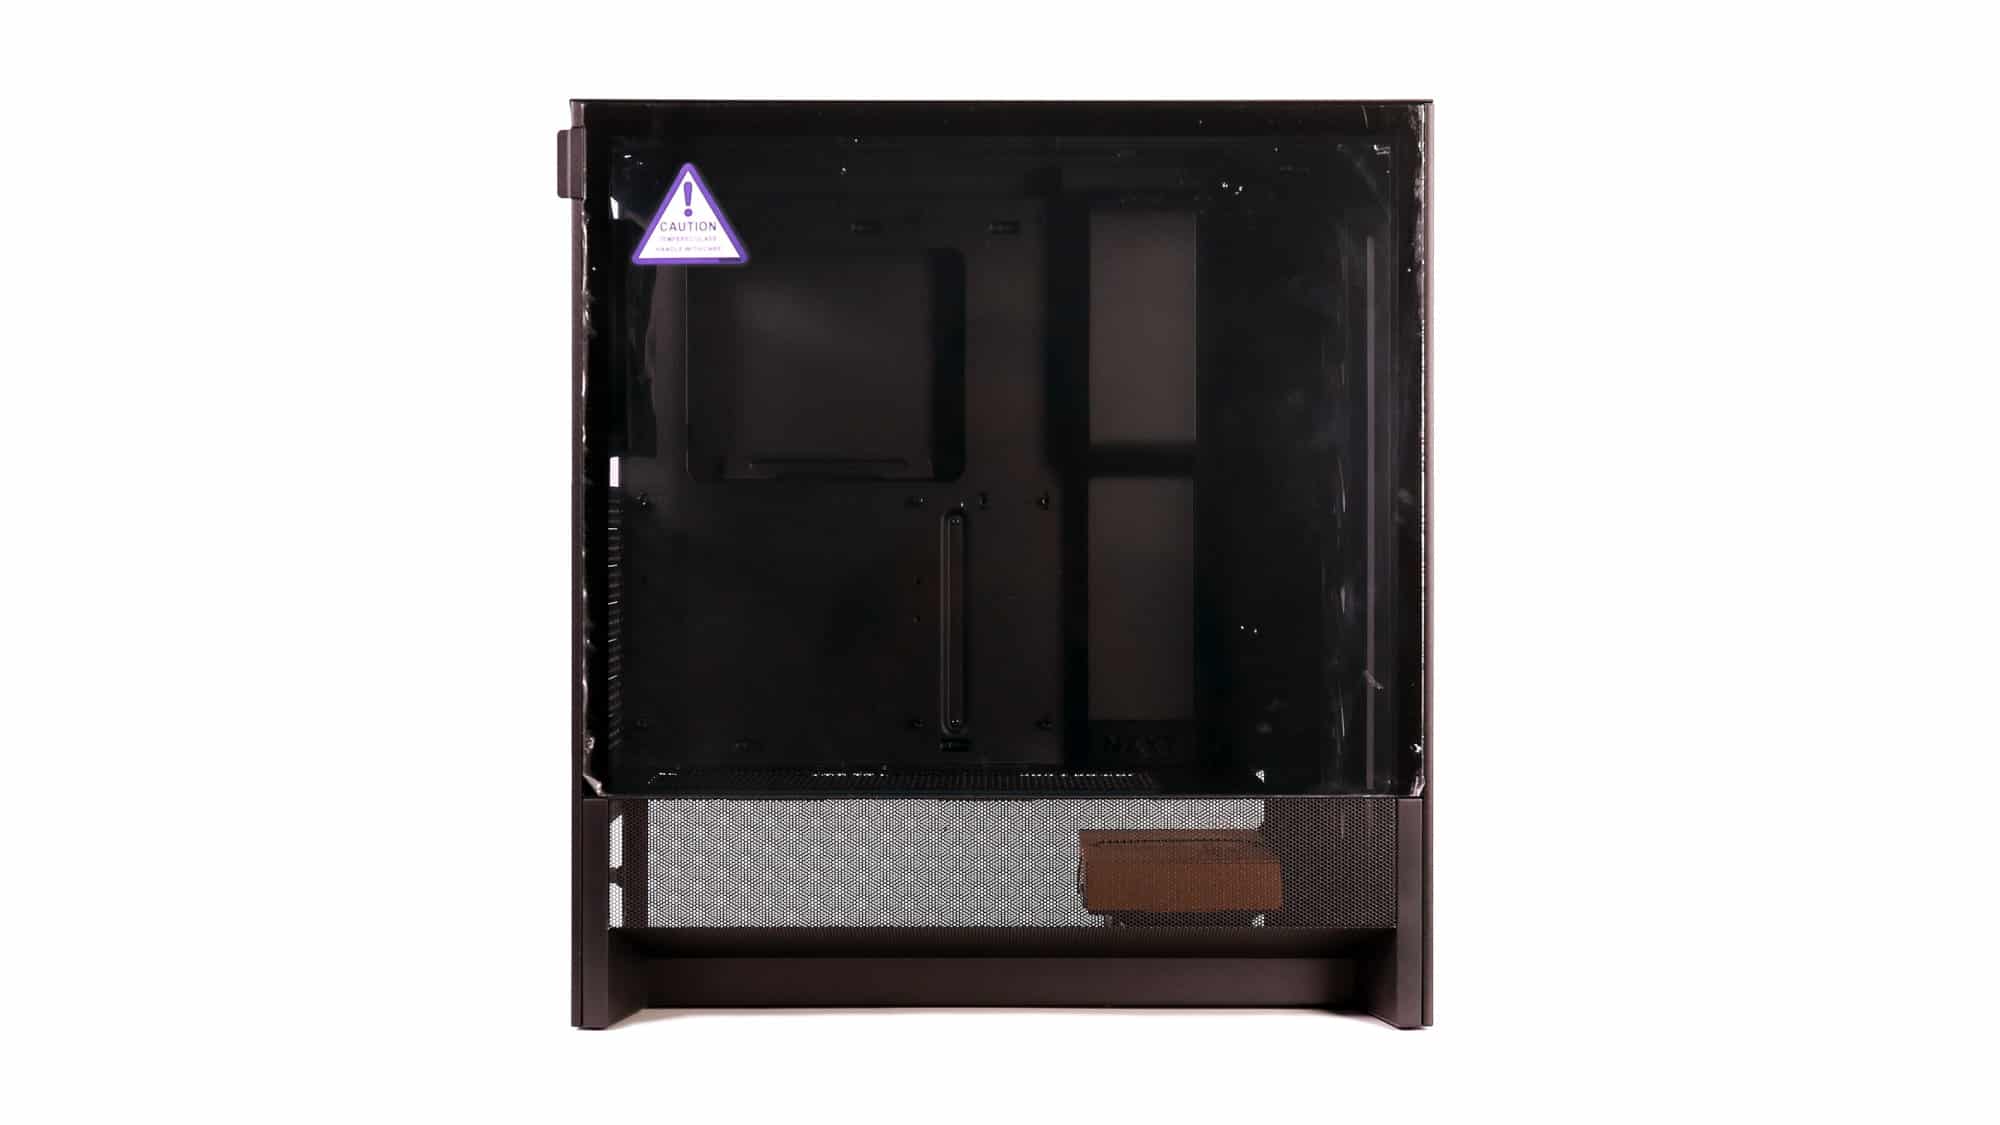
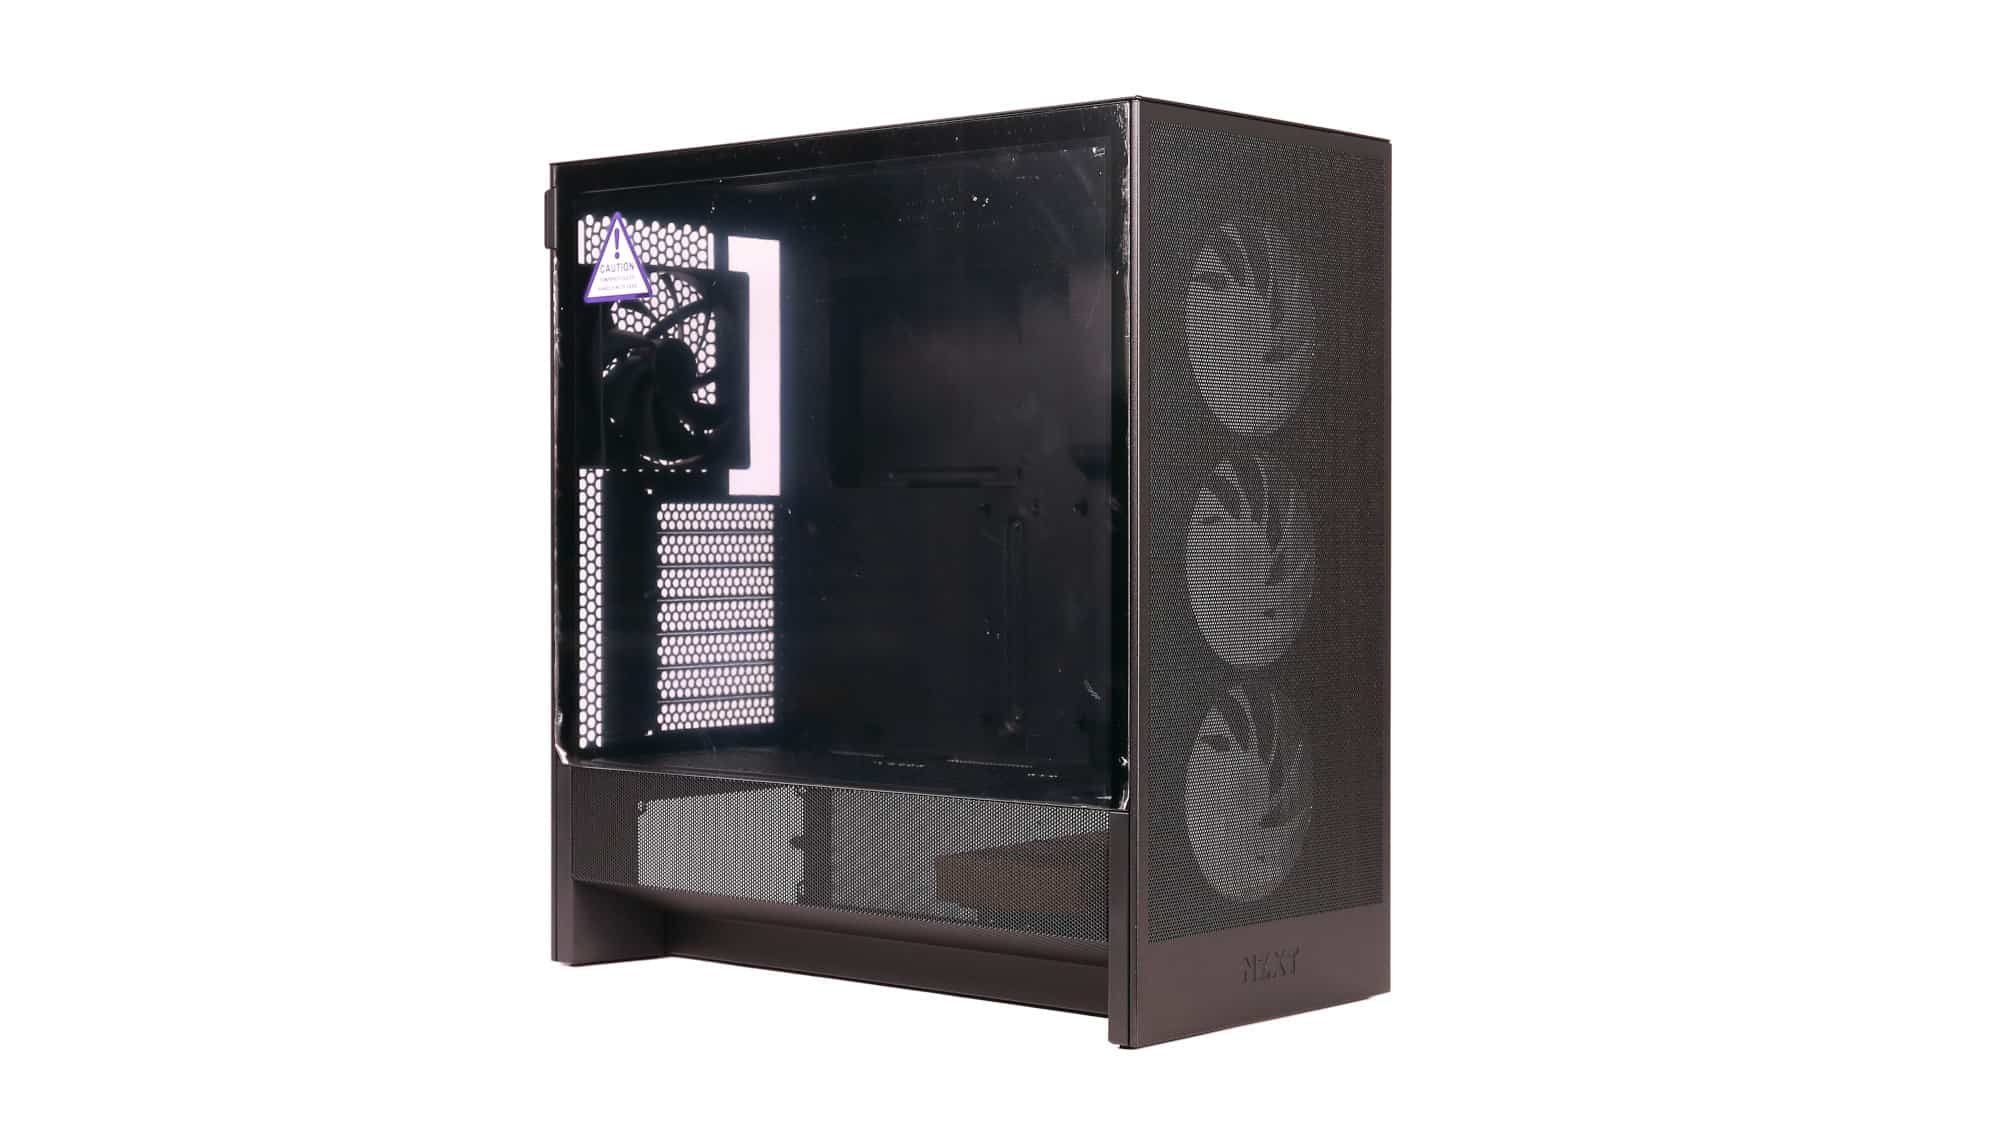
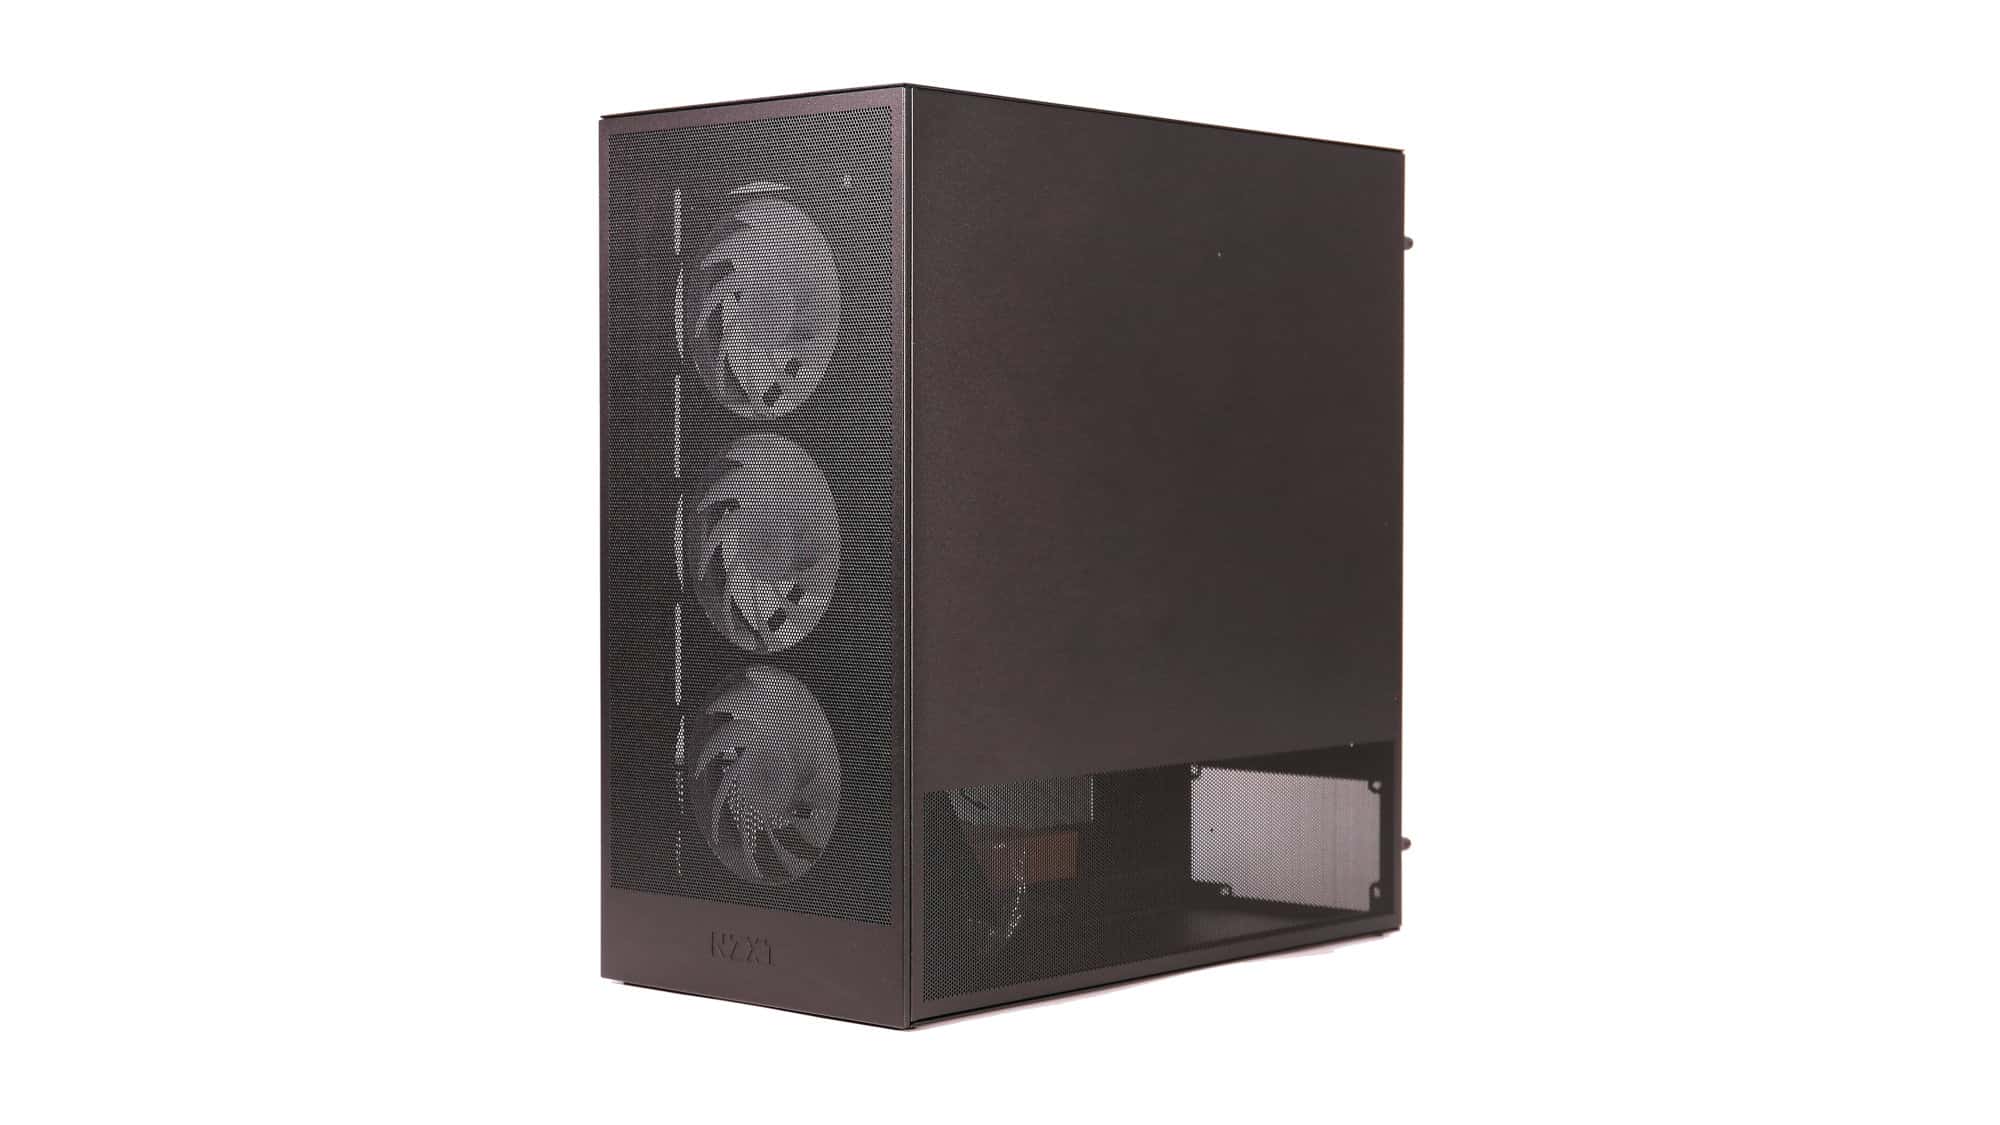
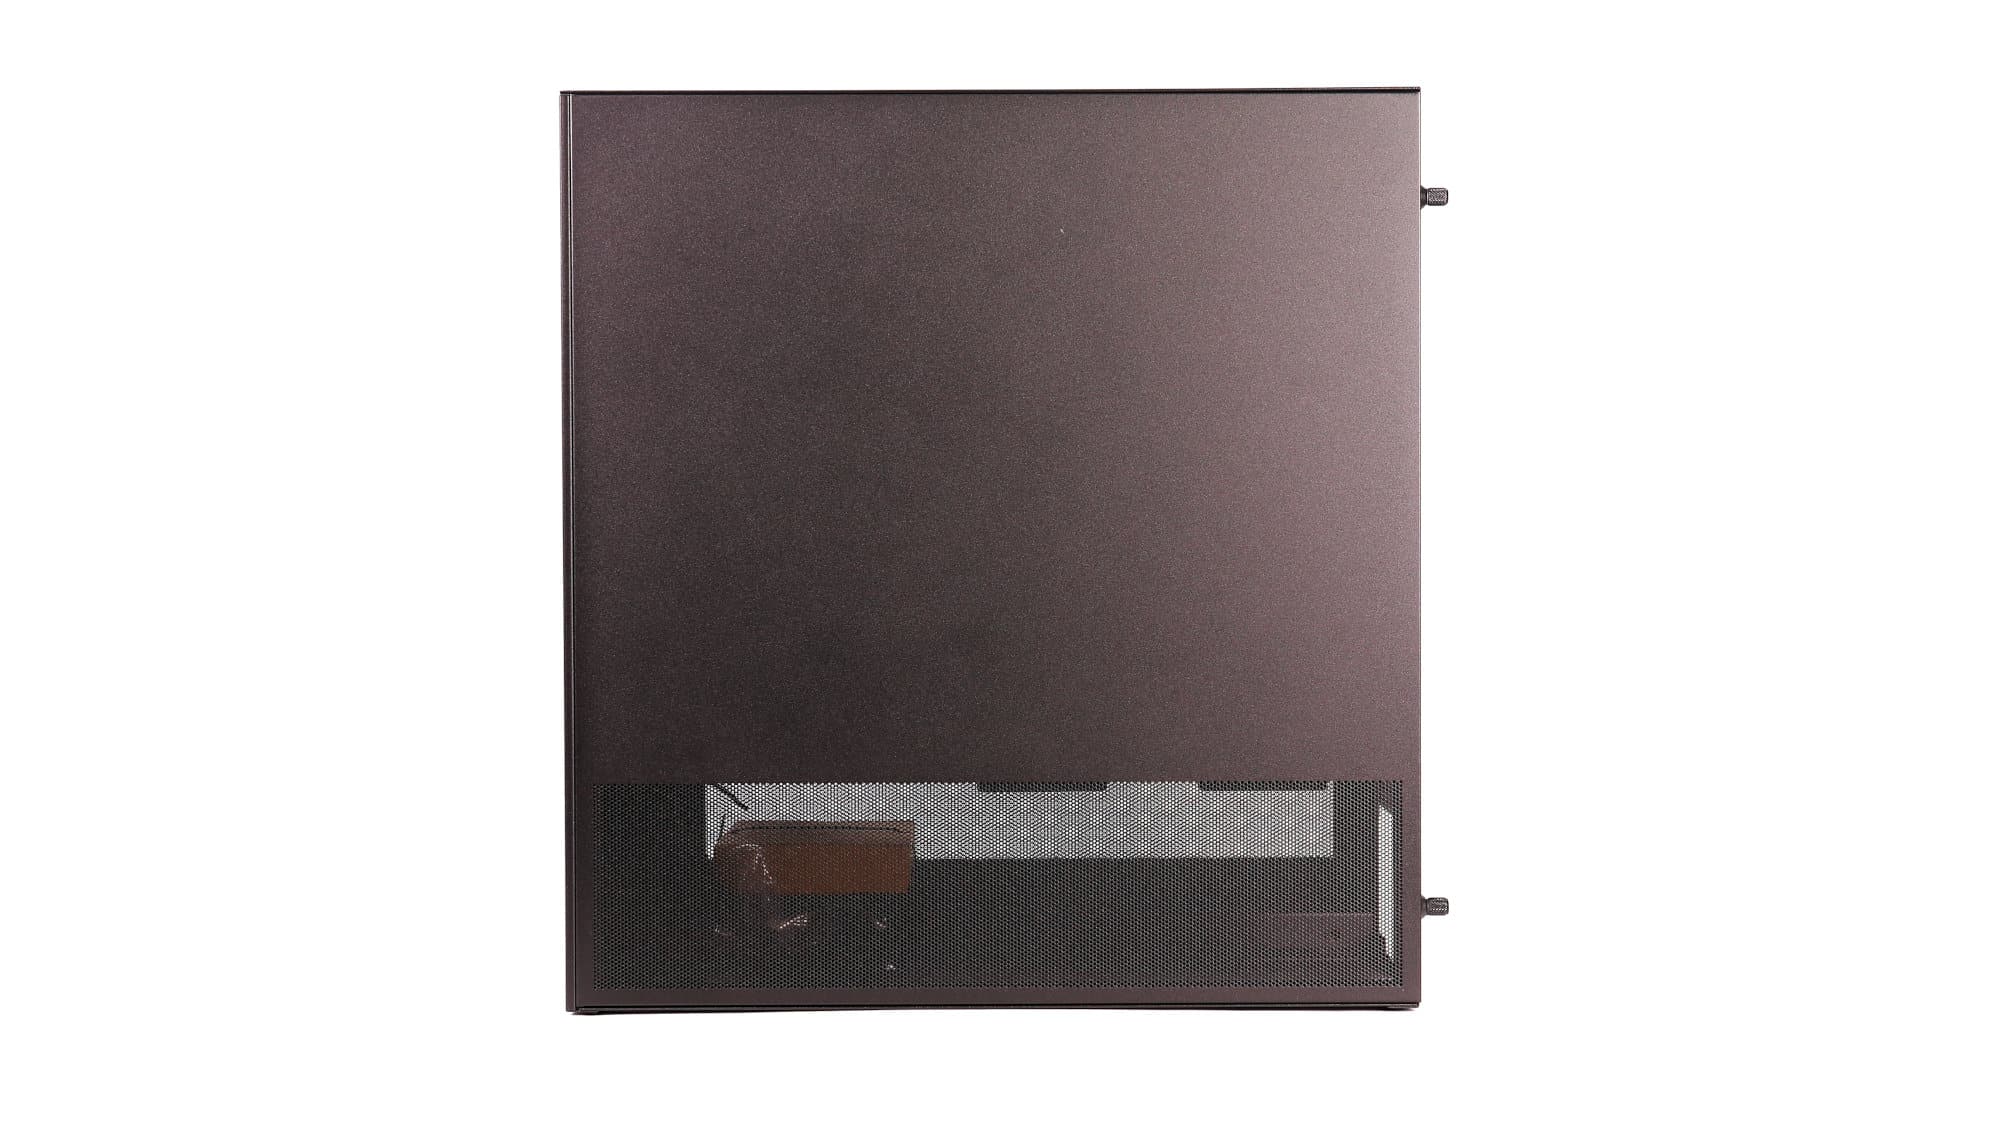
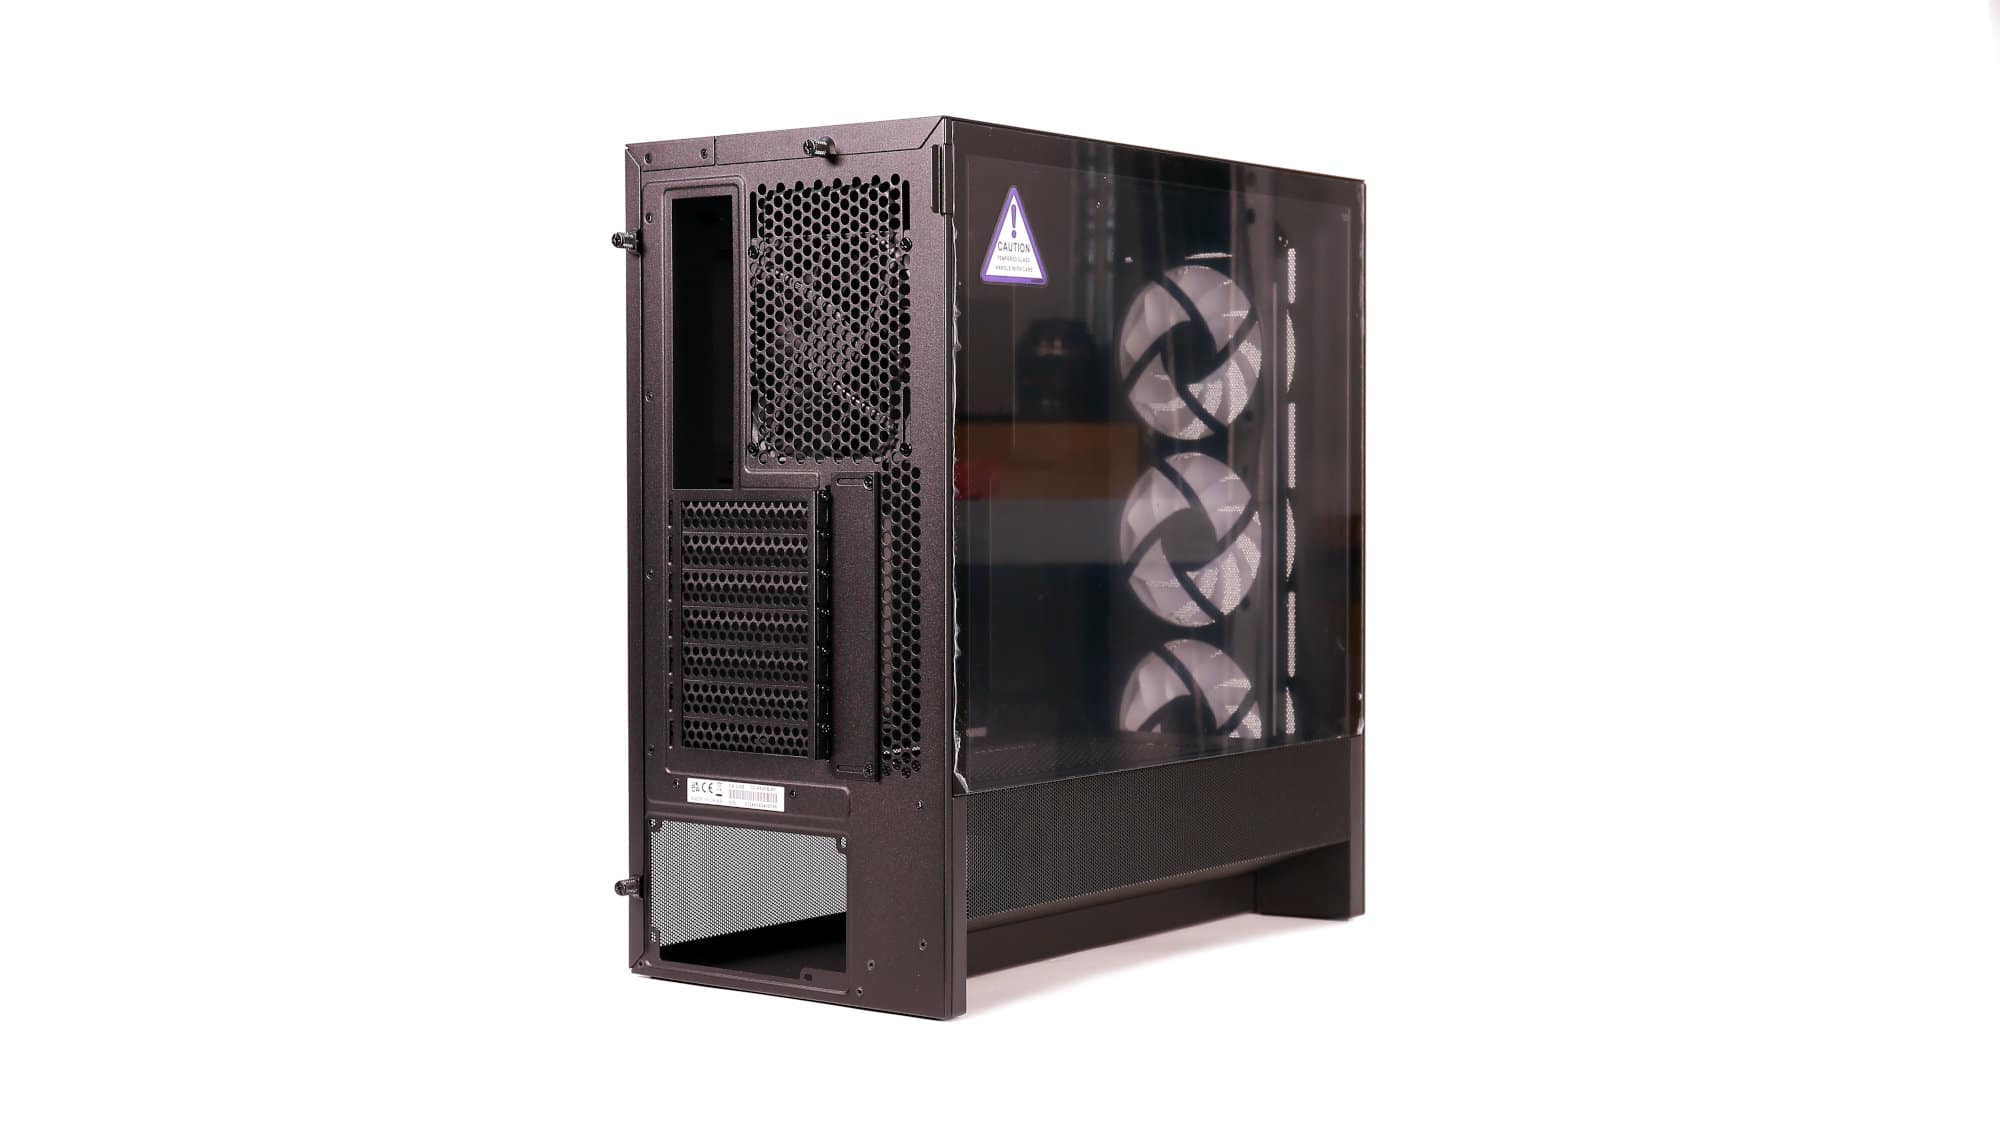
On the left side, we have tinted tempered glass (clear on the white model), an excellent piece in terms of quality. Unlike the H7, the H5 isn’t fully glass on this side. Below the glass is a perforated panel over the PSU shroud.
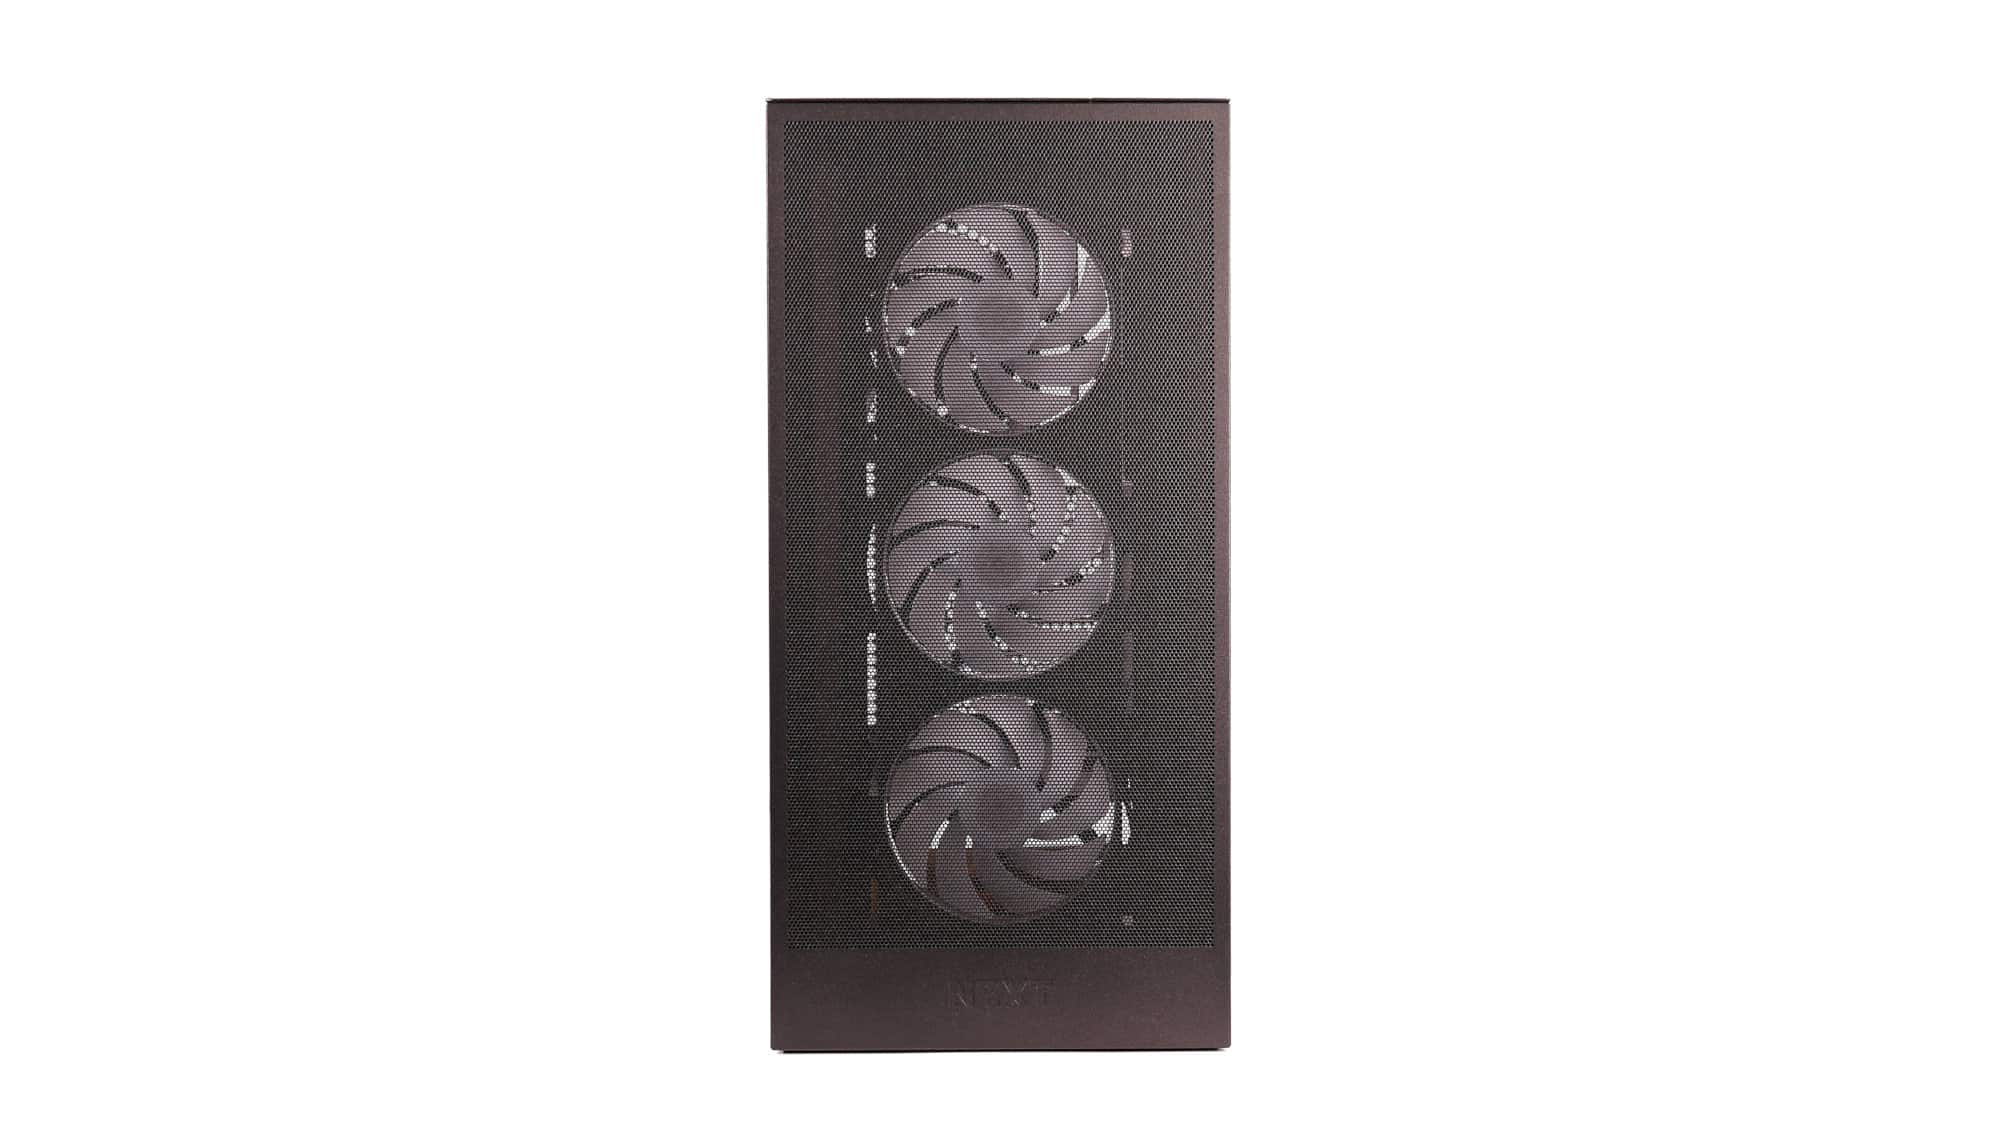
The front panel features a large perforated grille with machined holes for airflow, and the NZXT logo is positioned at the bottom.
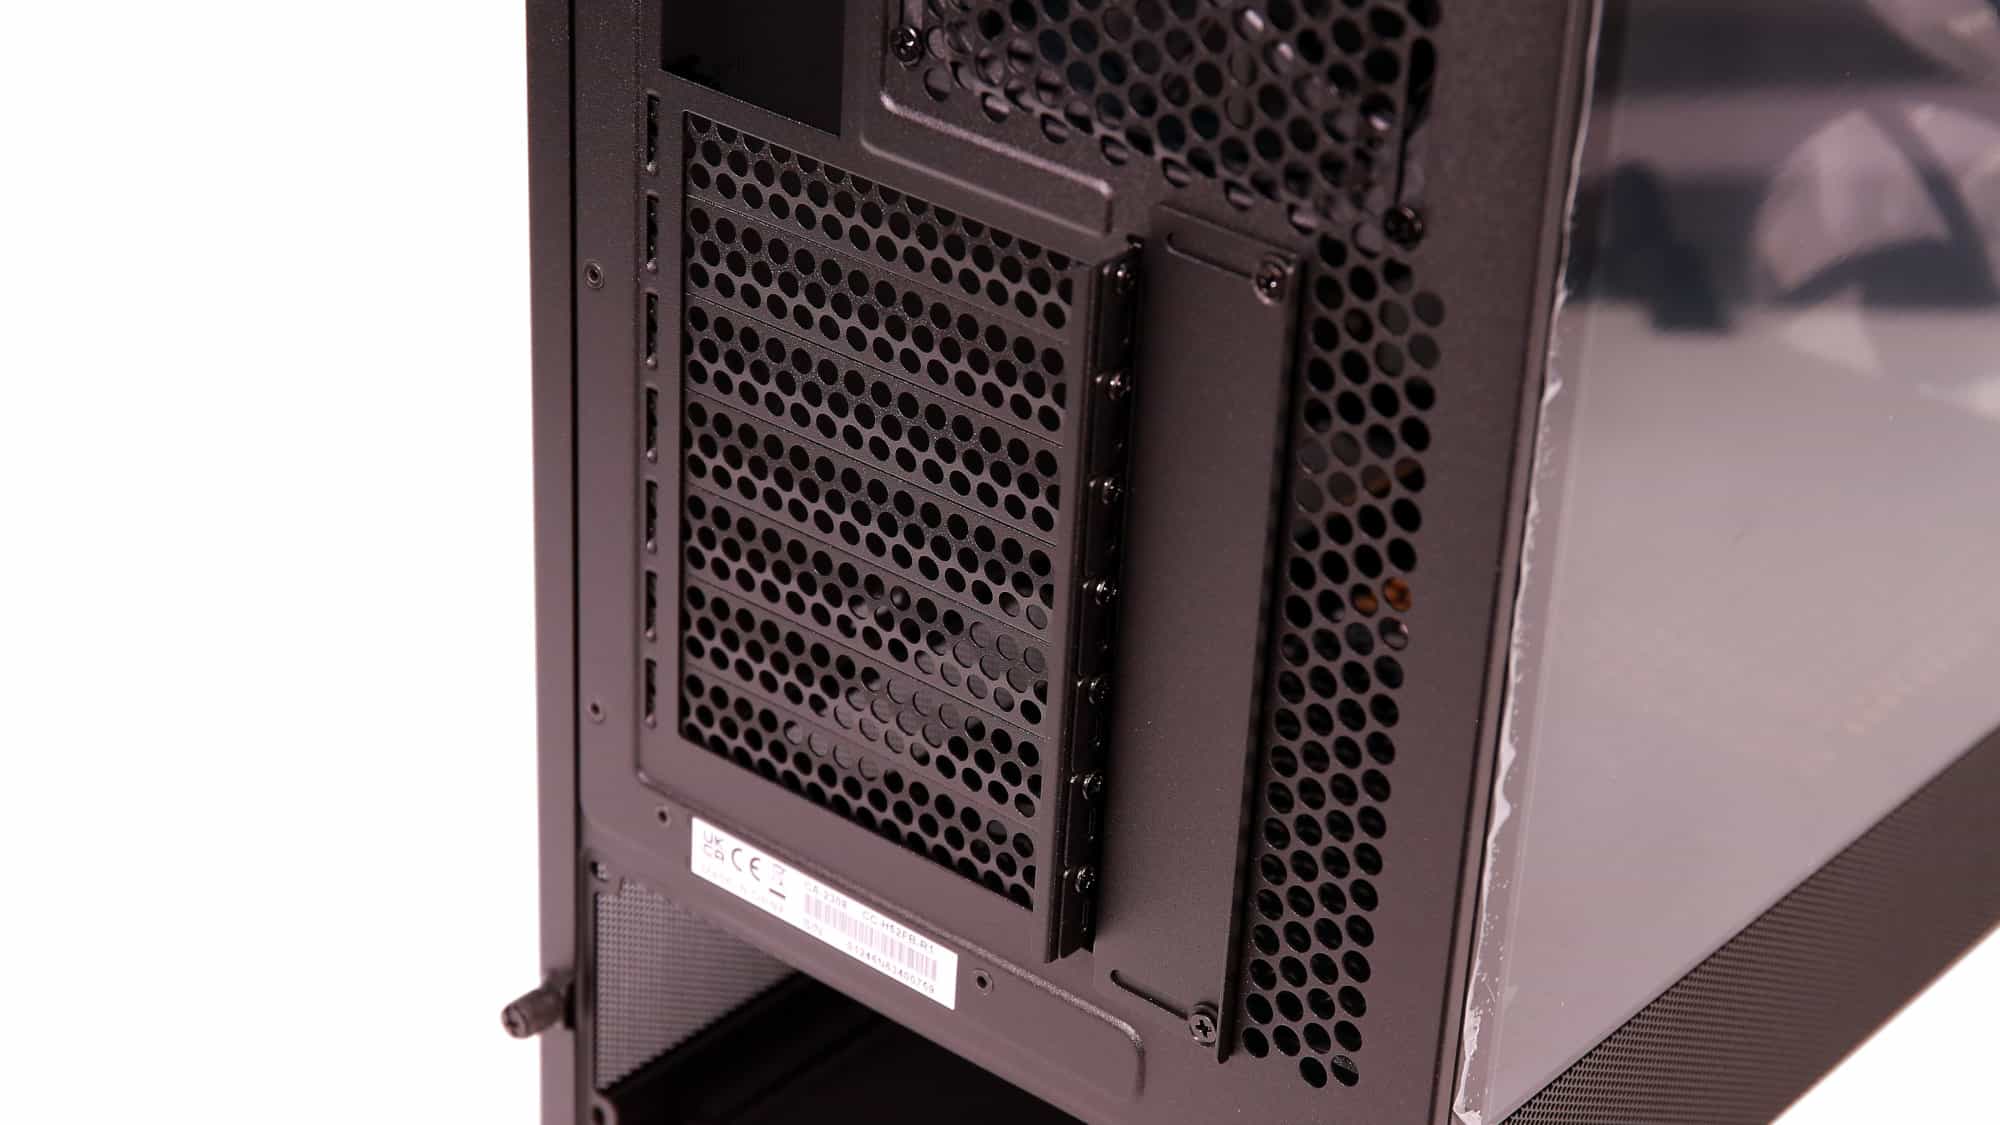
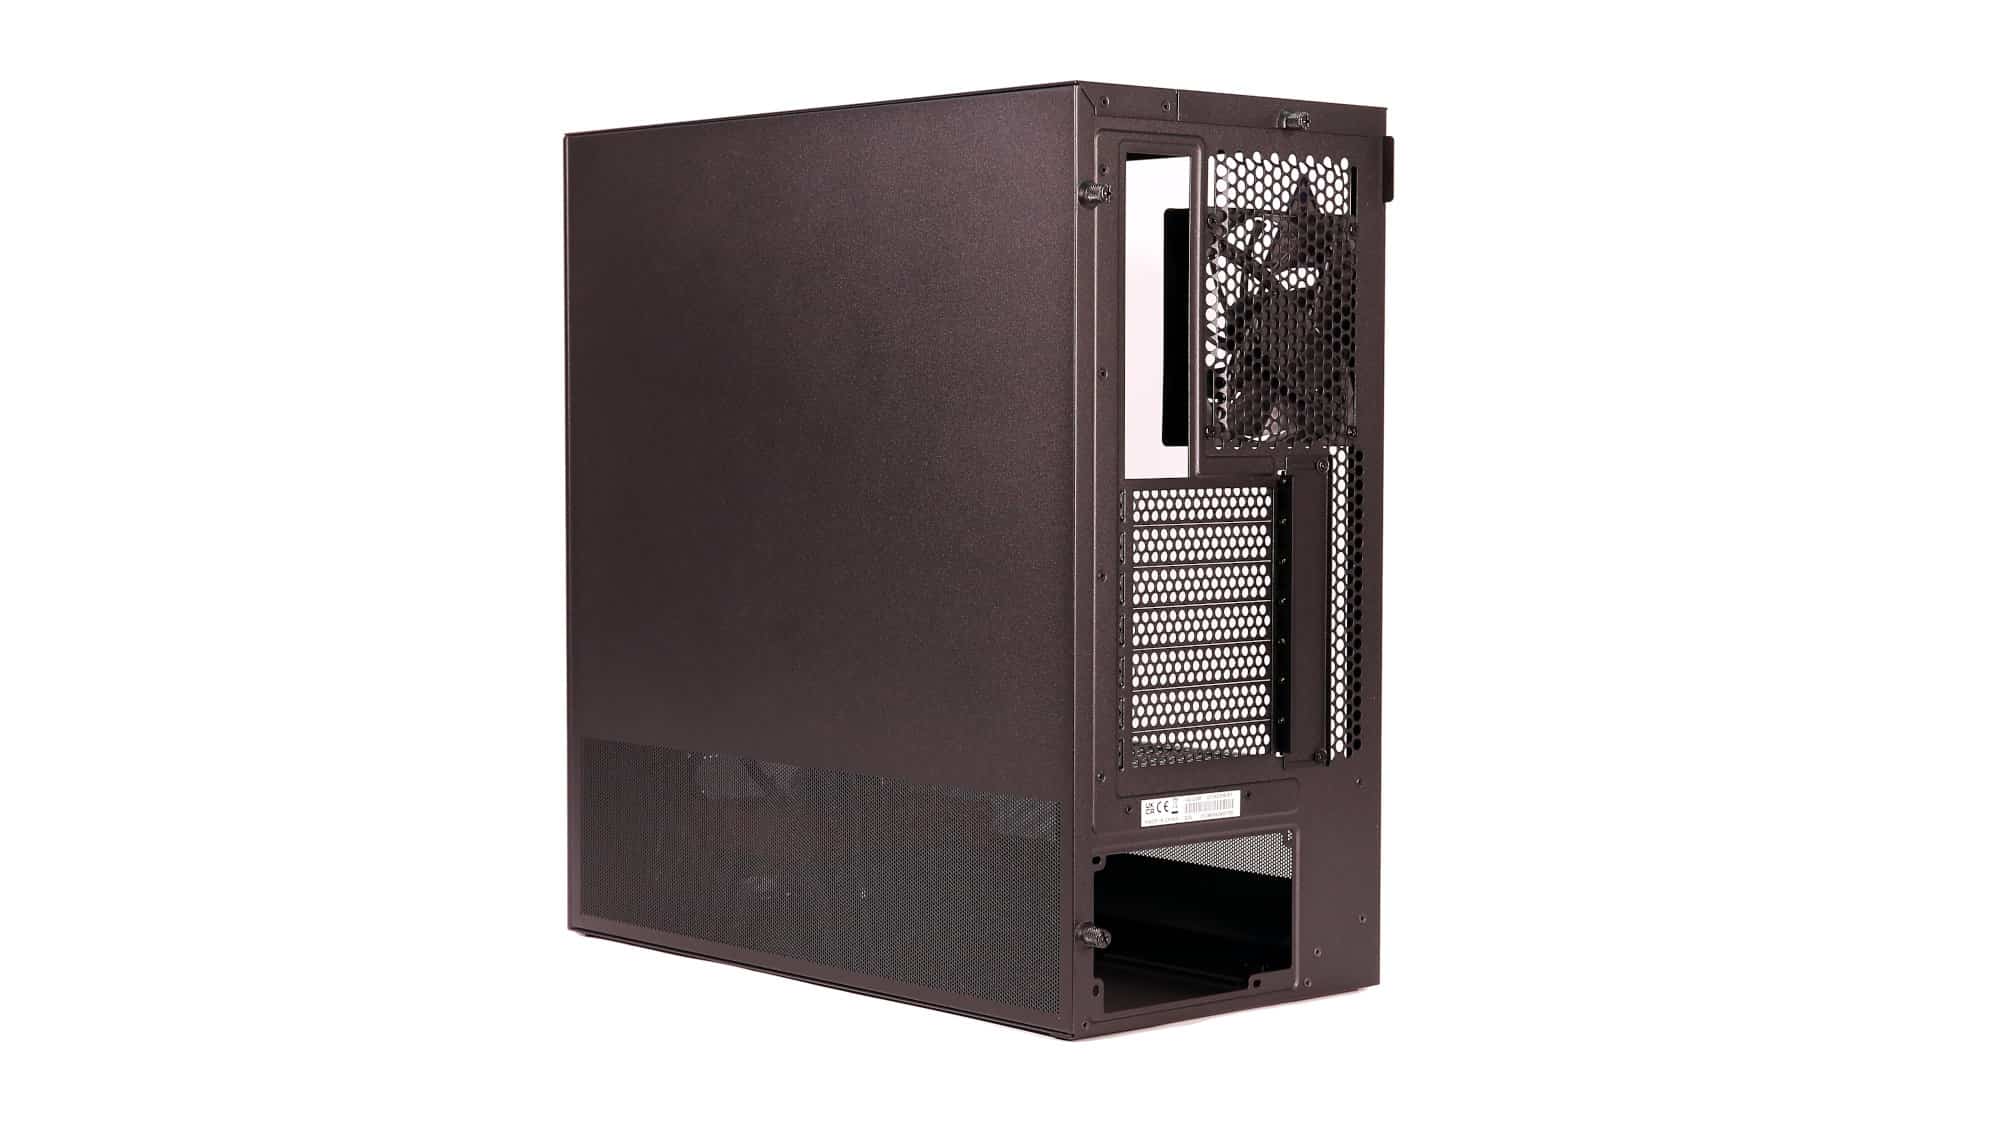
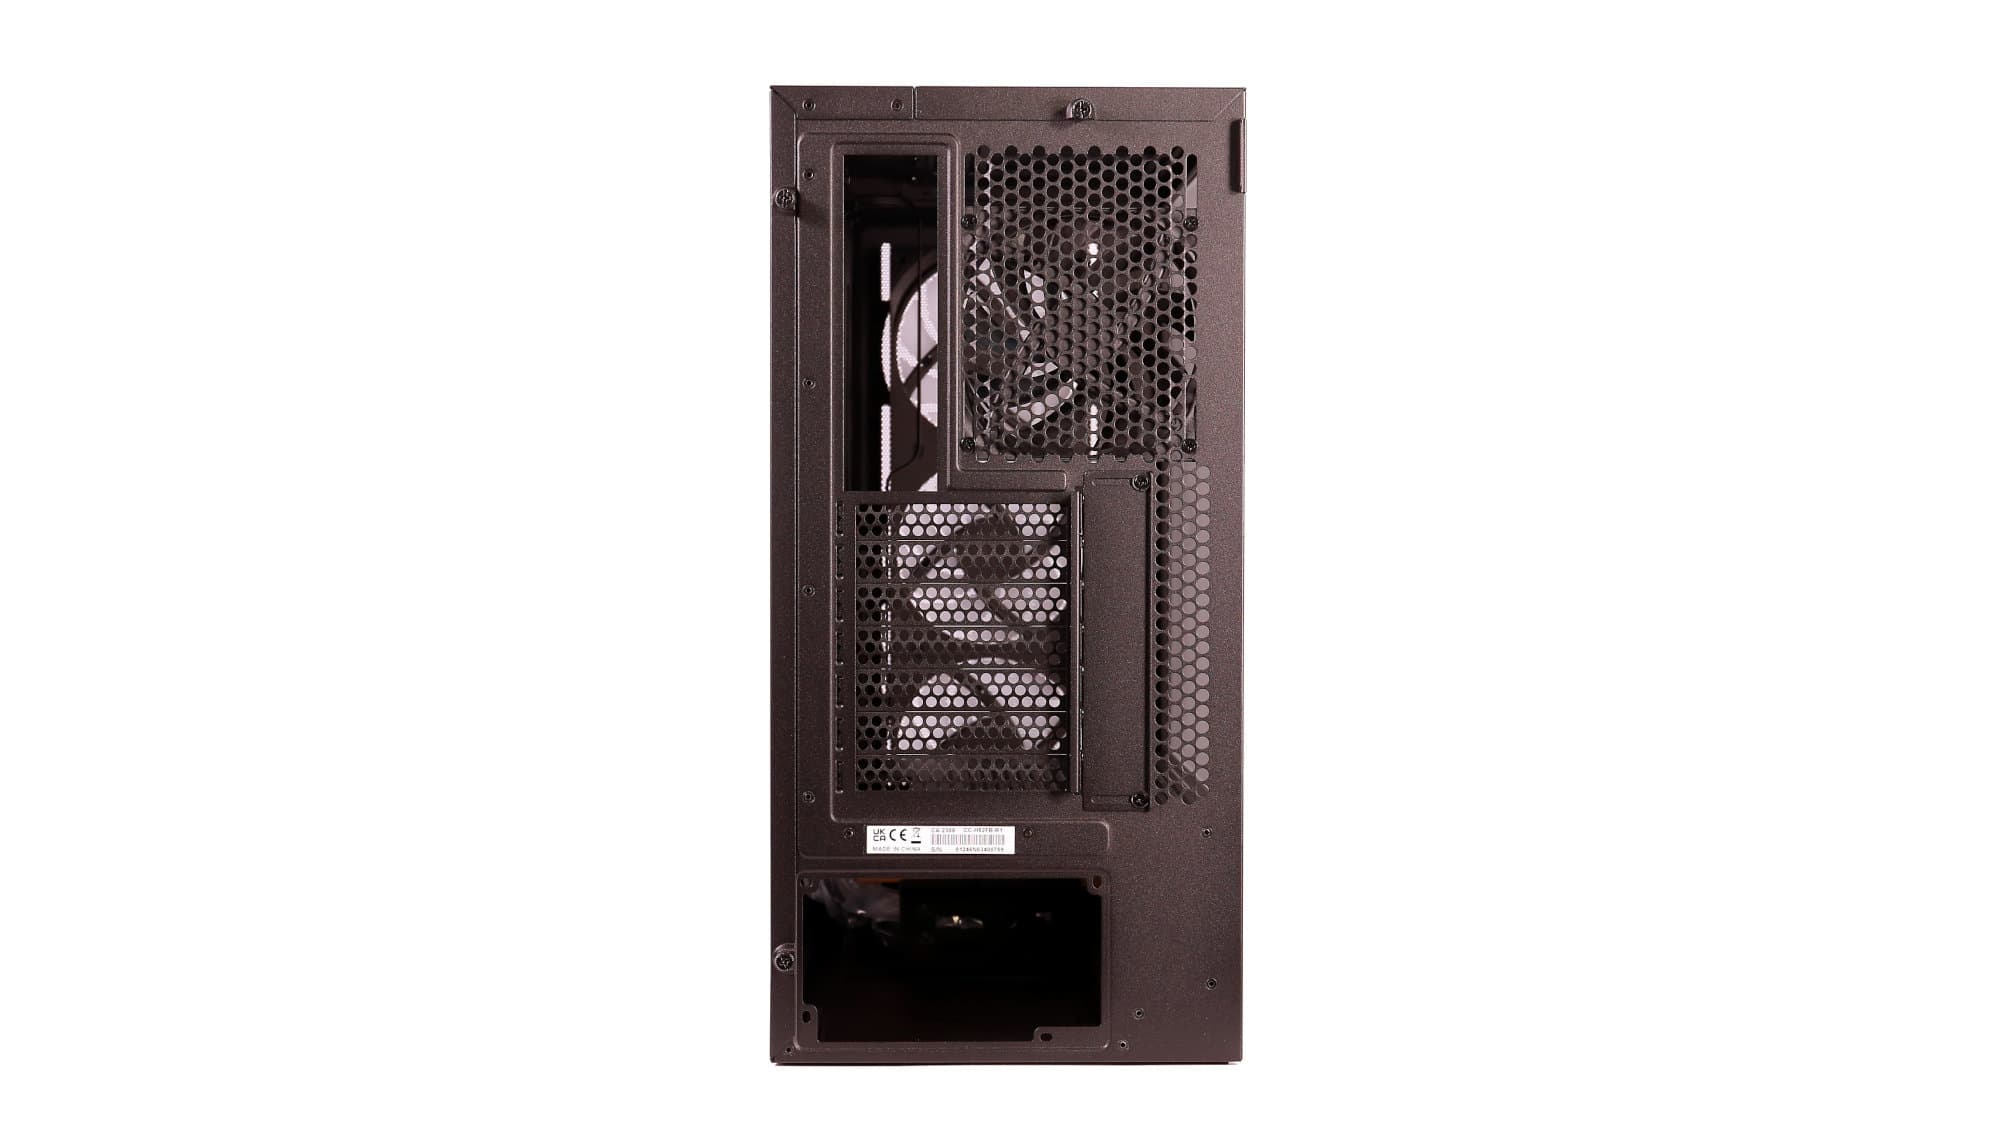
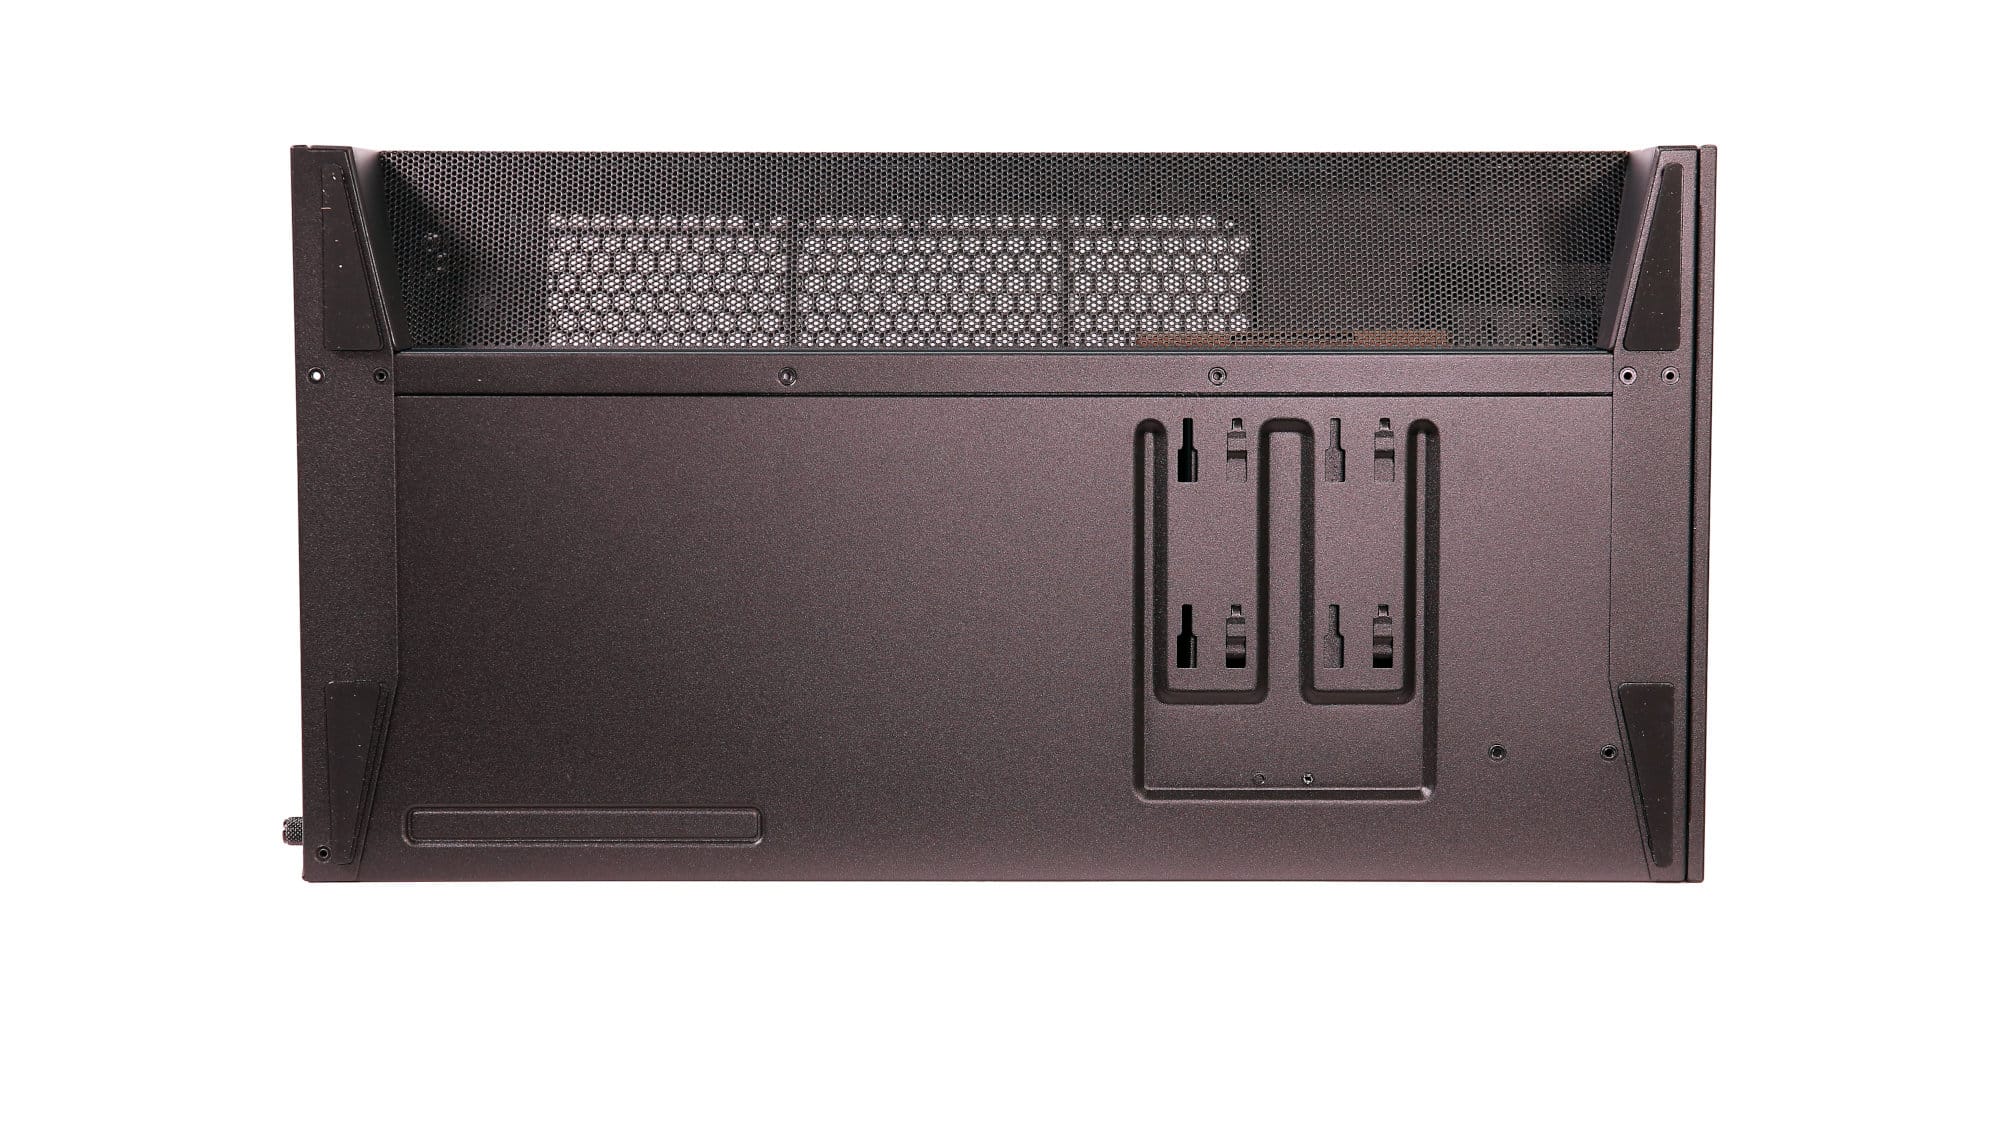
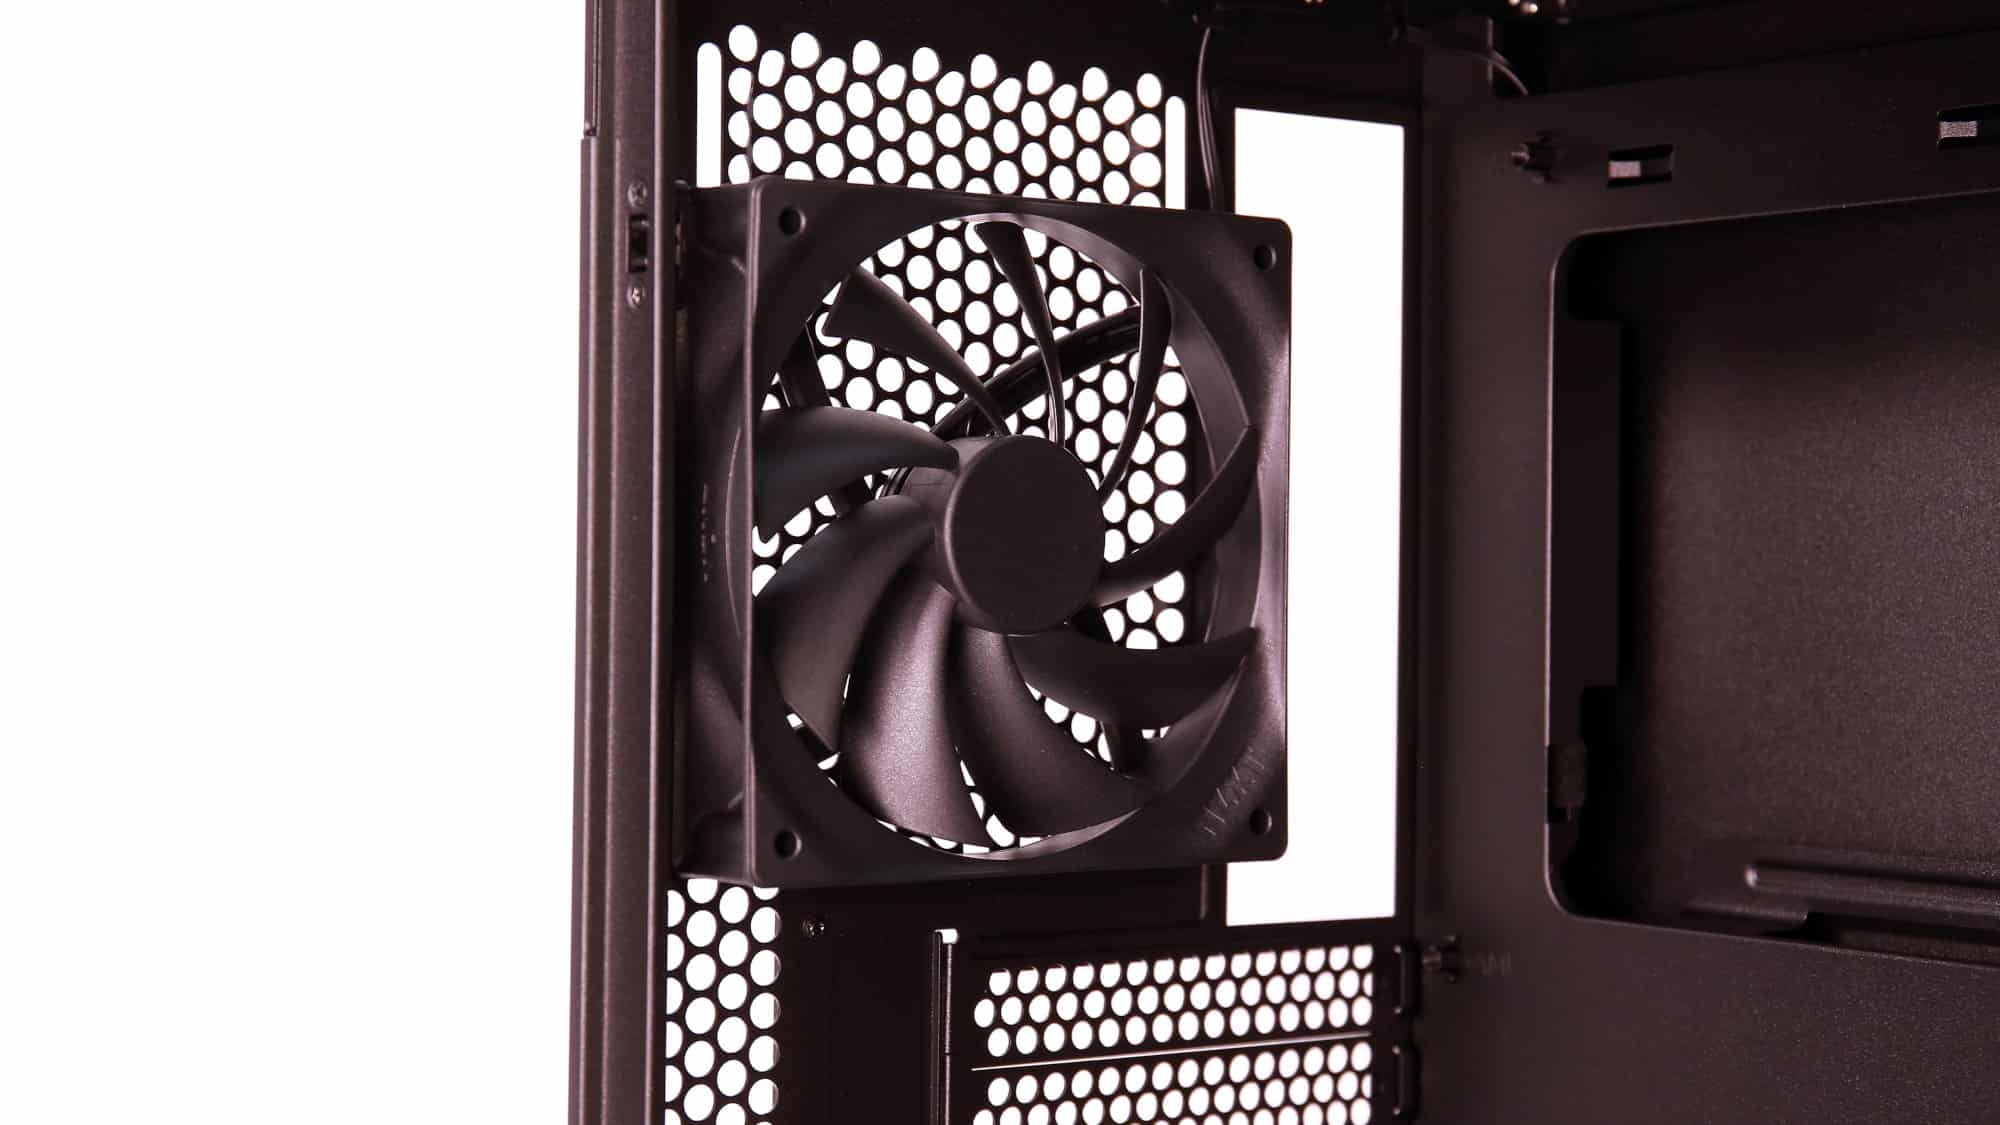
The rear panel is made of steel, with perforations at the PSU shroud. It’s held in place by thumbscrews. The rear layout is familiar: a fan, motherboard I/O cutout, seven bridgeless expansion slots, and a PSU opening at the bottom. Uniquely, nearly the entire rear is ventilated, except for a small sliding piece of metal meant to cover the expansion slots. The PSU sits horizontally and slightly off-center.
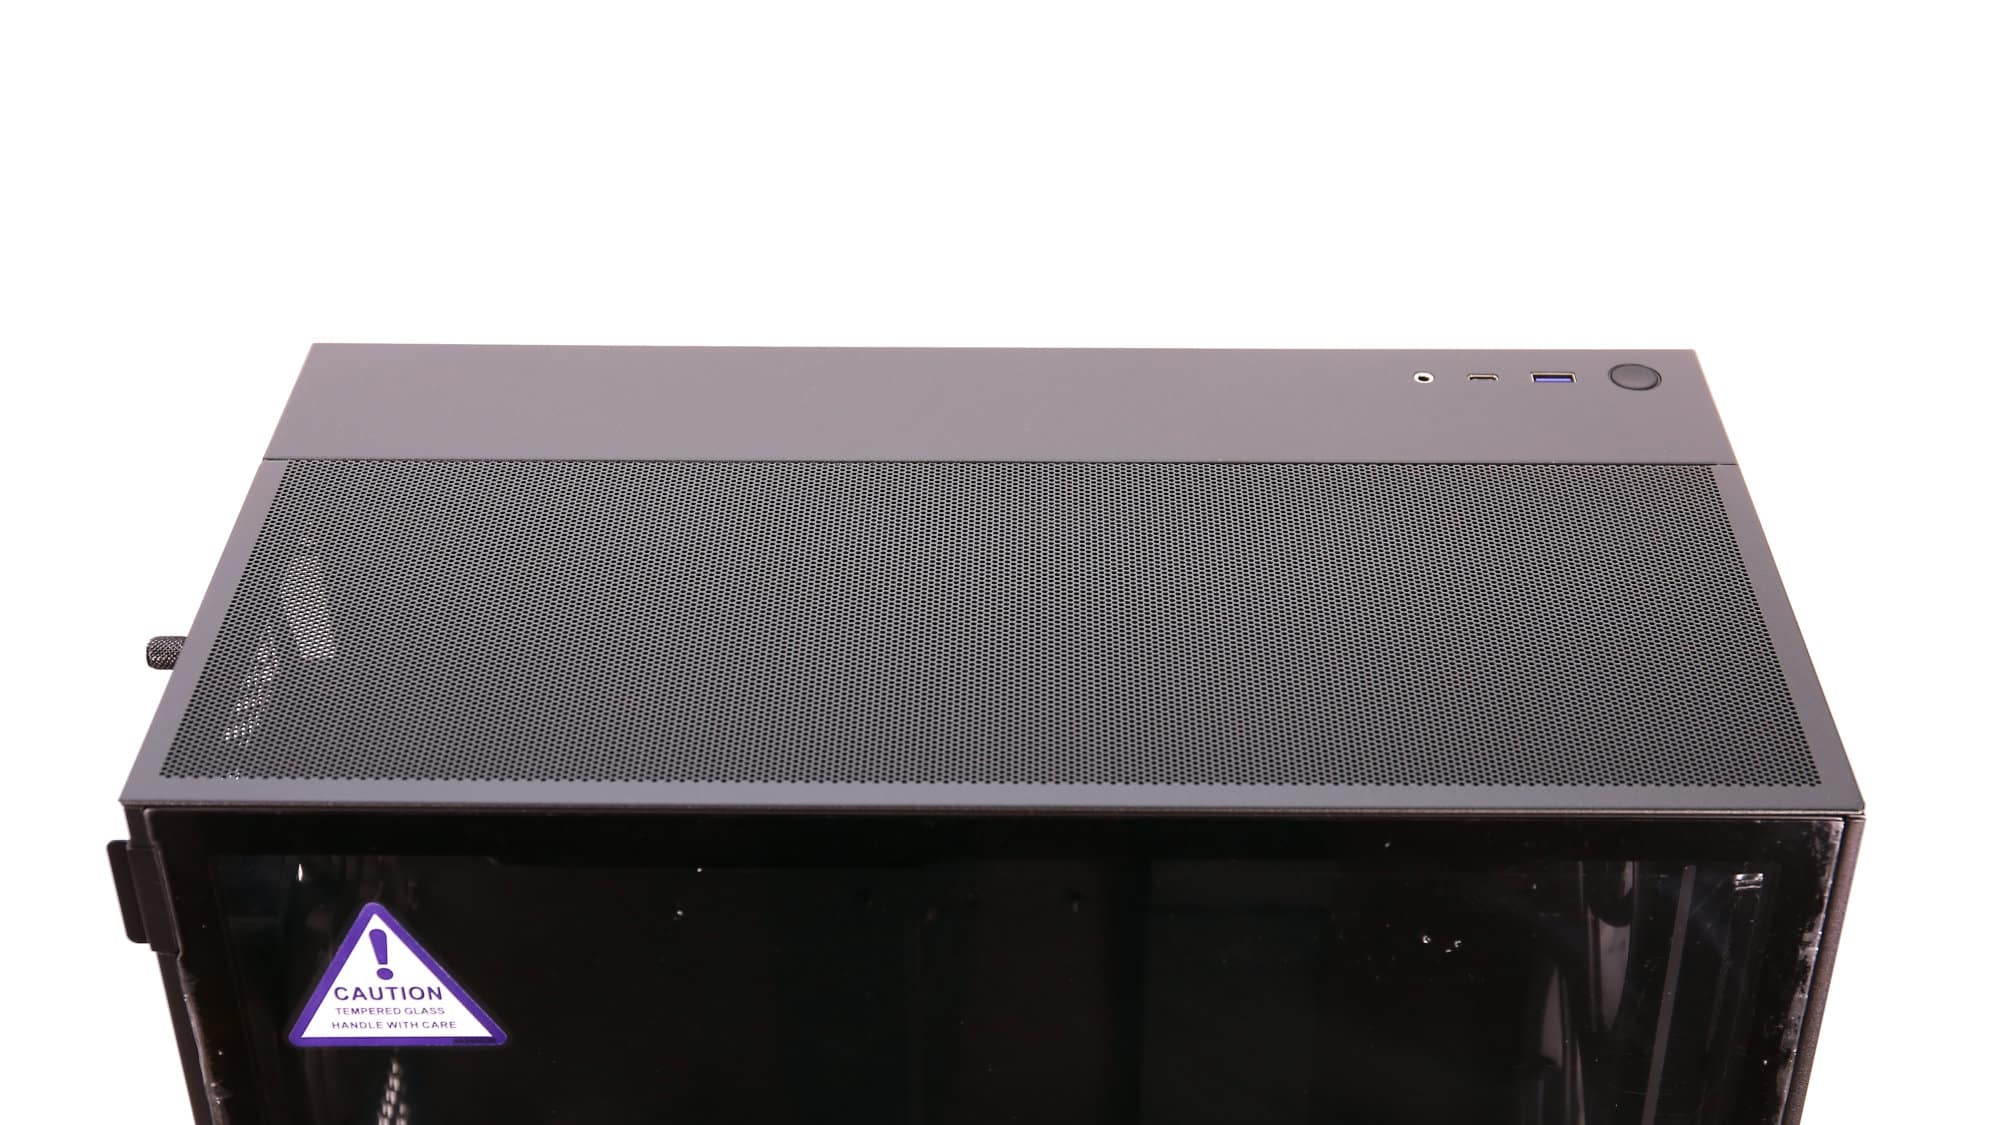
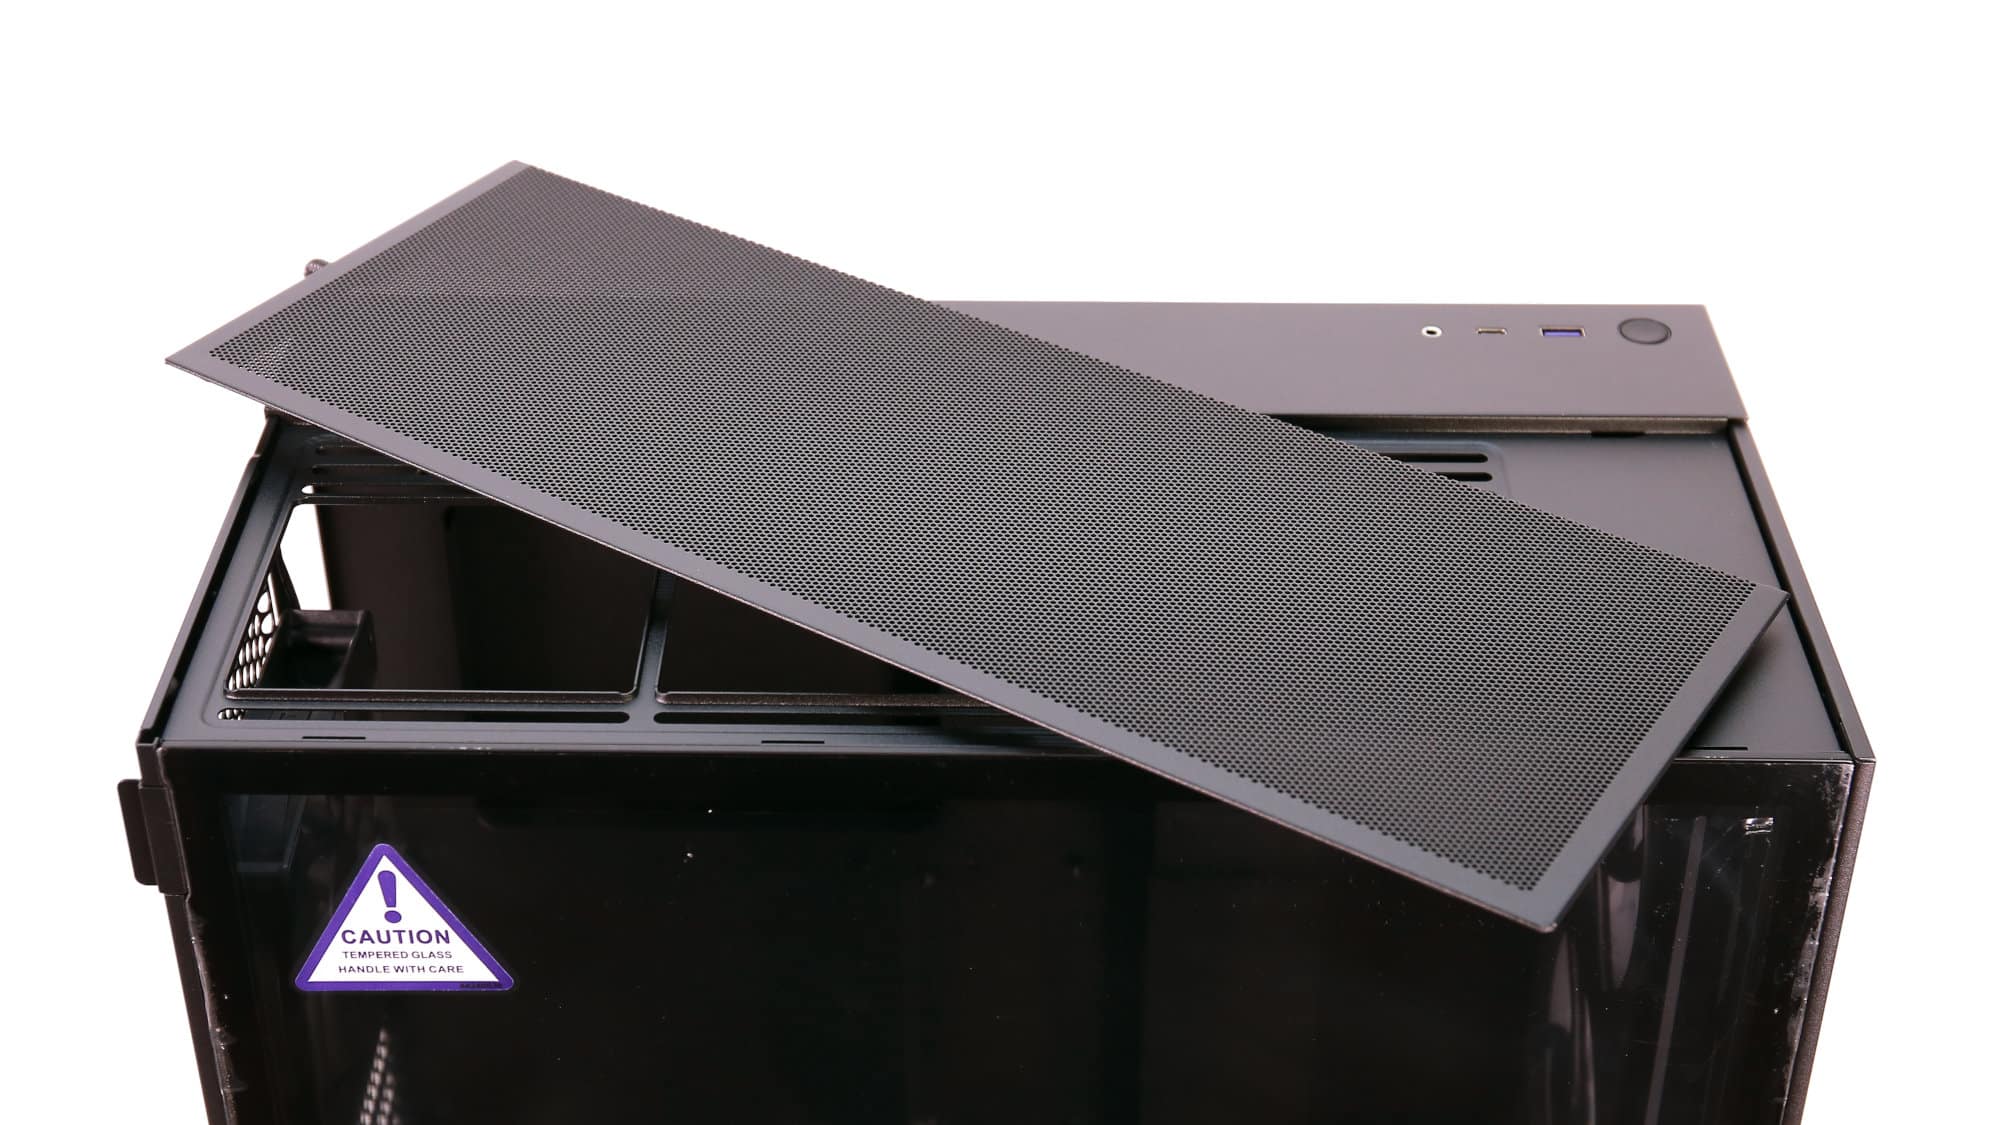
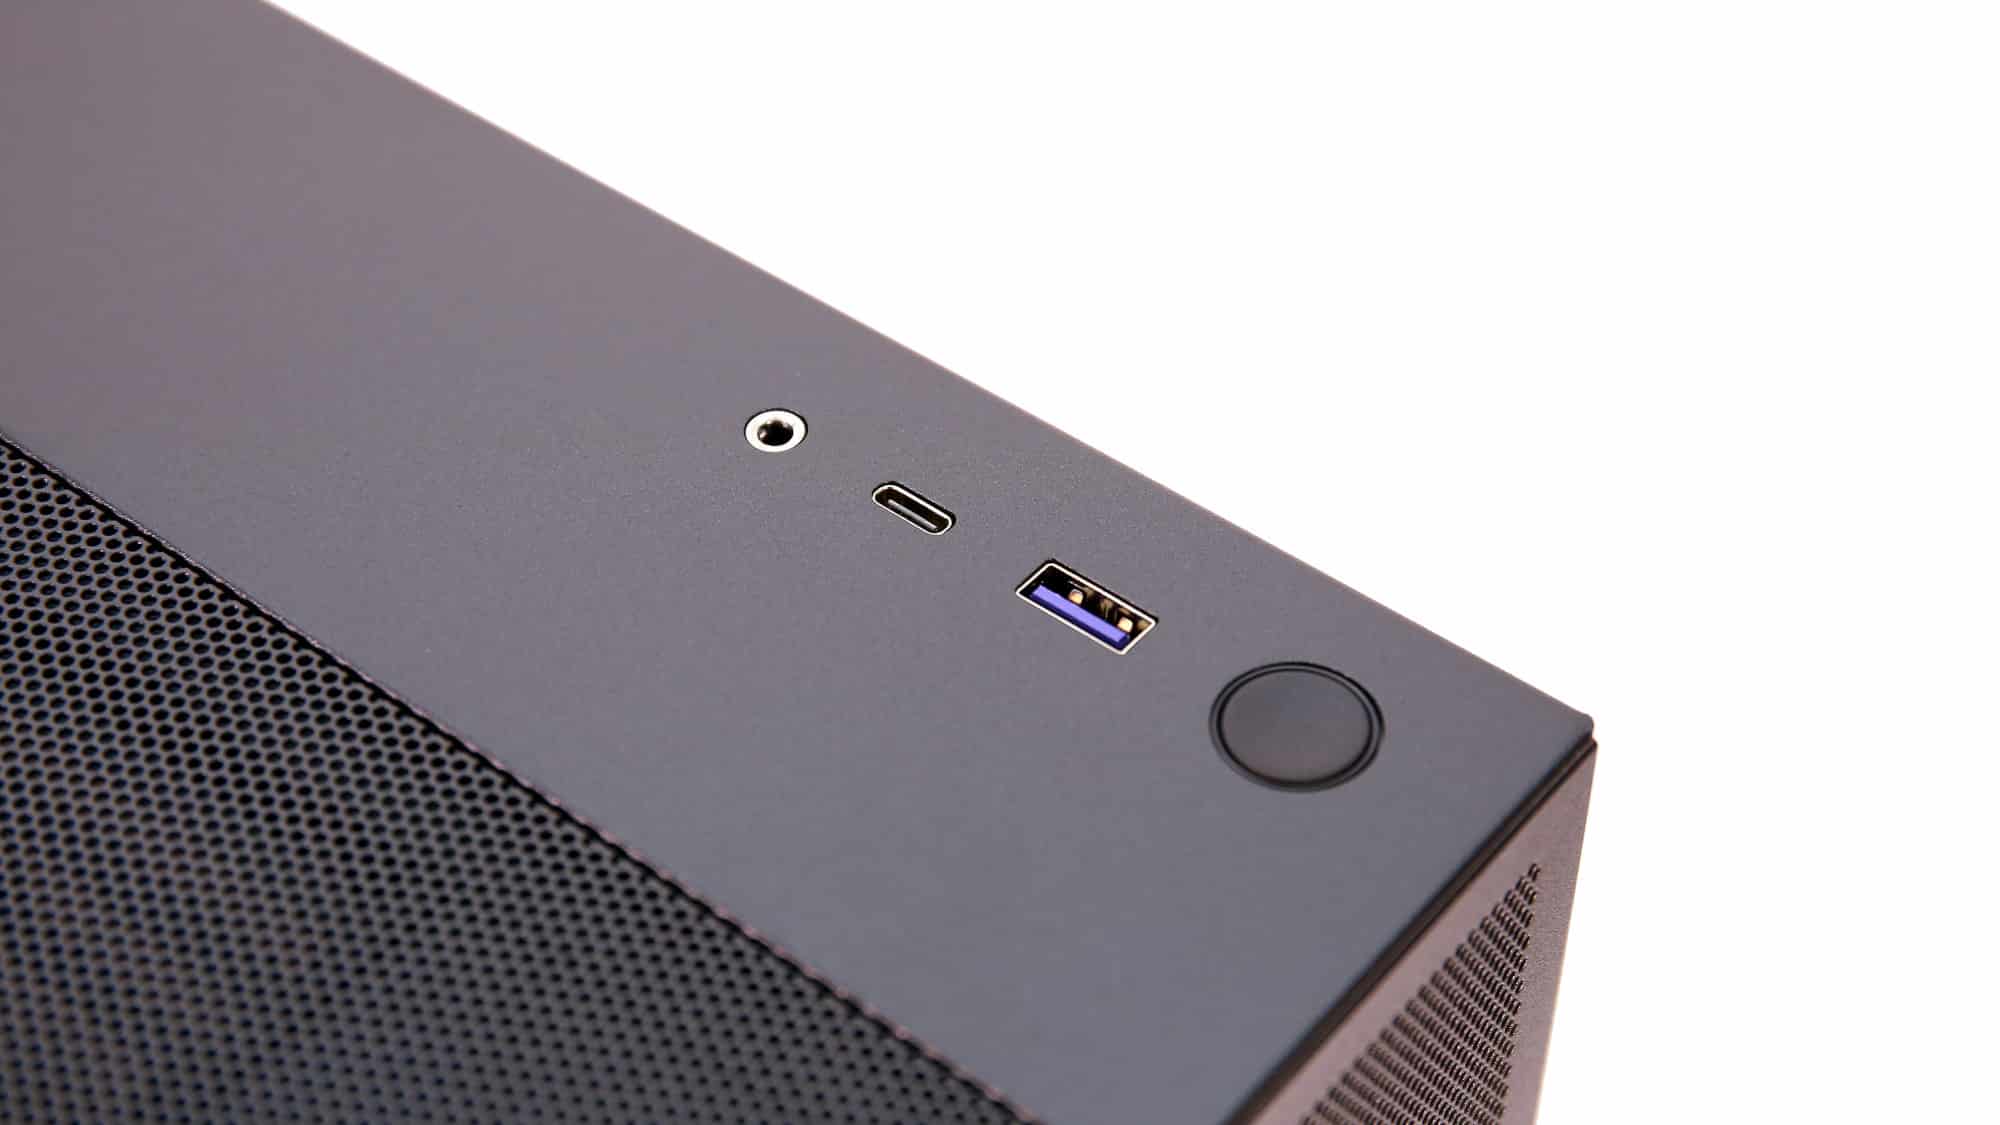
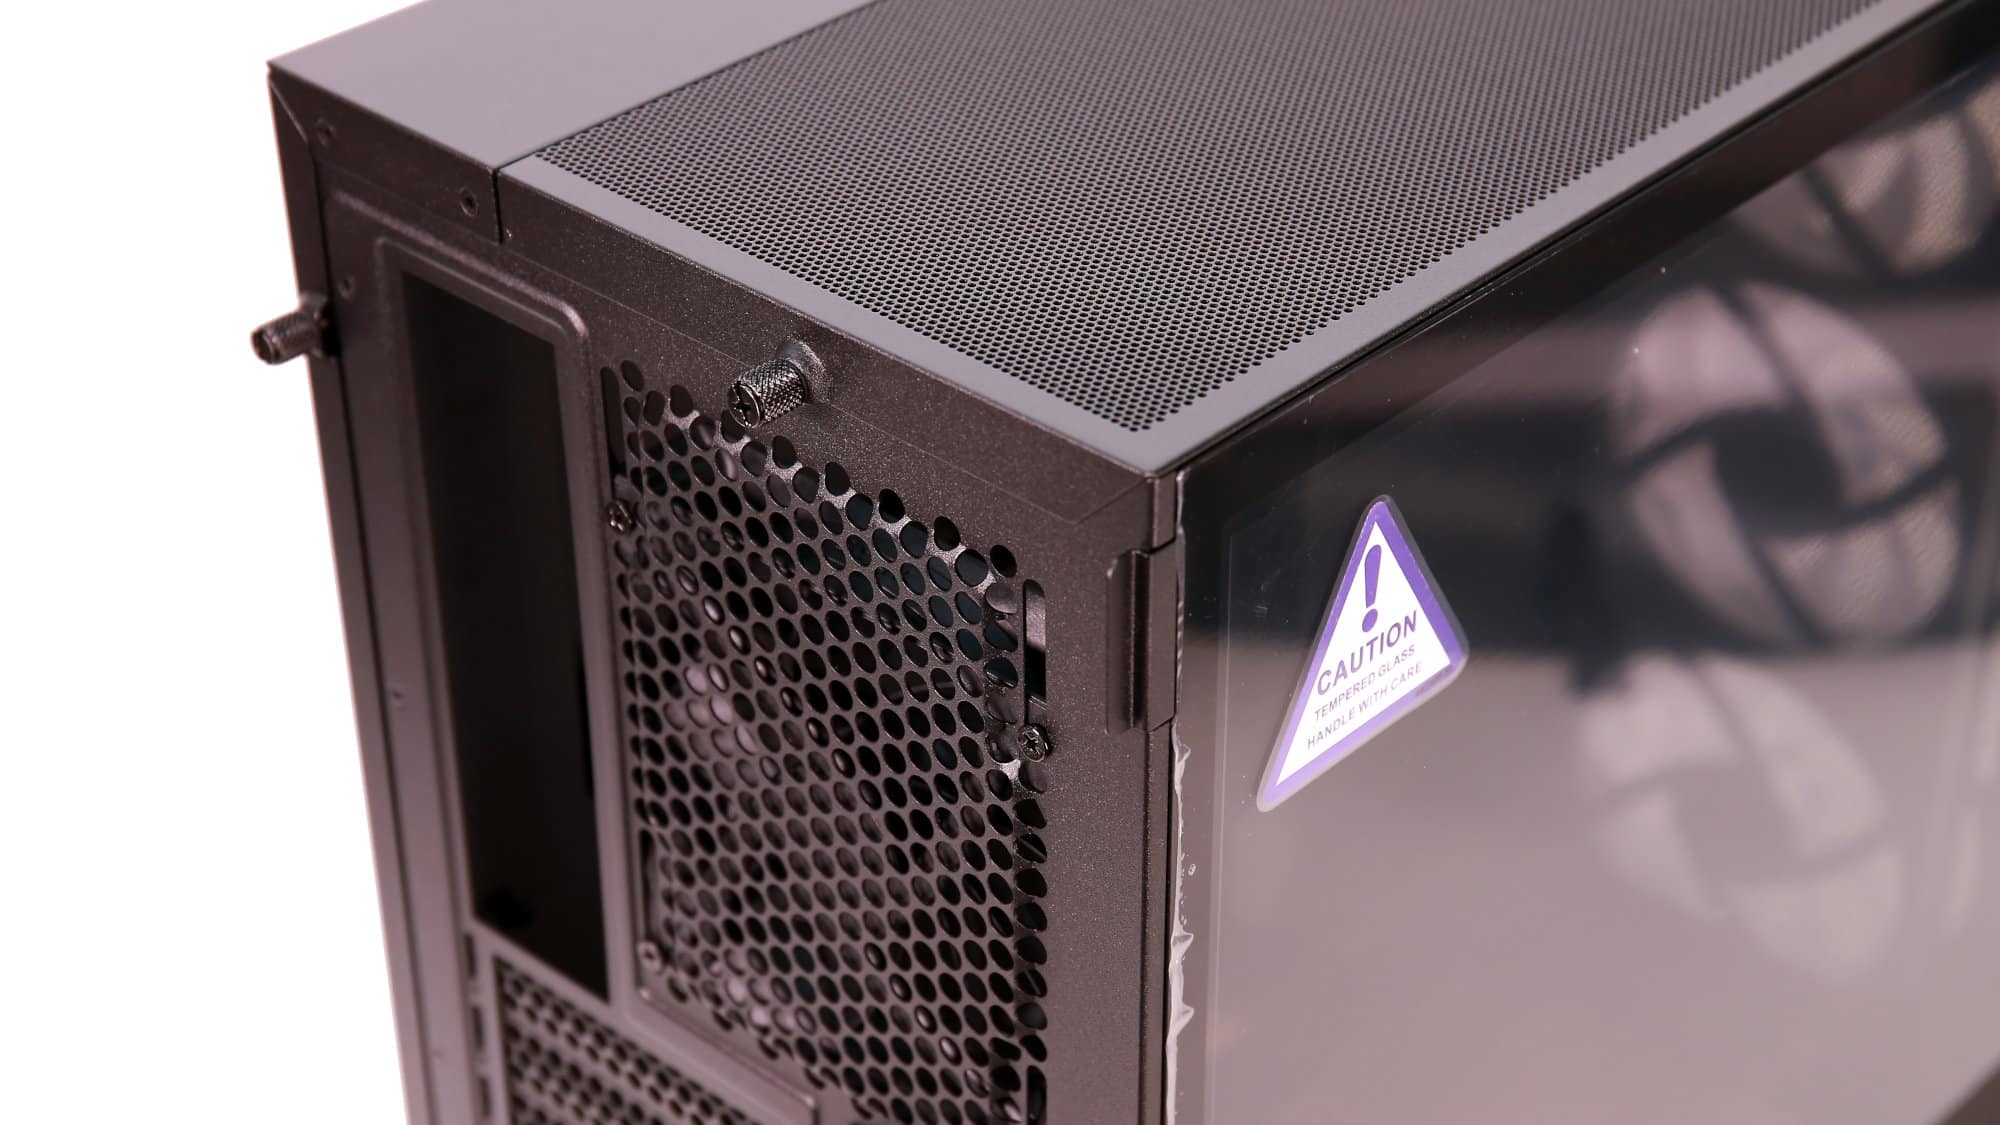
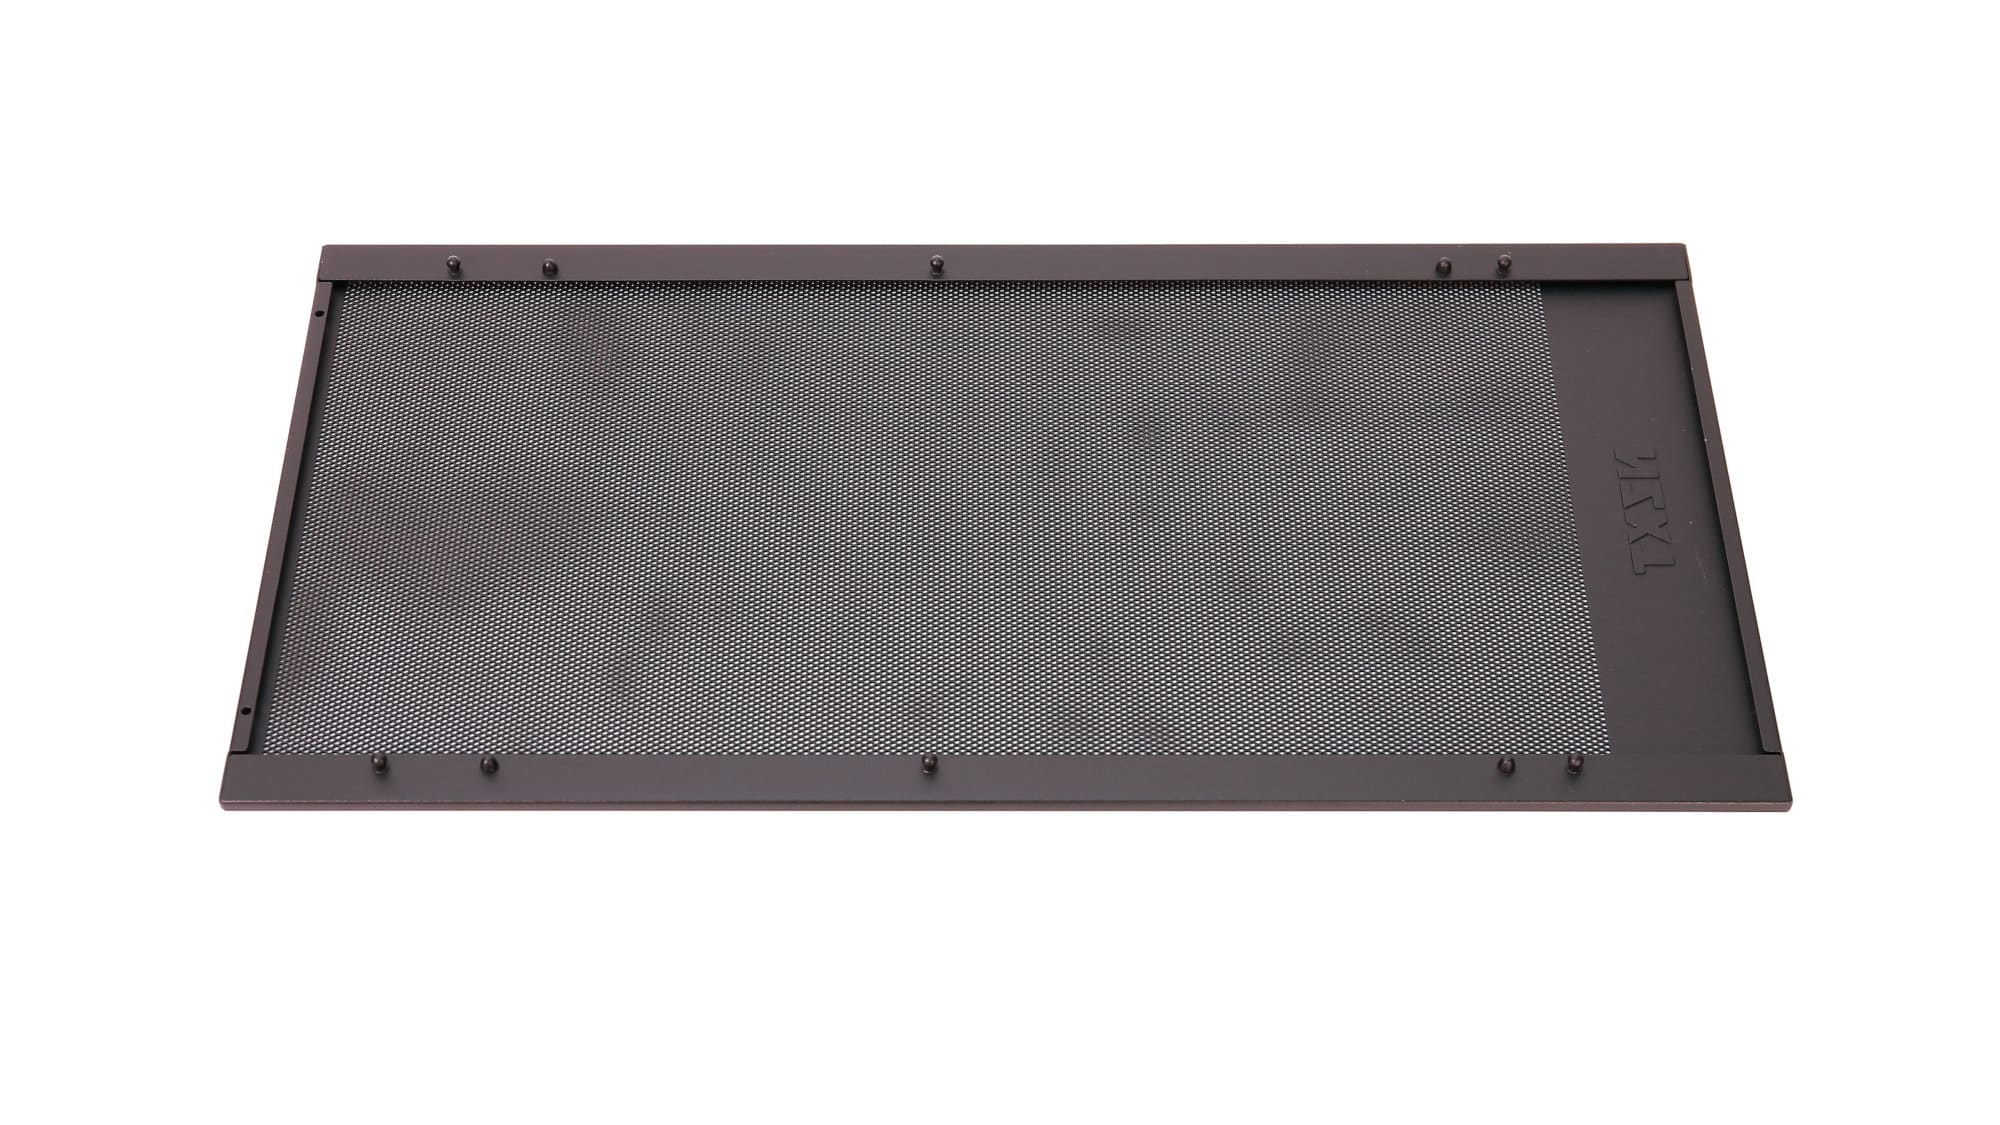
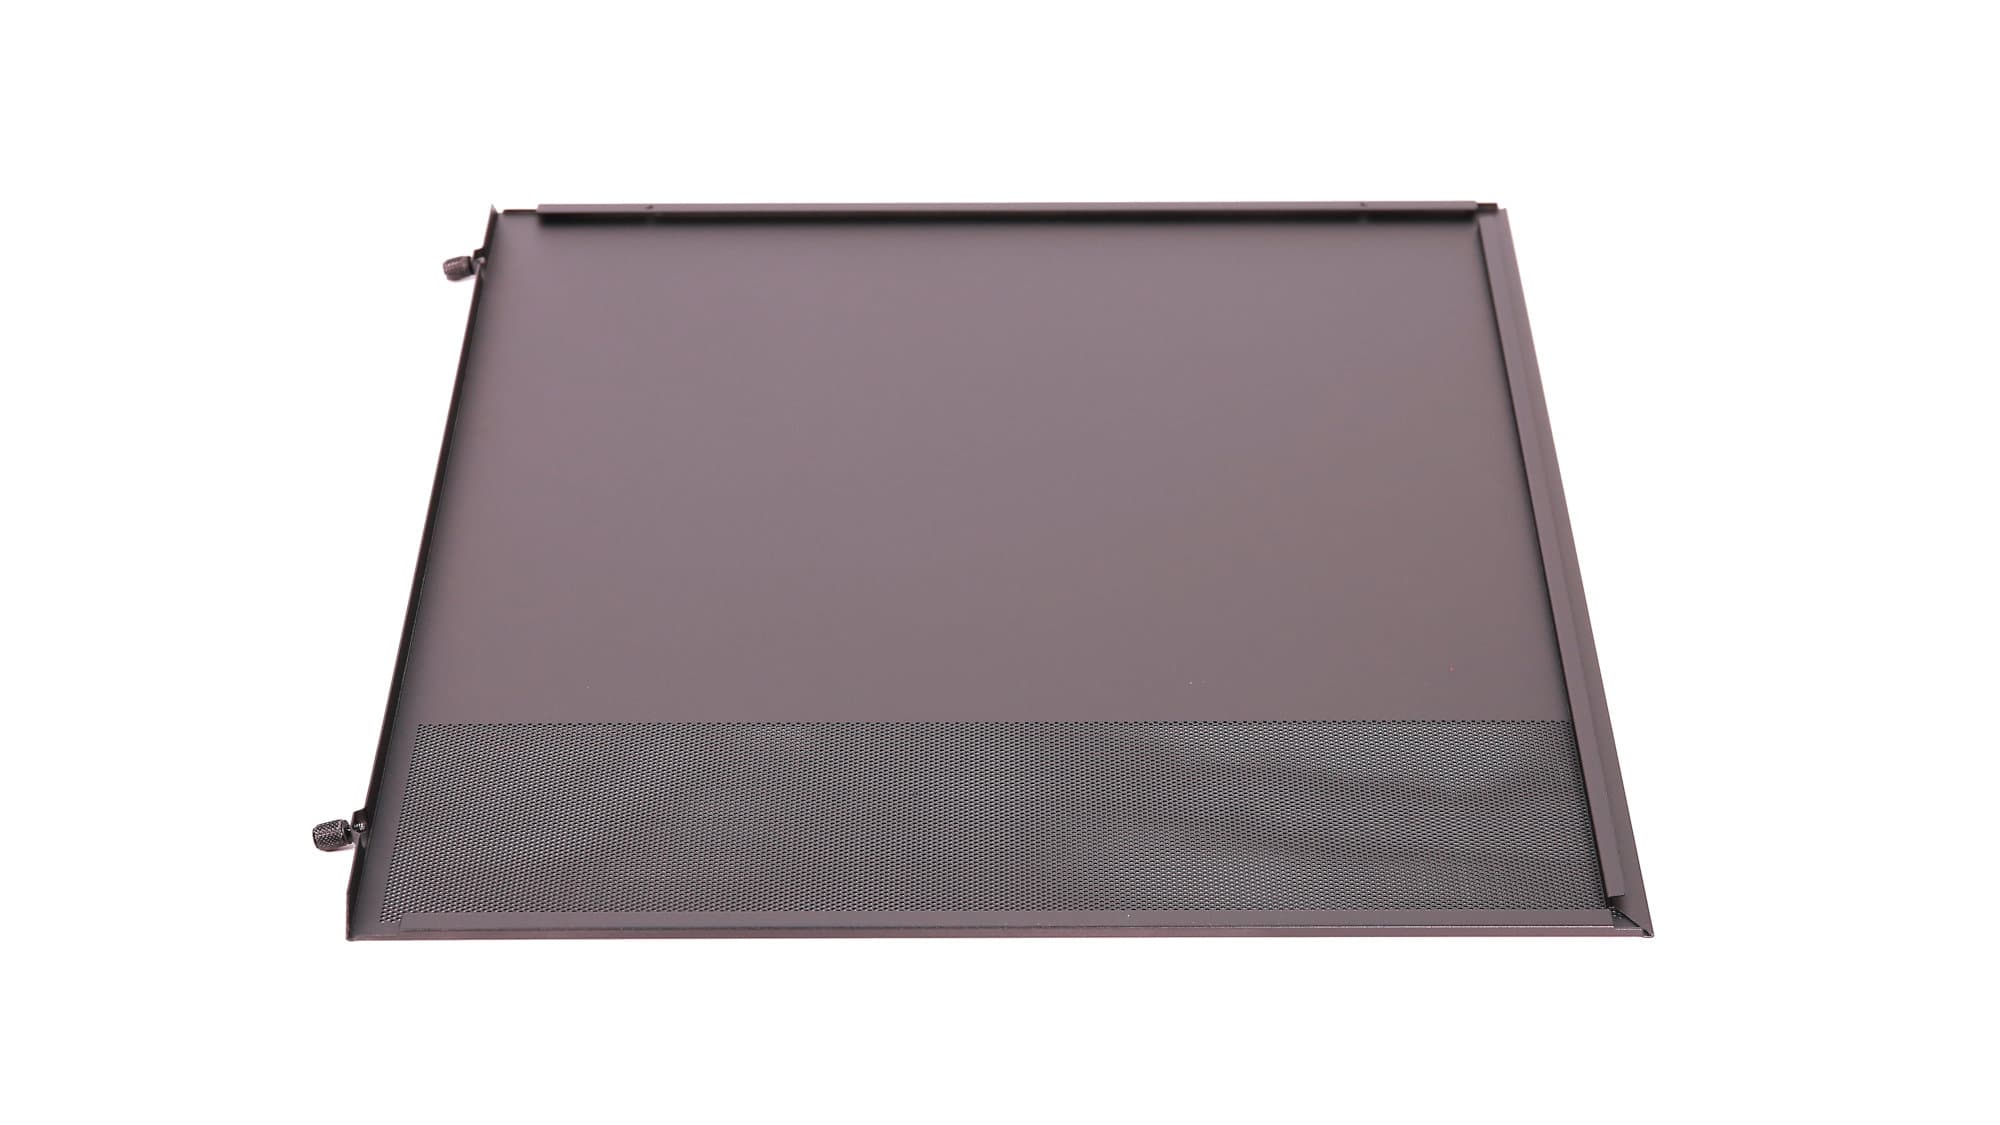
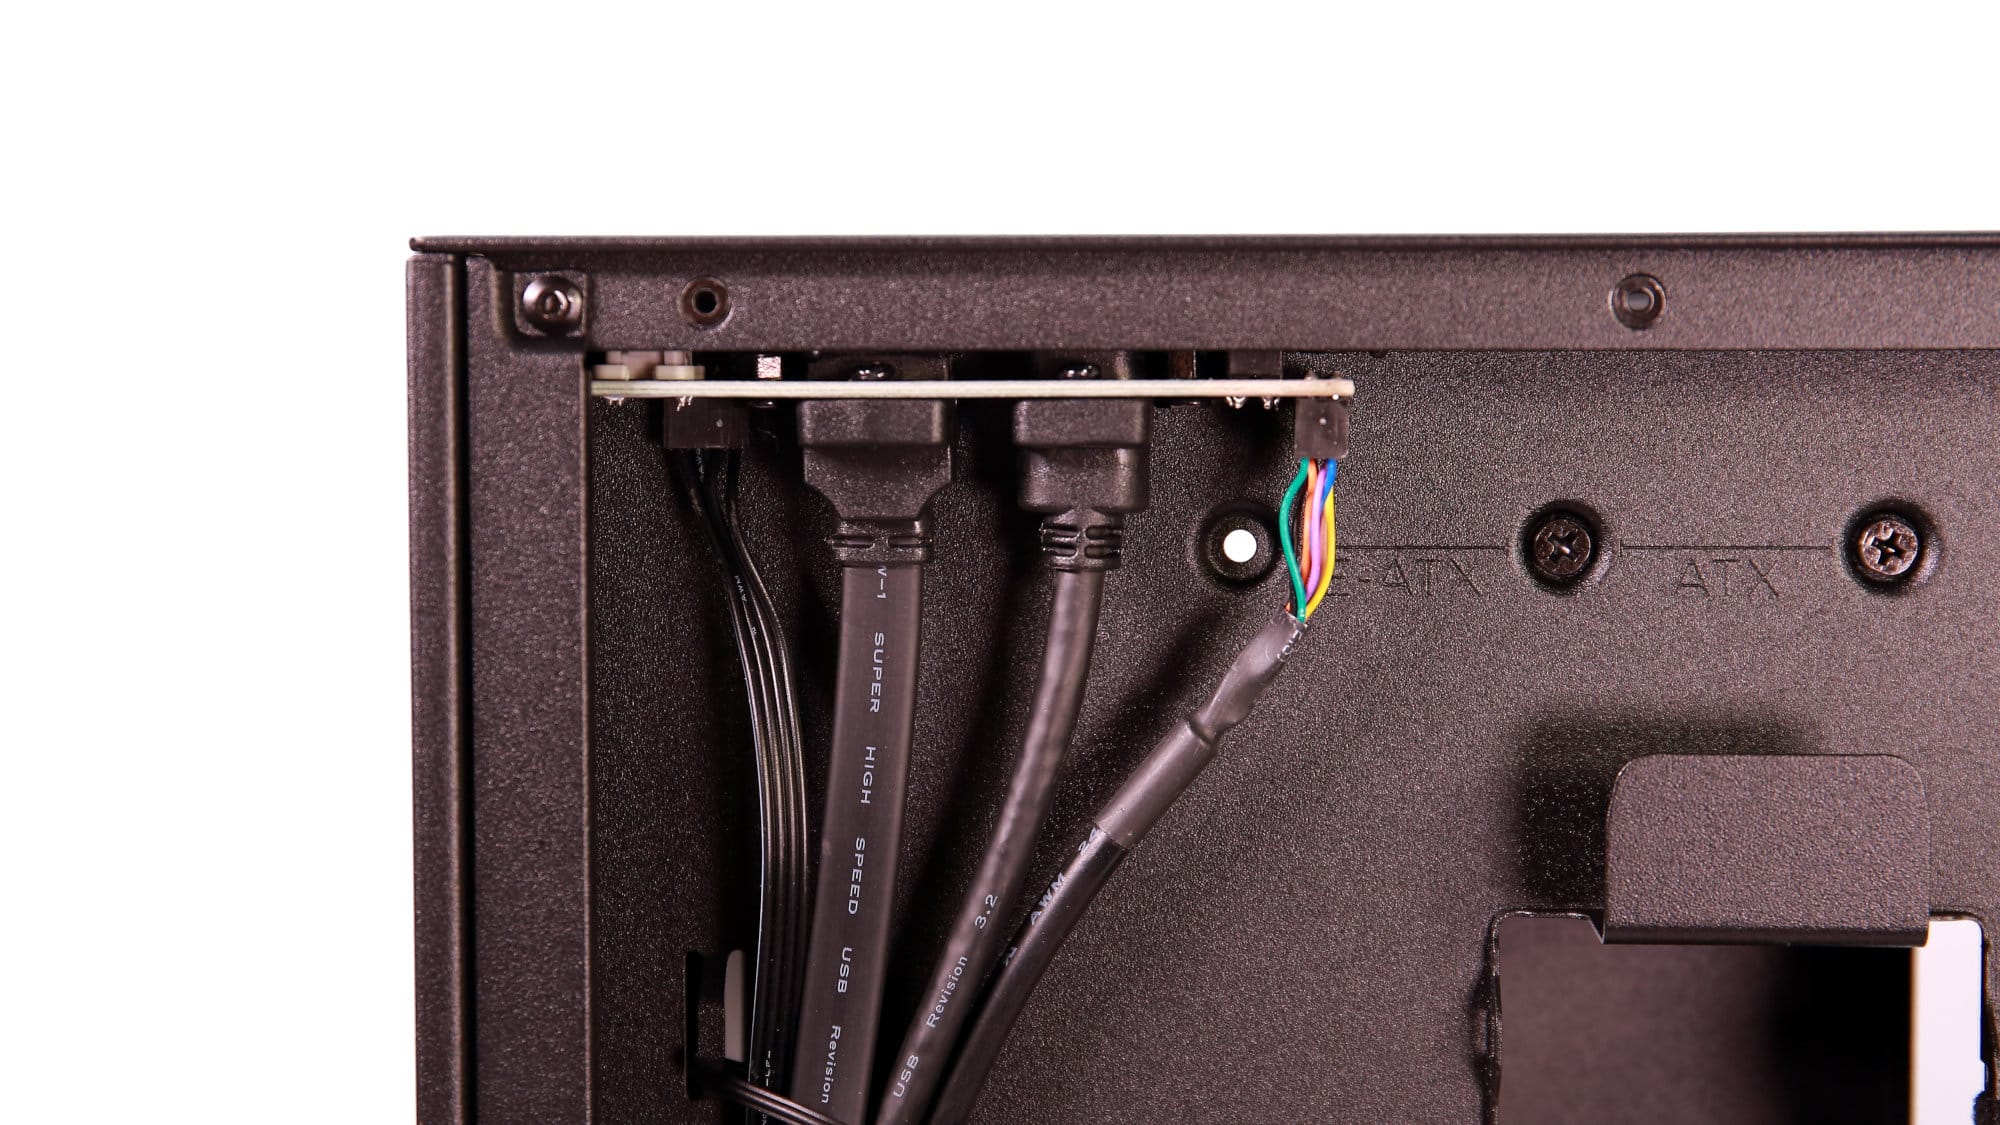
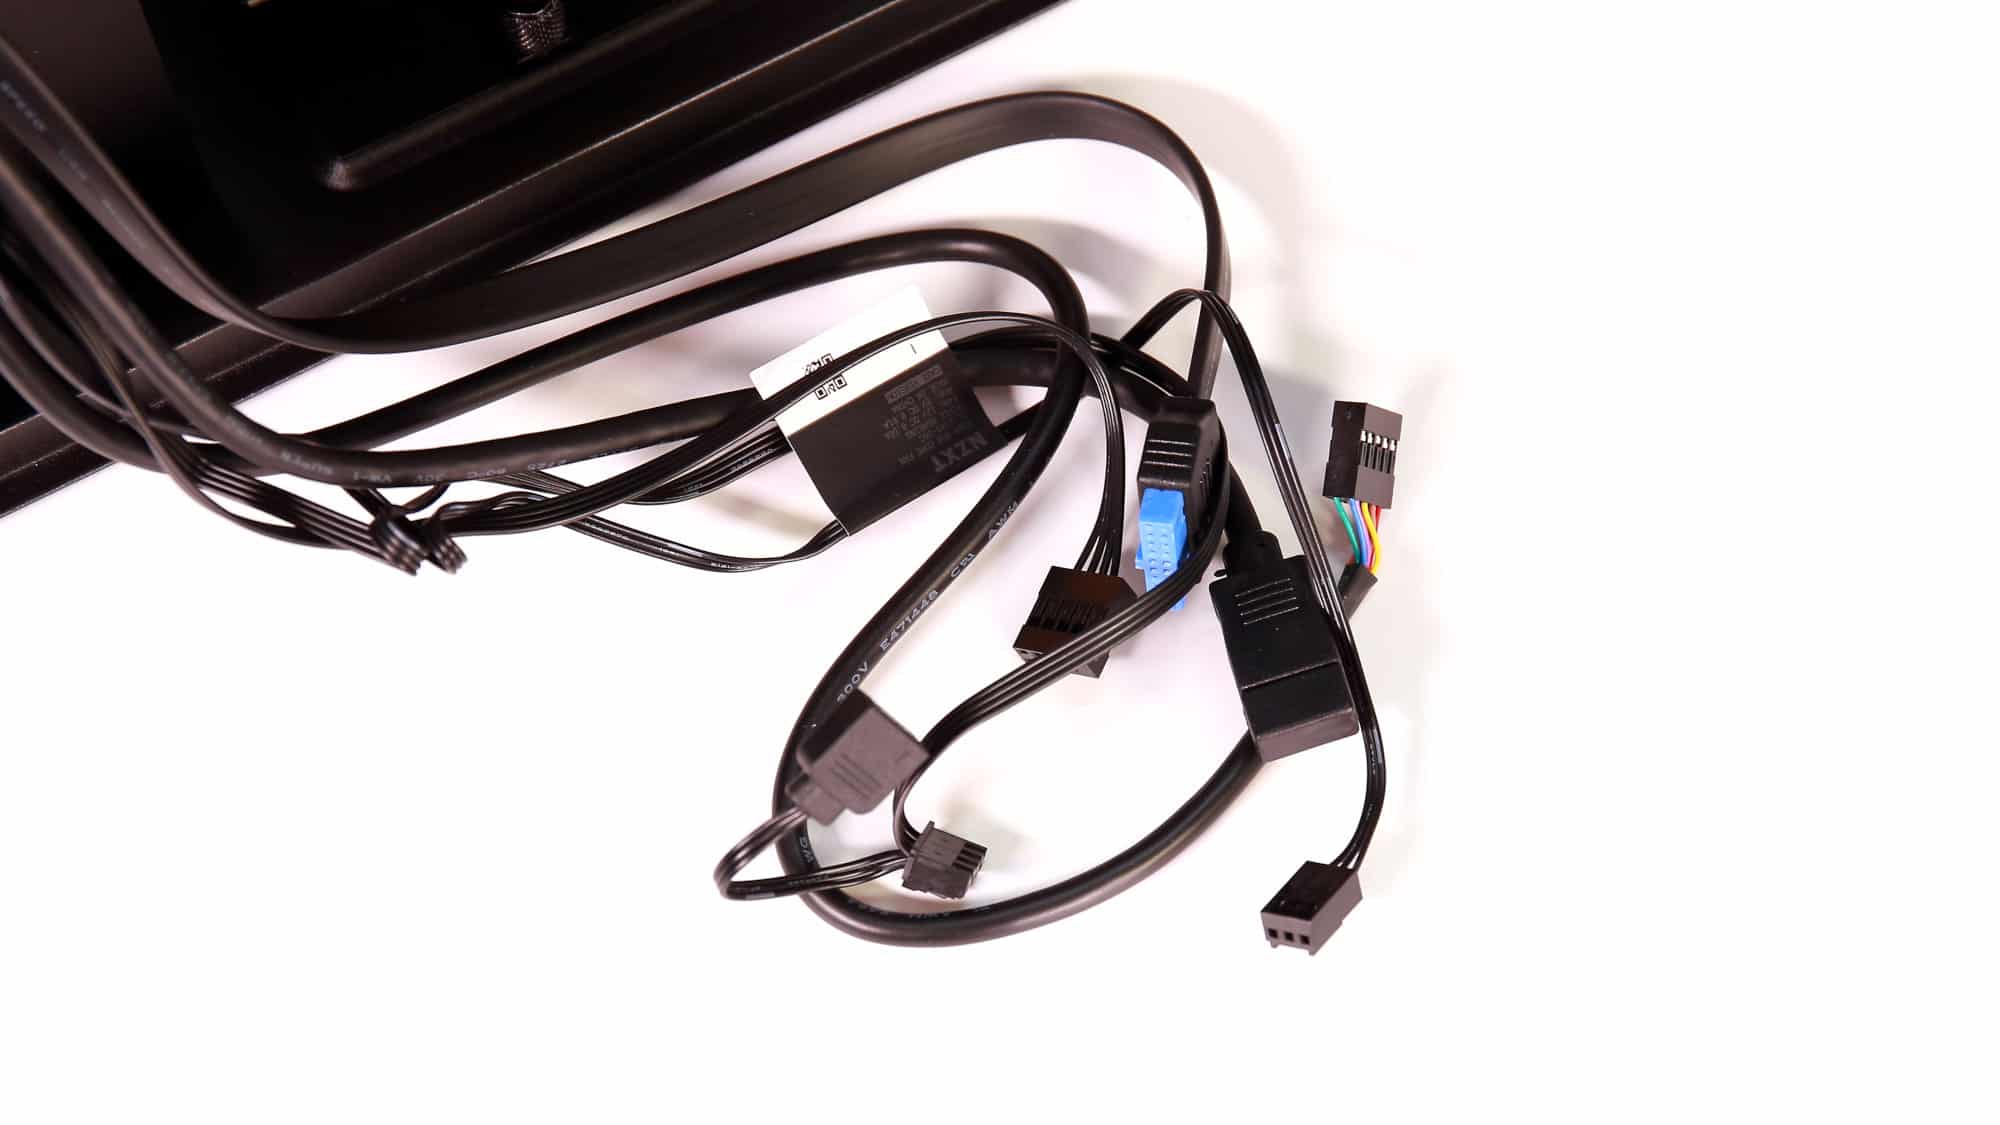
Up top, the H5 has a two-part construction: a fixed panel with the I/O and a removable perforated panel secured by a thumbscrew. The chassis I/O is minimal. While it fits the clean aesthetic, an additional USB port—either Type-A or Type-C—would have been welcome. The I/O connector block is unified, which is a nice touch.
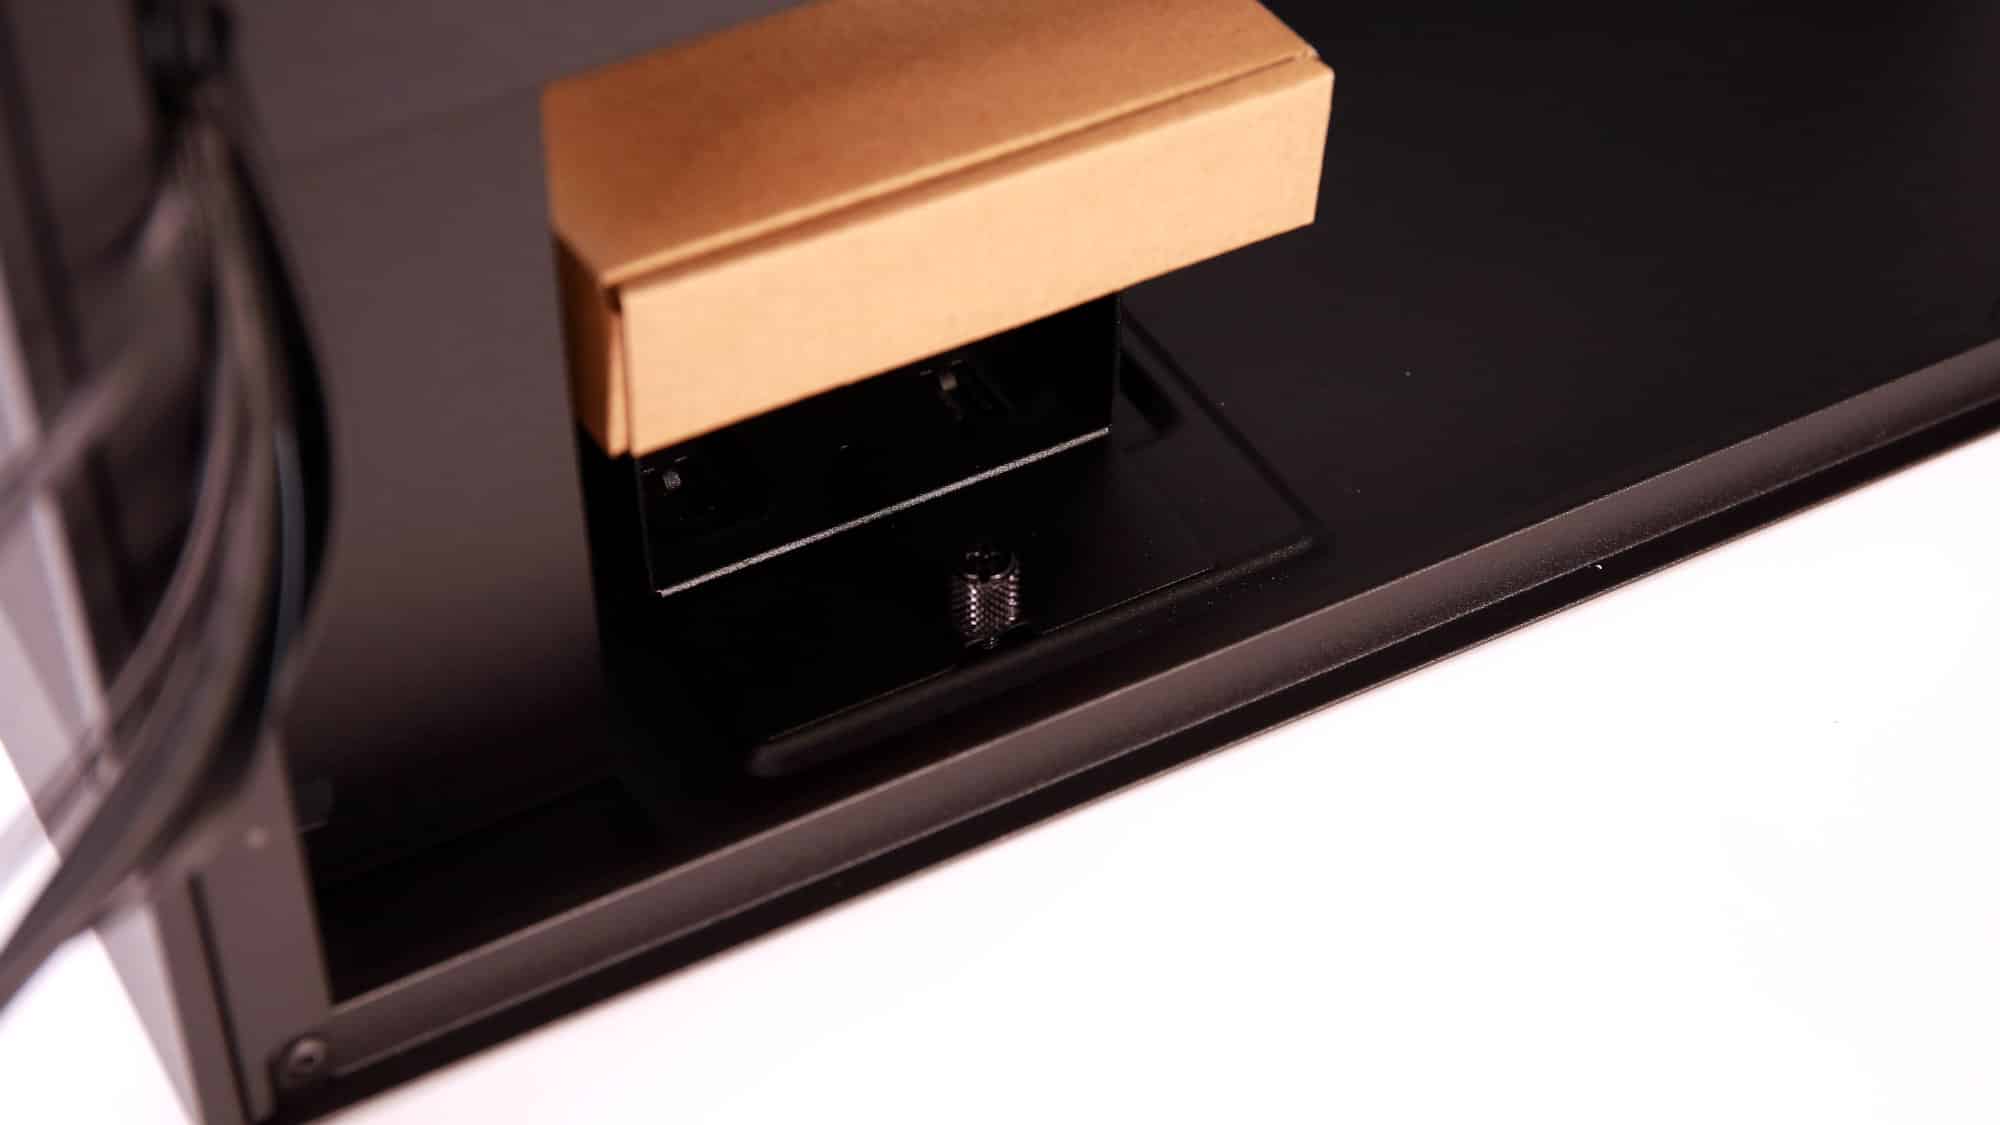
From the underside, you can see the side indentation, the storage cage mounting area, and more perforations. However, there is no ventilation for the PSU itself.
Compatibility and Space Utilization
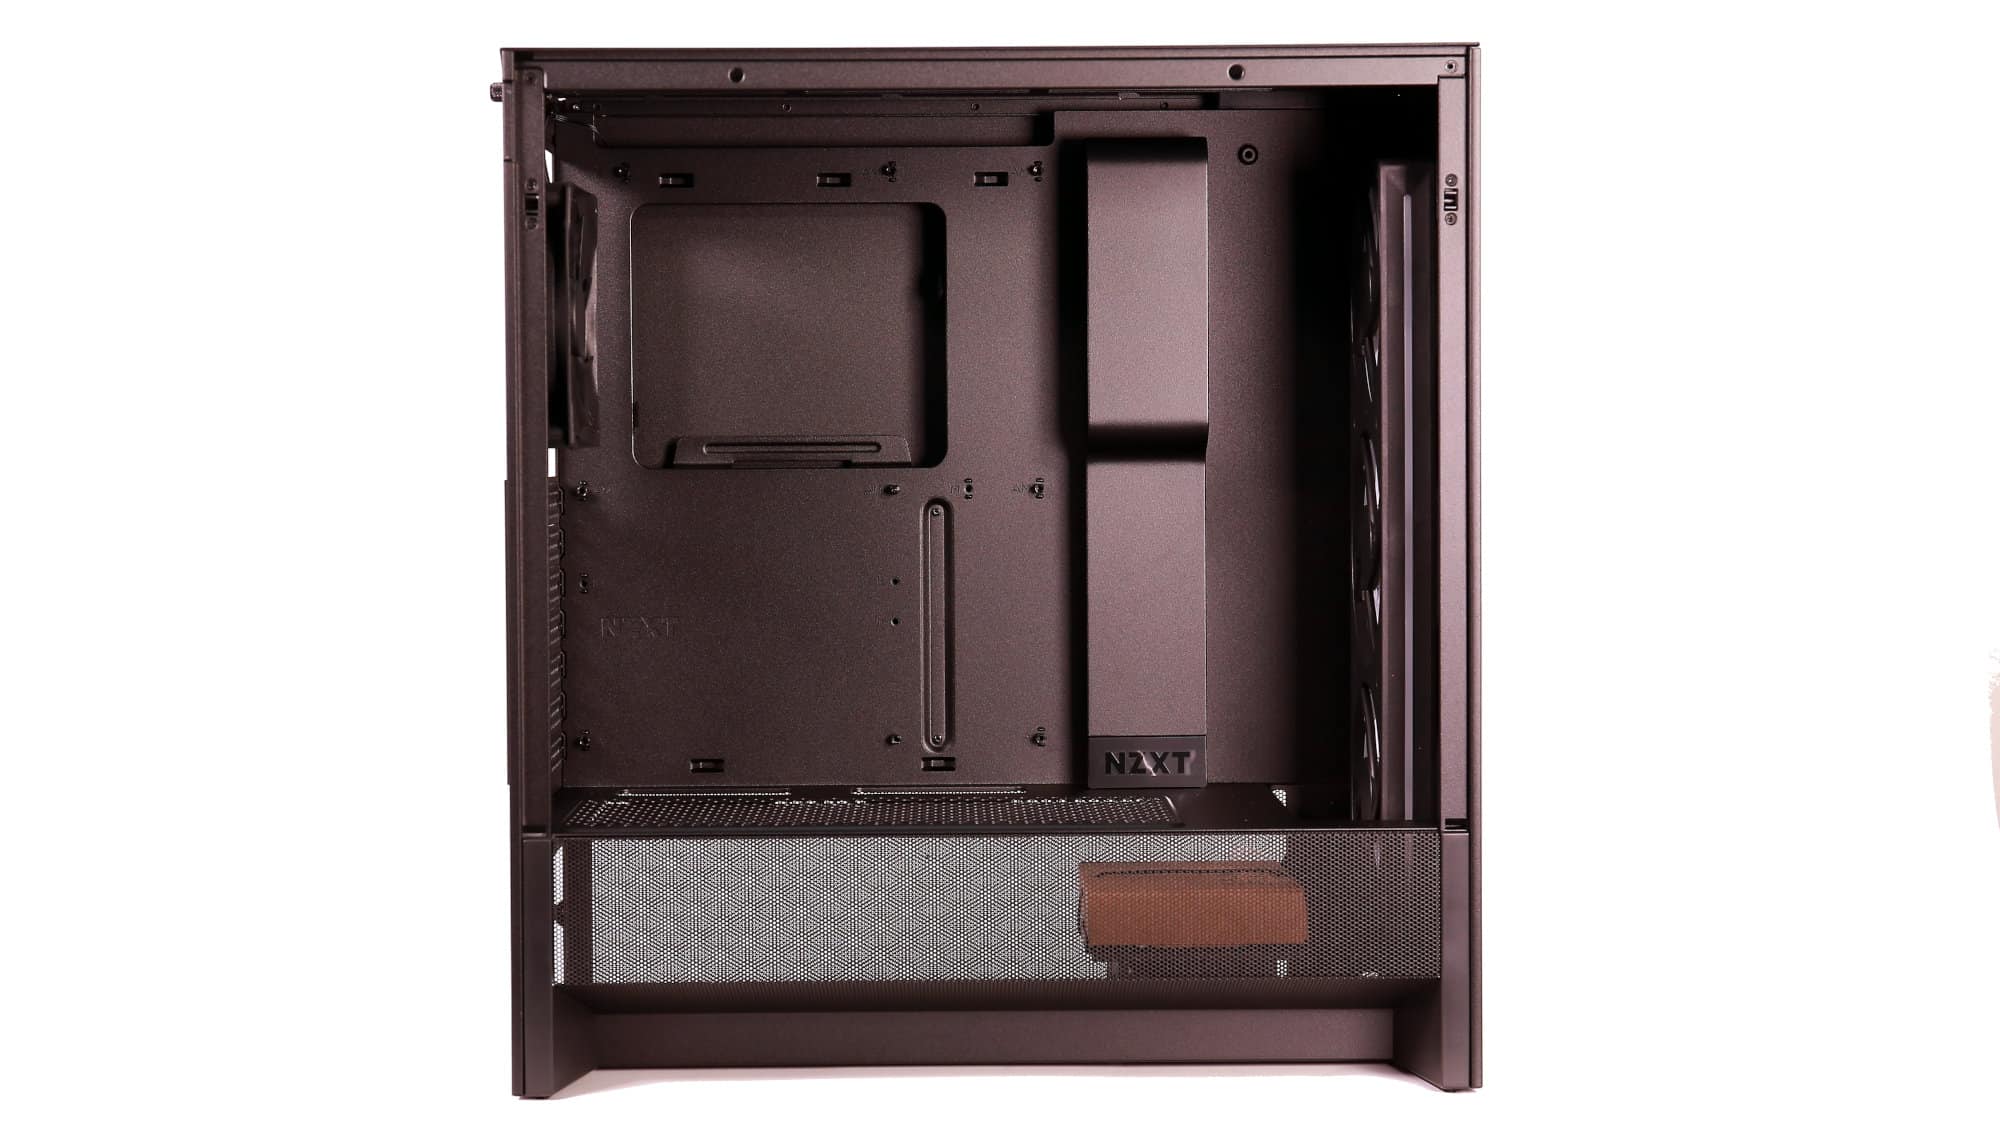
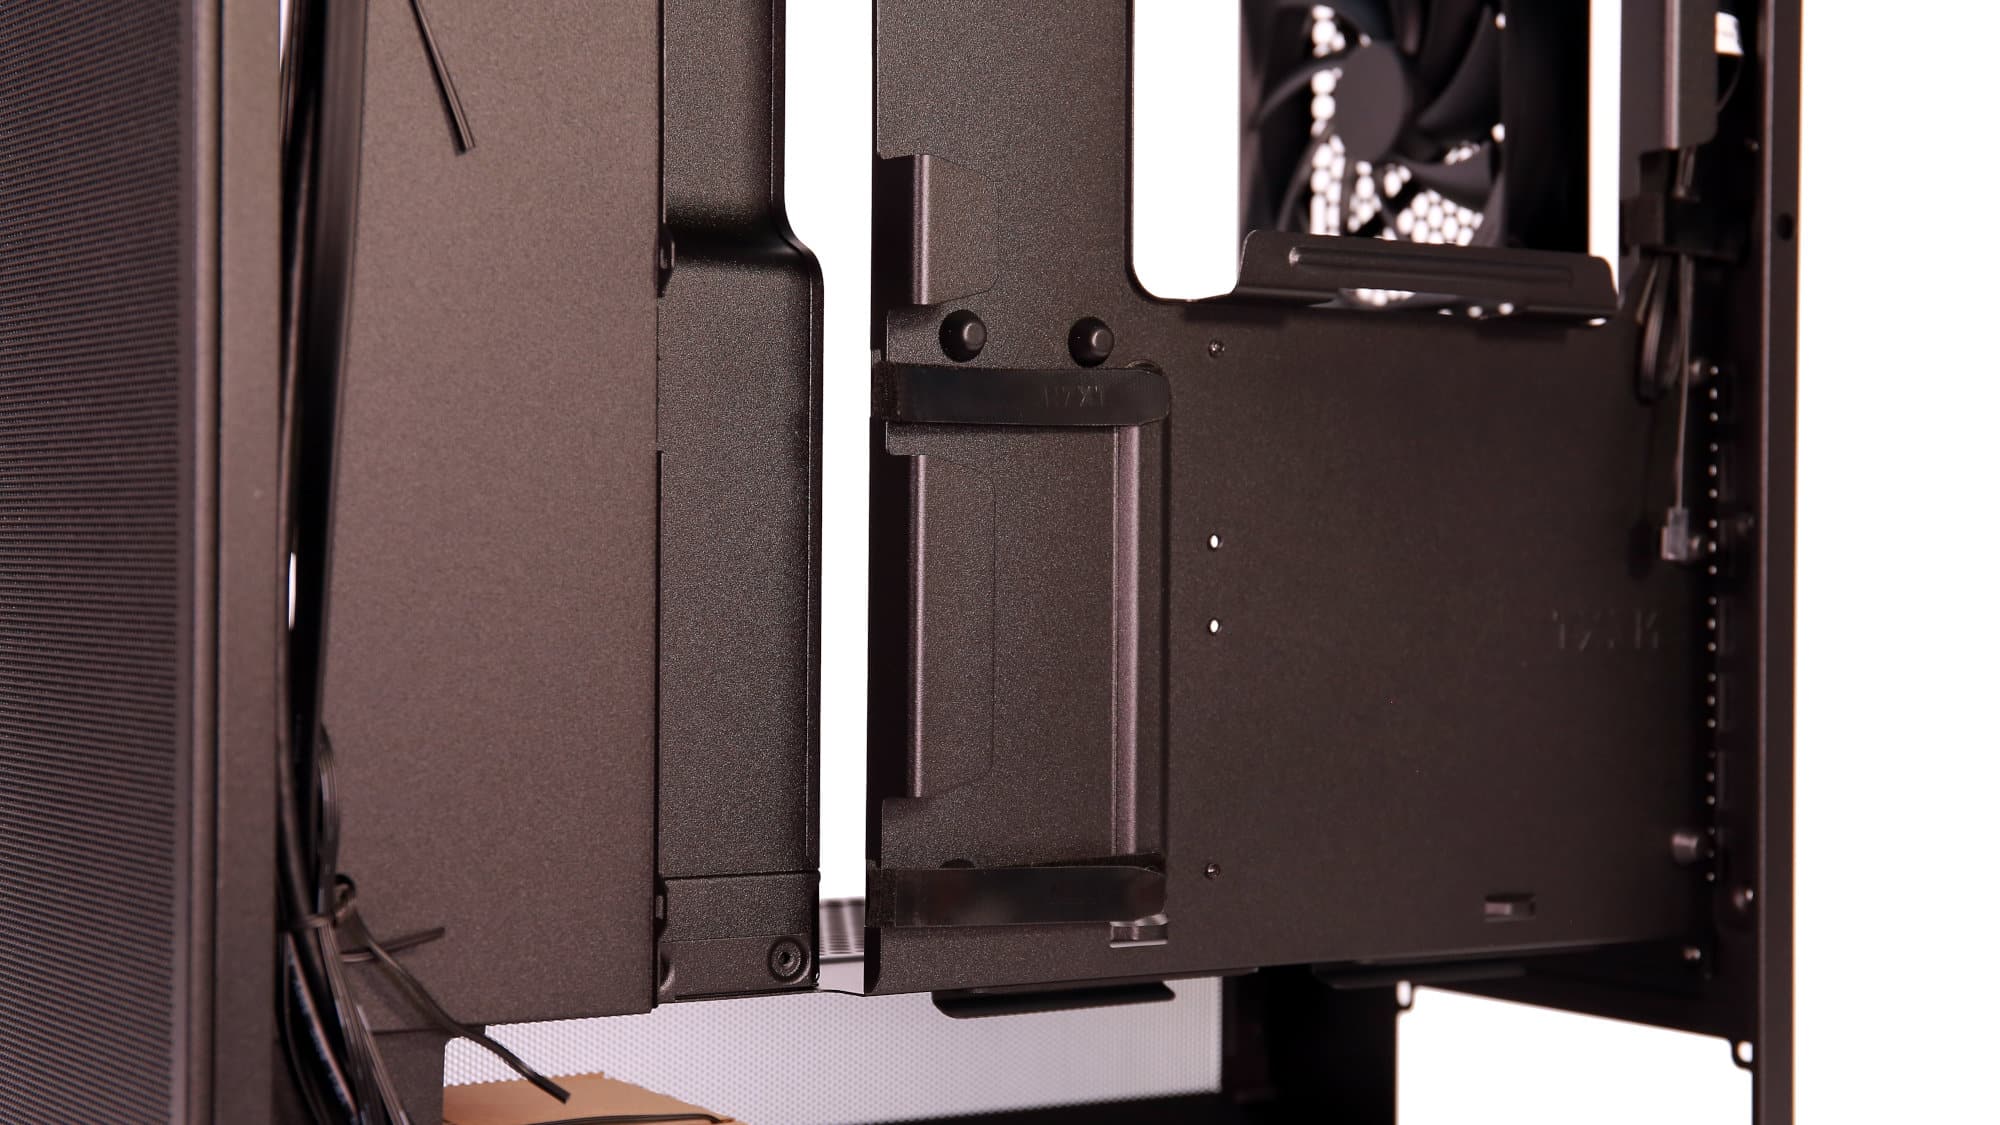
Moving inside, the motherboard tray is simple. It foregoes the excessive openings seen in recent cases, trying to support BTF boards and extensive cable pass-throughs. What you need is right here. All motherboard standoffs come pre-installed. A movable plate beside the motherboard tray hides cables like the 24-pin ATX and supports E-ATX boards up to 277mm wide.
There’s a large cutout for CPU cooler backplates and a top slot for ATX12V and other cables routed to the upper part of the board.
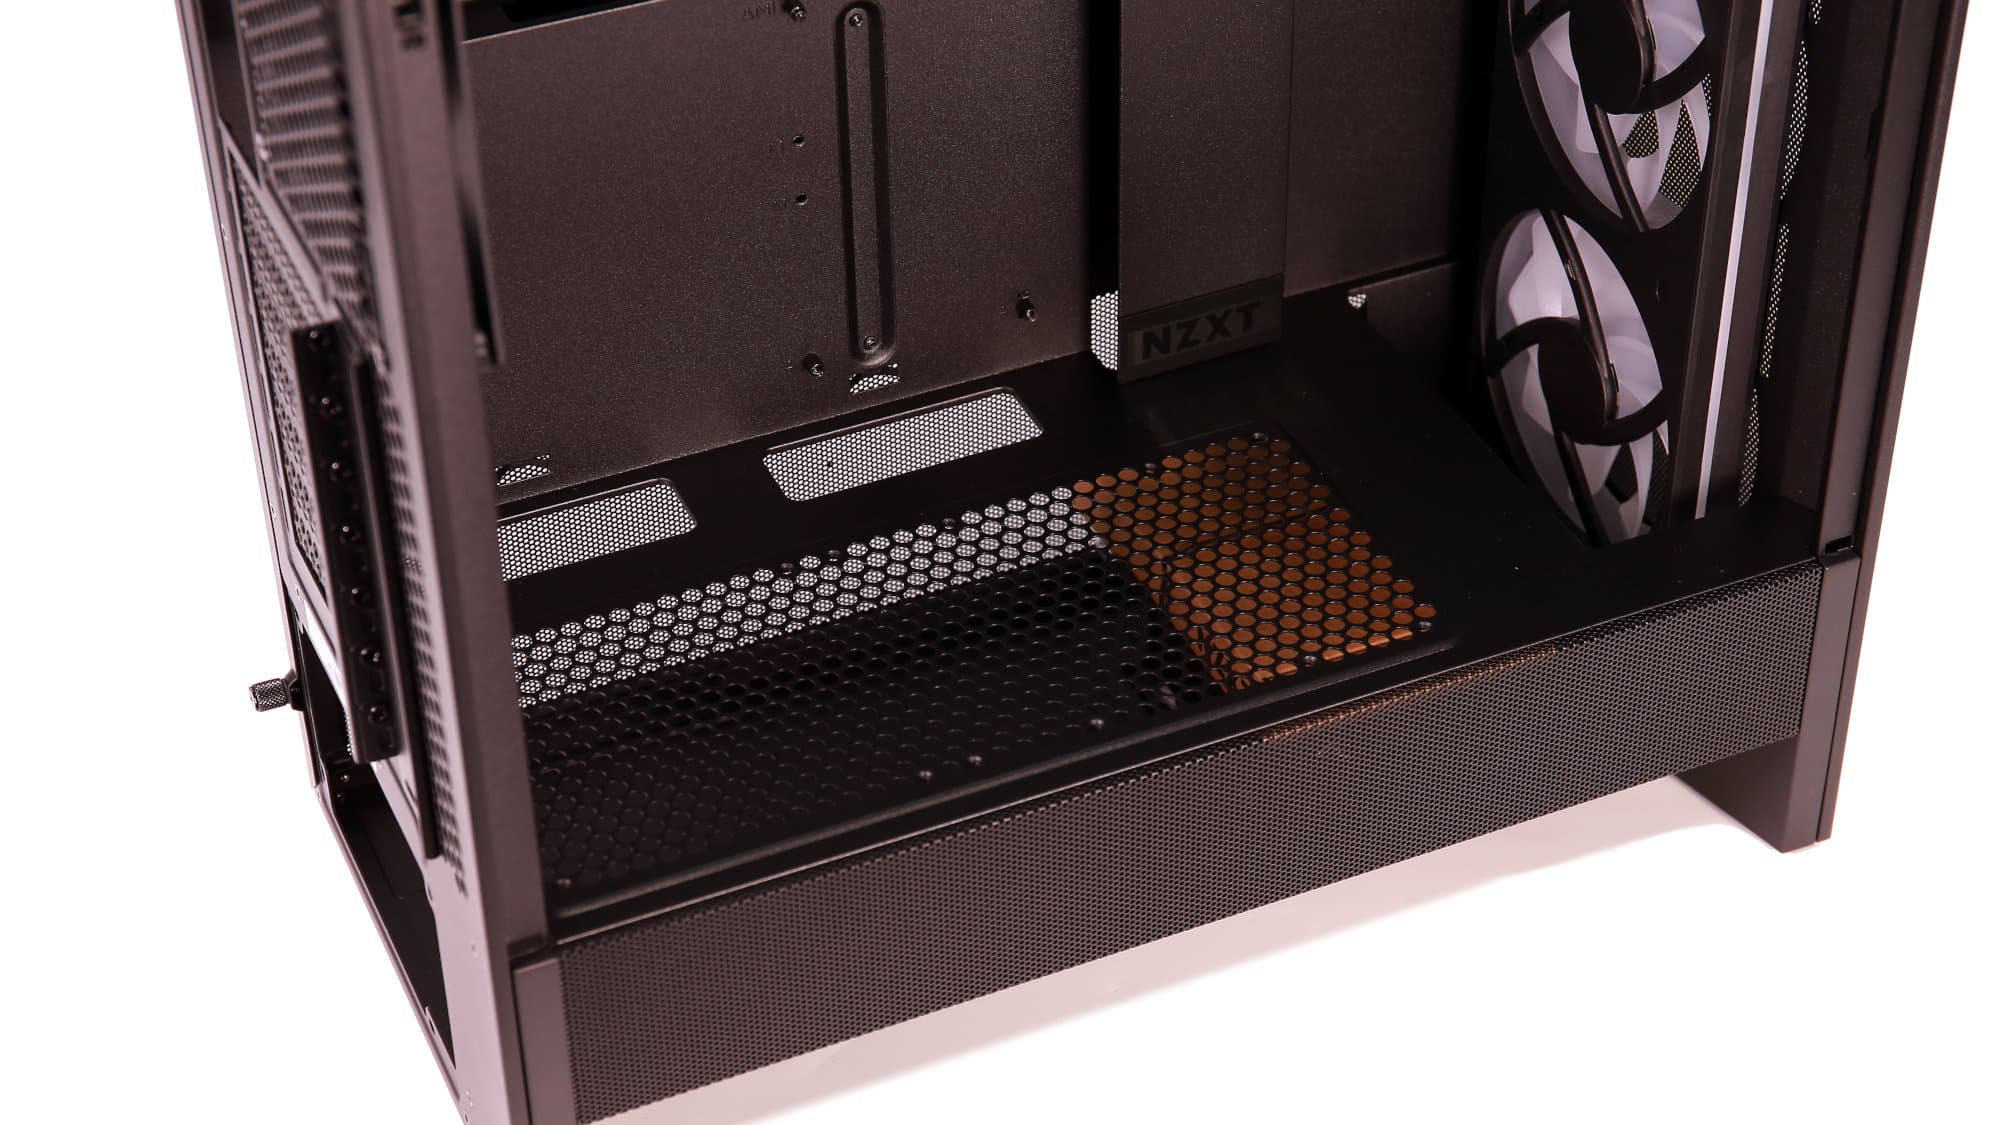
There are cable openings on the PSU shroud, though none have rubber grommets. The PSU shroud is also perforated from above and includes fan mounts aimed at GPU cooling, but placing a fan above the PSU may not be ideal. At the front, a large cutout can accommodate radiators and fans.
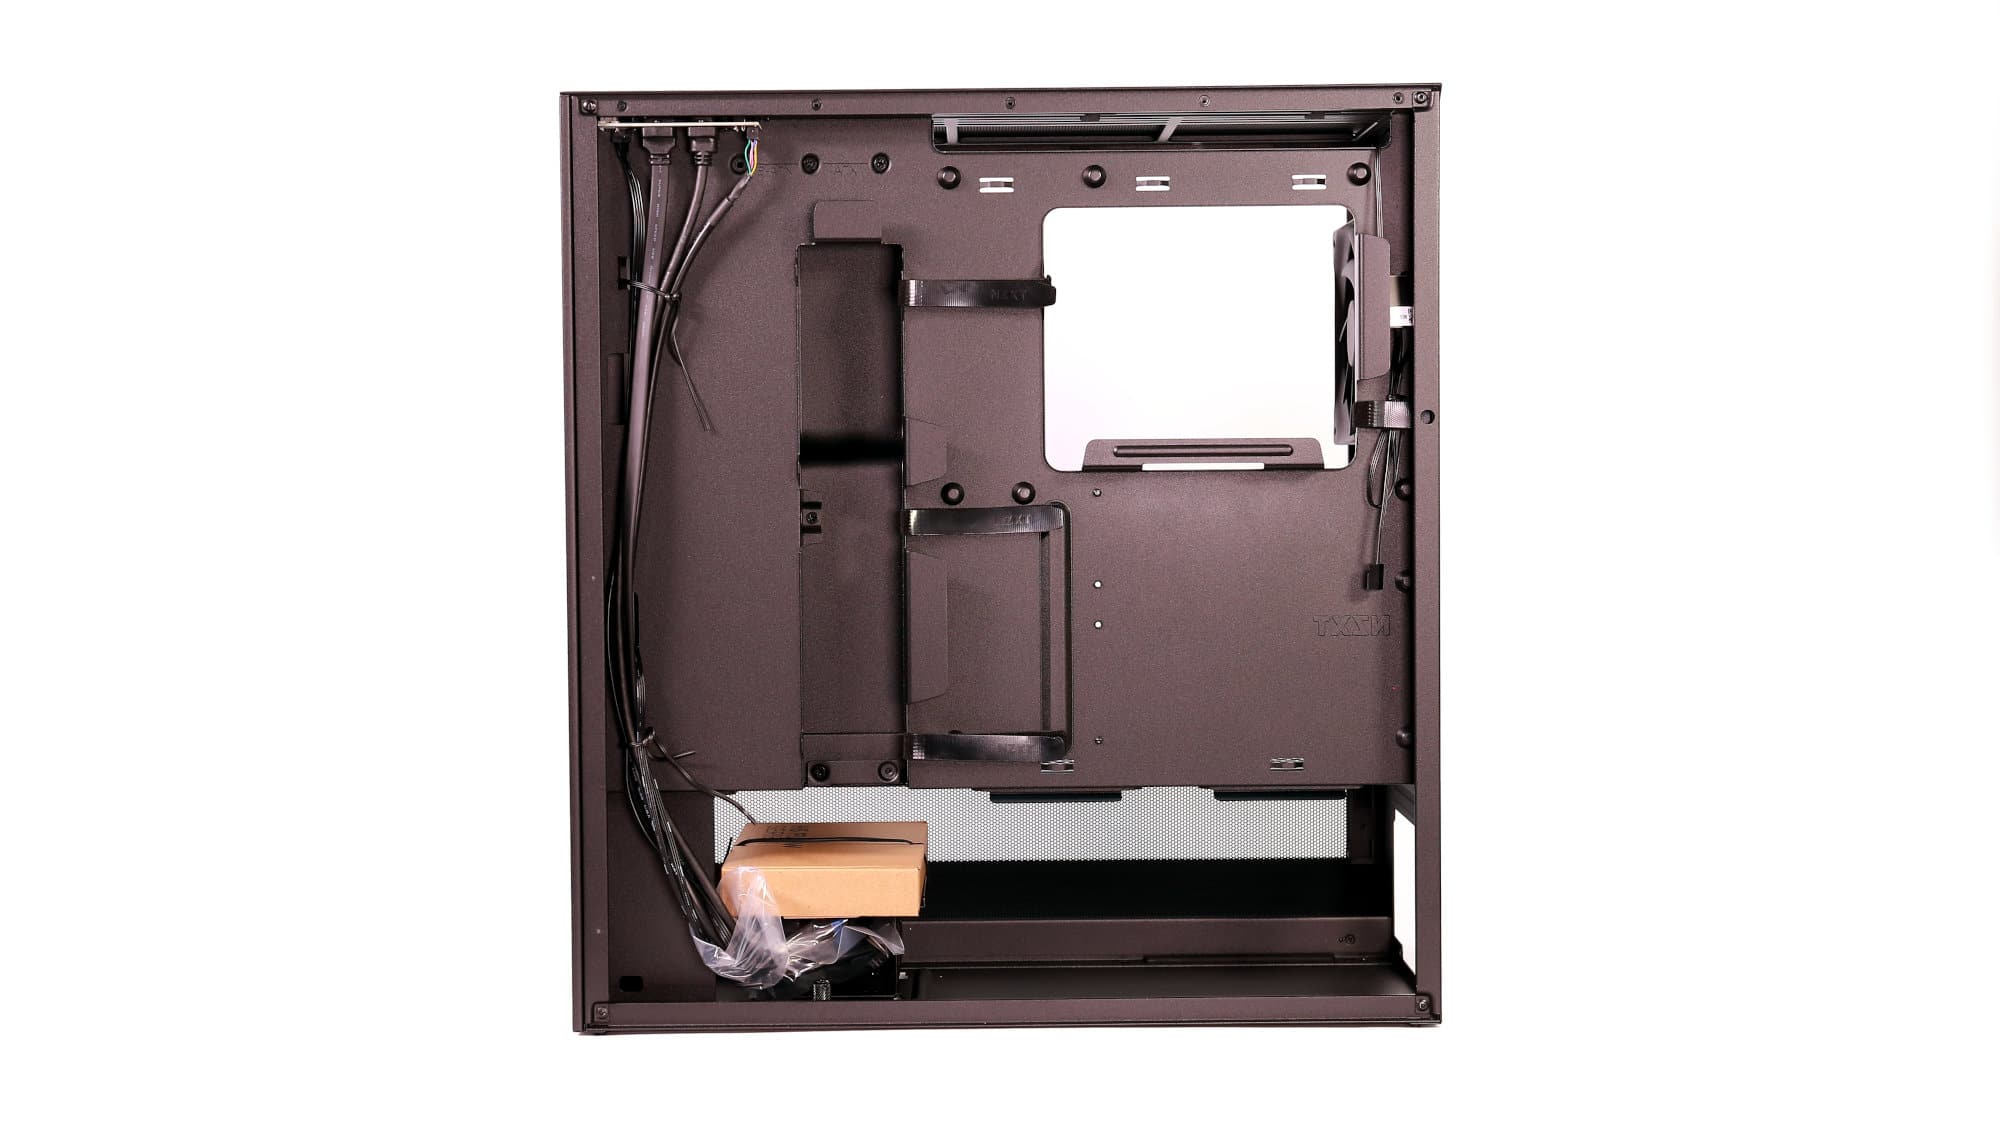
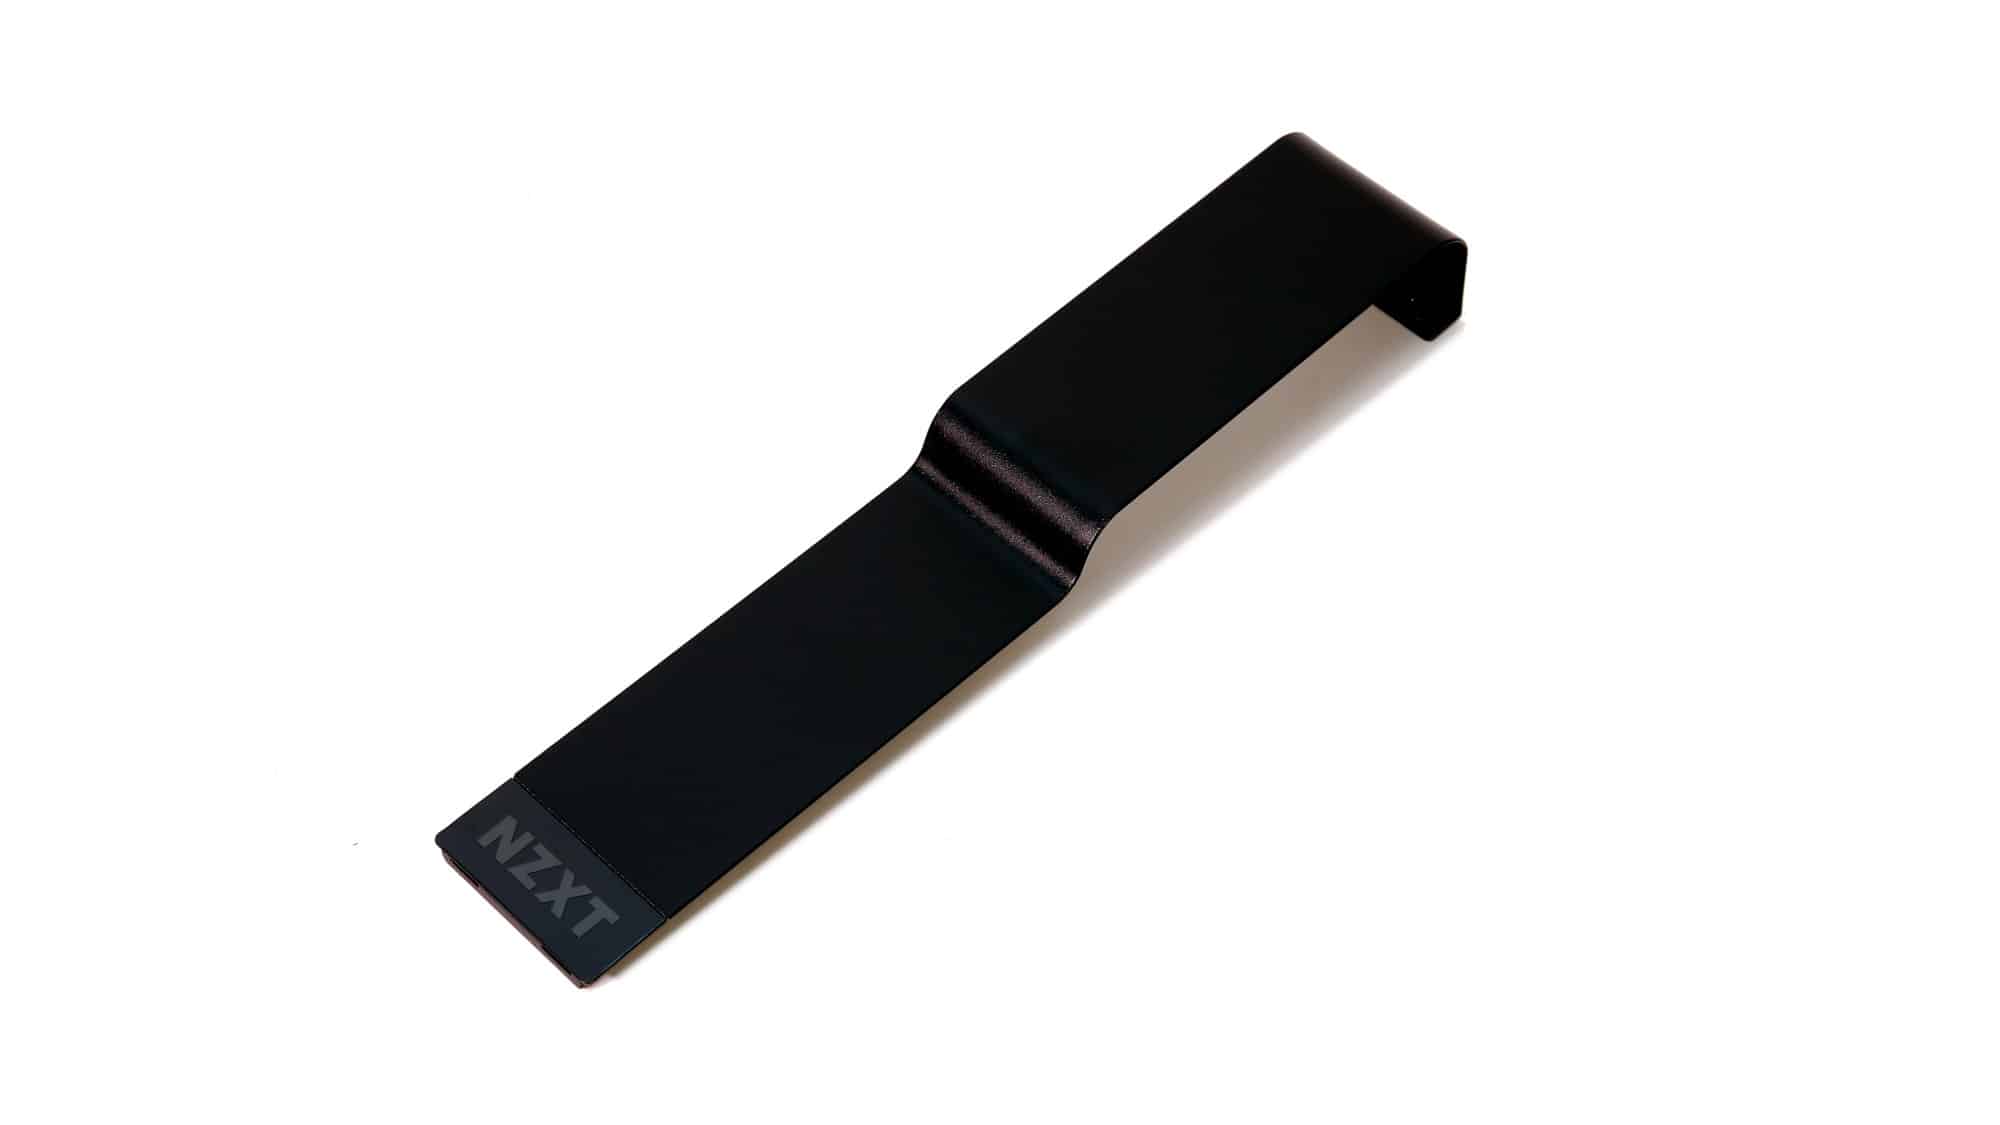
Behind the motherboard tray, cable management is straightforward but efficient. PSU cables route upward through Velcro straps and distribute cleanly to their destinations. Since NZXT uses these straps already, we hope they start including more of them in future chassis instead of zip ties.
The rear fan cable is neatly routed, and the I/O cables are positioned to the left. They’re long enough to allow for tidy routing. It’s a bit unfortunate that each USB cable supports only one port. However, unified front panel connectors are a welcome feature.
Cooling and Airflow
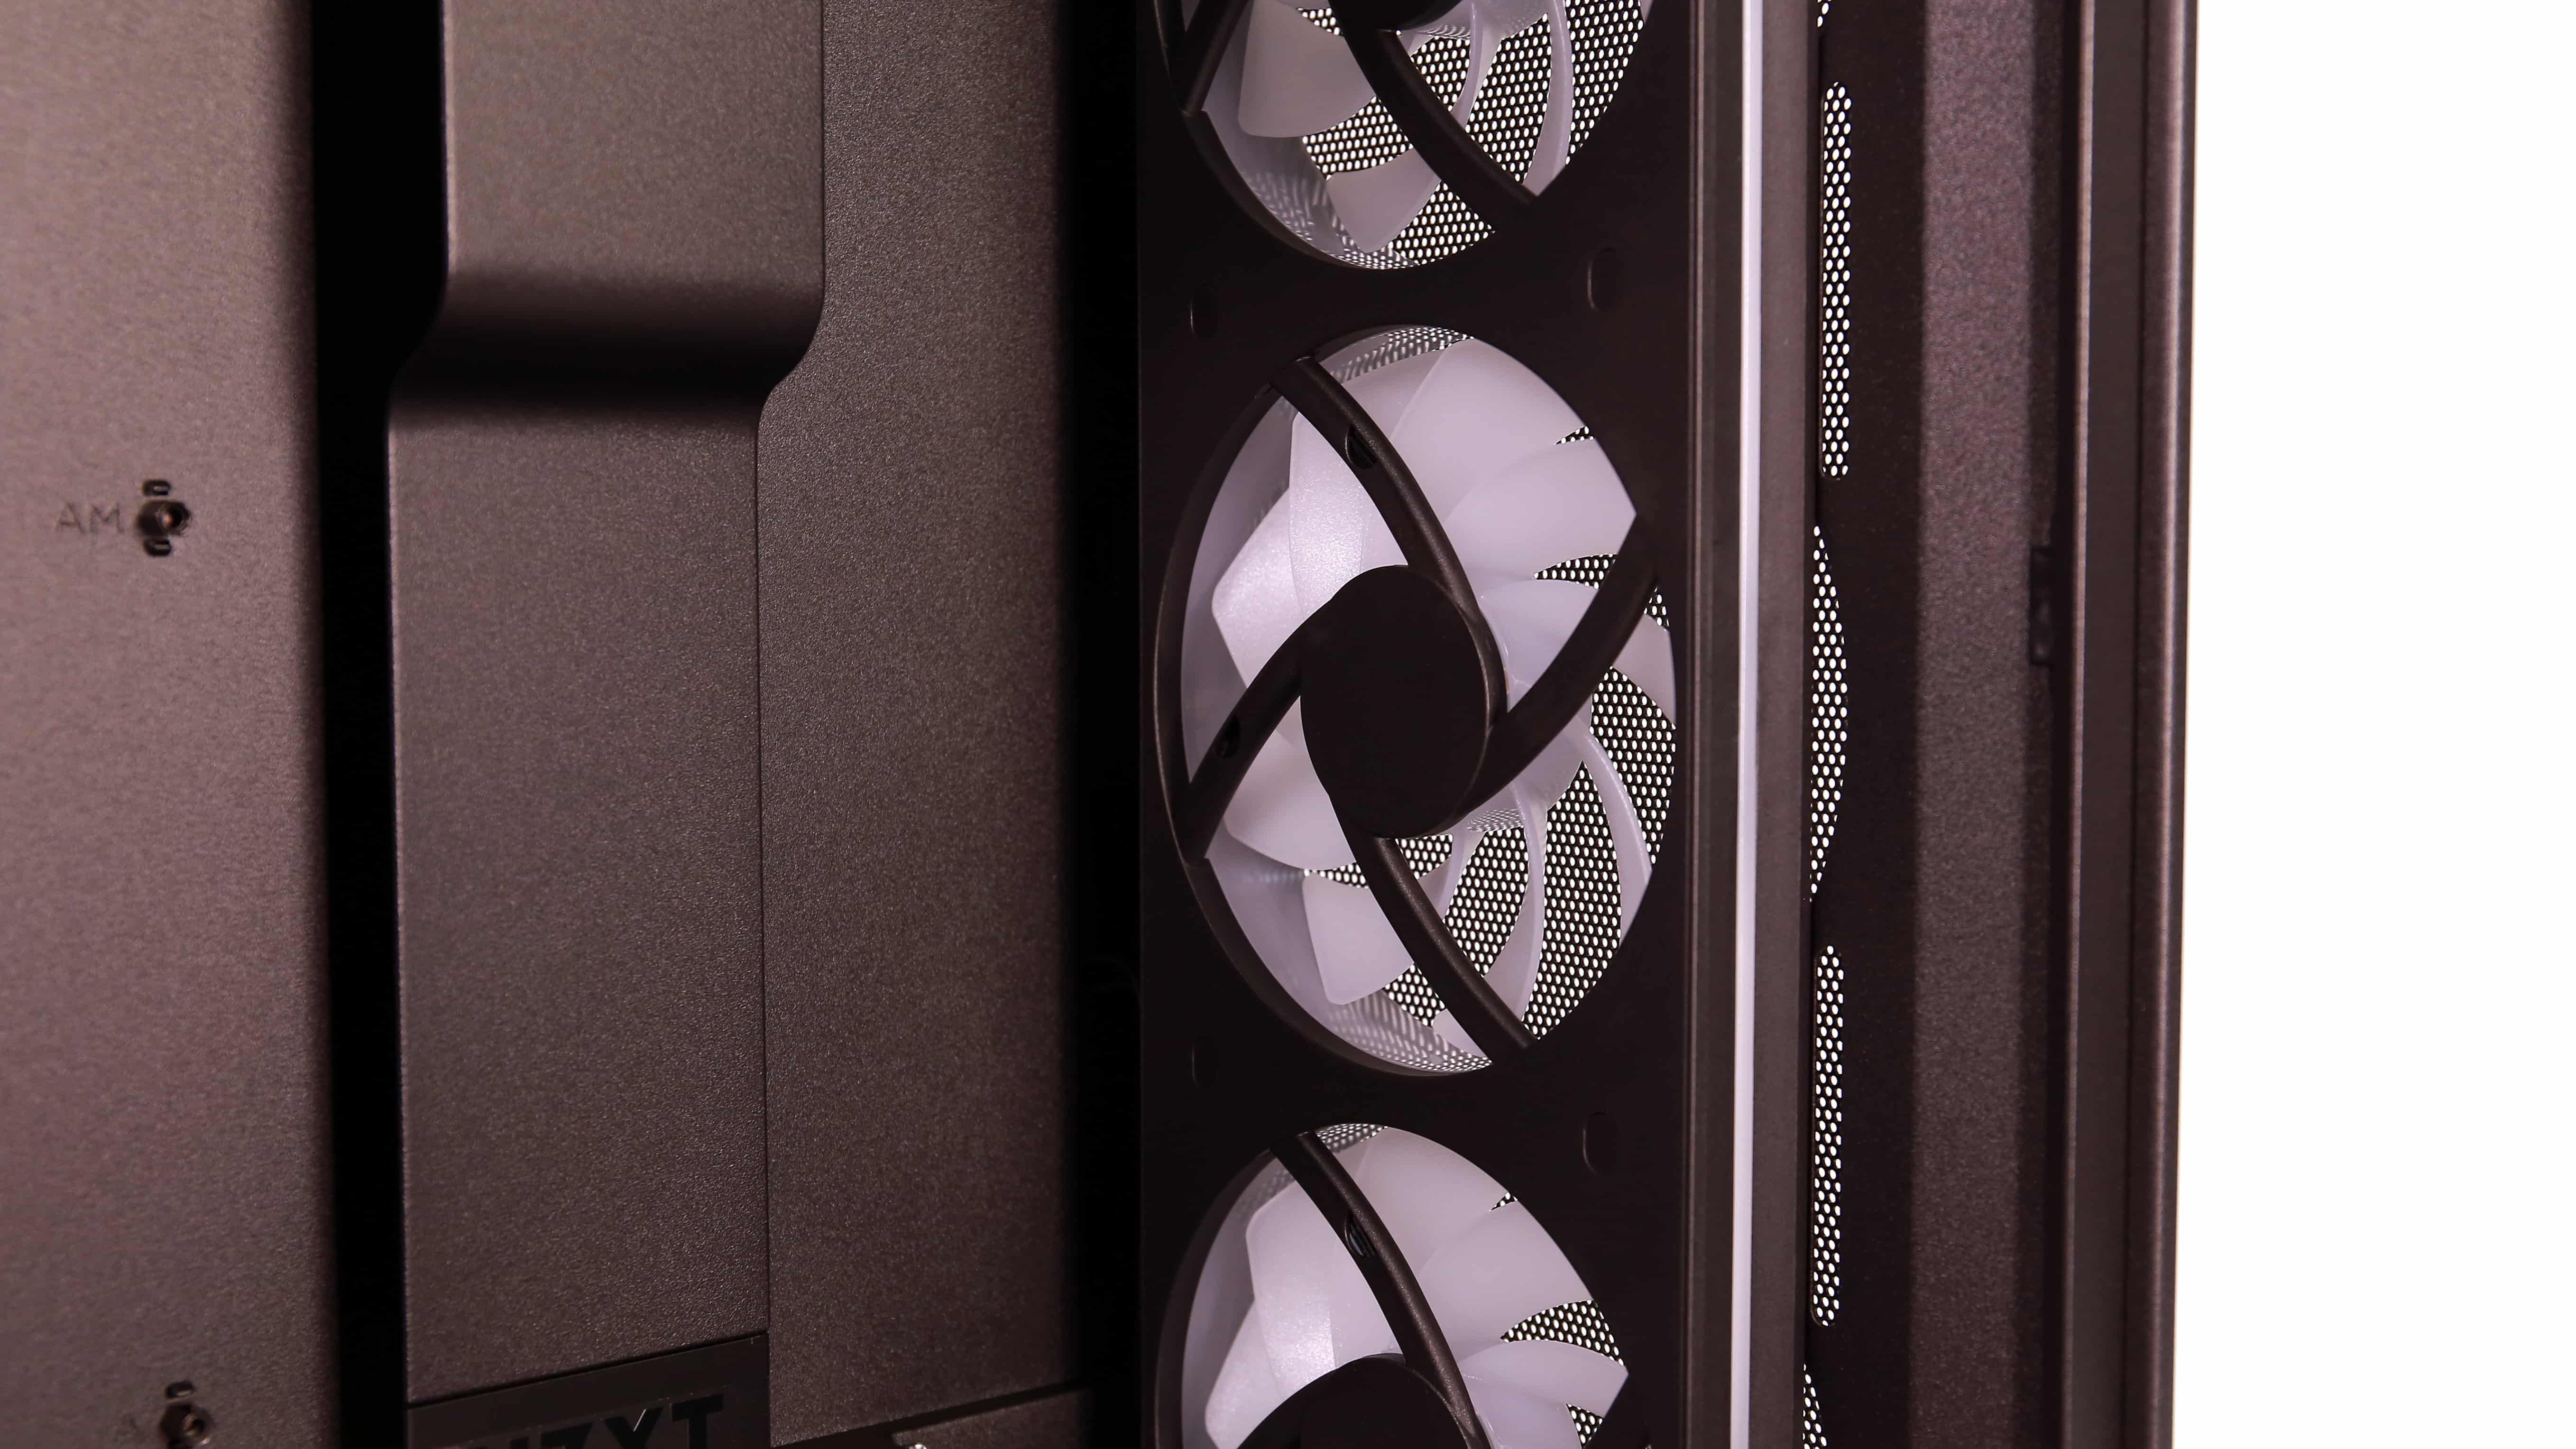
The cooling setup in our unit is excellent. The triple front fan array and a rear exhaust fan provide a good foundation. You can add up to three more fans at the top and two on the PSU shroud for GPU airflow, bringing the total to nine. The case supports two radiators: up to 360mm at the front and either 240mm or 280mm at the top.
It’s worth noting that the included fans are “Case Versions,” meaning they spin slower and run quieter than their standalone counterparts.
Storage Options
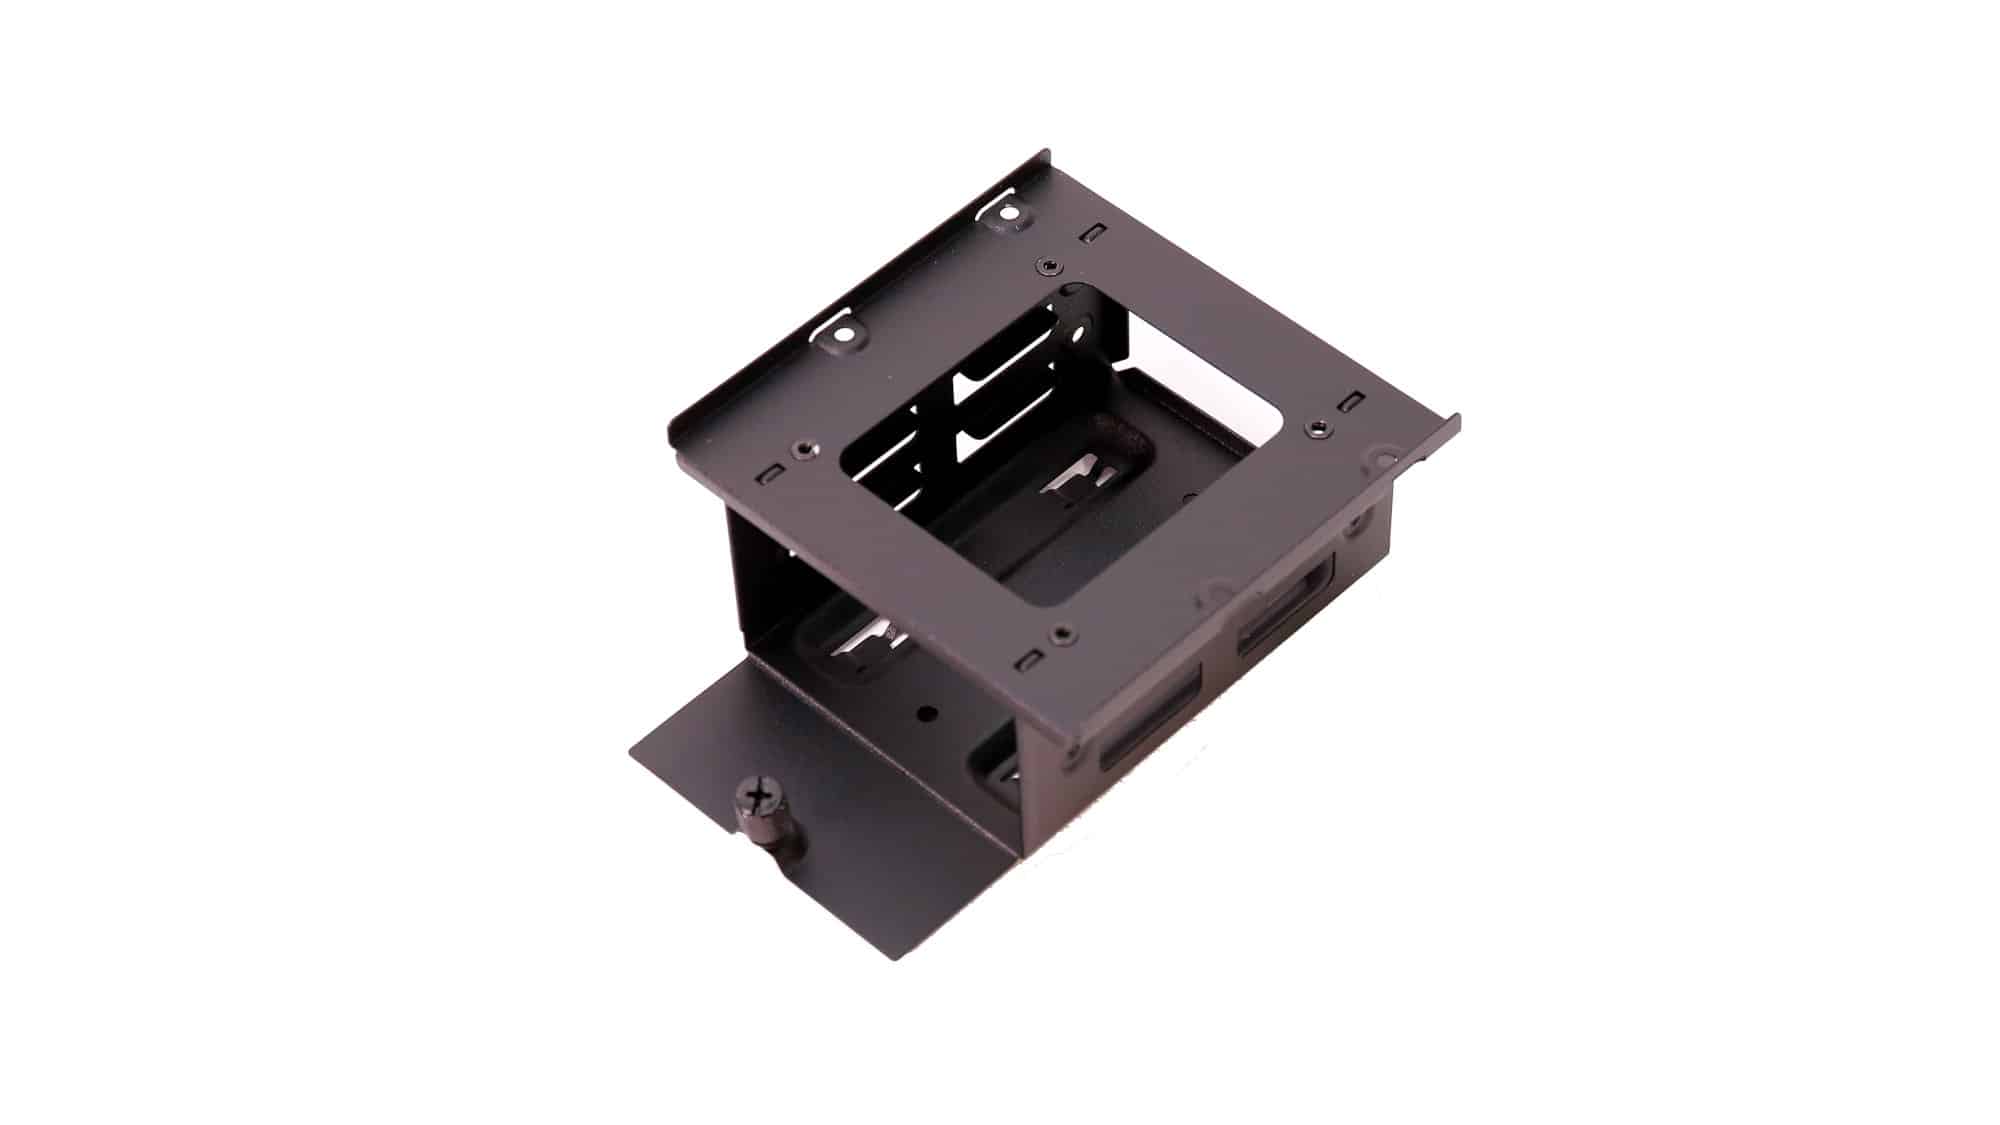
Storage options have been somewhat sacrificed for design: support for two 2.5-inch drives and one 3.5-inch drive. However, with a bit of creativity, you could fit additional SSDs if needed.