Build Experience
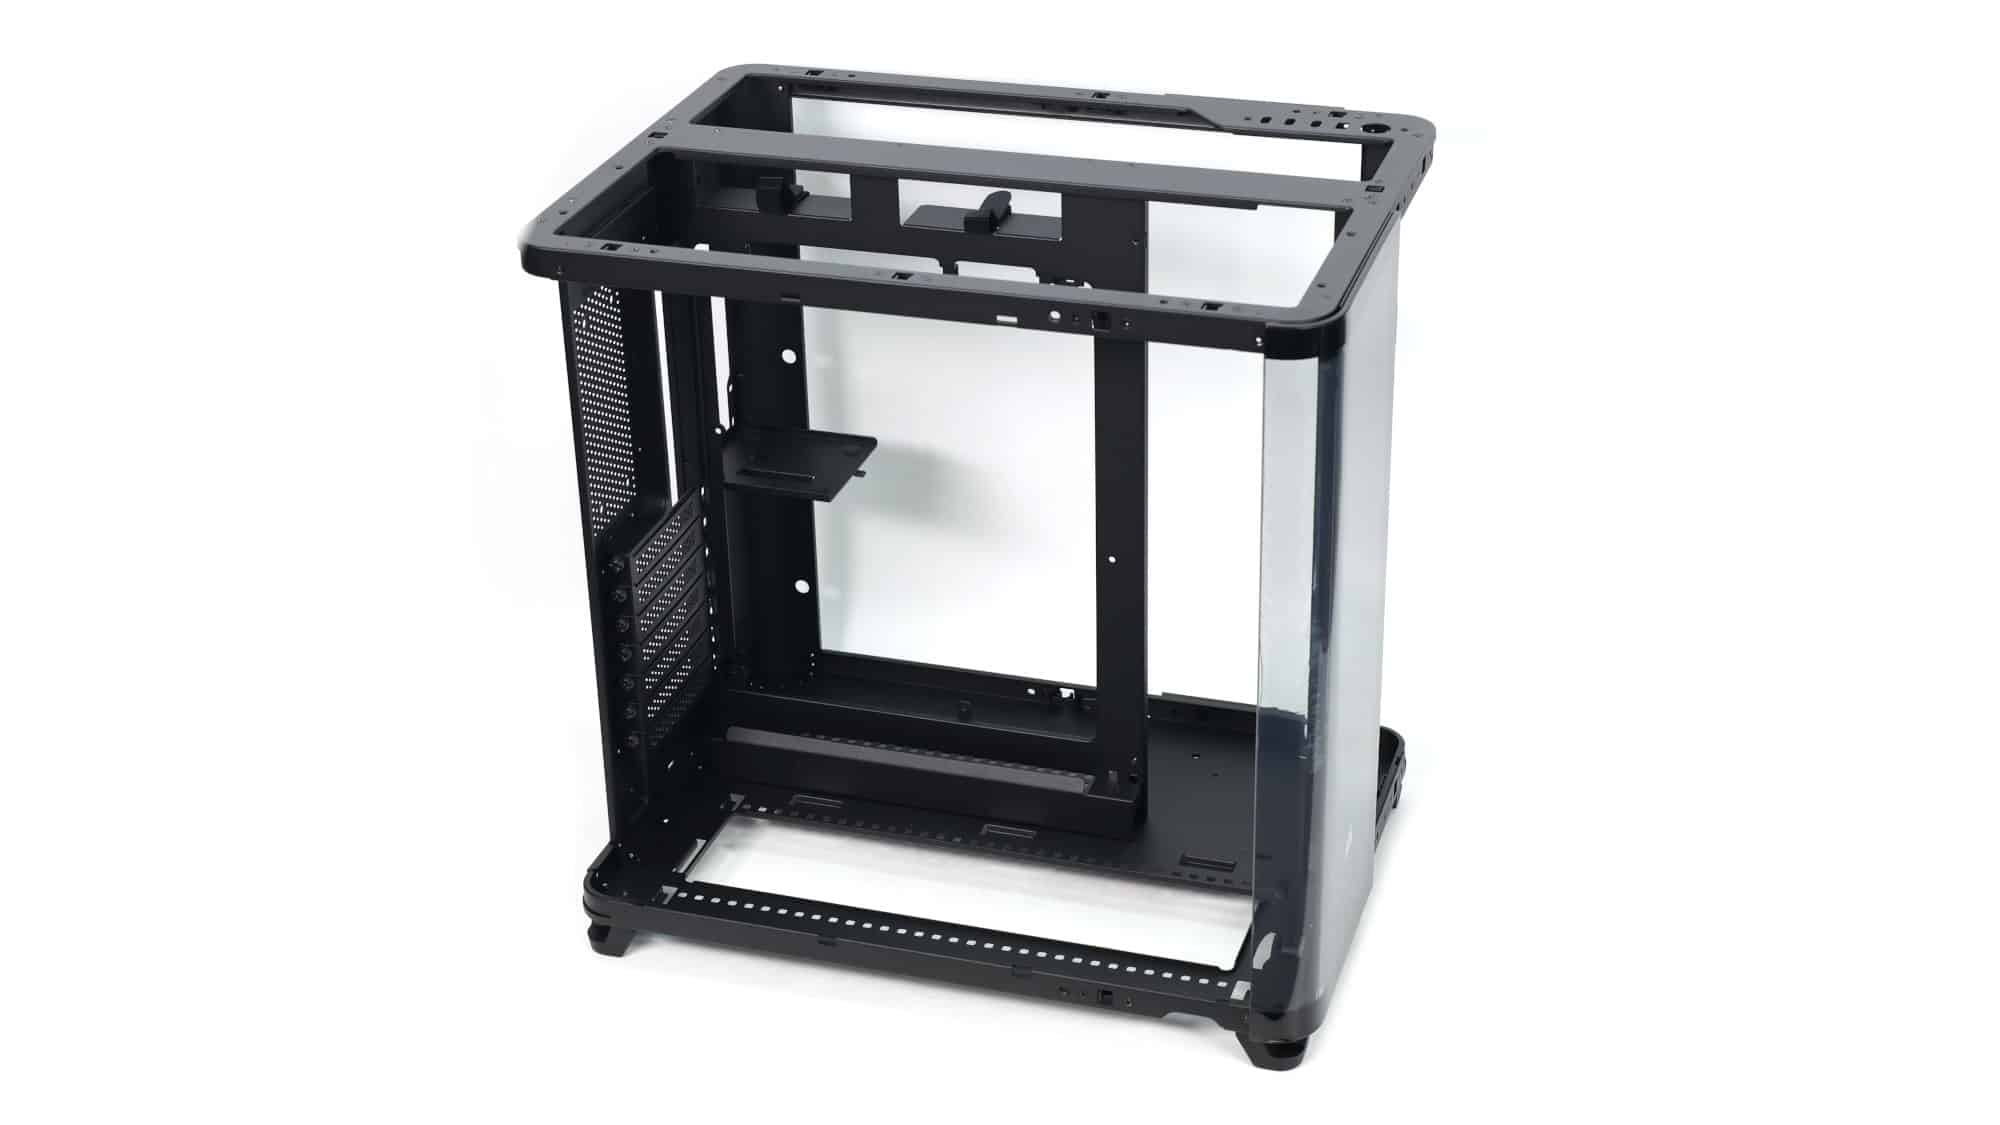
It goes without saying that it’s pretty easy to build in a chassis this large, provided you can handle its heft. The best part of all the modularity is that you can strip it down completely, making the assembly process much easier.
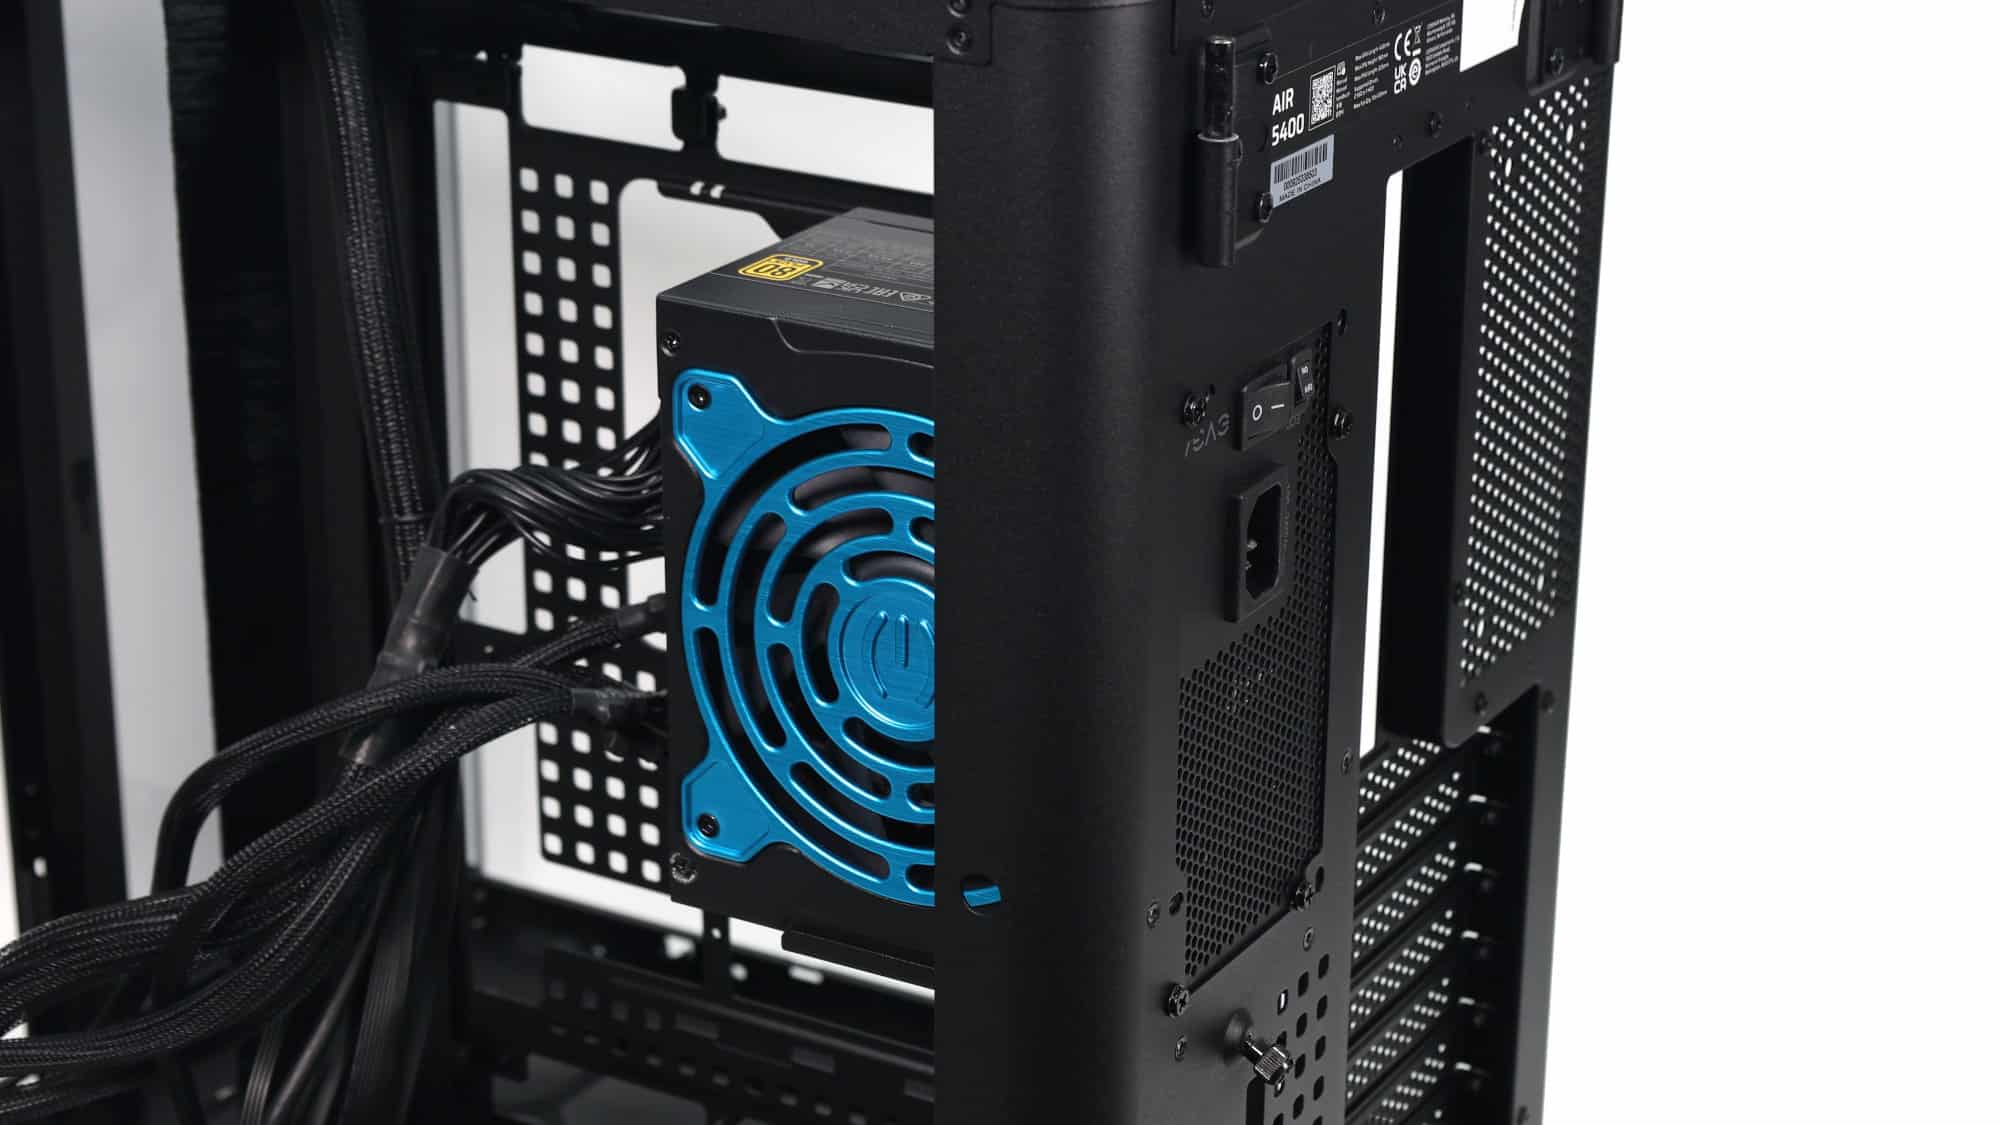
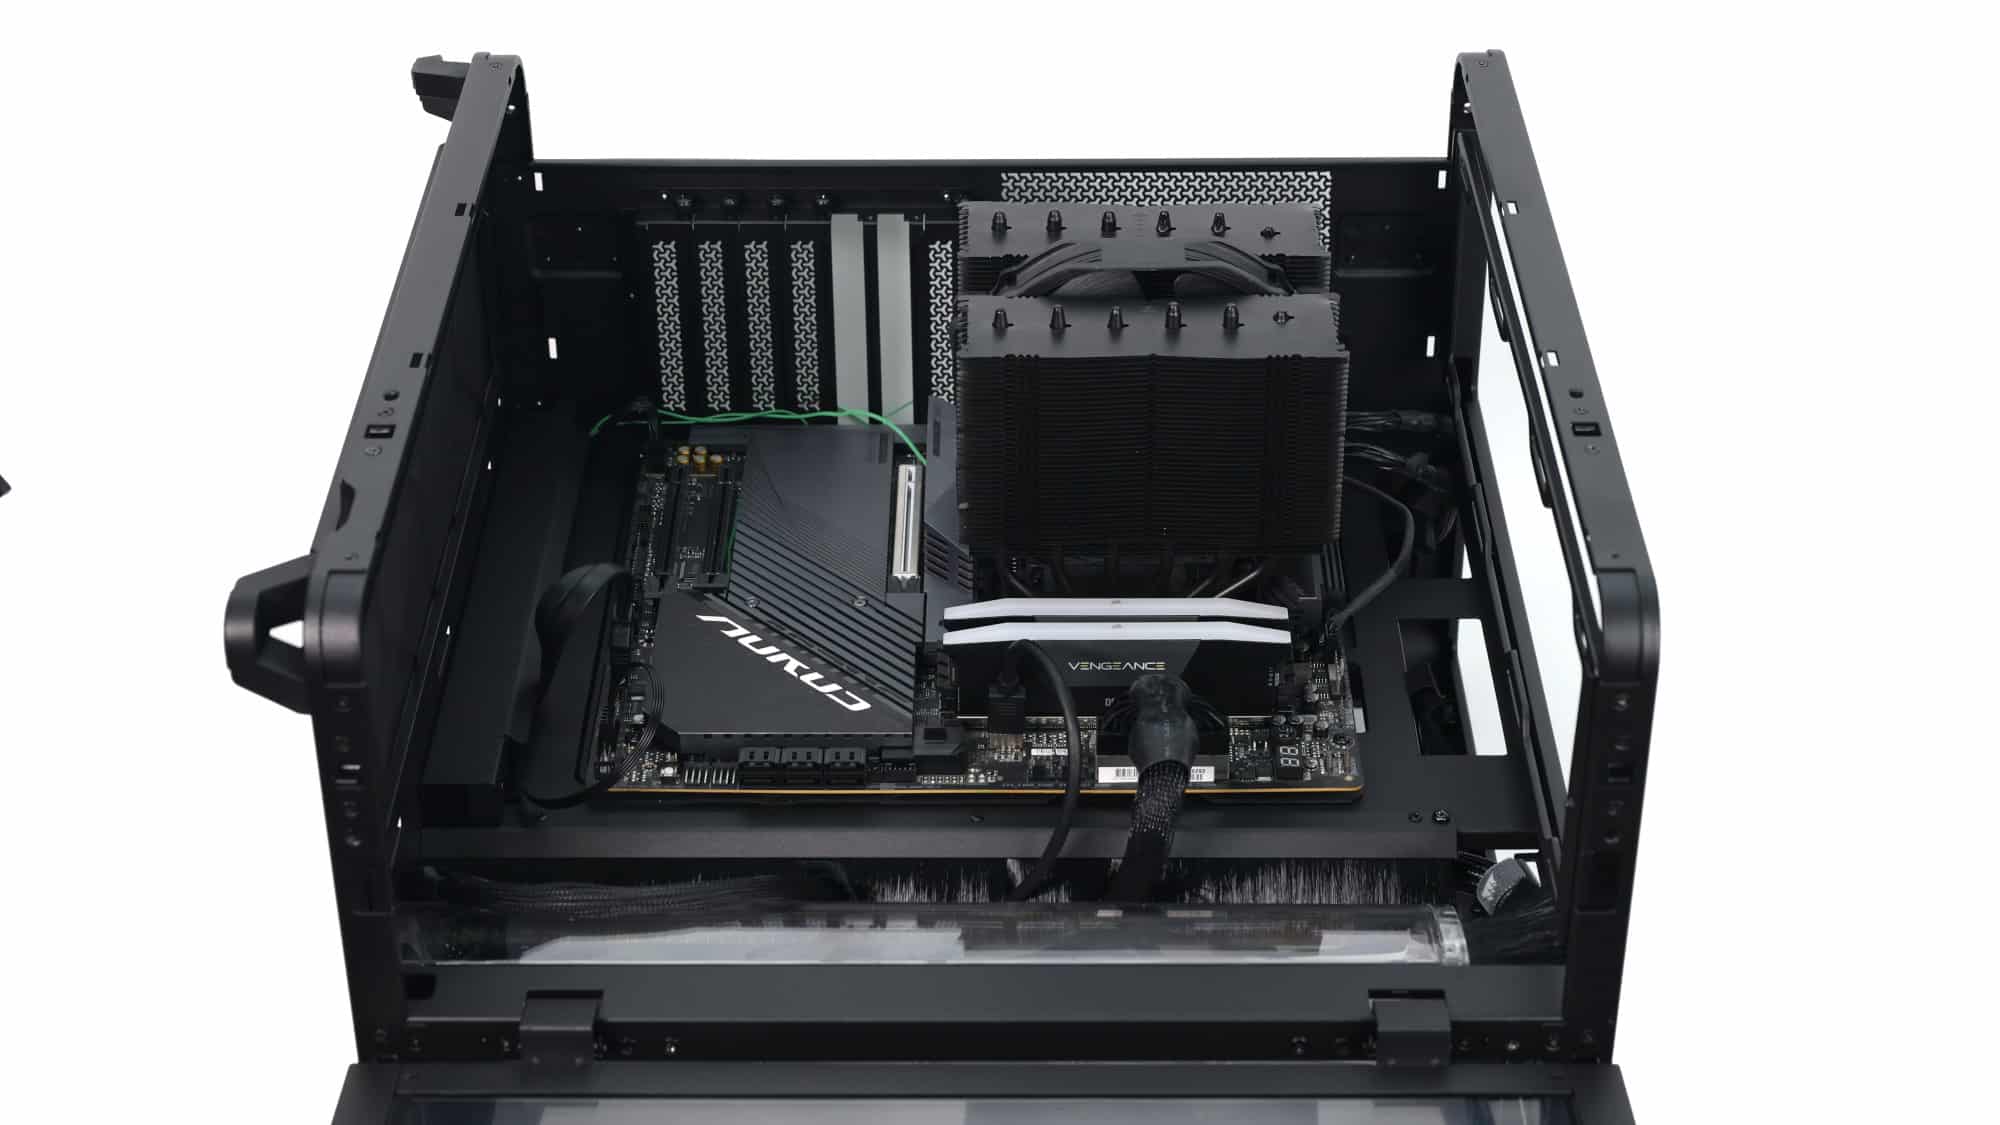
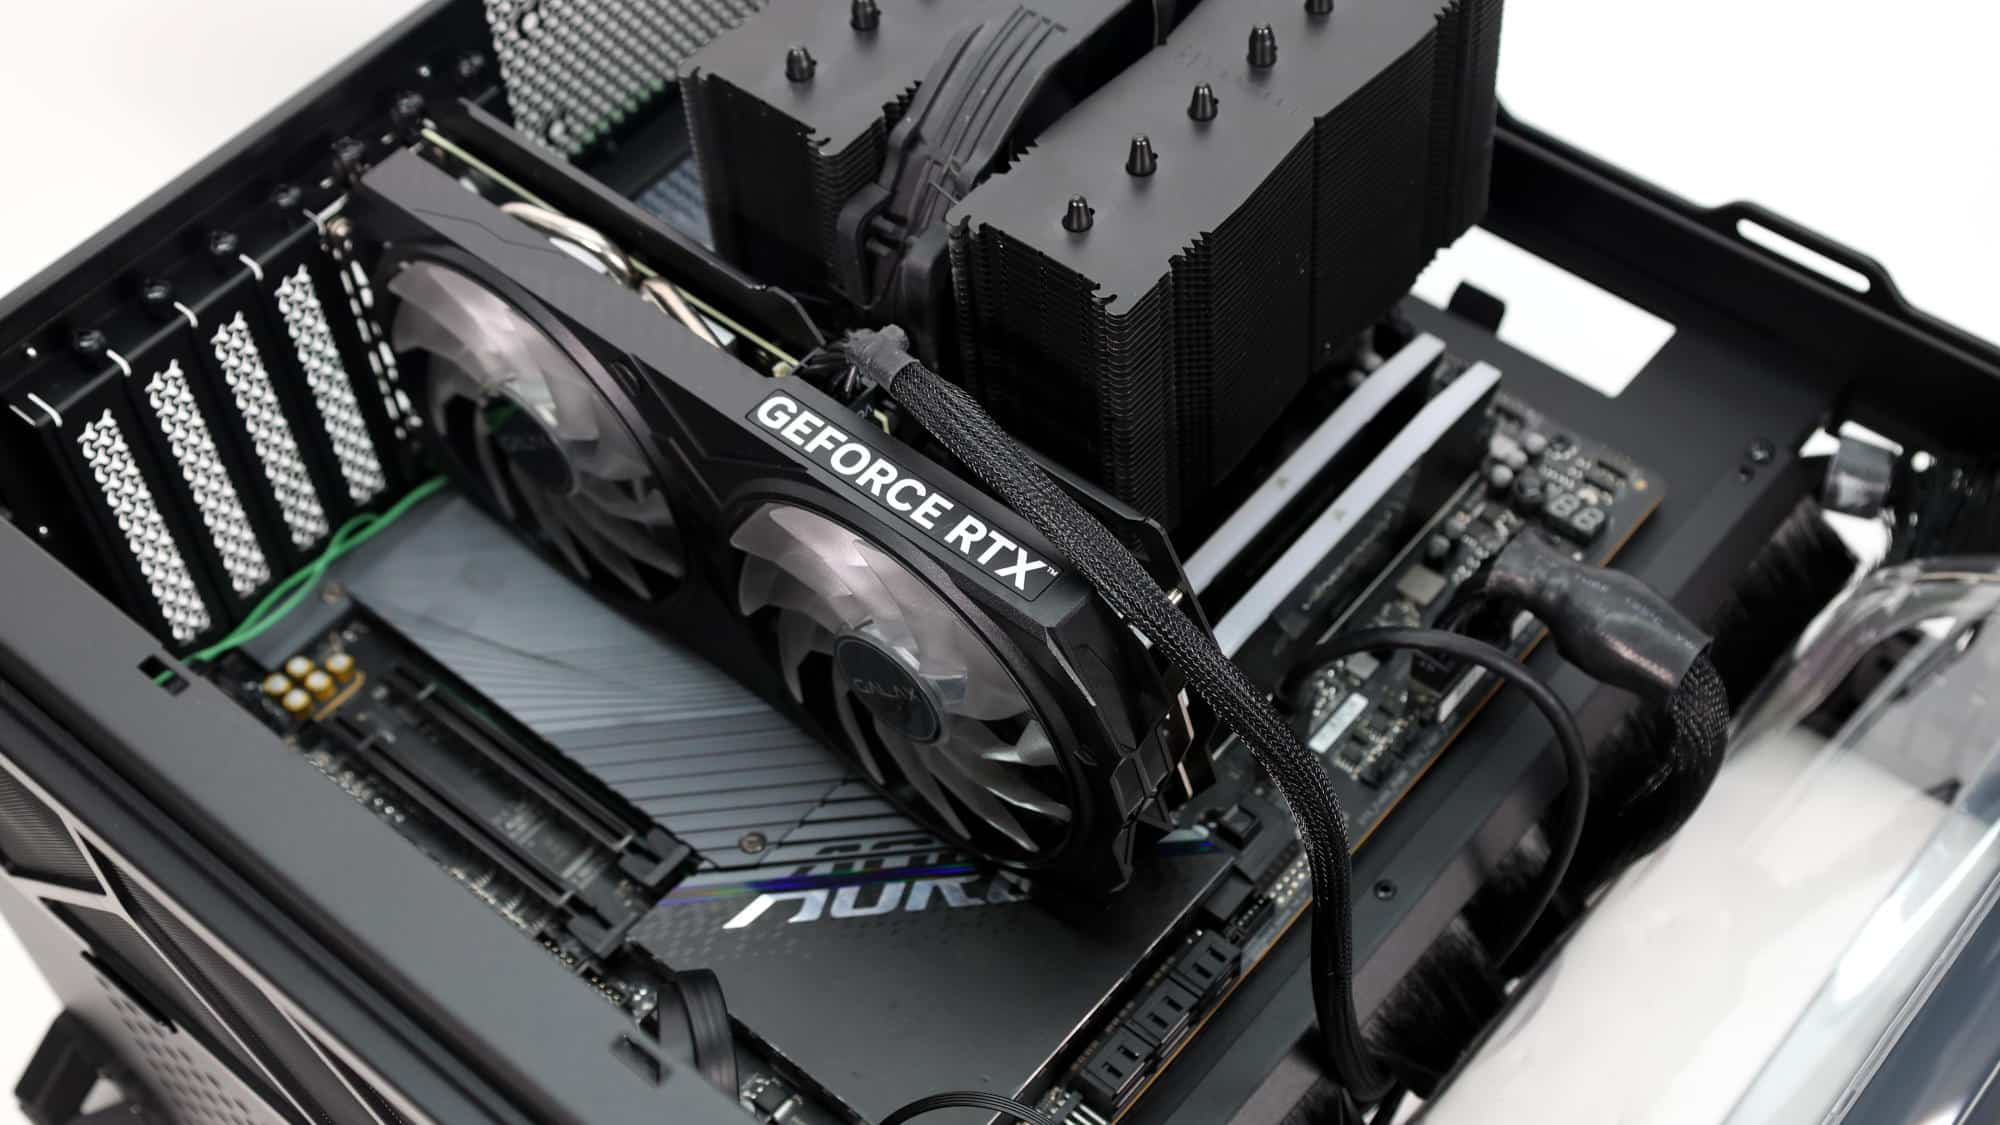
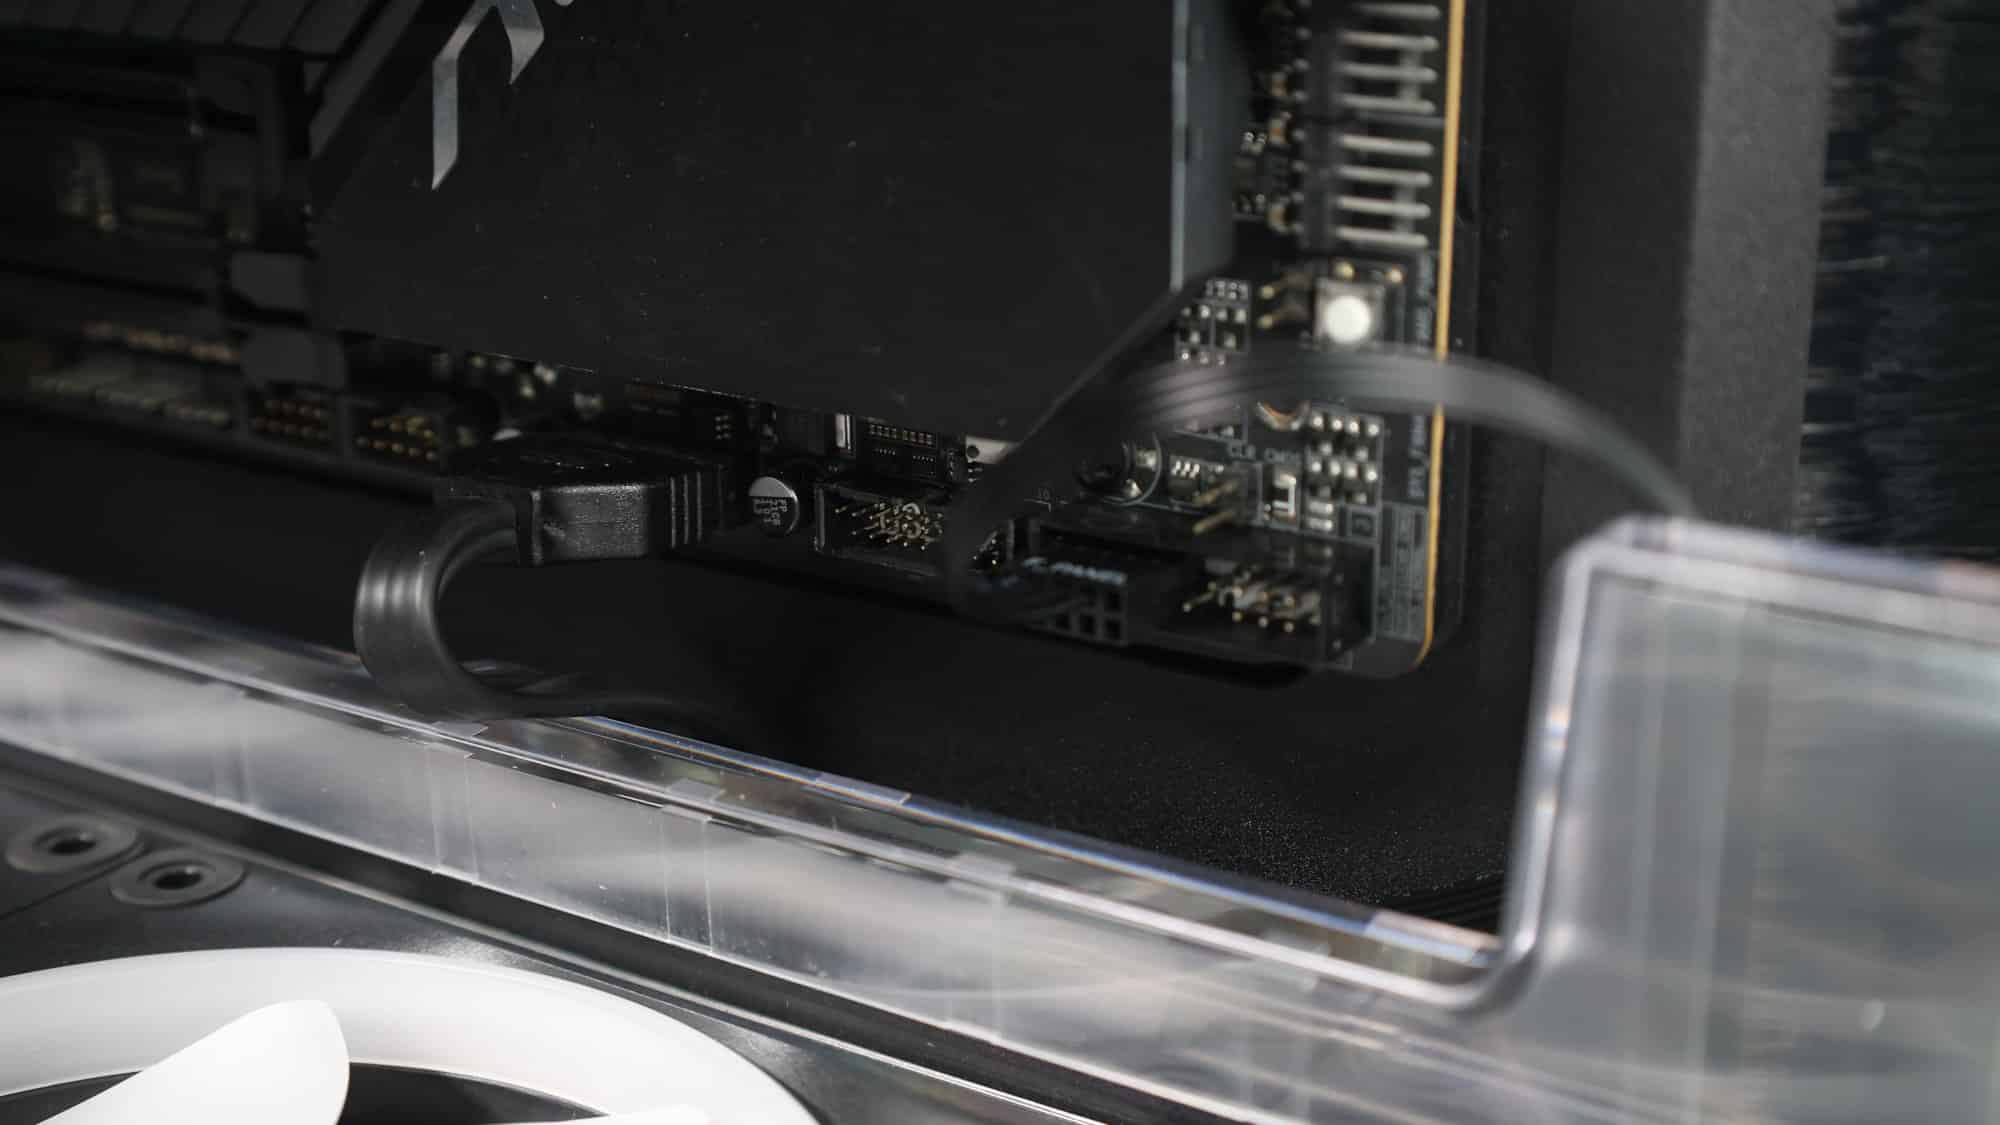
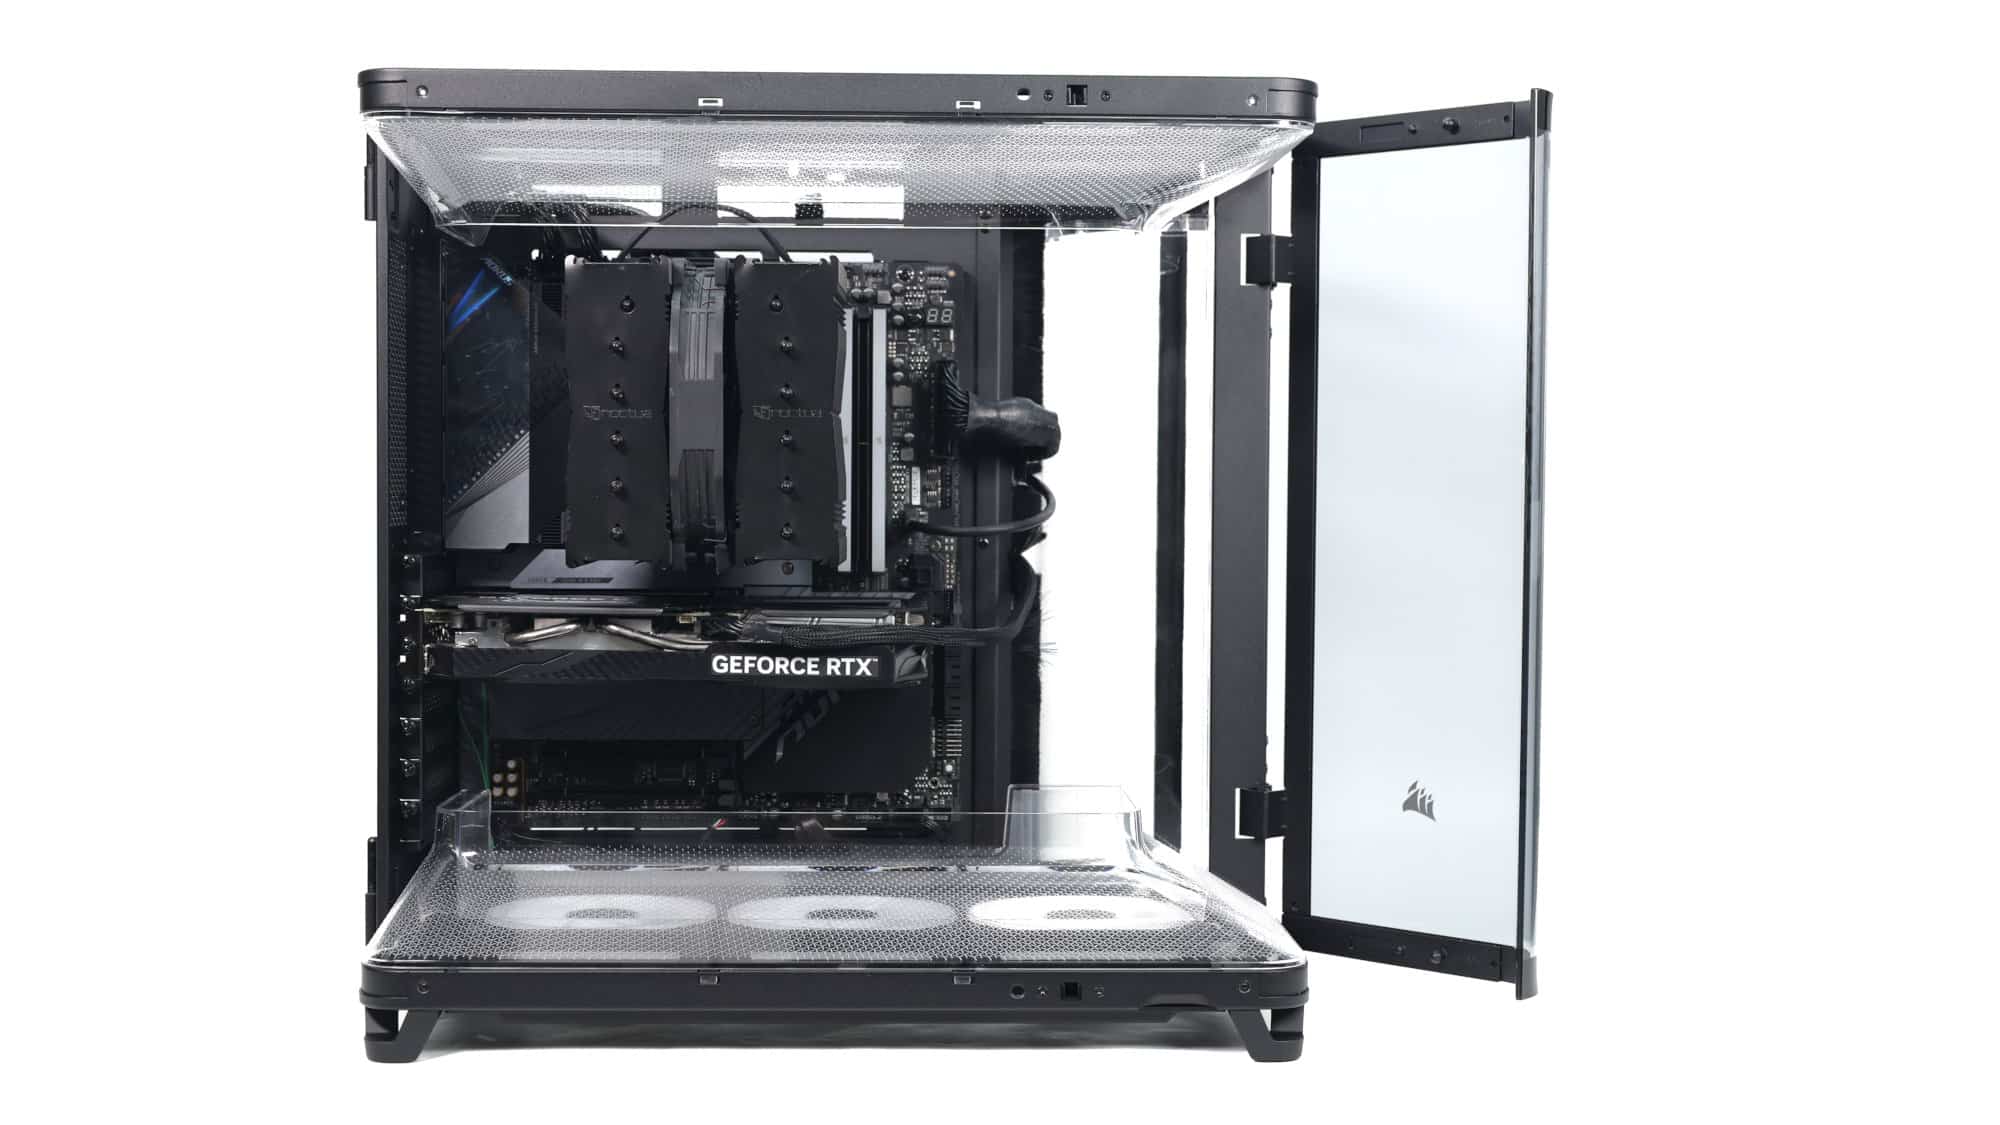
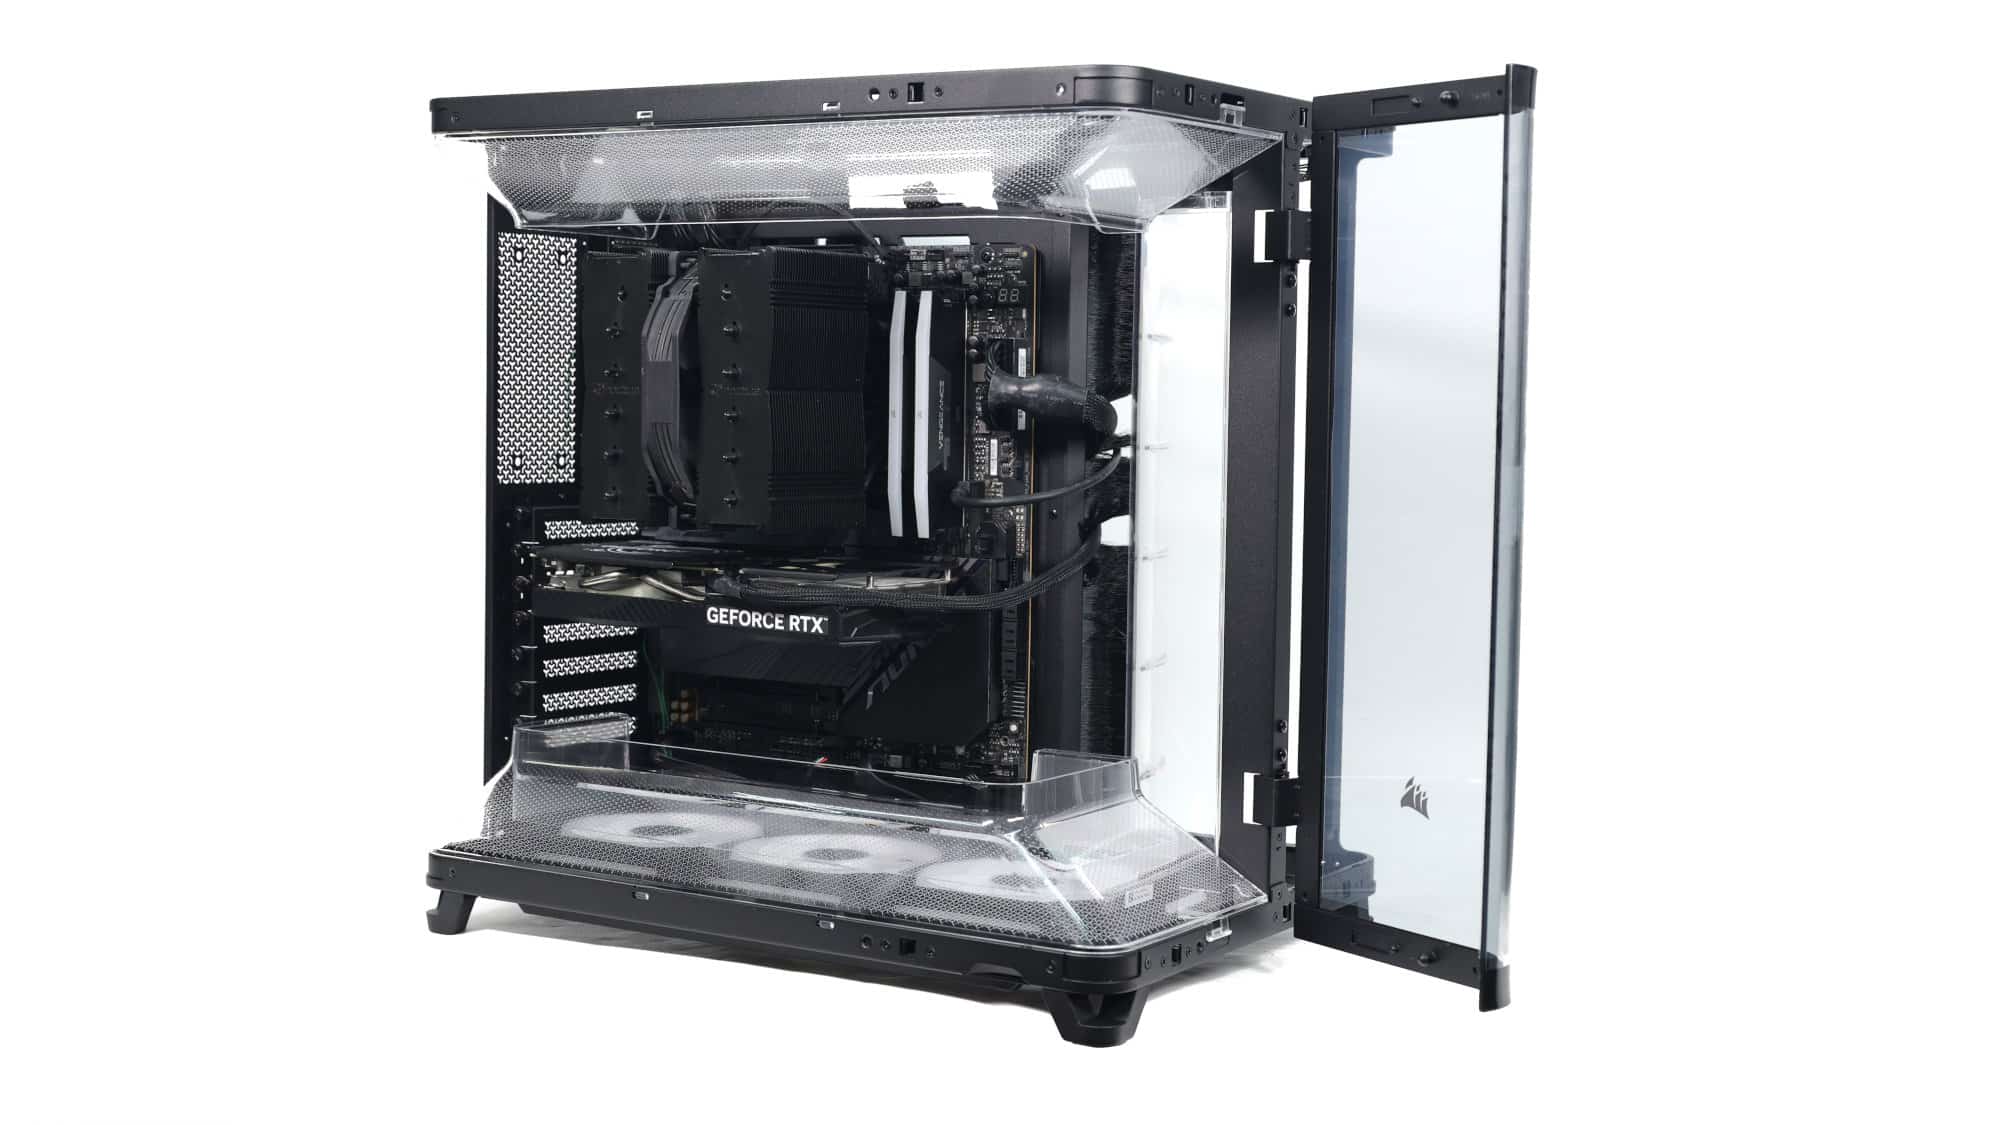
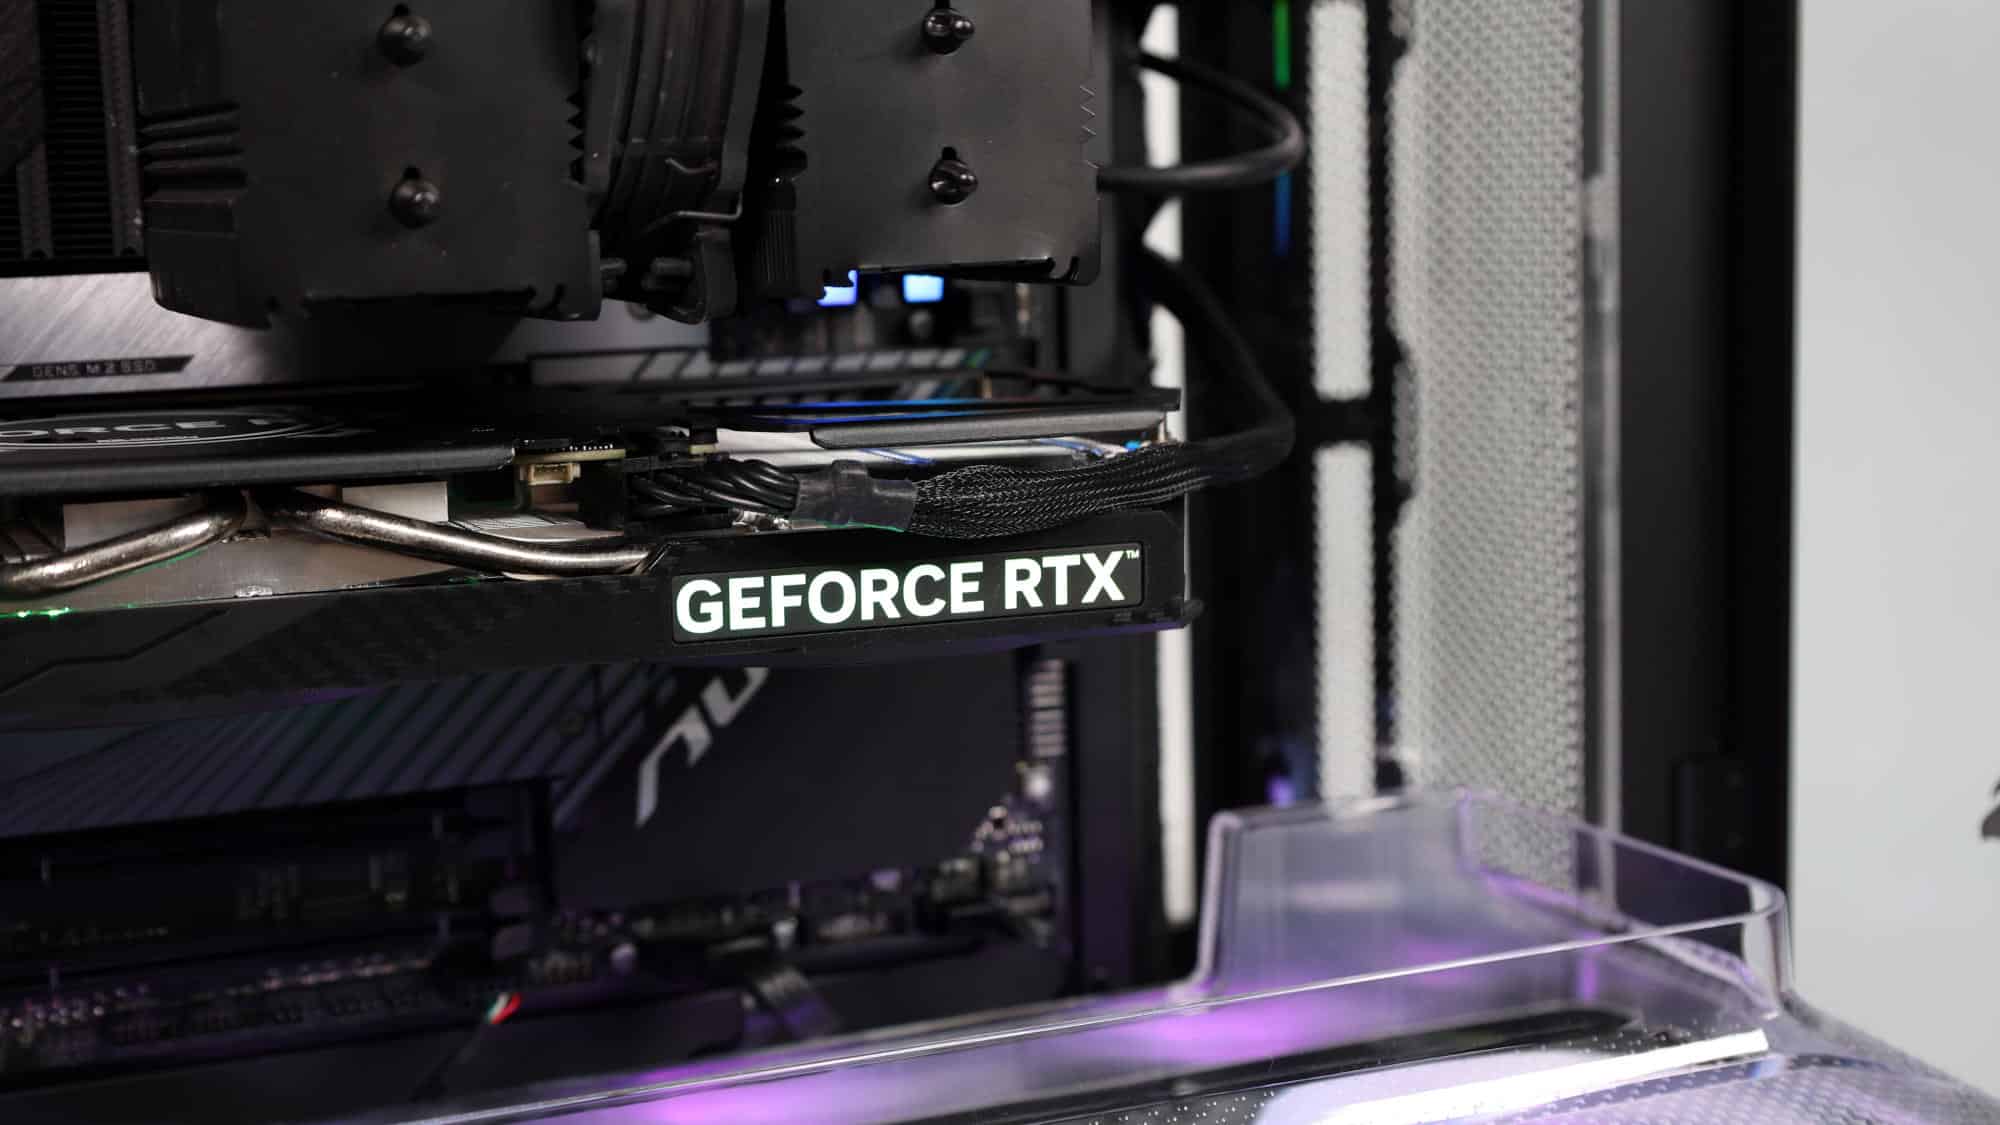
We didn’t go to that extent during our build, but the process held no surprises. As usual, the PSU was the first component installed. The included PSU support bracket helps keep it in place while you secure it with screws. Next came the motherboard, which we installed directly into the chassis with the CPU, RAM, and cooler already mounted. Alignment was spot-on, as expected. Finally, we installed the GPU and connected all power and data cables to complete the system. The fused front-panel I/O is well appreciated.
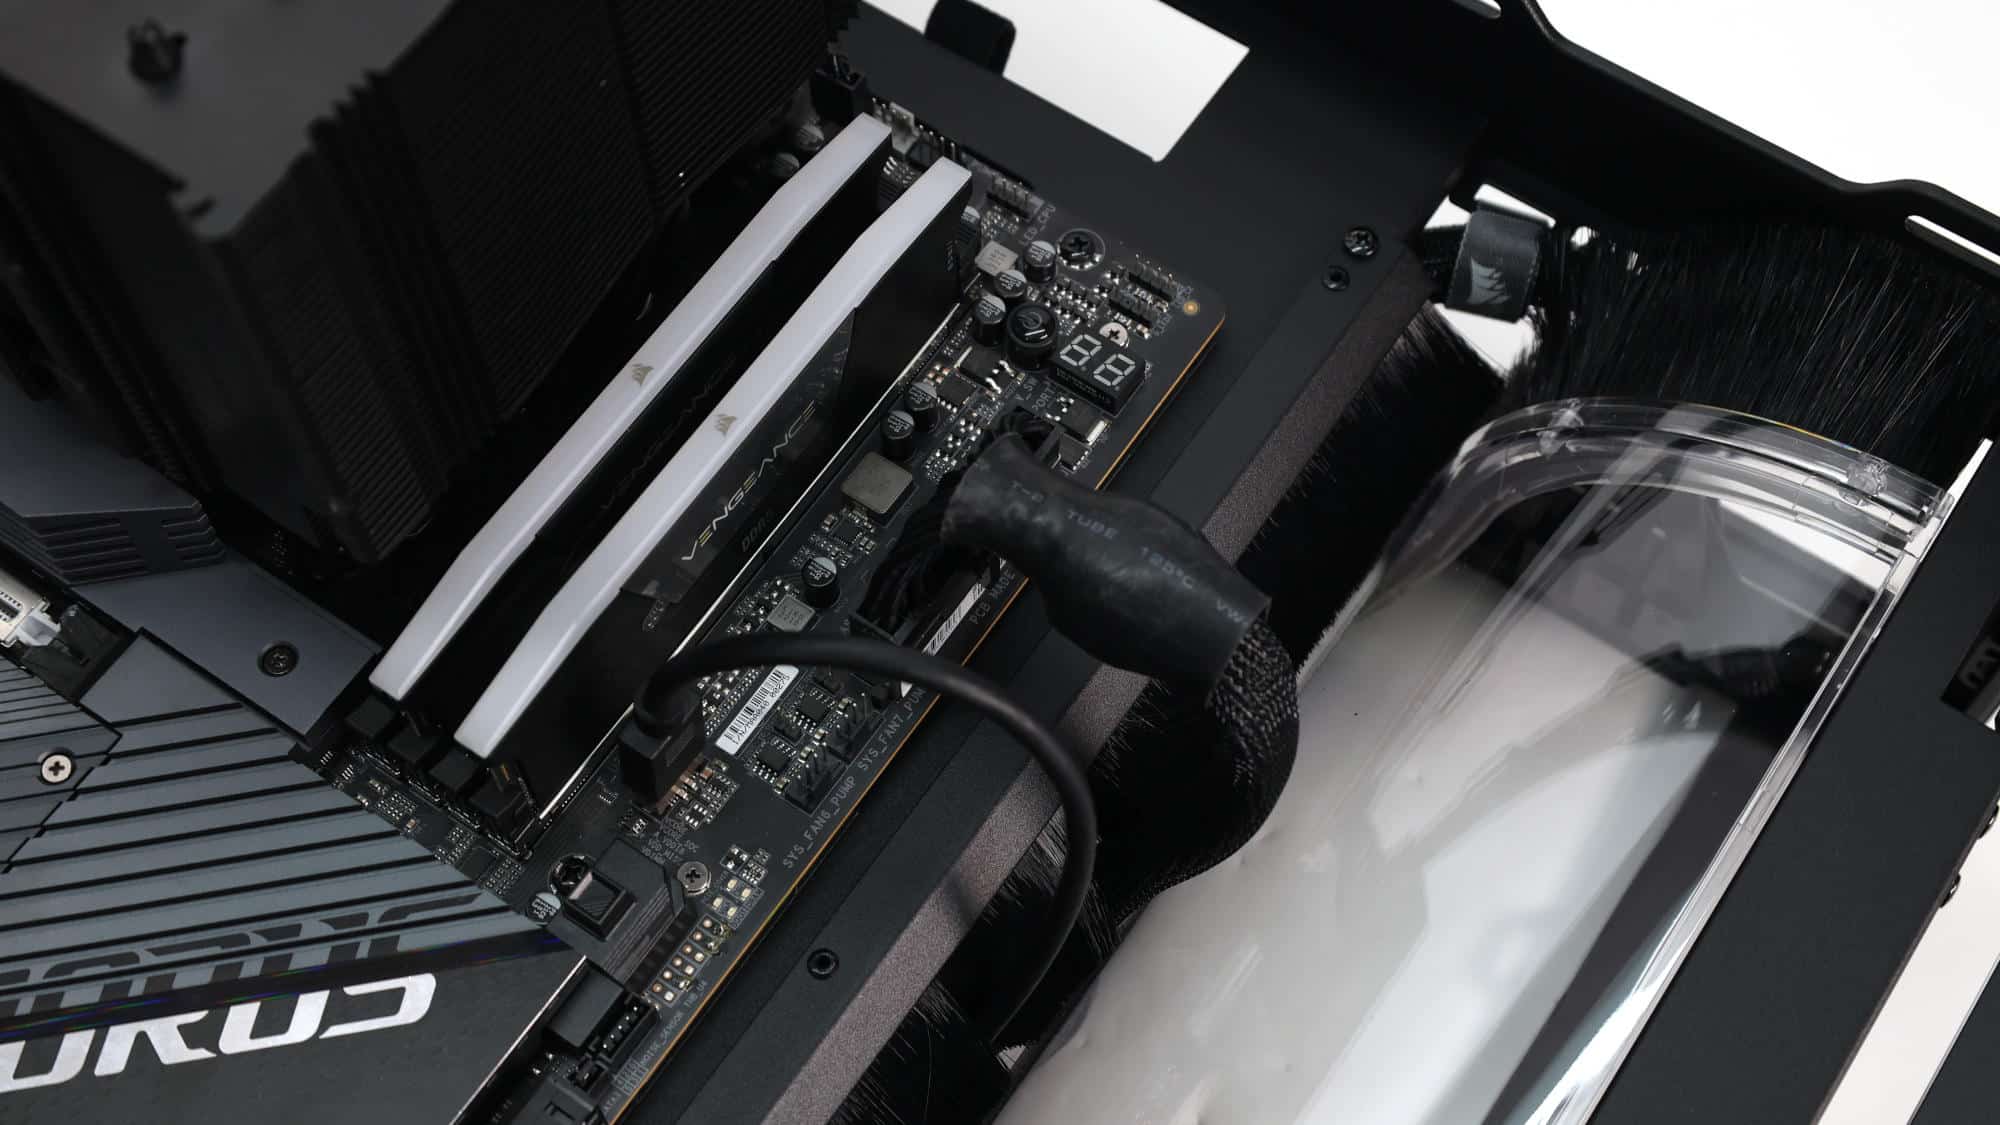
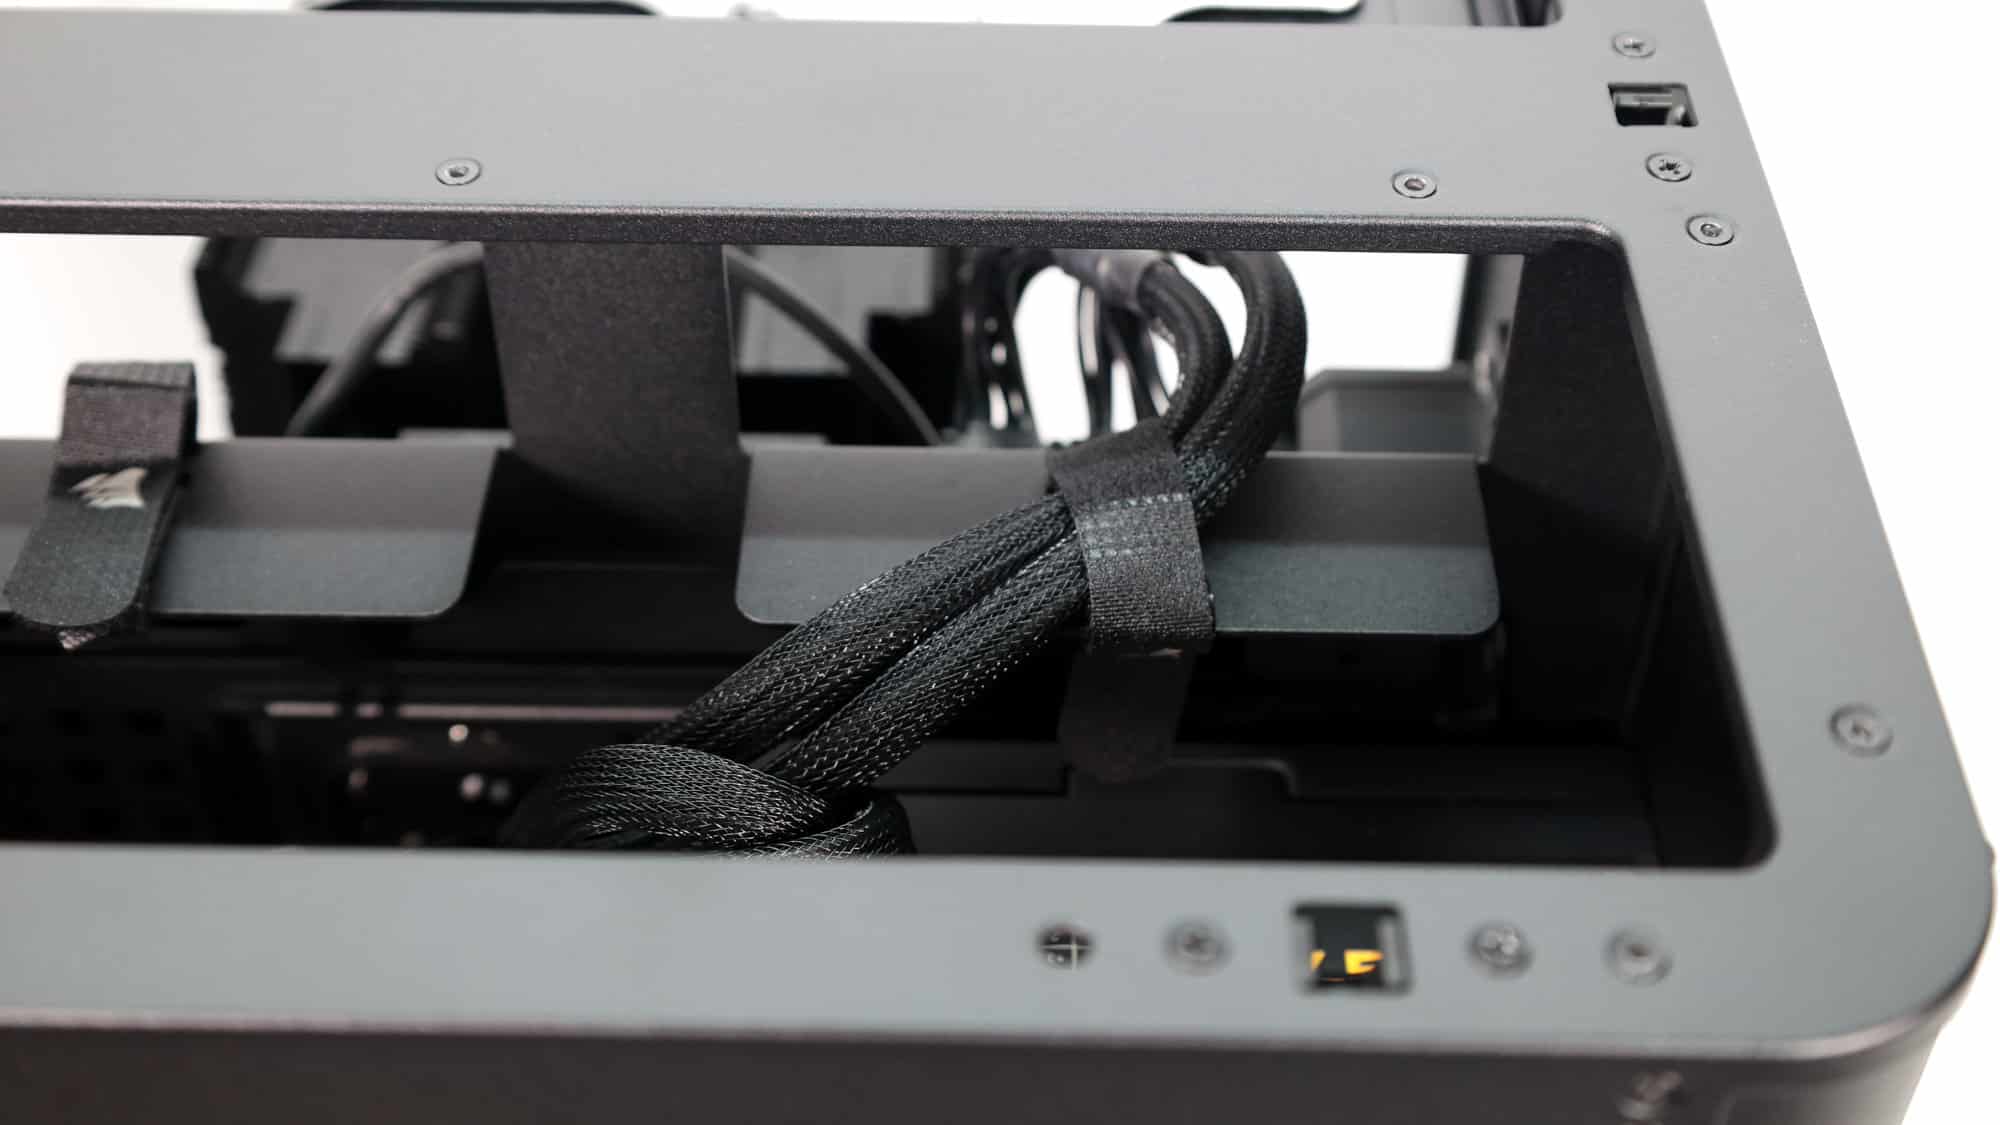
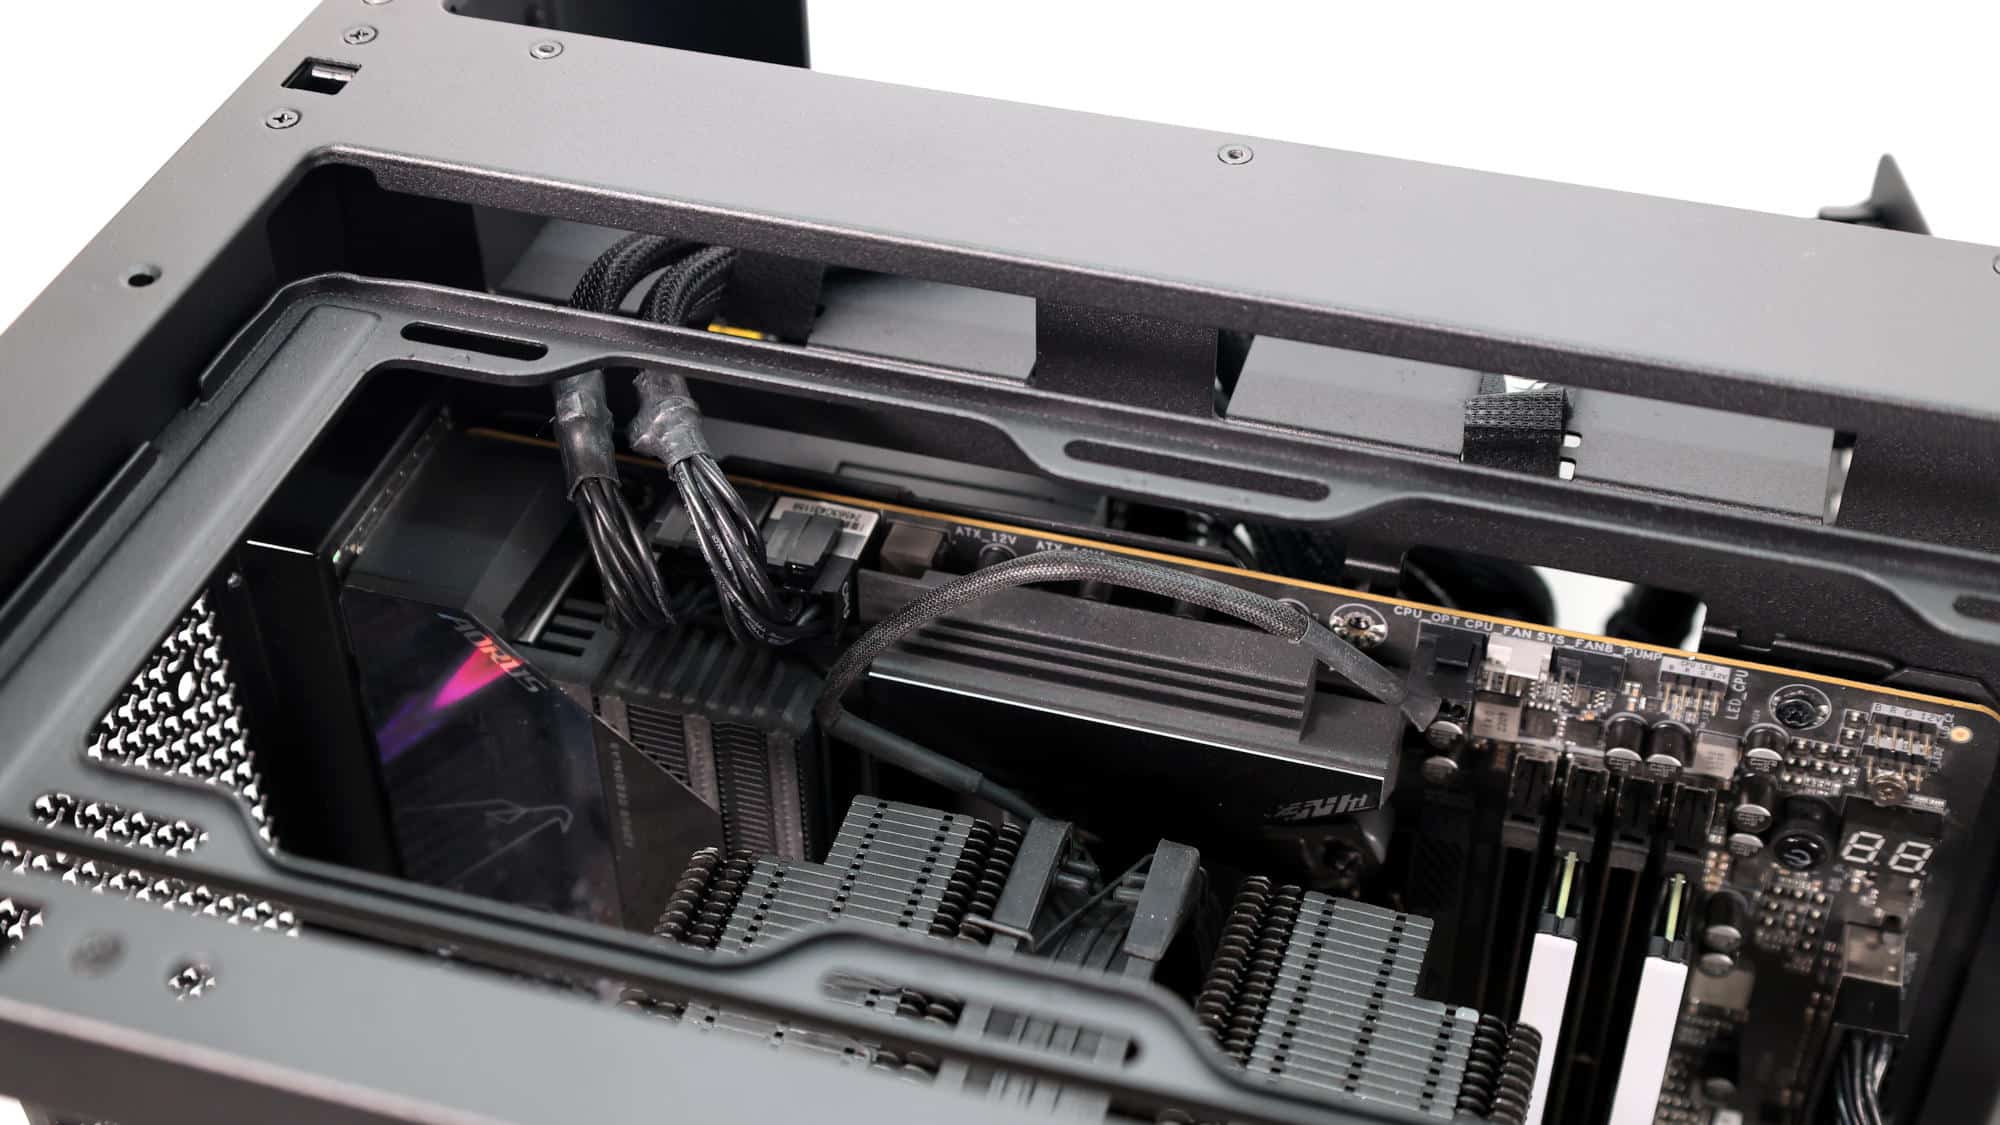
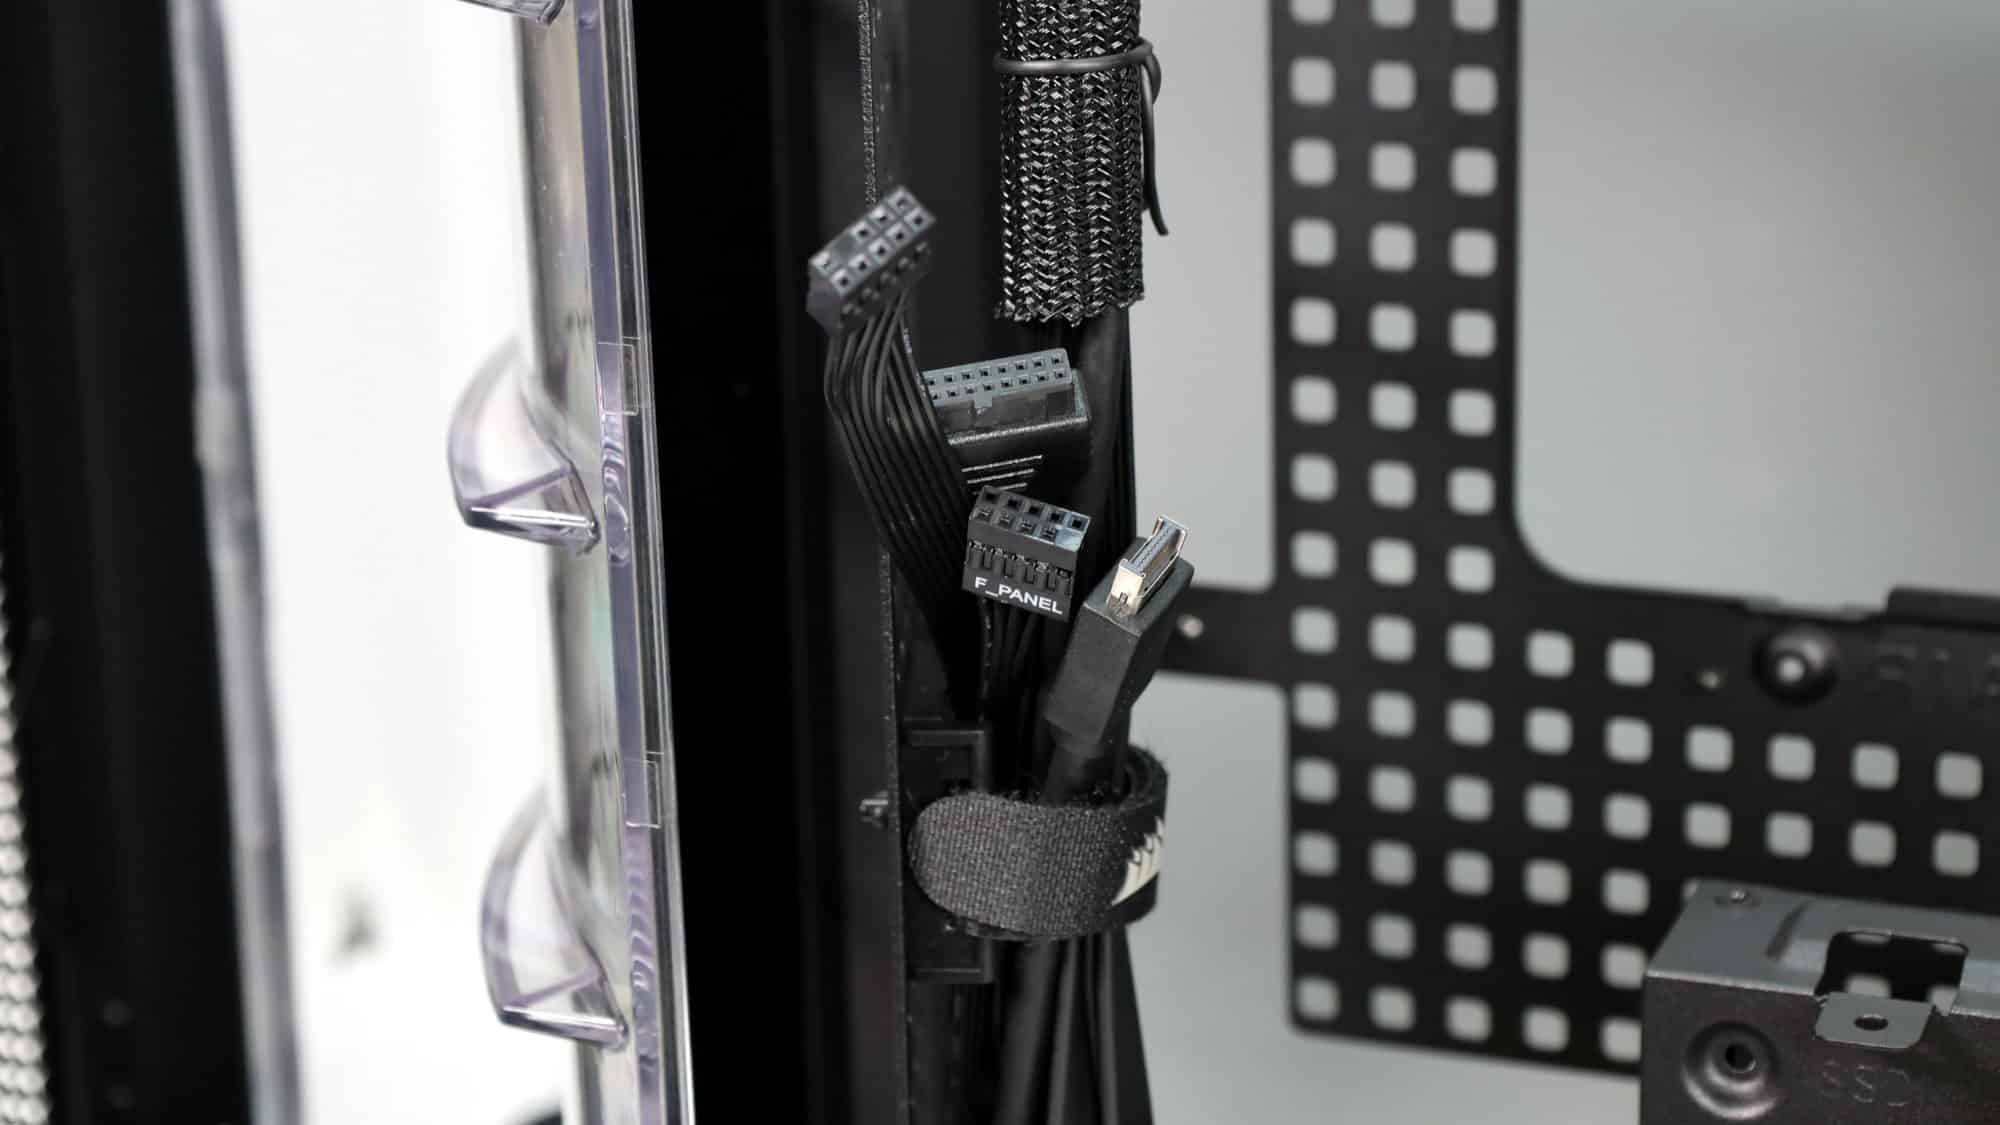
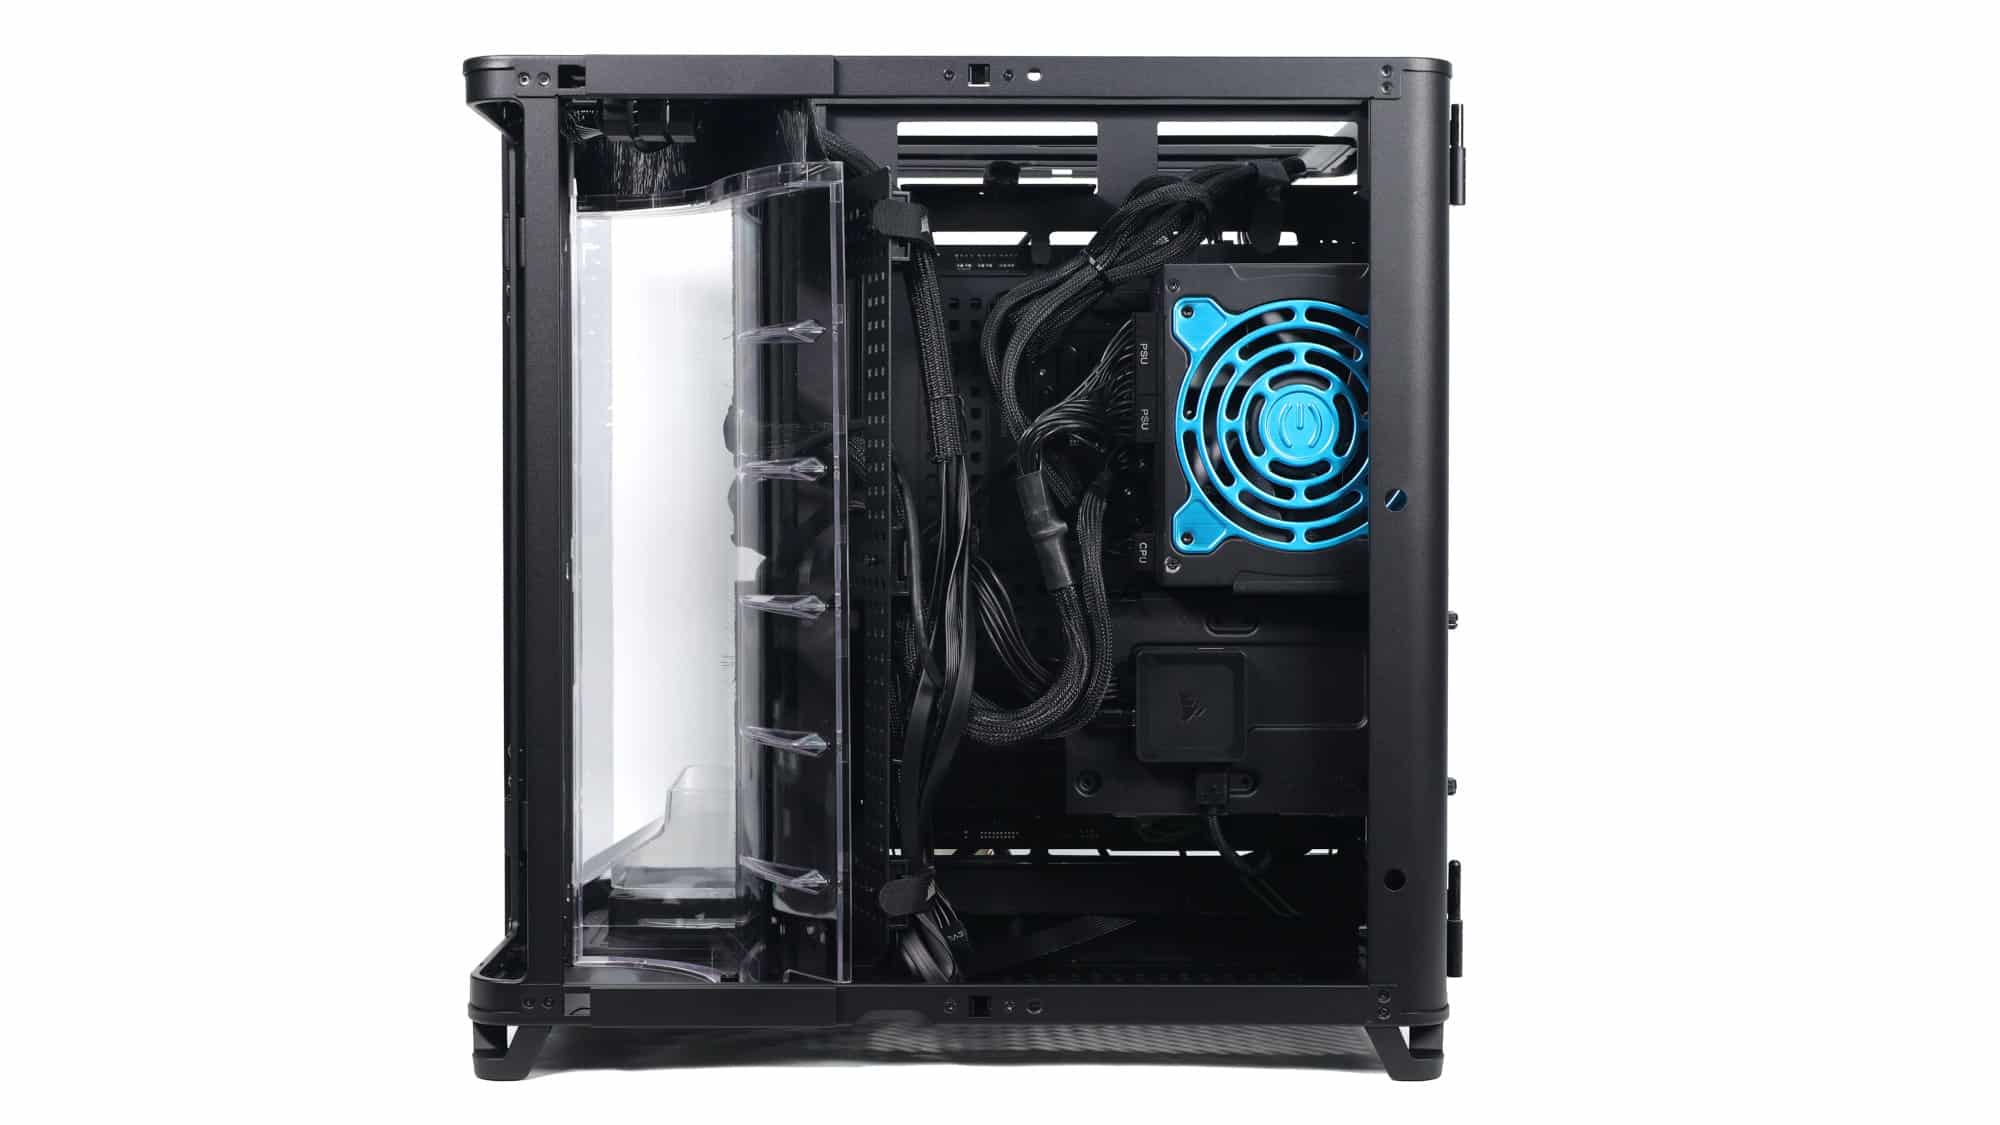
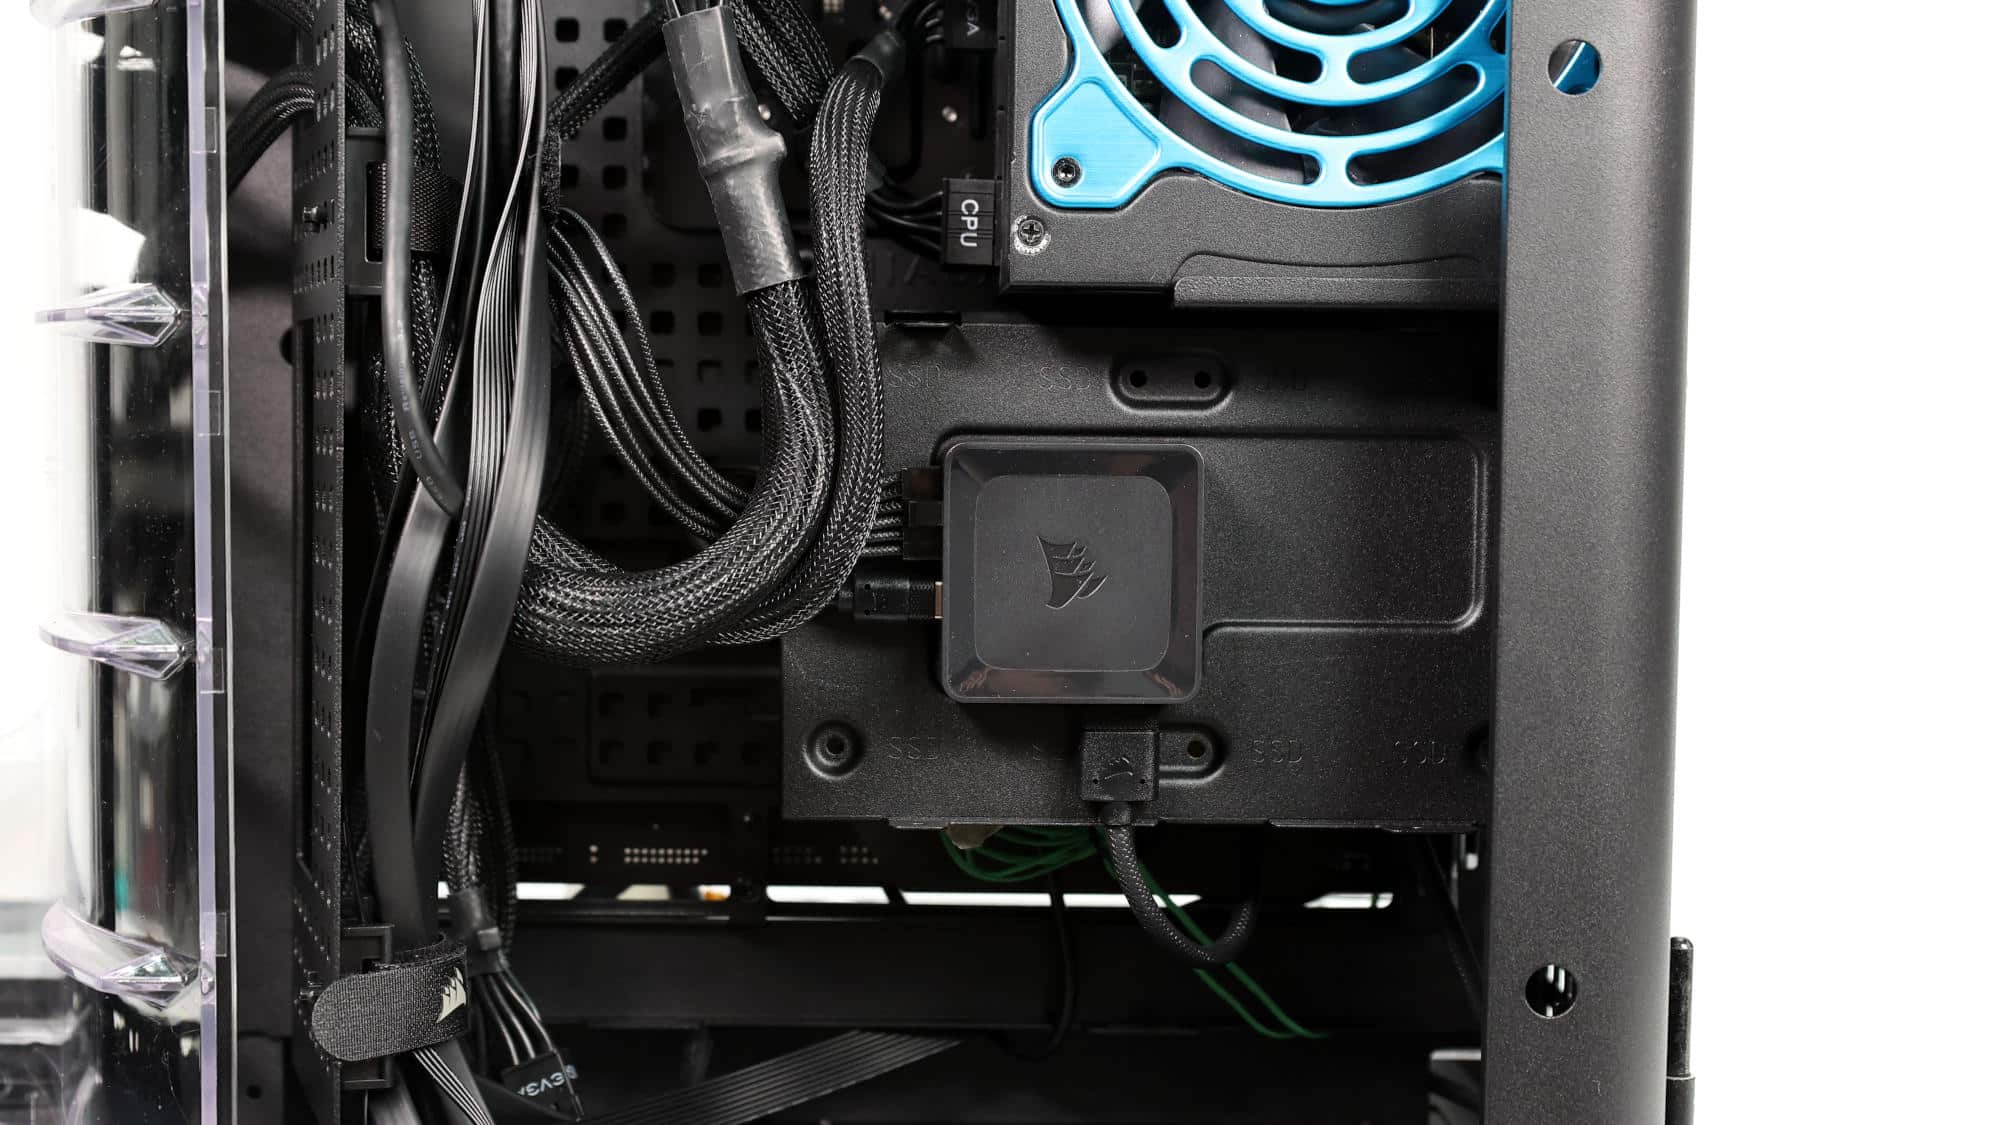
Cable management for the fans was a breeze thanks to the iCUE system, though a well-thought-out PWM daisy-chain setup would work just as well. The remaining cables were neatly routed using the built-in cable management tray. The included Velcro straps proved handy, and within a few minutes, the system was clean and ready to go.
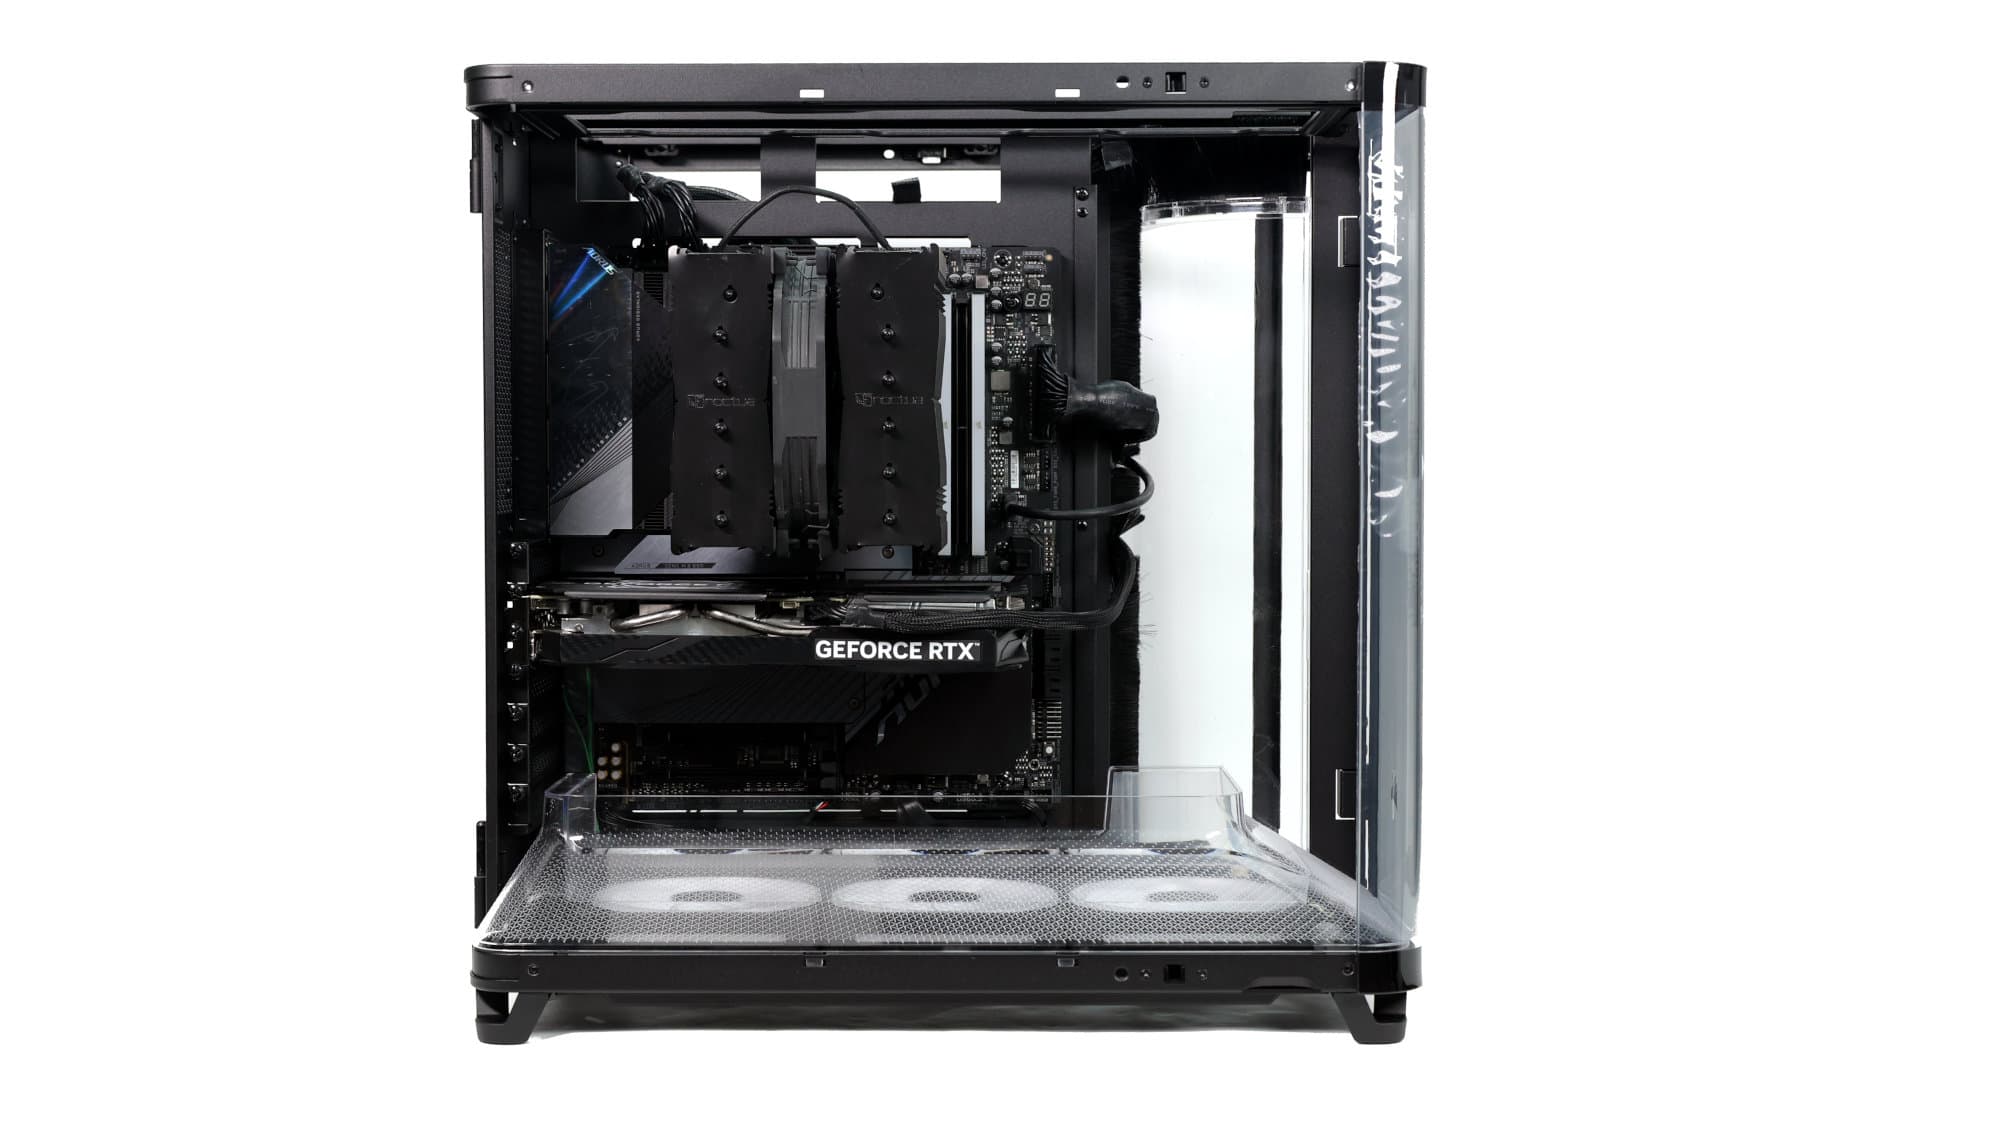
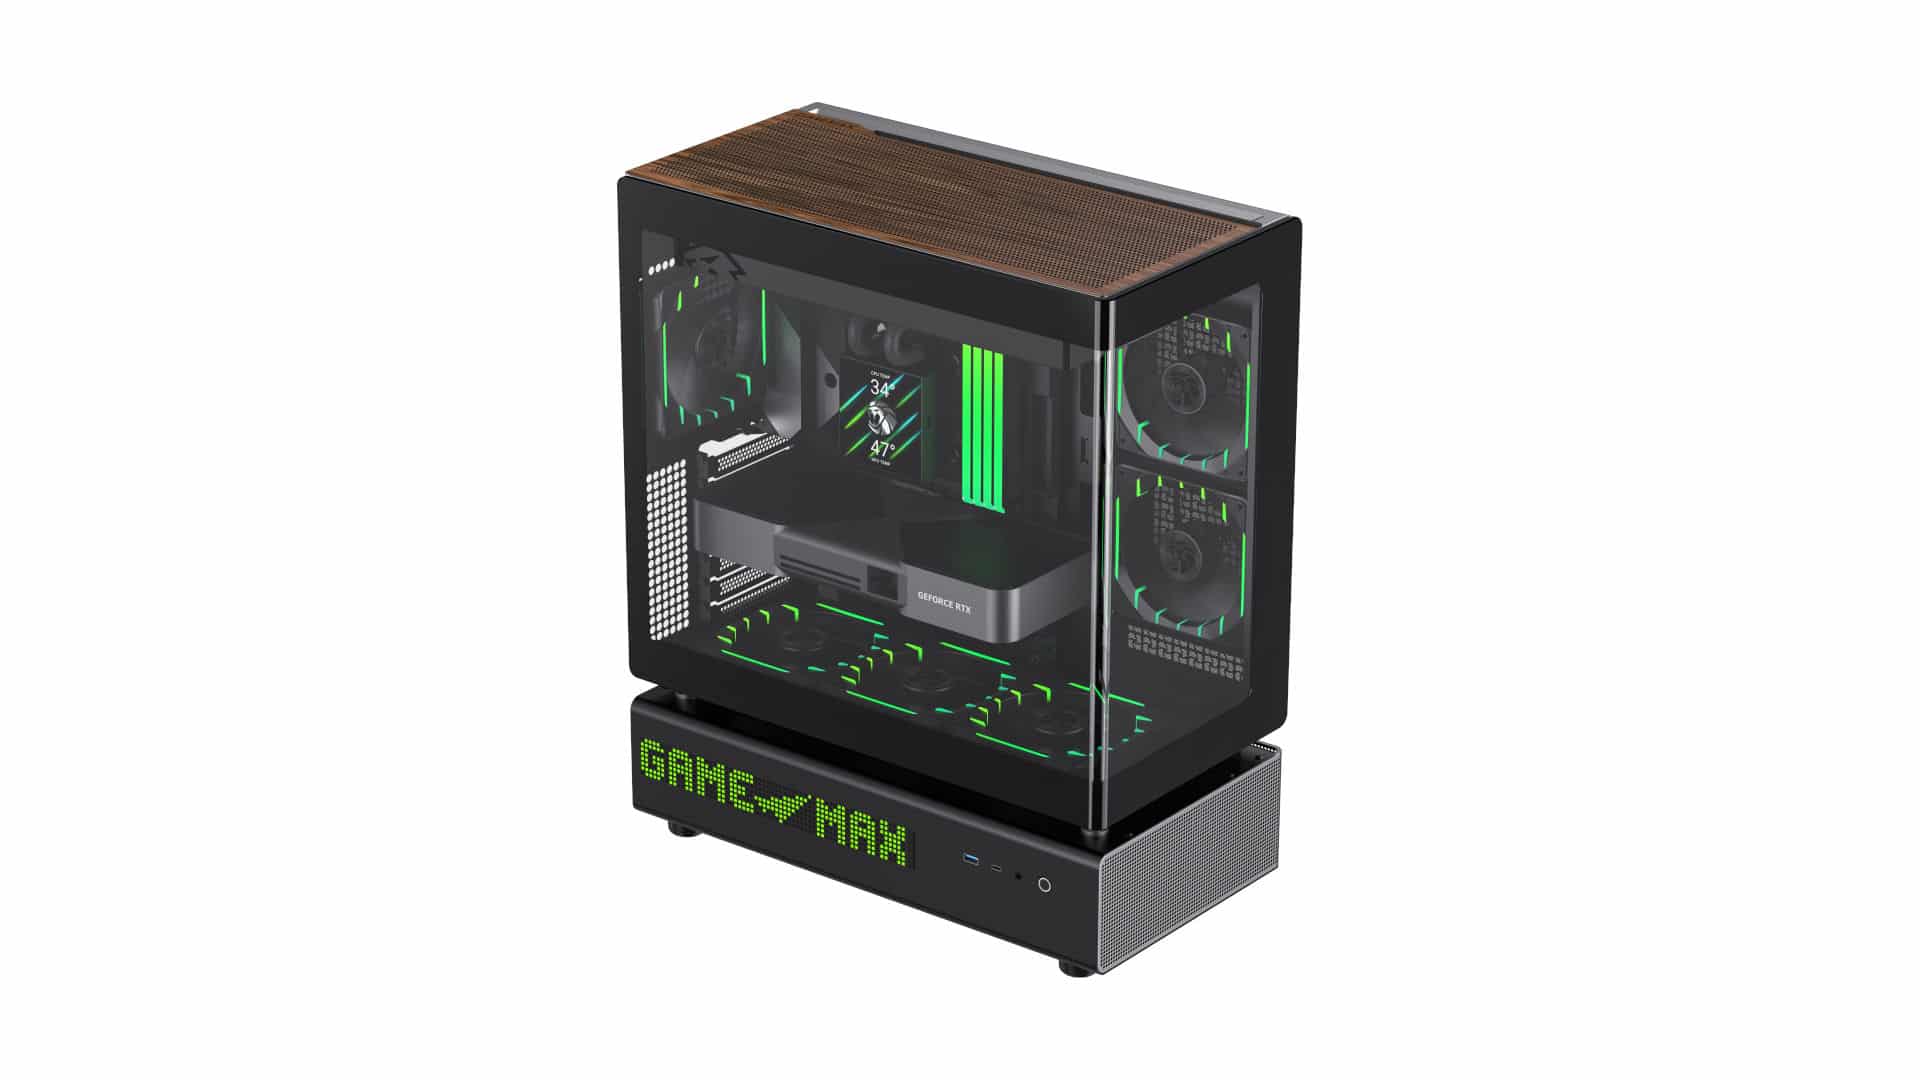
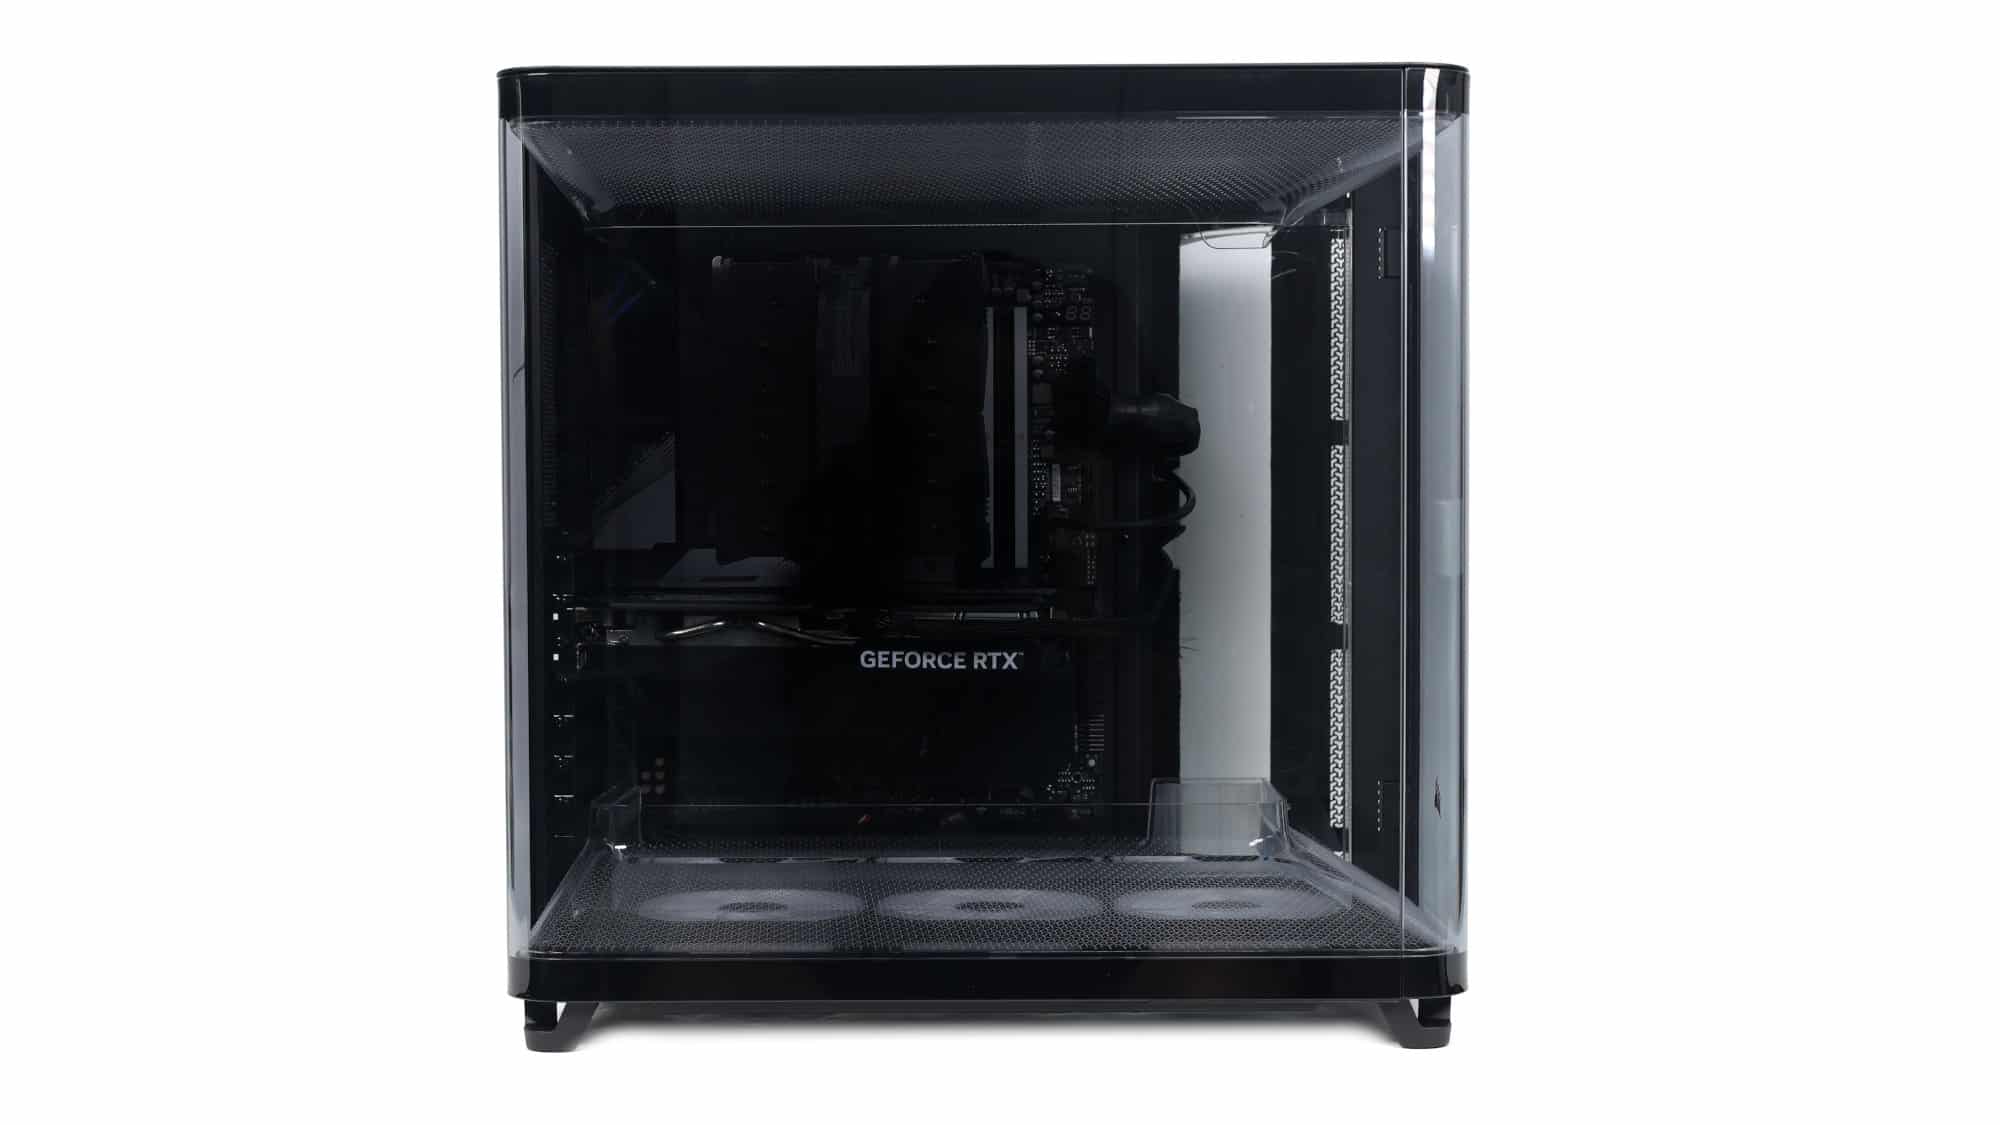
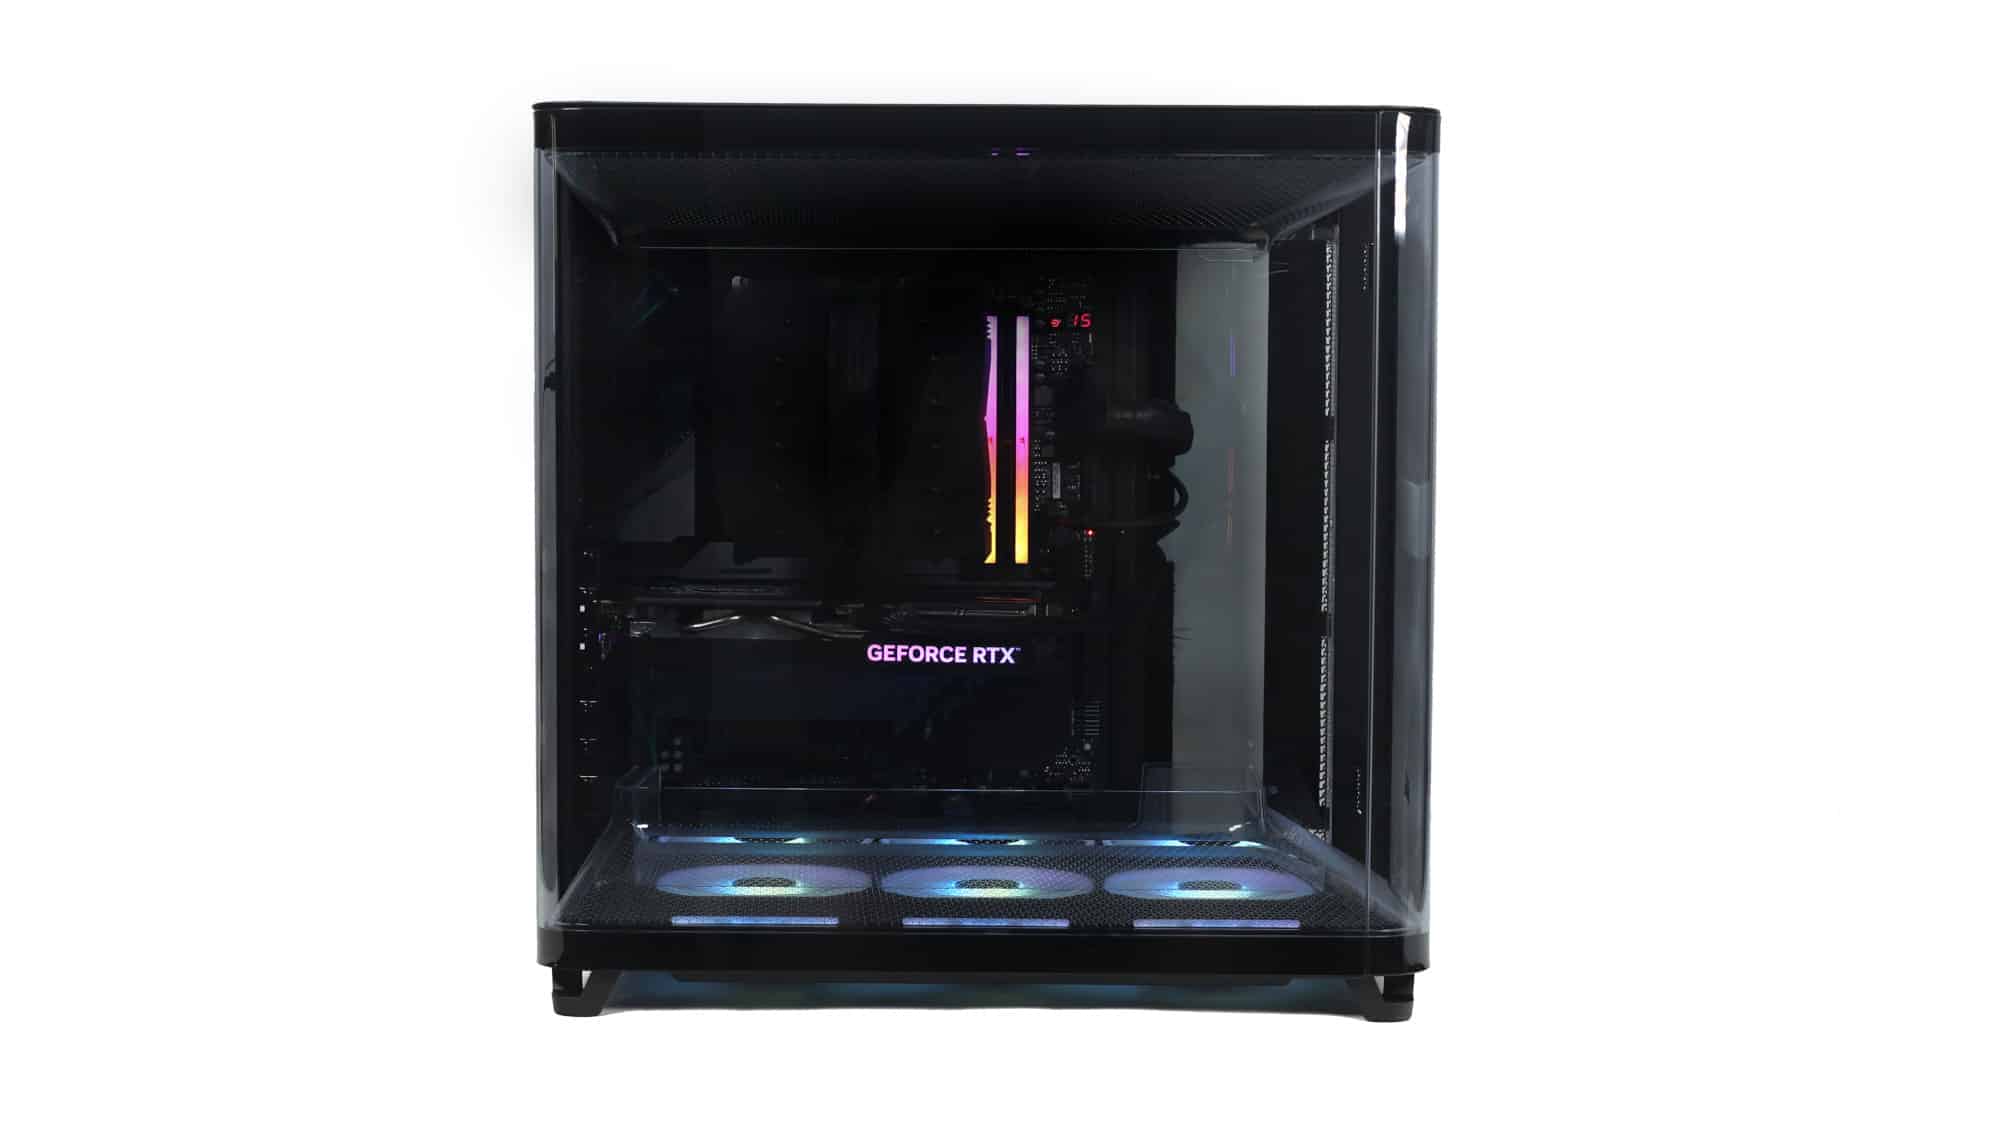
Here’s the assembled system with our standard configuration. This chassis is designed for power-hungry components, given its strong focus on cooling performance. In addition, there is a strong emphasis on air channeling inside the main chamber, from top to bottom. For builds where additional airflow over the VRMs is necessary, there is an option to install a rear exhaust fan, but it will be handicapped.
ARGB Lighting and Aesthetics
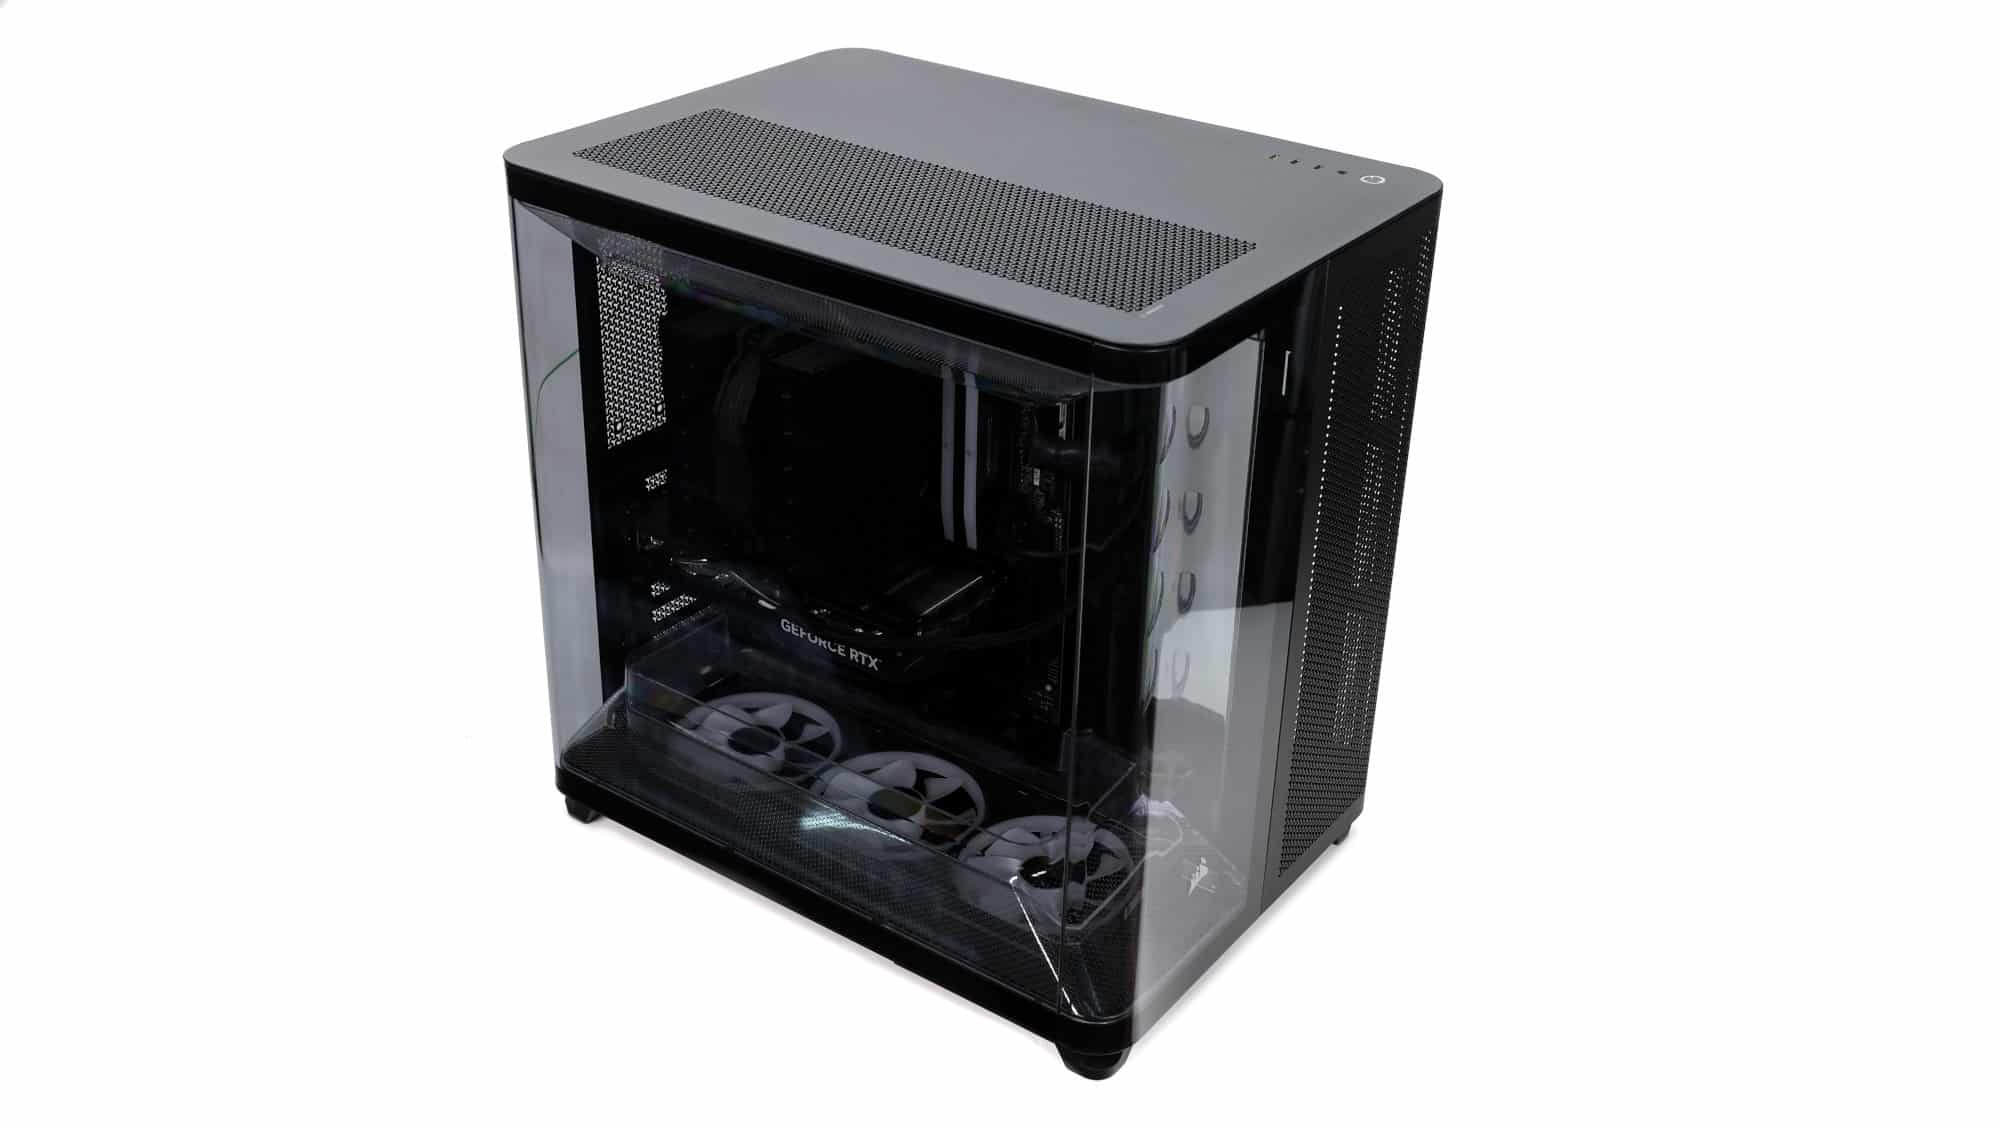
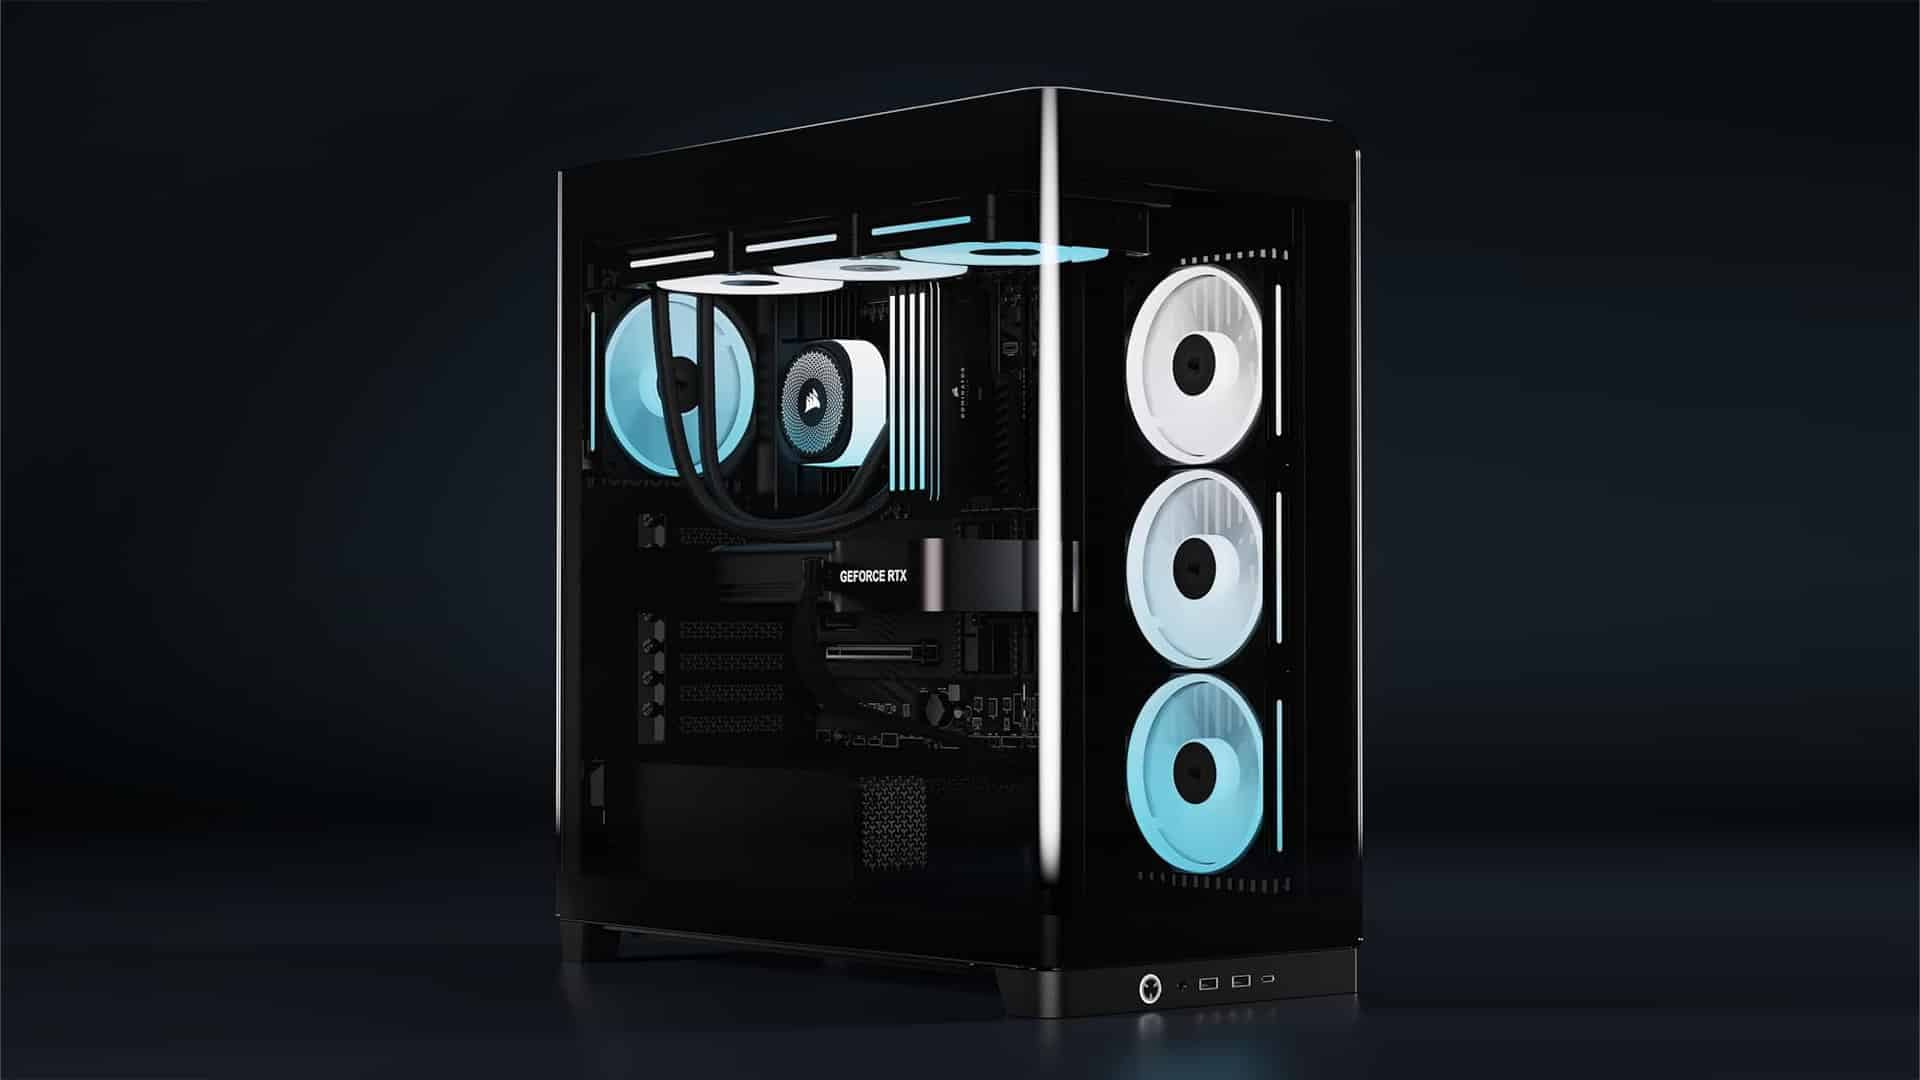
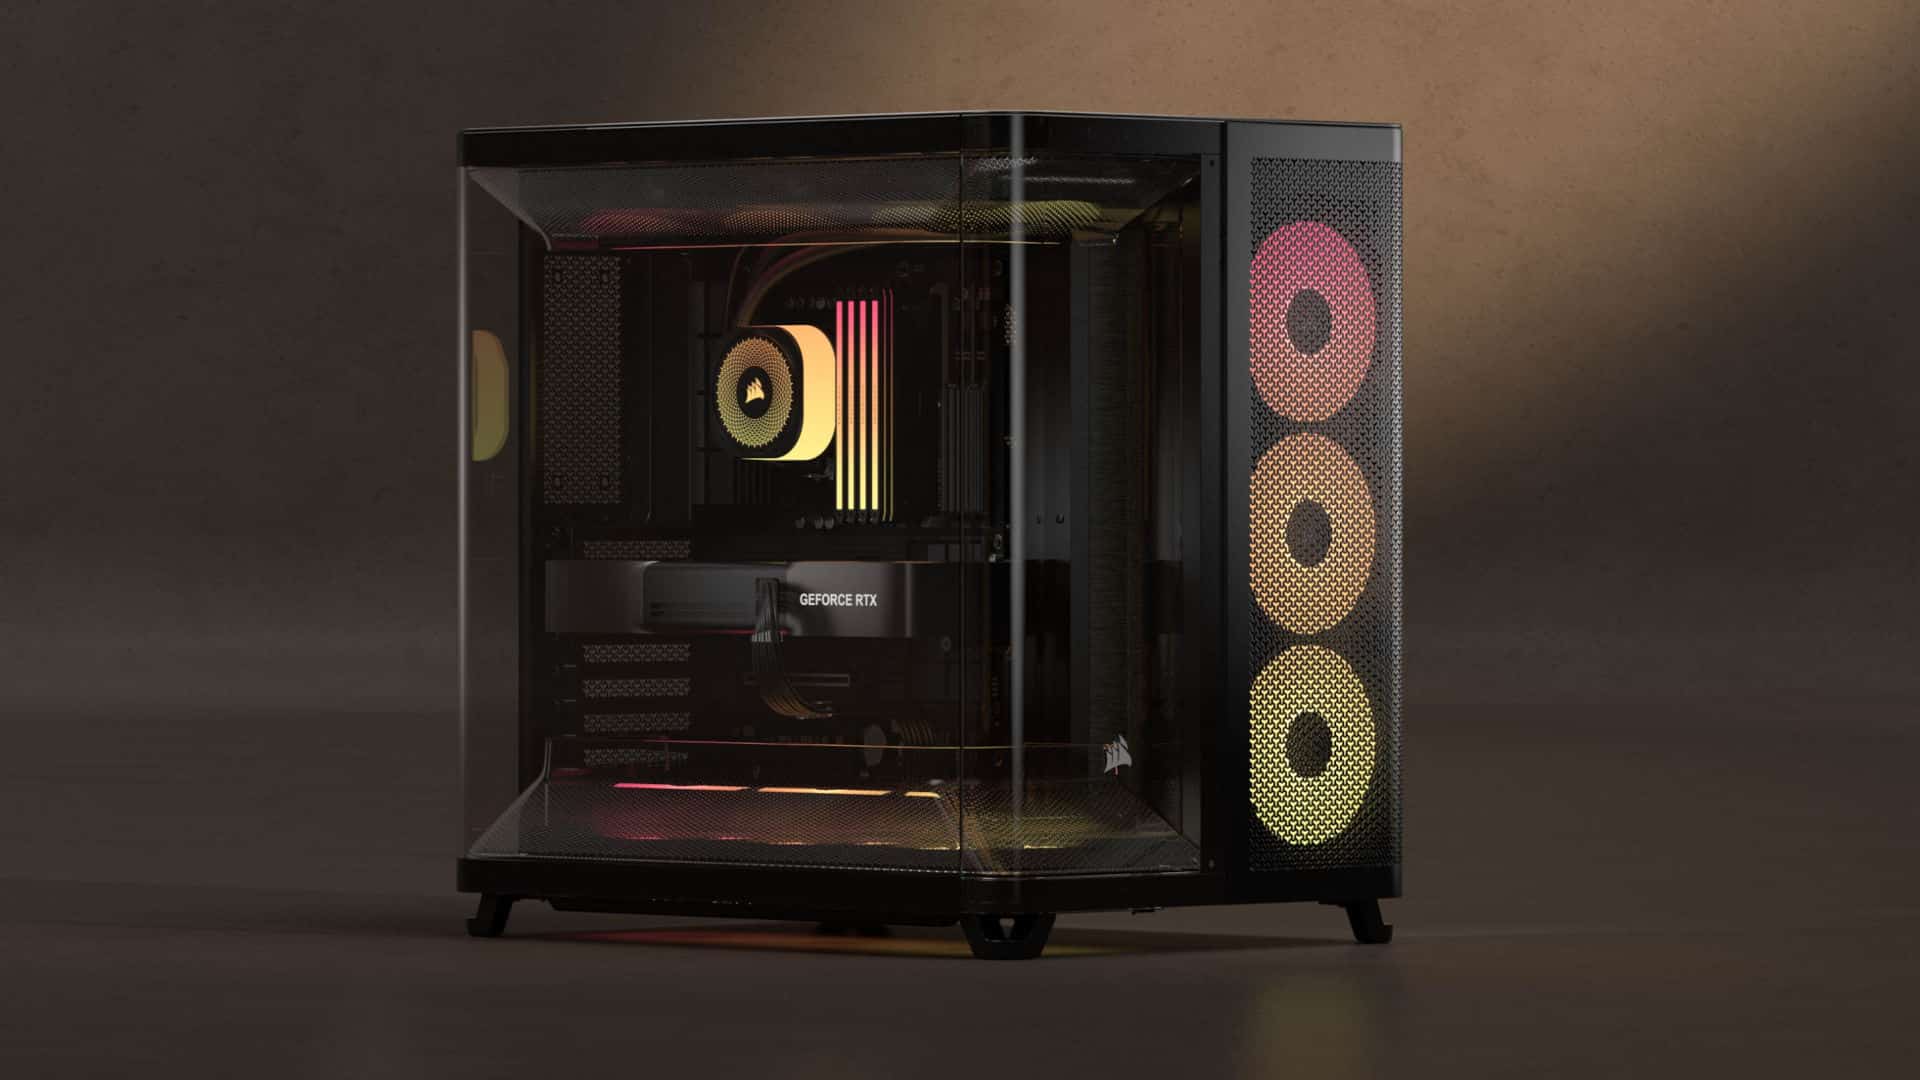
The final build looks unassuming when off.


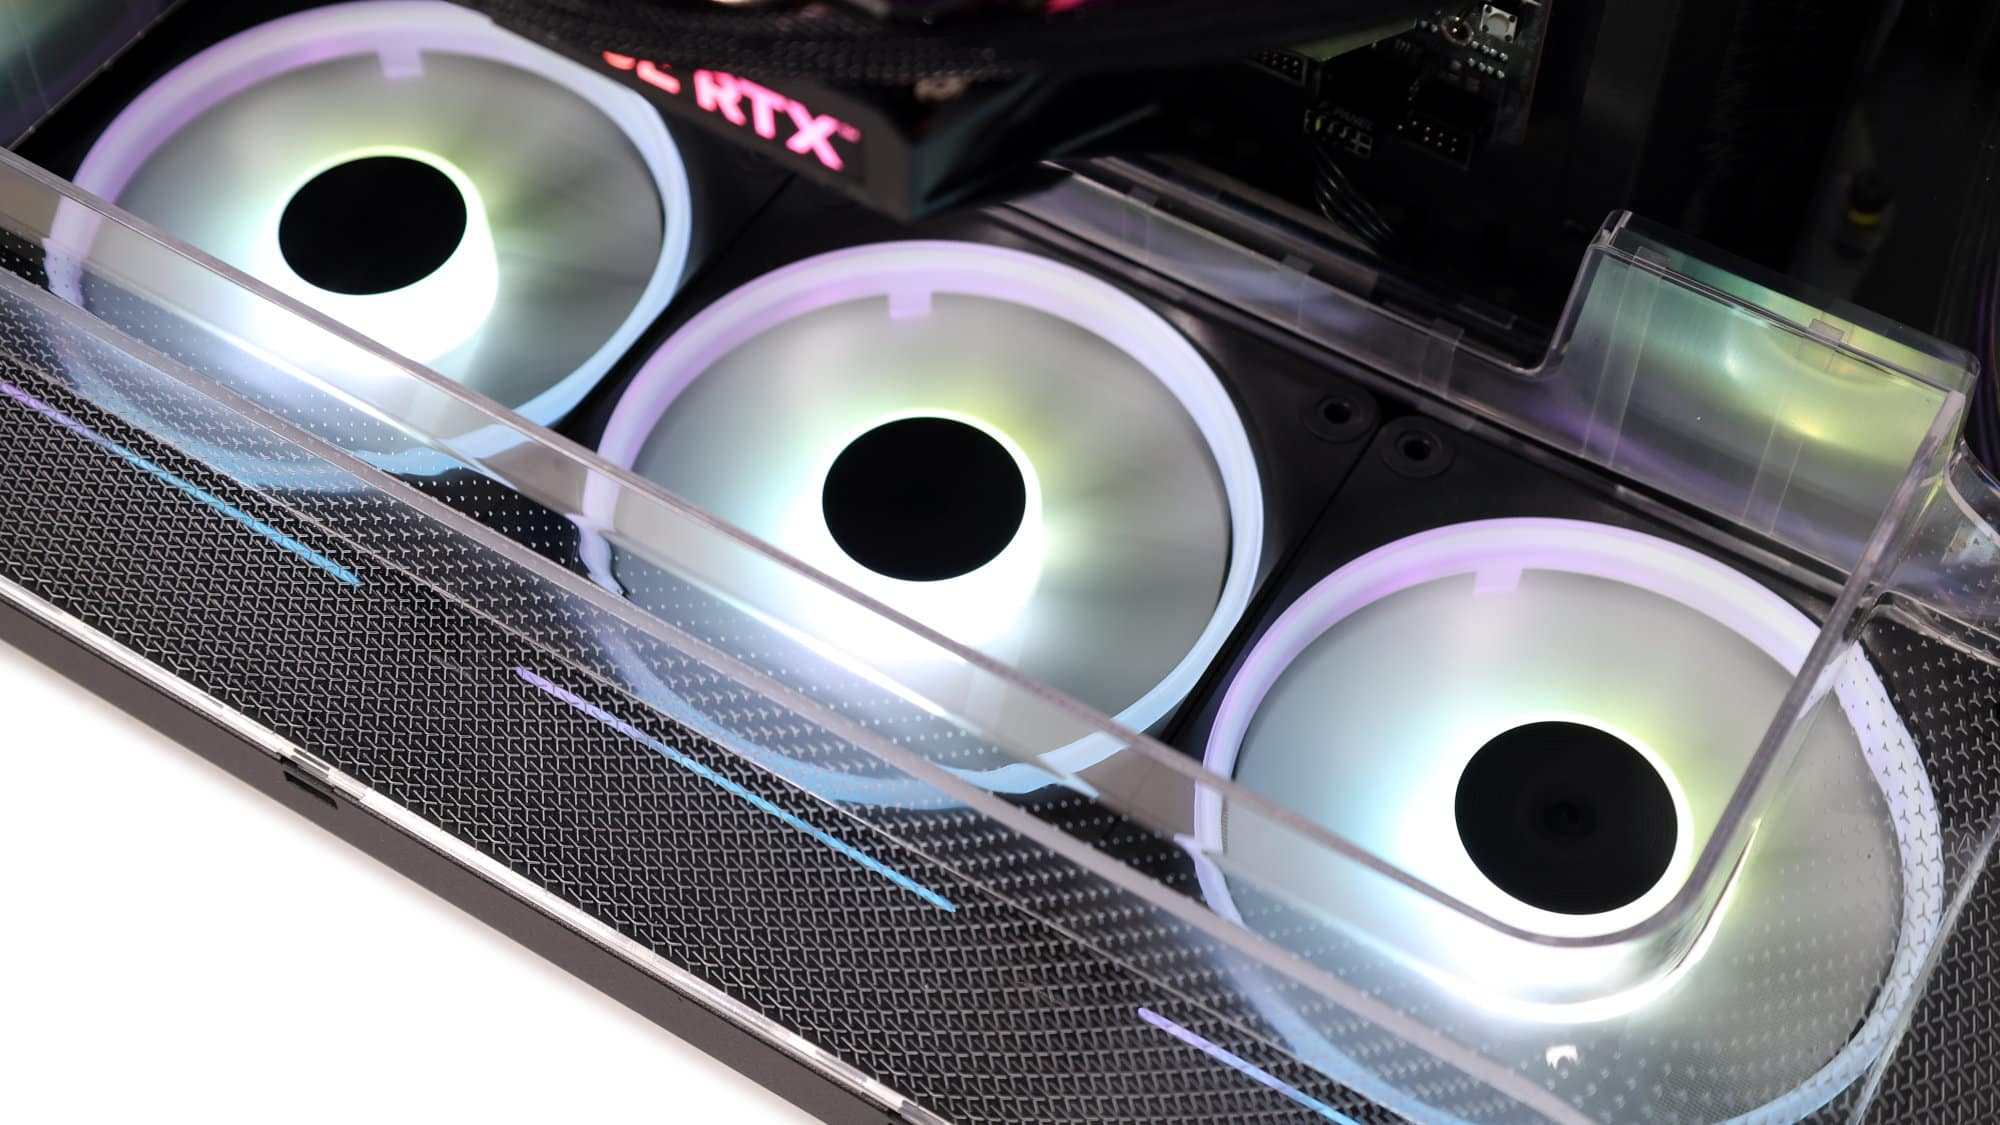
The hub-mounted ARGB lighting of the LX fans looks just as good in person as it does in photos.

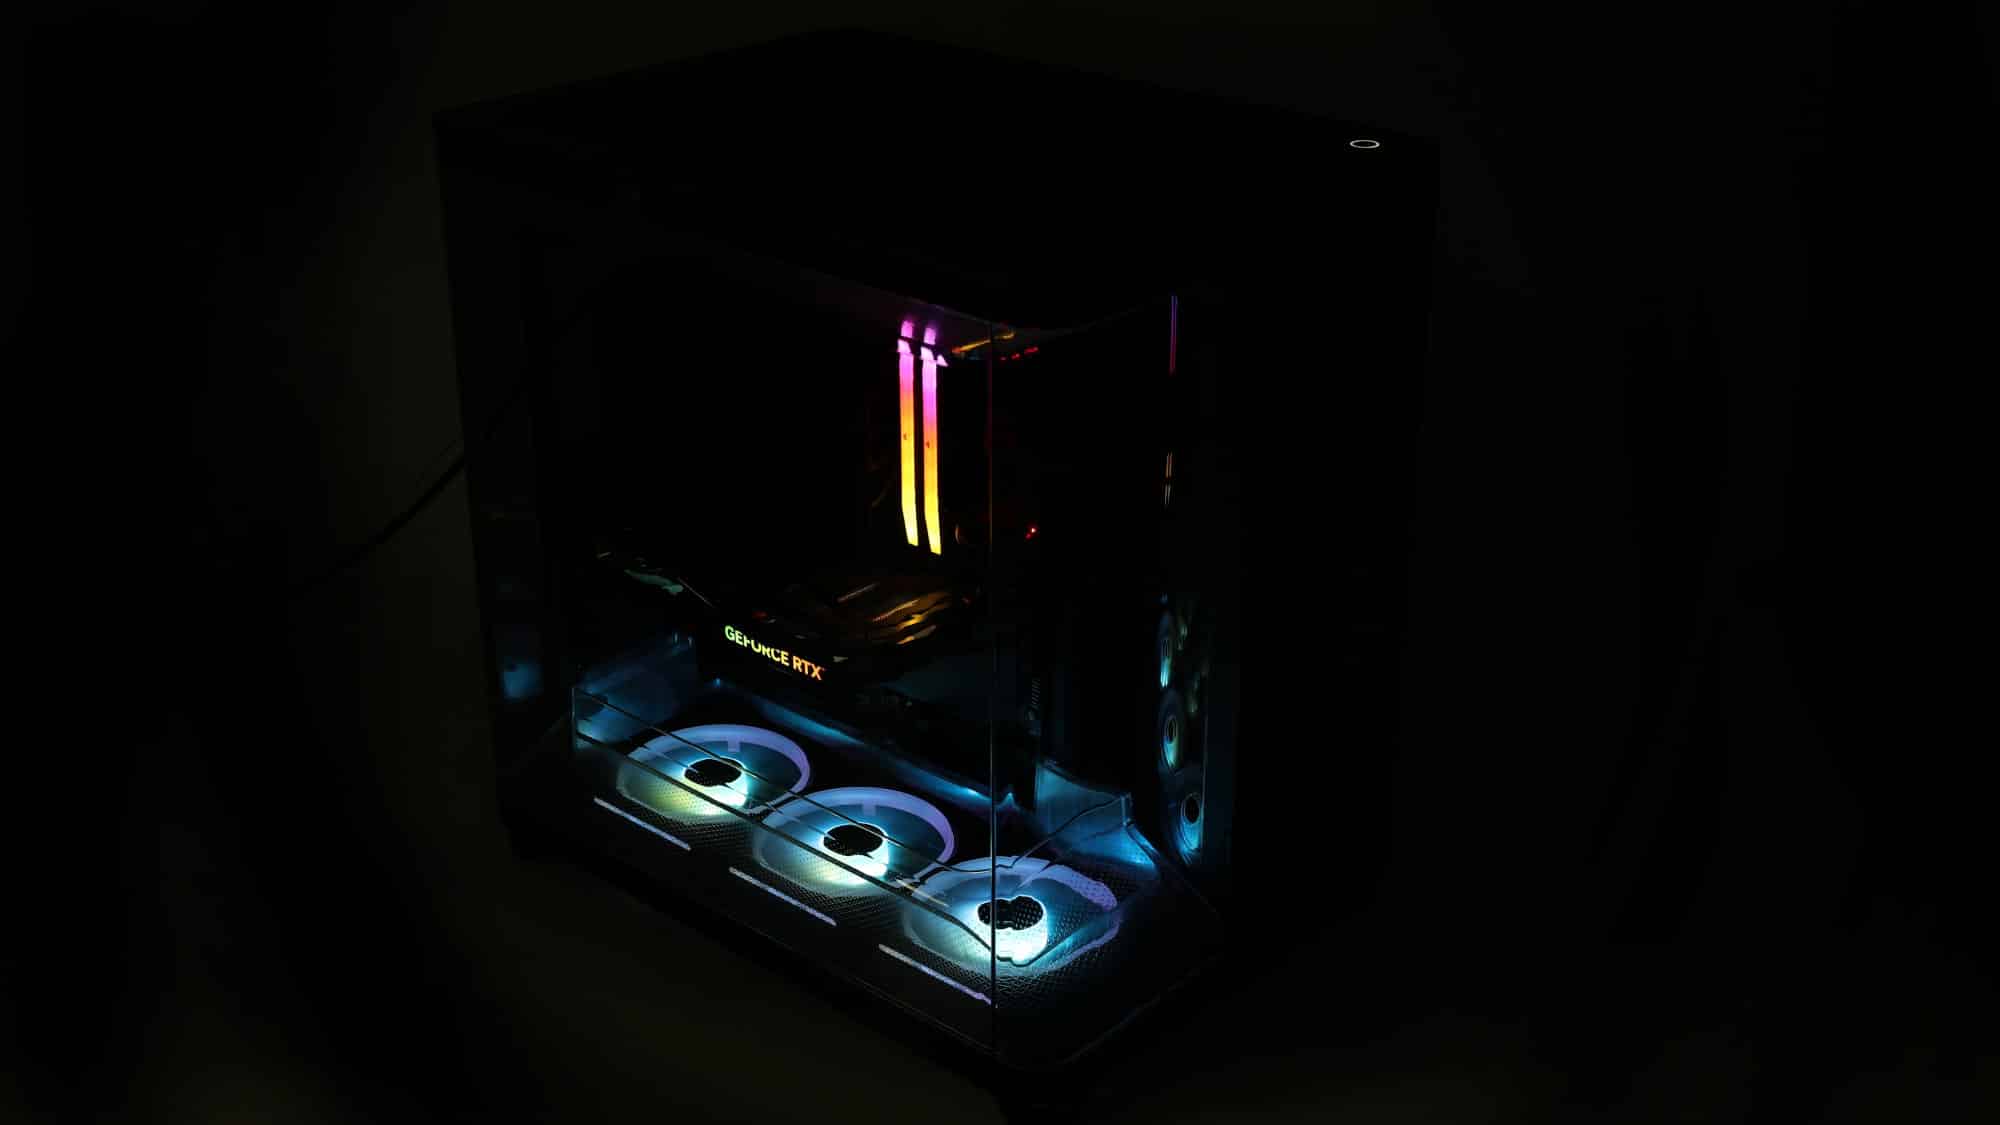
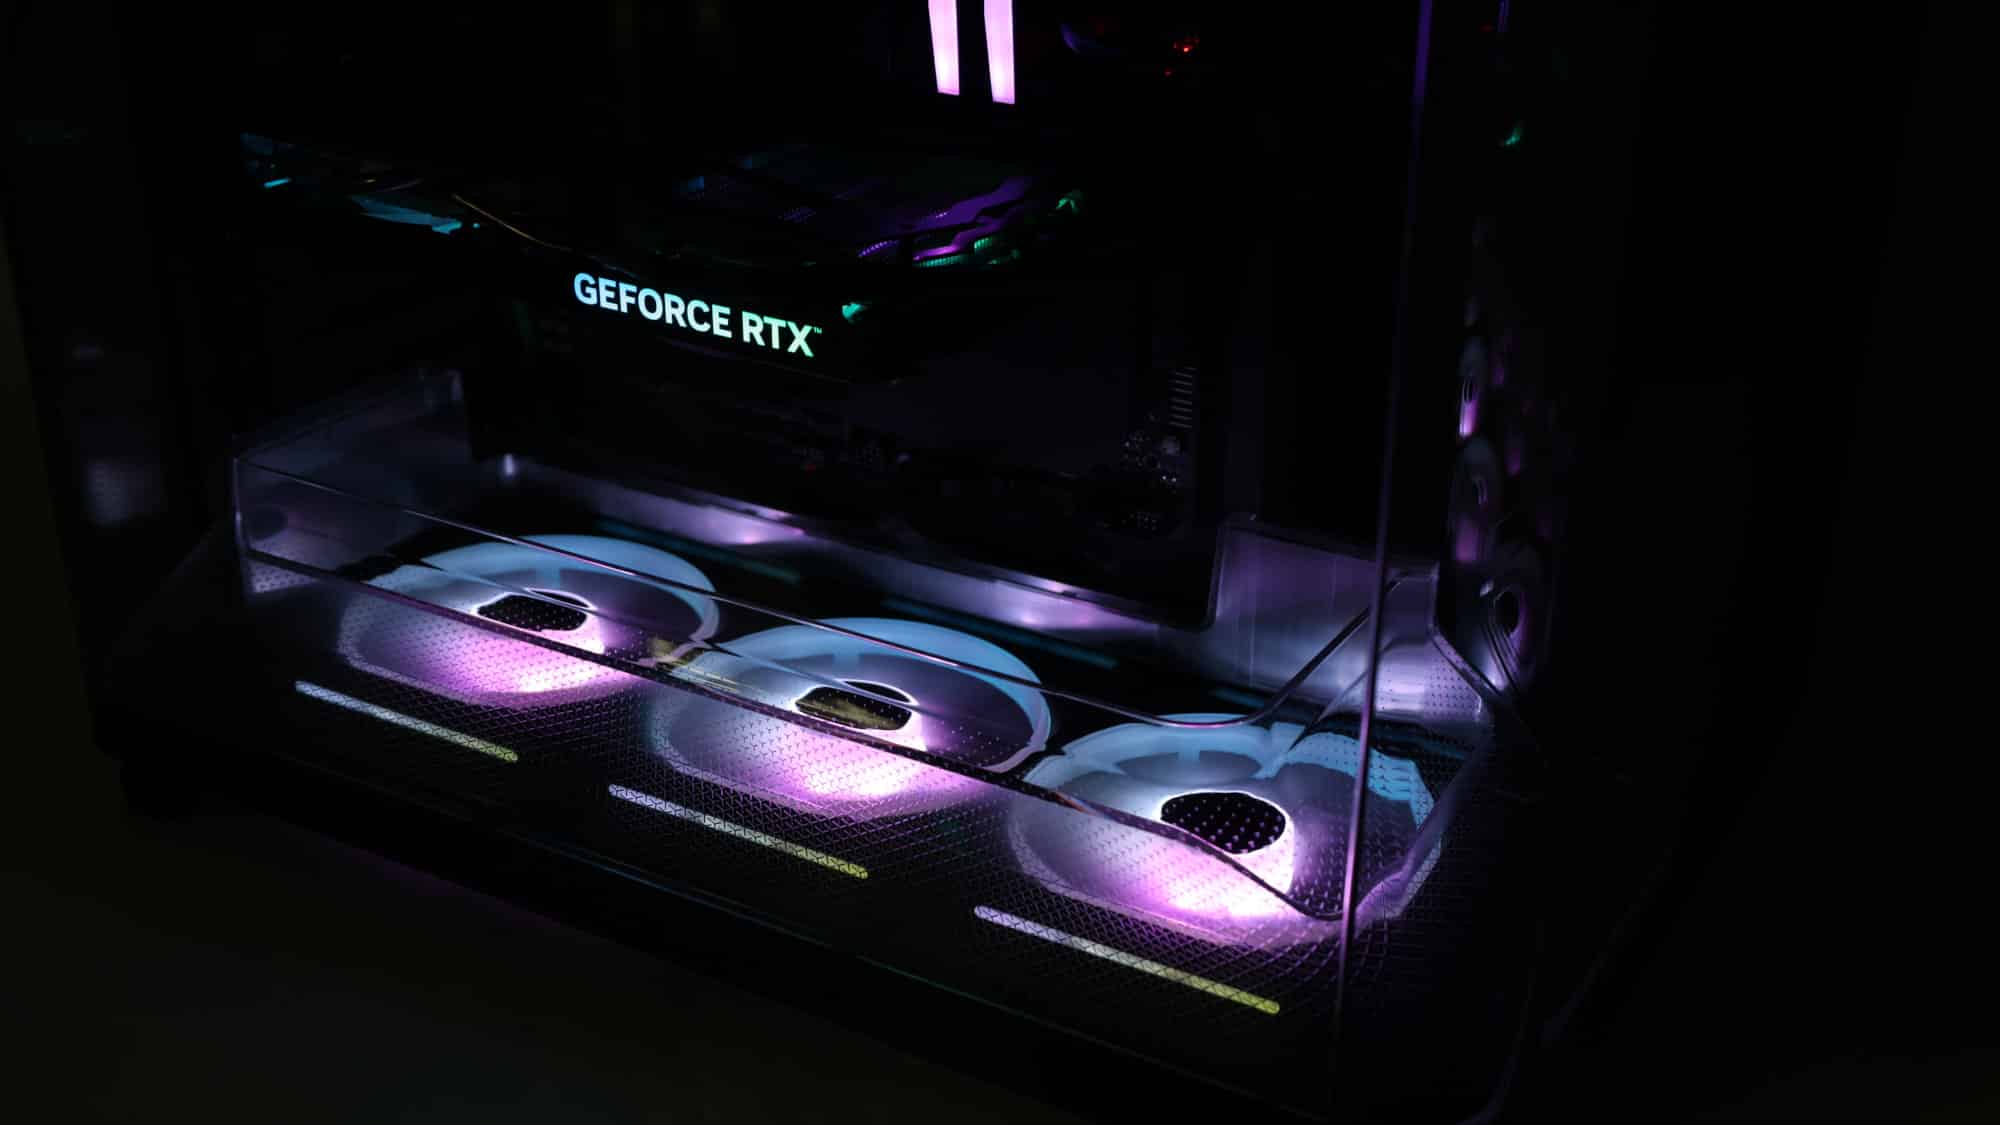
And in the dark? It’s no slouch there either.