Chassis Photos – Outside
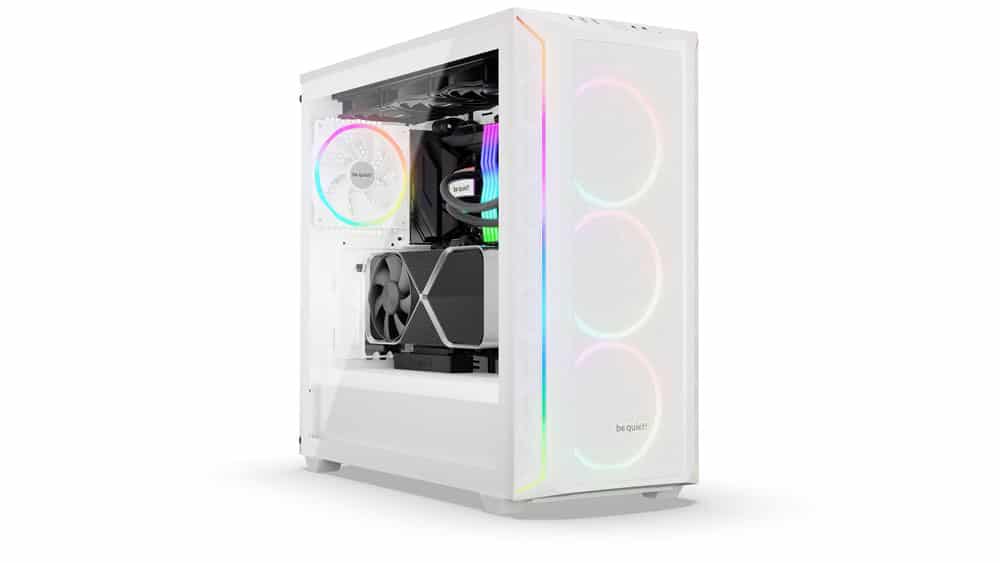
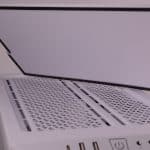
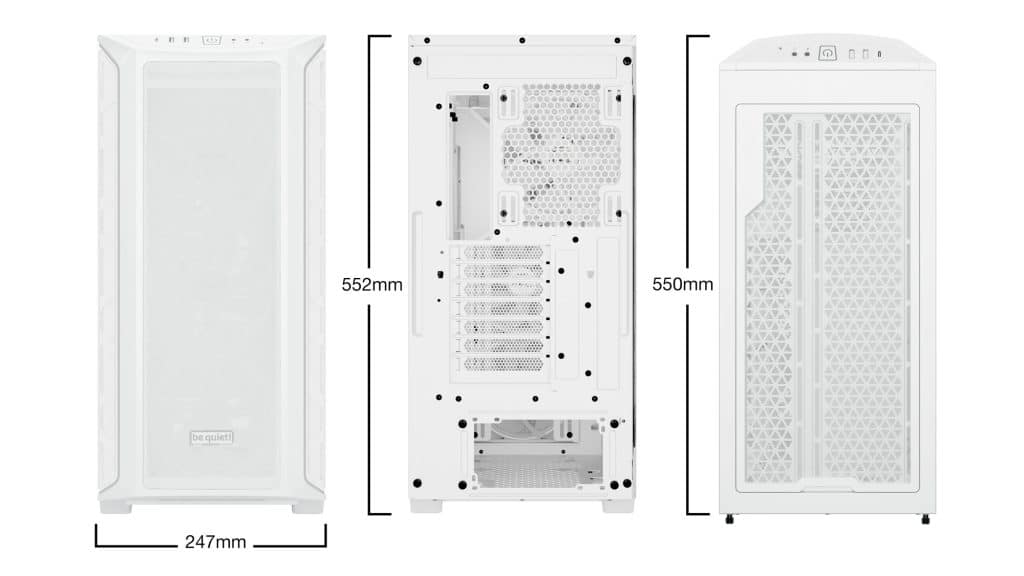
The build quality is good. be quiet! usually doesn’t let me down in this section. The chassis has large dimensions, and the white coloring scheme looks nice but gives me a tough time taking photos because of the same color background I used. I’ve already ordered a PVC black background. Back to the product under test, it has three removable dust filters, which will come super handy in an environment with tons of dust. One is at the top side, one at the front, and the last at the bottom.
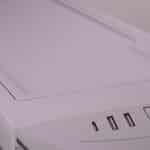
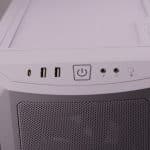
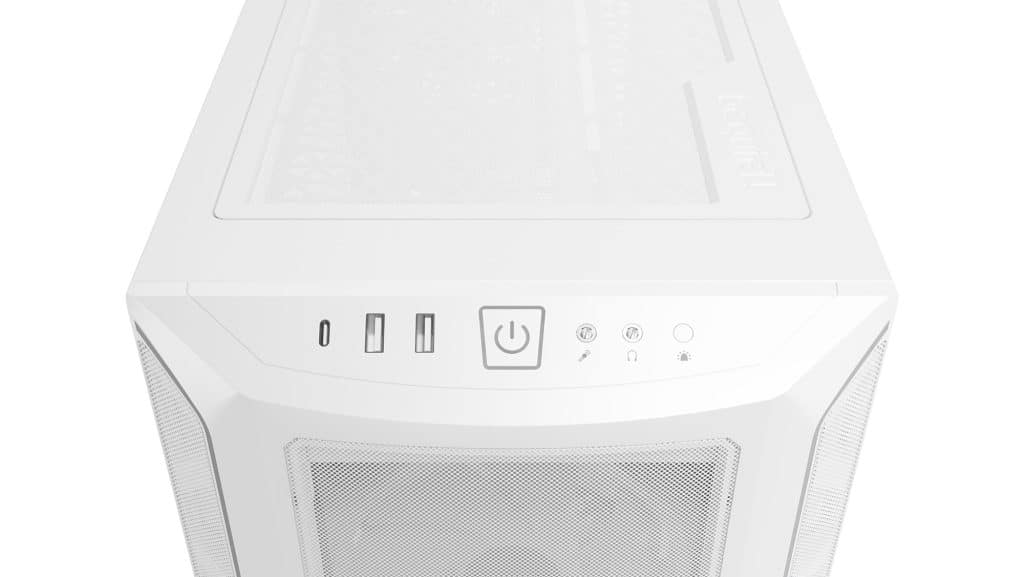
The I/O panel has three USB sockets, with one of them Type-C, a power button, mic, and headphone ports. There is also another push button for switching the RGB colors of all parts, with RGB lighting, connected to the chassis controller. Unfortunately, there is no reset button.
Chassis Photos – Inside
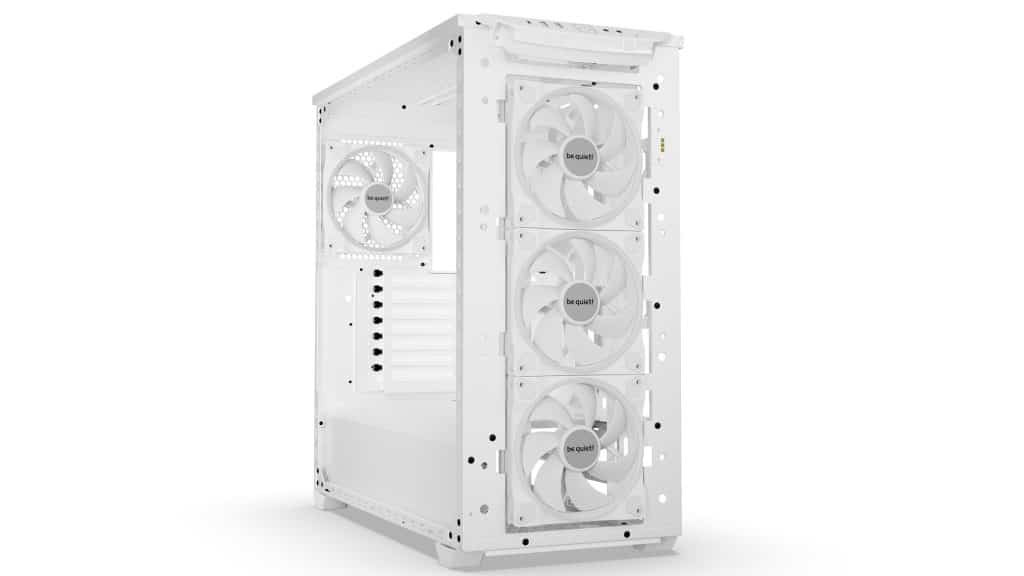
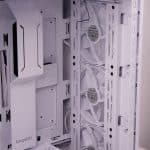
On the front side, be quiet! has installed three fans, and one is at the exhaust side to remove the hot air from the chassis.
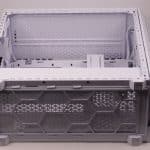
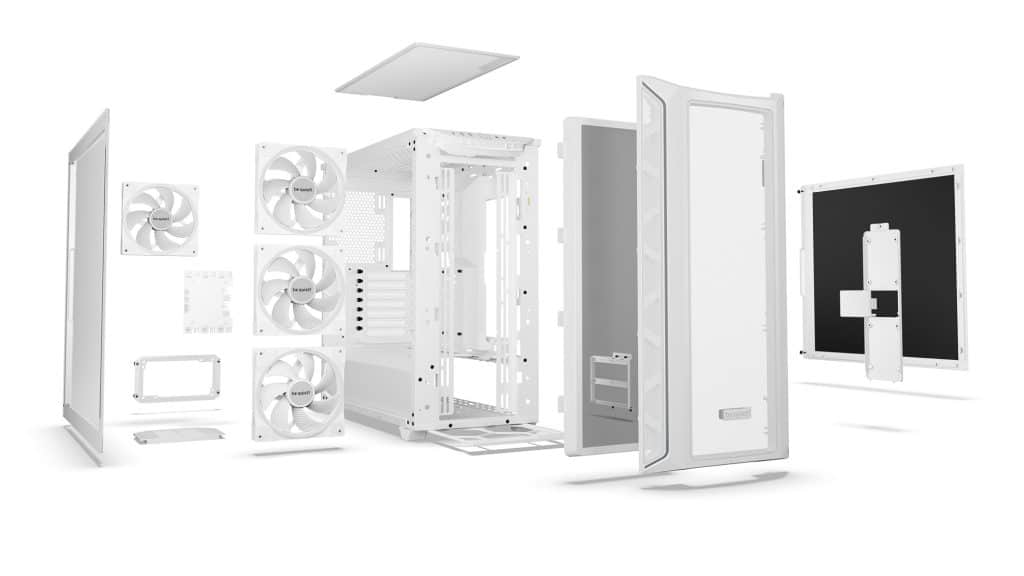
A complete teardown of the chassis. The side panel behind the mainboard is covered with a sound-proofing material.
The PCIe slots can rotate to mount vertically the graphics card. You will also need a PCIe extension cable, which is not provided.
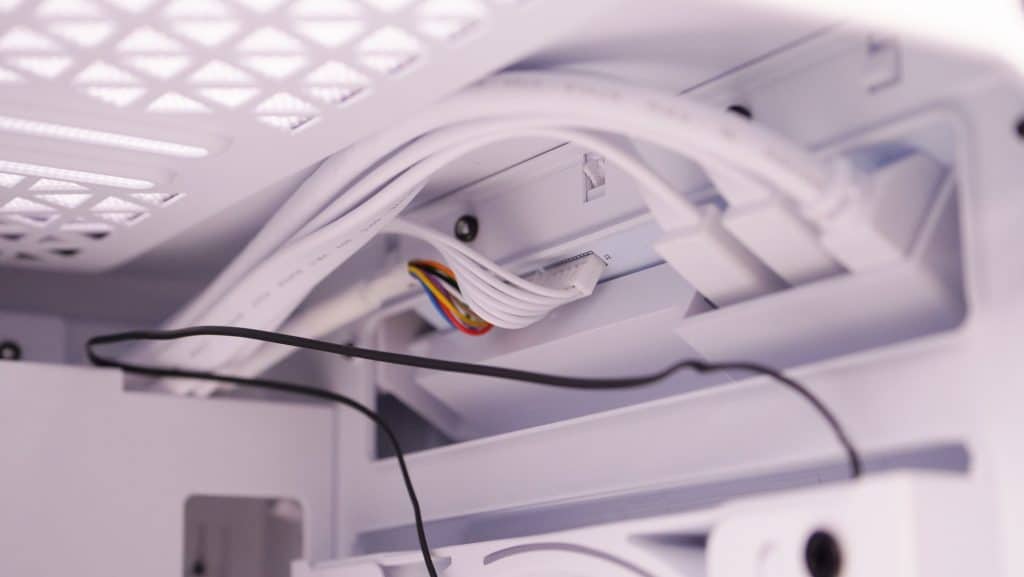
The gap behind the mainboard is large but partially covered by a bracket, which holds the PWM/ARGB hub.
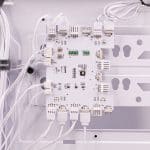
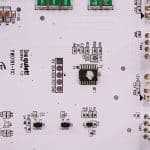
Speaking of the PWM/ARGB hub, here it is! It has eight ports in total. Four of them are already occupied by the pre-installed fans. The hub is powered from the PSU through a SATA connector.
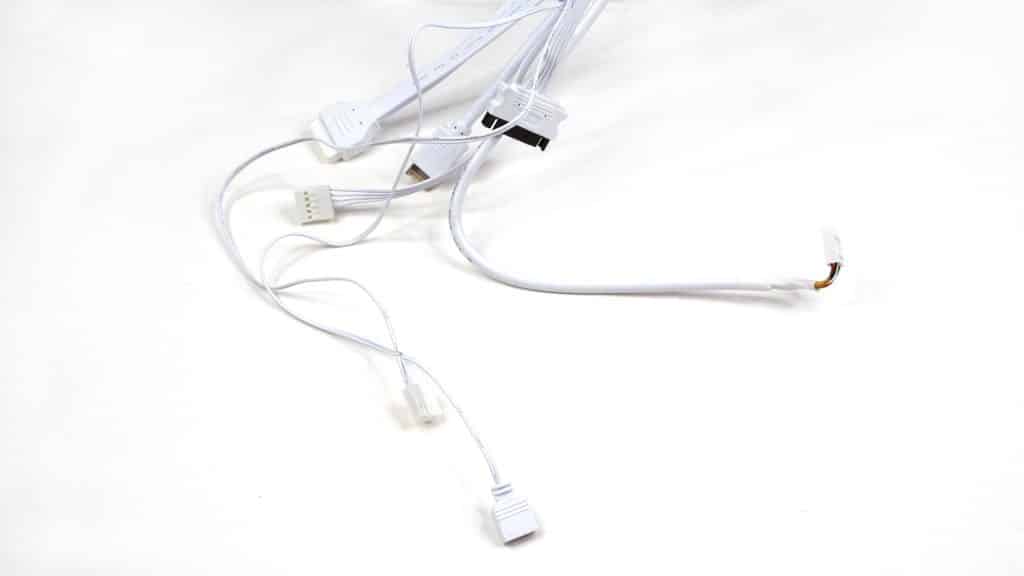
The cables from the fans and the I/O panel.
The cable management bar is used to hide cables. You can move it to the right if you install a larger mainboard (E-ATX). Right next to it is an SSD bracket, which can be removed to install the SSD easier.
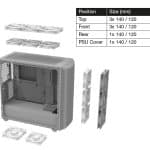
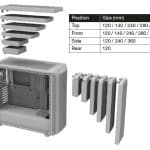
Fan and radiator compatibility schemes.
The LED at the front panel receives power through this connector, which is attached to push-pin contacts. This way, cable tangle issues are resolved.
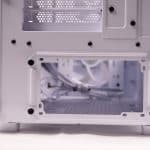
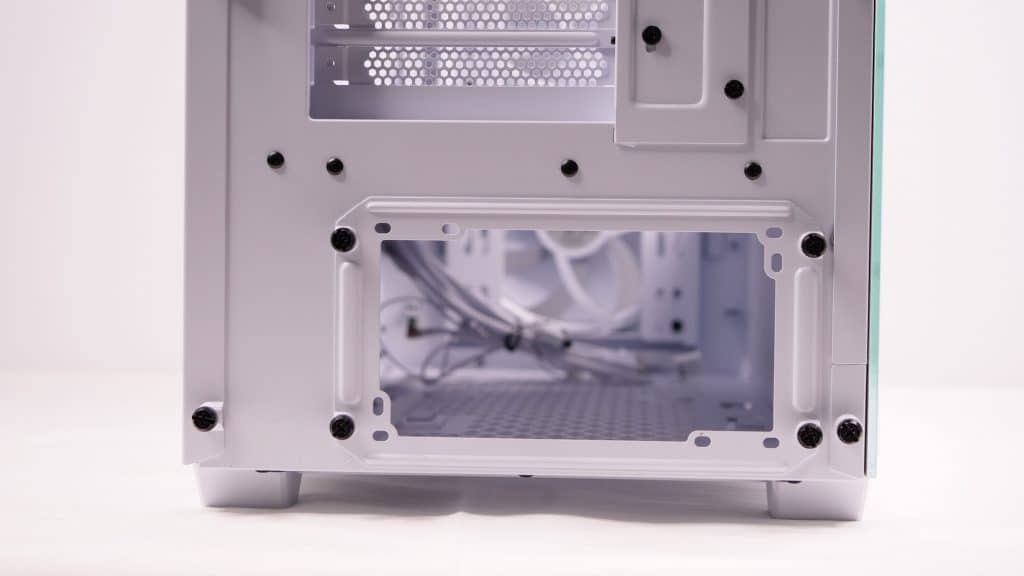
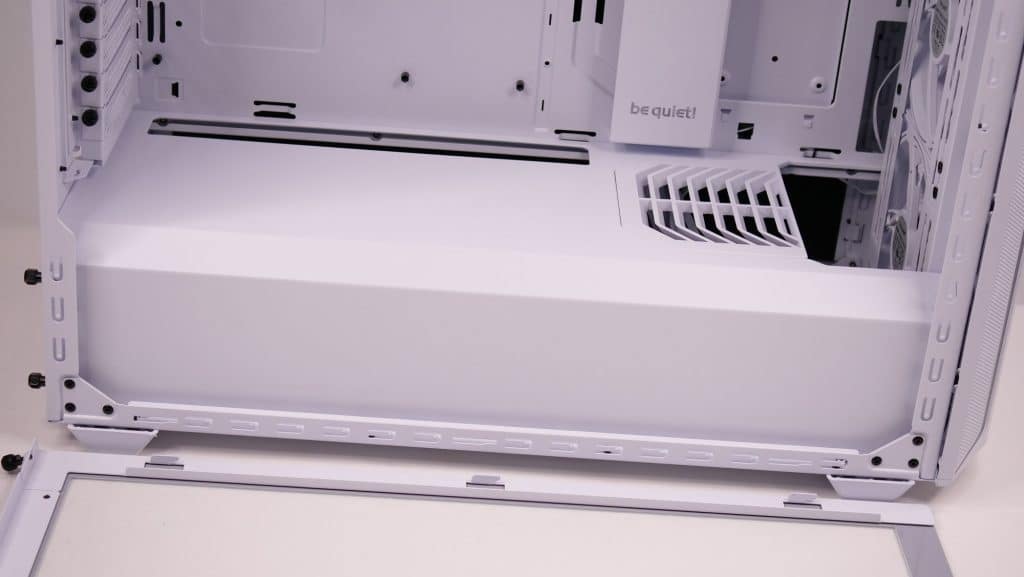
PSU installation is relatively easy through this bracket.
If you have an RGB-lit PSU, you are out of luck since you won’t be able to see it.

Is 800fx much better than 800dx? There is something like 60$ diference between those two cases I wonder is 800fx really worth spending more.
Nope it isn’t. Some lighting stuff as I remember and other small improvements.