Build Experience
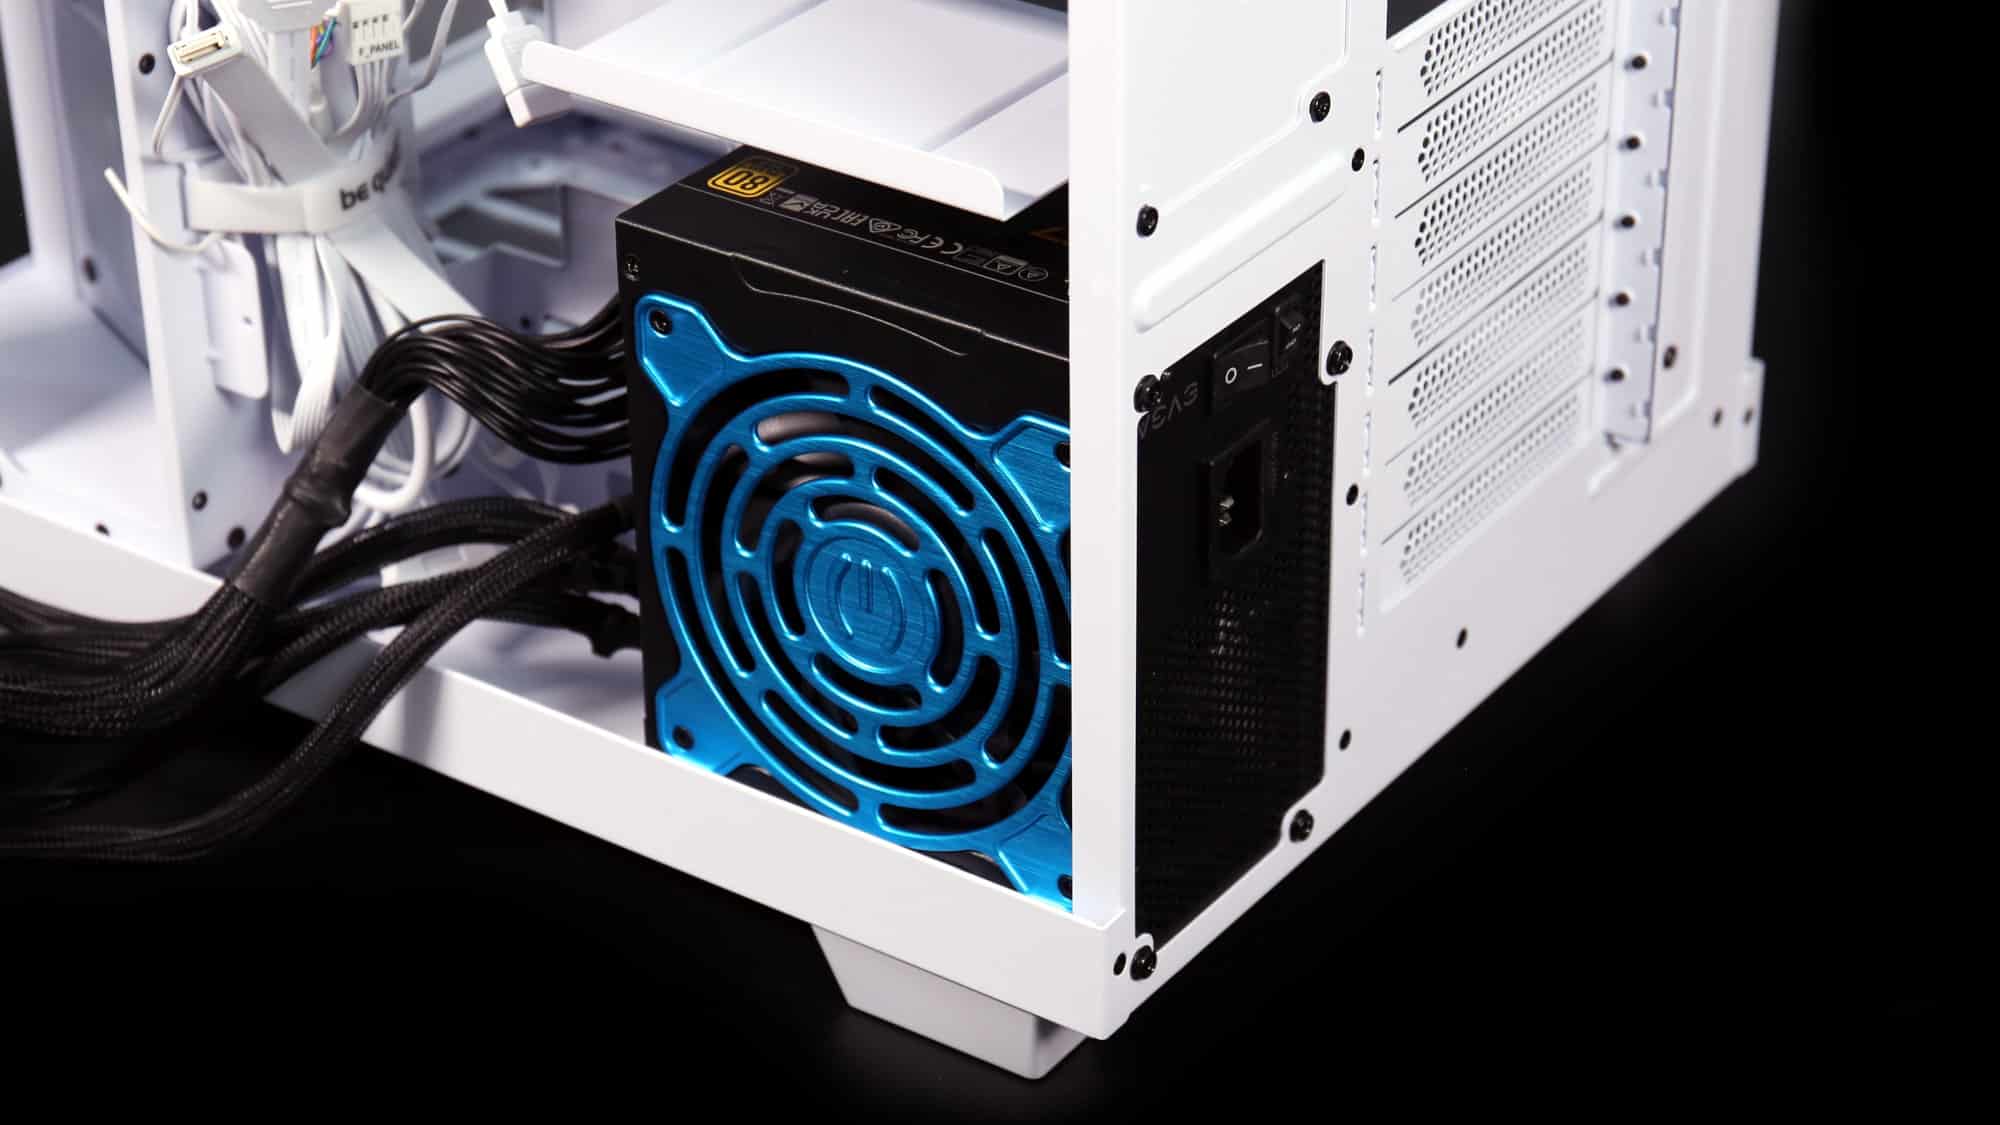
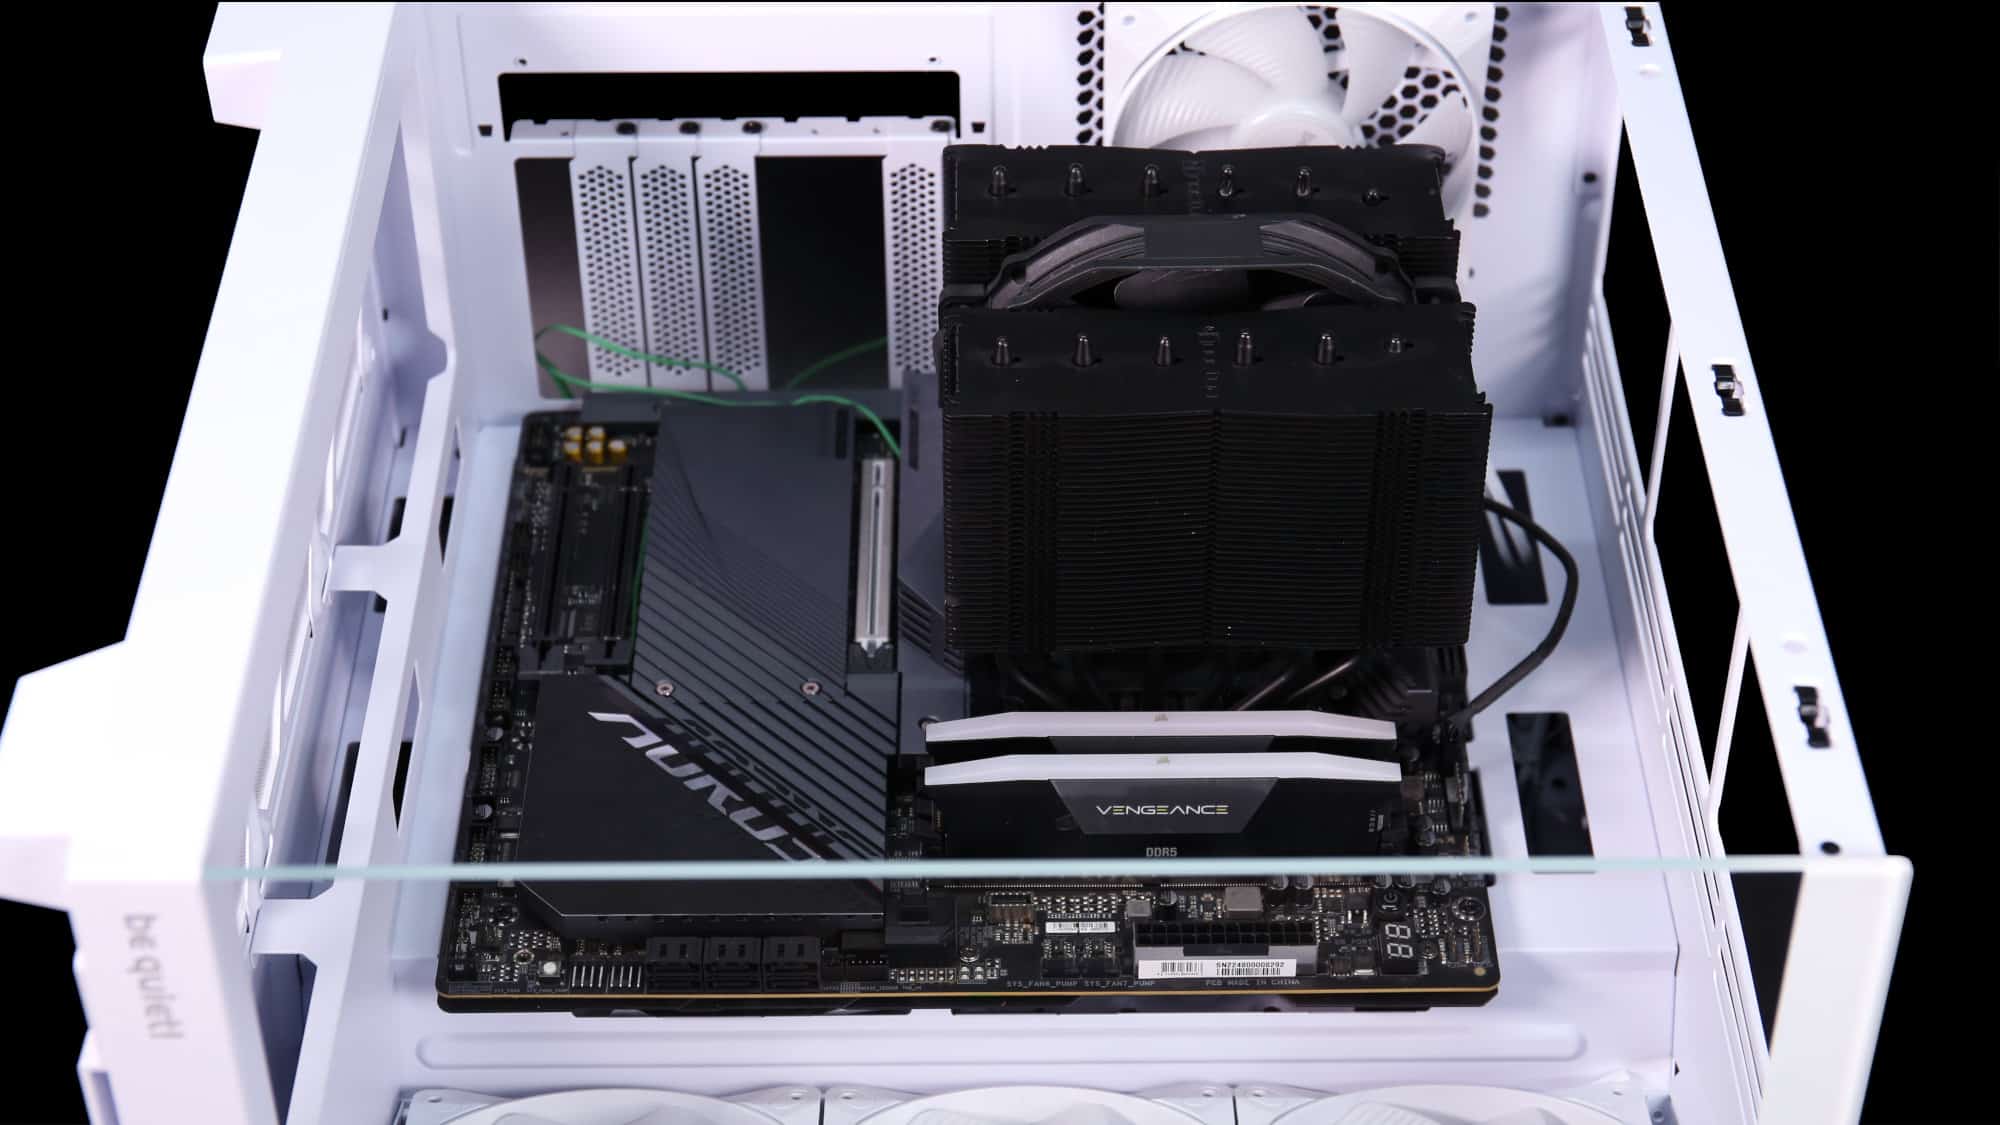
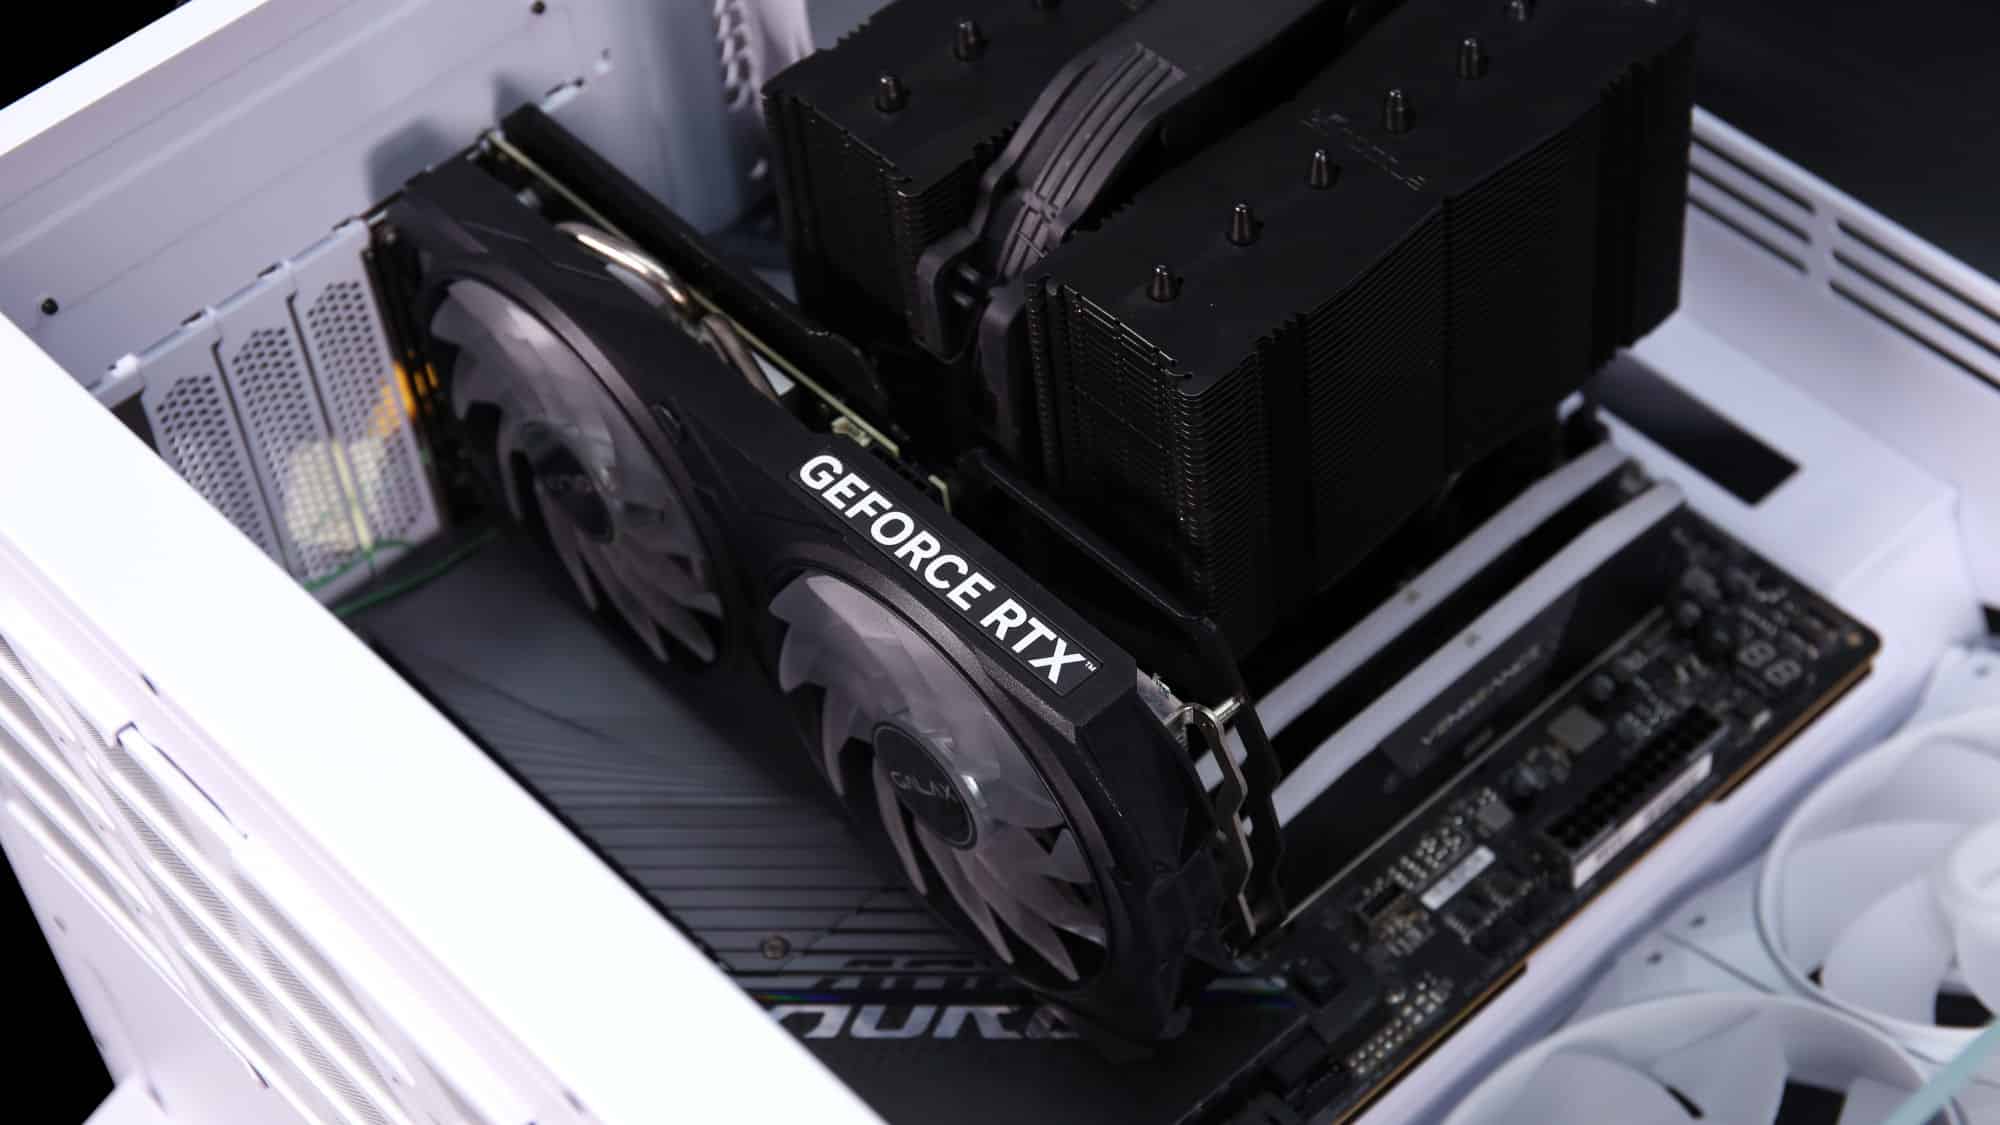
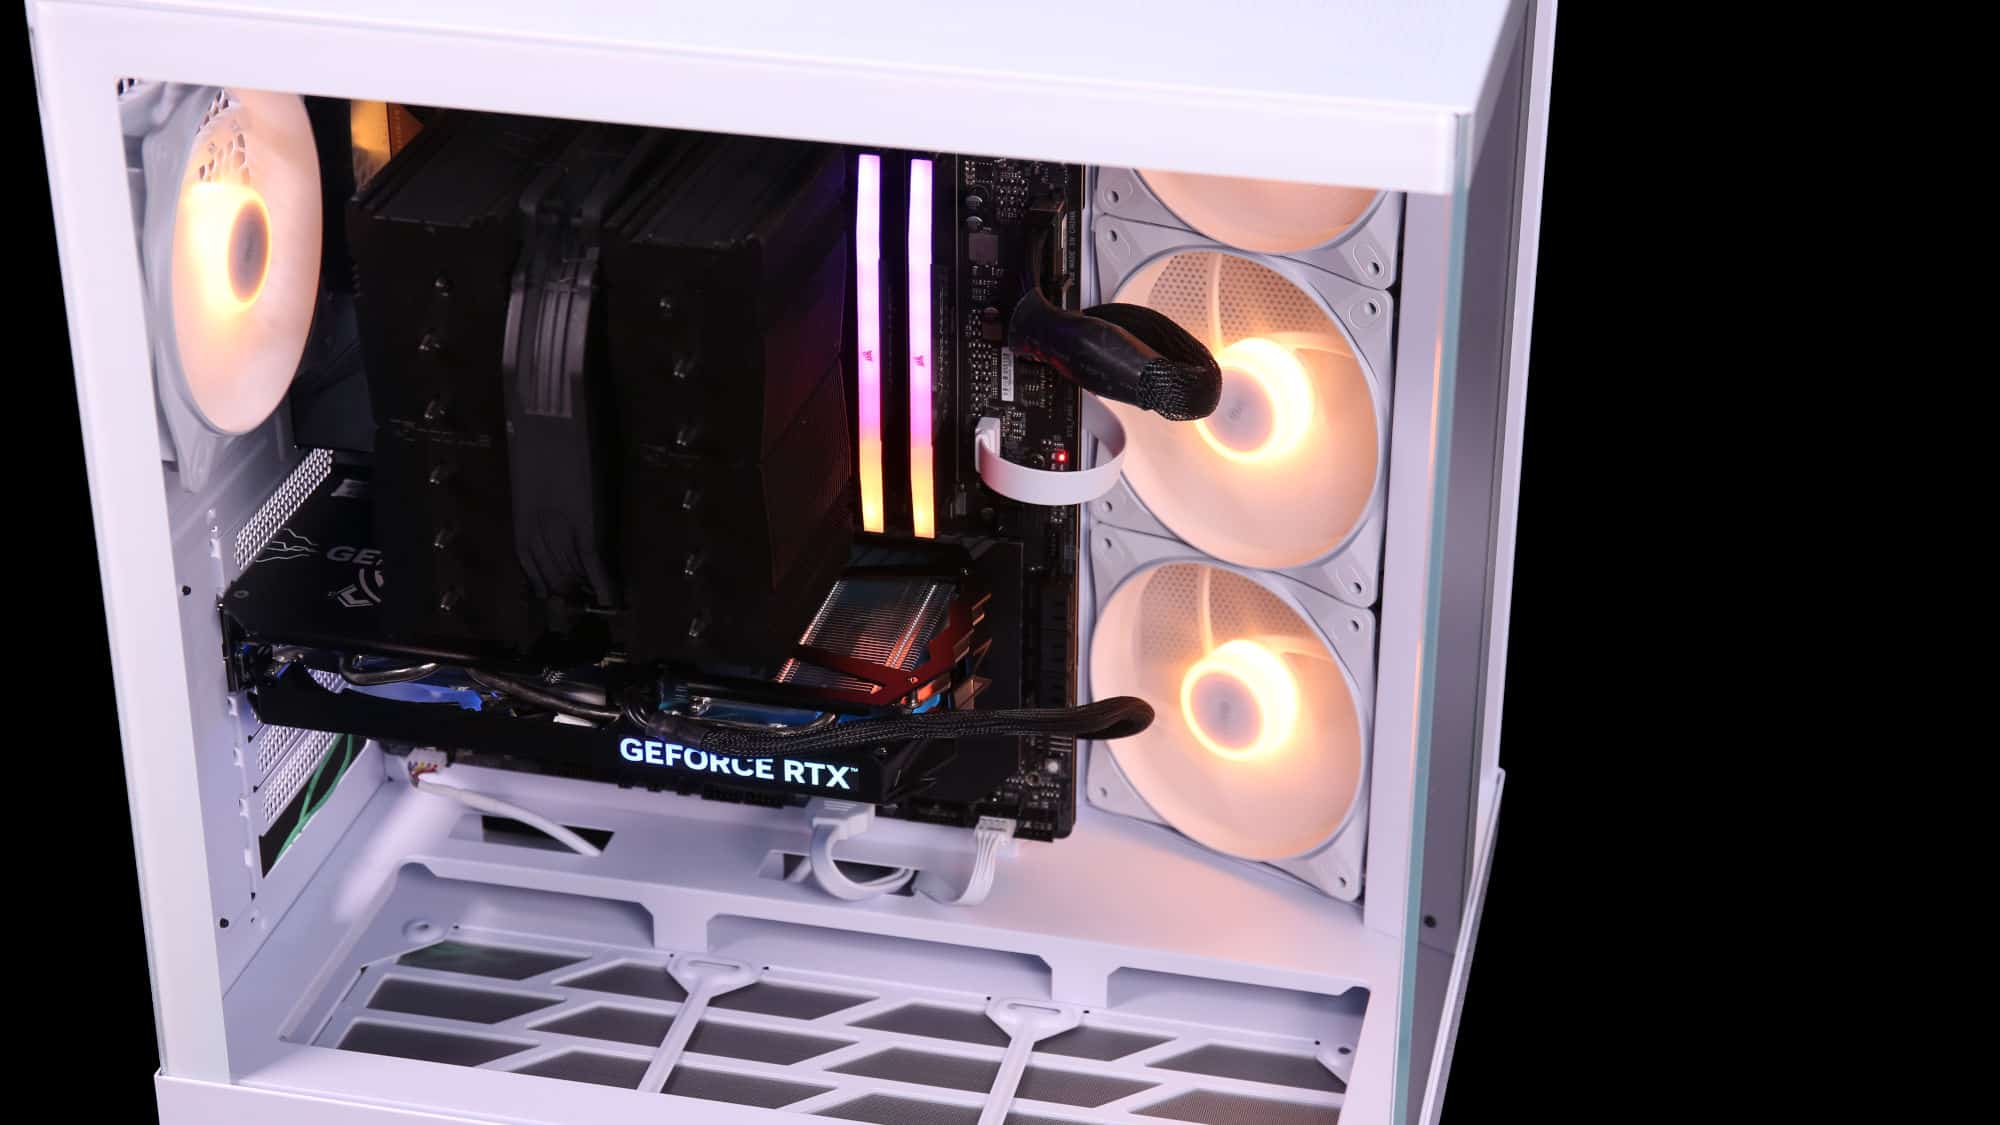
Installation is straightforward. The PSU mounts first, fan facing the perforated panel. We chose the lower slot. Next comes the motherboard, which aligns with a central locating peg. Our E-ATX board fits but slightly obstructs front airflow, so we’d recommend sticking to ATX. The GPU is installed last, followed by the cable connections.
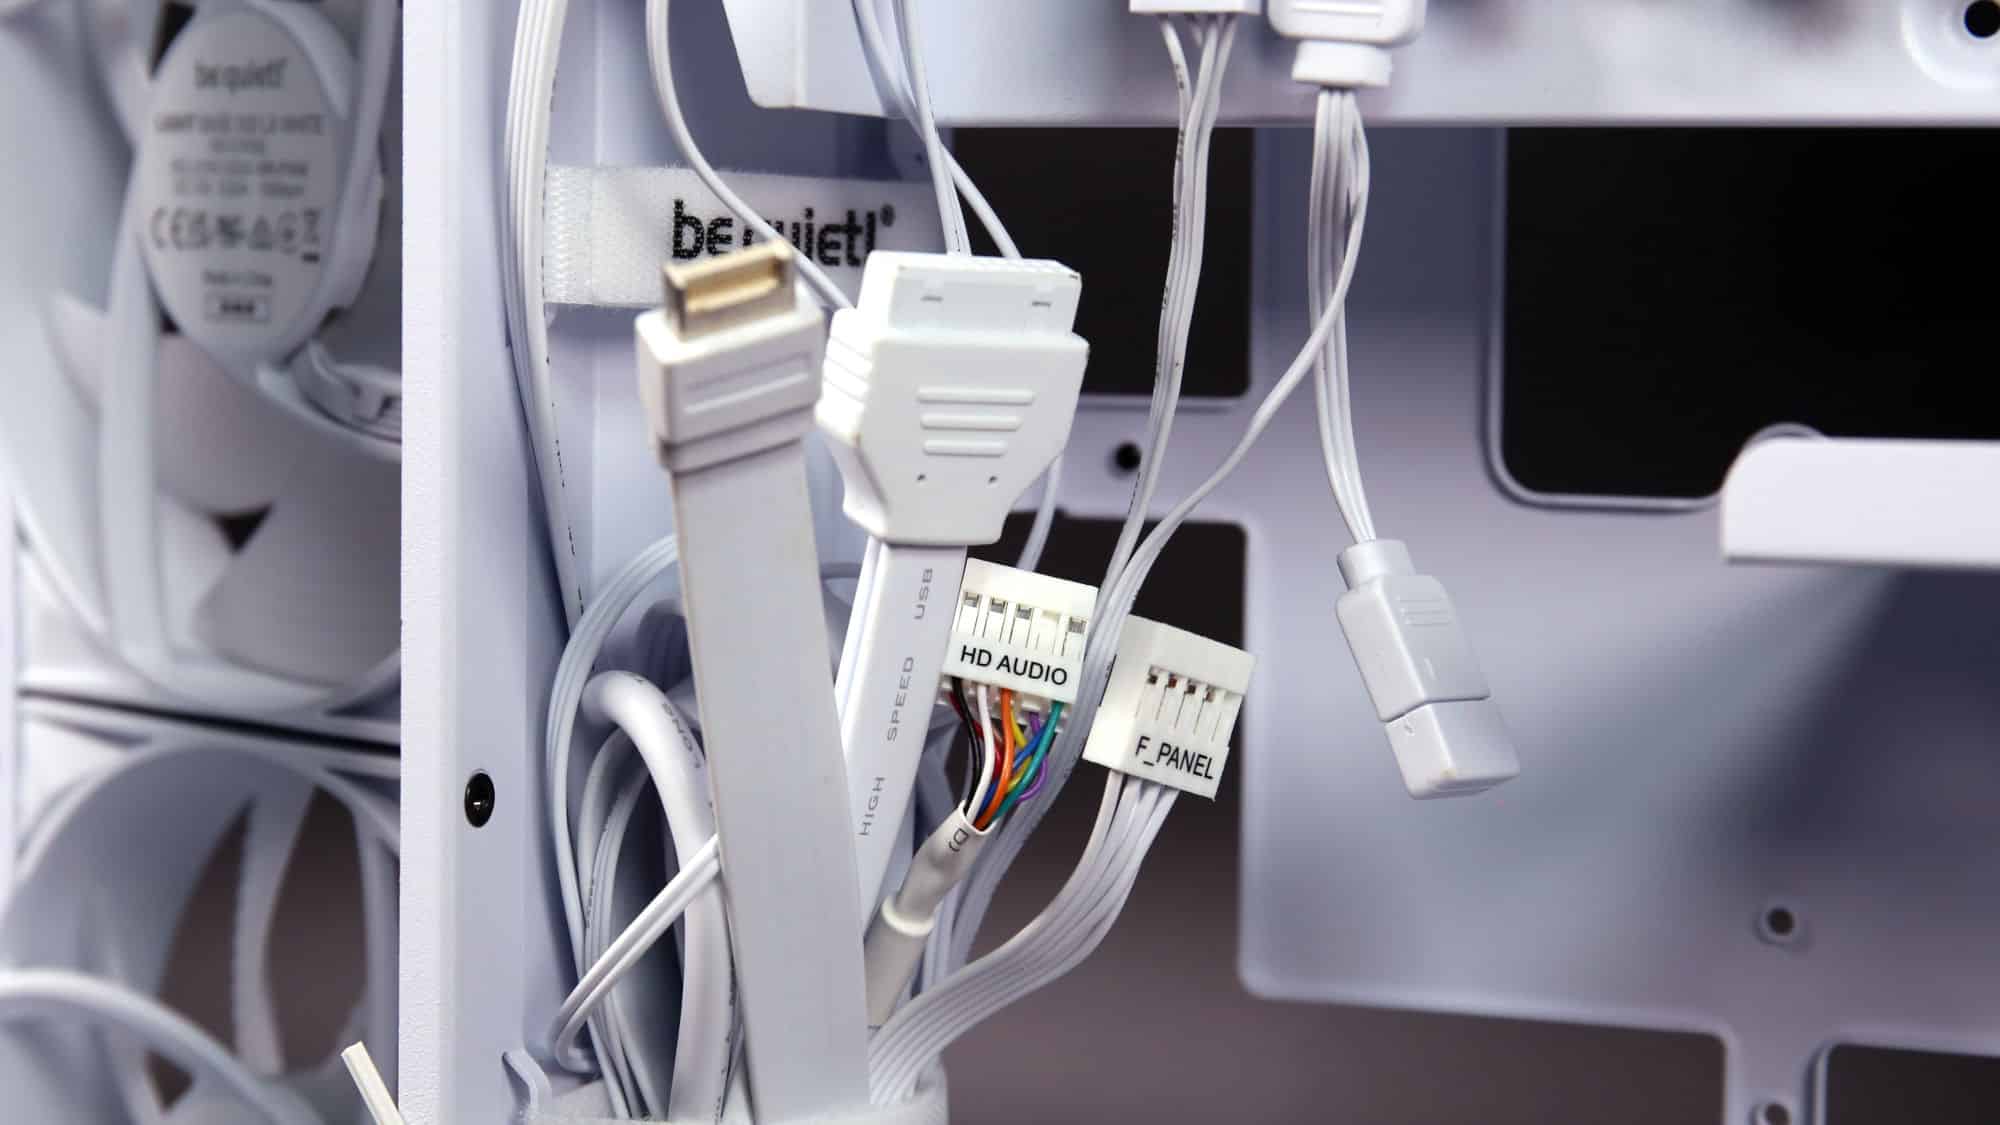
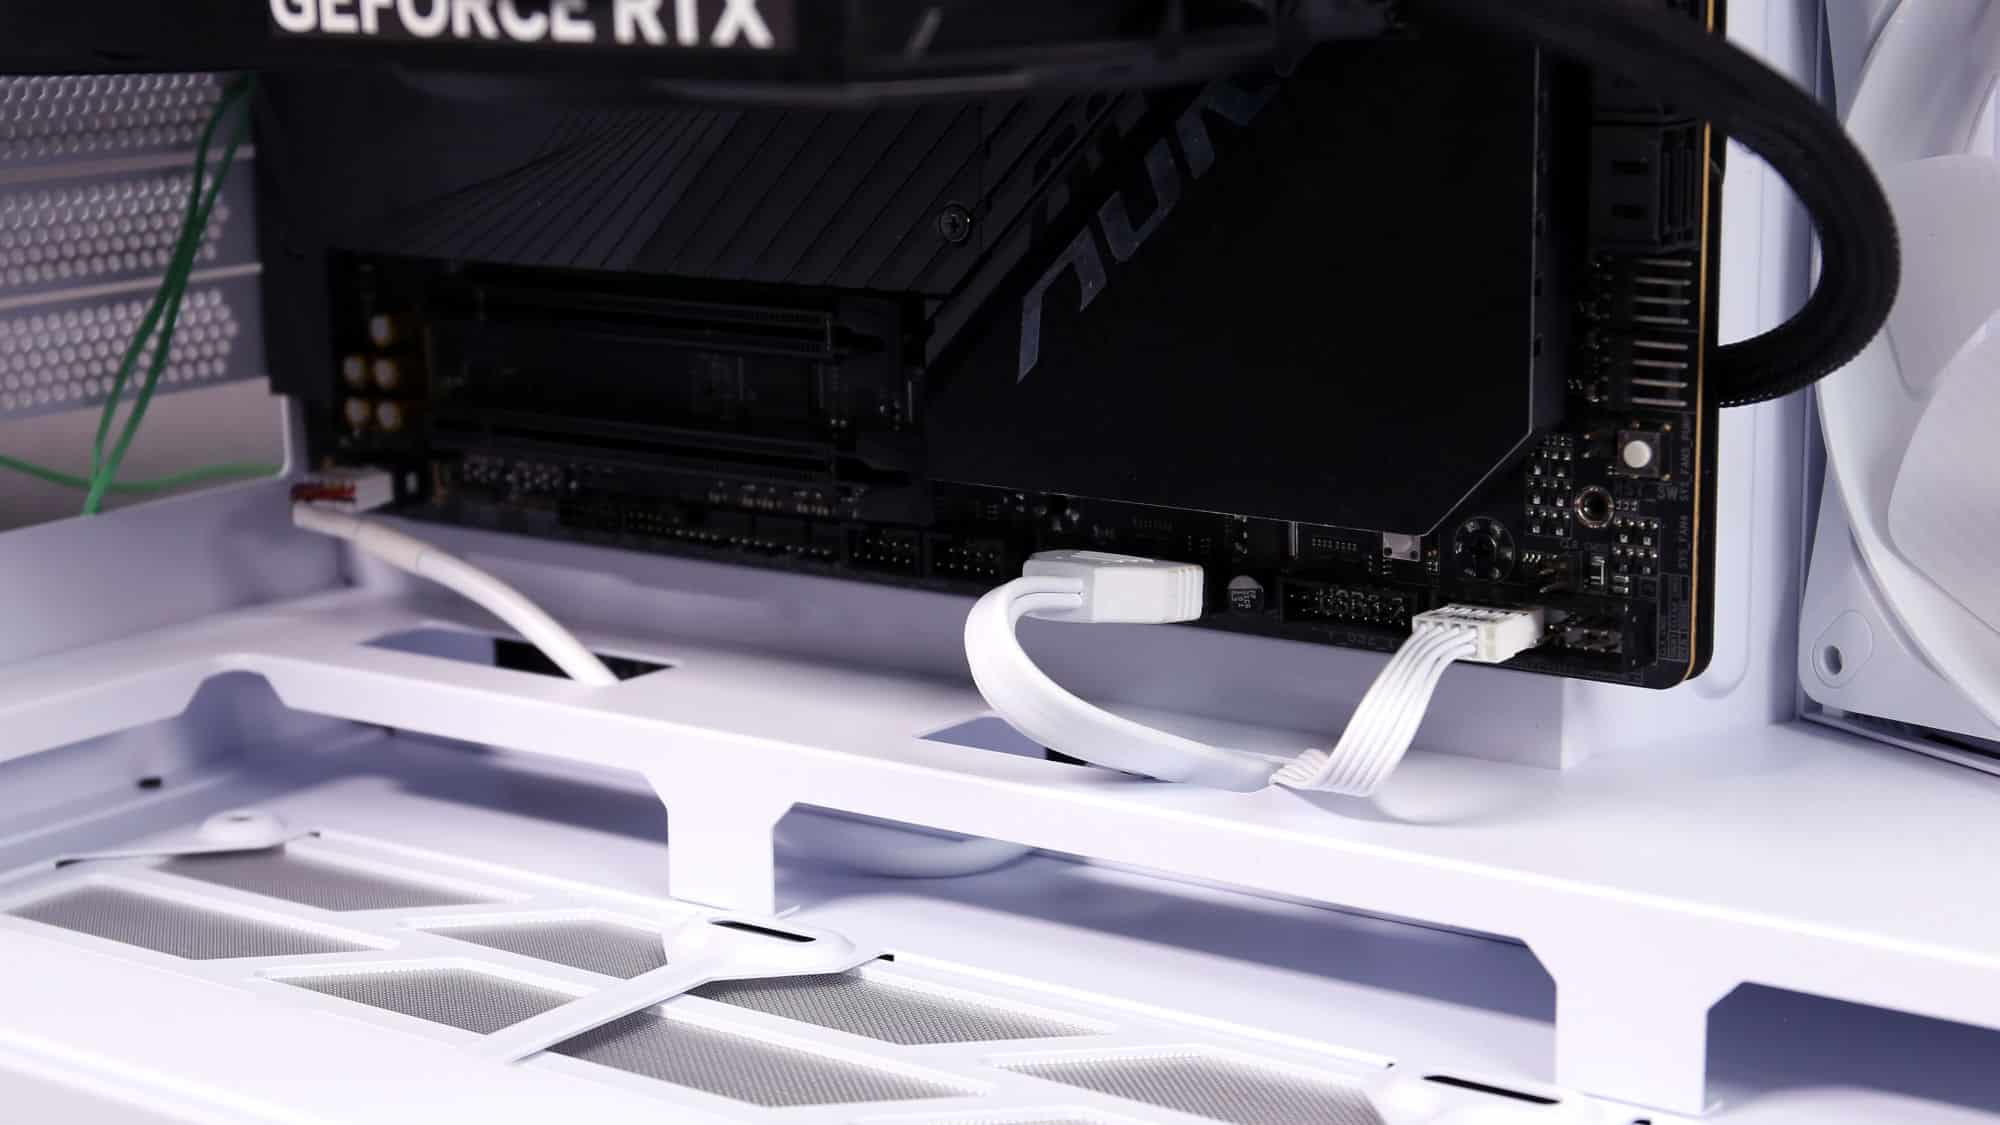
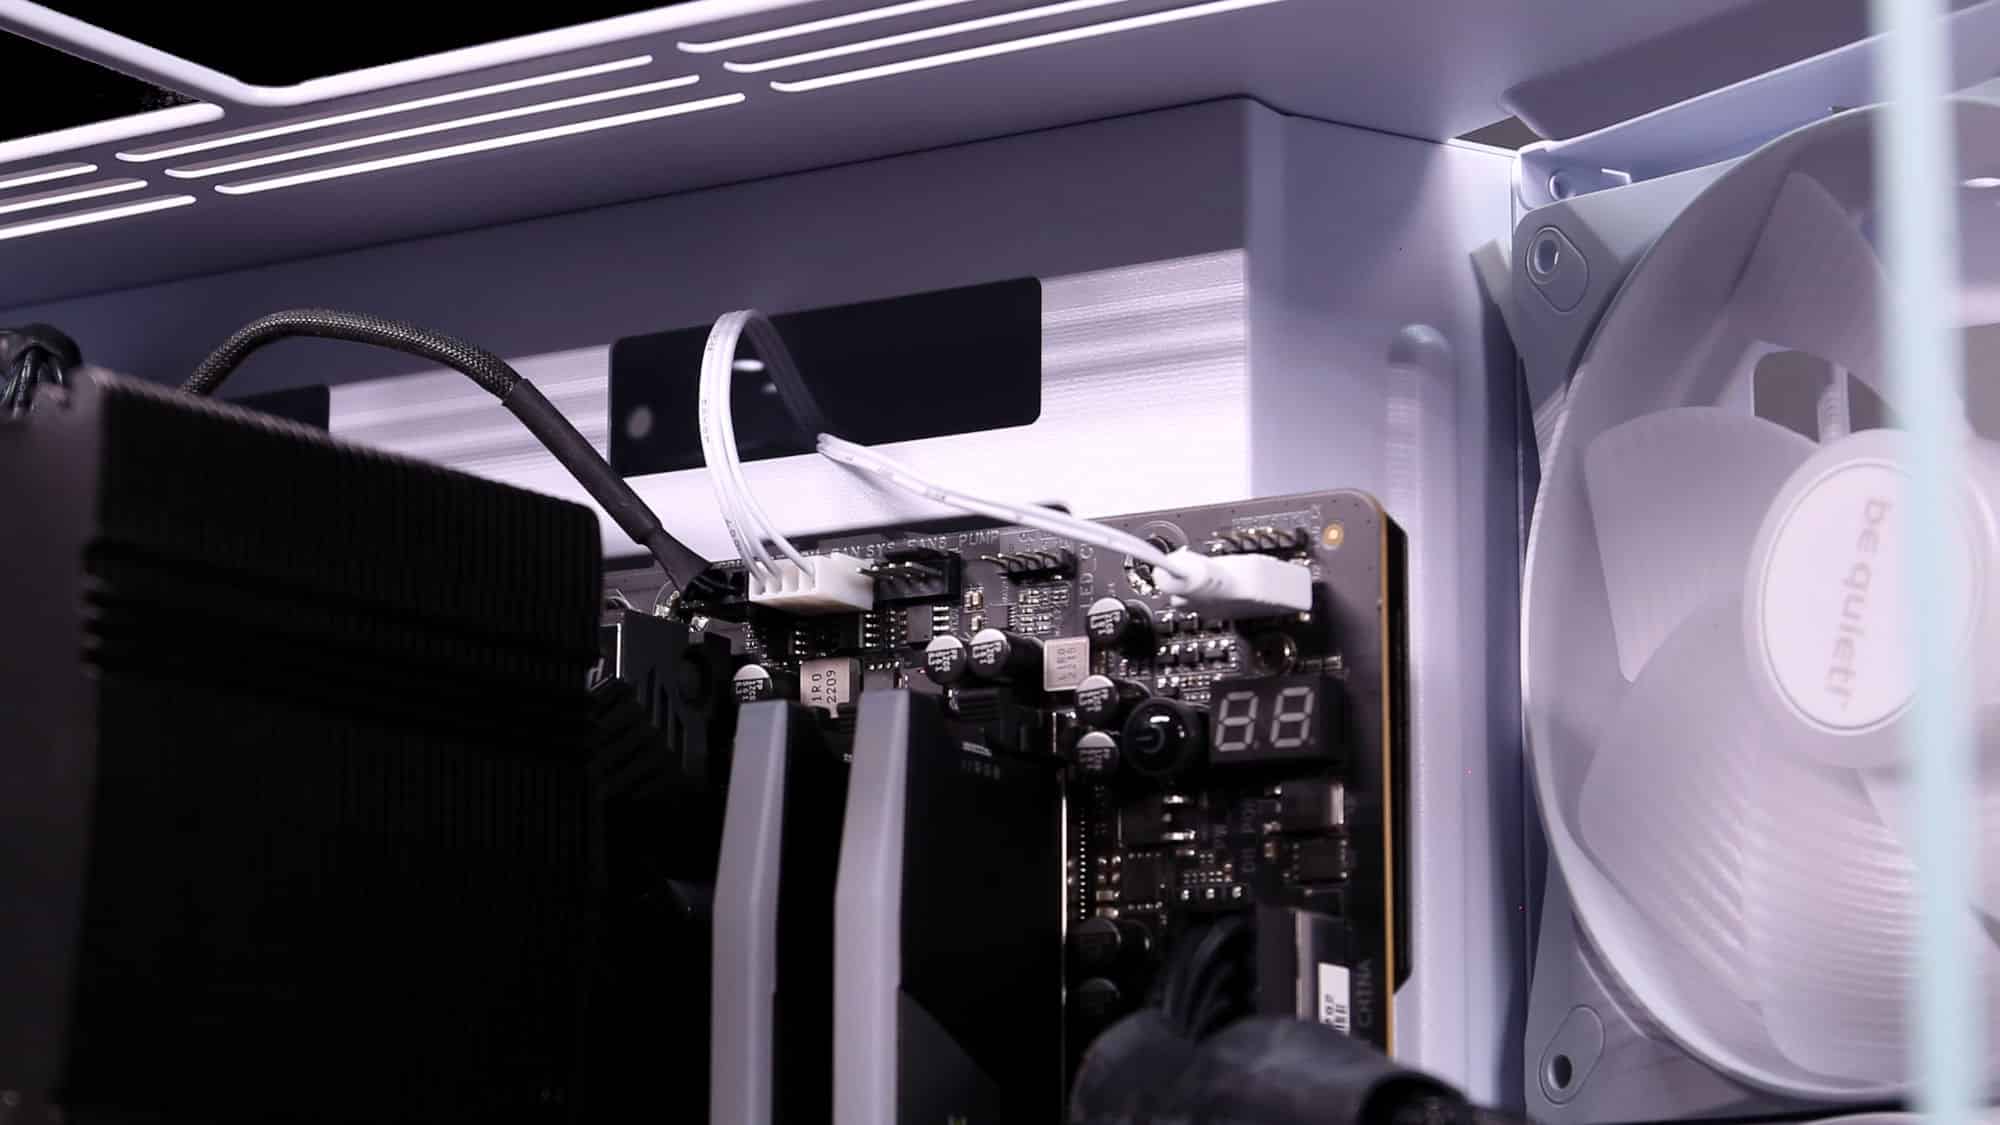
Once again, the color-matched I/O cables deserve praise. Pre-routing all the cables that plug into the motherboard helped a lot in this case. The only note we have is that if you opt for an E-ATX board —which, by the way, isn’t officially supported —the 24-pin cable may interfere with the side intake fans.

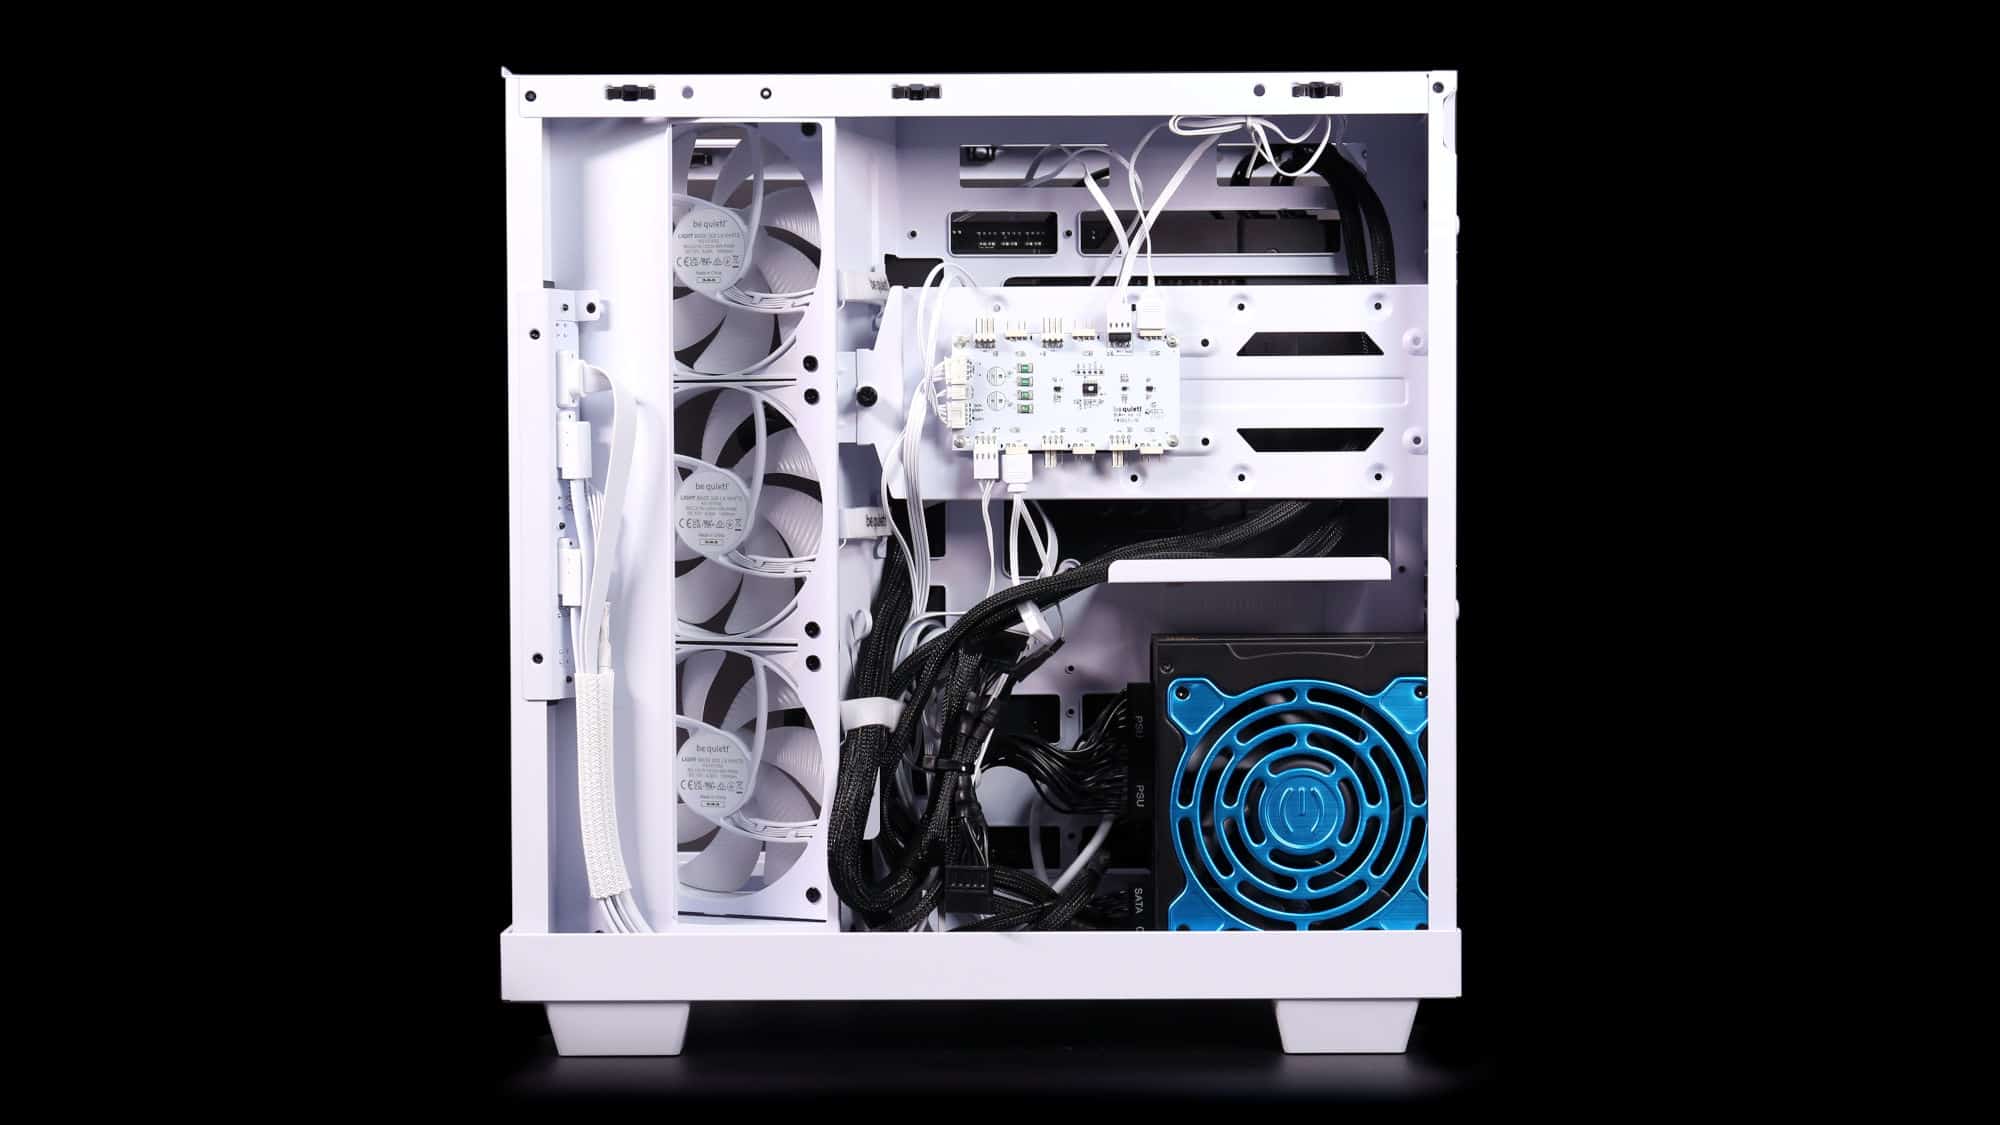
You can check out the system before I put the side panels back on and admire the cable management (or lack thereof, let’s just say it has character). If you decide to go all-in on traditional storage with 3.5-inch and 2.5-inch drives, it’ll take a bit of effort, but airflow remains solid.
ARGB Lighting and Aesthetics
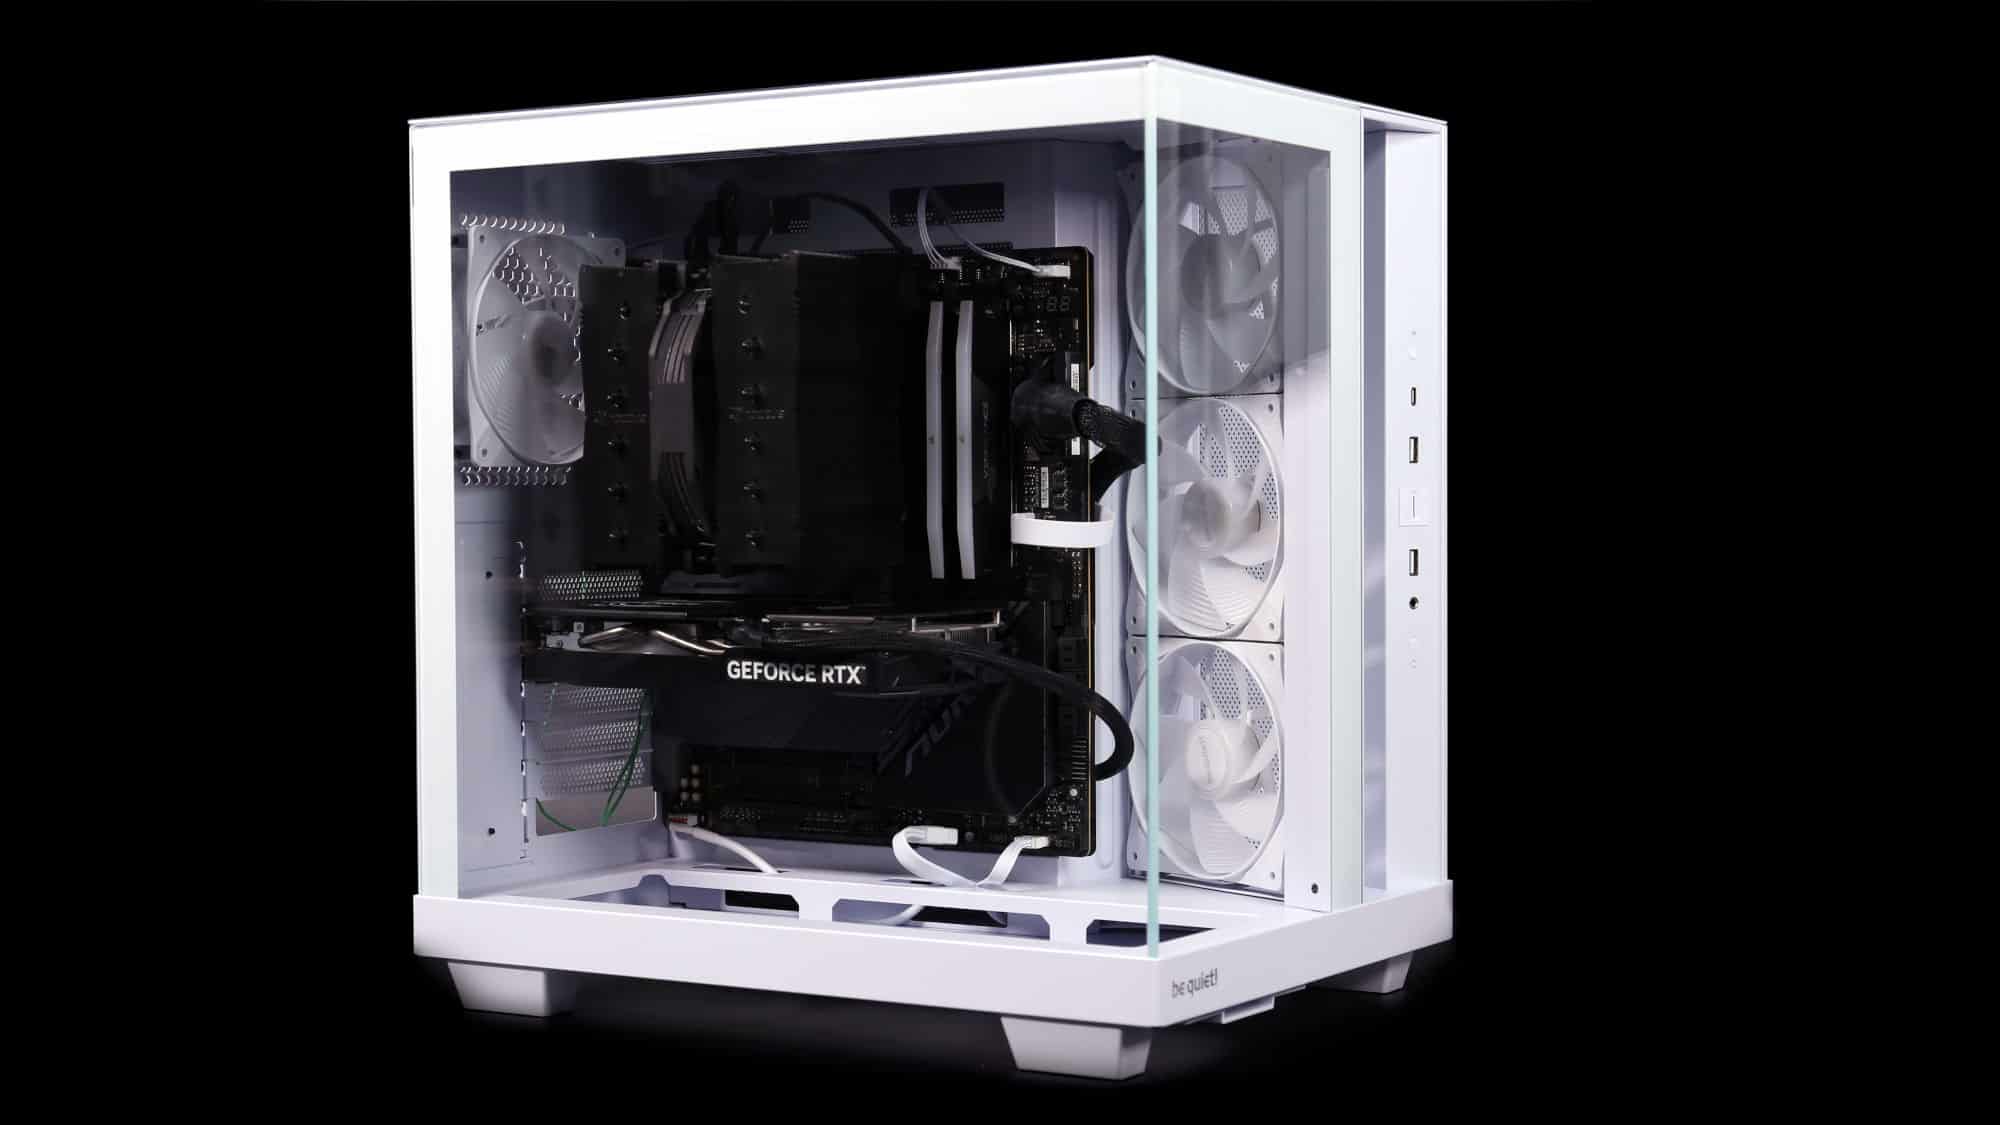
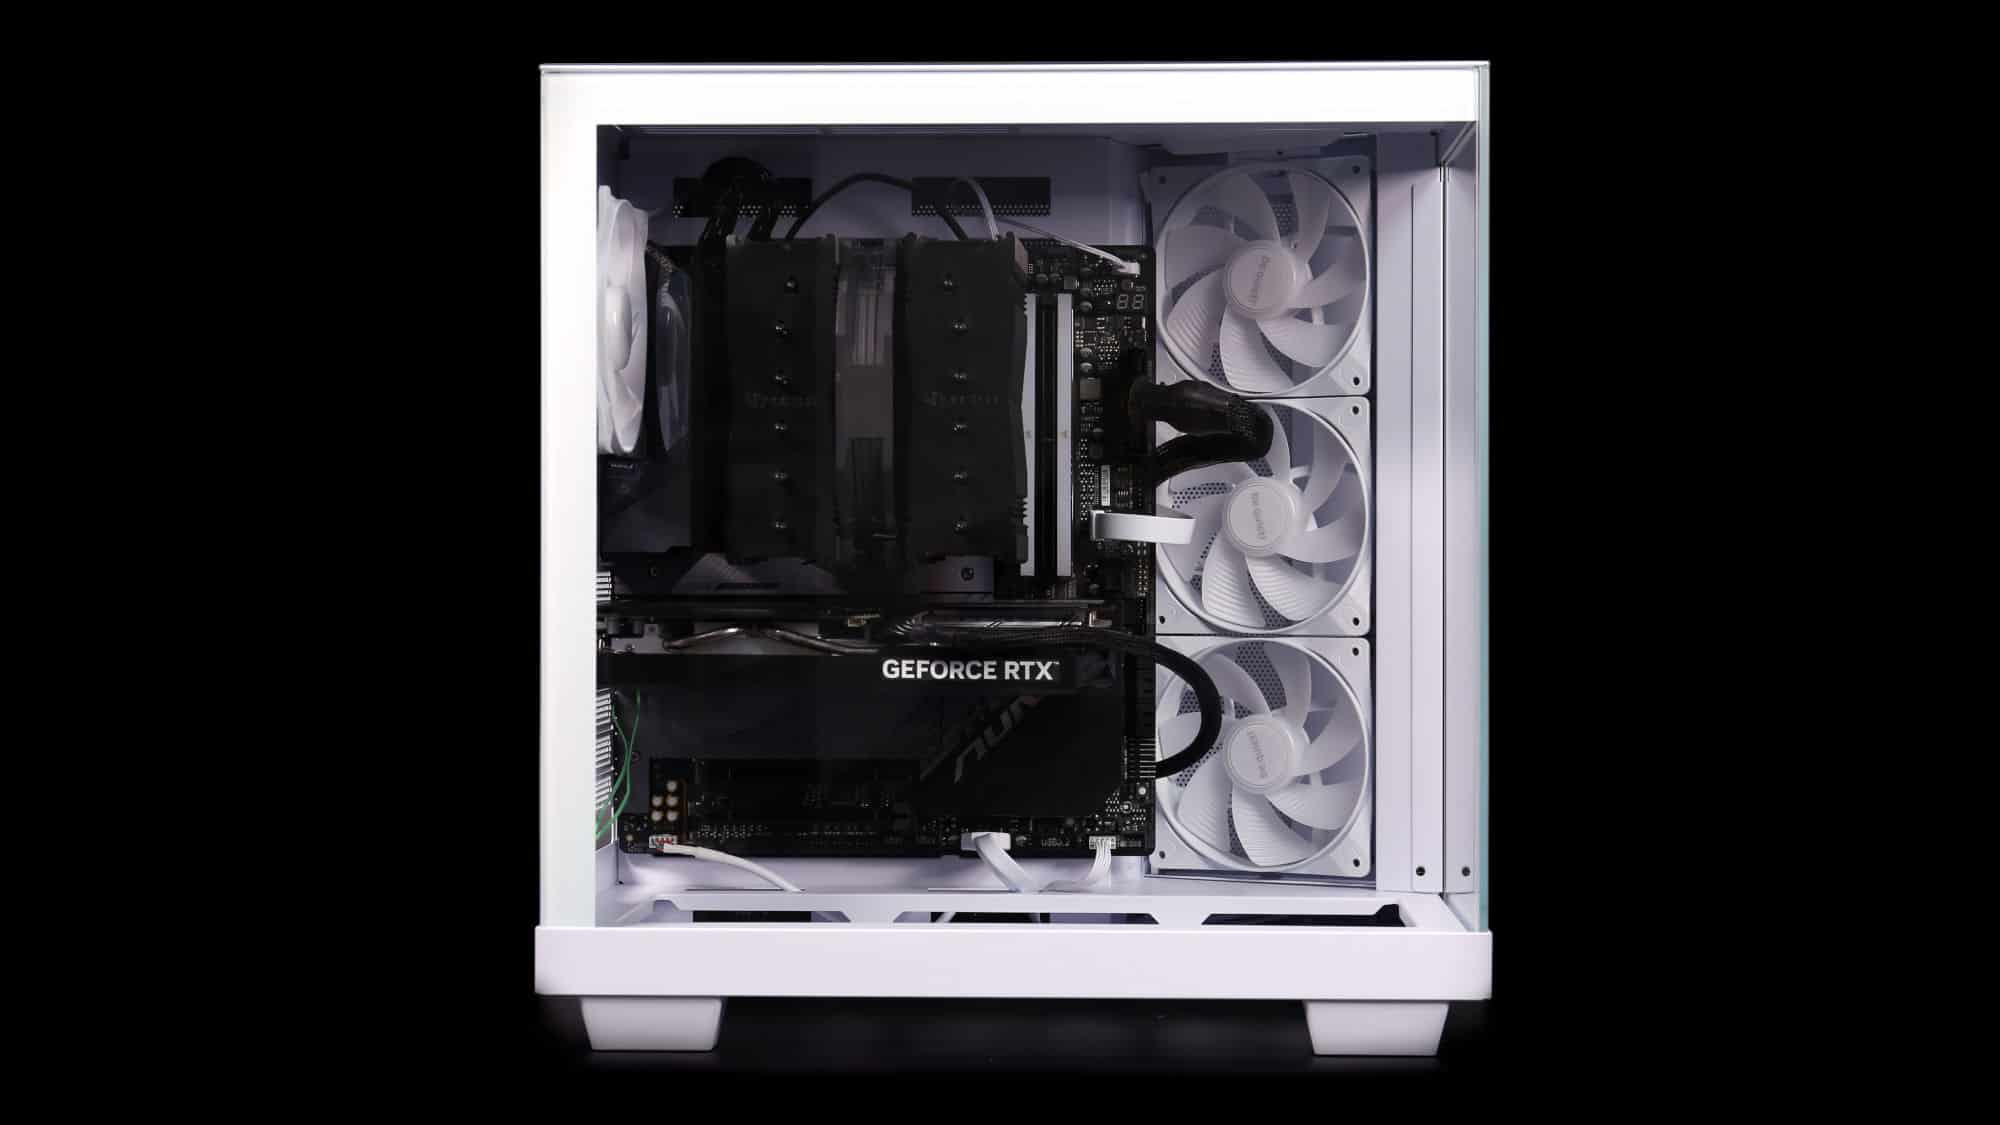
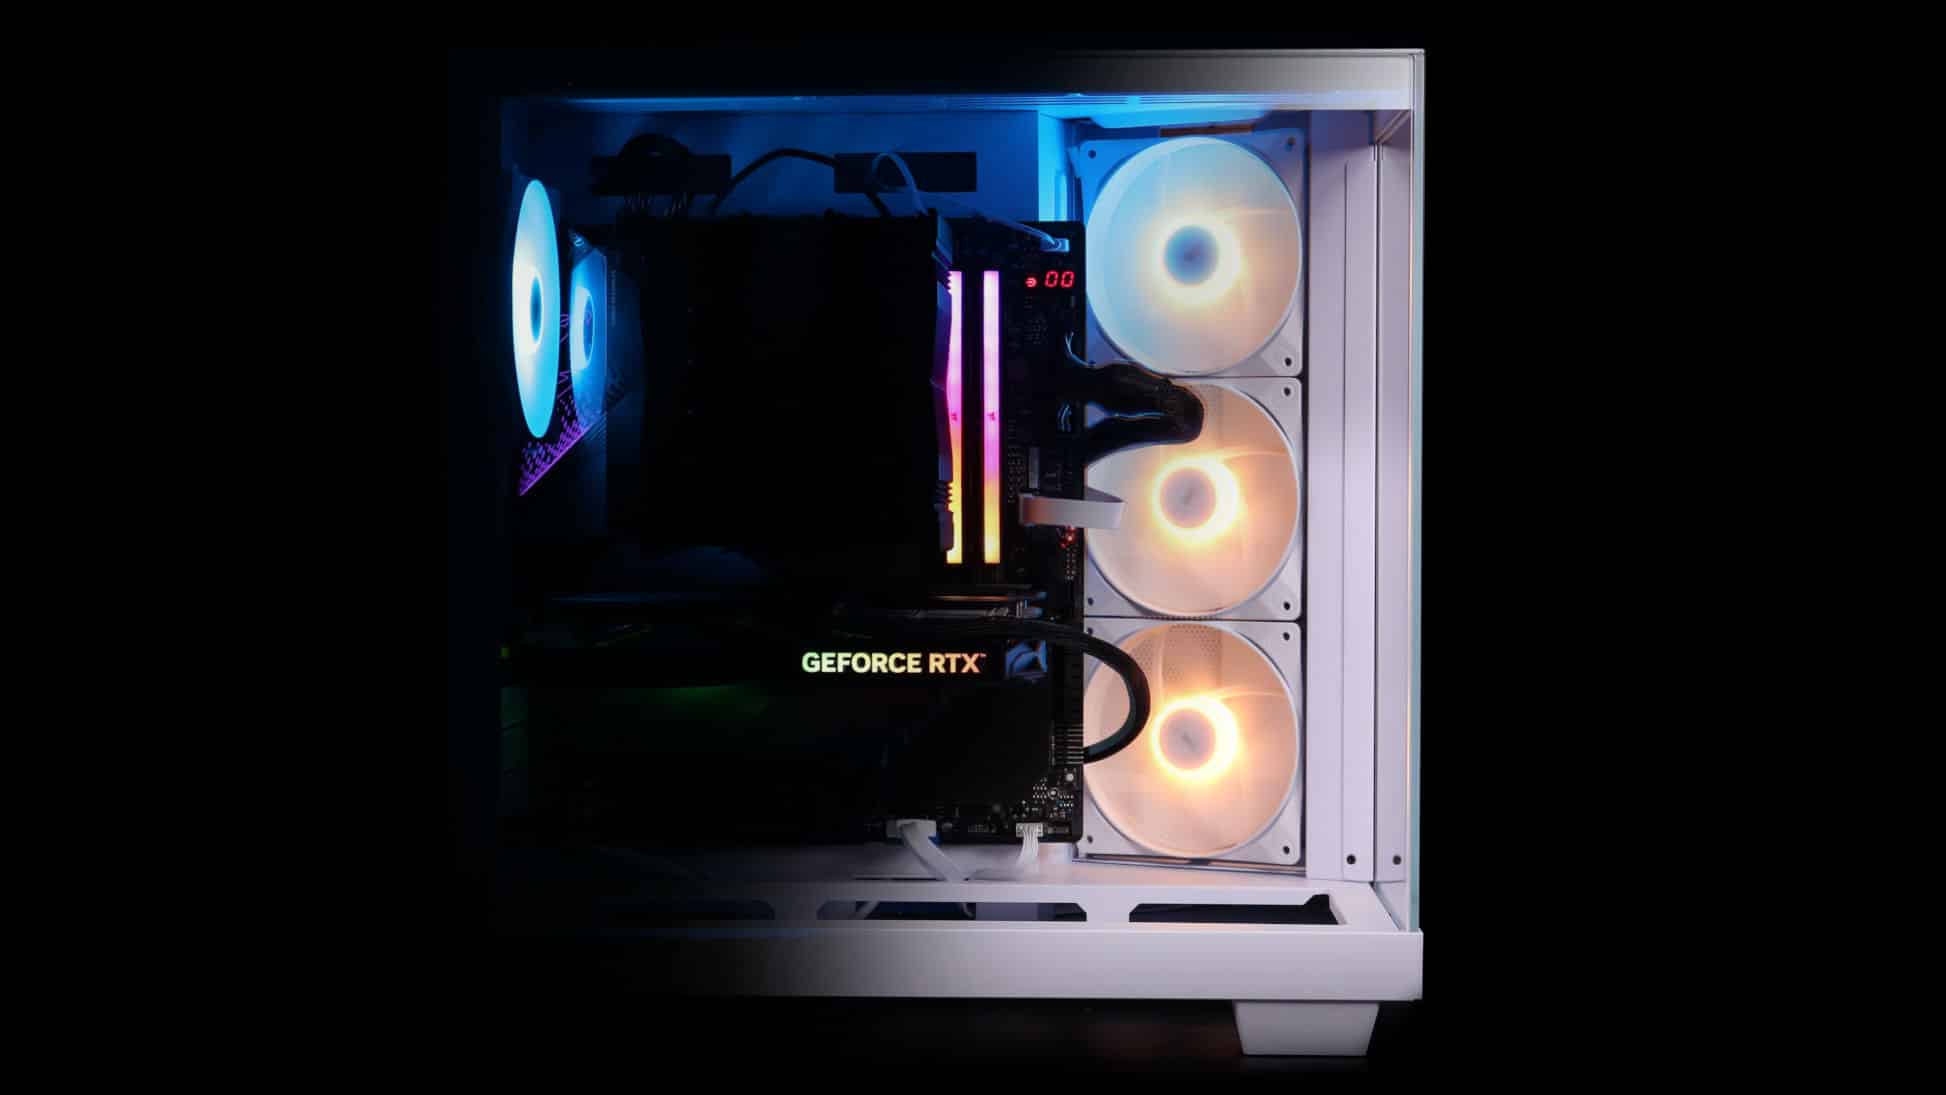
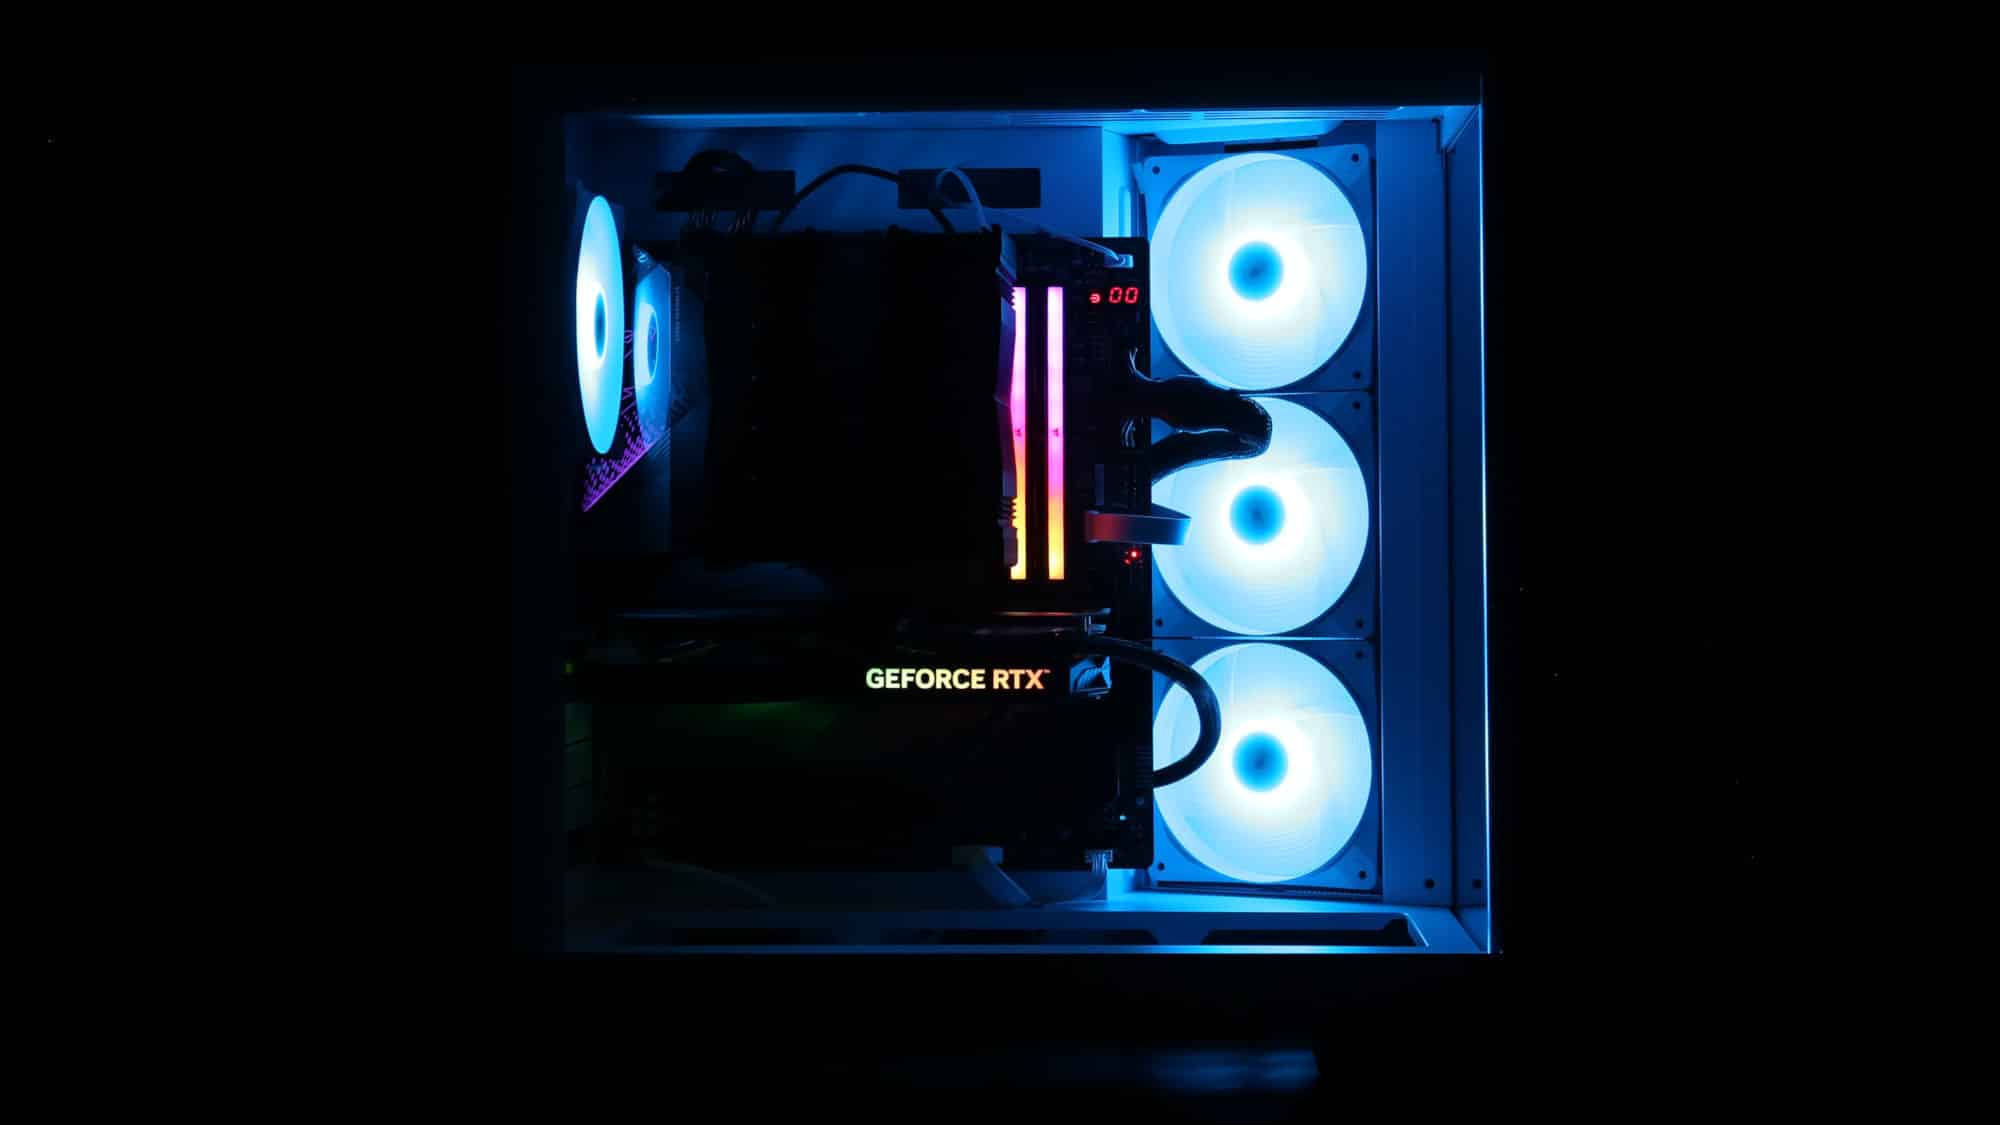
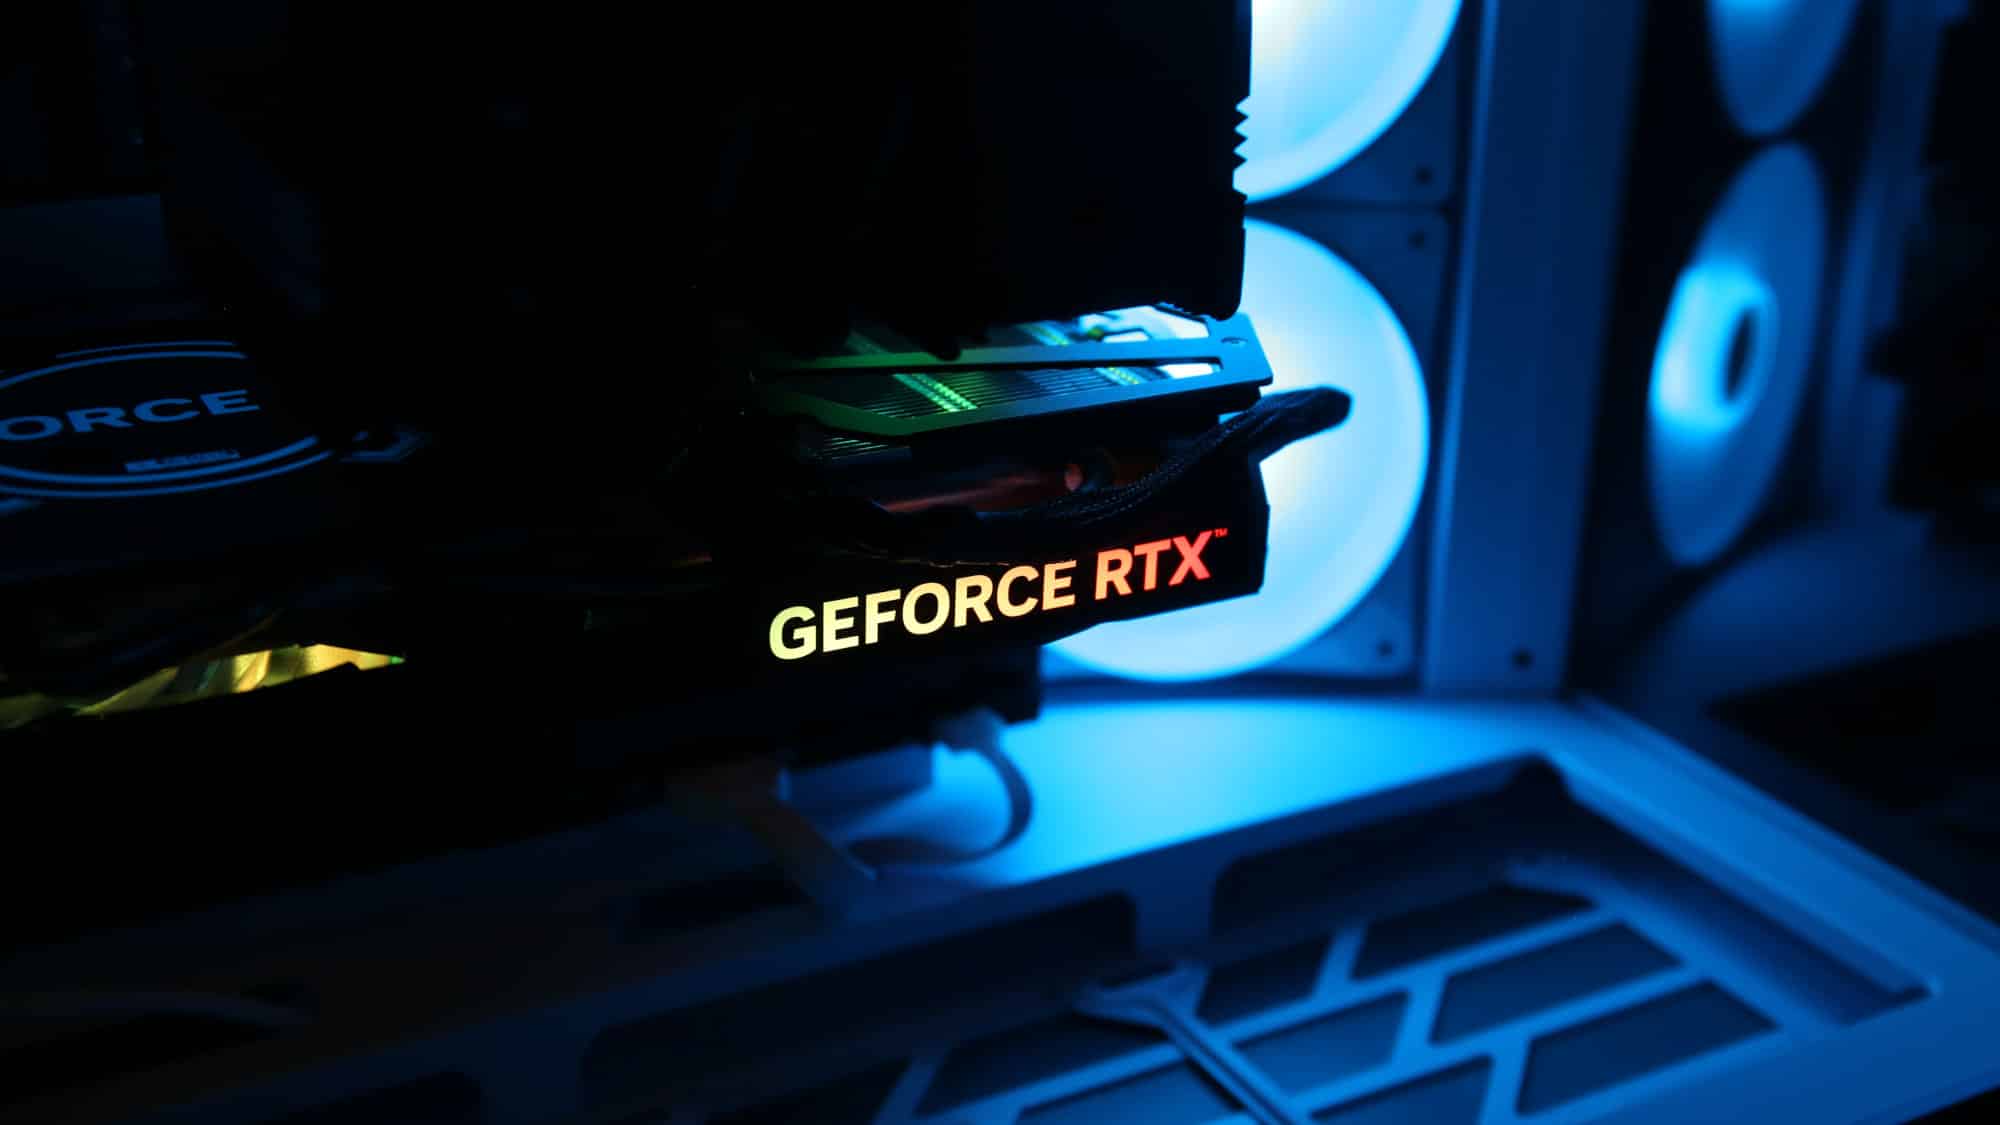
The completed build looks exceptionally clean. The black components contrast beautifully with the white chassis. A back-connector motherboard would make for a nearly cable-free look, thanks to the spacious secondary chamber.
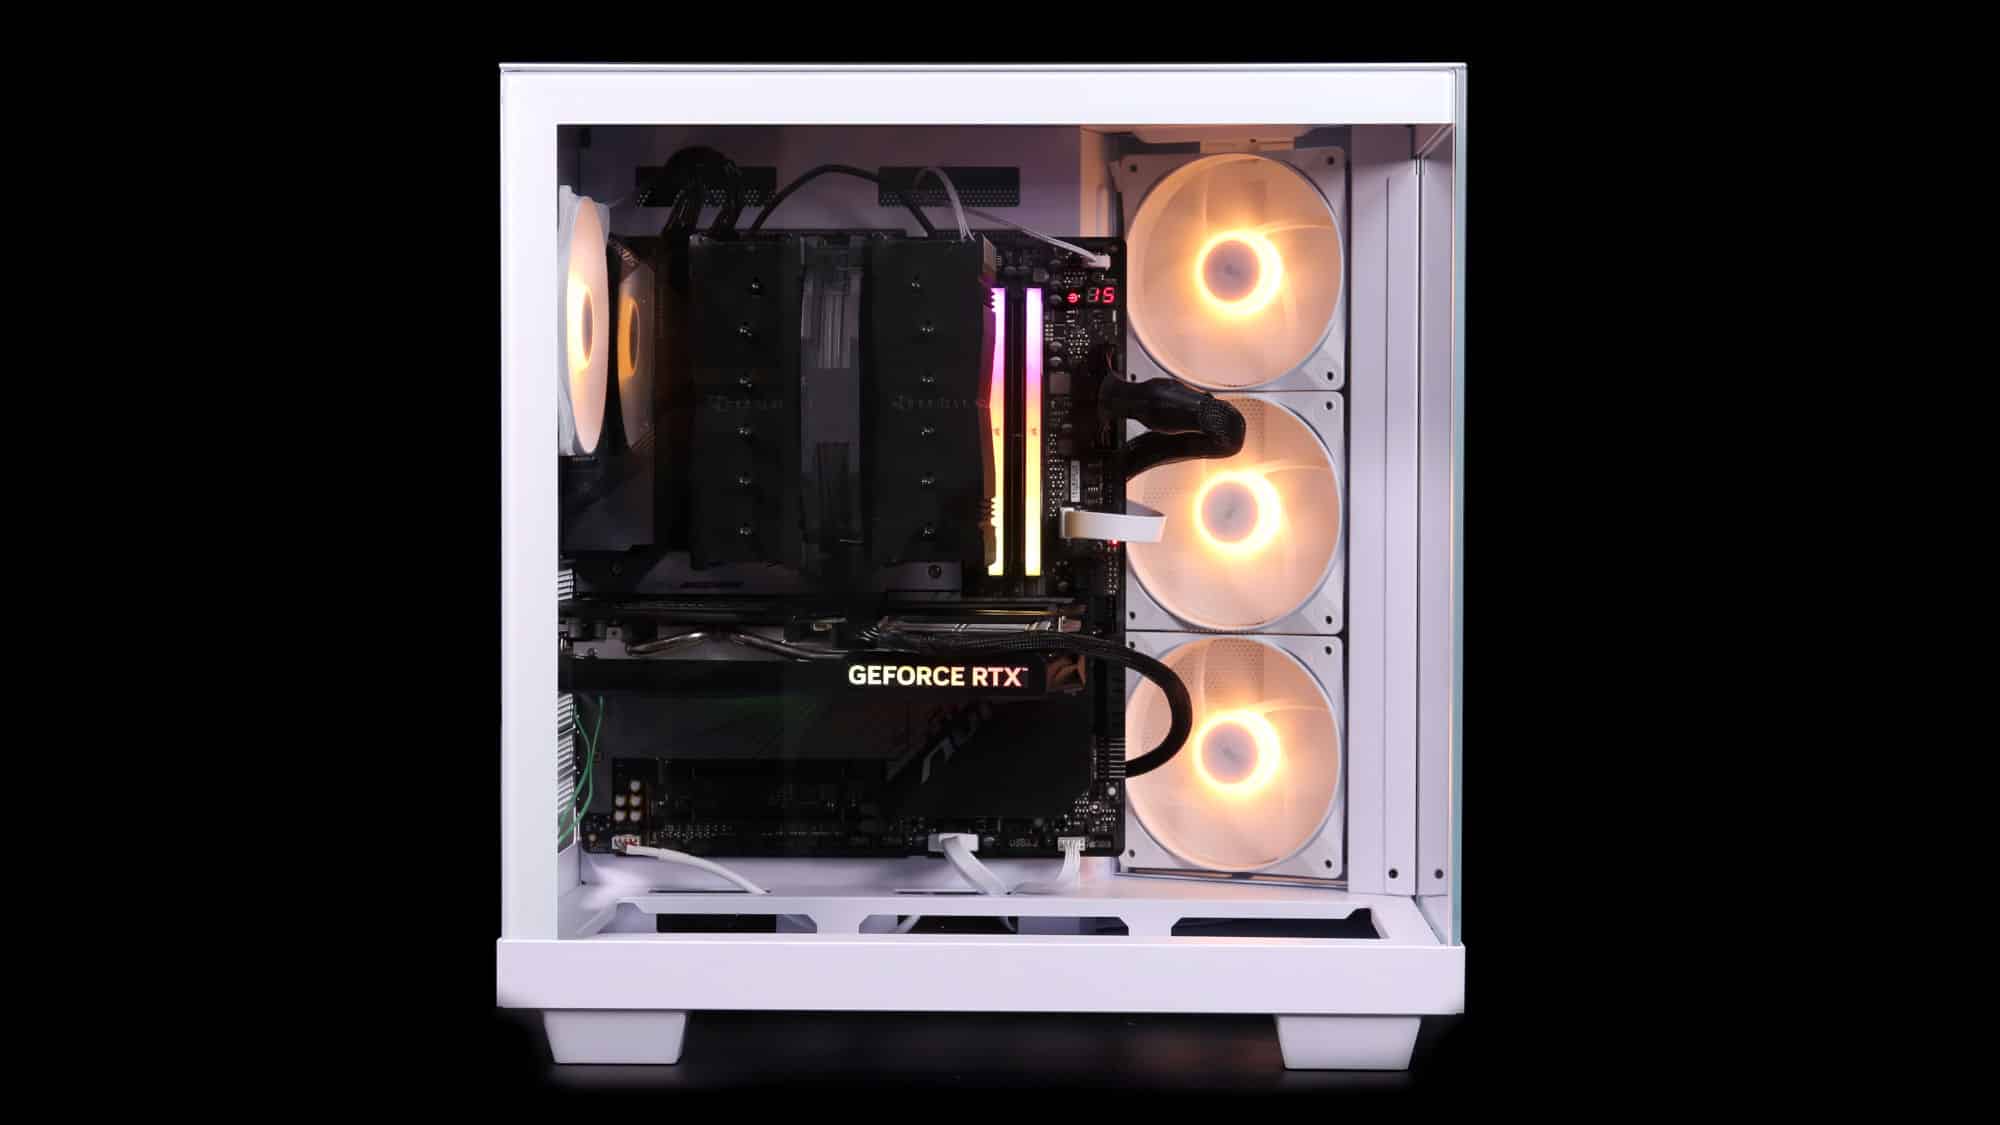
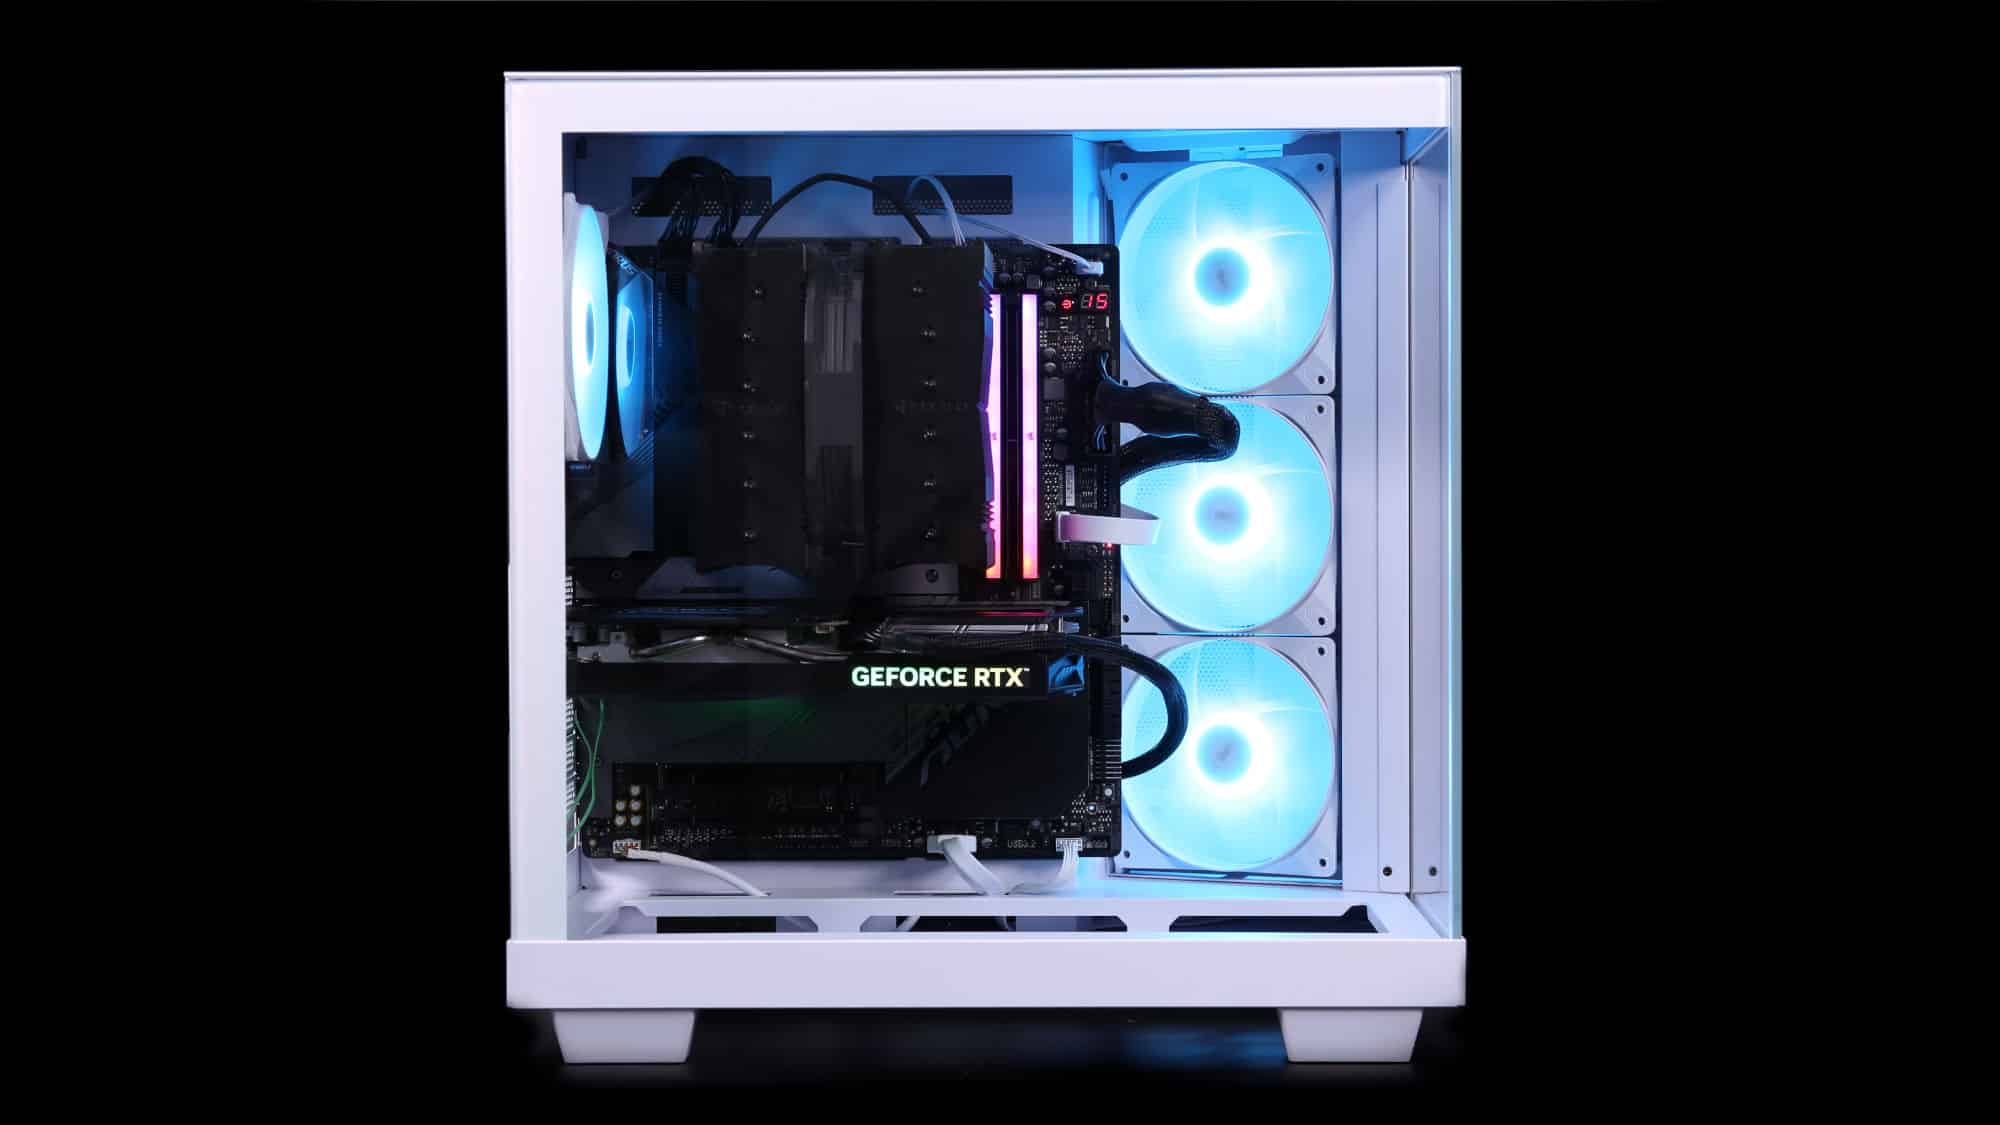
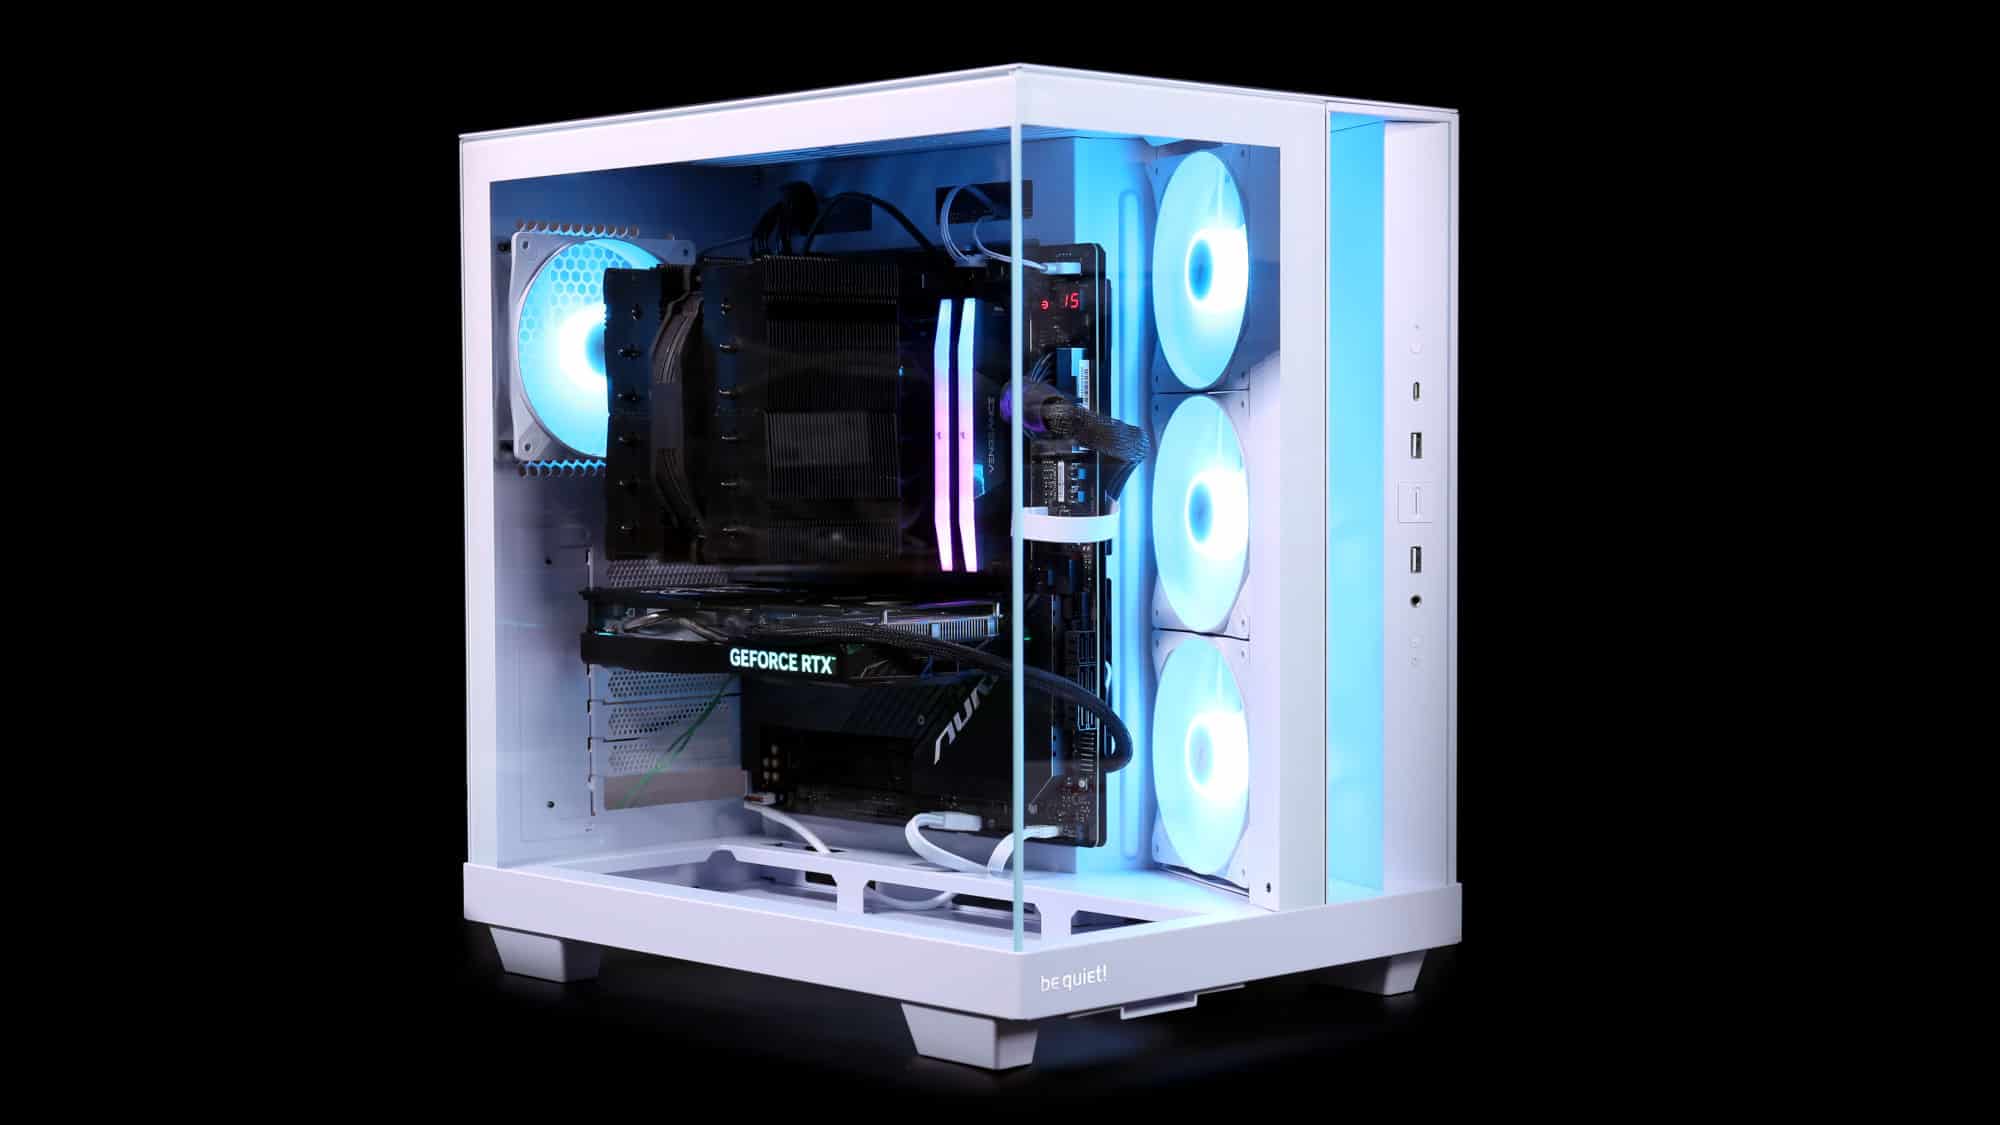
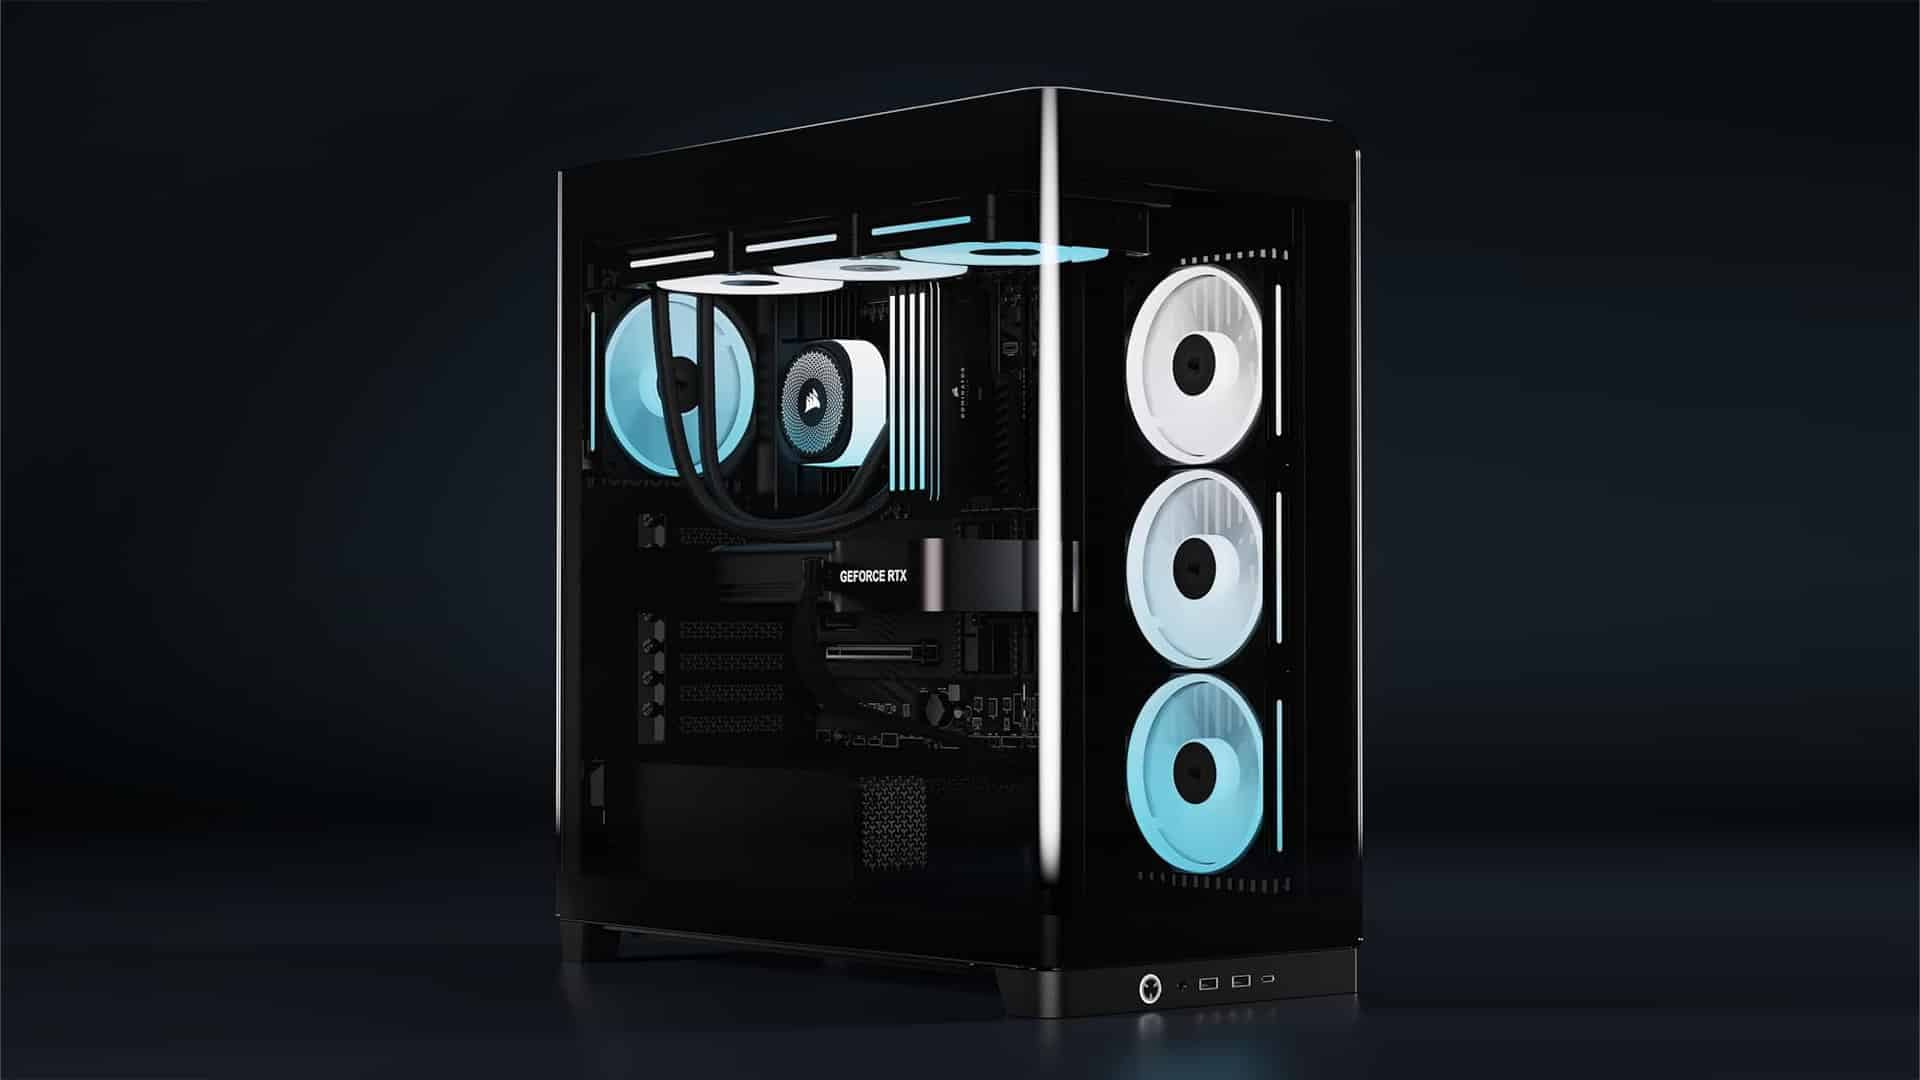
With the system powered on, the ARGB fans look great. As always, be quiet!’s lighting is high quality, bright yet tasteful. For a stealthier option, a black version with non-RGB fans is available.
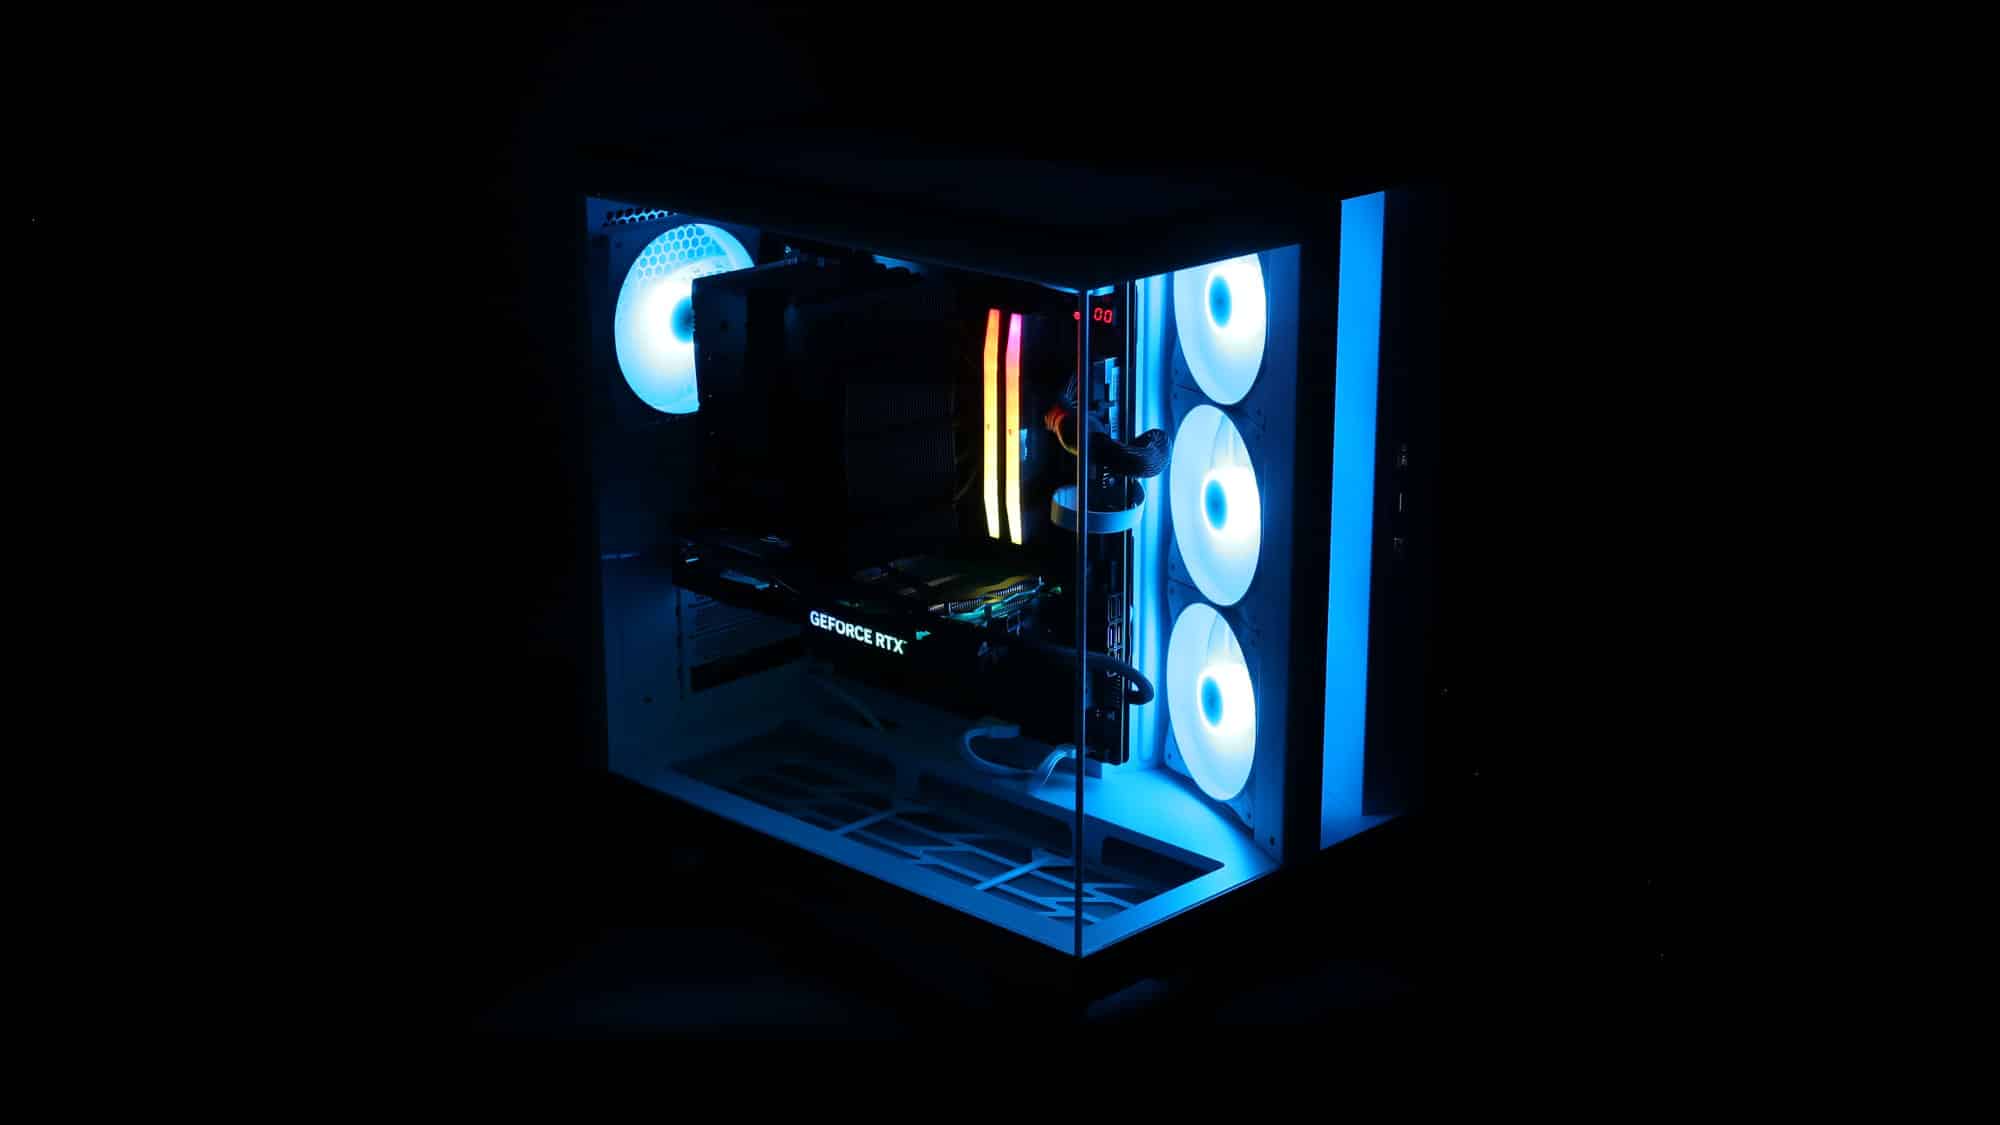
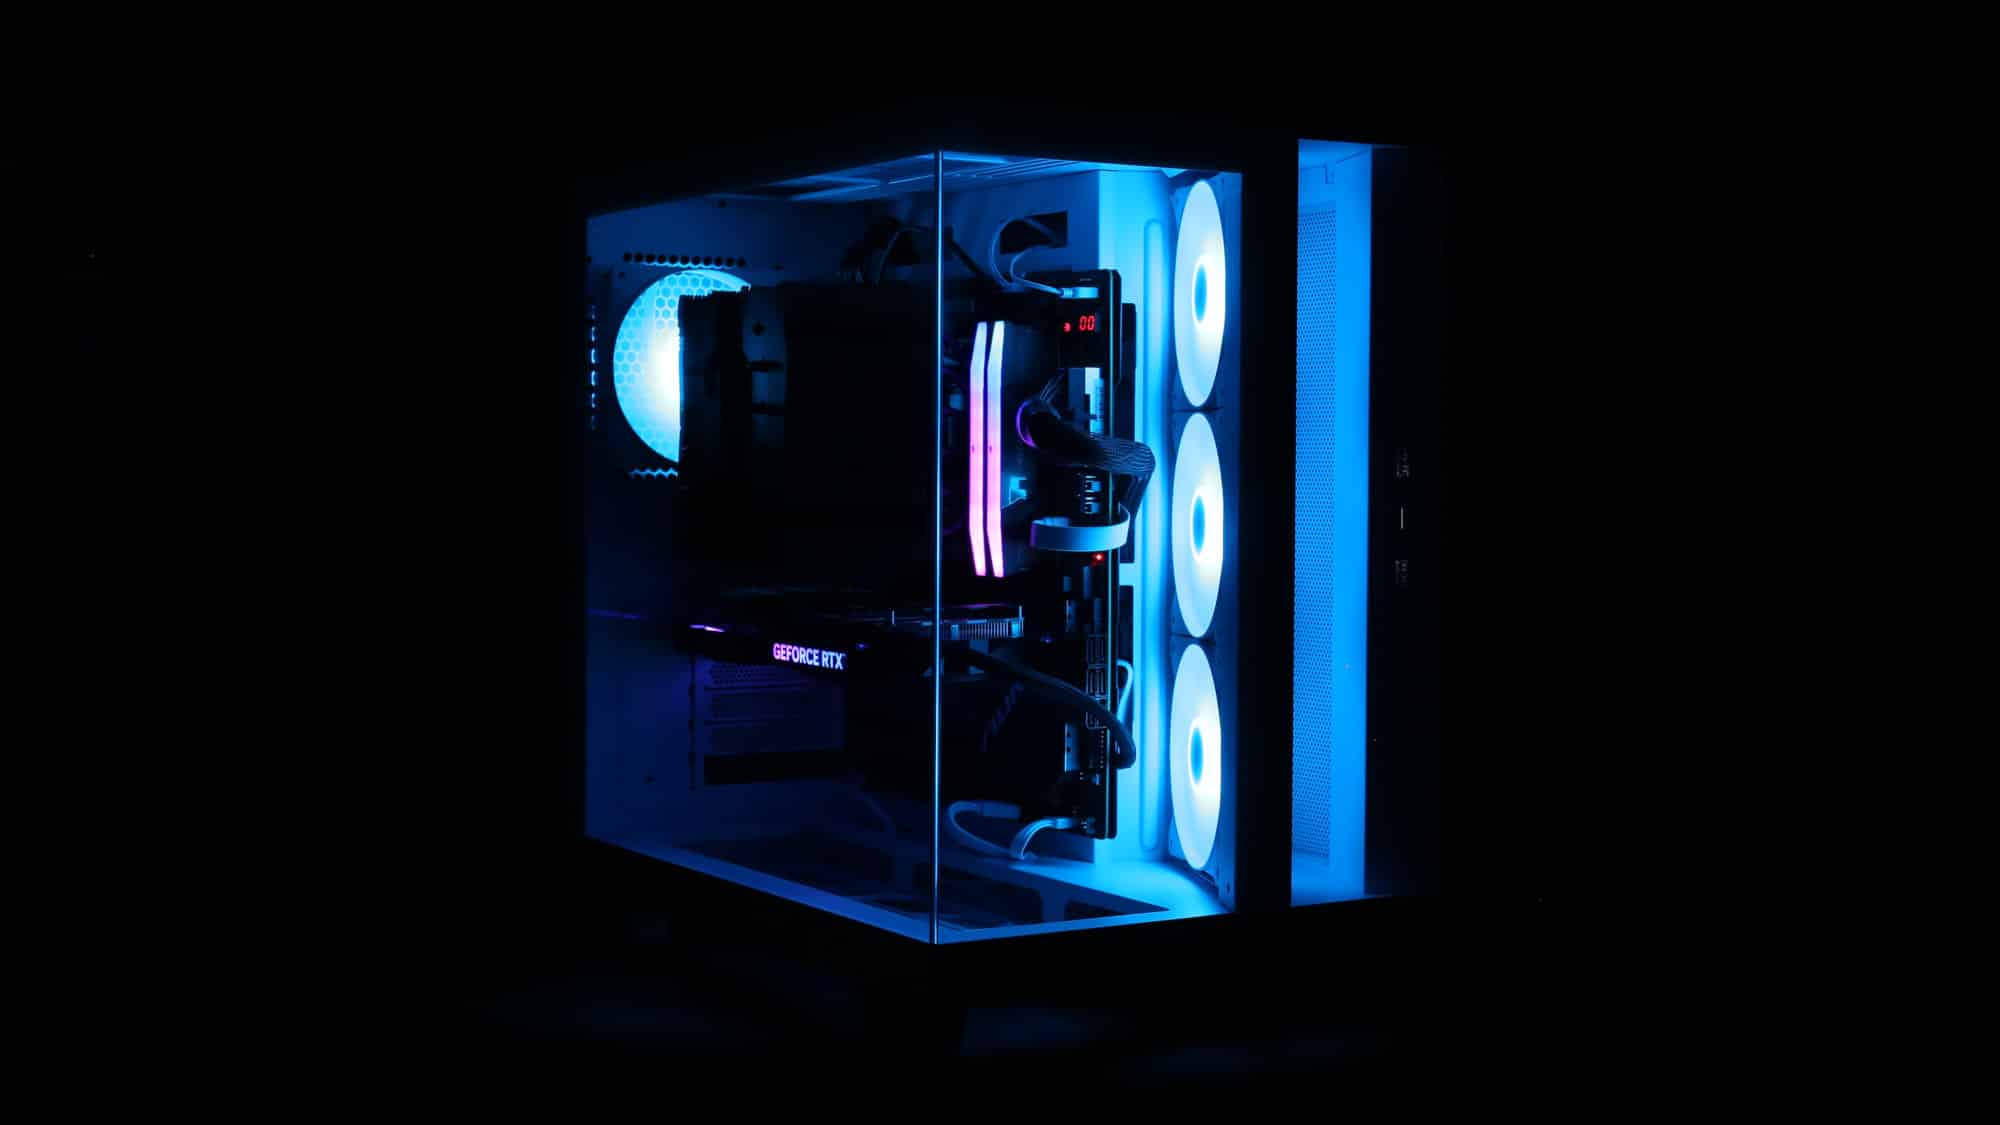
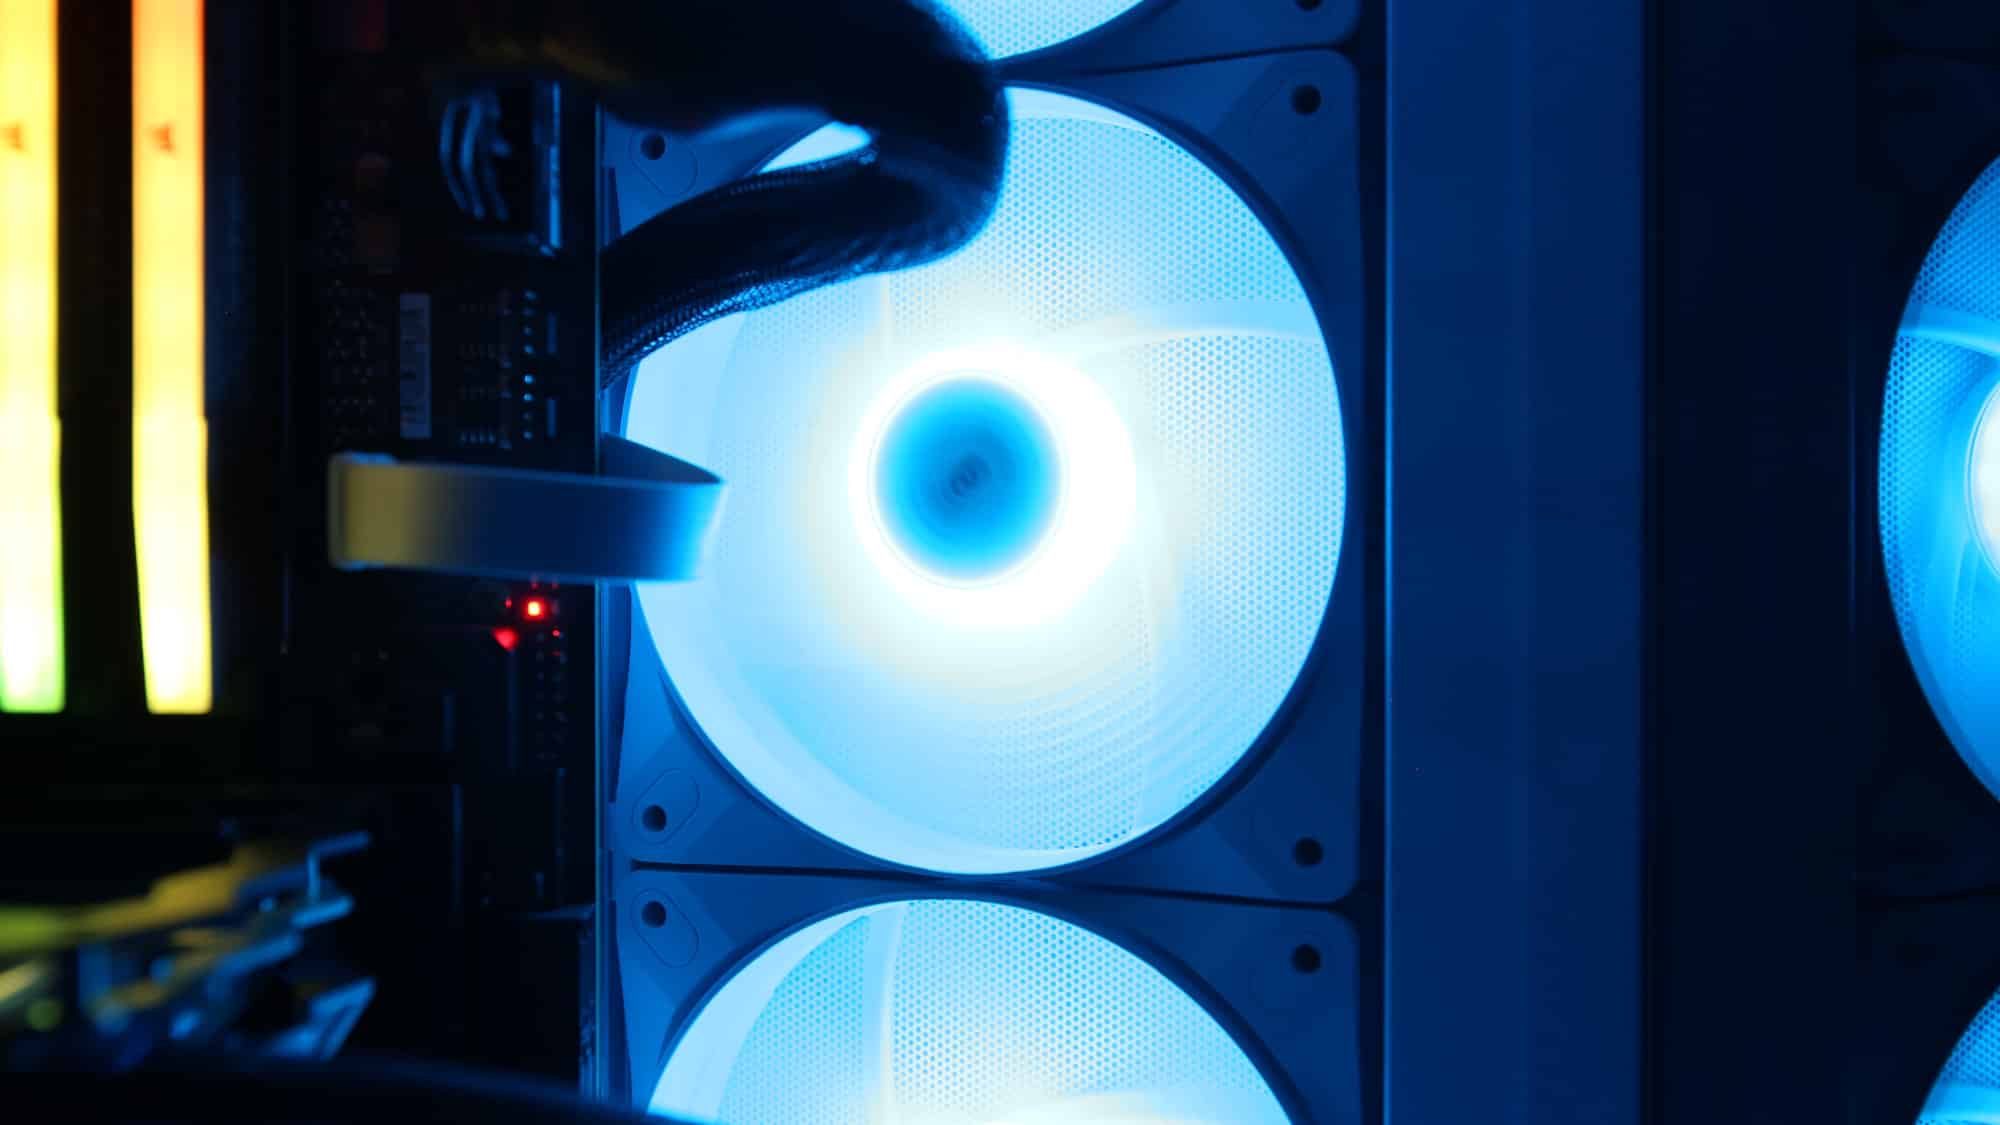
When the lights go off, the front illumination stands out dramatically; RGB fans will love this chassis.