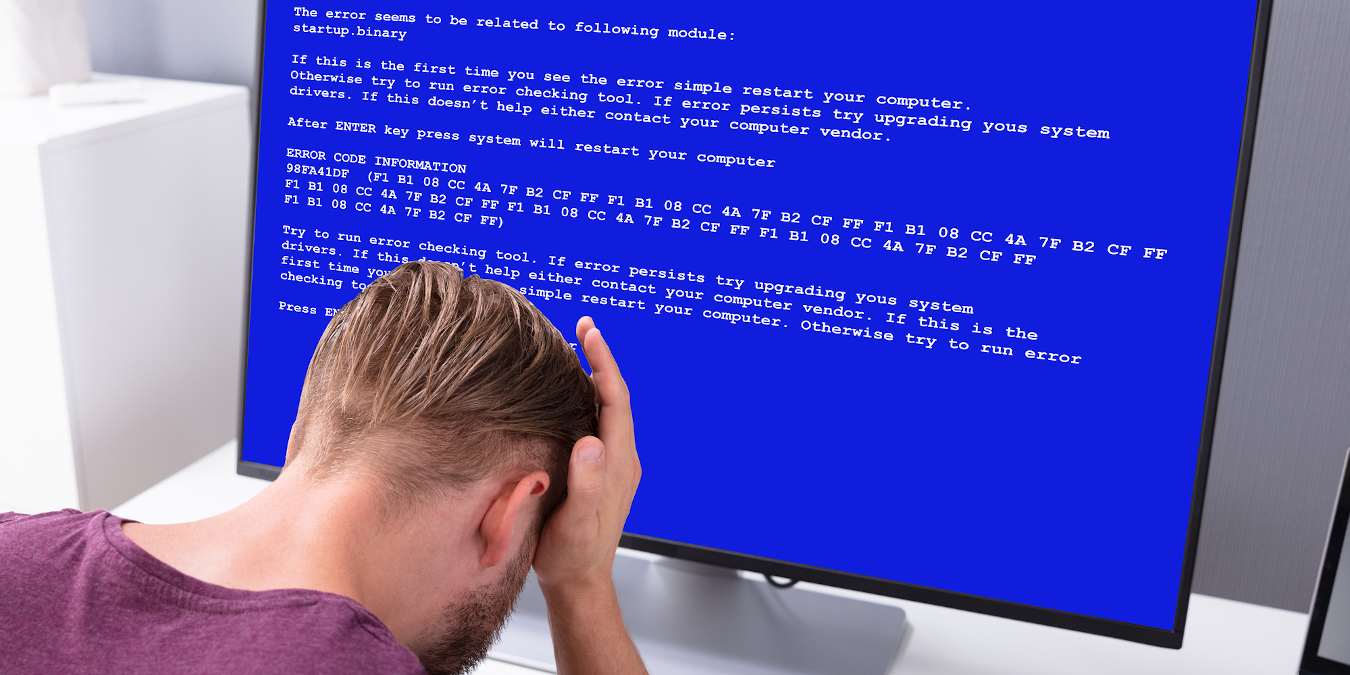
Our dear Microsoft recently (January 2024) has released Windows Updates, as usual. One of these may cause problems for some devices. The x441/x643 update would fail to install. This is mainly caused by a RE (recovery) Windows fix. It is hilarious that it is called a fix when it might cause more issues. It affects the flavors of Windows 10/11 22H2. As you may already know, it is not the first time a Windows Update causes undesired side effects. Microsoft acknowledged the issue, but an auto-update to fix it hasn’t yet been released.
Considering how many users still face this issue and/or if you don’t want to wait for Microsoft’s official deal with it, you can try the following workaround. You should note that it is not the first time of the RE issue. So, it is best to keep this workaround for further future assistance. You never know when it will be handy again.
The workaround
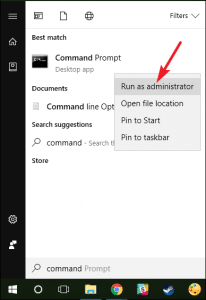
- Open Command Prompt (CMD) as admin
- Run the following command and hit “Enter” afterward:
reagentc /disable
- Now, you should shrink your OS partition. To apply this, you should run the following command and hit “Enter” after each one:
- diskpart
- list disk
- Now, you should select the OS partition (where <OS disk index> should be noted as, e.g., partition 3 – primary and <WinRE partition index> as, e.g., partition 4 – Recovery):
sel disk<OS disk index>
- list part
- sel part<OS partition index>
- shrink desired=250 minimum=250
- sel part<WinRE partition index>
- delete partition override
- Now, you should note if you have GPT or MBR to create a new WinRE partition. If you have GPT, there should be an * in Gpt. Otherwise, it is Mbr. The command is:
list disk
- If it is GPT, run the following commands and hit “Enter”:
create partition primary id=de94bba4-06d1-4d40-a16a-bfd50179d6ac
gpt attributes =0x8000000000000001
- If it is MBR, run the following command:
create partition primary id=27
- To format the desired partition, execute the following command:
format quick fs=ntfs label=” Windows RE tools”
- To verify that the WinRE is created, run the following:
list vol
- To exit diskpart, execute the following, and hit “Enter”:
exit
- To reenable WinRE, execute cmd as admin again, and run:
reagentc /enable
- To verify WinRE location:
reagentc /info
That’s it! After restarting your device, the x441 update should be installed without hassle. You don’t have to wait for Microsoft to solve this issue. If there is something you can fix yourself, then do it. As always, stay safe and stay in the know.

