It comes this day, this one day, you would need your PC for an important business workflow. And then, there comes this frowny Automatic Repair Boot Screen of Windows on a loop. It could happen after an ordinary Windows Update or just out of nowhere. And guess what? Even if you do let it repair, nothing changes. It starts all over again, and again and again. Before you begin to think about throwing it at the wall, try my Quick Tip#7. It might save your day.
How To
First of all, wait for Windows to finish its repair. Then wait for bringing up the Advanced Repair Boot Screen. Accept to boot up at Advanced Options.
Choose Troubleshoot.
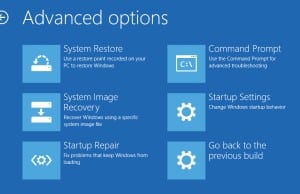
Choose Advanced Options.
Click on Startup Settings.
Click Restart.
Press F4.
Wait for Windows to boot in Safe Mode after Restart.
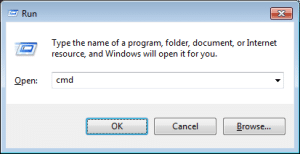
When you boot up in Safe Mode press on your keyboard Windows key + R, together.
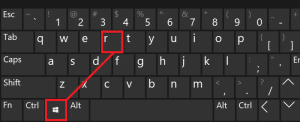
This will bring up the Run command.
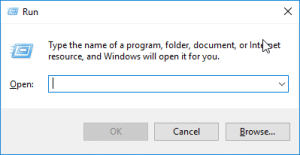
Type CMD.
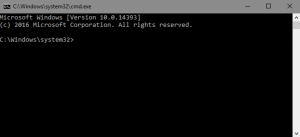
Windows Command Prompt will appear.
Type the following command: sfc /scannow and press Enter.
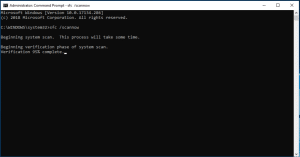
Wait for System File Checker to complete its scan. After completing this task, SFC will inform you, that found some integrity issues and fixed them.
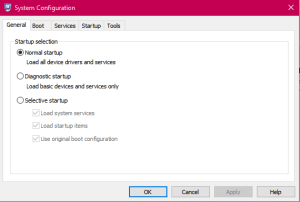
Press again Win+R keys.
At the Run Window, type: msconfig.
Select Normal StartUp.
That’s it. Hopefully, after the Restart your OS would be back to normal. You can continue with your workflow and enjoy the rest of the day, peacefully. If that tip didn’t work you can try System Restore or the DISM command. But these would be tips for other articles, as well. If you found this article helpful, feel free to read our other Quick Tips, too.