Device Analysis
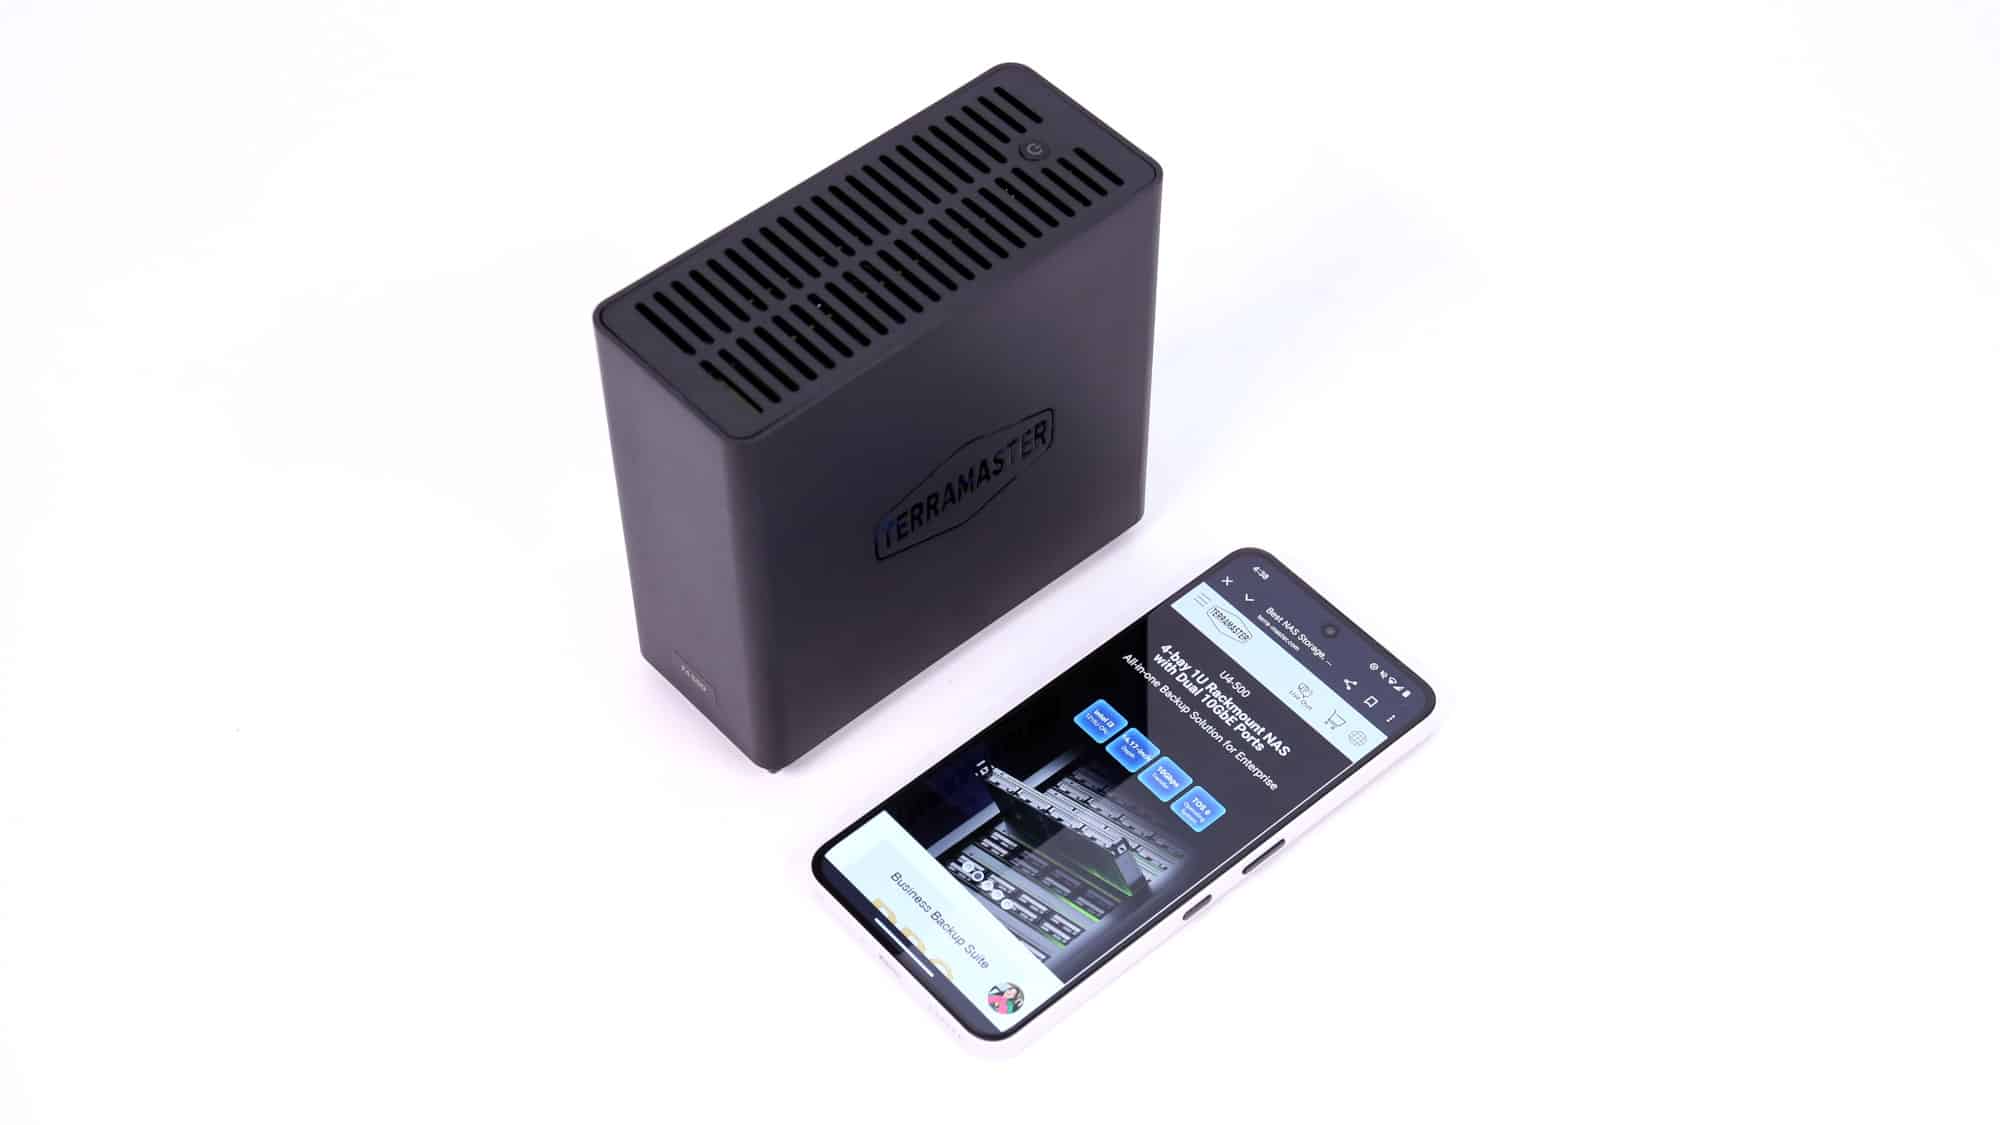
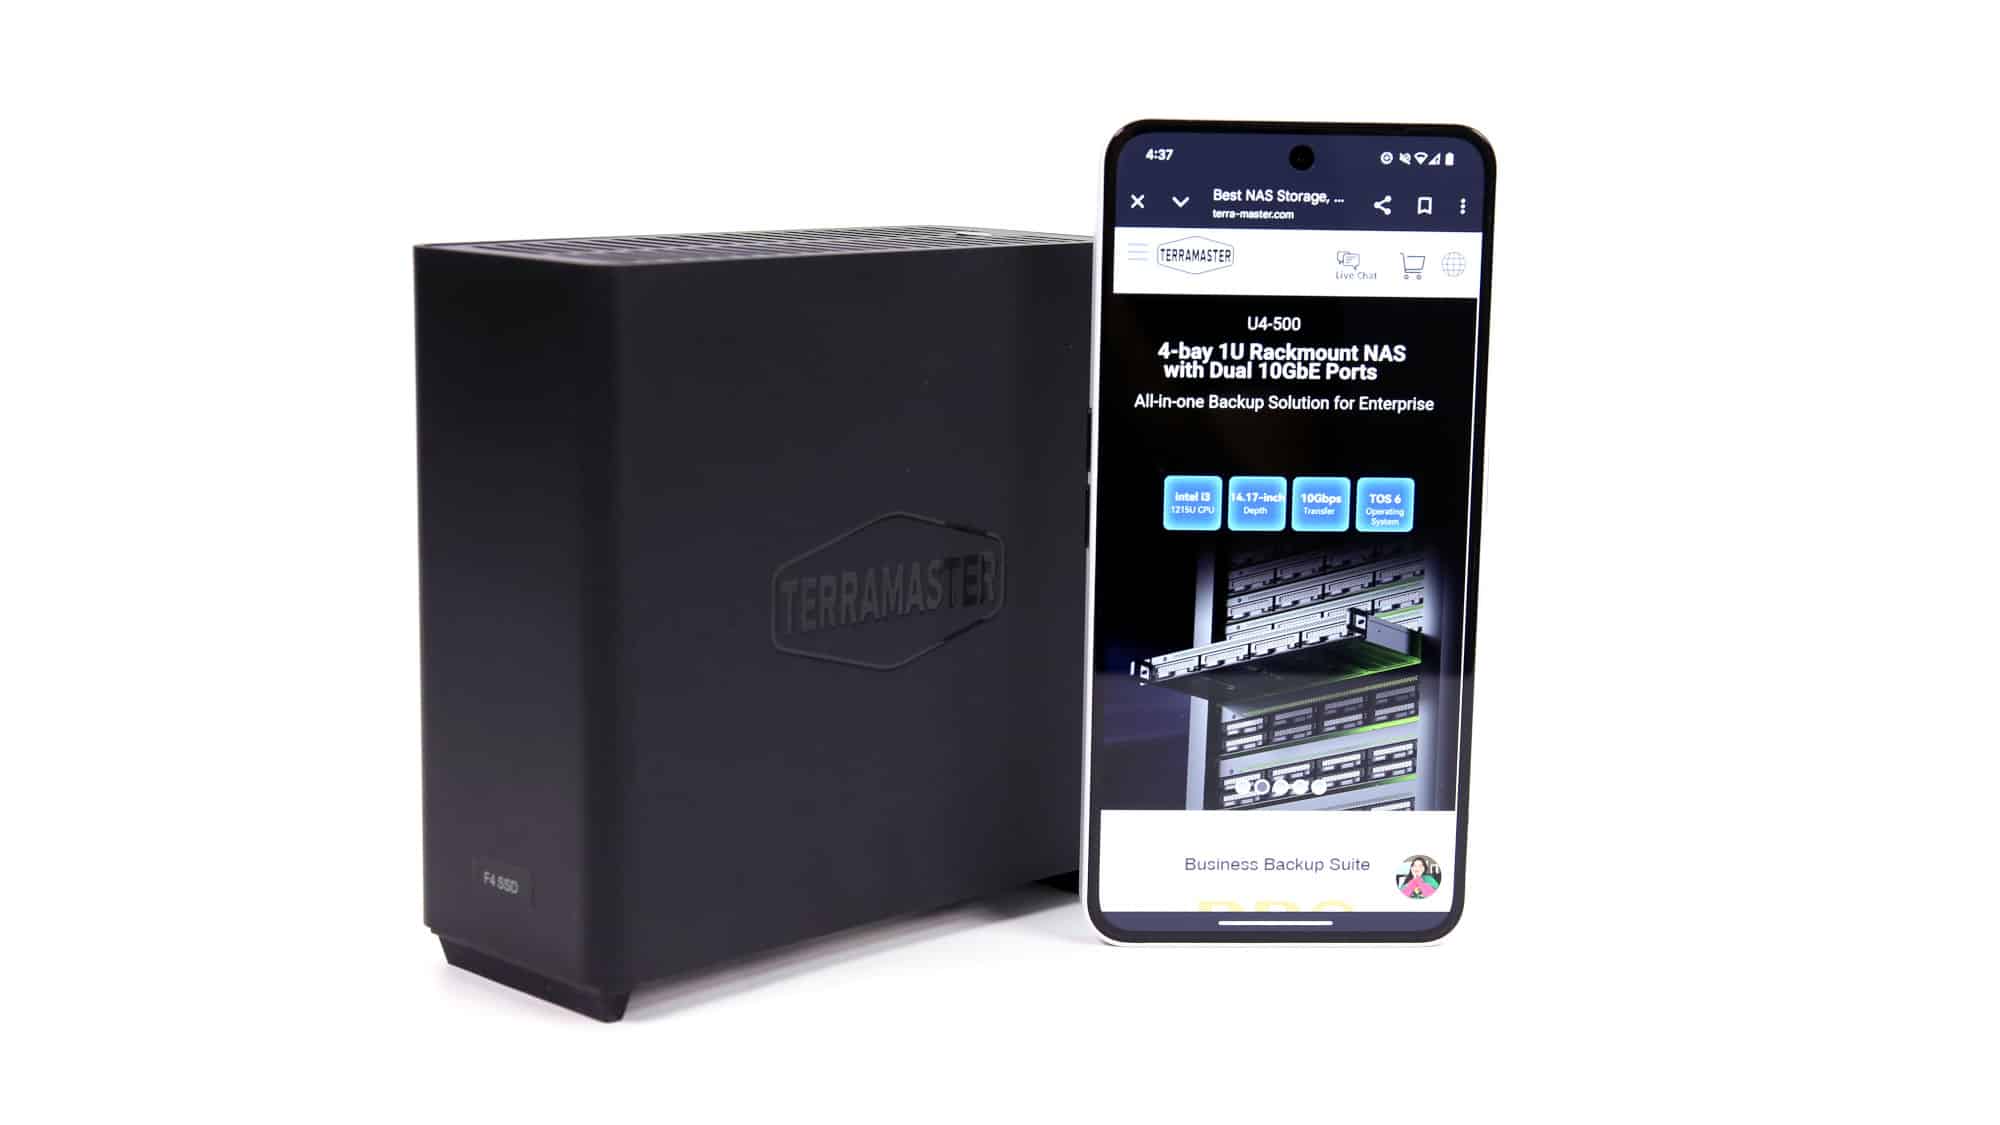
The F4 SSD is TerraMaster’s smallest offering to date, and if that’s not obvious already, it’s very small. To put its size into perspective, it’s comparable to a modern smartphone with a 6.77-inch screen. Its design resembles that of the F8, just with a shorter profile.
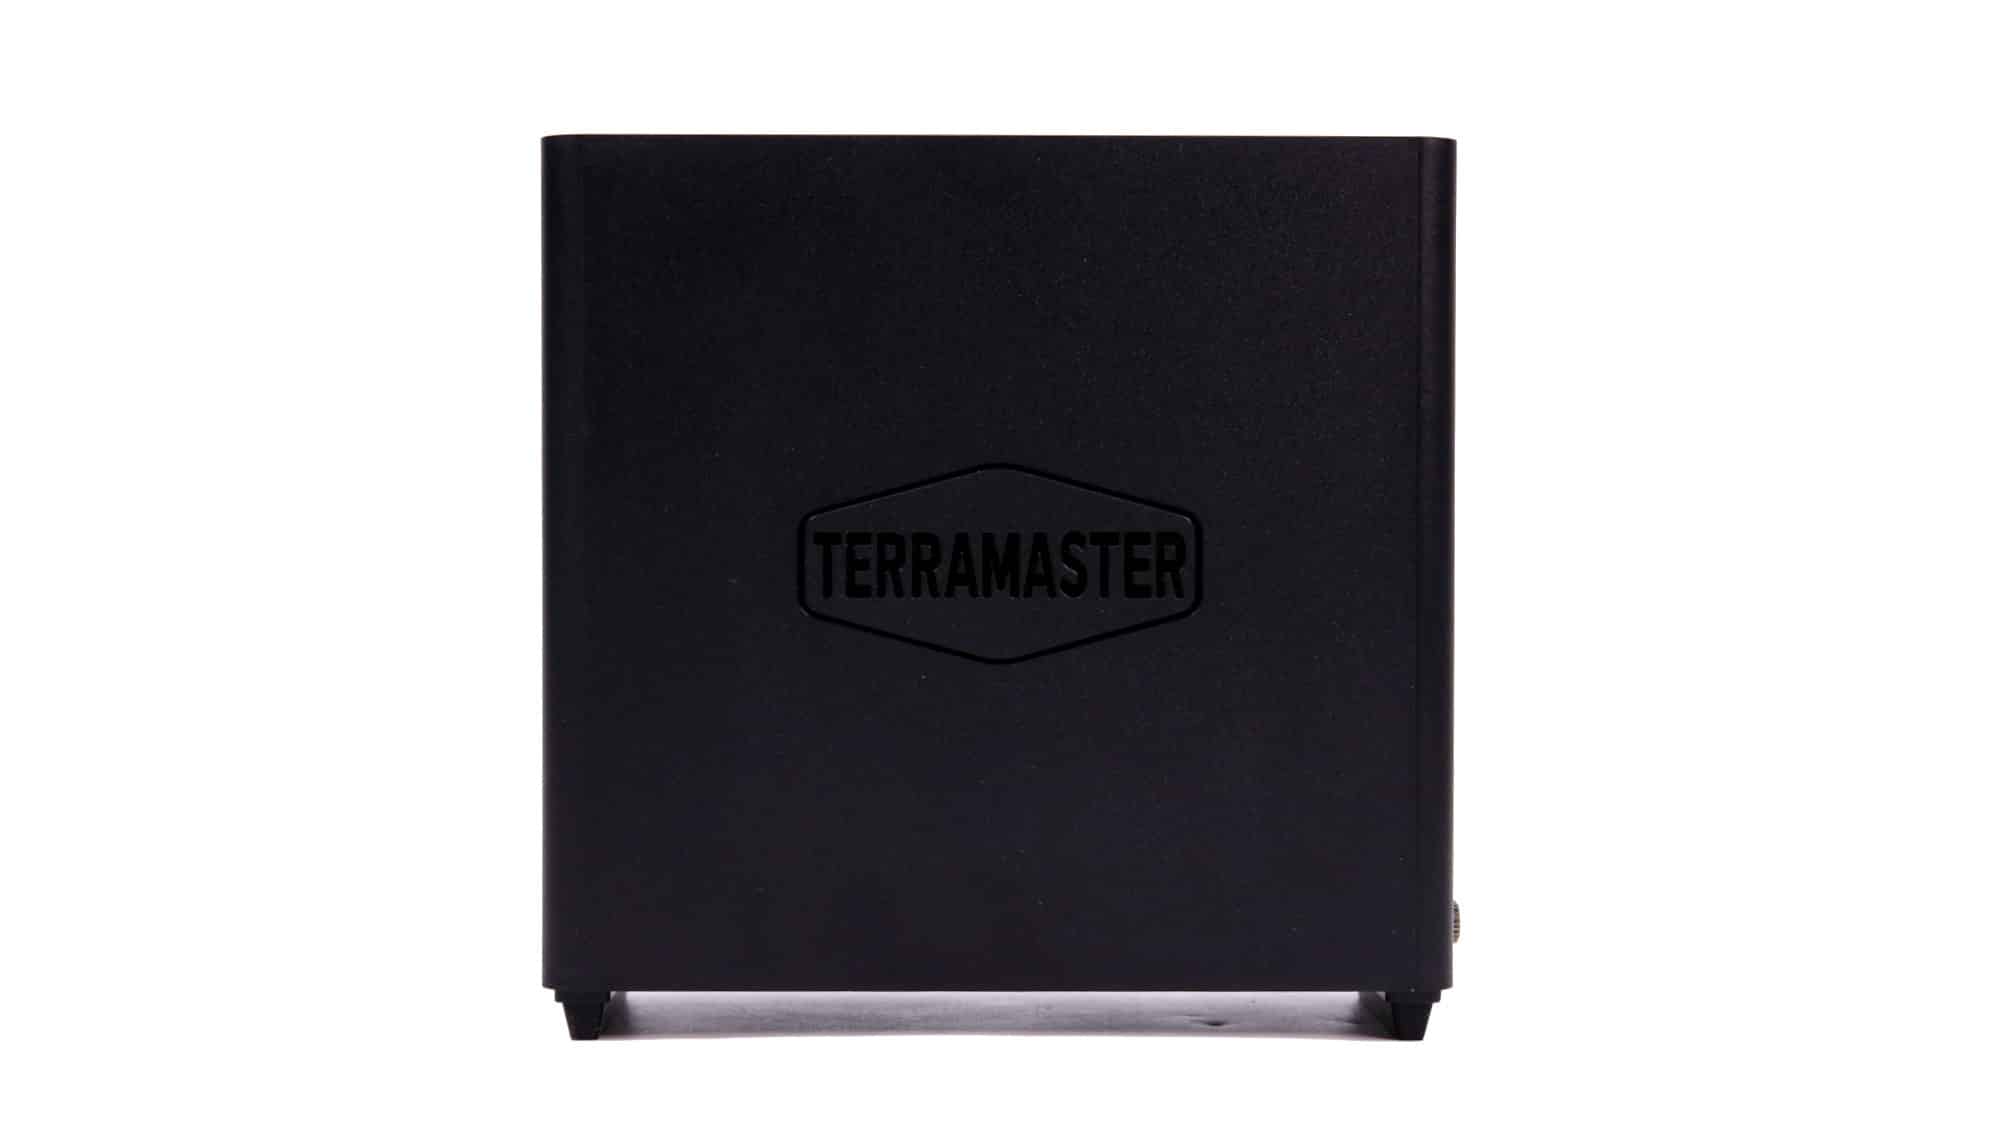
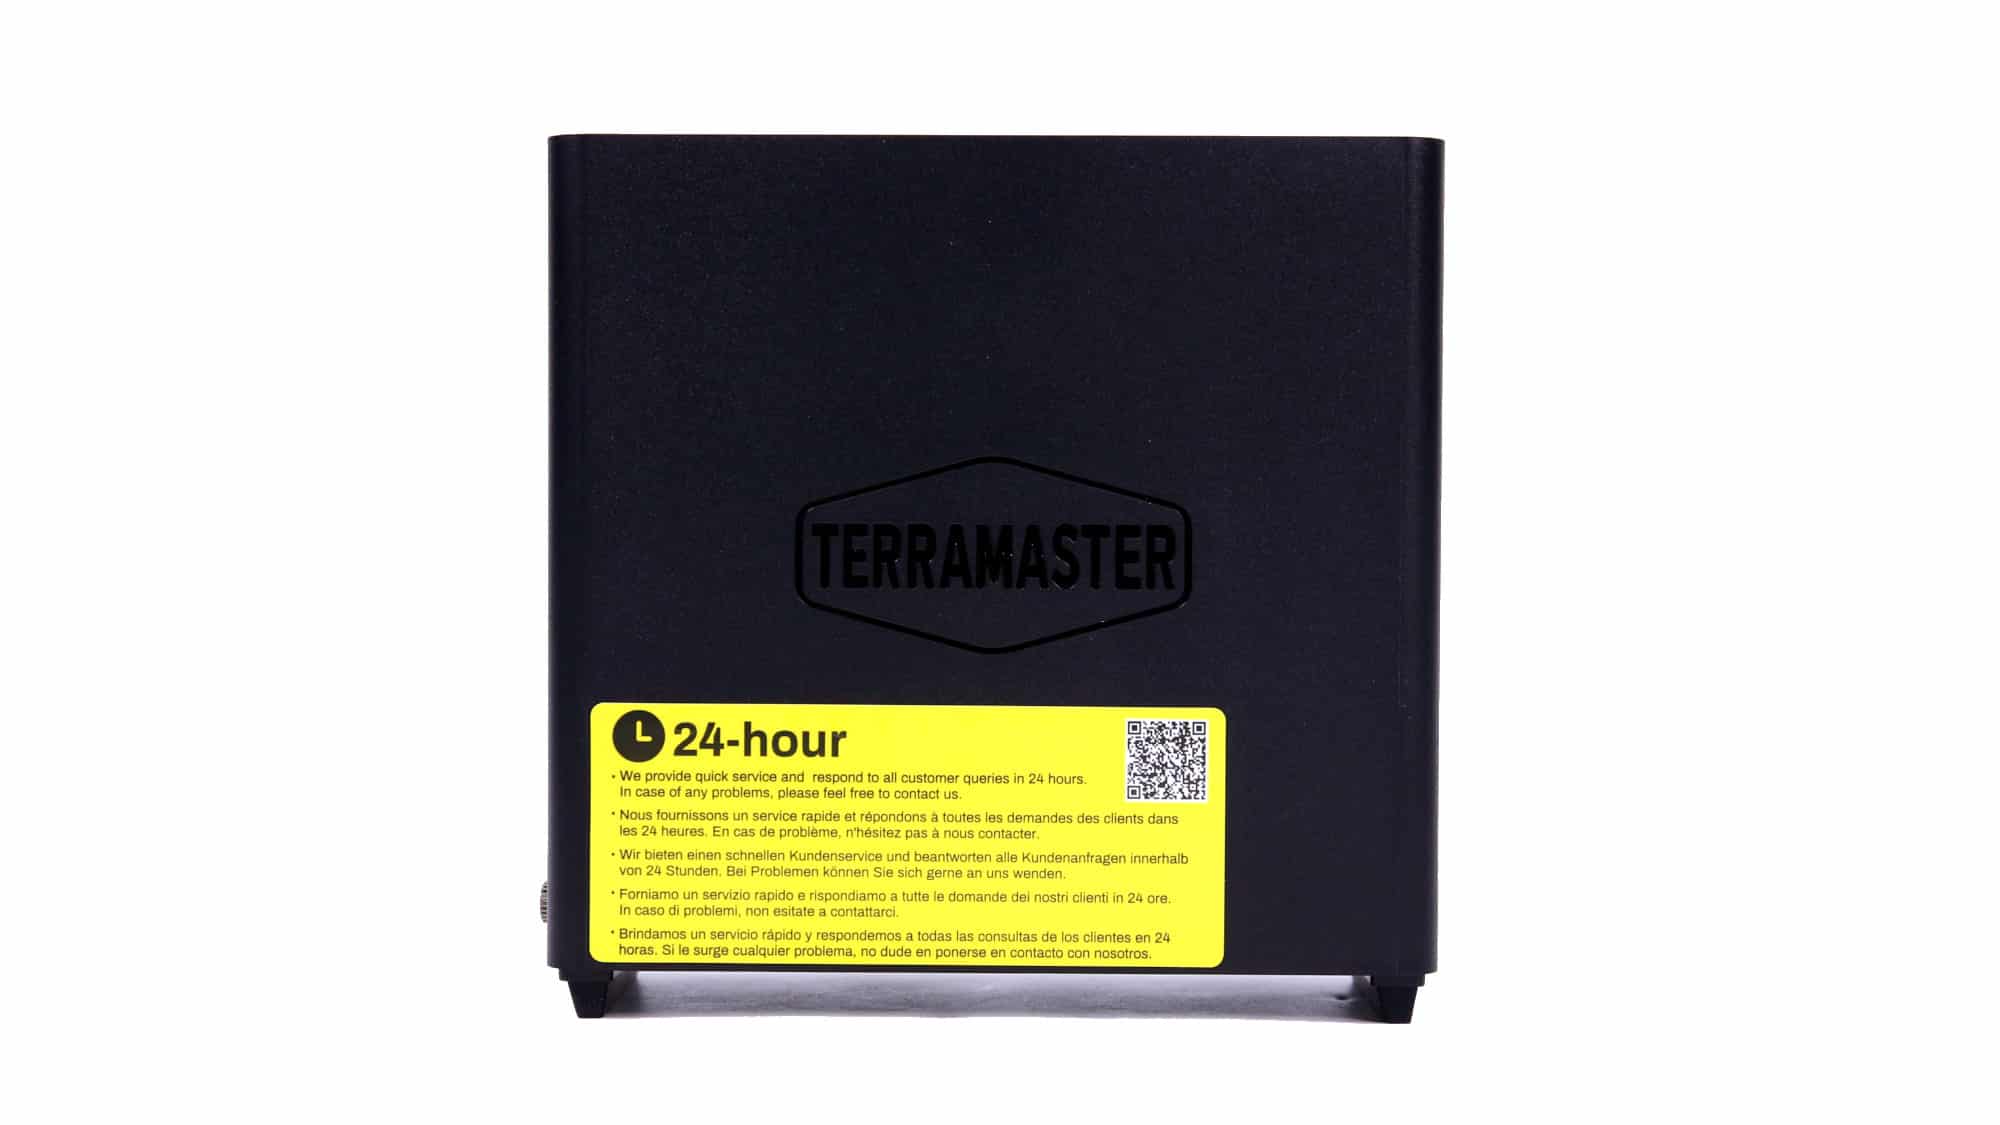
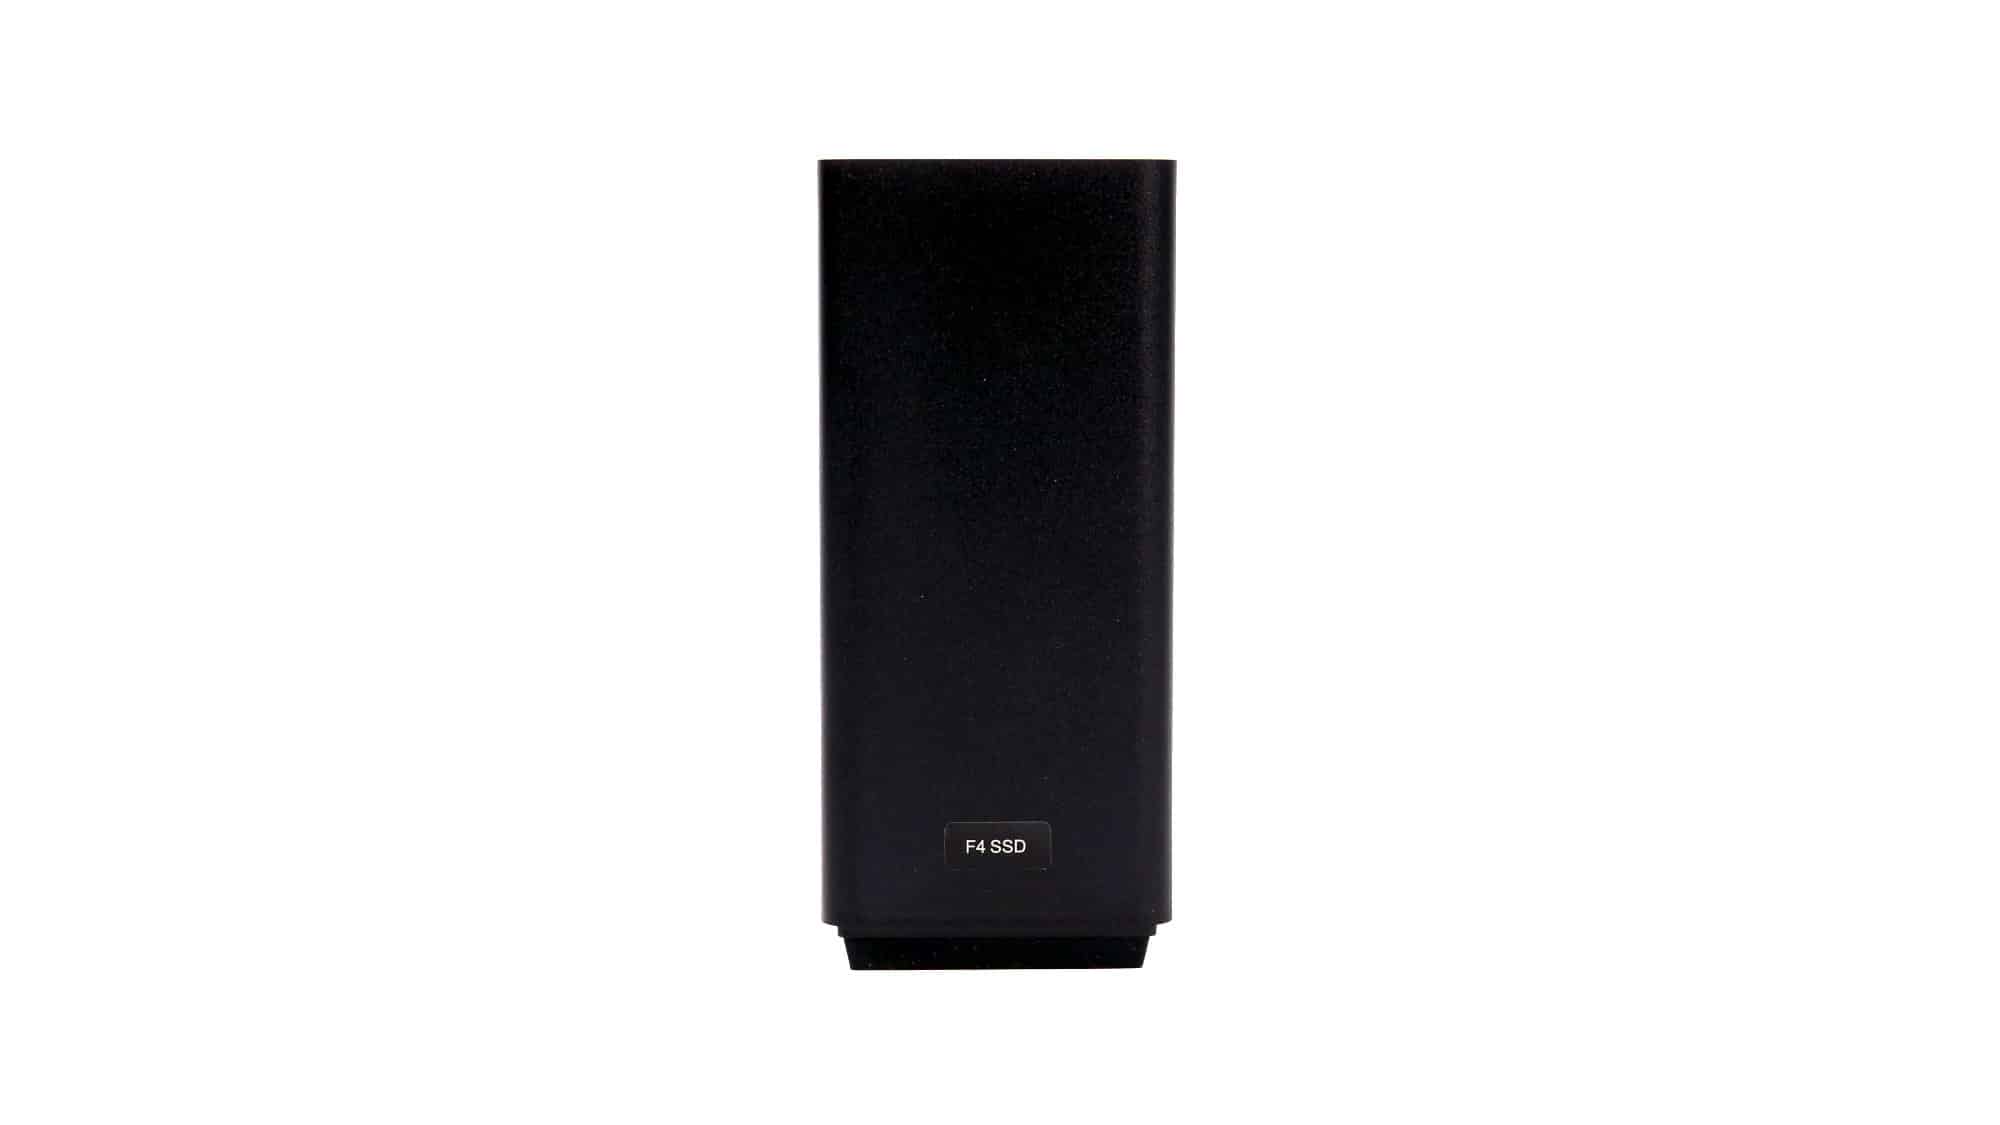
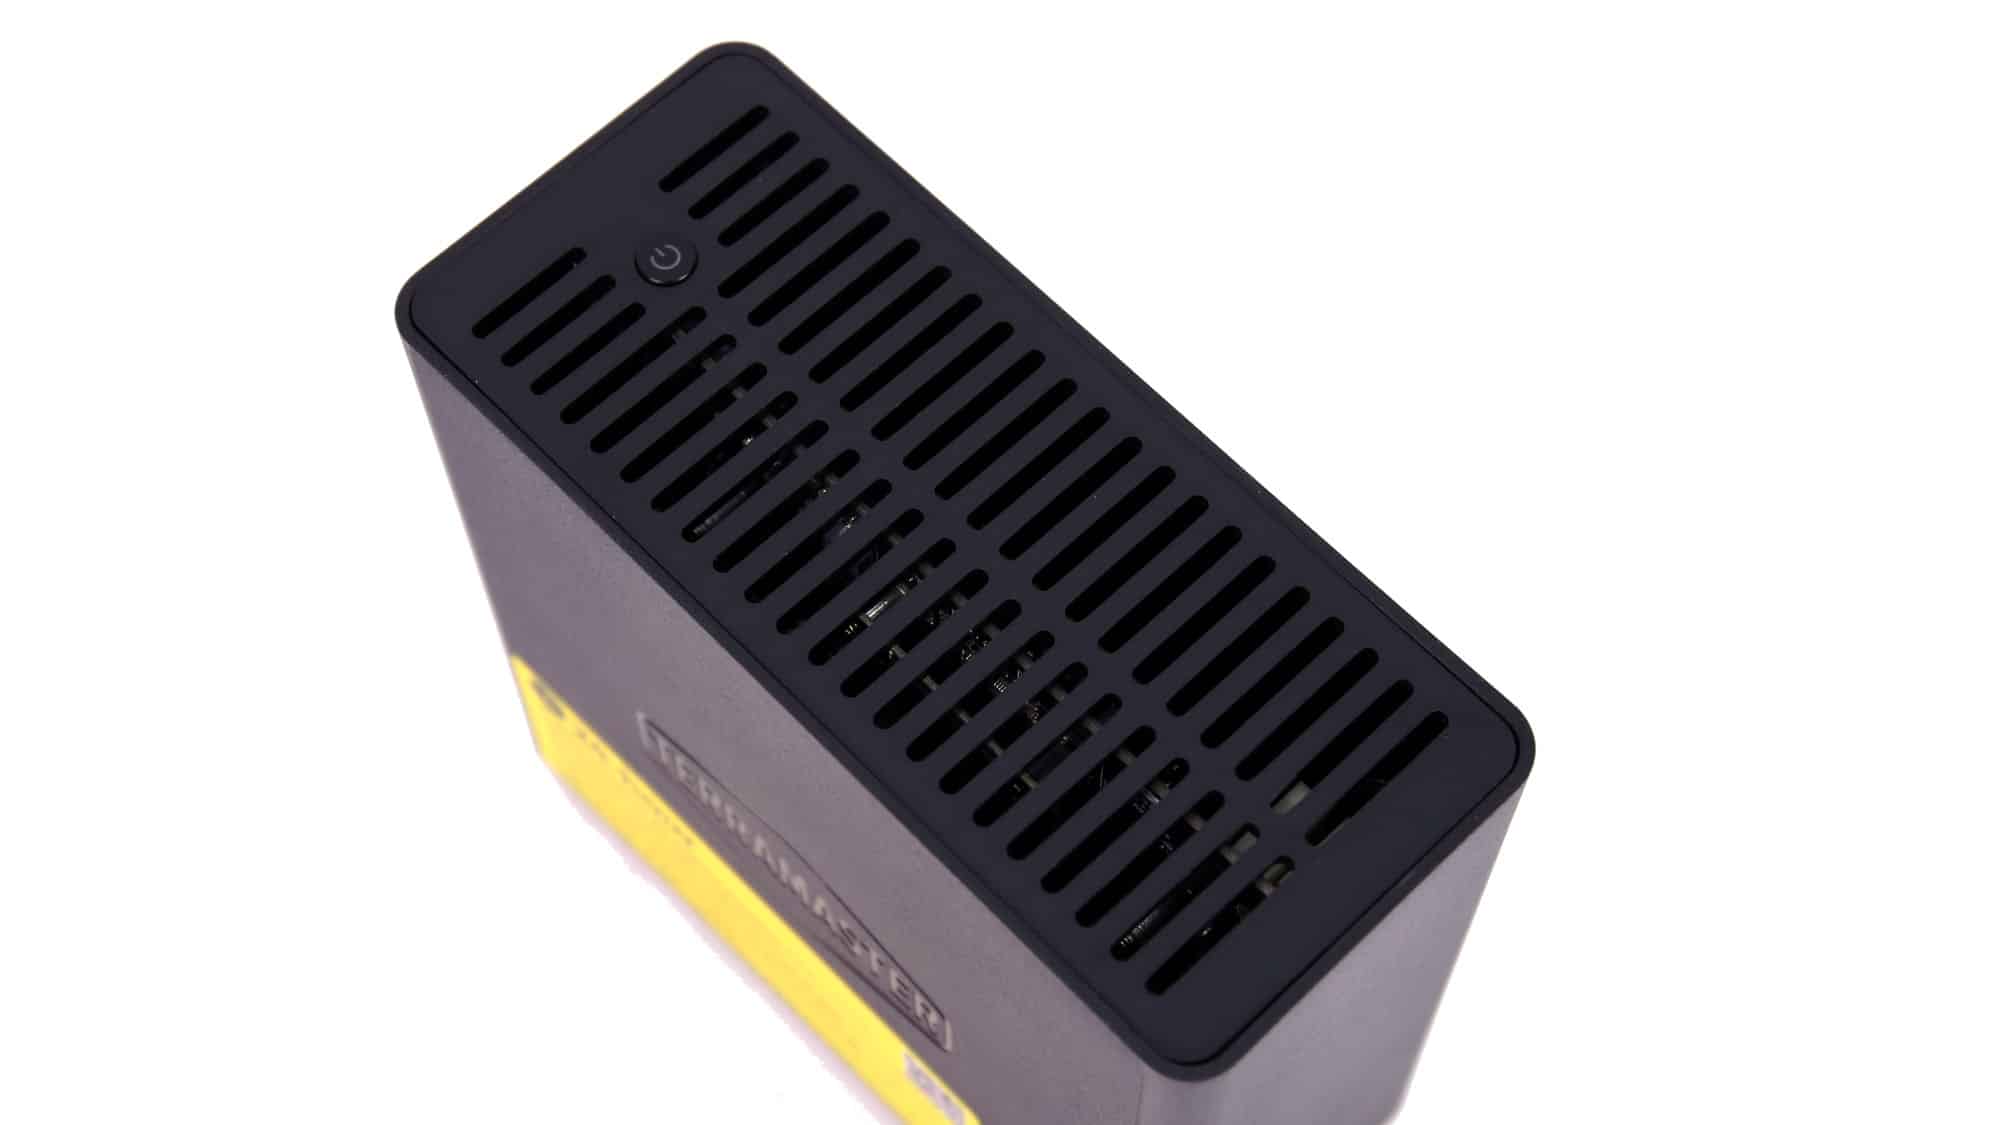
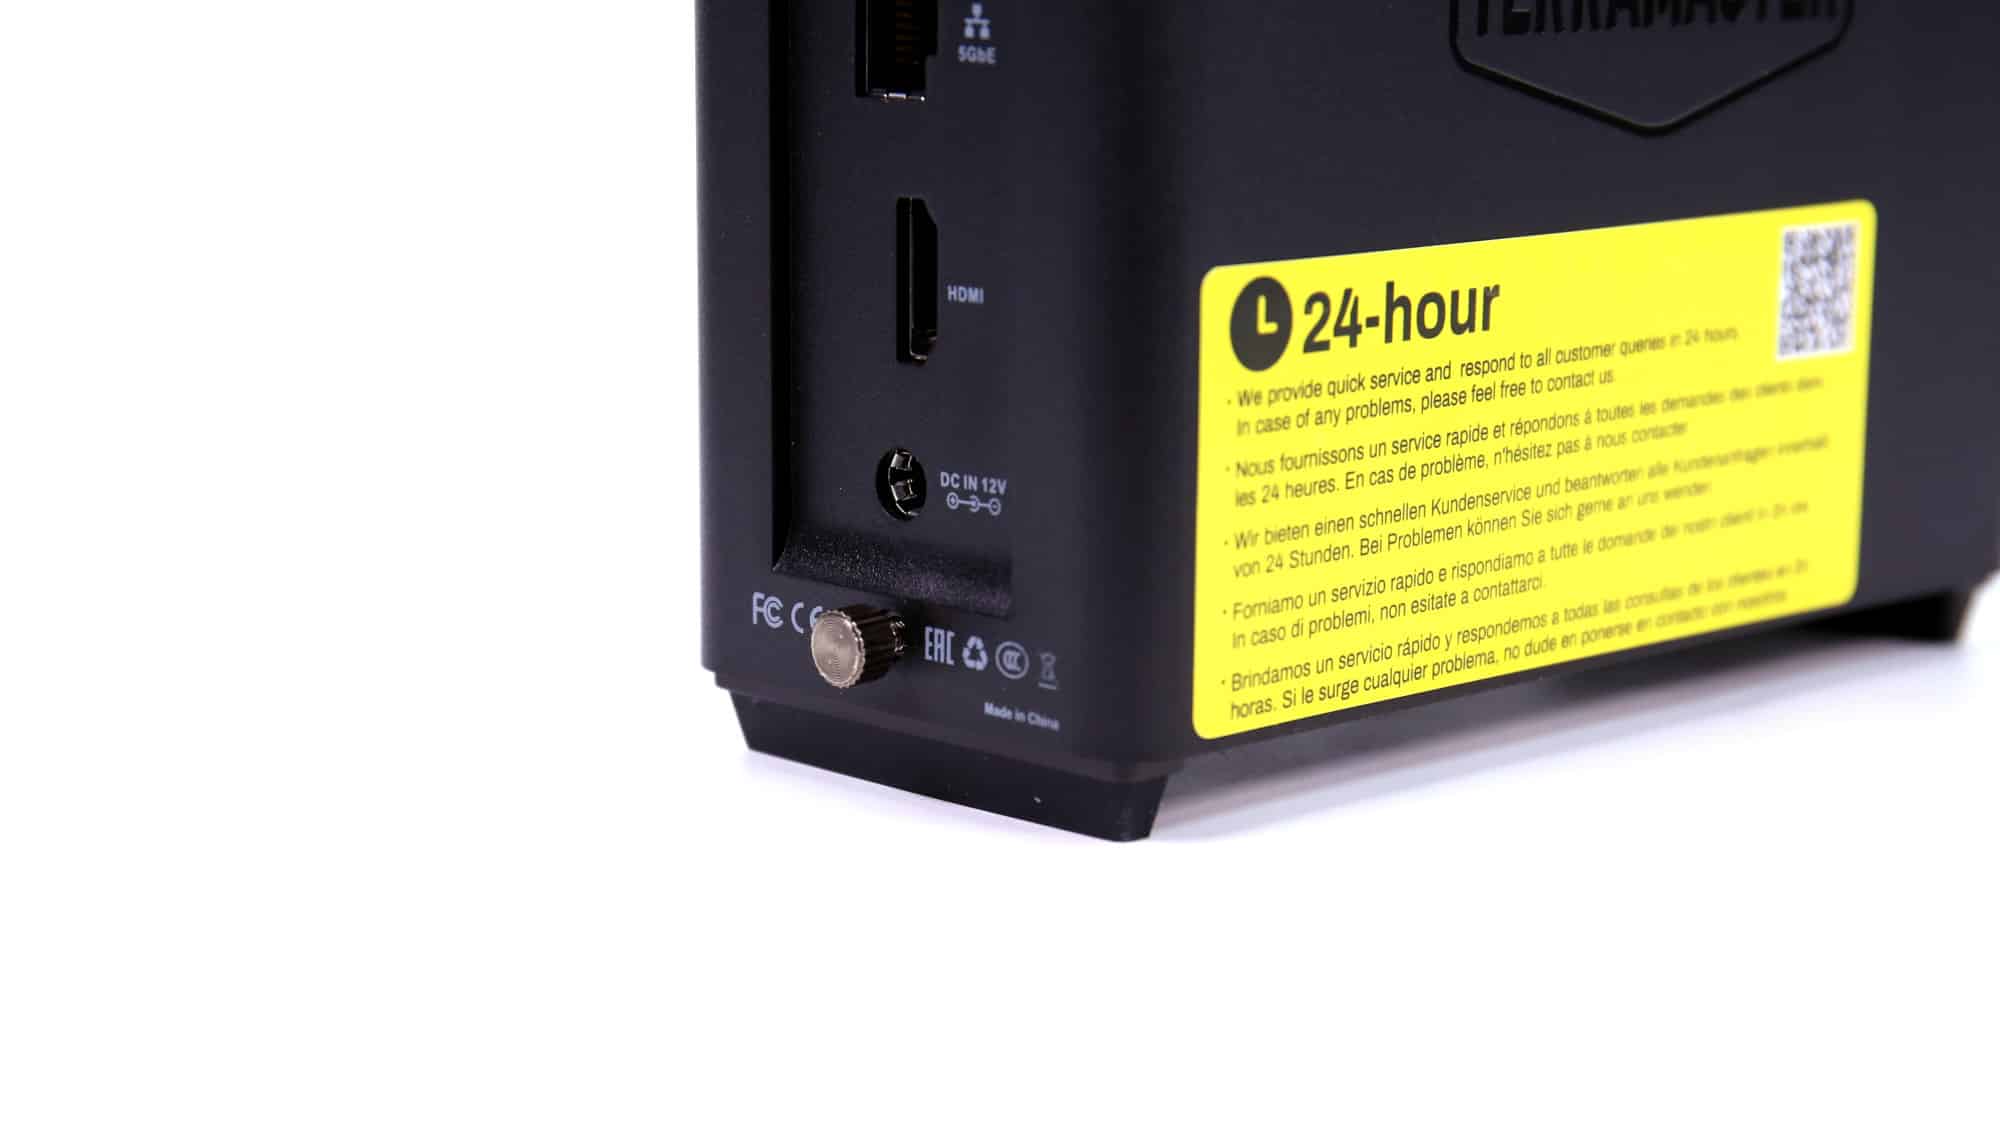
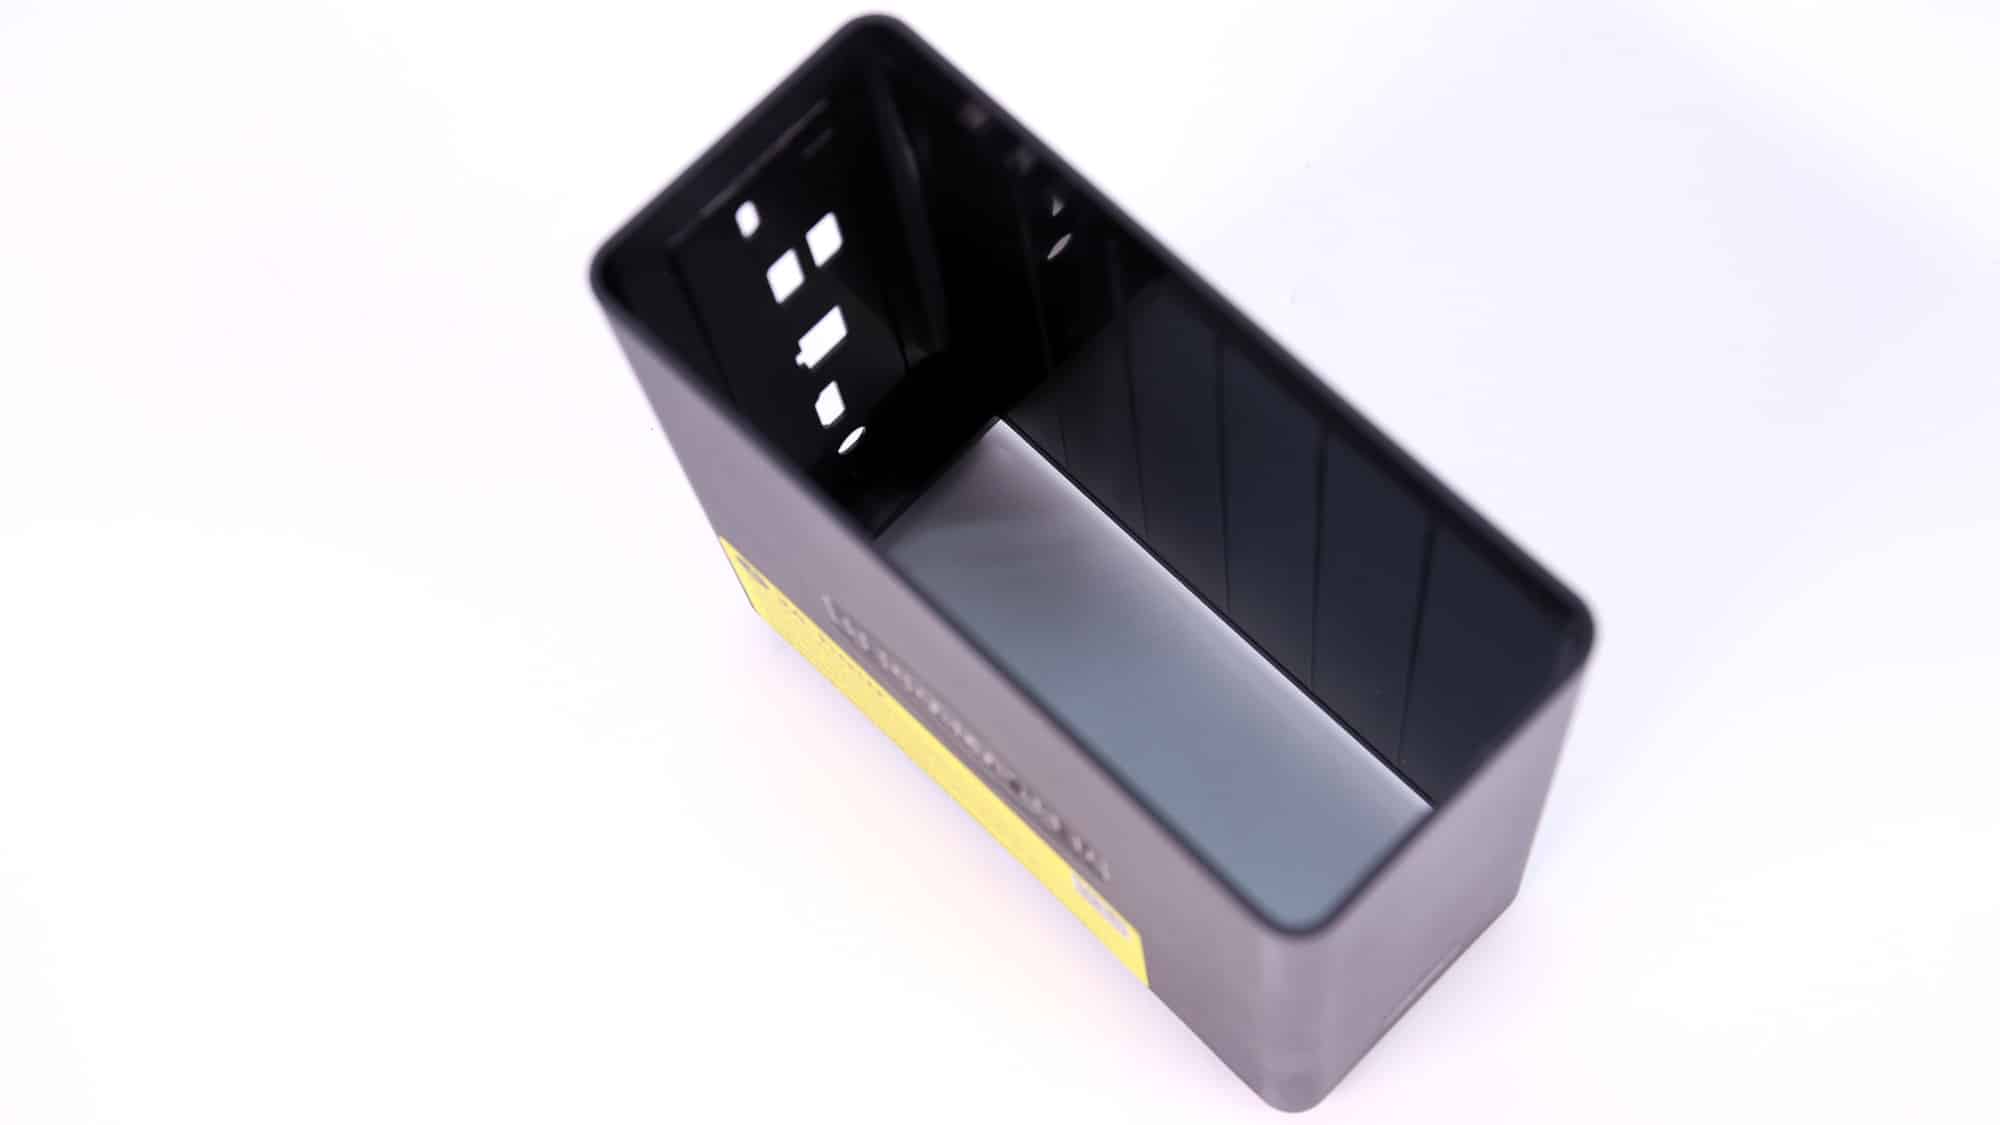
Both sides of the device feature TerraMaster branding, although one of them also has a bright yellow sticker promoting a 24-hour customer support response time. This sticker contrasts heavily with the otherwise sleek design, and most users will probably remove it right away. On the front panel, a simple “F4 SSD” label appears in white. The top of the device features venting to allow warm air to escape the chassis effectively. This is where you will also find the only button of this system (except for the recessed reset button), the power button.
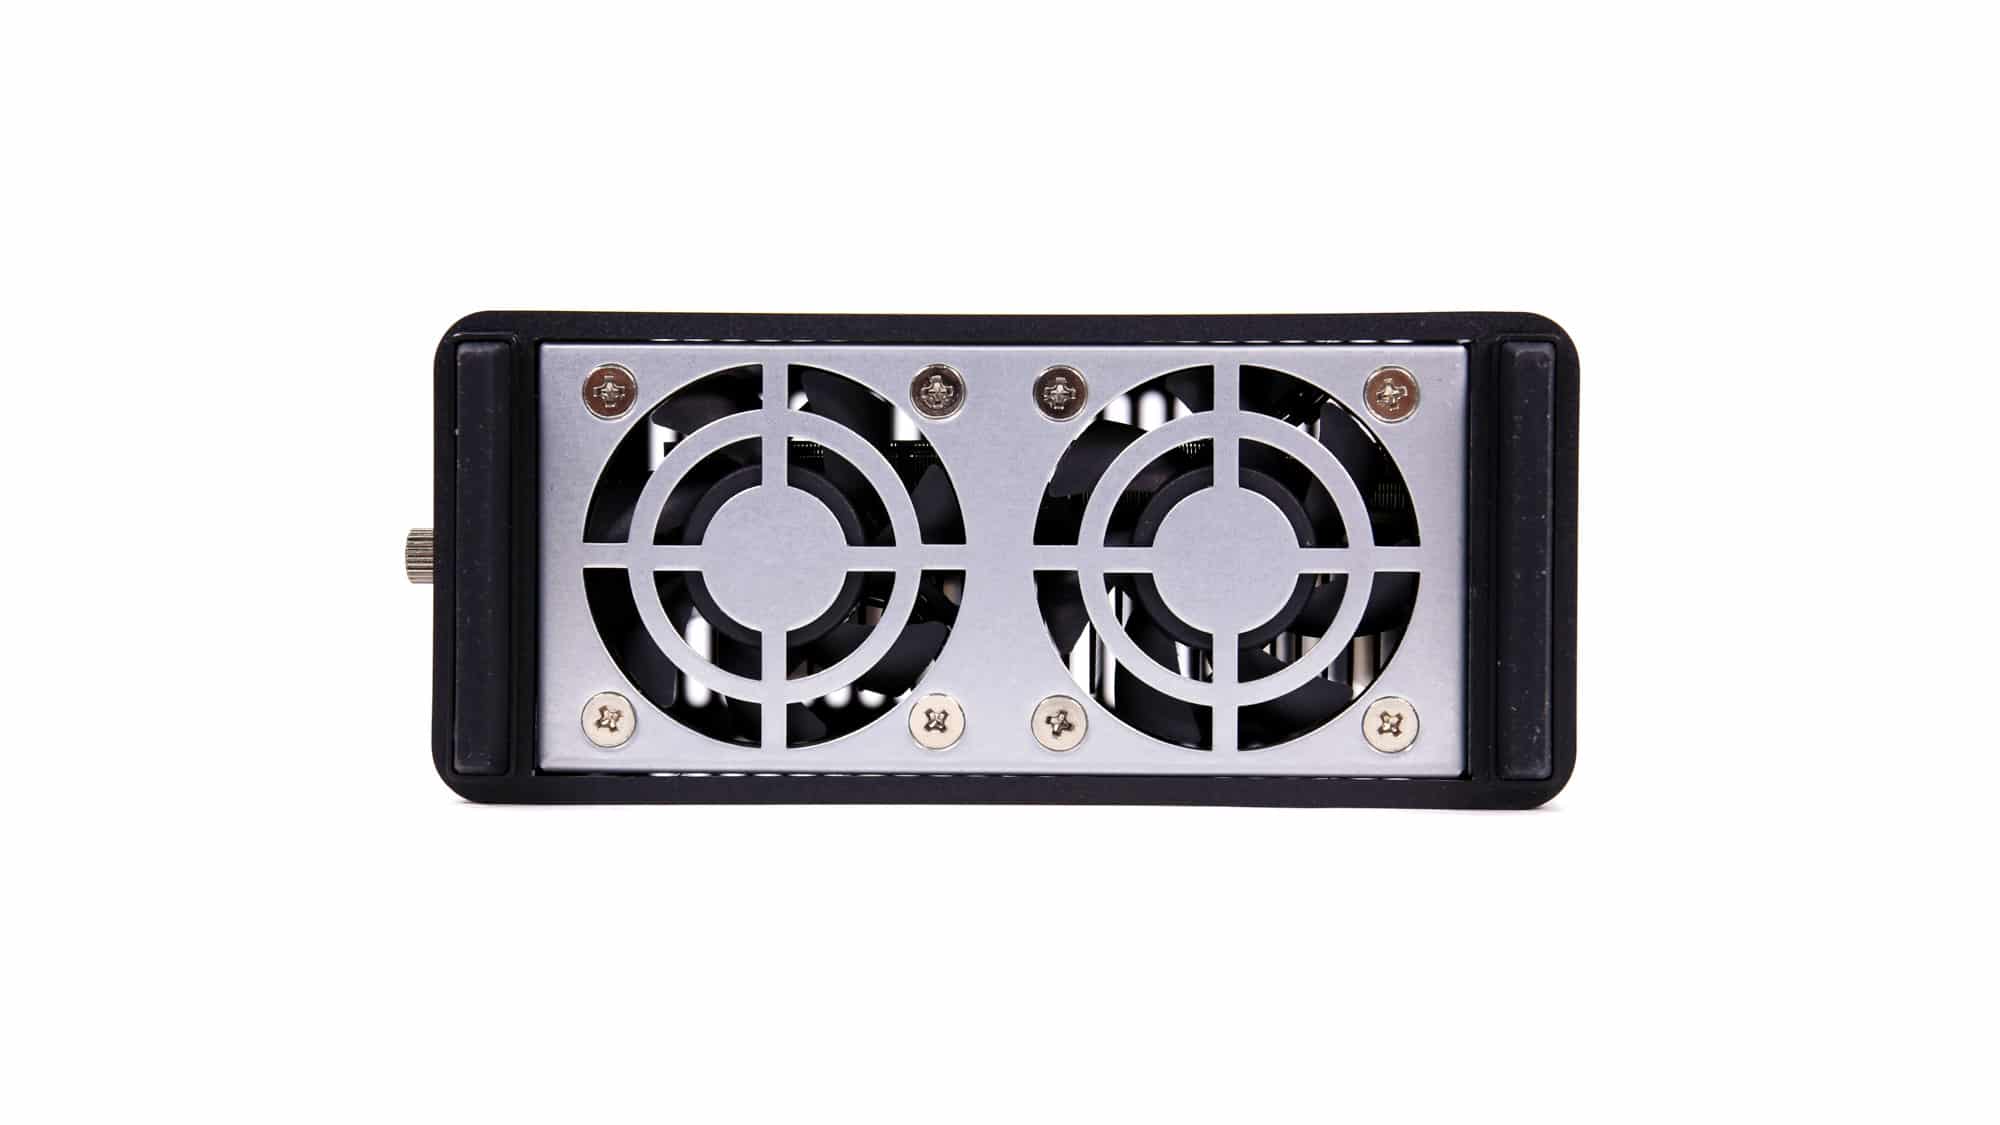
The unit is slightly elevated thanks to two rubber feet, which lift it just enough to aid airflow. The outer shell has notches that prevent the internal body from sliding out of the bottom. On the bottom of the device are two small fans, each measuring 50mm in diameter and 10mm in depth (Snowfan YY5010L12S). These help keep the CPU and NVMe drives cool and are connected via standard 4-pin PWM headers that run neatly through the internal chassis and connect directly to the mainboard.
All ports are located at the rear of the NAS. Although having a USB port on the front would have been convenient for quick access, the device’s small size and light weight make it easy enough to rotate when needed. Also, given the modern trend of relying on high-speed Wi-Fi and cloud syncing, physical access to ports is becoming less of a priority.
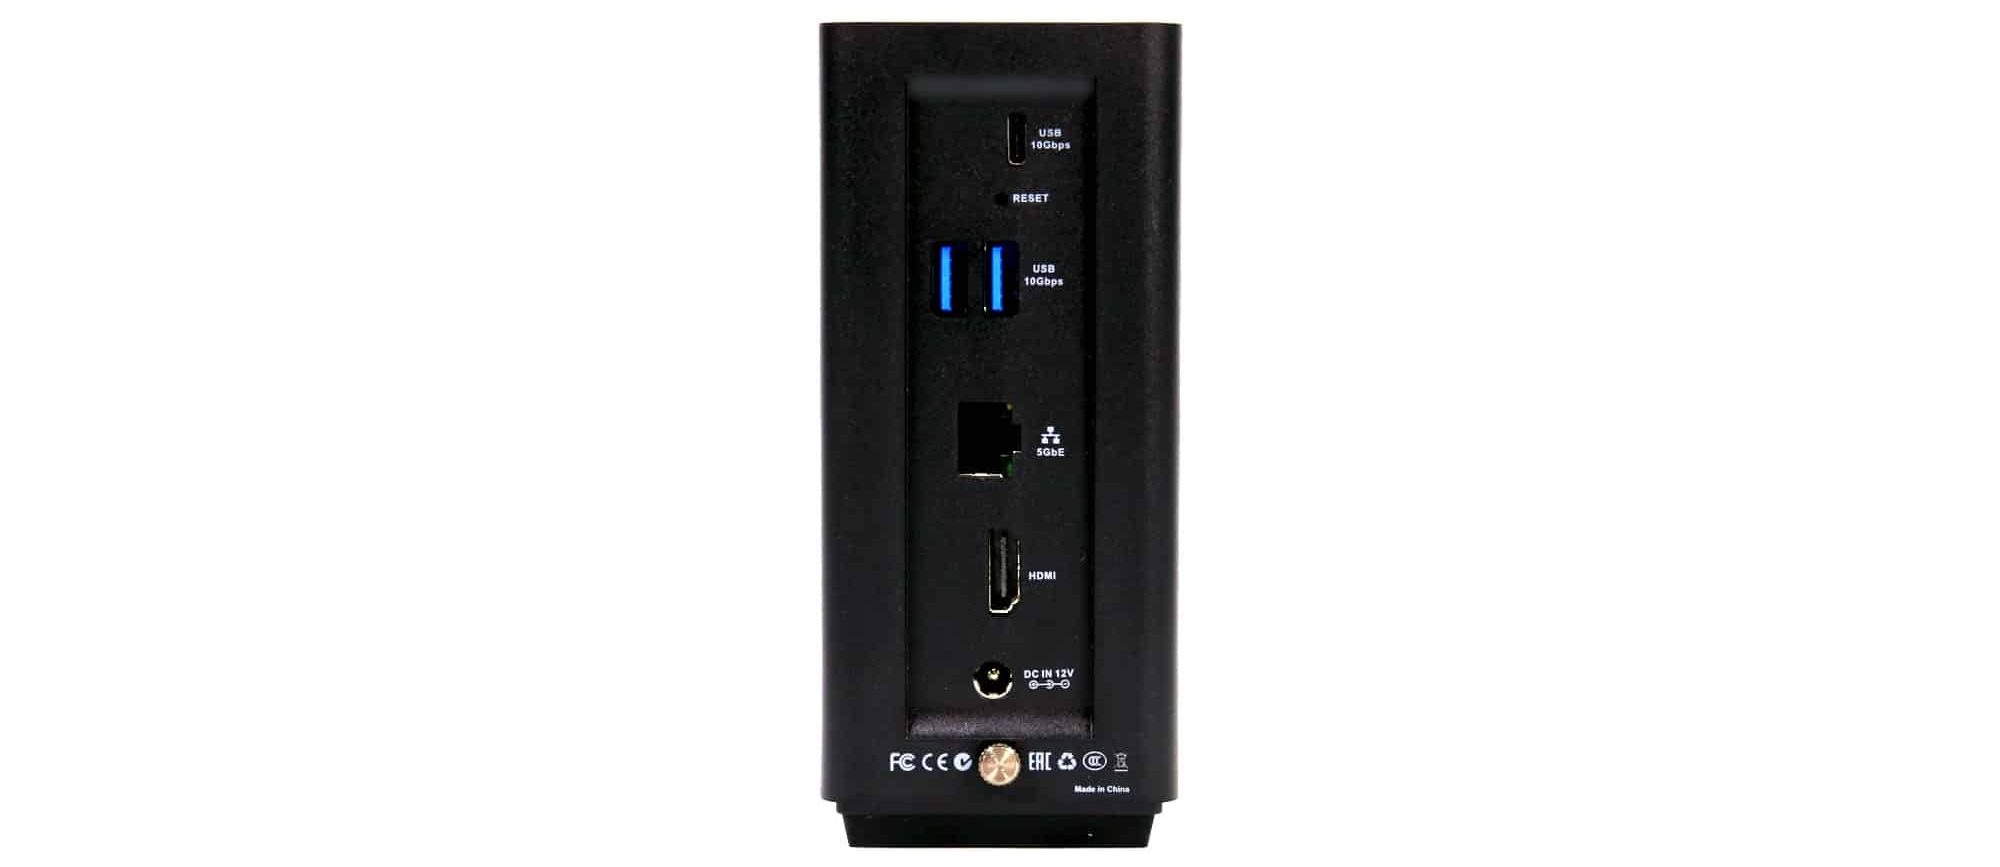
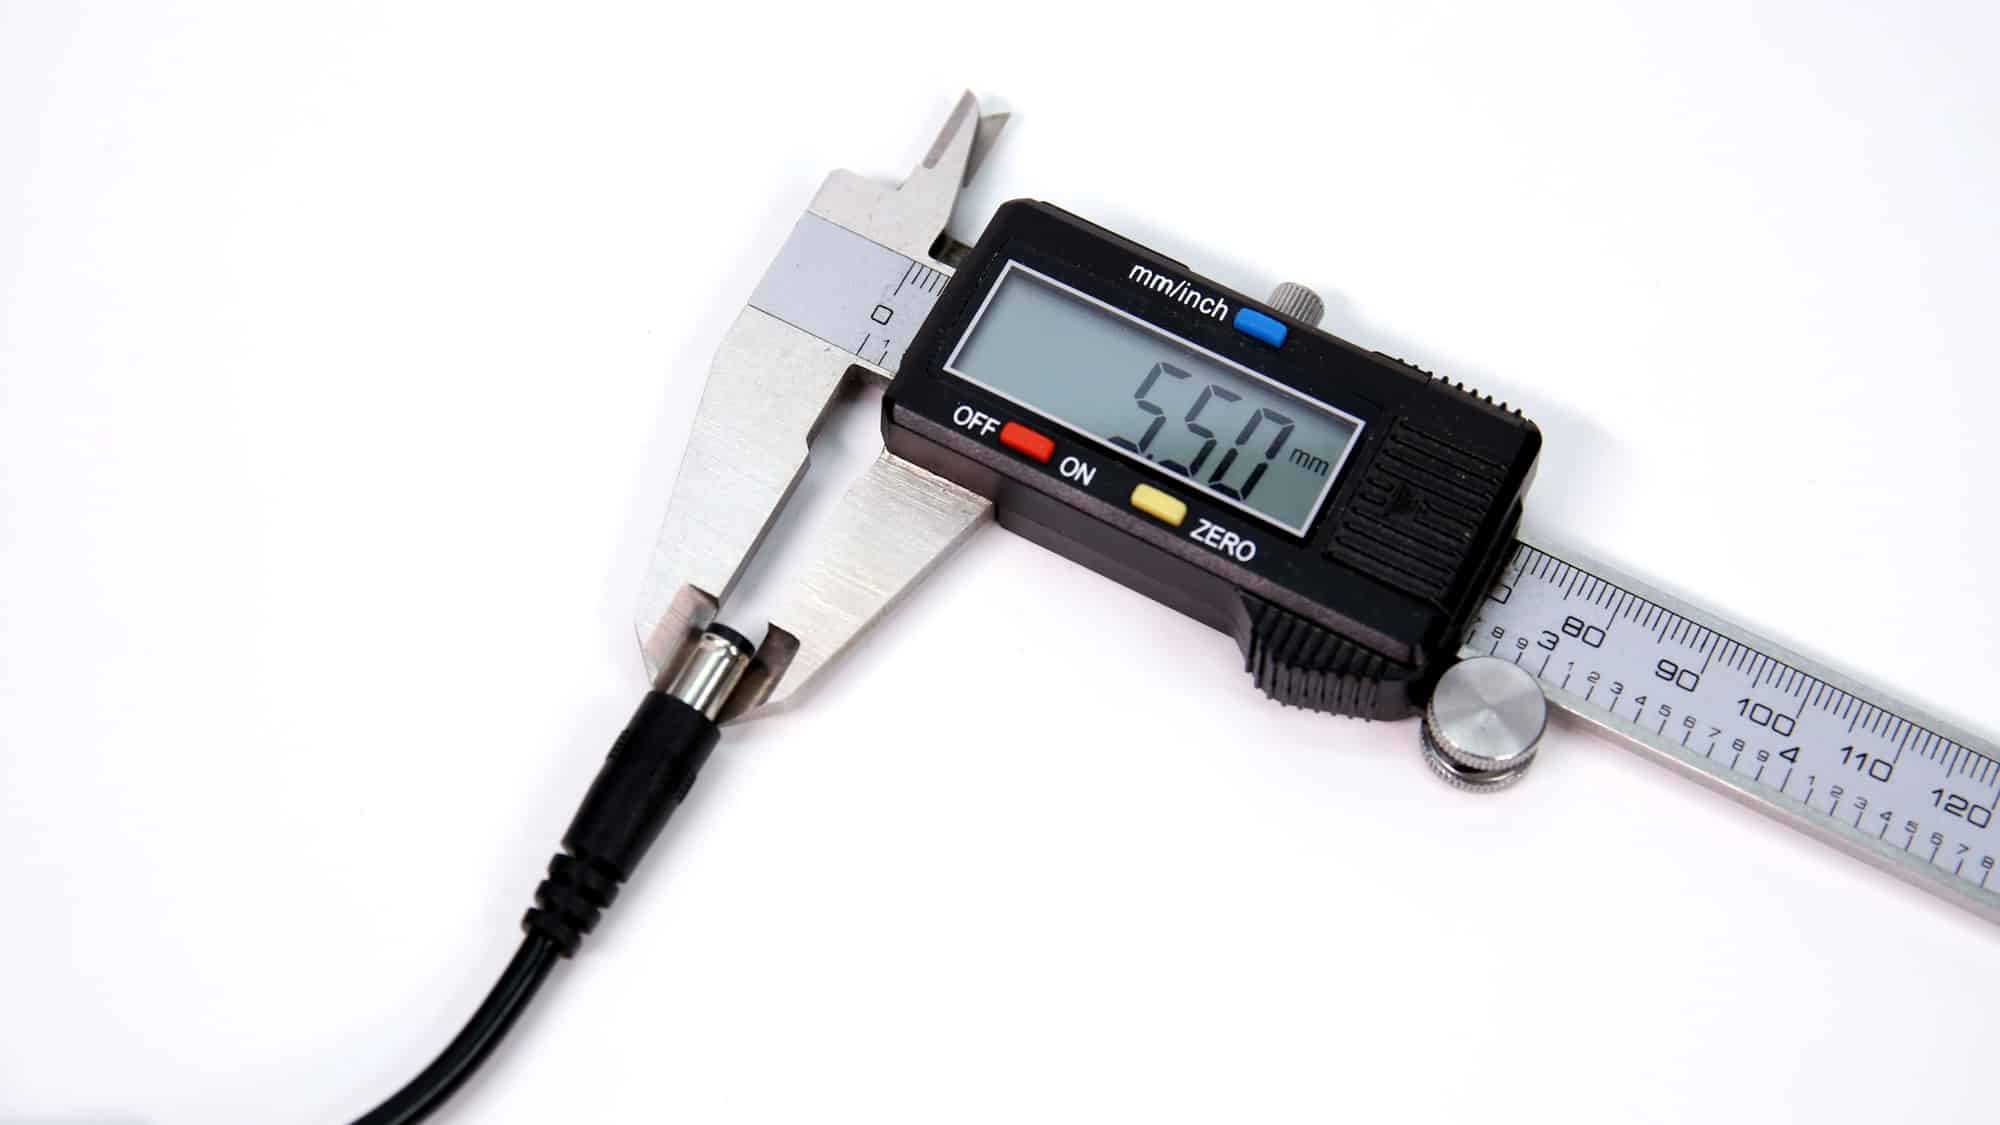
Around the back, you’ll find a USB 3.2 Gen 2×1 Type-C port, along with two Type-A ports of the exact specification. Between these sits the reset button, while just below them is a single 5GbE RJ-45 Ethernet port. Further down, you’ll find an HDMI 2.0b port, the DC power input, and finally, a thumbscrew that allows the unit to be opened. What would have been nice to see is a physical backup button to backup your USBs, although this could be set up in software.
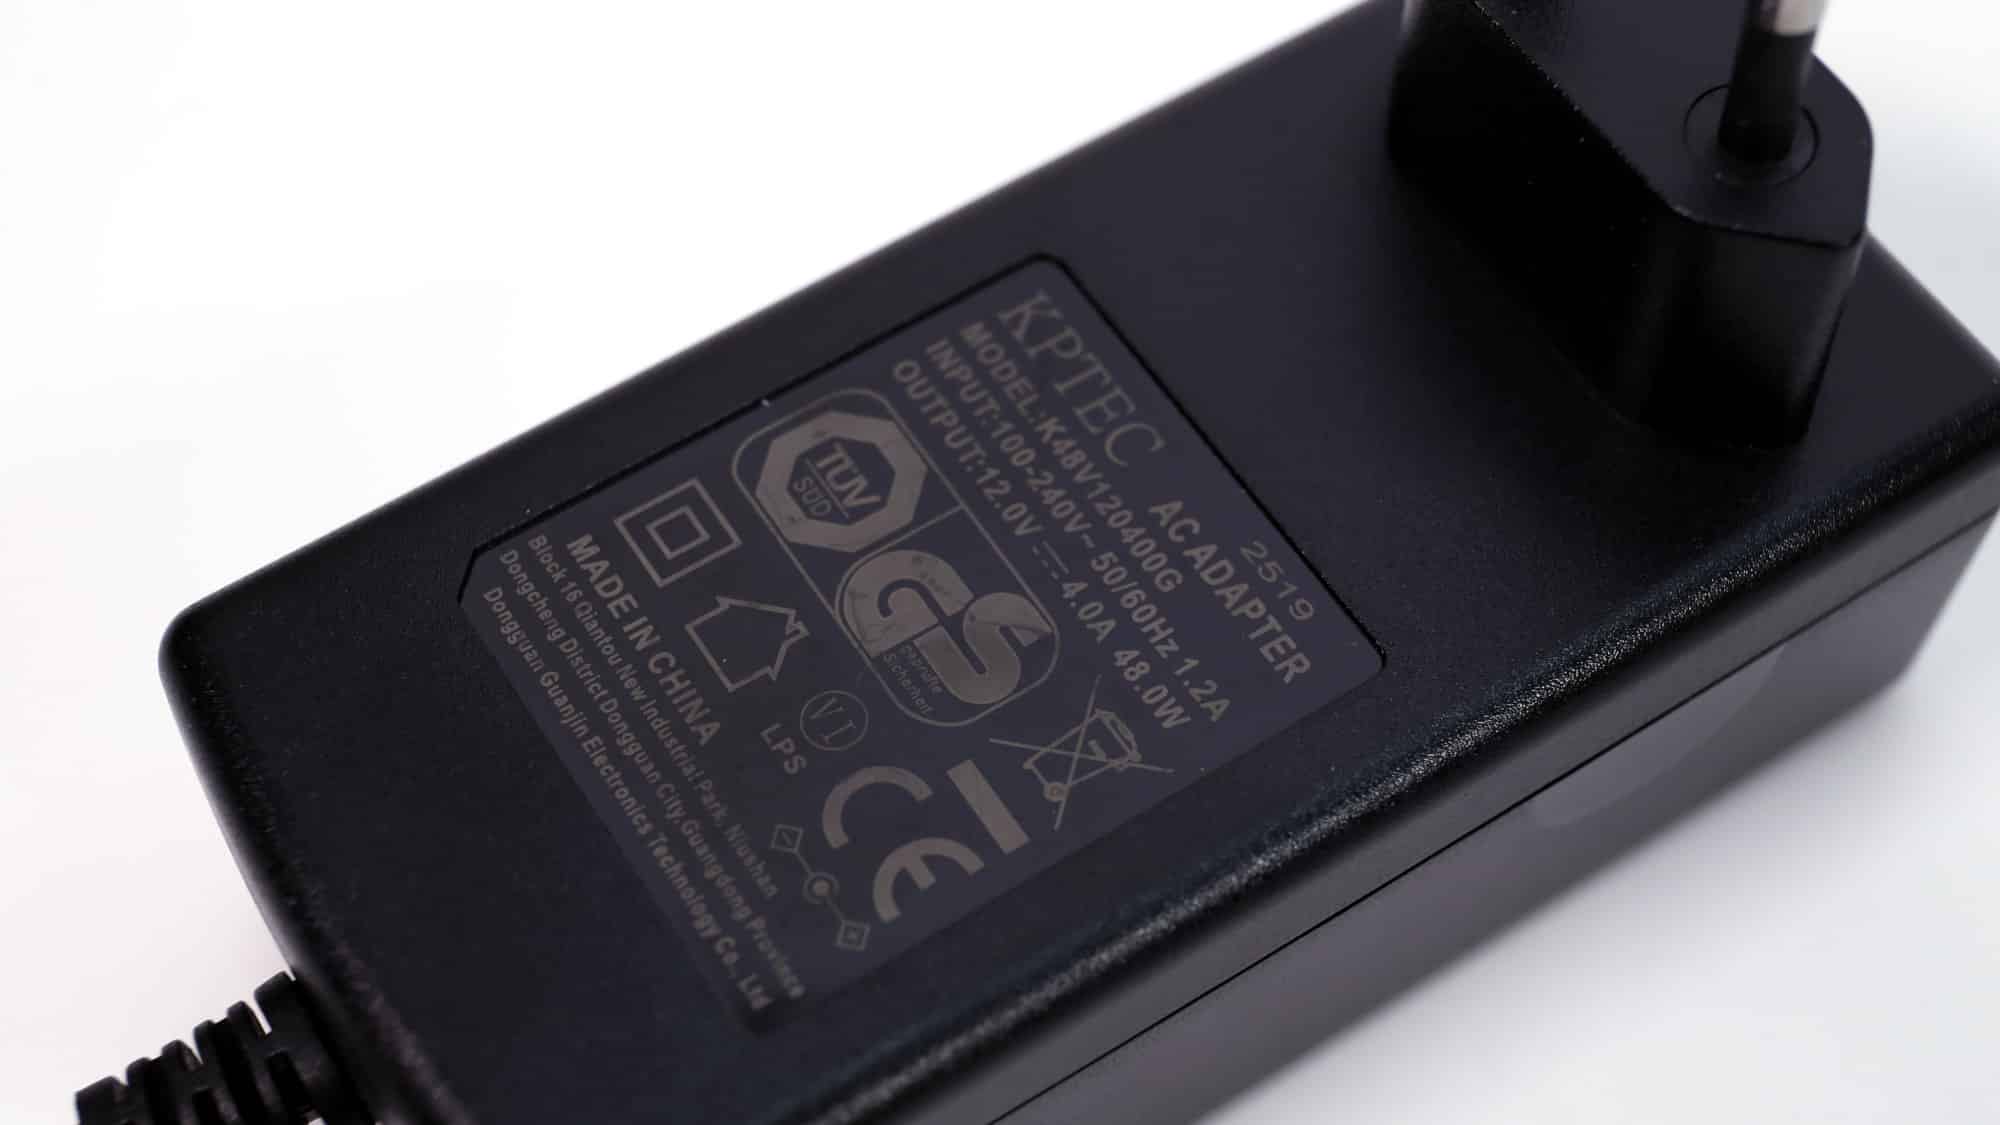
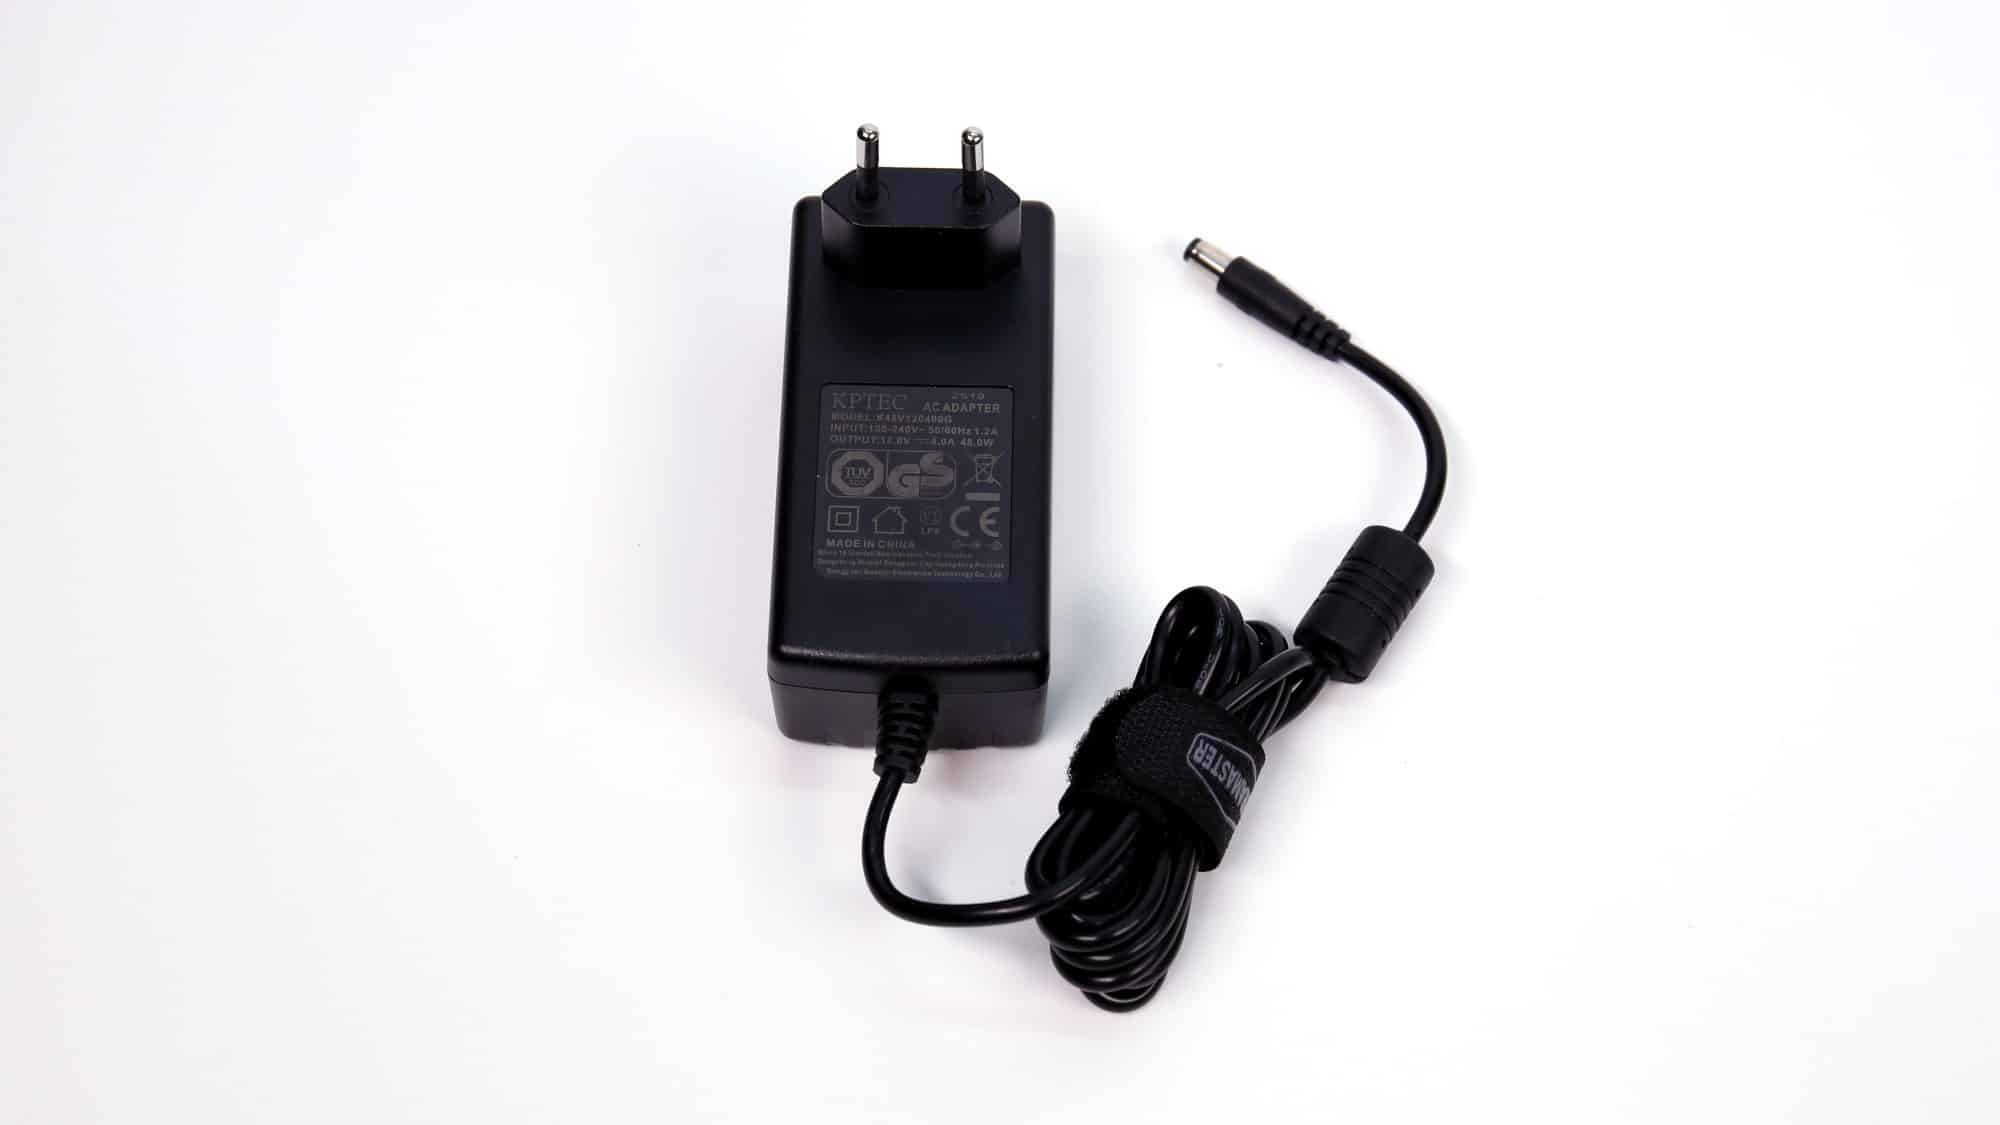
The decision to use an external power supply makes sense, especially in terms of easy replacement. This adapter delivers up to 48 watts, providing 12 volts and 4 amps, which is sufficient for the system’s needs.
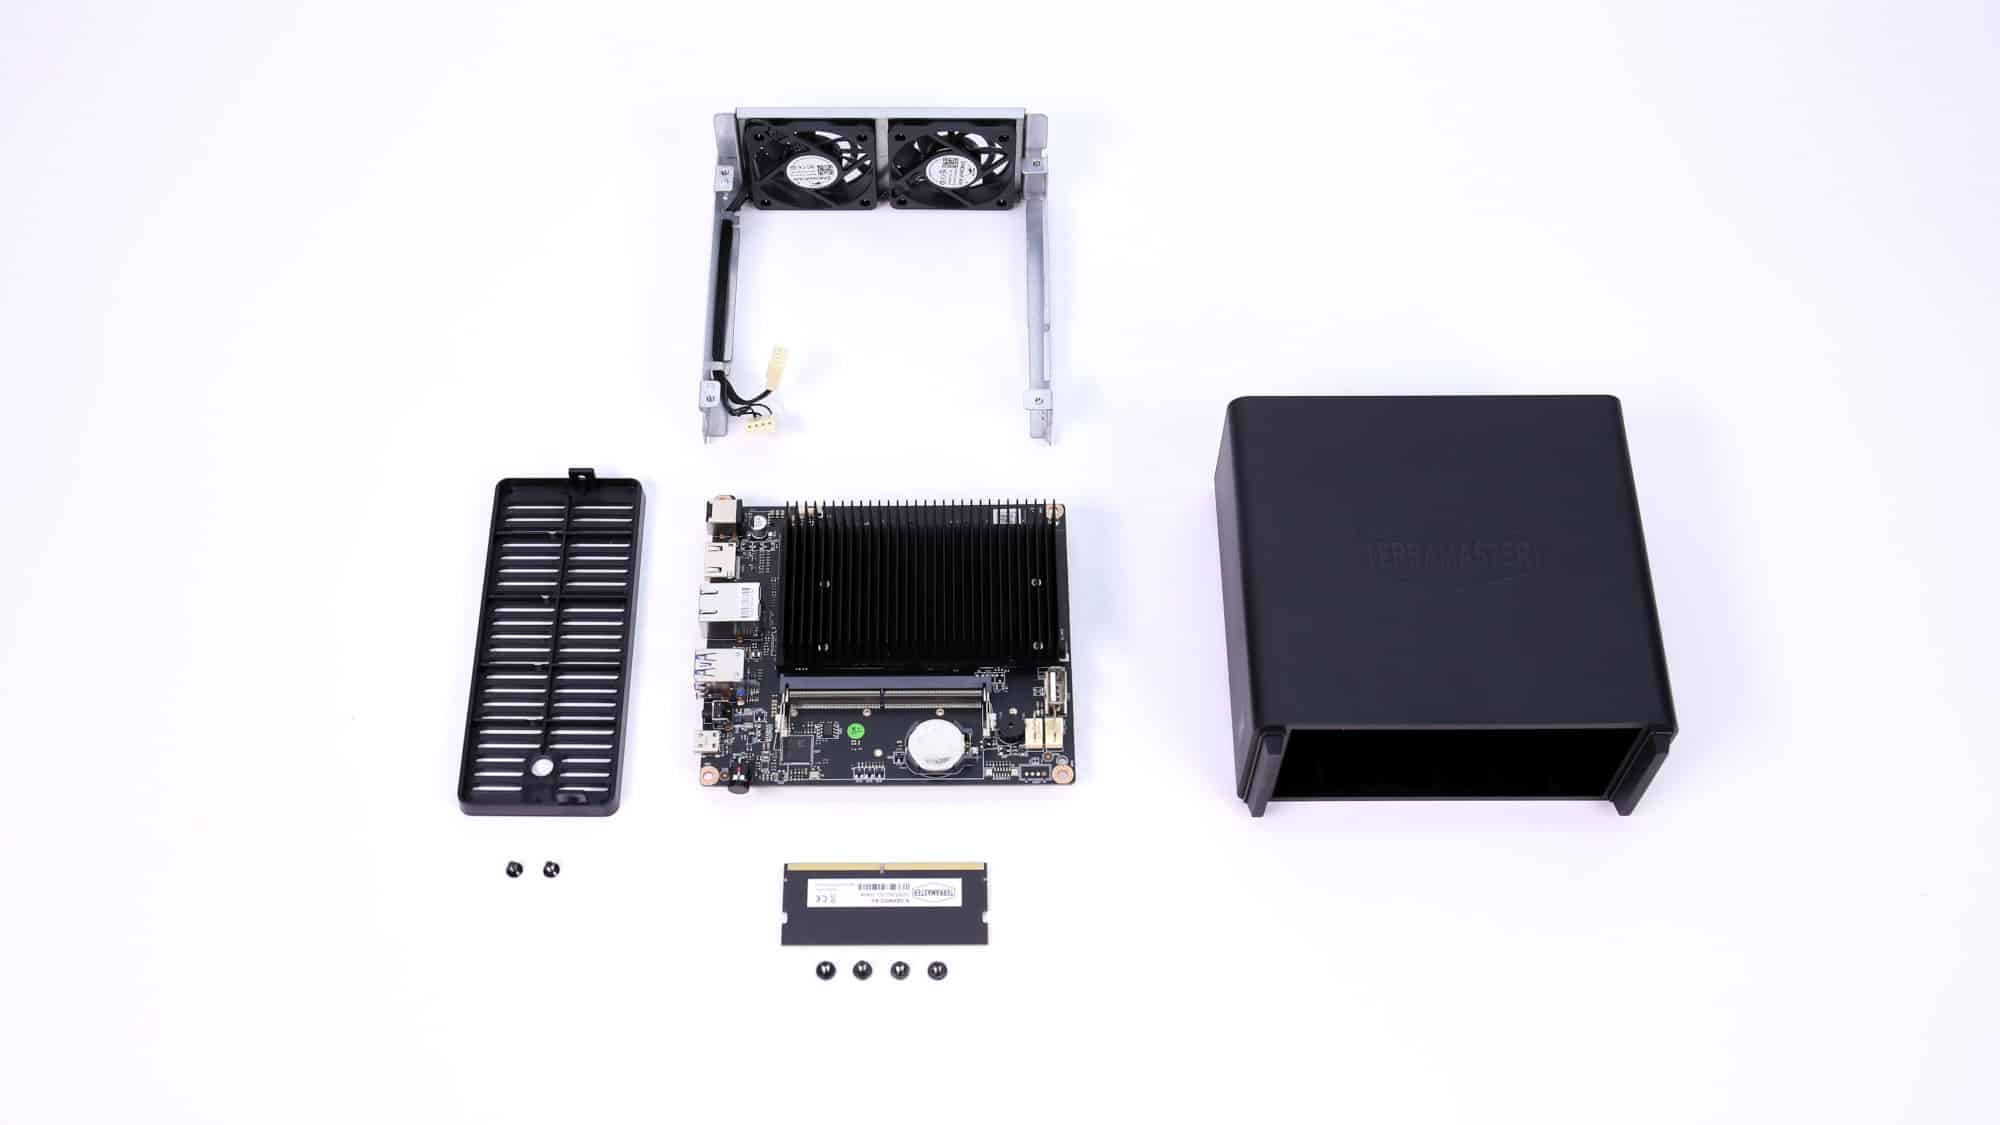
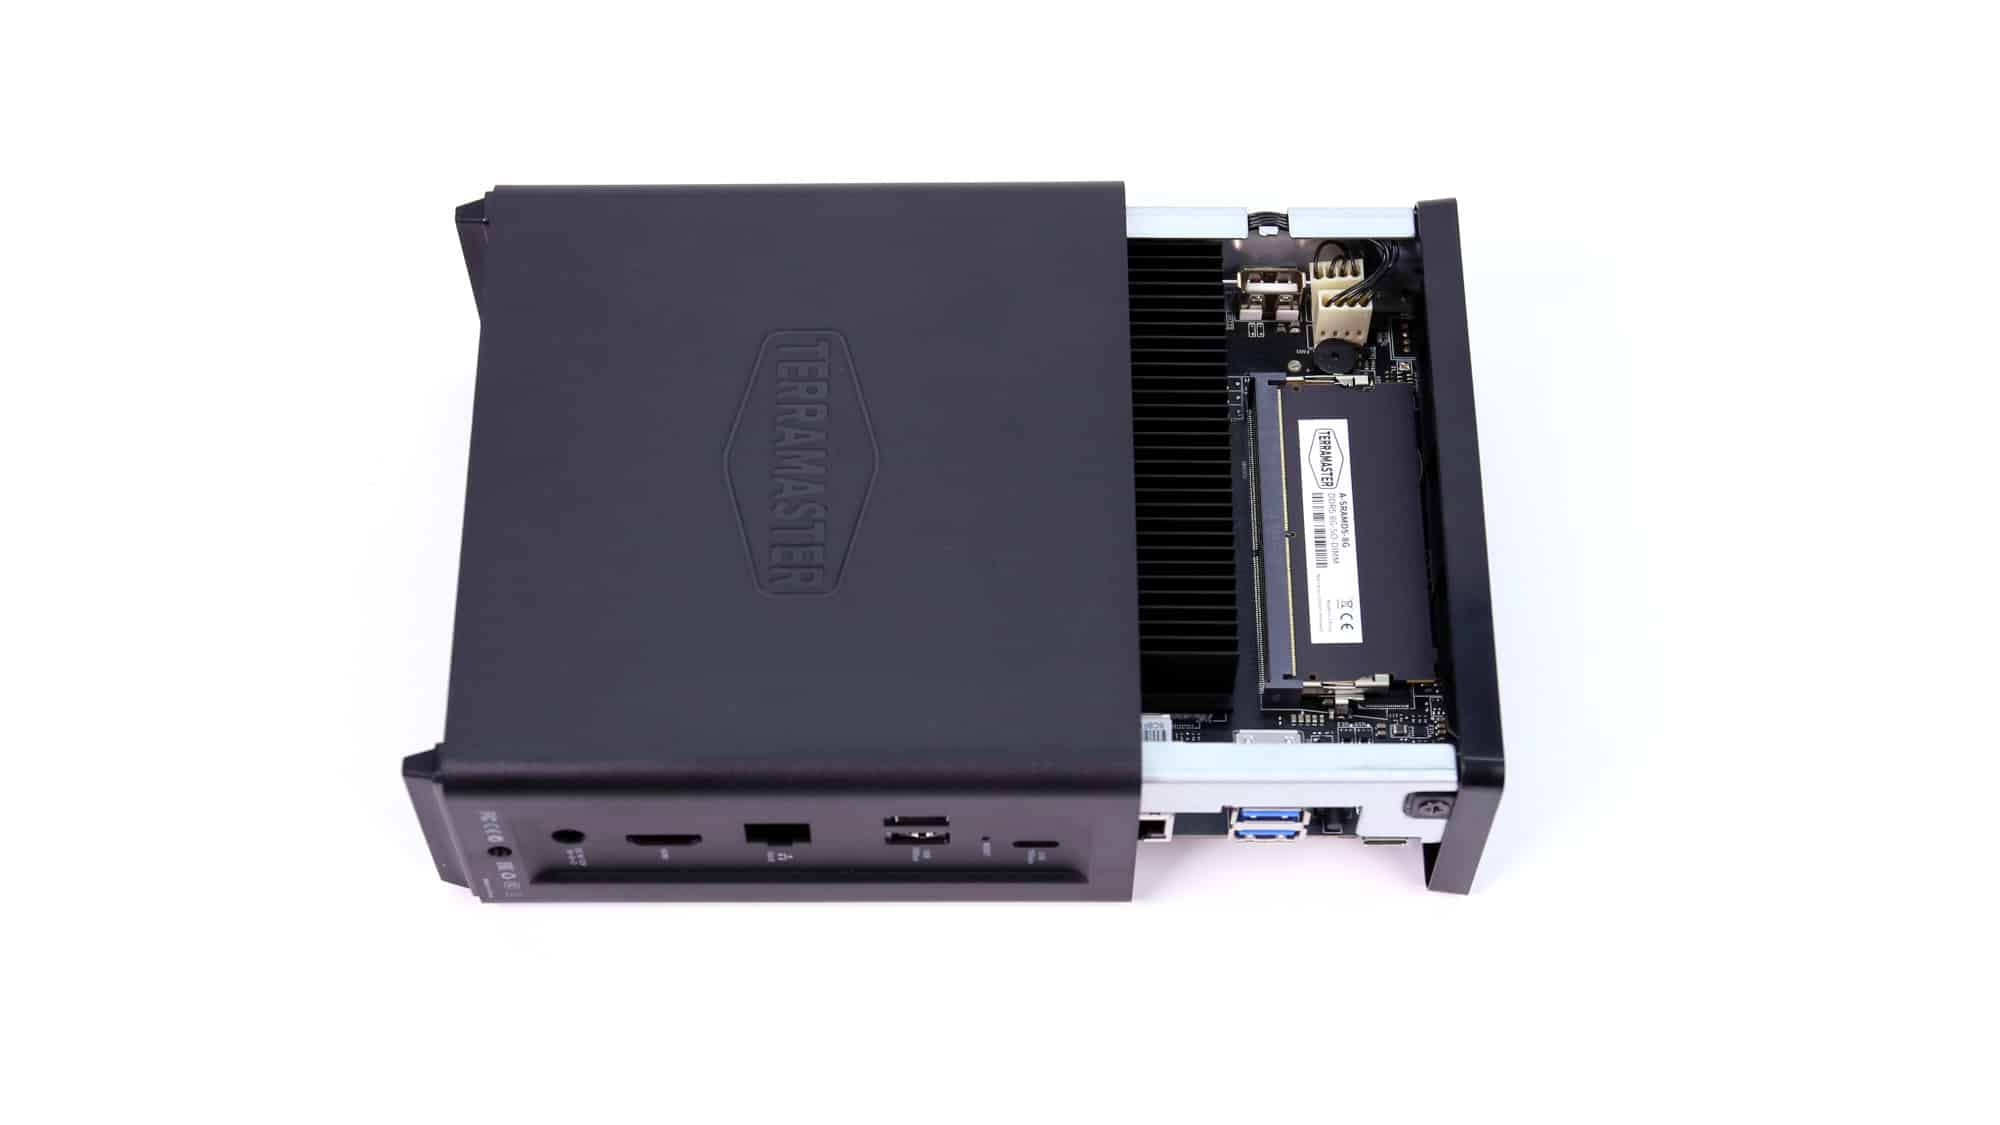
Opening the device is straightforward: remove the single thumbscrew on the lower back, then slide the internal assembly out through the top of the shell. Once removed, the internal assembly remains in one piece. It includes the bottom-mounted fans, the top ventilation grill, the mainboard, and any installed NVMes. We partially disassembled the unit for a top-down view of its components. At the center is the mainboard, mounted to a metal frame that holds everything in place. Below that sits a single stick of DDR5 RAM, secured with four screws. The outer shell is positioned to the side, and the top grill, which is fastened to the metal frame with two screws, lies opposite it.
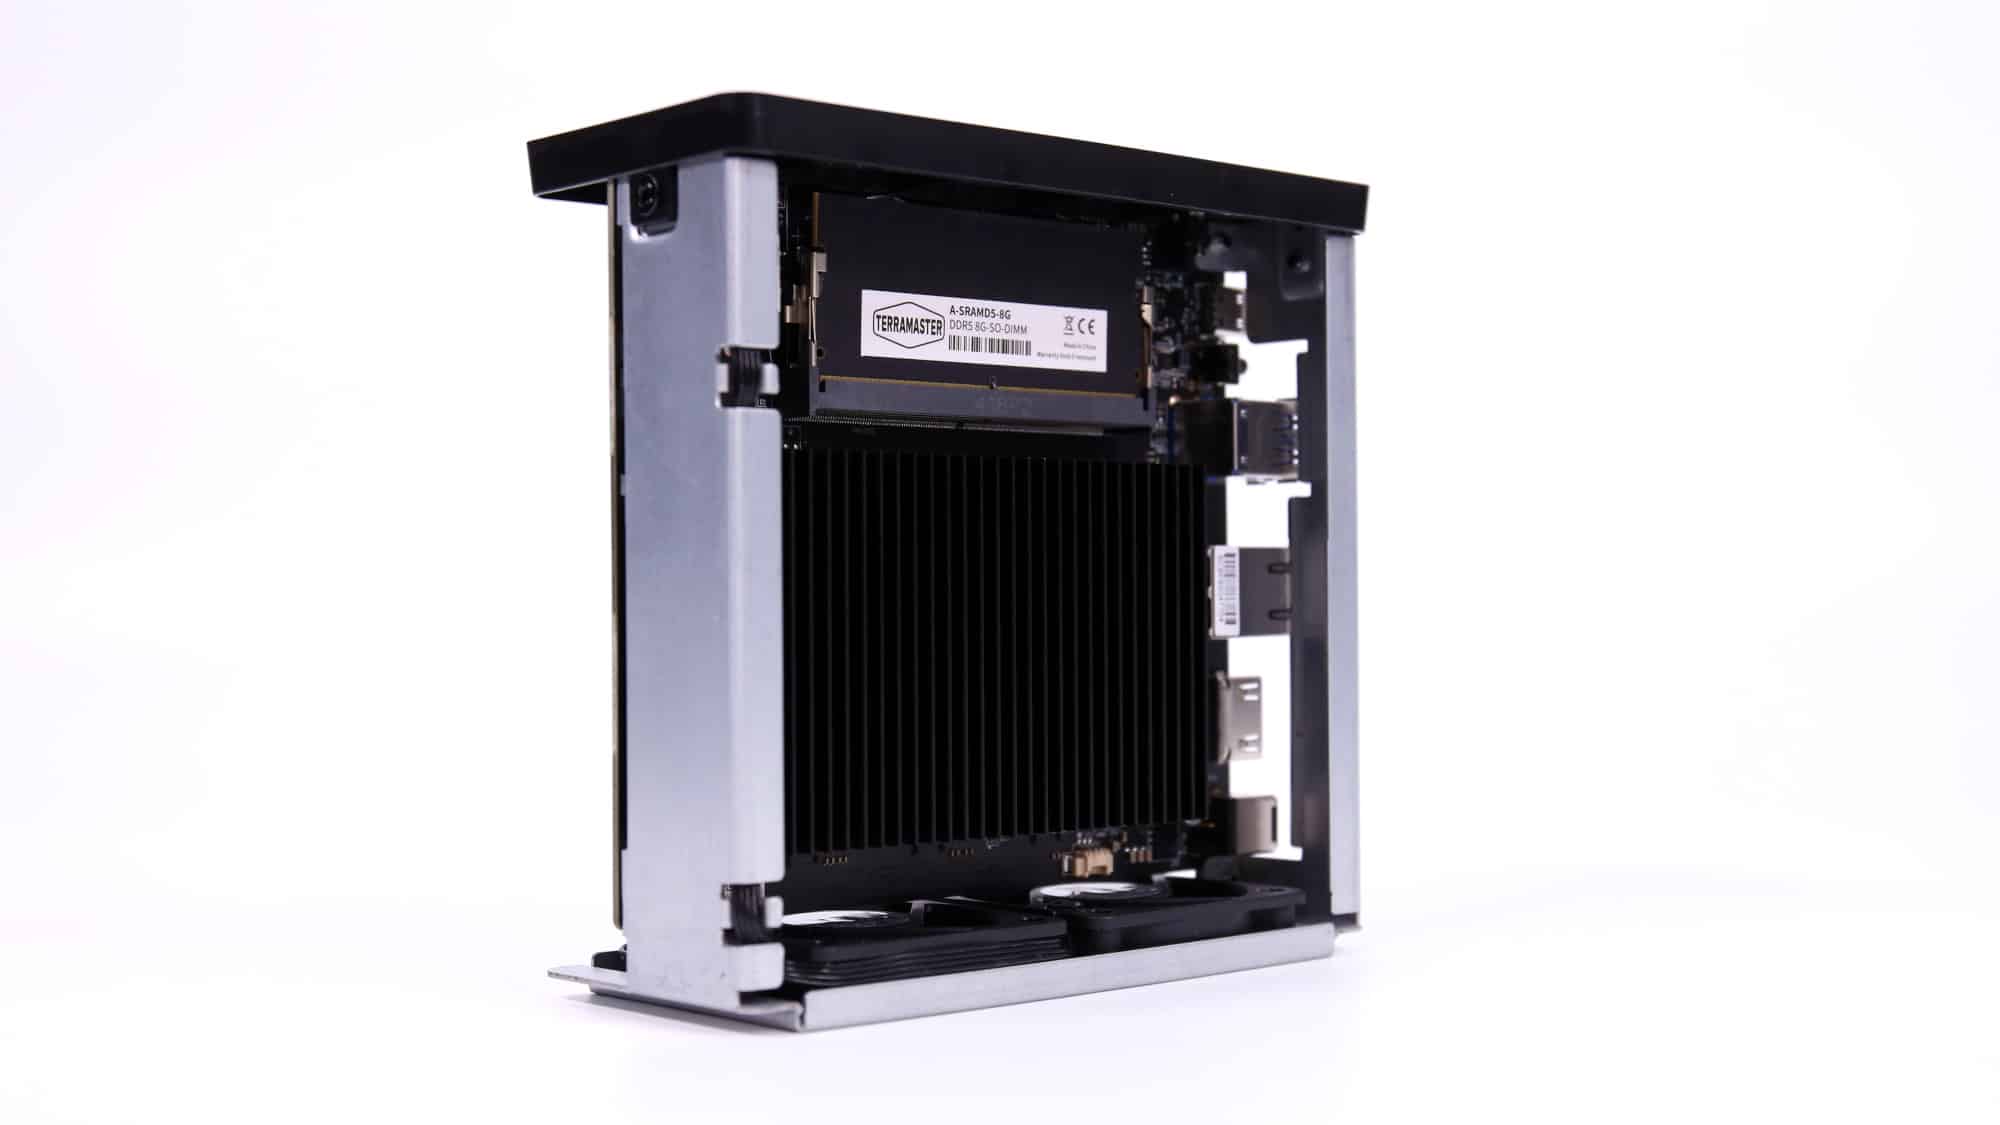
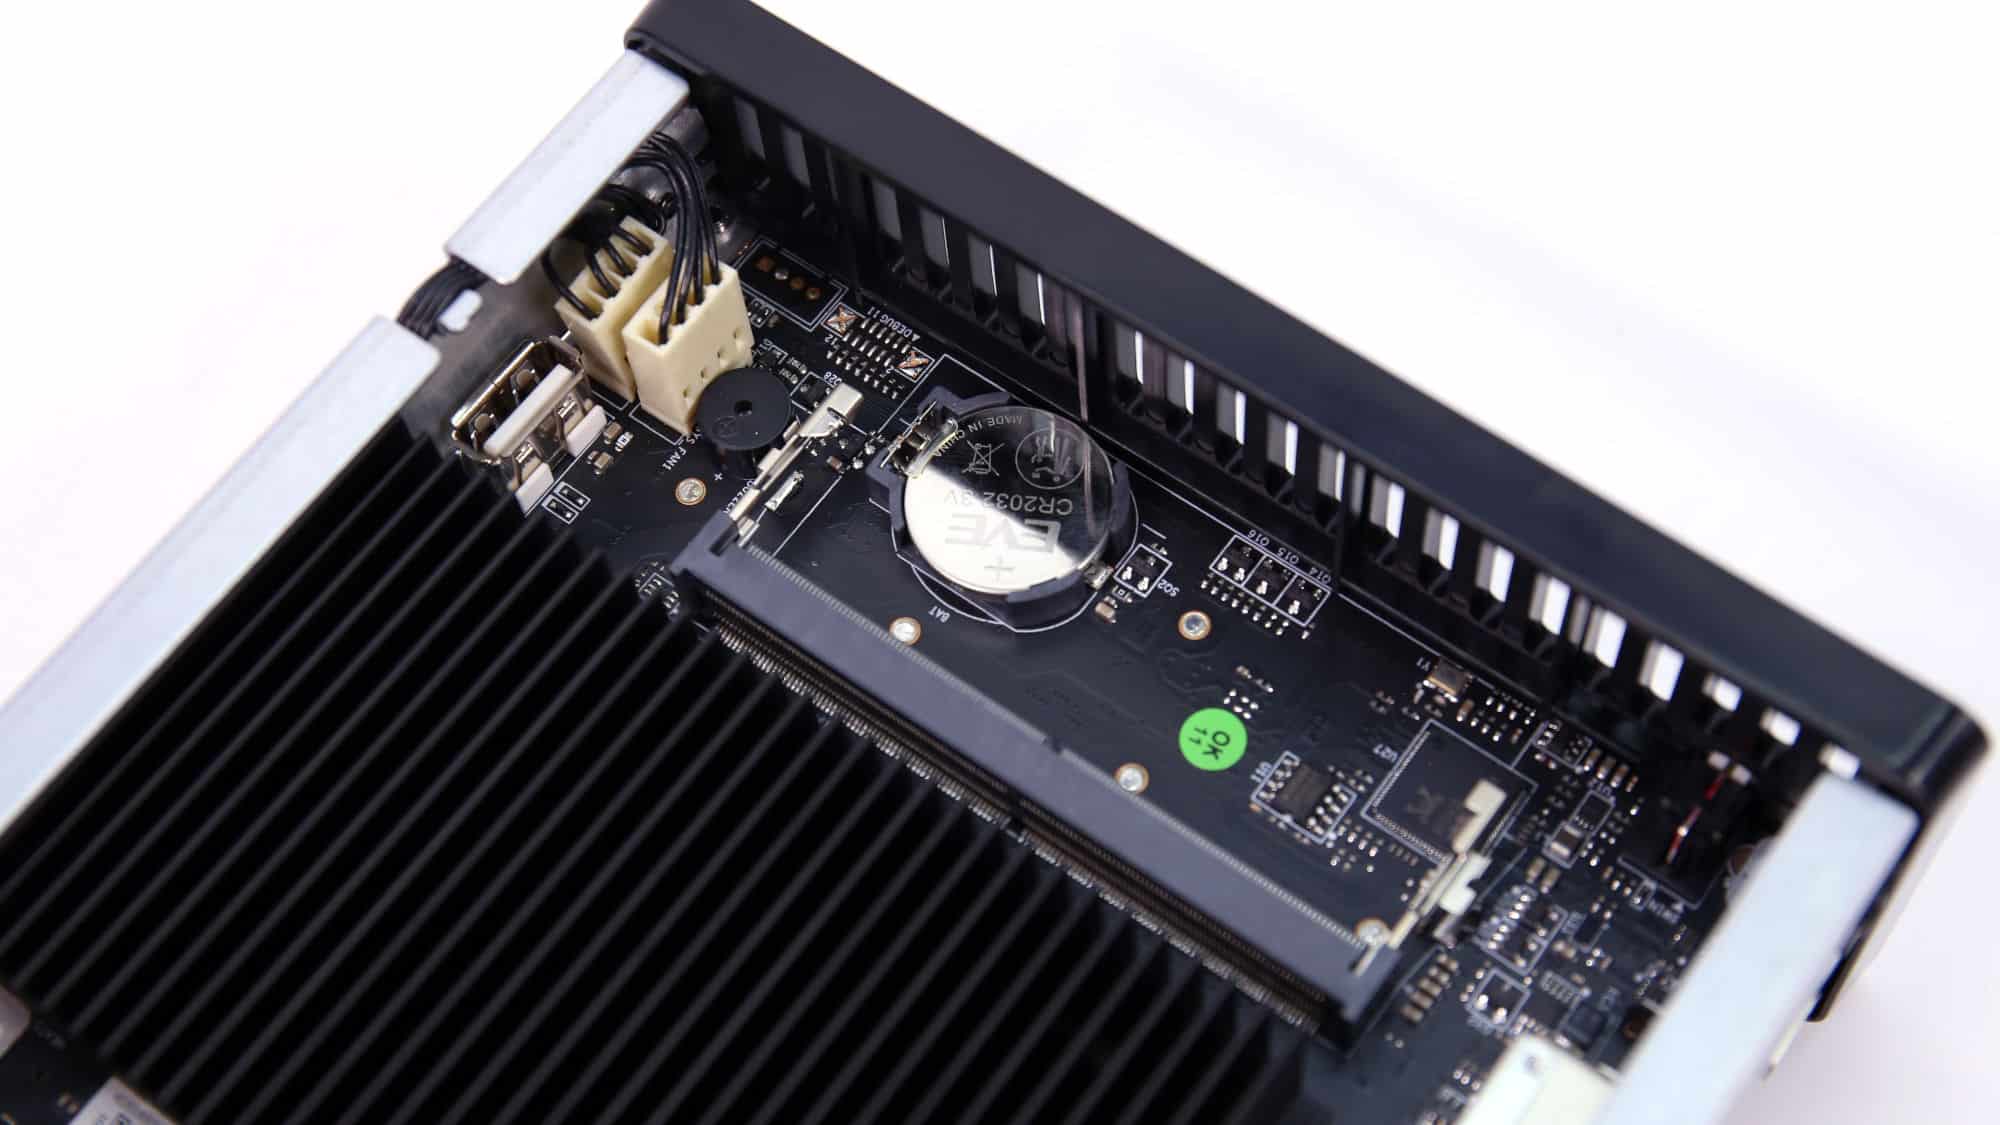
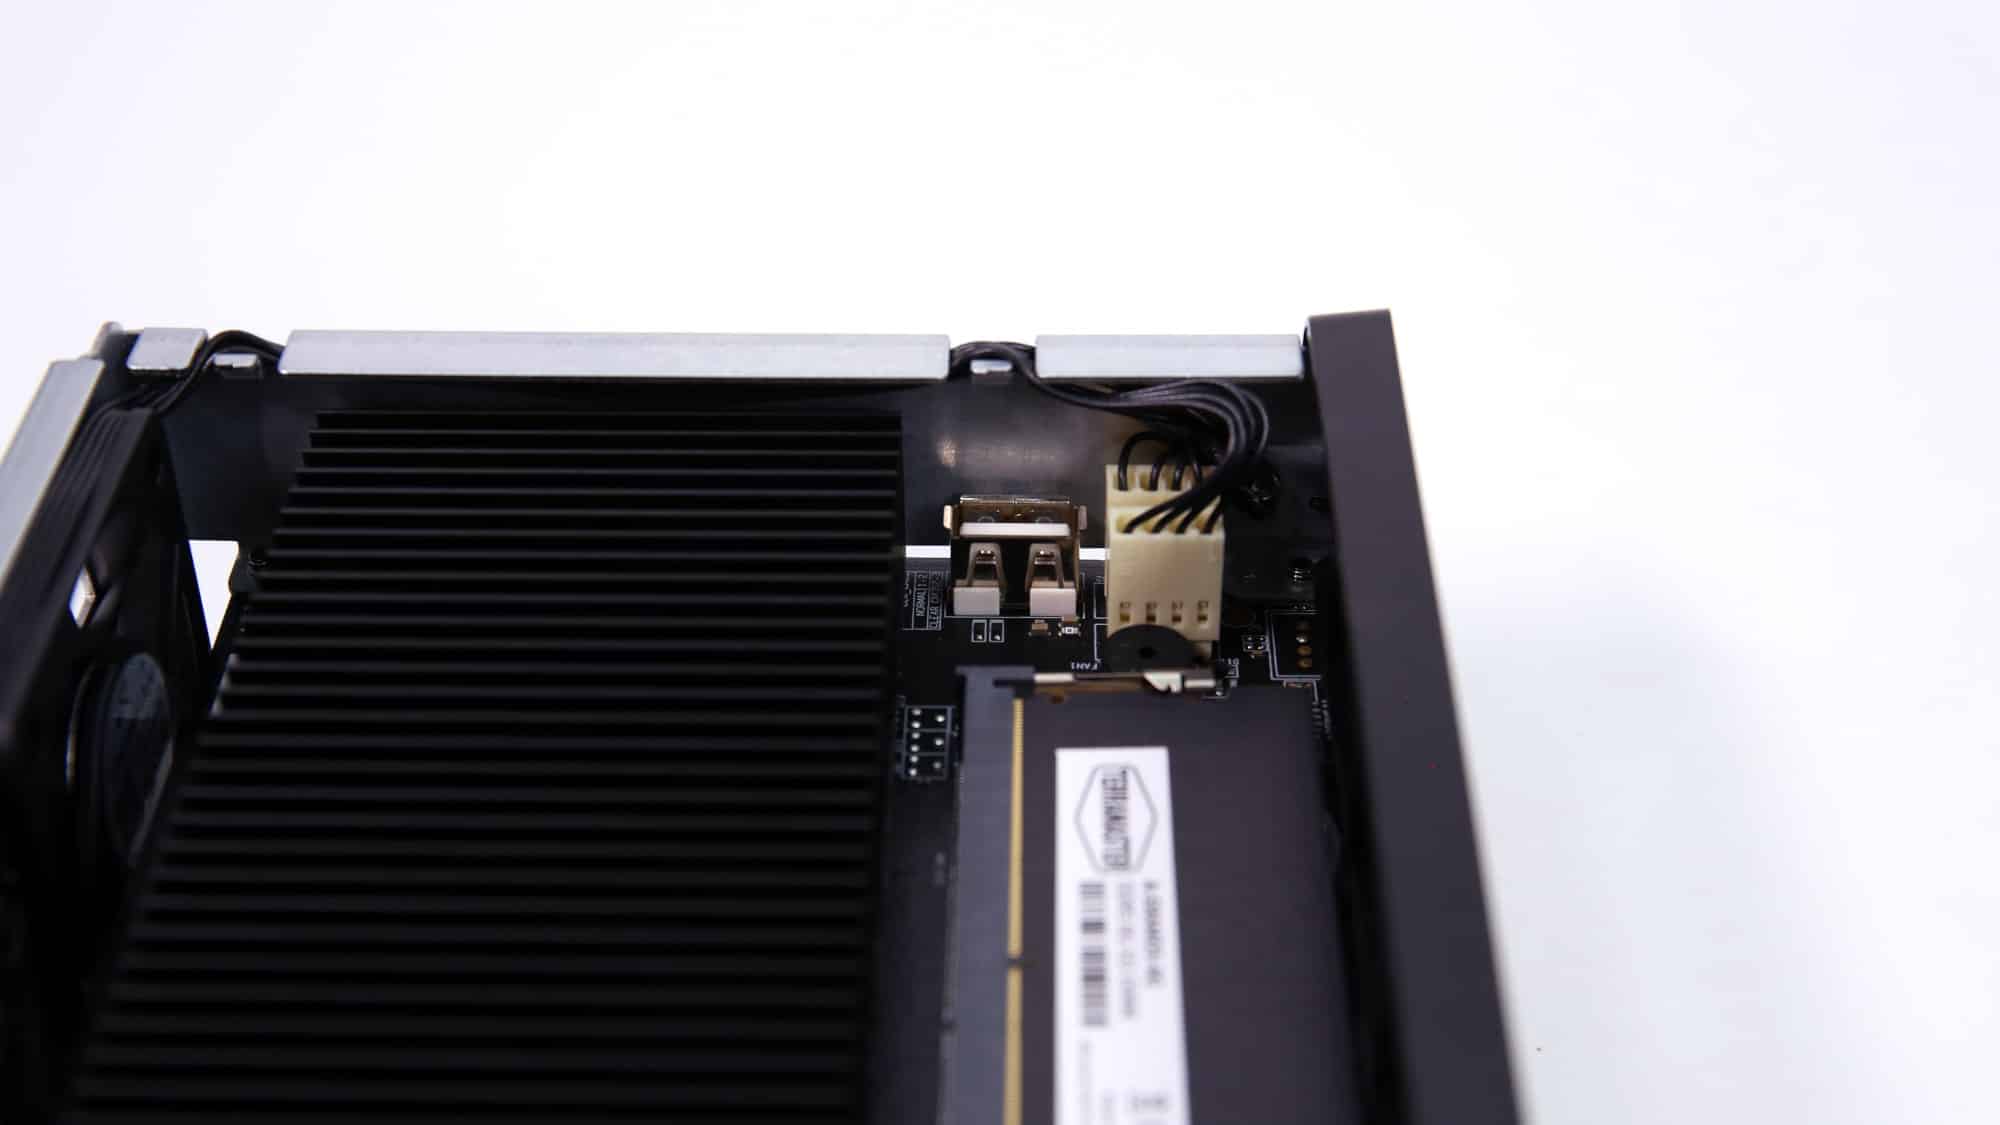
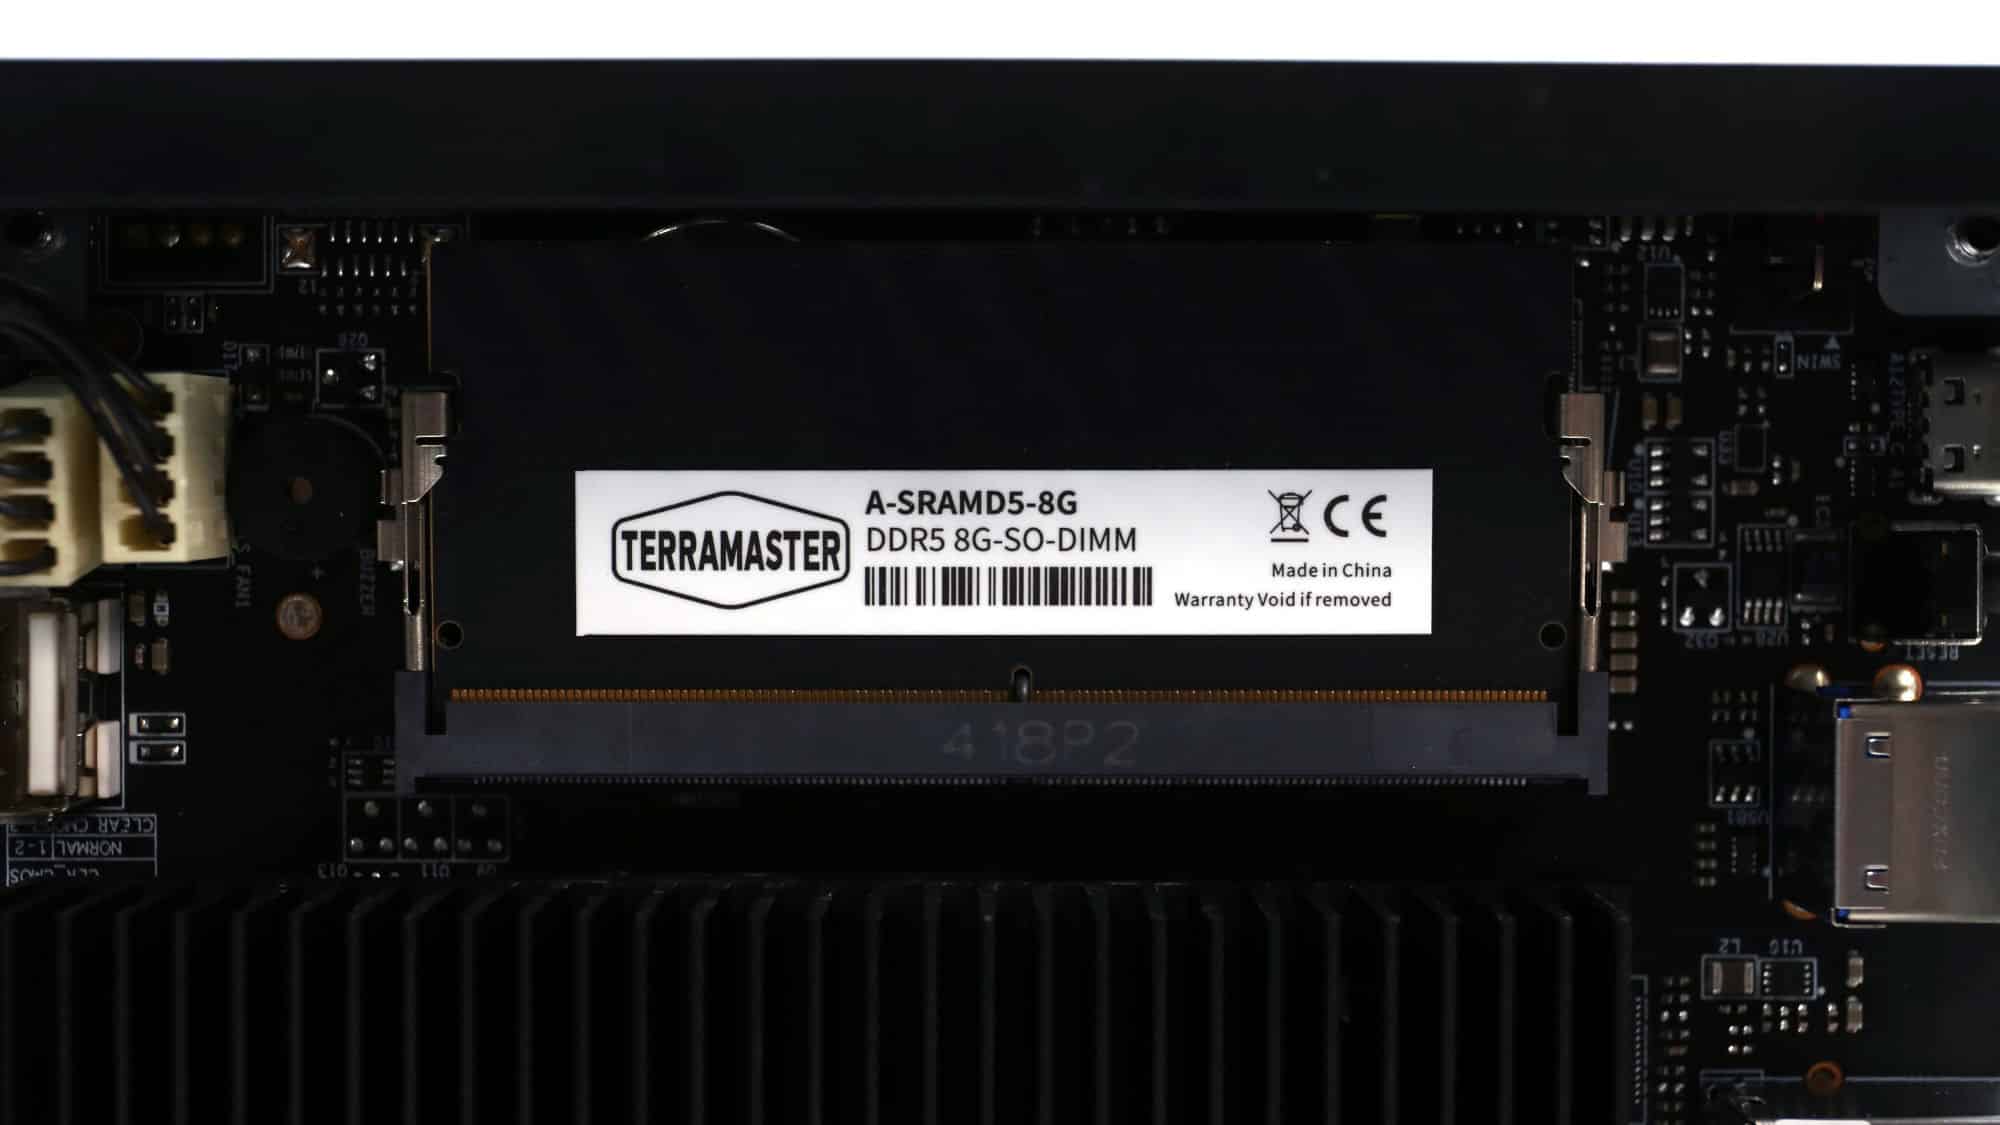


On one side of the mainboard, you’ll find the CPU under a black heatsink, which we chose not to remove to preserve the factory-applied thermal paste before testing. Also located on this side are the RAM slot, the CMOS battery, two fan headers for PWM control, and an internal USB port. This port can be used to run your operating system from a small profile USB stick, if you prefer not to allocate space on your drives.
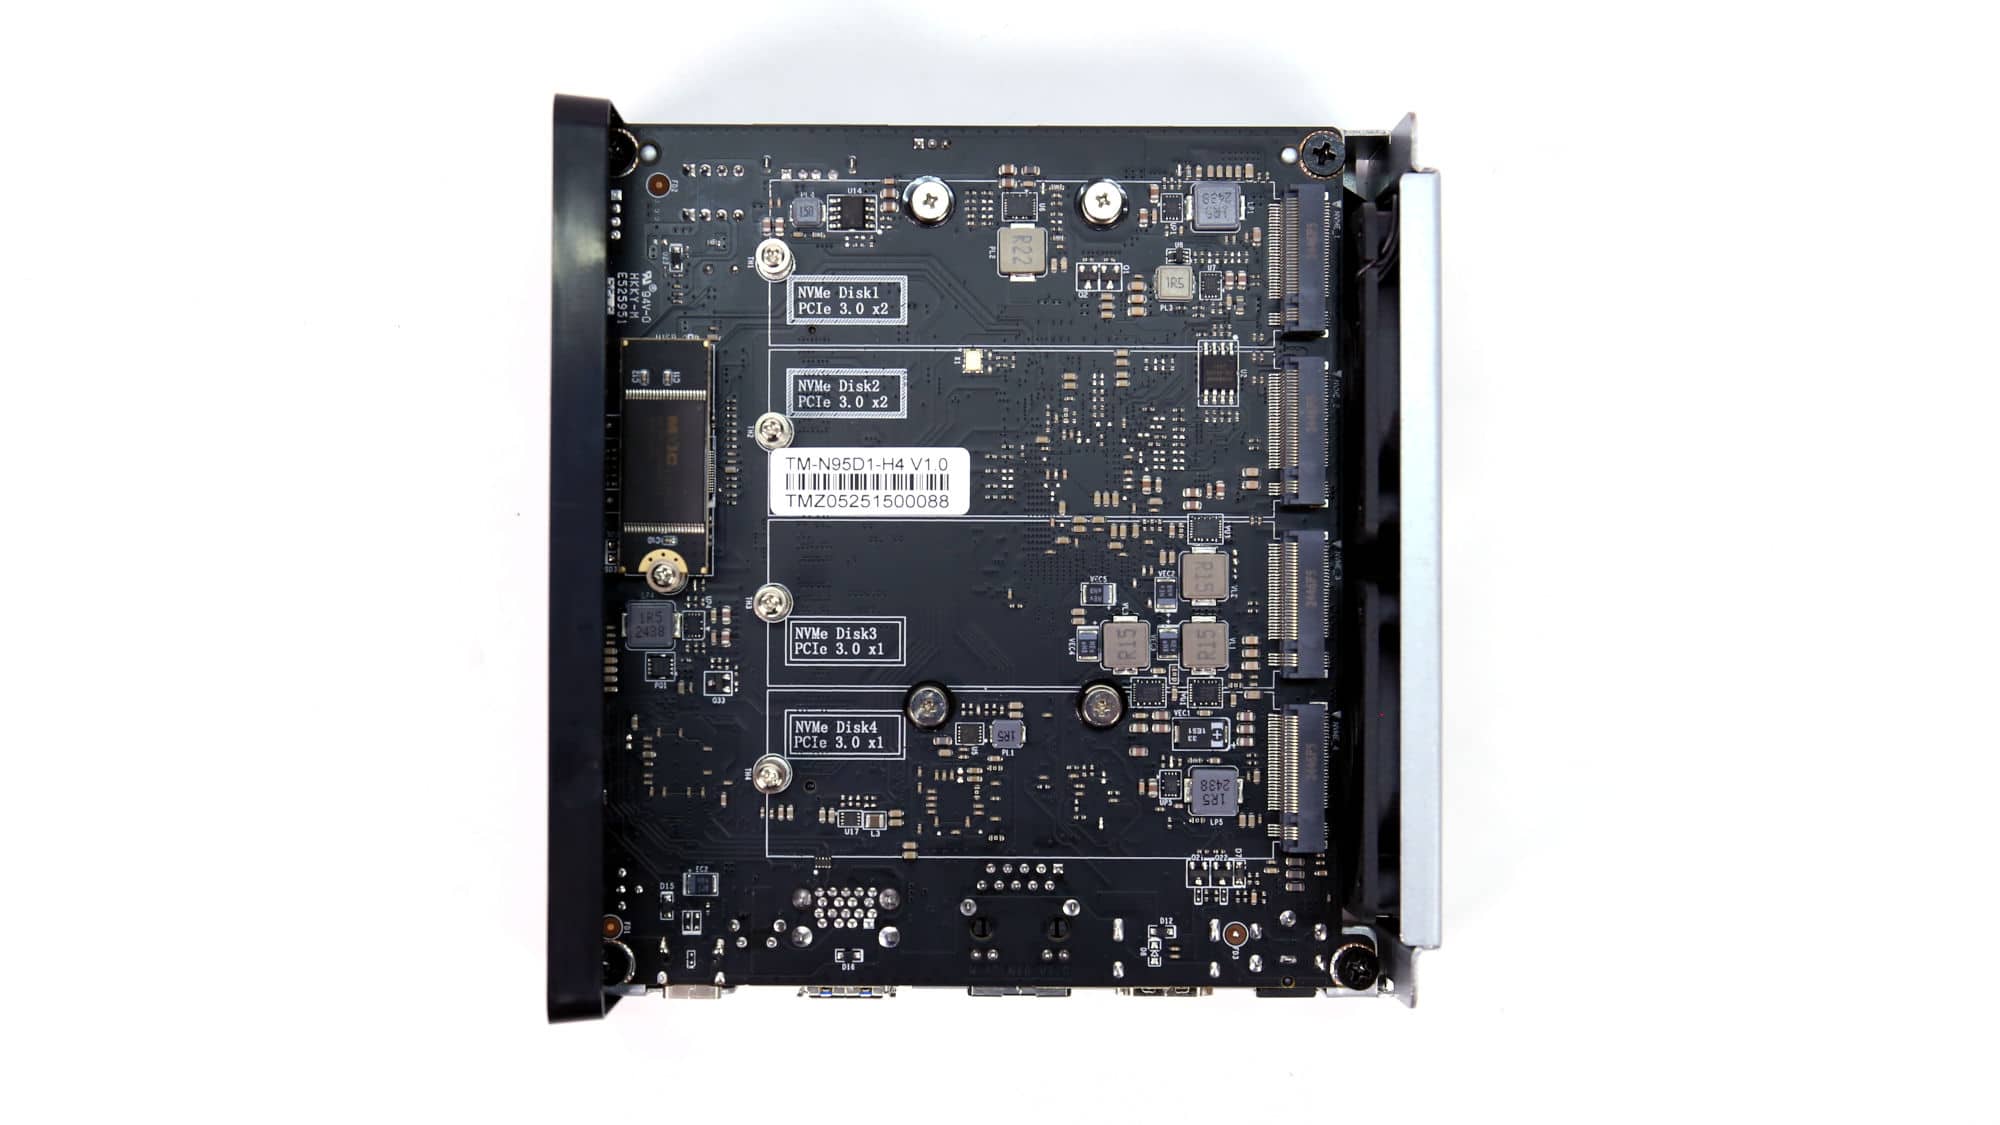
On the other side of the board are the four NVMe slots. Two of these operate over PCIe 3.0 x2 lanes, while the remaining two use PCIe 3.0 x1 lanes. The mounting screws for the NVMe heatsinks are also located here.
Near the edge of the board, there’s a Macronix MX30LF2G28AD-TI flash memory chip, which provides SLC NAND storage. The “I” designation in the part number confirms it’s rated for industrial use, meaning it can withstand elevated temperatures, an essential characteristic for a device designed to operate continuously like a NAS.