Besides CapFrameX, I also have to make an application for Powenetics v2, which will cover all of our basic needs (and probably some more). There was already an application for the original application, but I decided to start fresh. The new one will still be in C#, but it will use WPF and MVVM (Model–view–viewmodel).
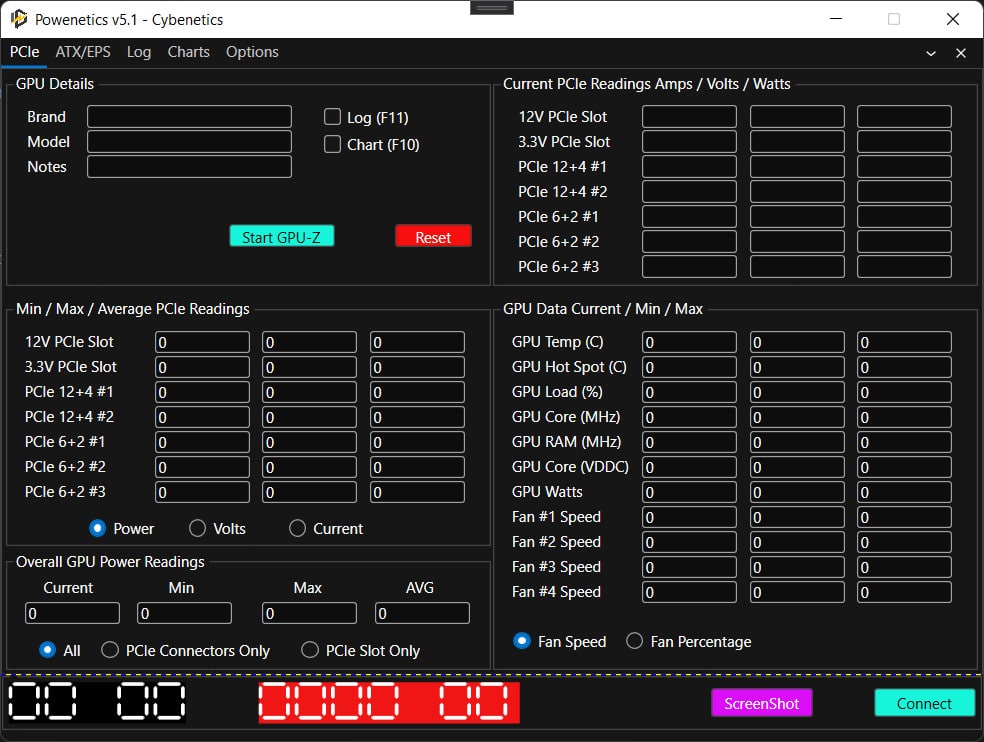
The first tab will be devoted to PCIe (slot and connectors), so it will have to do with graphics cards. The operators will have detailed info on what is happening with their system’s PCIe devices. There will also be a log option, and I am thinking about whether charts are essential or this option should be removed. It is a great pain to do proper charts; in most cases, reviewers use their own. From the moment you can extract the entire log in Excel, you can make whatever chart you desire.
In the bottom left corner, there is a timer to show you how long you have Powenetics running, and right beside it, with the red background, the system’s total power consumption will be shown. The latter will sum all the readings from all Powenetics’ sensors. I will integrate GPU-Z to have combined GPU and power analysis data for other helpful GPU data.
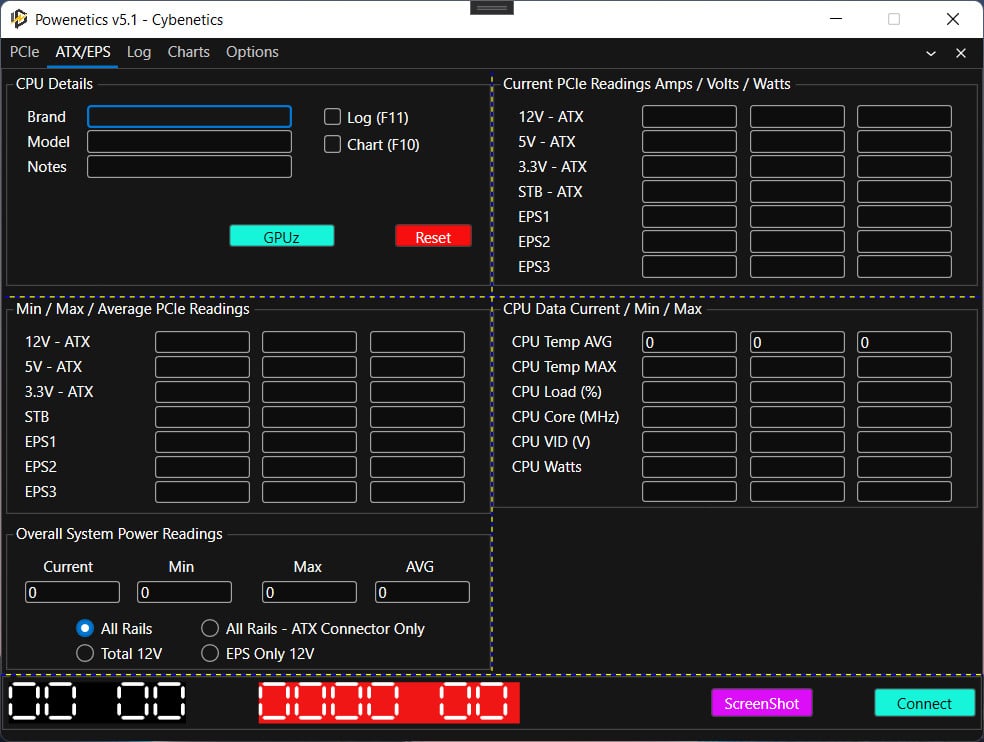
The second tab deals with the ATX and EPS connectors. Users can take CPU Wattage readings with high accuracy by measuring the power that the 12V rail delivers through the EPS and the ATX connectors. They will also be able to get readings from the minor and the standby rails. There will be a section here showing the CPU’s vital information, including speed, temperature, the power consumption reported by the system, and CPU core voltage. You have the complete picture by combining detailed power analysis from Powenetics with all the above details.
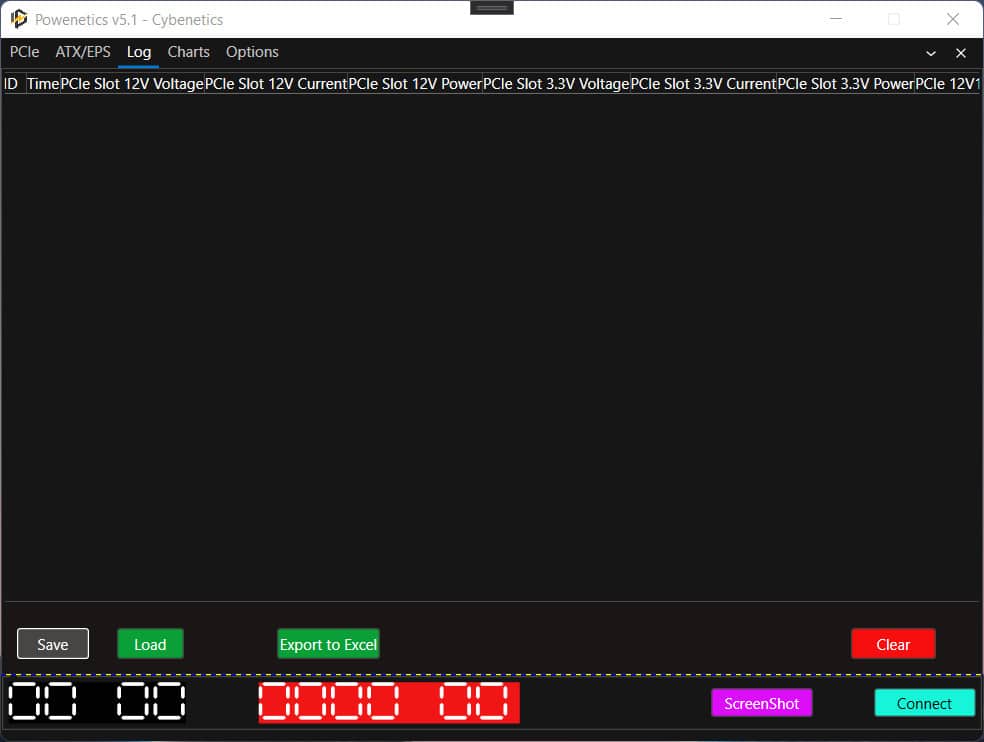
The logging tab. Not much to see there when there is no data. You can export it in excel or save it in a custom format.

Every lab-oriented application needs an options page. There aren’t many options for Powenetics v2 since the PCB is fixed for all with the same amount of sensors, unlike the original version, so the options page has fewer settings. Since GPU-z can have different sensors, every time something new comes up, I can change their names from here.
So far, I haven’t even reached the state where I “talk” to the Powenetics system because, as you can see, I have to make all other things first. My main concern is to grab all 1000 readings that it can provide without any delays. This will be tough since I need to combine these readings with the readings from the system’s sensors to have essential CPU and GPU data, besides power analysis. The class holding all-important values, which will also be used for logging purposes, has over 70 members! I will try to exploit Powenetics v2 in full, keeping all data intact from the rest sensors. If I cannot do that, I will include a special “fast” mode, just for the powenetics sensors, which will show the nasty power spikes.

Great work. 👍 But still proprietary solution. Start to think fu*k it and make open source variant. Can’t recall does somebody shared open source PSU (best schematics solutions taken from PSUs and integrated)!
P.S.Have you thought about integration with Cacti?
This is what I could call democratized solution for every techie. Can’t wait to see it, finalized!