Assembly Procedure
I cannot say that I had an easy time assembling the system because the top and bottom edges of the mainboard have restricted space because of the case’s design. The gap to route the EPS cables is narrow, so I suggest you install them first before you put the PSU in place, given that all cables are fully modular.

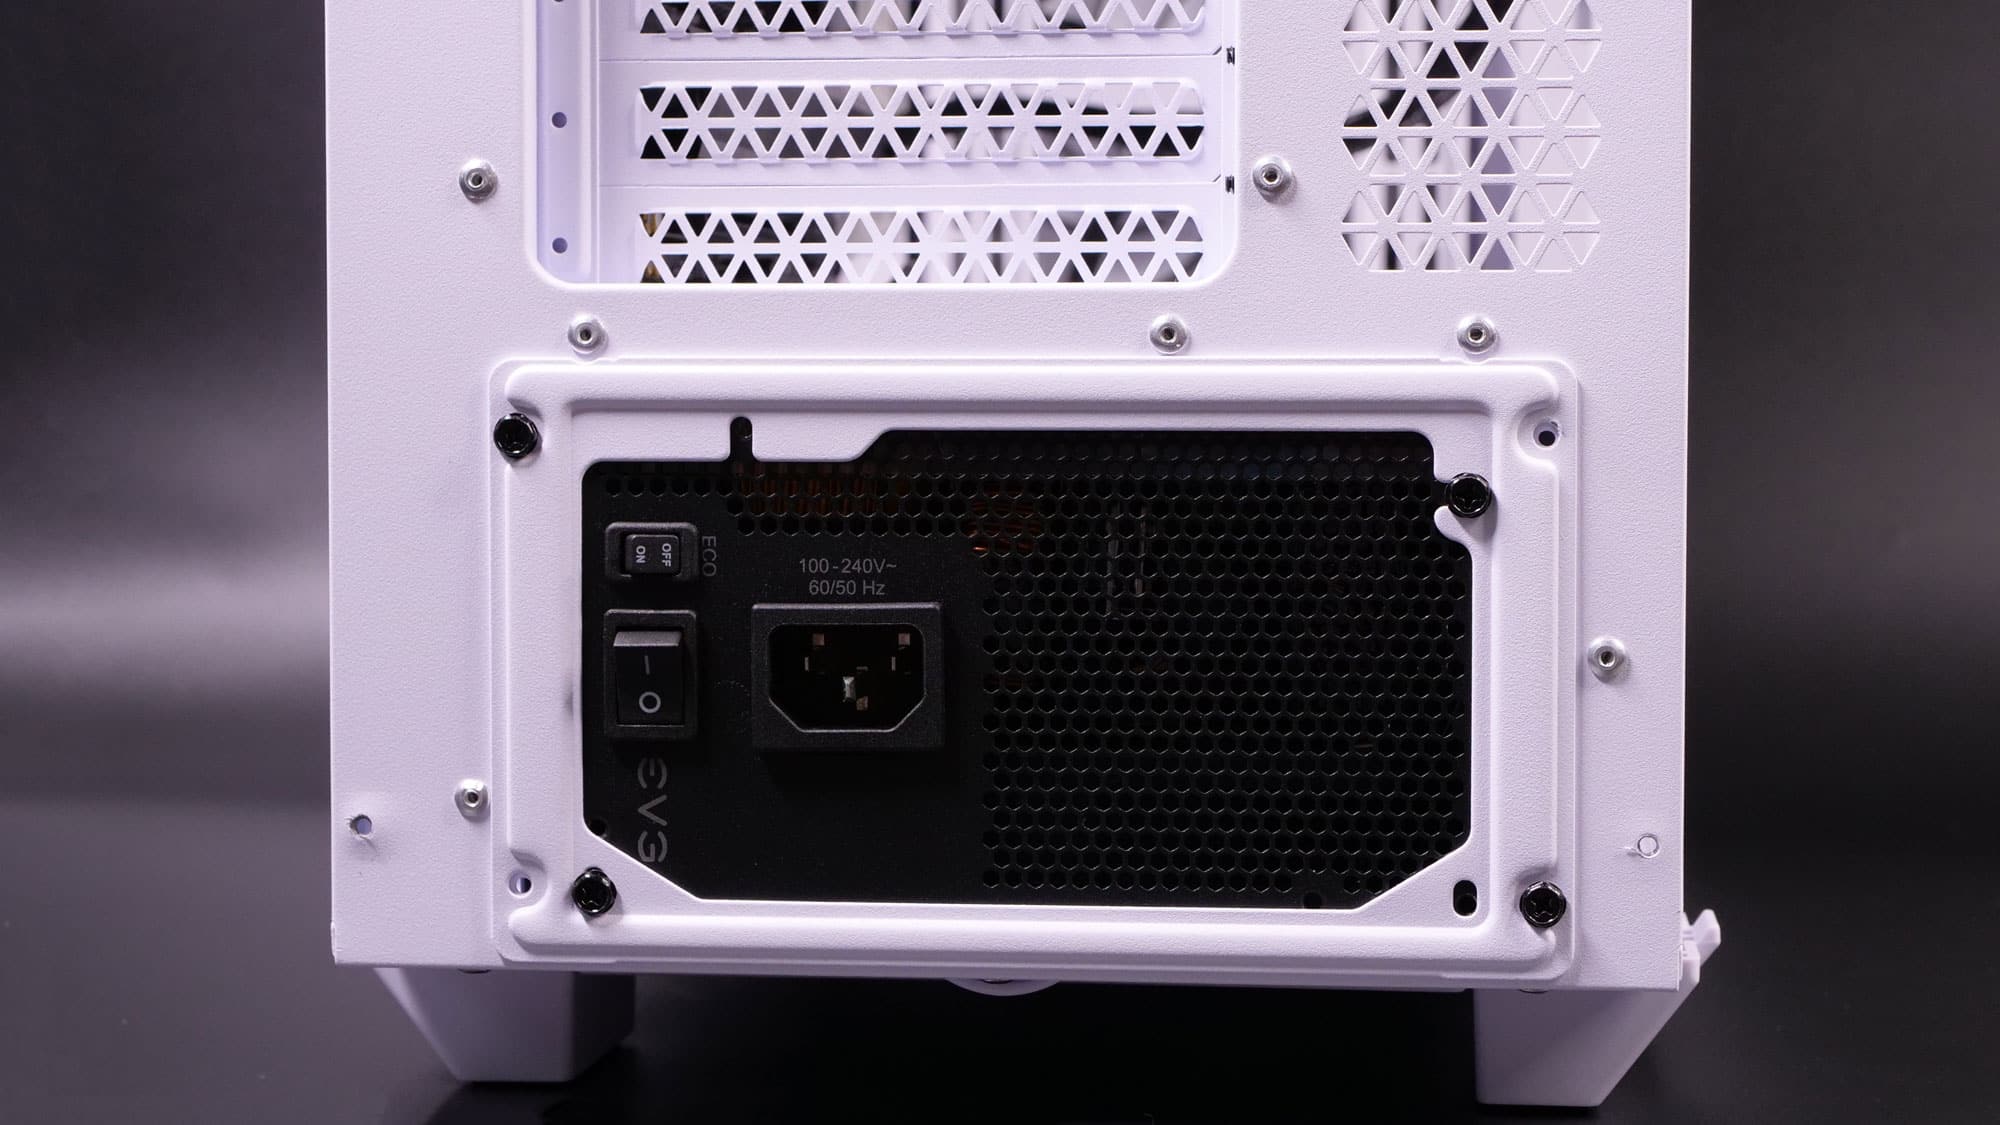
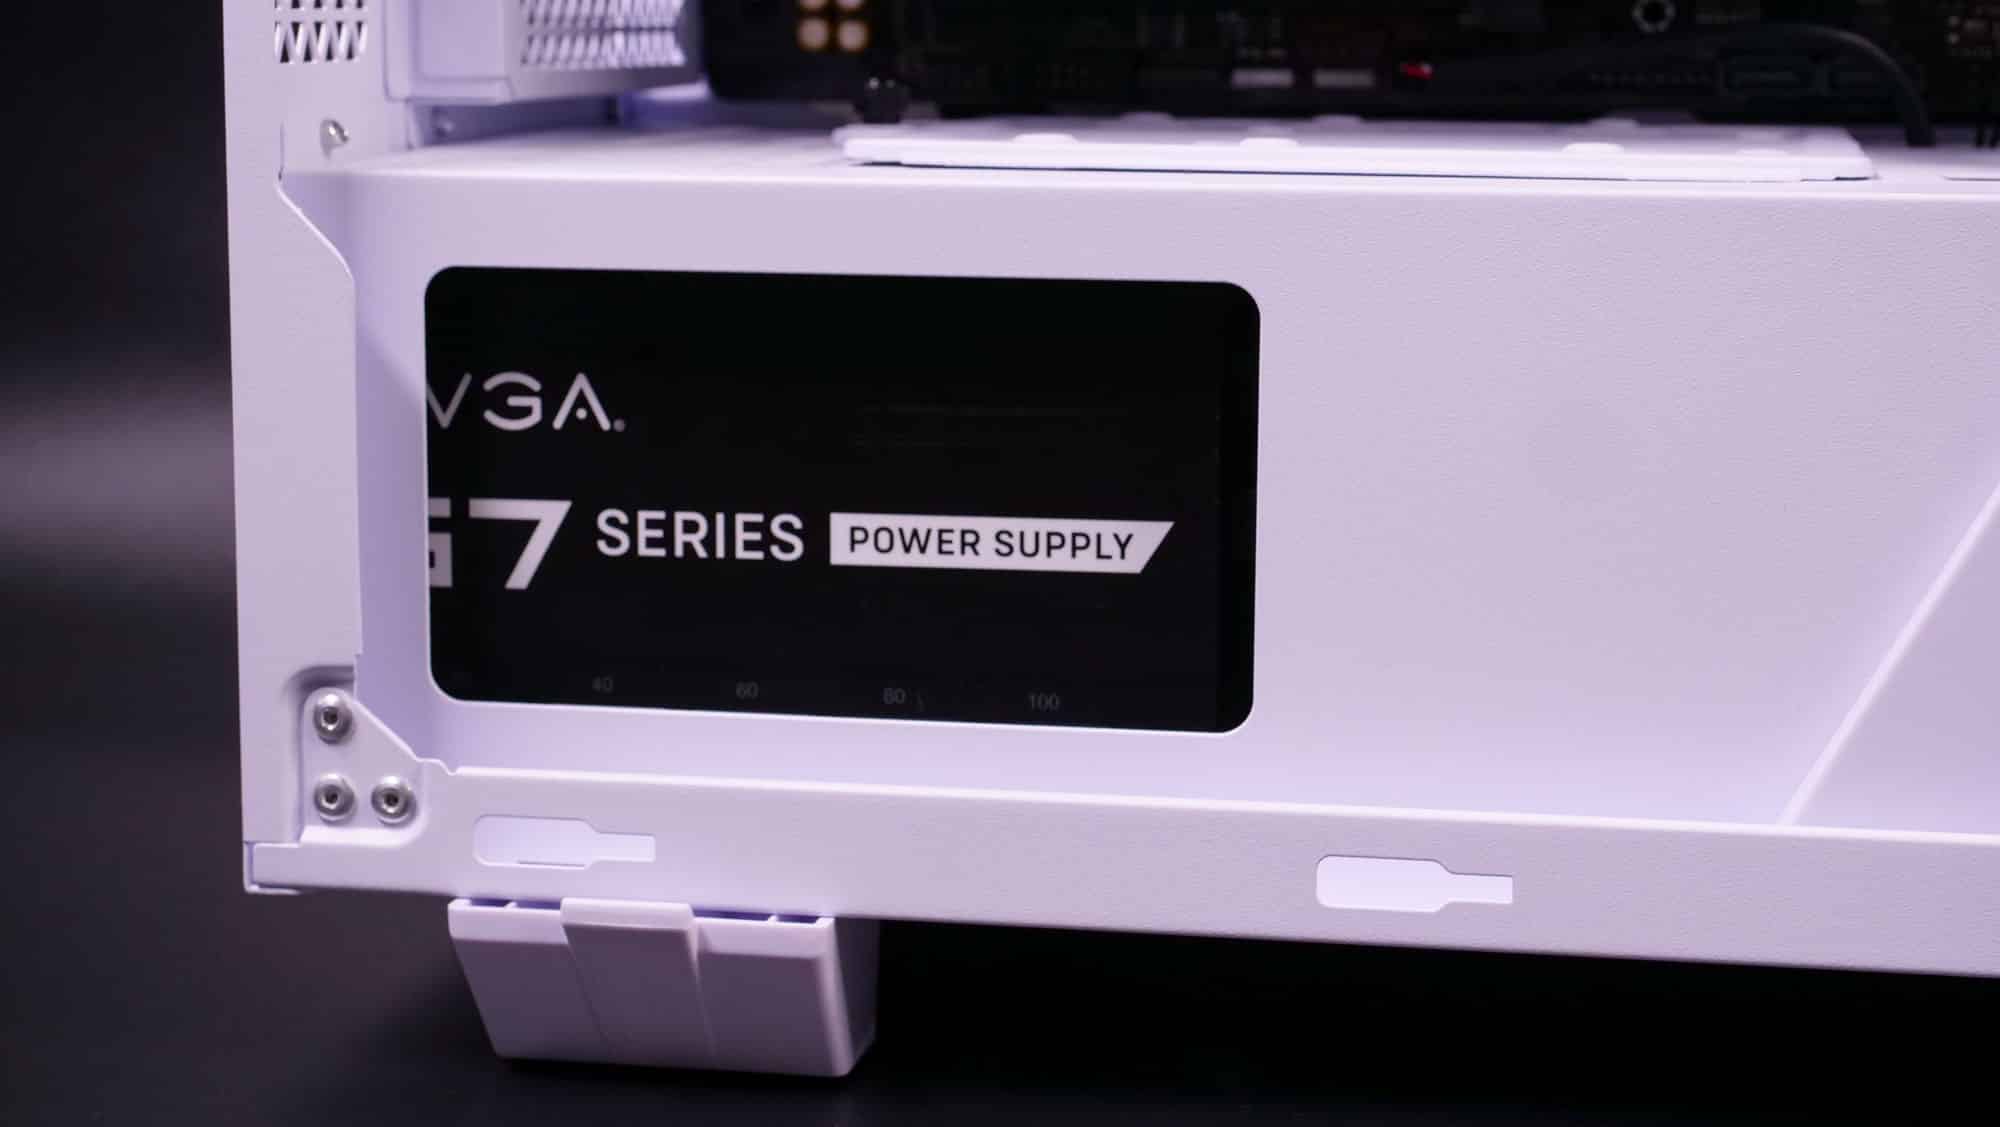
Installing the PSU is easy, thanks to the provided bracket. You need to use eight screws, though, in total!
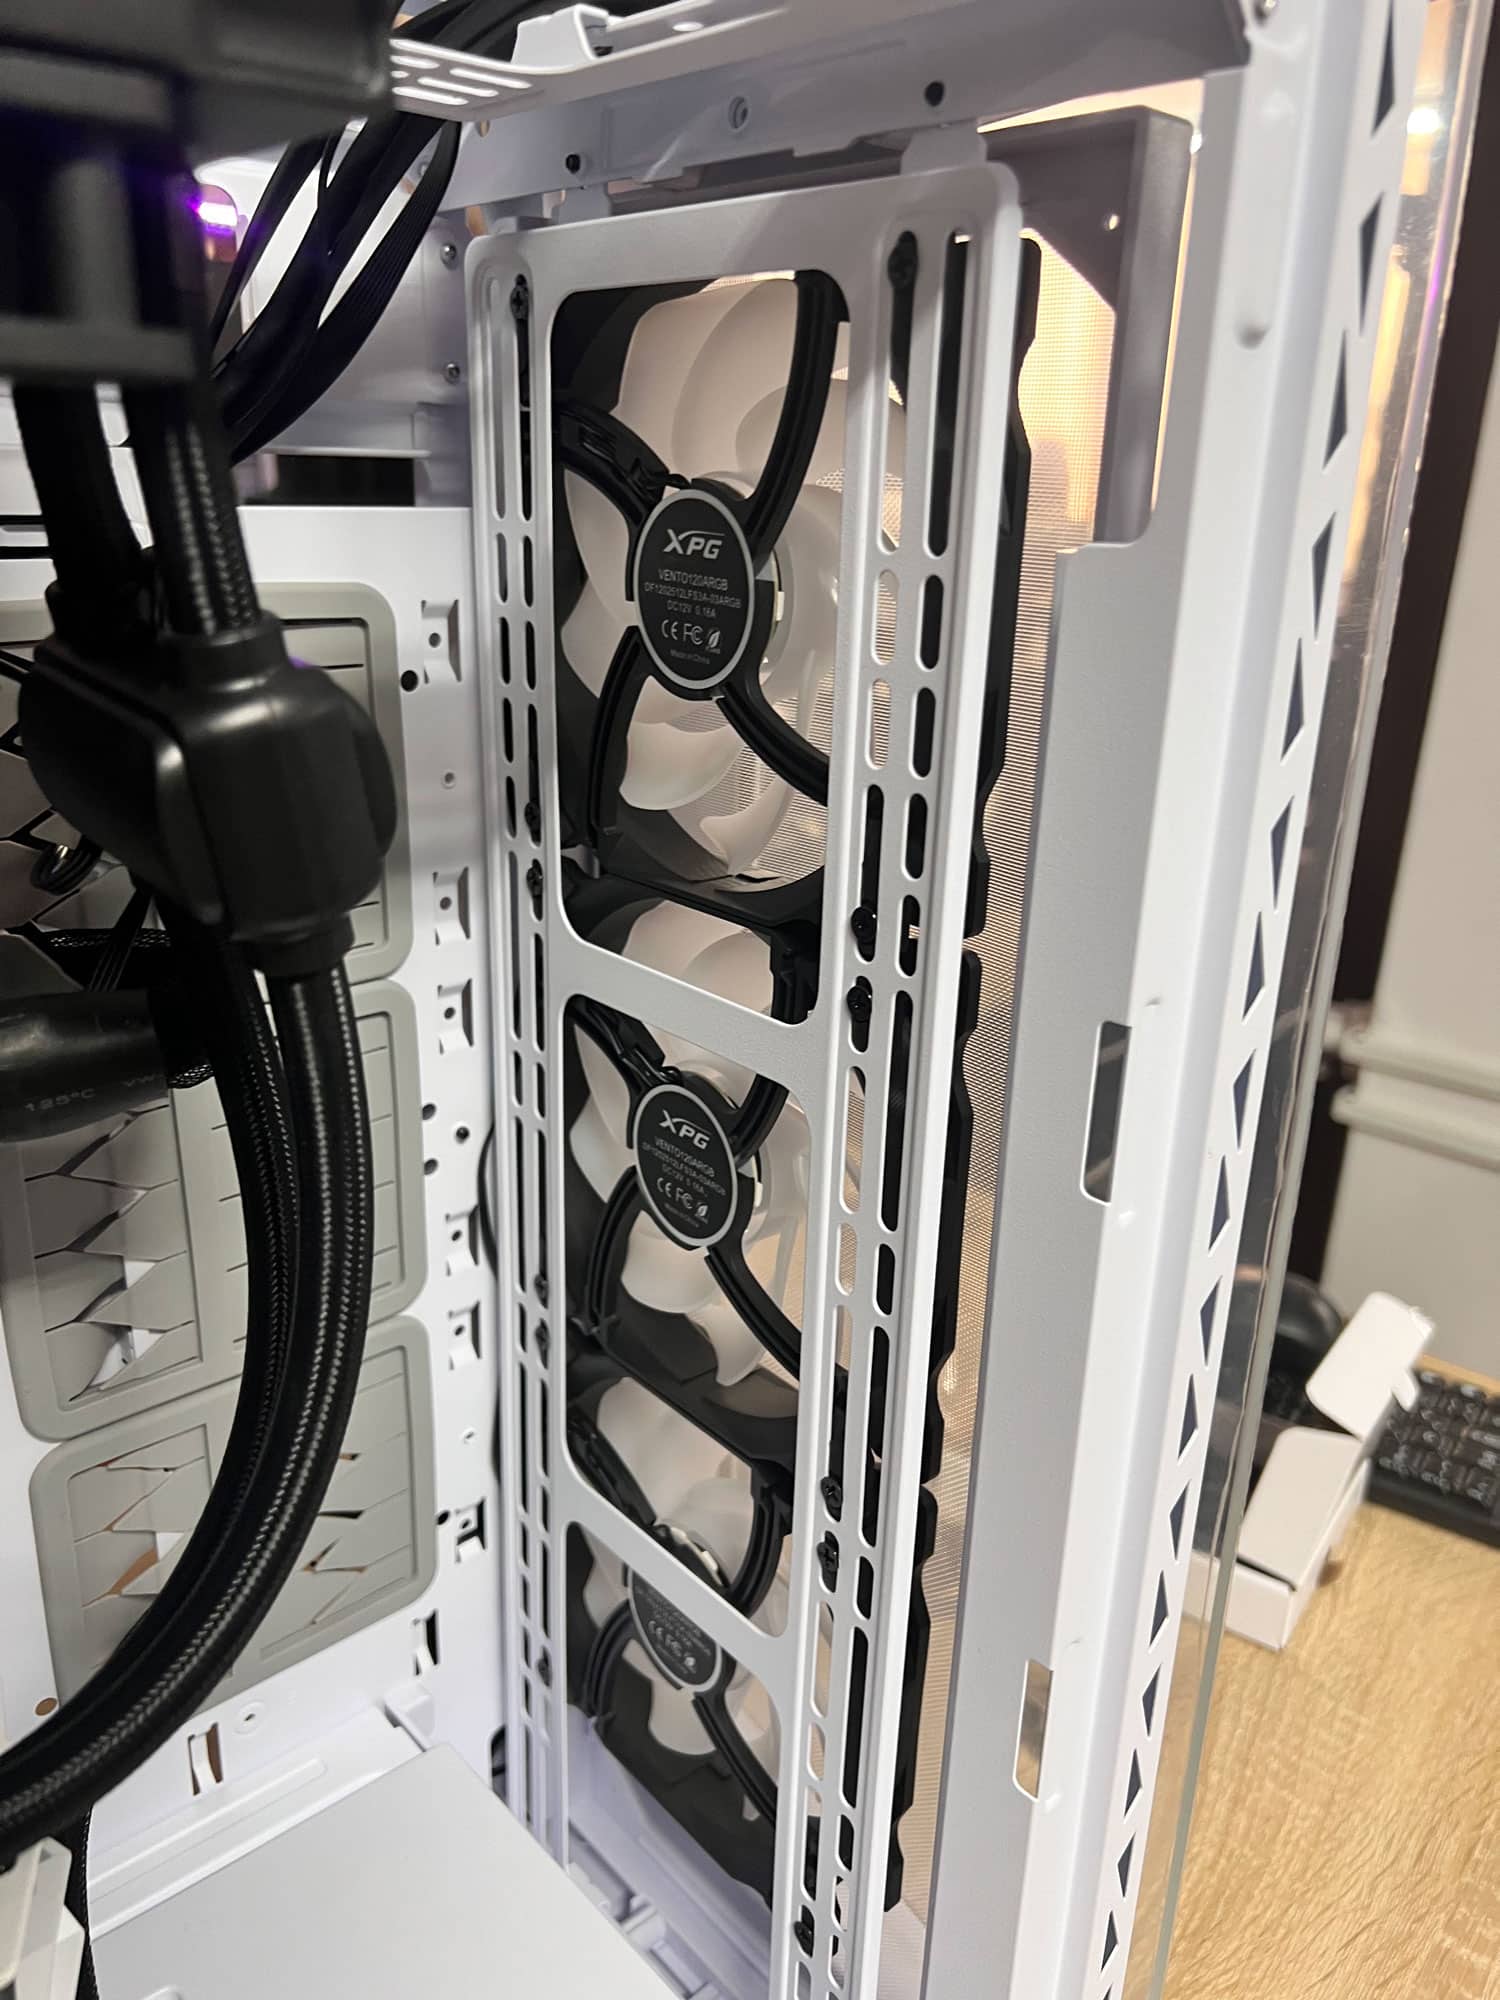
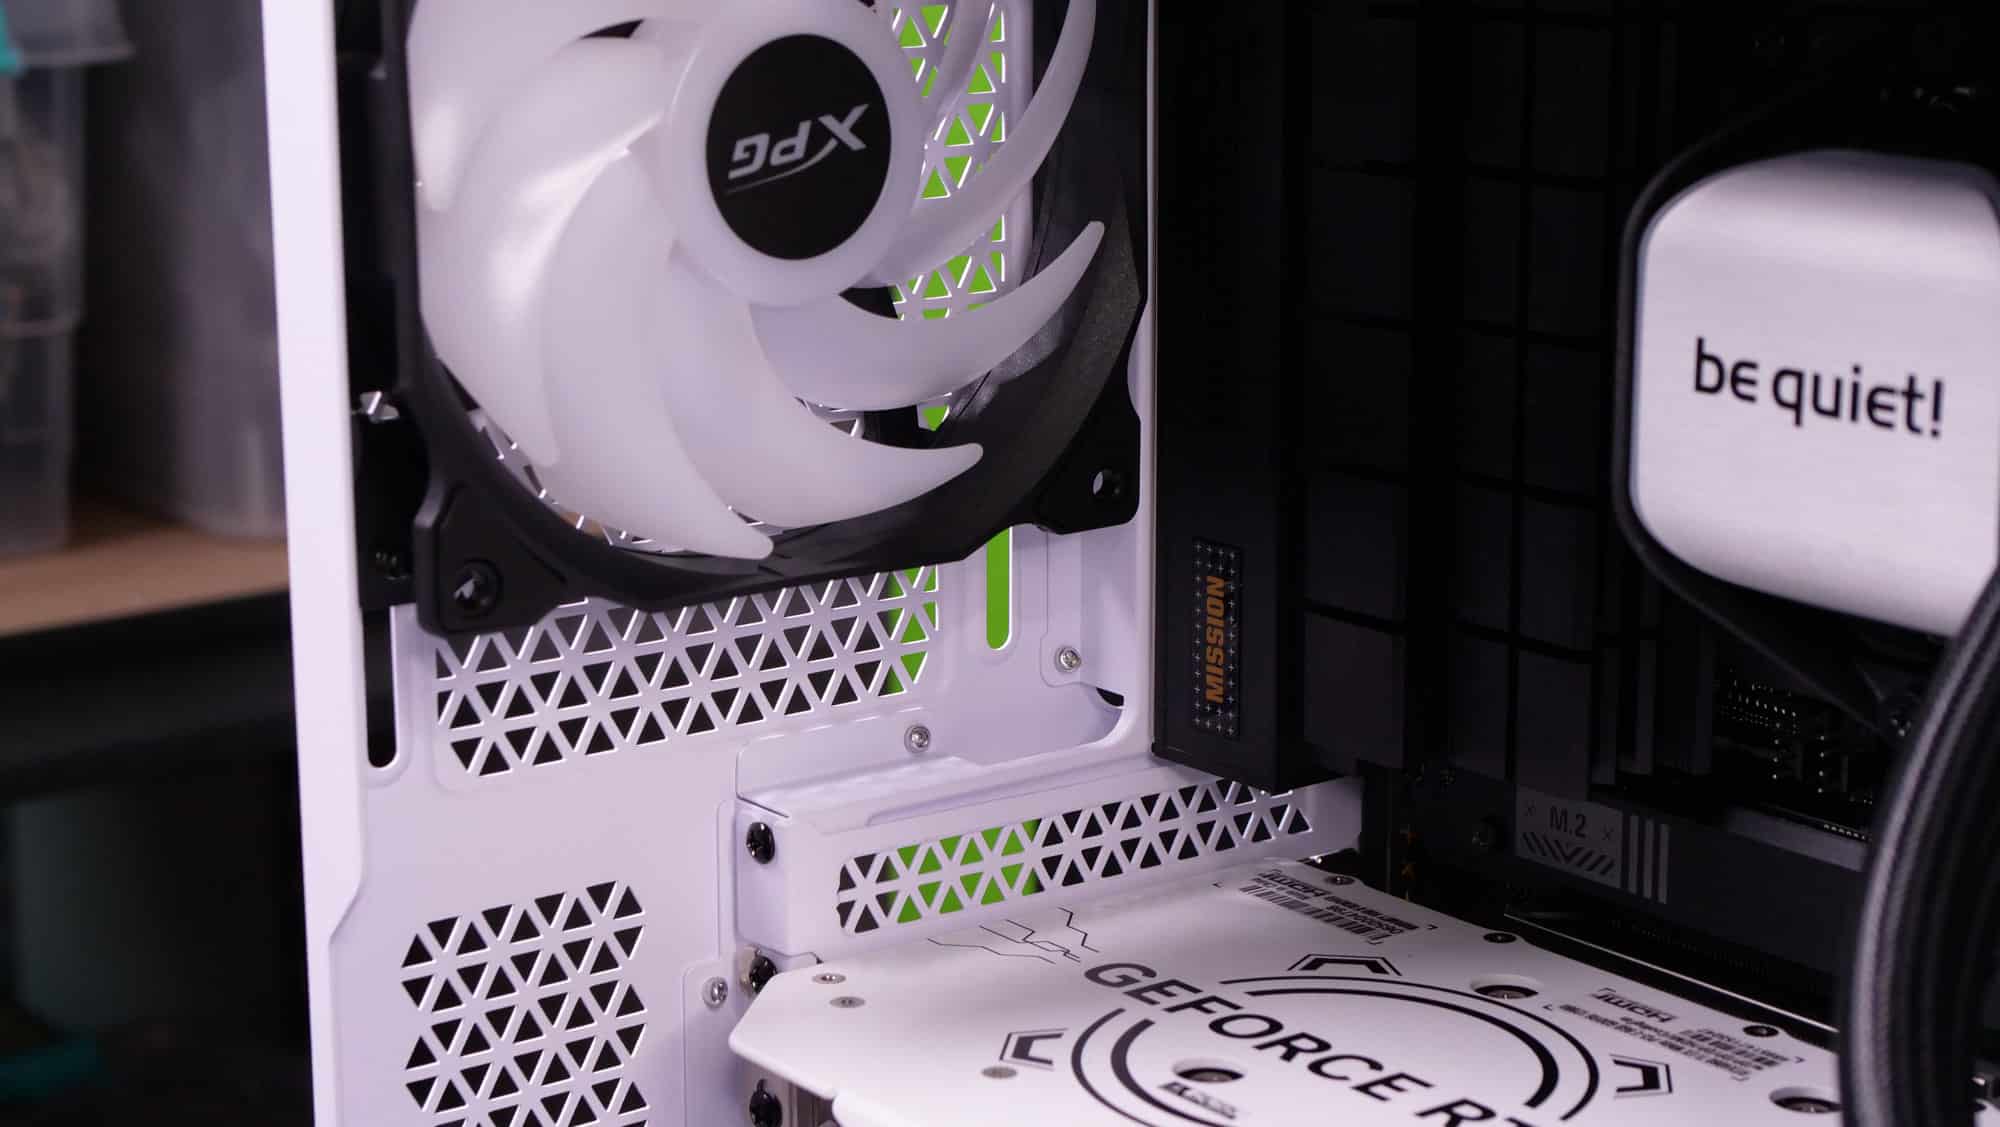
I didn’t install an AIO at the front, leaving the stock fans in their place.
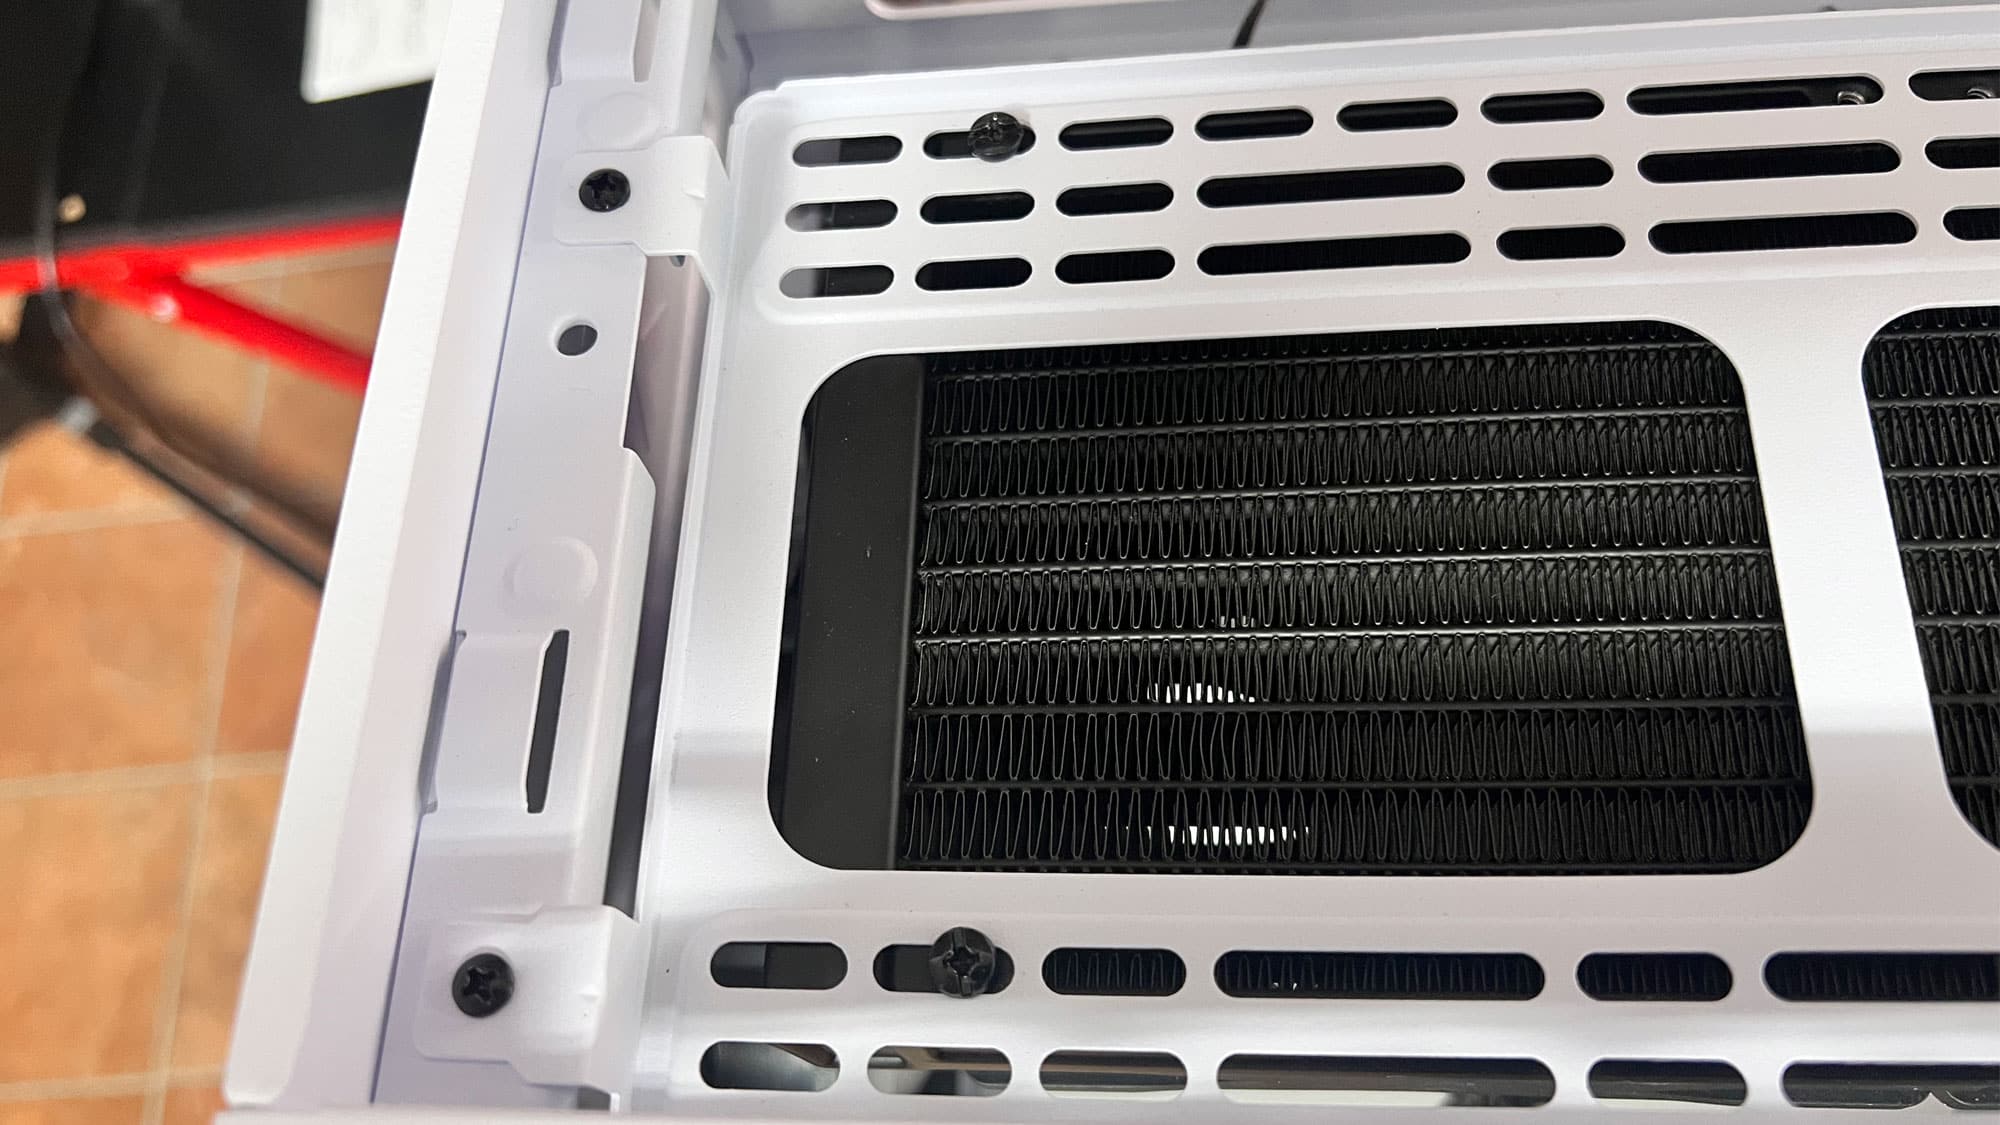
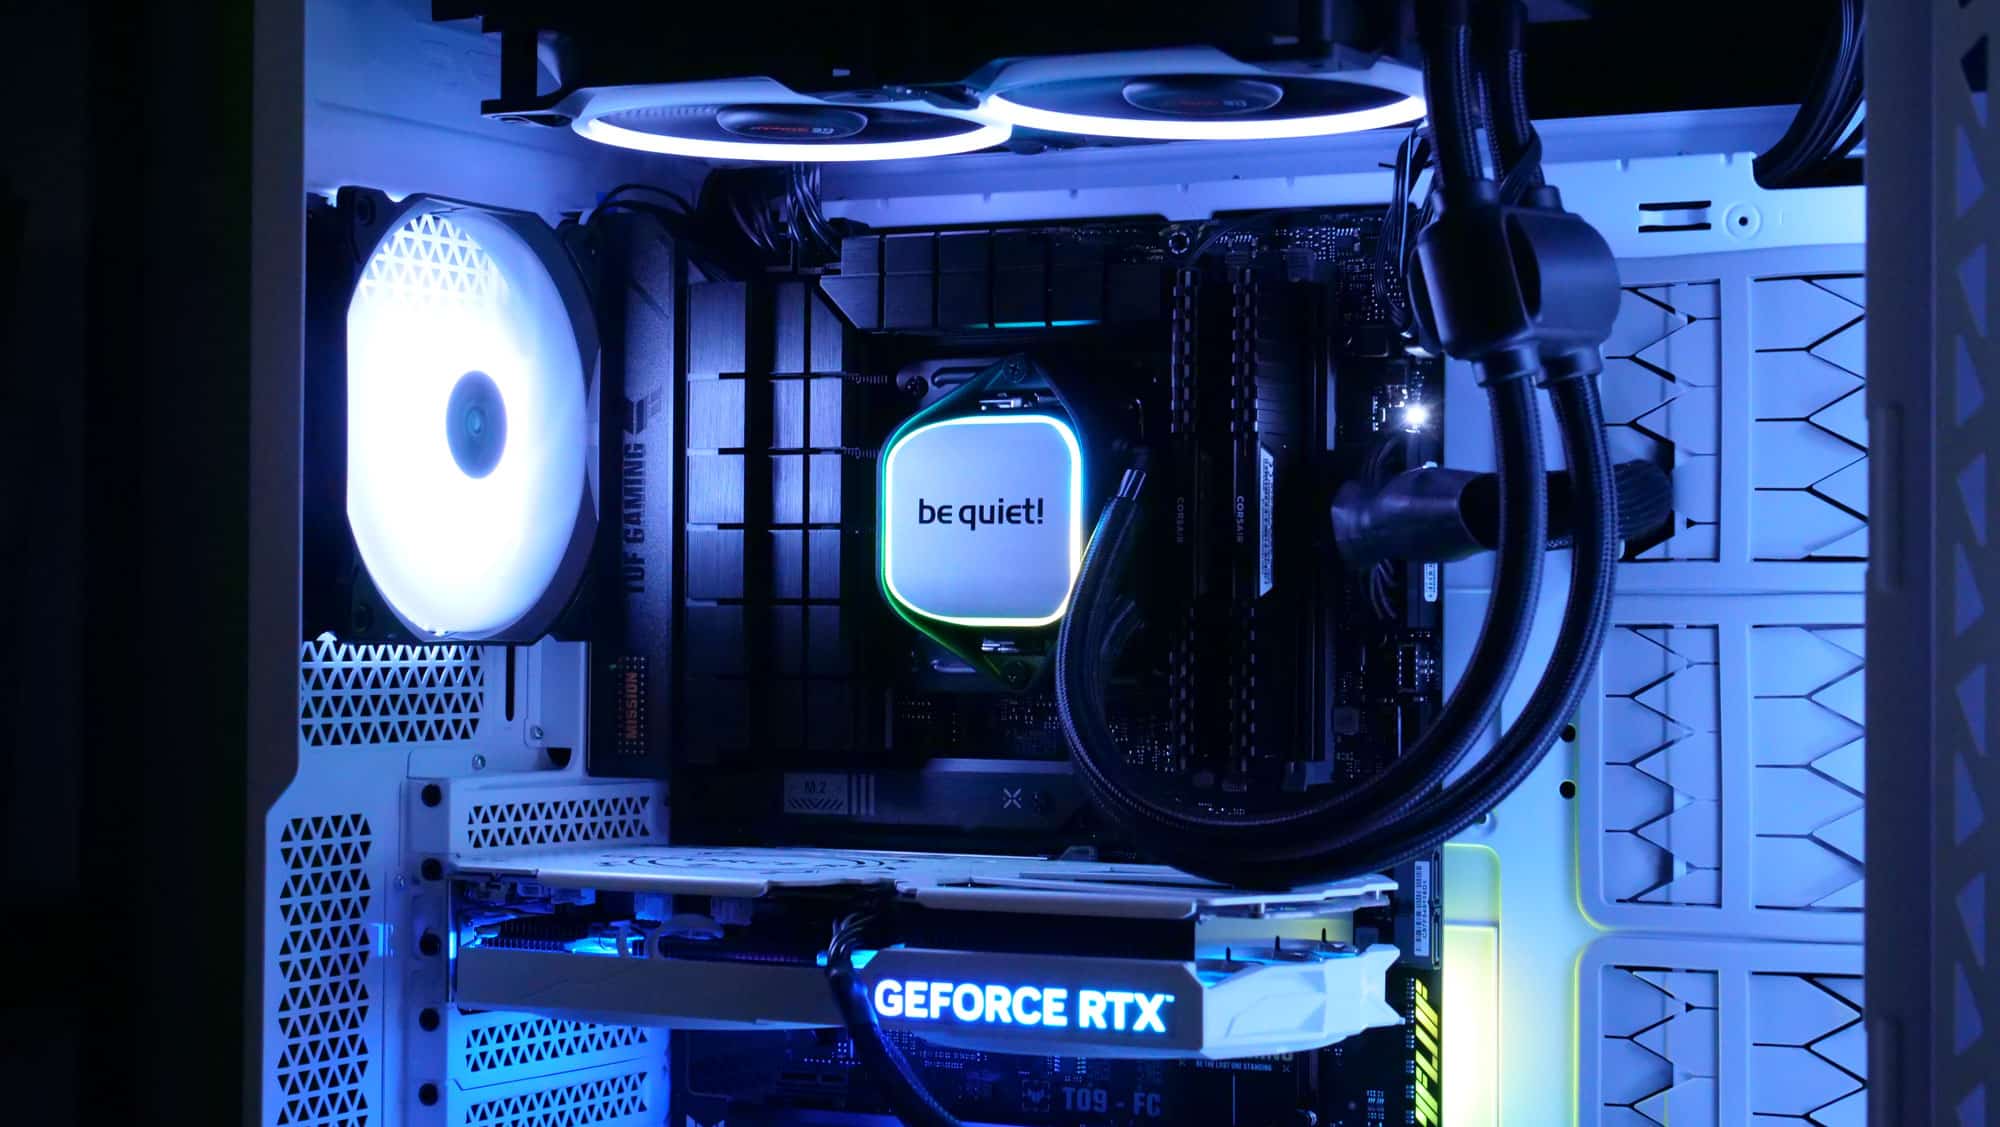
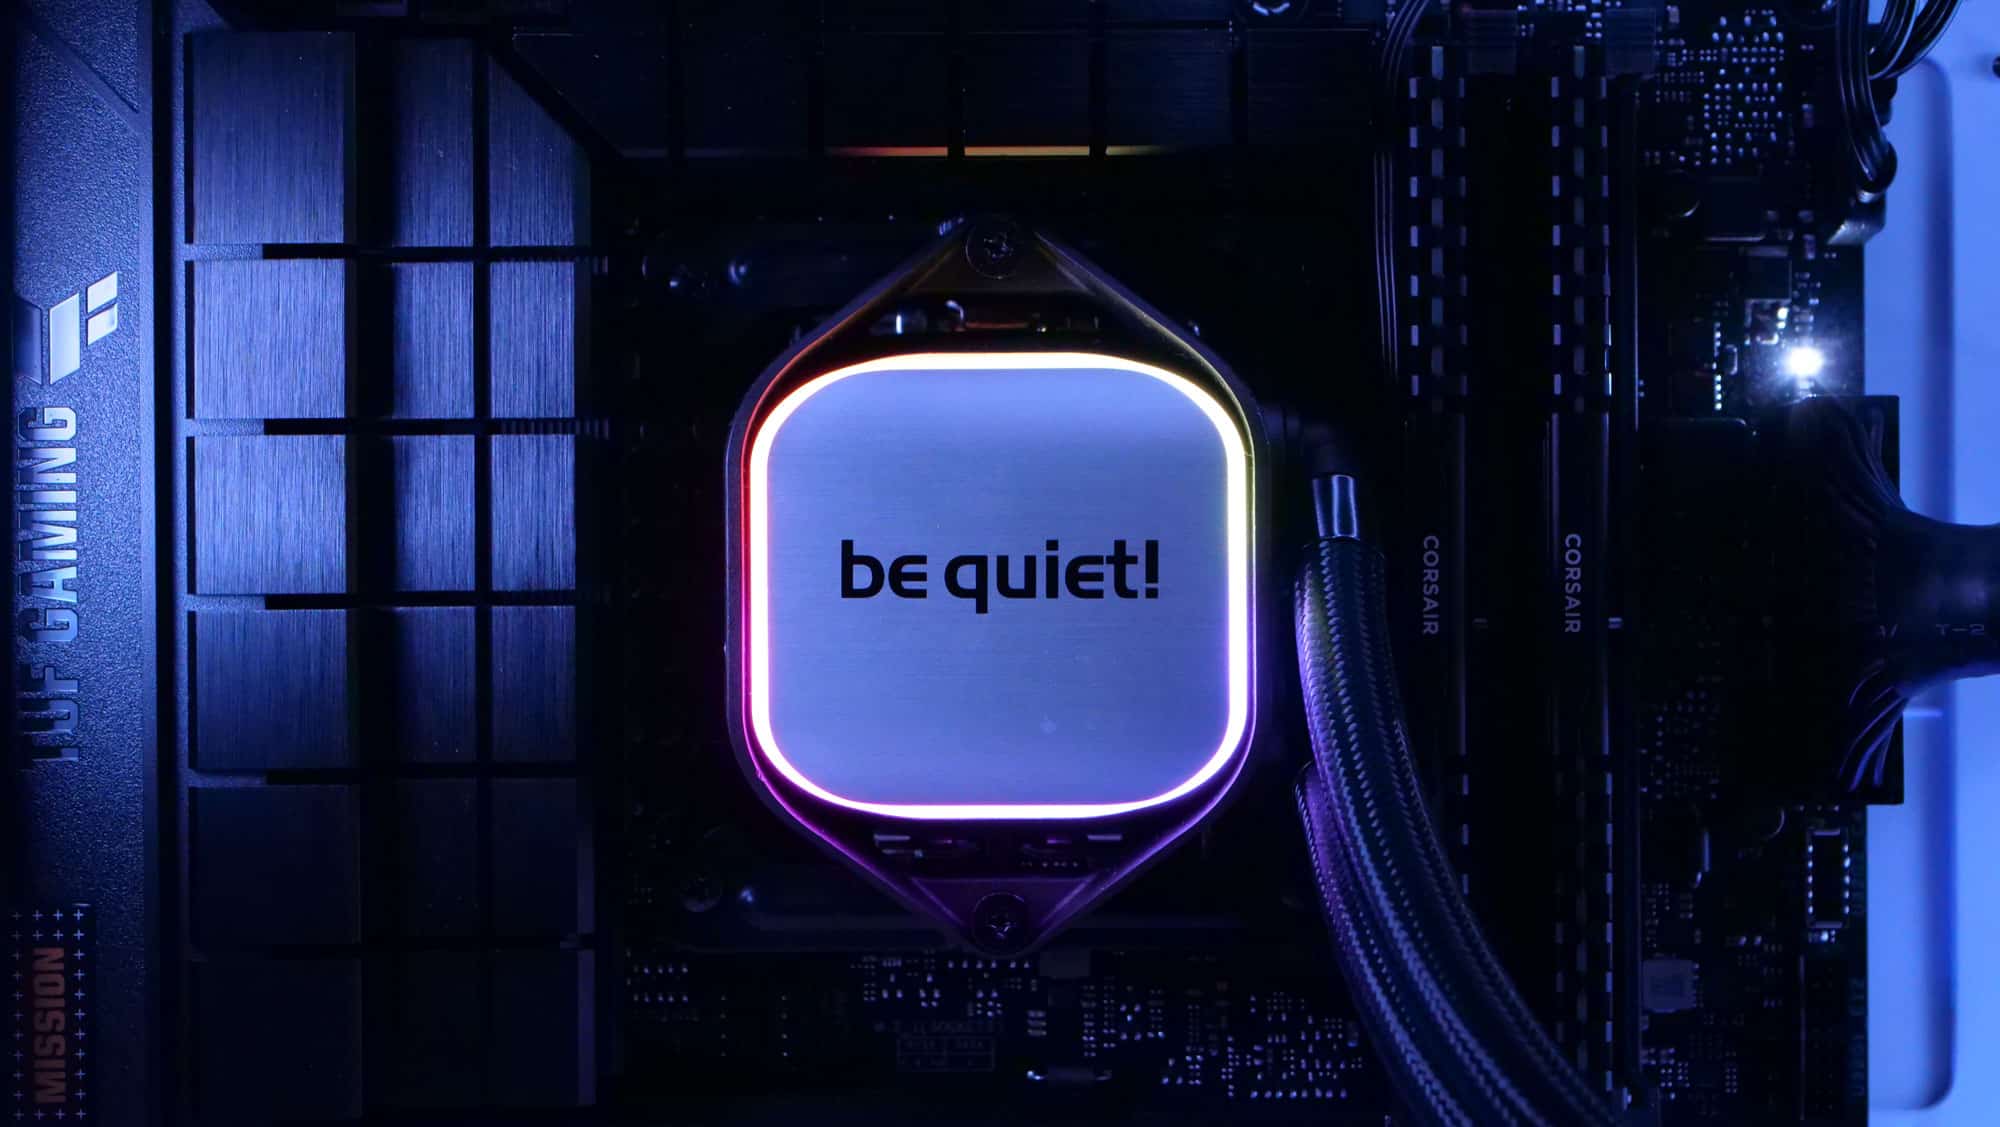
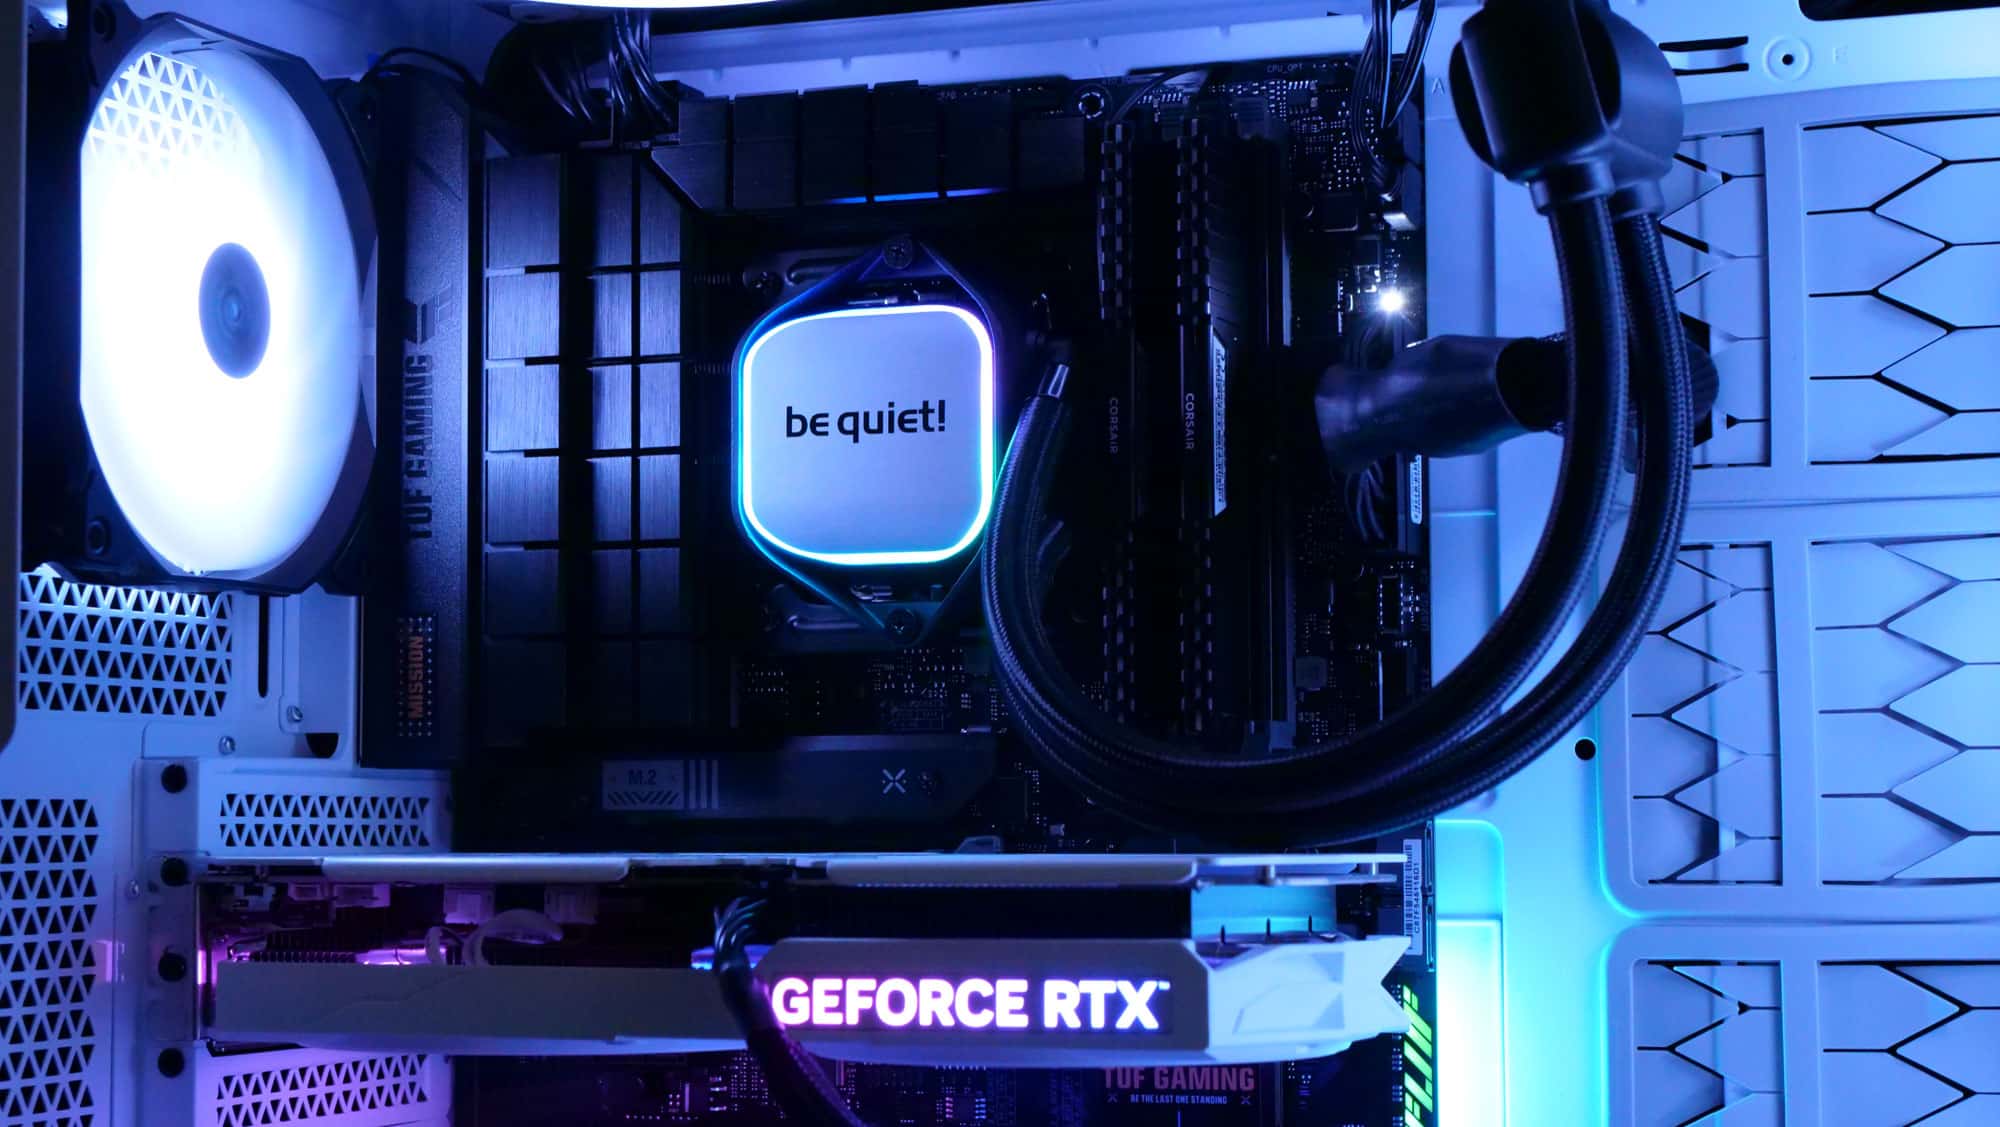
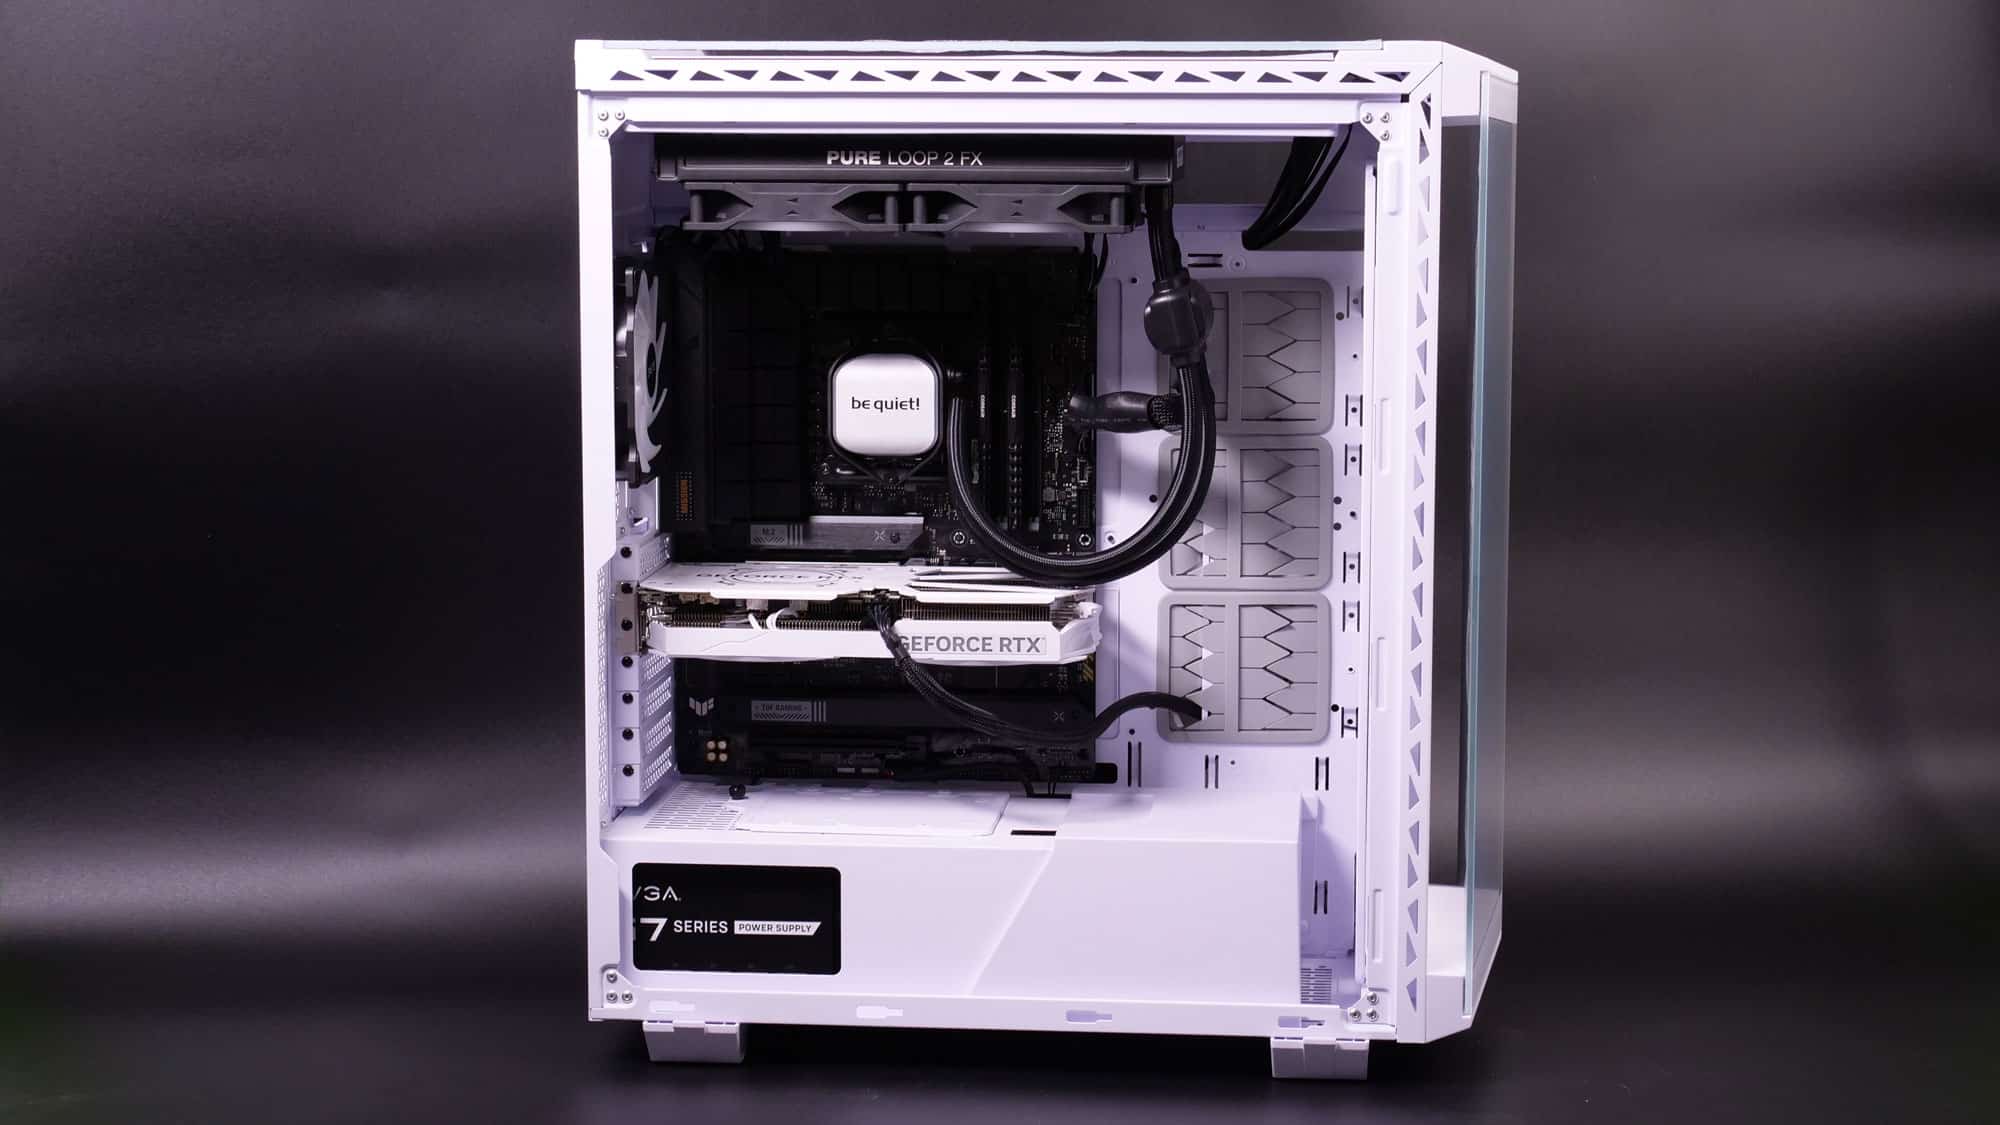
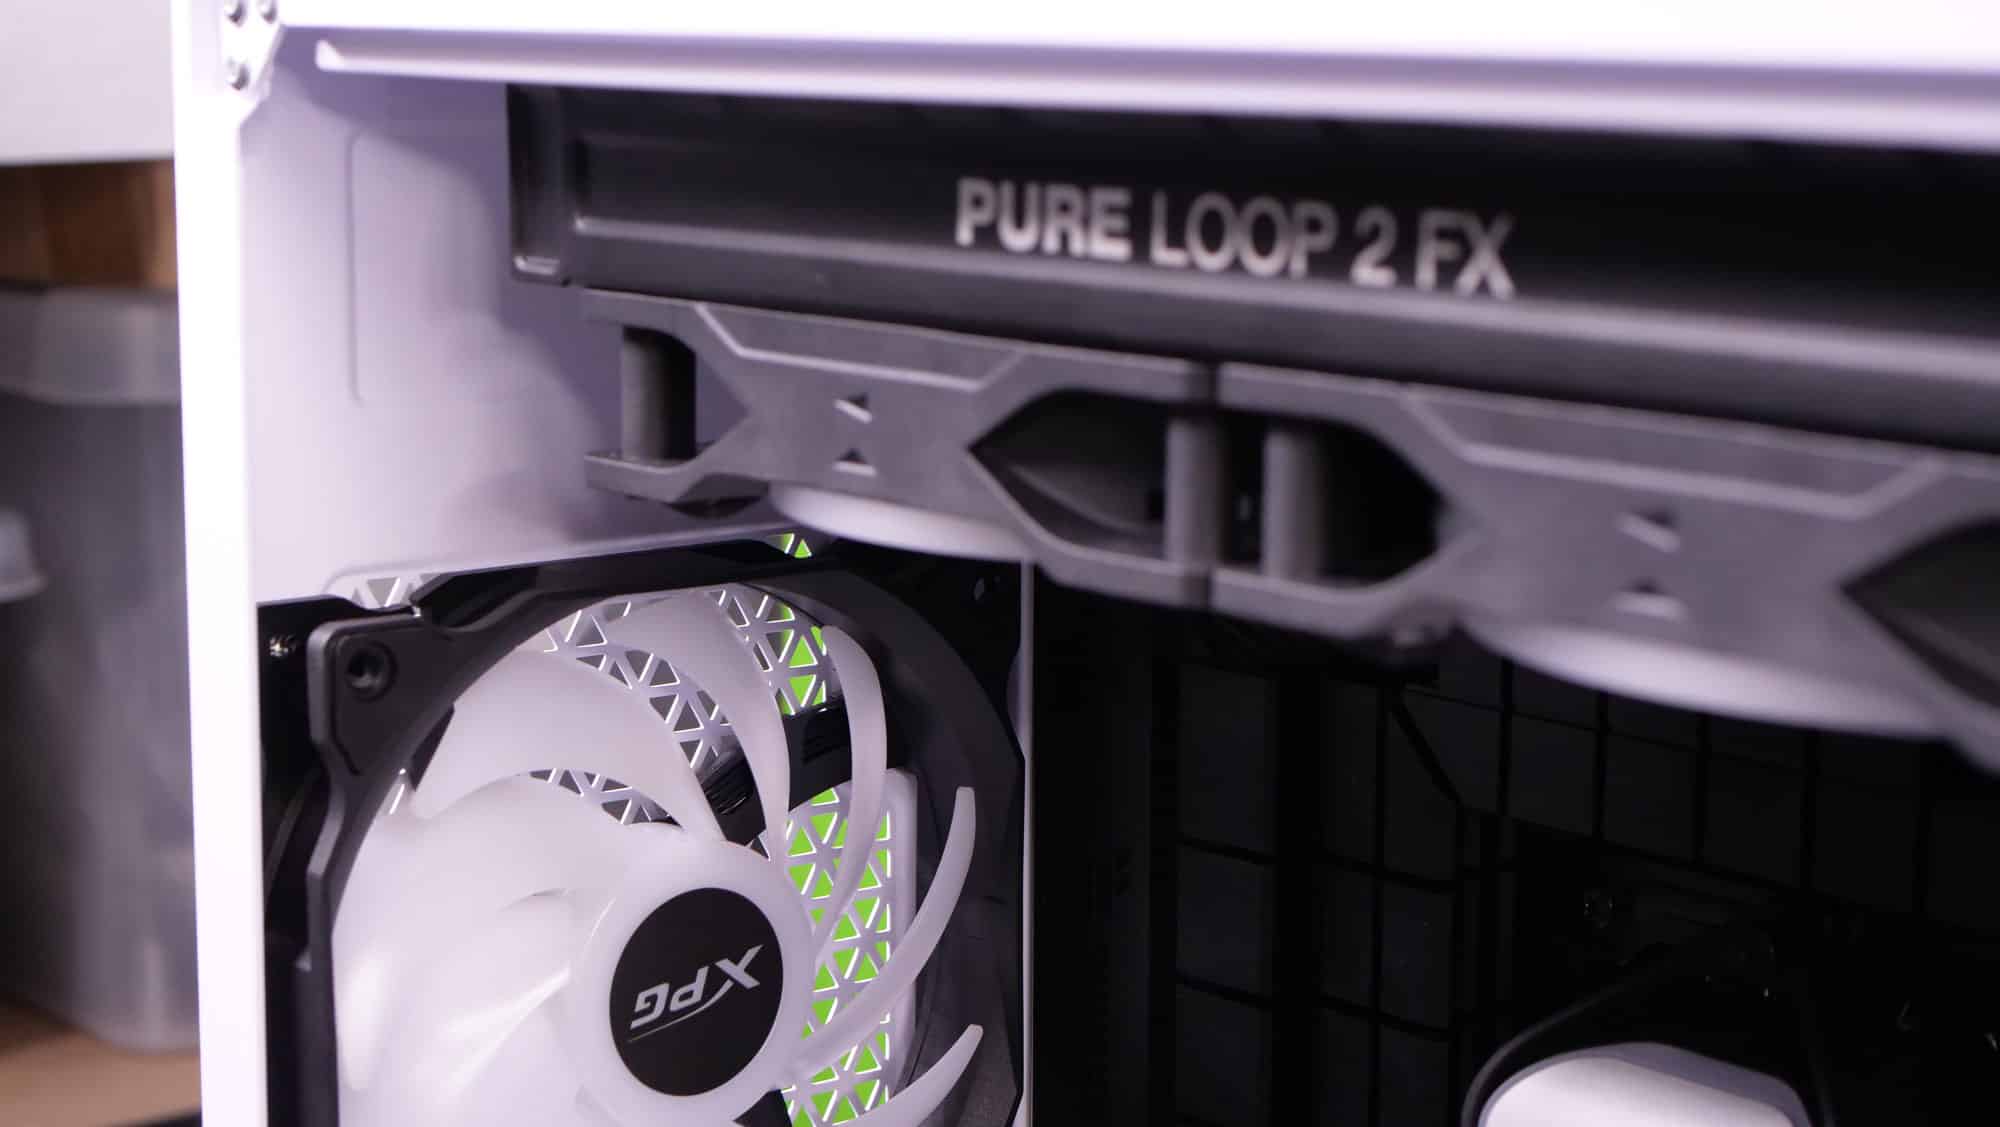
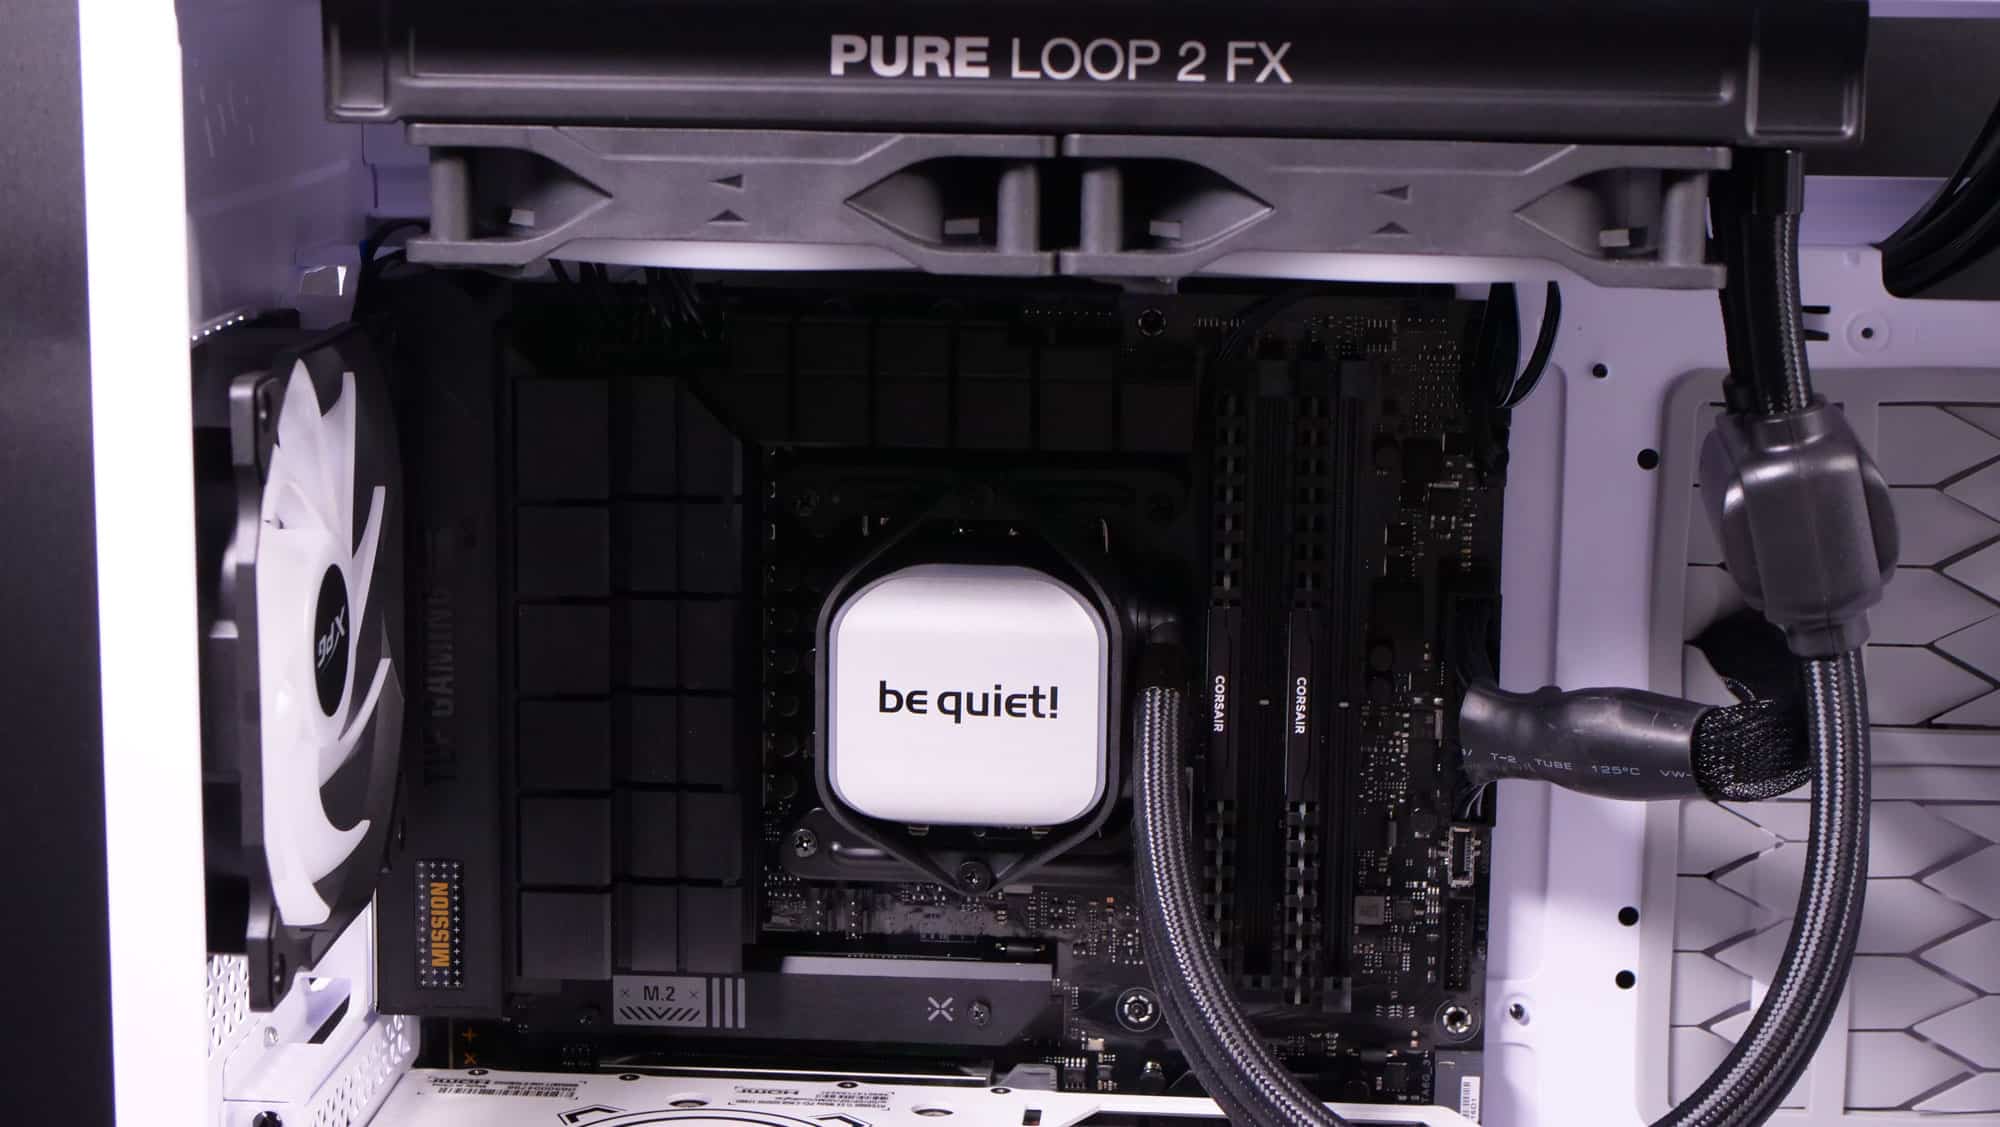
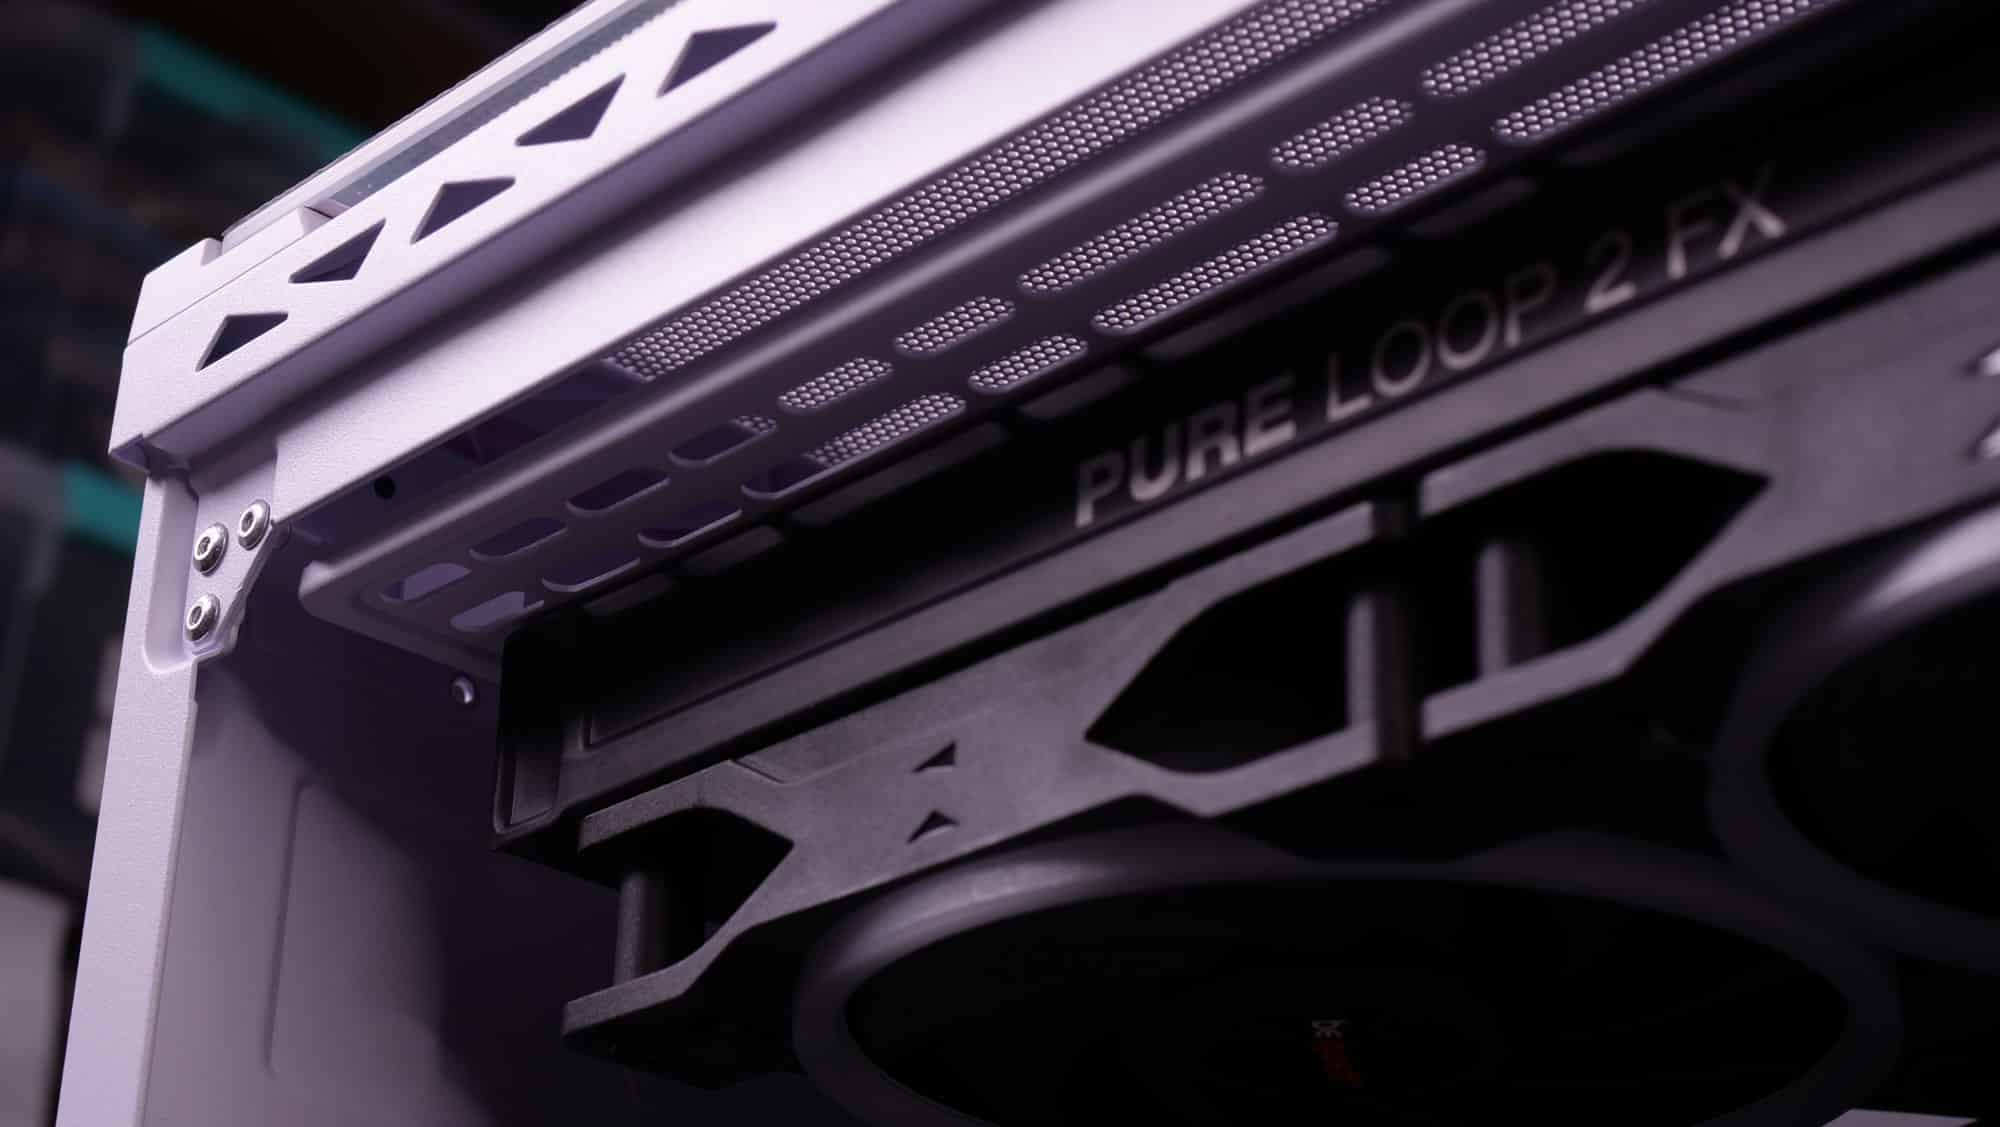
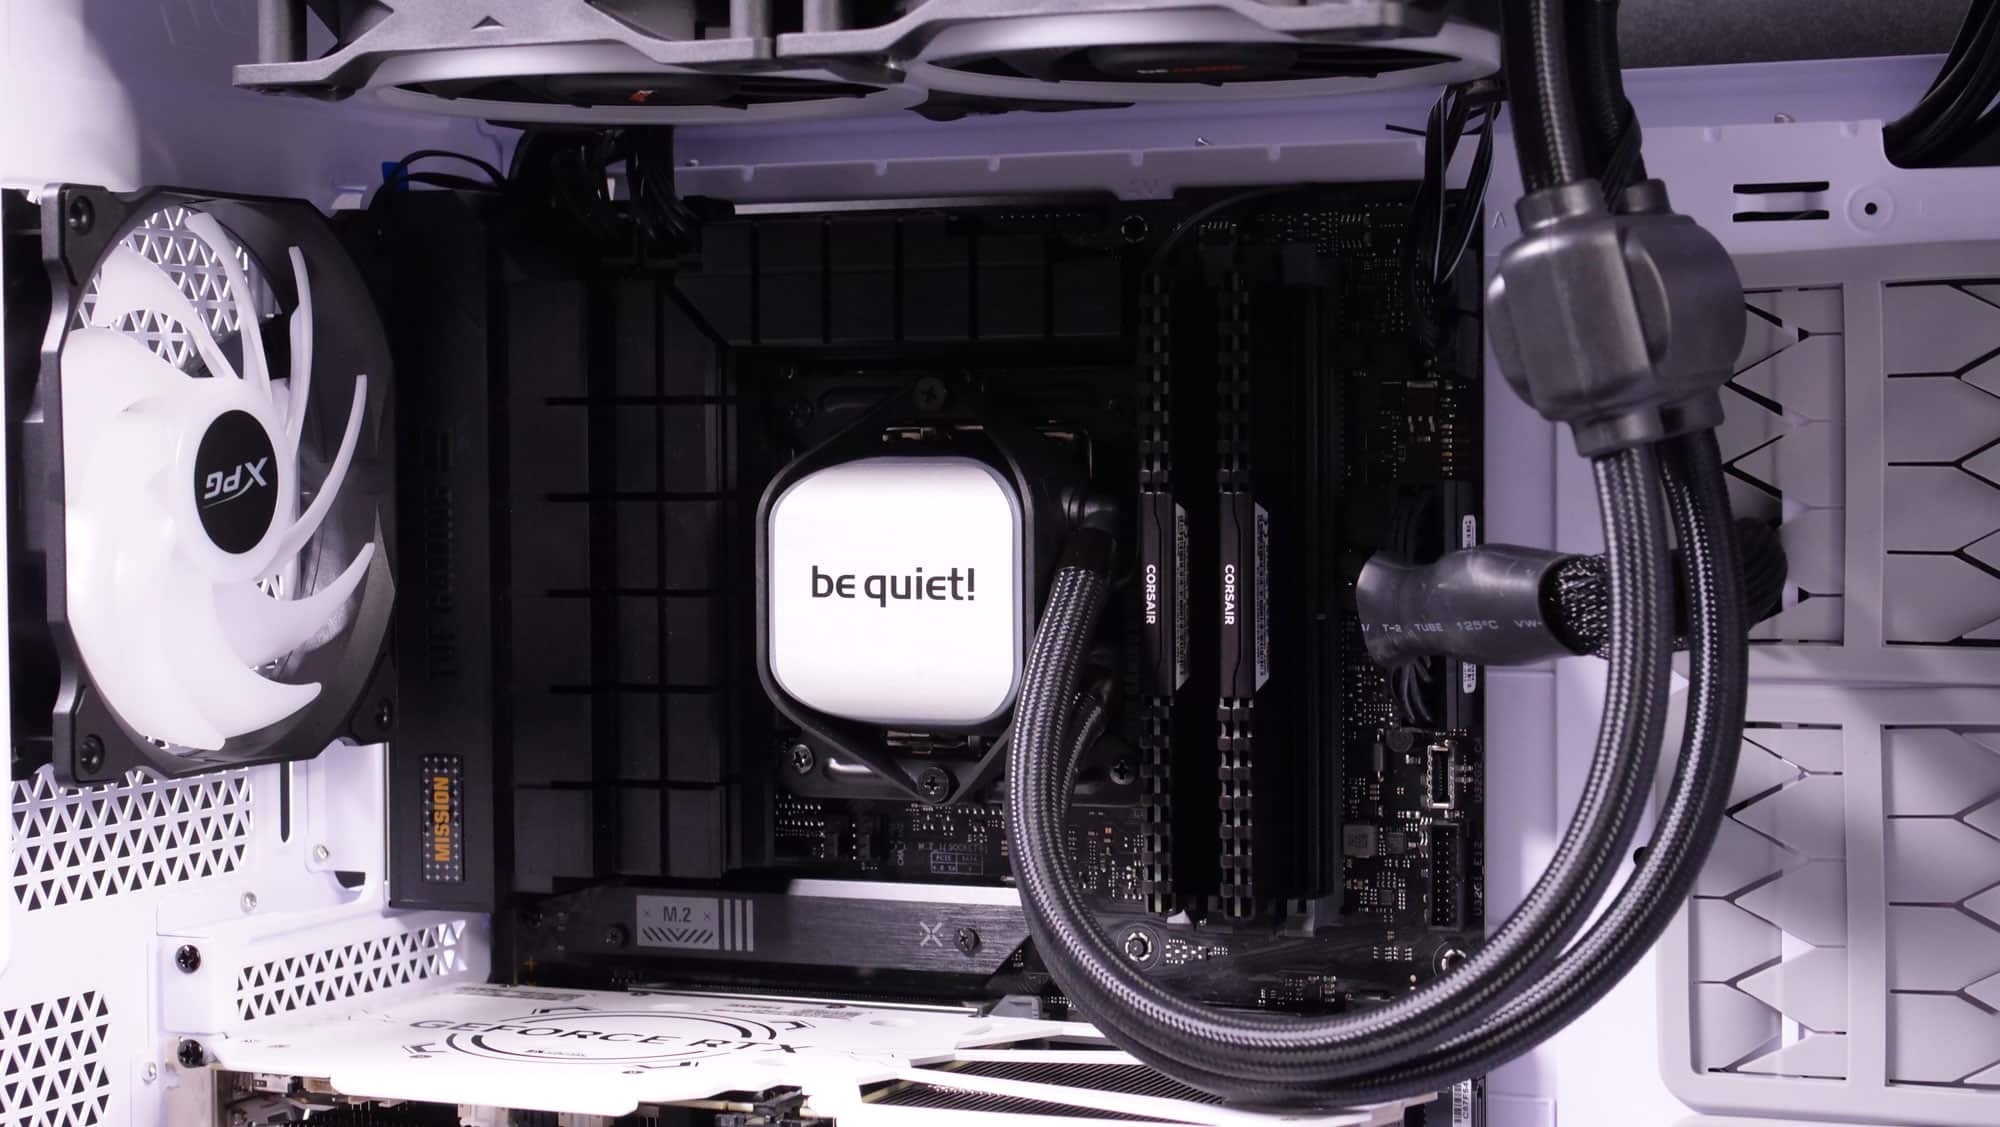
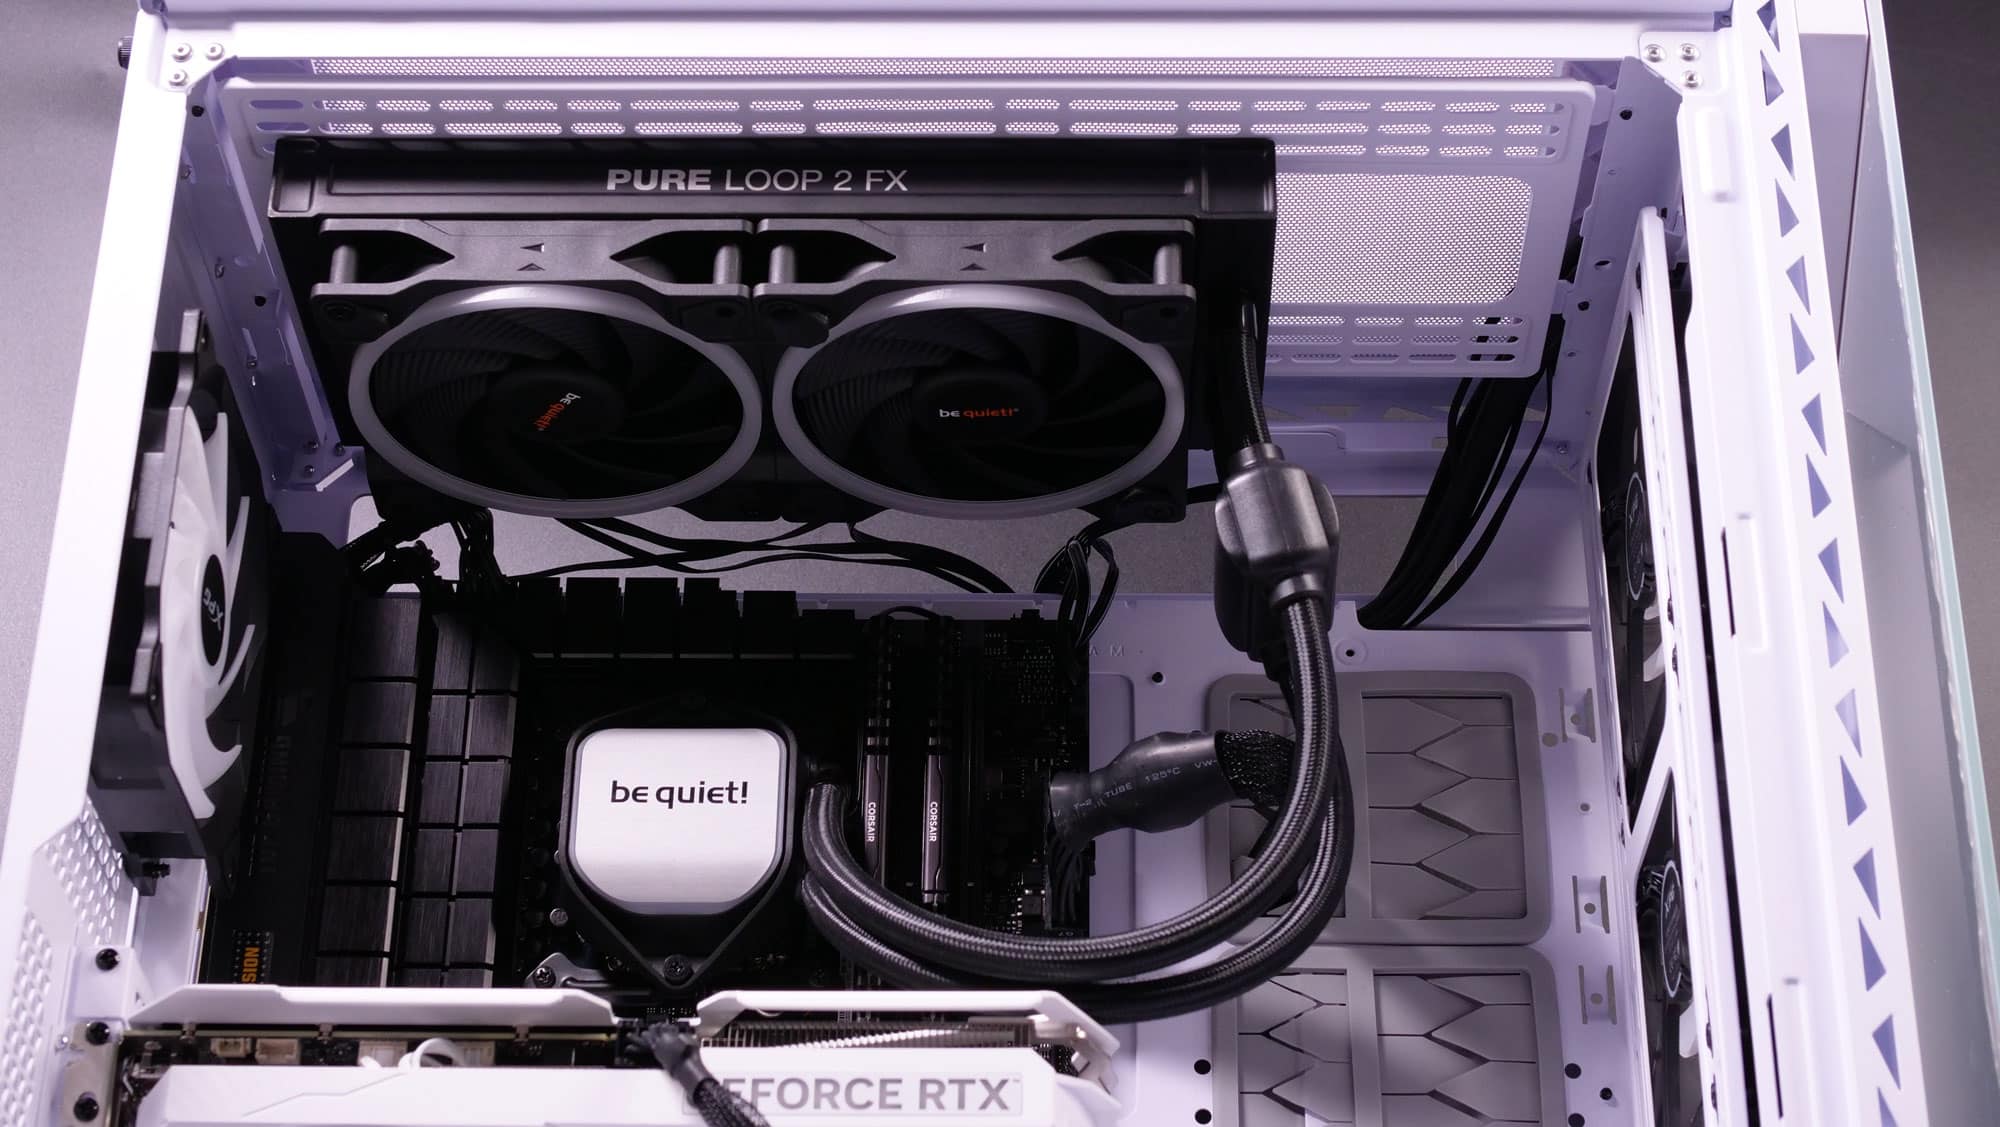
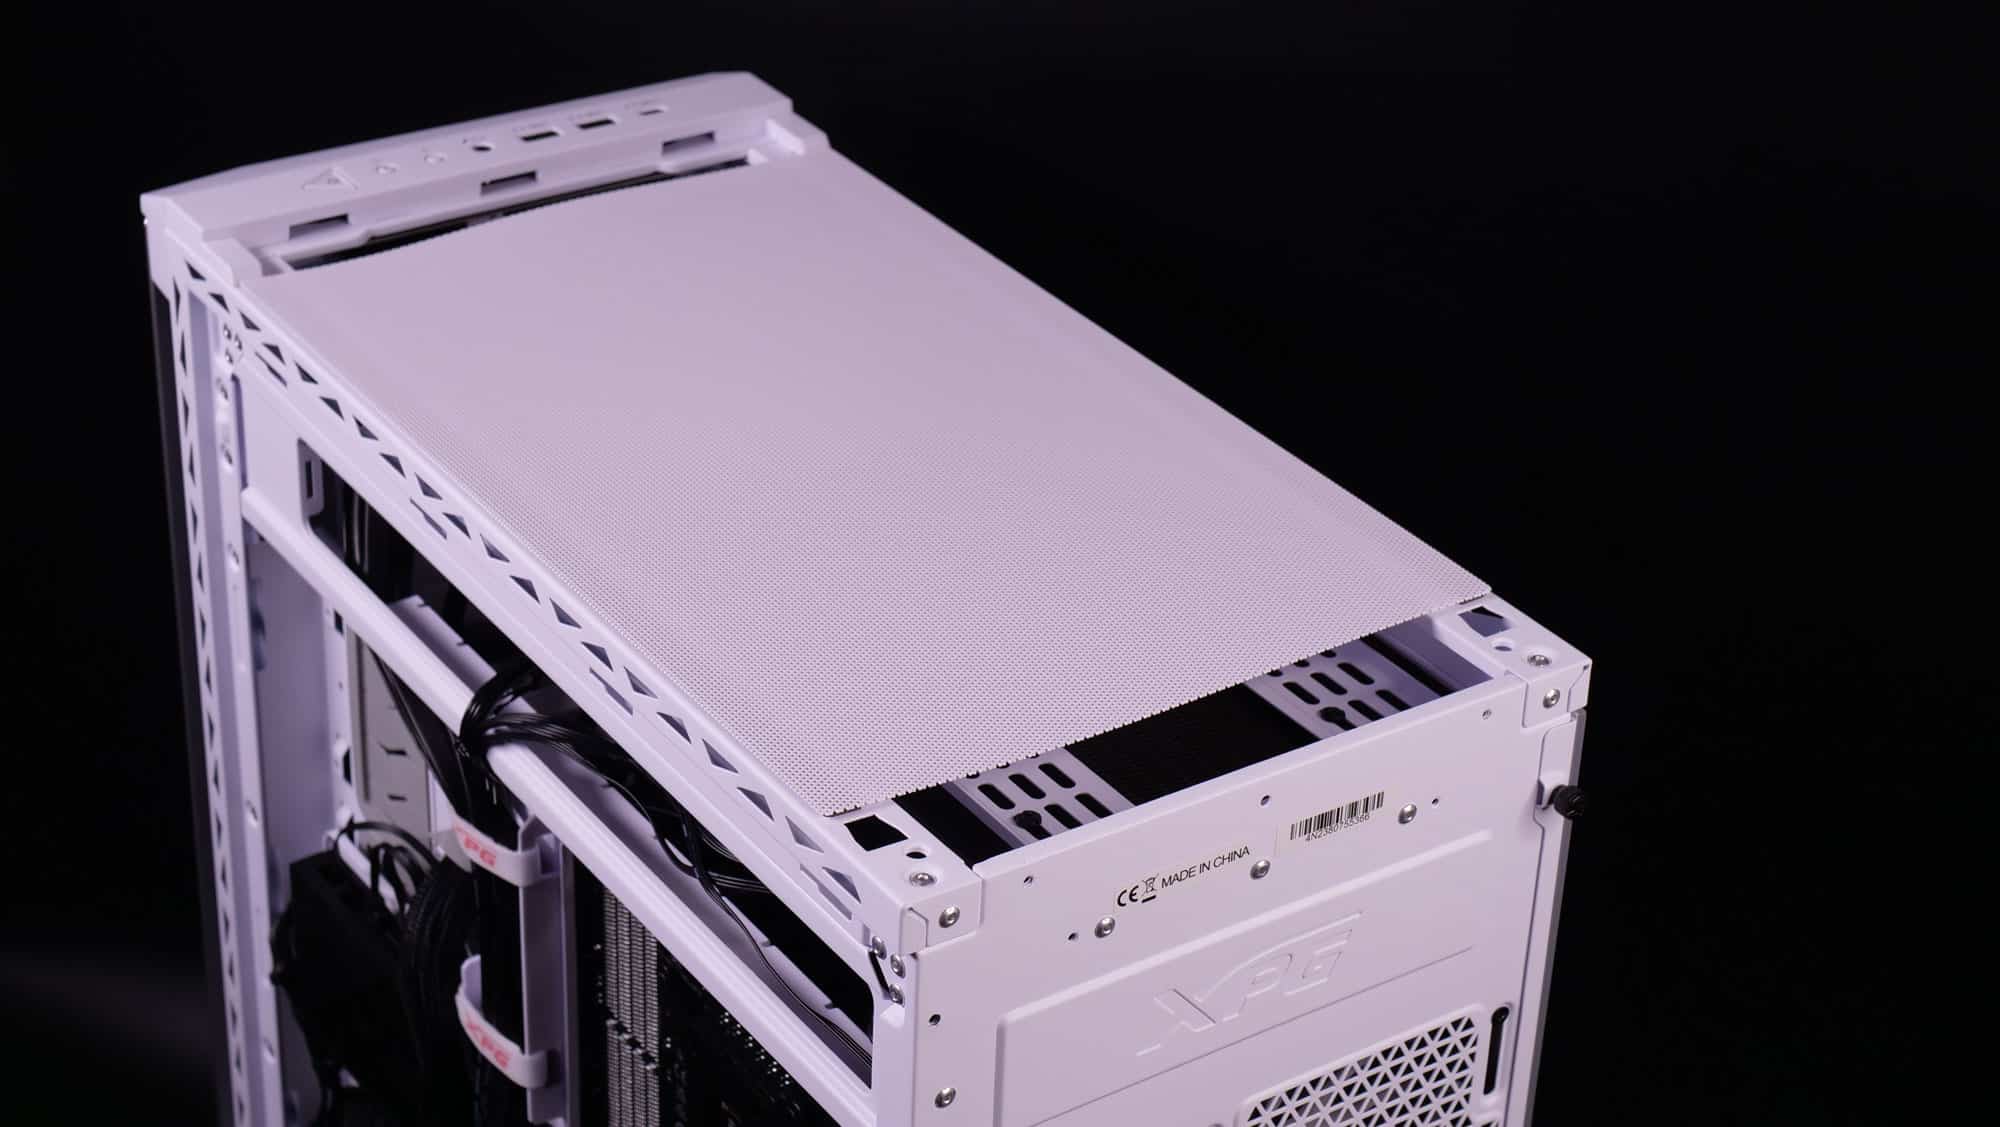
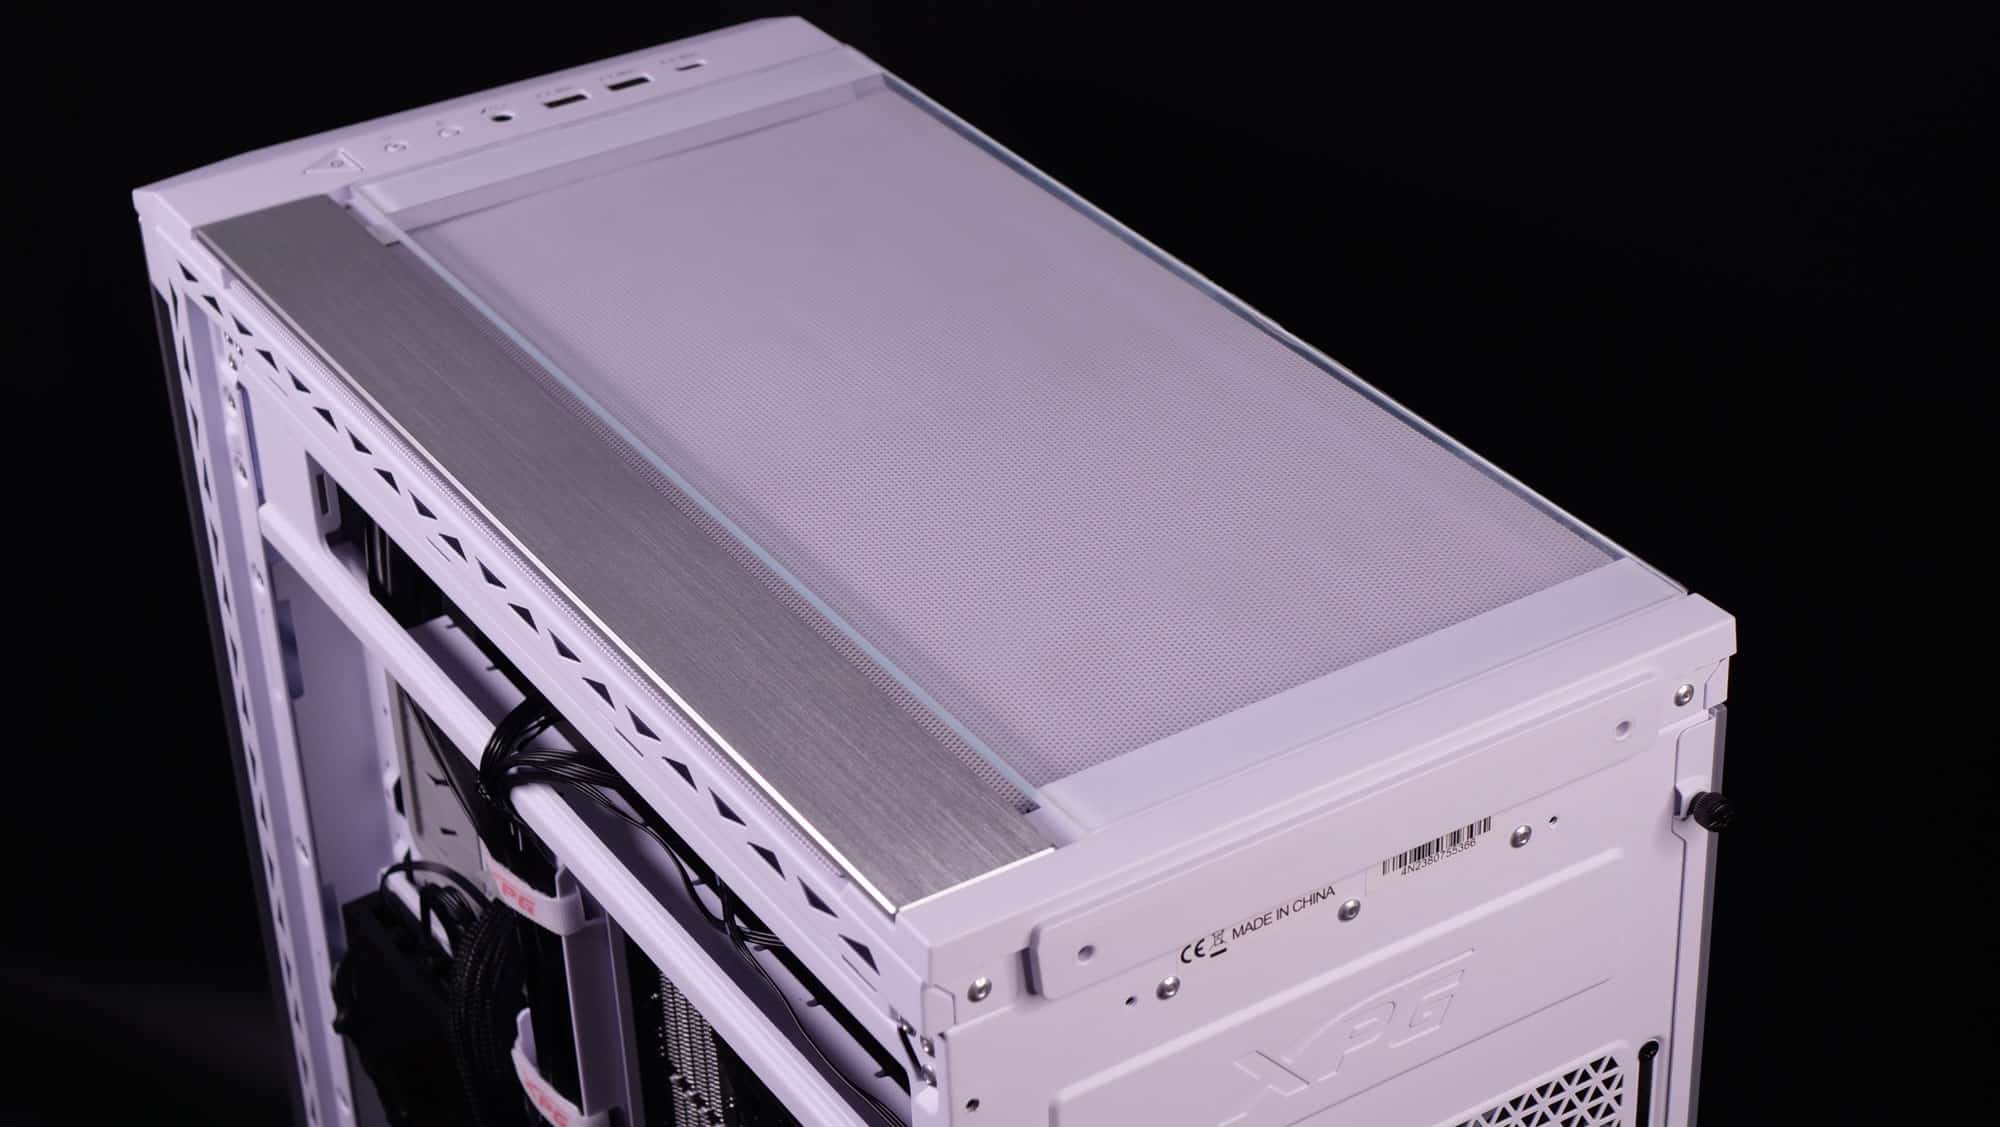
I used a be quiet! Pure Loop 2 FX AIO to cool down the processor, which I installed at the top bracket, which is removable.
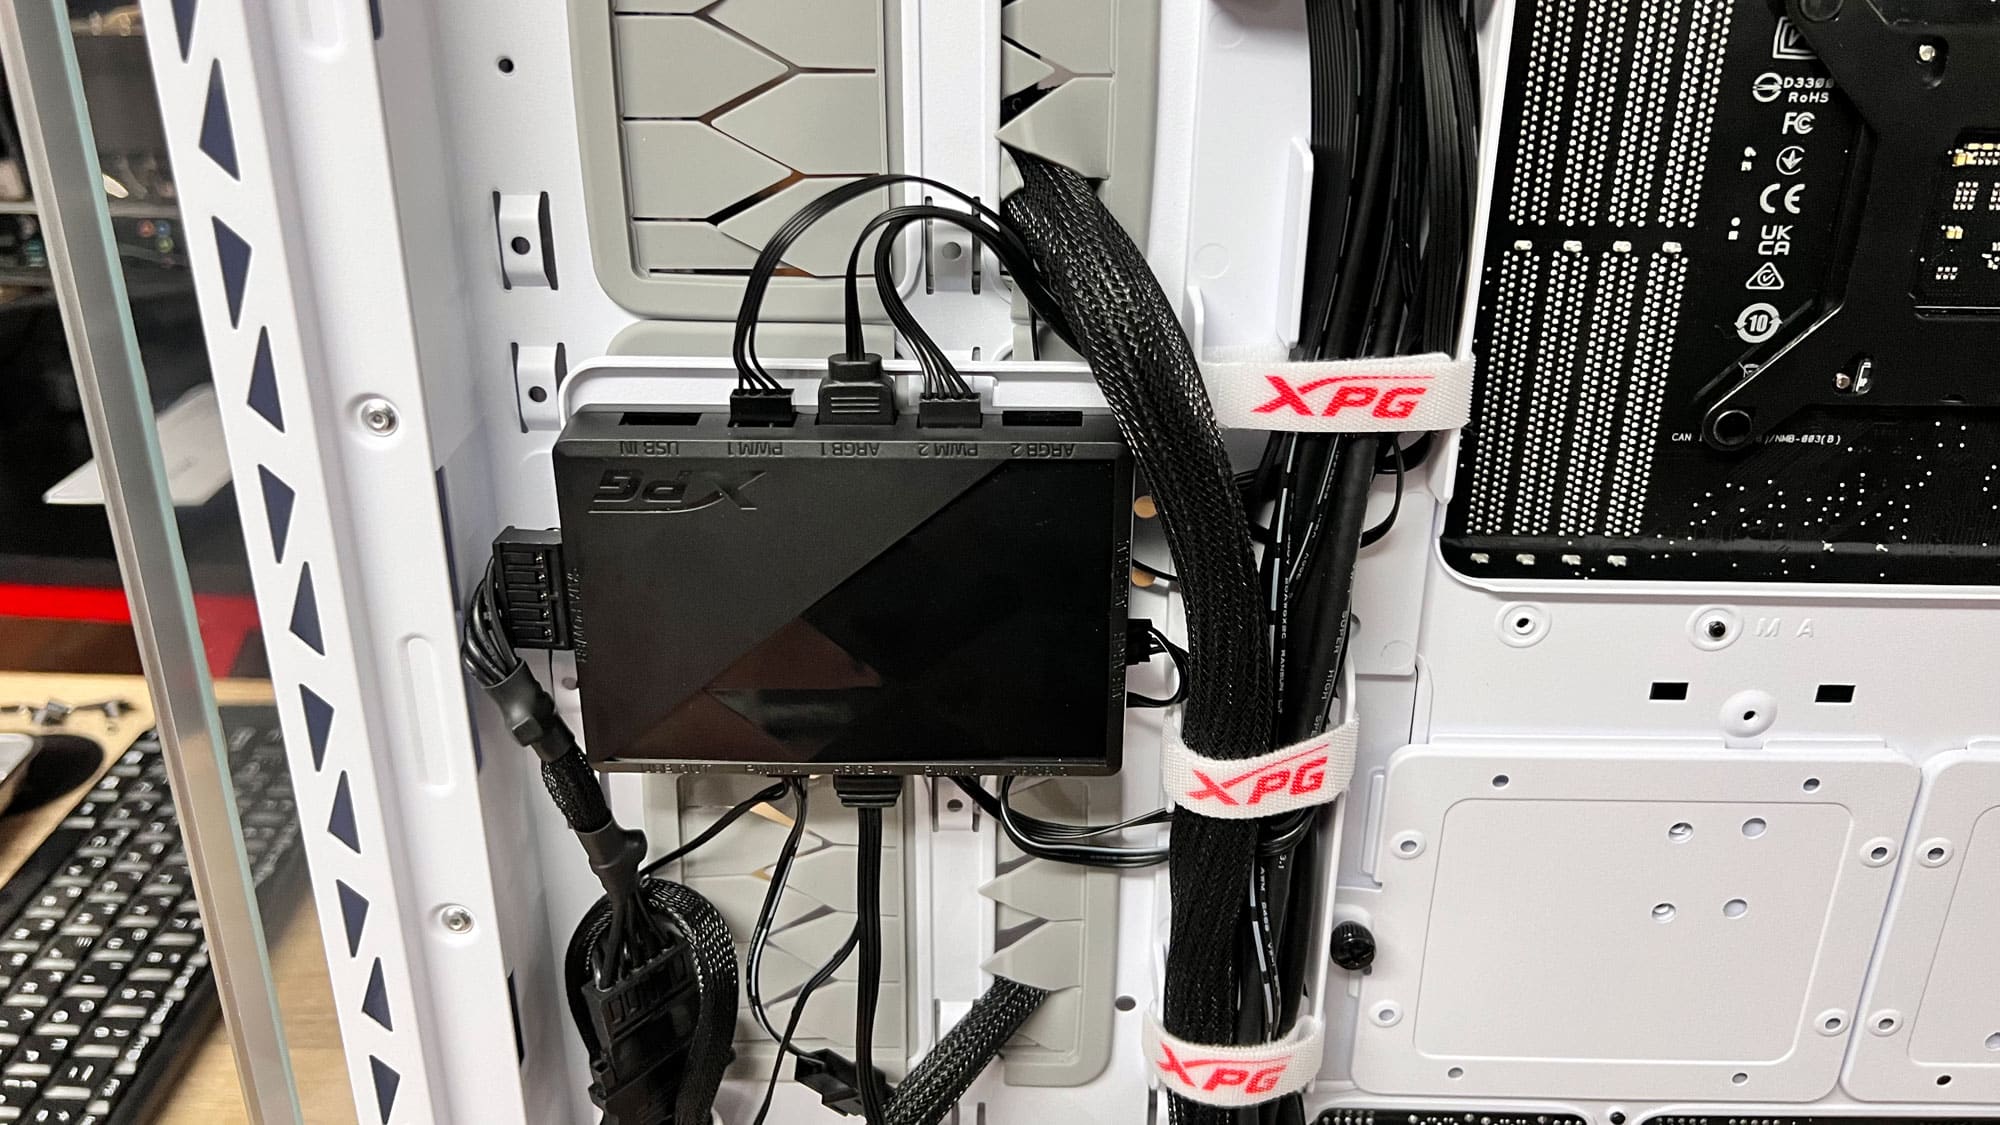
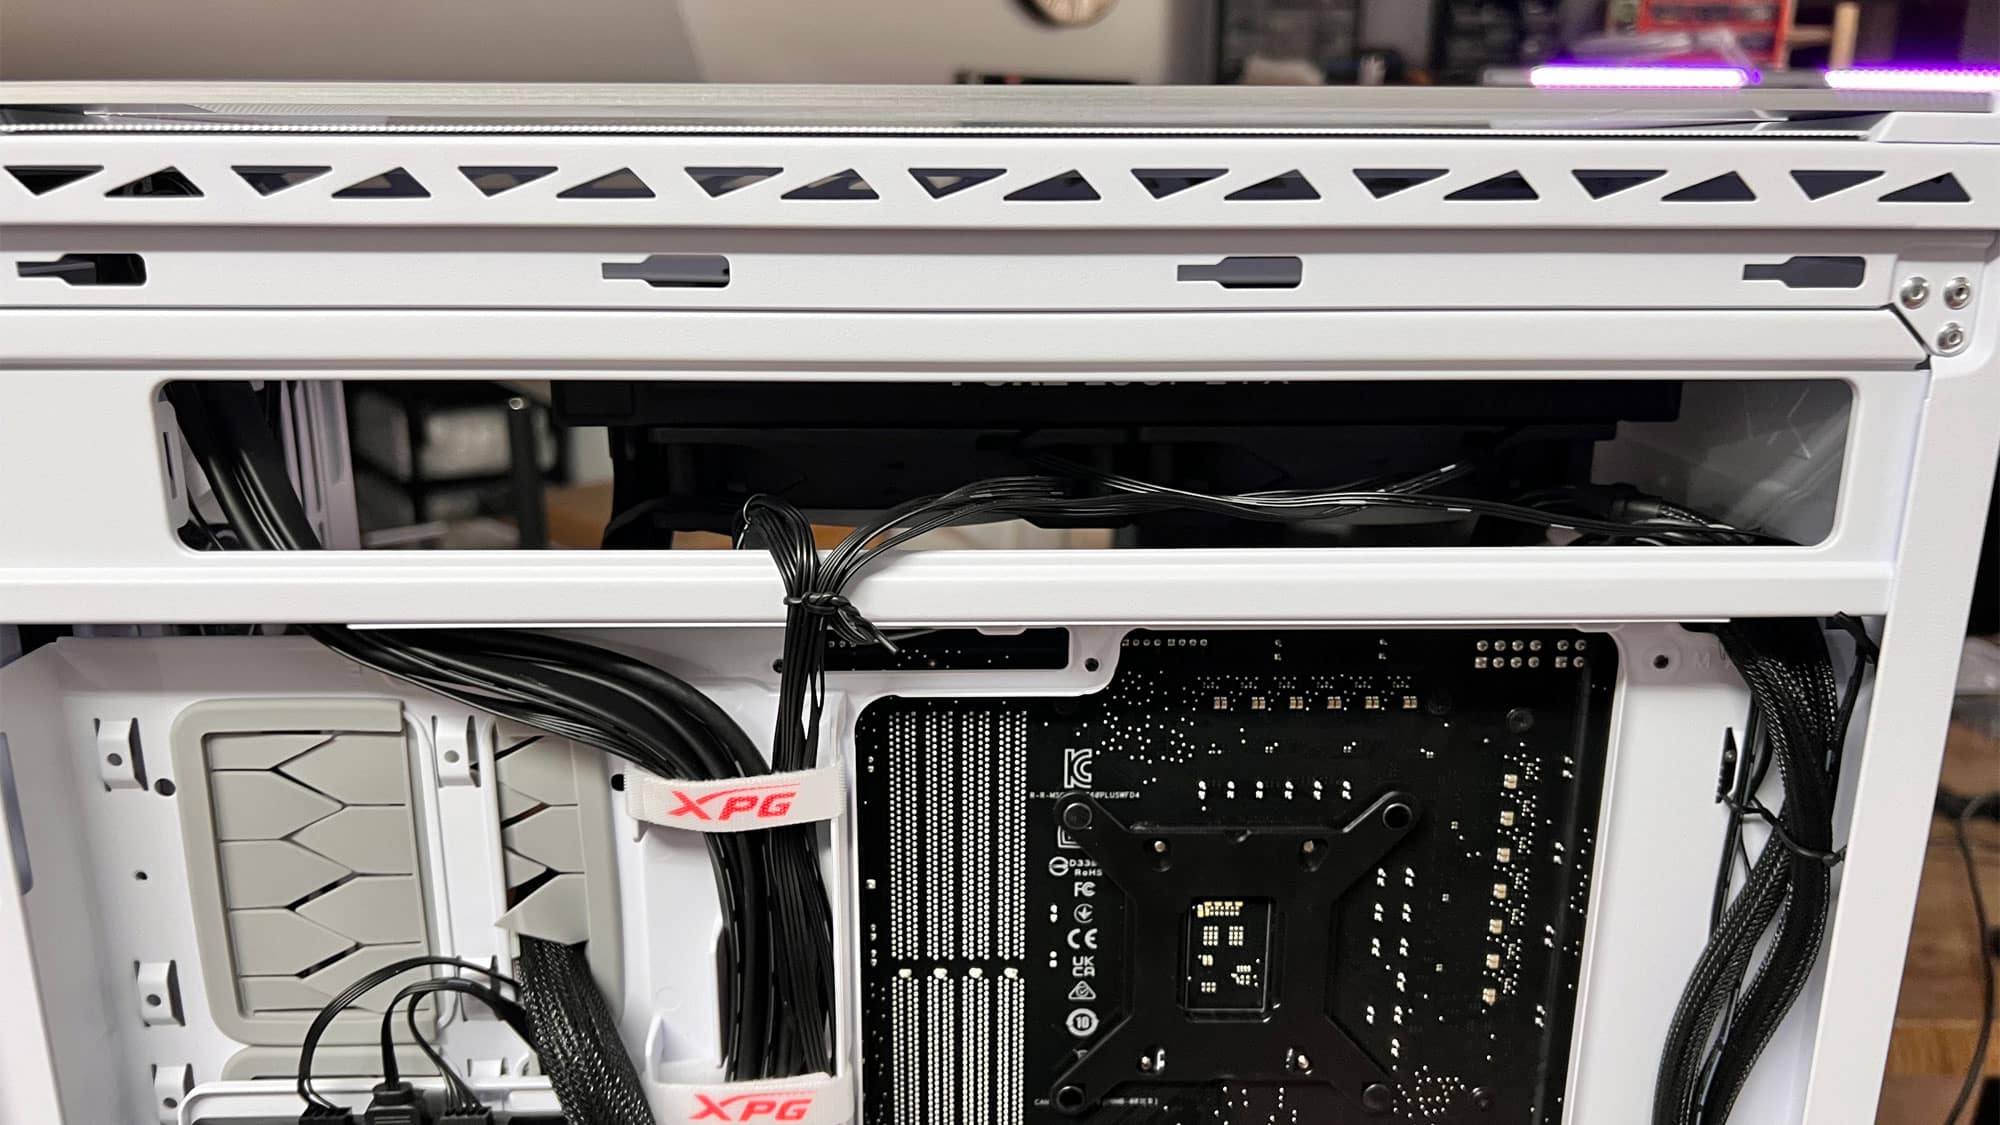
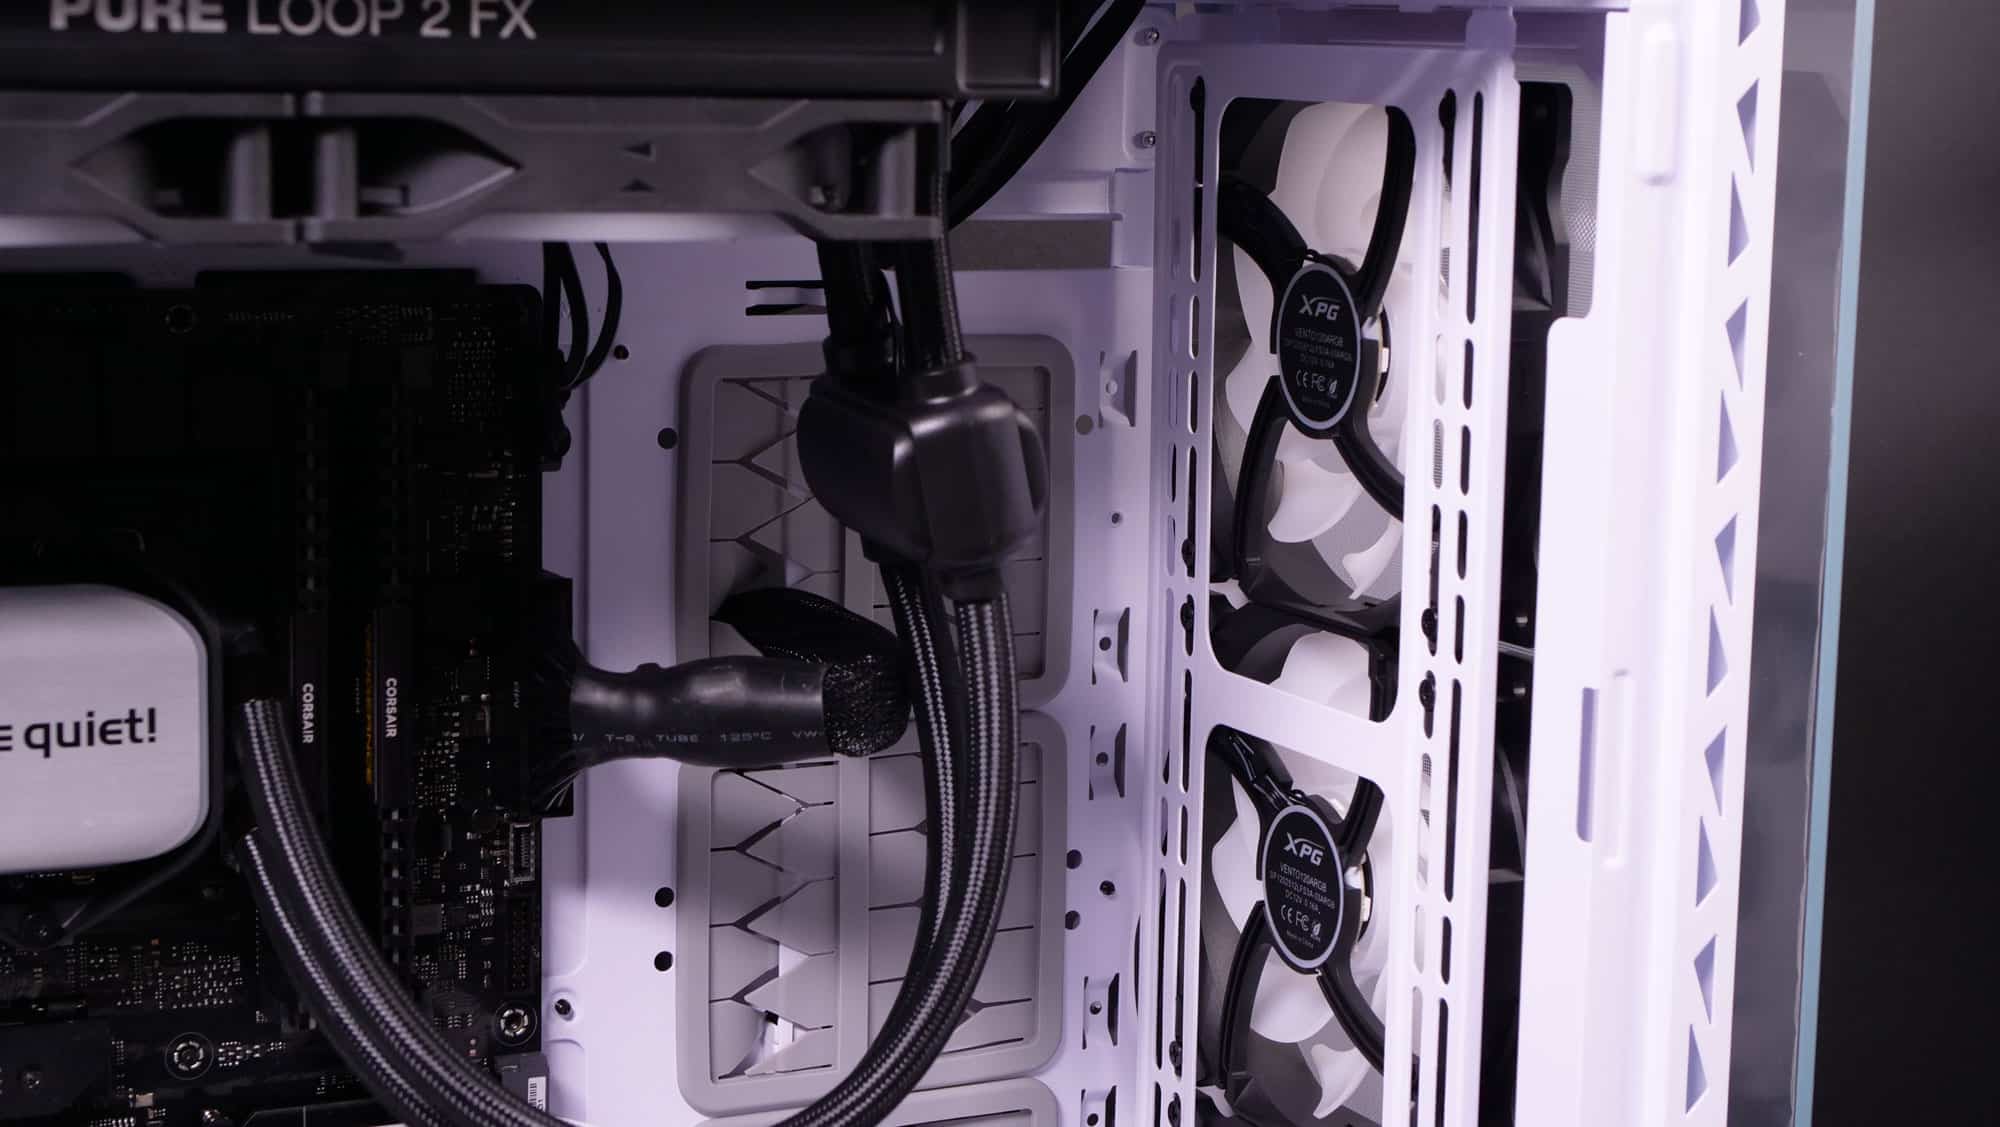
Without the Prime Box, I would have a very hard time organizing and routing all the cables from the fans and the AIO.
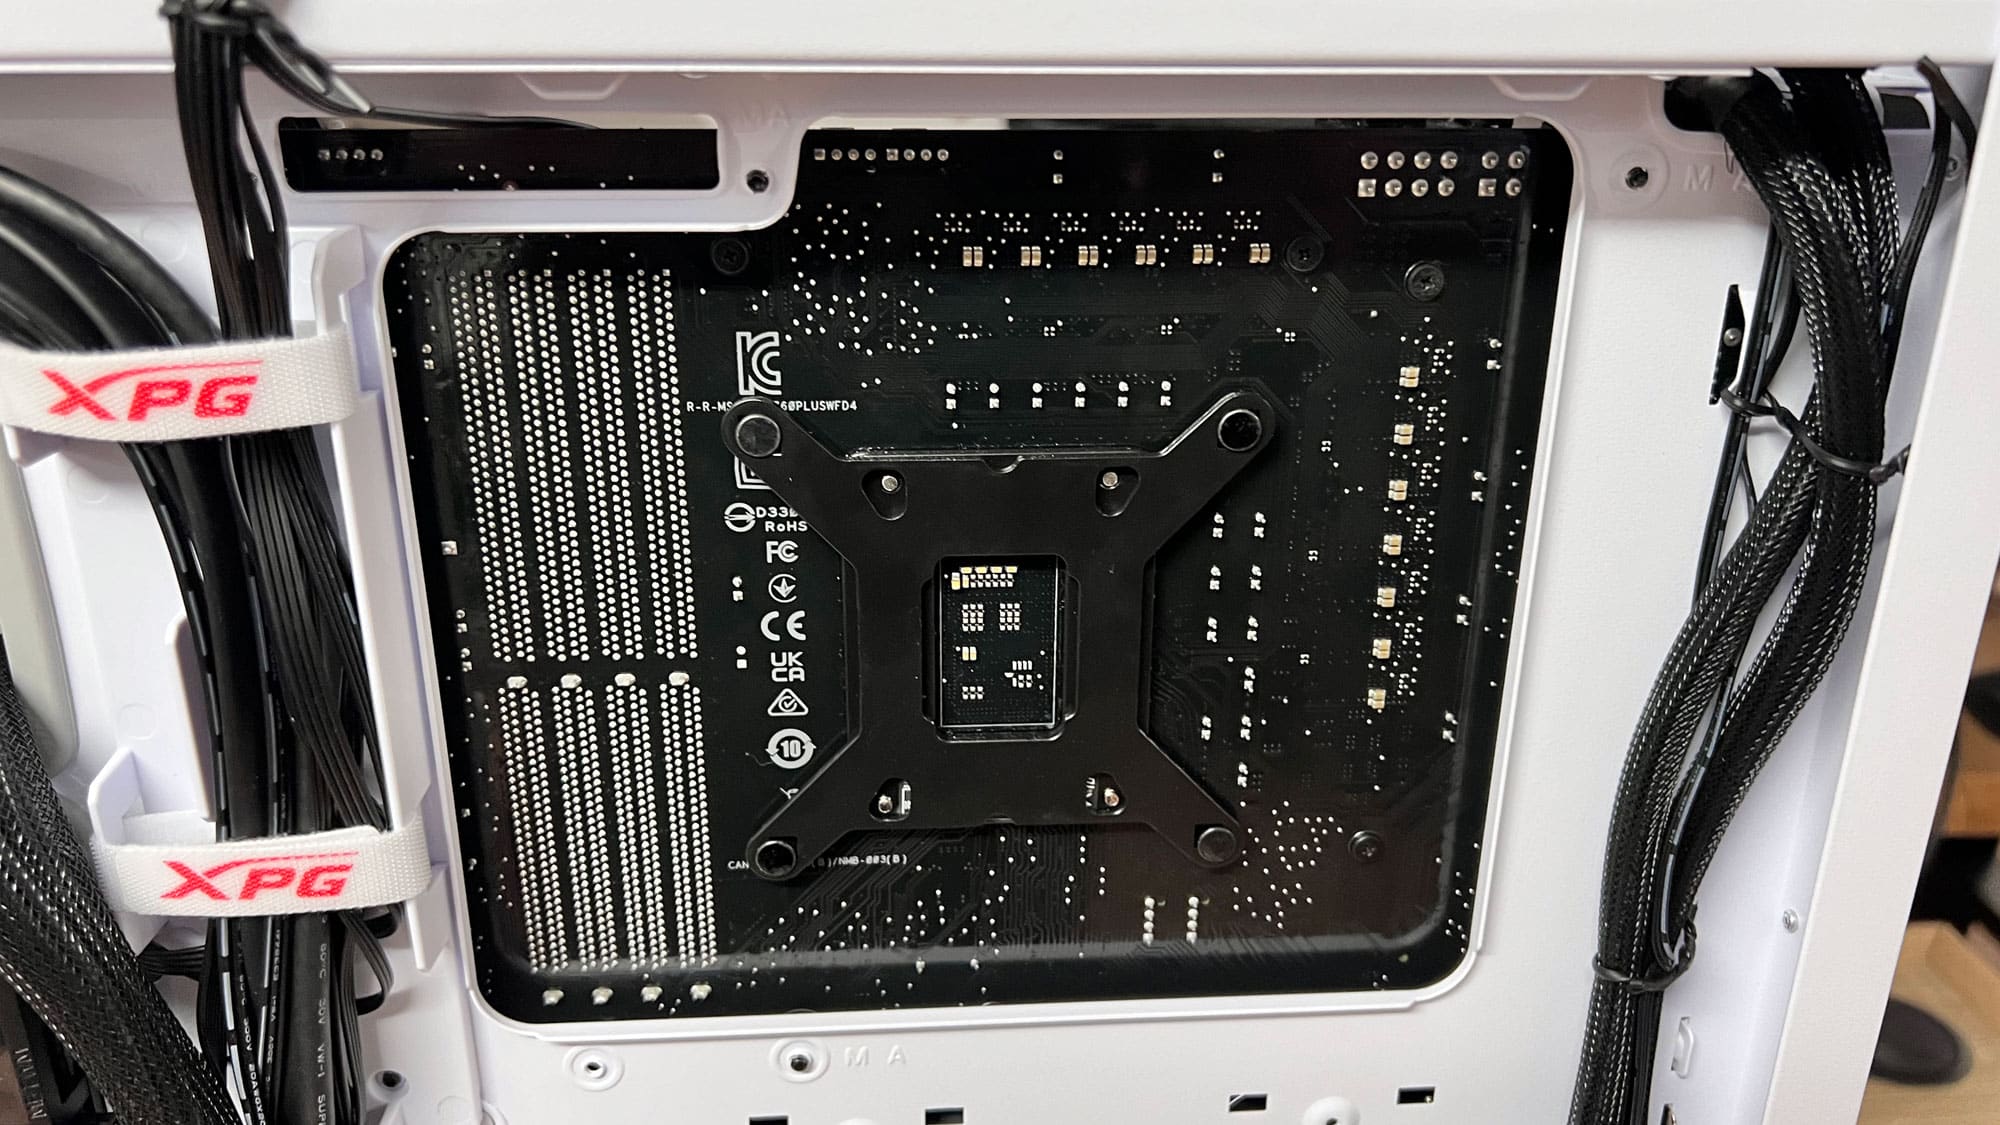
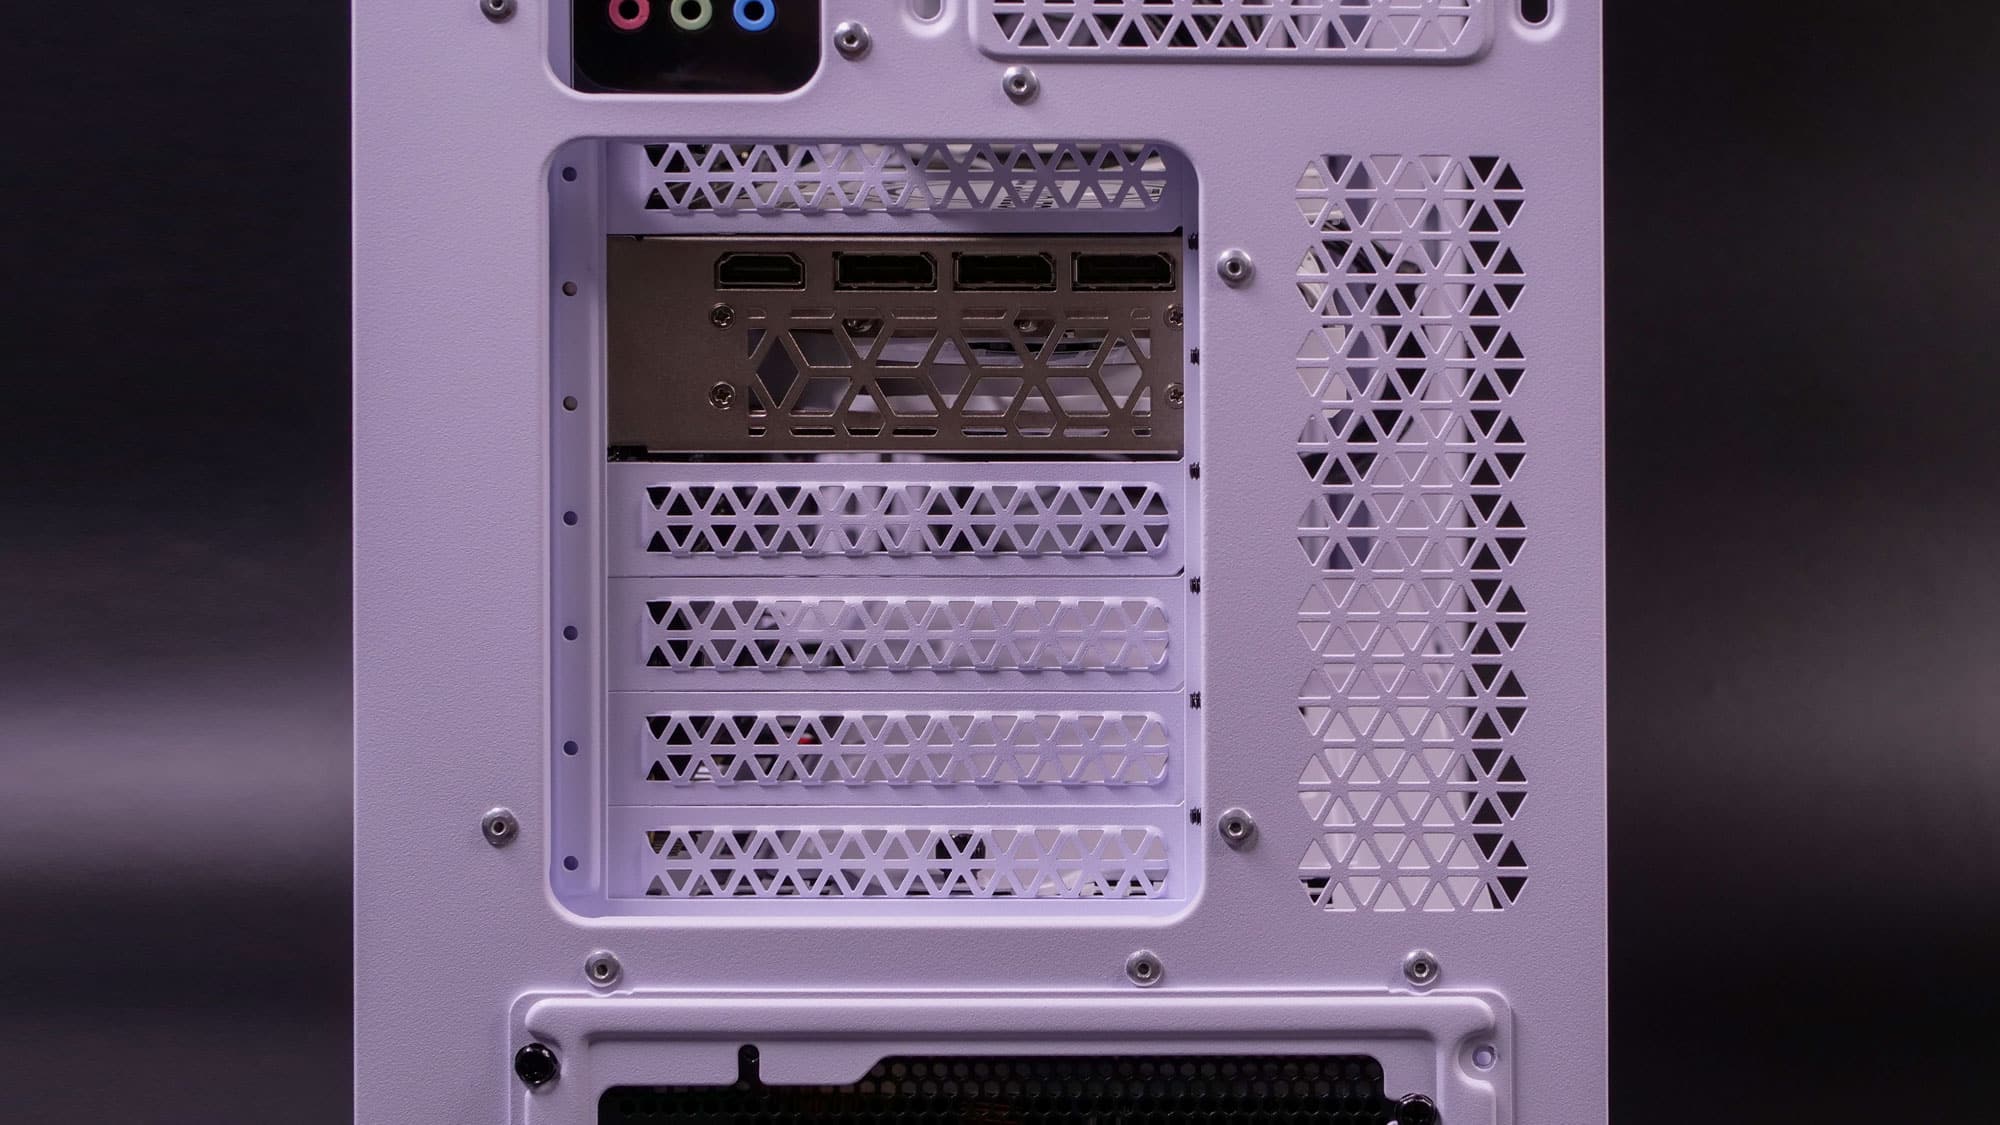
There is plenty of open space behind the CPU’s socket, so you won’t have to remove the mainboard in case you want to change the cooler.
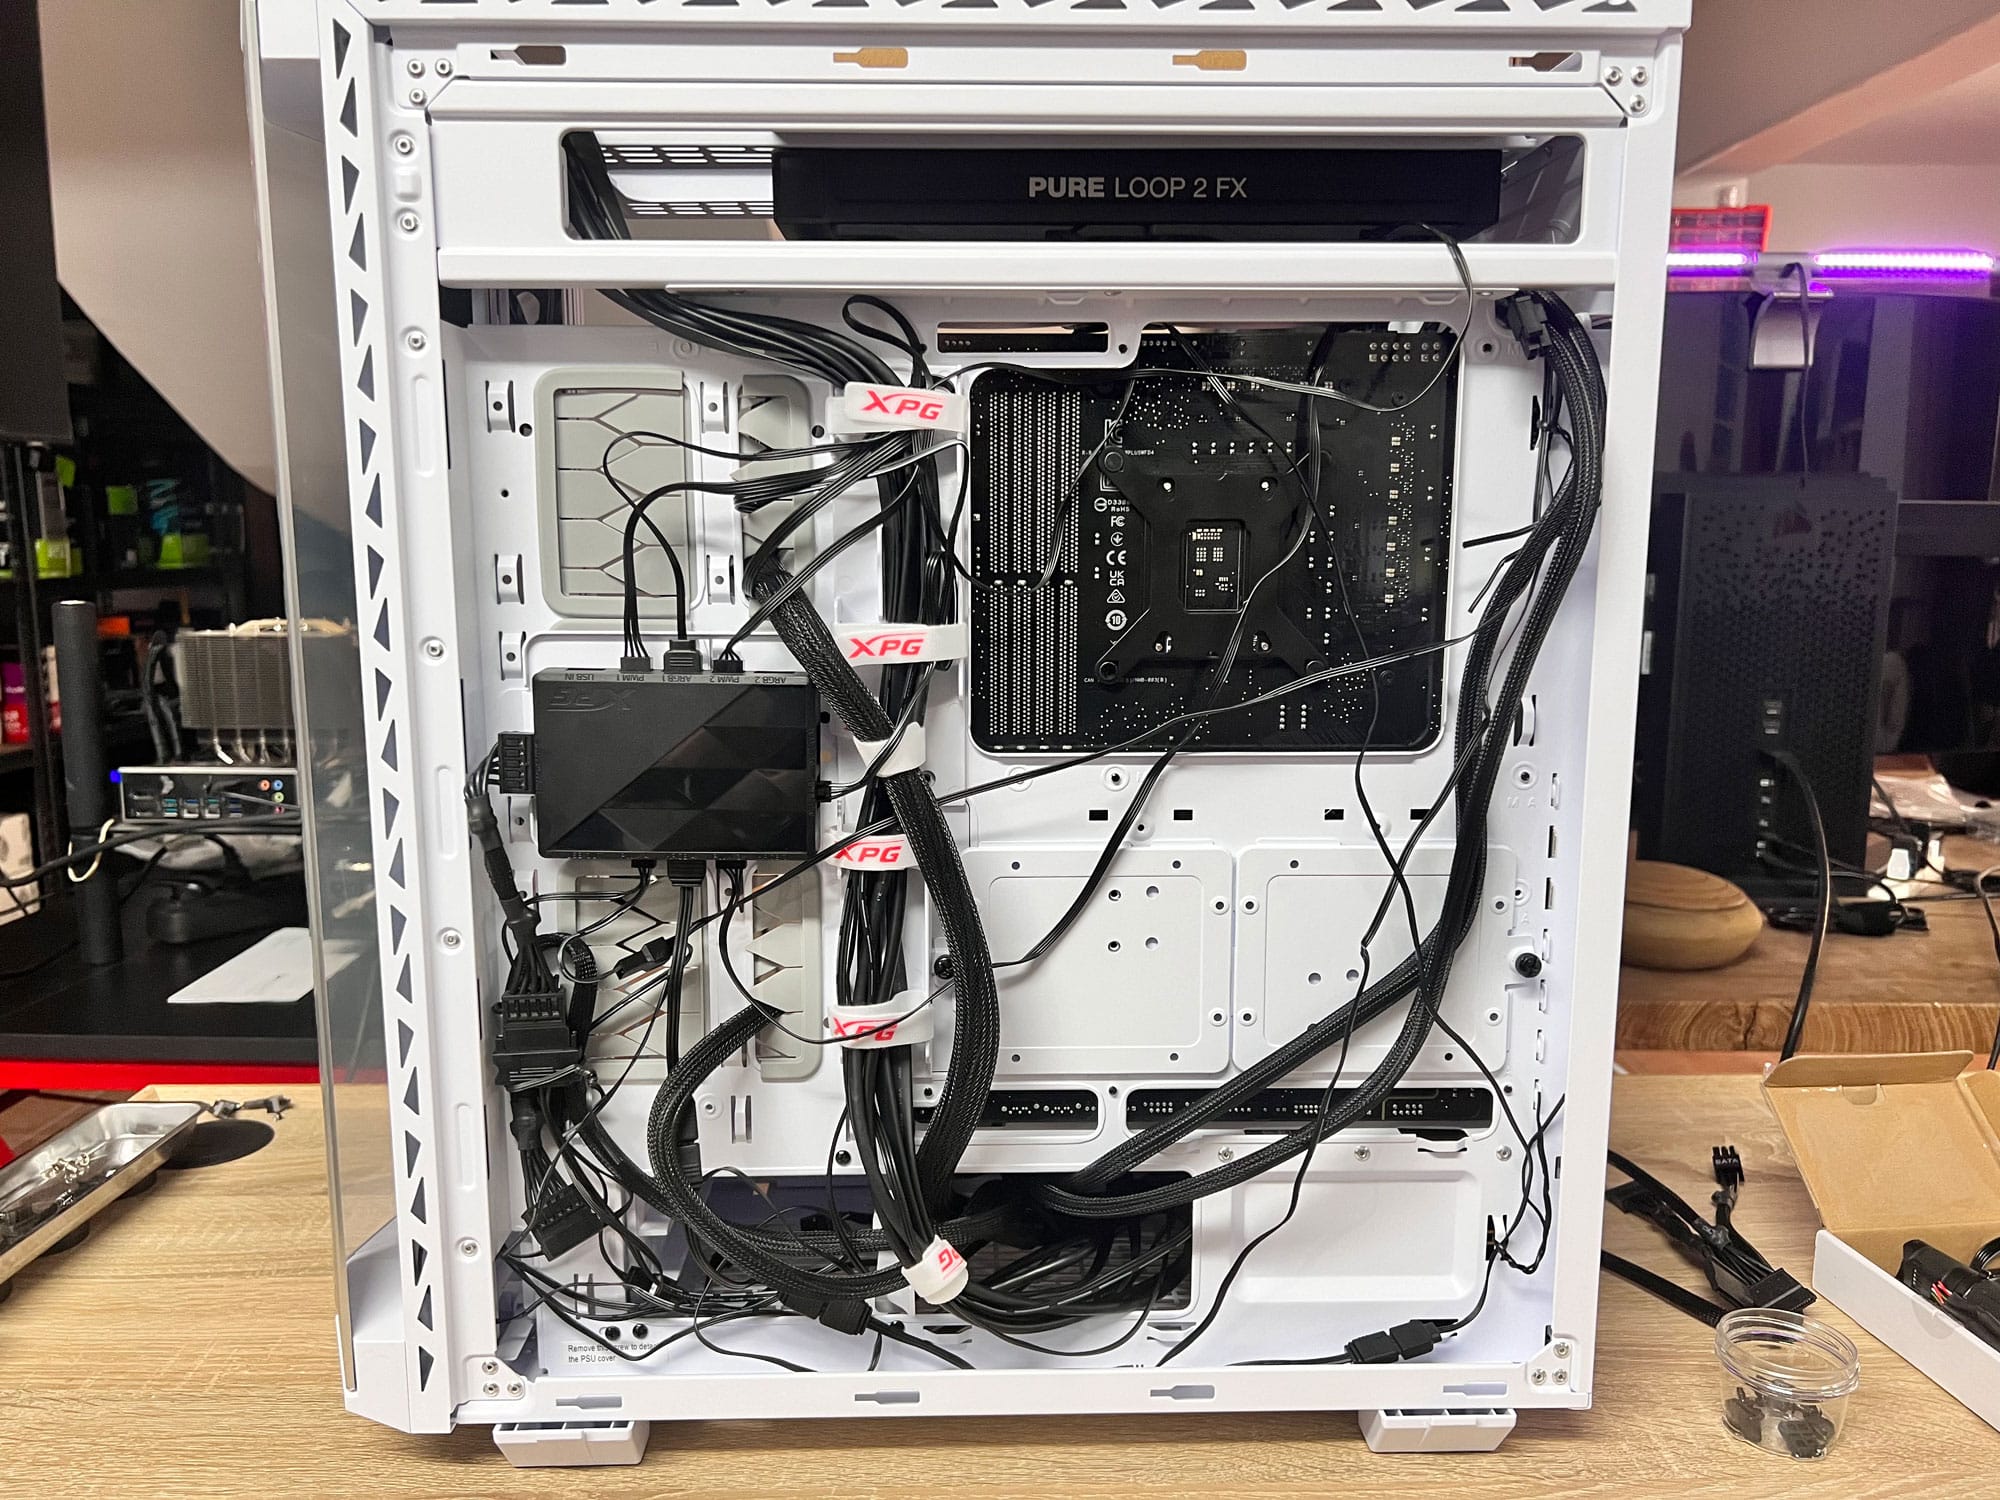
At first, it was like this, but once I realized that everything would be in clear view, I decided to devote more time to cable management!
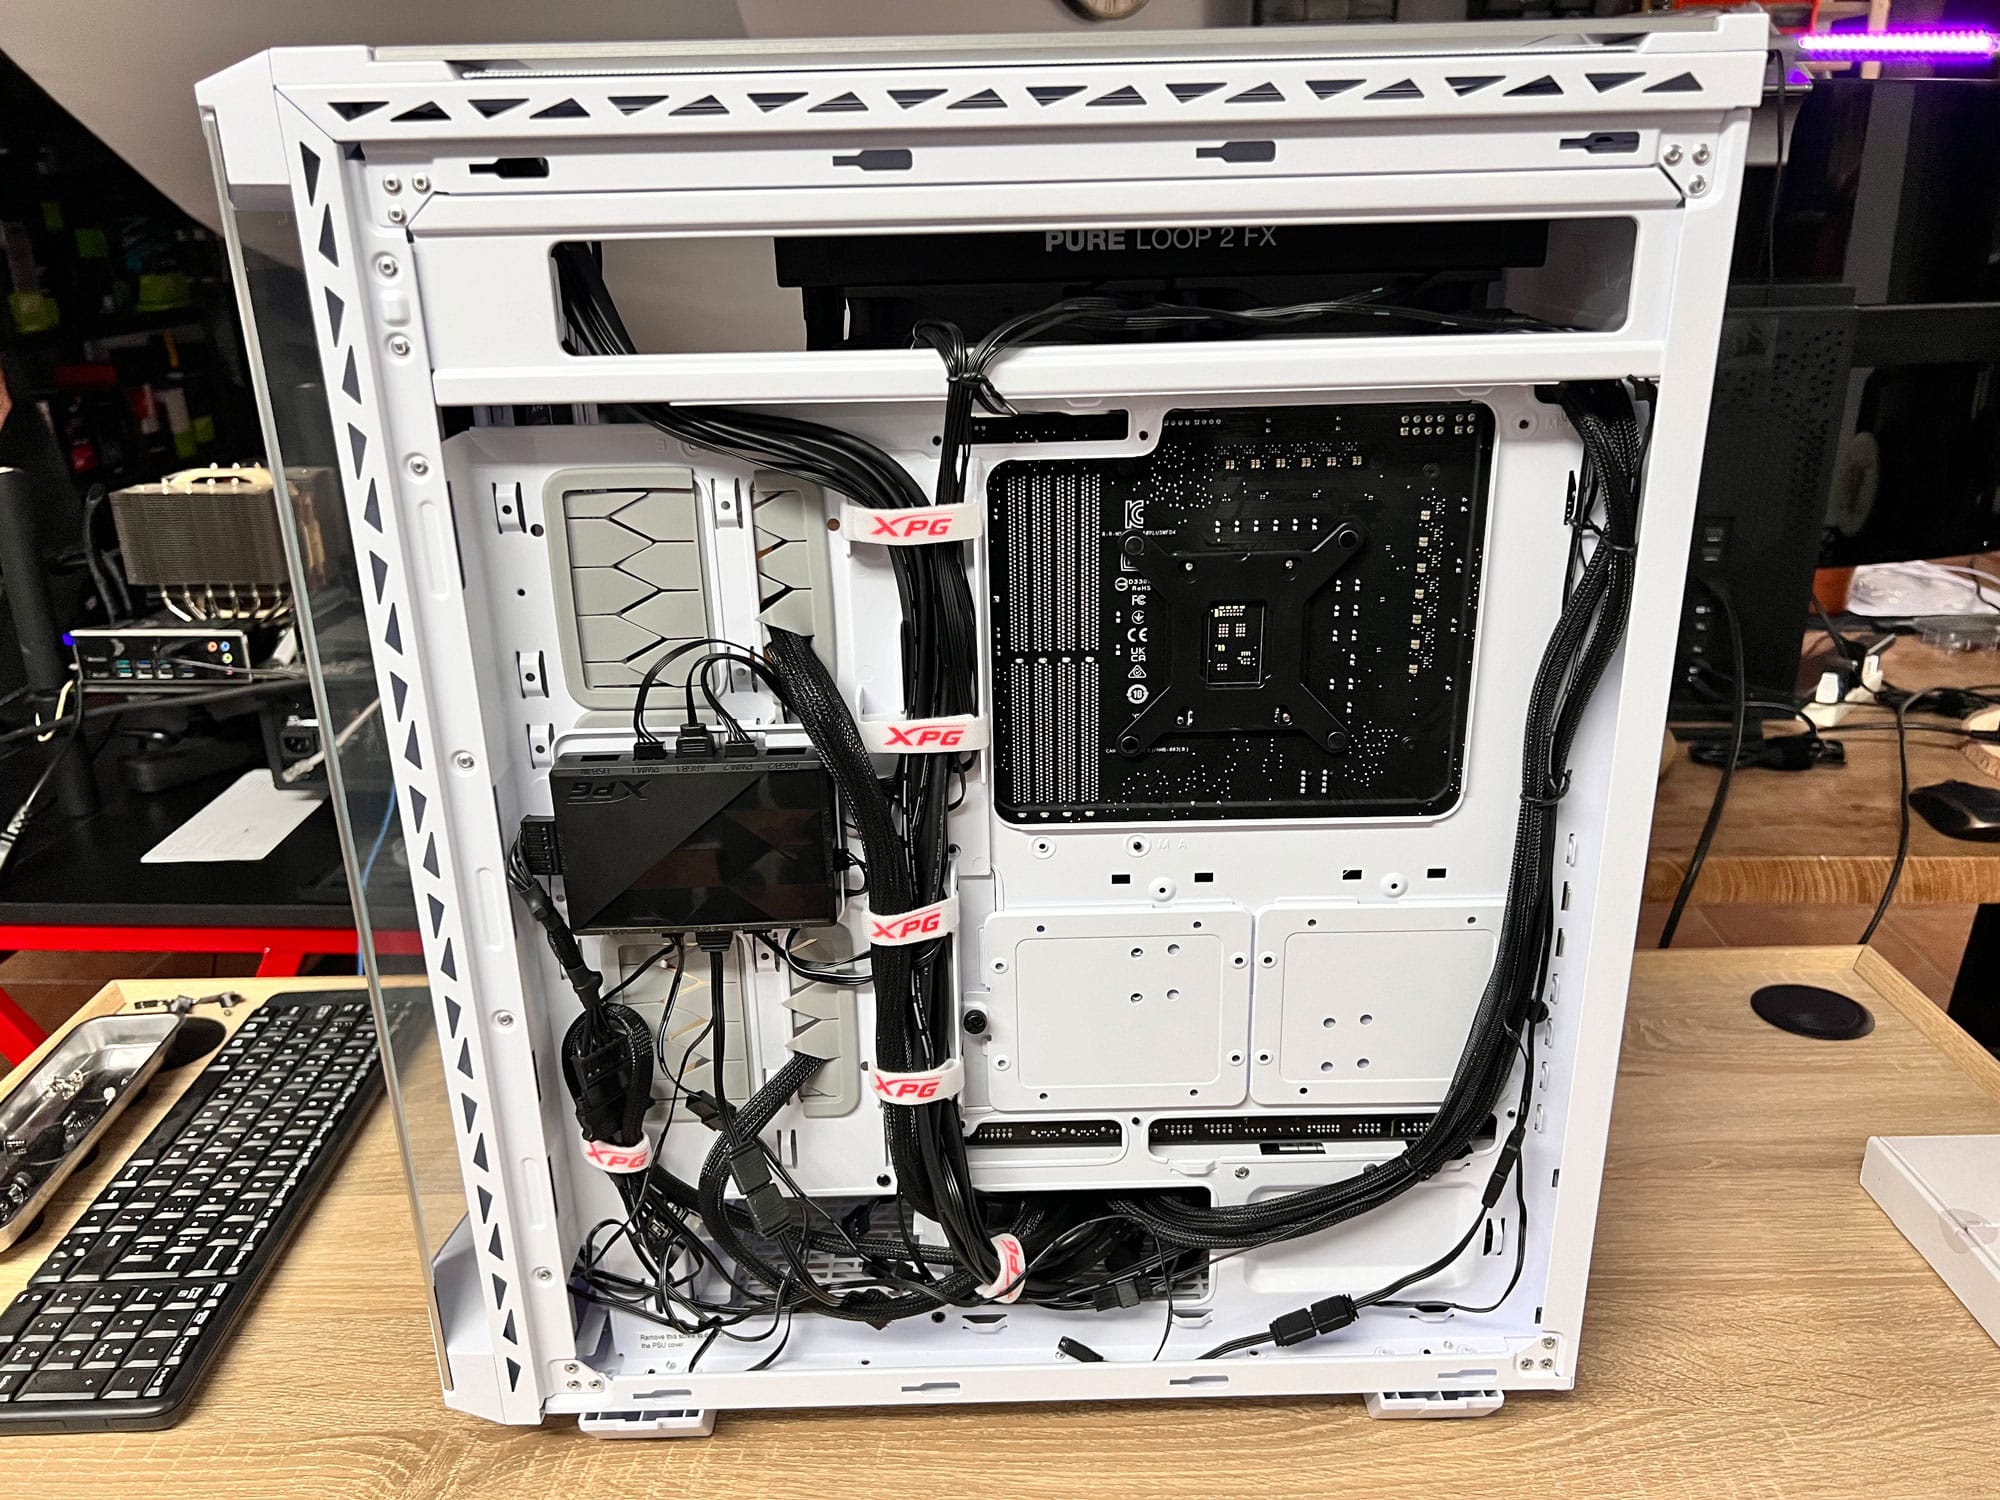
Much better now, right? Still not perfect, I know.
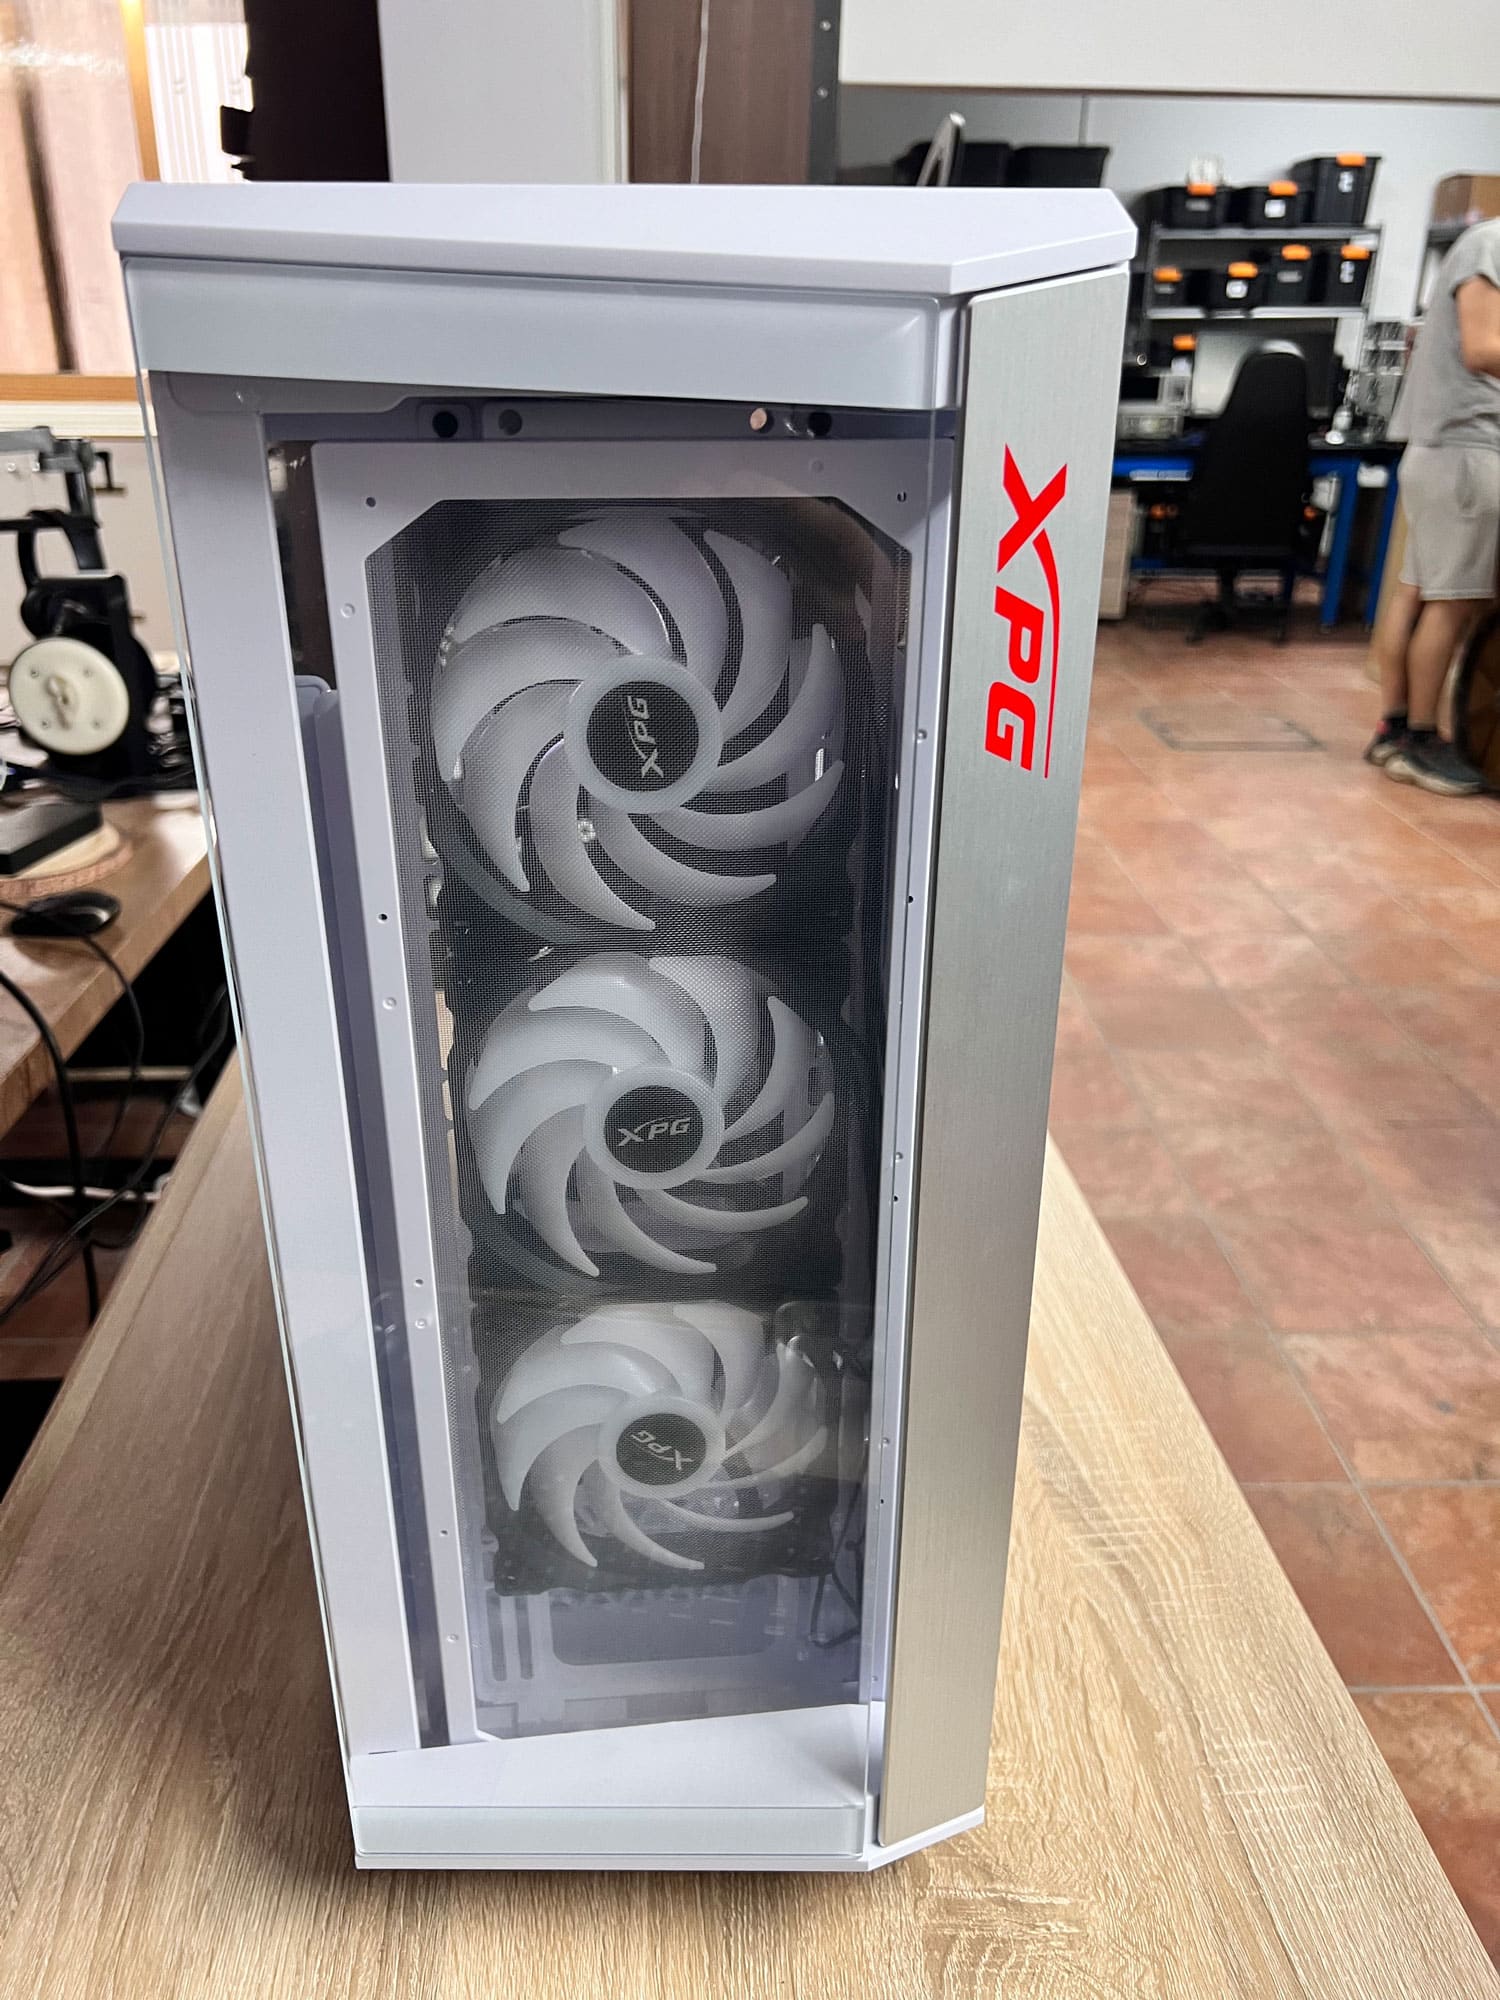
Finished System
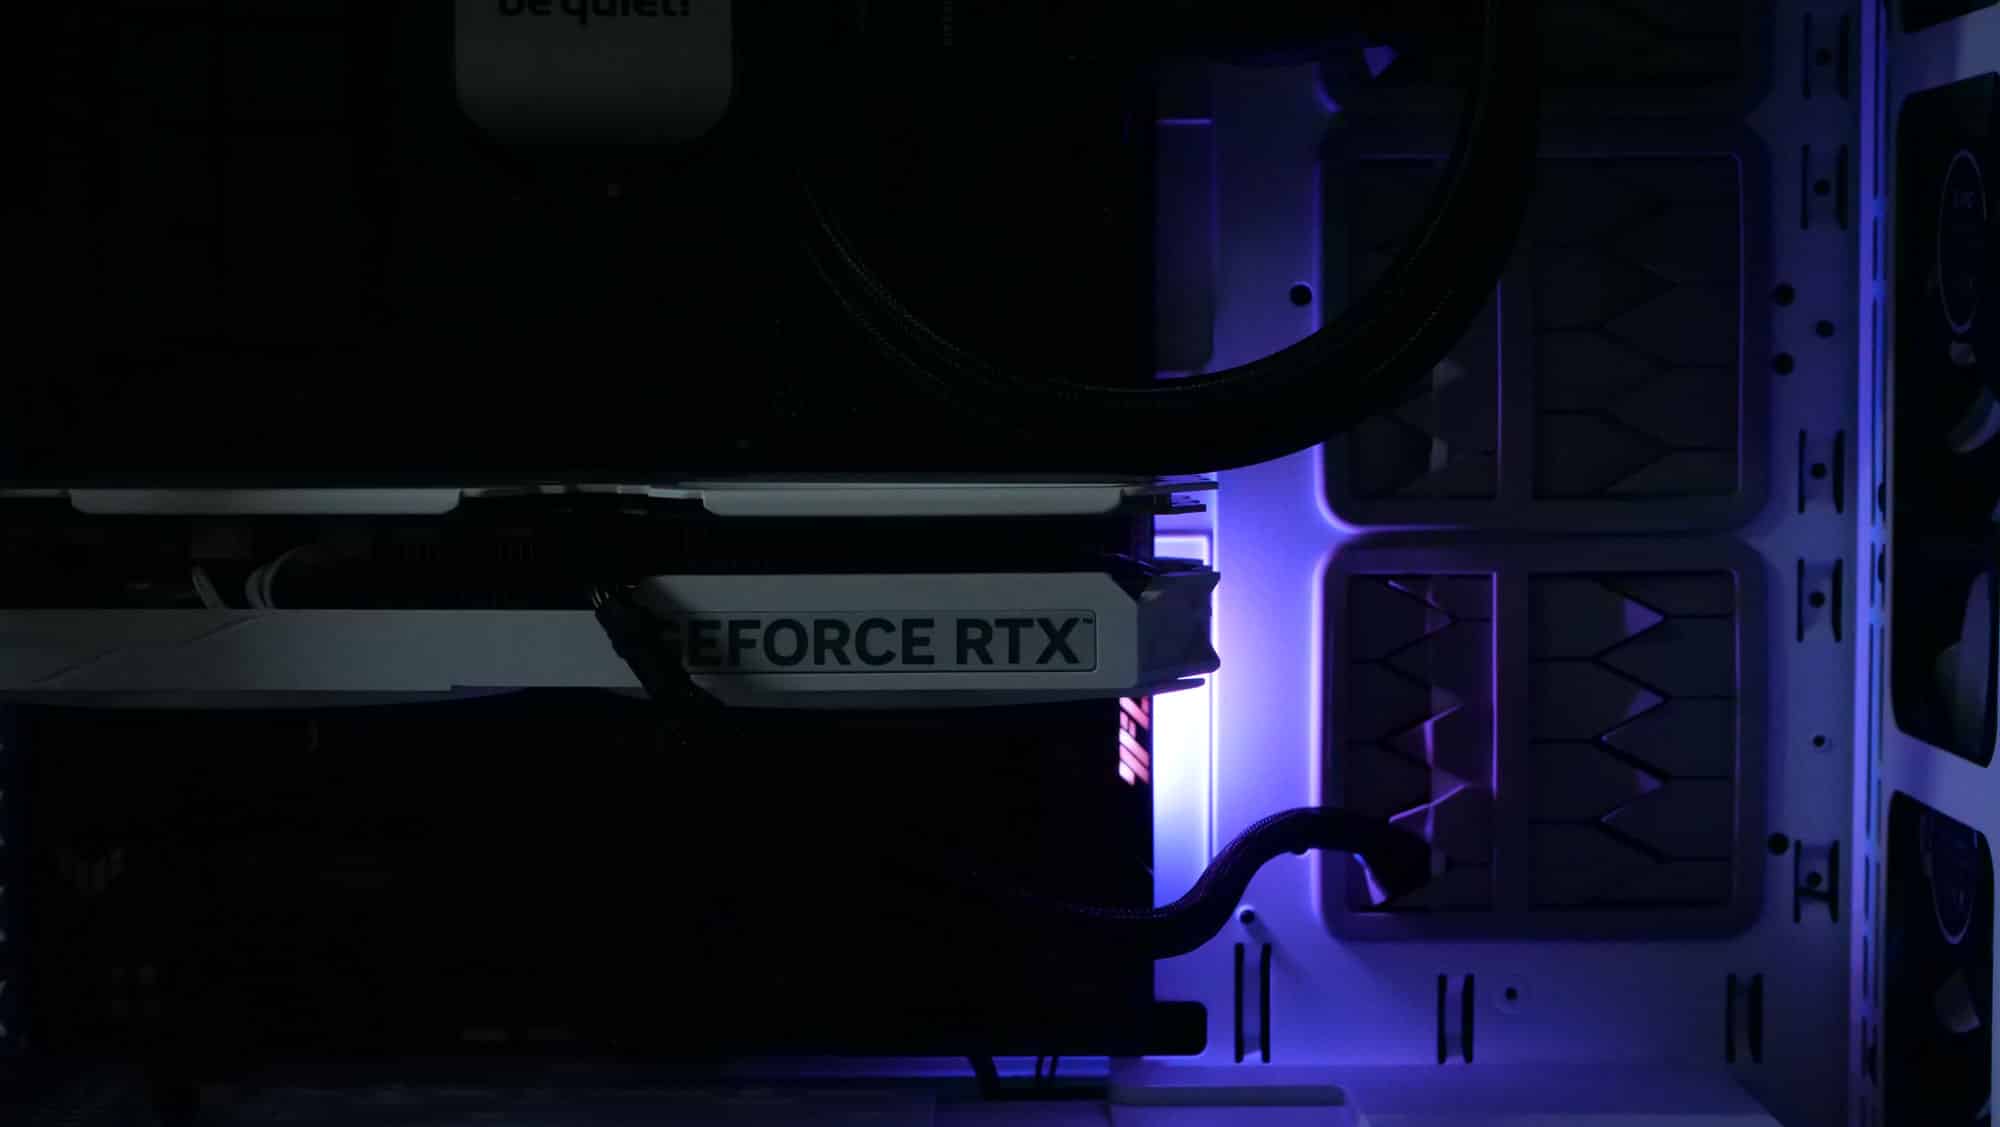
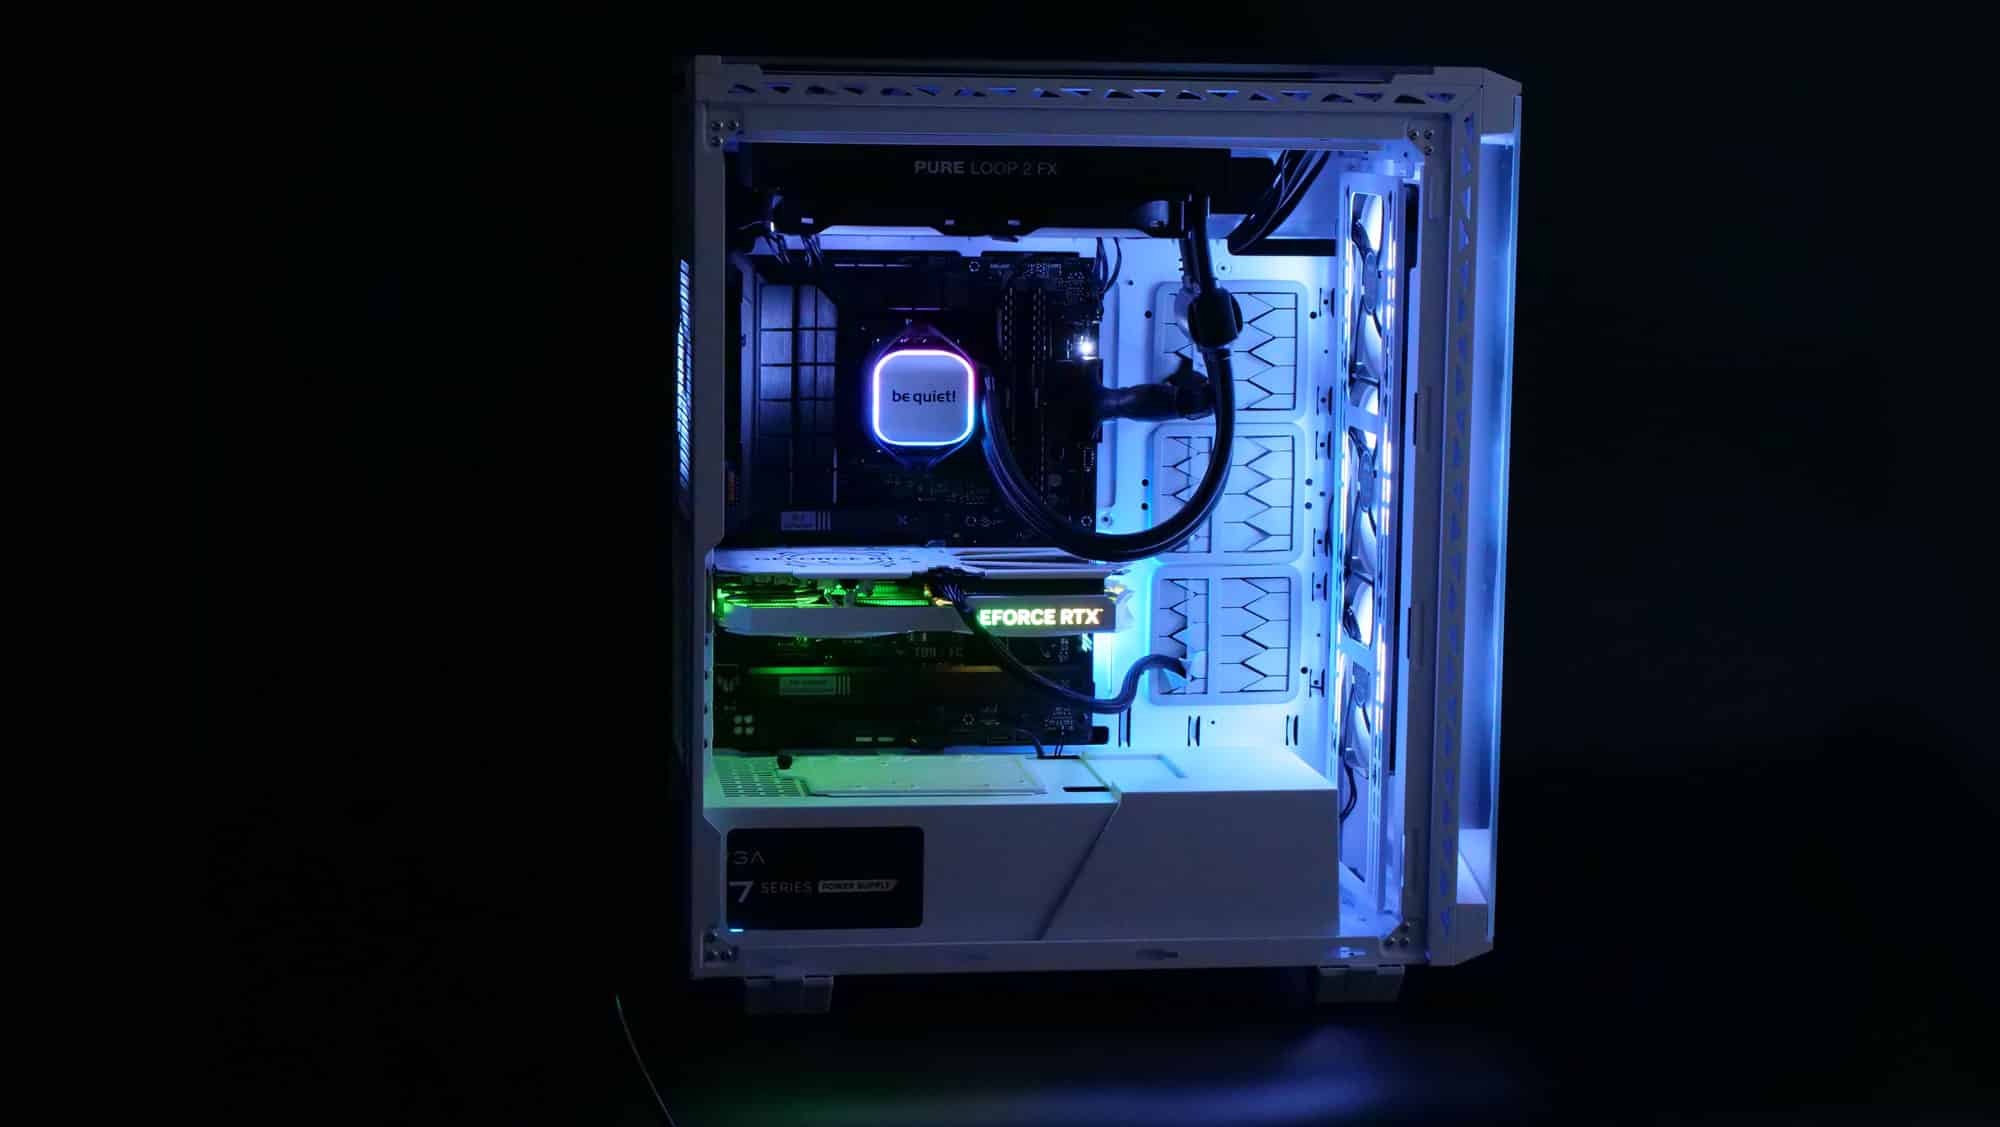
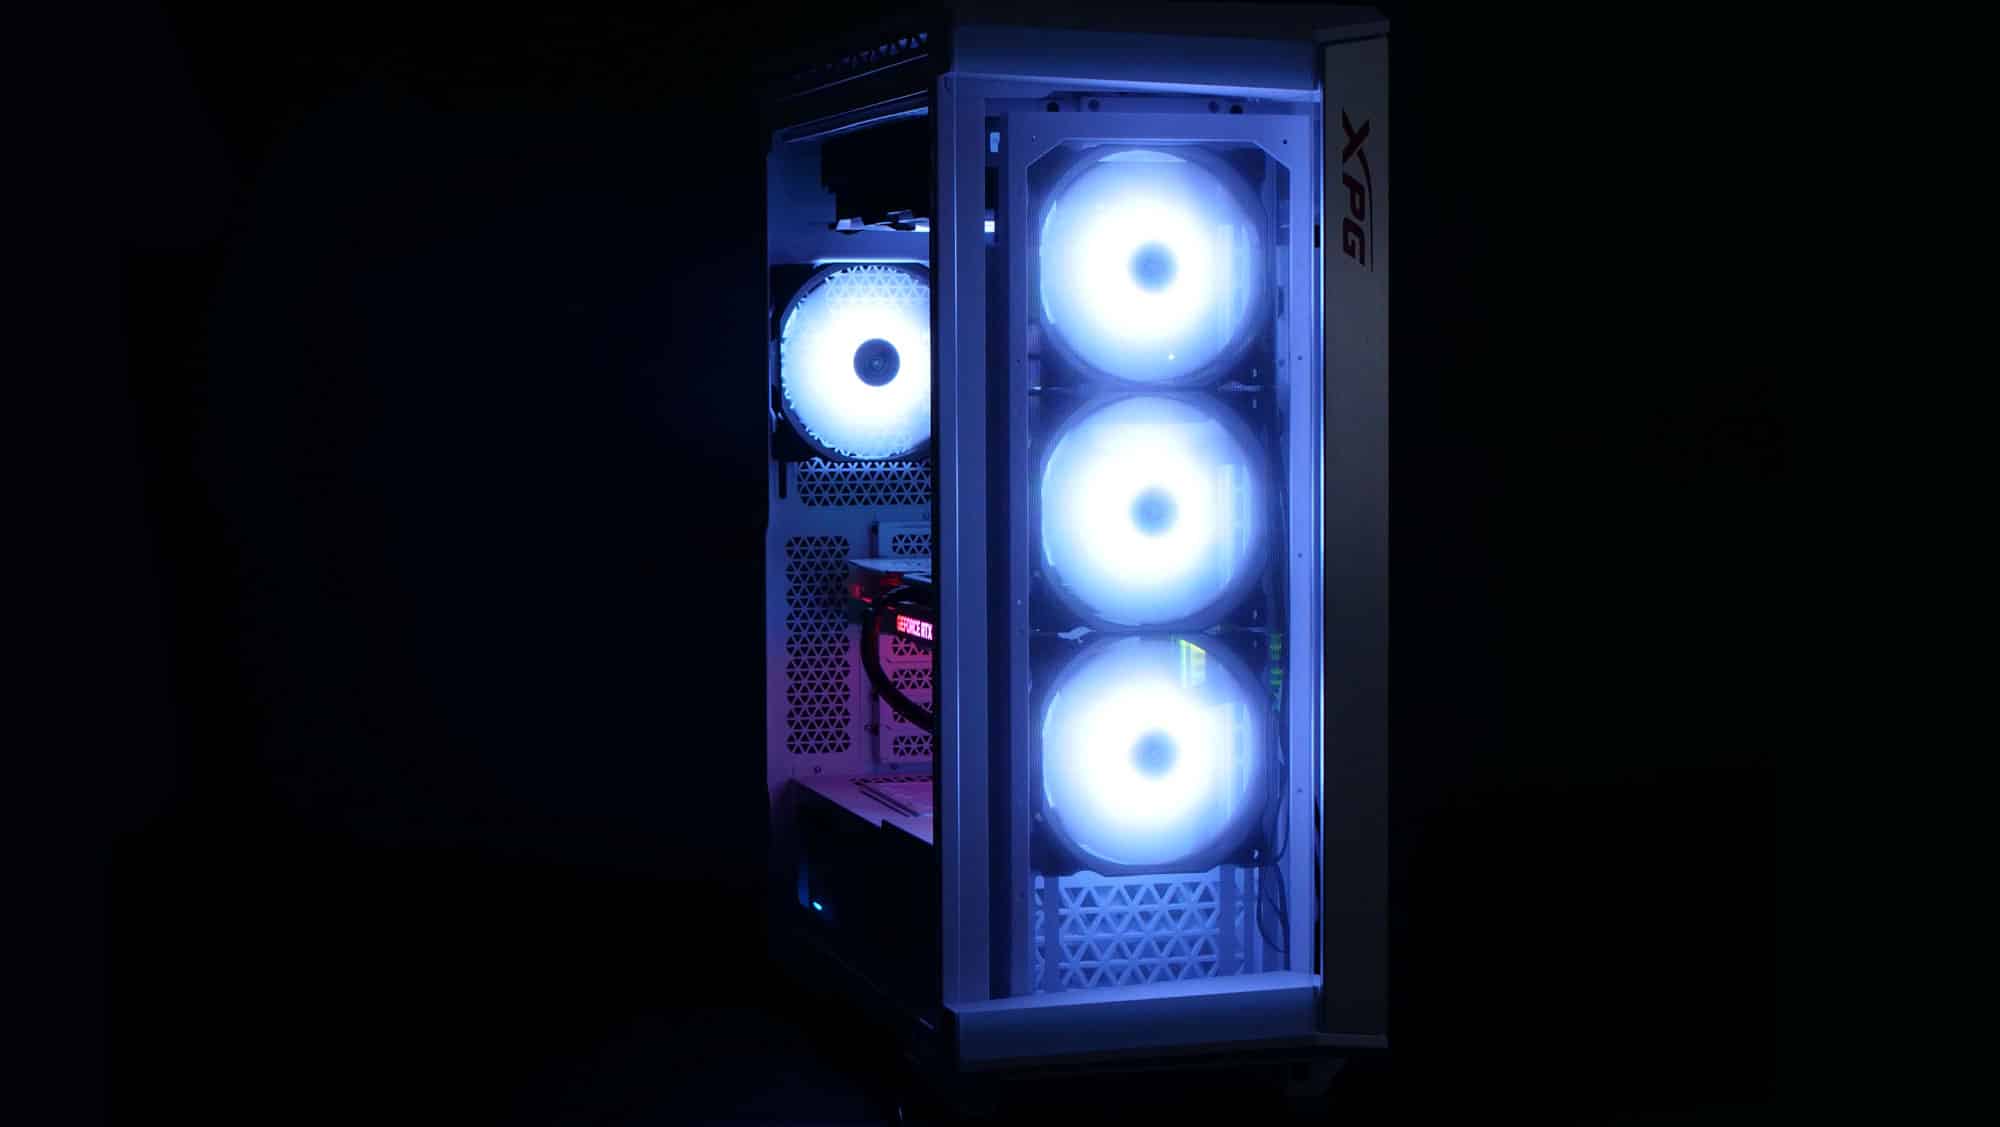


The finished system looks nice!
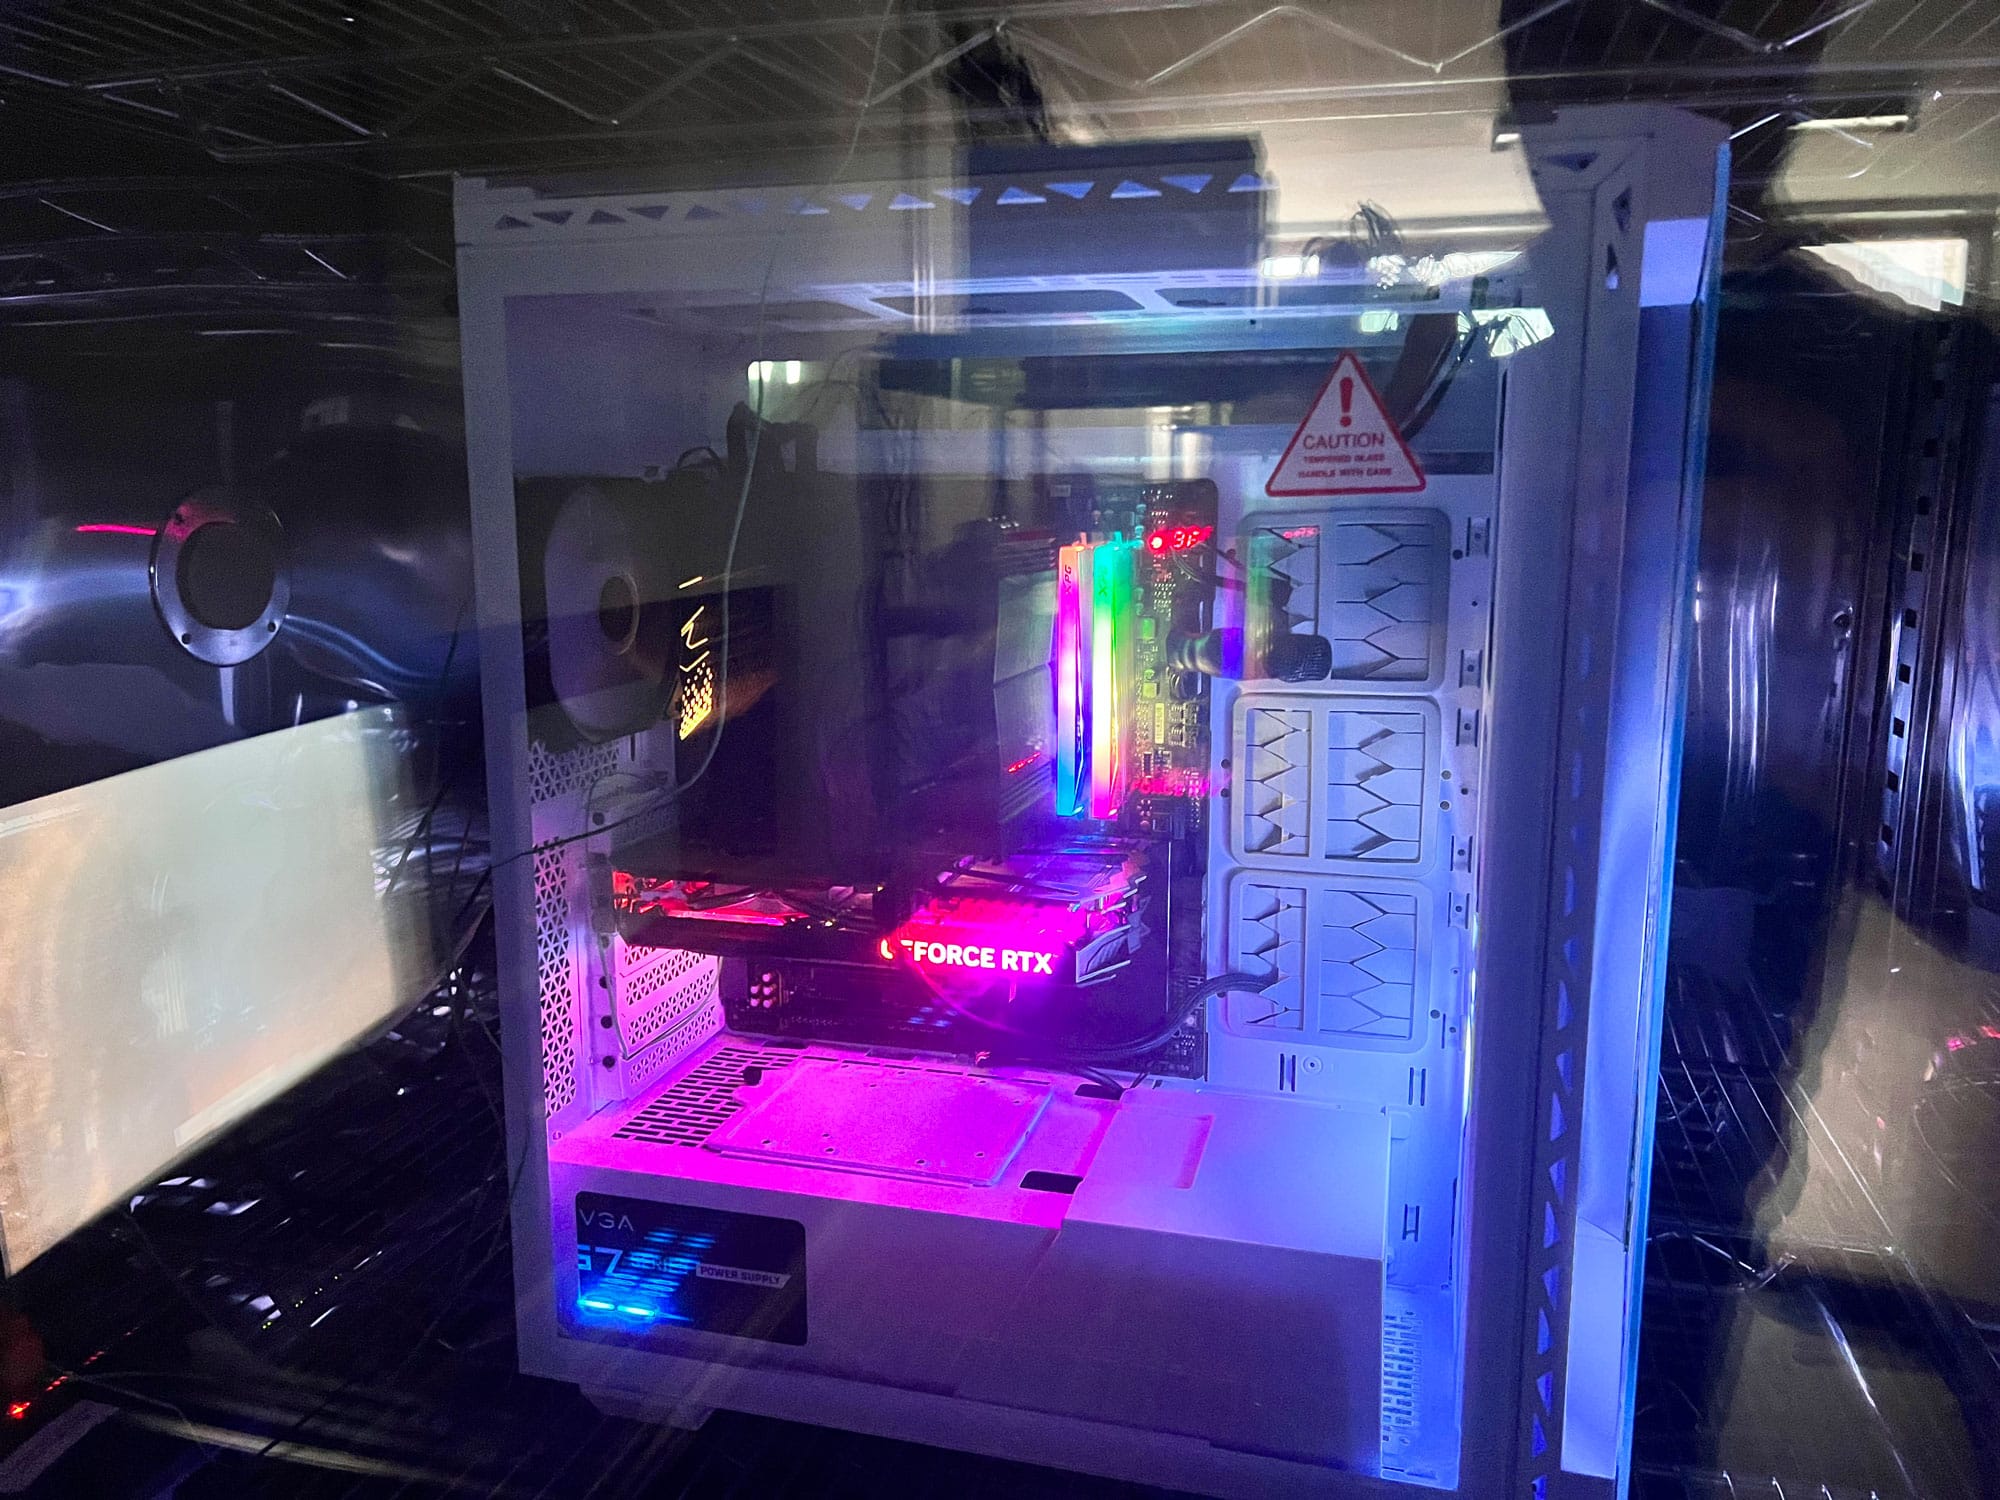
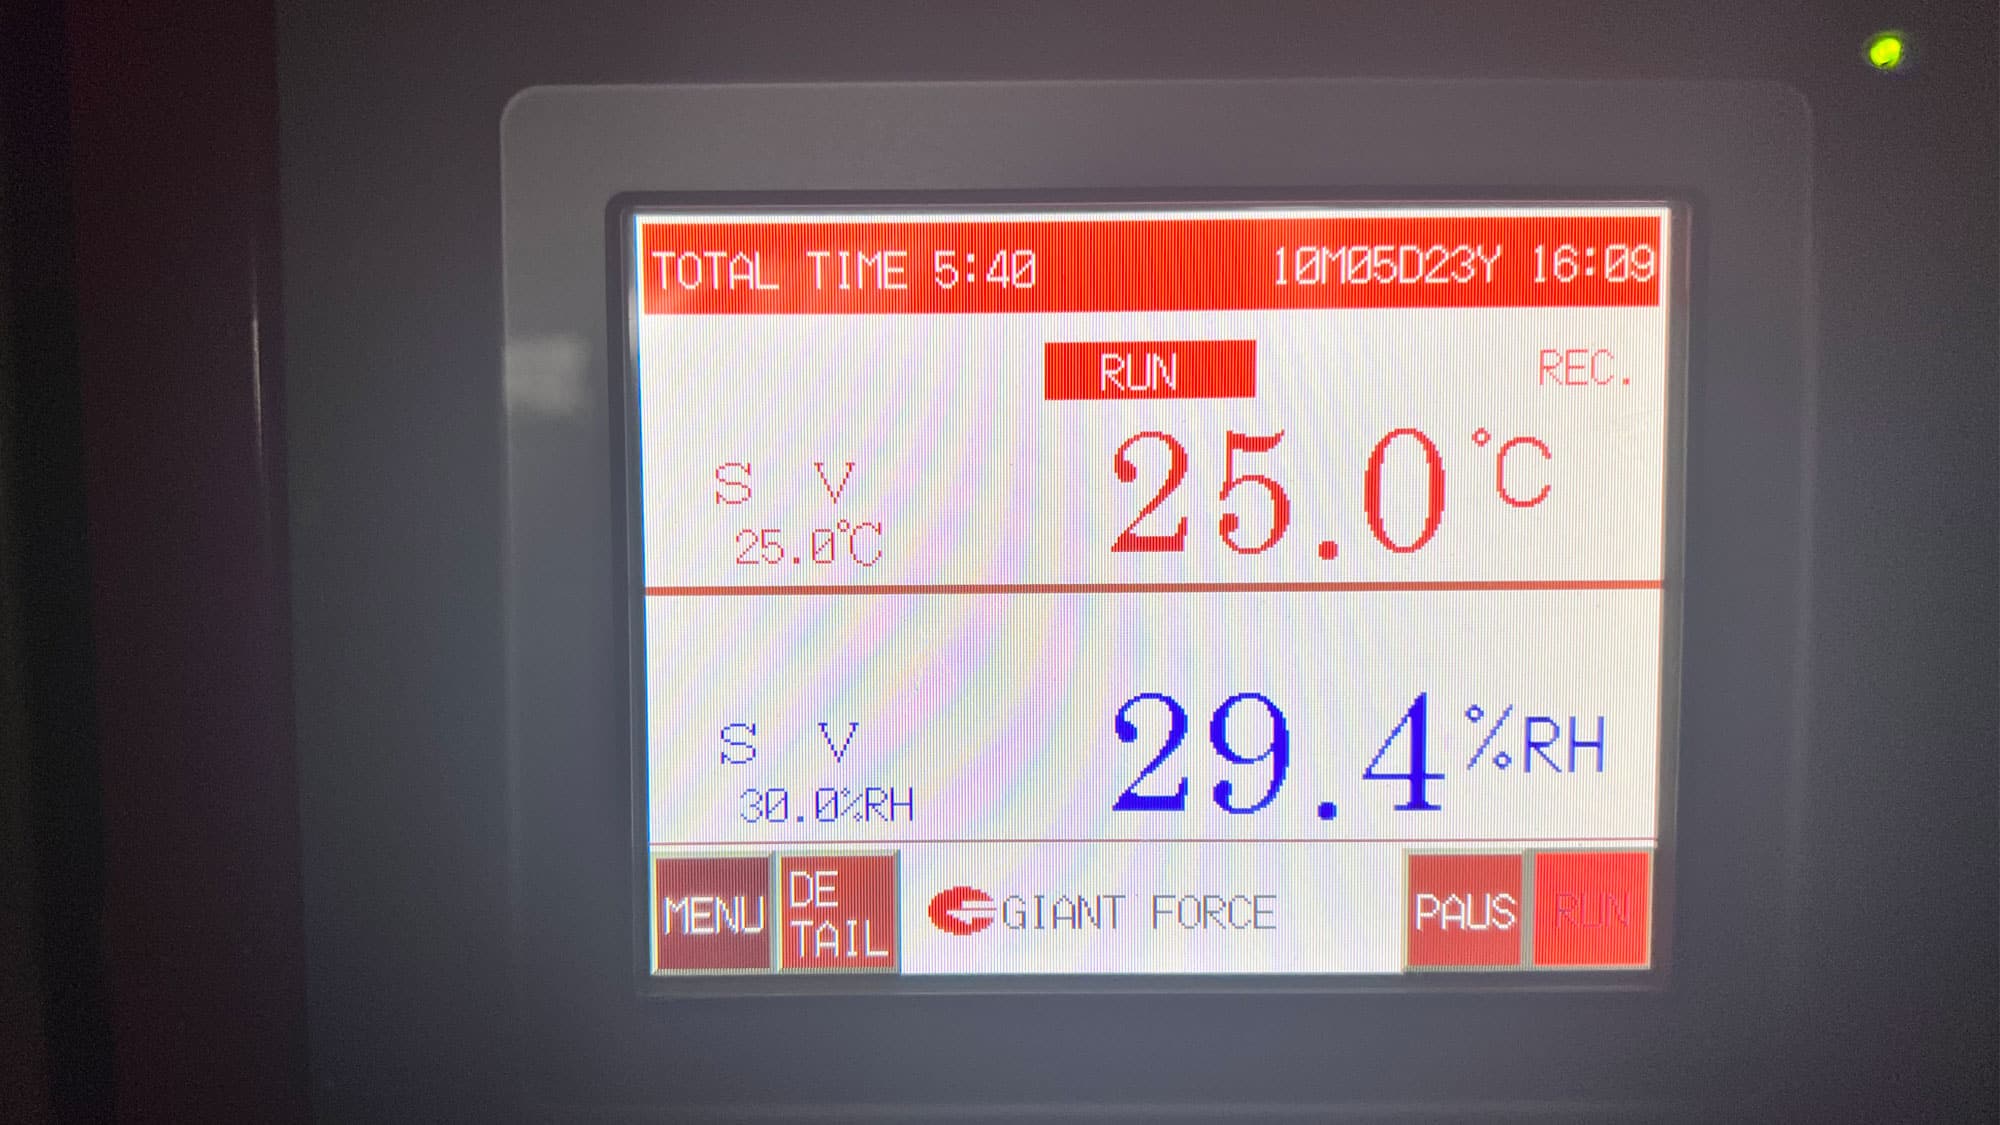
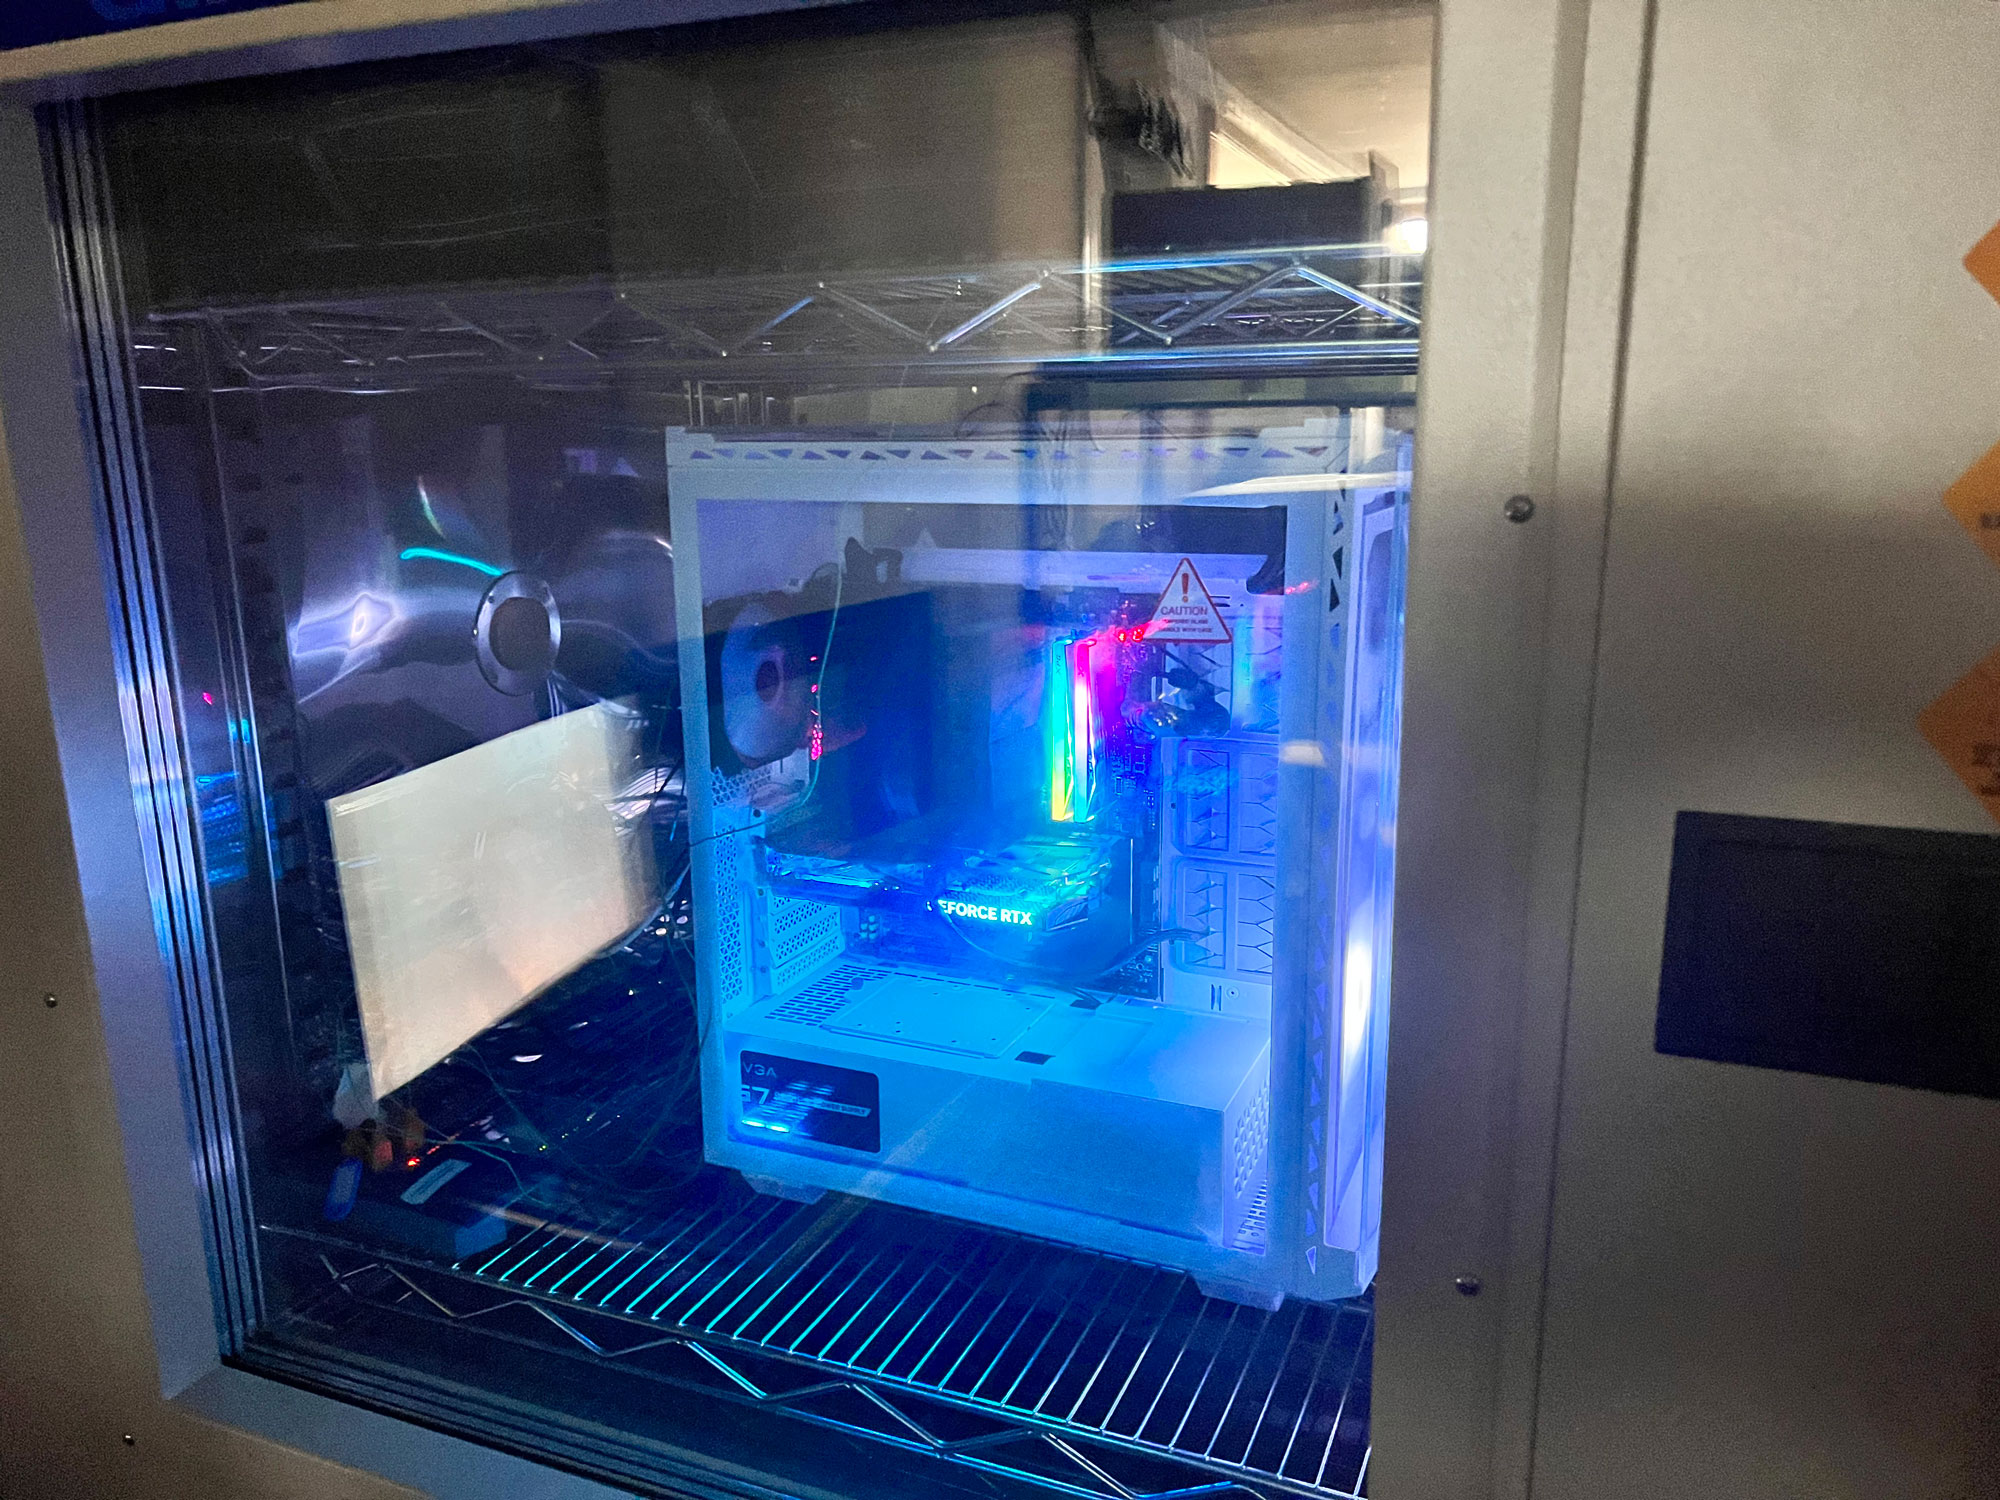
The system is ready for thermal evaluation now!
Prime Box
The following video shows the software controlling the Prime Box PWM/ARGB hub.