Chassis Photos – Outside
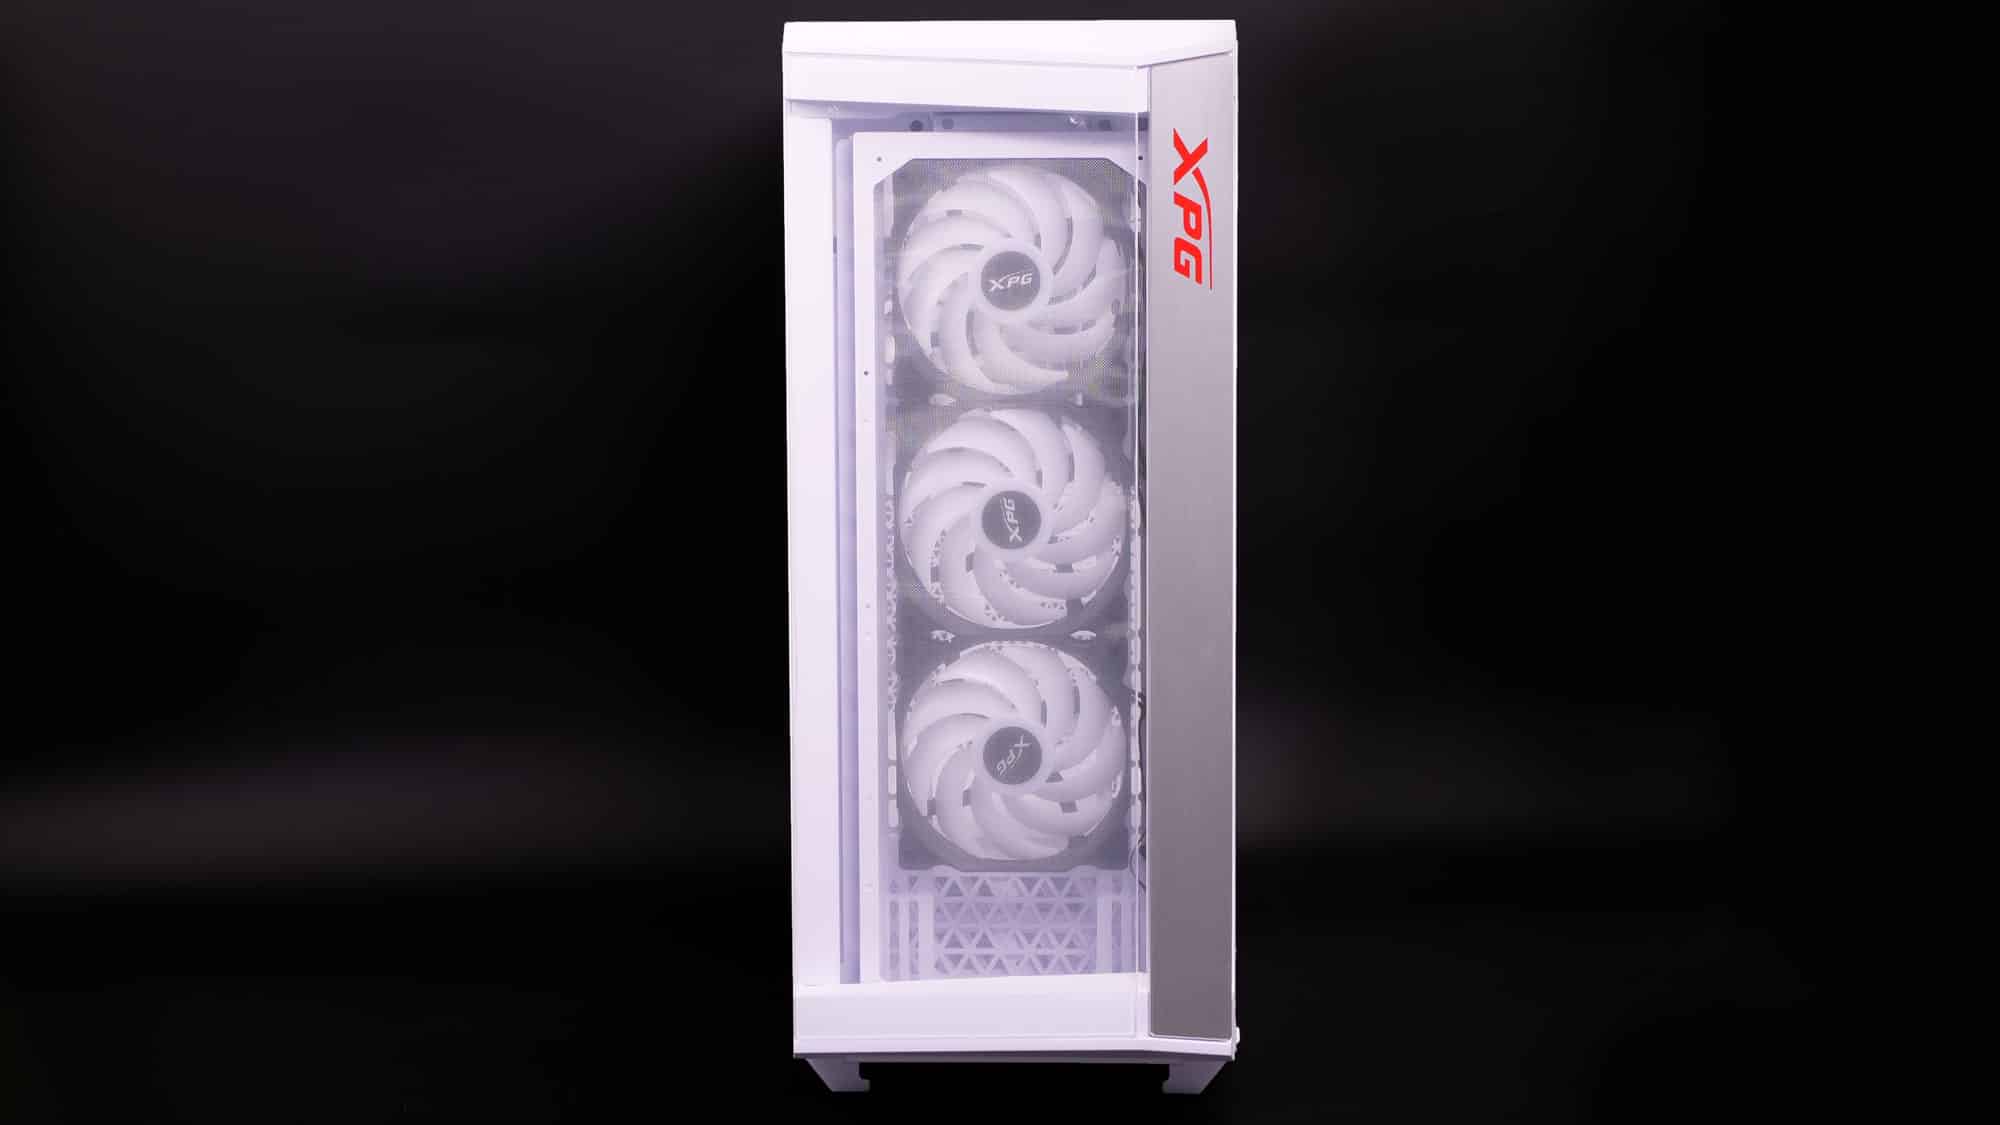
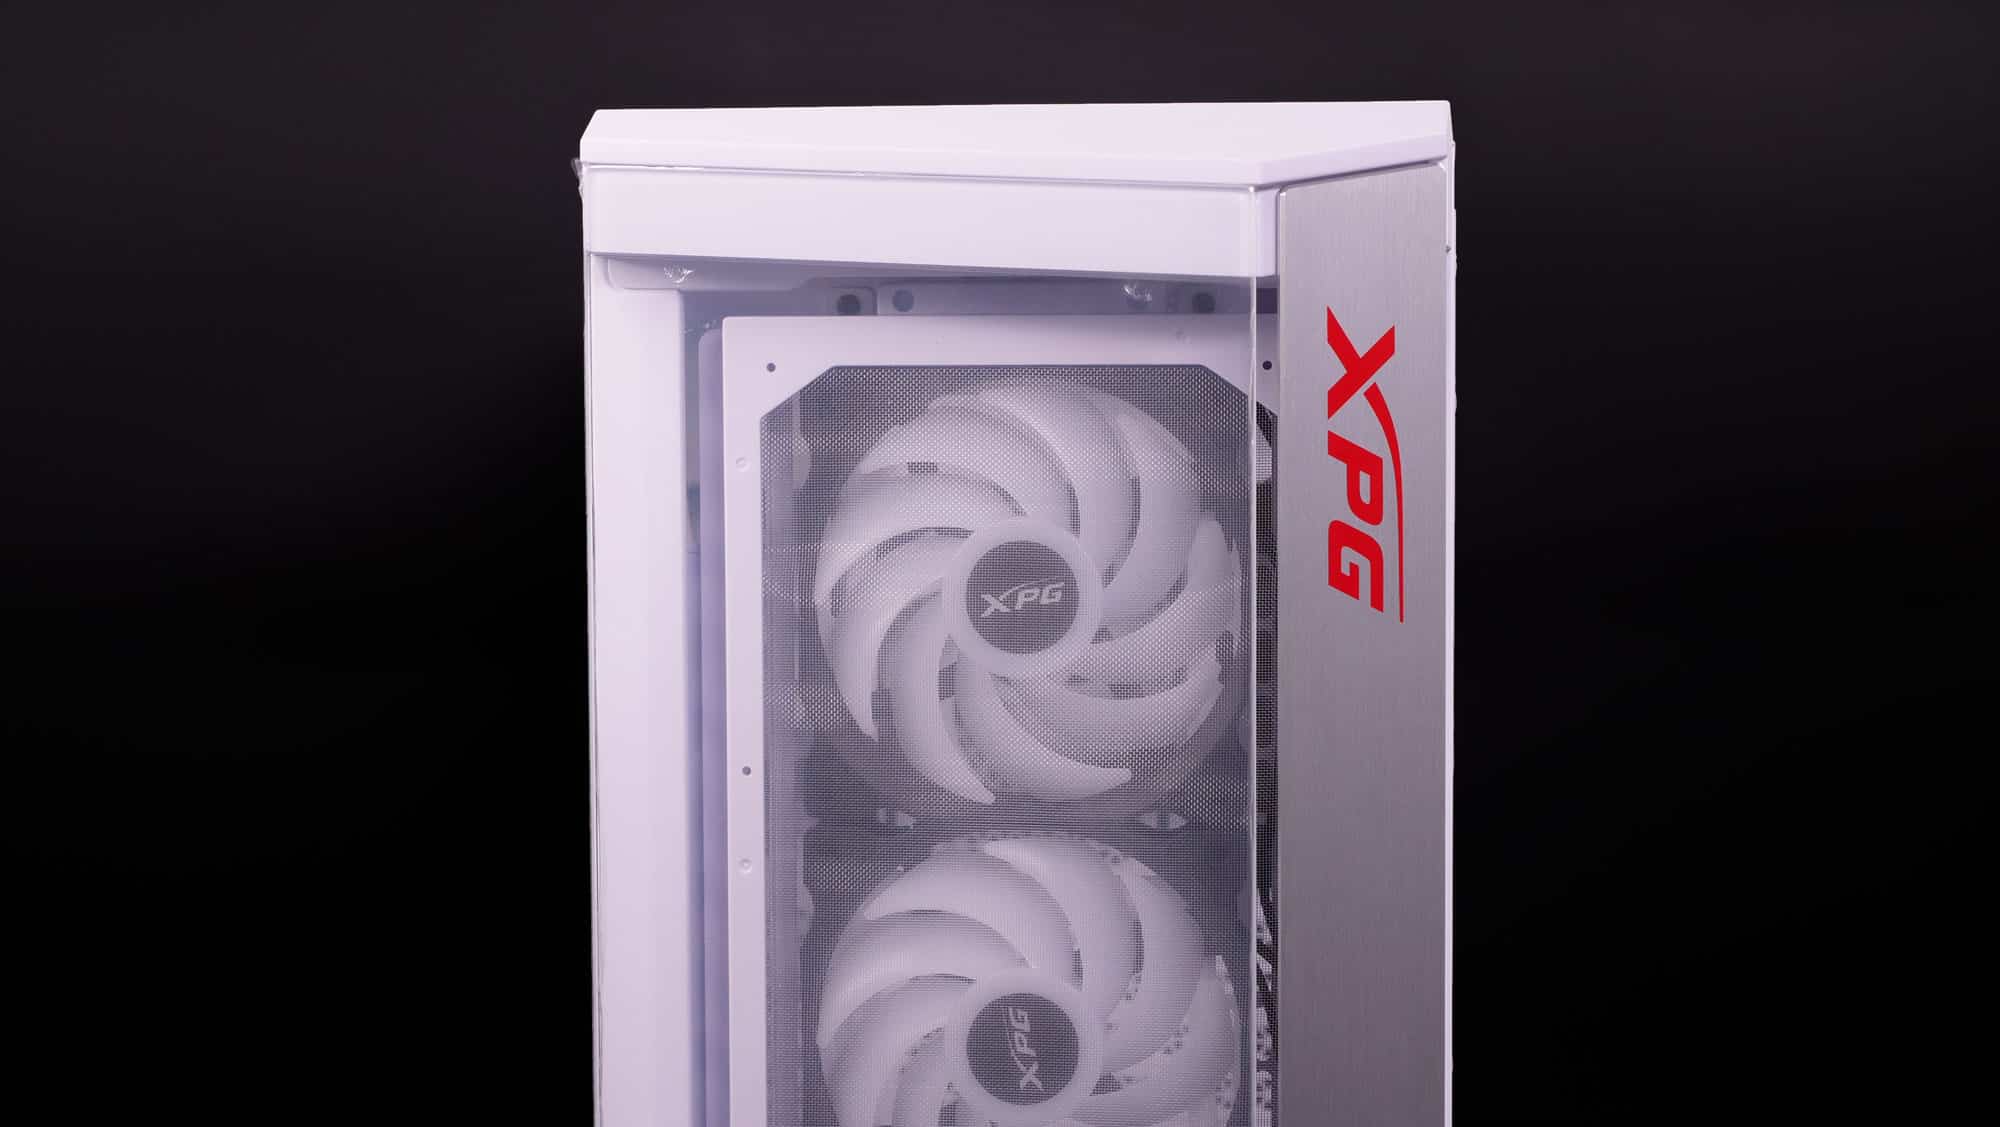
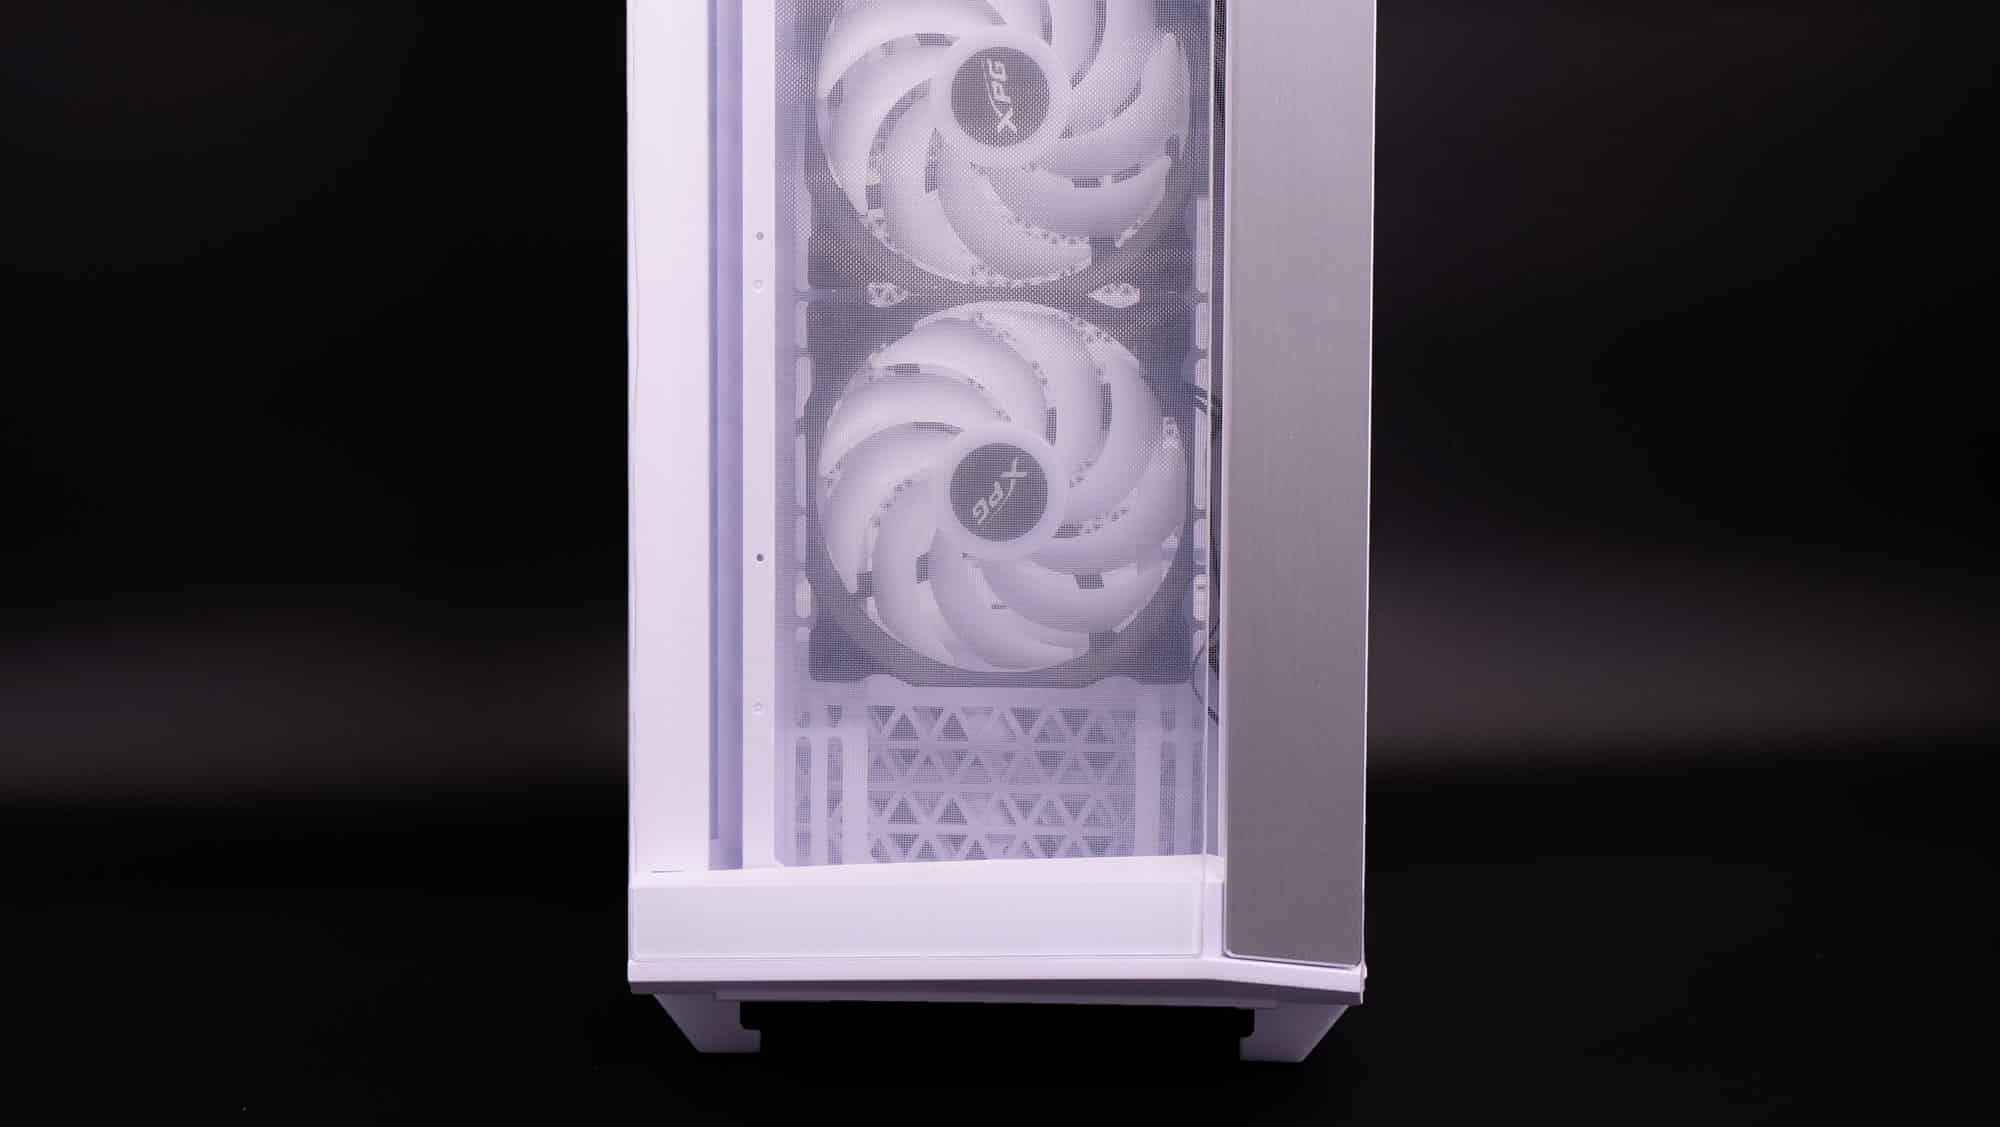
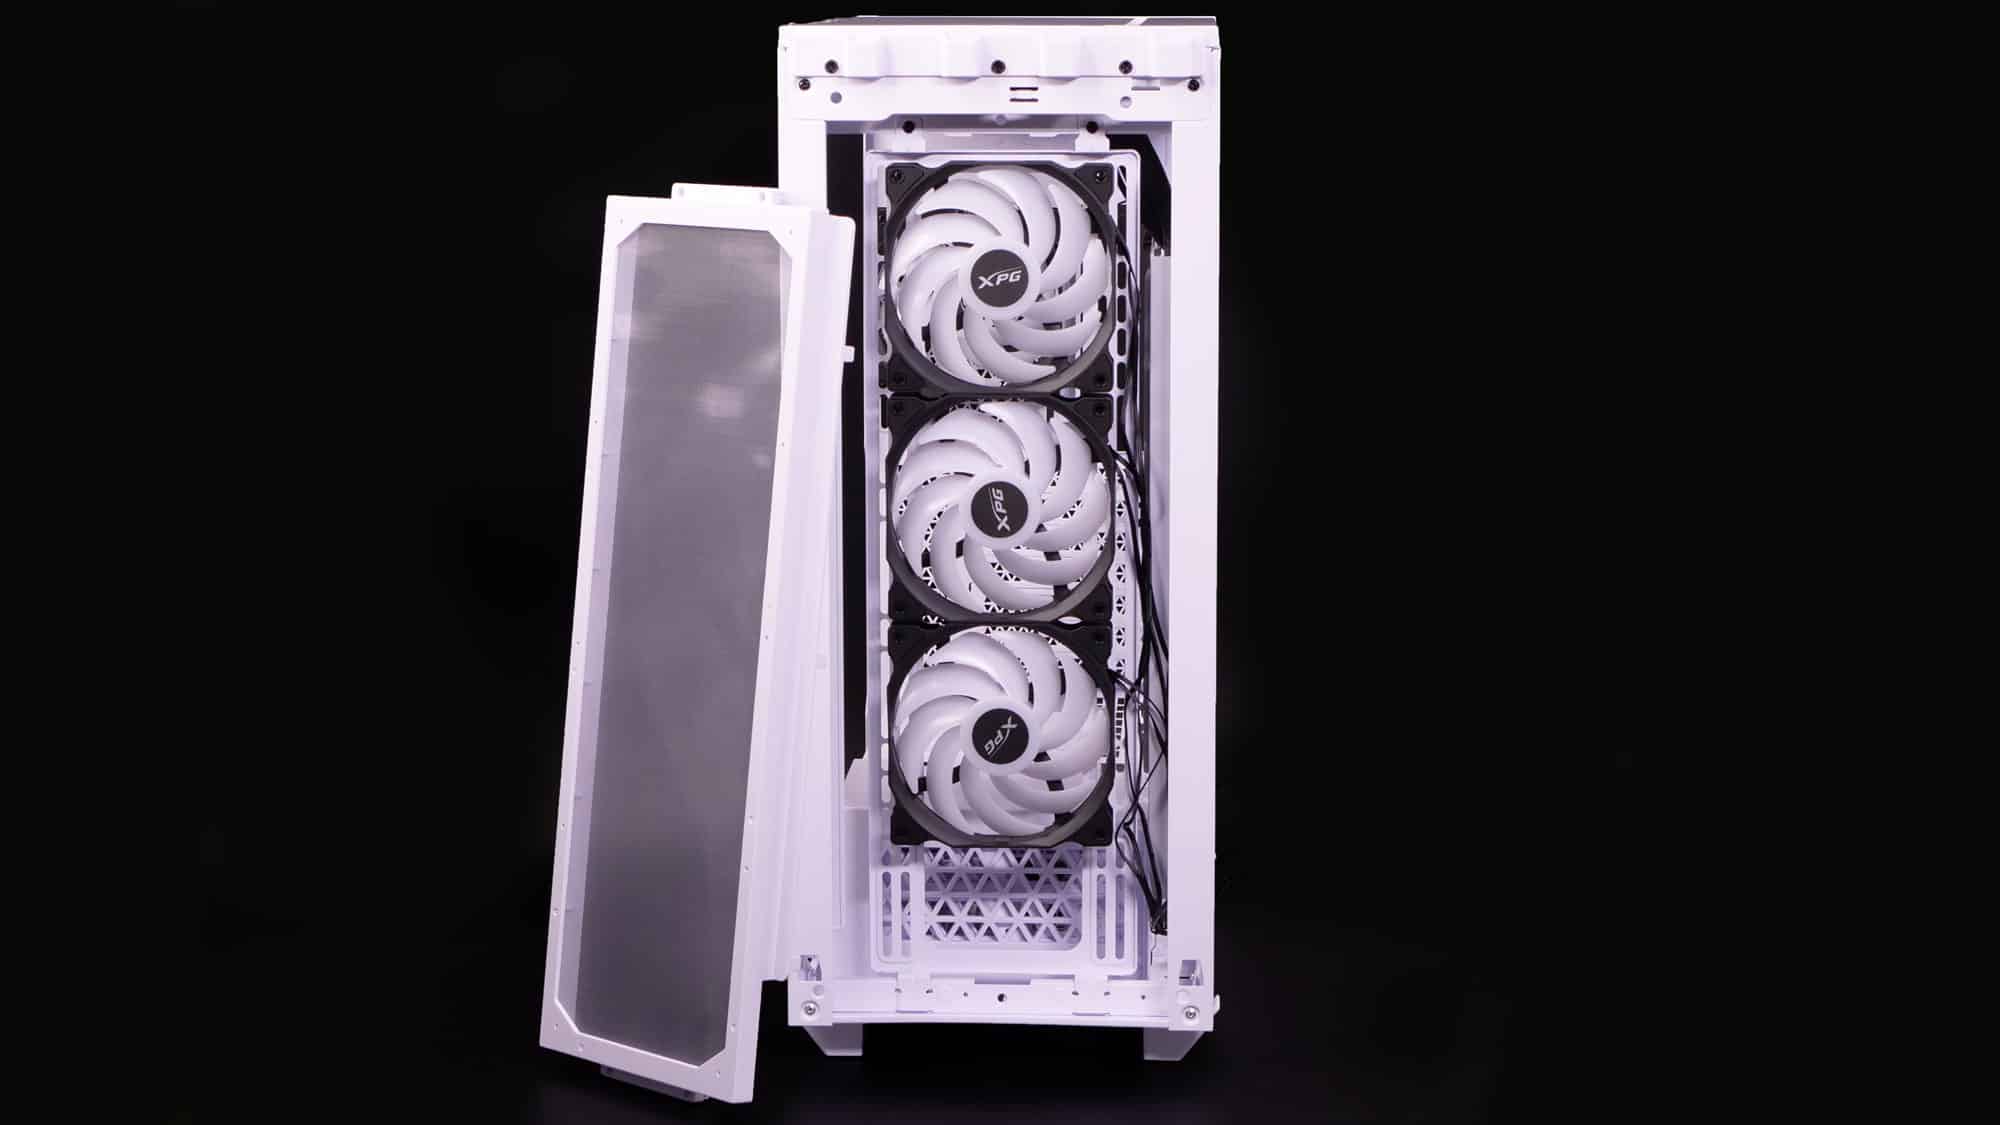


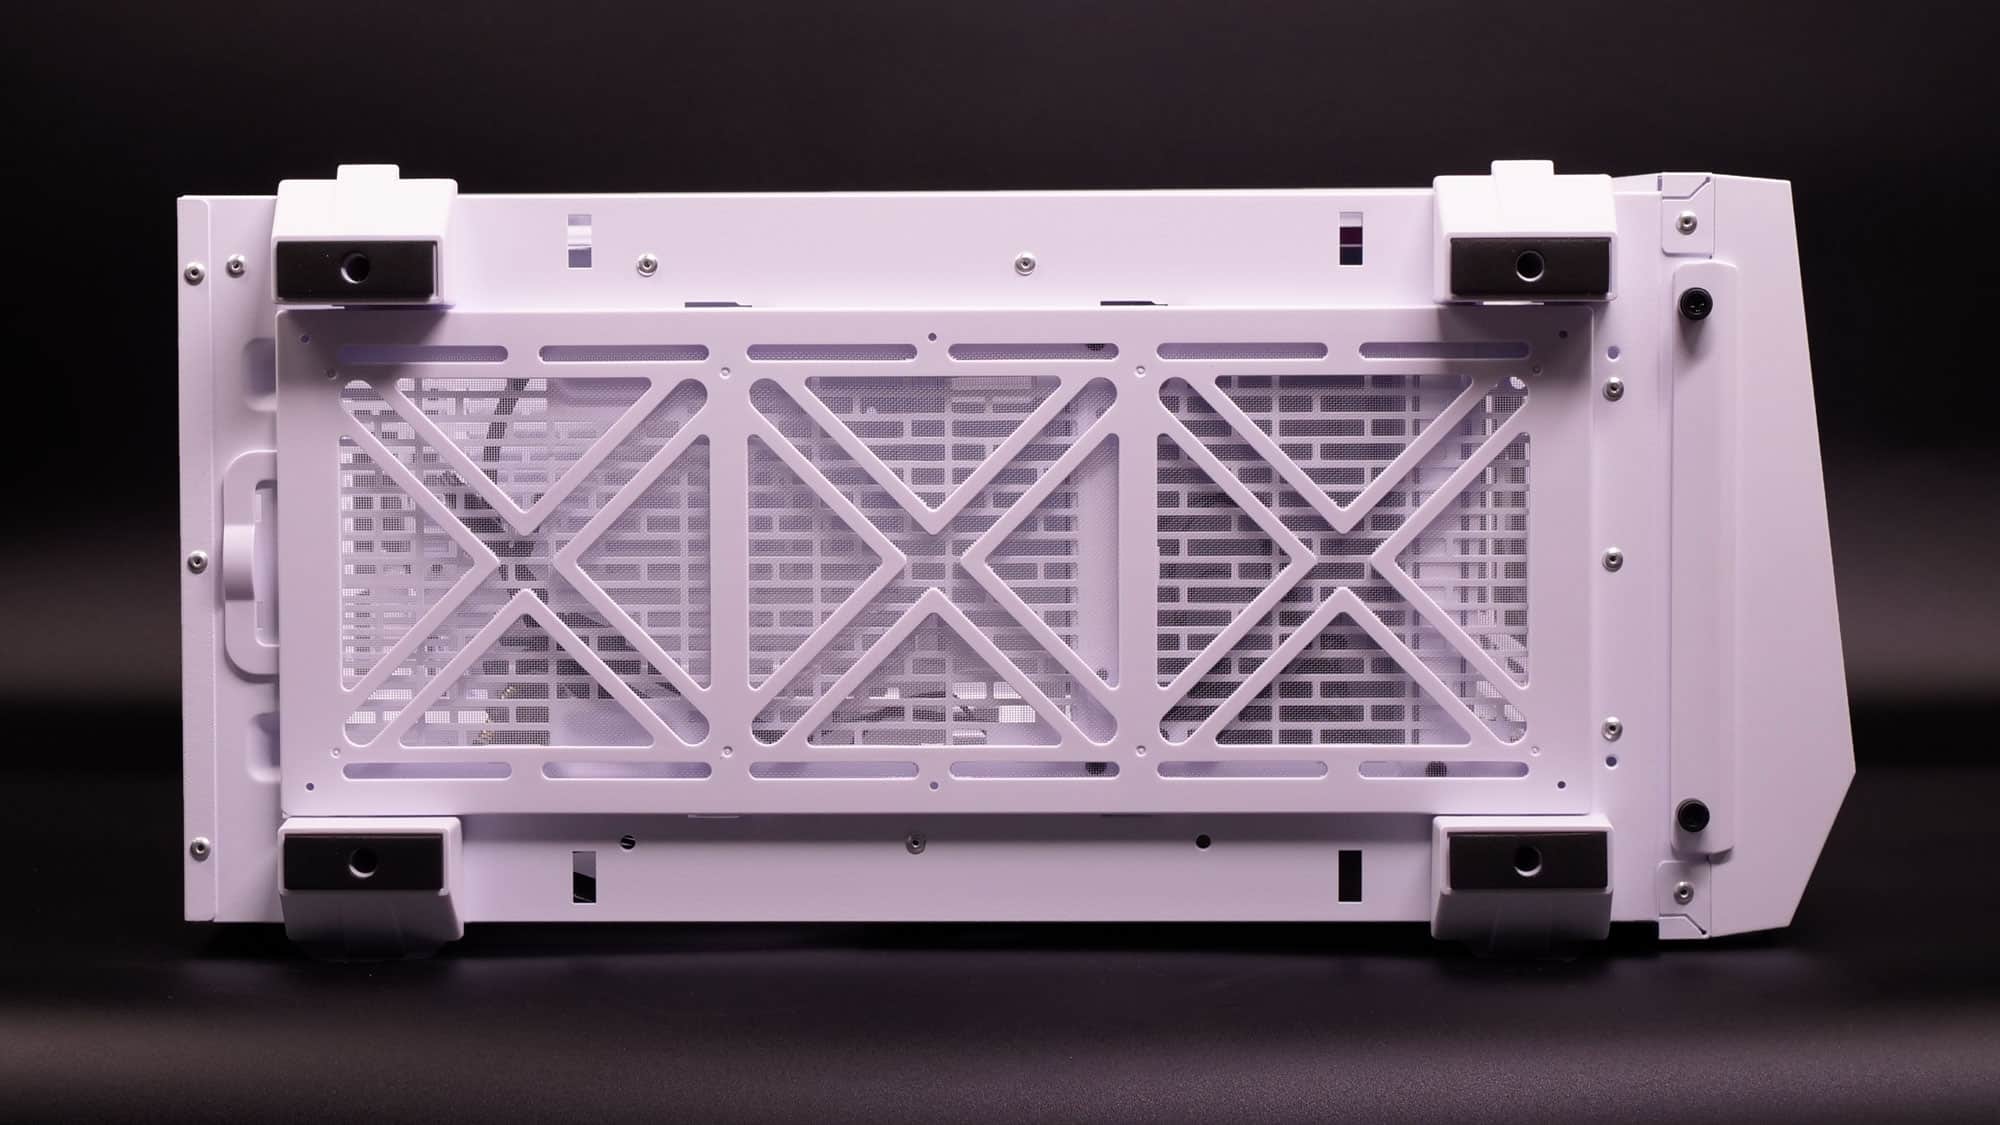
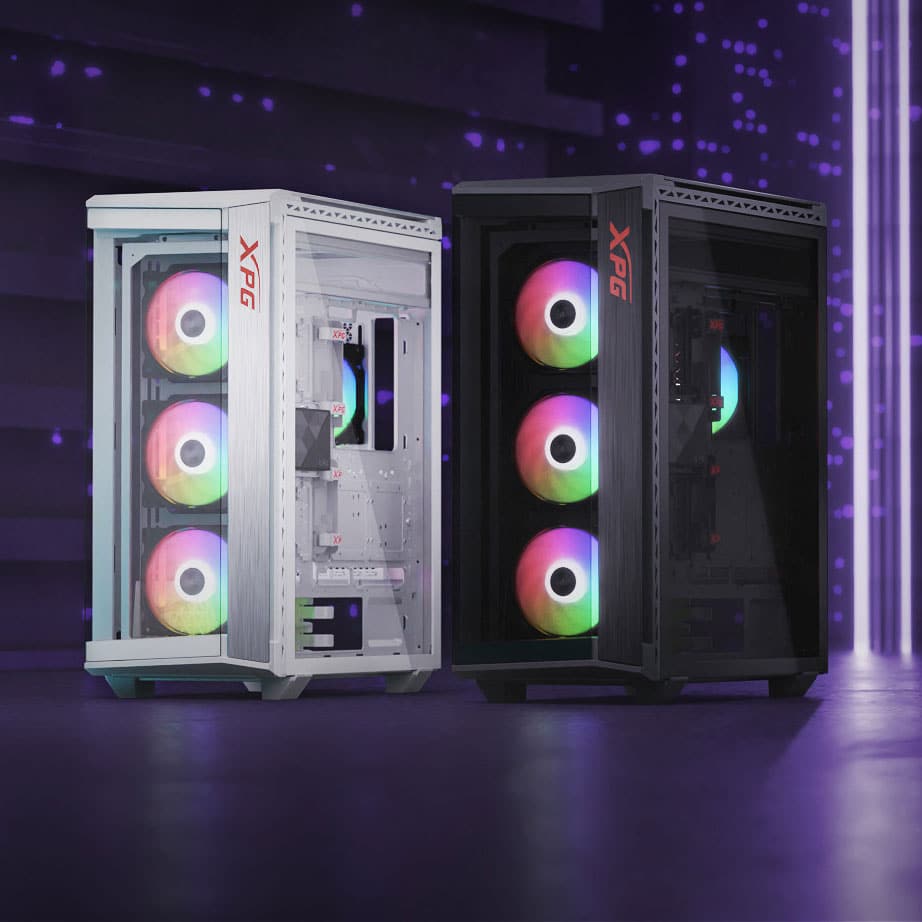
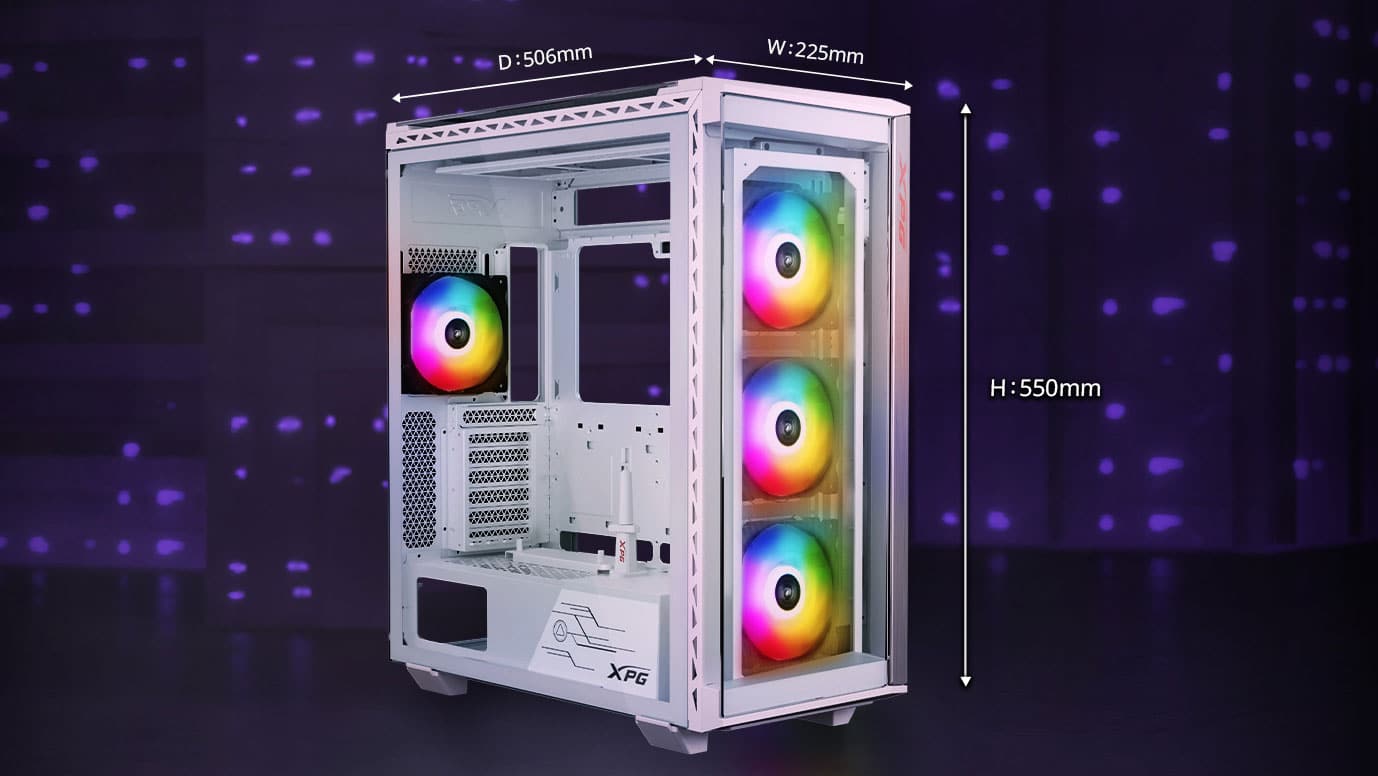
I don’t have a complaint about the chassis’ external build quality. The glass panels all around it look nice, and the white color adds appearance points. Thankfully, I now have a good black background, so taking photos of white products is not as hard. There are three removable dust panels at the top, front, and bottom sides. The glass at the front has a large enough distance from the fans not to restrict airflow. The side panels are kept in place with thumbscrews, which is not the best way in this price range. I would highly prefer the use of hinges, which are also safer, preventing you from dropping the side panel and starting to search for replacement parts. On the other hand, in a discussion I had with XPG on this matter, they mentioned that hingers require a large space to open the side panels, so they will create issues in confined office spaces.
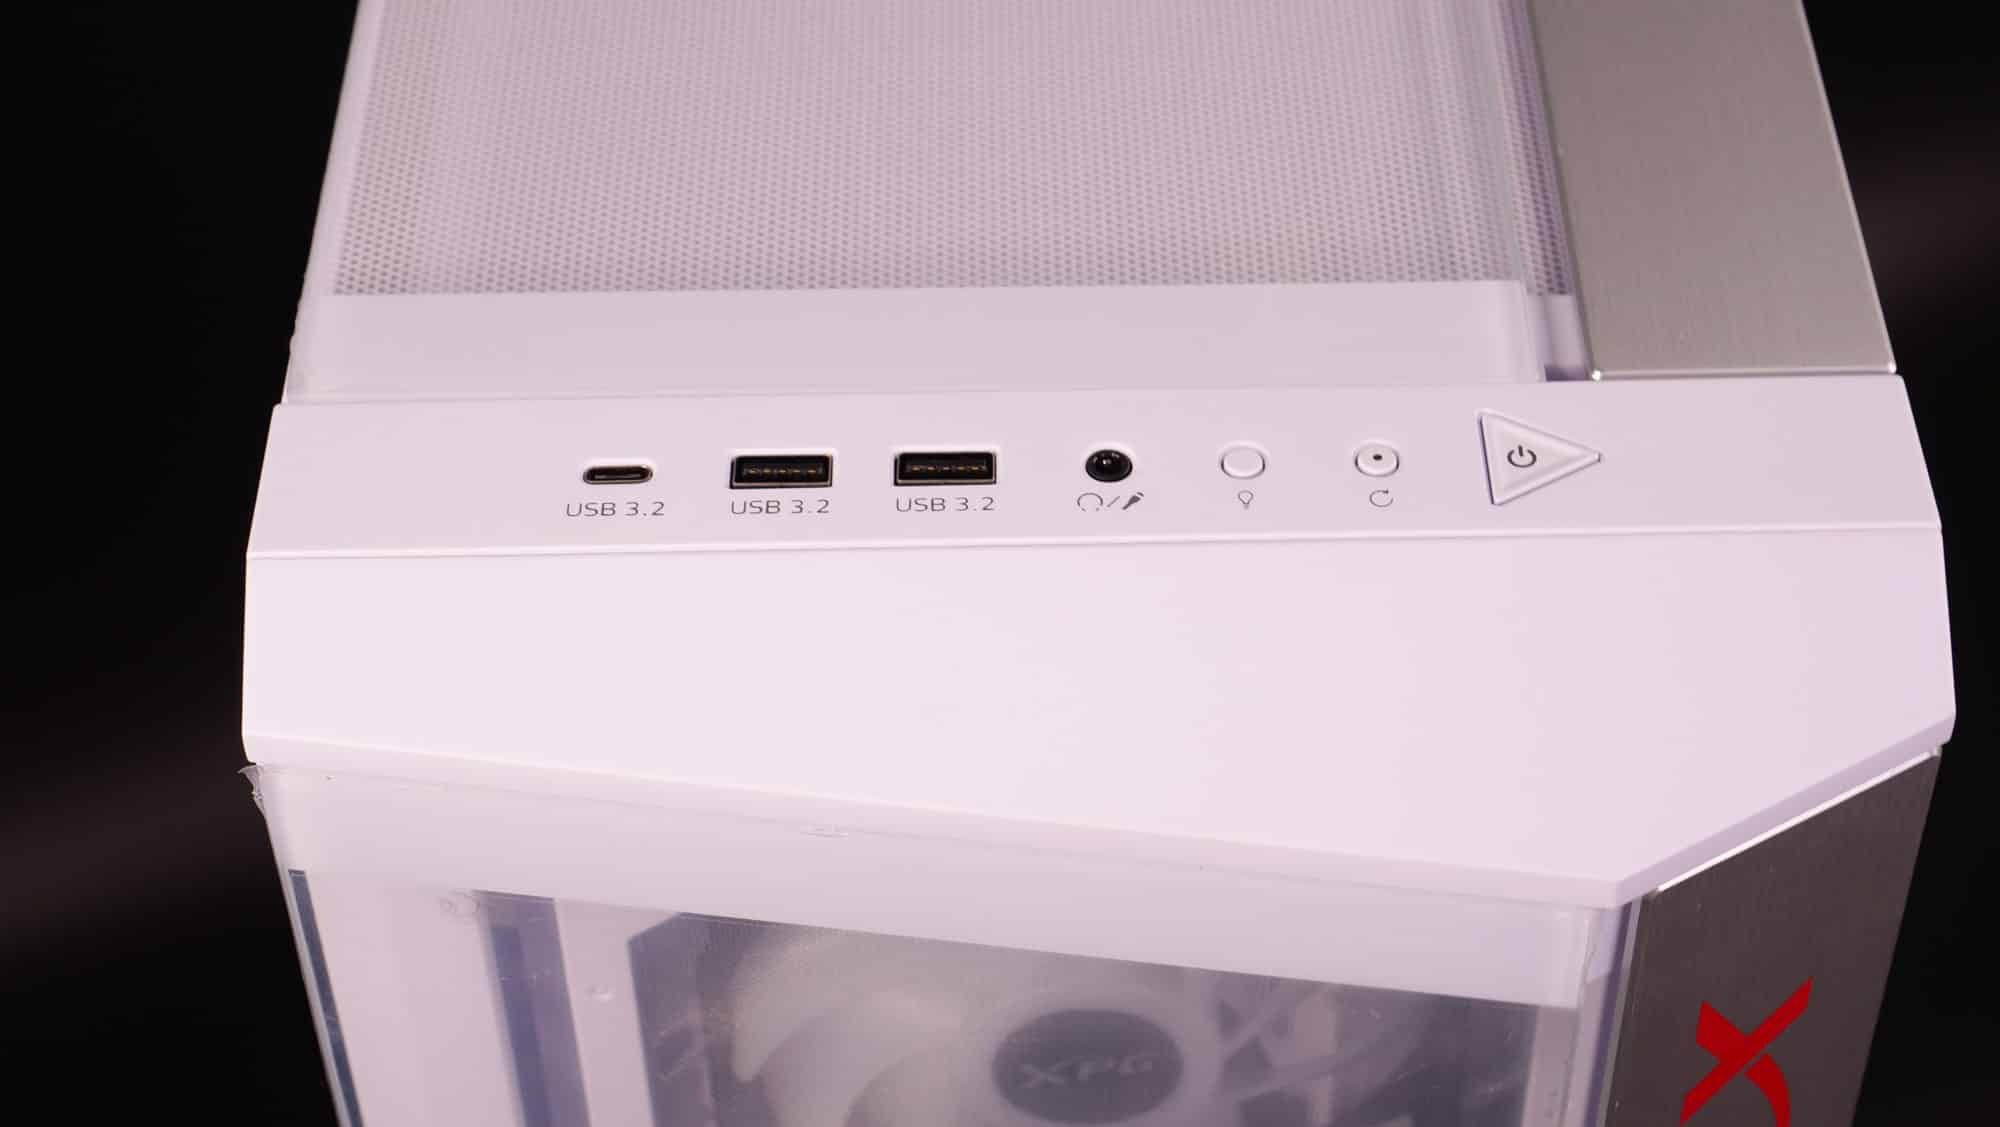
The I/O panel includes a Reset button, which is a highly welcome feature! There is also an LED button to change the lighting effects if you have the corresponding ARGB cables connected.
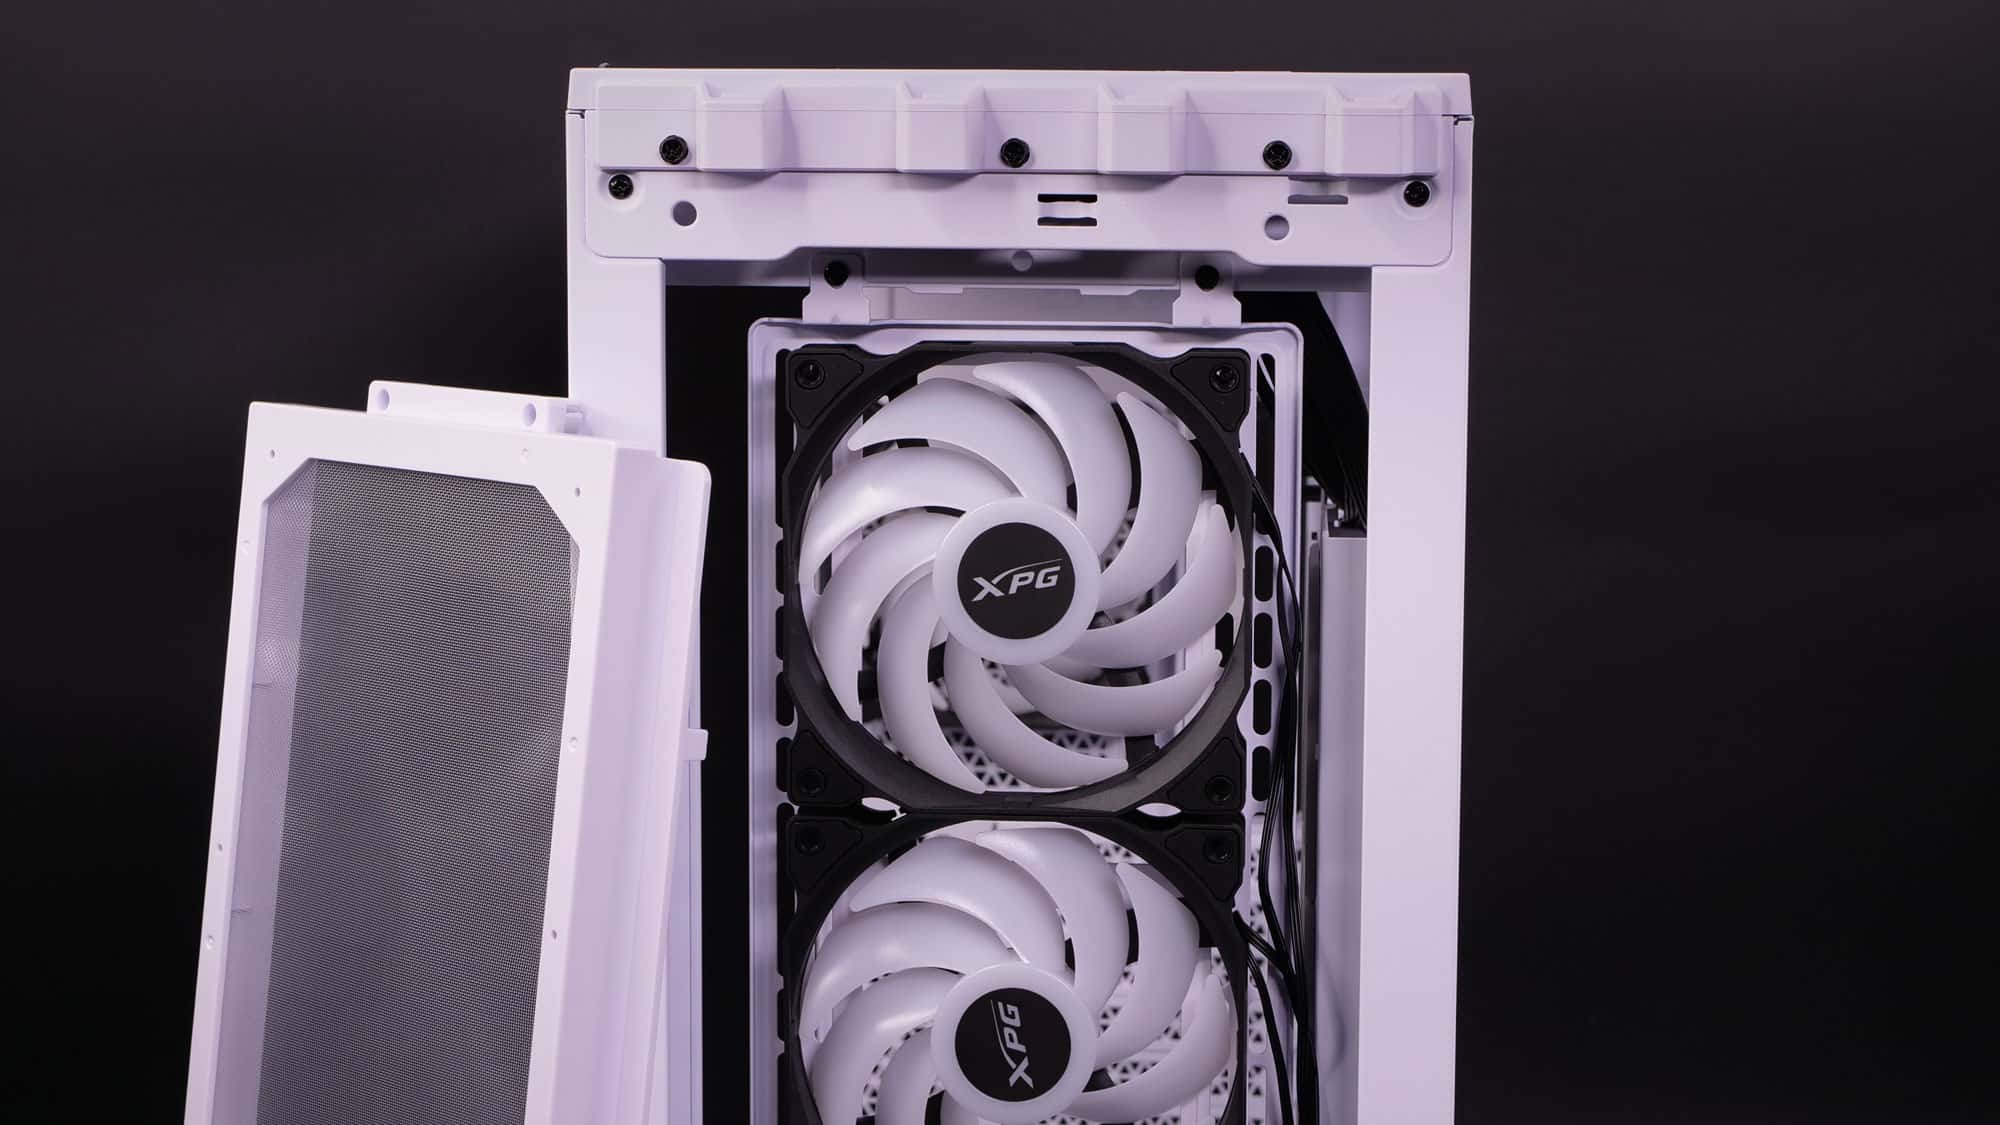
Chassis Photos – Inside

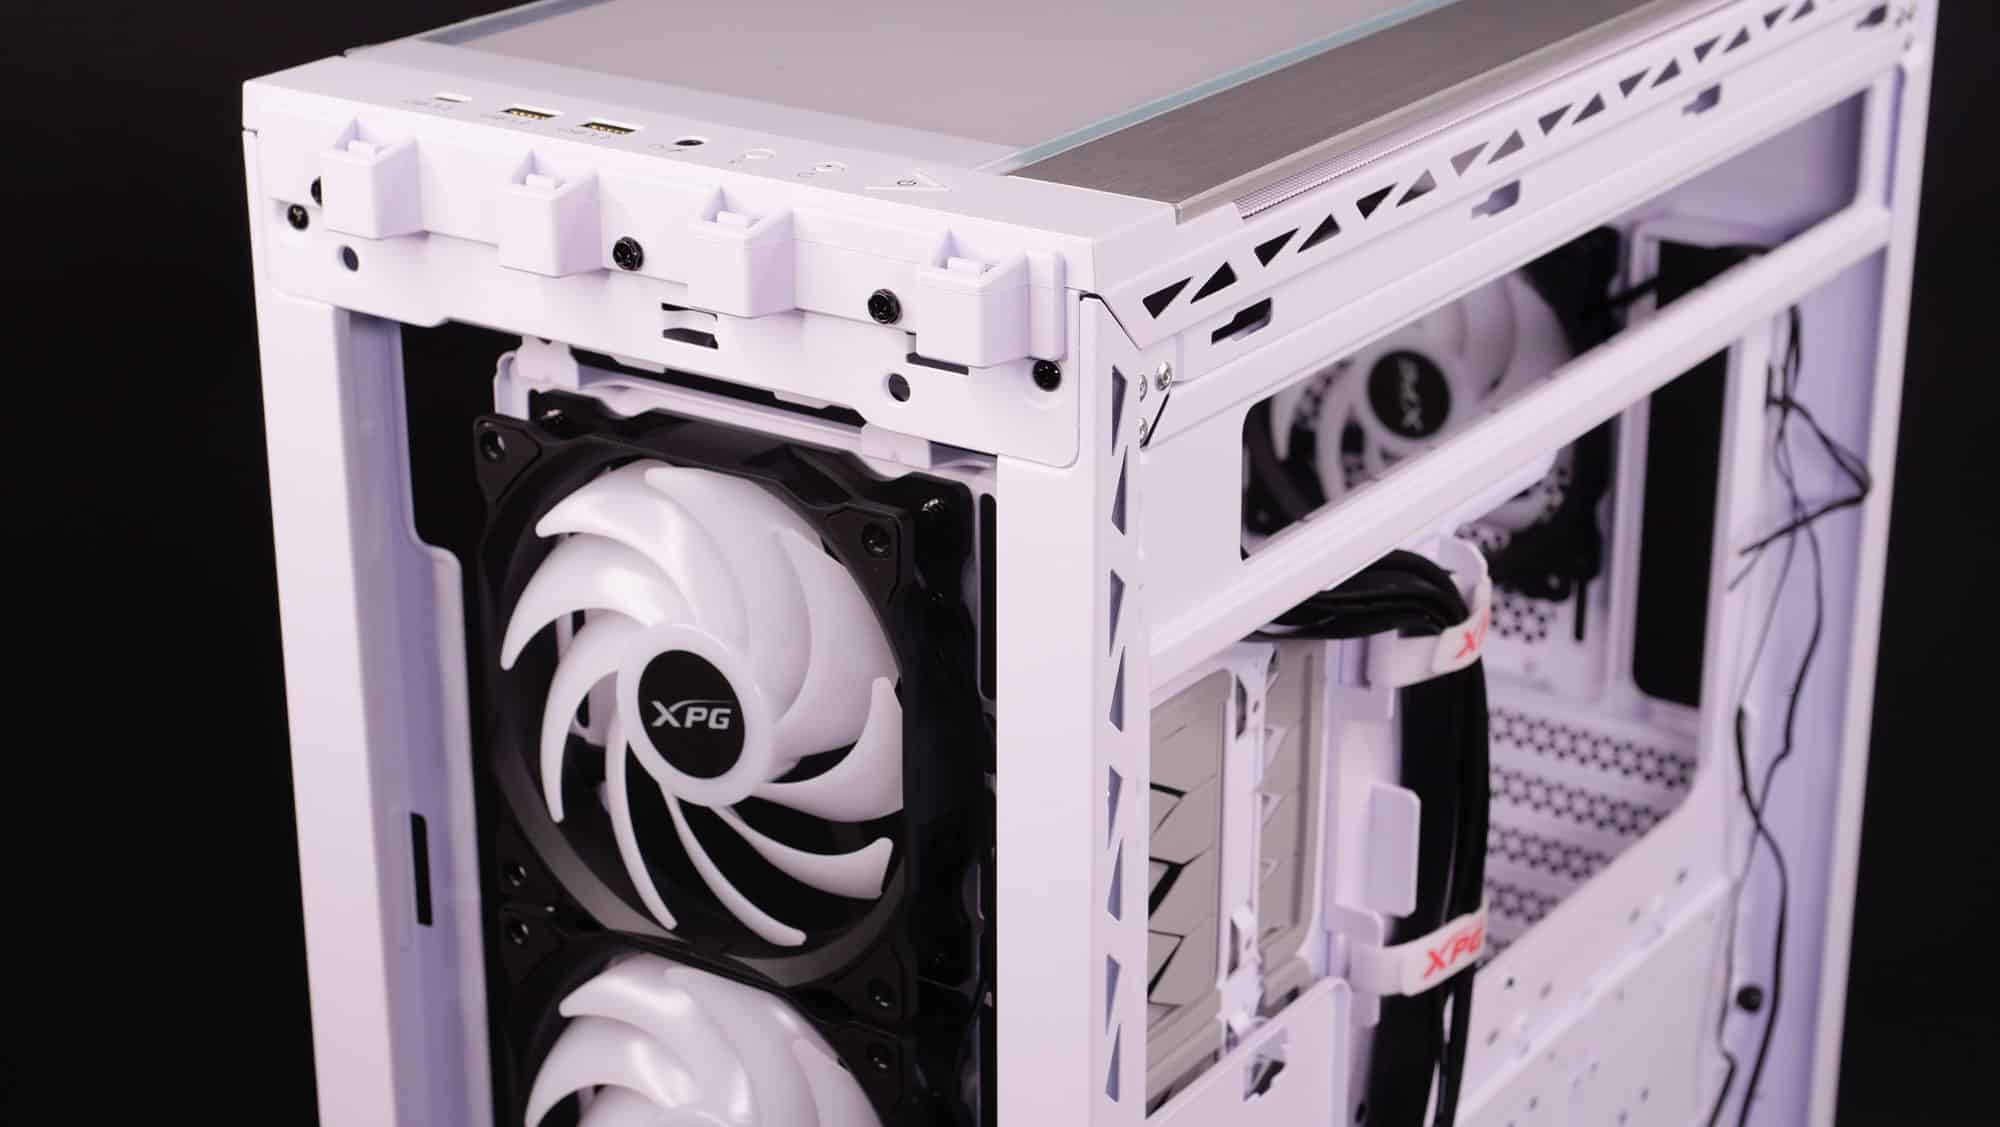
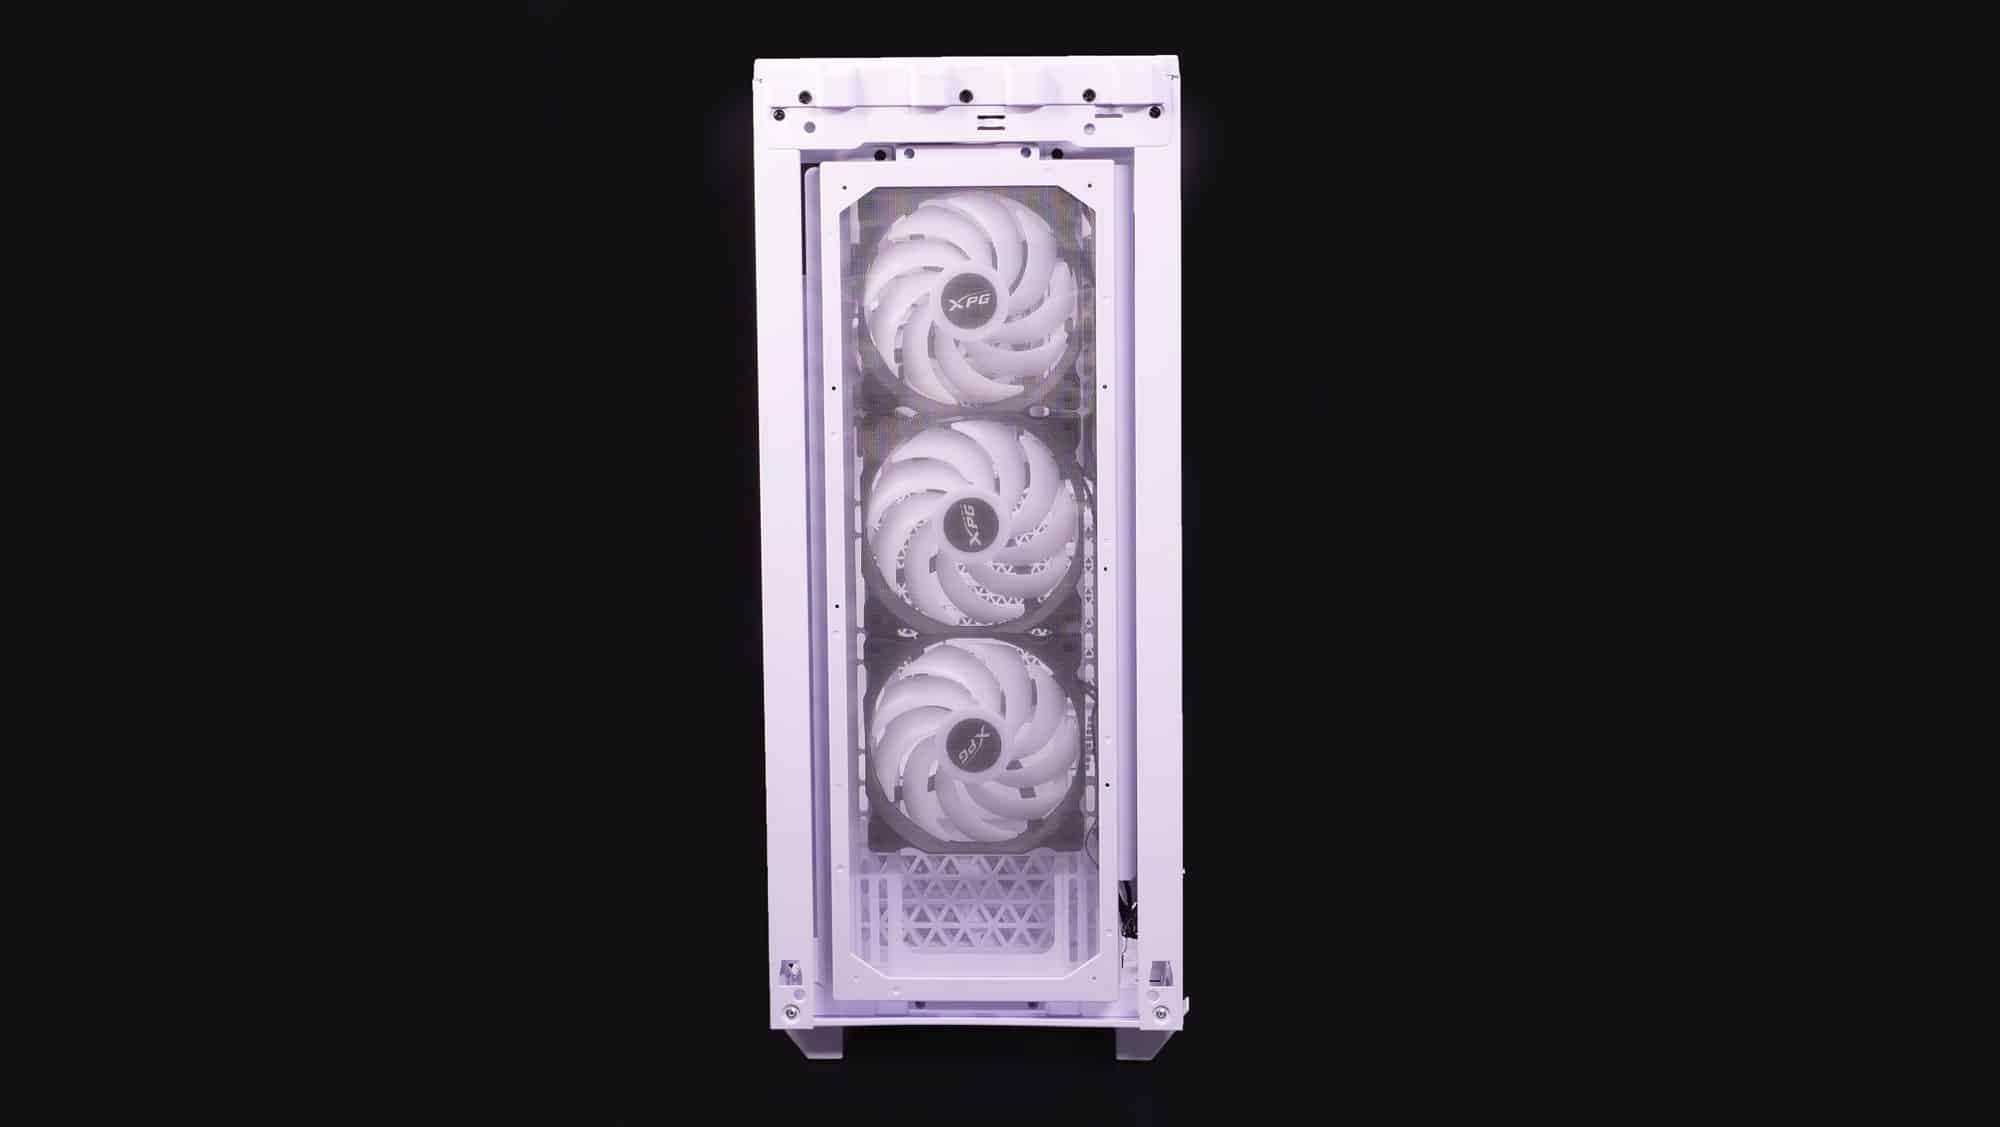
On the front side, XPG has installed three fans, and one is at the exhaust side to remove the hot air from the chassis.
I would like to have more space available for the mainboard on the top and bottom sides. On the other hand, the CPU’s cutout is large enough.
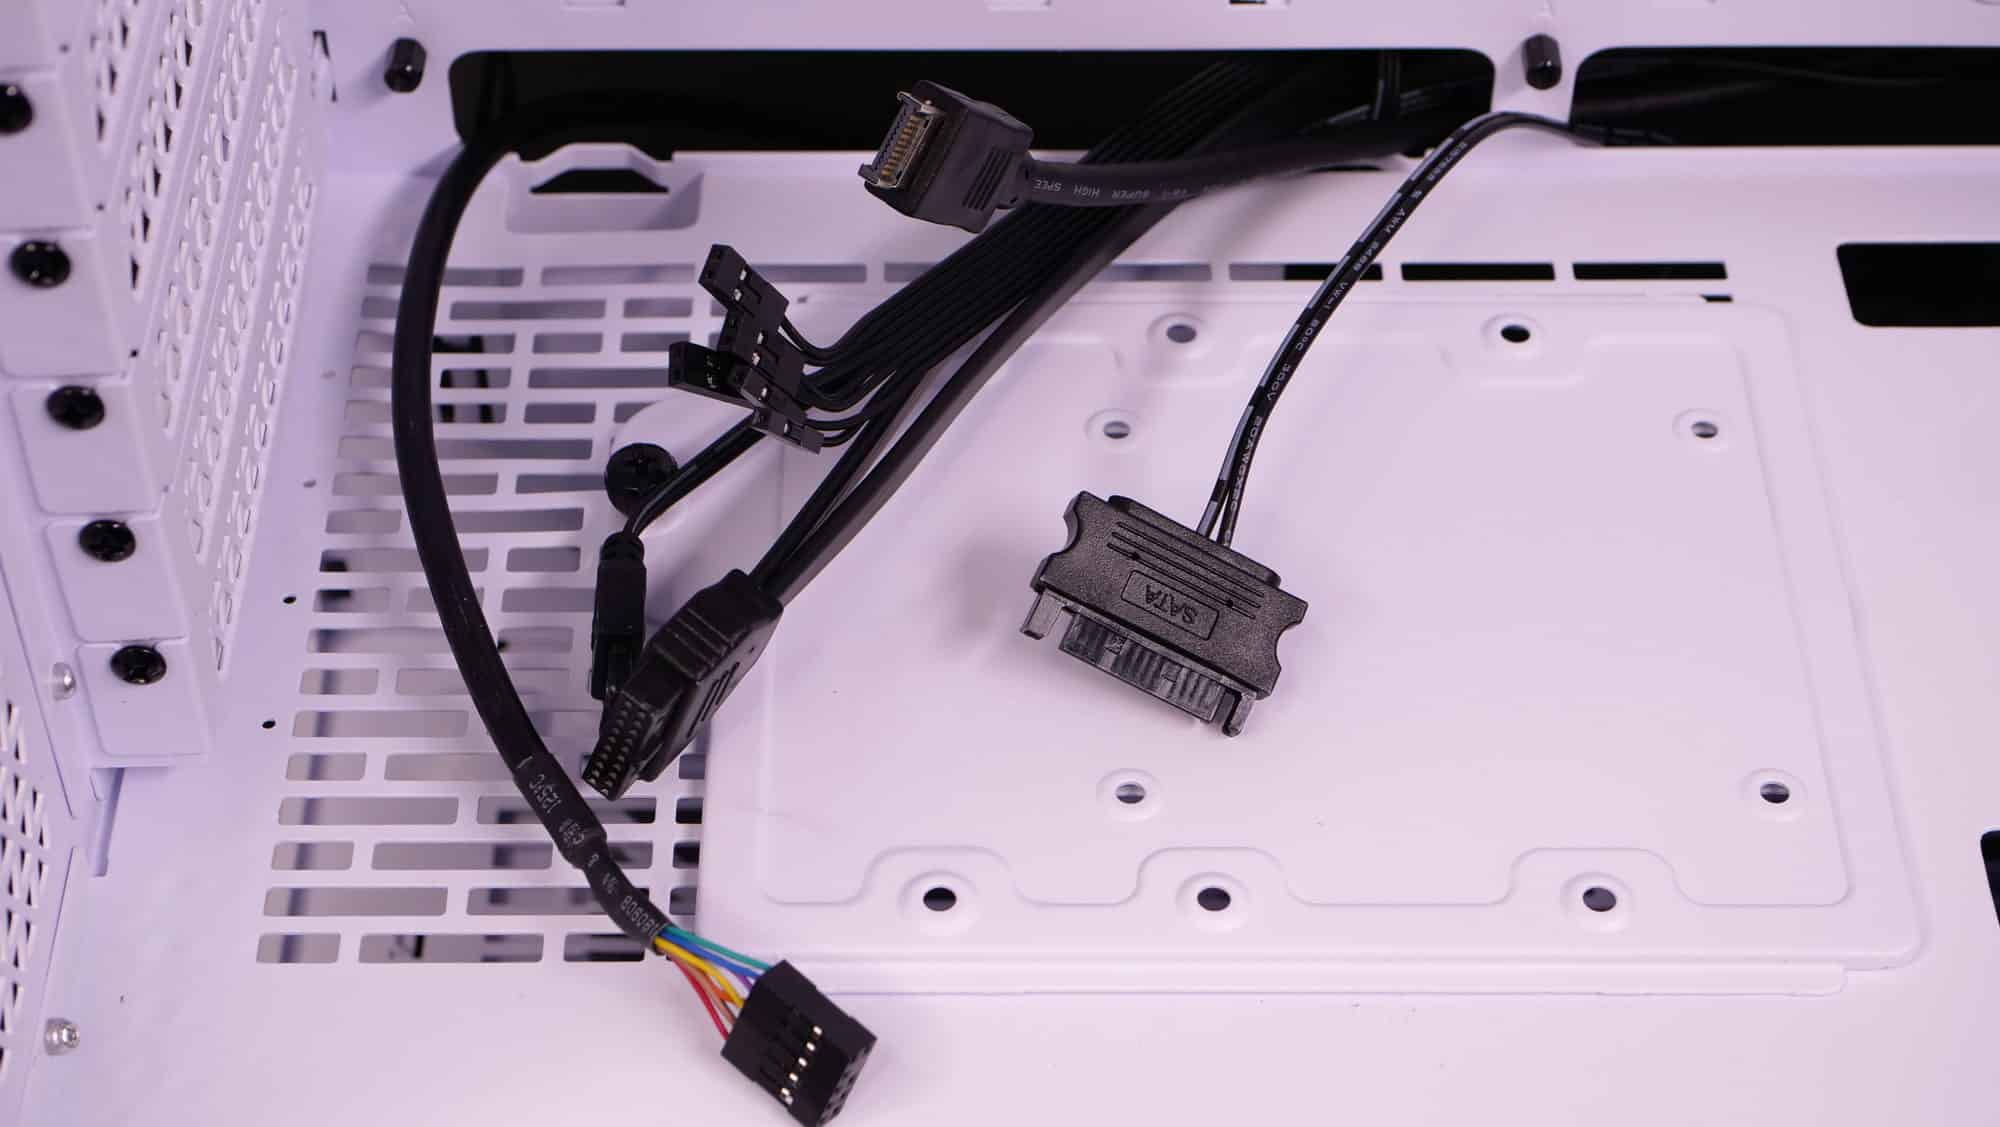
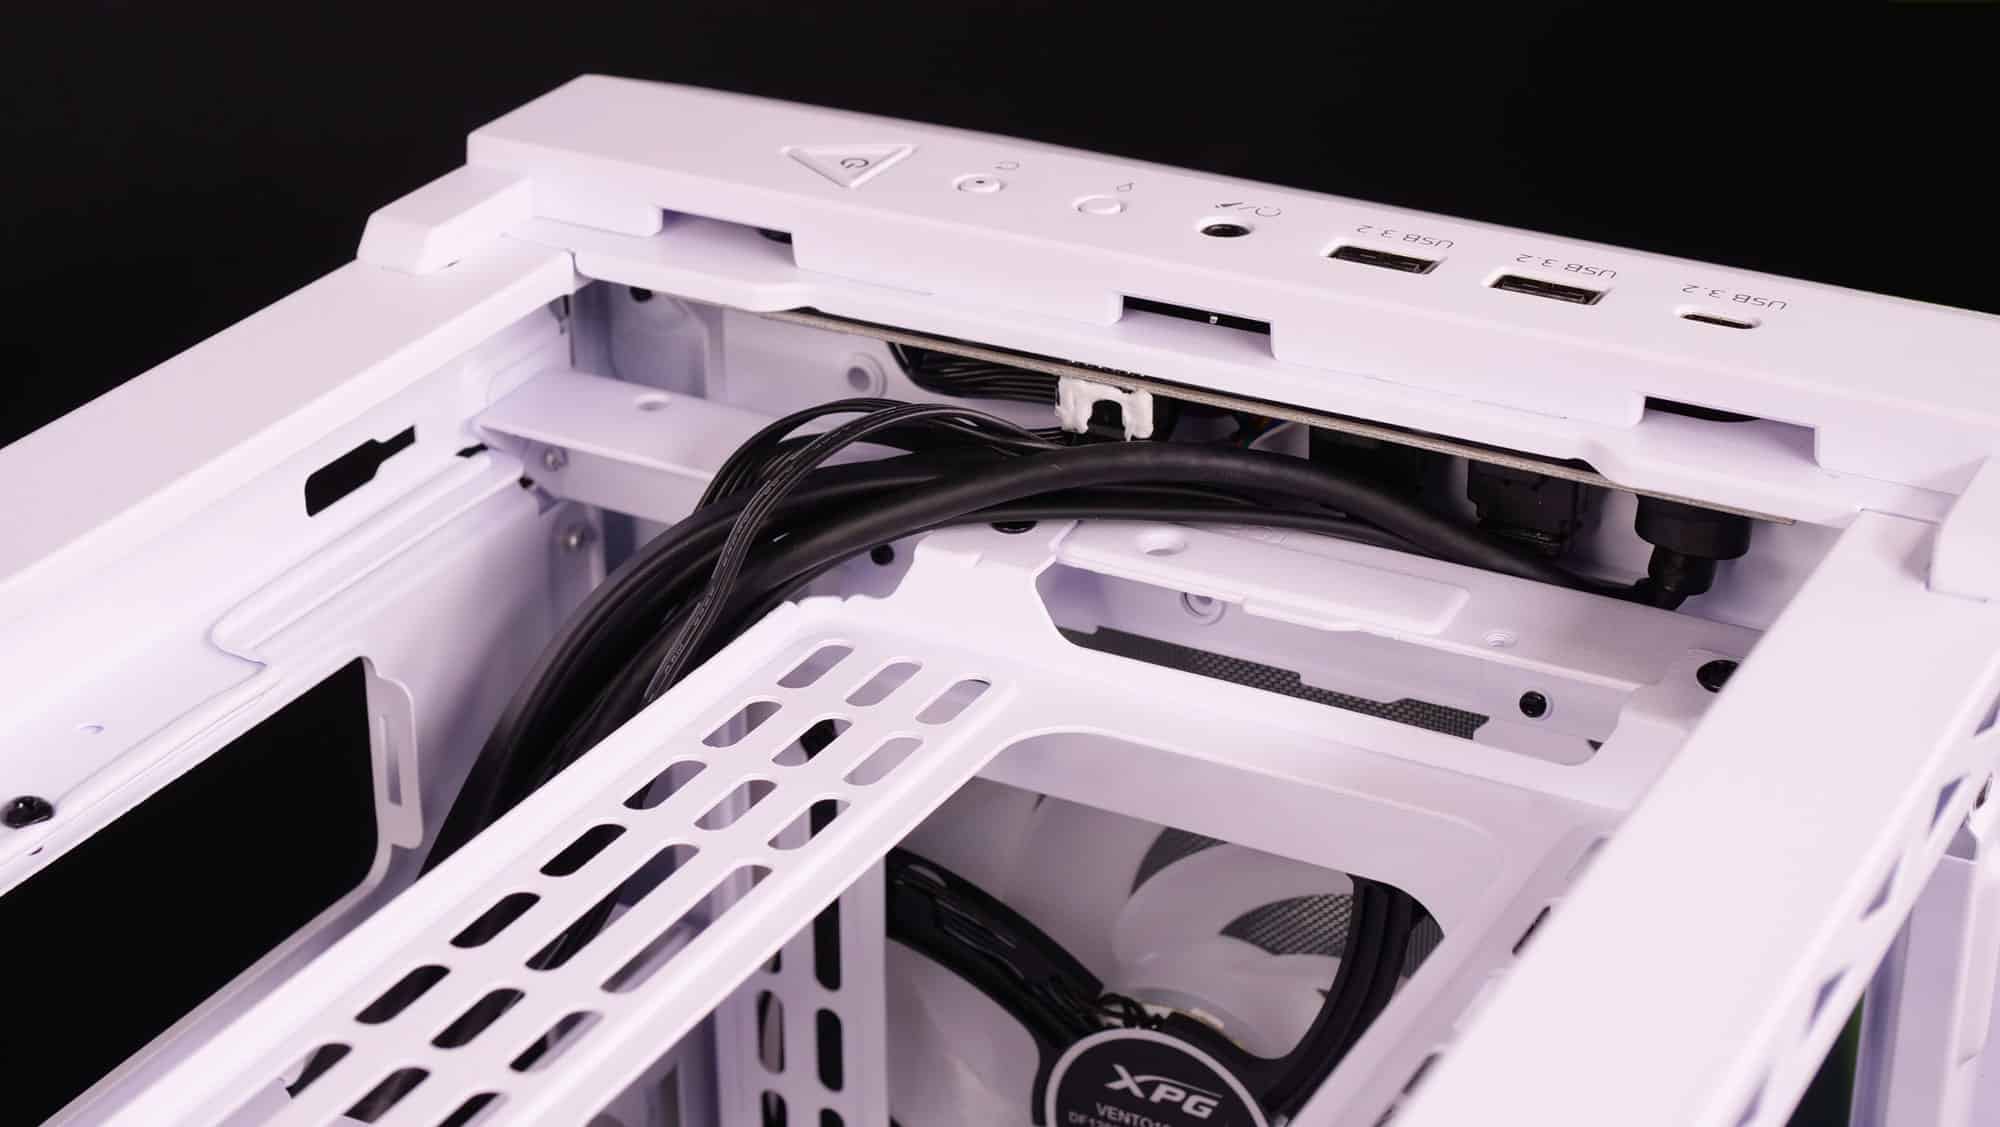
All chassis cables are depicted in the picture above. The chassis has a built-in ARGB controller, which is powered through a SATA connector. This means that you don’t need an ARGB-compatible mainboard to control the lighting effects of the bundled fans.
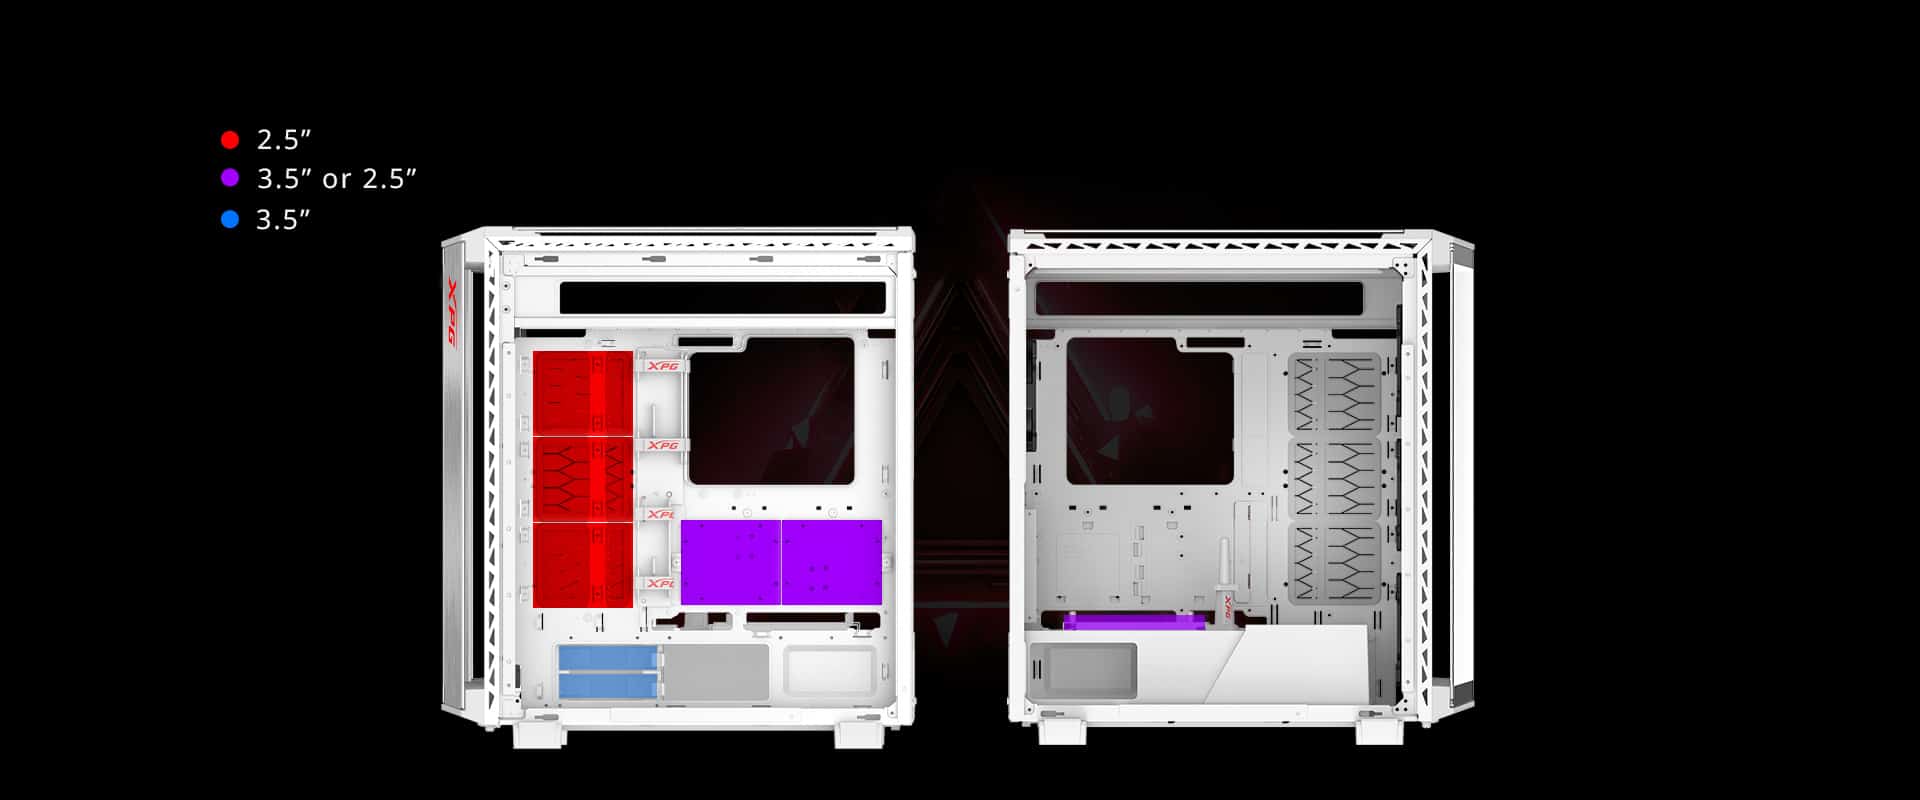


All places where you can mount drives.
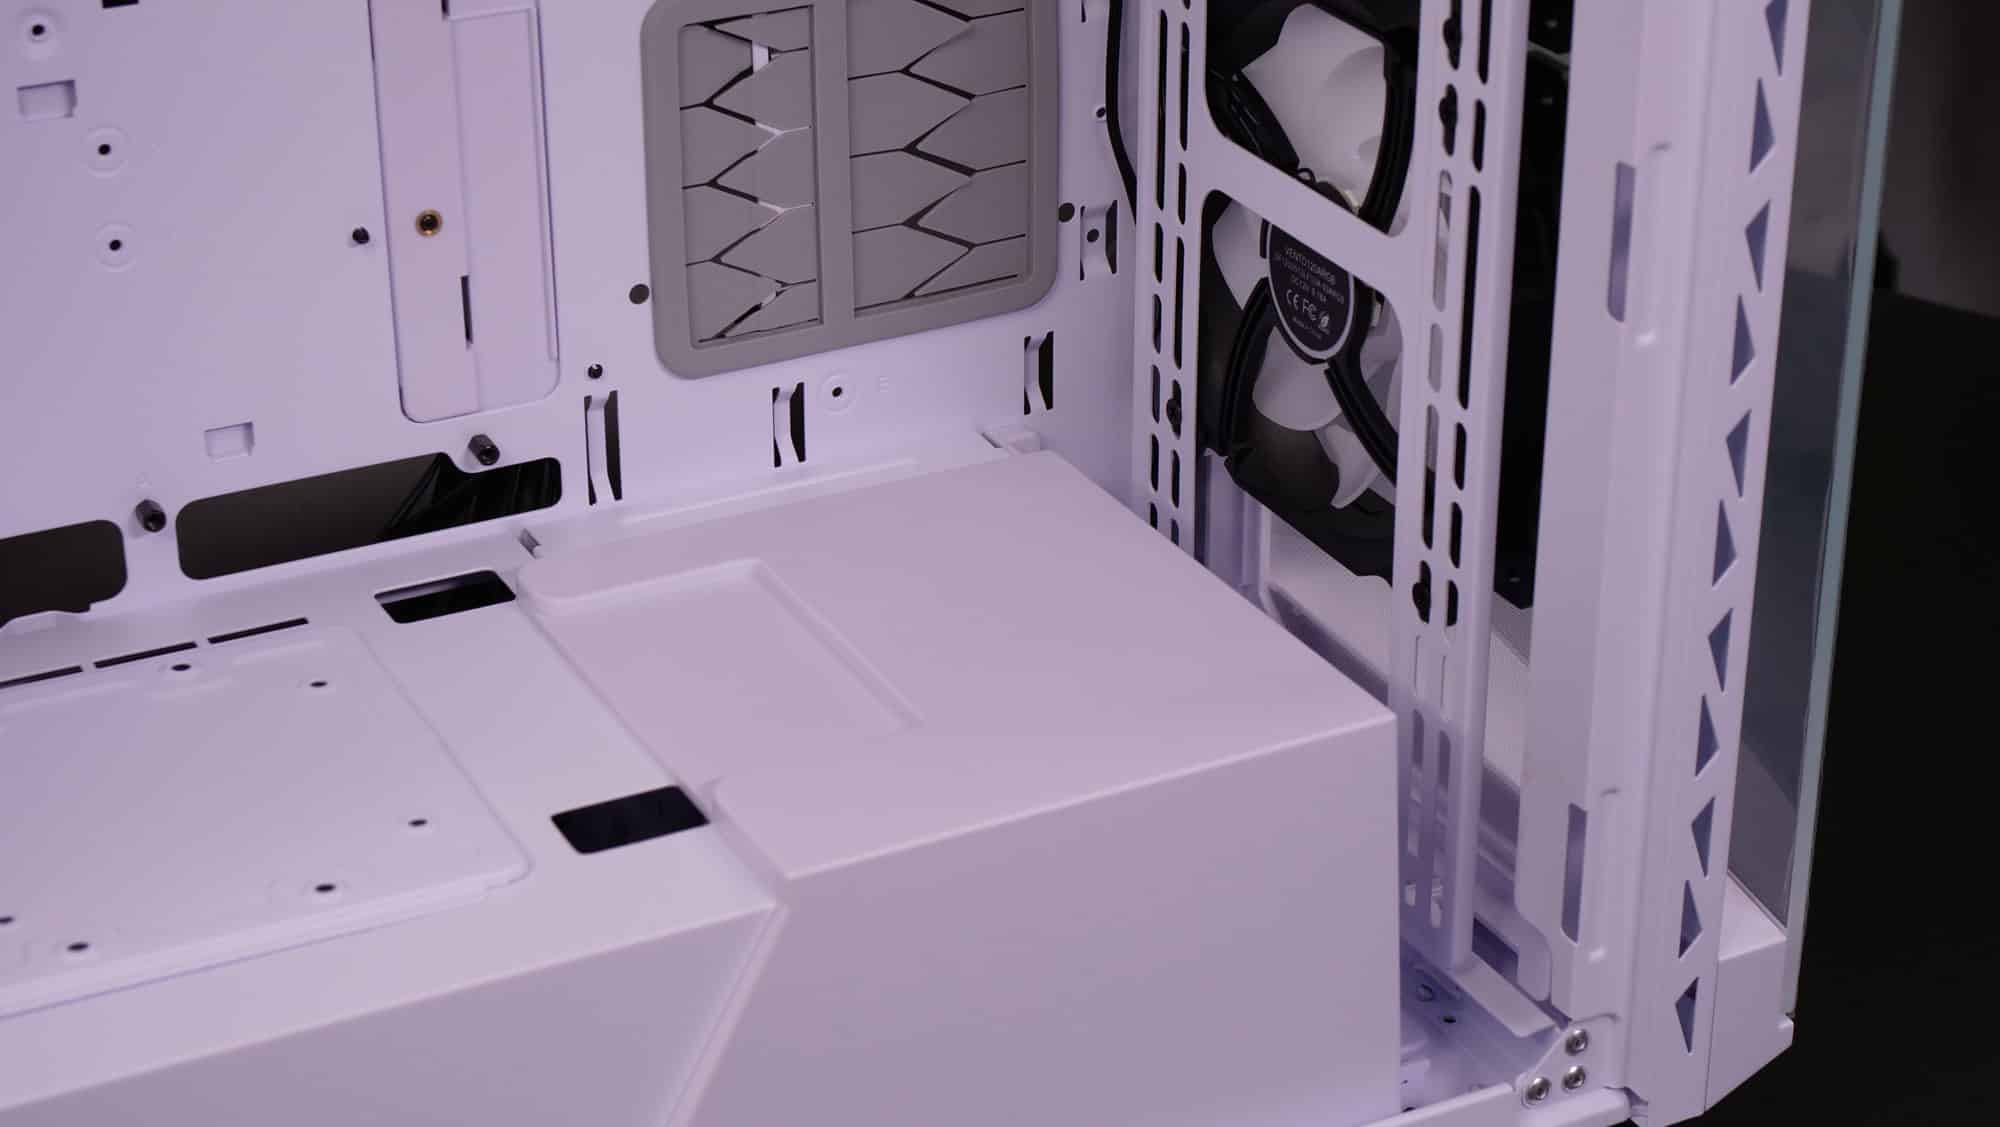
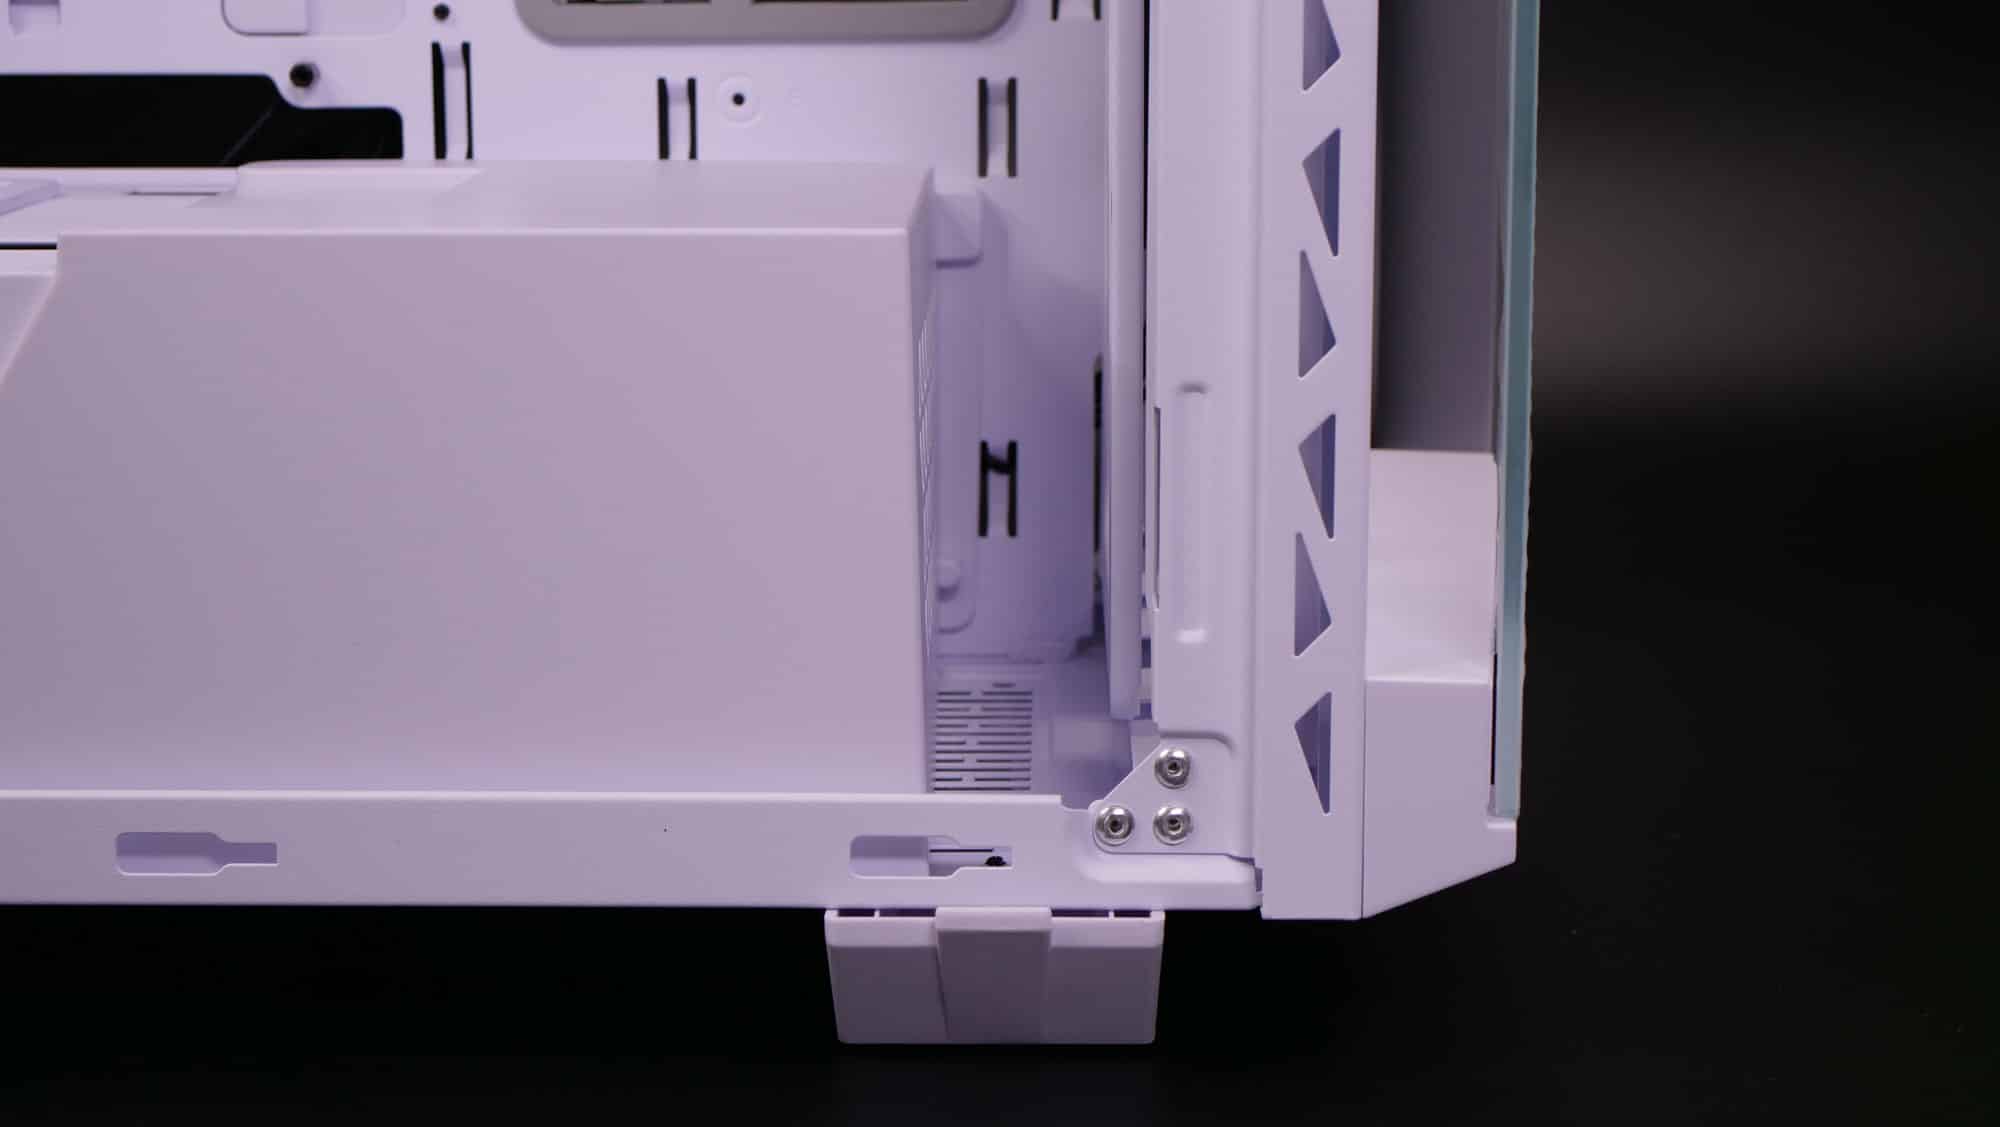
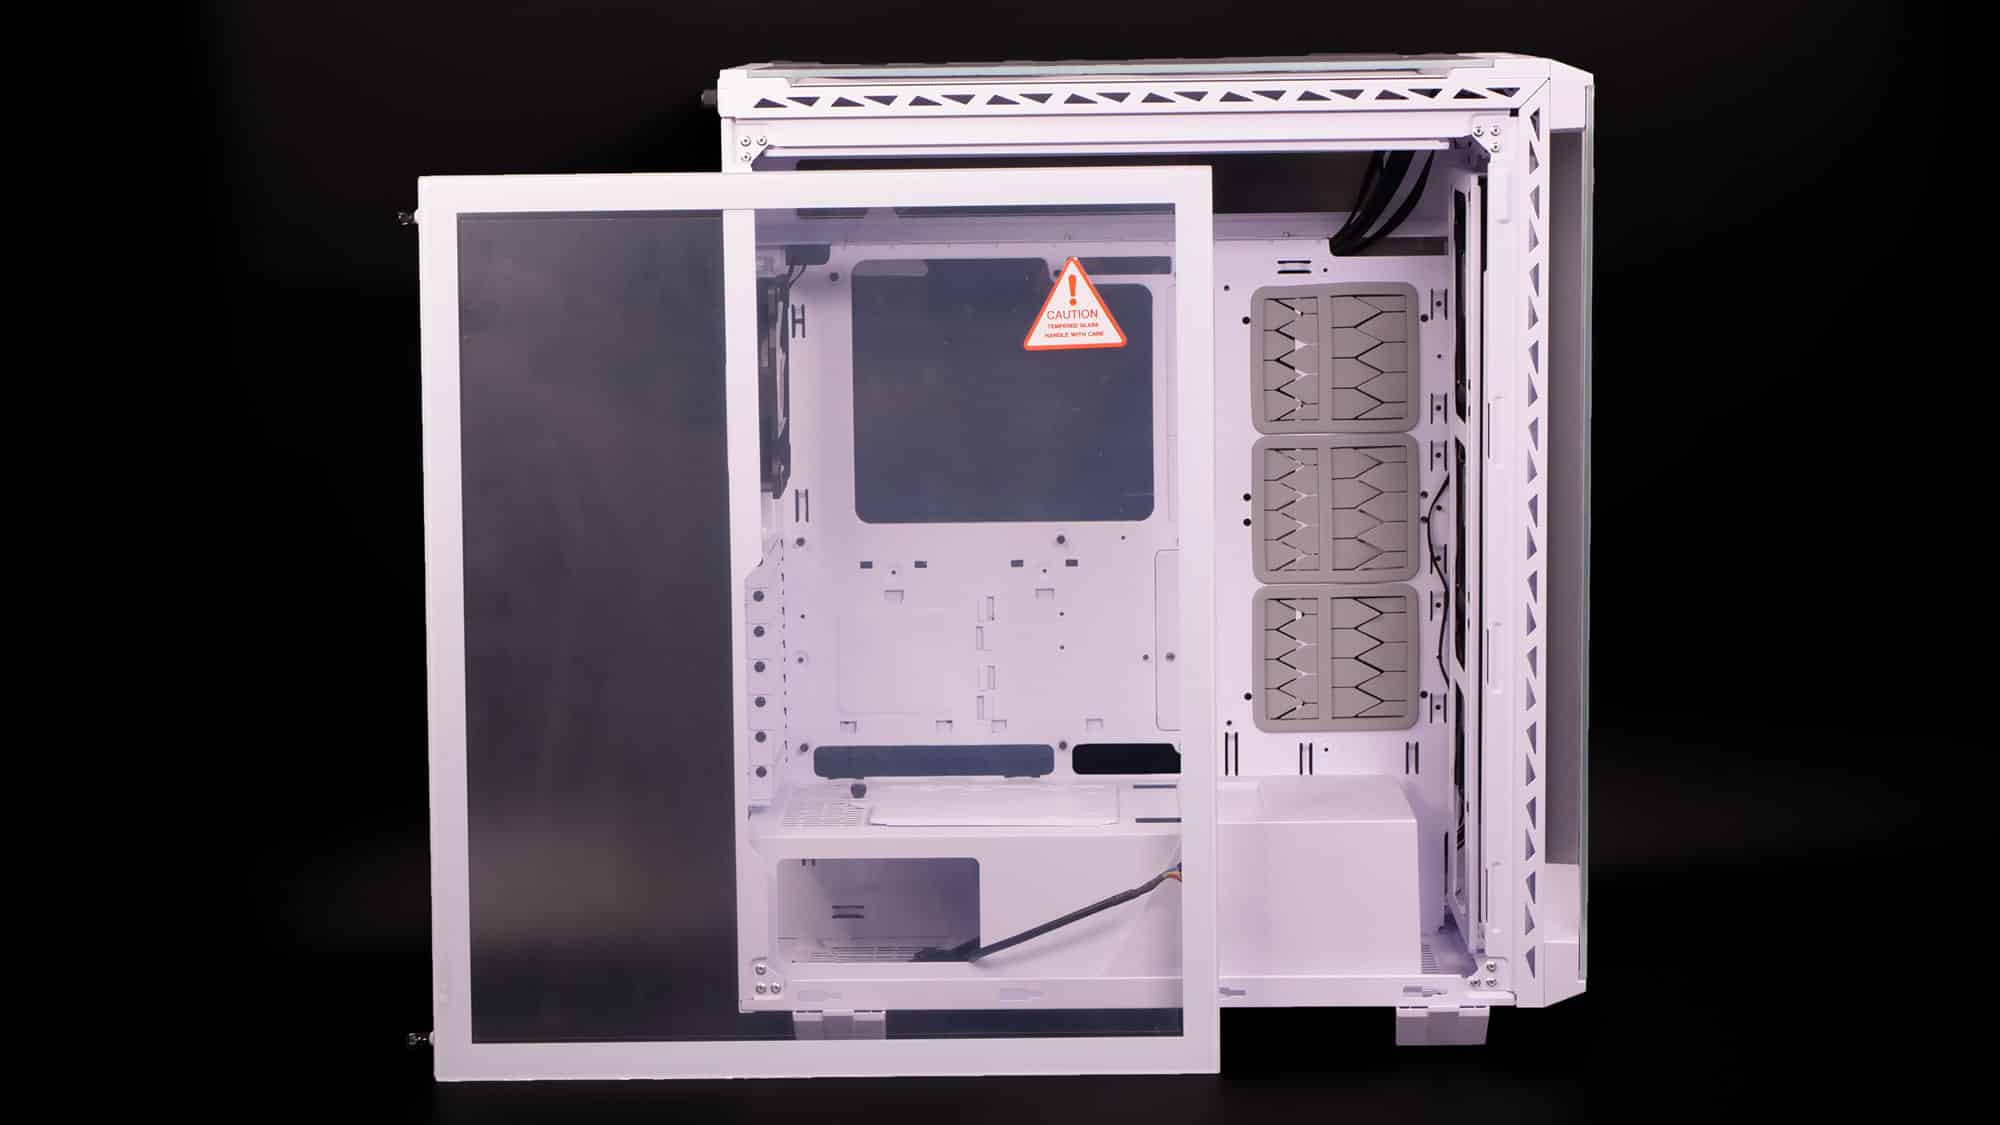
You can remove the PSU cover if you want to install a 420mm radiator at the front.
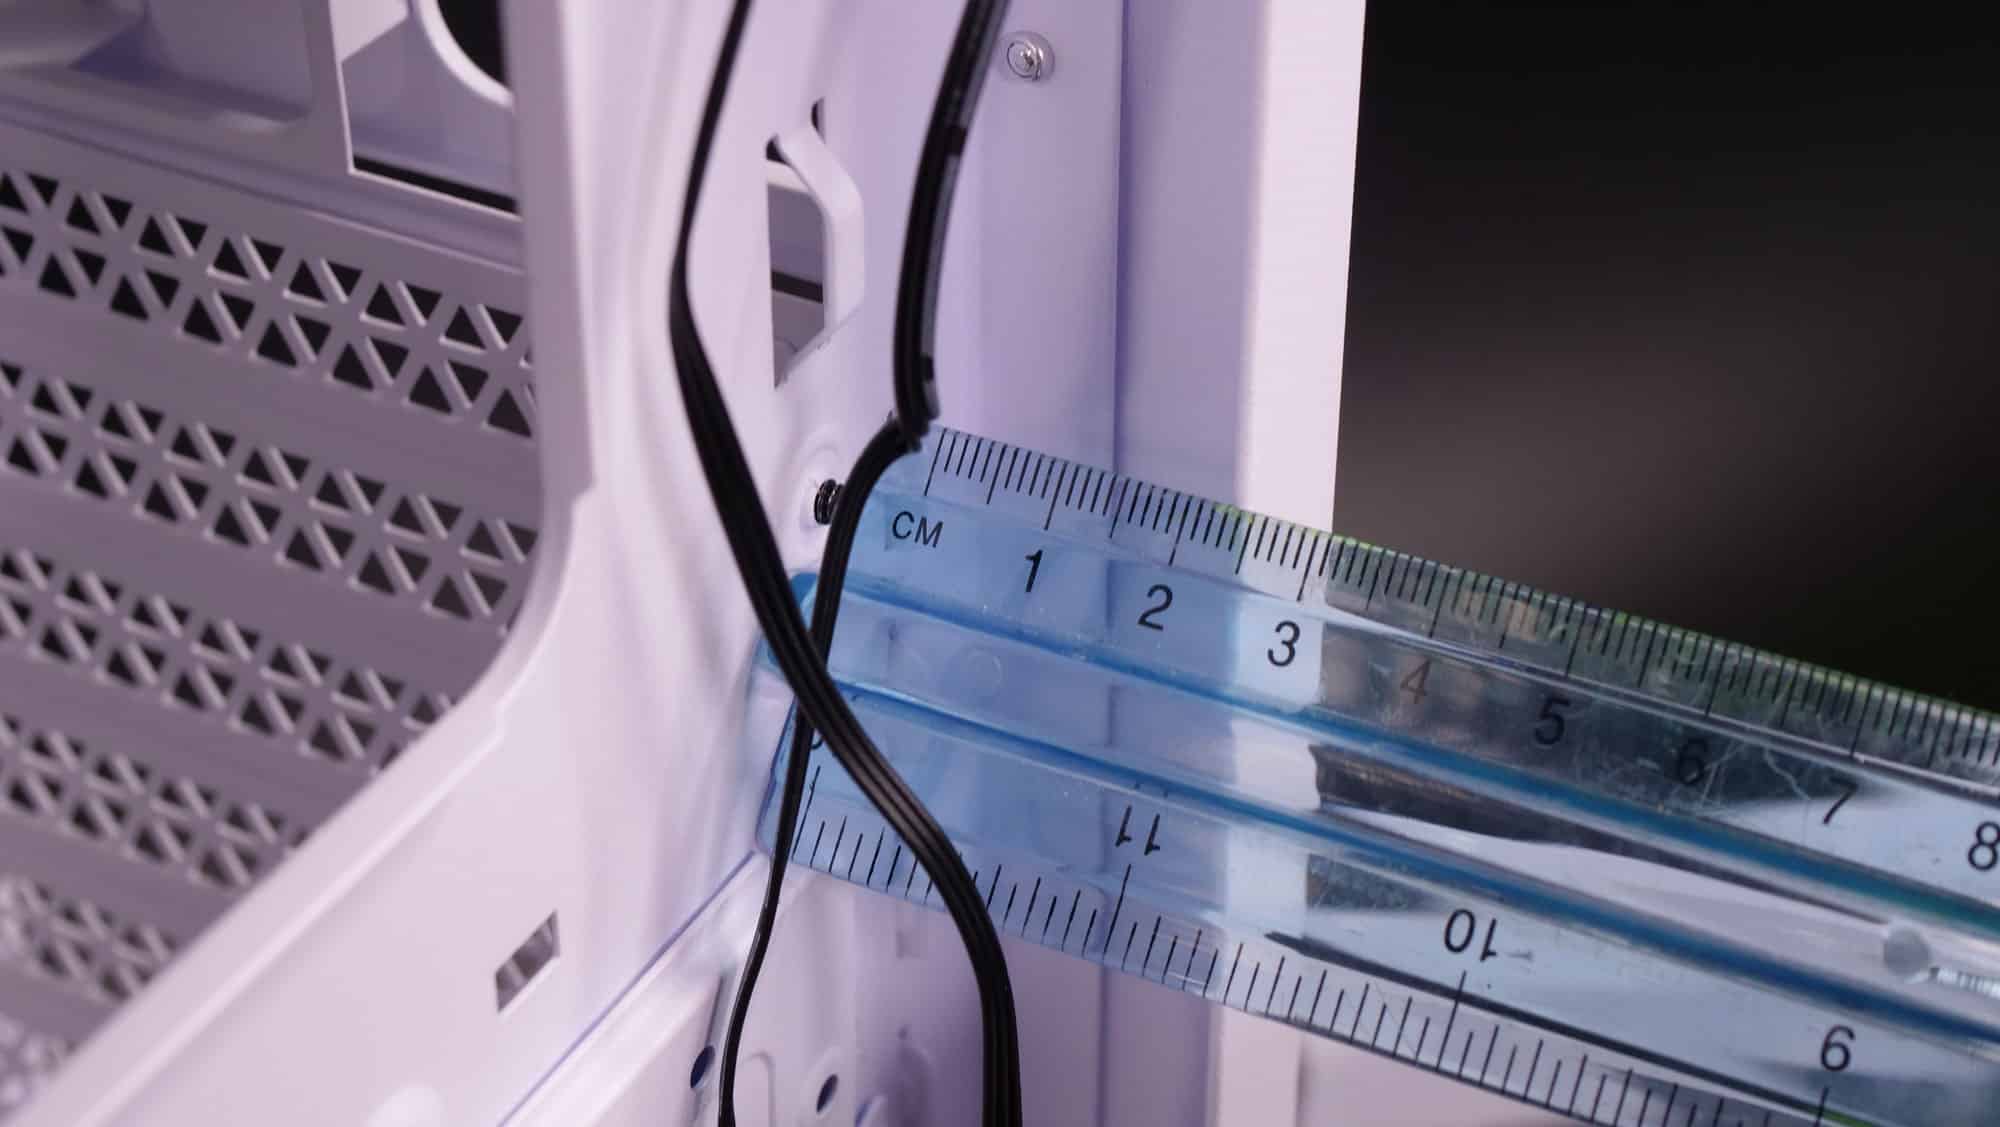
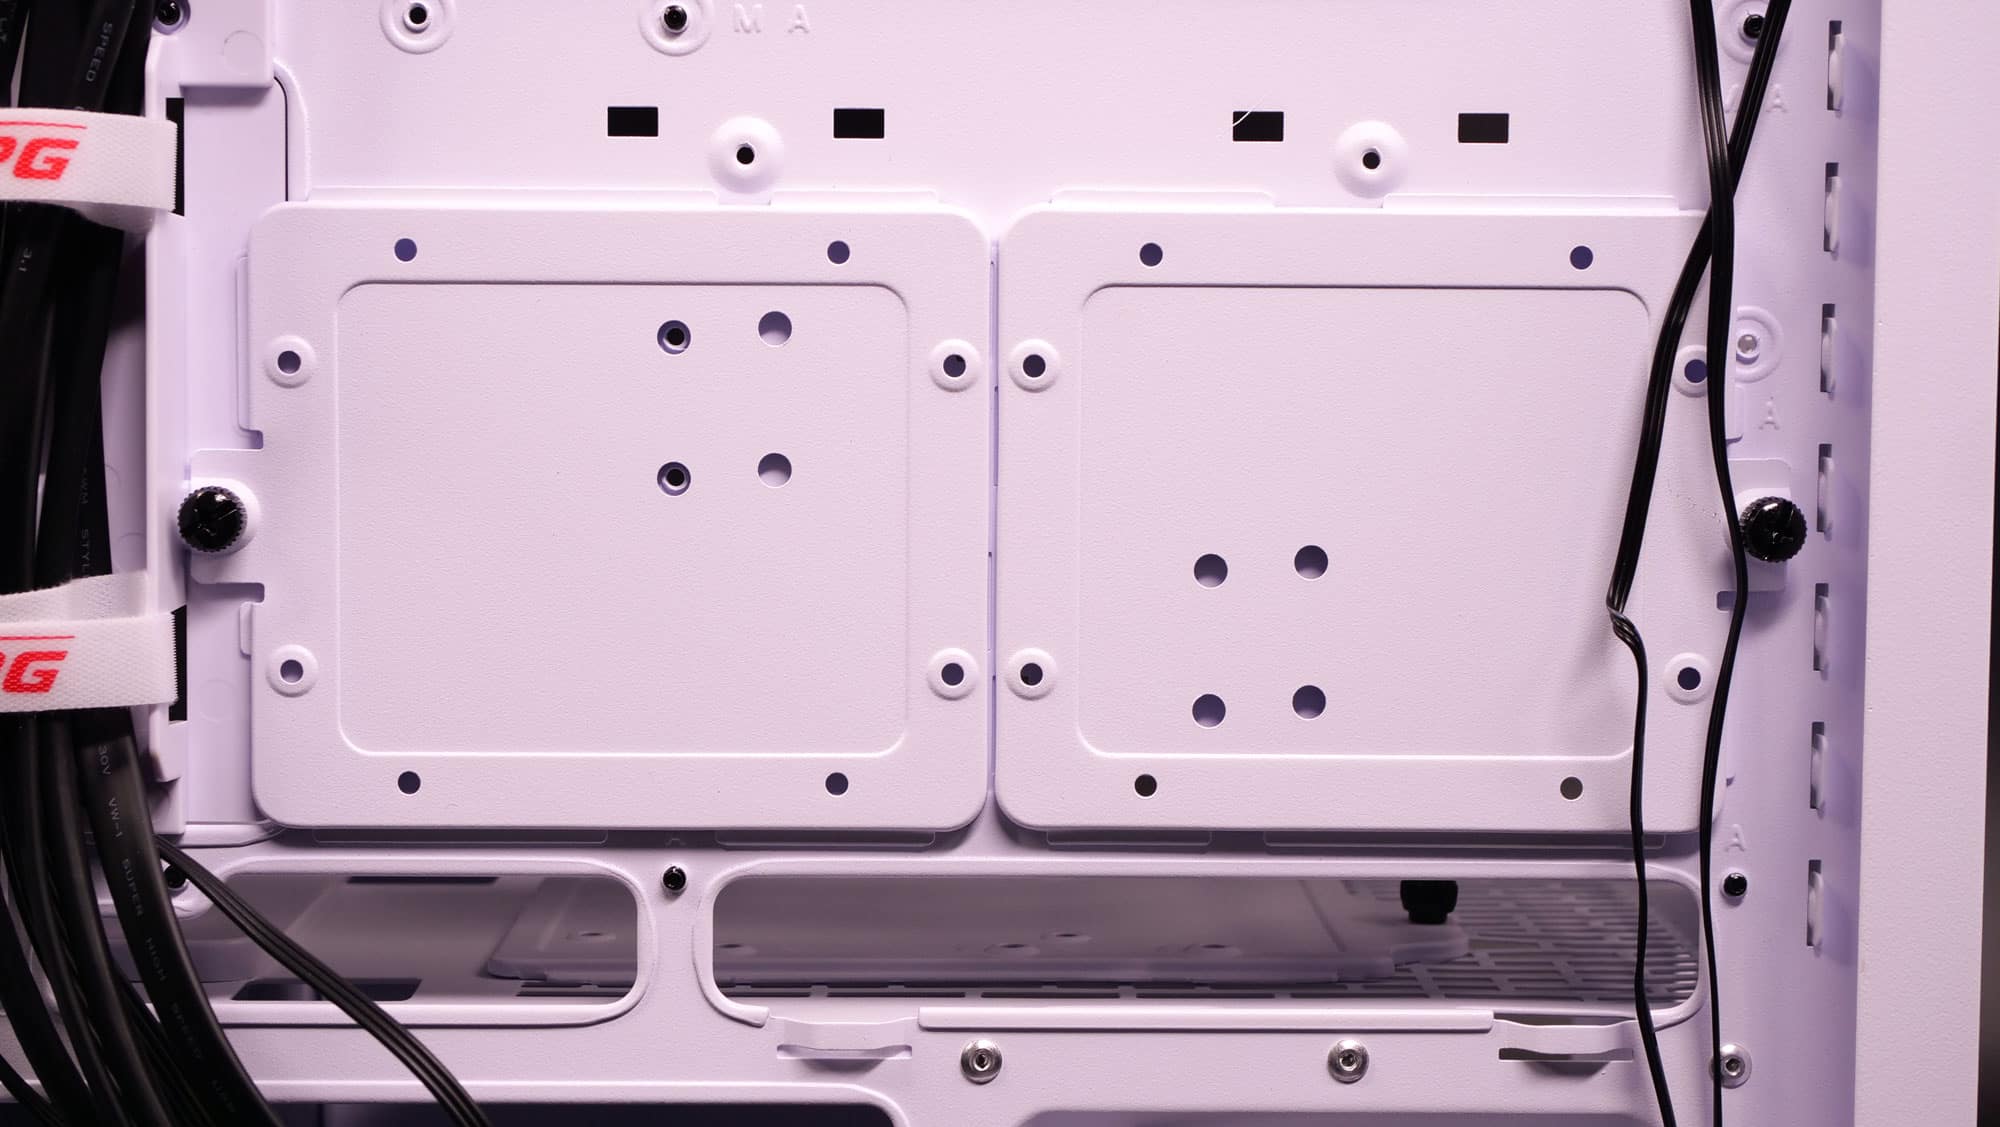
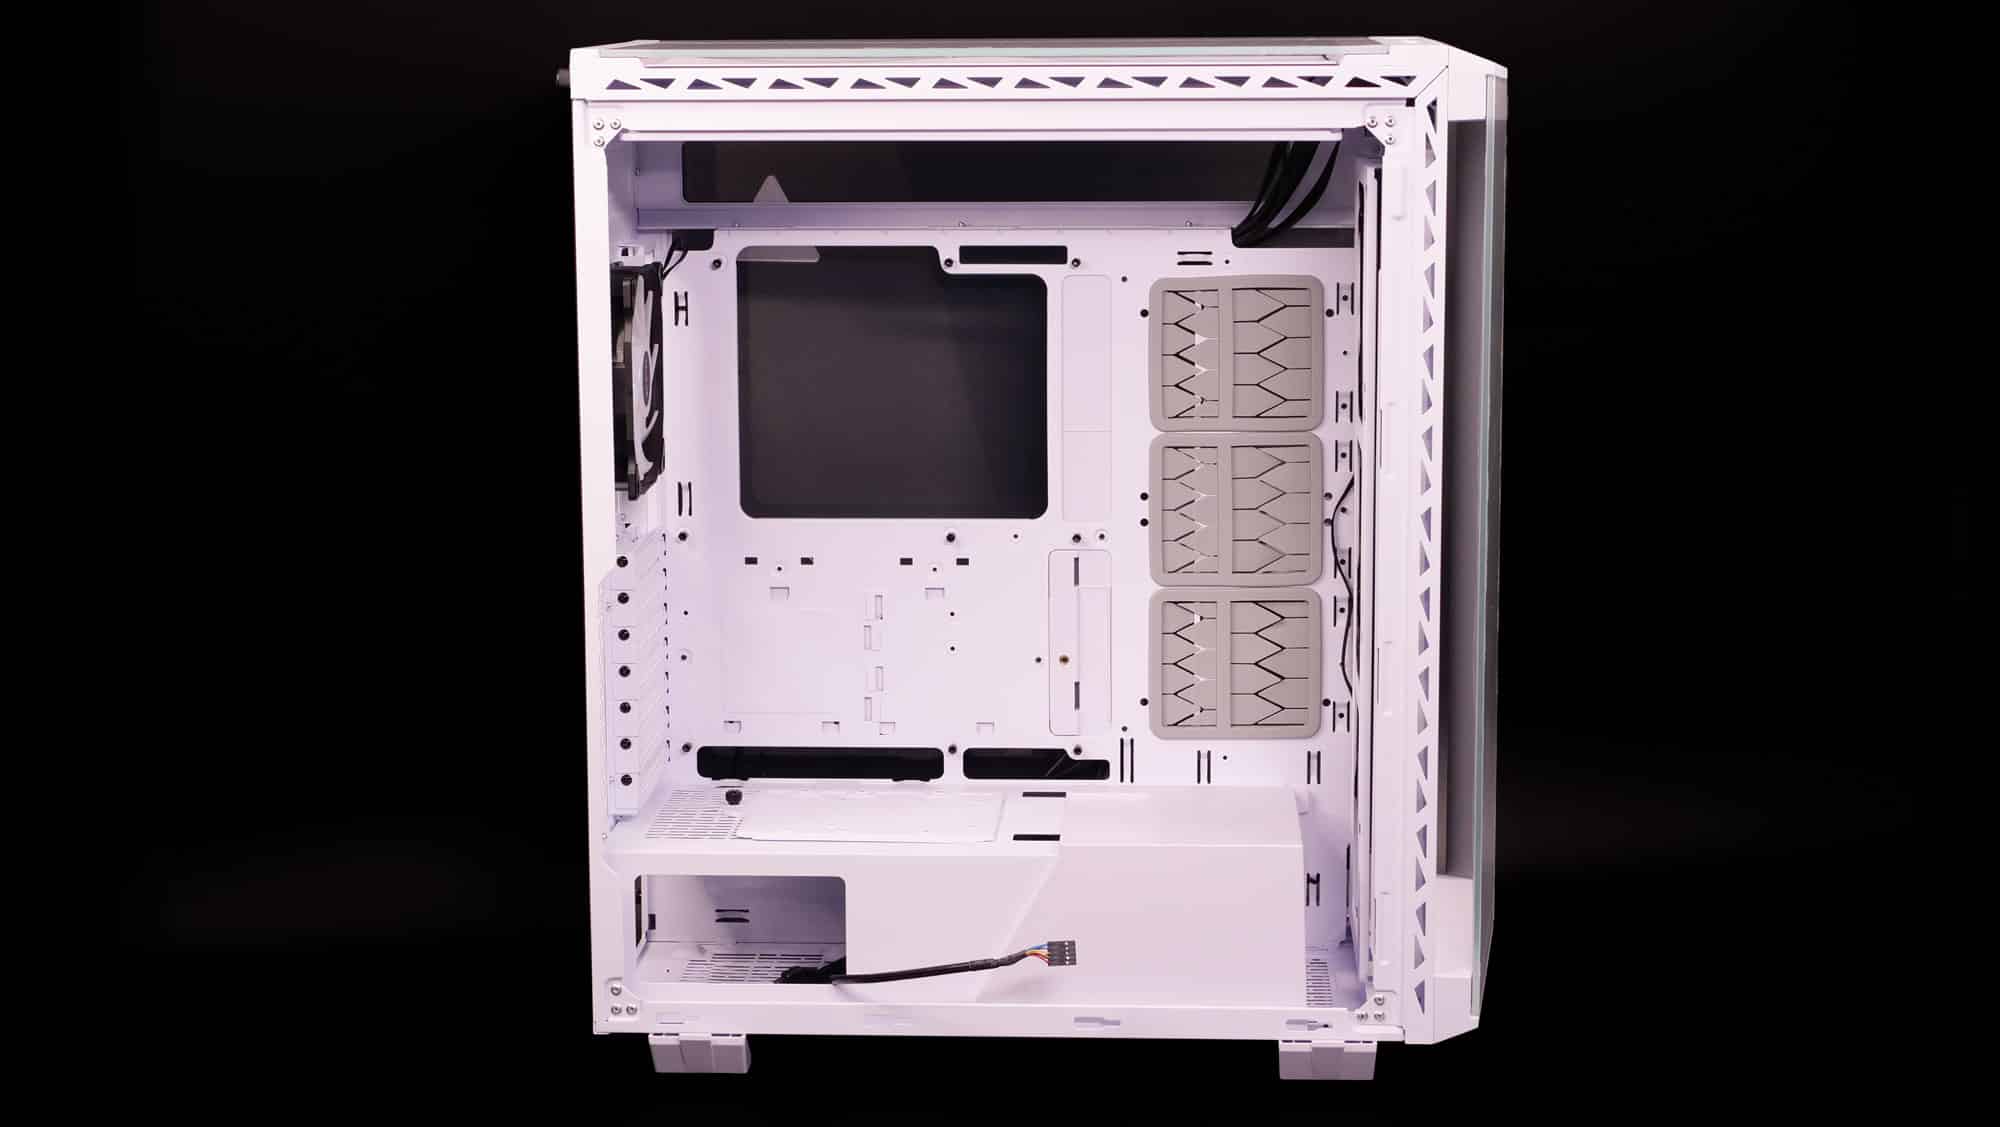
The available space behind the mainboard has enough depth.

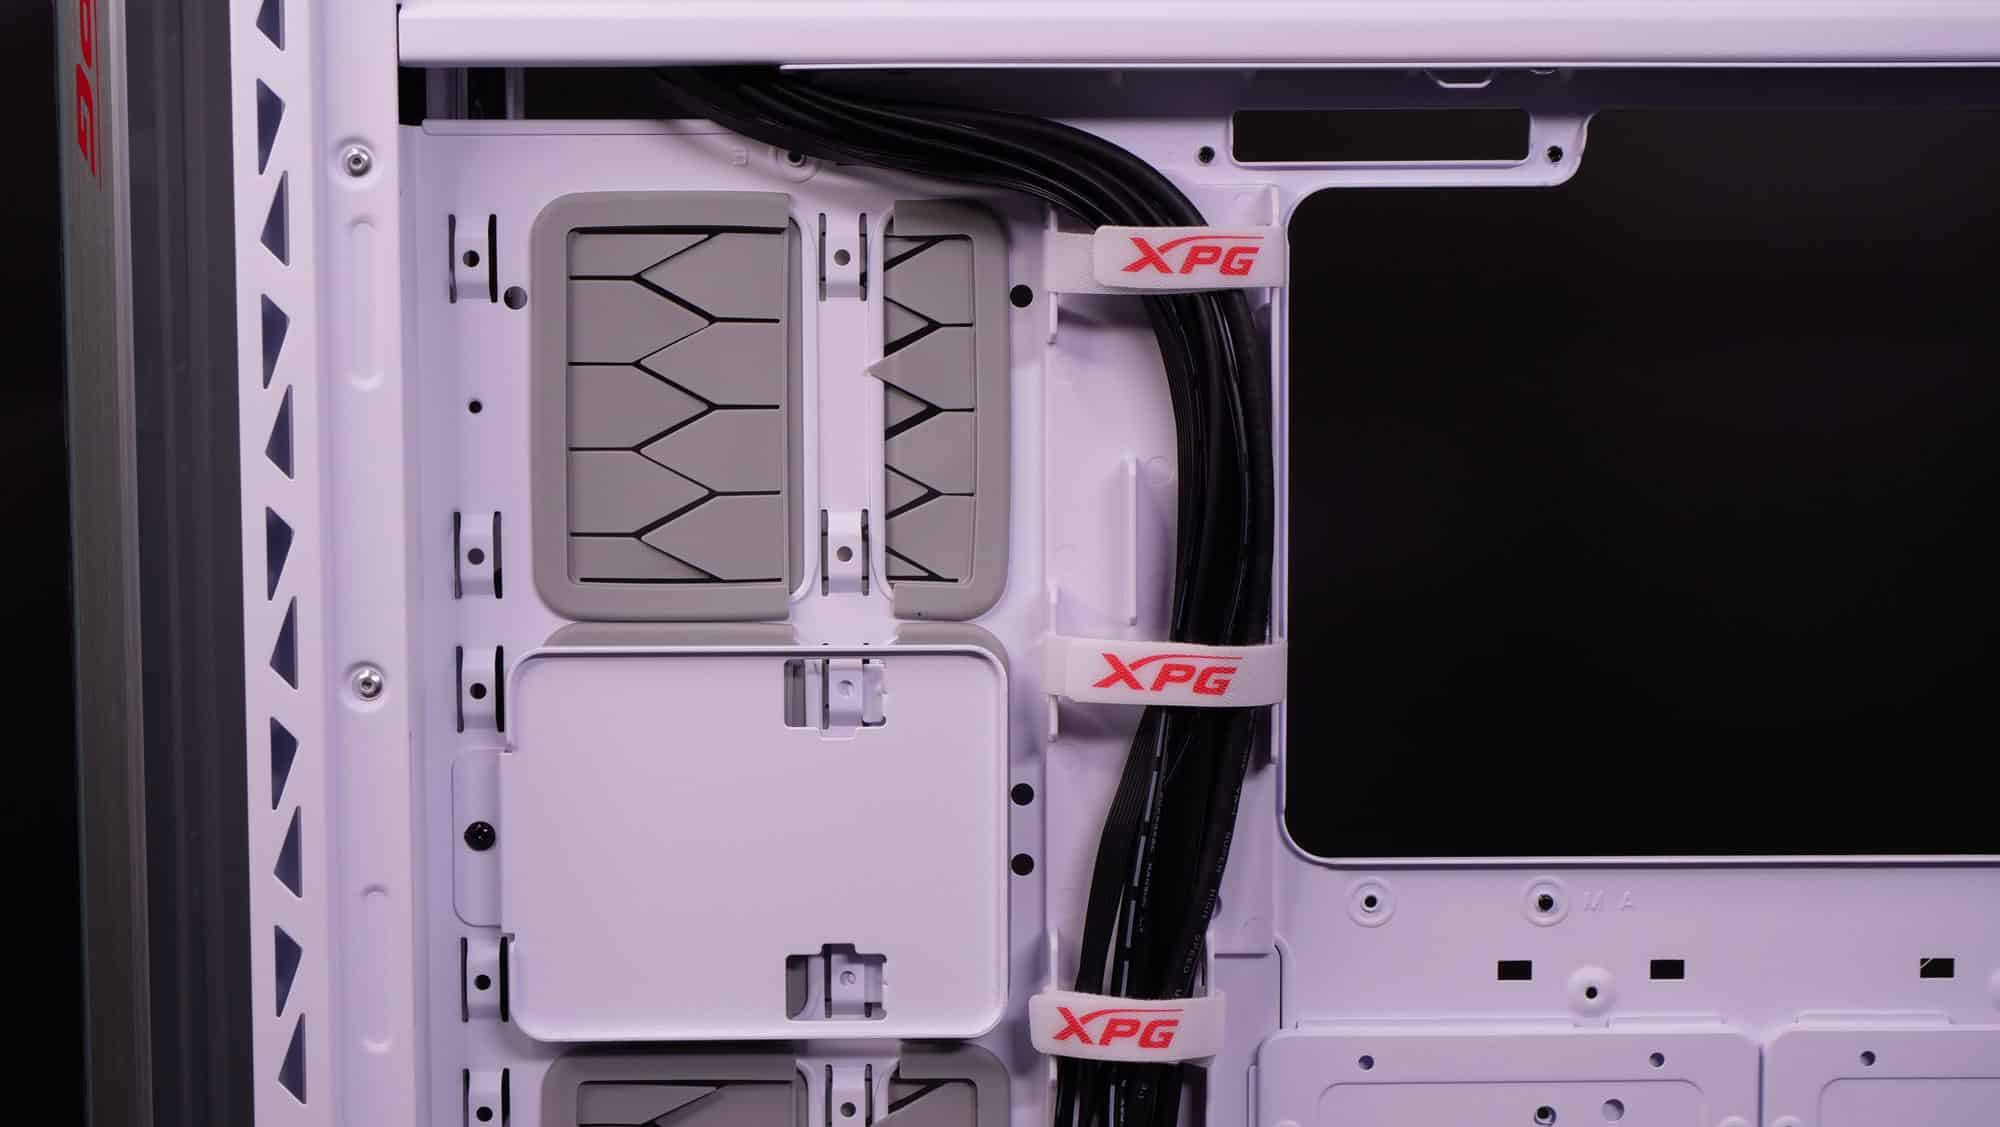
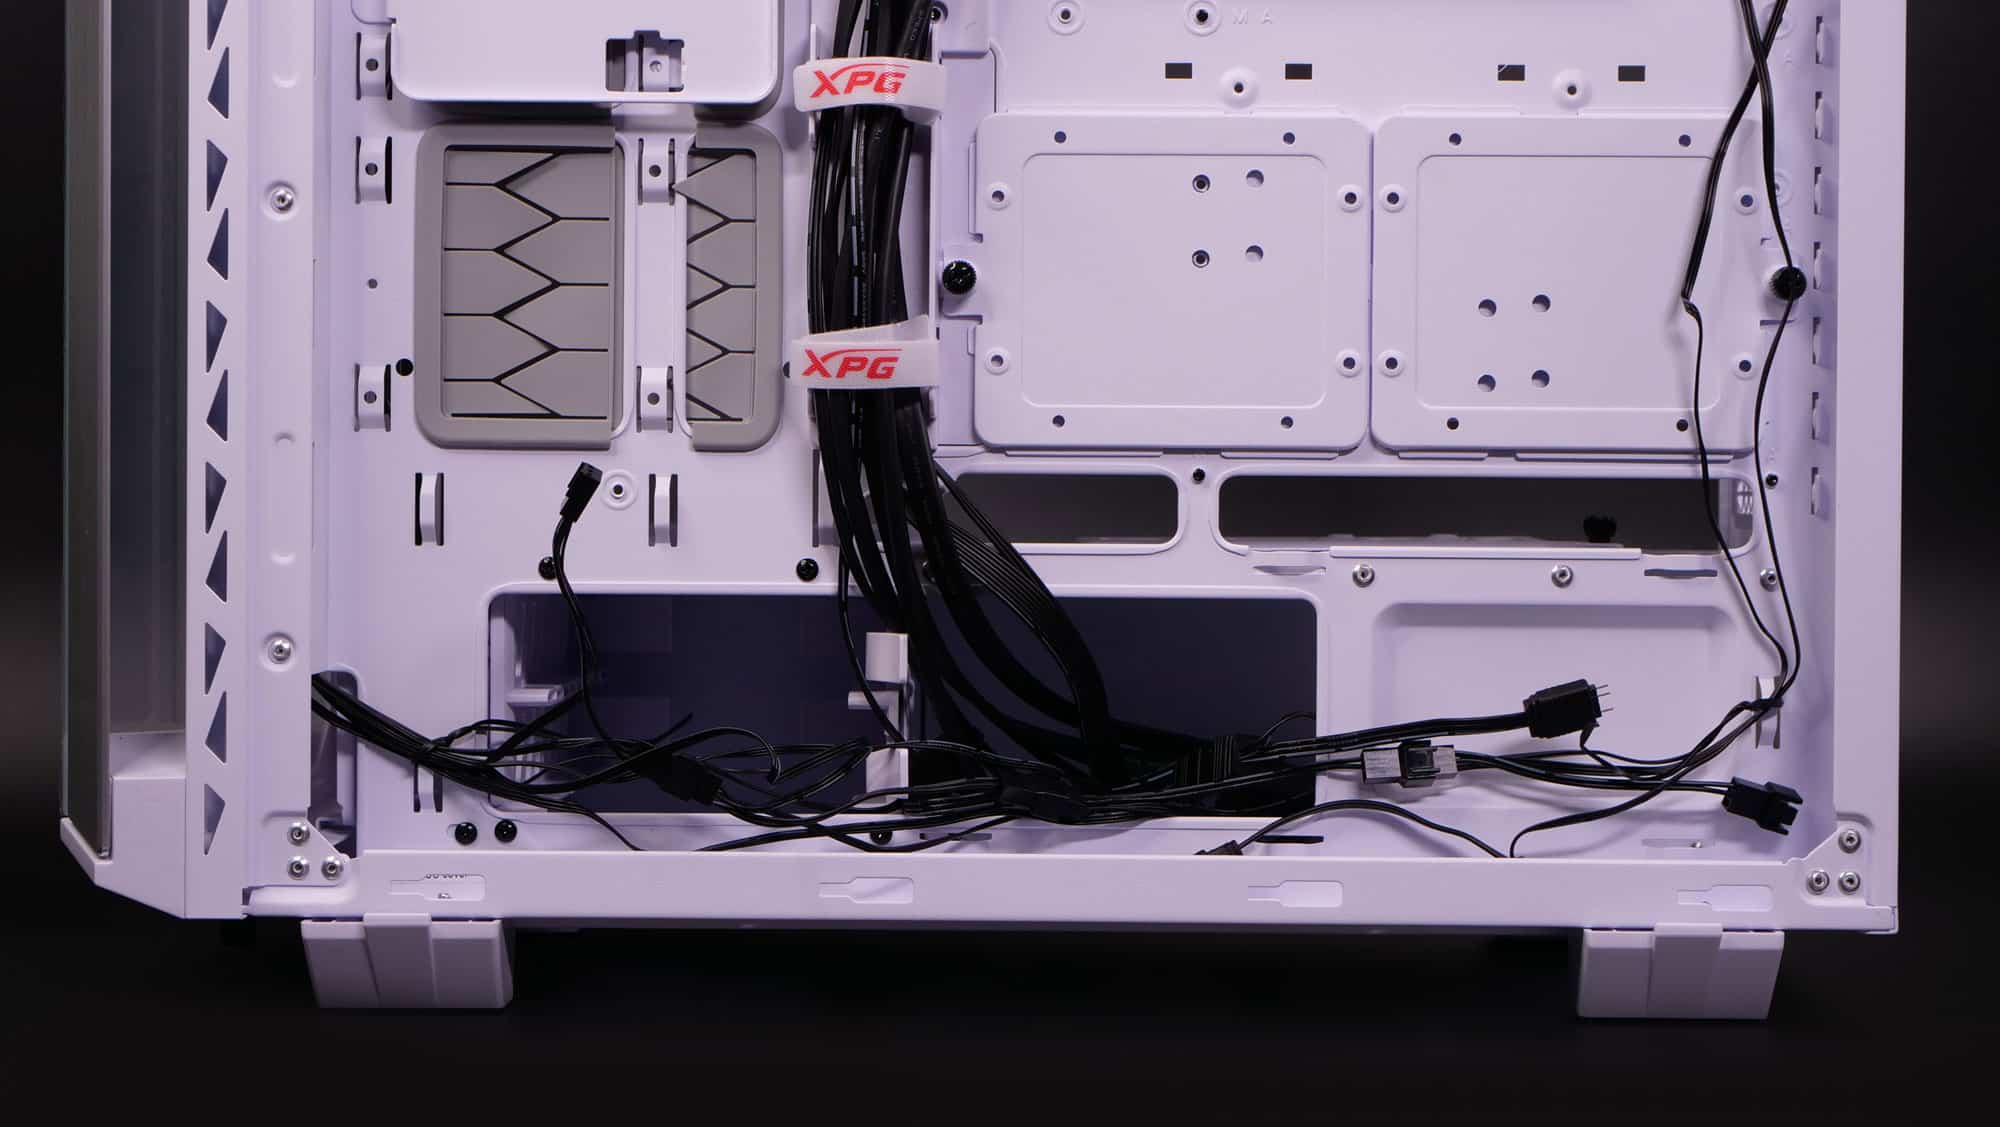
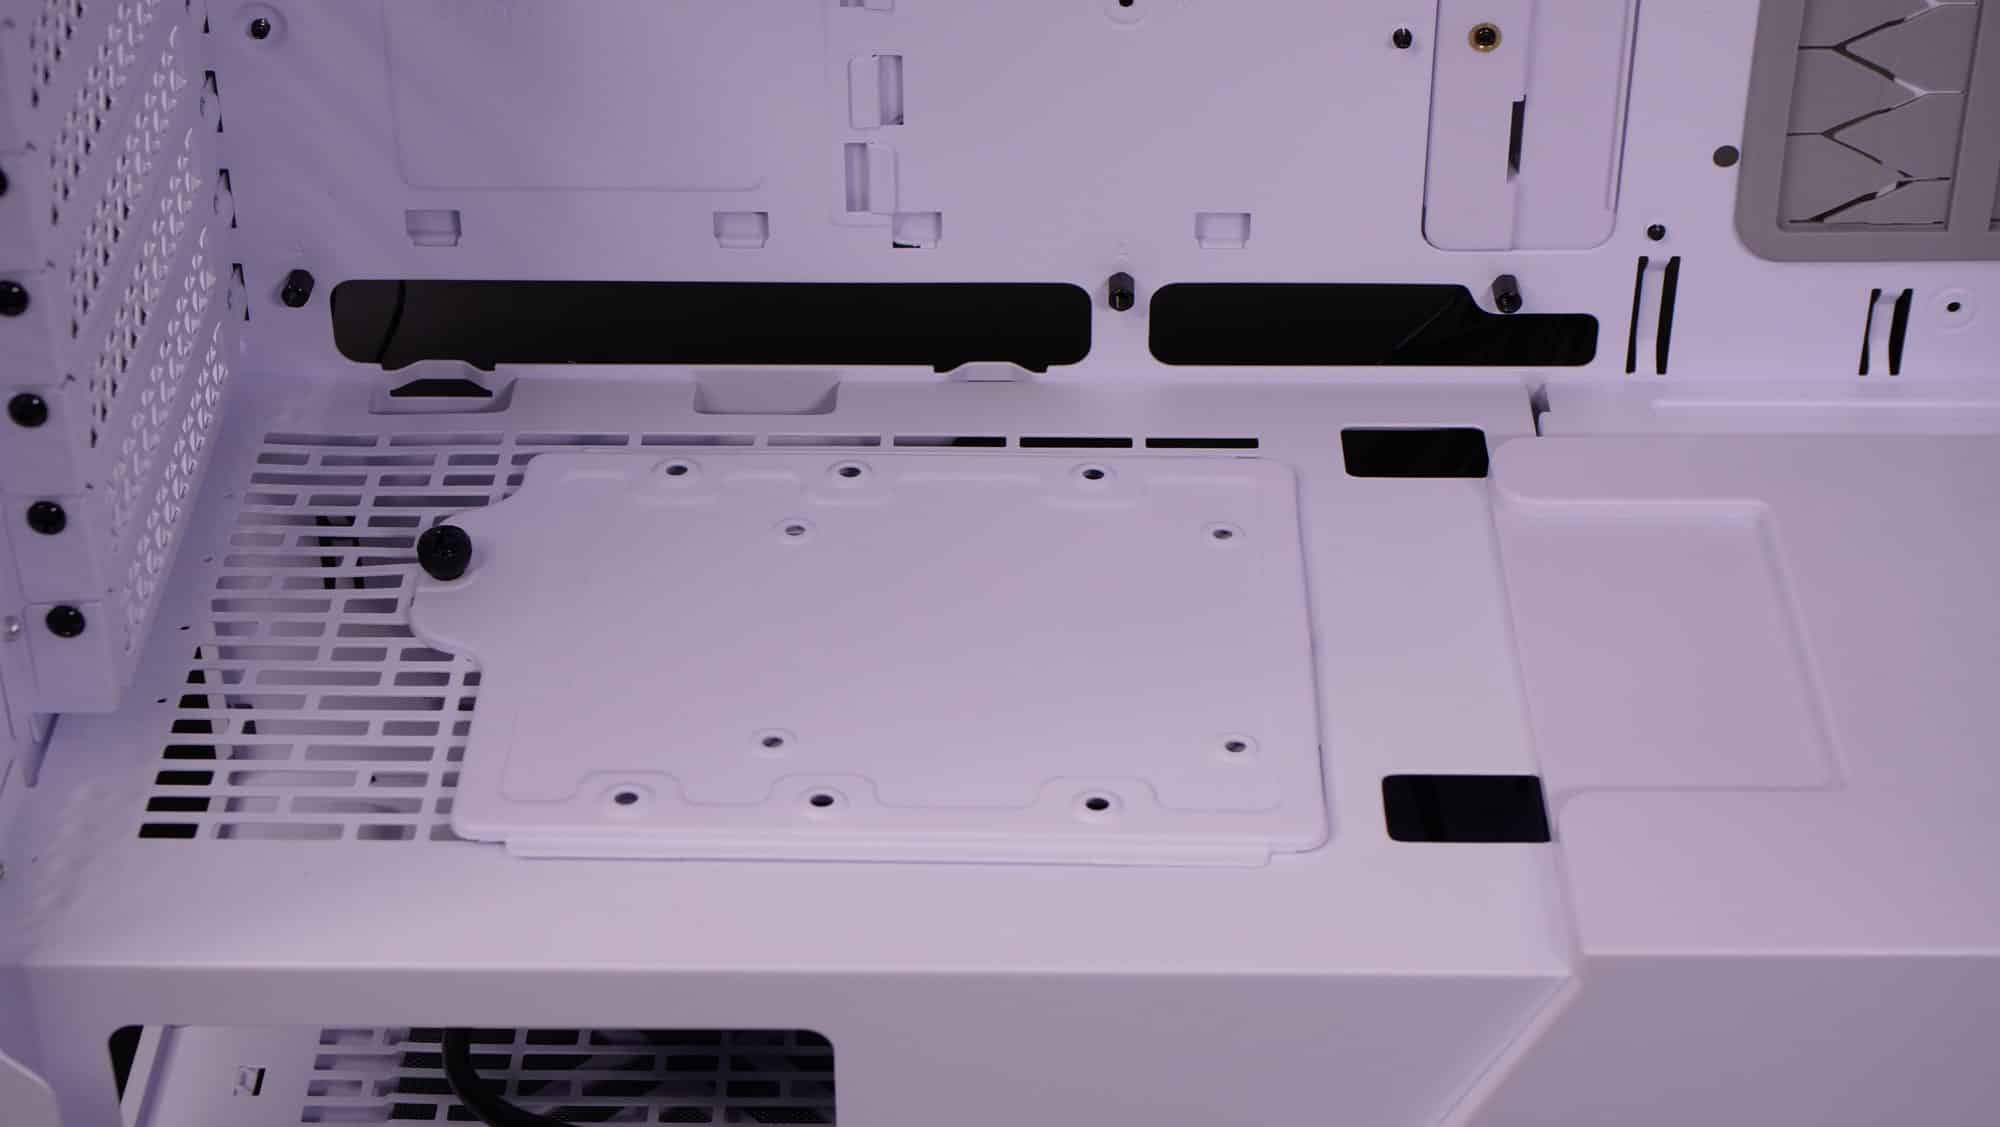
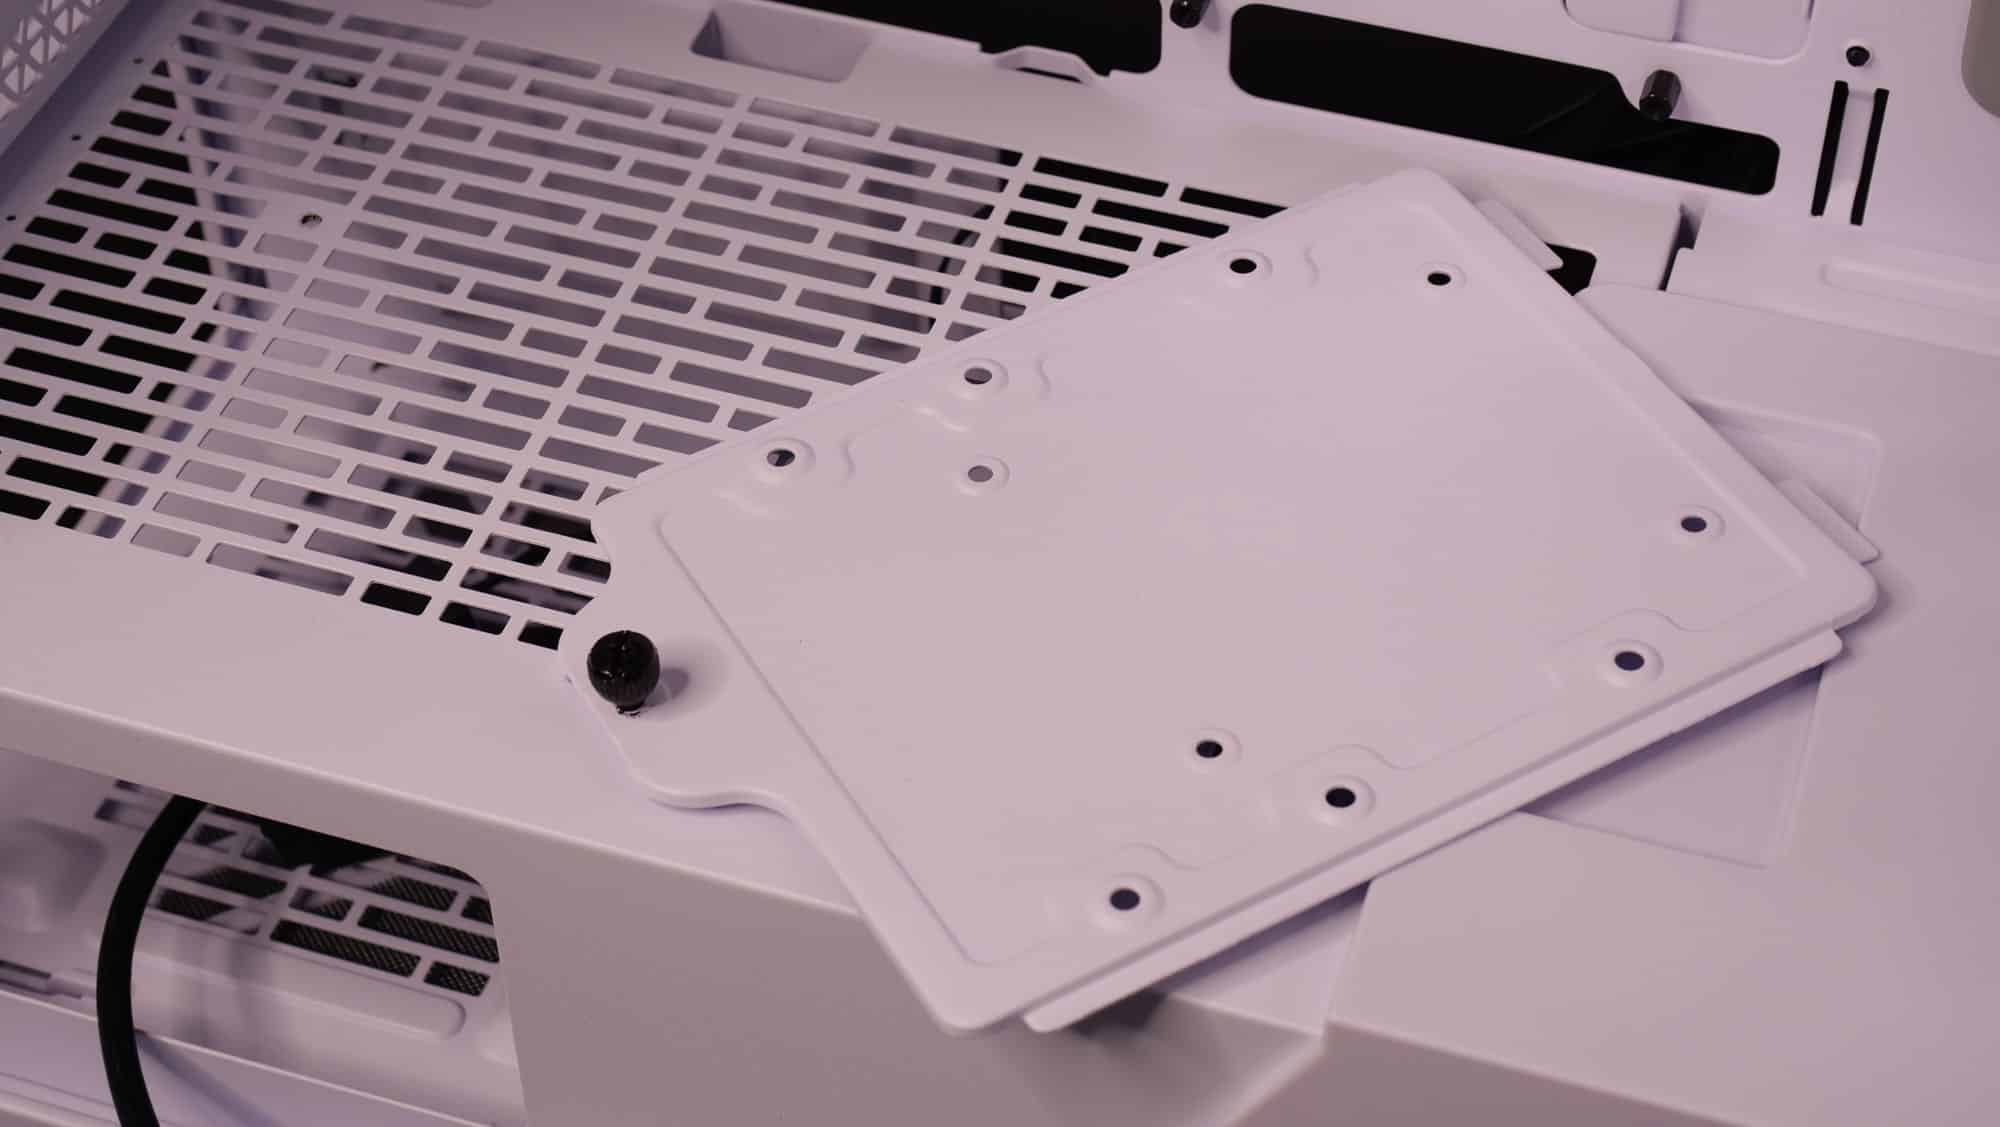
There is a cable channel behind the mainboard area and four Velcro straps, which help in cable management. The grommets are also in convenient places, but the drive (or ARGB/PWM hub) bracket covers the middle one. If you install drives on all three positions, you will cover all grommets, so cable routing will become impossible. There are plenty of hooks that you can use to zip-tie cables and make this area look nice and clean. Keep in mind that this area is exposed to the view because of the glass panel, so you have to tidy it up. If you don’t use the Prime Box, good luck dealing with all these ARGB and power cables.
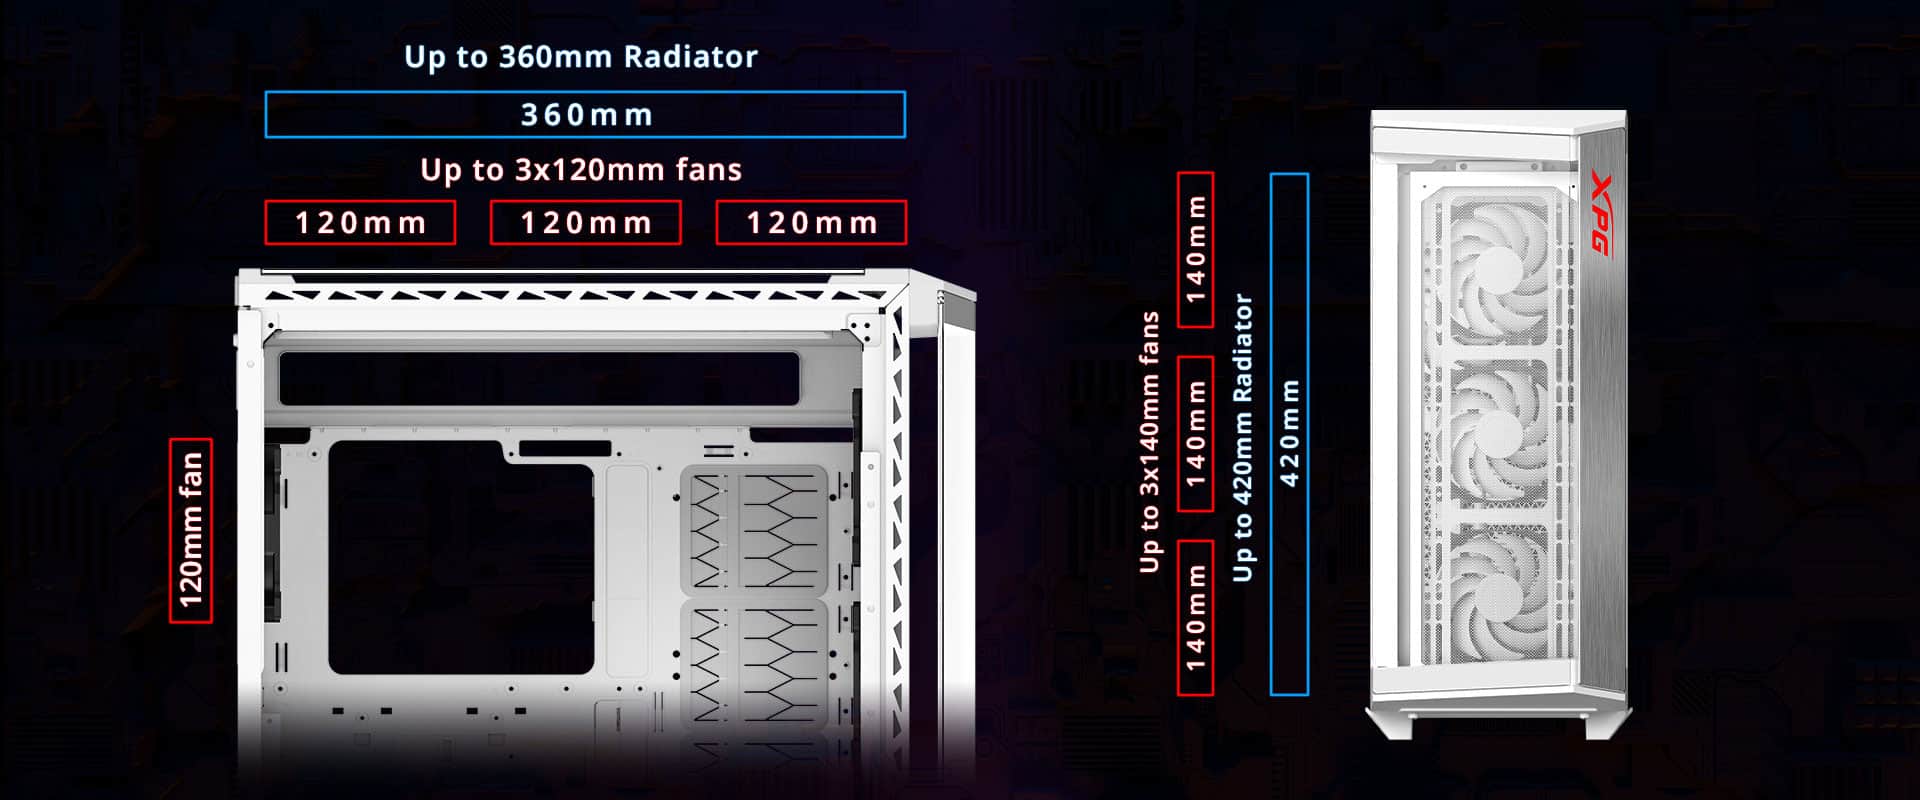
Fan and radiator compatibility schemes.
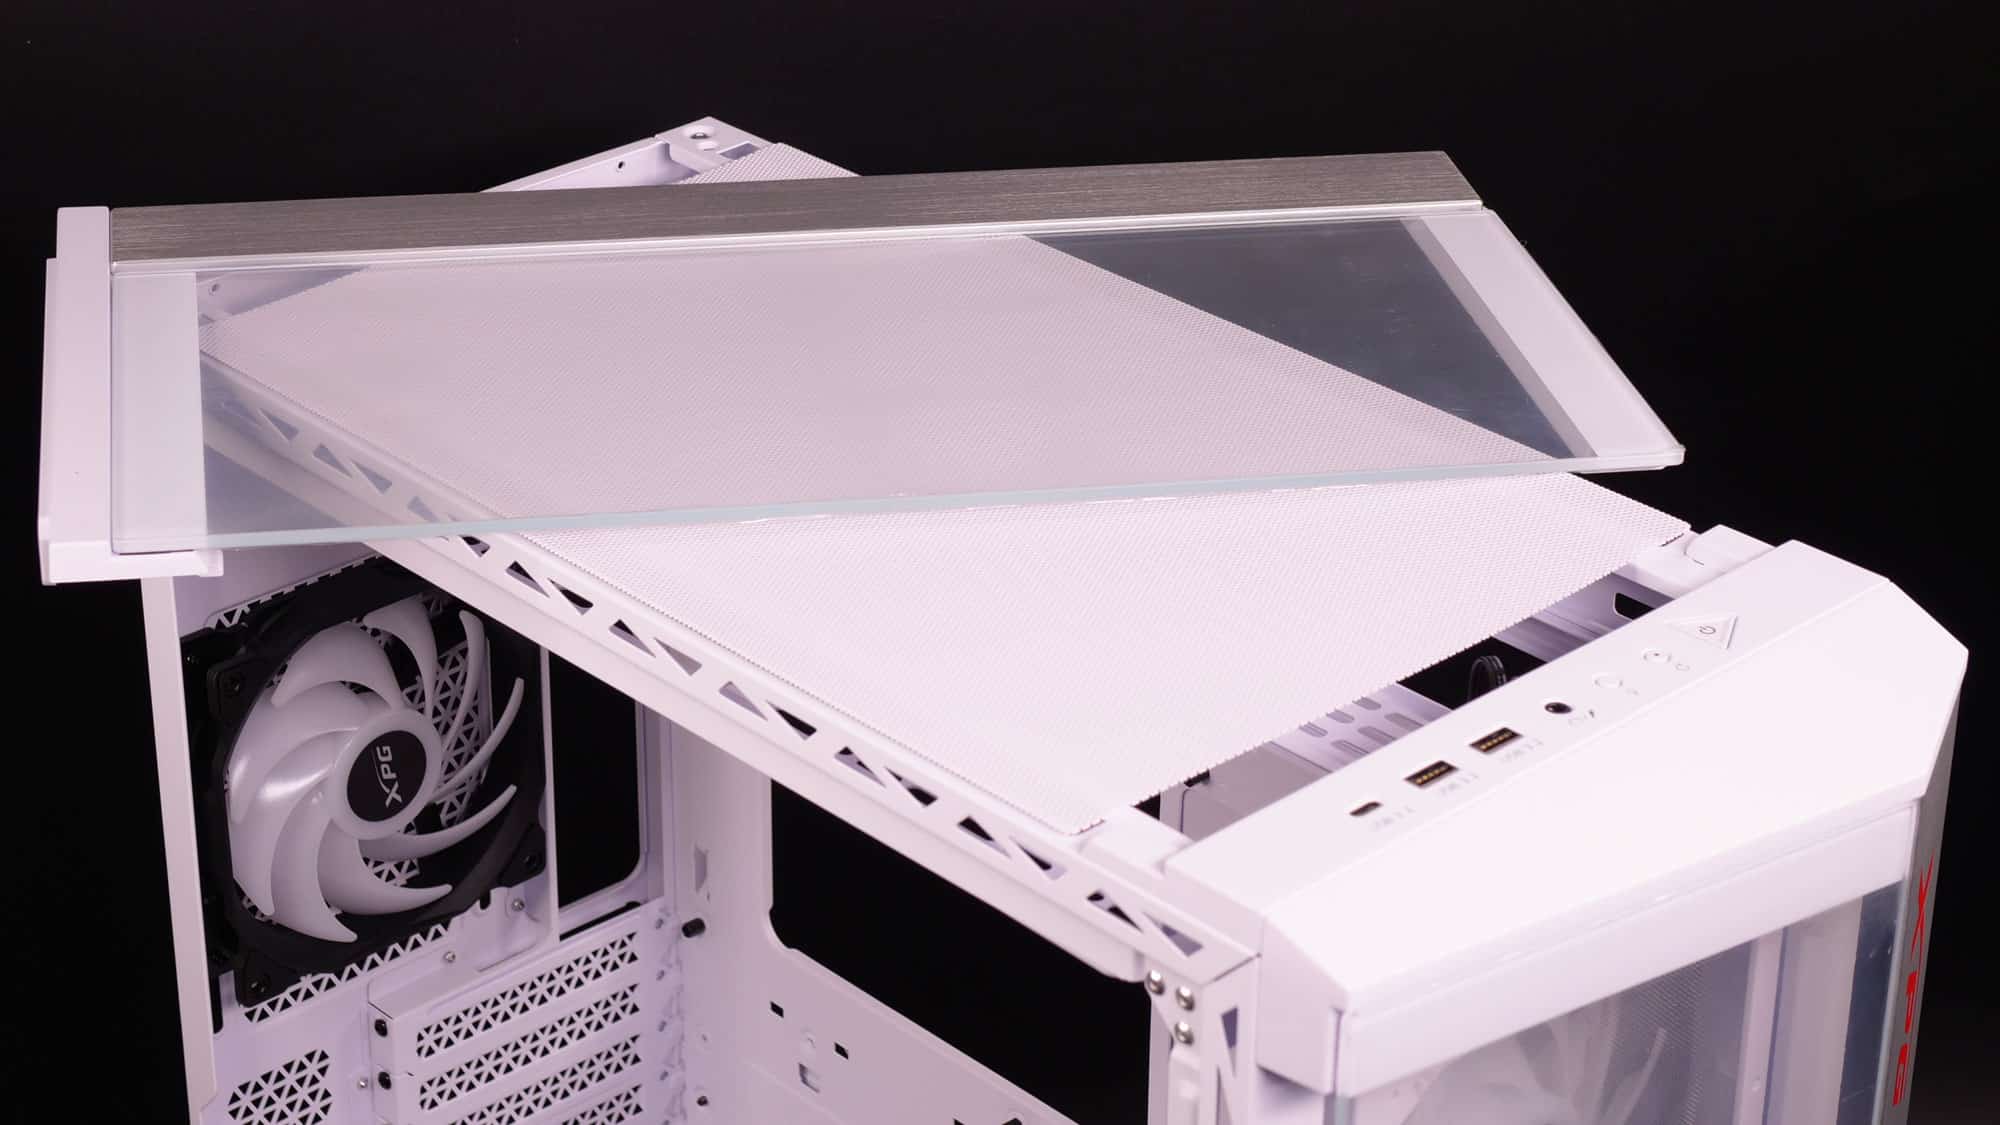
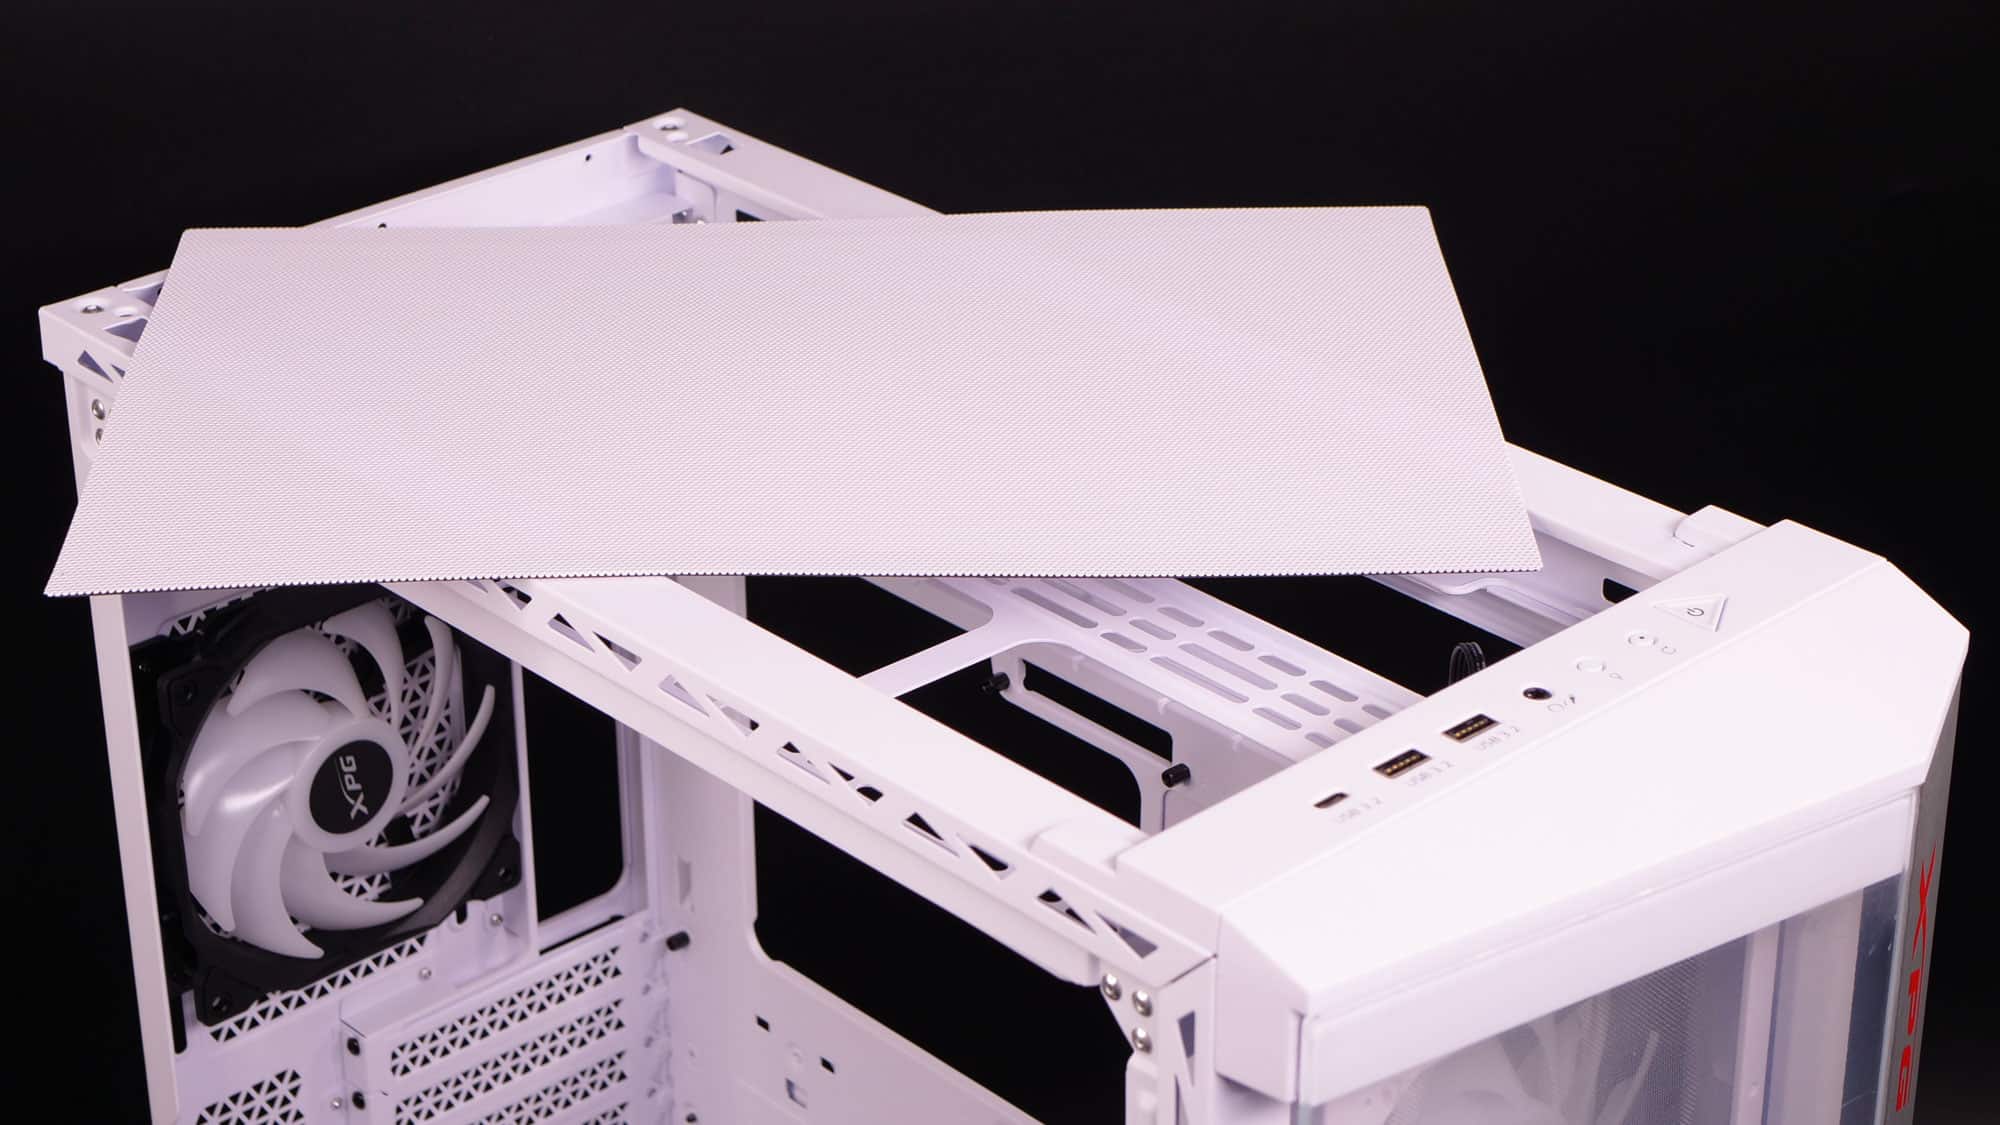
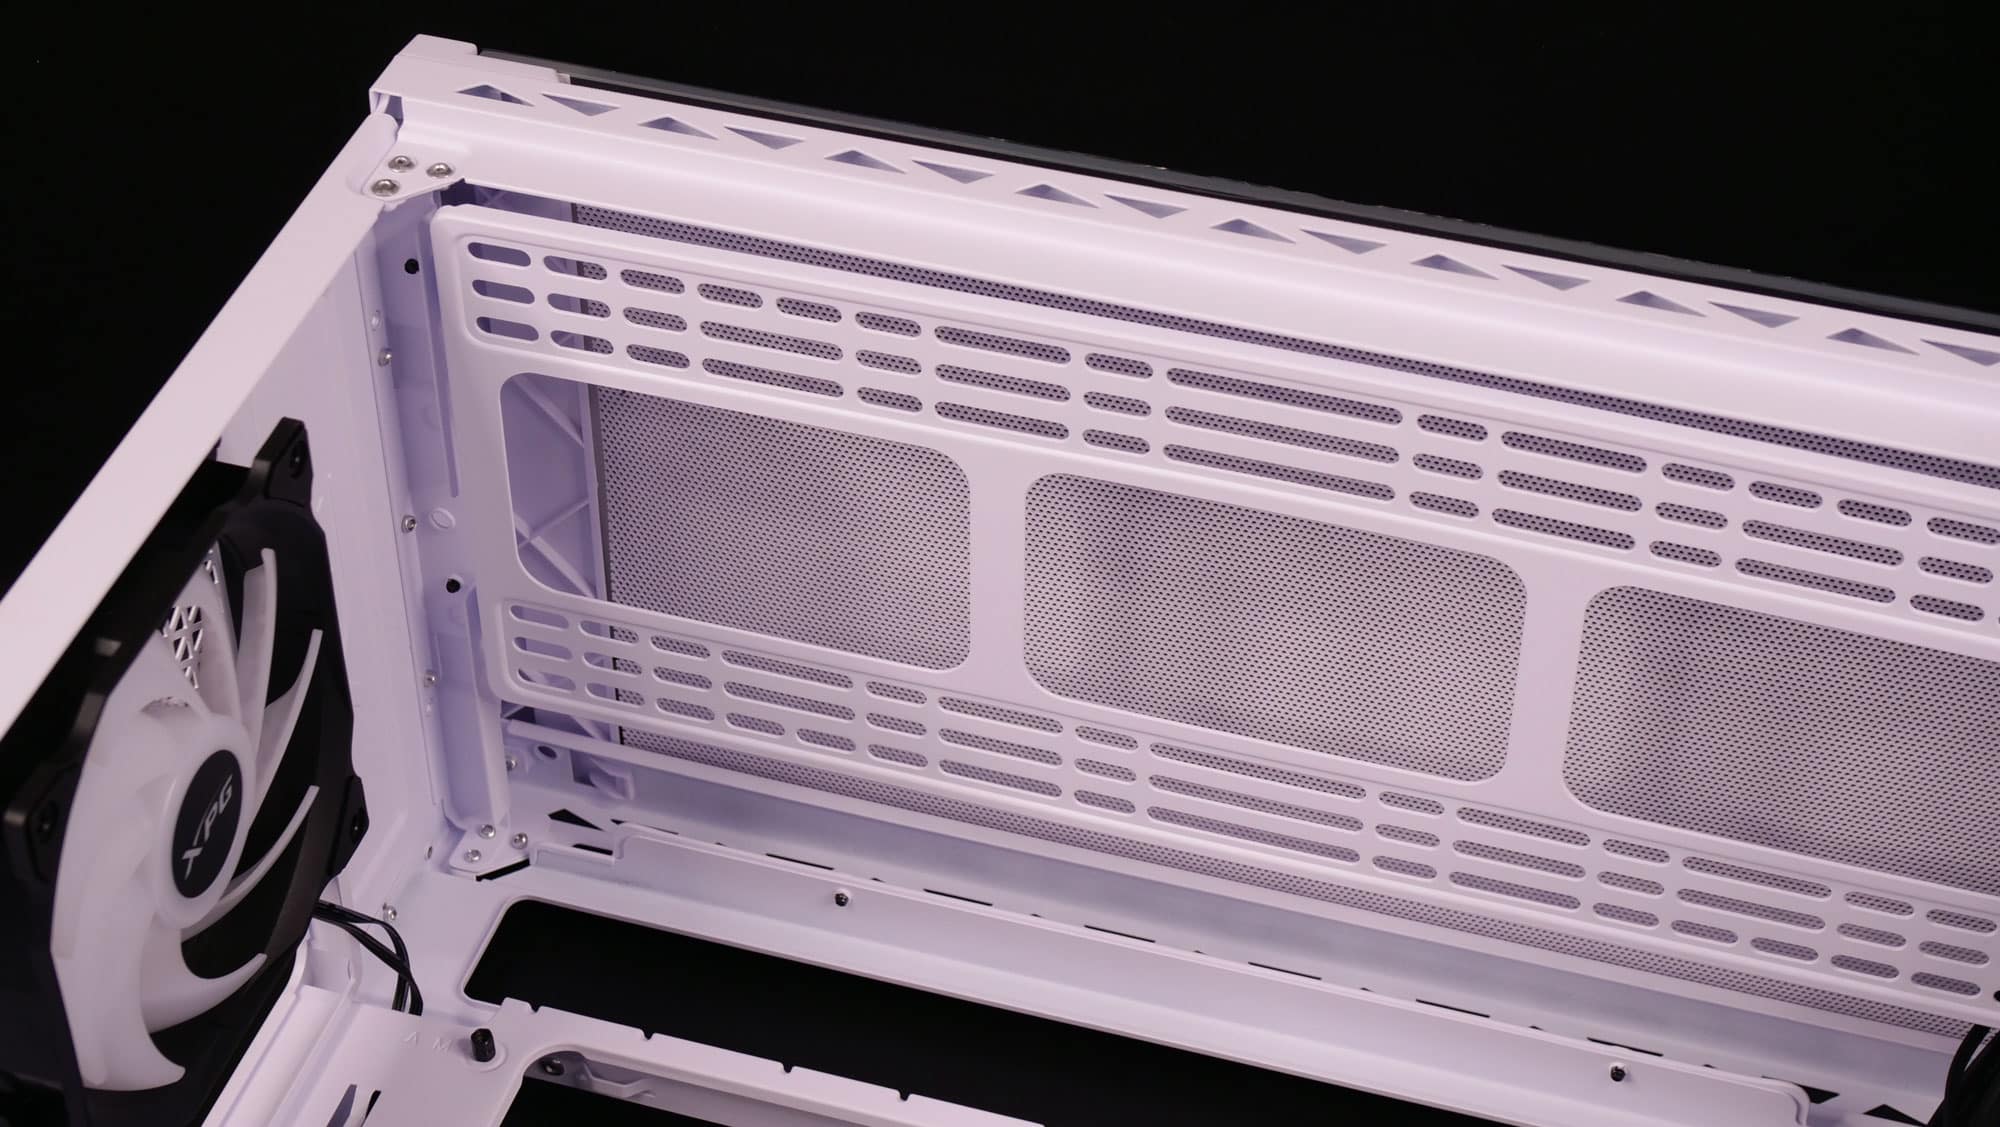

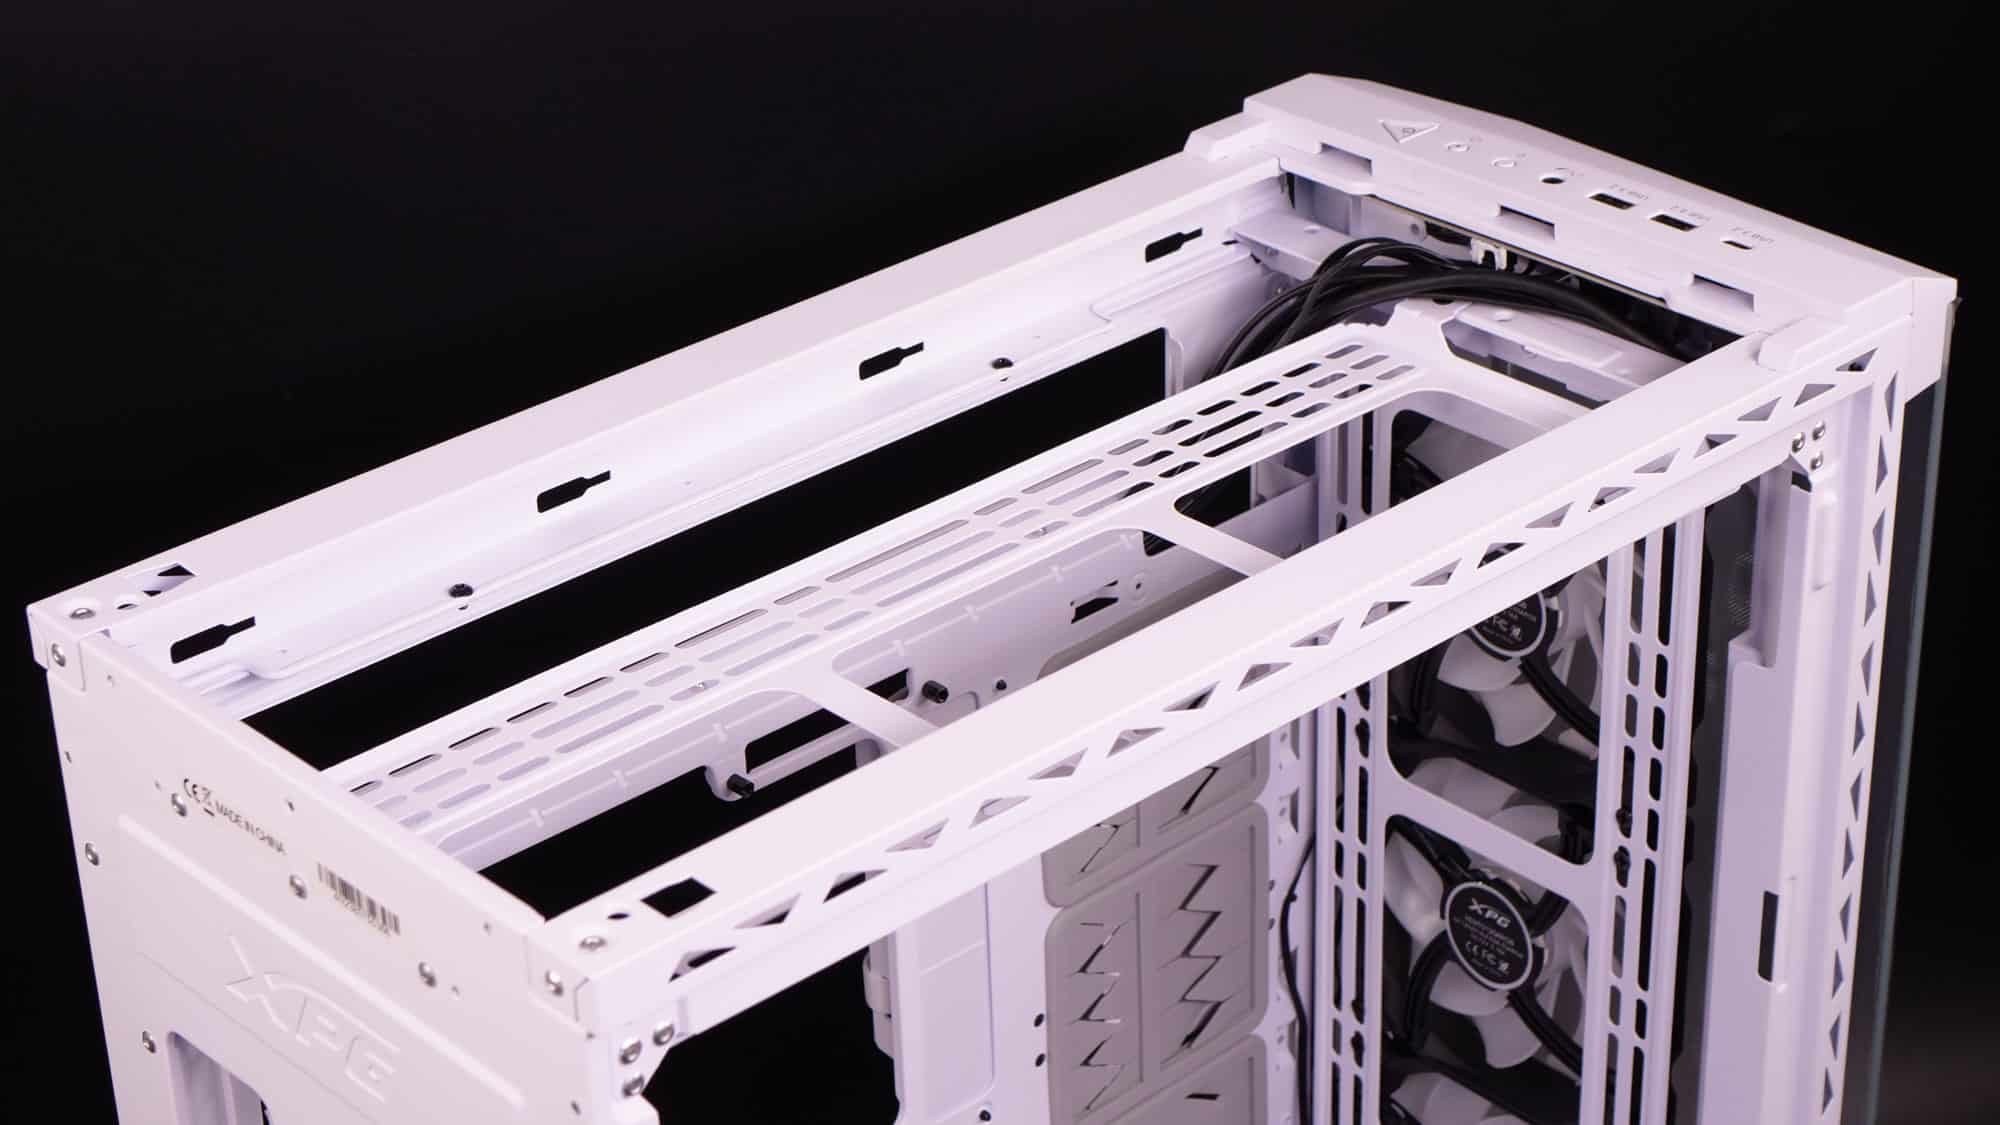
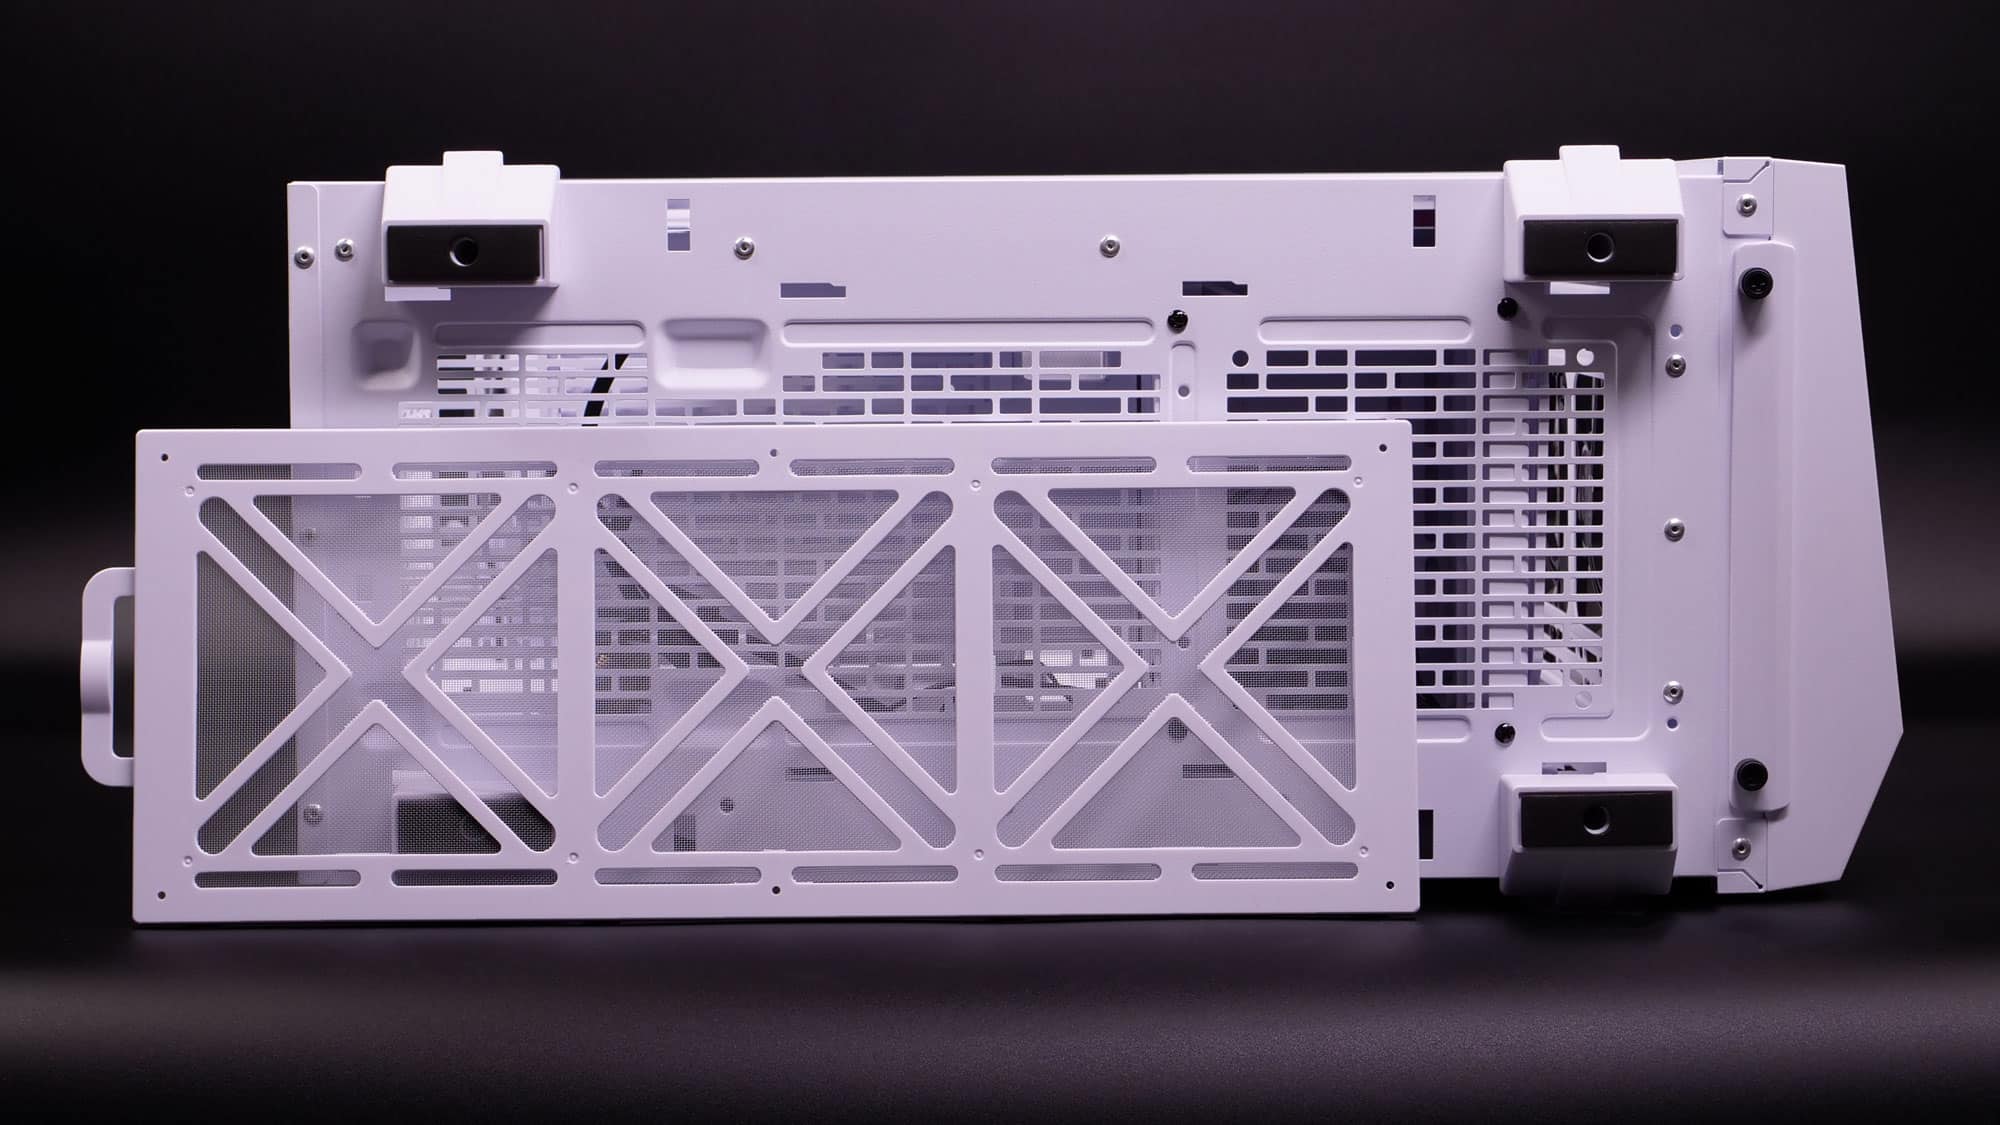
The top glass and dust cover removed. The top bracket can be removed, allowing the easier installation of a radiator. The same goes for the front bracket, holding the pre-installed fans.
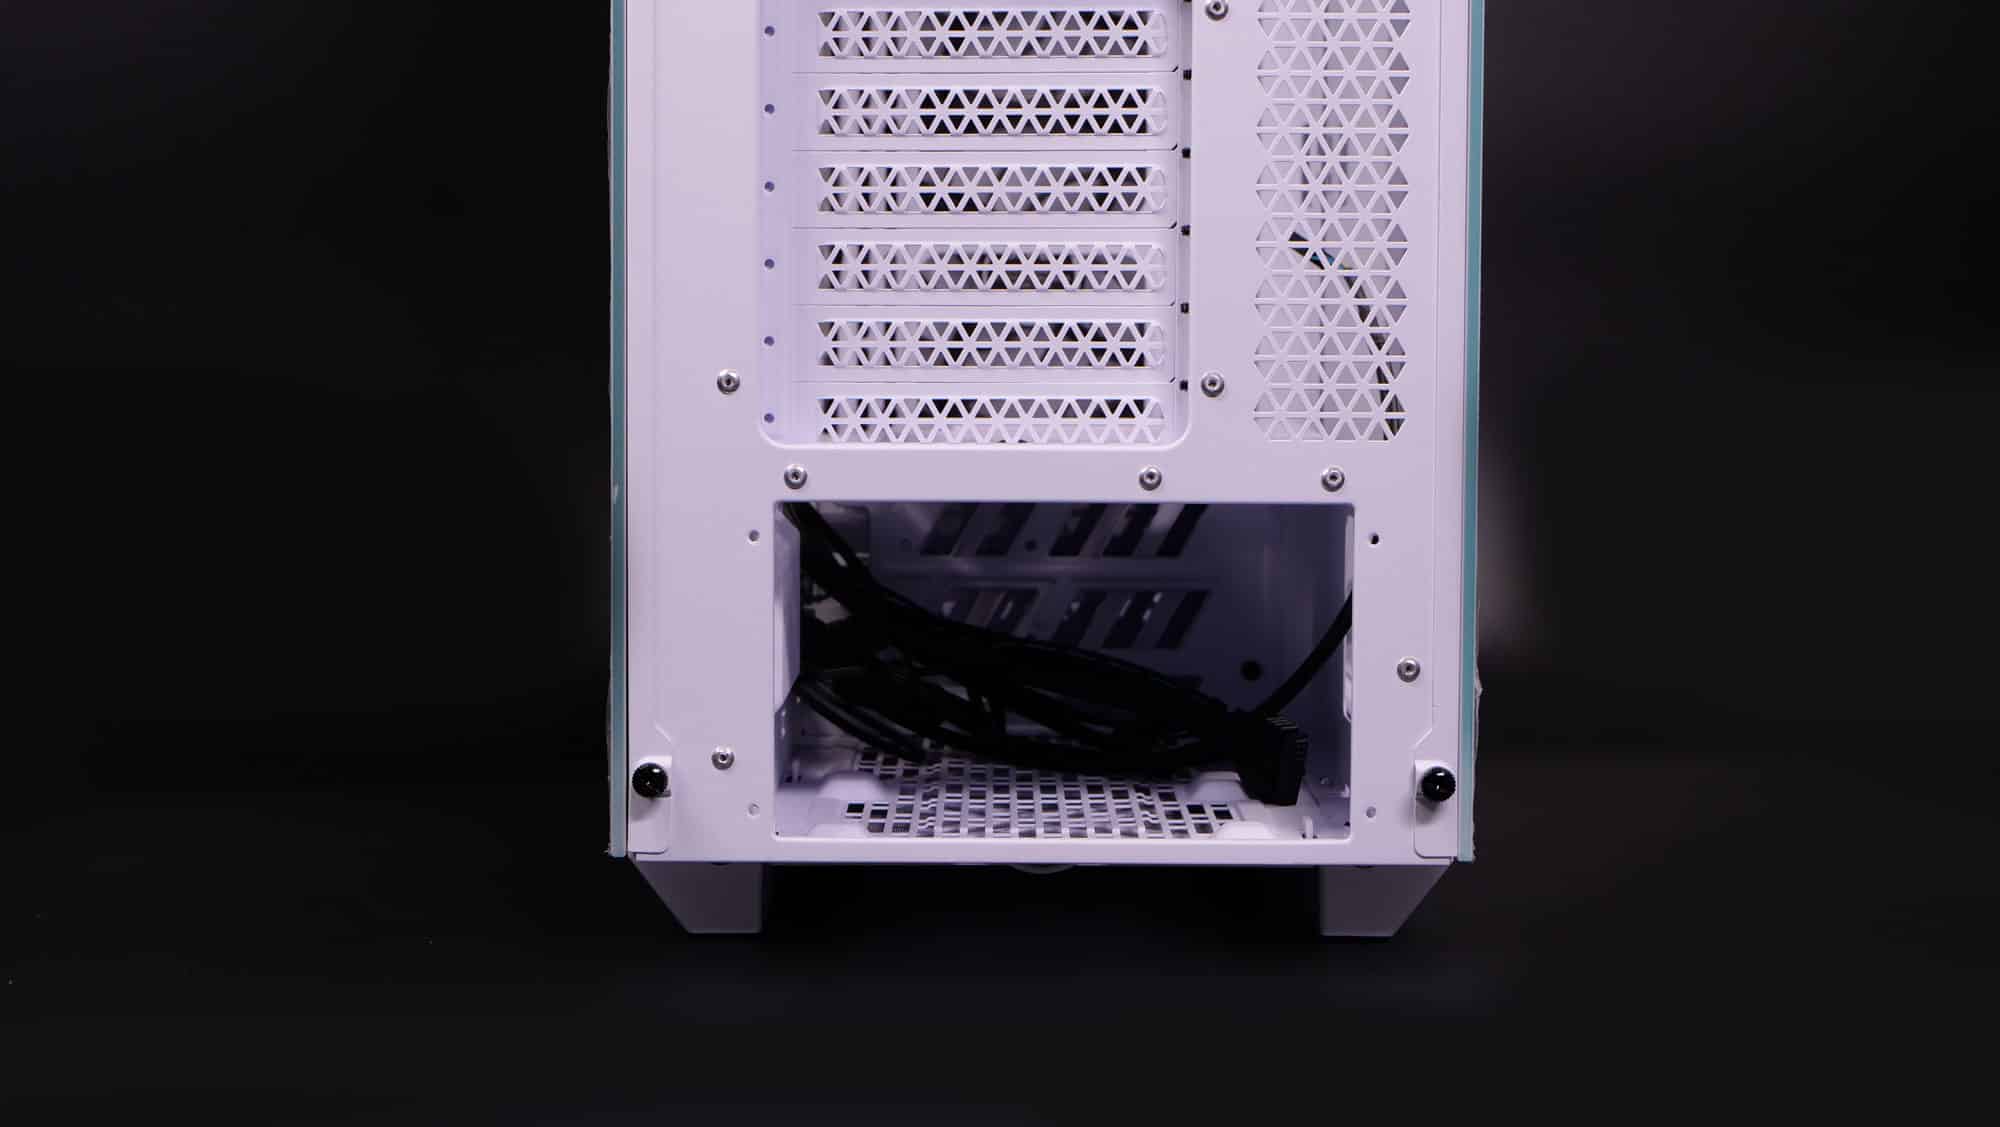
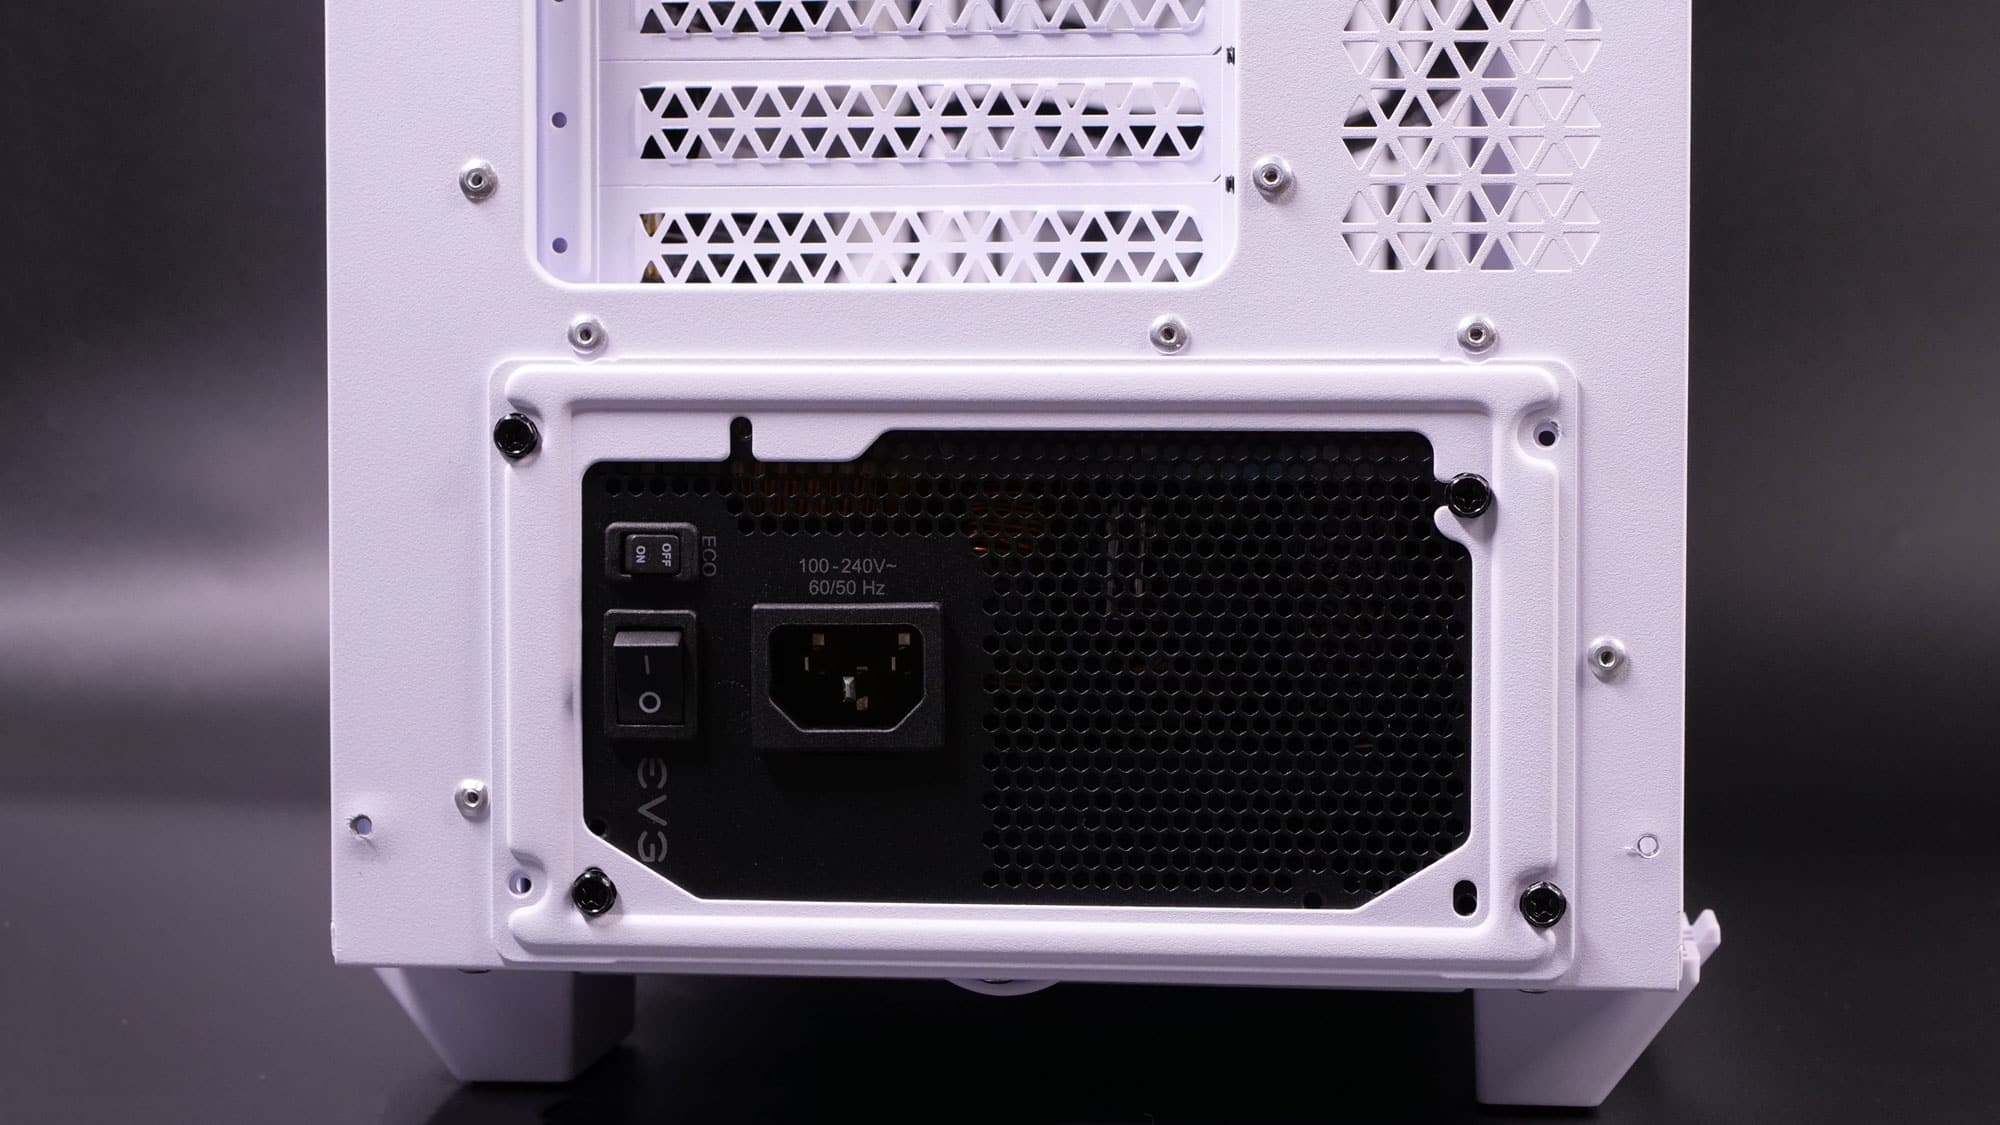
PSU installation is relatively easy through this bracket.
If you have an RGB-lit PSU, you are out of luck since you won’t be able to see it.