Epilogue
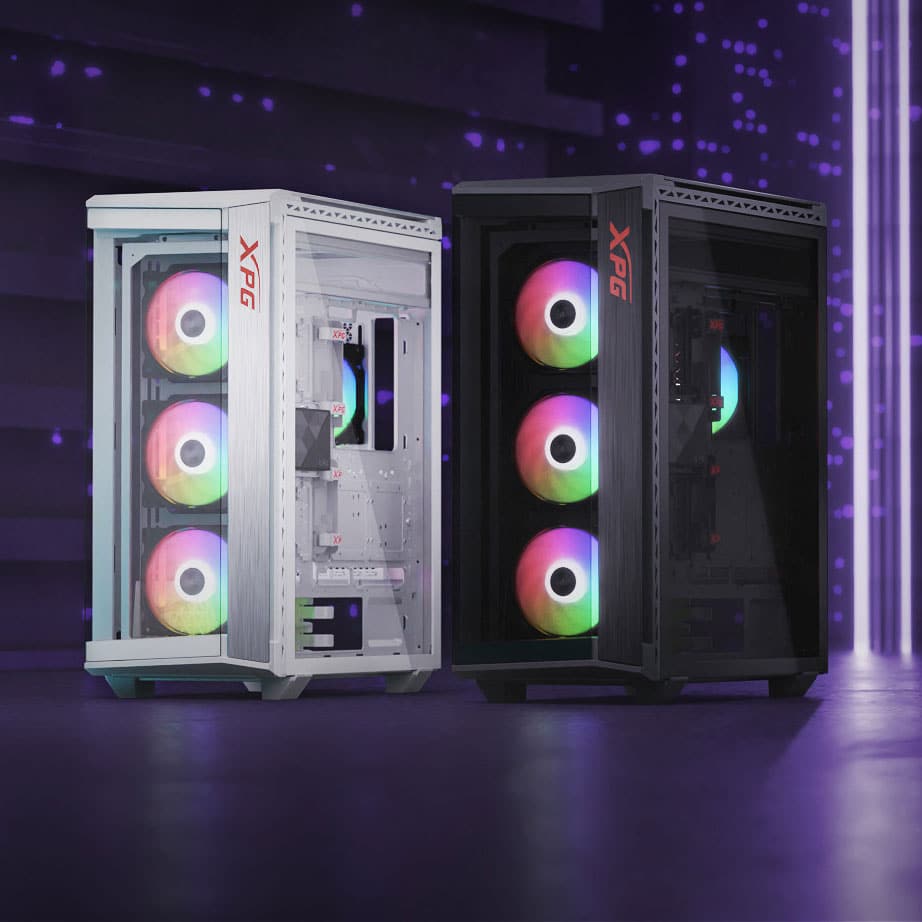
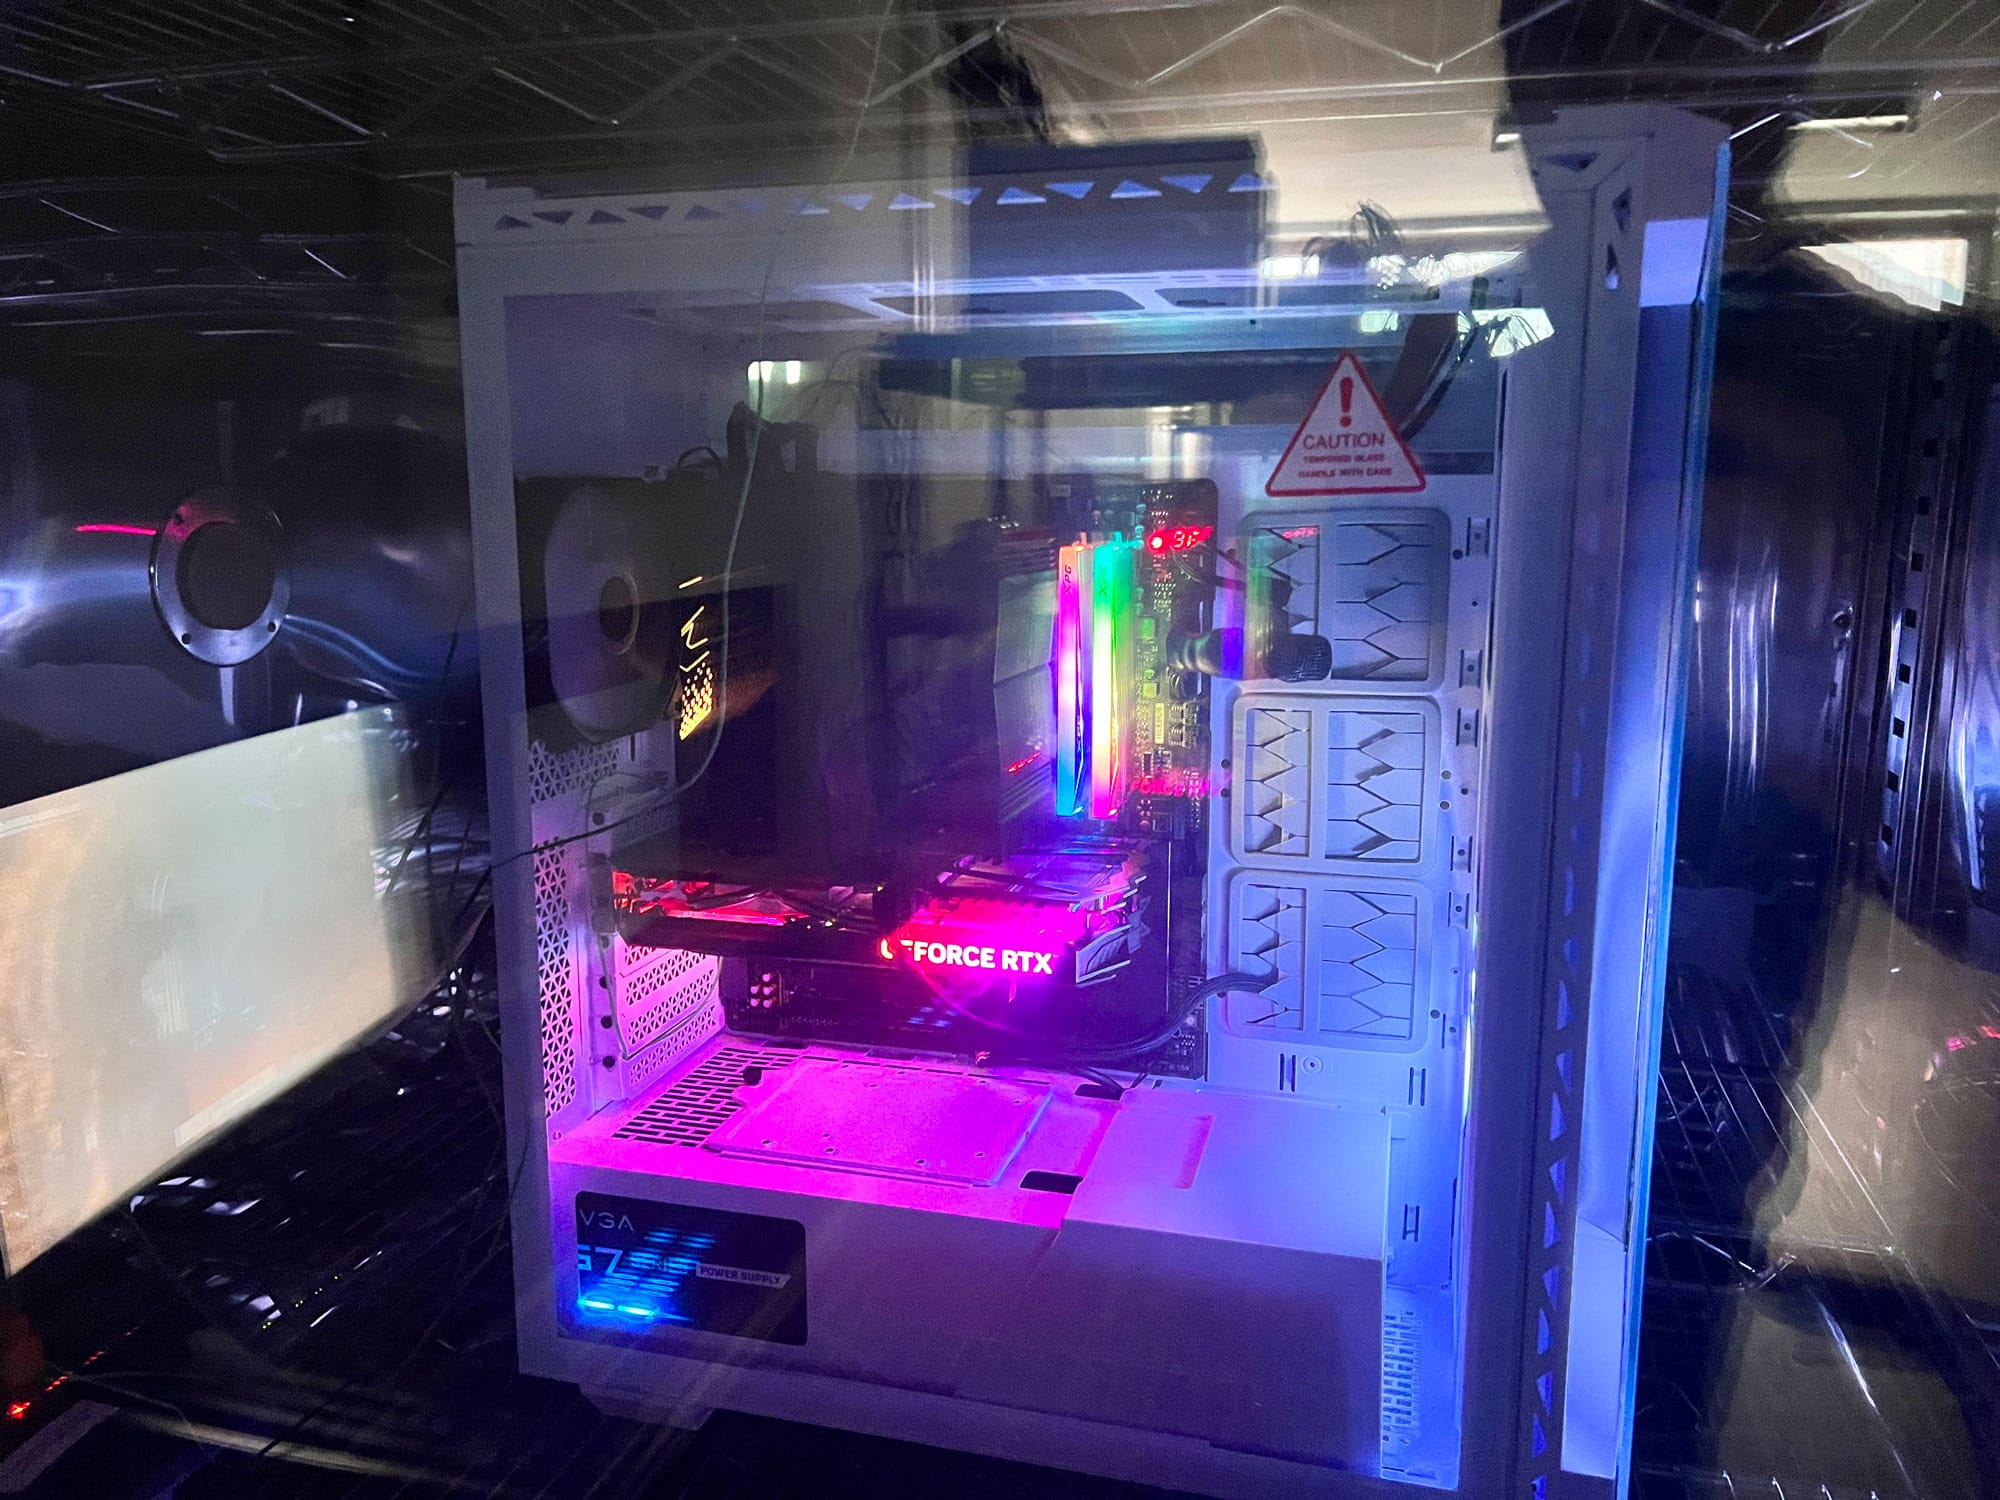
The XPG Battlecruiser II is a definite improvement over its predecessor, but is this enough to justify the $180 price tag? In my opinion, the competition is tough at this price point, especially if you also consider that if you want the Prime Box, you have to get the premium version, which goes for 200 dollars. And believe me, you will need the Prime Box to handle all power and ARGB cables from the fans, or else you will have a tough time achieving a decent optical result, which you have to do since the mainboard’s backside is exposed due to the glass panel. I don’t entirely agree with the glass side panel behind the mainboard since it demands top-notch cable management, meaning you will have to spend quite some time to achieve that. Thankfully, you won’t have to do that frequently. XPG could use a tinted window on this side to help you hide the cable mess.
A strong competitor for the Battlecruiser II is a case that I recently reviewed: the be quiet! Shadow Base 800 FX. The latter only costs $20-30 more, depending on the color version you choose, including high-quality PWM fans and an ARGB/PWM hub. It lacks the number of glass panels that the Battlecruiser II has, which increases cost, but if you don’t need them, especially the one behind the mainboard, you won’t mind. The system installation inside the Battlecruiser II is a bit tougher compared to the Shadow Base 800 because of the lower height of the mainboard’s compartment and the smaller holes on the upper and lower sides. Still, the cable management options that XPG offers are better, and it also has more drive bay slots, although you cannot utilize all available slots, since if you do, you will cover all cable exit holes. I am referring to the drive slots behind the grommets.
The XPG Battlecruiser II supports large AIO cooling solutions, tall air coolers (175mm max height), and long graphics cards, up to 395mm, so it won’t restrict you if you want to use it for building an extra high-end system. The provided graphics card holder will be handy, especially if you want to install it vertically. The I/O panel features a Type C USB port capable of delivering up to 20 Gbps transfer speeds if your motherboard can support it, which is a highly welcome feature. The only thing I don’t like about the I/O panel is that the reset switch is identical to the ARGB one, and both are close to each other, so users can easily mix them and have the system restart instead of changing the lighting. I also don’t fully agree with the glass panel behind the mainboard because it demands perfect cable management in this area, where I usually don’t bother much, but this is just me. I am sure there are users out there who have much more patience for cable management than I do!
All in all, the XPG Battlecruiser II is a decent chassis with no price increase over its predecessor, which was among this brand’s most popular chassis. If you are after good looks, ARGB lighting, and good cable management skills, you could invest in this product.
- No price increase over its predecessor, despite the improvements
- Good noise damping performance
- Four glass panels
- Dust filters on all intake areas (front, top, bottom)
- Built-in ARGB controller
- Lots of grommets for cable routing
- Support for large air-coolers and up to 420mm radiator (top)
- Enough 3.5″ and 2.5″ drive bays
- Two color options (black and white)
- It comes with four ARGB 120mm fans (XPG VENTO 120 ARGB) pre-installed
- The Premium version costs only $20 more, offering the Prime Box PWM & ARGB controller
- Bracket provided for vertical GPU installation
- Type-C USB port in the I/O panel with up to 20Gbps support
- Support for large PSUs (up to 225mm depth)
- Support for up to 175mm high CPU coolers
- I would like more headroom above and below the mainboard
- The reset button is right next to the ARGB one, with an identical design
- The glass panel behind the mainboard demands top cable management!