Build Experience
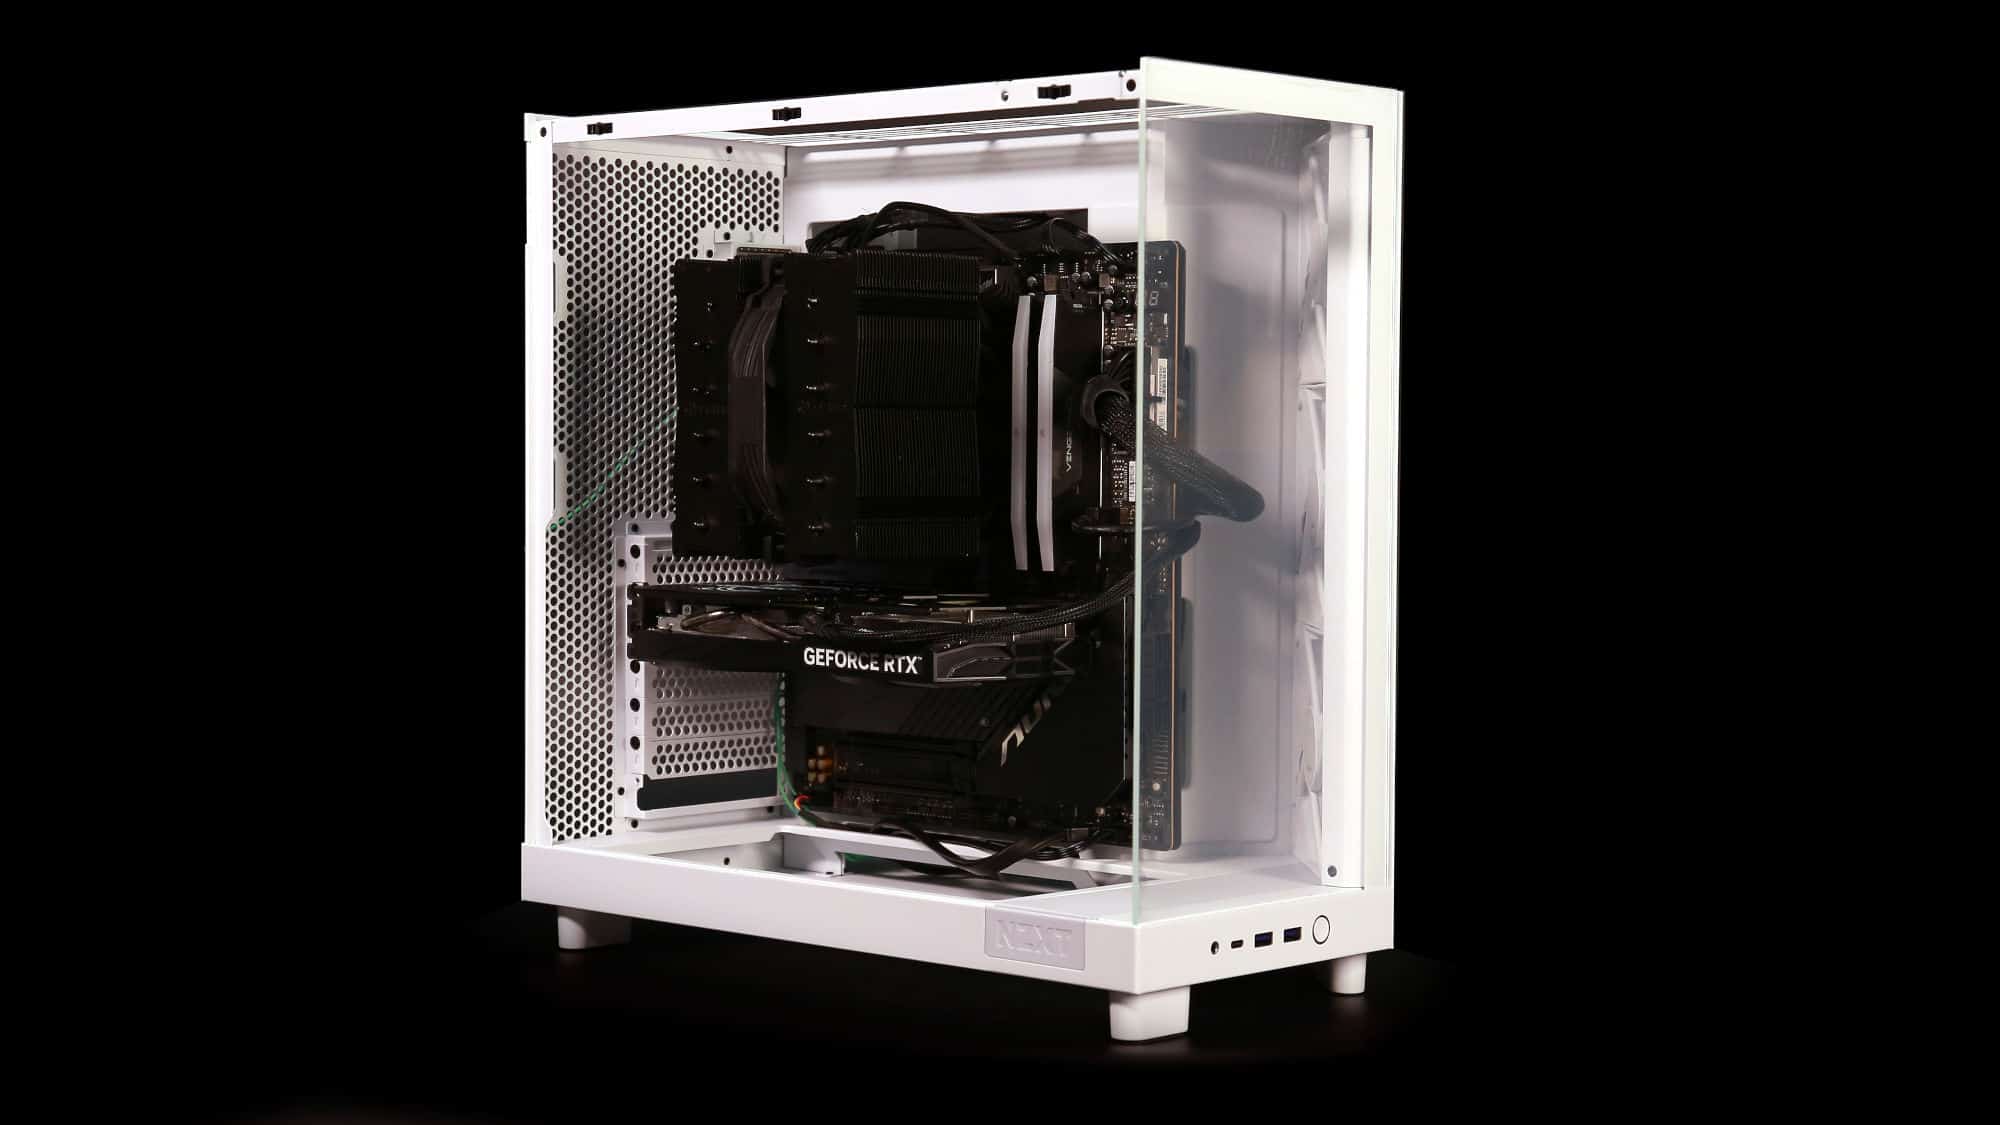
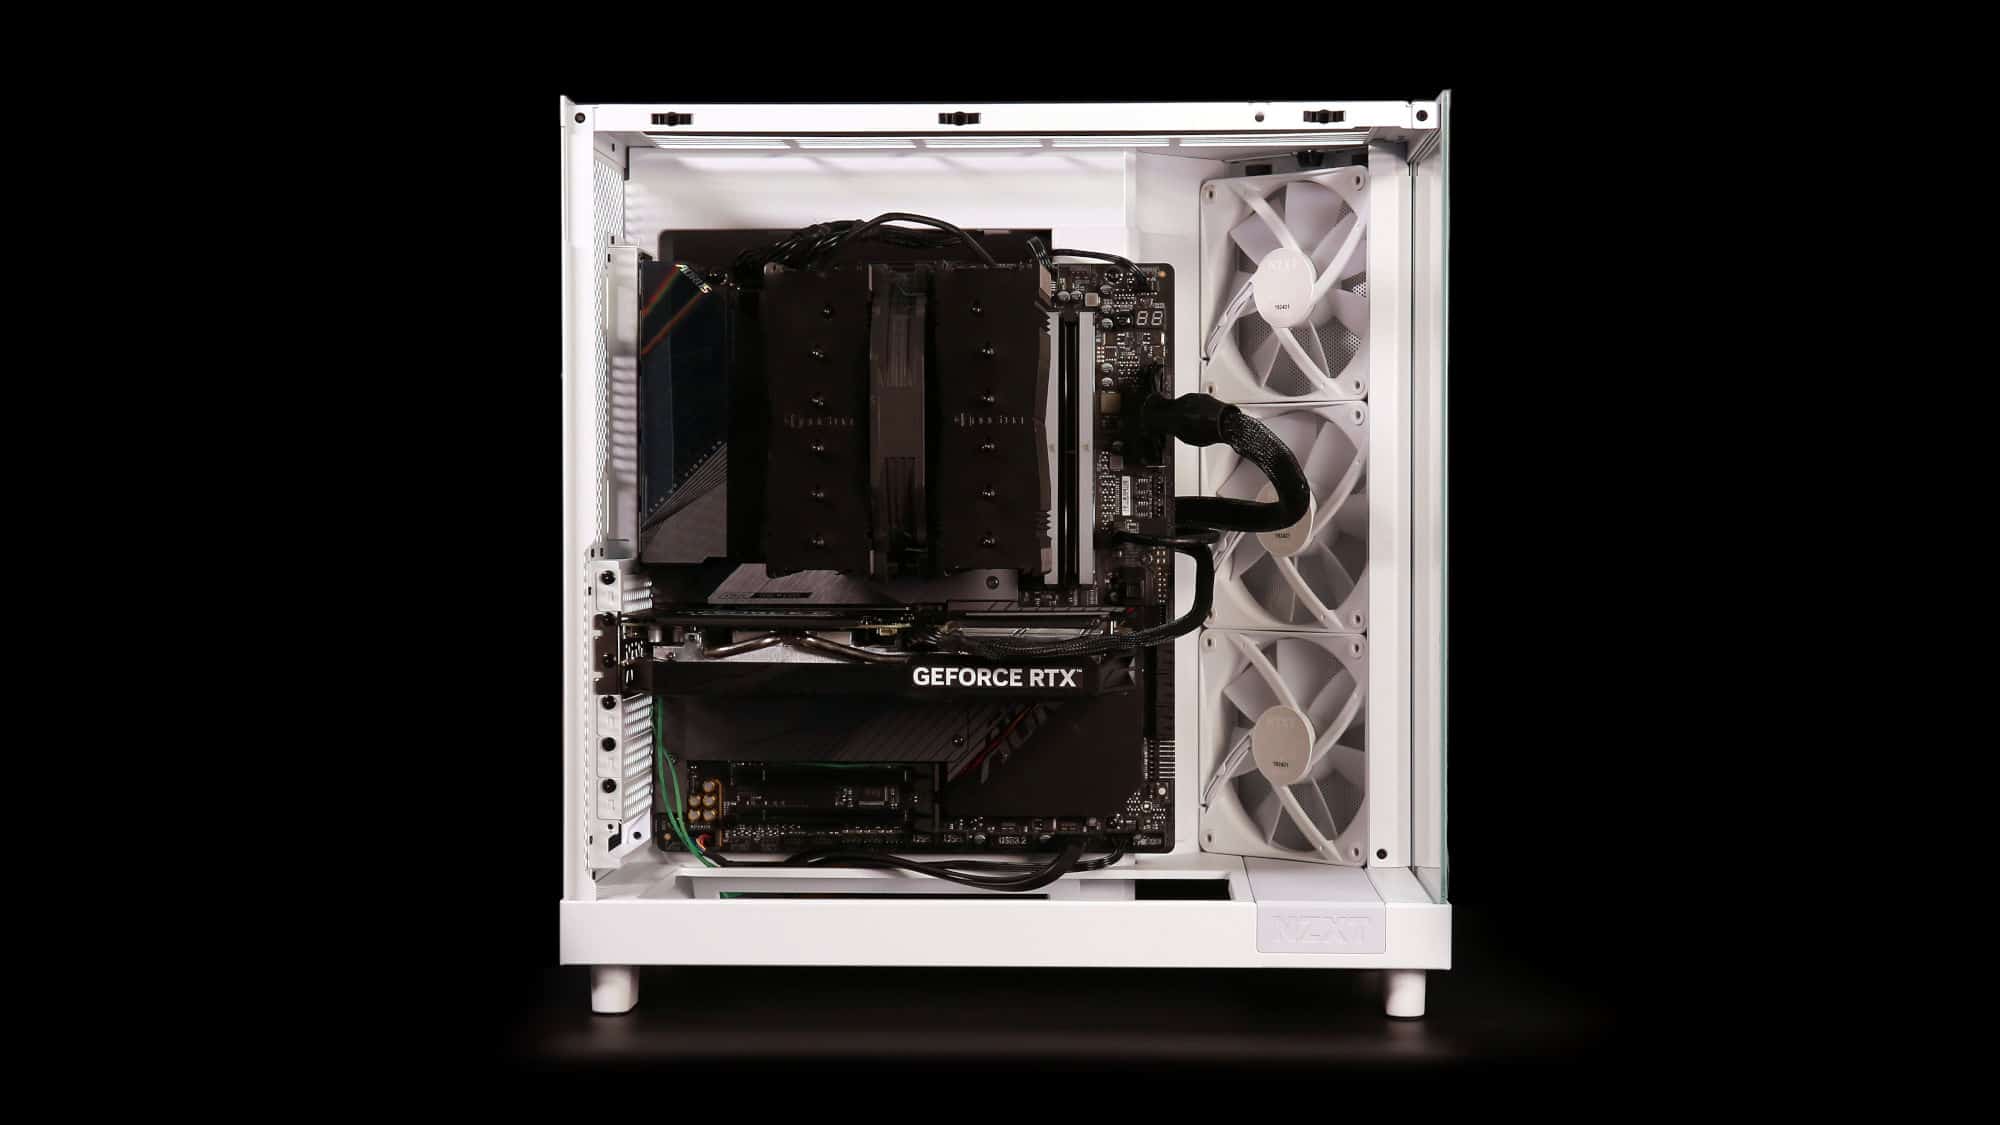
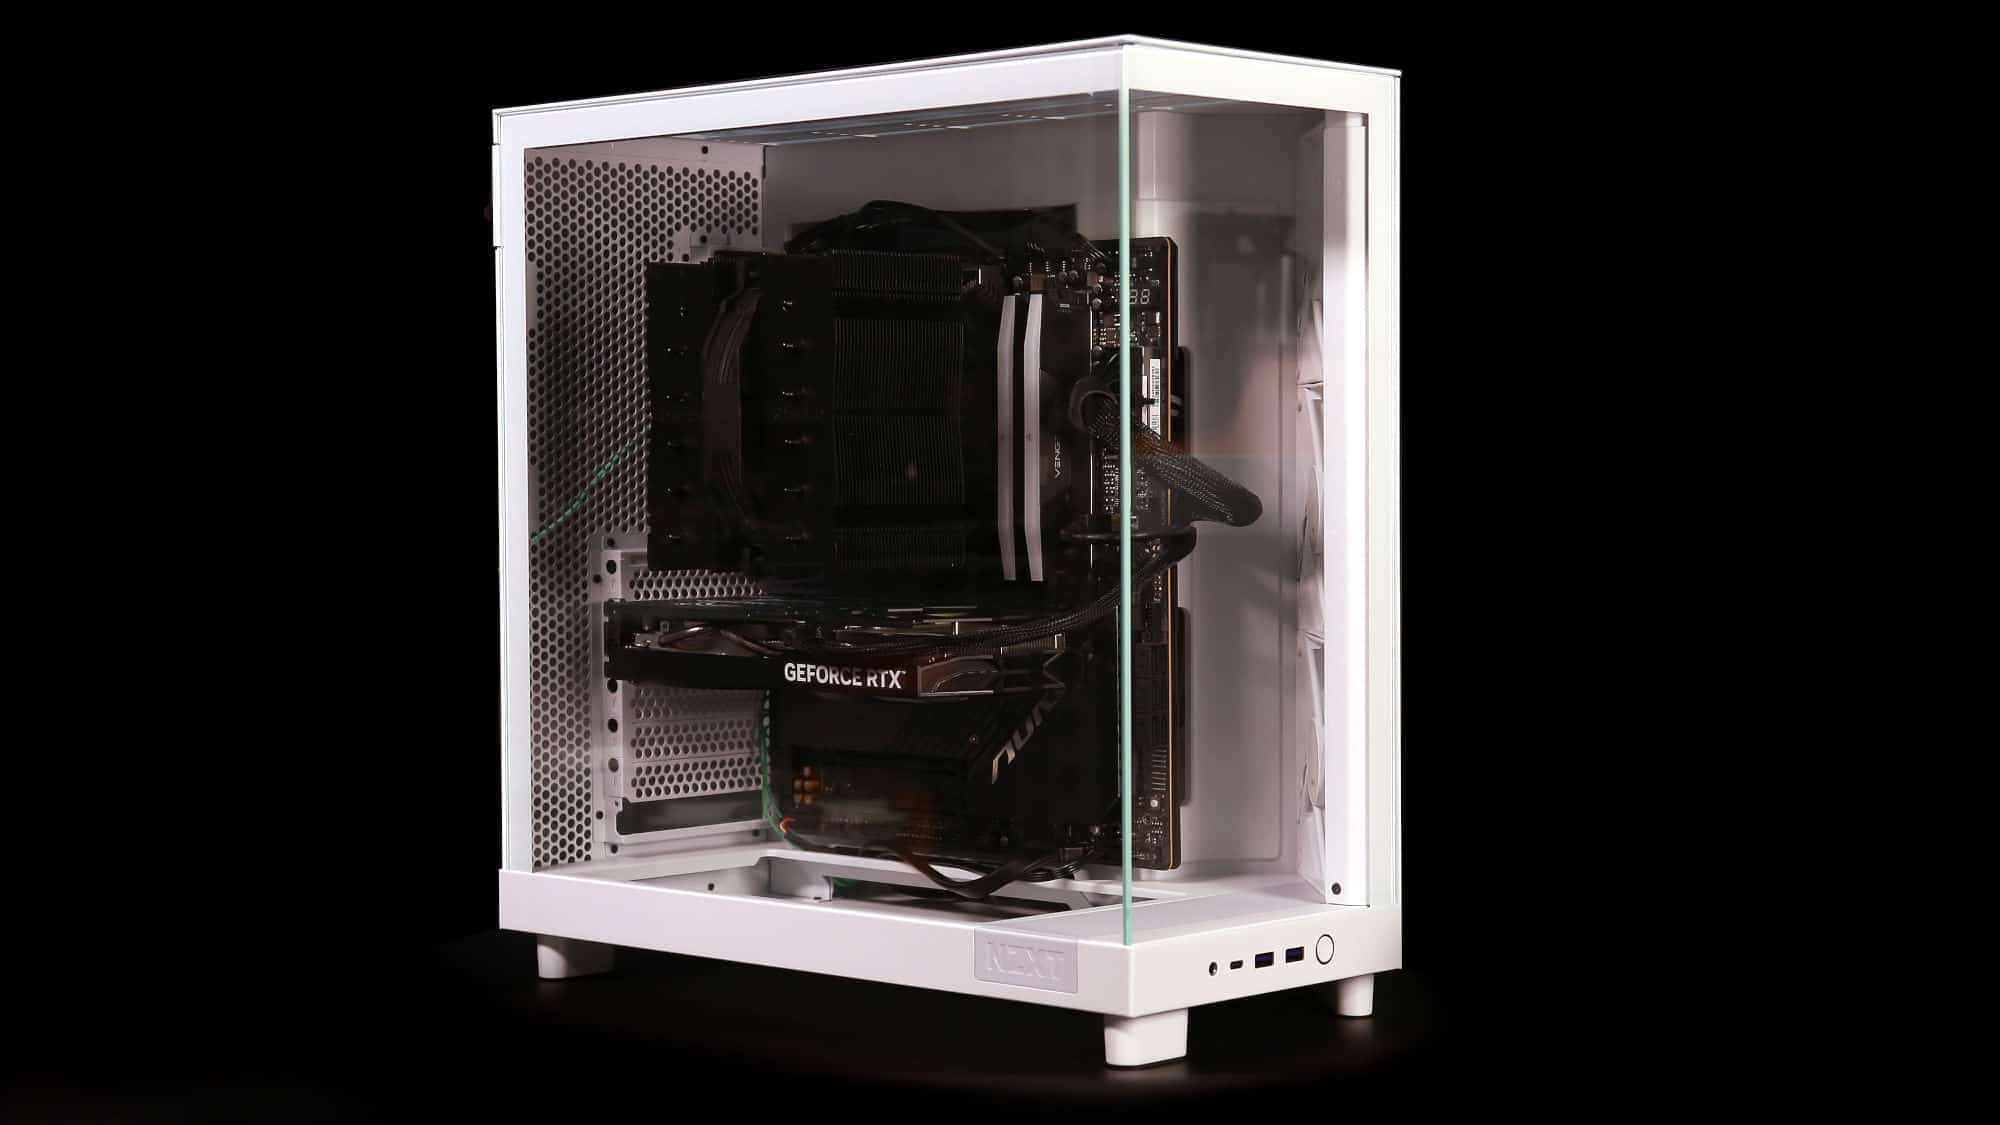
This time, the build starts in the main chamber. The motherboard is installed first, followed by plugging in the modular power cables. The fans are connected to the motherboard headers, and cables are neatly routed. After that, the GPU is installed, completing the main chamber. The CPU, RAM, and cooler were pre-installed.
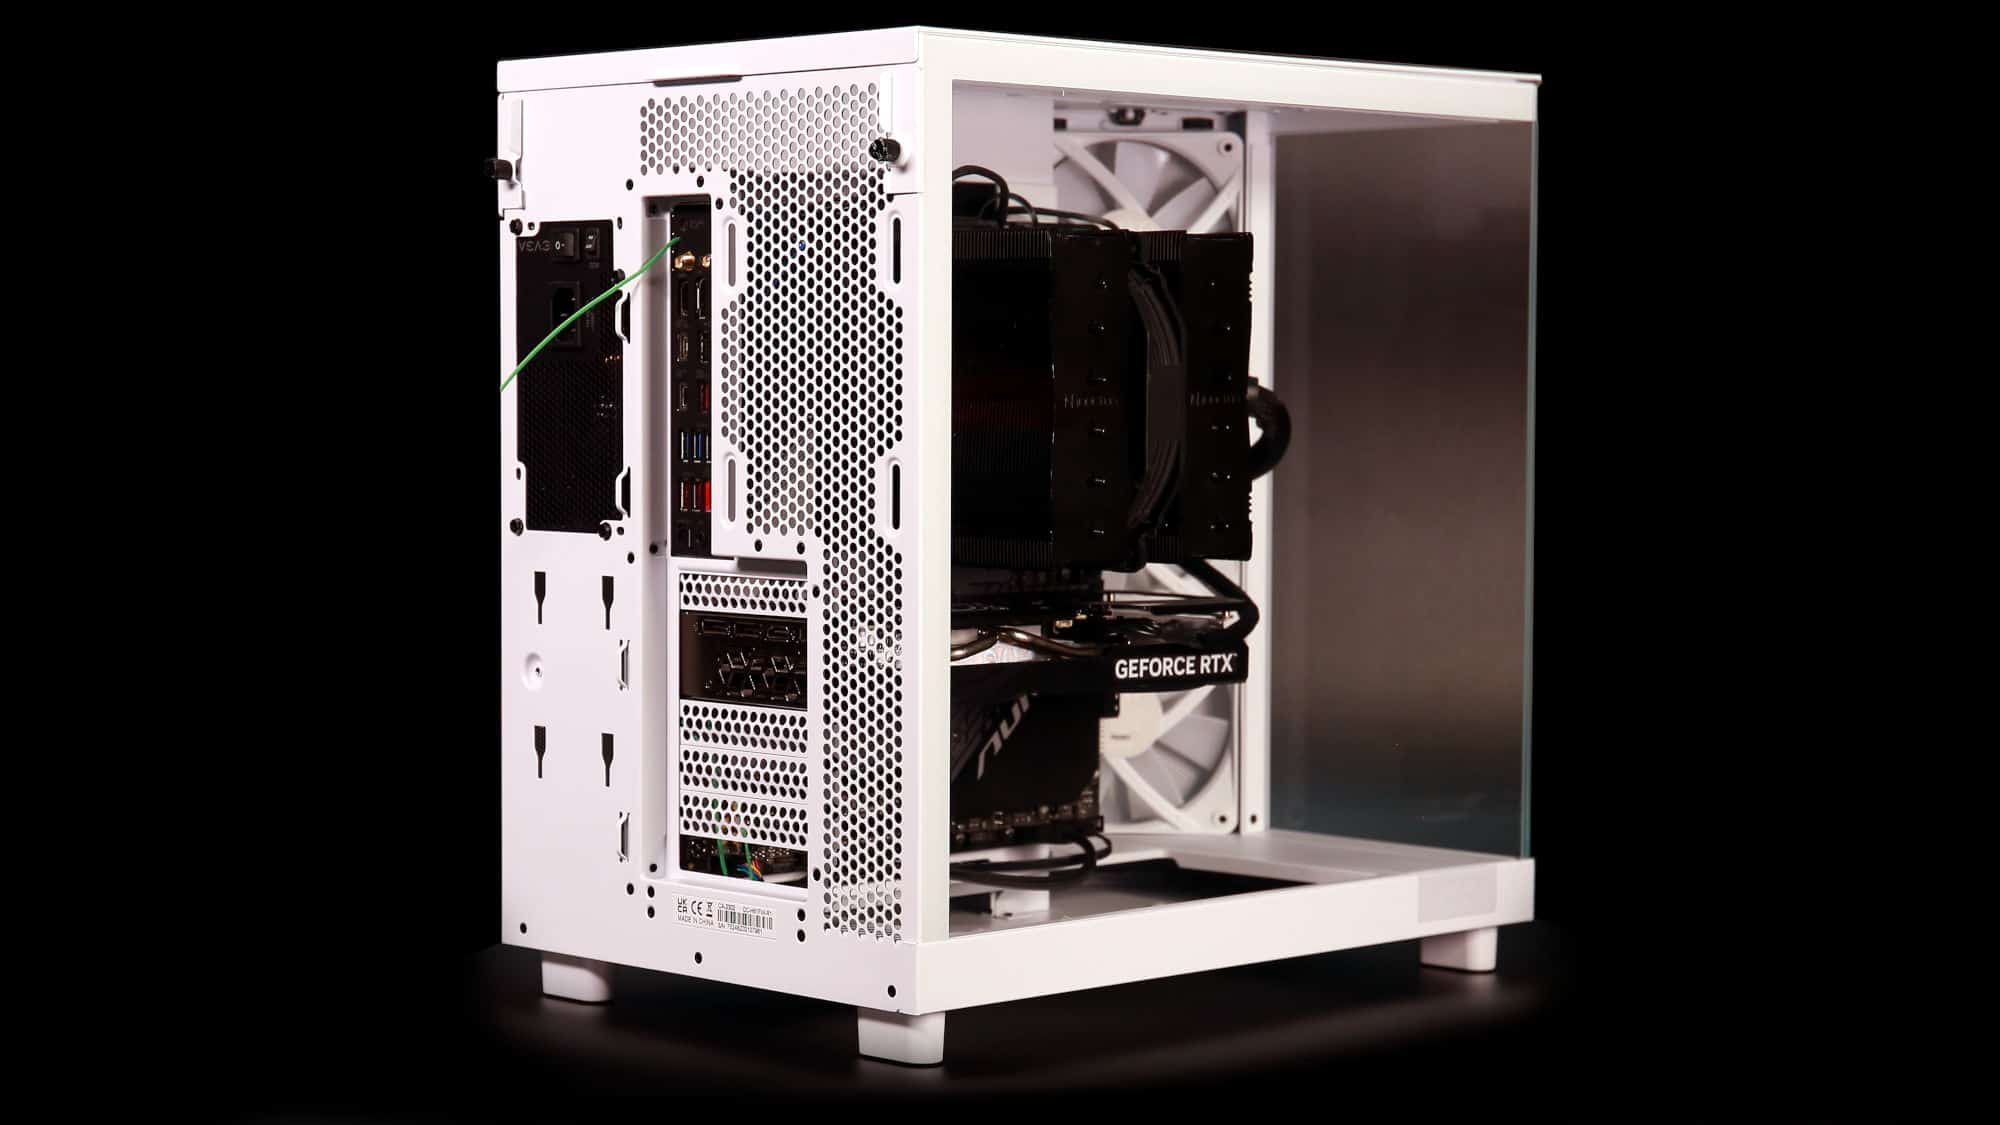
There is ample space for all components, enough that we didn’t mind the front glass being in place. At the bottom, additional room is available beneath the PSU, where the storage tray will be mounted. Overall, space is not an issue. The lack of grommets is barely noticeable once the build is complete.
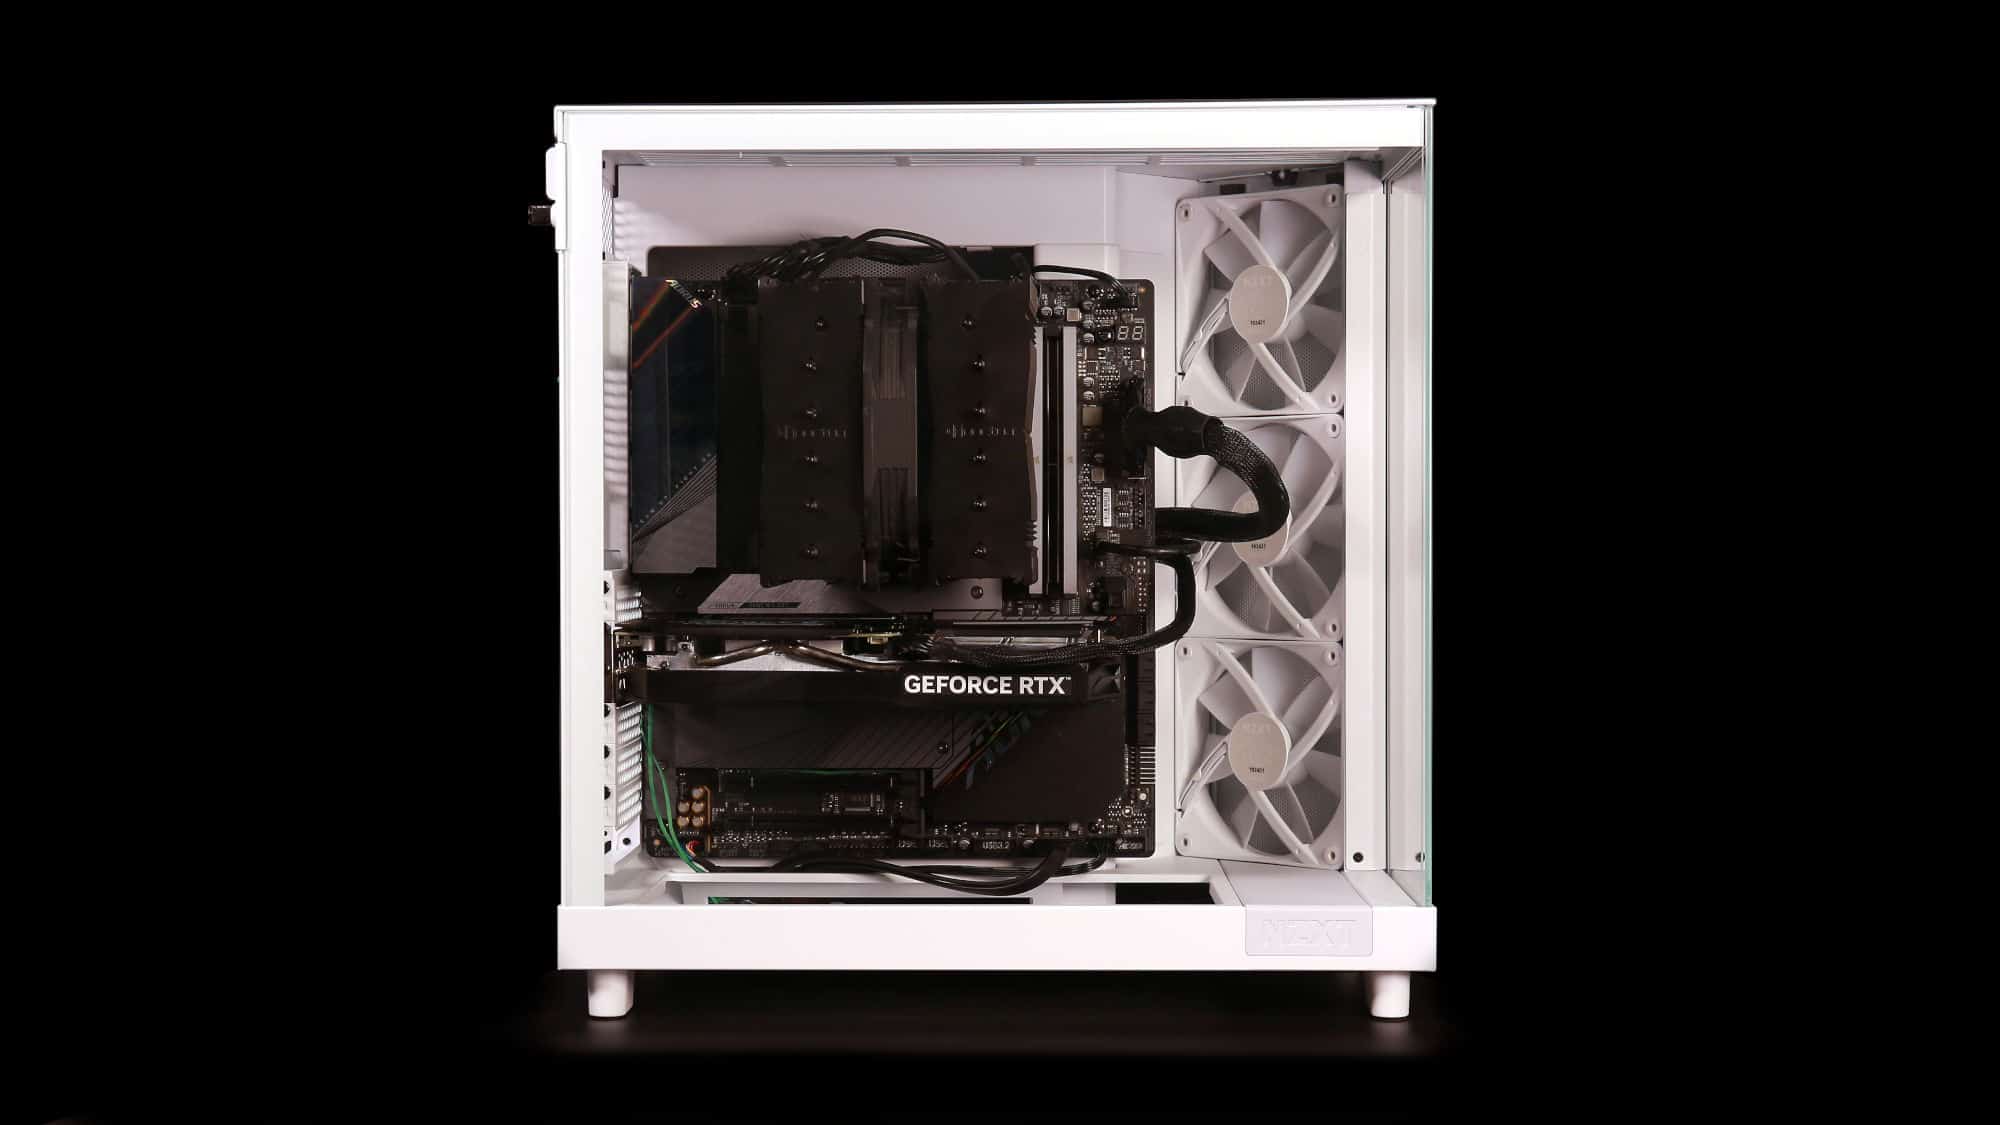
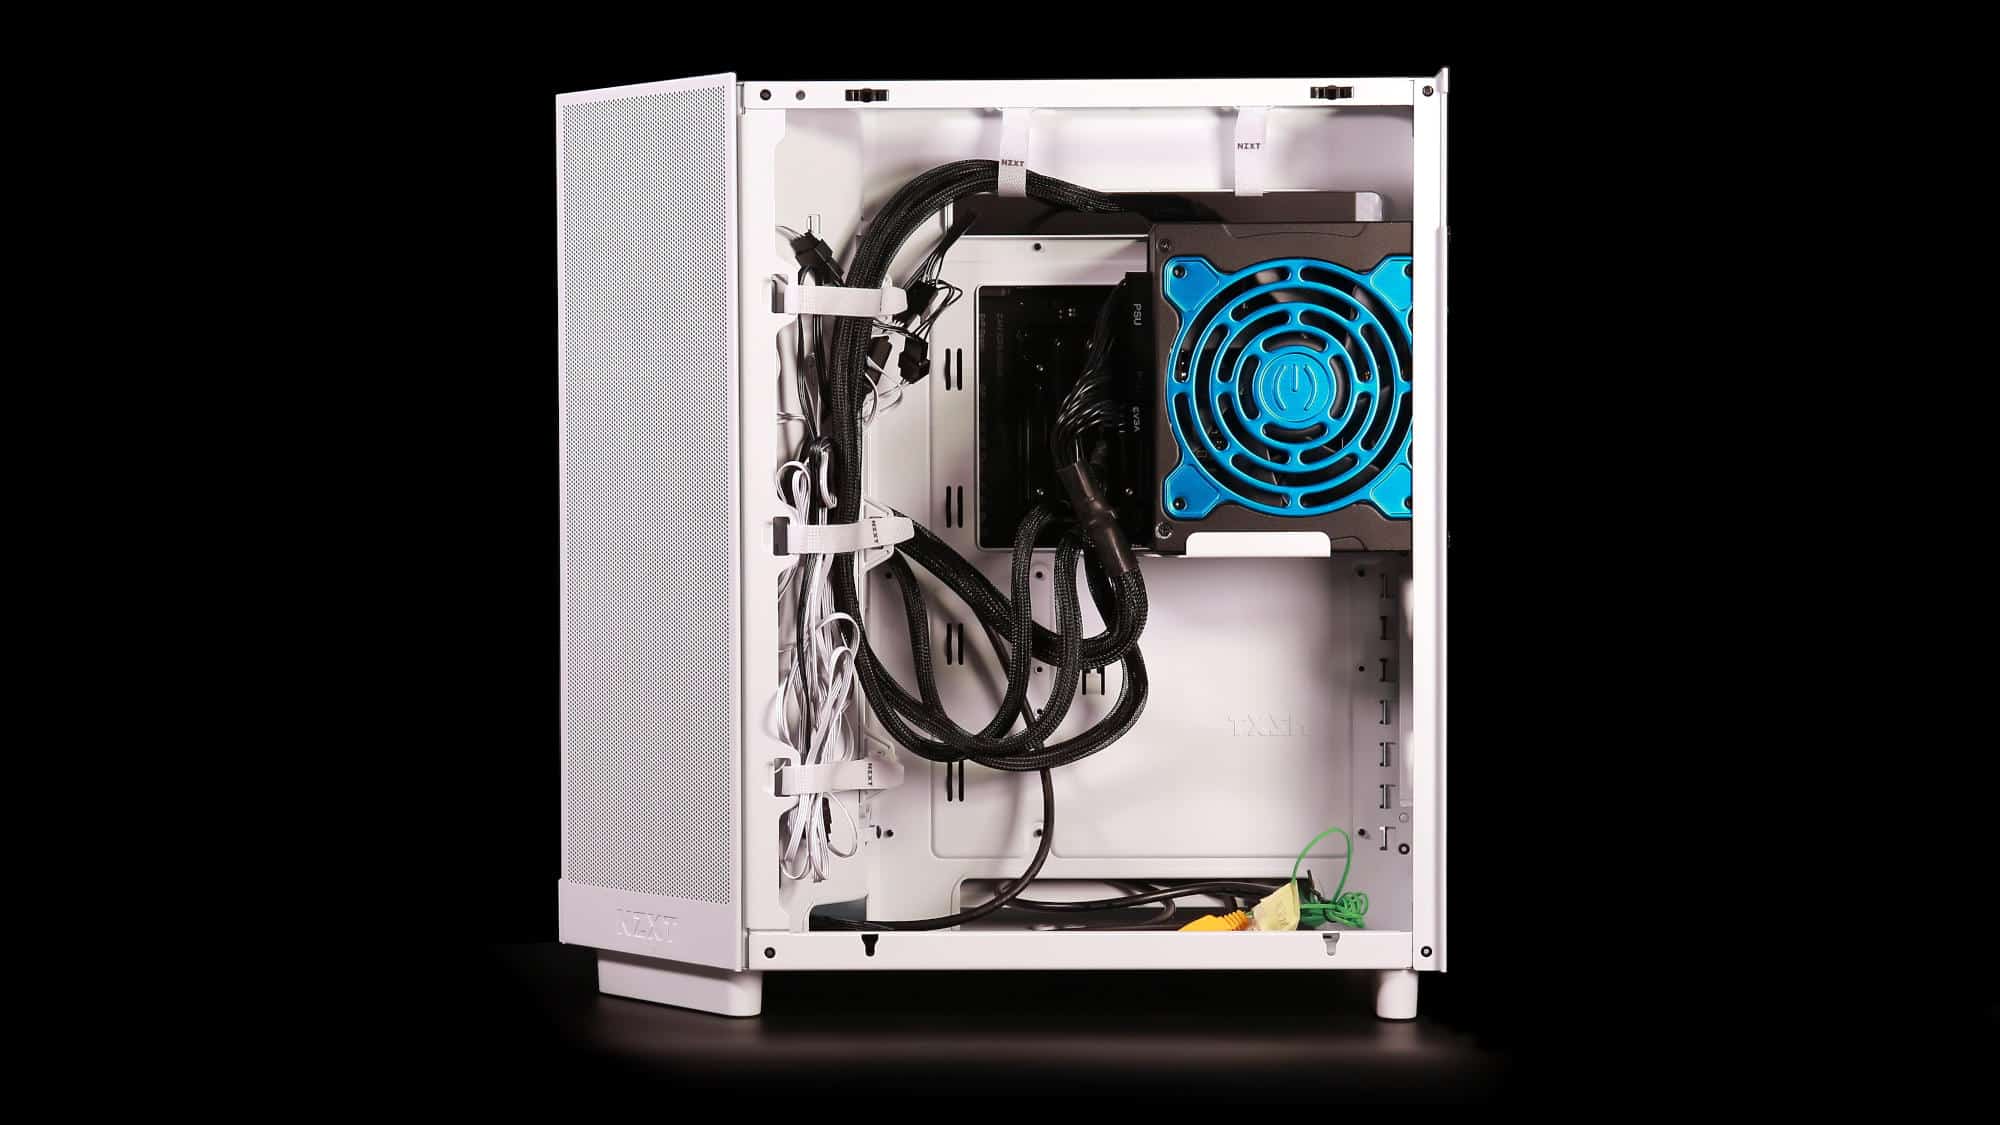
To finish the build, PSU cables are connected, and the PSU is screwed into place. With everything managed, the rear panel is closed. It’s looking pretty clean!
ARGB Lighting and Aesthetics
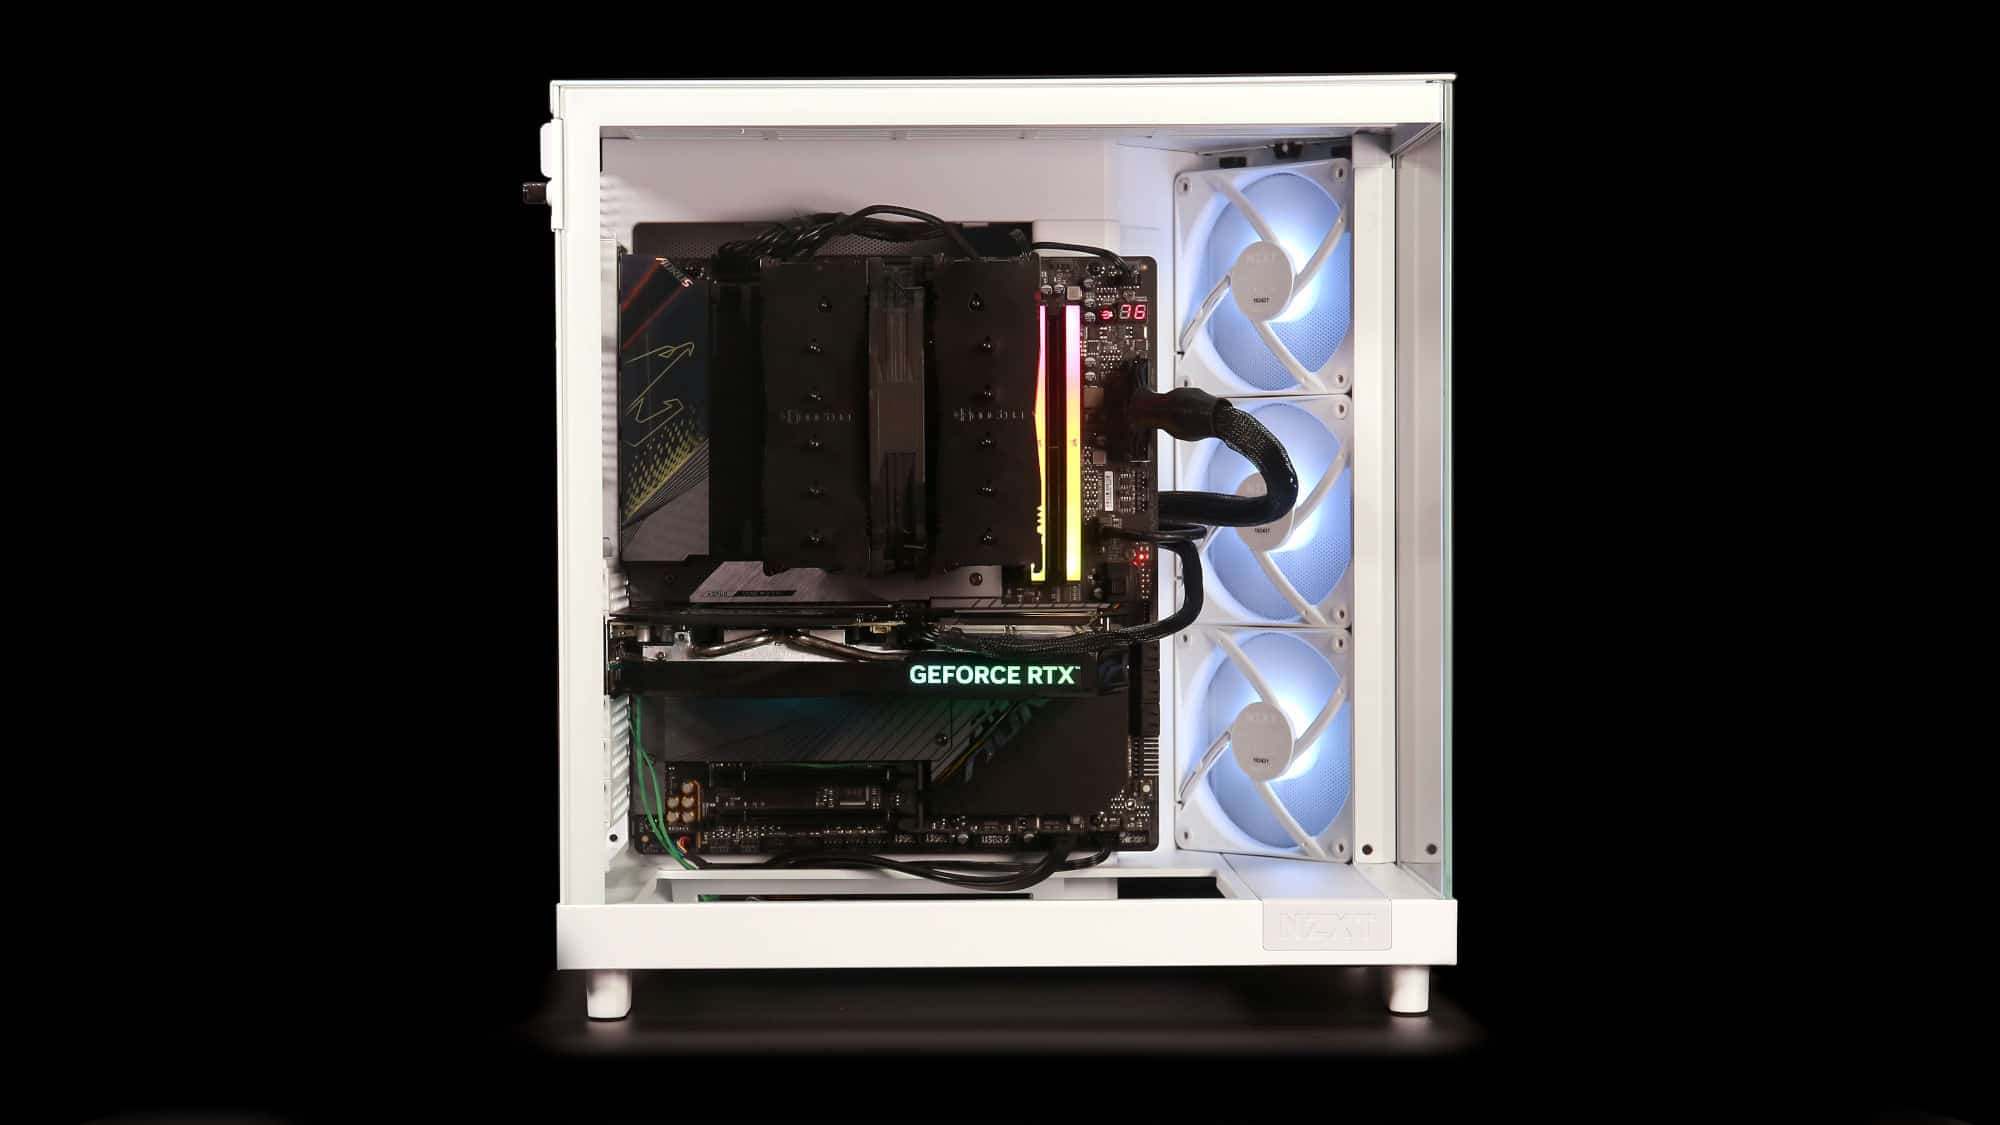
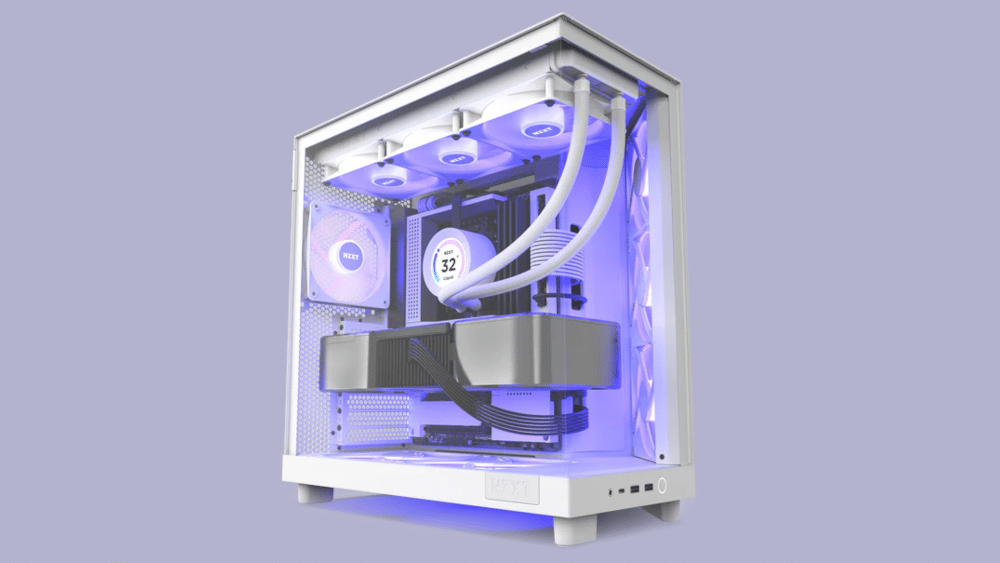
The included fans feature RGB lighting, hence the chassis name. They look pretty good and come with a three-to-one splitter, reducing the need for a dedicated RGB hub if you have other RGB-equipped components.
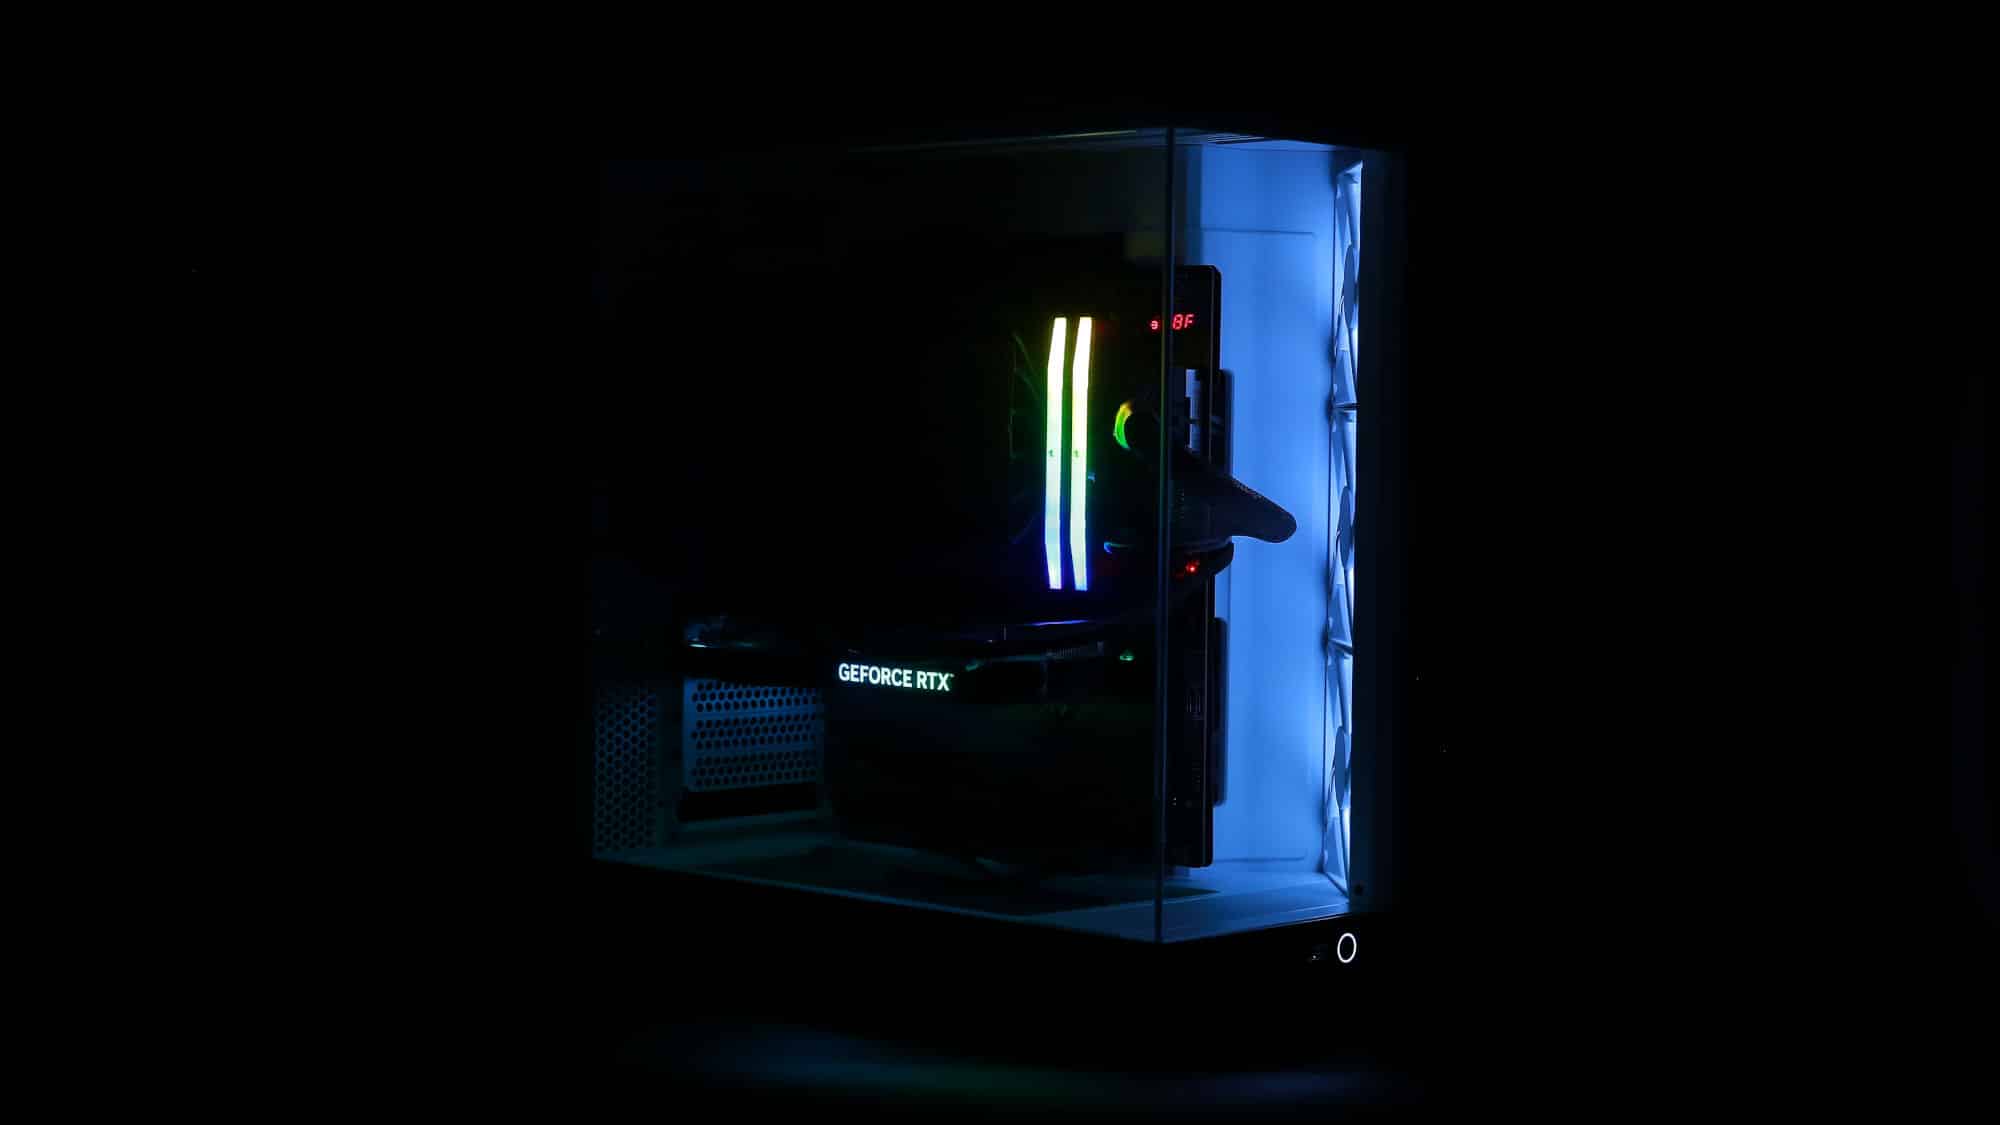

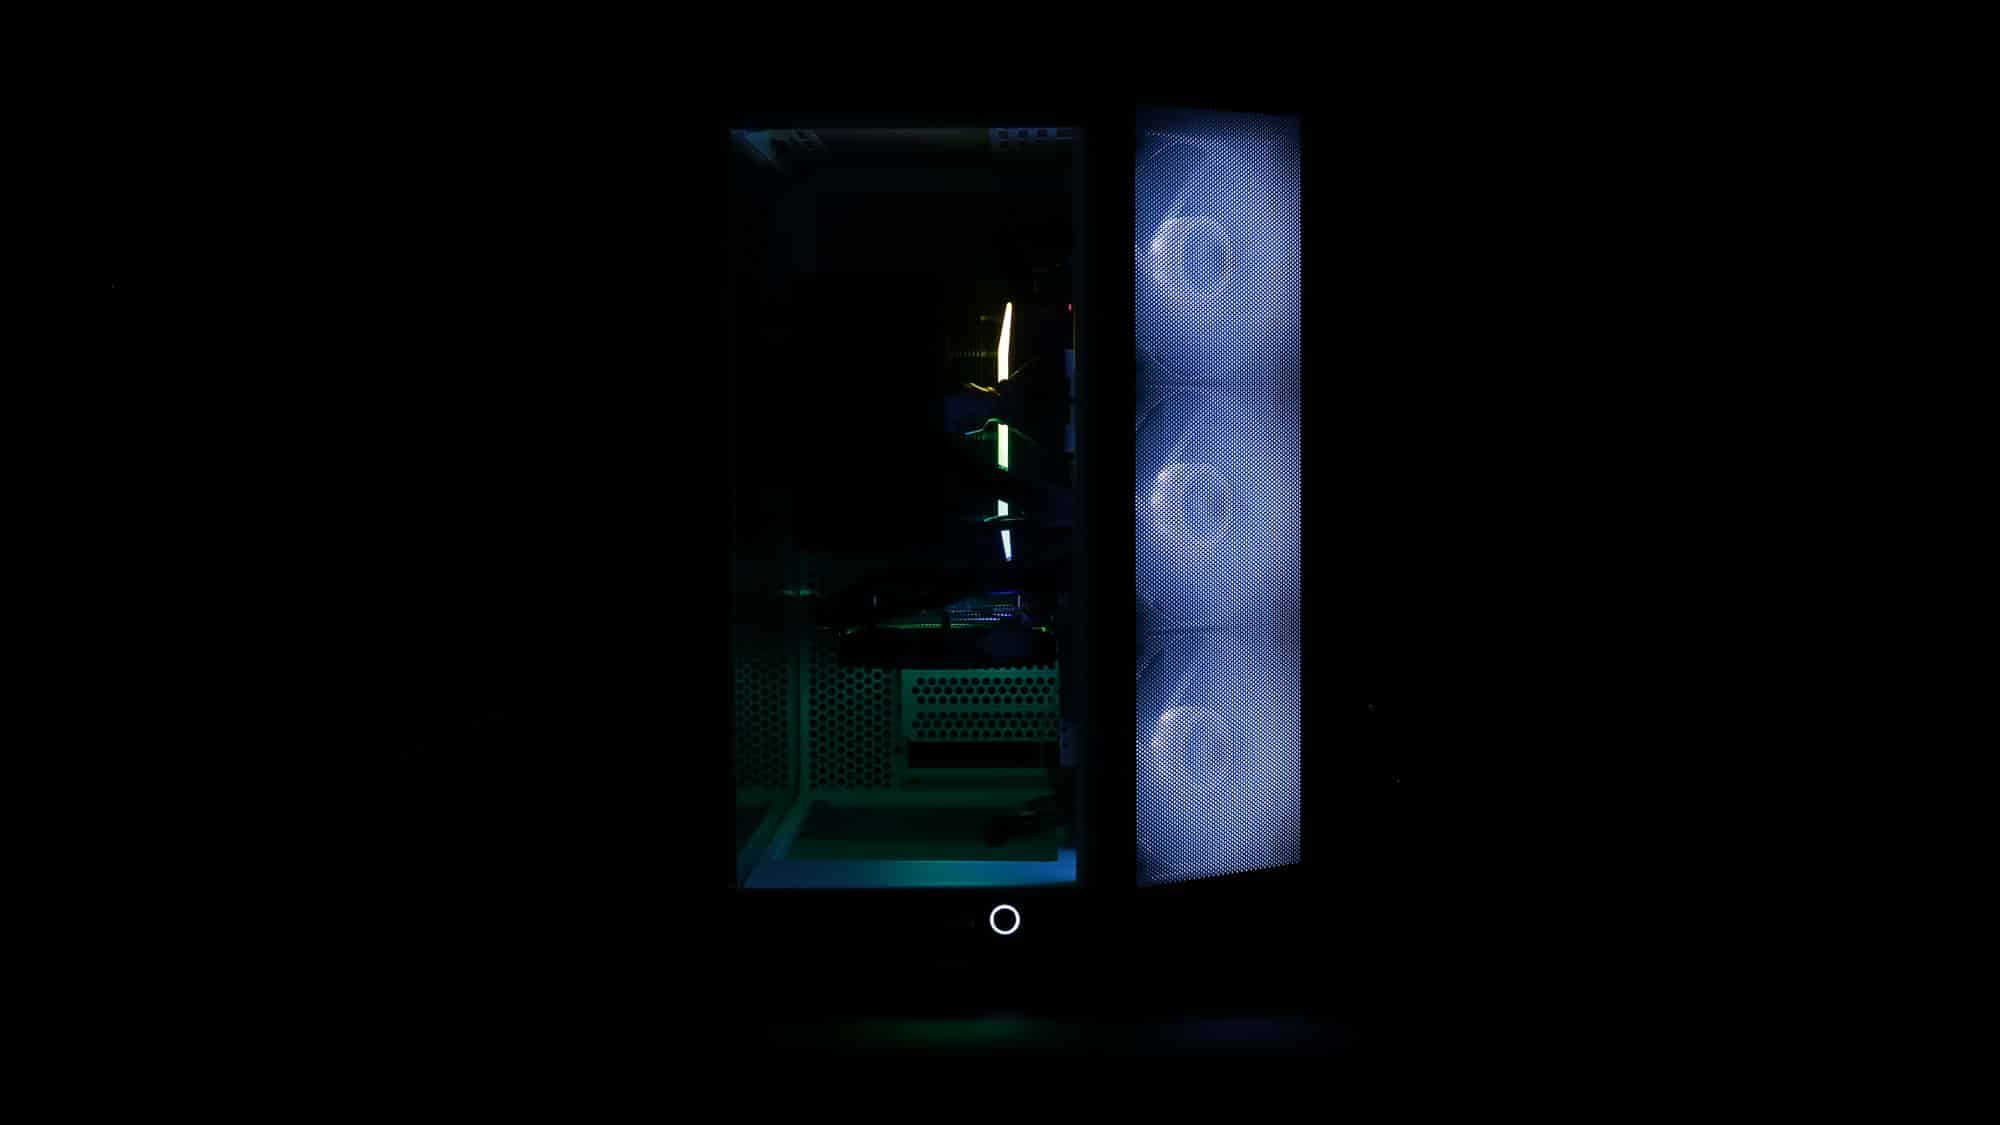
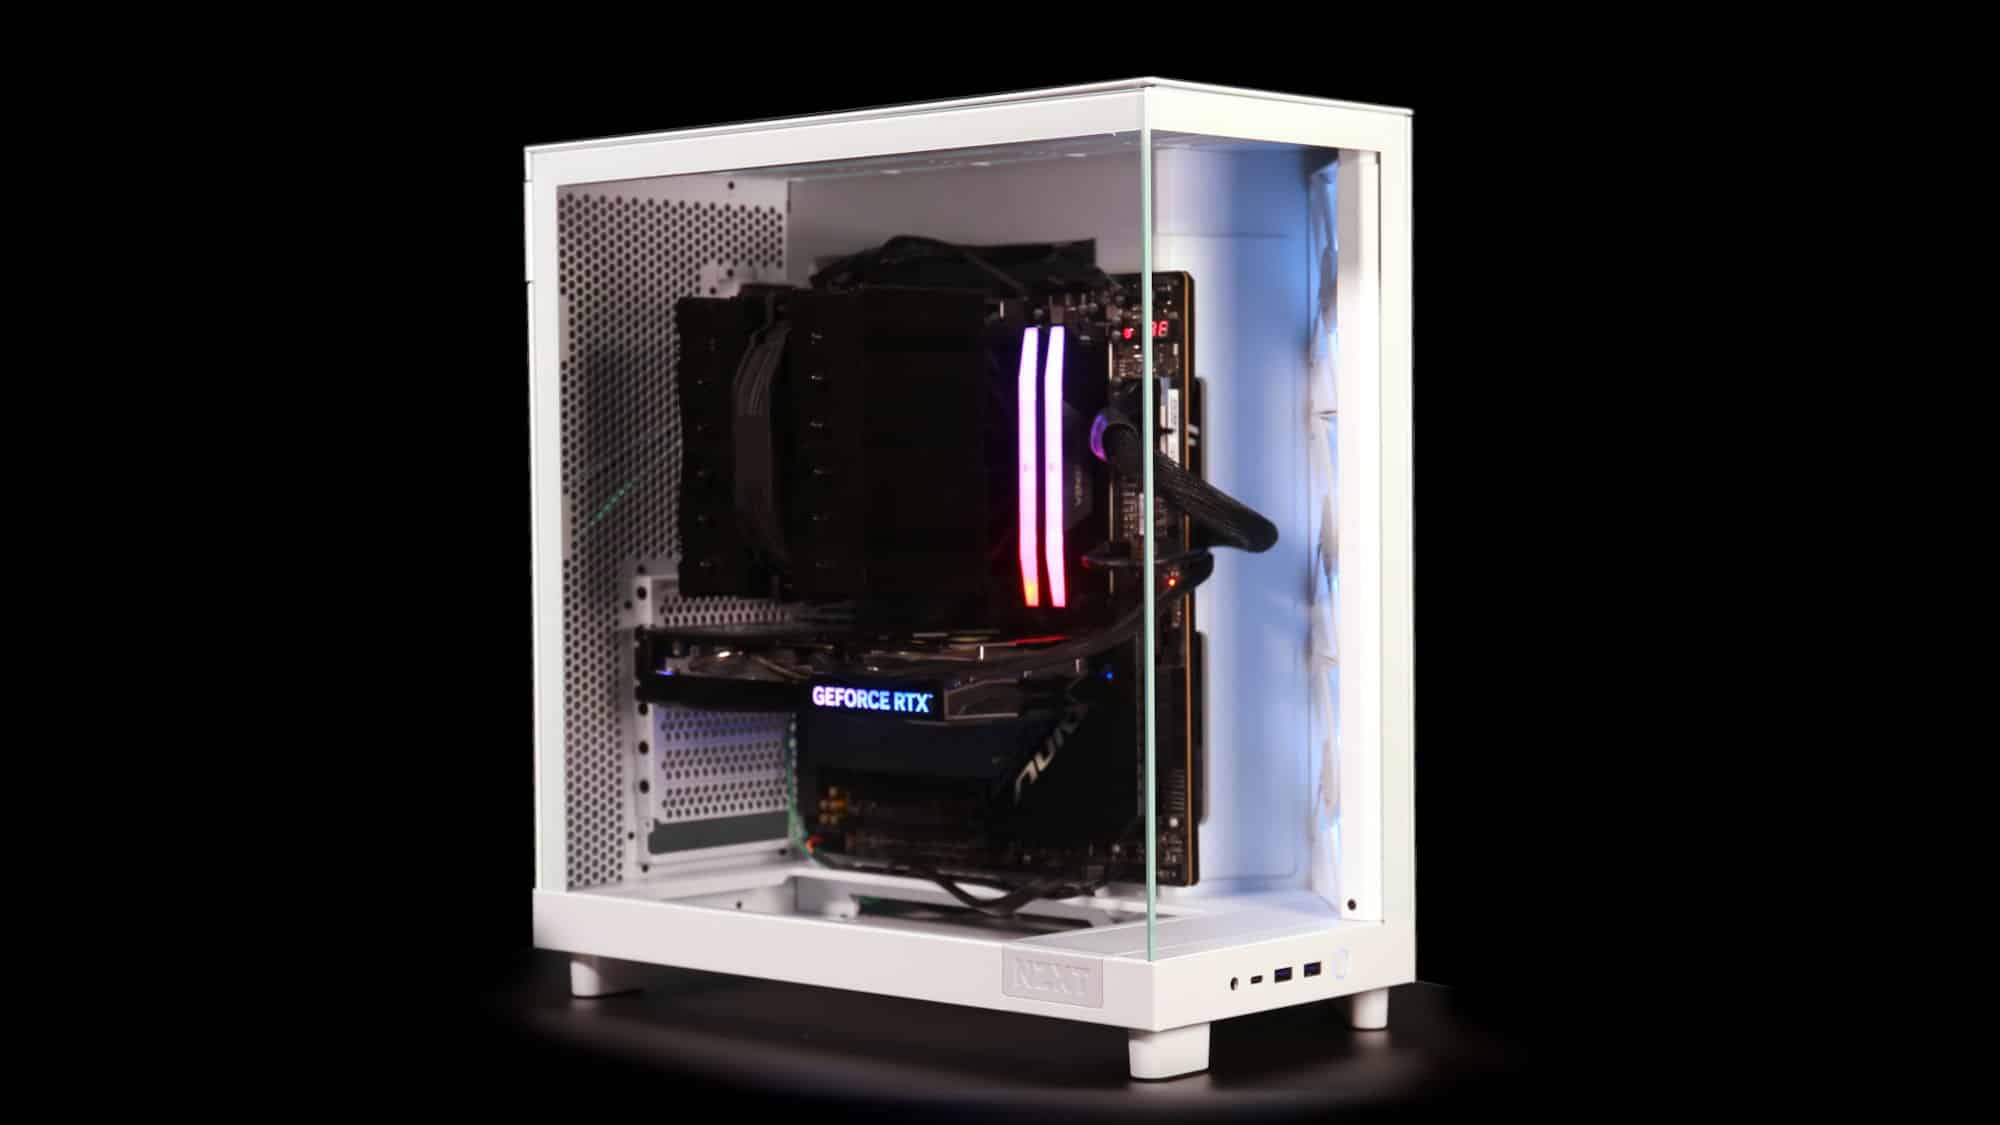
In the dark, the system looks even better. The cool blue hue pairs nicely with the white chassis.