Build Experience
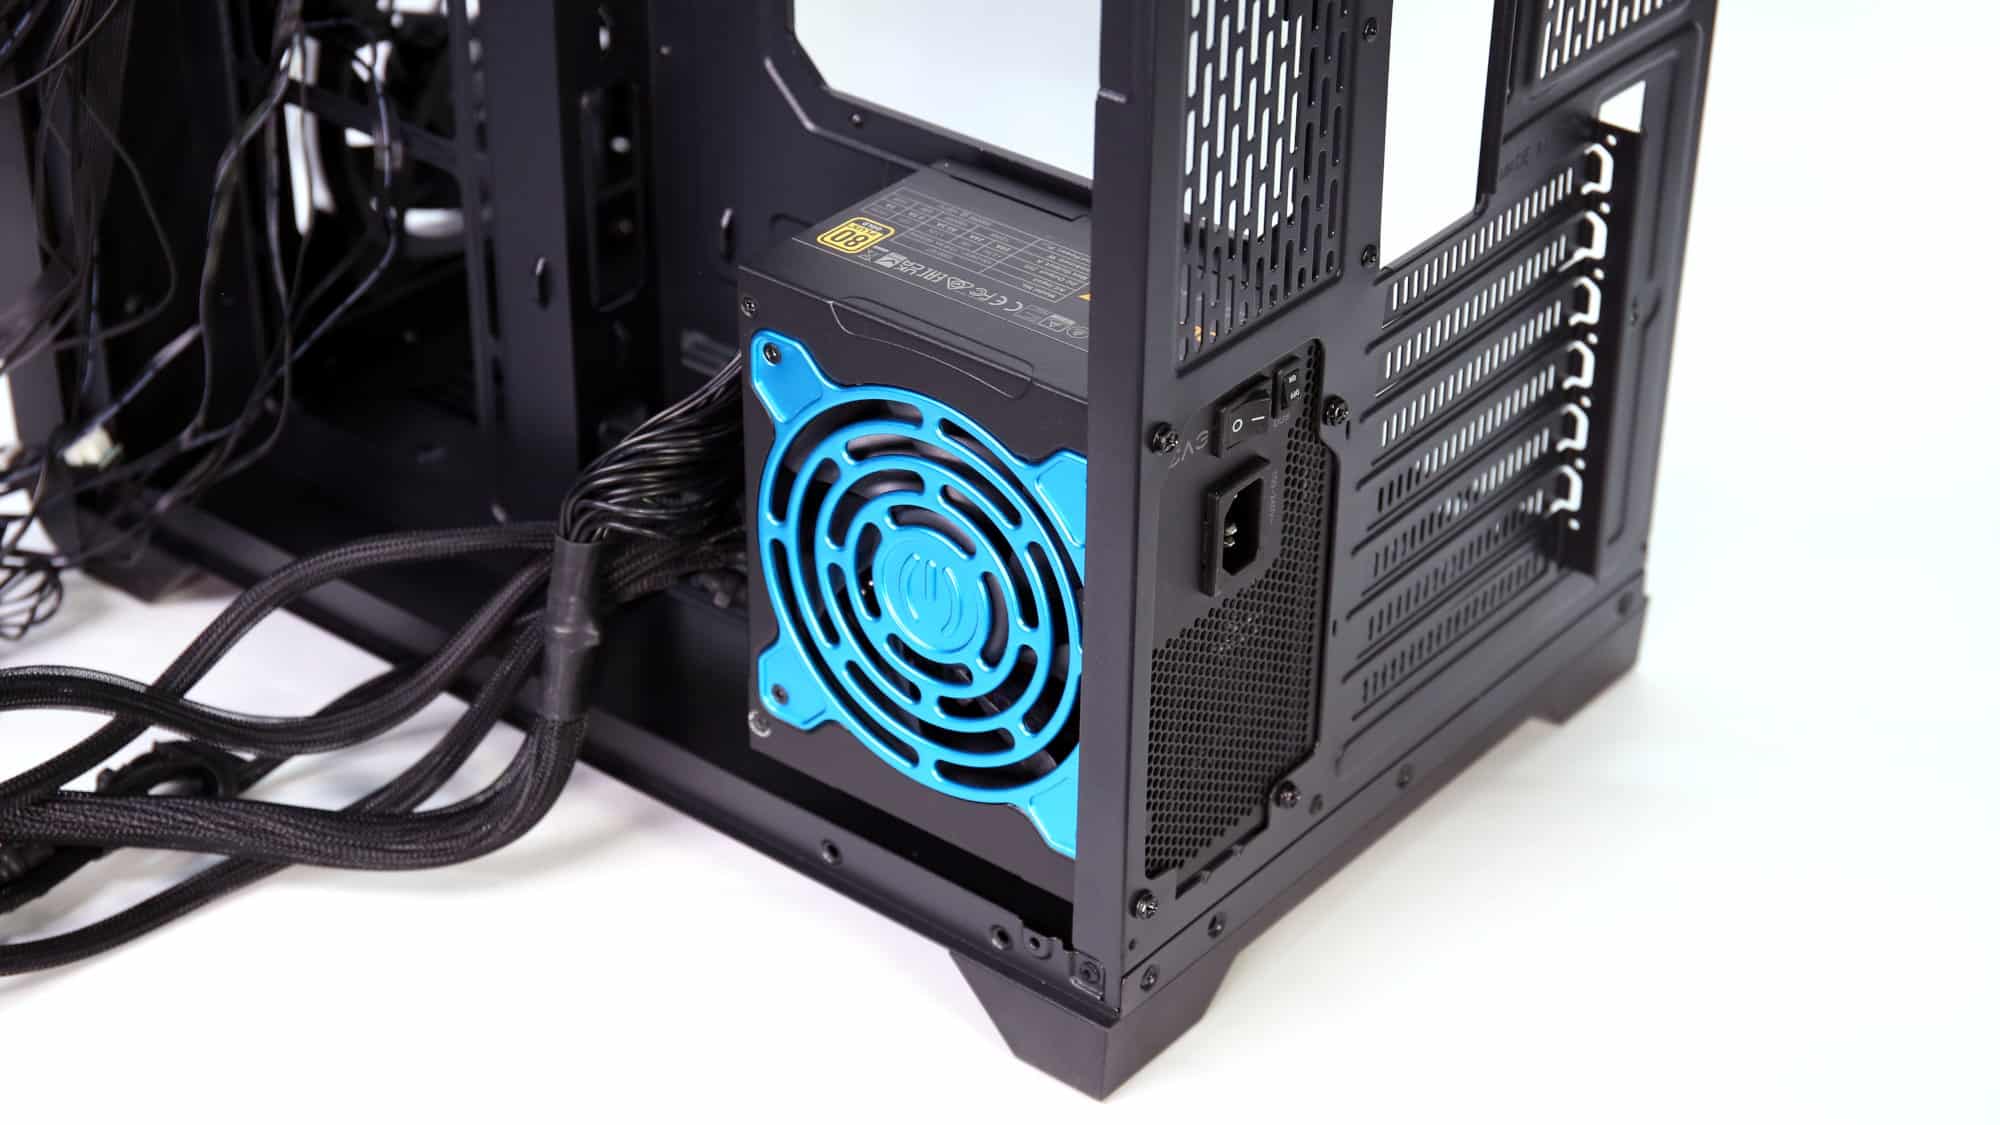
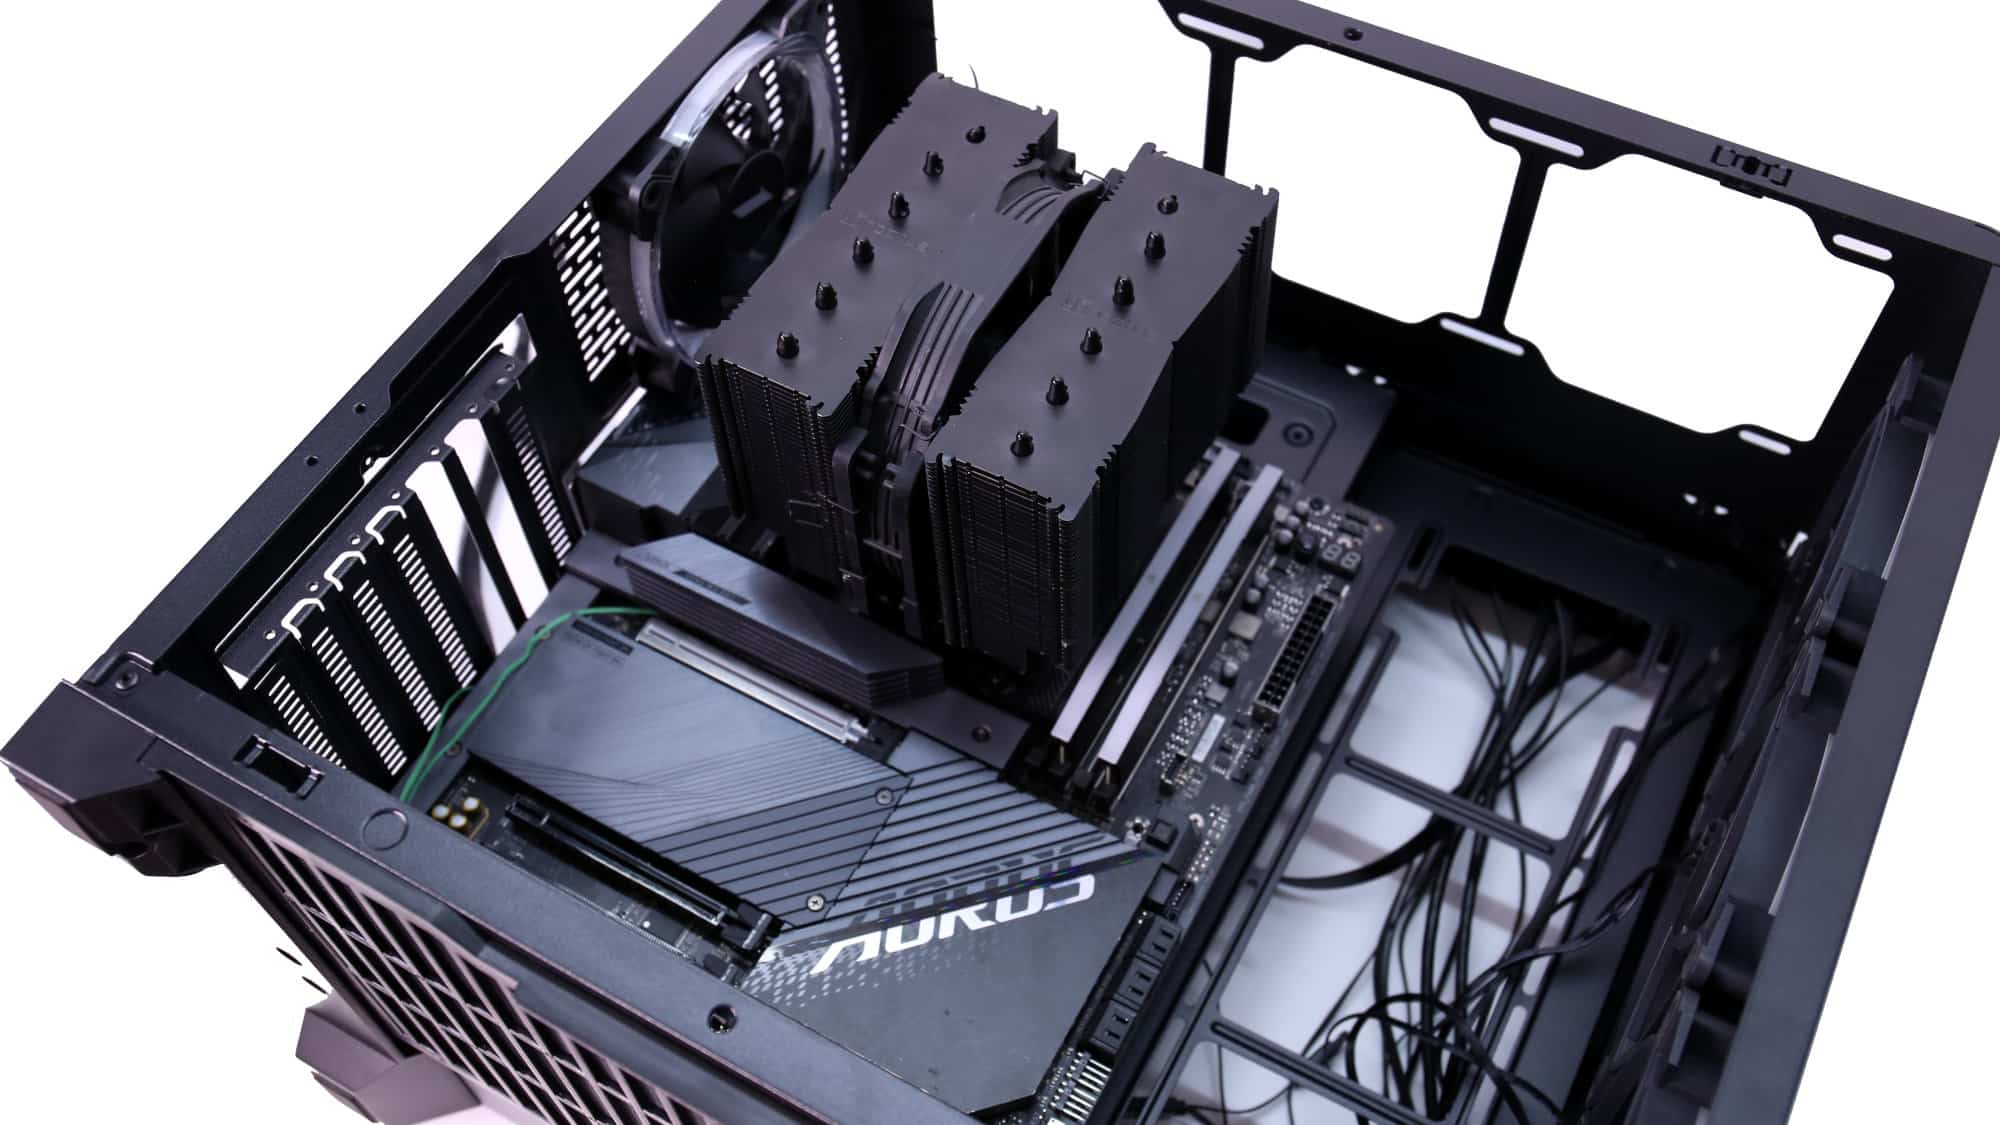
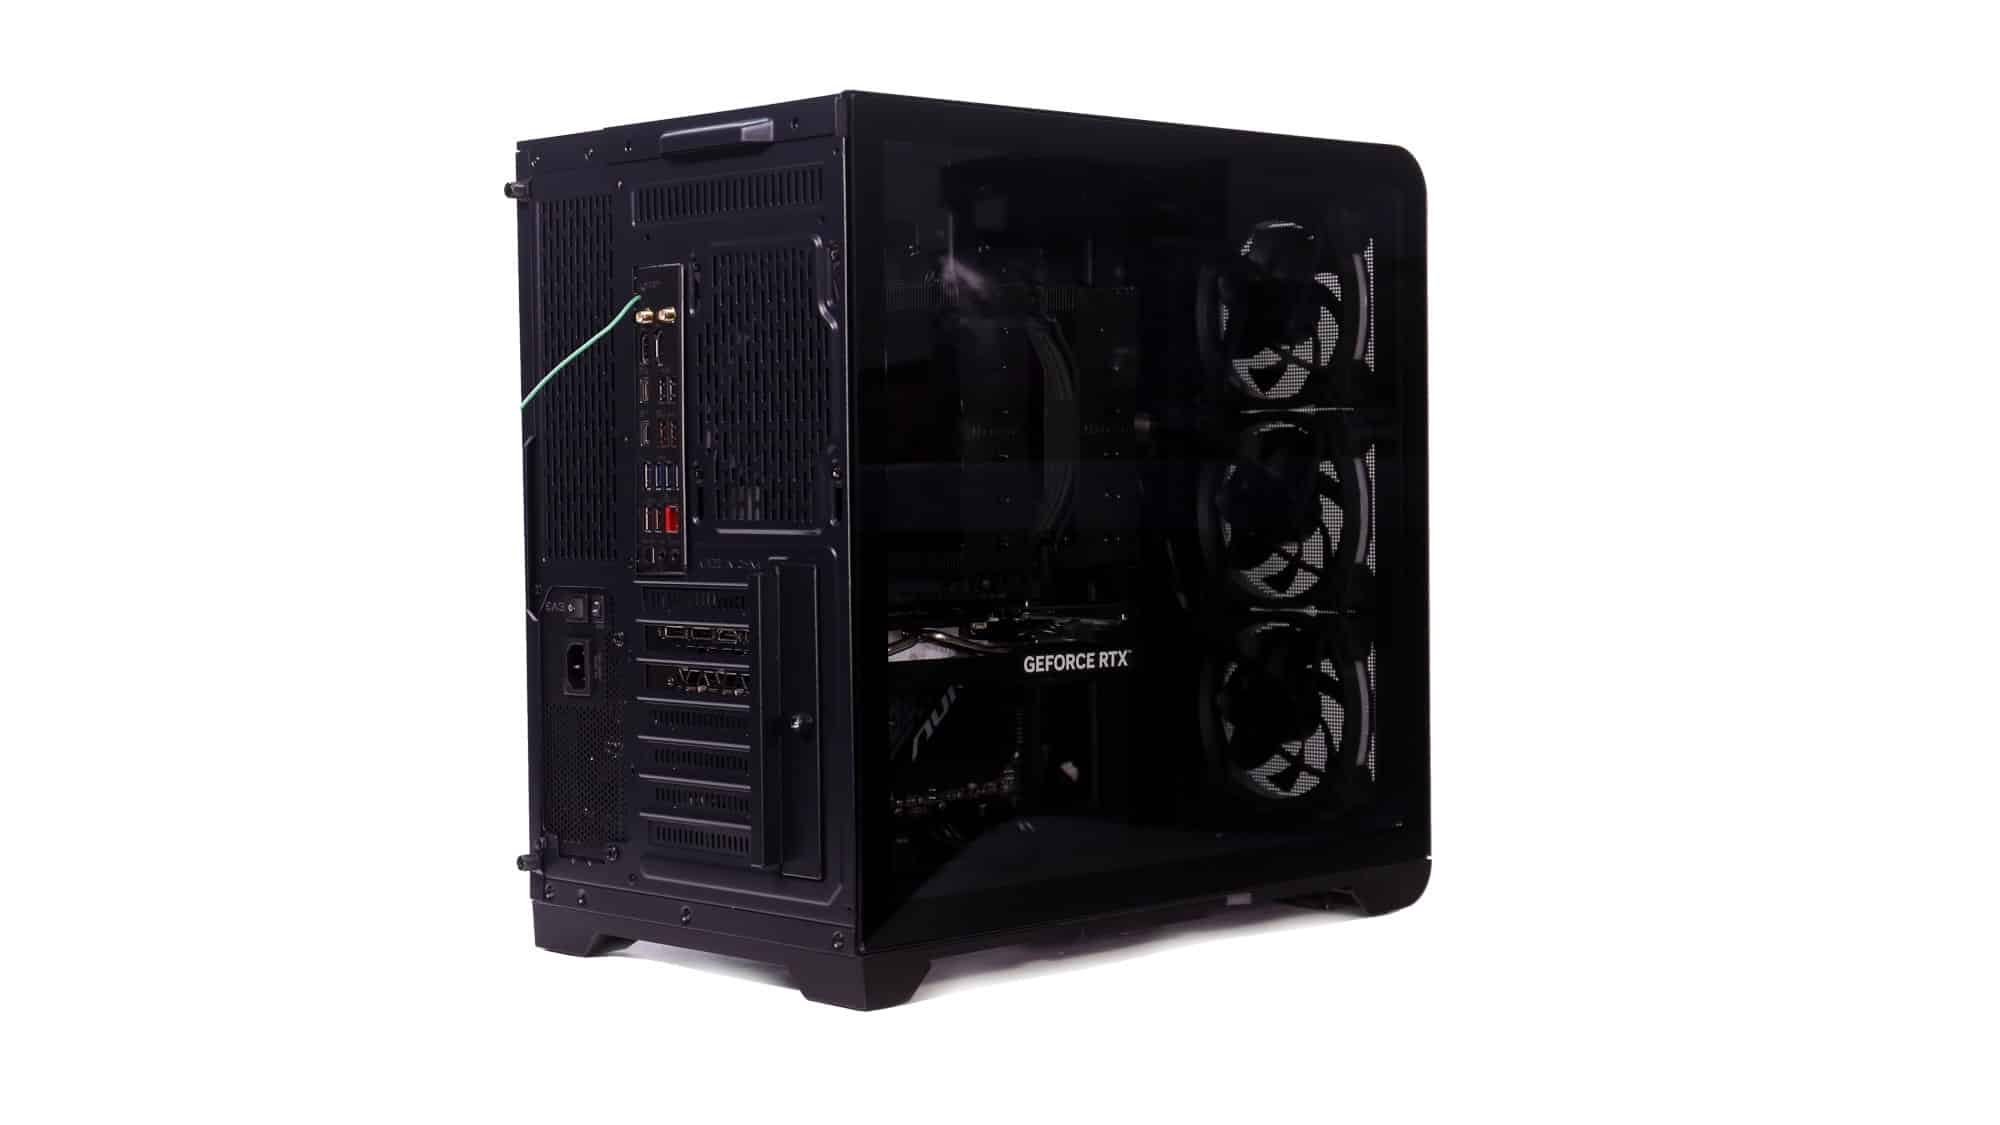
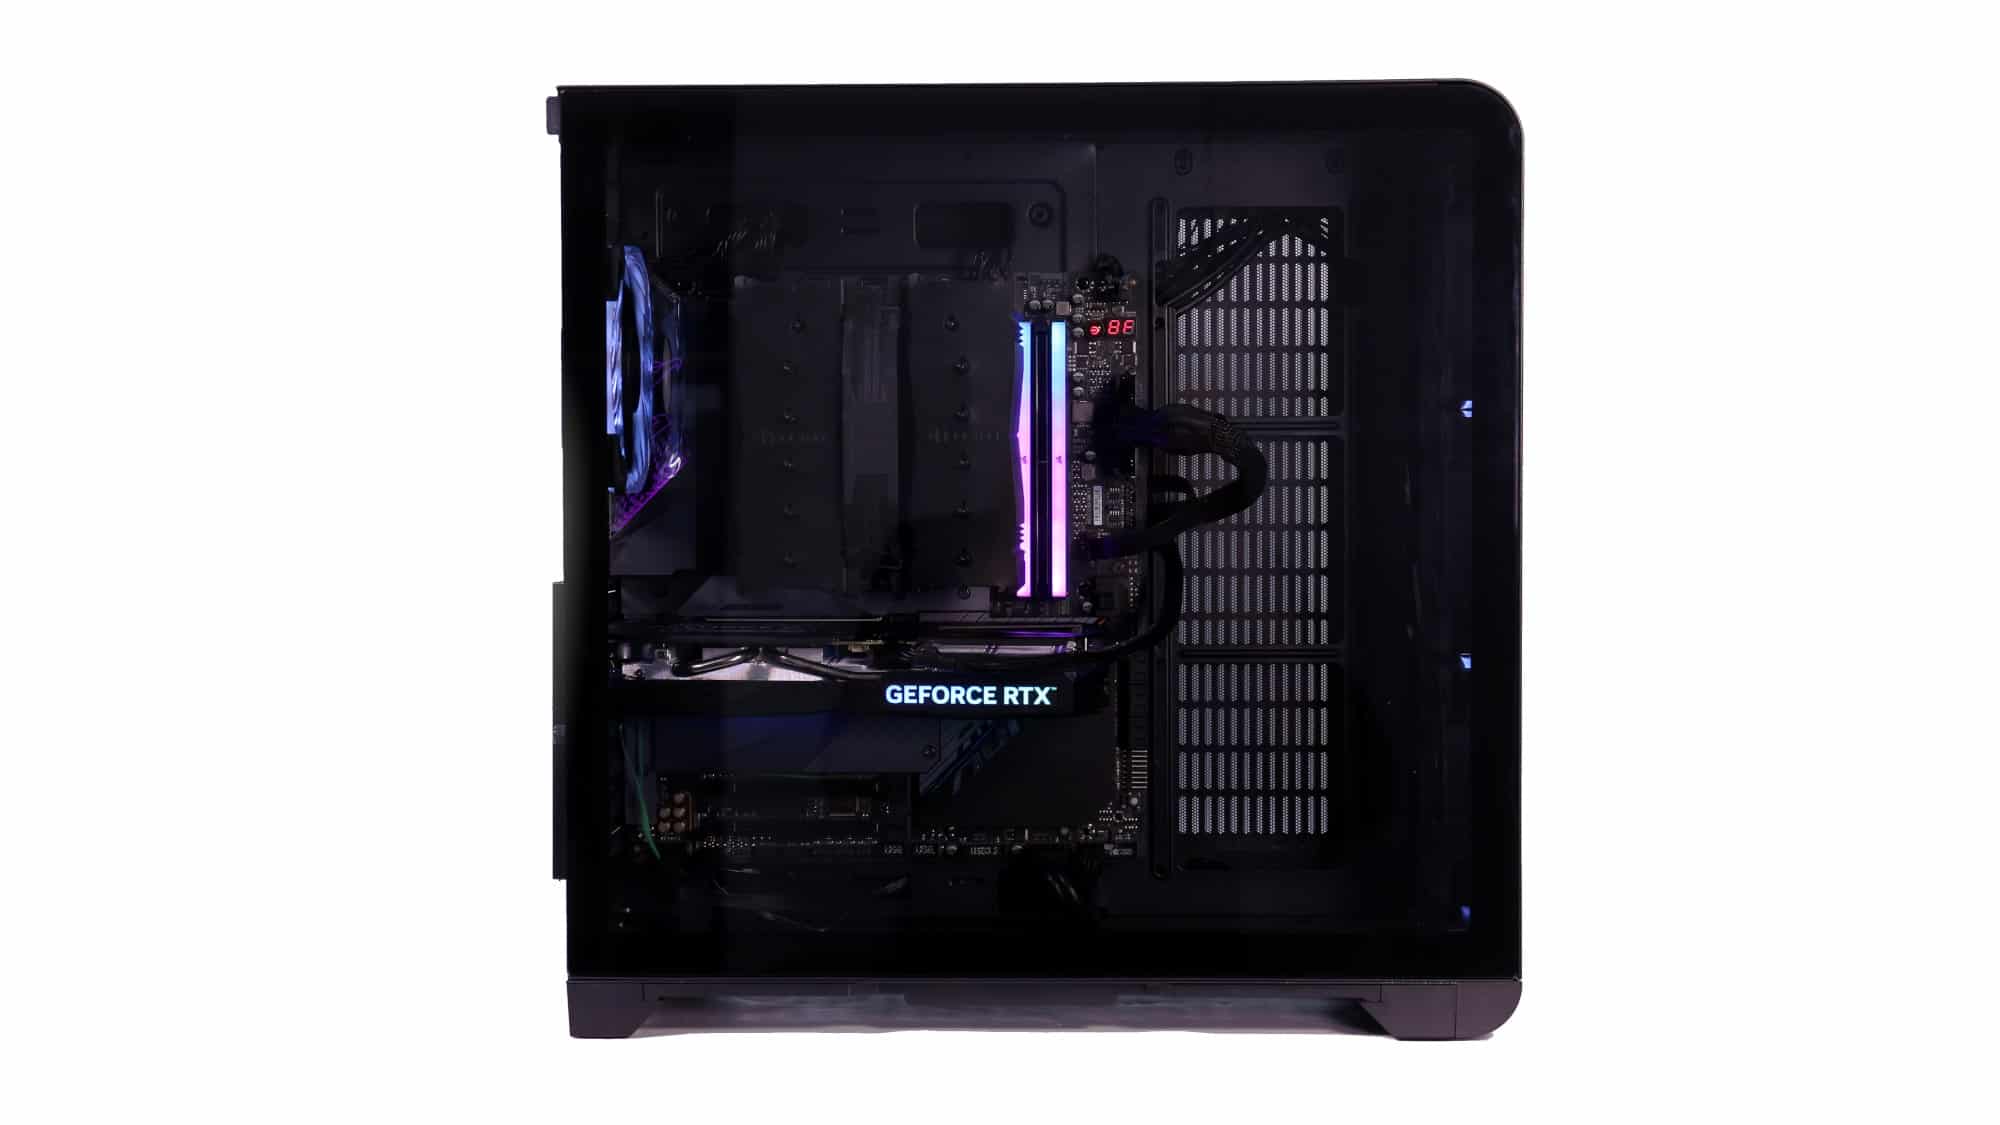
The build process started in the secondary chamber, with the PSU installed first and its cables routed forward. The motherboard came next. Then came the dreaded task of cable management.
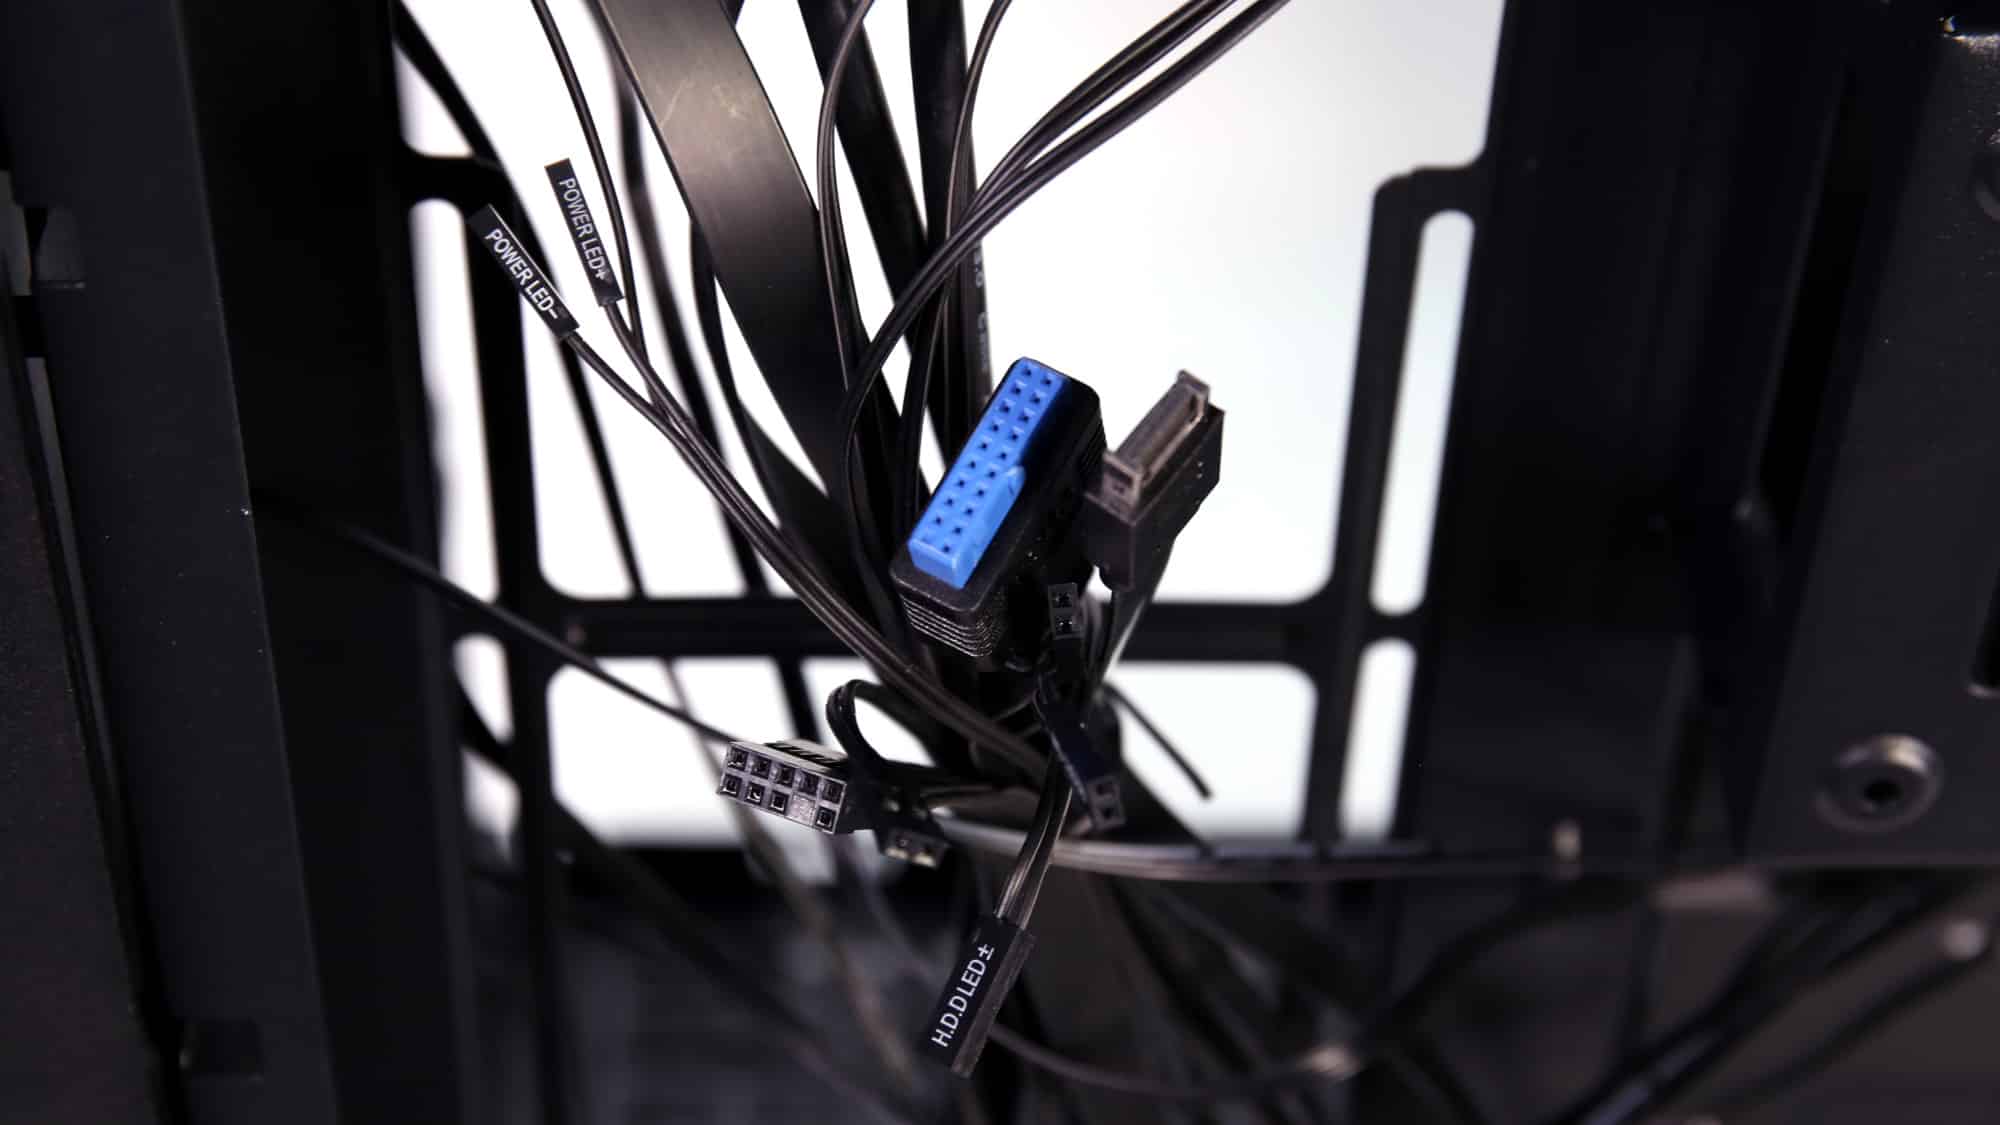
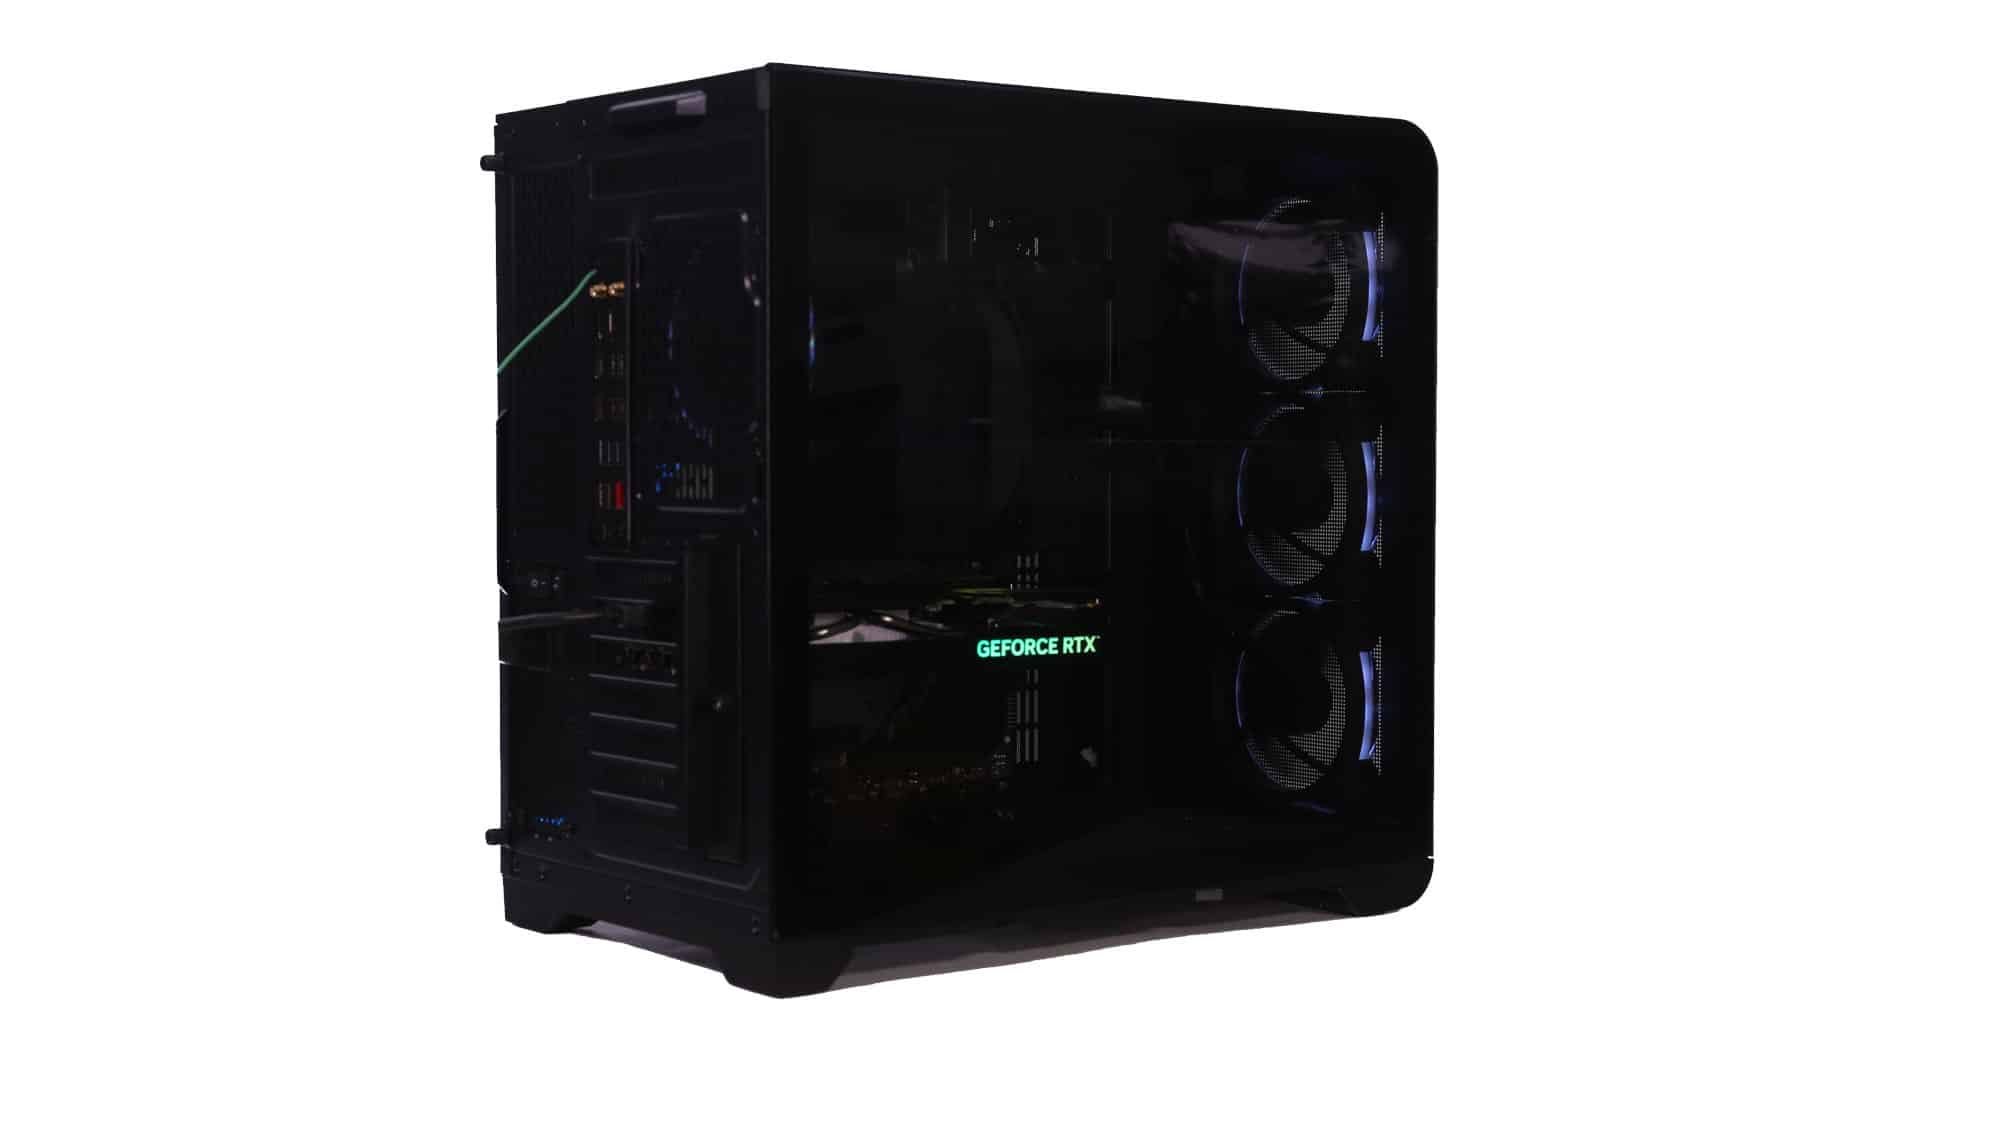
The 24-pin ATX cable was connected first, followed by the 8-pin CPU ATX12V. Then the I/O cables were routed. The USB Type-C cable followed the 24-pin line and was plugged in. Next came the lower motherboard cables. Unfortunately, the front panel I/O connectors aren’t grouped.
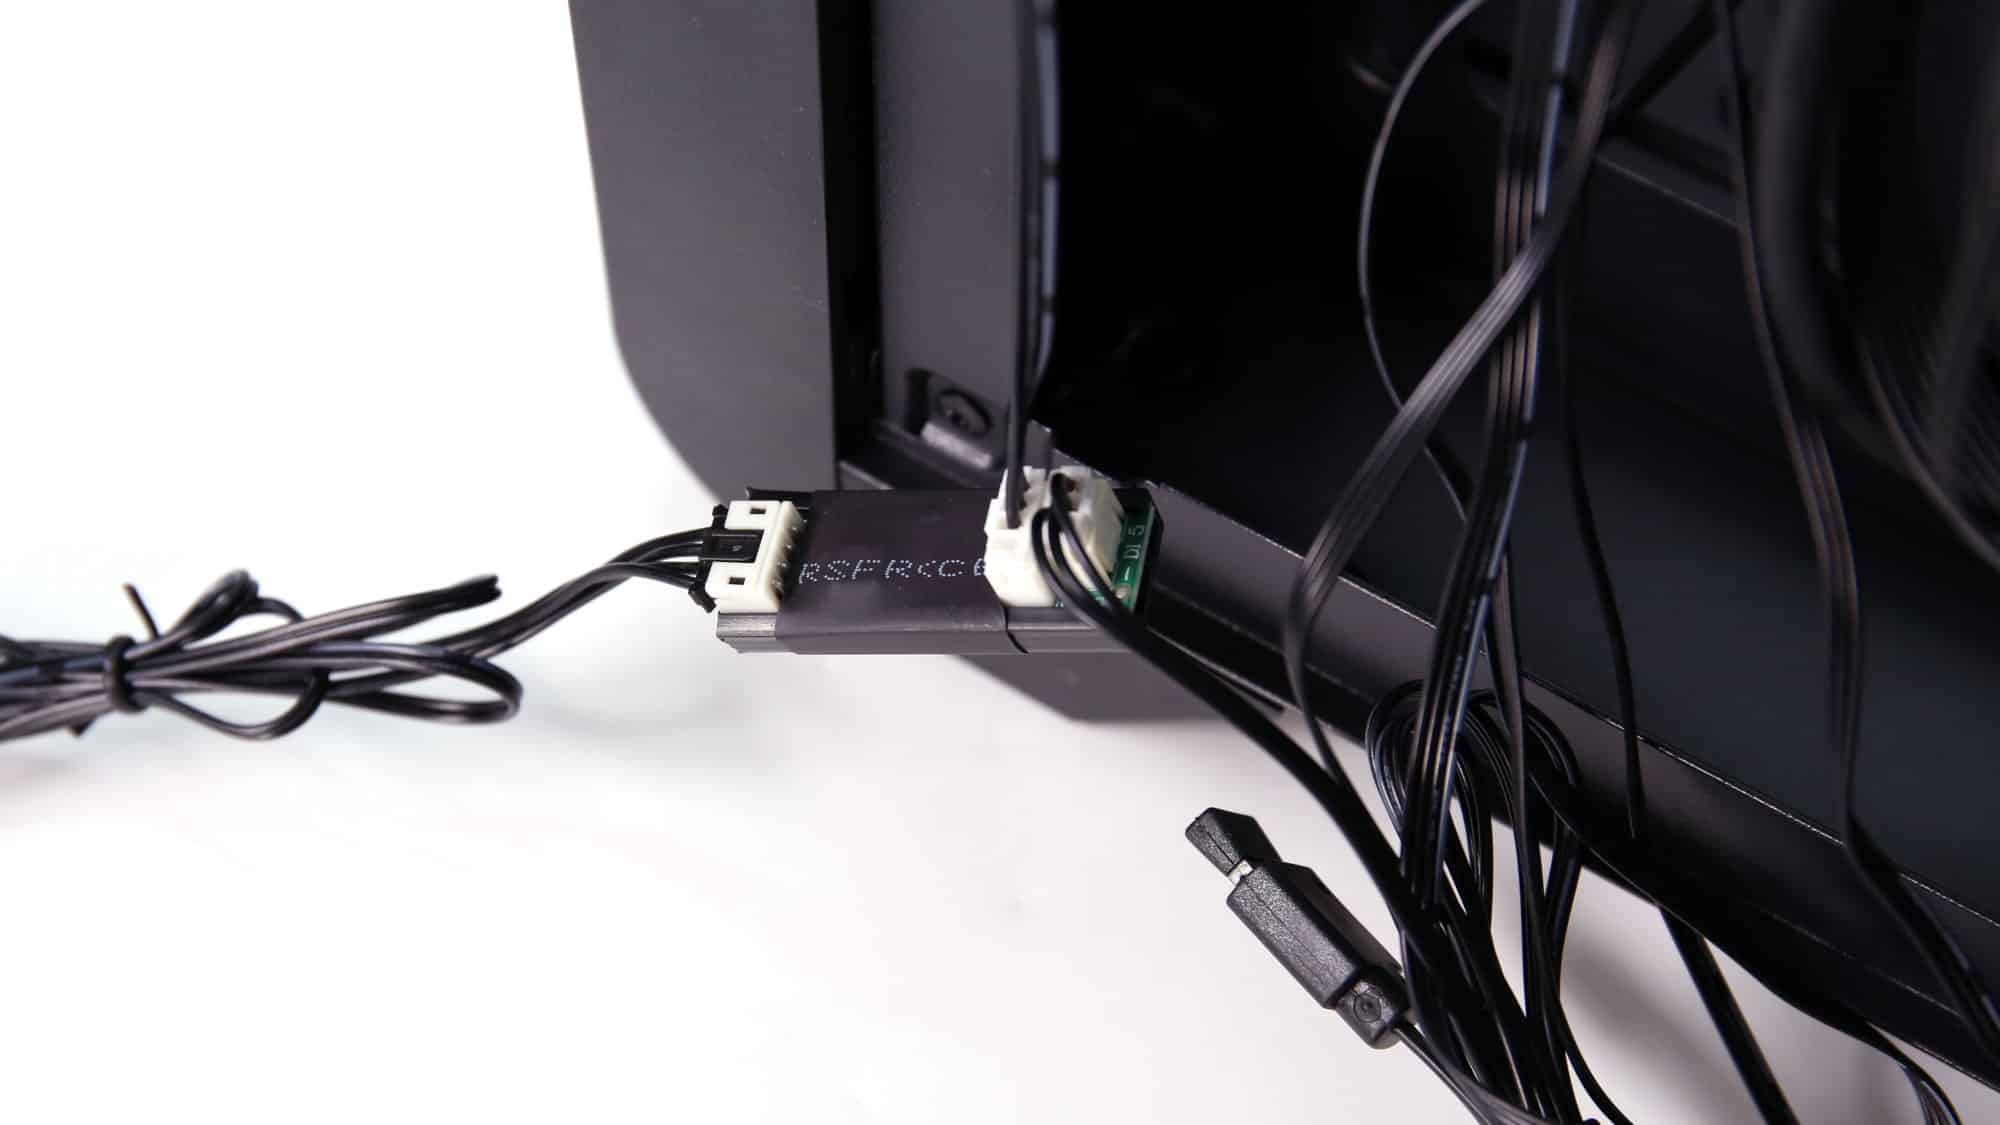
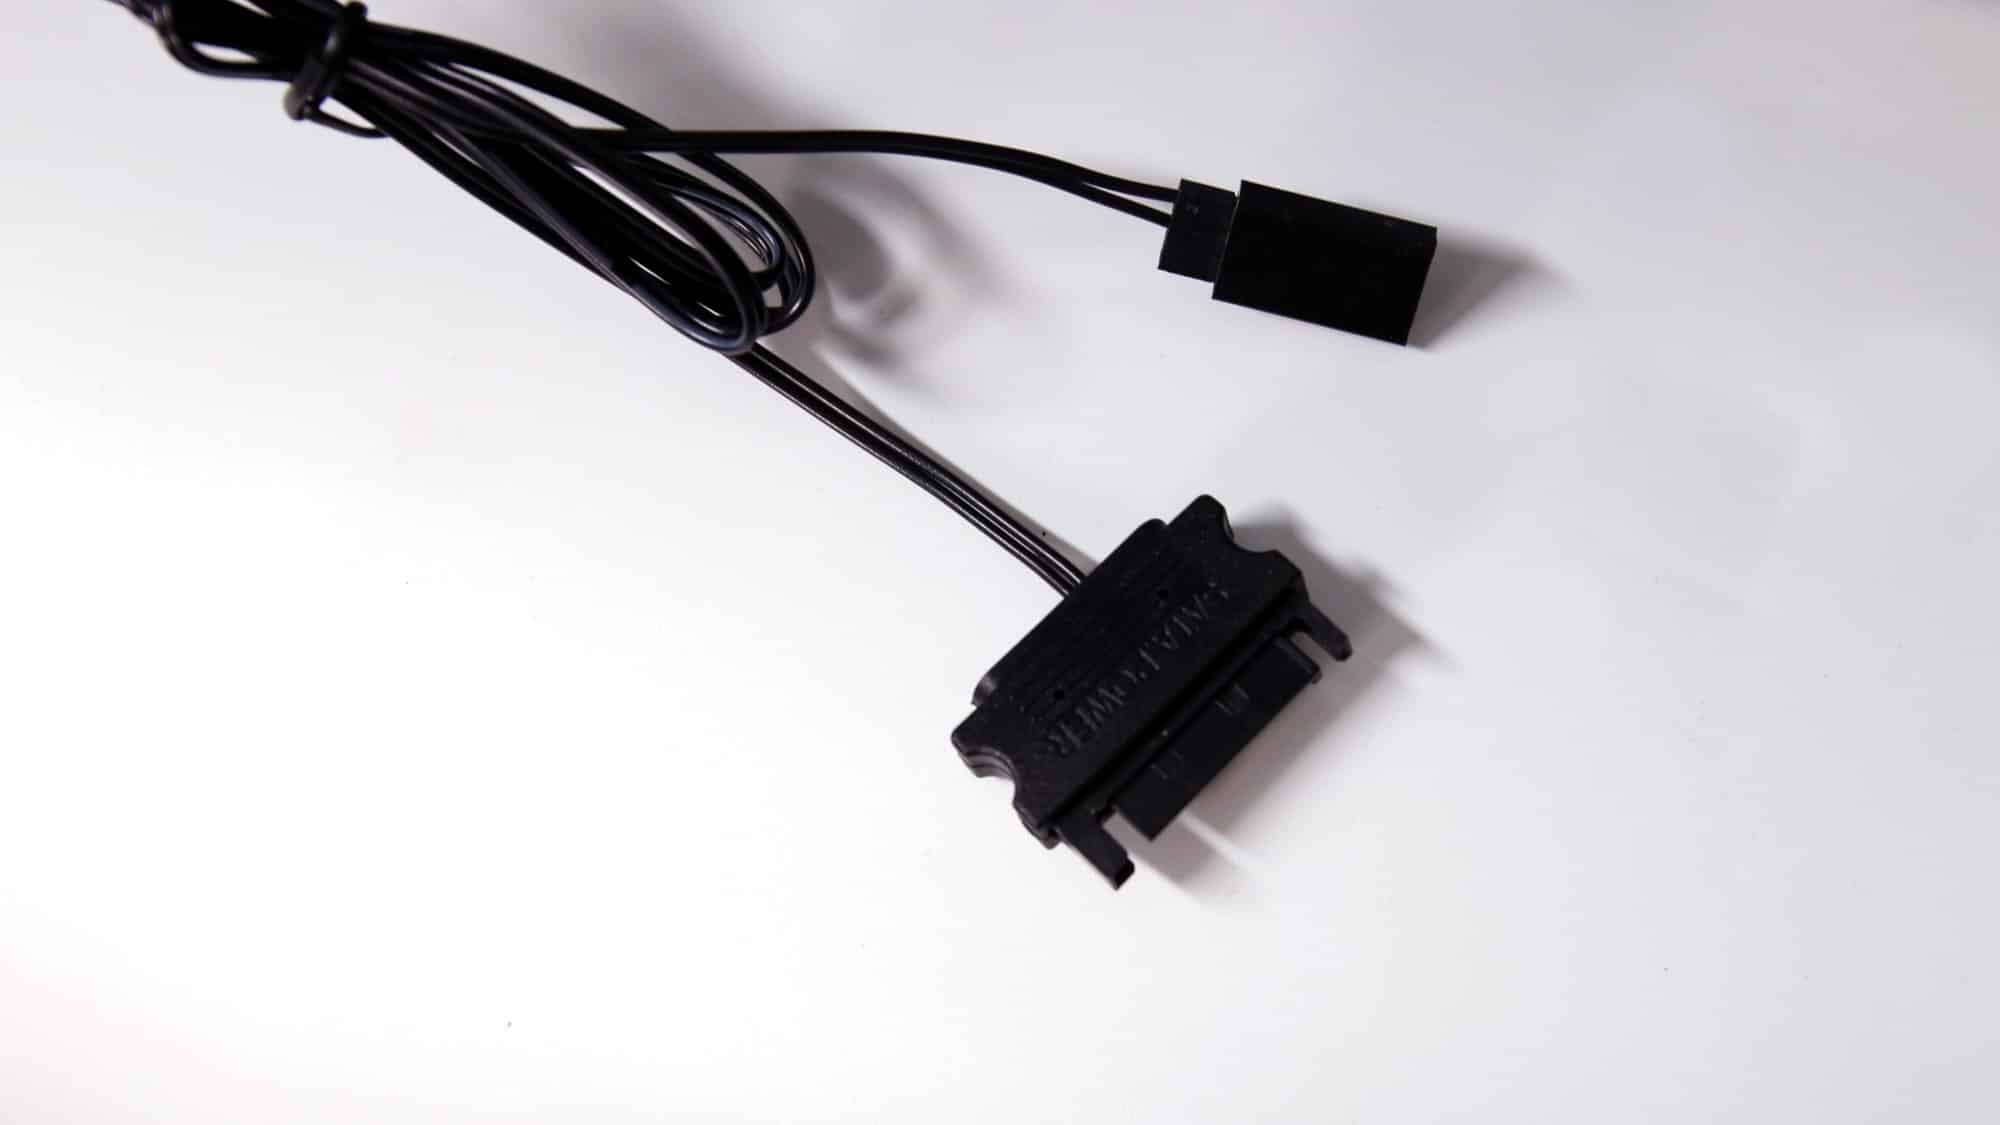
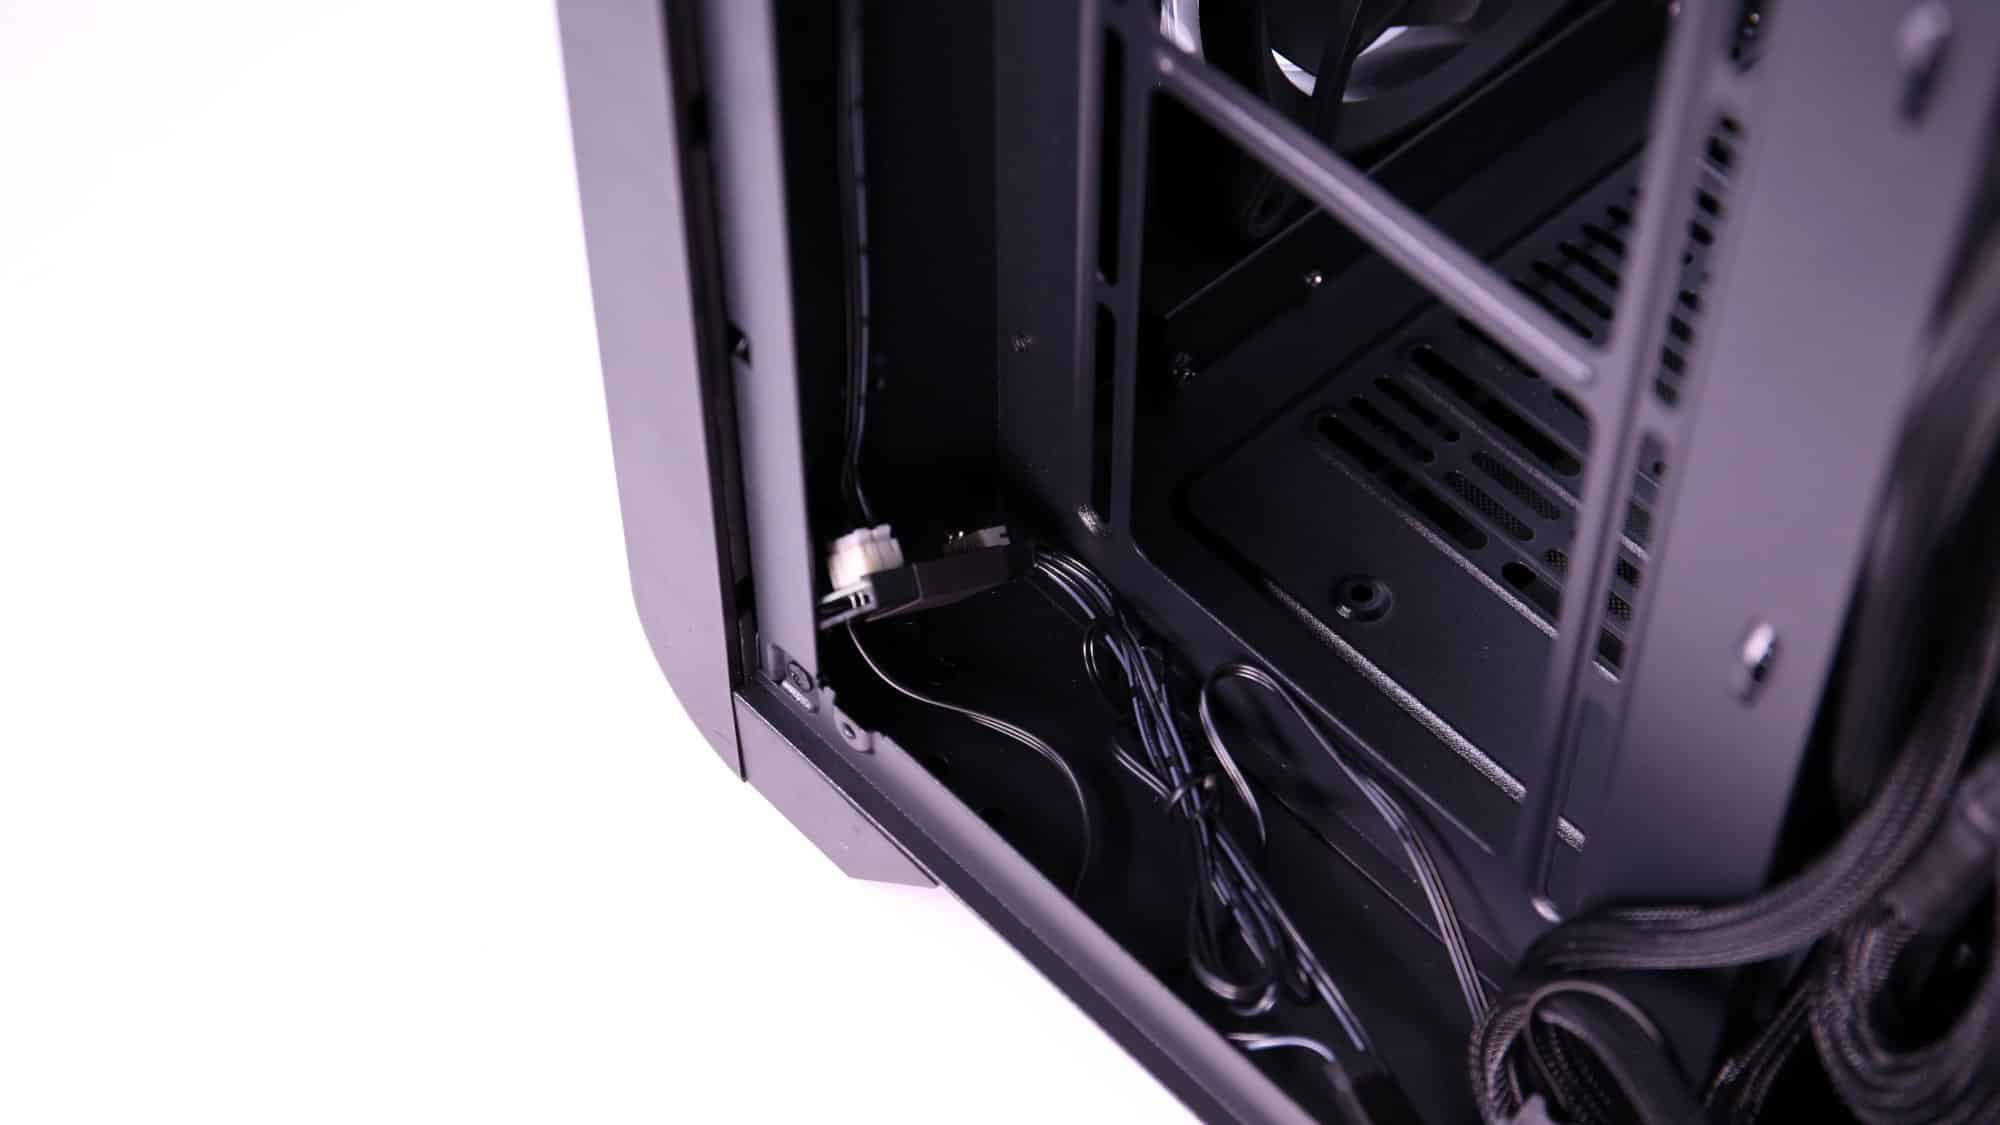
The top ARGB button connects to a small controller board mounted near the front ARGB lighting. While functional, the hanging design is not particularly elegant. The board is powered via SATA and connects to the motherboard’s ARGB Gen 2 header, which also includes a pigtail to connect the front fans. The rear fan’s PWM and ARGB headers connect to the top of the motherboard.
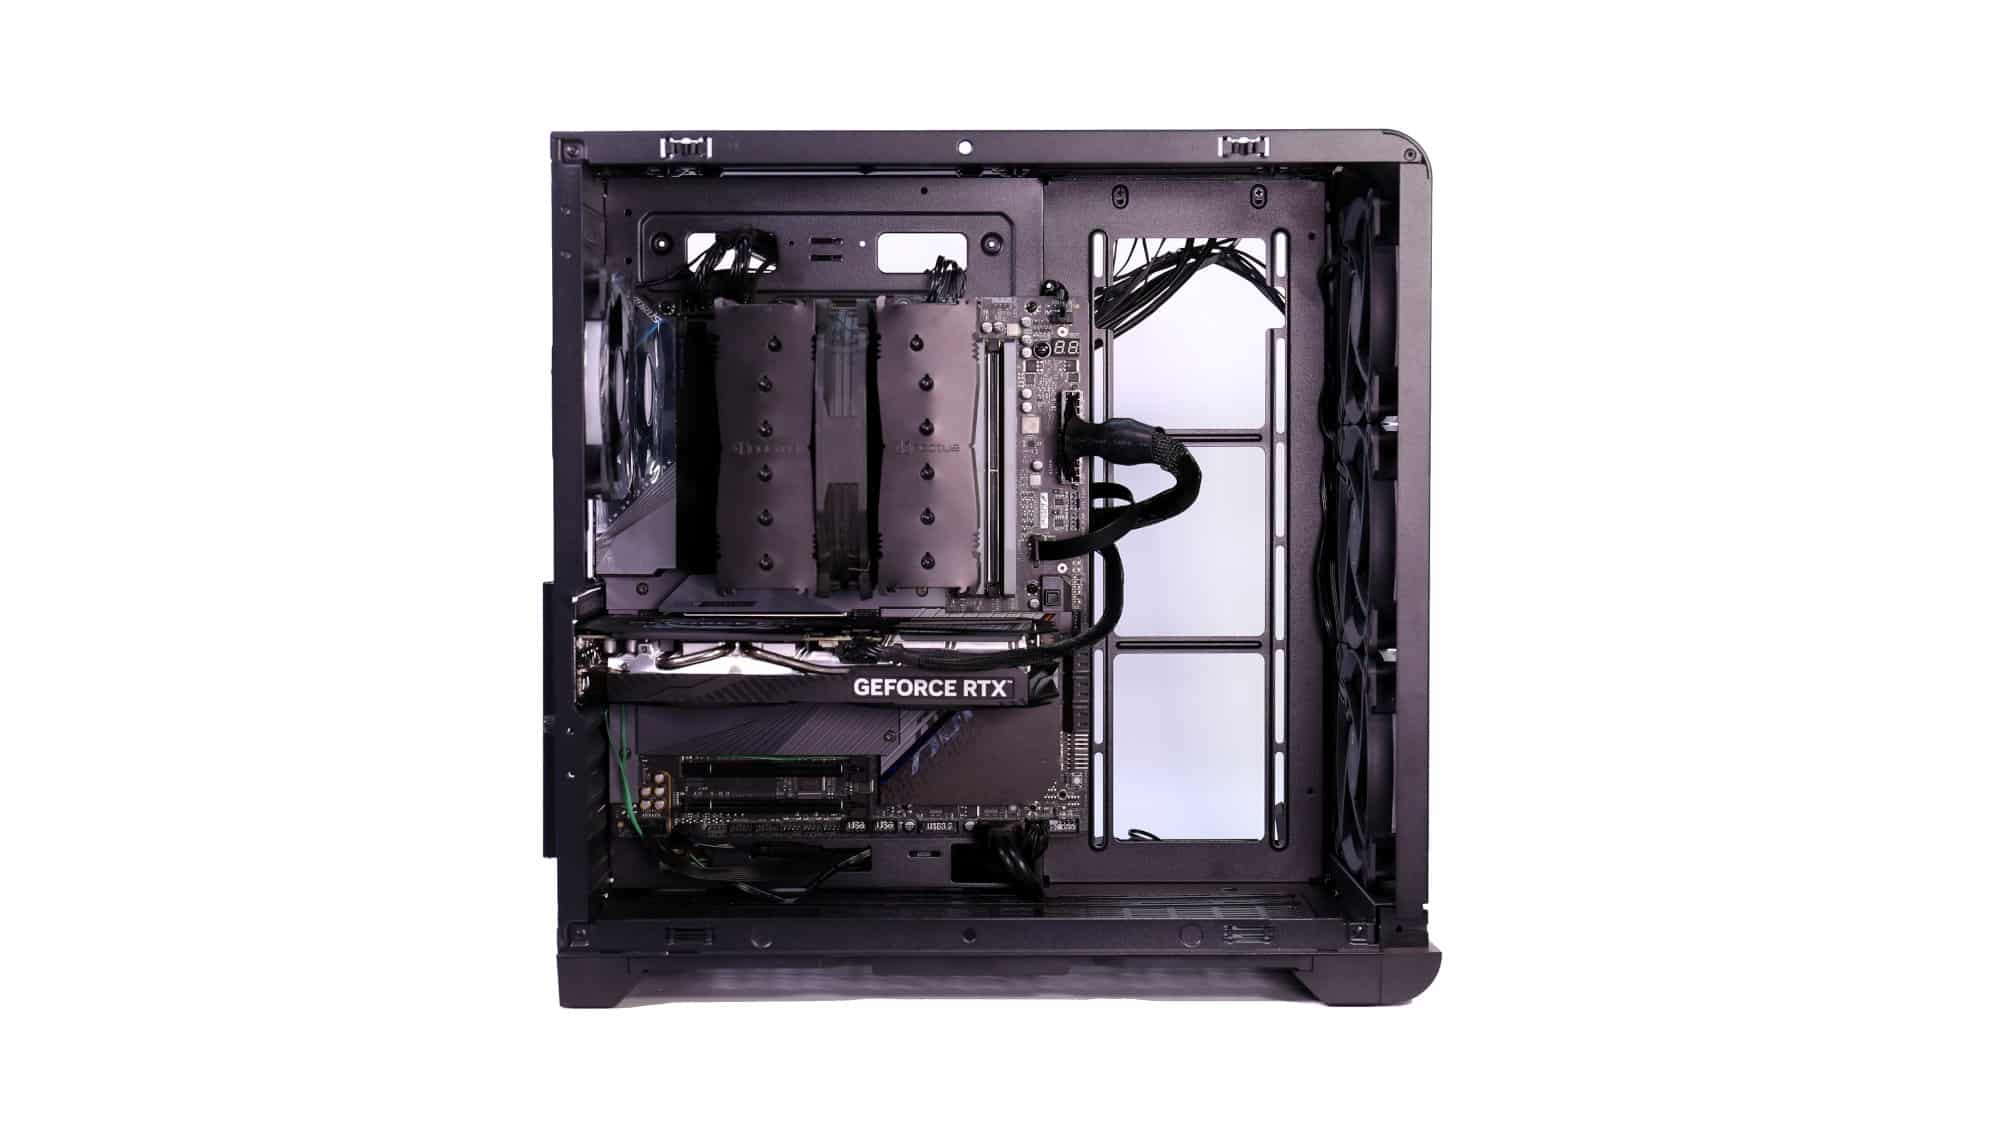
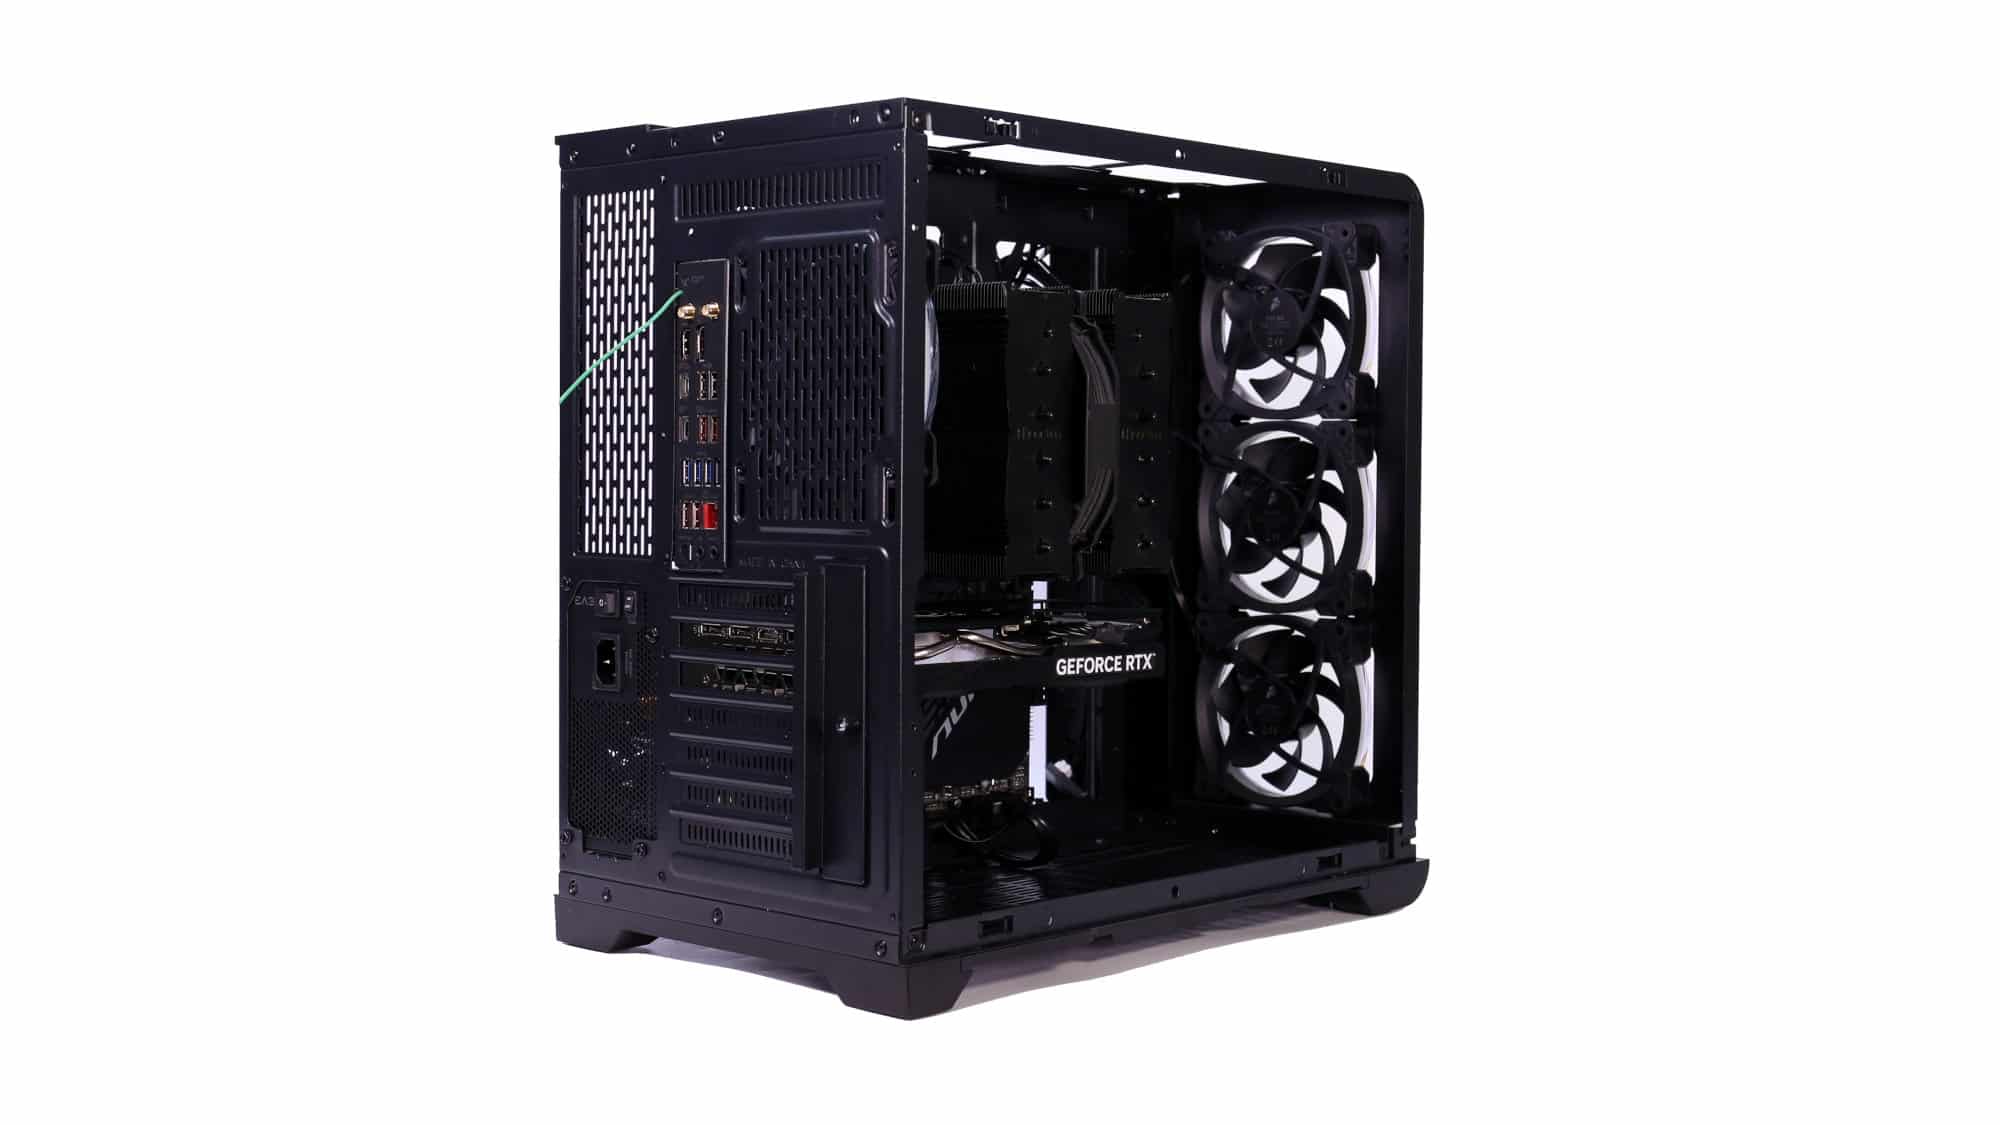
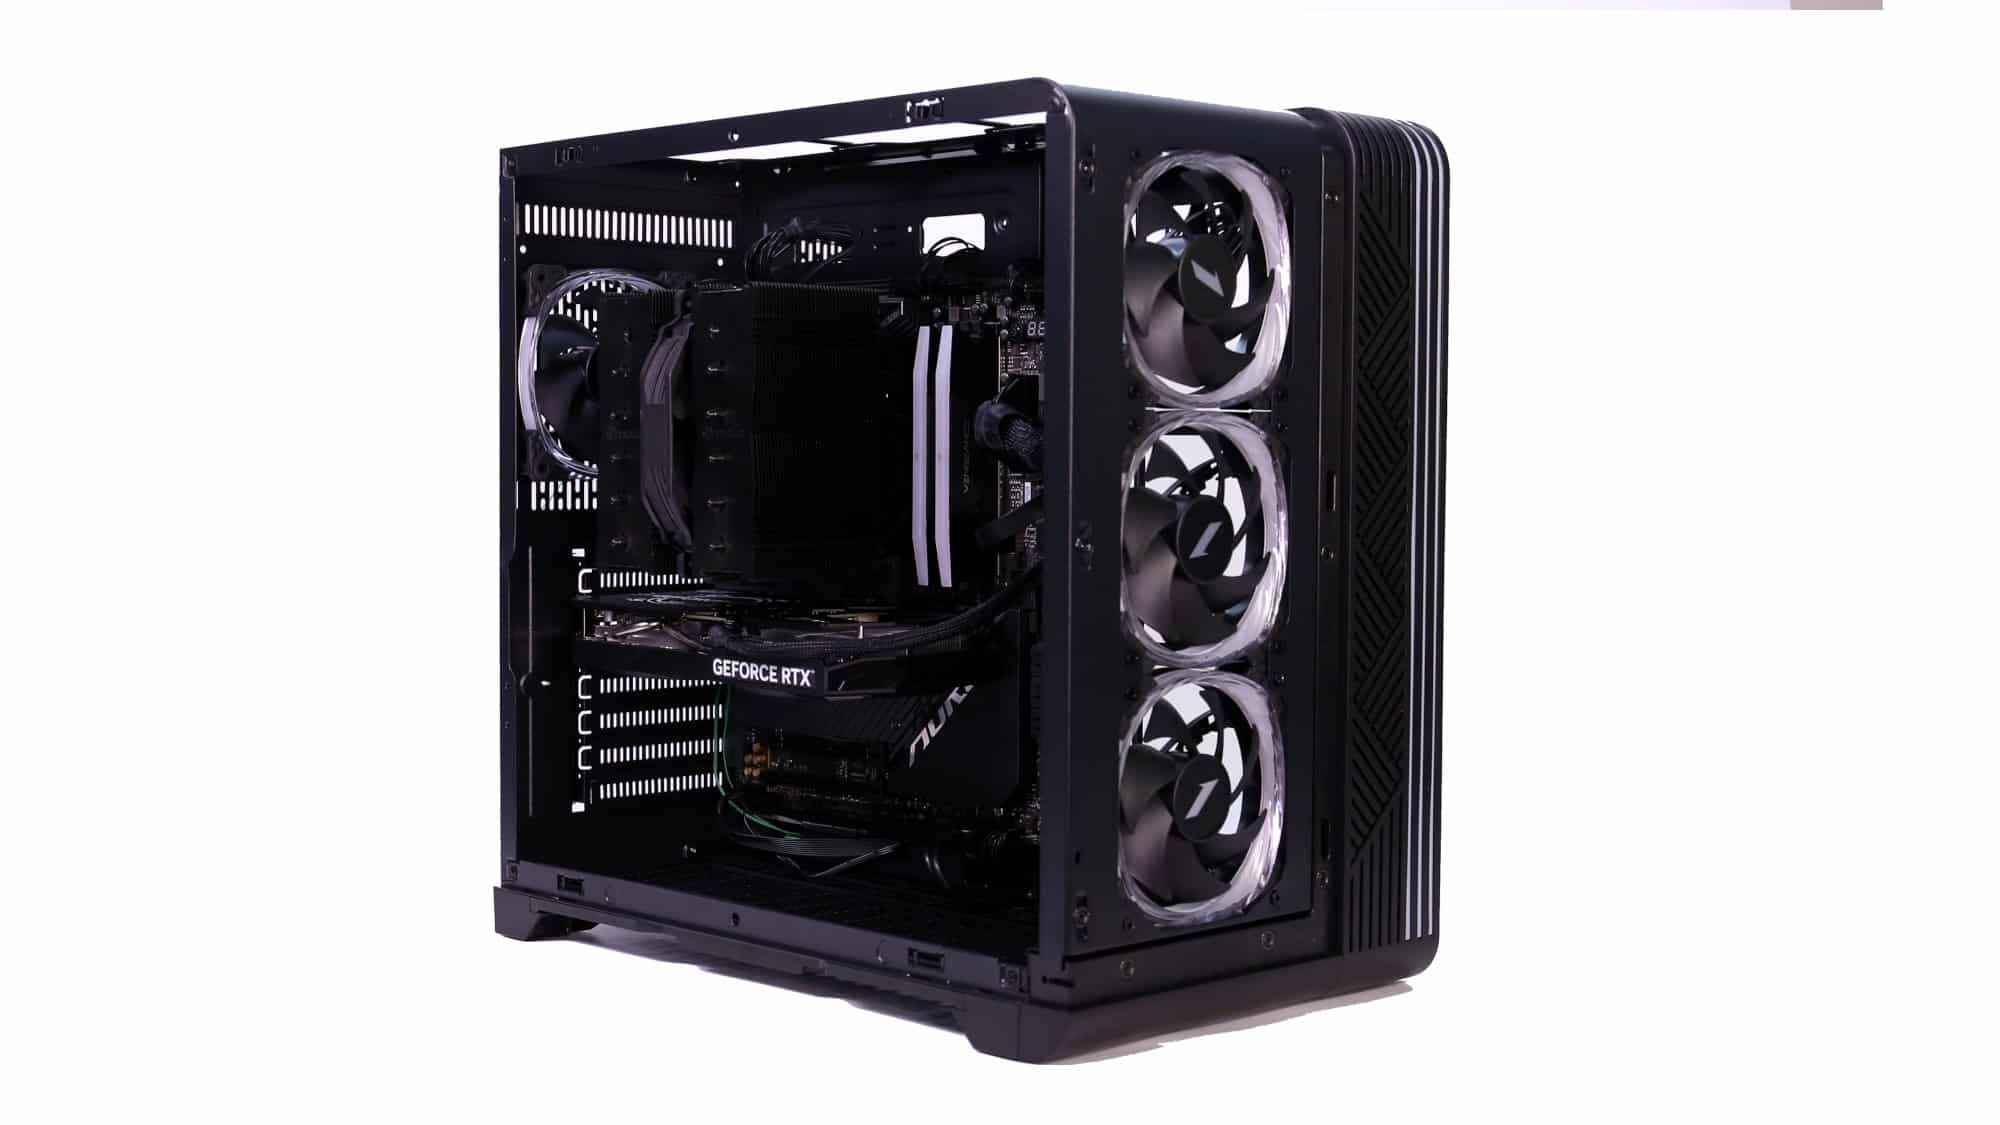
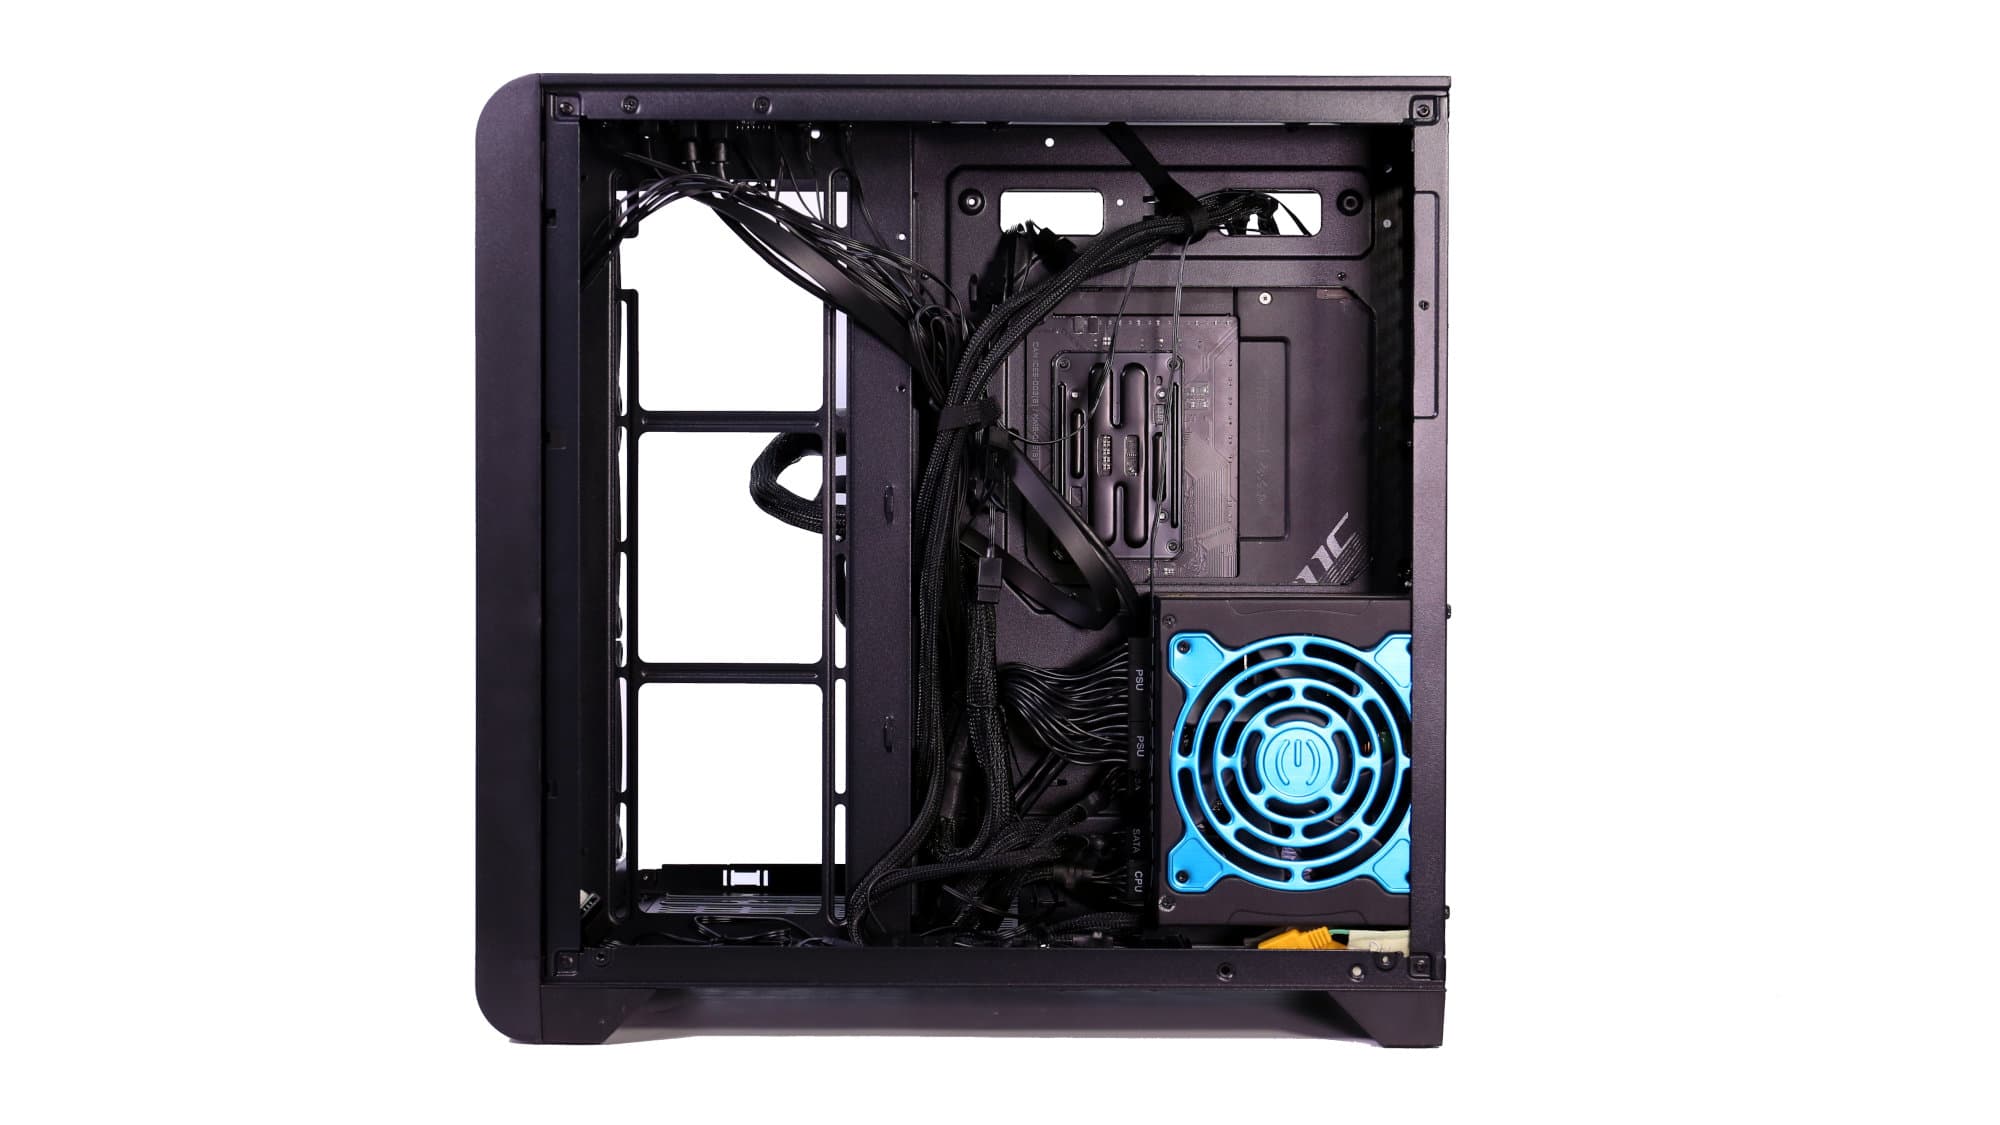
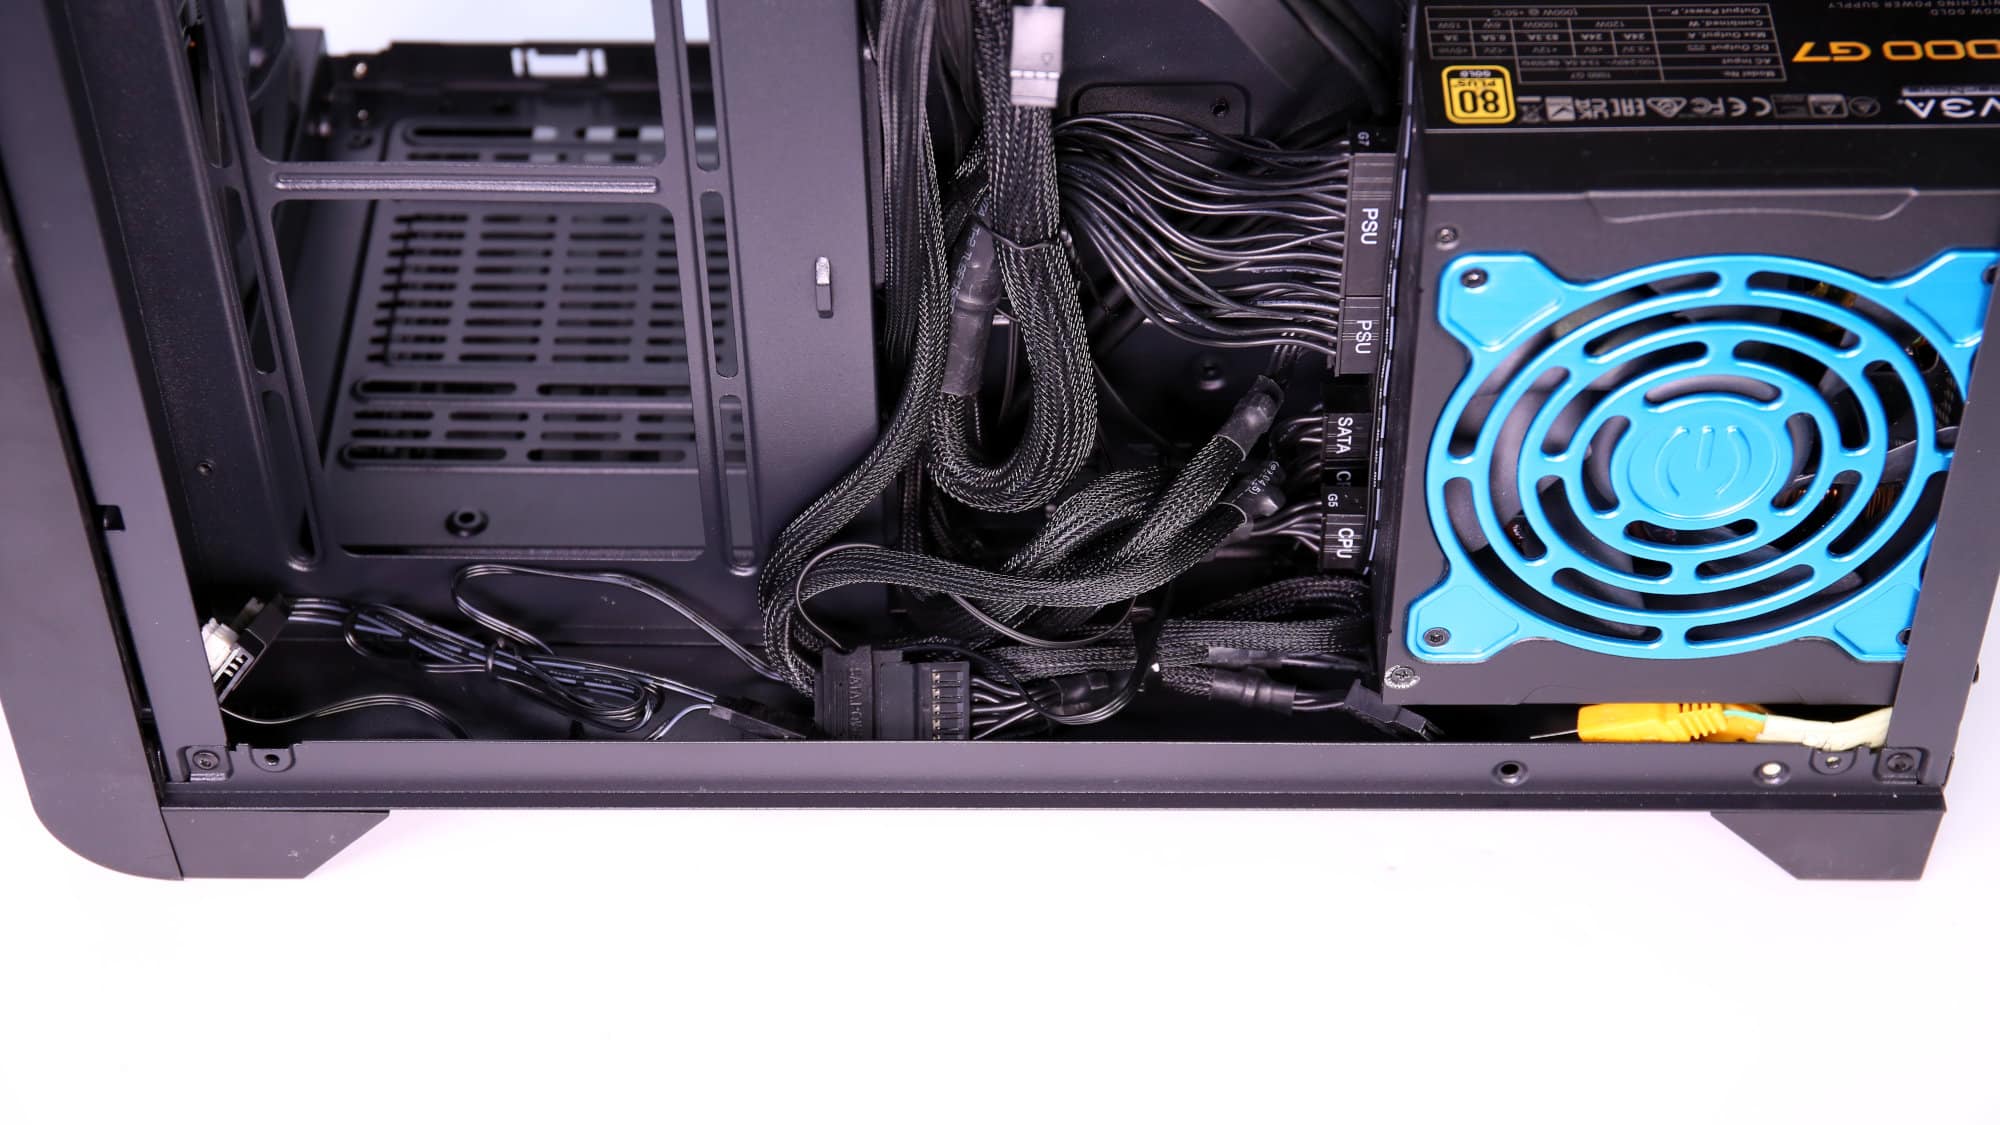
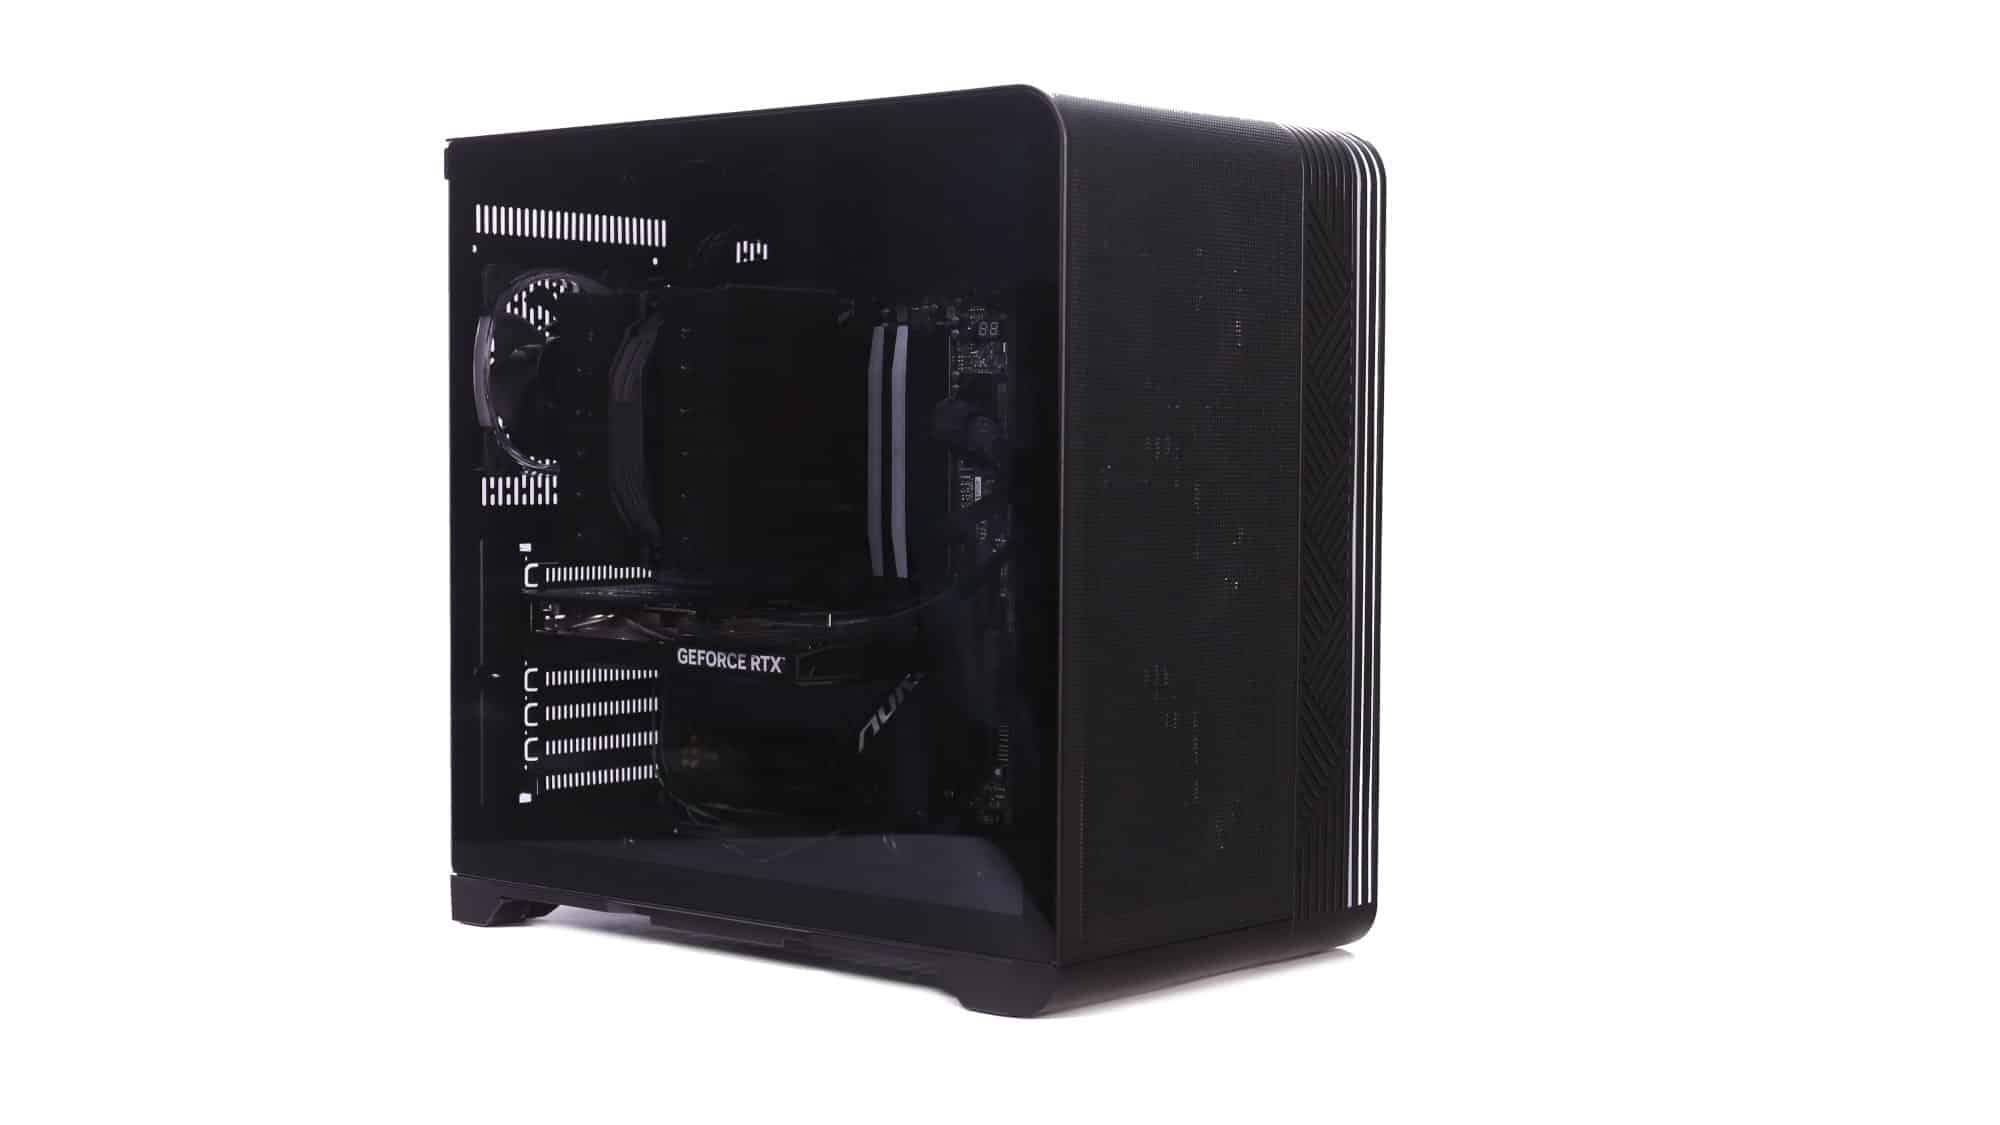
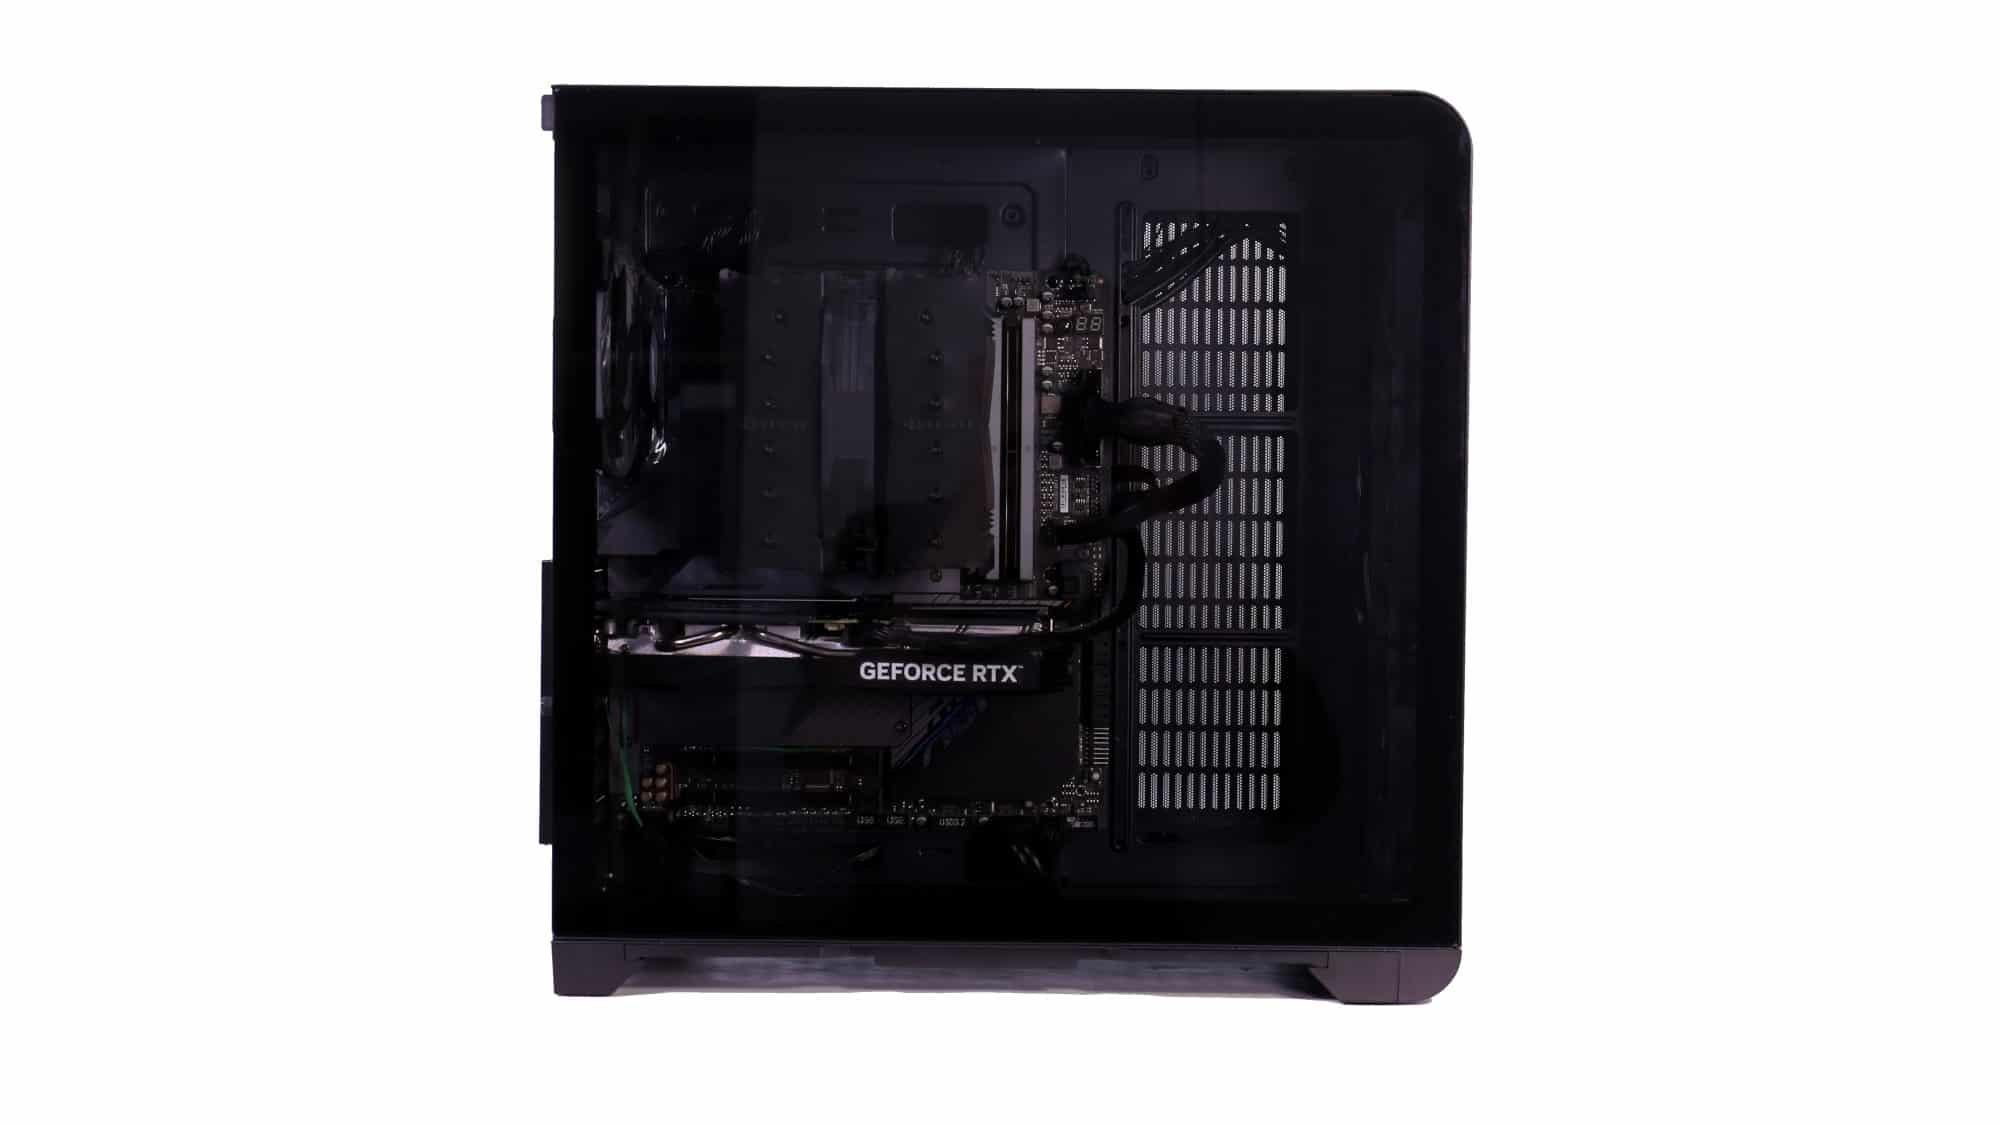
Finally, the GPU was installed. Notably, the drive cage couldn’t be reinstalled due to the tight cable routing. Keep in mind that the PSU used here is only 130mm long, which helped maximize available space.
ARGB Lighting and Aesthetics

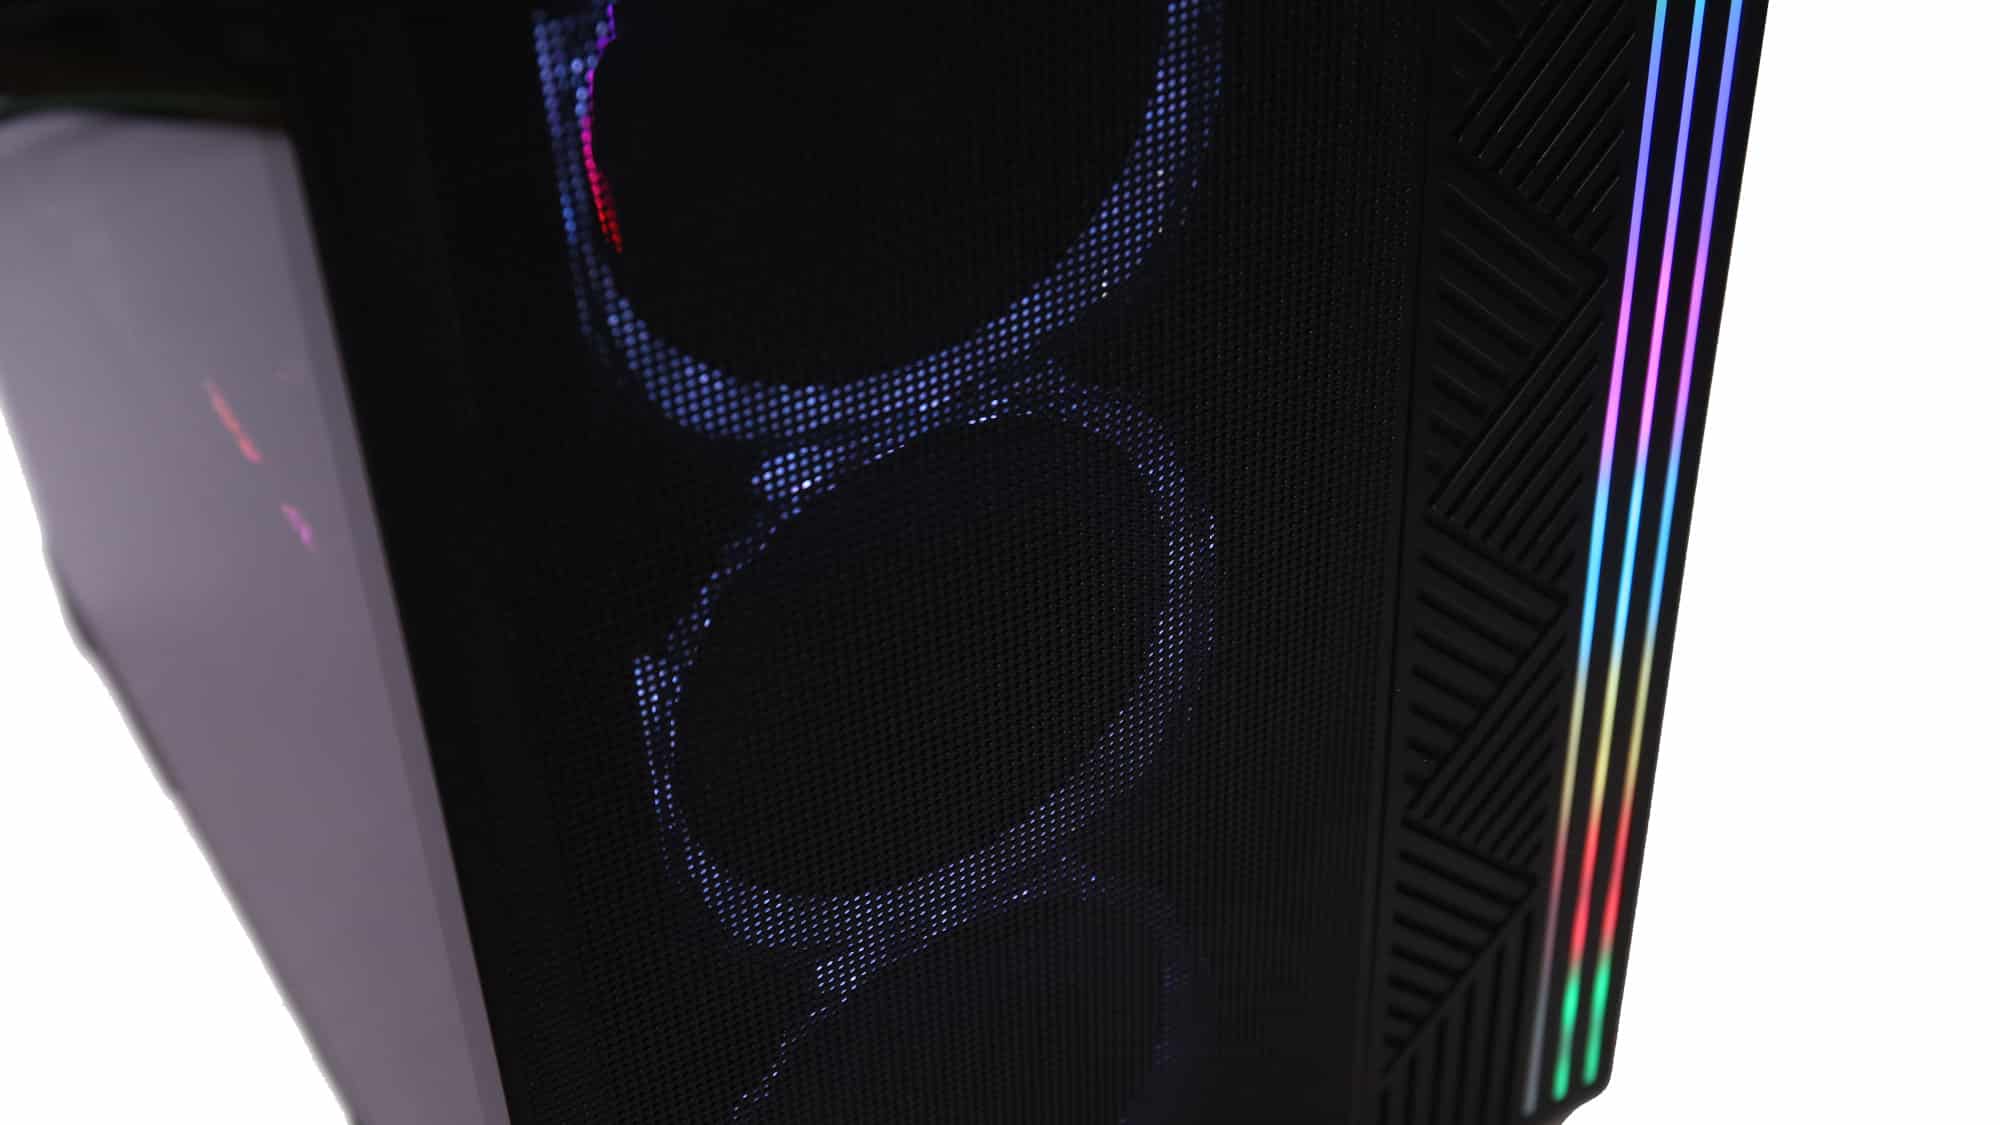
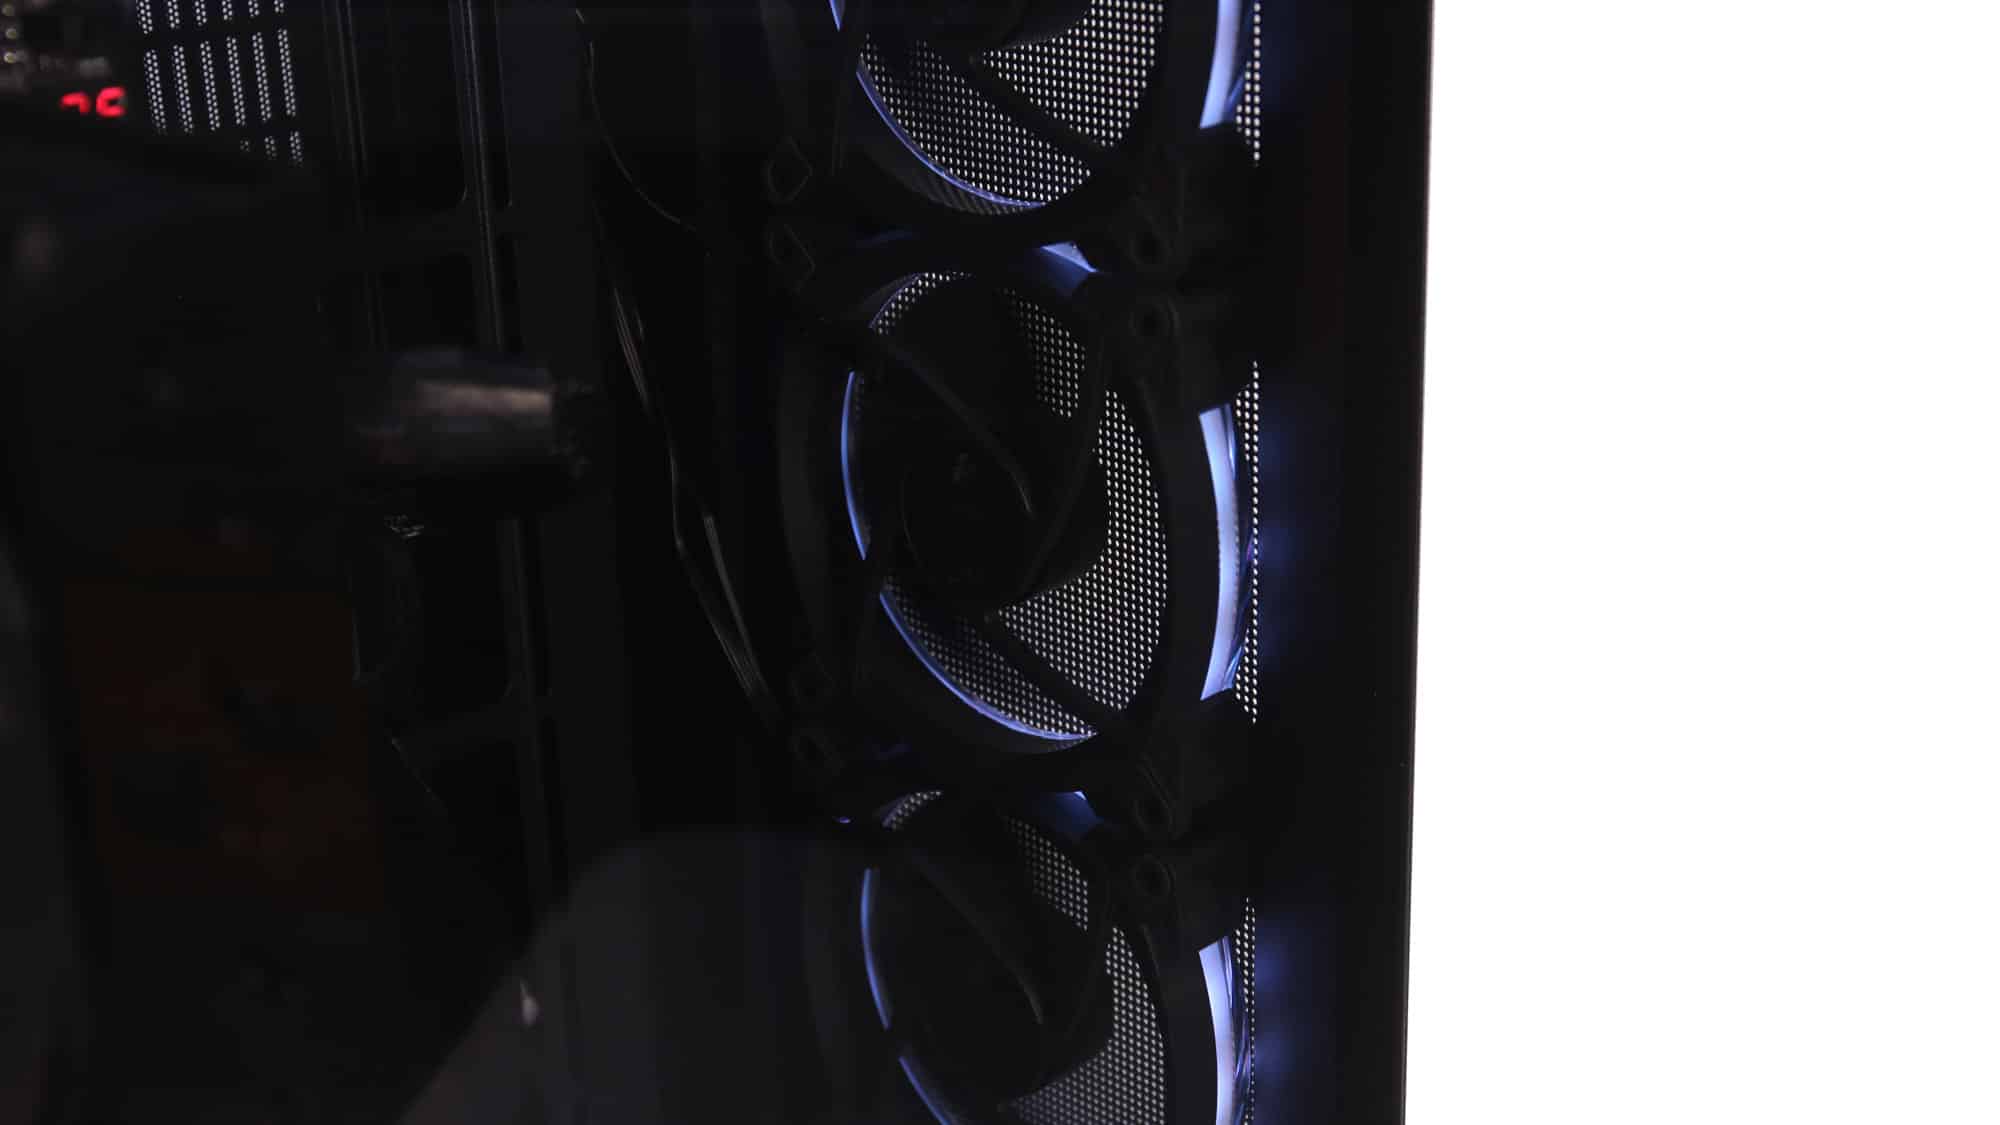
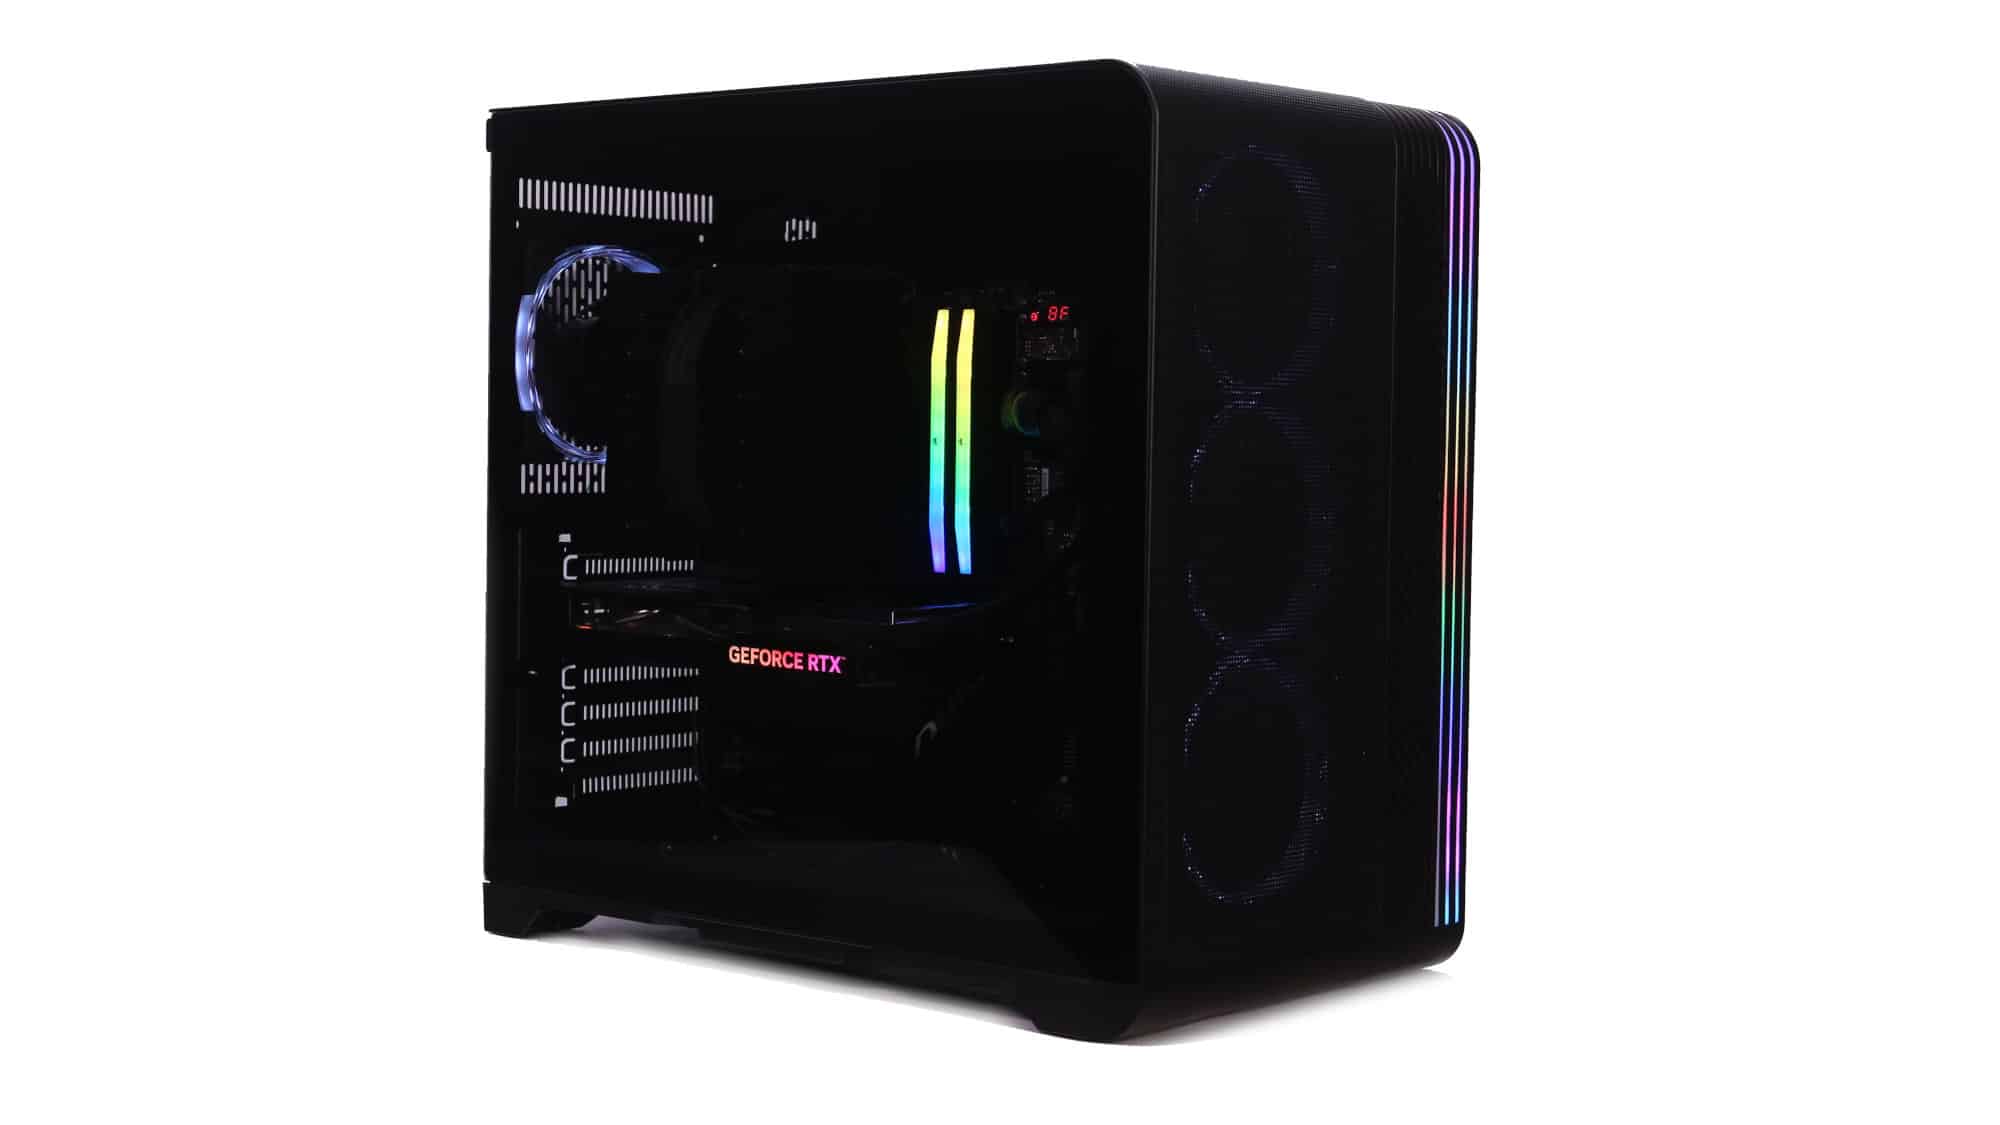
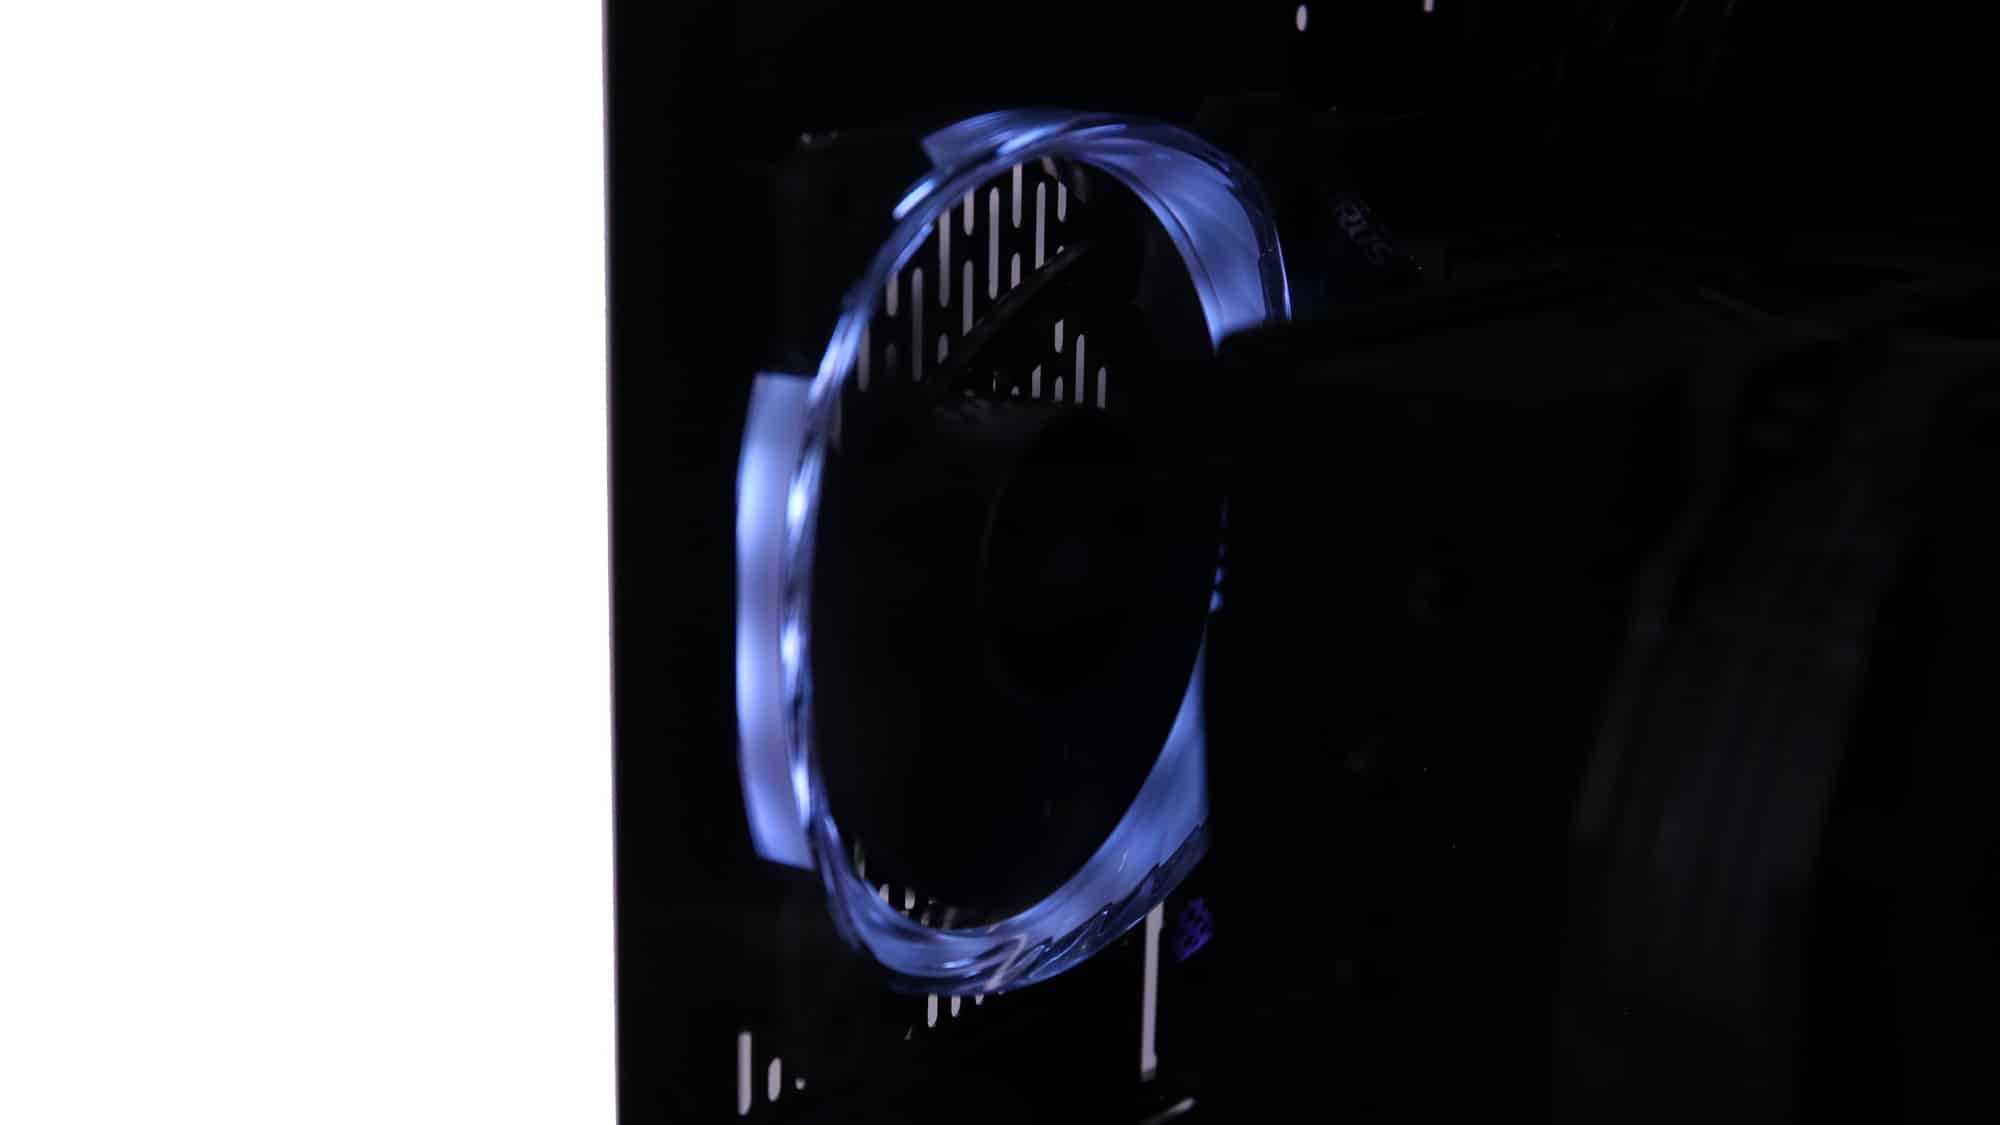
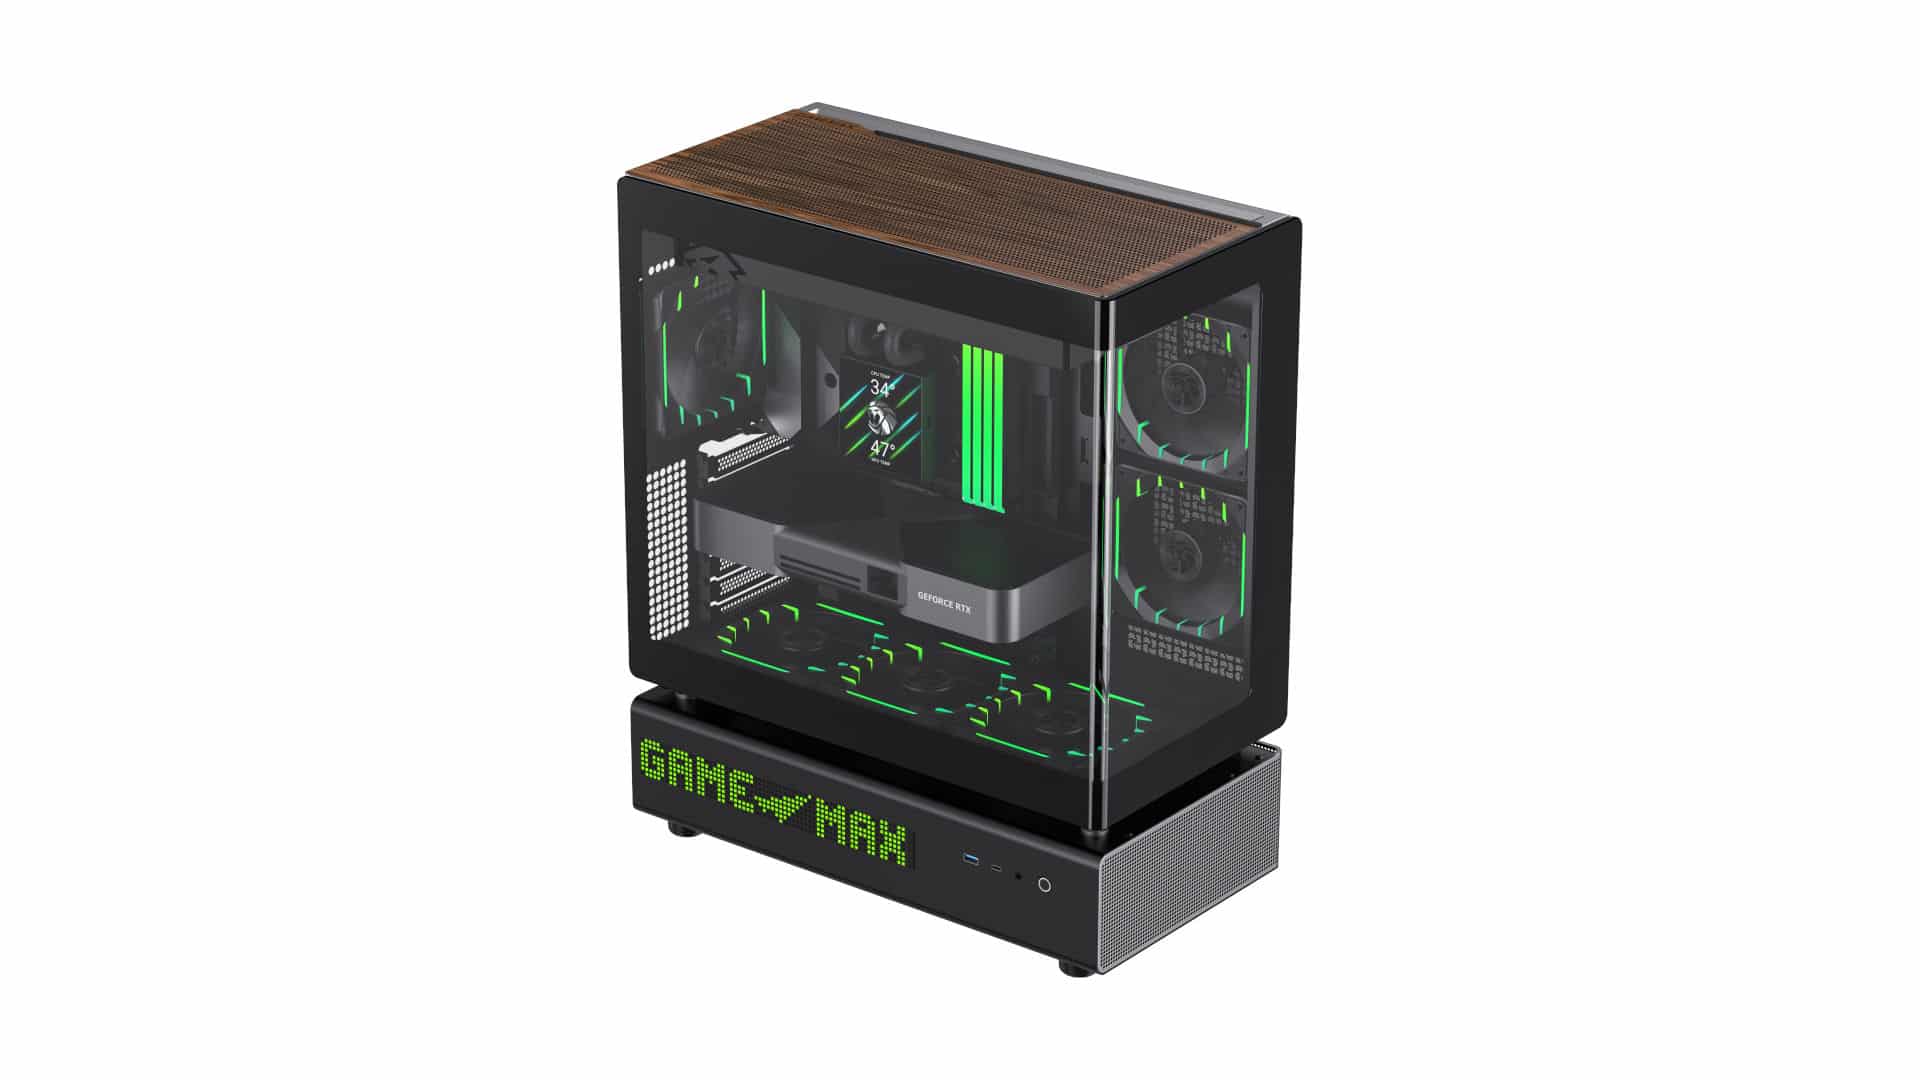
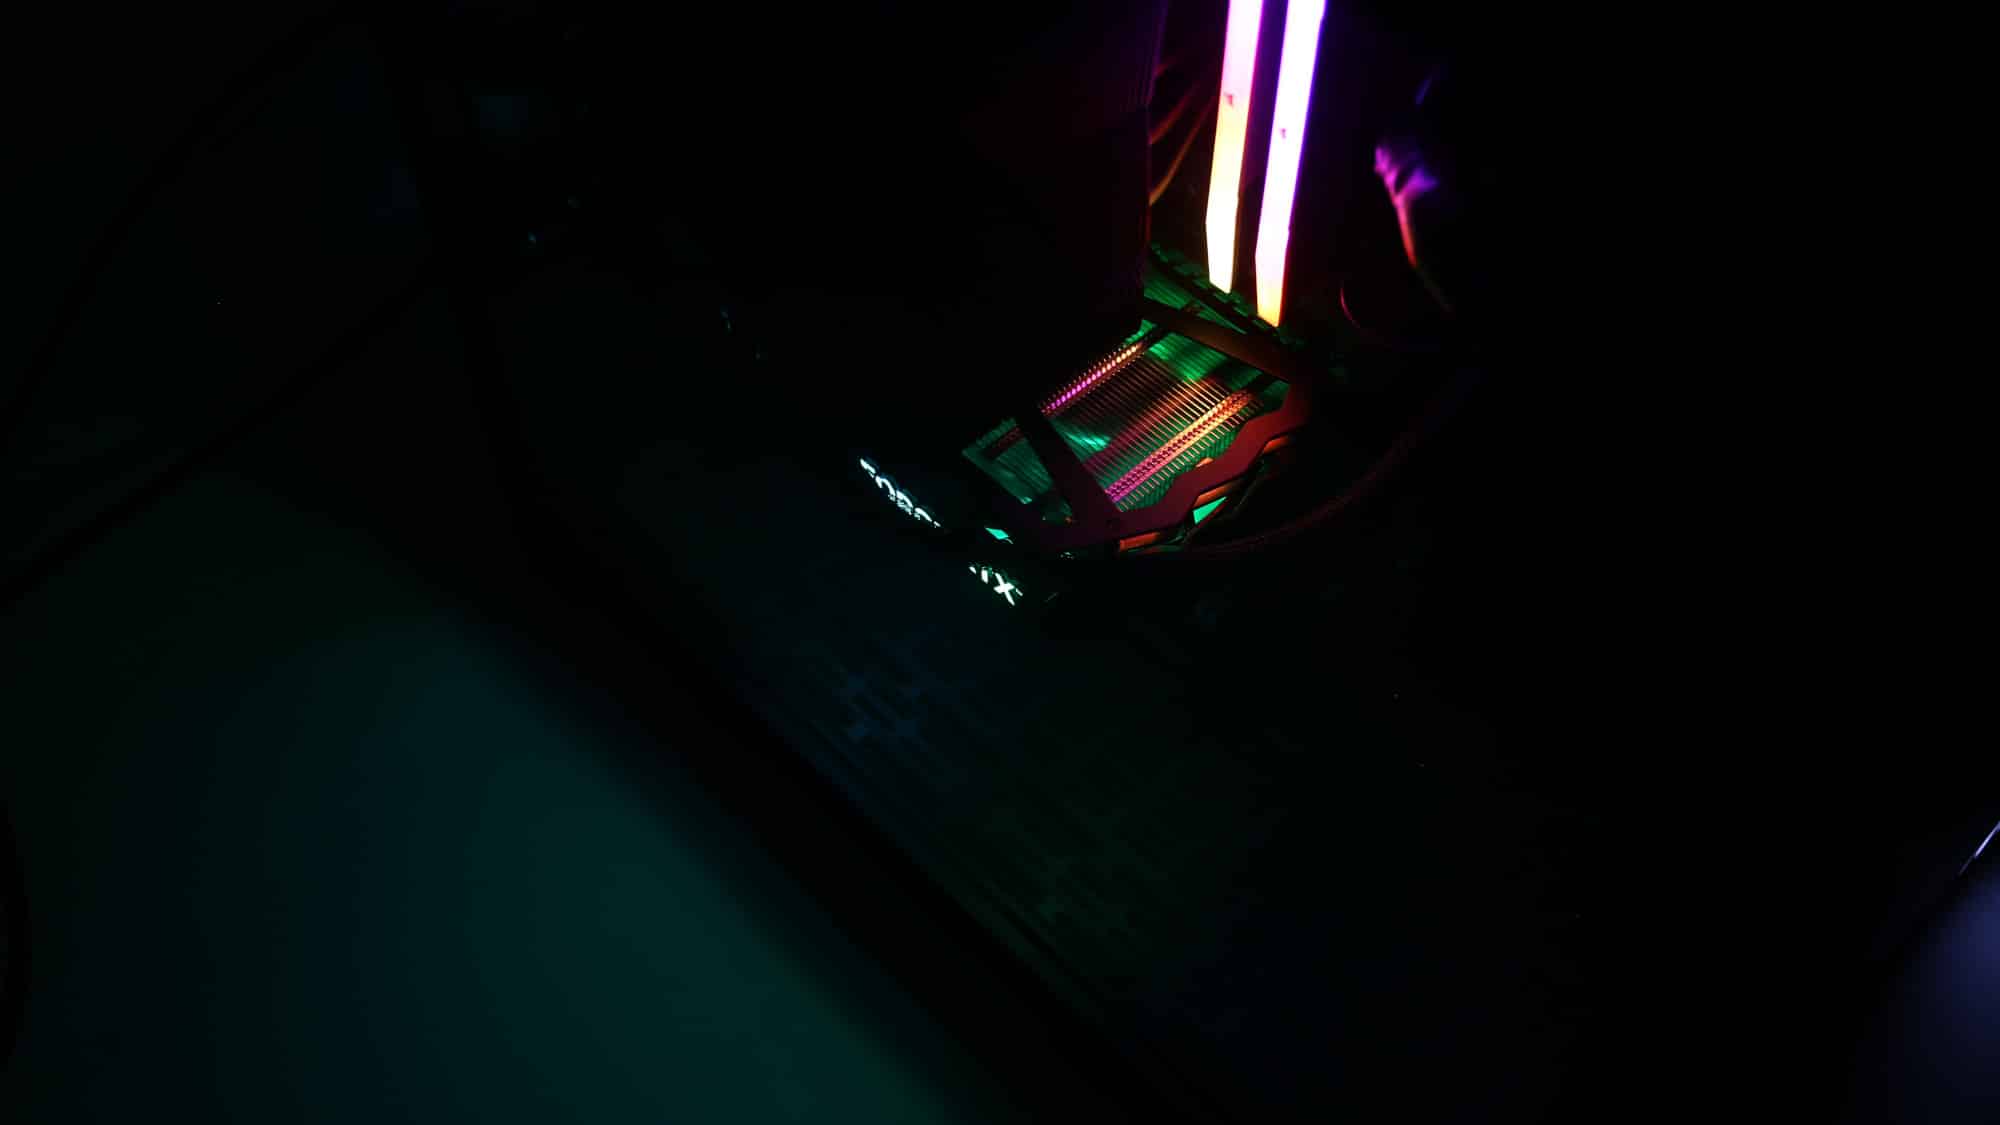
The ARGB lighting is one of the chassis’s strongest features. The front lighting is eye-catching and looks even better in the dark, especially when paired with ARGB-enabled fans, GPU, and RAM.
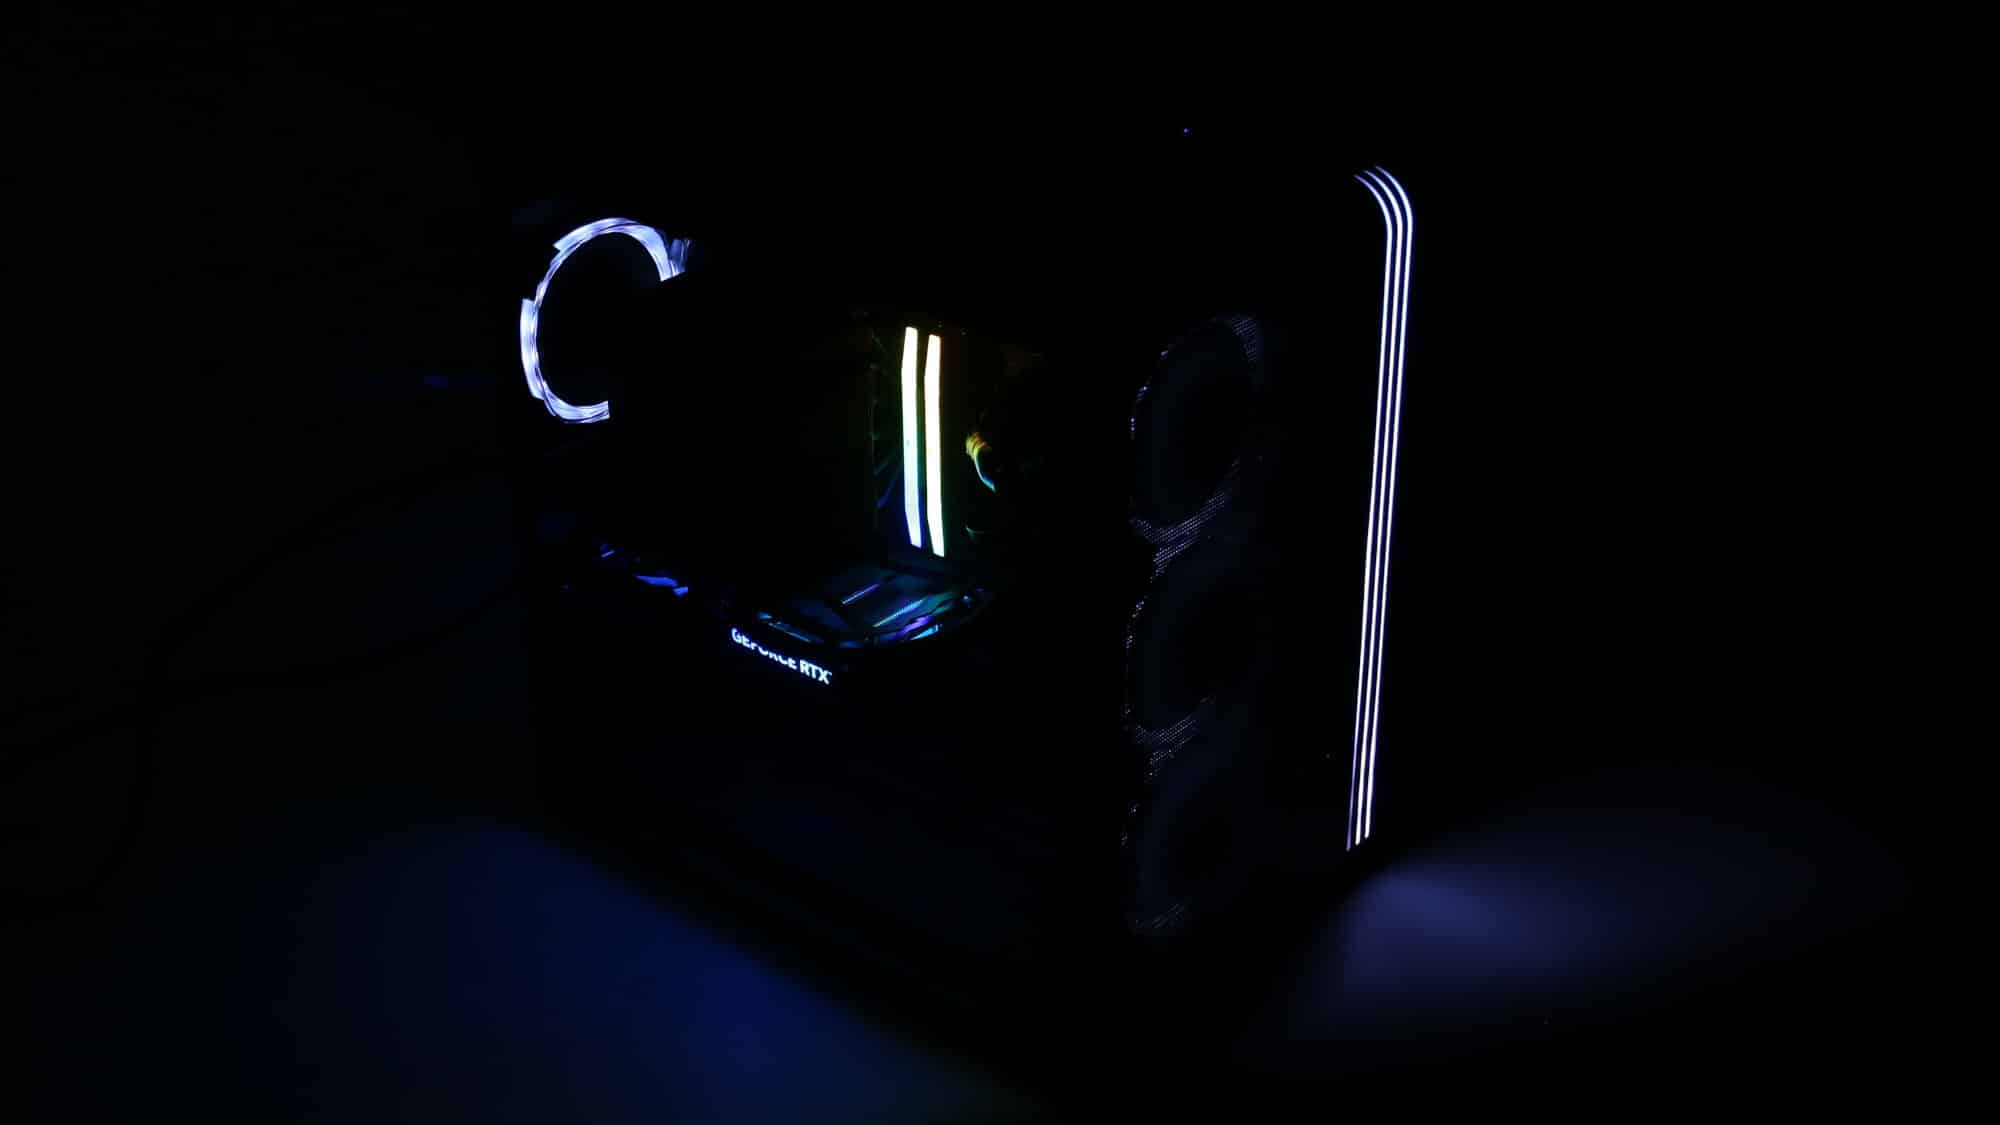
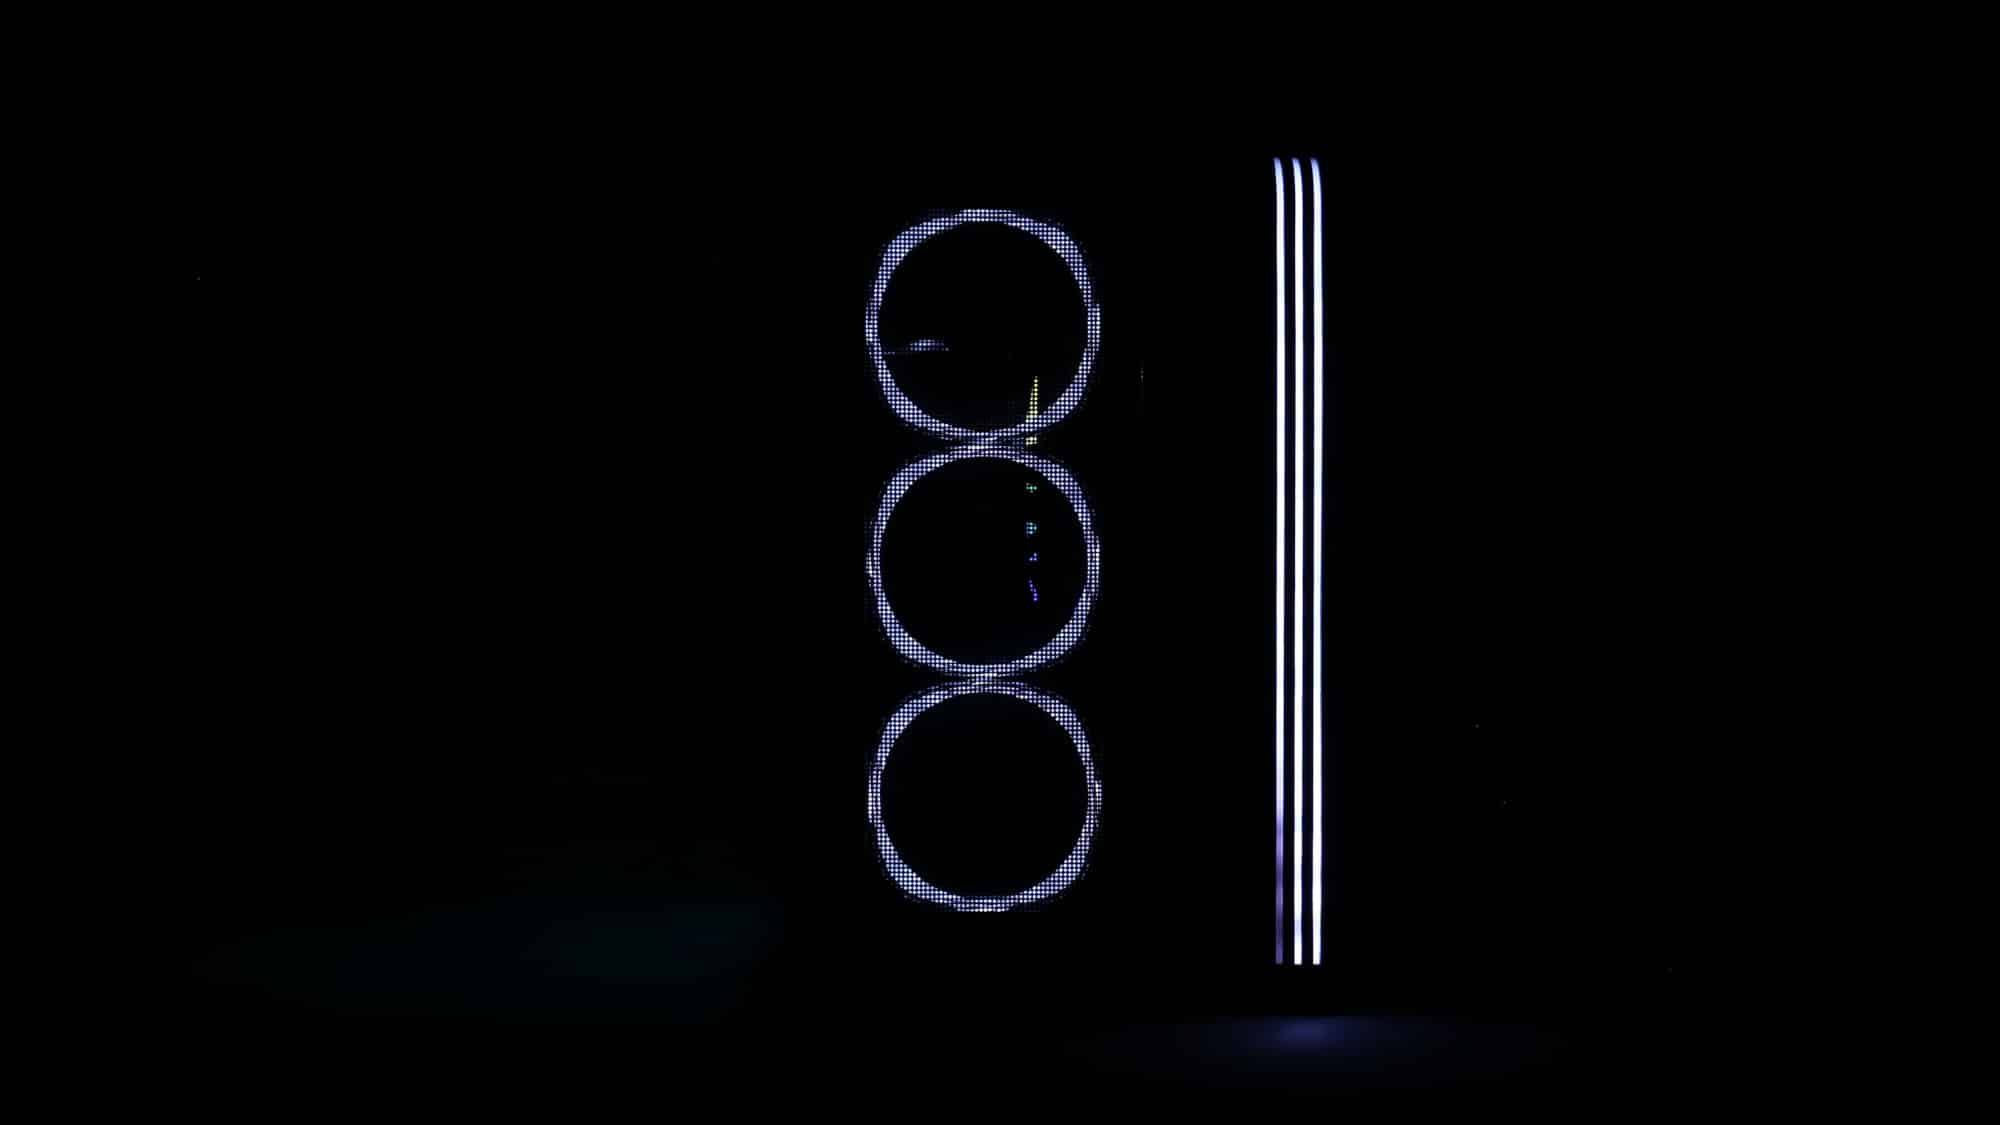
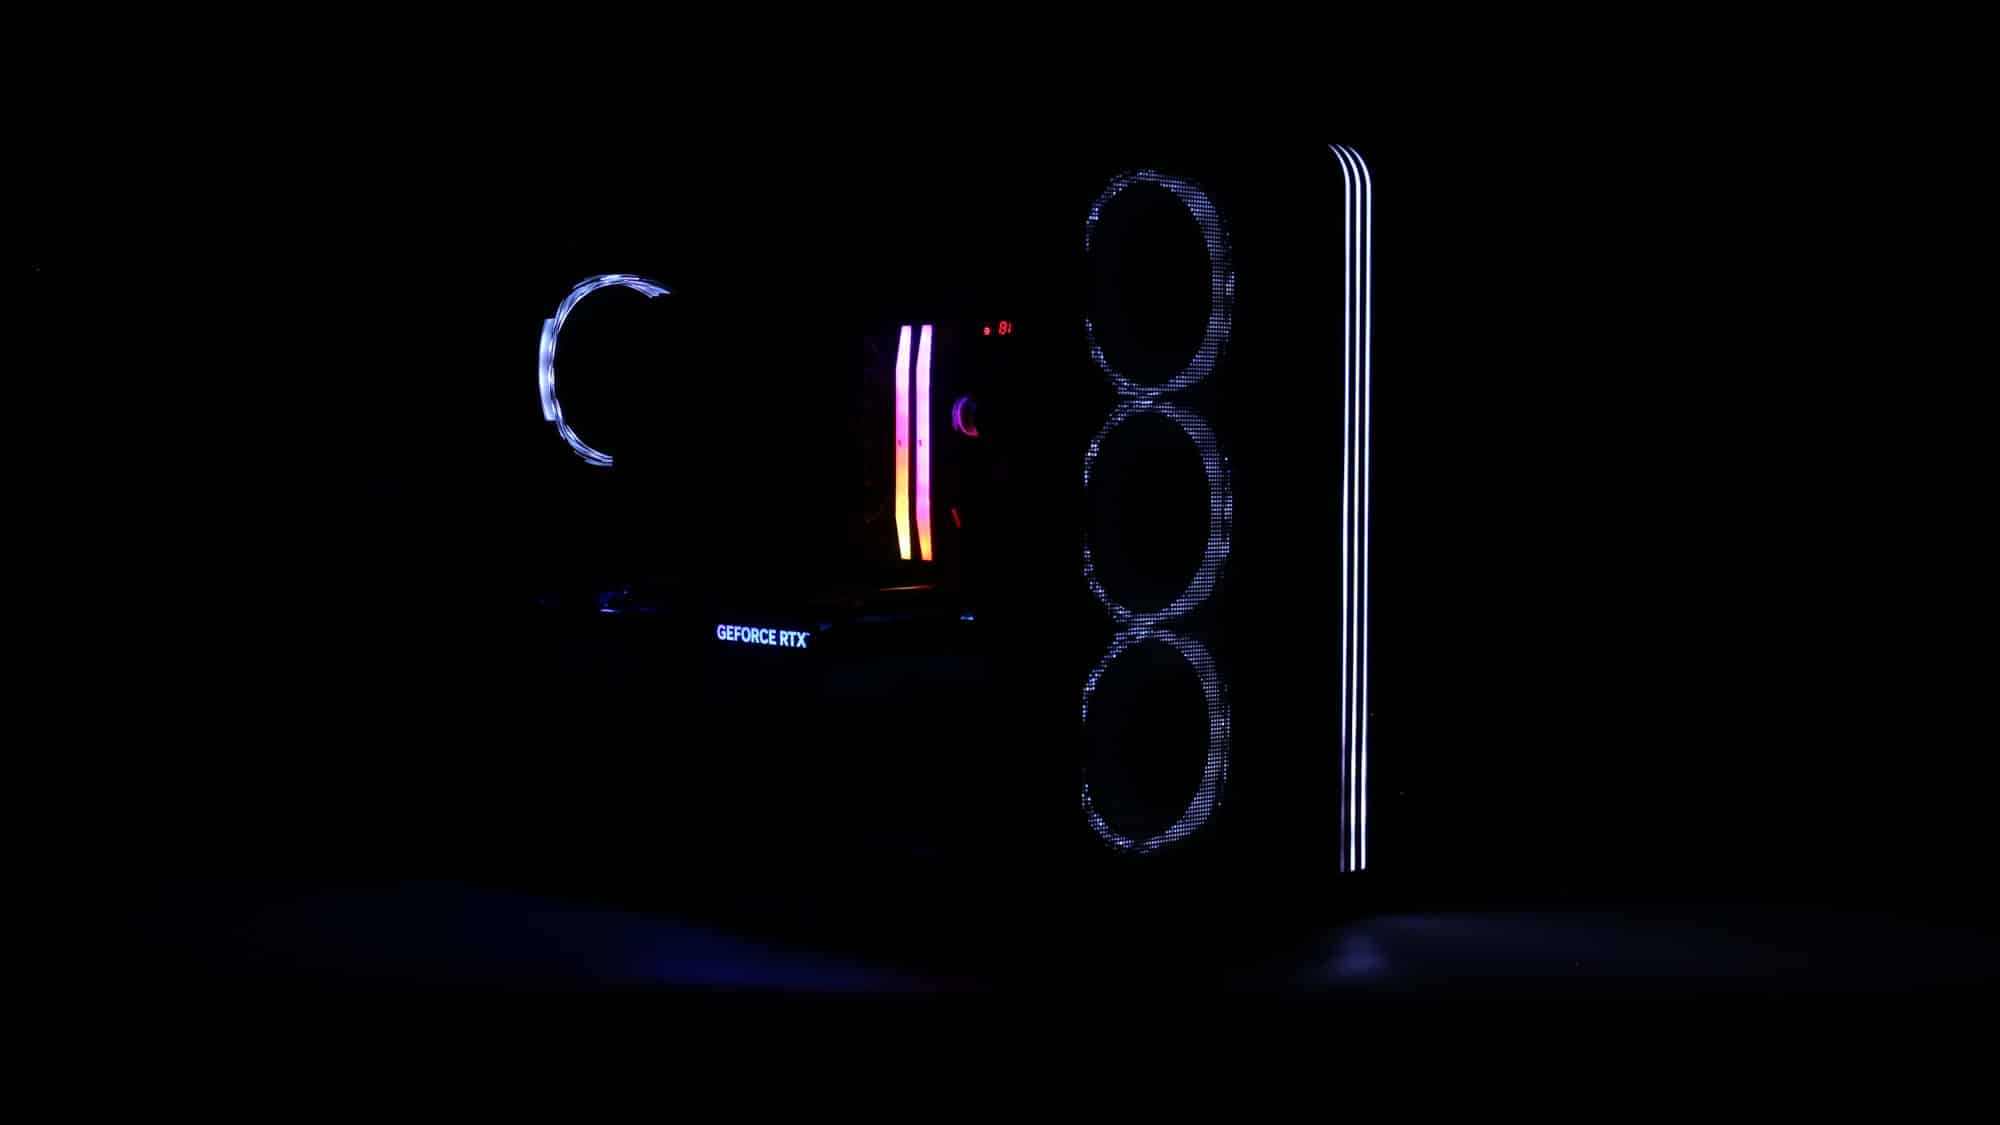
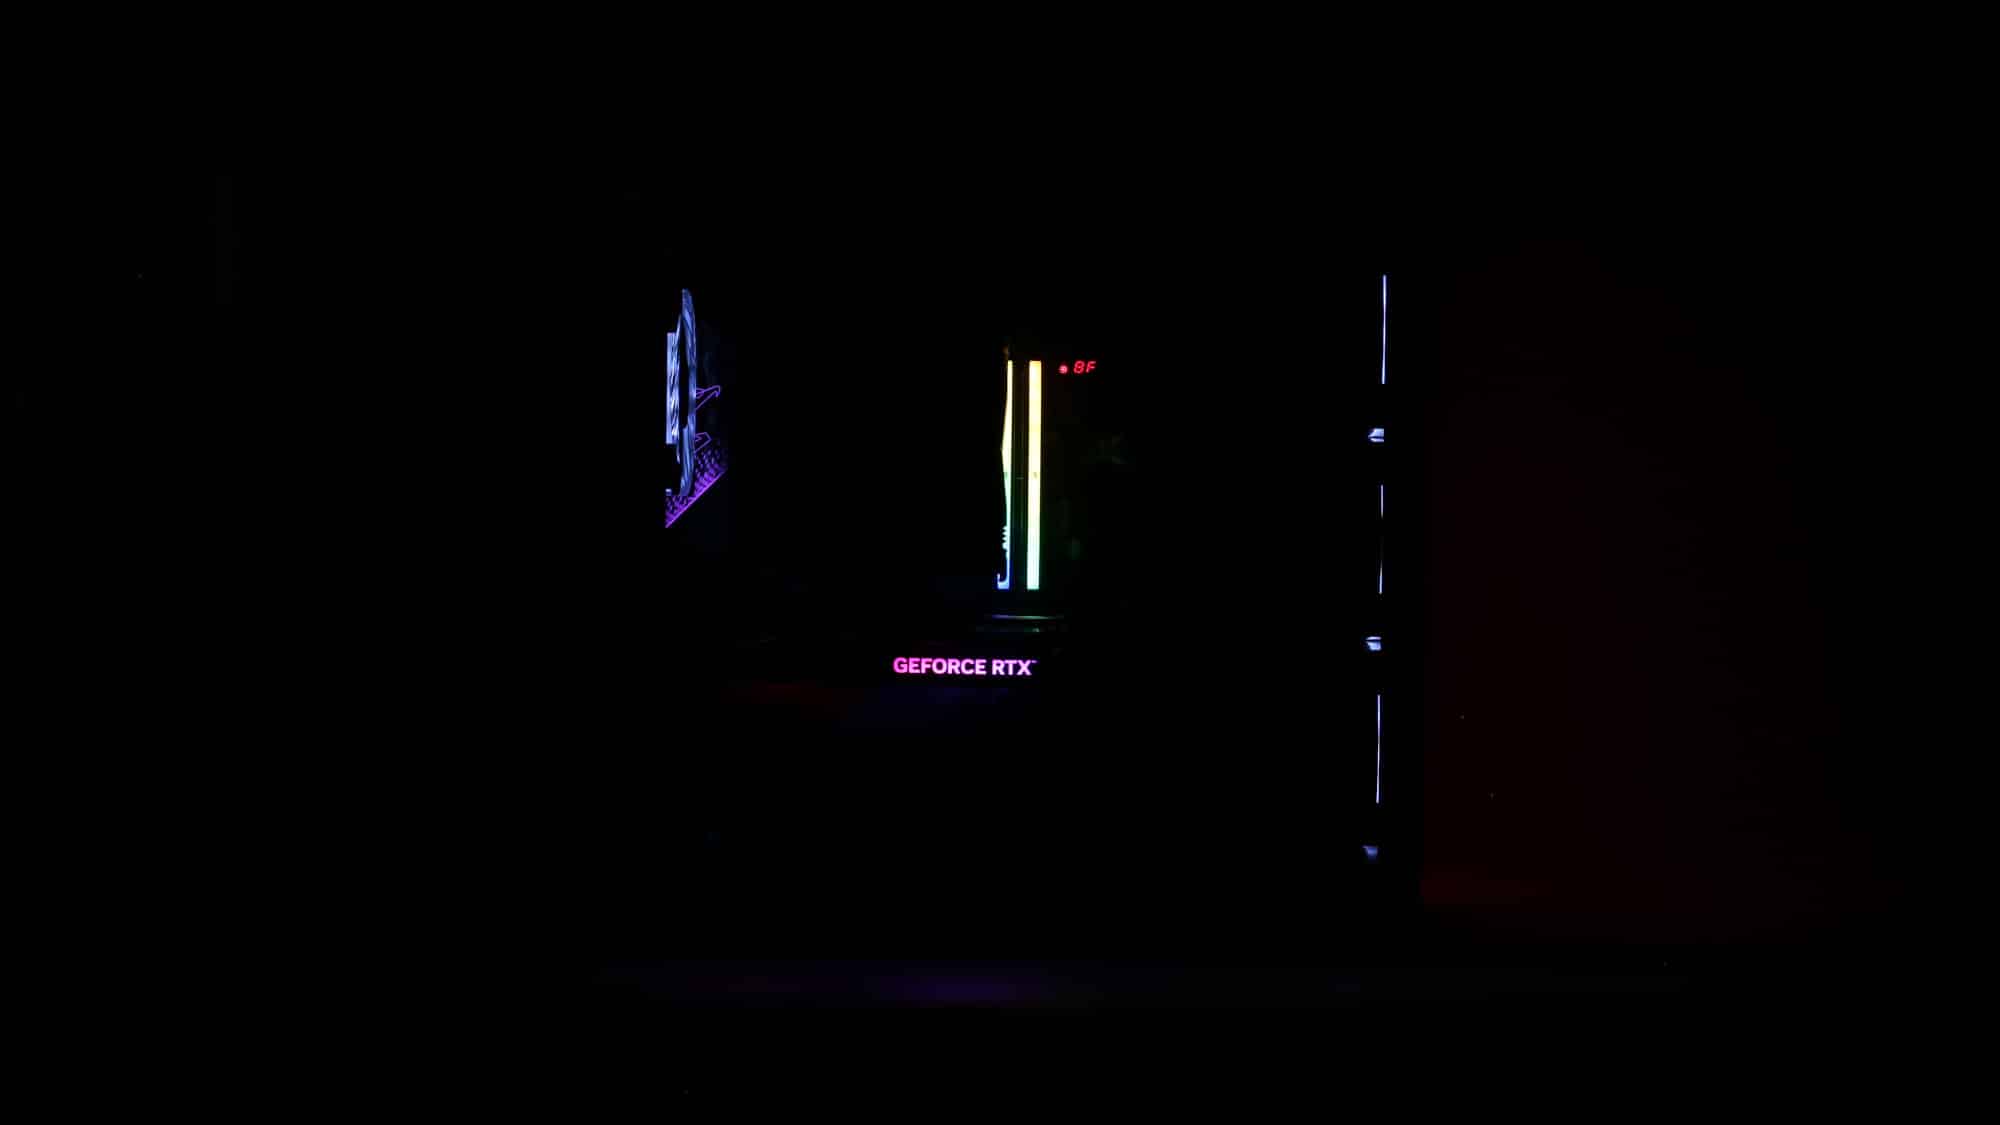
It will look even better in a dark room!