Unboxing and First Impressions
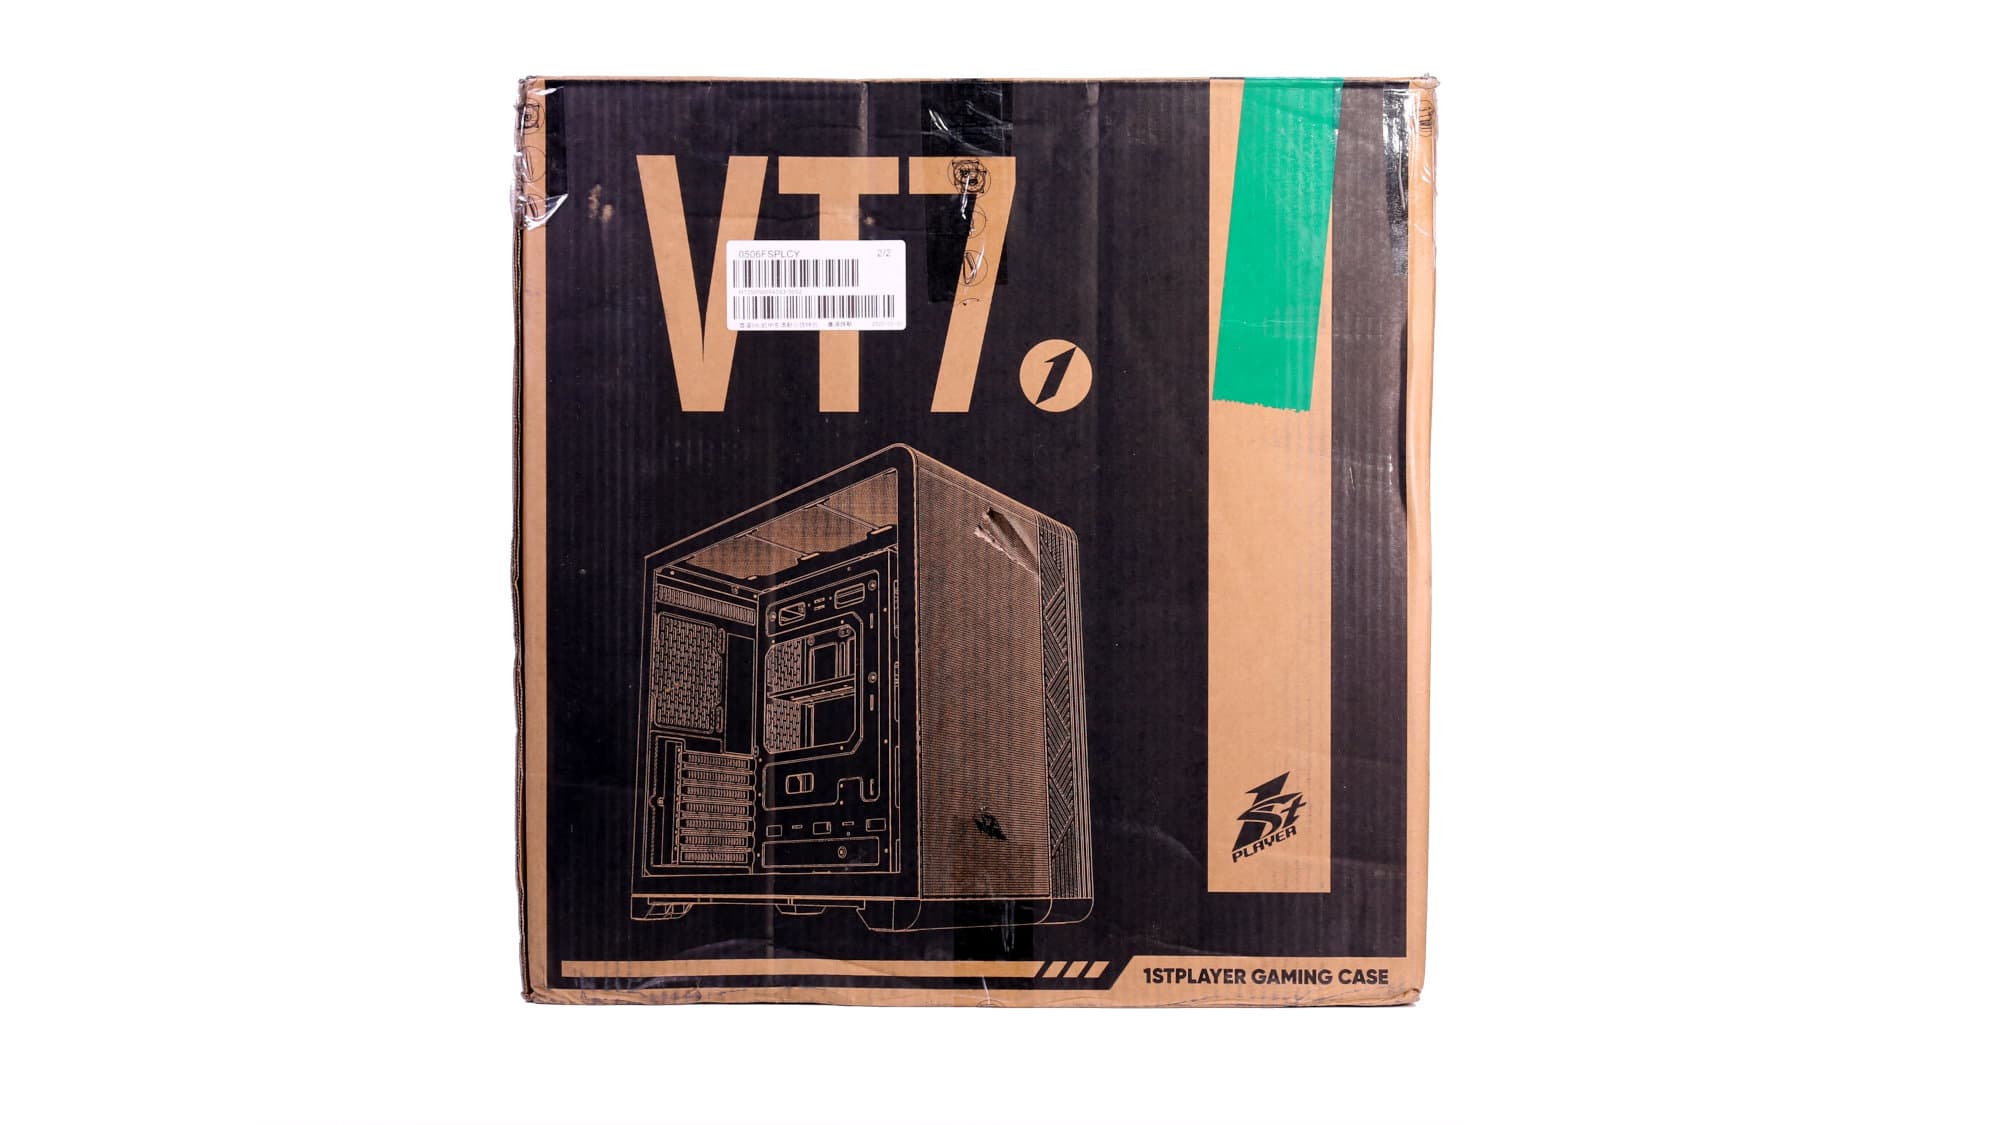
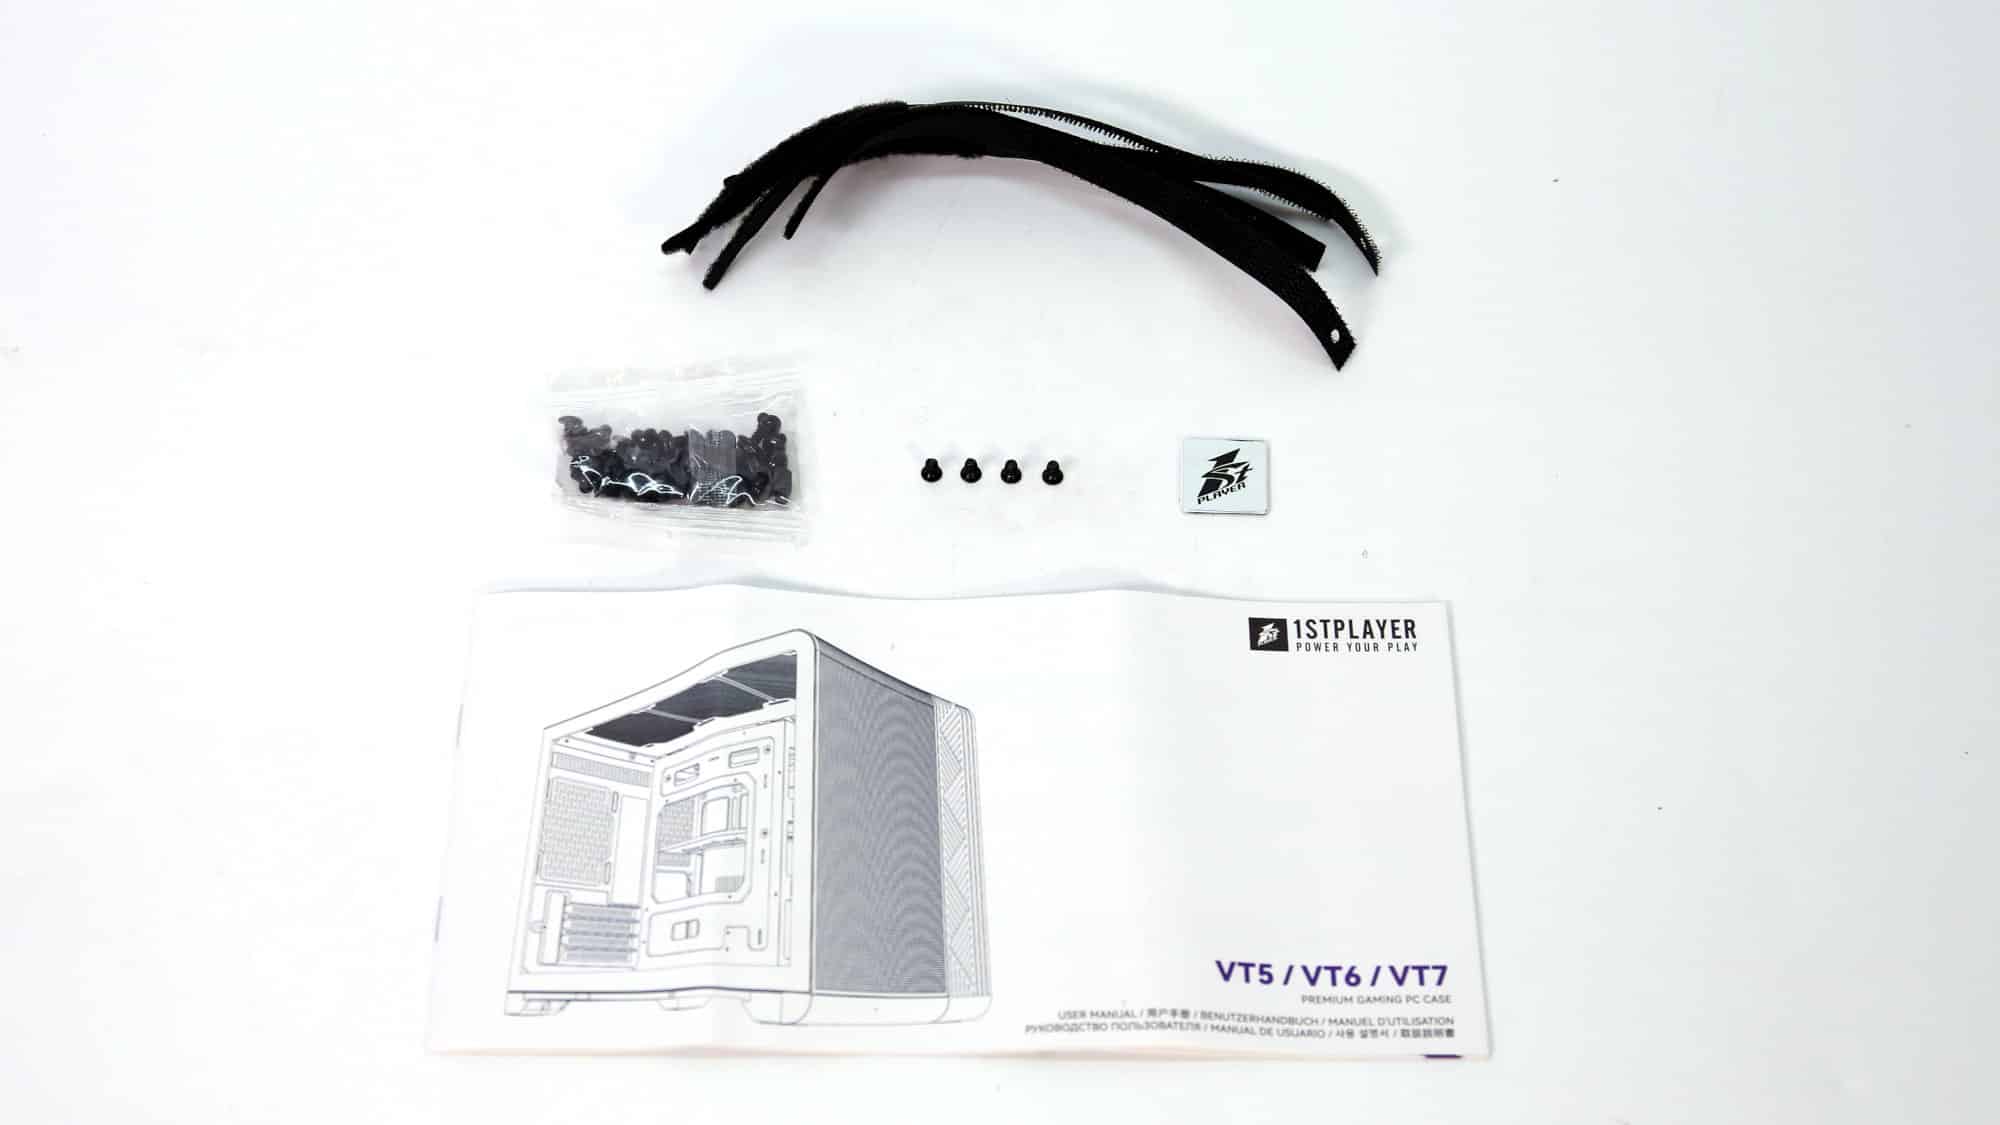
The 1st Player VT7 arrived double-boxed, with classic foam pieces securing it in place and protecting the tempered glass side panel. Inside, you’ll find a brown box attached to the chassis that includes reusable Velcro-style straps, a plastic bag with all the screws, a 1st Player sticker, and the user guide.
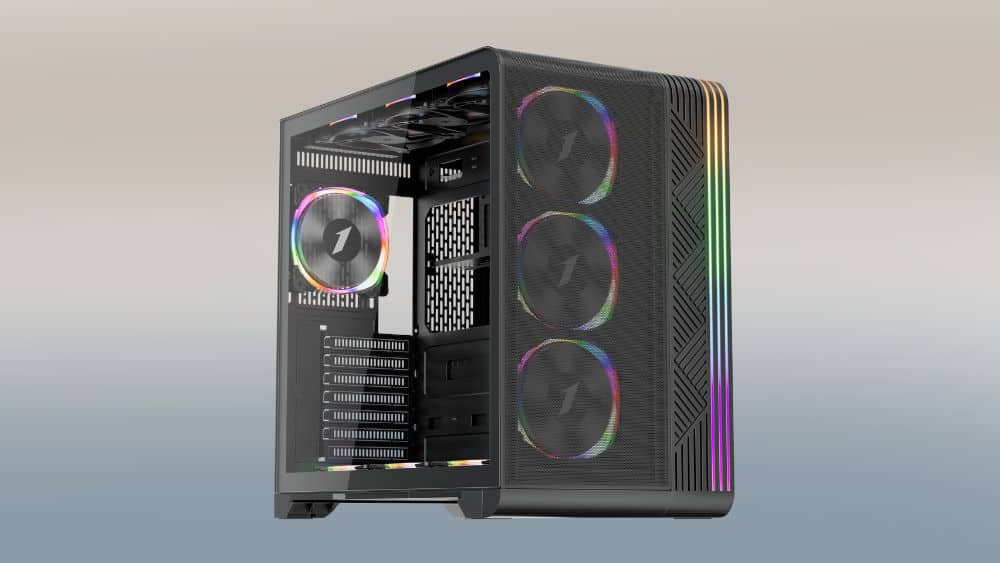
The first impression of the chassis upon unboxing is that it feels substantial. It has some heft to it, yet it’s pretty compact. The black color may amplify that impression. It definitely has a premium feel, and the design of the front panel immediately captures your attention.
Design and Build Quality
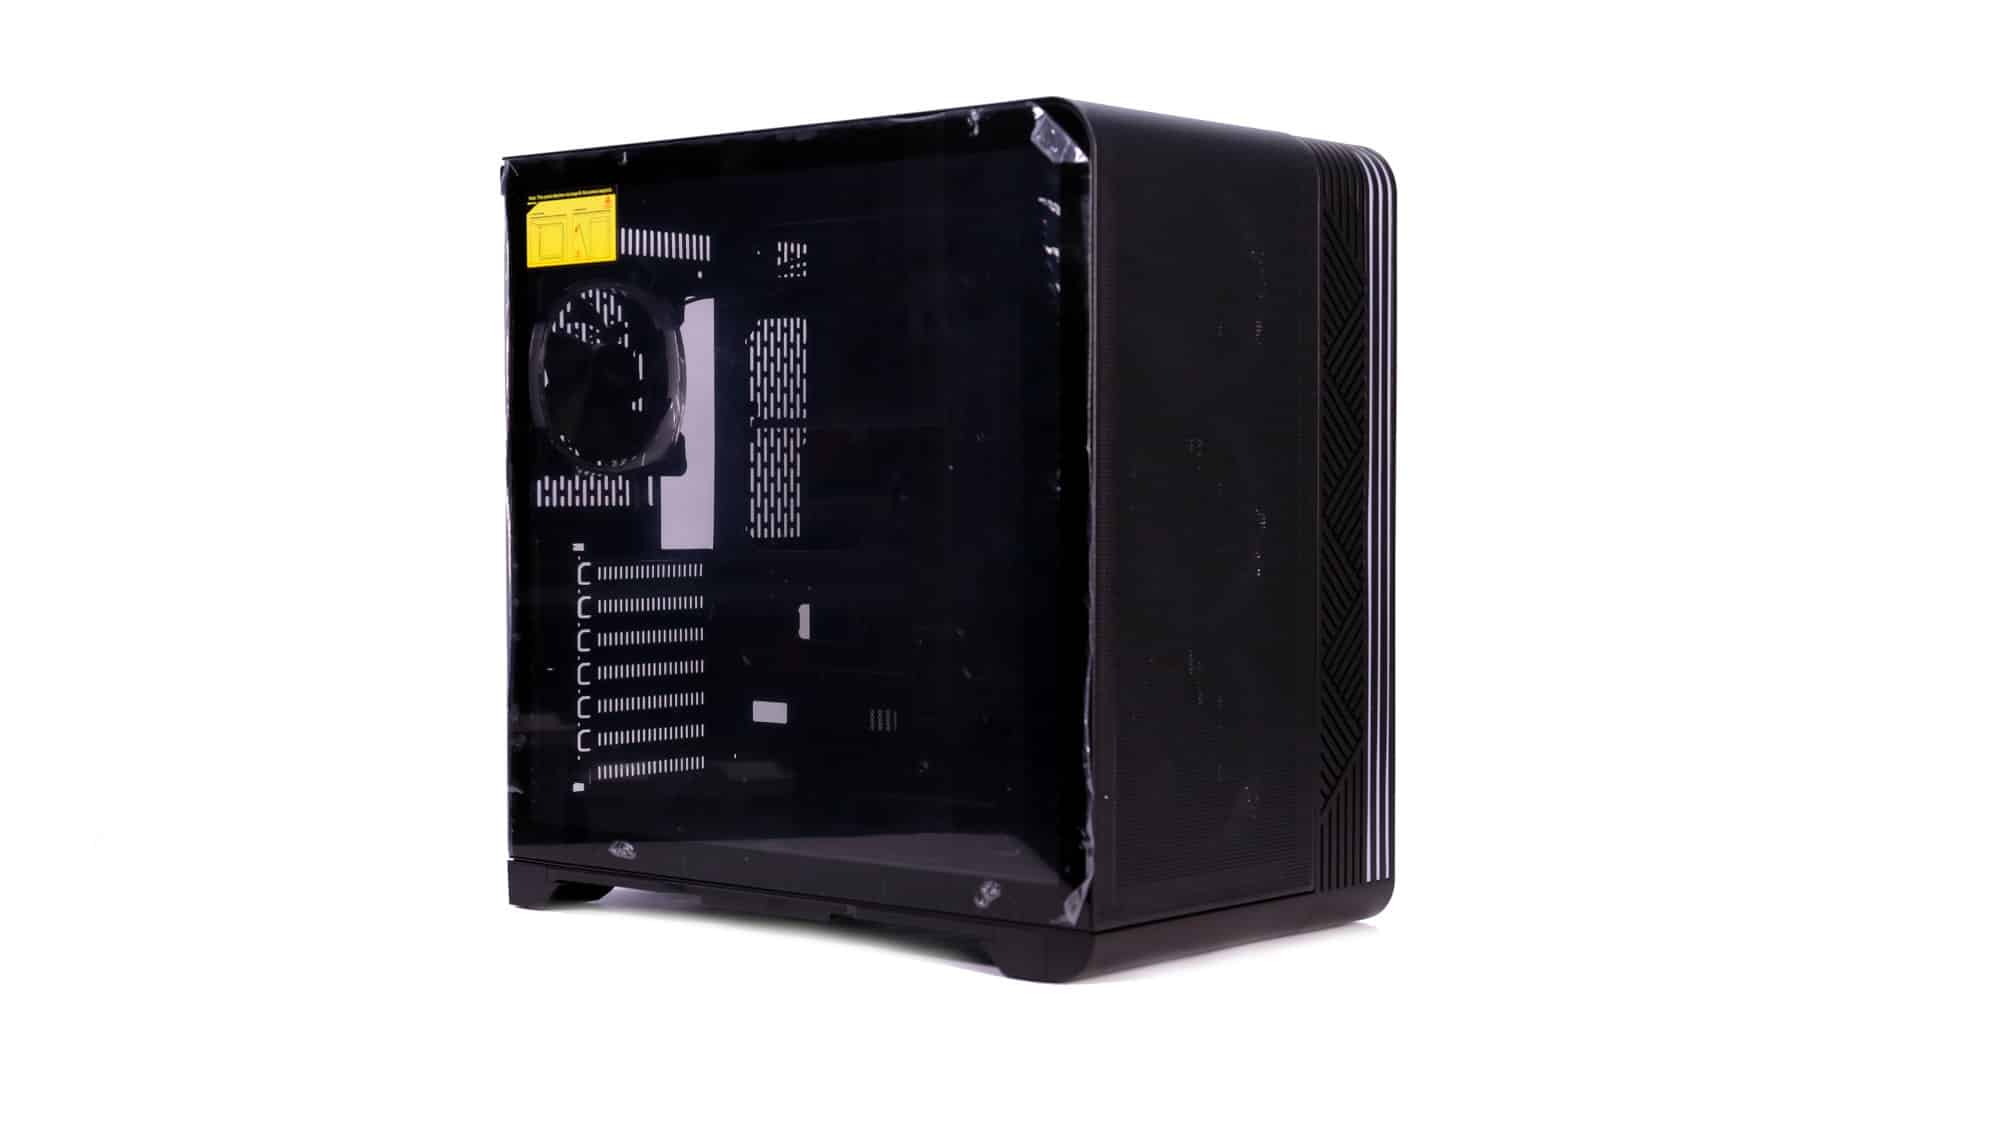
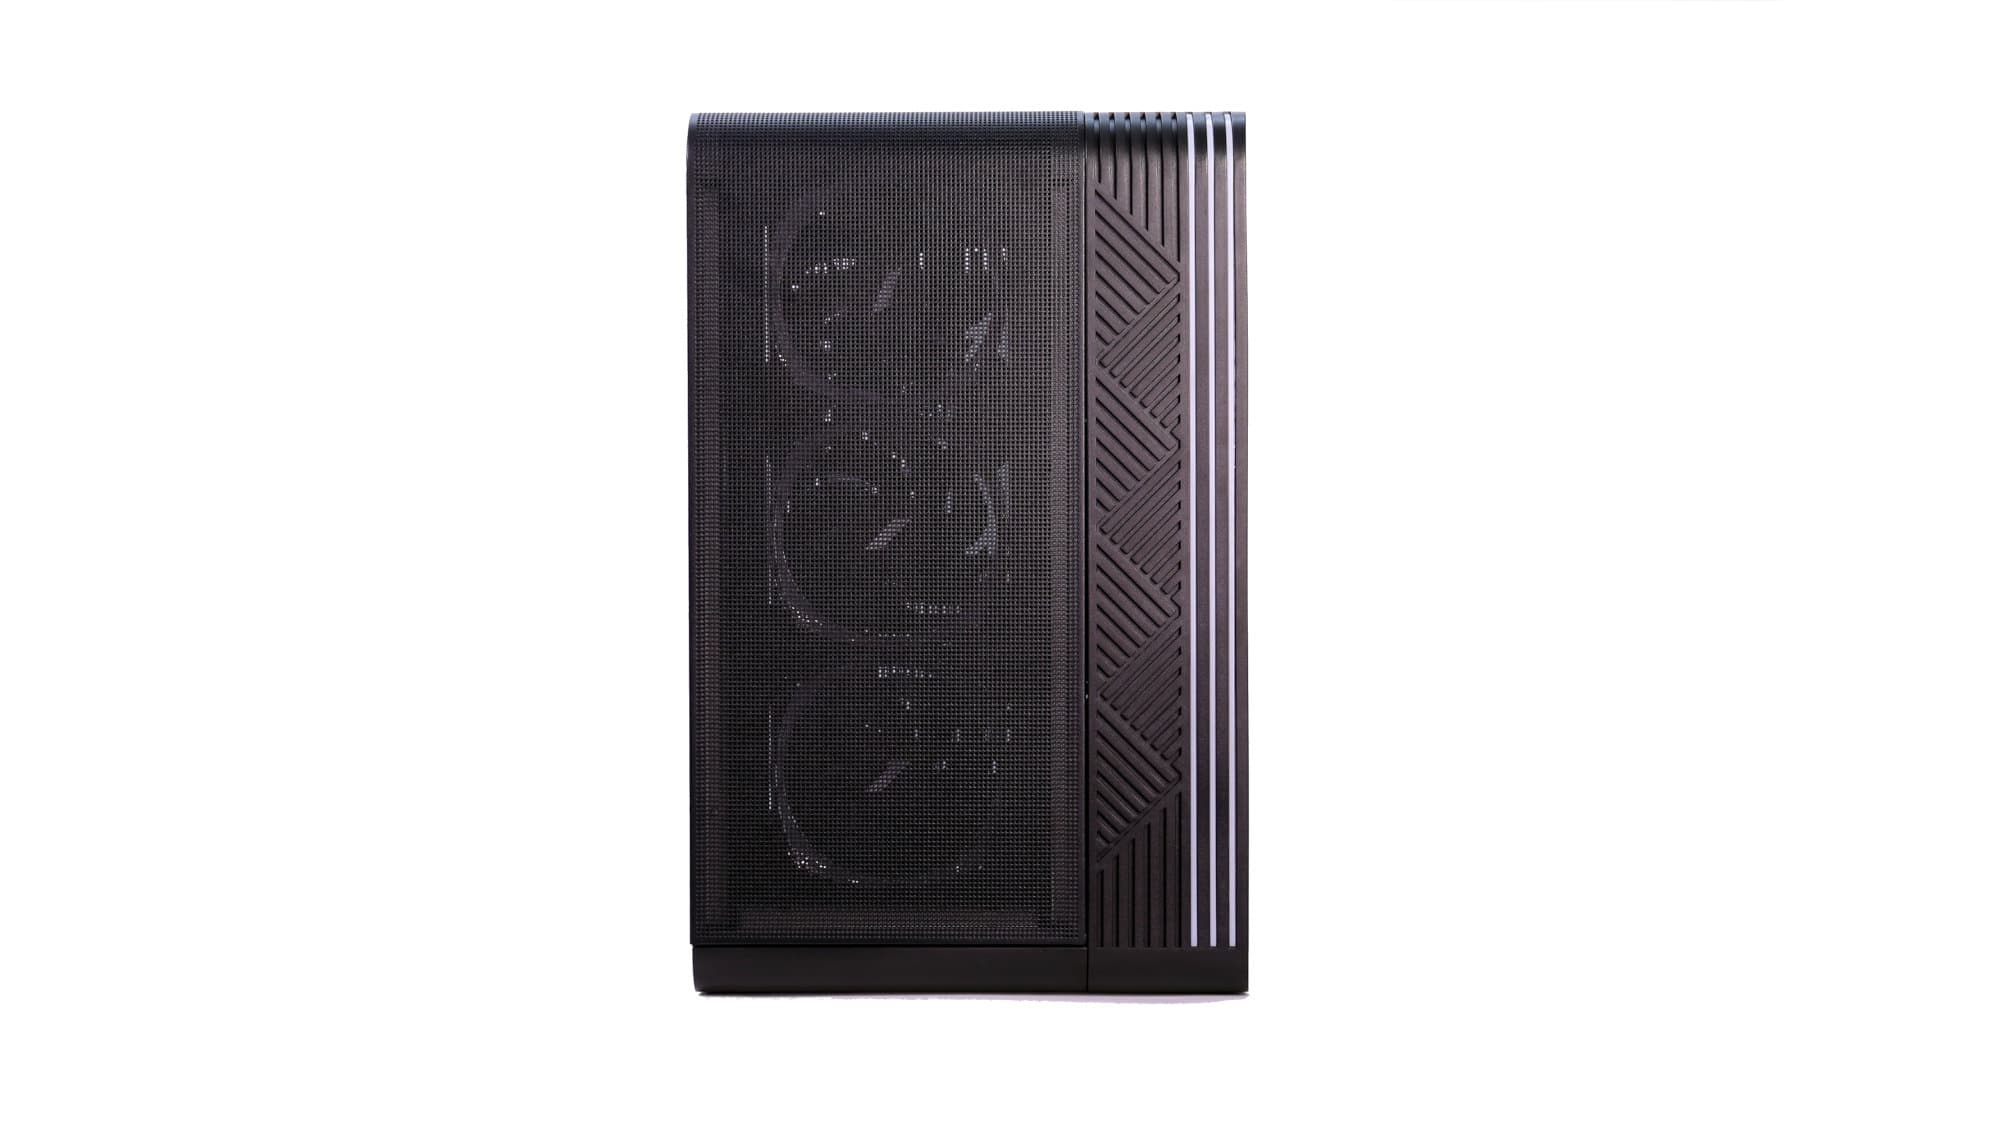
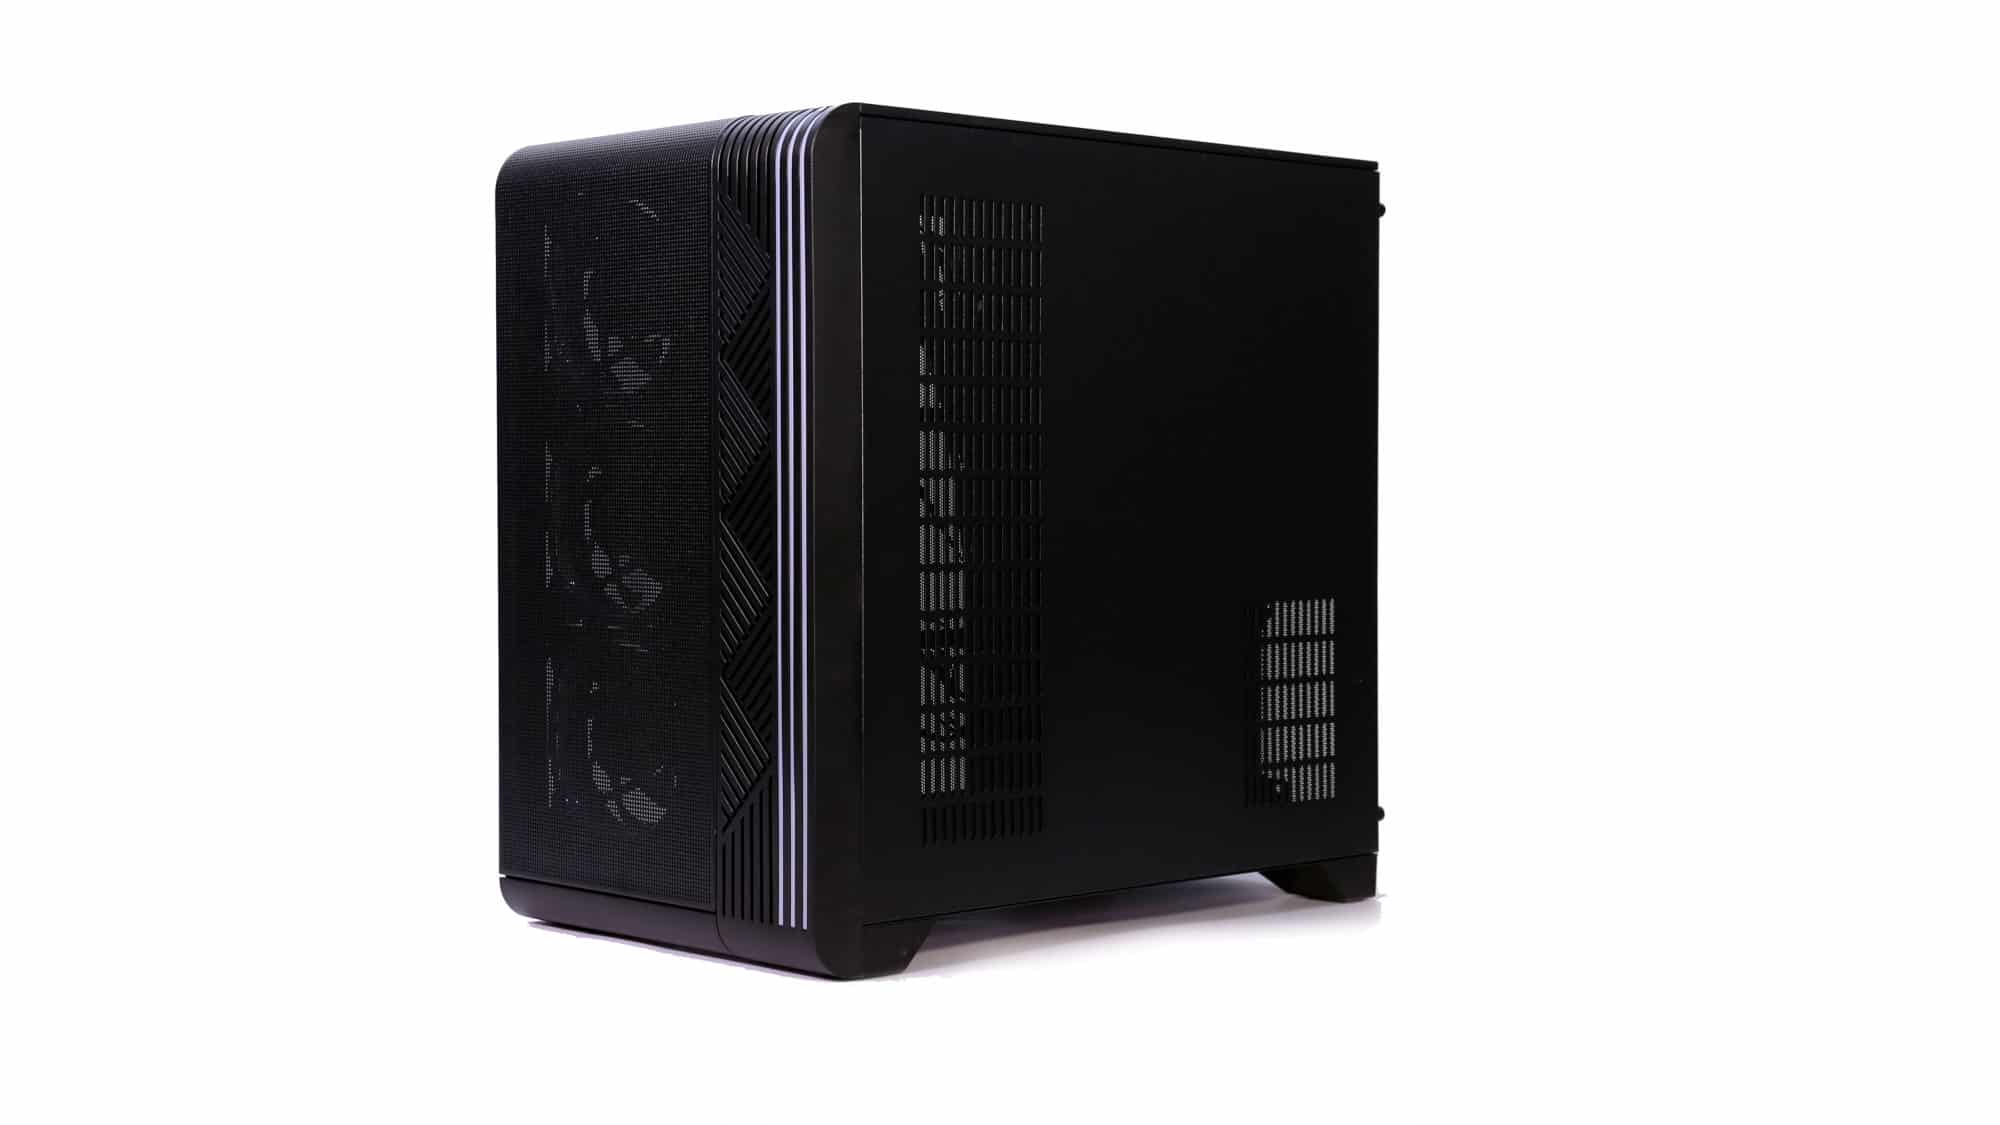
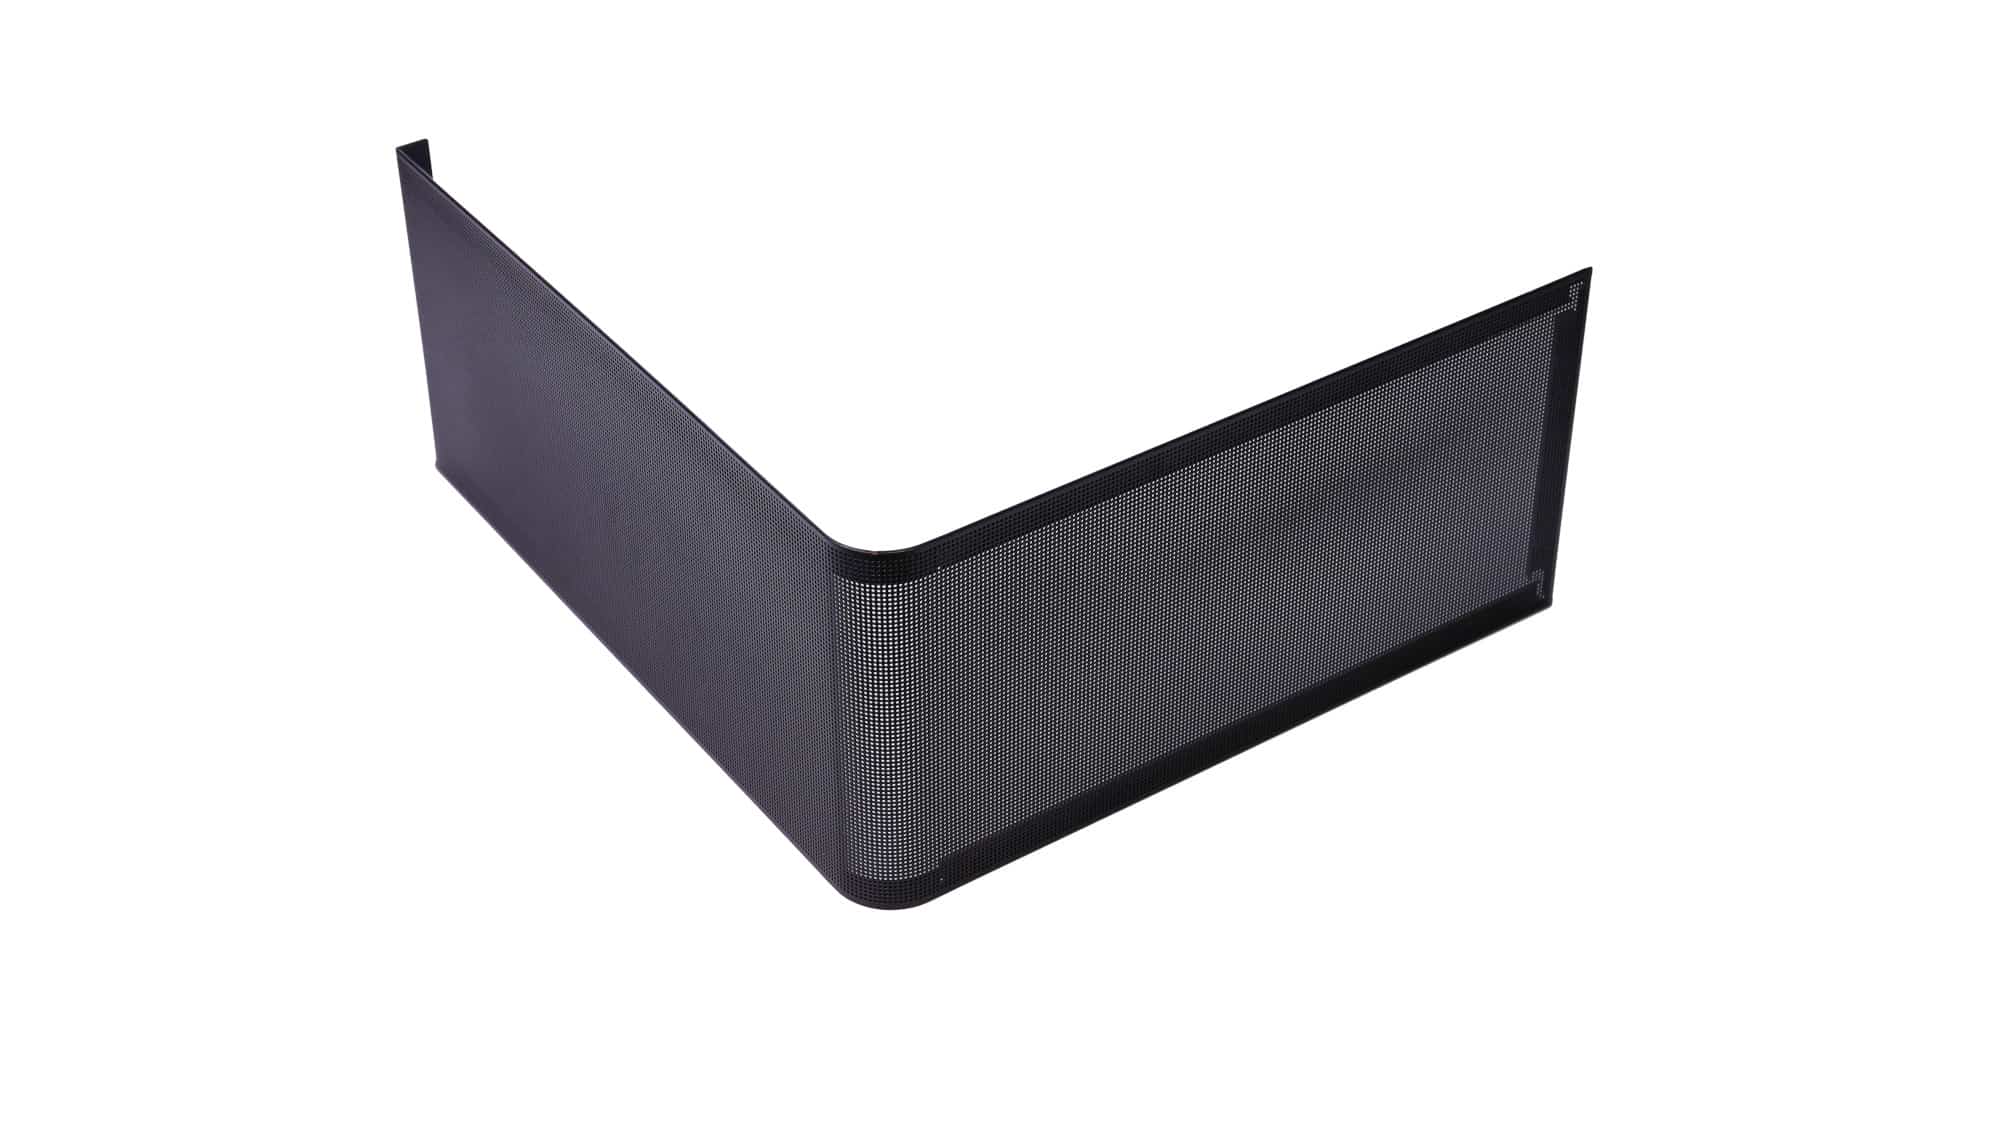
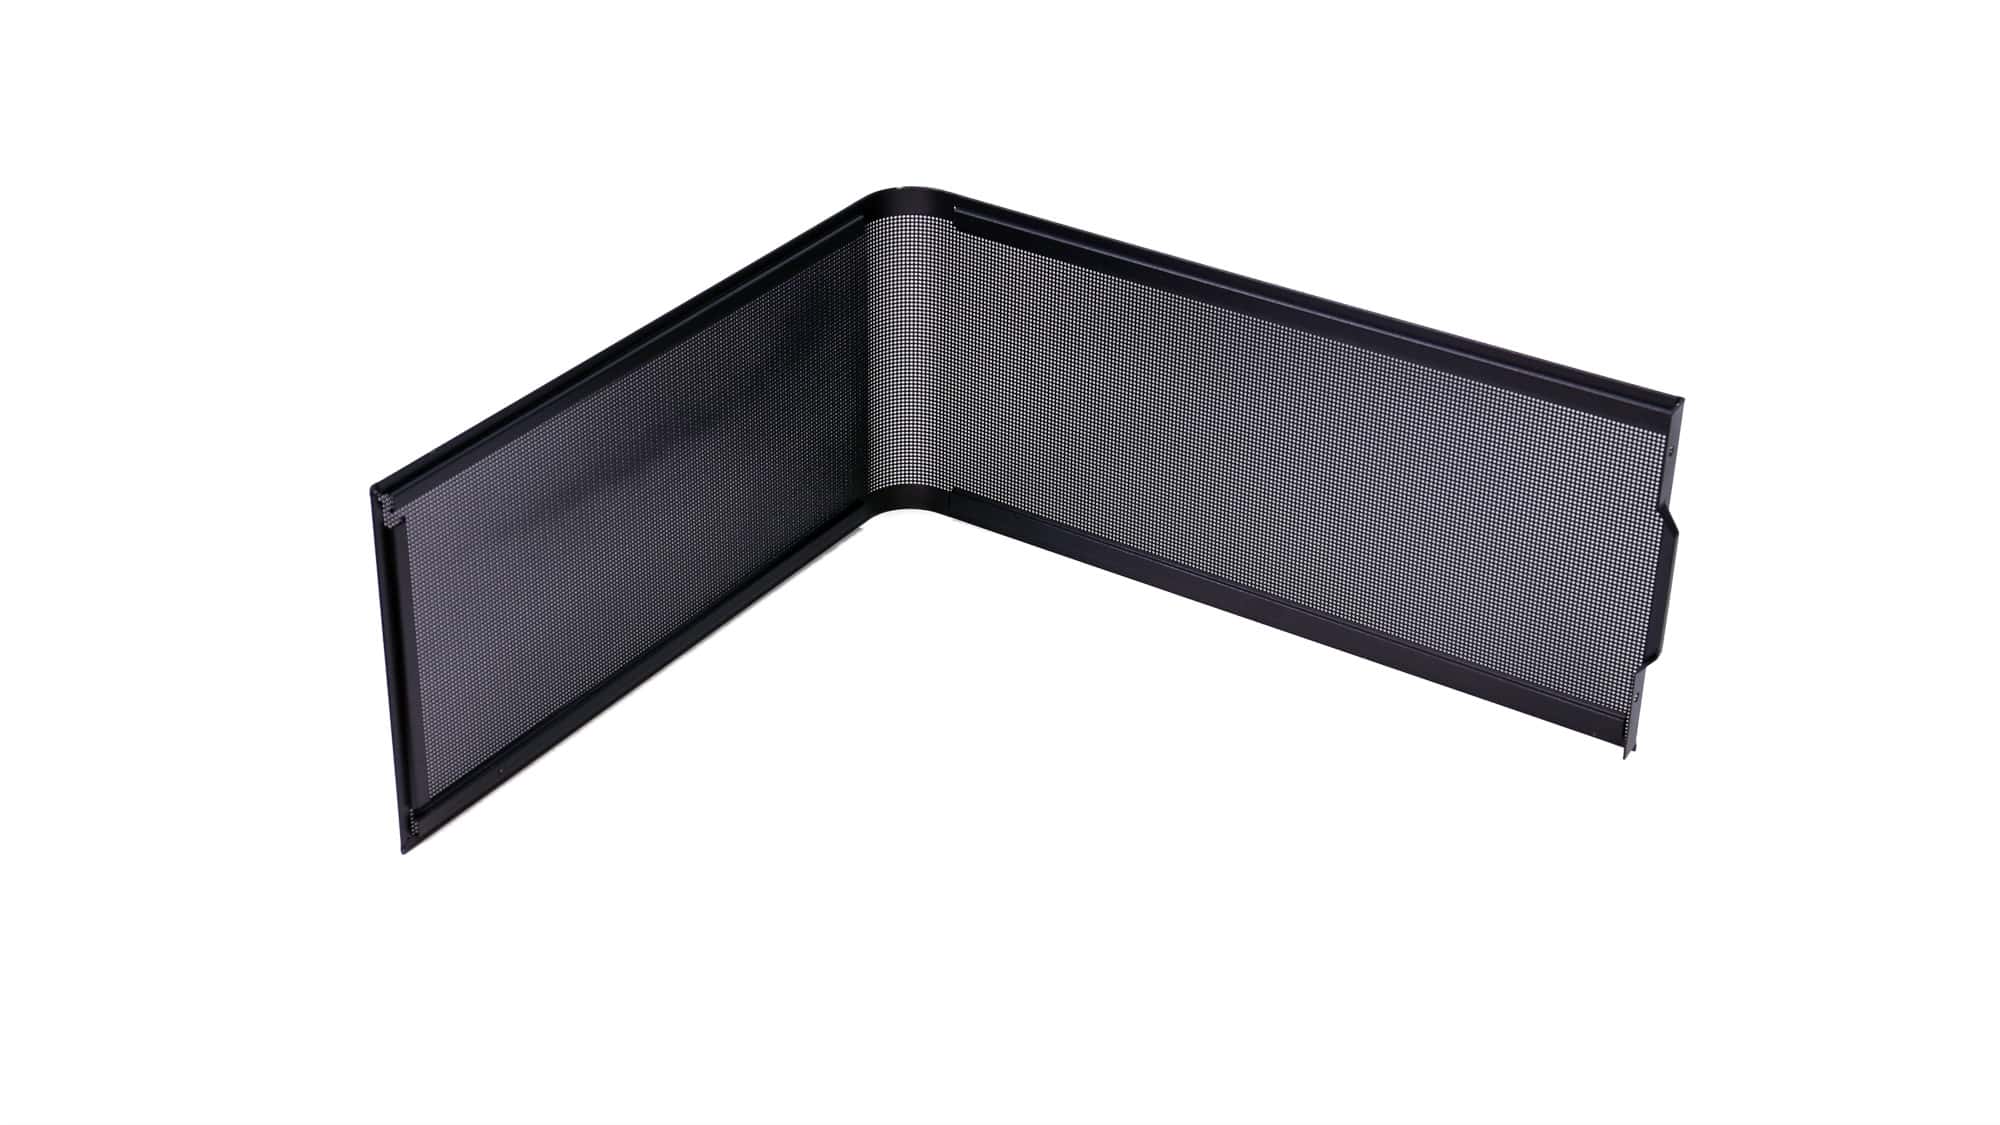
Let’s take a closer look at the chassis, starting with the single large panel that covers the front and top cooling openings. It’s an impressively long and sturdy piece, with magnet-secured perforations that allow visibility of the fans behind it.
But that’s not all there is to say about the design. The front panel features a clean yet interesting look, complemented by ARGB strips running vertically. They’re reminiscent of those on the be quiet! Light Base 900FX.
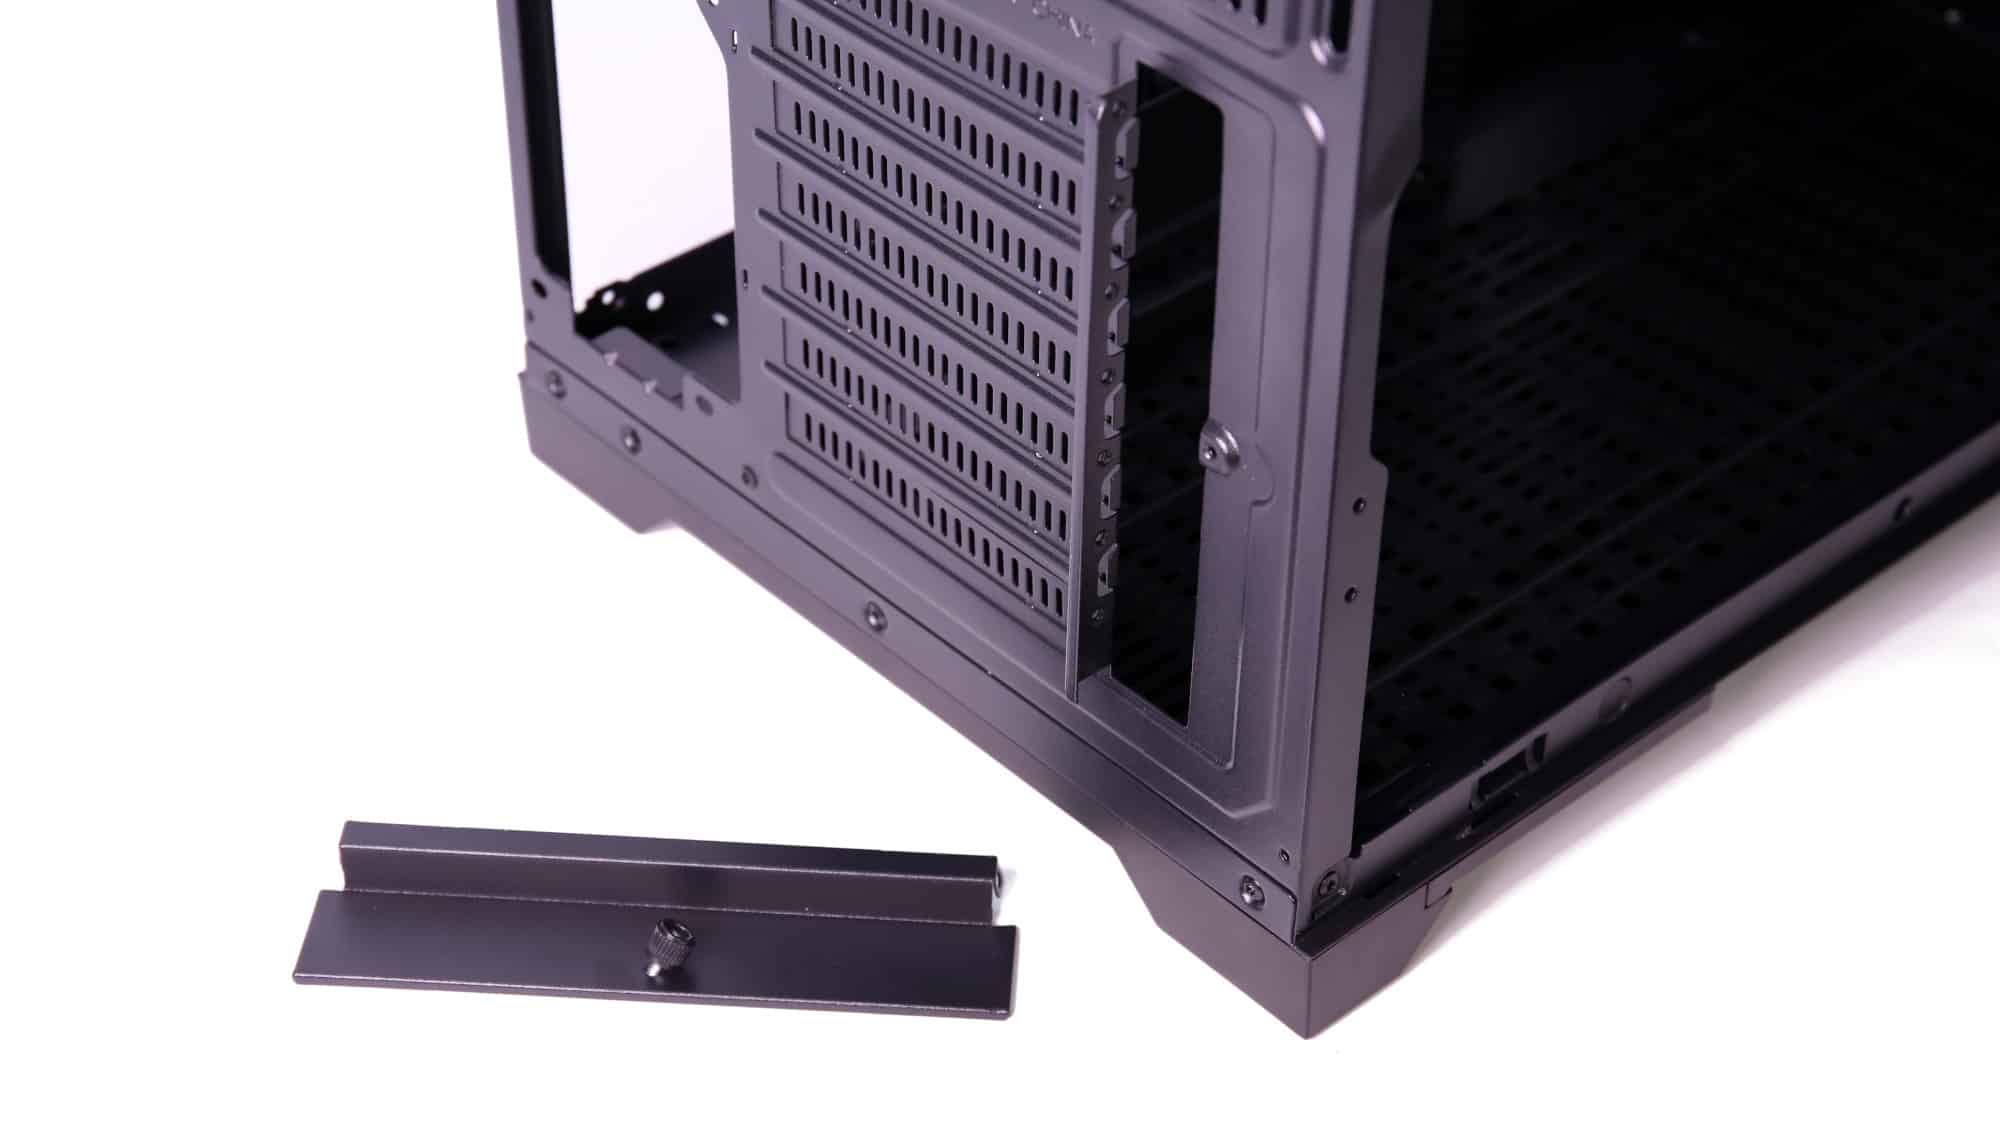
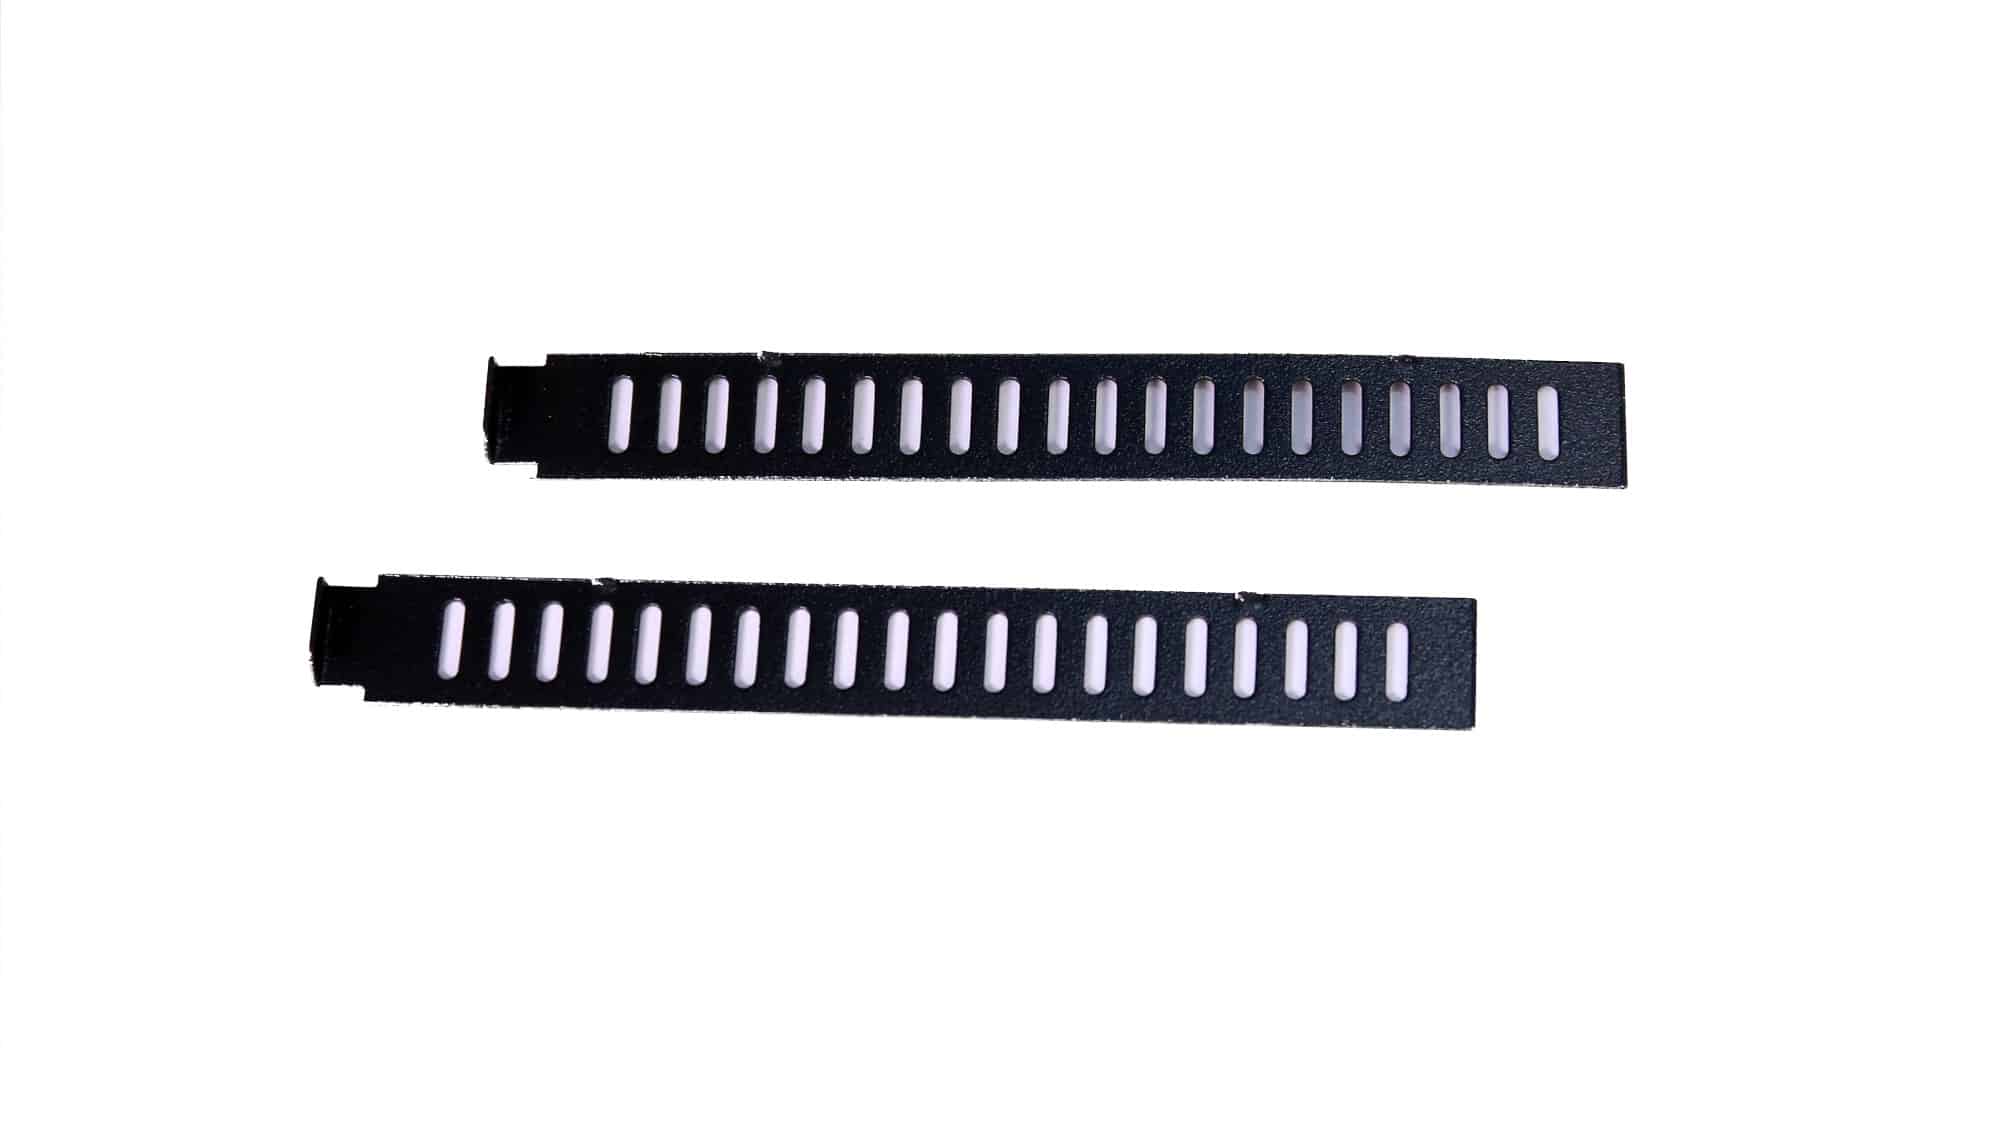
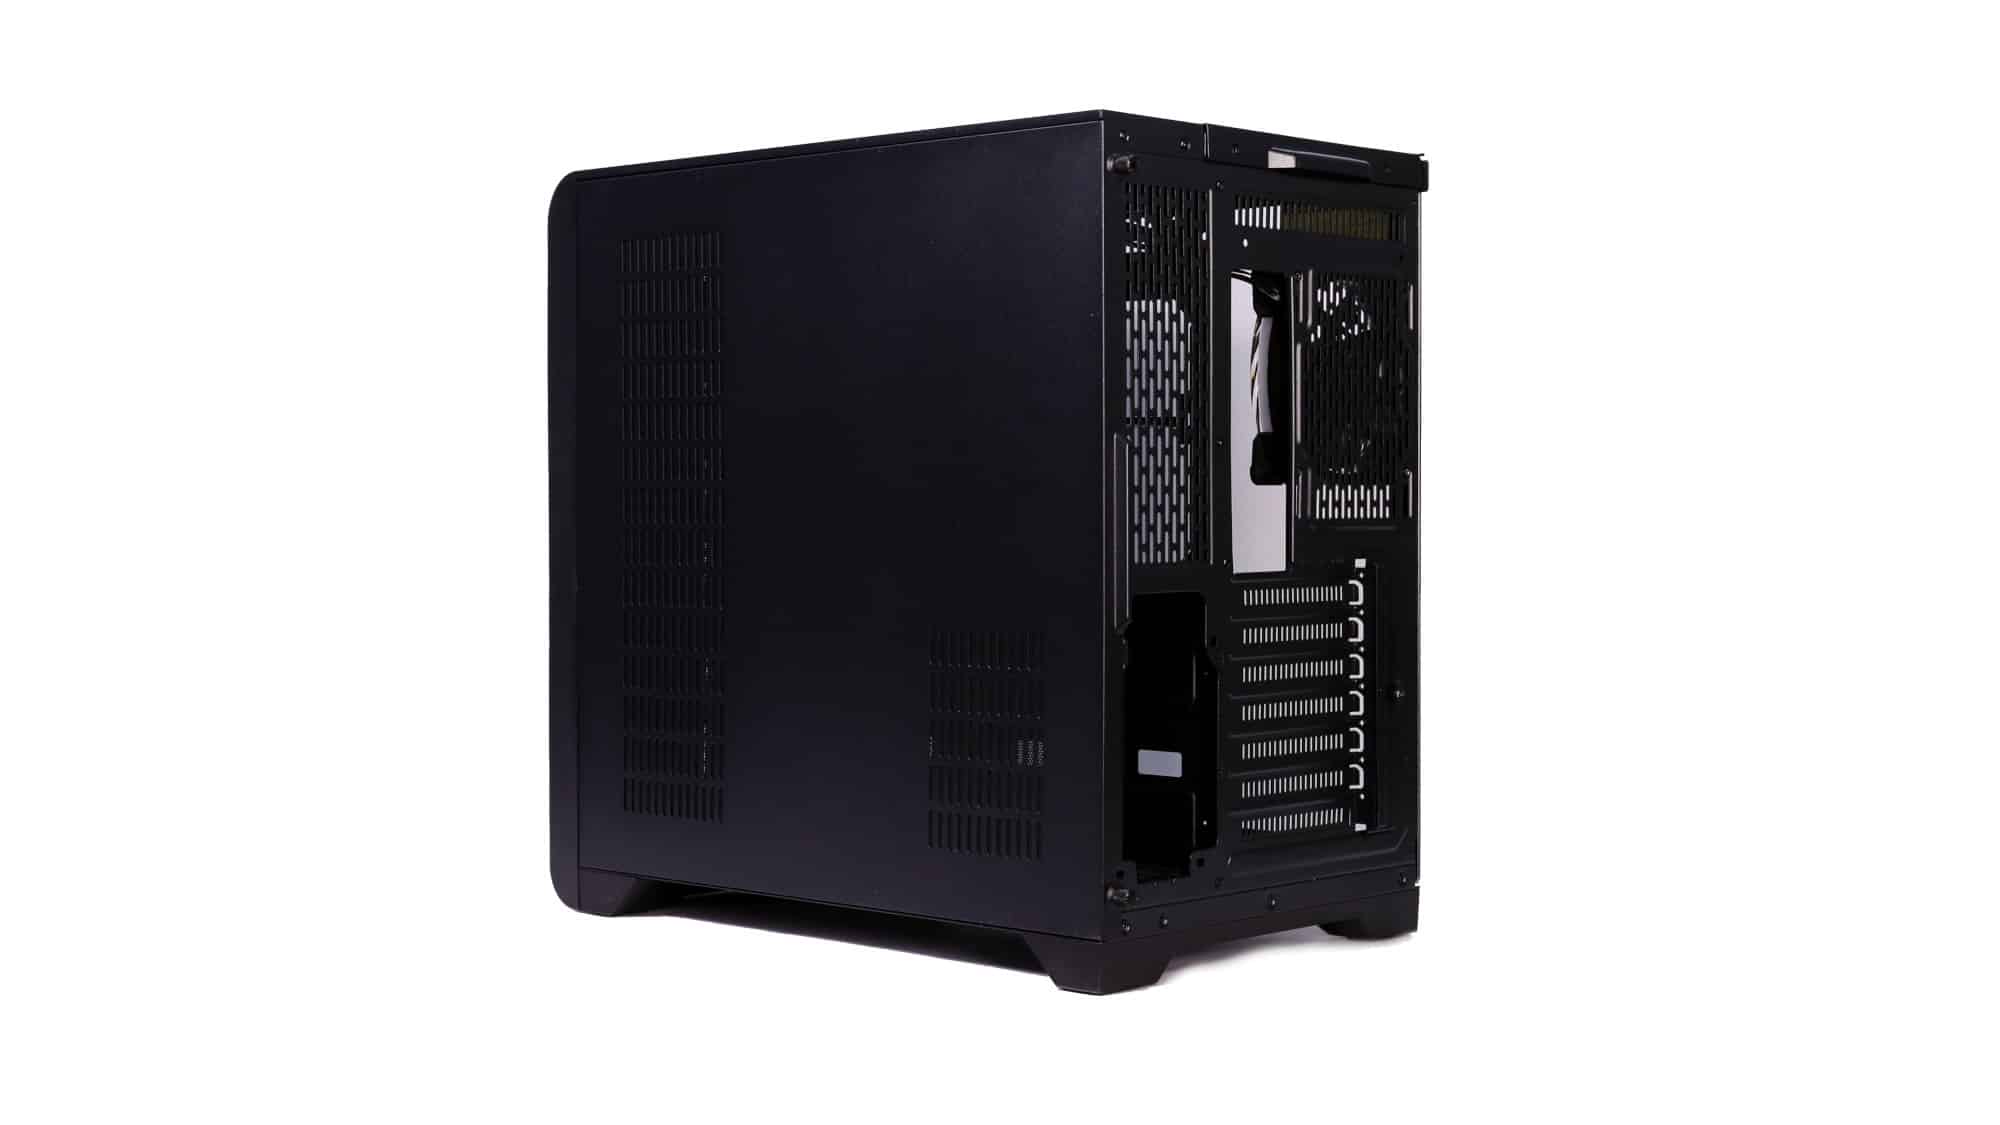
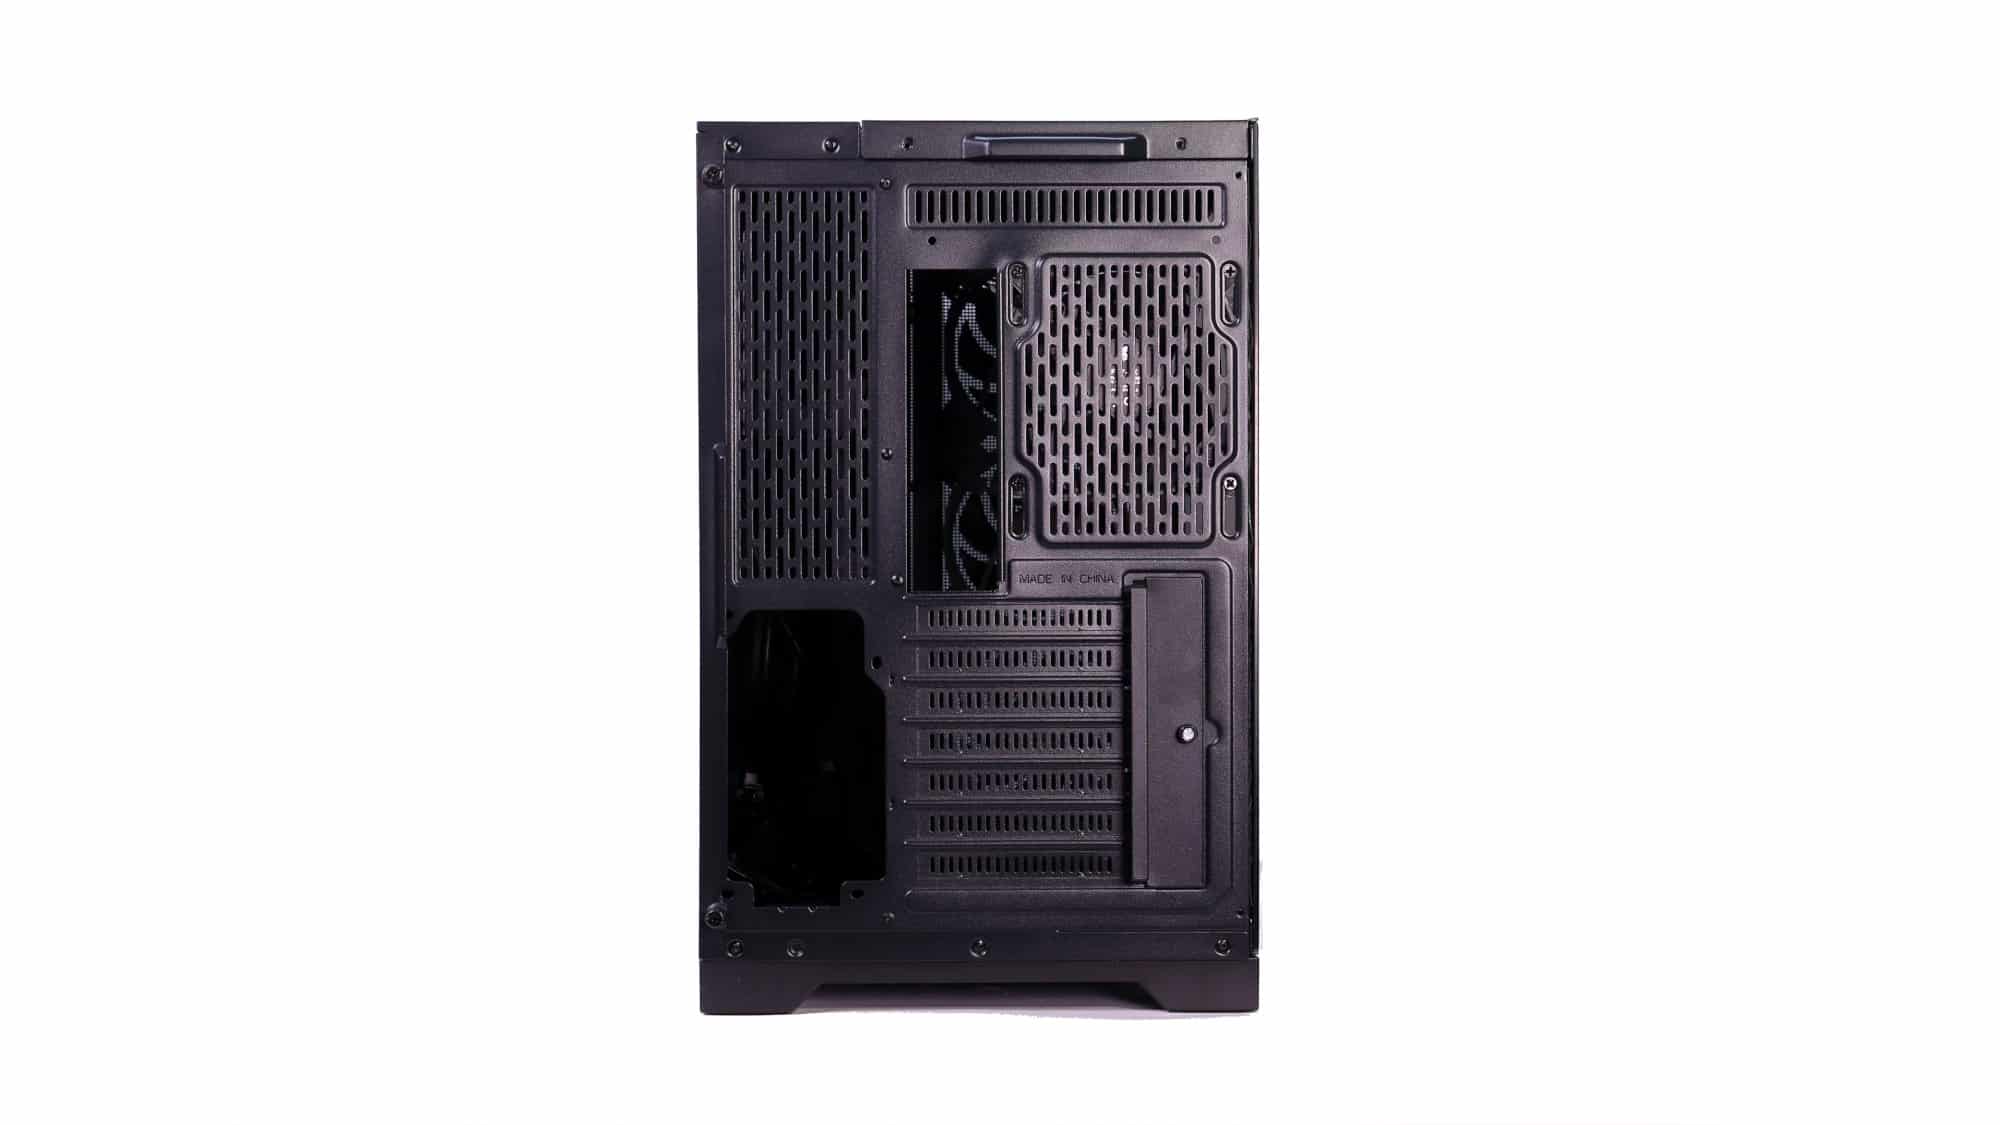
The rear of the chassis is quite busy, typical of dual-chamber designs. You’ll find the motherboard’s rear I/O cutout, a vertically adjustable 120mm fan mount, and seven expansion slots (that are of the snap-away type, unfortunately). On the secondary chamber side, there’s a vertically mounted PSU slot at the bottom and ventilation above it.
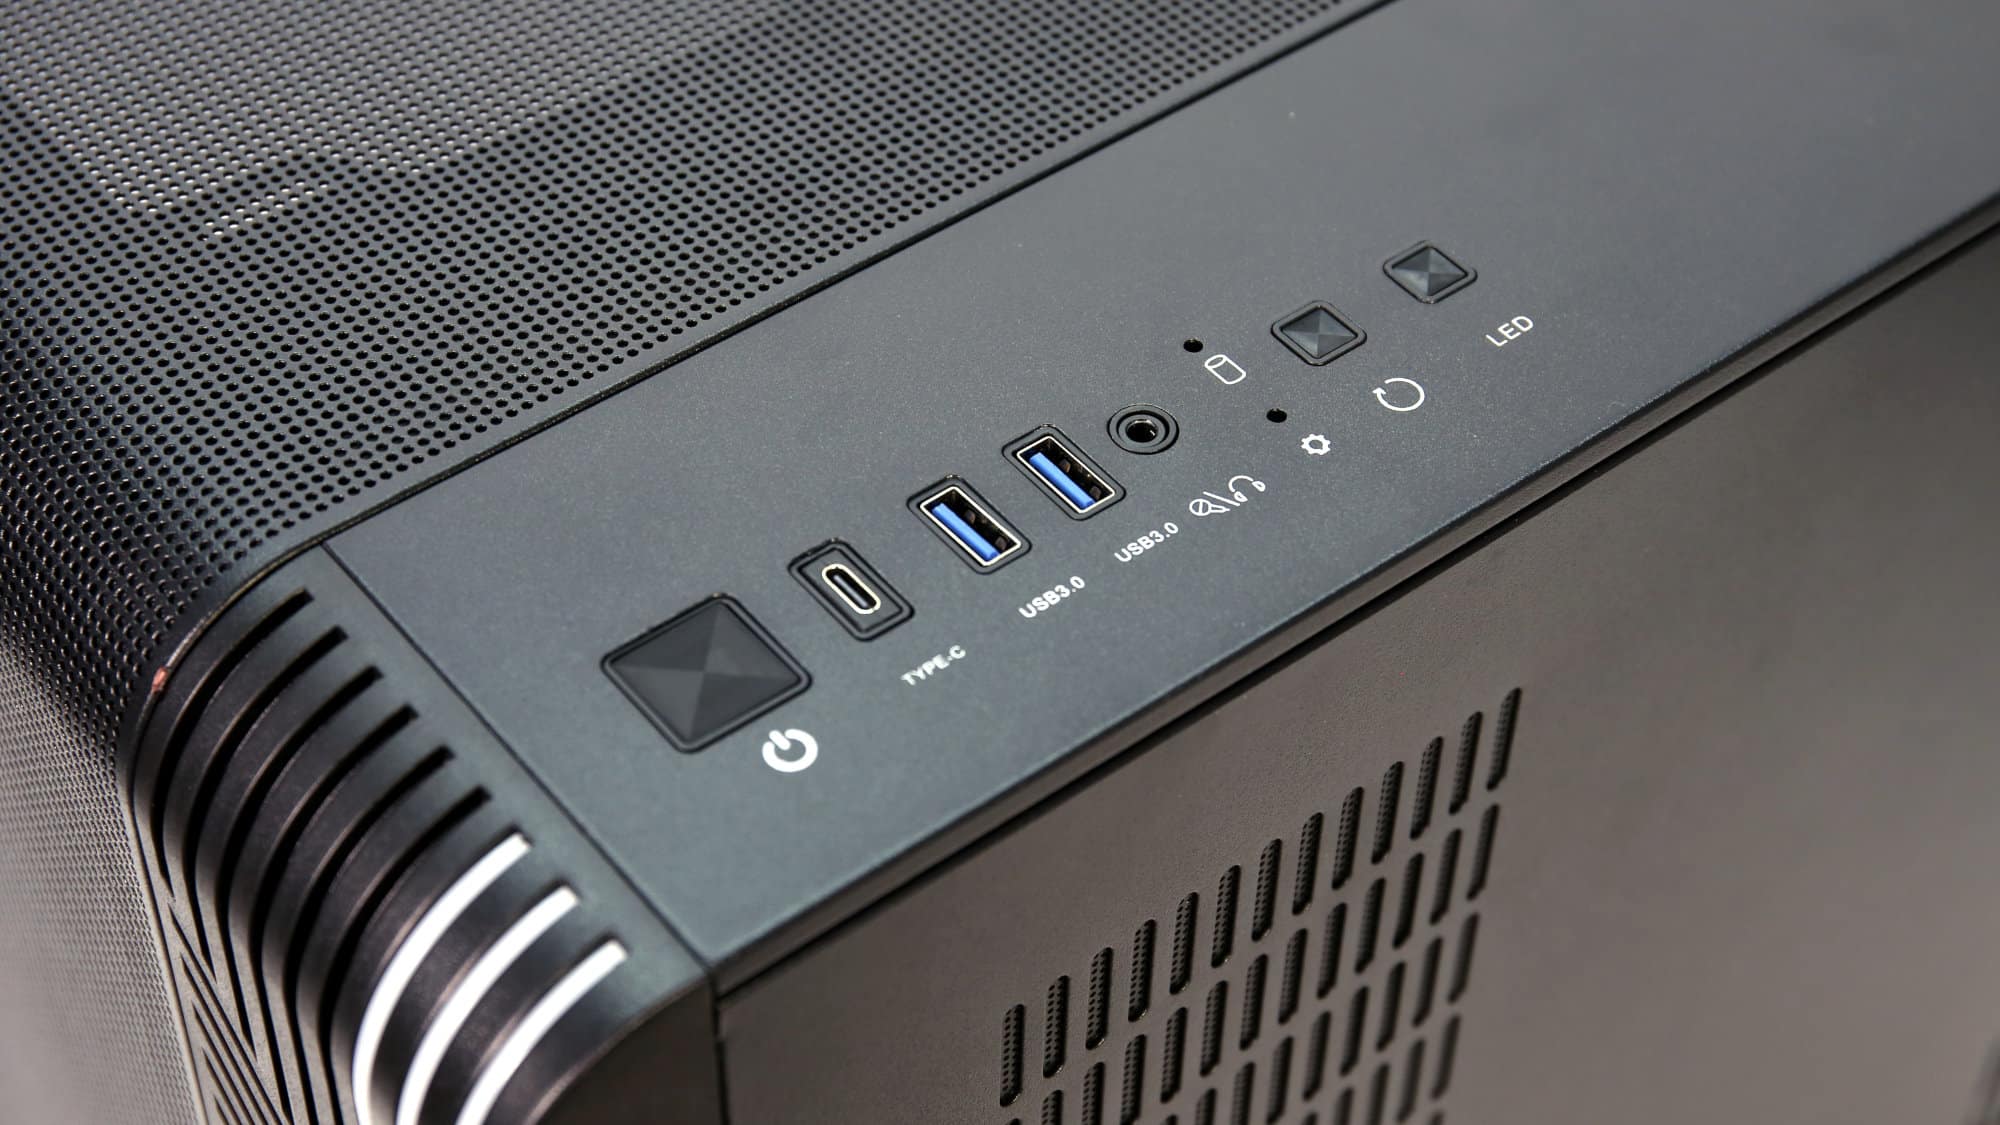
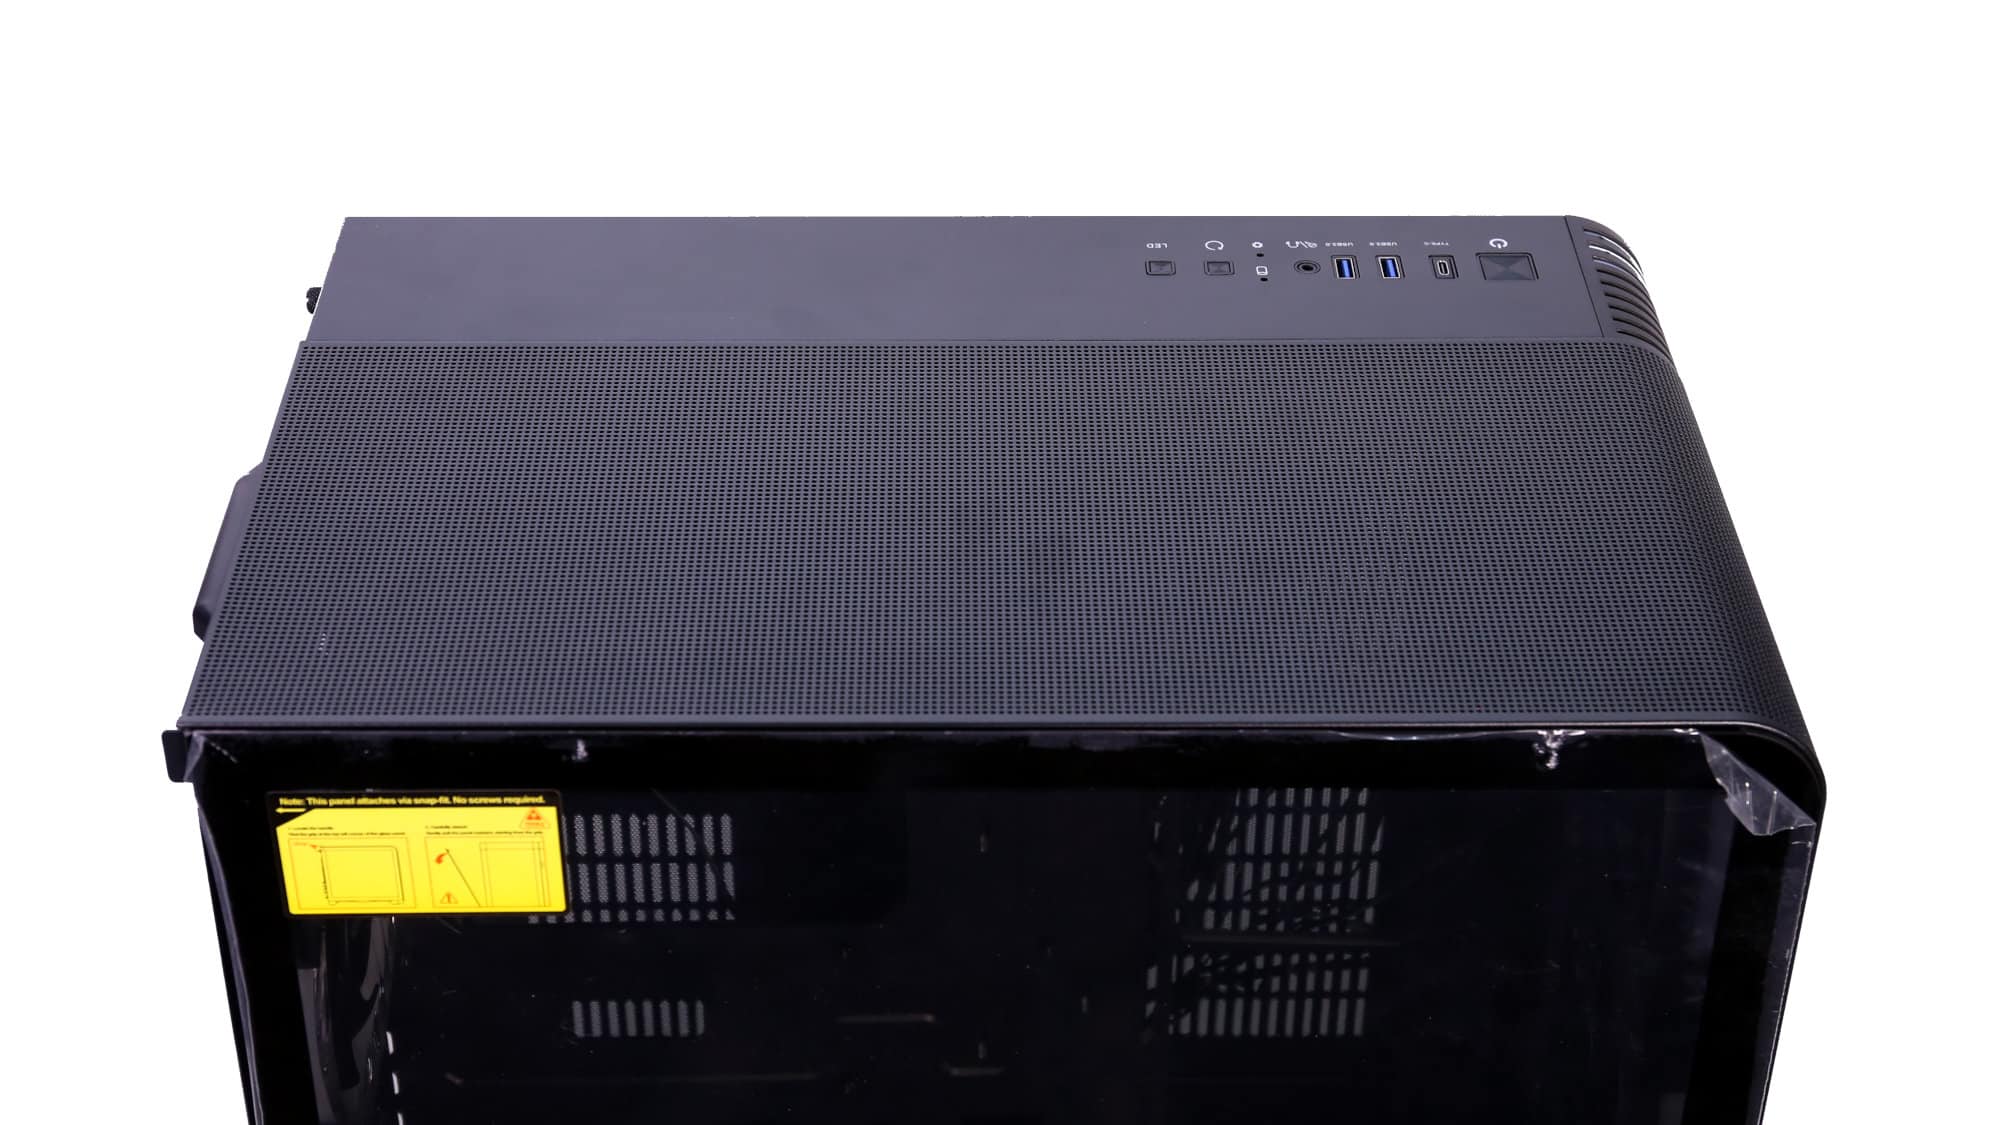
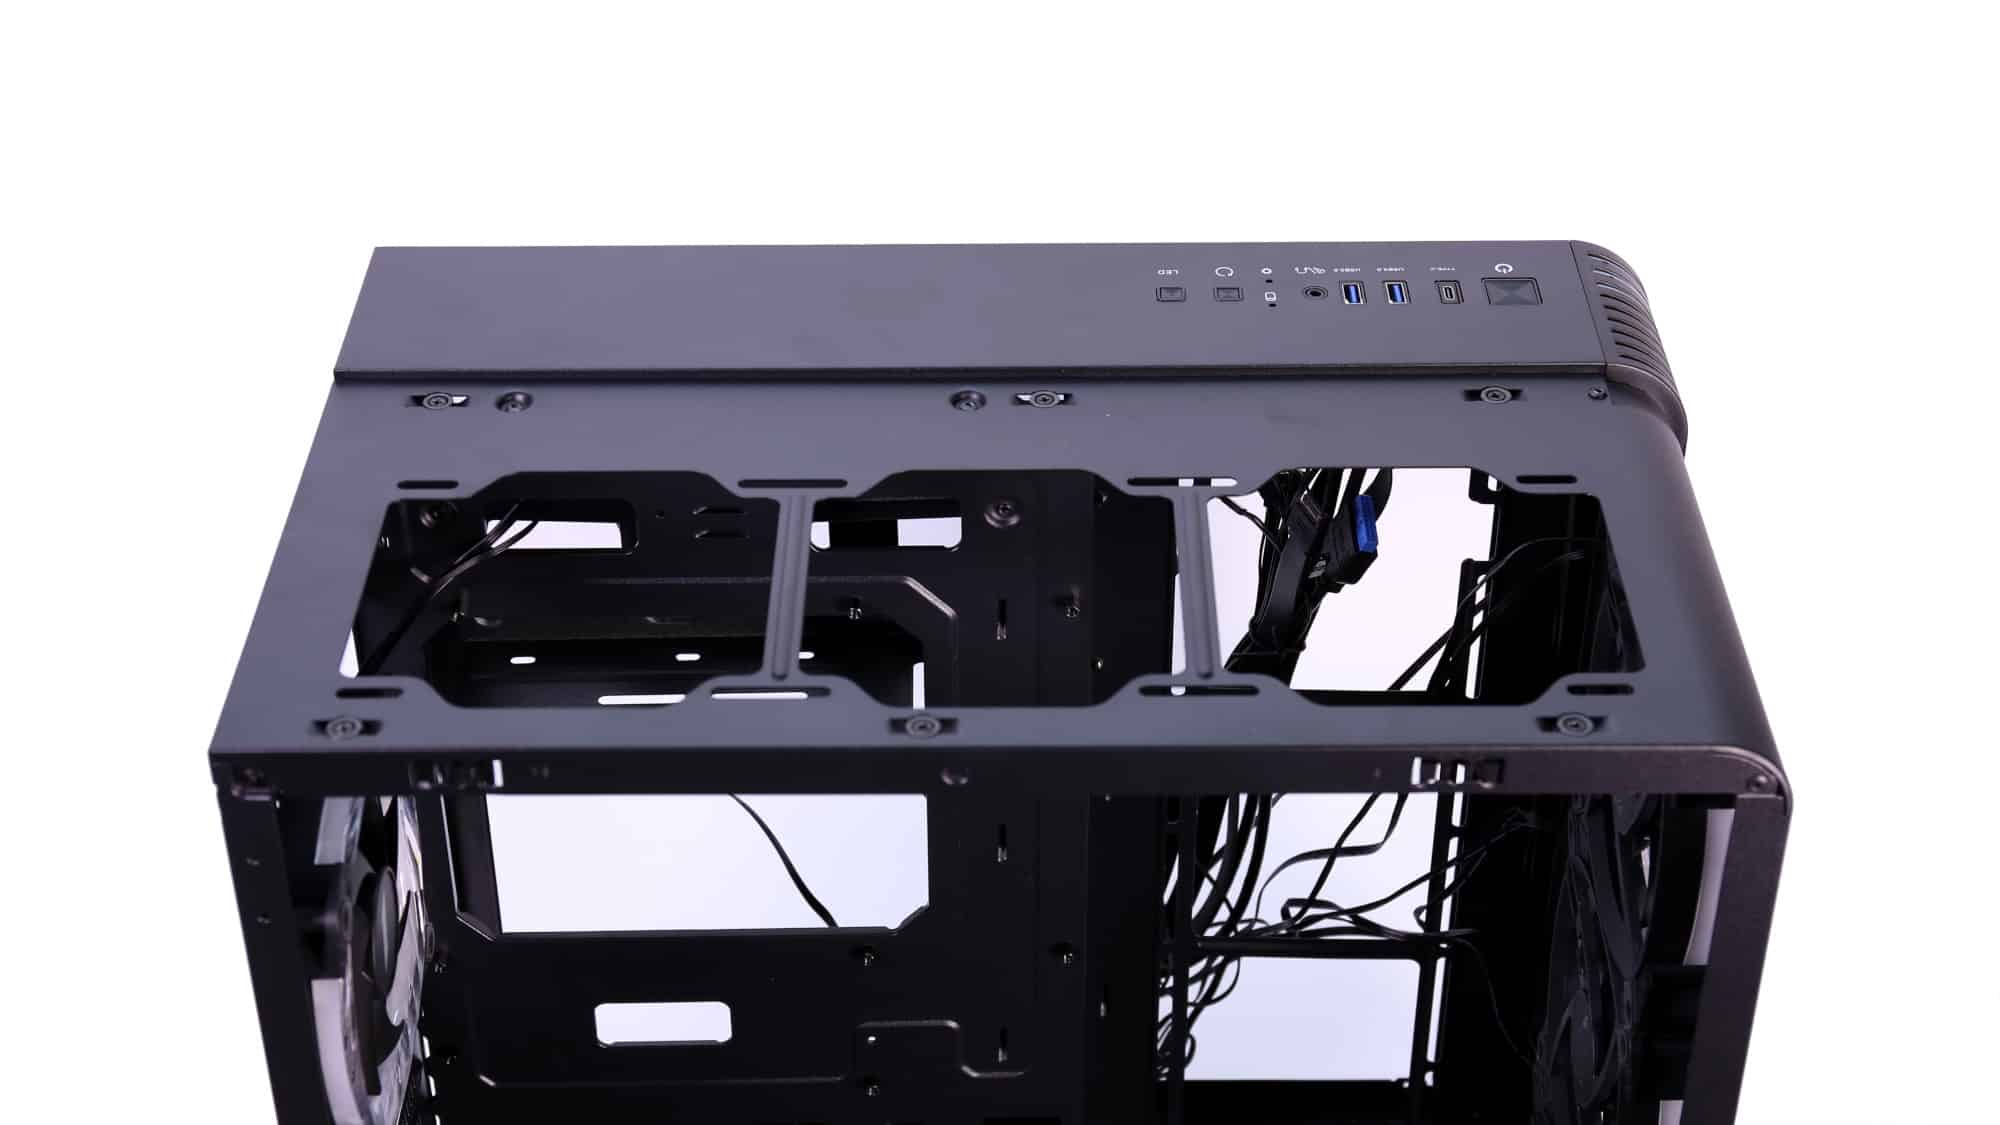
At the top, above the secondary chamber, you’ll find the chassis I/O. It’s one of the better-equipped options, with dual USB 3.0 Type-A ports, one USB Type-C, a combo headphone jack, and buttons for power, reset, and ARGB control. Two classic LEDs are also present for power and drive activity.
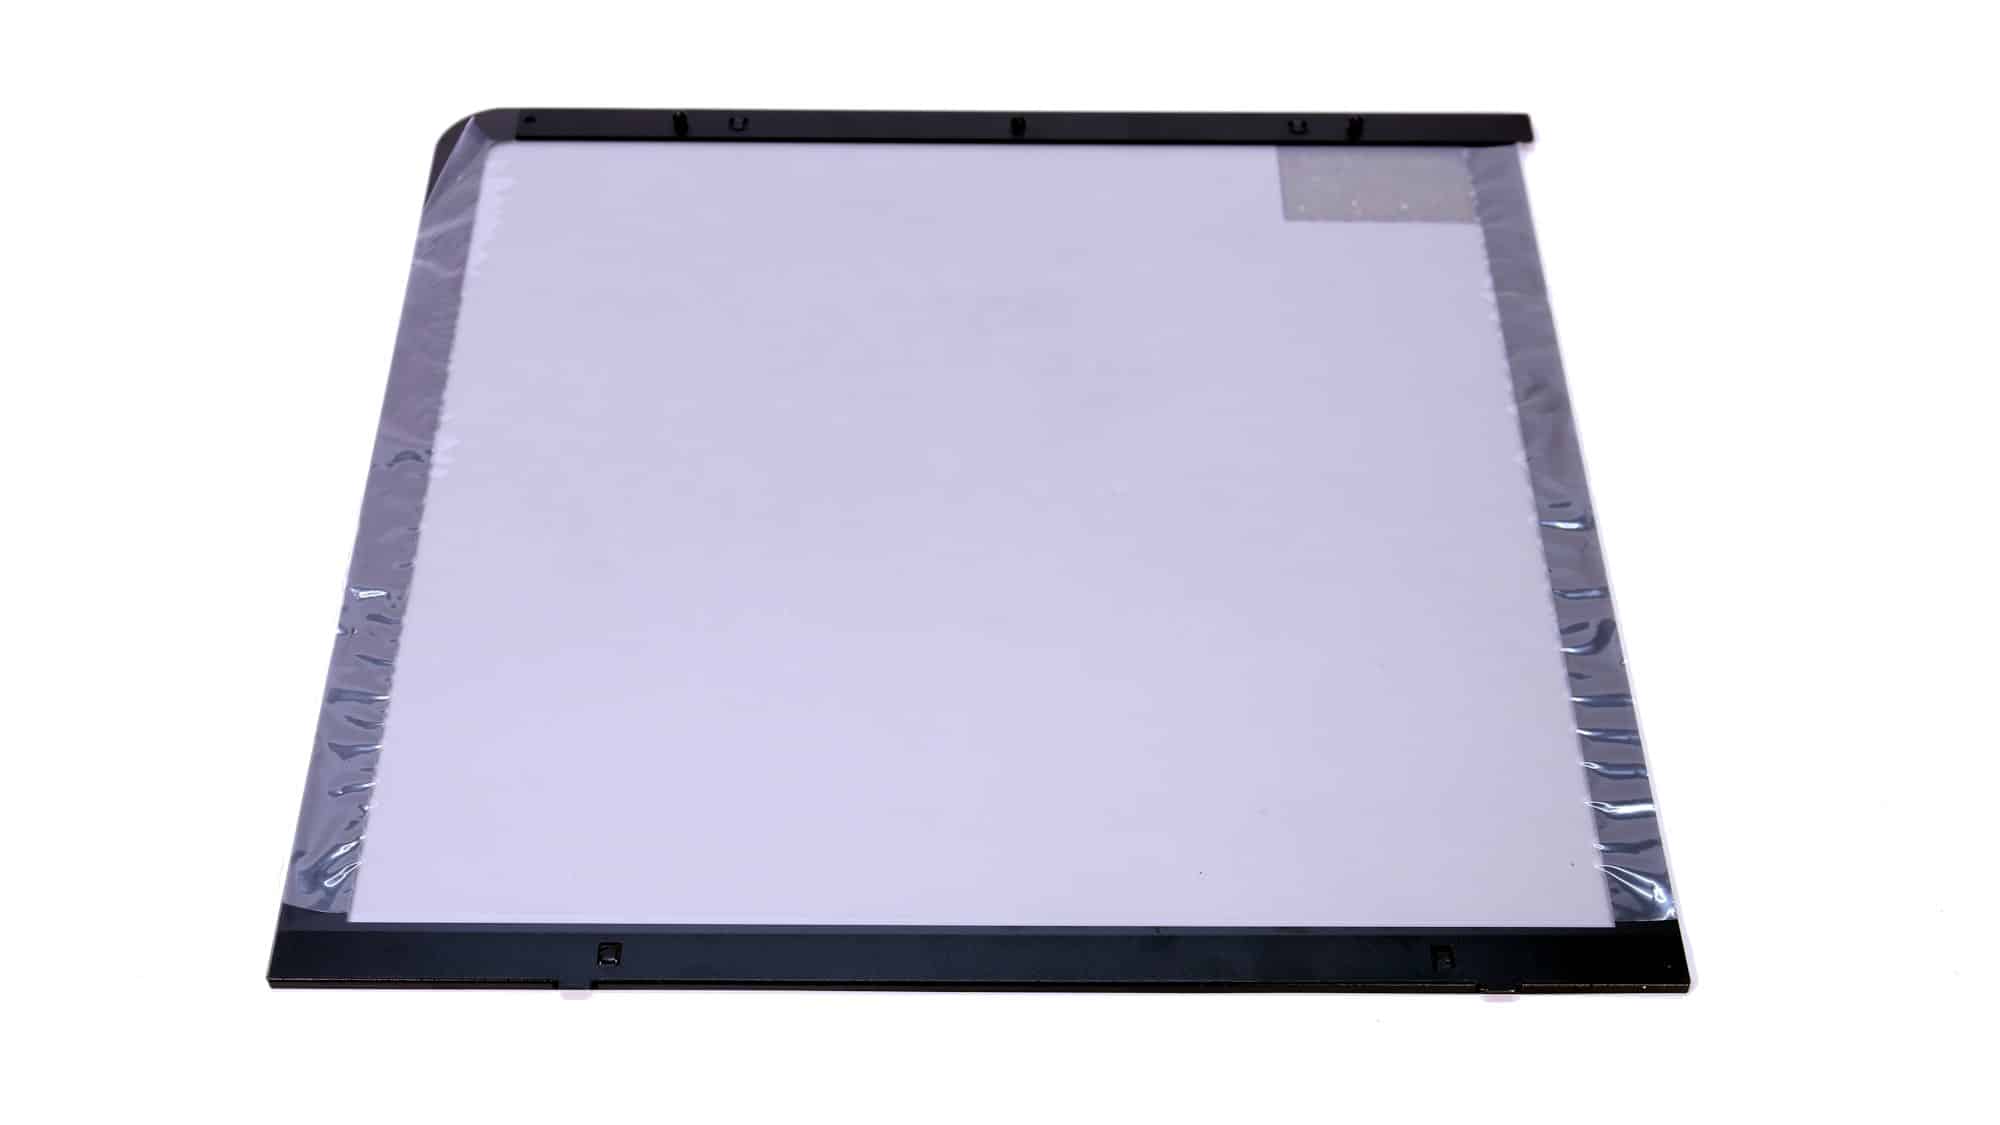
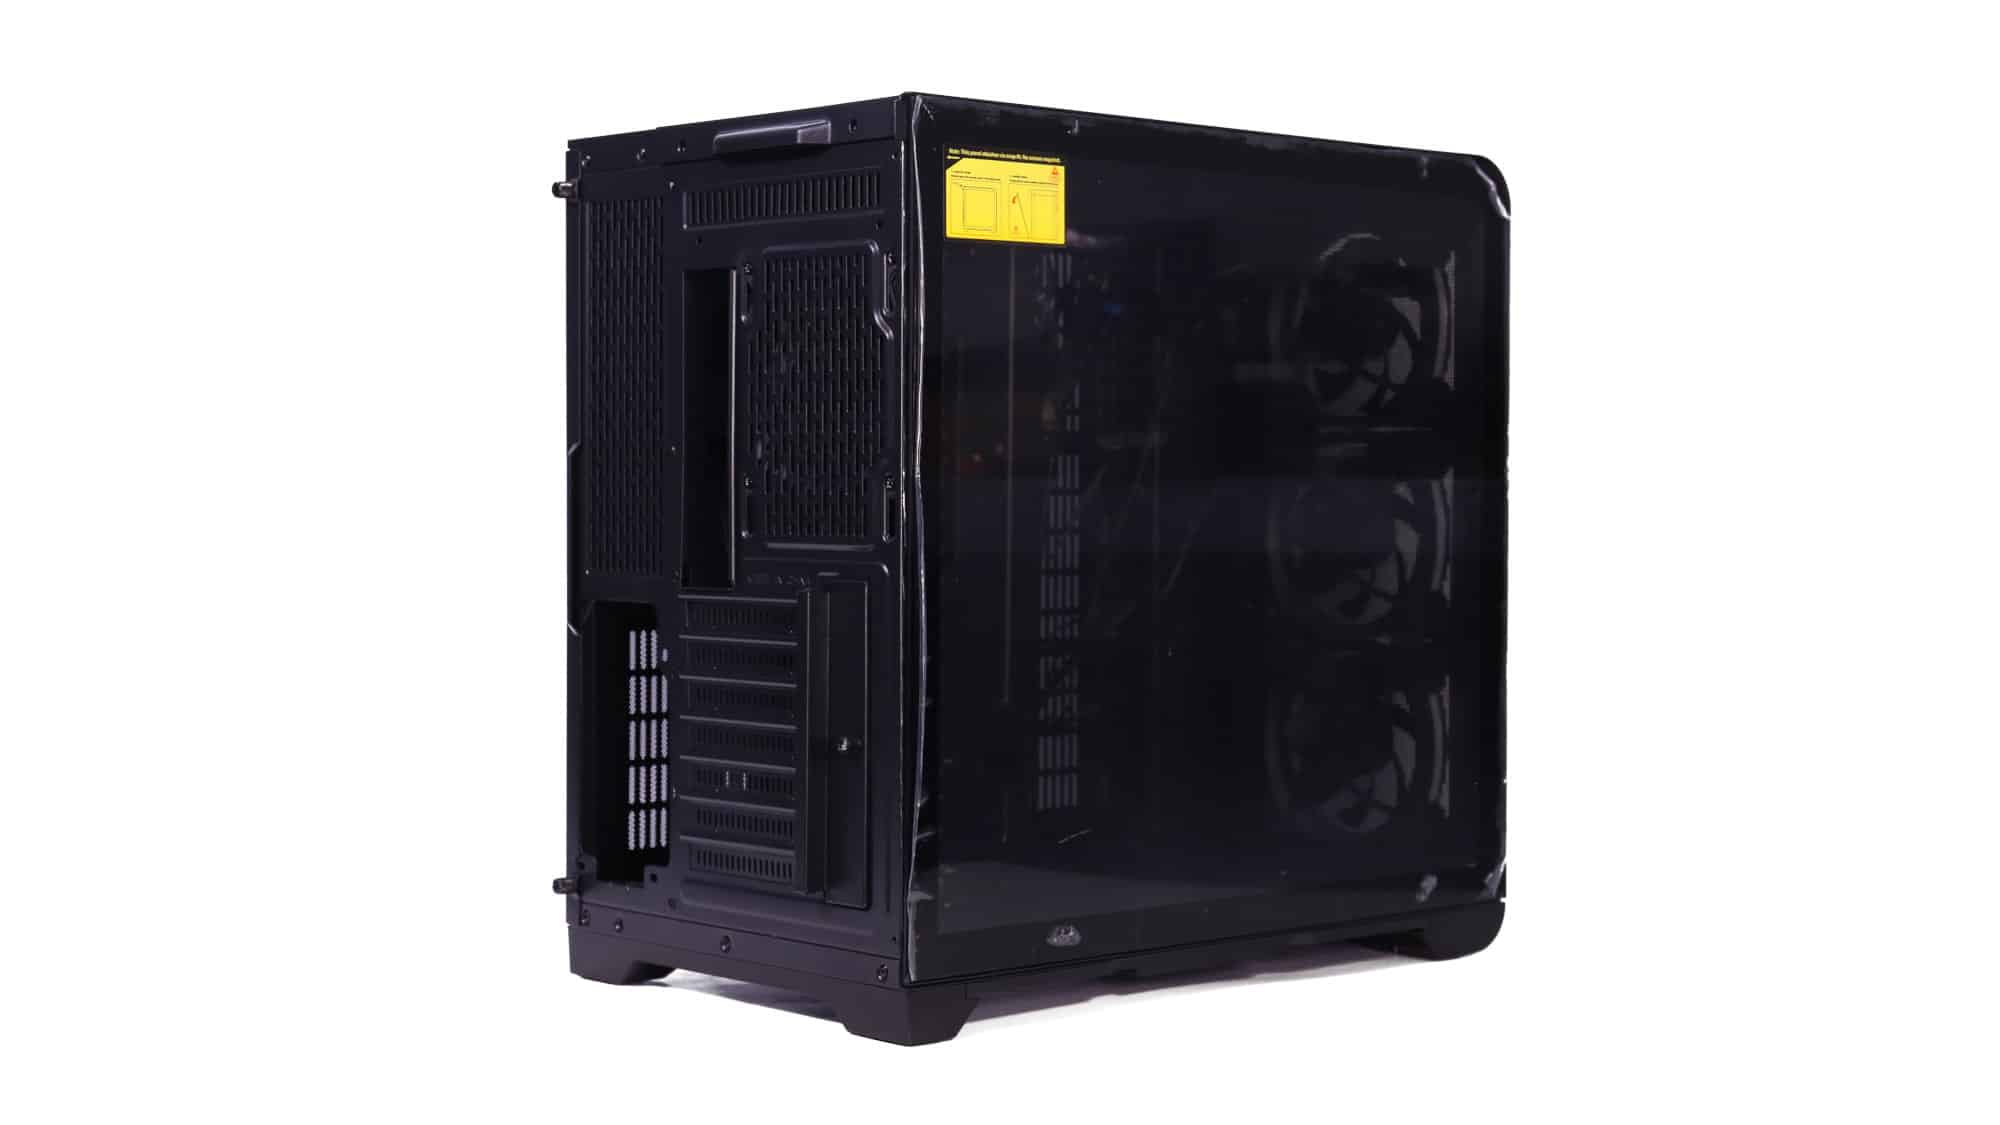
On one side is a dark-tinted tempered glass panel mounted on a metal frame. Two small metal tabs at the bottom help align it, and plastic clips at the top hold it in place. A rear-positioned metal tab allows you to remove the glass without tools.
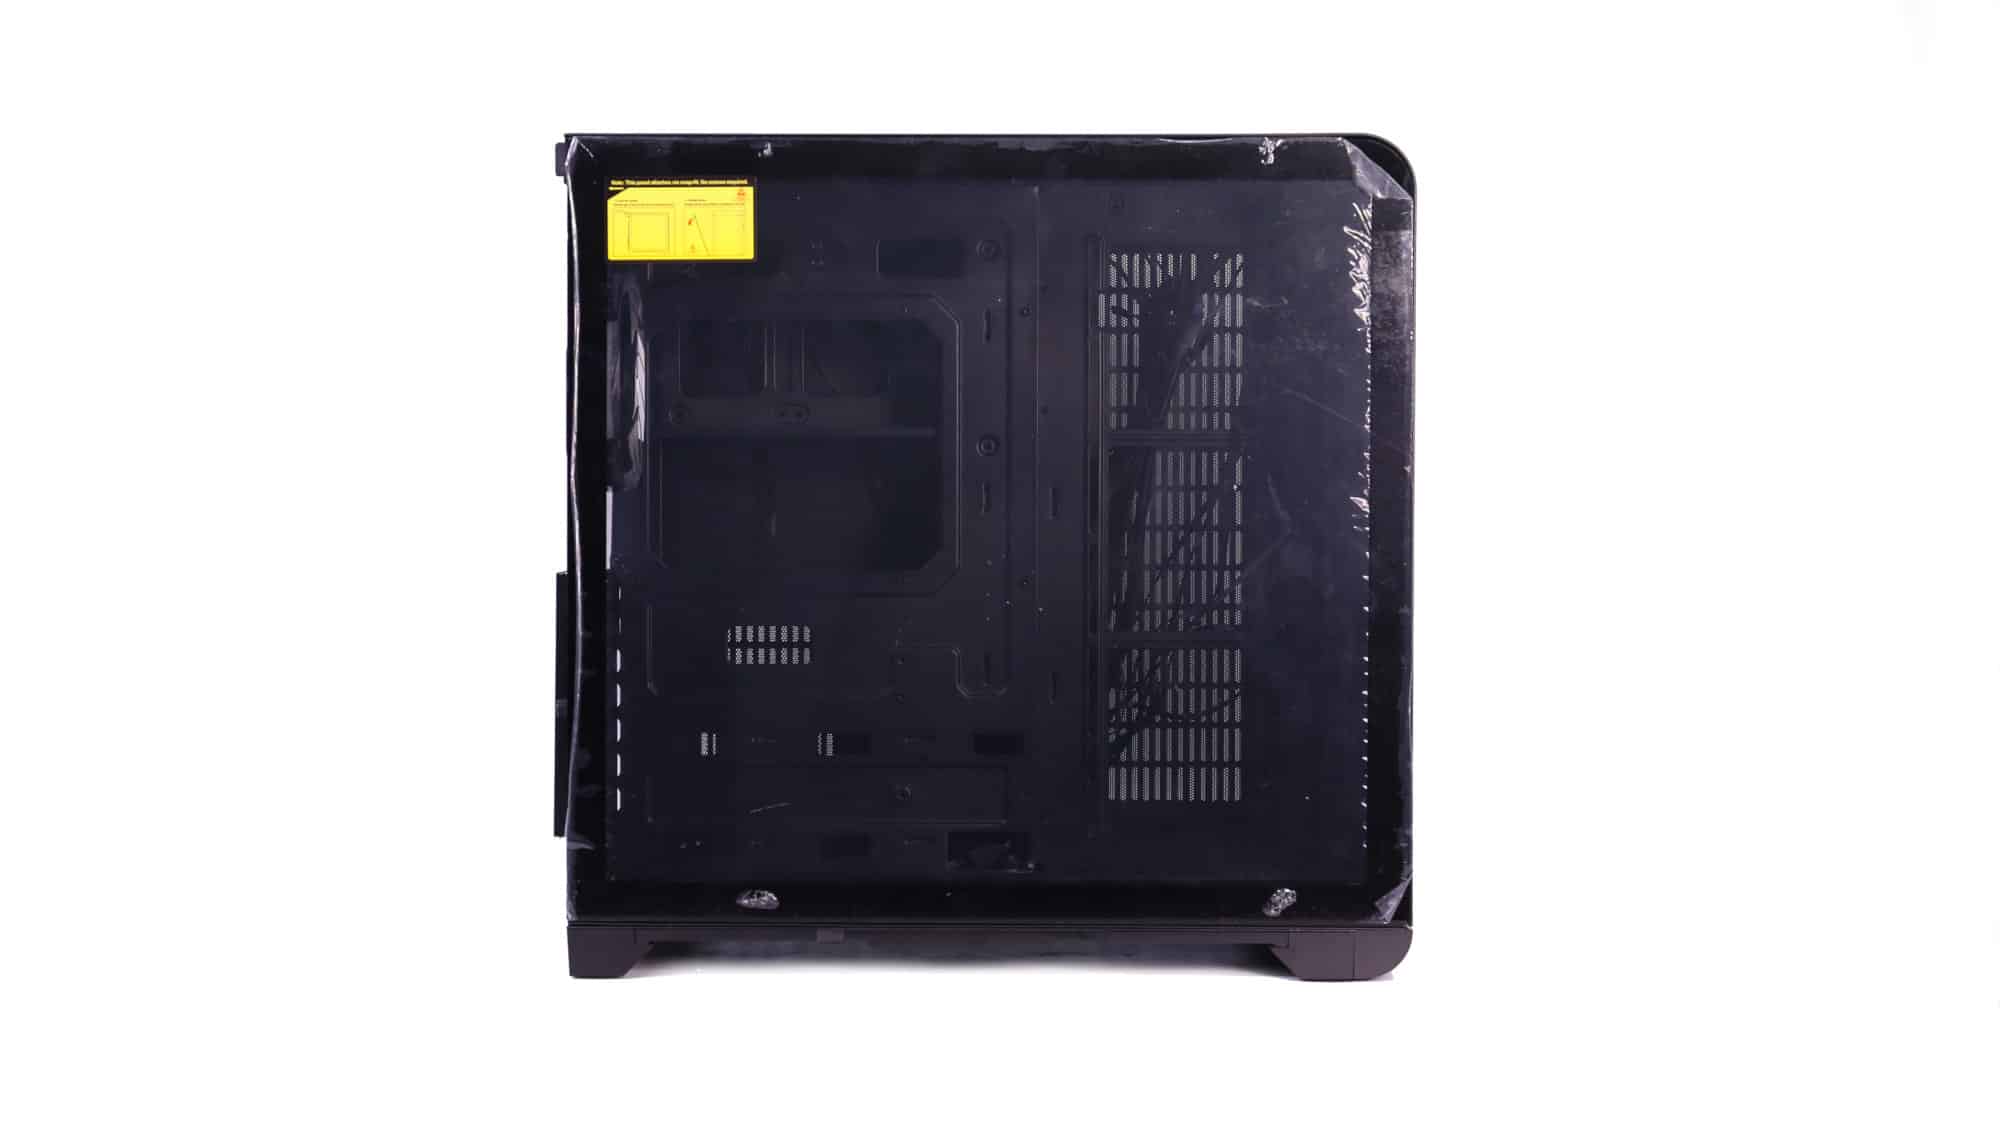
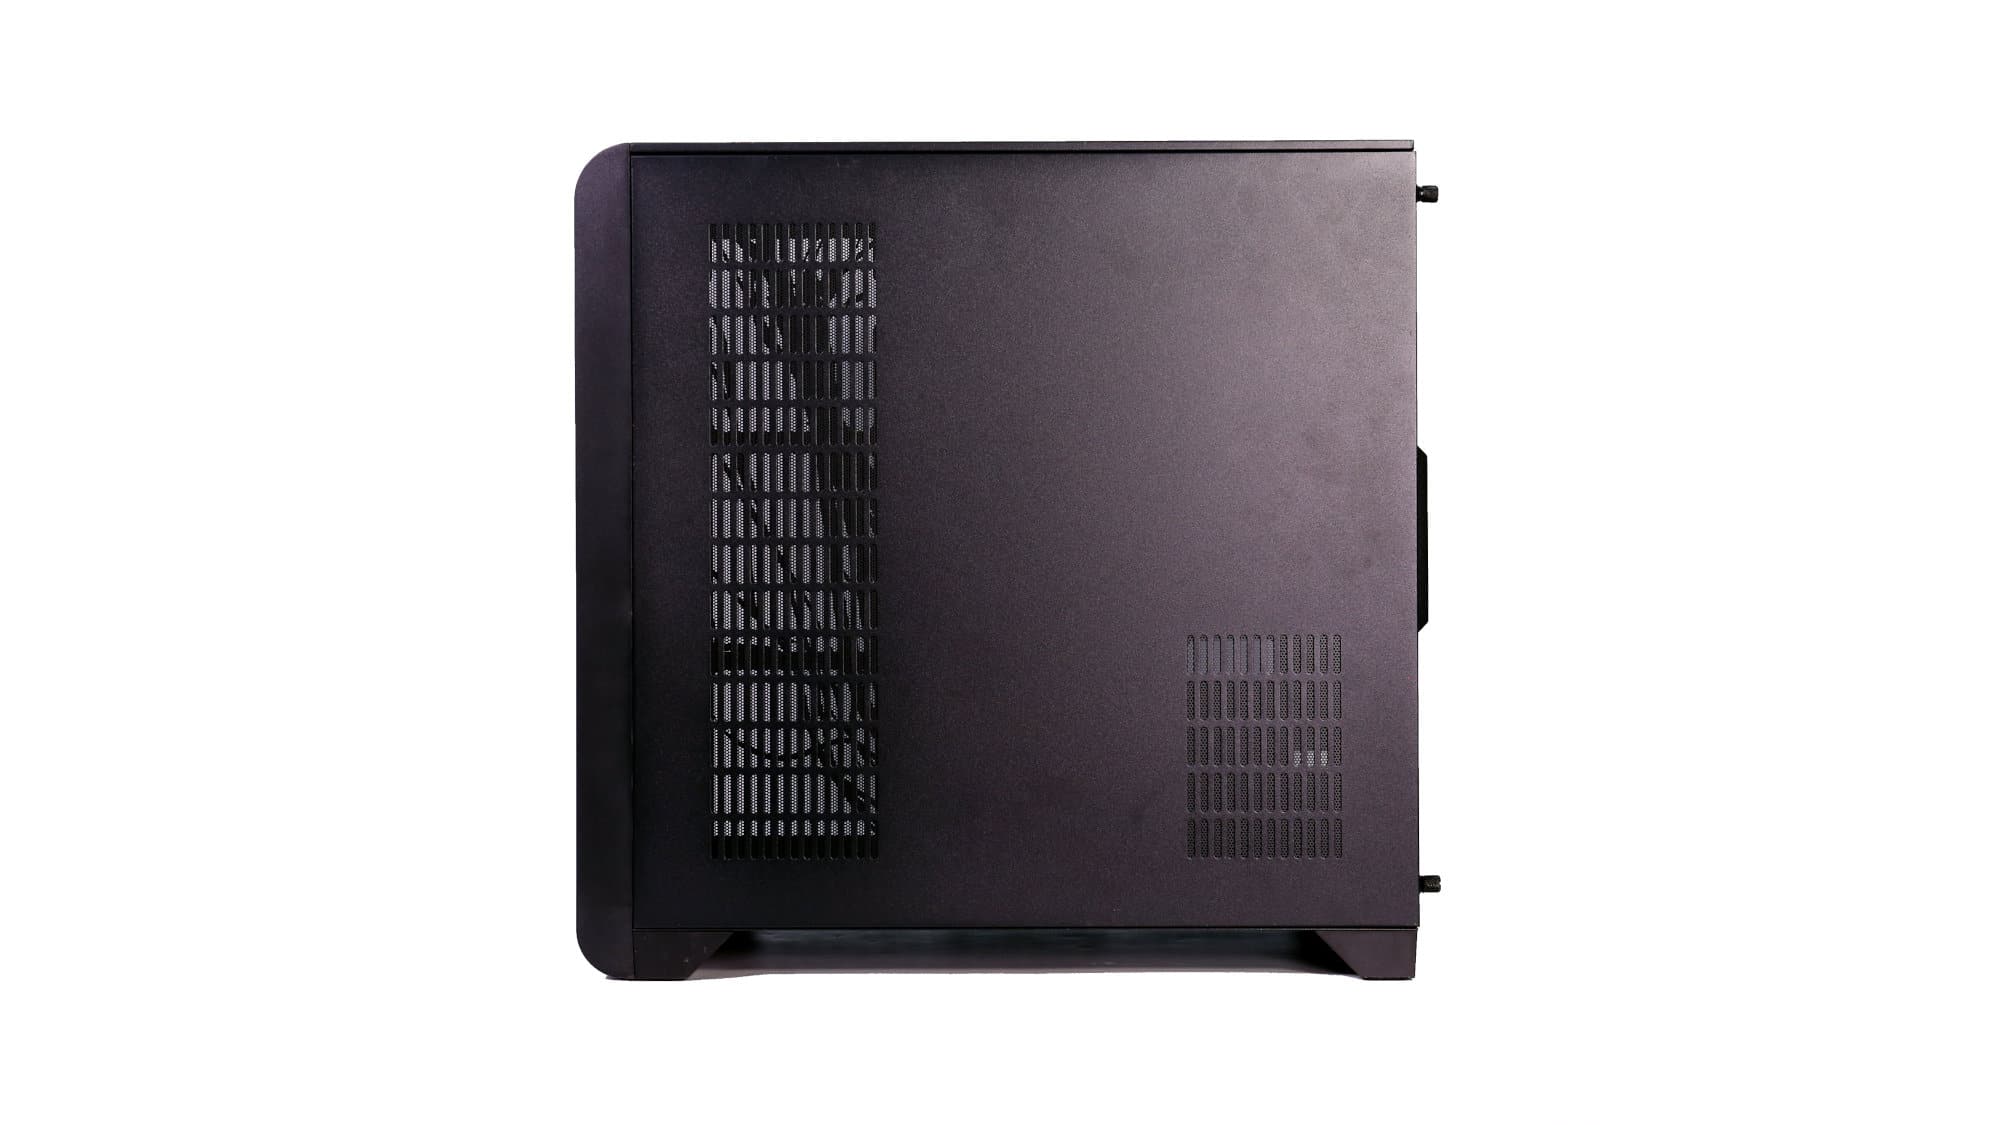
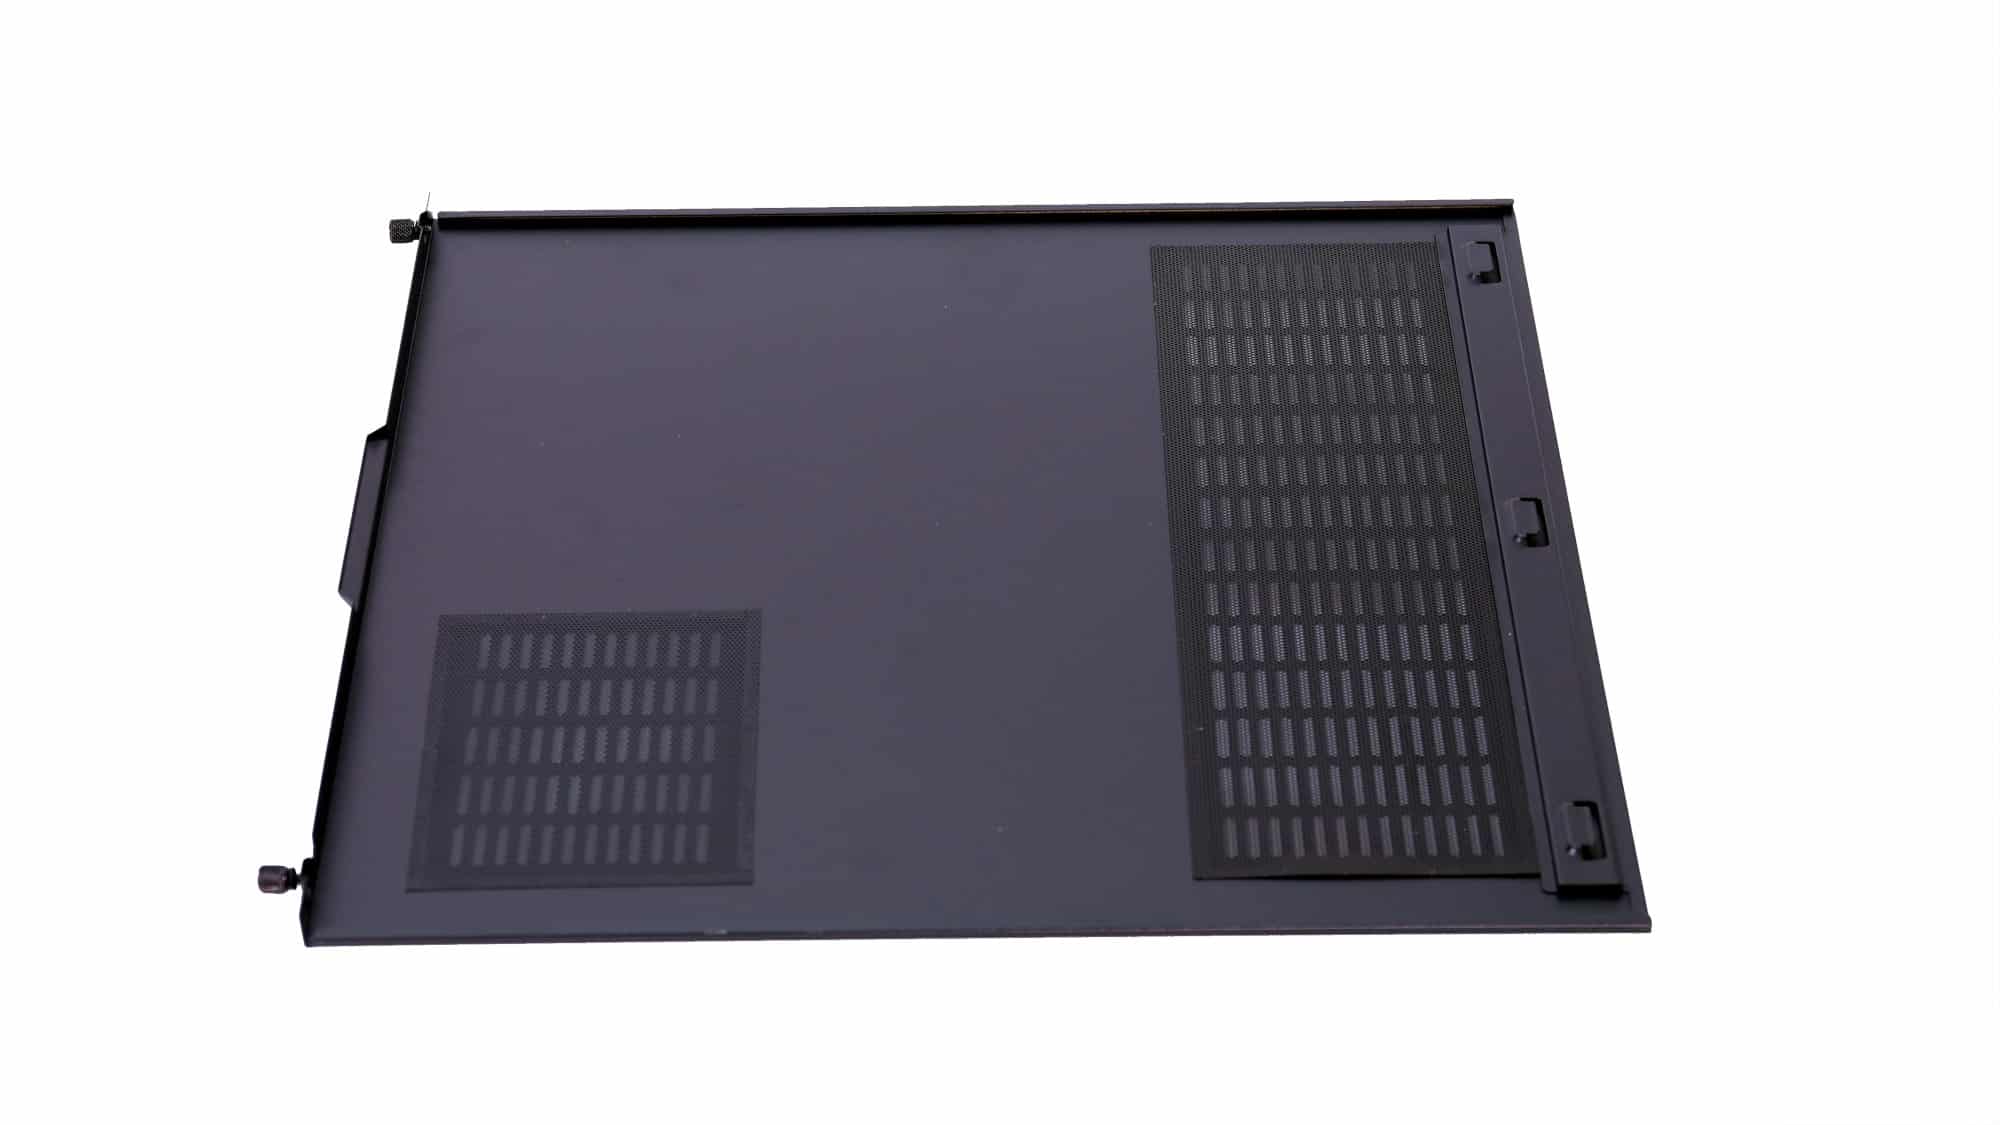
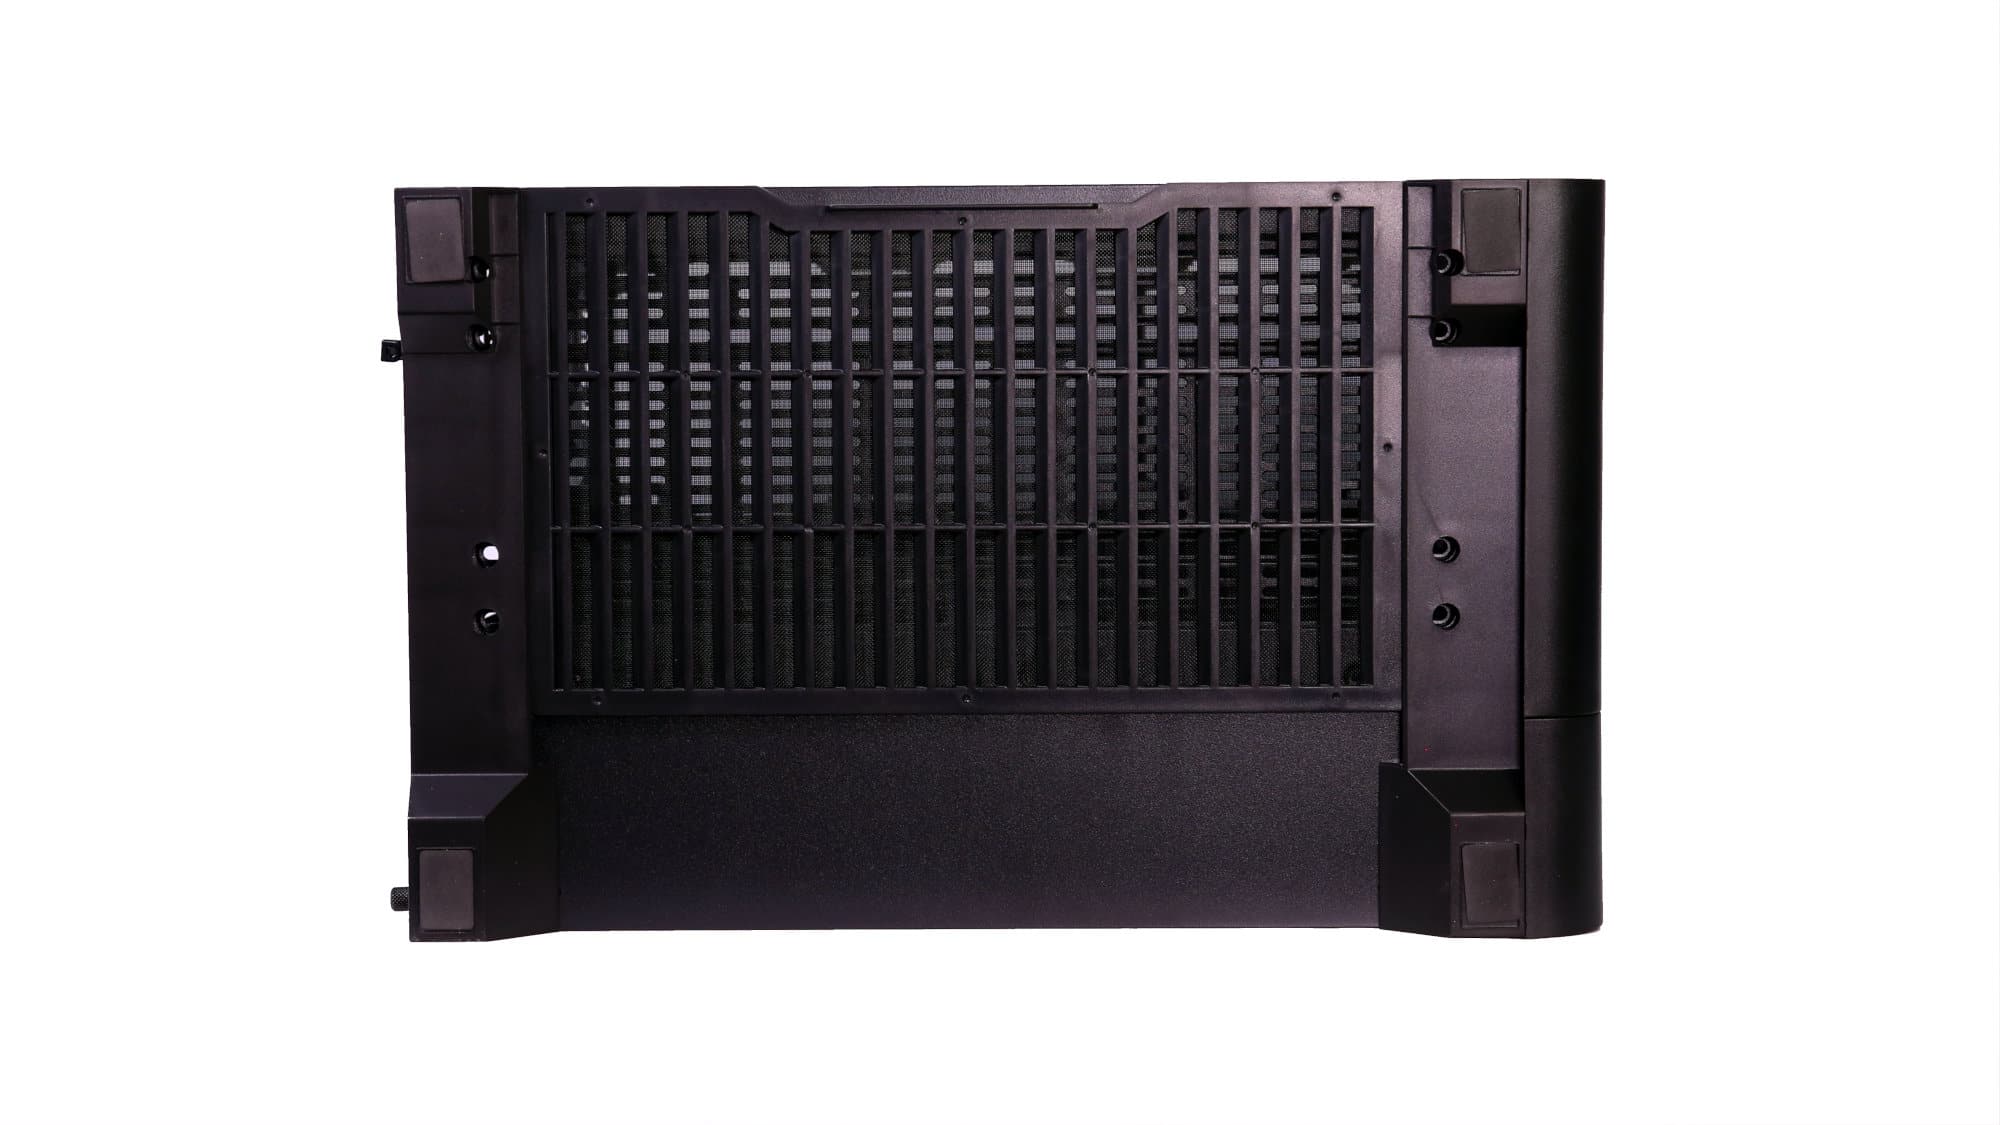
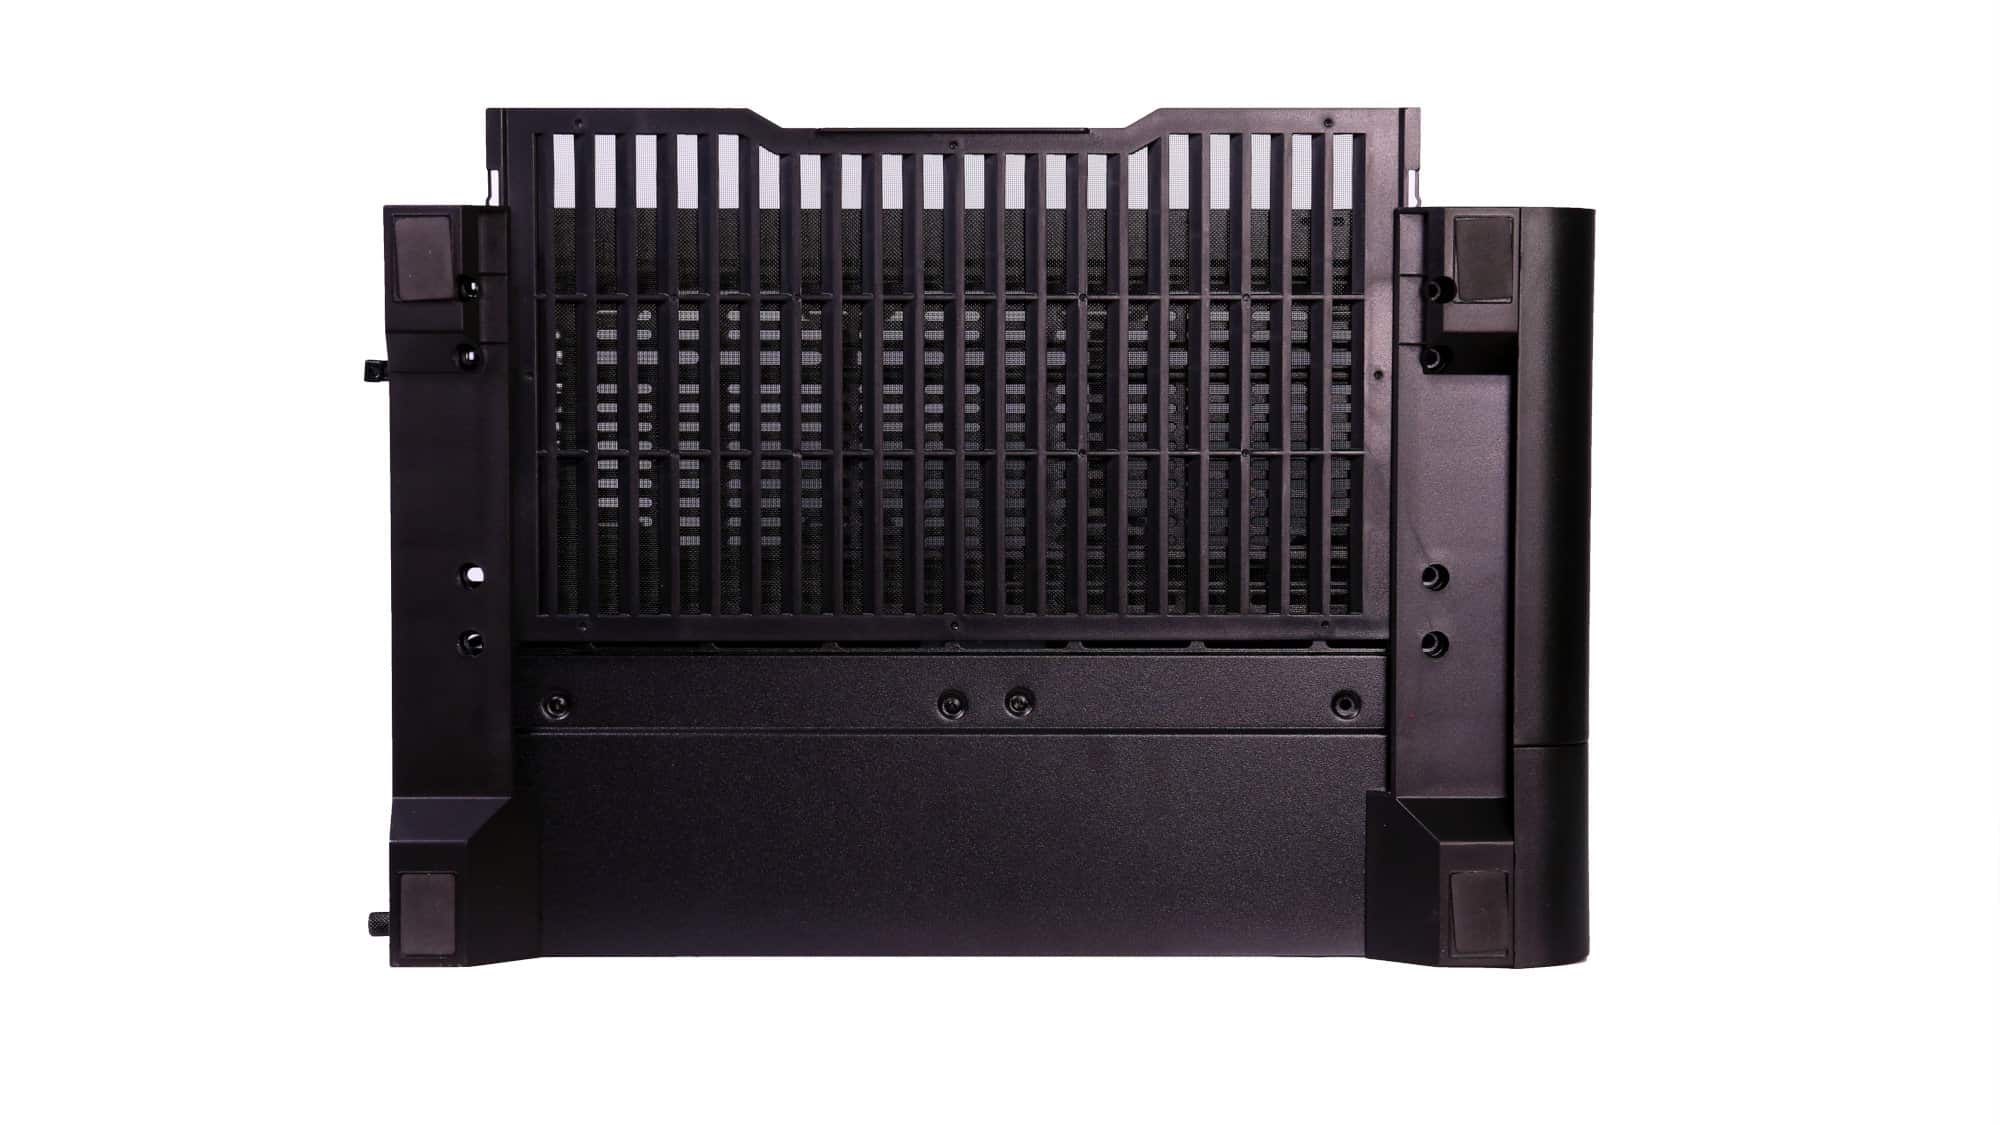
Behind the motherboard, enclosing the second chamber, is a large perforated steel panel. A large front opening accommodates a radiator or fan stack, while a smaller rear opening provides fresh air to the PSU. Unlike the glass panel, this one uses thumbscrews, still toolless, but in a different way.
At the bottom of the chassis, four wide feet with rubber pads keep it stable and protect surfaces. A side-sliding dust filter is also visible.
Compatibility and Space Utilization
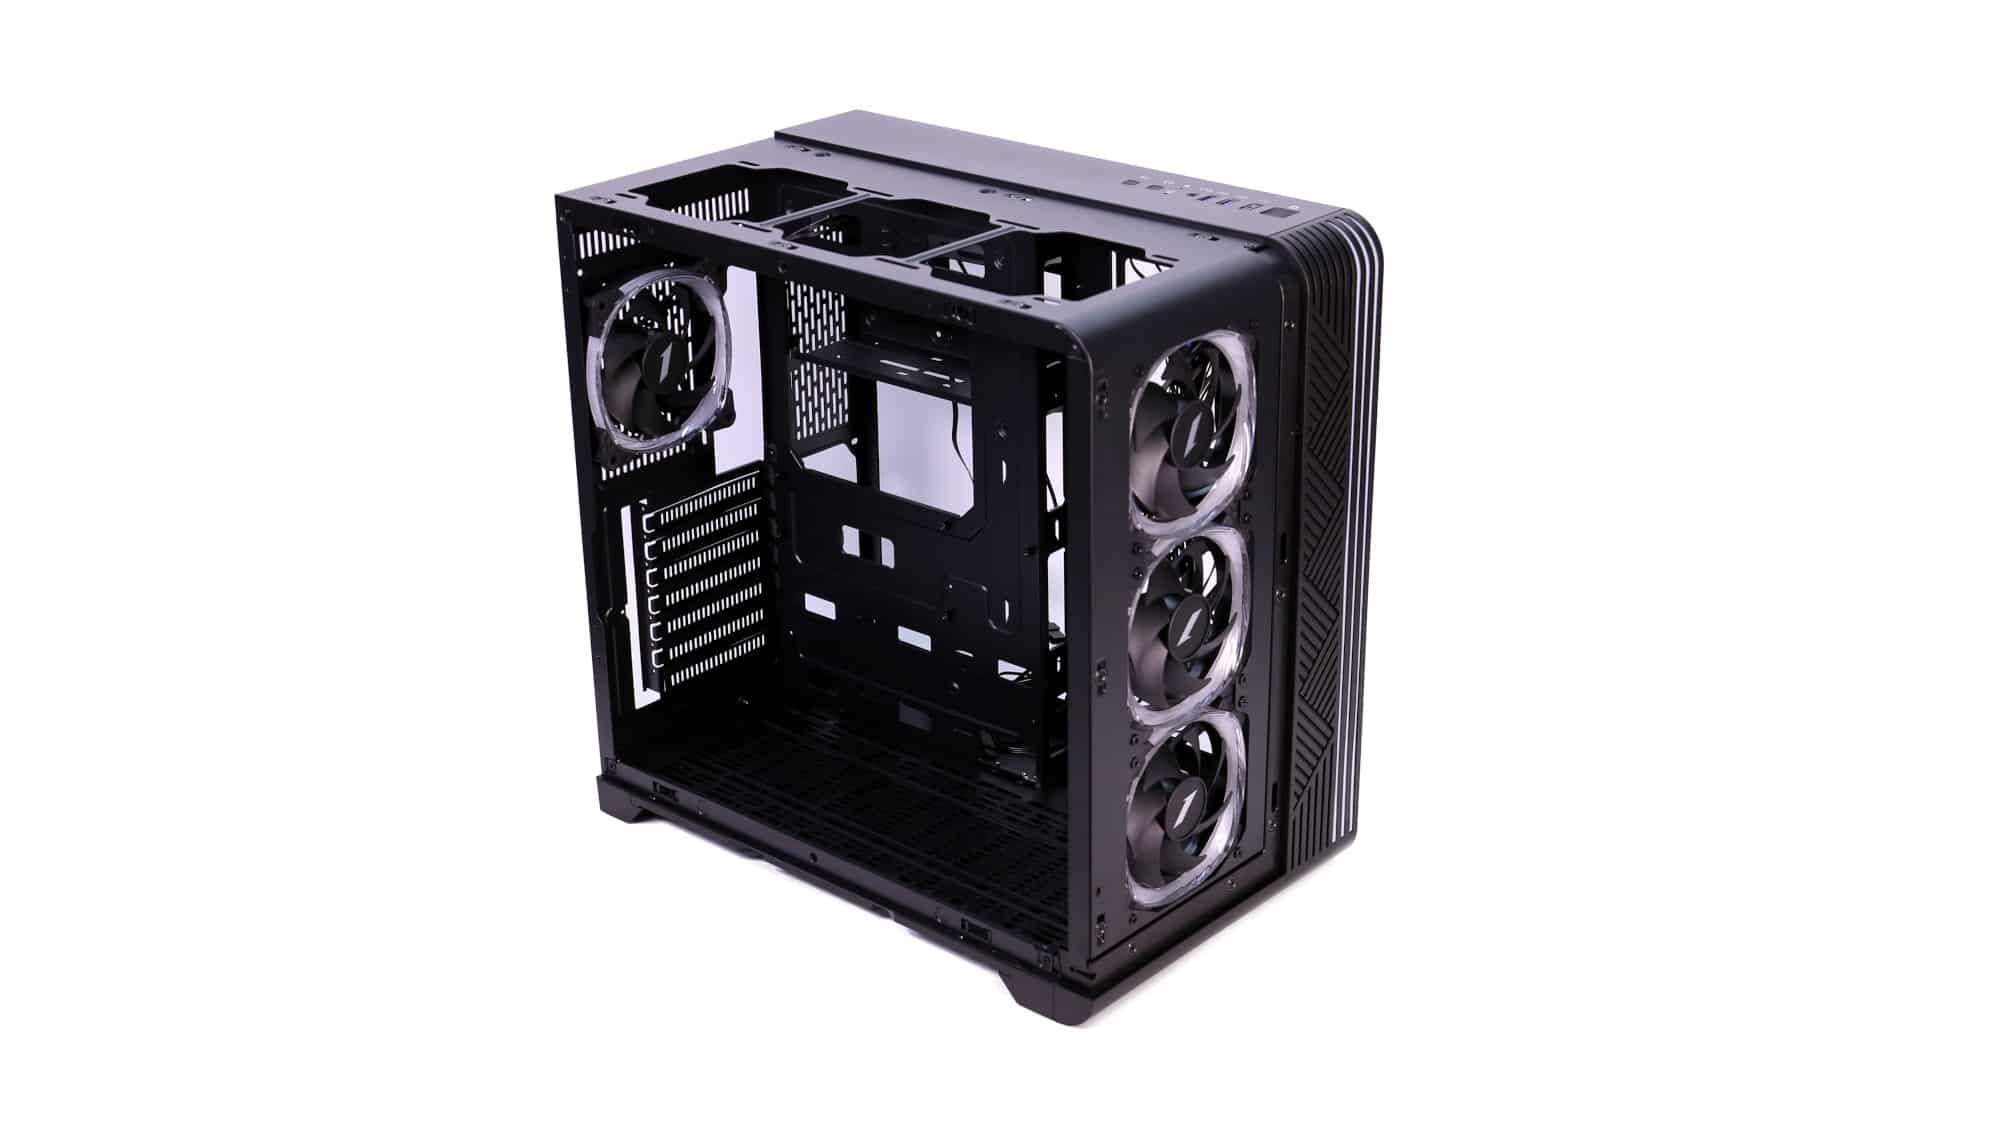

Inside the main chamber, the design is very open. The motherboard tray supports up to ATX boards, and even E-ATX boards will fit, unless you’re planning to install a thick side-mounted radiator. Two slots run along the side opening to mount cooling hardware. GPUs up to 440mm in length and CPU coolers up to 157mm in height are supported.
Above the motherboard tray are two large cable pass-throughs. For cables plugging into the motherboard’s bottom edge, there are openings at three different levels.
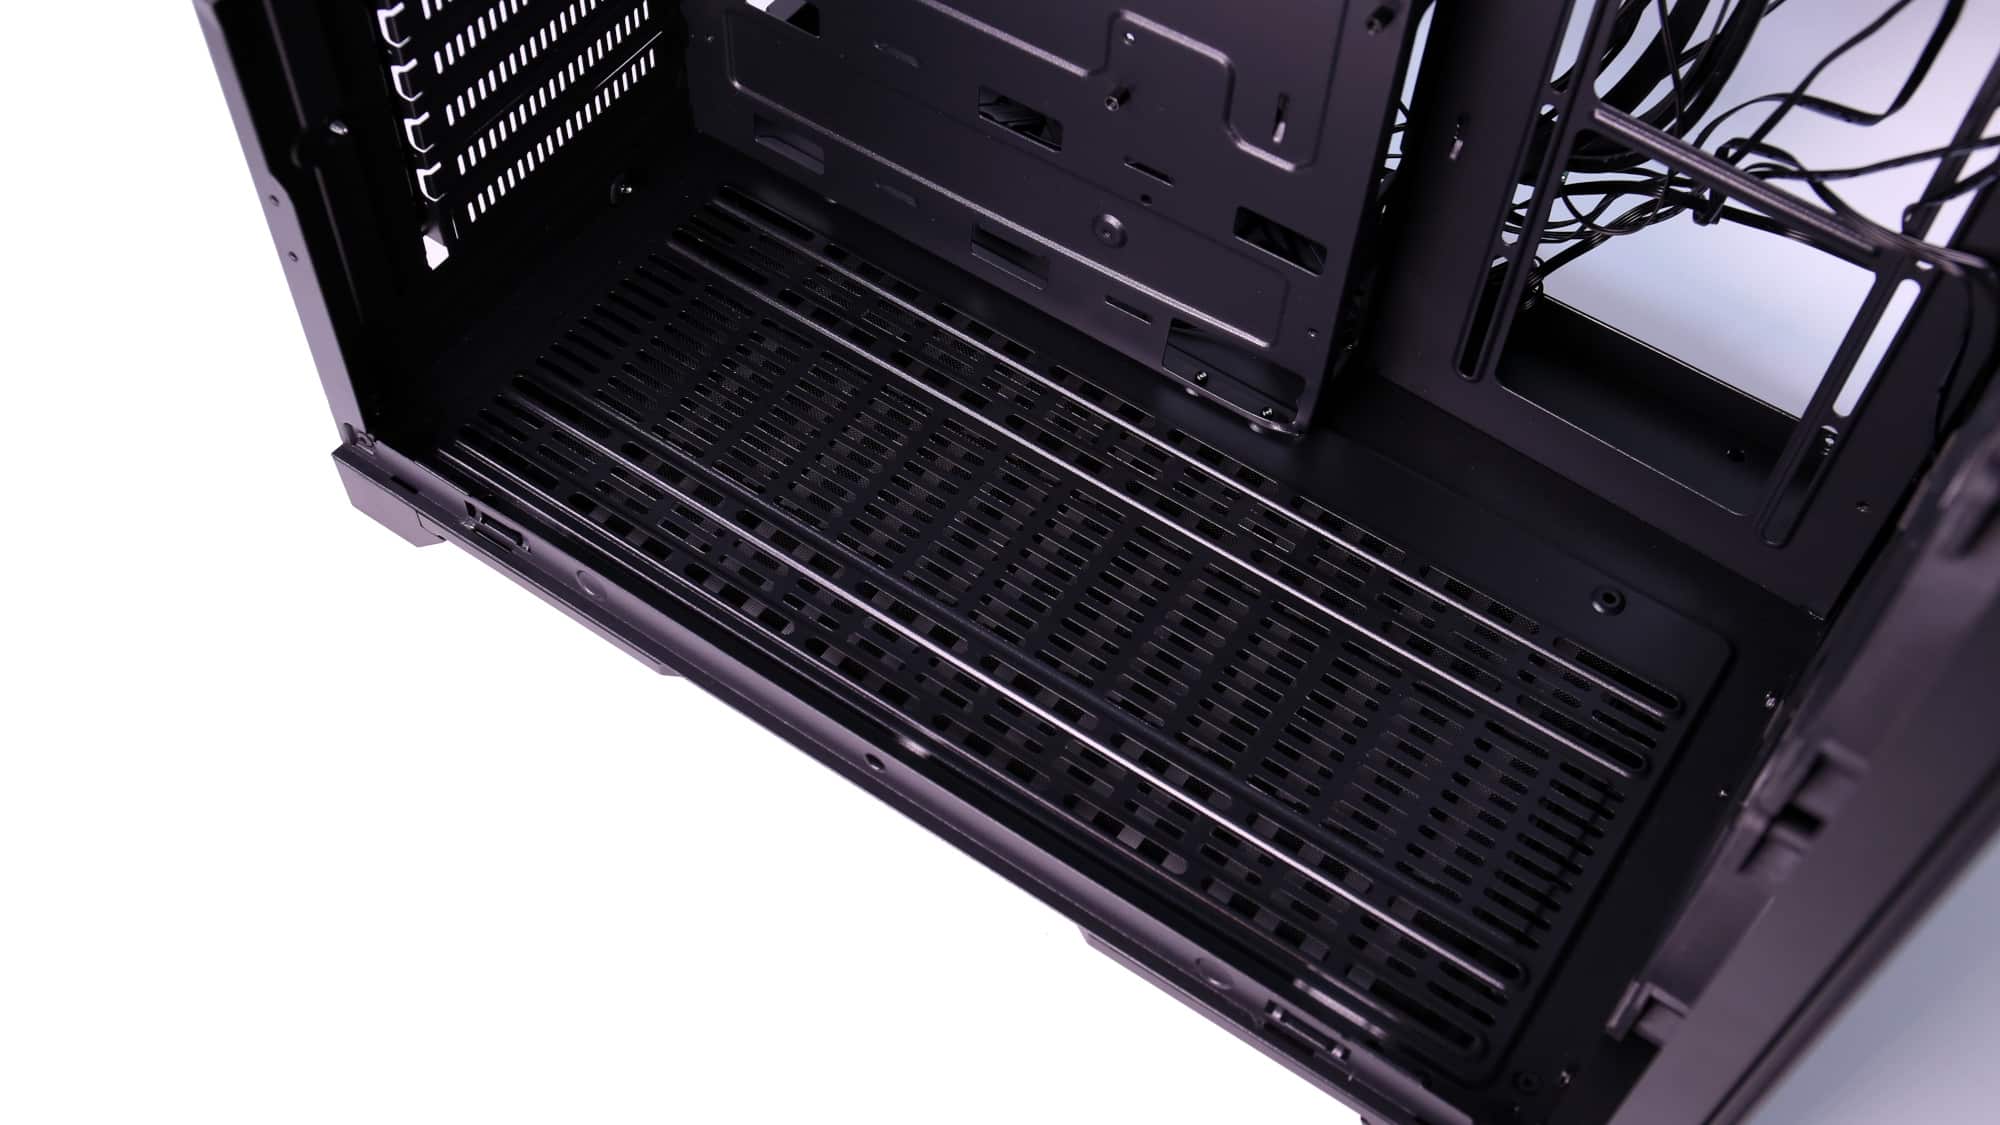
On the chamber floor, two sets of rails are provided for fan or radiator mounting, but airflow will be limited.
Both the top and front of the main chamber support up to three 120mm fans. A thumbscrew at the front helps secure the external panel, likely for transit only, since the magnets hold it firmly during regular use.
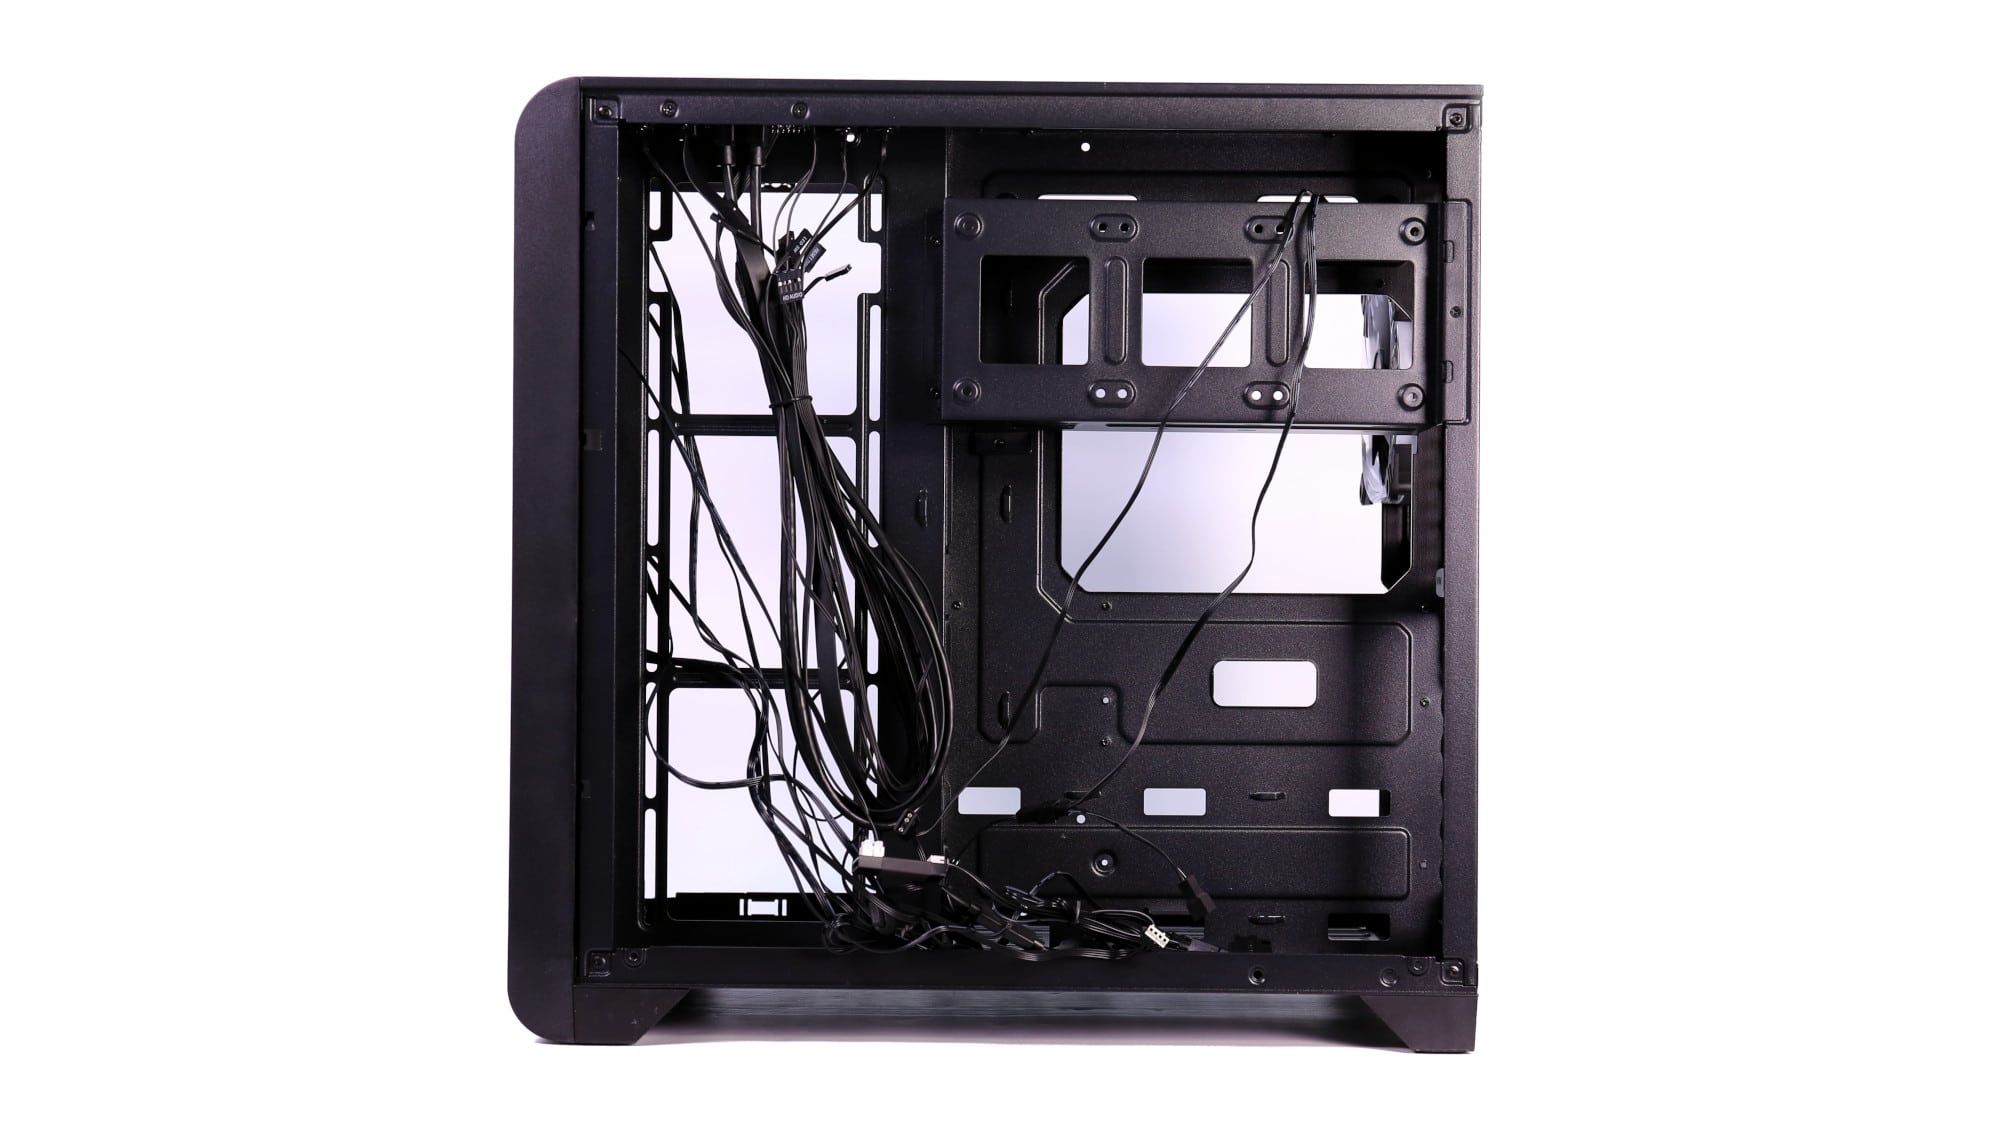
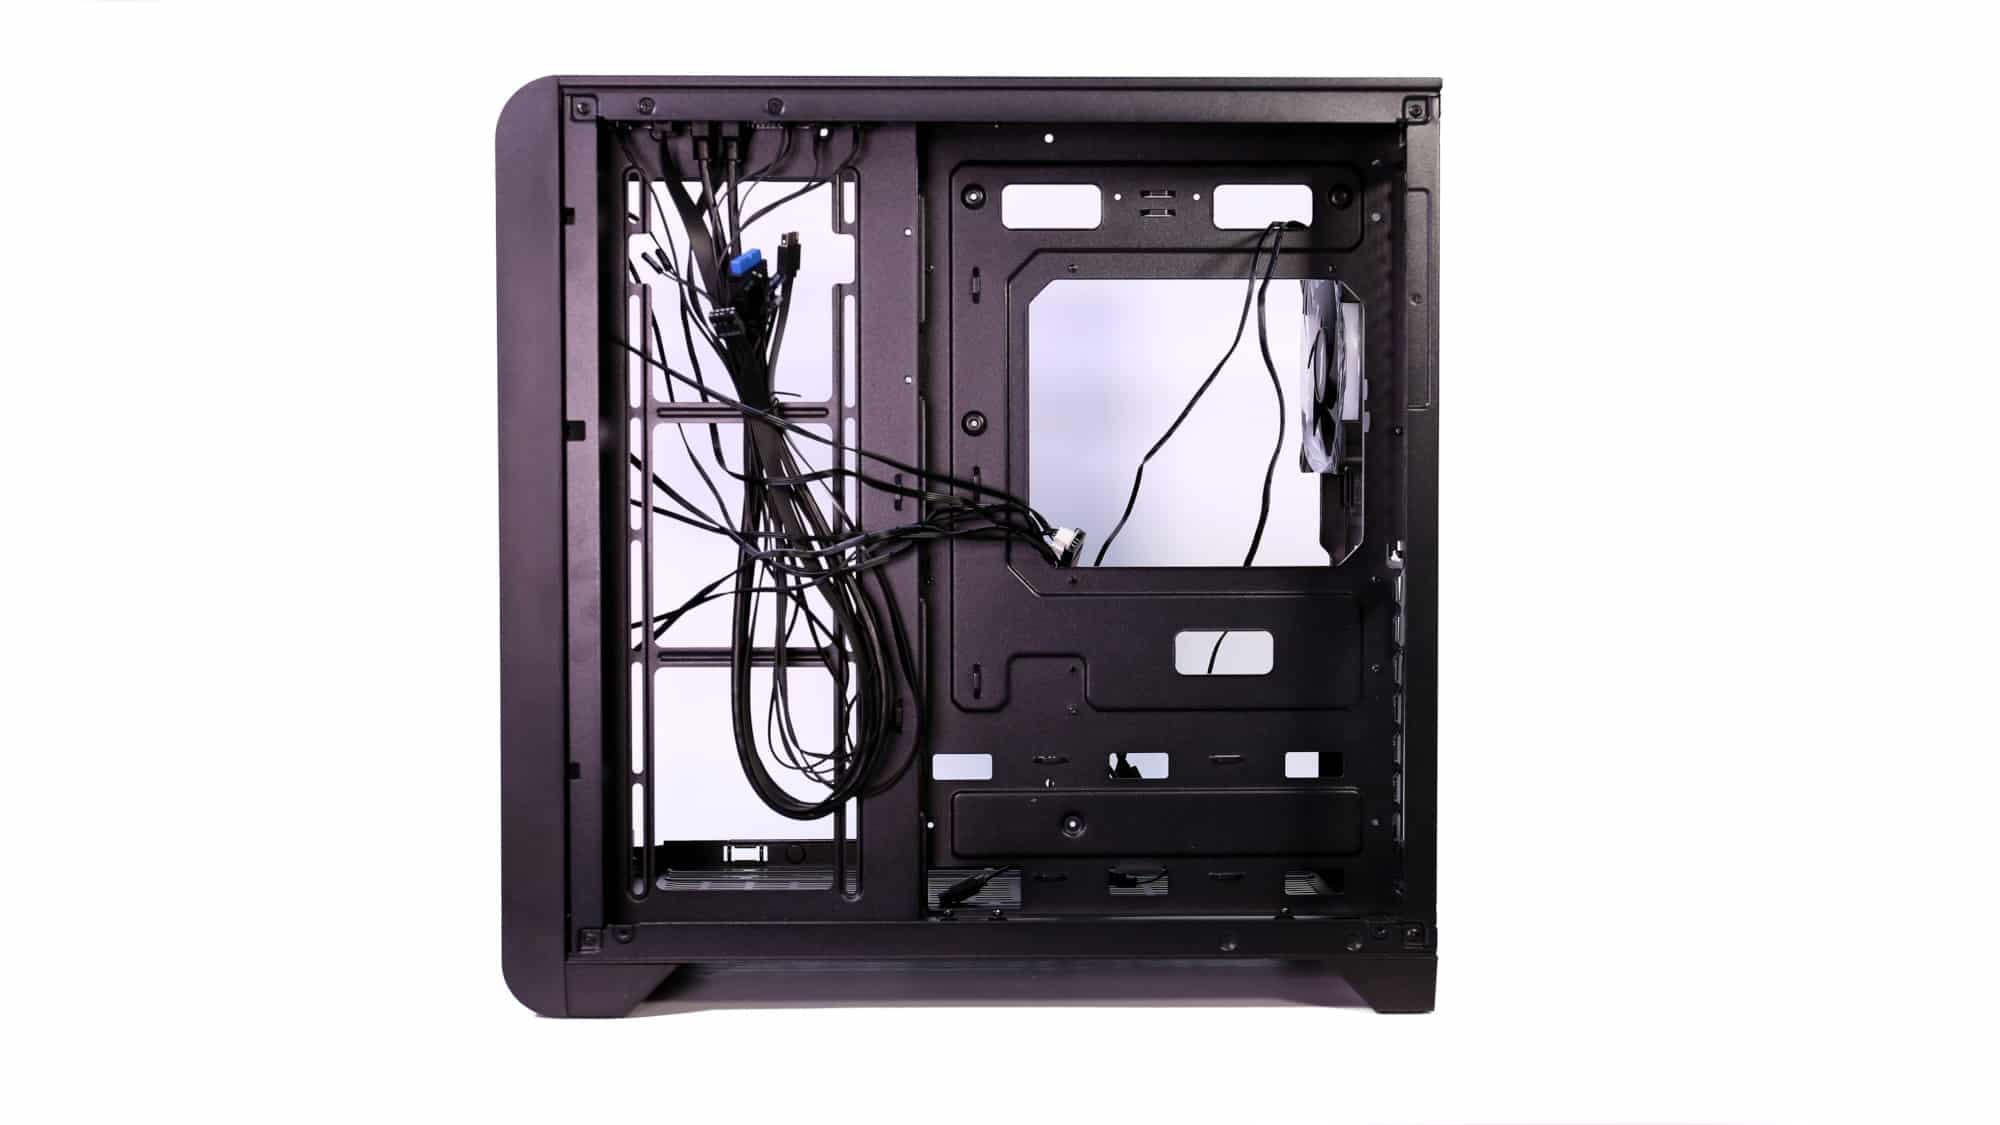
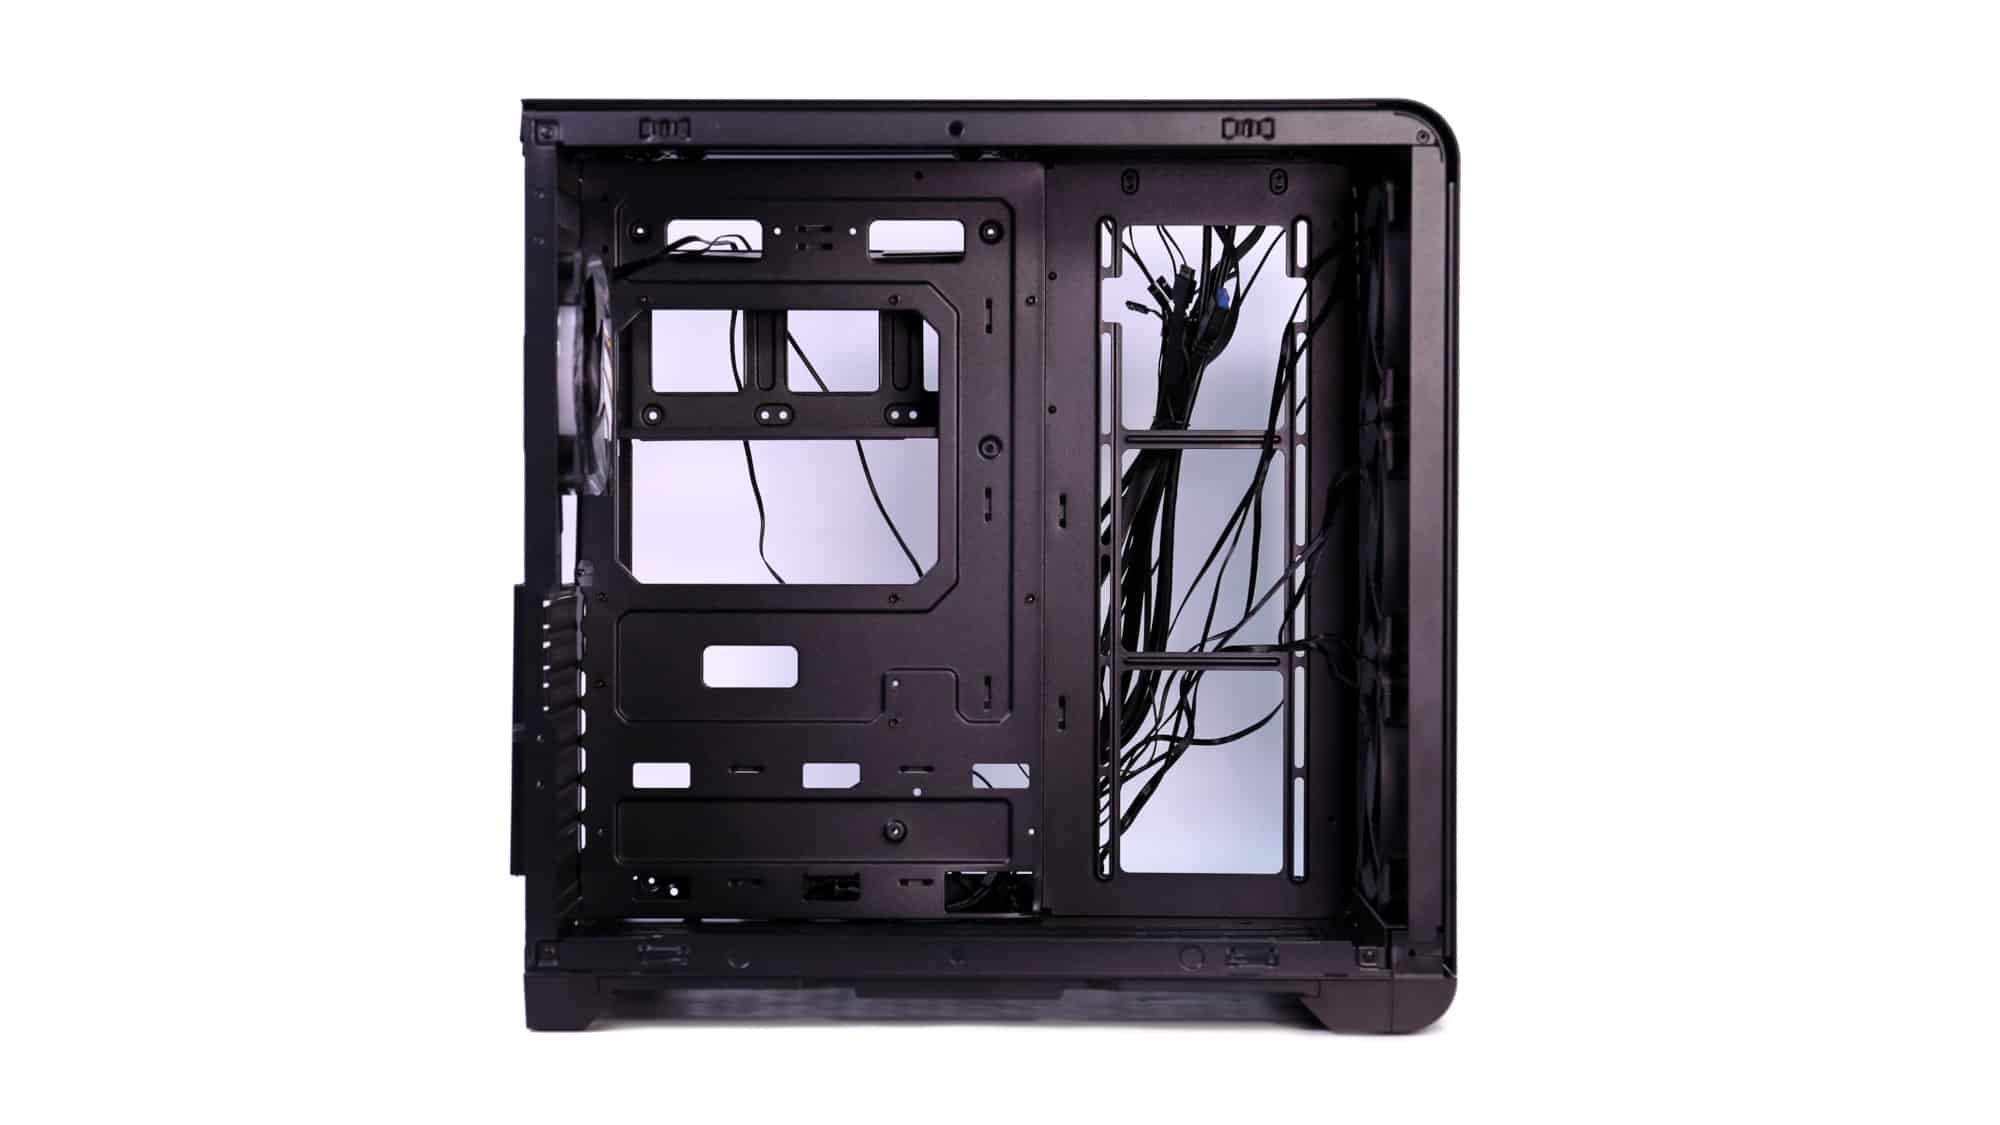
The secondary chamber also has notable features. A removable storage bracket, held by two screws, sits above the PSU. You’ll likely need to remove it to route cables to the main chamber, including the ATX12V, rear fan, and any ARGB or cooling cables. Convenient metal tabs assist in cable management, and the reusable straps work well here. The official max PSU length is 160mm, though larger units may fit.
The motherboard and cooling mount panels sit at different levels, with cable pass-throughs between them. Unfortunately, there are no rubber grommets anywhere.
Regarding the side cooling panel, the I/O cables from the top pass in front of where fans or radiators may go. Especially the USB Type-A cables, which can’t bend tightly enough to avoid obstruction. That said, the interference is minimal.
Cooling and Airflow
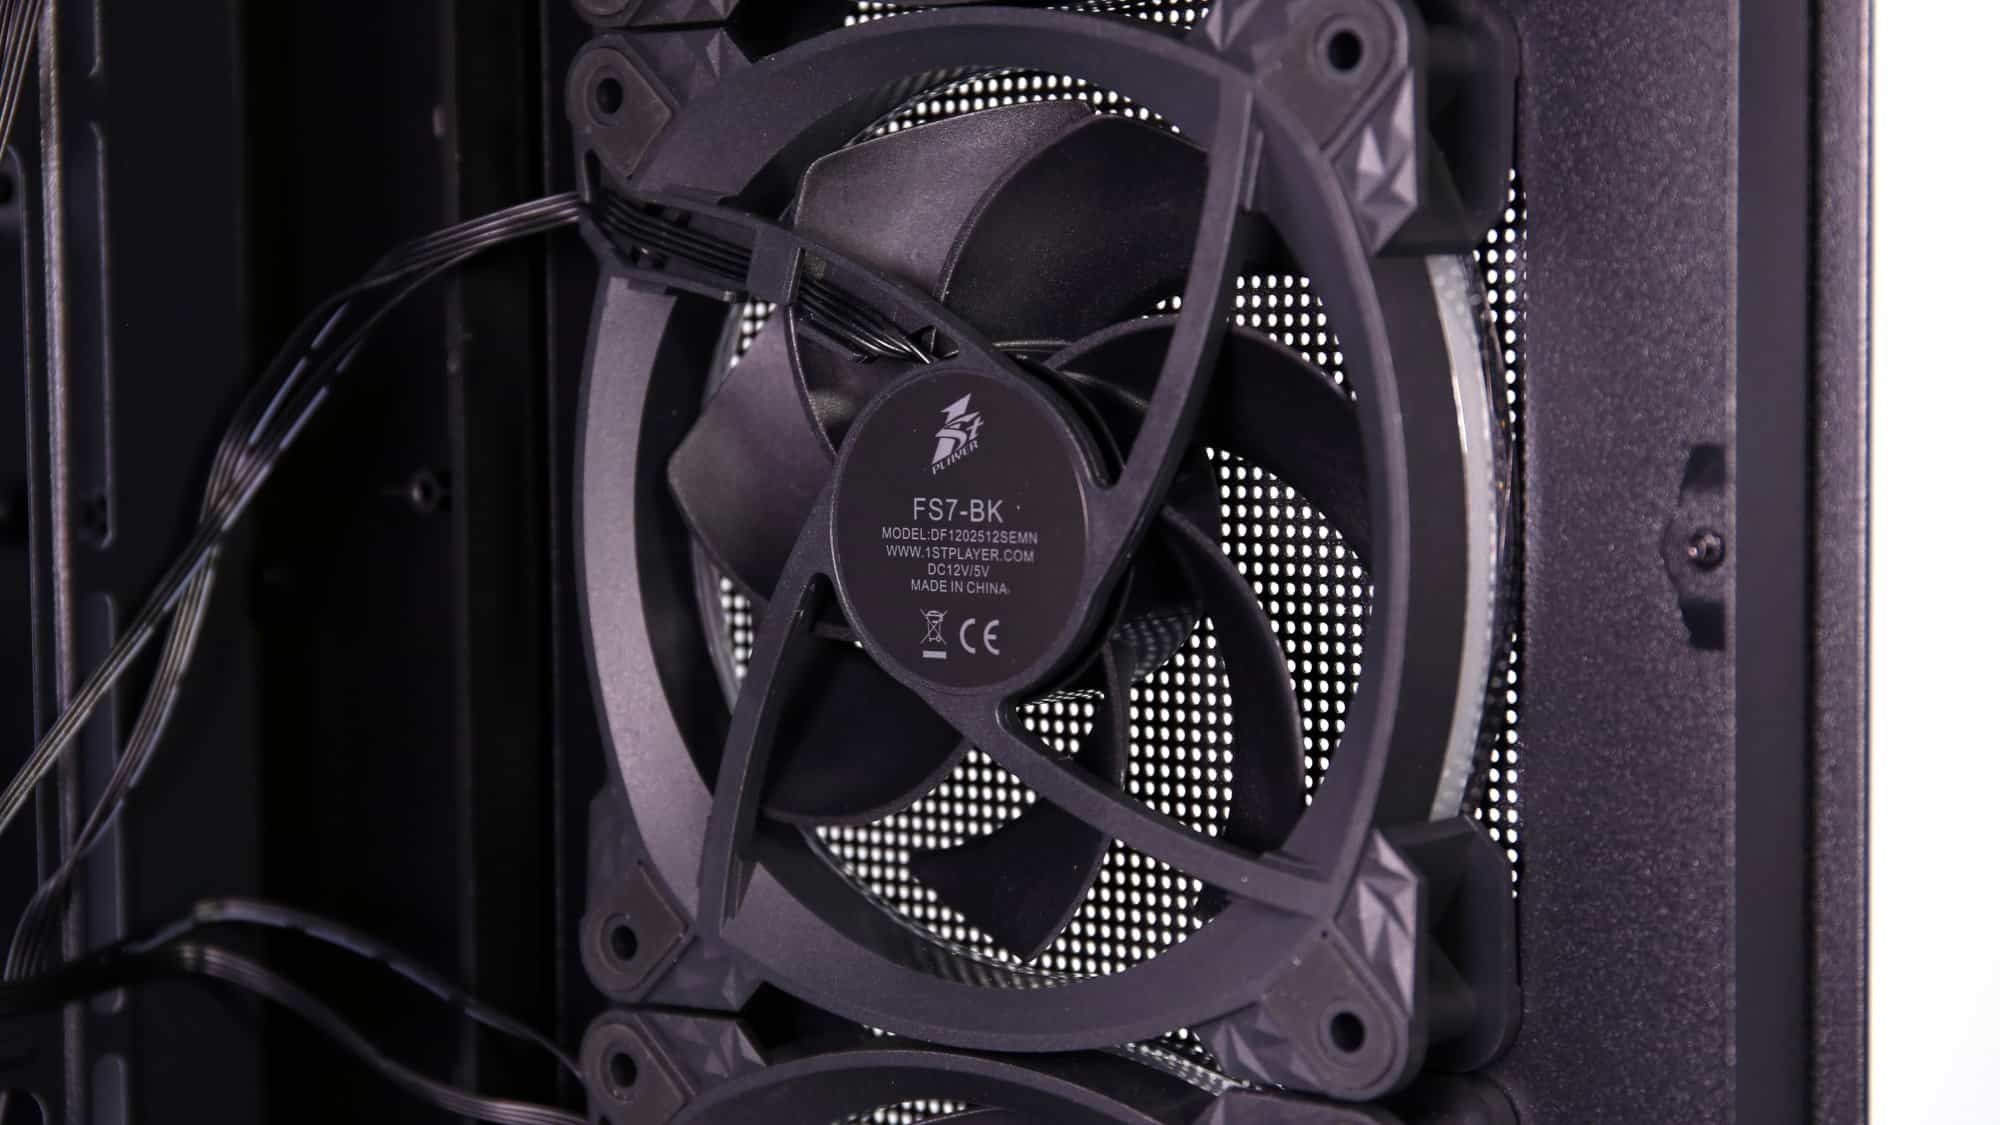
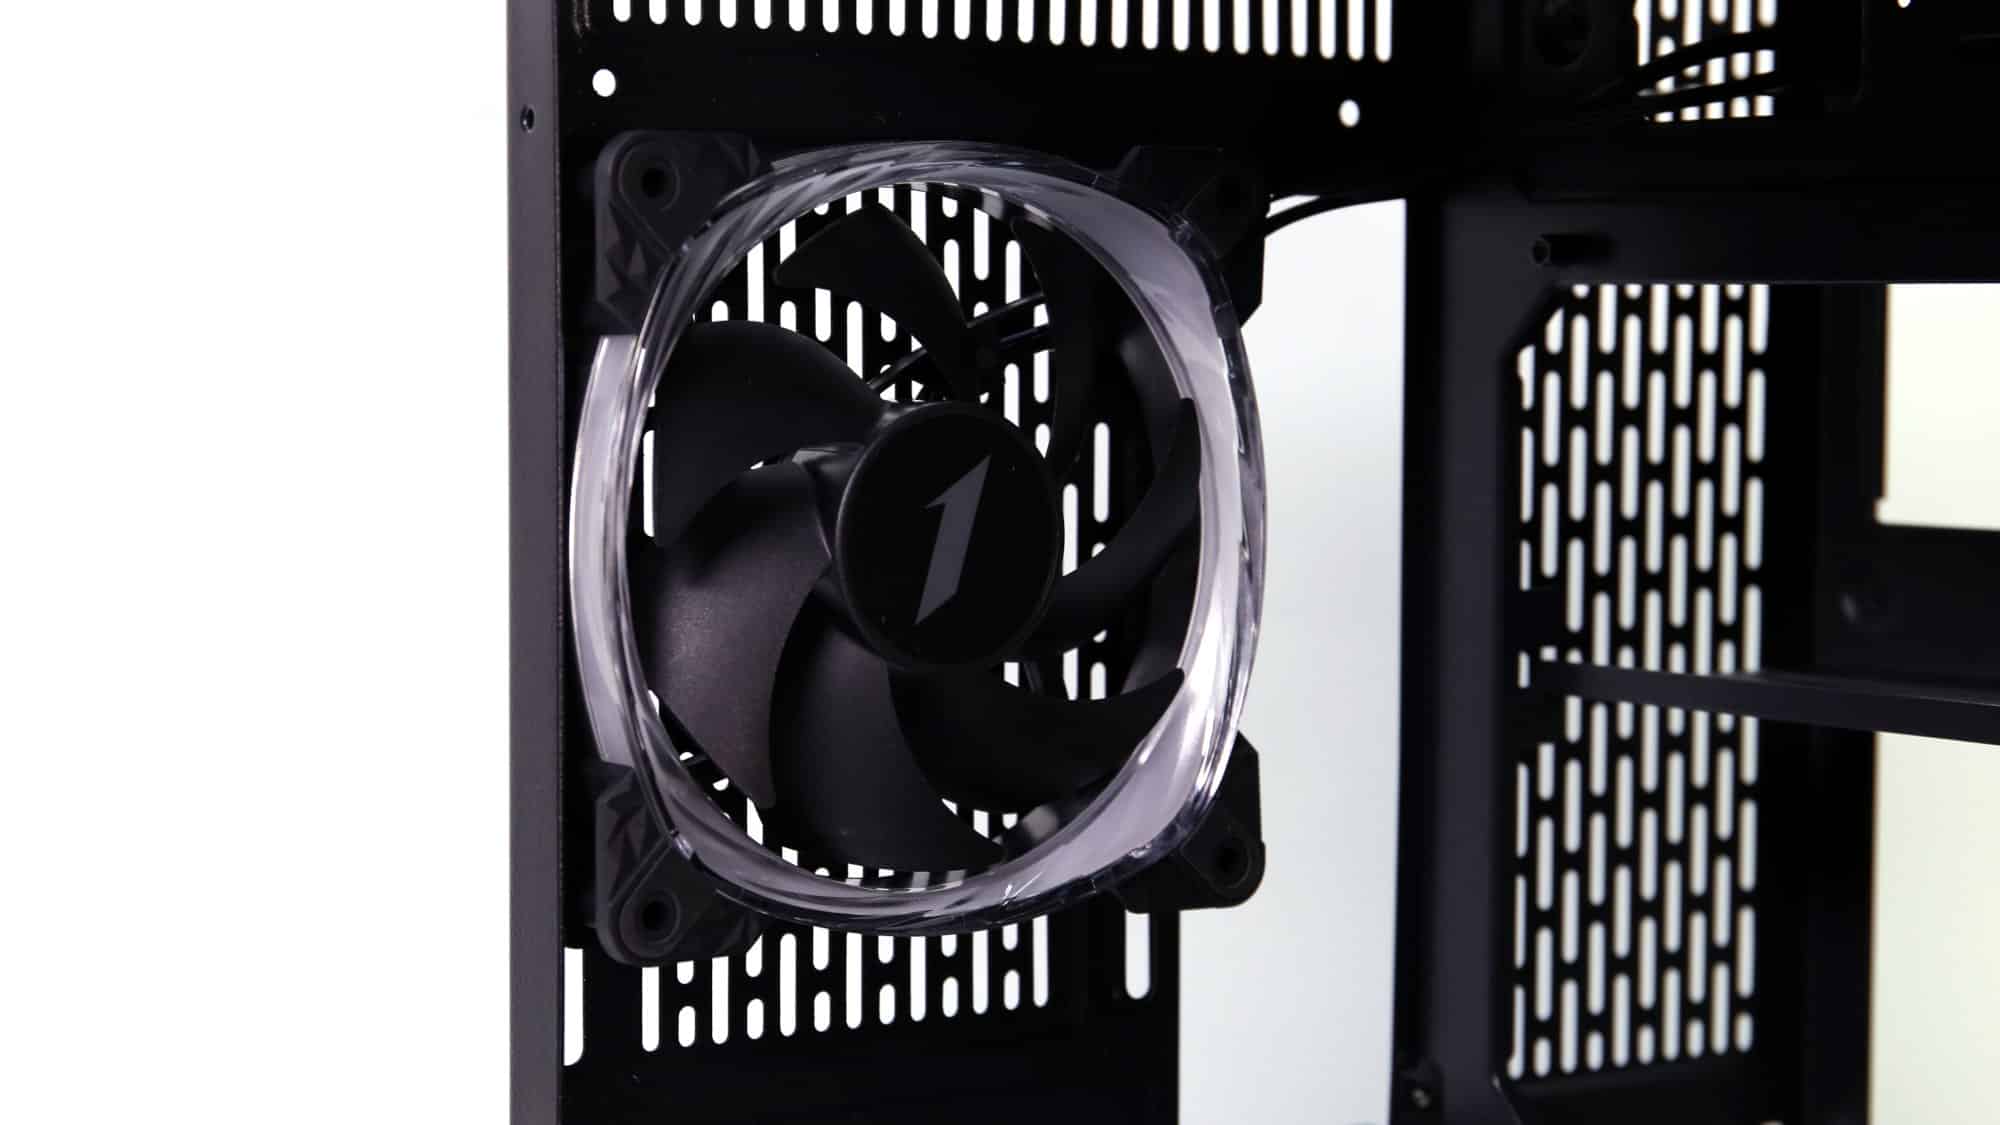
This chassis supports an impressive thirteen 120mm fans: three each at the front, top, side, and bottom, plus one at the rear. Four fans come pre-installed (three front, one rear), all ARGB-enabled. They support daisy-chaining, but not the type that reduces cable clutter, resulting in a fair amount of cable management.
According to 1st Player, 360mm radiators can be installed on the side or top. The front may also accommodate one, space permitting. The bottom area is too obstructed for most radiators.
For dust filtration, the front and top panels rely on their perforated surfaces. The back has two magnetic filters, and the bottom has the previously mentioned slide-out filter.
Storage Options
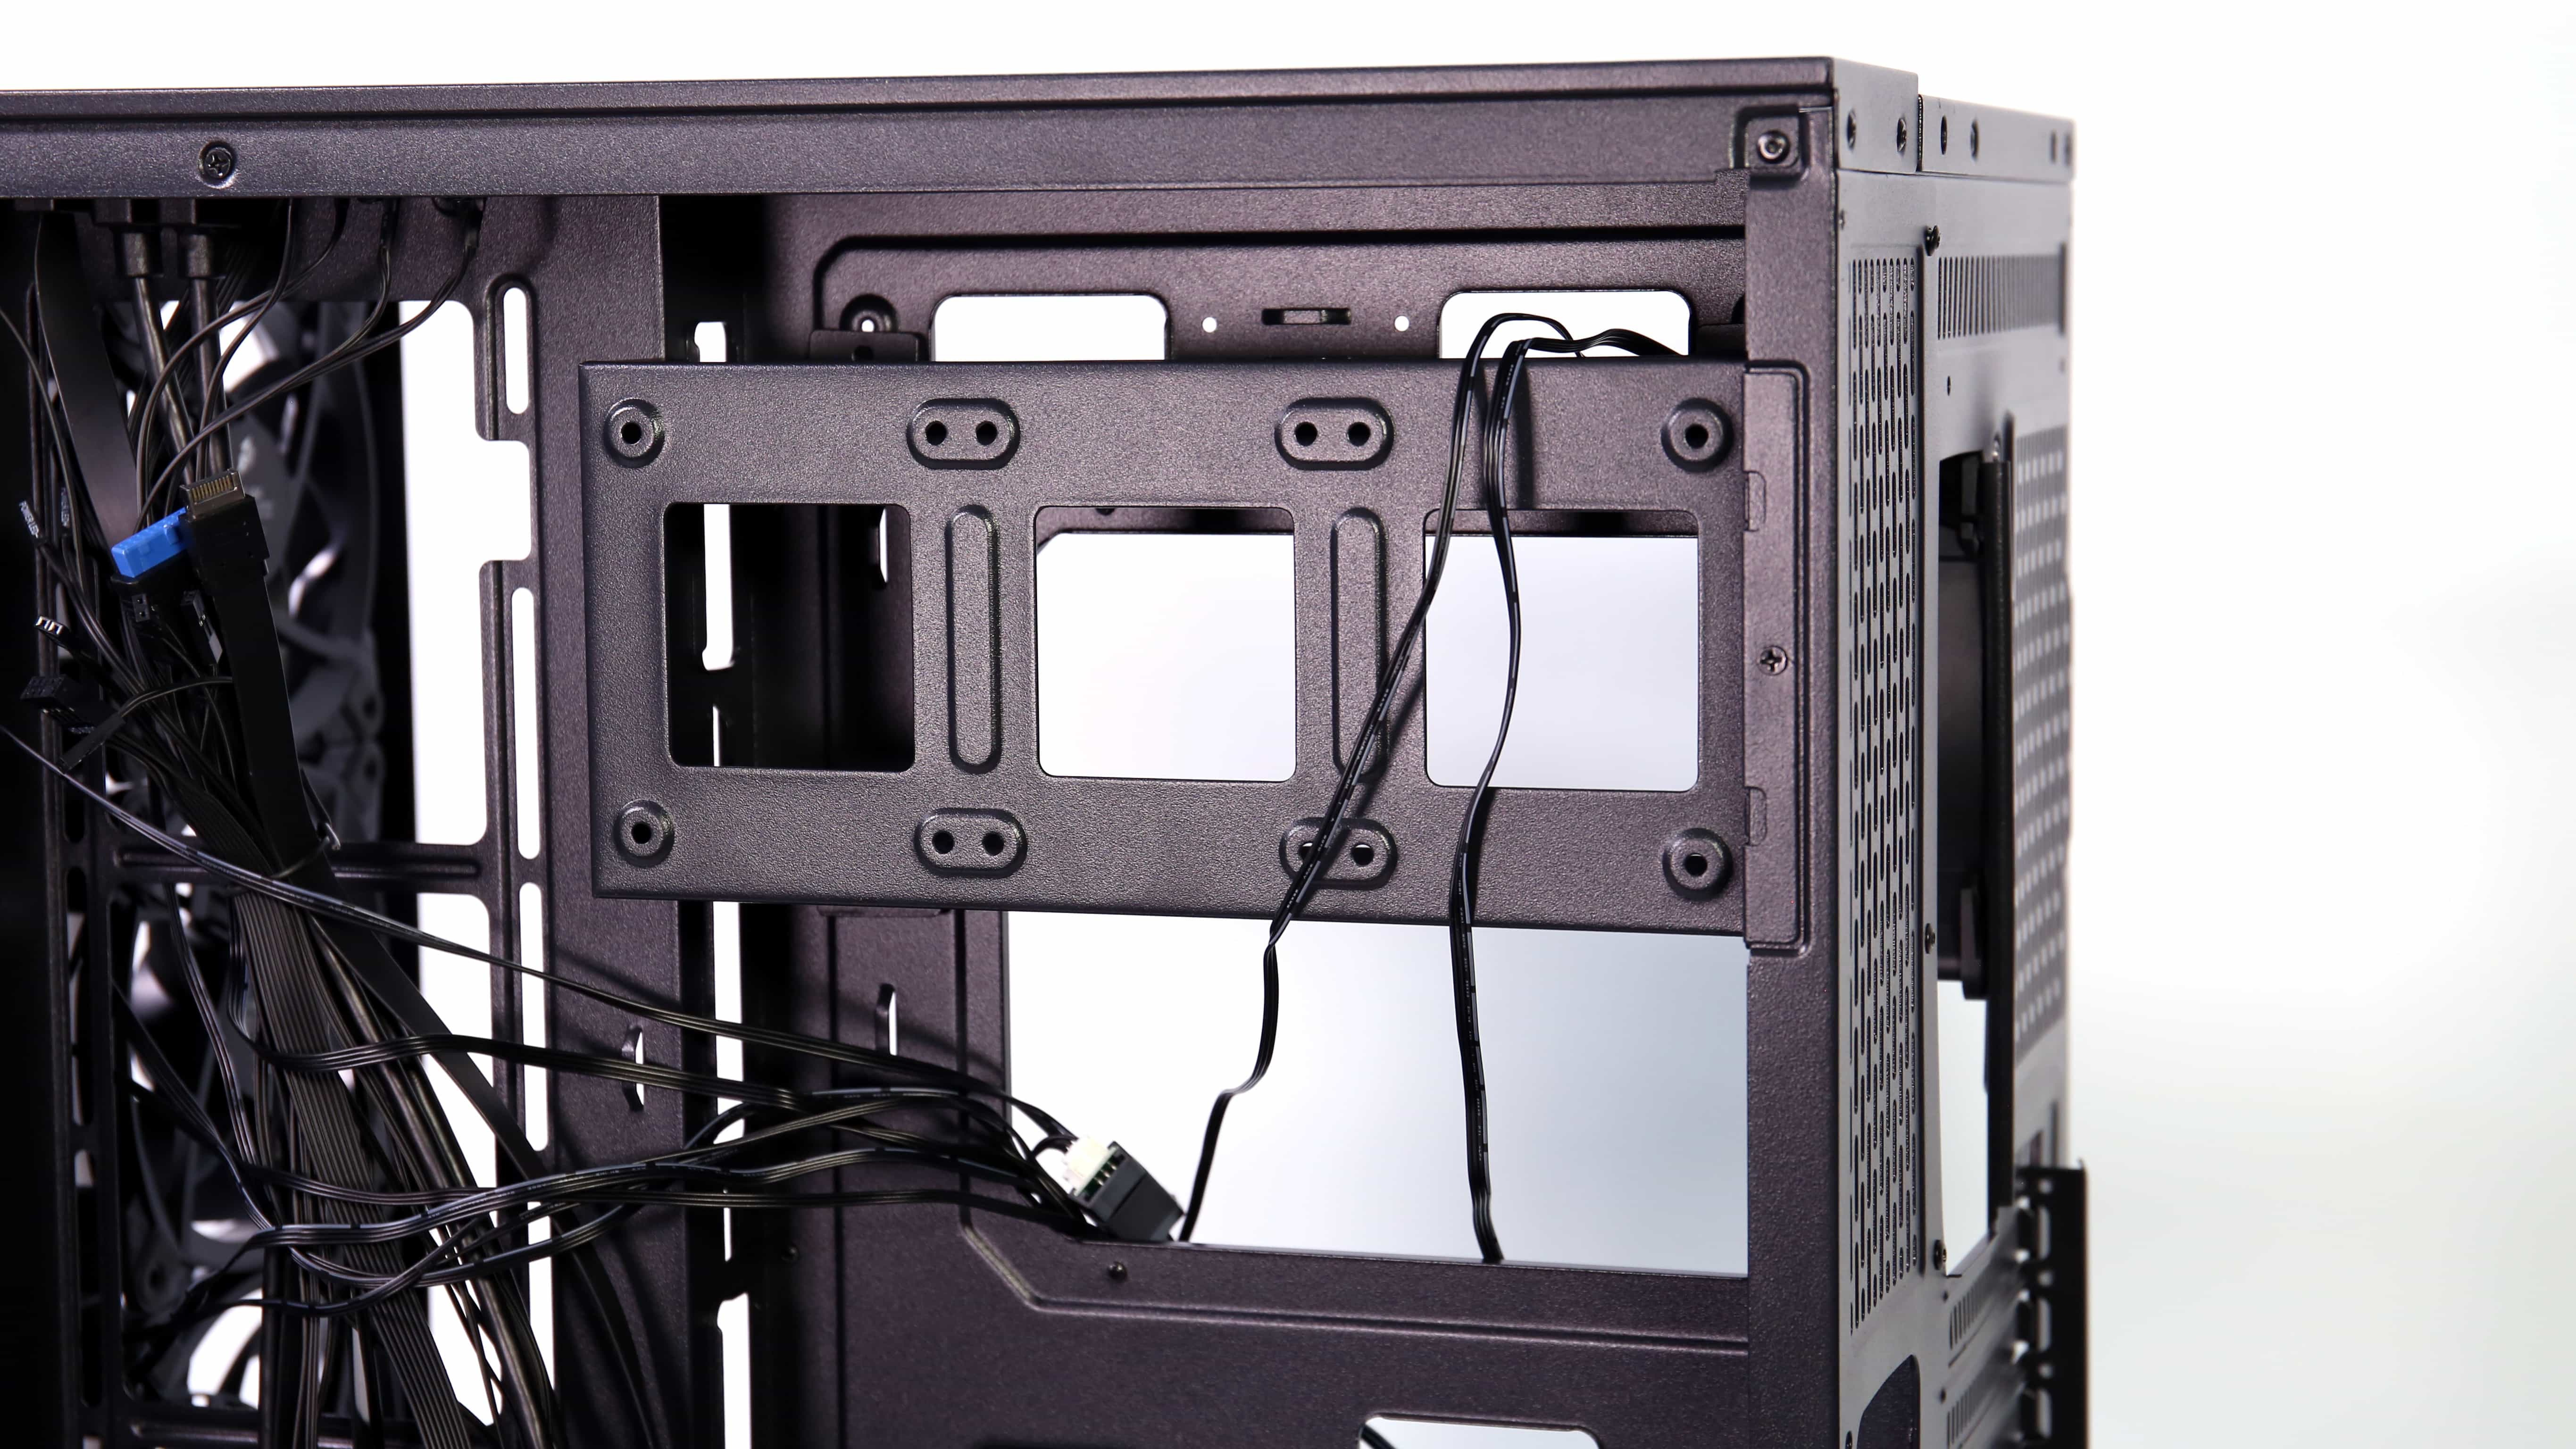

Storage is handled by the removable metal bracket, which can hold up to three 2.5″ SSDs on the outside and two 3.5″ drives inside. Since it’s the last part to go into your build, it’s the first you’ll access when opening the case again. Once populated, the available space in the secondary chamber becomes noticeably tighter.
Drives are mounted the old-fashioned way, with screws included in the box.