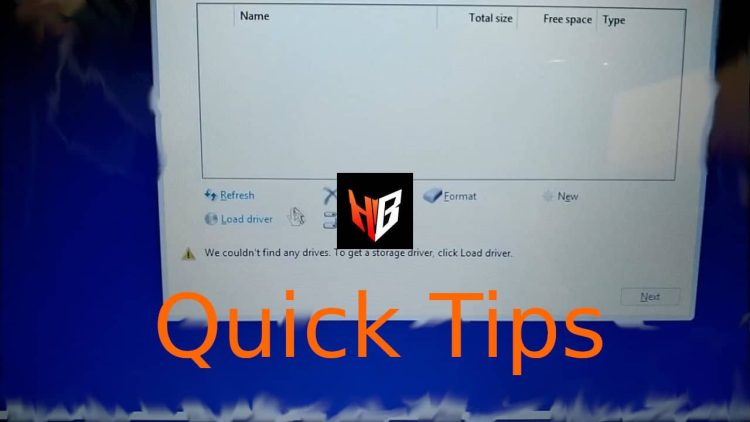
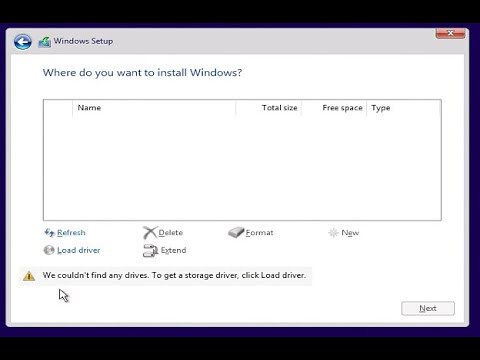
You just bought a new notebook, and when you “fire it up,” you are already sick of the OEM bloatware. What’s next? A Clean Install of Windows, of course. So, you start the process: media creation tool, USB, BIOS, and the options are missing when you come across the drive setup section. Don’t worry, your drives are still there. Windows can’t “see” them. All you have to do is download the appropriate driver, and everything will return to normal. This might be a headache for some users, though, but everything is not lost yet. There is another way to proceed with the installation without messing around with drivers. If you want to deal with this situation easily, this Quick Tips article is for you. Let’s set your drives “on fire.”
How To
- Switch on your device.
- Boot into UEFI/BIOS by spamming the appropriate key. Usually, F2, Del, or Esc. Depends on your device.
- Switch to “Advanced” settings/mode if you have not already done so. This can also be utilized by a hotkey combo (varies by device), e.g., Control + S (Acer), or A (HP), F7 (Asus), F6 (Asrock), Fn + Tab, etc.
- Find the VMD Controller (or just VMD) option, usually in the “Main” section.
- Disable it.
- Save and reboot your device.
- Restart the Clean Install process.
- Your drives will be there now. Proceed as usual.
- That’s it! You may now proceed confidently without extra hassle using the Quick Tips way.
Note that VMD offers some extra features that might be essential for some users. If you need any of these features, it is best to avoid this tip.


