MANY thanks to Caseking.de for its kind support!!

I posted about a flight simulator project we were working on about a month ago. It is finally completed after much struggle and countless work hours, and I’ve been testing it for some time now. We have already encountered some failures, mostly because we didn’t understand how to operate it correctly. In this article, I will guide you on building your own motion-enabled (SFX-150) flight or car simulator.
Everything started from the moment I decided to pursue a pilot’s license. I quickly realized that the easier way to train and gather valuable experience was to make my own flight simulator. Making a “static” flight sim was NOT part of my plans since I wanted the best possible experience, so I had to start with my mind focusing on the “motion” part. Things are relatively easy if you want to make a standard flight sim (non-motion enabled) since you don’t have to pay special attention to the cockpit that you will buy. But if you want to upgrade it to a motion sim at some point, you have to carefully select the cockpit because you need something that will be sturdy enough to handle the forces and also allow you to mount the actuators.
Which Parts I Got (Excluding the SFX-150 – Motion Parts)
But let’s start from the beginning. Let’s say you are just starting to build your own flight simulator. What is the first thing you need to do? Make a list of the required parts, of course! You will need the following:
- Strong PC to handle the flight sim program, in my case, the Microsoft Flight Simulator
- Monitor (or VR)
- Monitor stand
- Cockpit
- Seat
- Joystick
- Throttle
- Rudders
- Motion Tracking
The PC part was the easiest for me since I have tons of parts lying around in the lab. I used a previous generation though GPU, a 3090 Ti, which hasn’t seen enough action so far. It is strong enough to handle FS 2022, but I will probably replace it once the FS 2024 is released.
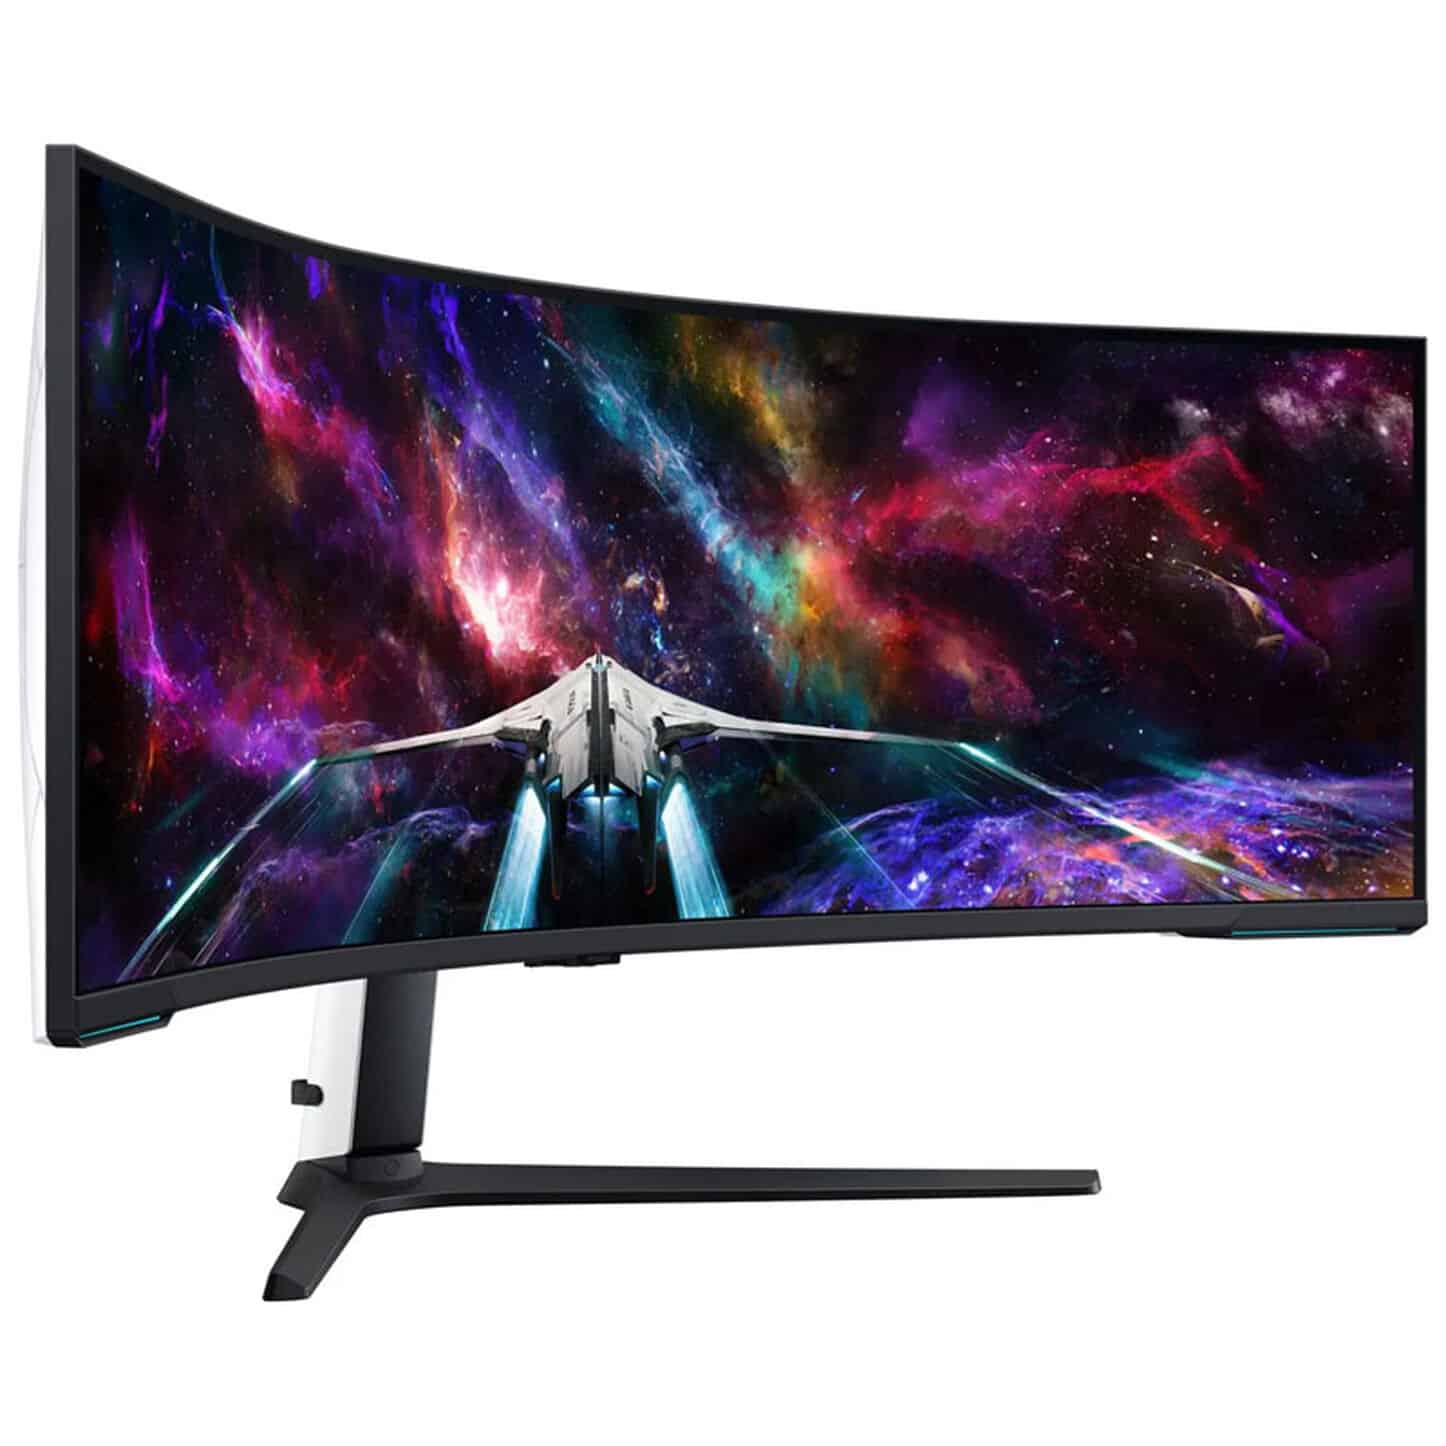
The monitor of my choice was the Samsung Odyssey 57” G9. This is a beast of a monitor, offering extreme resolution and refresh rates, and its curvature also helps create a more realistic environment. I know that many prefer a triple-monitor setup, but I wanted to use a motion-tracking device, which doesn’t work well in multiple-monitor setups.
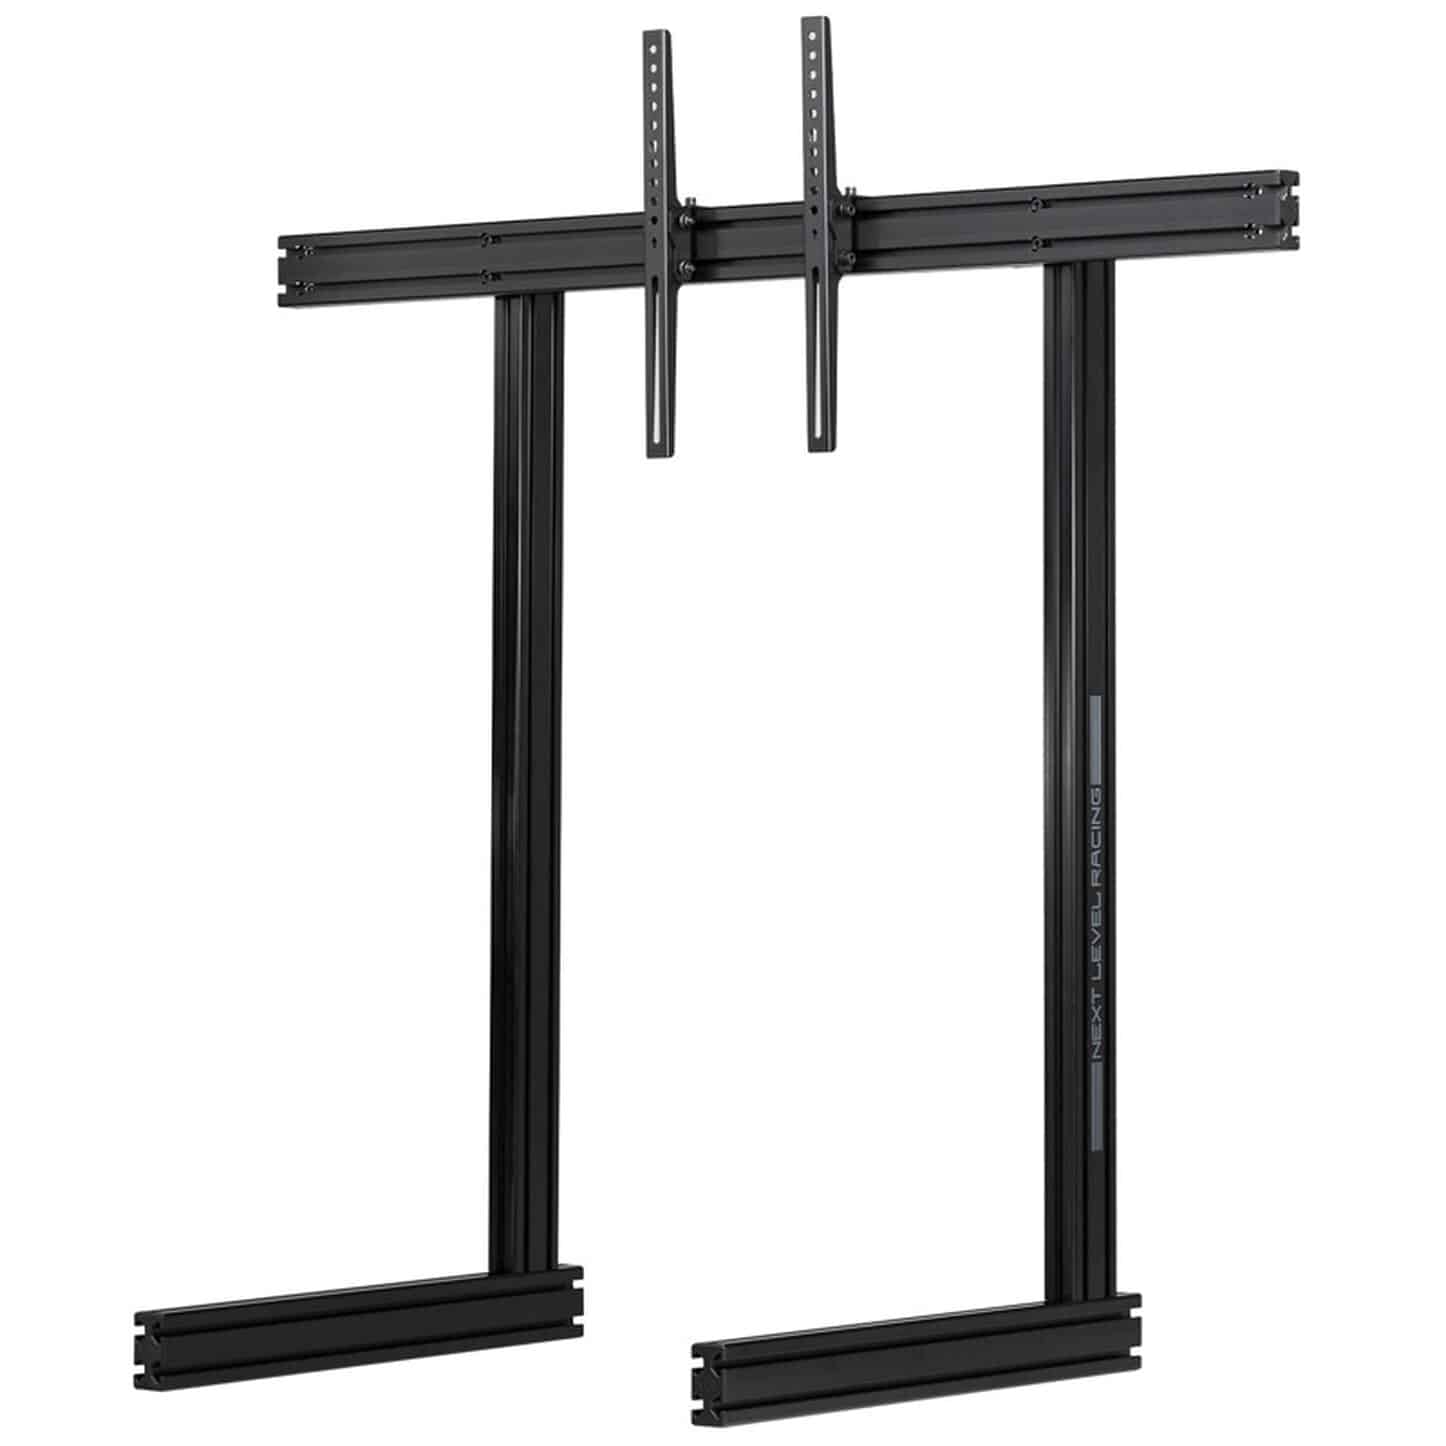
Some mount the monitors directly on the cockpit, but I wanted to avoid that because there is a great risk when the cockpit is in motion! I strongly advise you to buy a separate stand for the monitor. I know that having the monitor move along with you is more realistic. Still, even the slightest screw slack can create dramatic situations, and given that the Samsung monitor that I use is super expensive, I don’t want to see it destroyed. The monitor base that I used is the Next Level Racing ELITE Single Monitor Stand, which is expensive but of top quality and super-sturdy. You can find less expensive stands if you don’t want to spend so much money here.
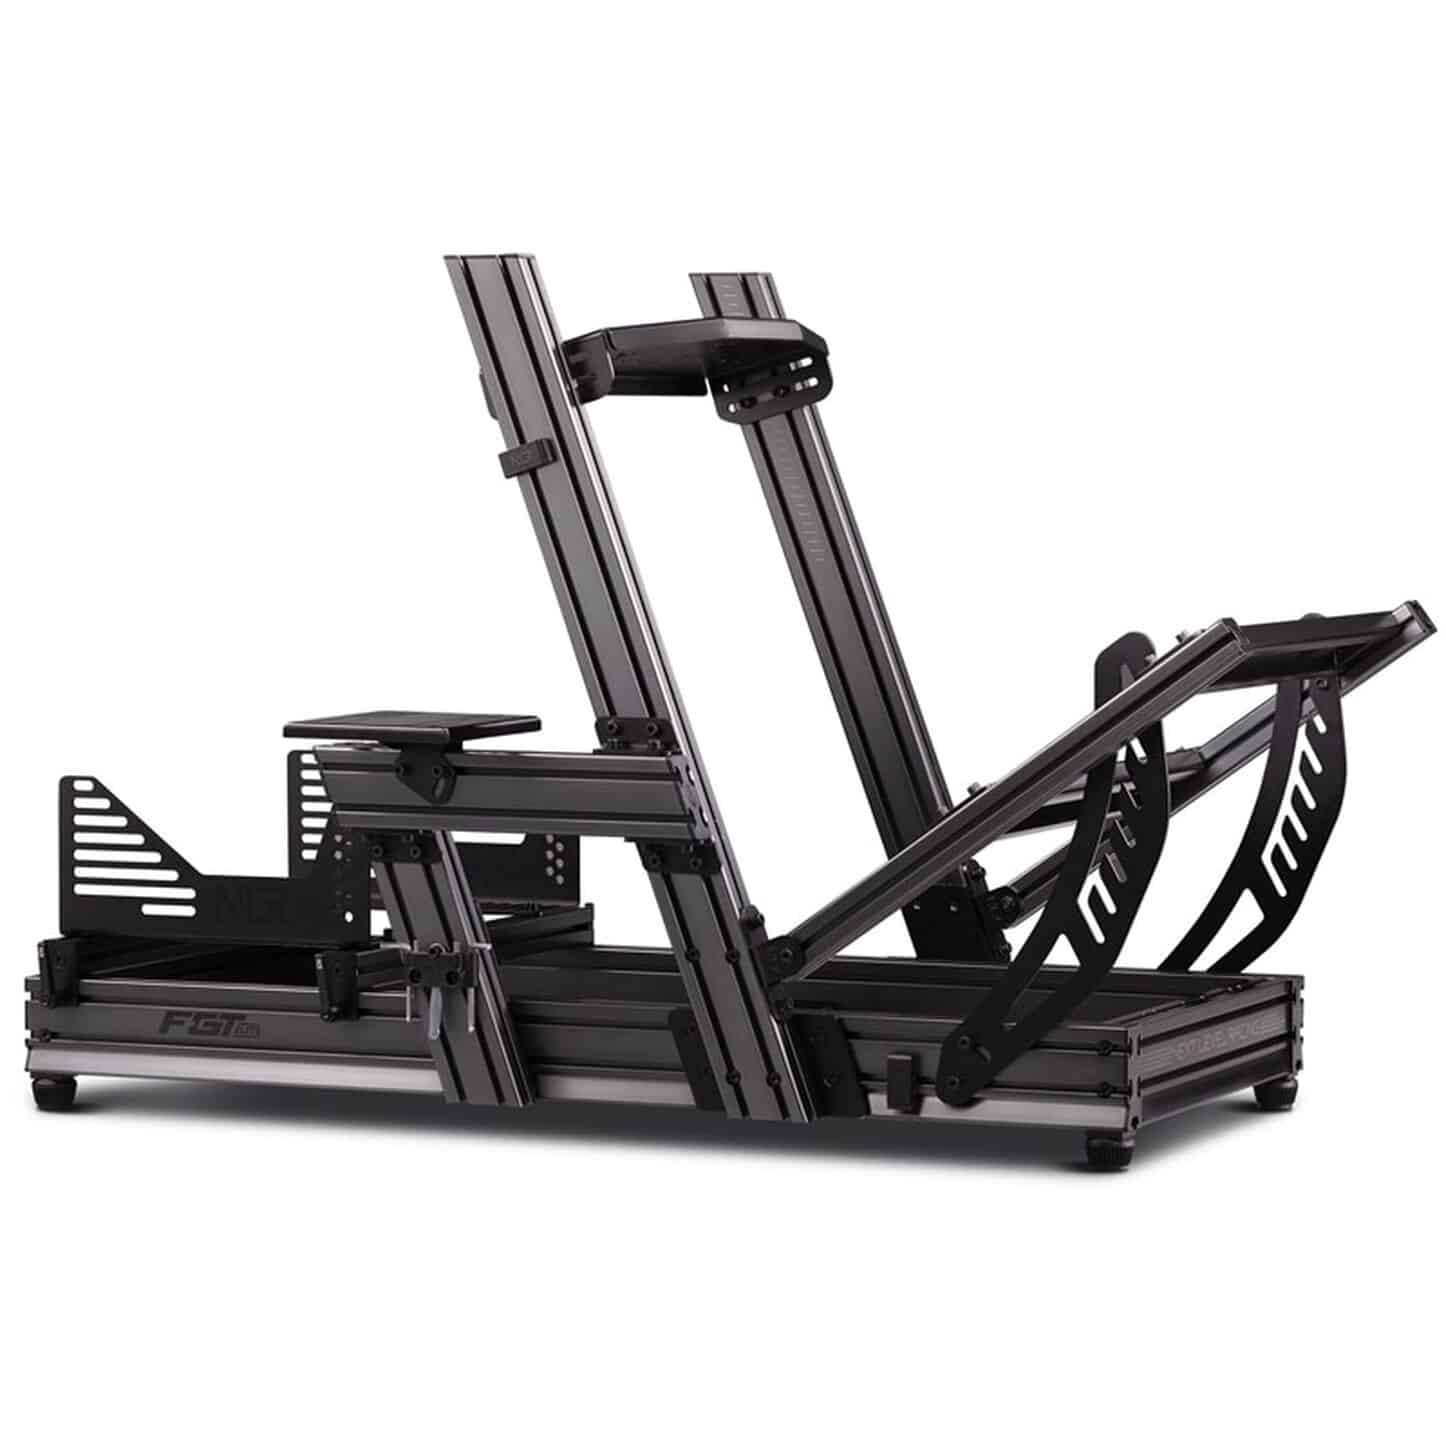
The cockpit’s choice troubled me the most because I needed to find something compatible with the SFX-150 system I was planning to build soon. My friends at Caseking cleared things up for me, and the Next Level Racing F-GT ELITE 160 (wheel plate edition) looked to be the best choice. I should note here that although this brand offers flight sim cockpits, none of them is suitable for the SFX-150 system. On the contrary, the F-GT ELITE 160 is not only suitable, but the Elite Flight Pack is also compatible with flight sim joysticks and throttle devices.

The sear of my choice was the Next Level Racing ERS1, which might cost a lot, but you will be happy to have it after using the simulator for many hours straight.

The choice between joystick and throttle was easy since I already had in mind what is most suitable for the majority of cases. I bought the Thrustmaster HOTAS Warthog bundle, which includes the joystick, the throttle, and the control panel. I know this is for the A-10C aircraft, but it will still be perfectly fine for the majority of planes that you will try in the sim. After all, several GA aircraft use sticks instead of yokes, and the same applies to the Airbus planes. This joystick and throttle bundle isn’t cheap, but its quality is high!
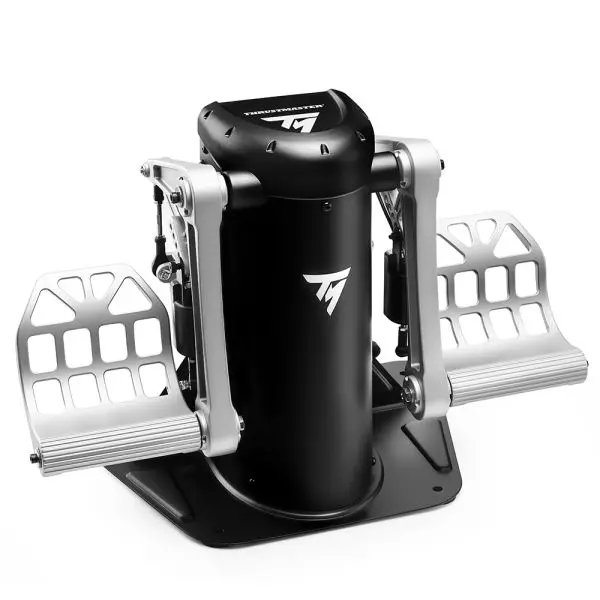
I didn’t cheap out on the rudders, either. I got the Thrustmaster’s Pendular Rudder, which is among the best in terms of feel, usability, and build quality. Its price gonna make you want to scream, but hey, you build a flight sim once (but you constantly upgrade it).
SFX-150 (AKA Motion) Parts
The selection of parts for the SFX-150 motion system was among the easiest since all I had to do was send an email to a Chinese factory that has them all and ships worldwide. These guys are fantastic, and I found their contact information by searching the SFX-100 forums. You can pay them through PayPal, so the risk is minimized.
 |
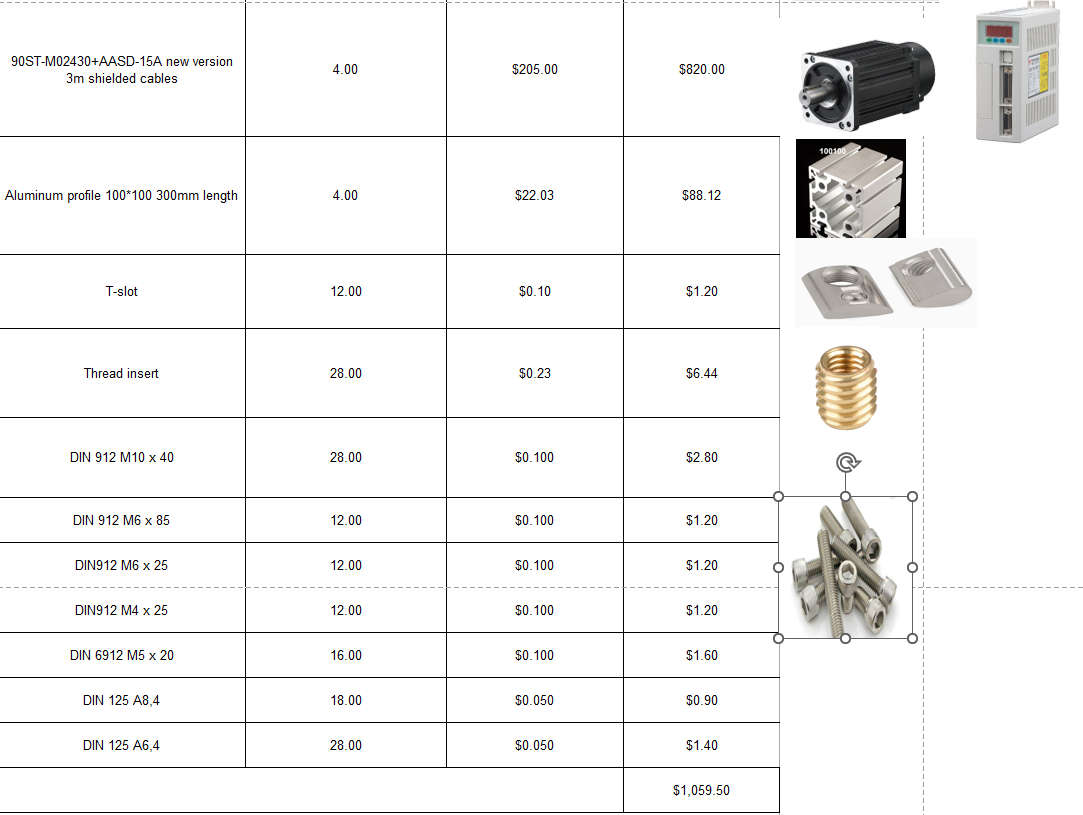 |
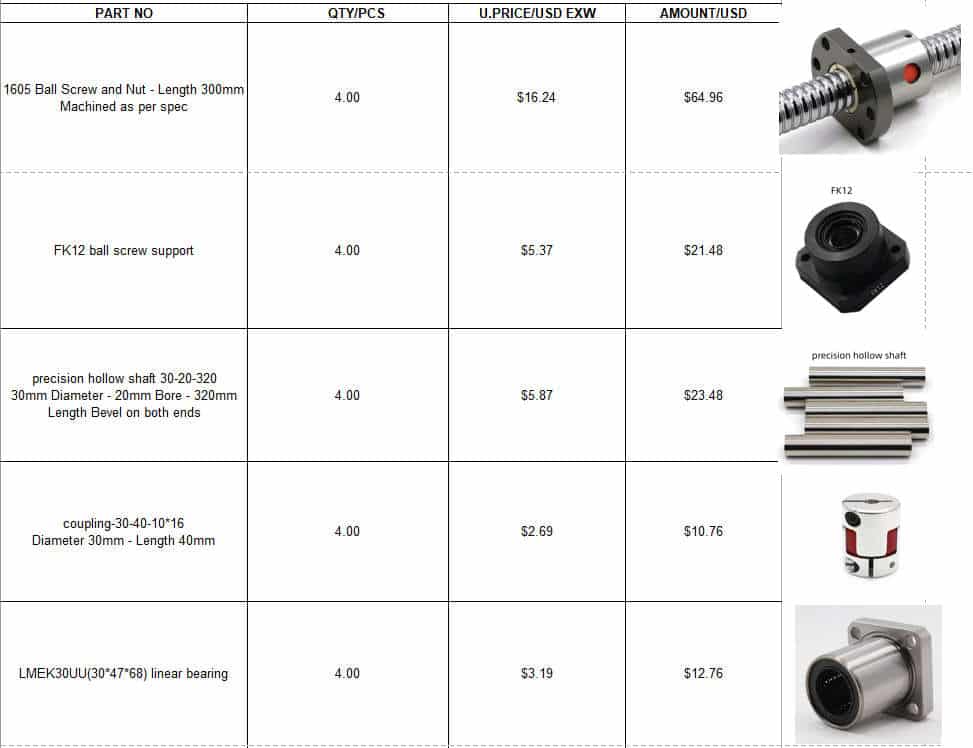
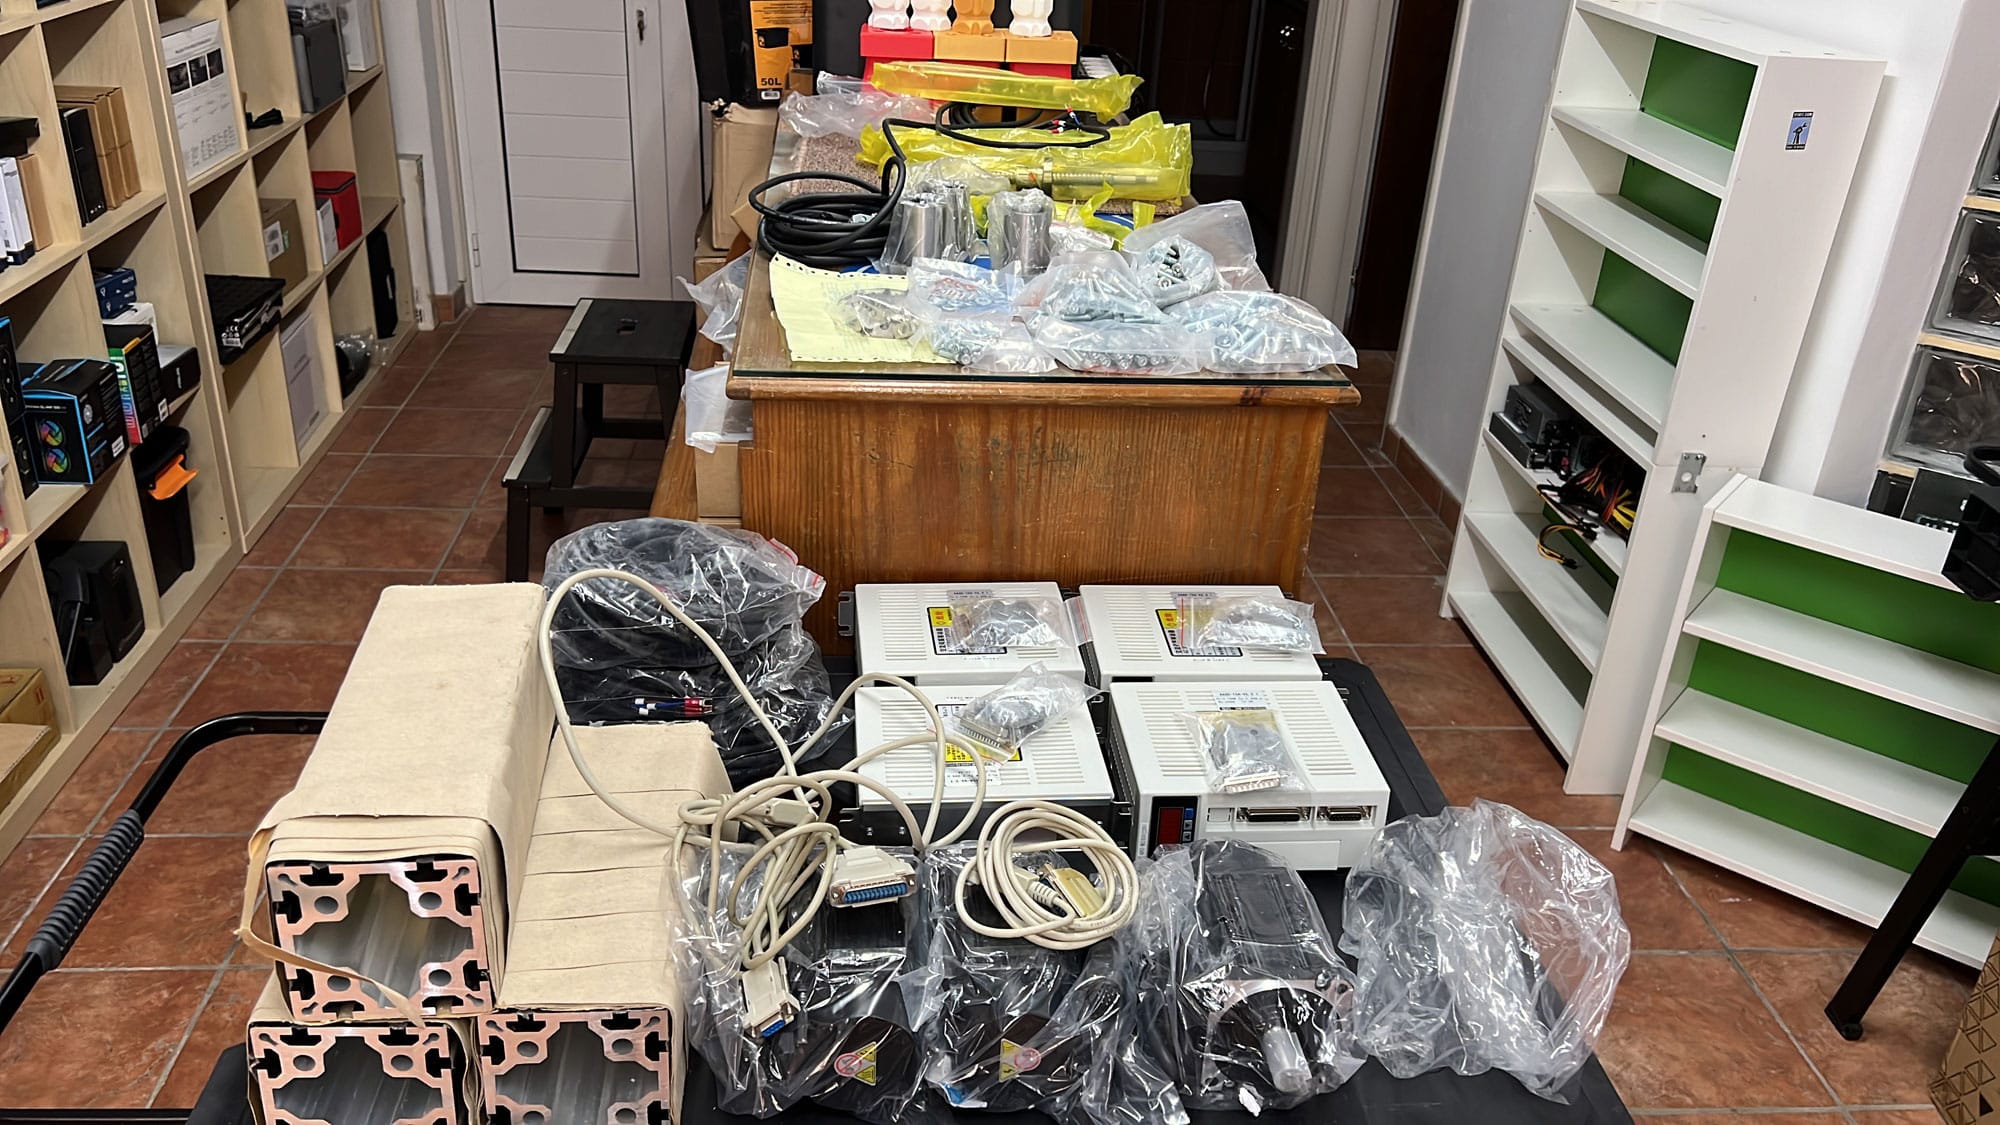
Here is the analytic list of the parts that I ordered. Be advised, buy some spare ones! I didn’t, so I had to make a second order once we destroyed the 1605 Ball Screw and Nut. If the nut goes out, it is very difficult to put back the ball screws, so better buy six of them instead of four. I also ordered 5m long cables instead of 3m, just to be sure, although I didn’t exploit the longer cables in the end.
You can contact them through the following emails:
- sk**@*********ng.com
- li**@*********ng.com
Their support was top, but this was in my case! You should always keep in mind that there is a potential risk every time you place an online order. Moreover, expect the shipping cost to be high since all required parts are heavy! And you should also expect to pay customs fees!
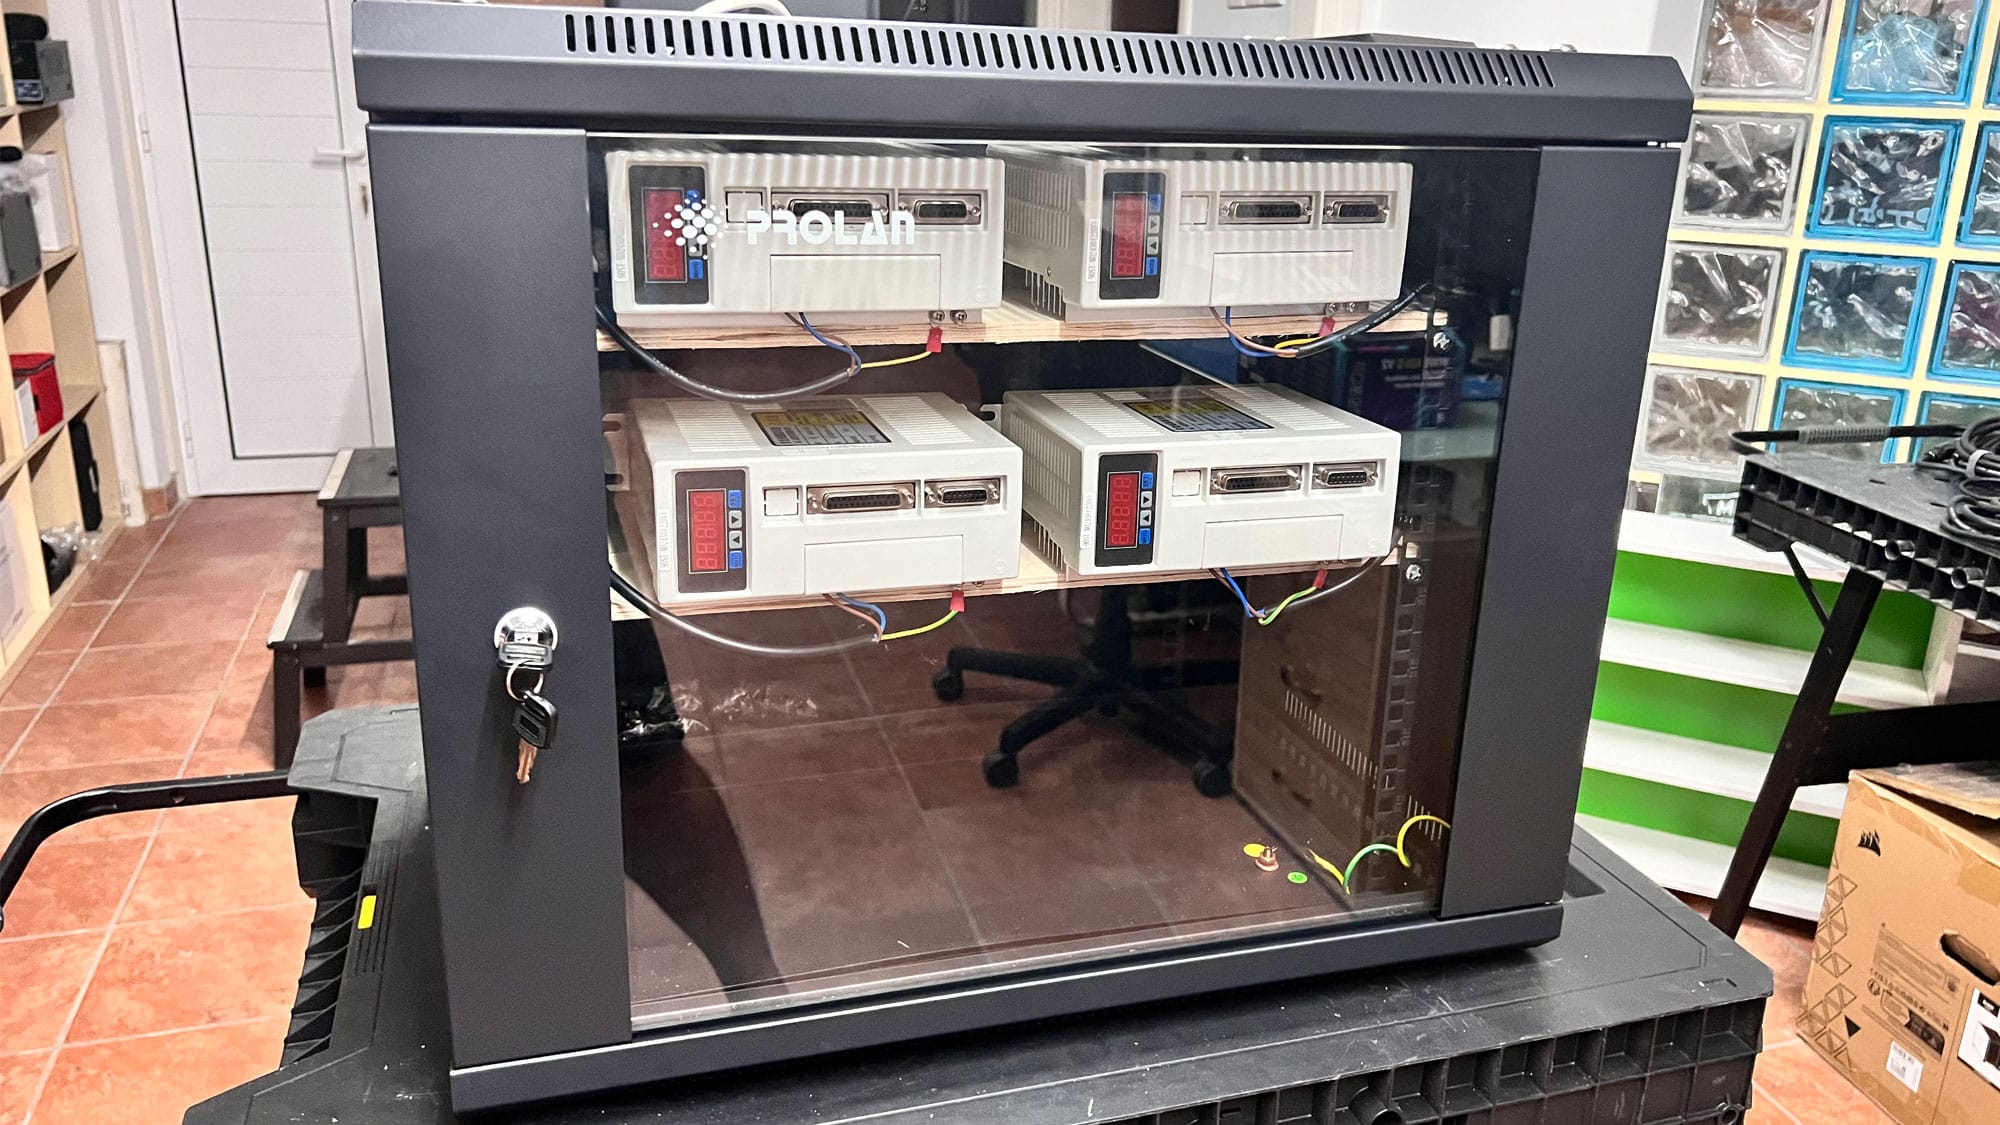
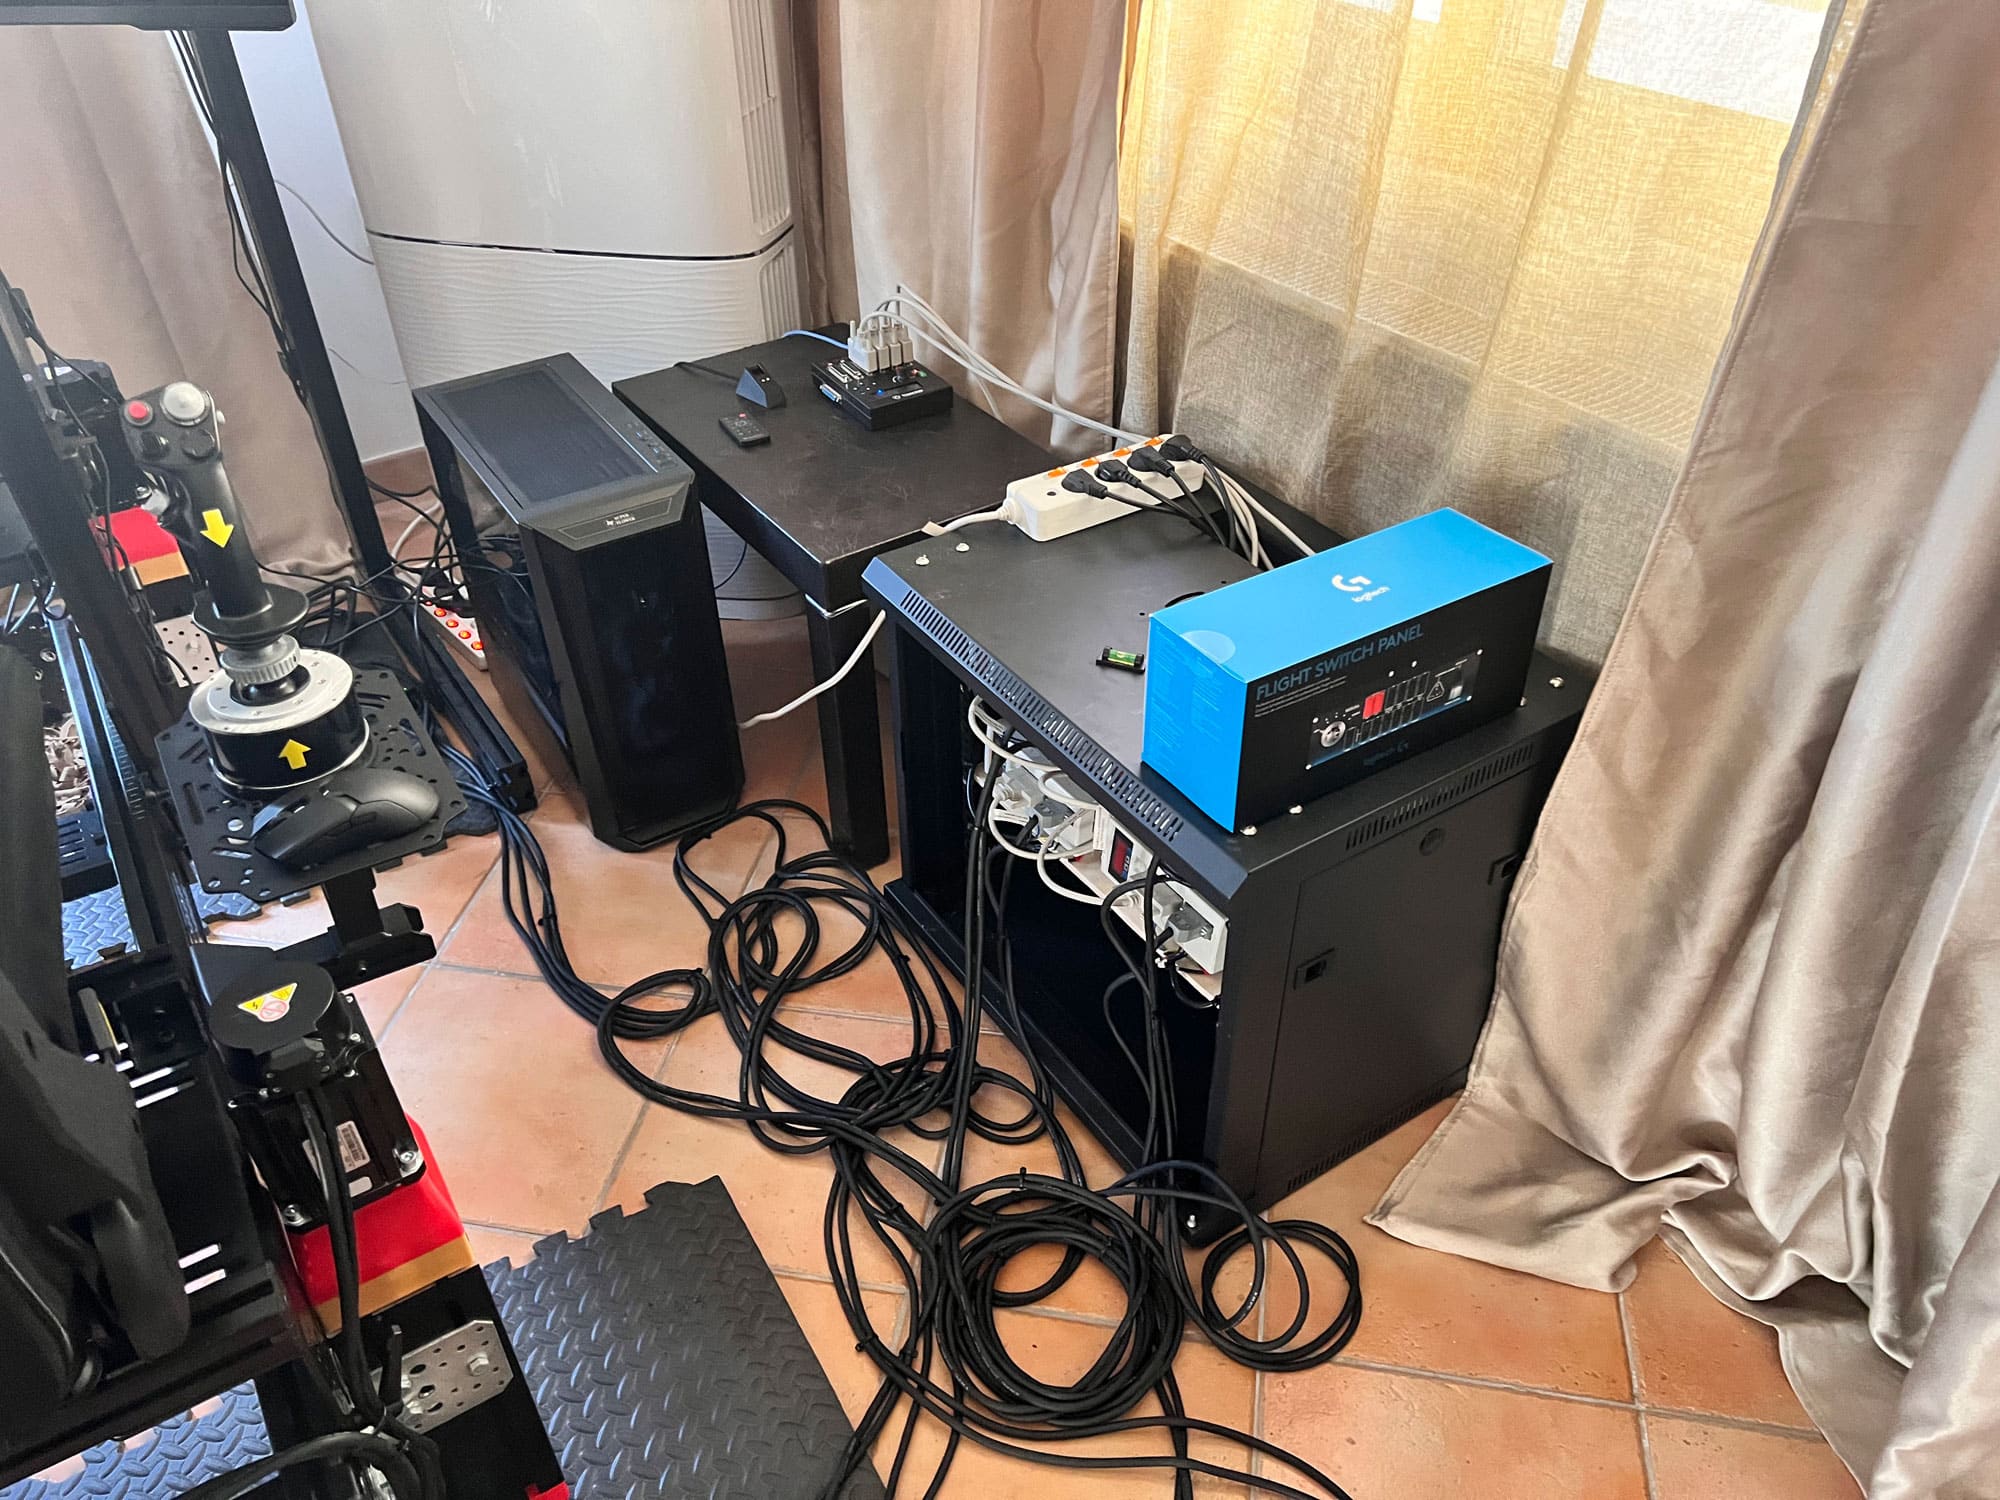
In addition to the parts listed above, you will also need a server rack to install inside the actuators’ control modules. I bought a 9U rack.
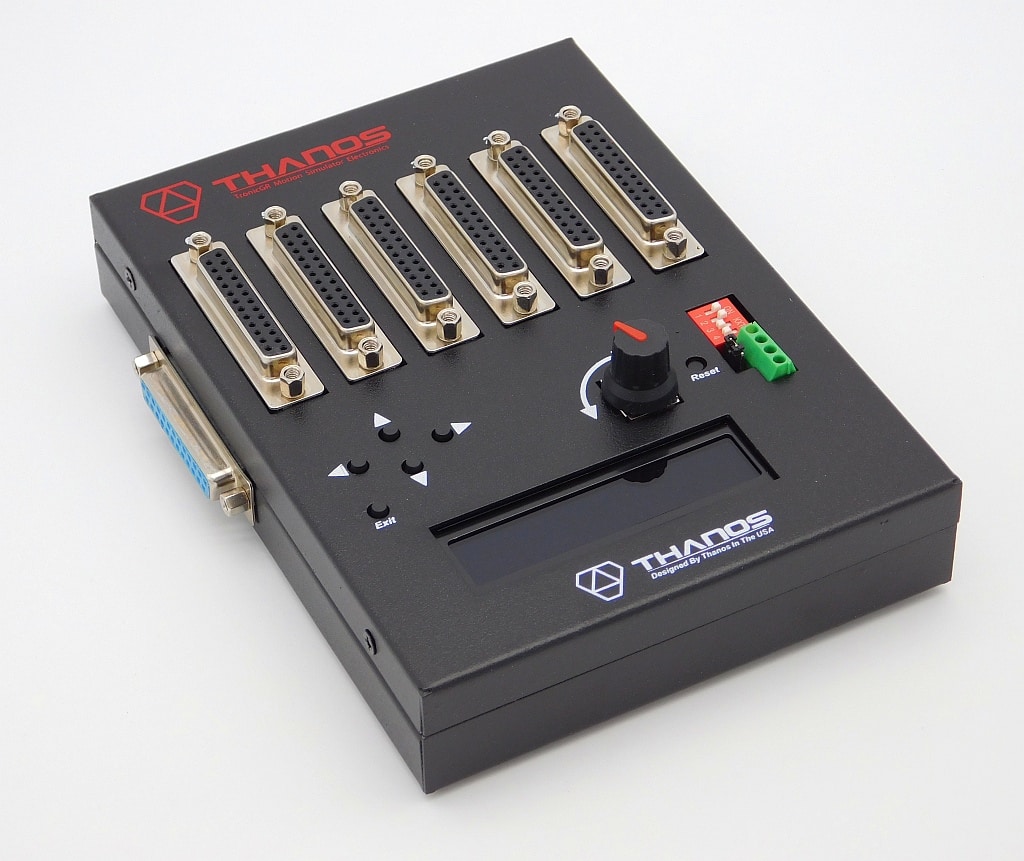
You will need a device to link the SFX-150 system’s linear actuators to your system to control them. The best out there is Thanos Motion Controller. I bought the AMC AASD15A directly from Thanos’s page. They shipped the controller fast, and the whole procedure was effortless. Thanos provides top support for his products and looks like a legend in the SFX-100/150 community.
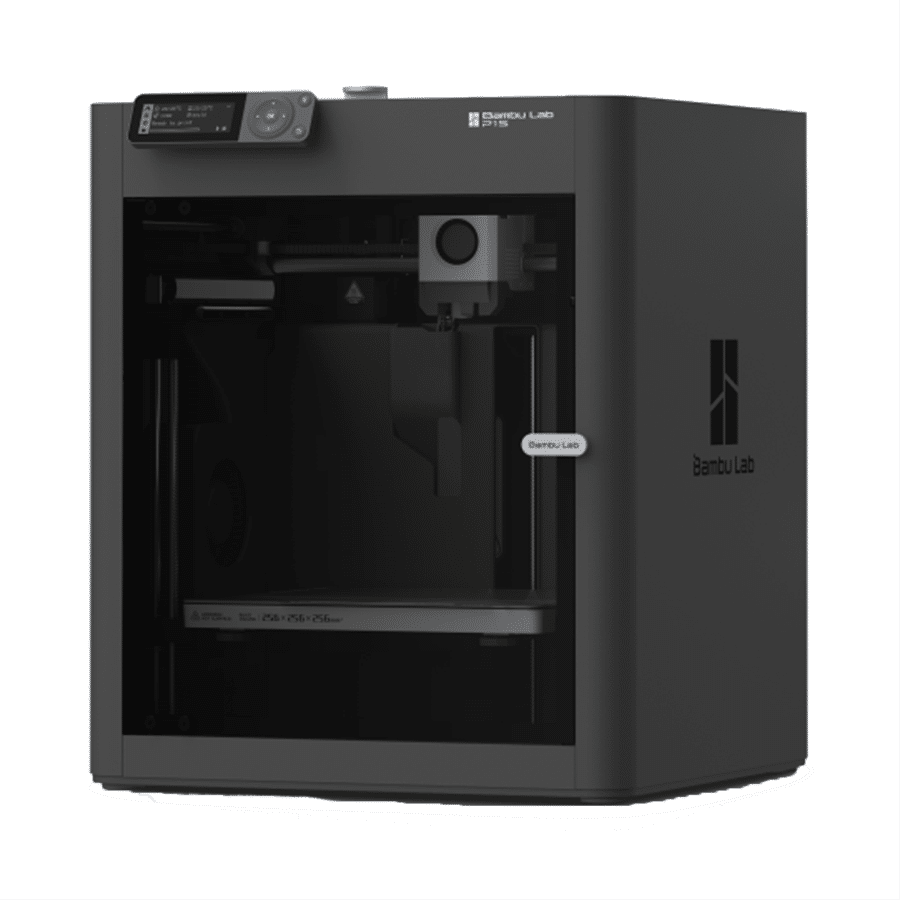
Last but not least, you must 3D print several parts for your SFX-150 system, so you will need a good 3D printer and the appropriate filaments. The 3D printer of my choice is the Bambu Lab P1S, which might be expensive, but it is among the best choices and super-fast!
Putting All Together (Except SFX-150)
I strongly advise you to finish building the cockpit first and then familiarize yourself with the controls and the flight simulator program. Only after several hours of sim flying and having configured the controls, the seat, and the monitor accordingly is it time to move on to the motion part. You will encounter many difficulties if you try to go directly to the motion part.
It took us close to two full days to build the cockpit and the monitor’s base and set up everything according to our requirements. The most time-consuming part was making the fine adjustments.
Building the SFX-150 System

Some ready-made solutions for motion are super expensive. Building everything on your own is way more enjoyable, right? After placing the order for the parts, ask Amy (sk**@*********ng.com) to send you the 3D files you need to print. With the Bambu Lab P1S 3D printer, it took me 3-4 days to print them all.
 |
 |
Once all parts arrive and you have printed also the necessary parts, it is time for you to begin. The most difficult part is installing the thread inserts (you will also find them mentioned as Helicoils) inside the aluminum profiles, but with the proper tool, you will do just fine!
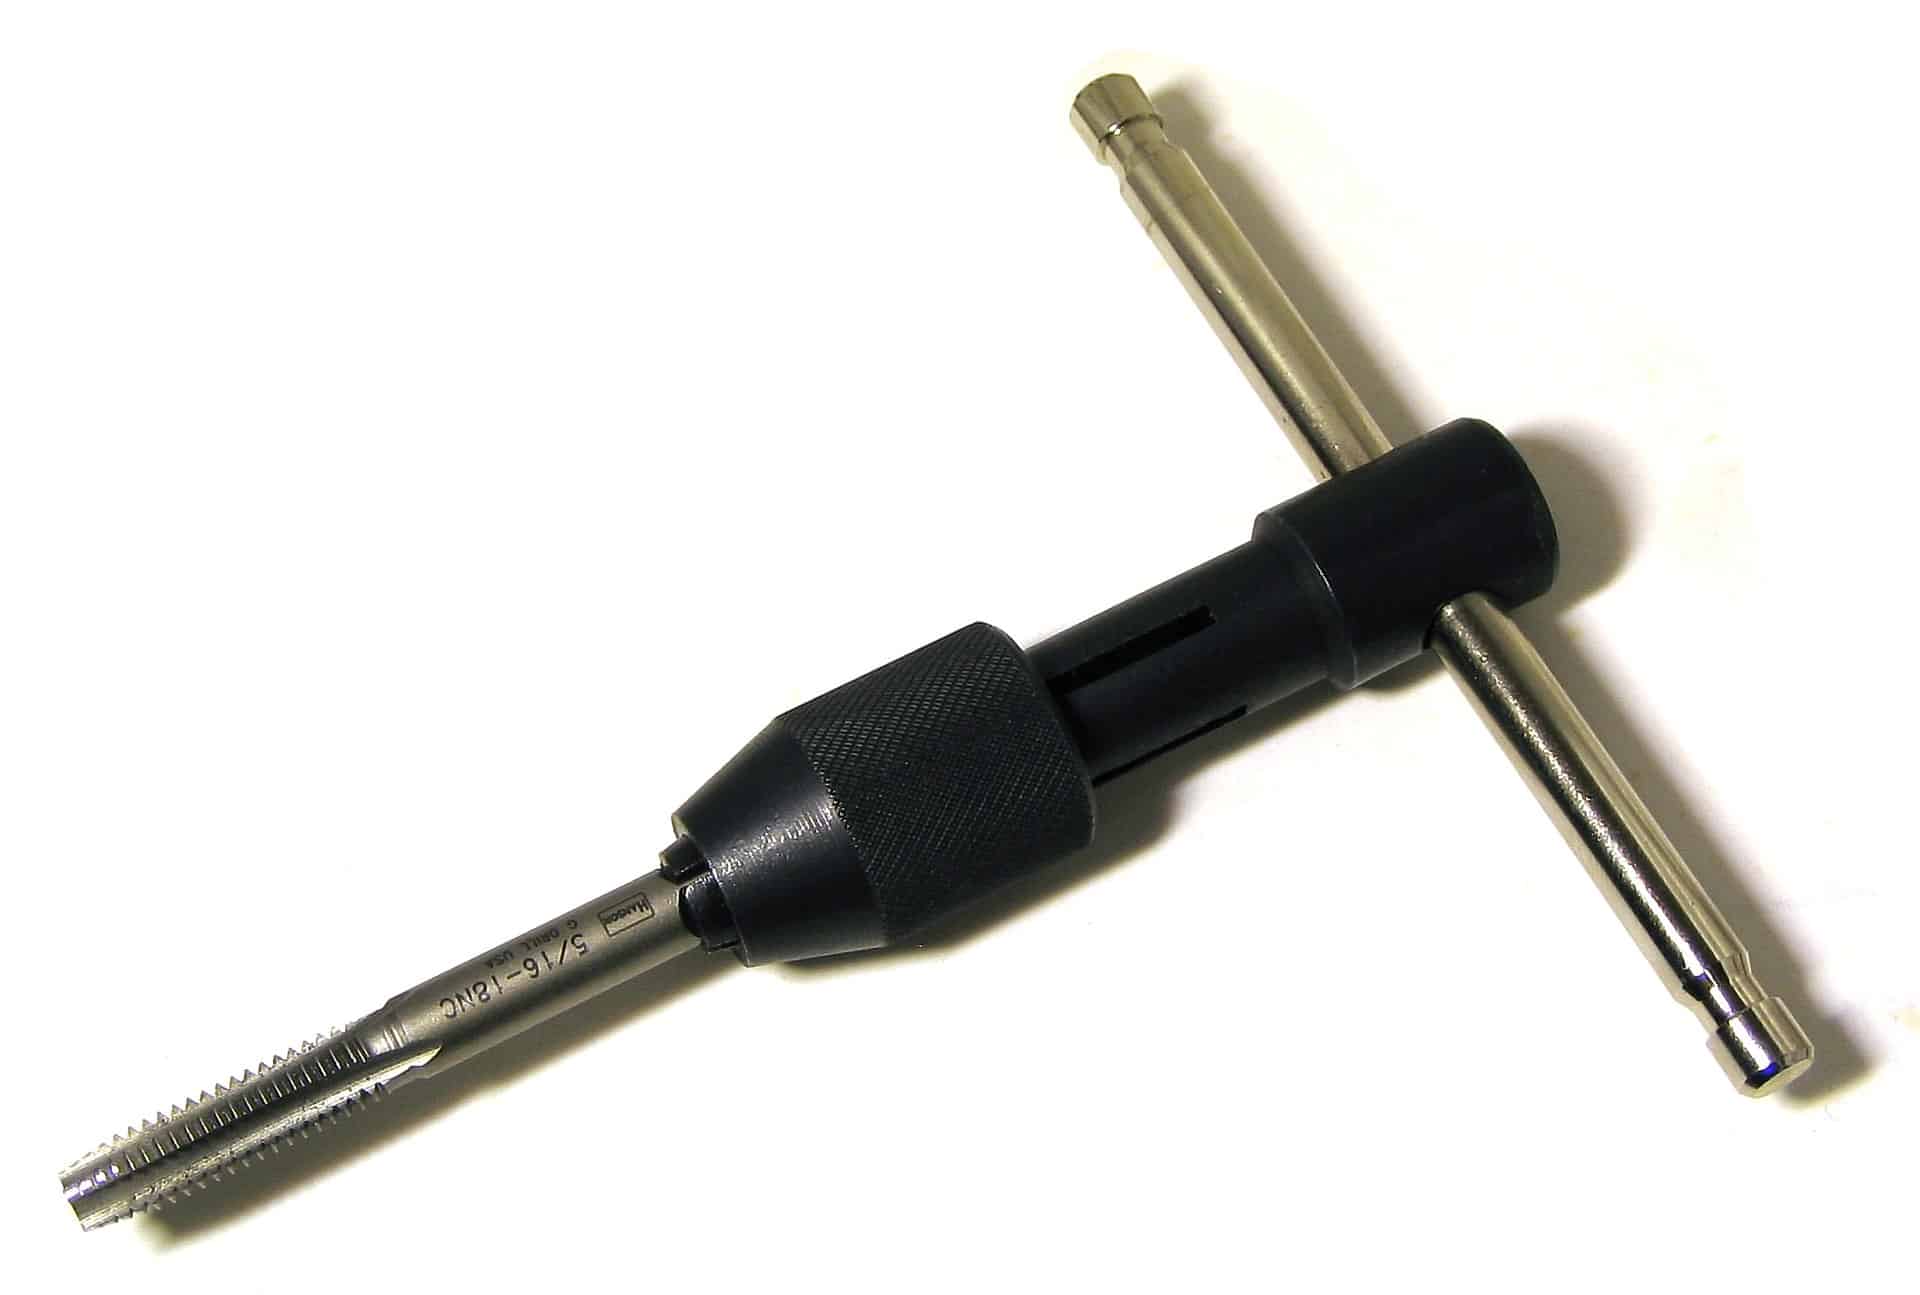
A note here: some instructions, even the official ones, don’t explain that you should NOT try to install the Helicoils without first preparing the corresponding holes in the aluminum profiles! Use a tool like the one above with the corresponding tap. This is the most crucial part of the whole procedure.
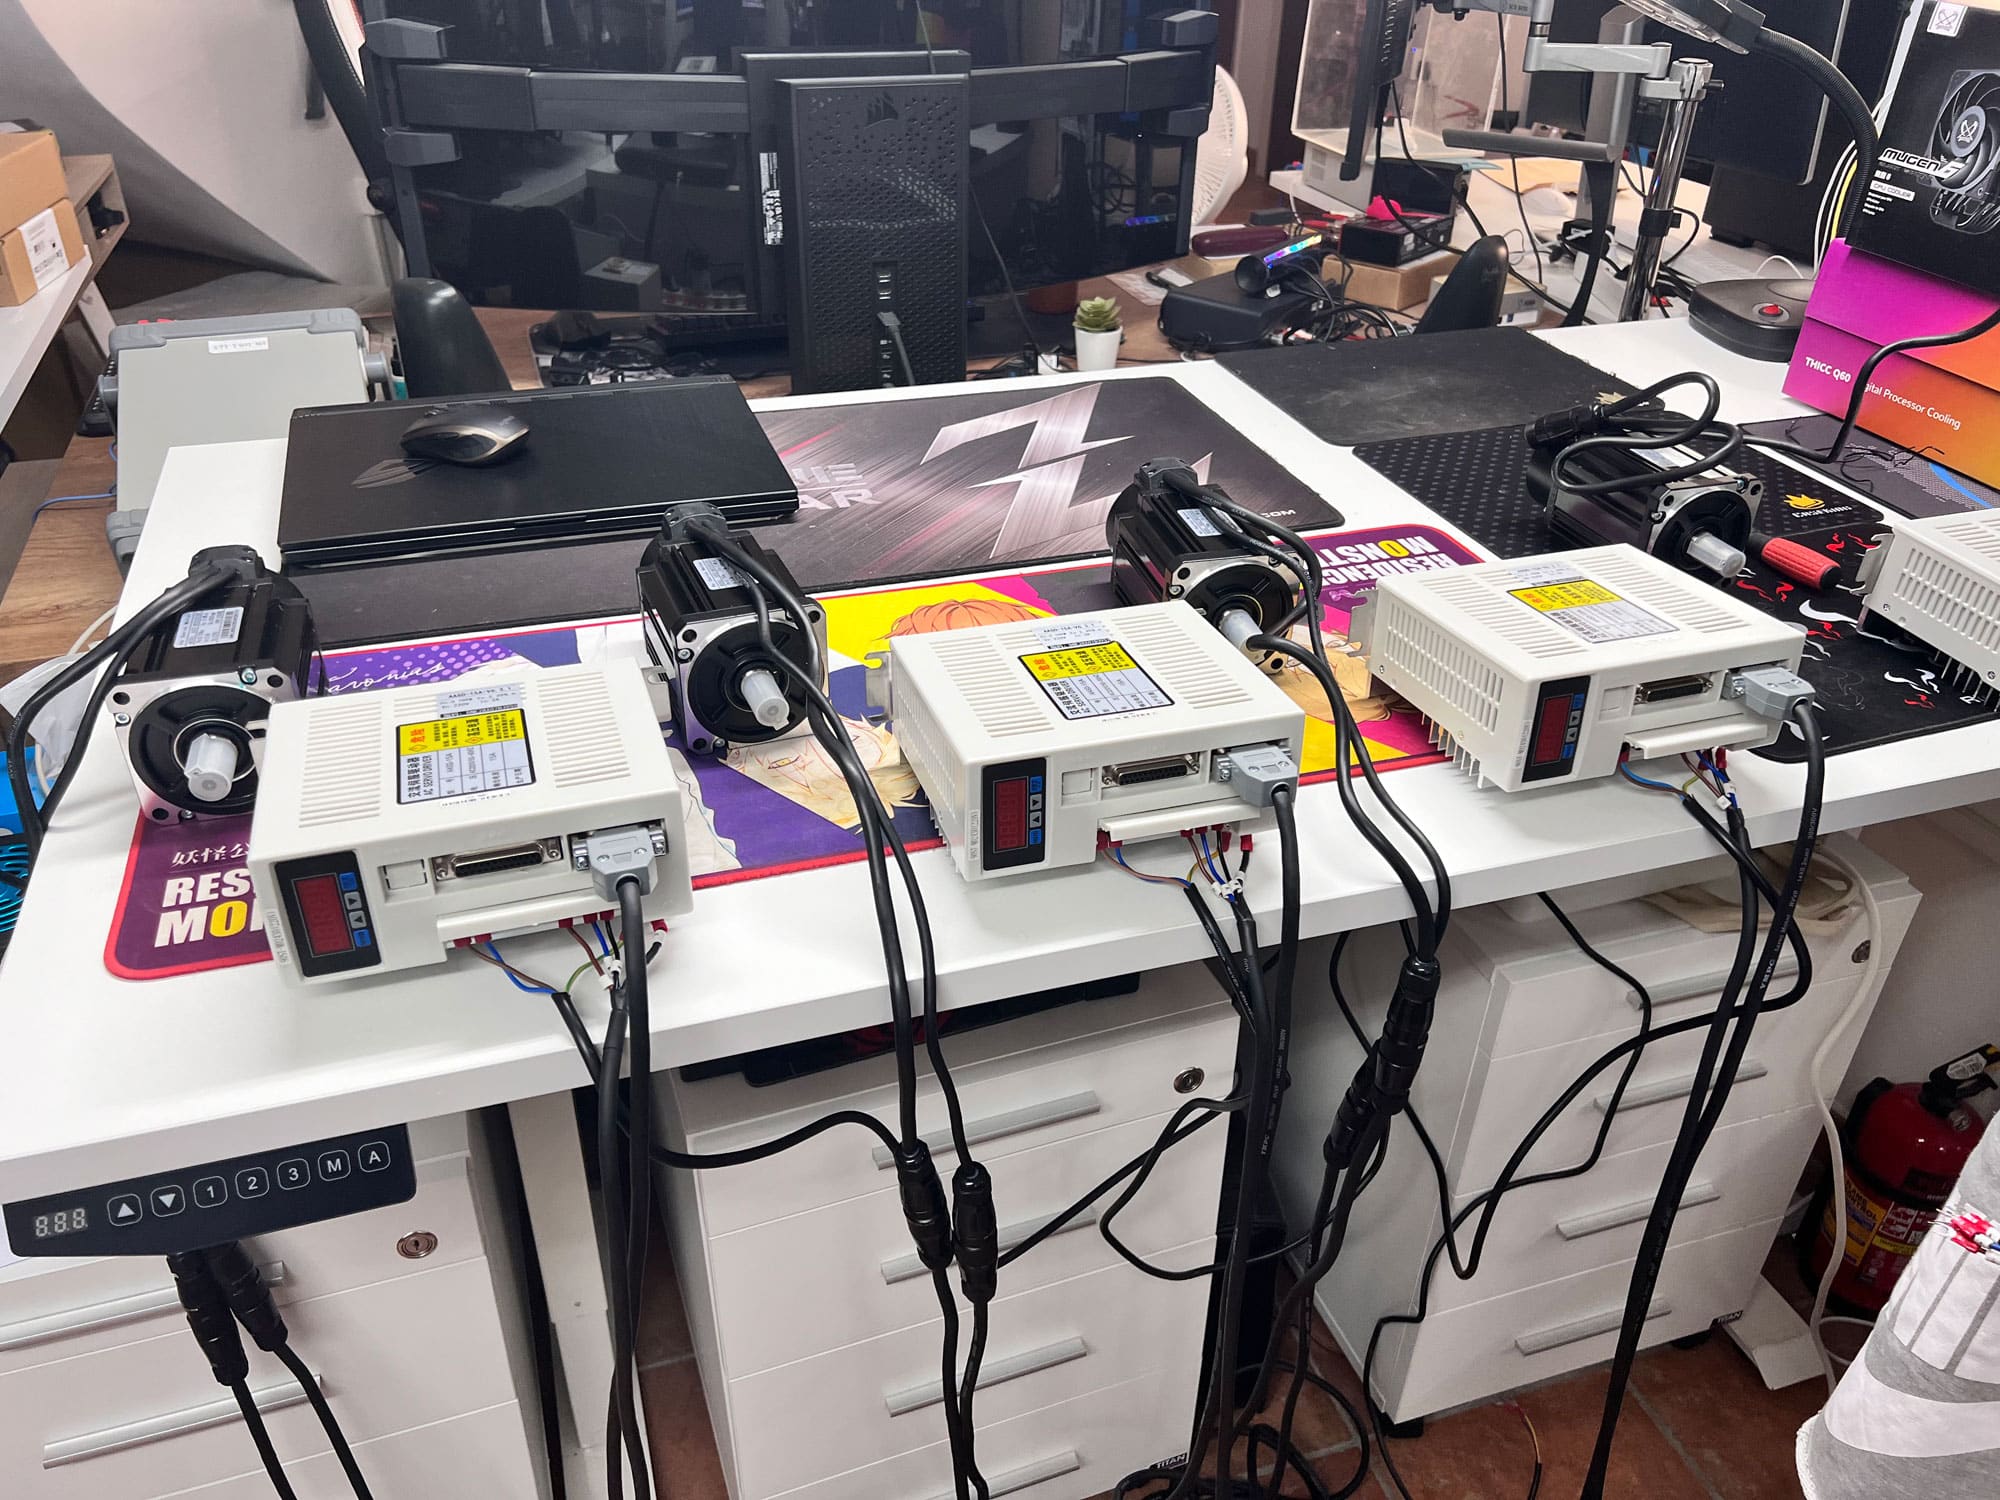
You should also assemble/connect all electronic parts to make sure that the actuators and their control devices work without any issues.
Because I do not want to spend a lot of time in the SFX-150 section, below are the best resources to help you build the system without any problems.
SFX-150 is complete, but how do I mount it?
First of all, before mounting the actuators on the cockpit, you must ensure they are working properly. Connect them all to the Thanos controller, make all necessary adjustments to the controller, and check them either one by one or all of them together. During this step, and because we had configured the controller wrongly, we initially broke one of the actuators. The nut went off from the 1605 ball screw, the small metallic balls went all over the place, and it was impossible to put them back inside. Since finding the same 1605 part in our country, Cyprus, was impossible, we had to place a new order, wait for another two weeks, and pay more! This is why you need to be extra careful, and on top of that, you need to have some spare parts to be 100% sure!

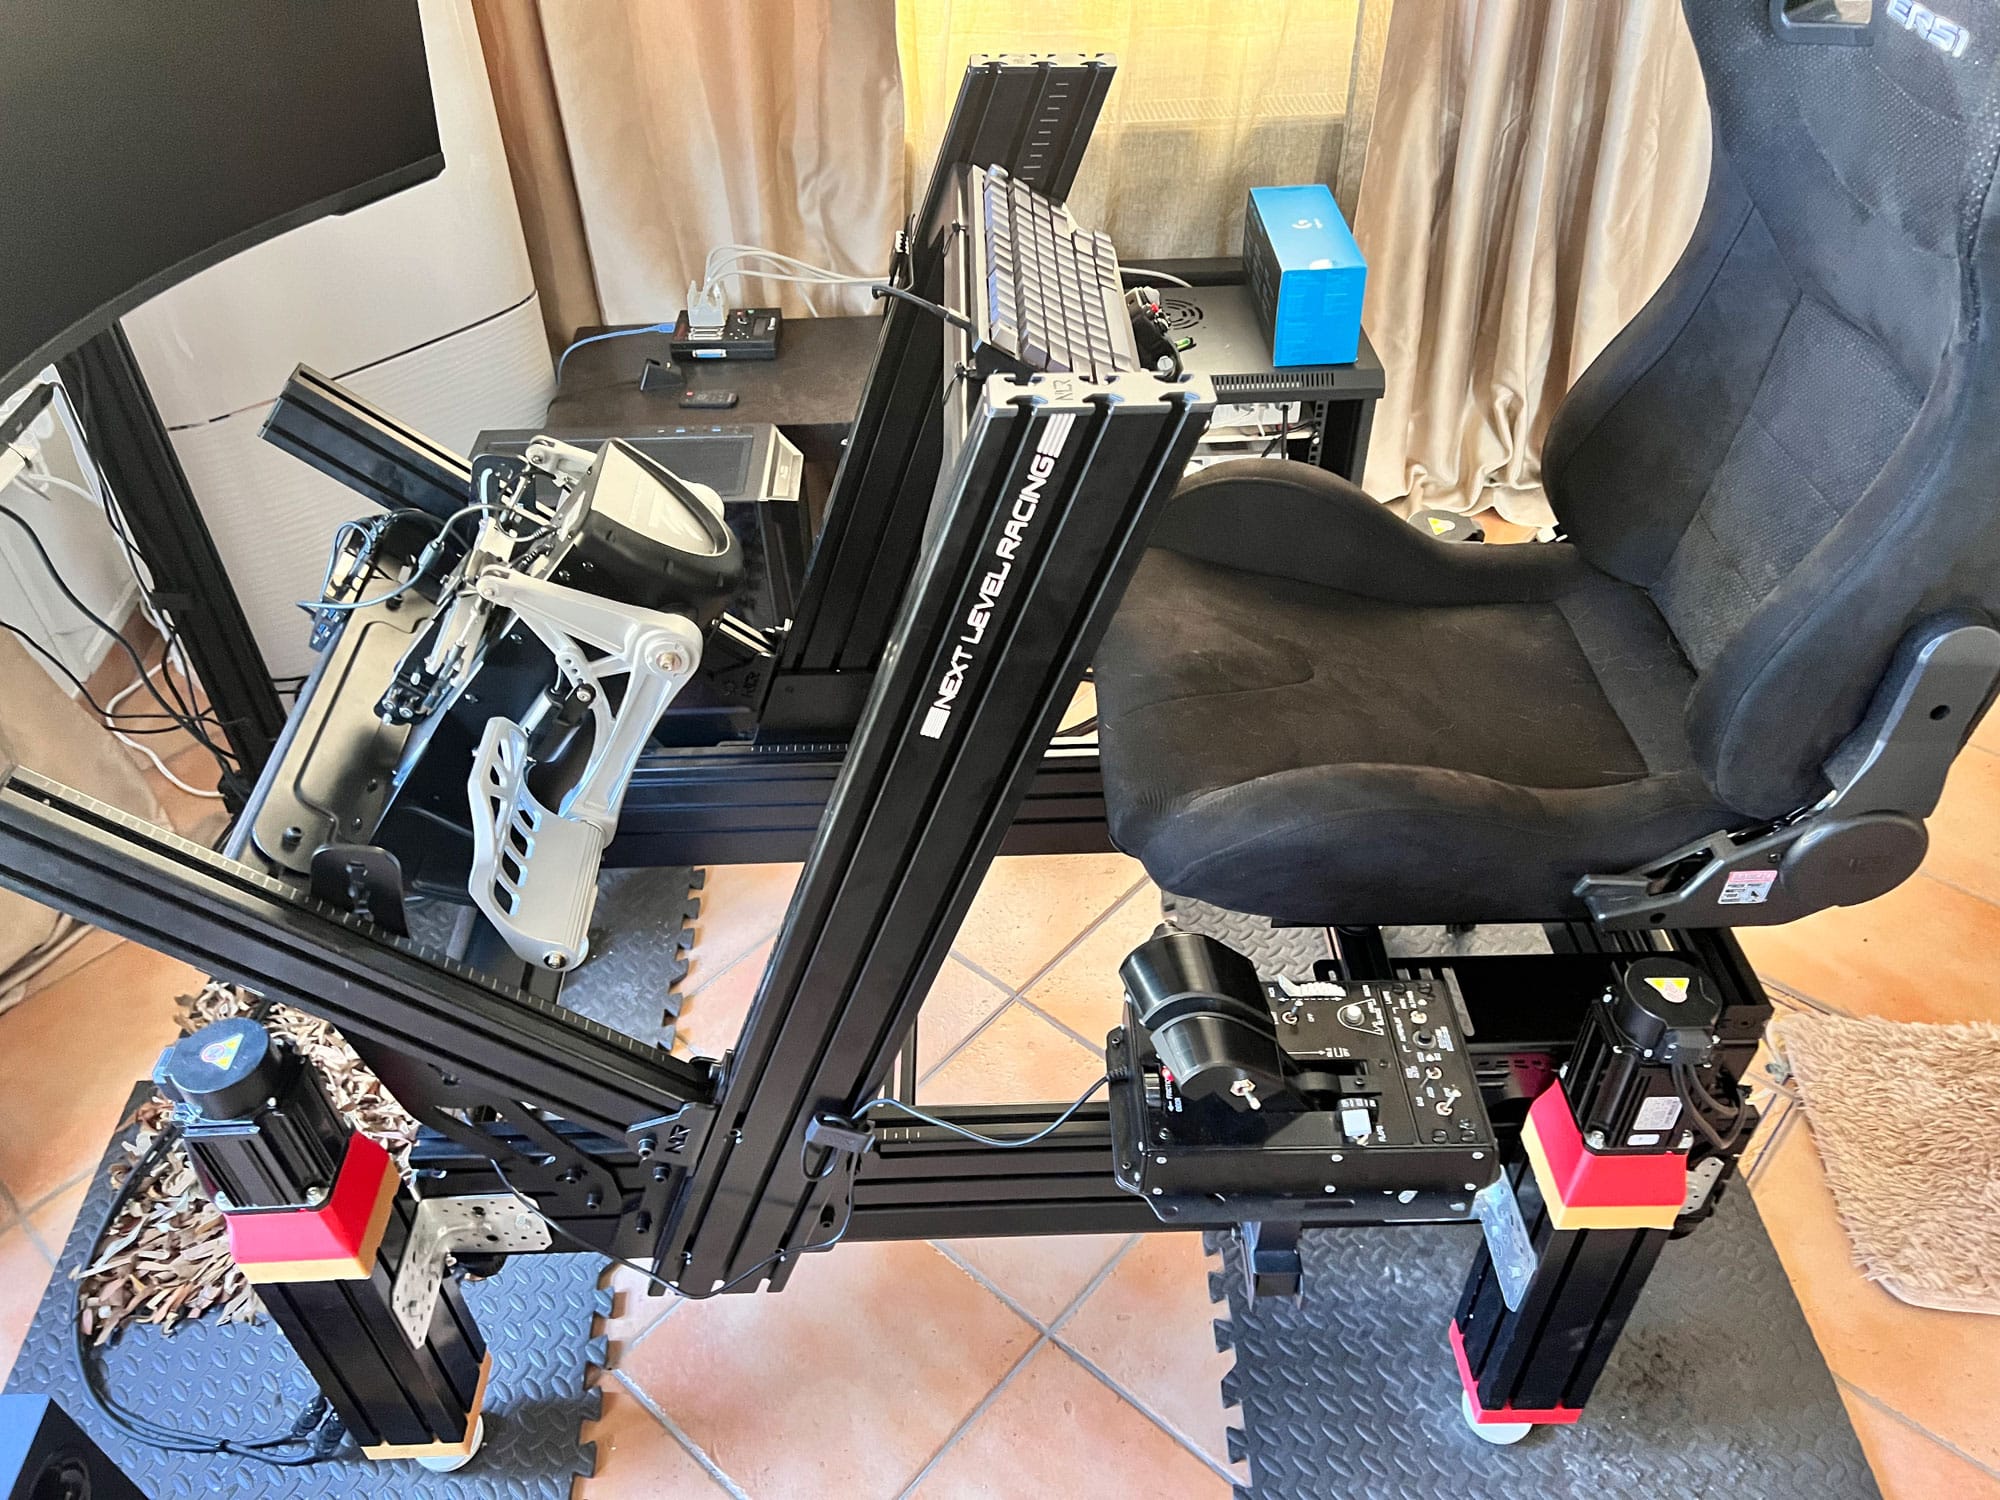
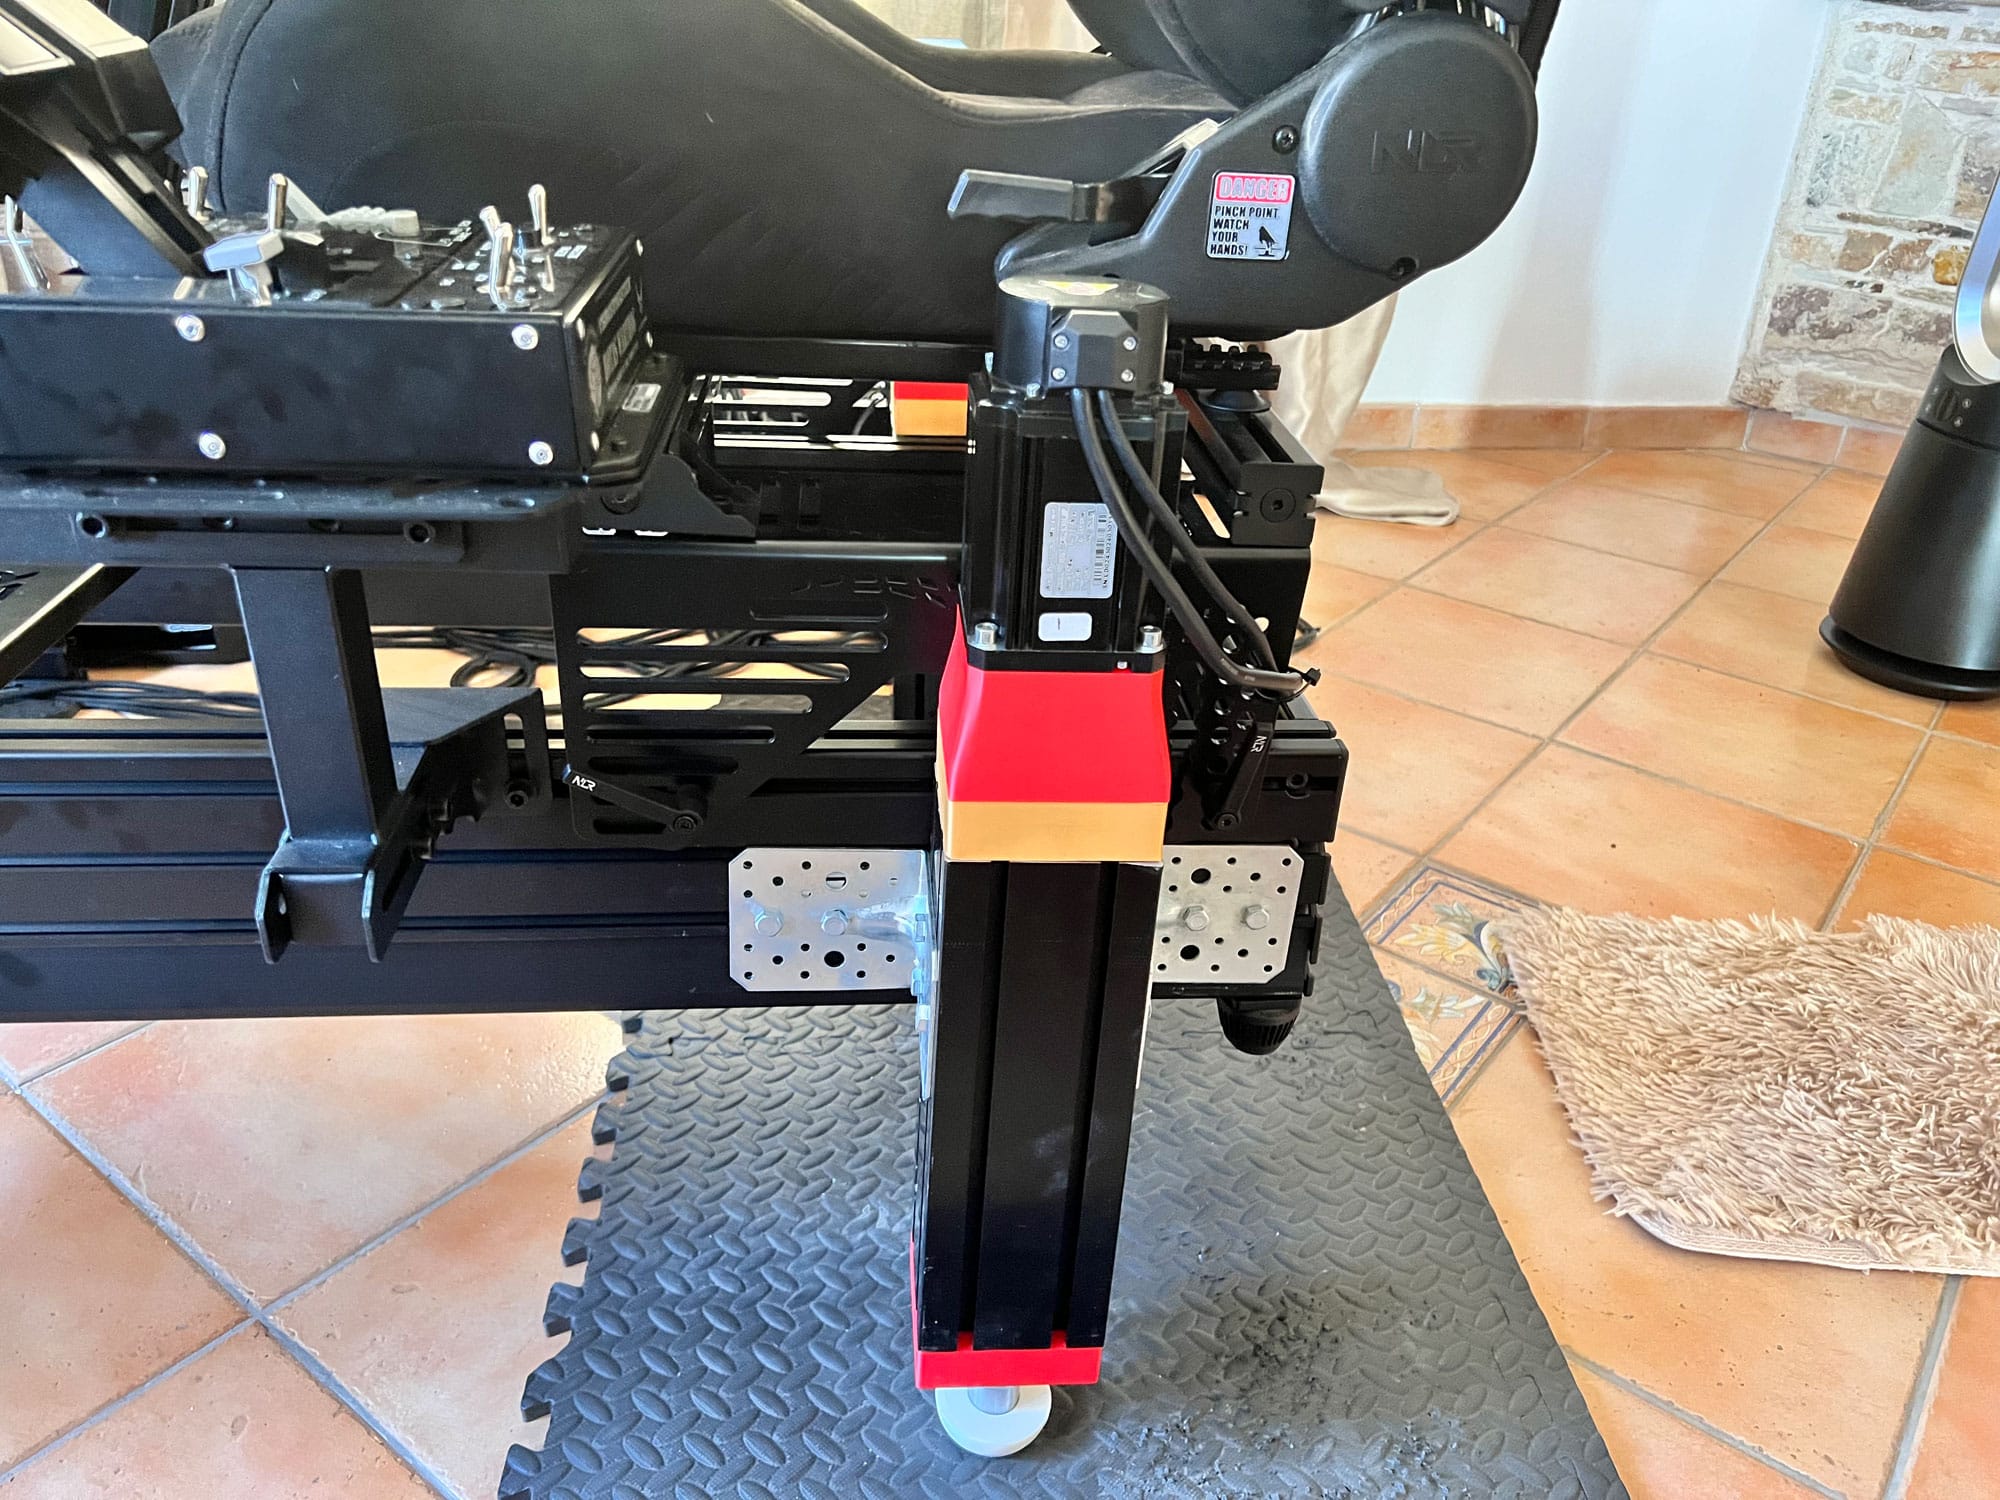
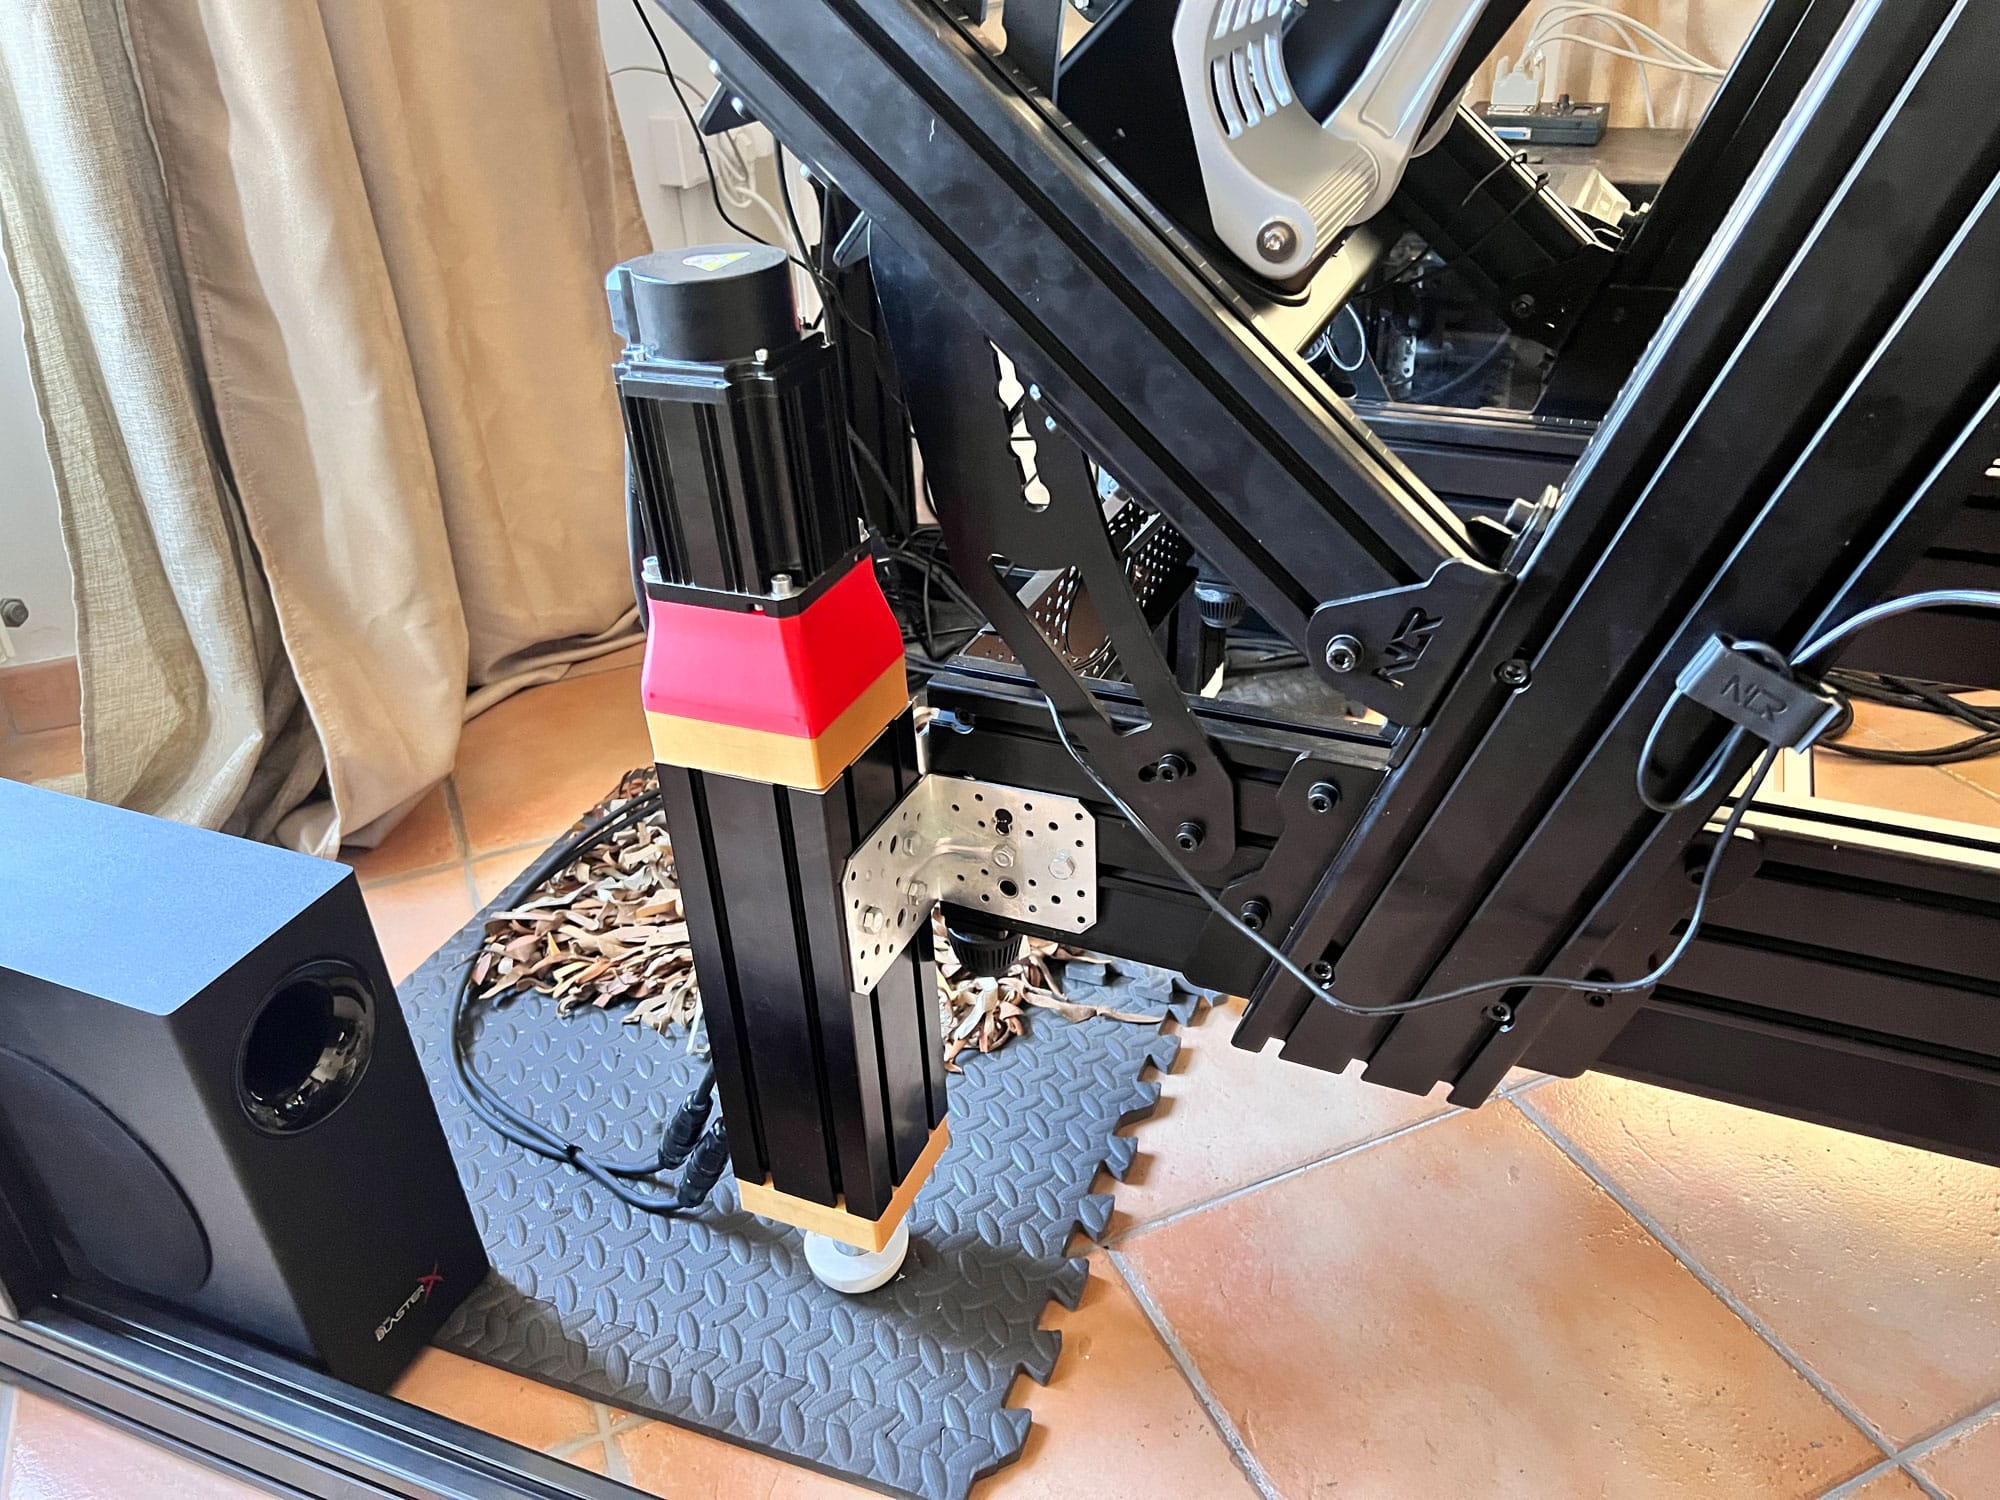
After all checks are complete and you have ensured that the SFX-150 actuators work fine, mounting them is easier than you thought. All you have to do is to have installed during the SFX-150 assembly T-nuts on the aluminum profiles and the corresponding T-nuts on the cockpit. You also have to find appropriate metallic adapters that will allow you to install the actuators on the cockpit. A visit to the local hardware store will be relatively easy. You might need to open some extra holes in the adapters that you buy, but this is not an issue for most DIYers!
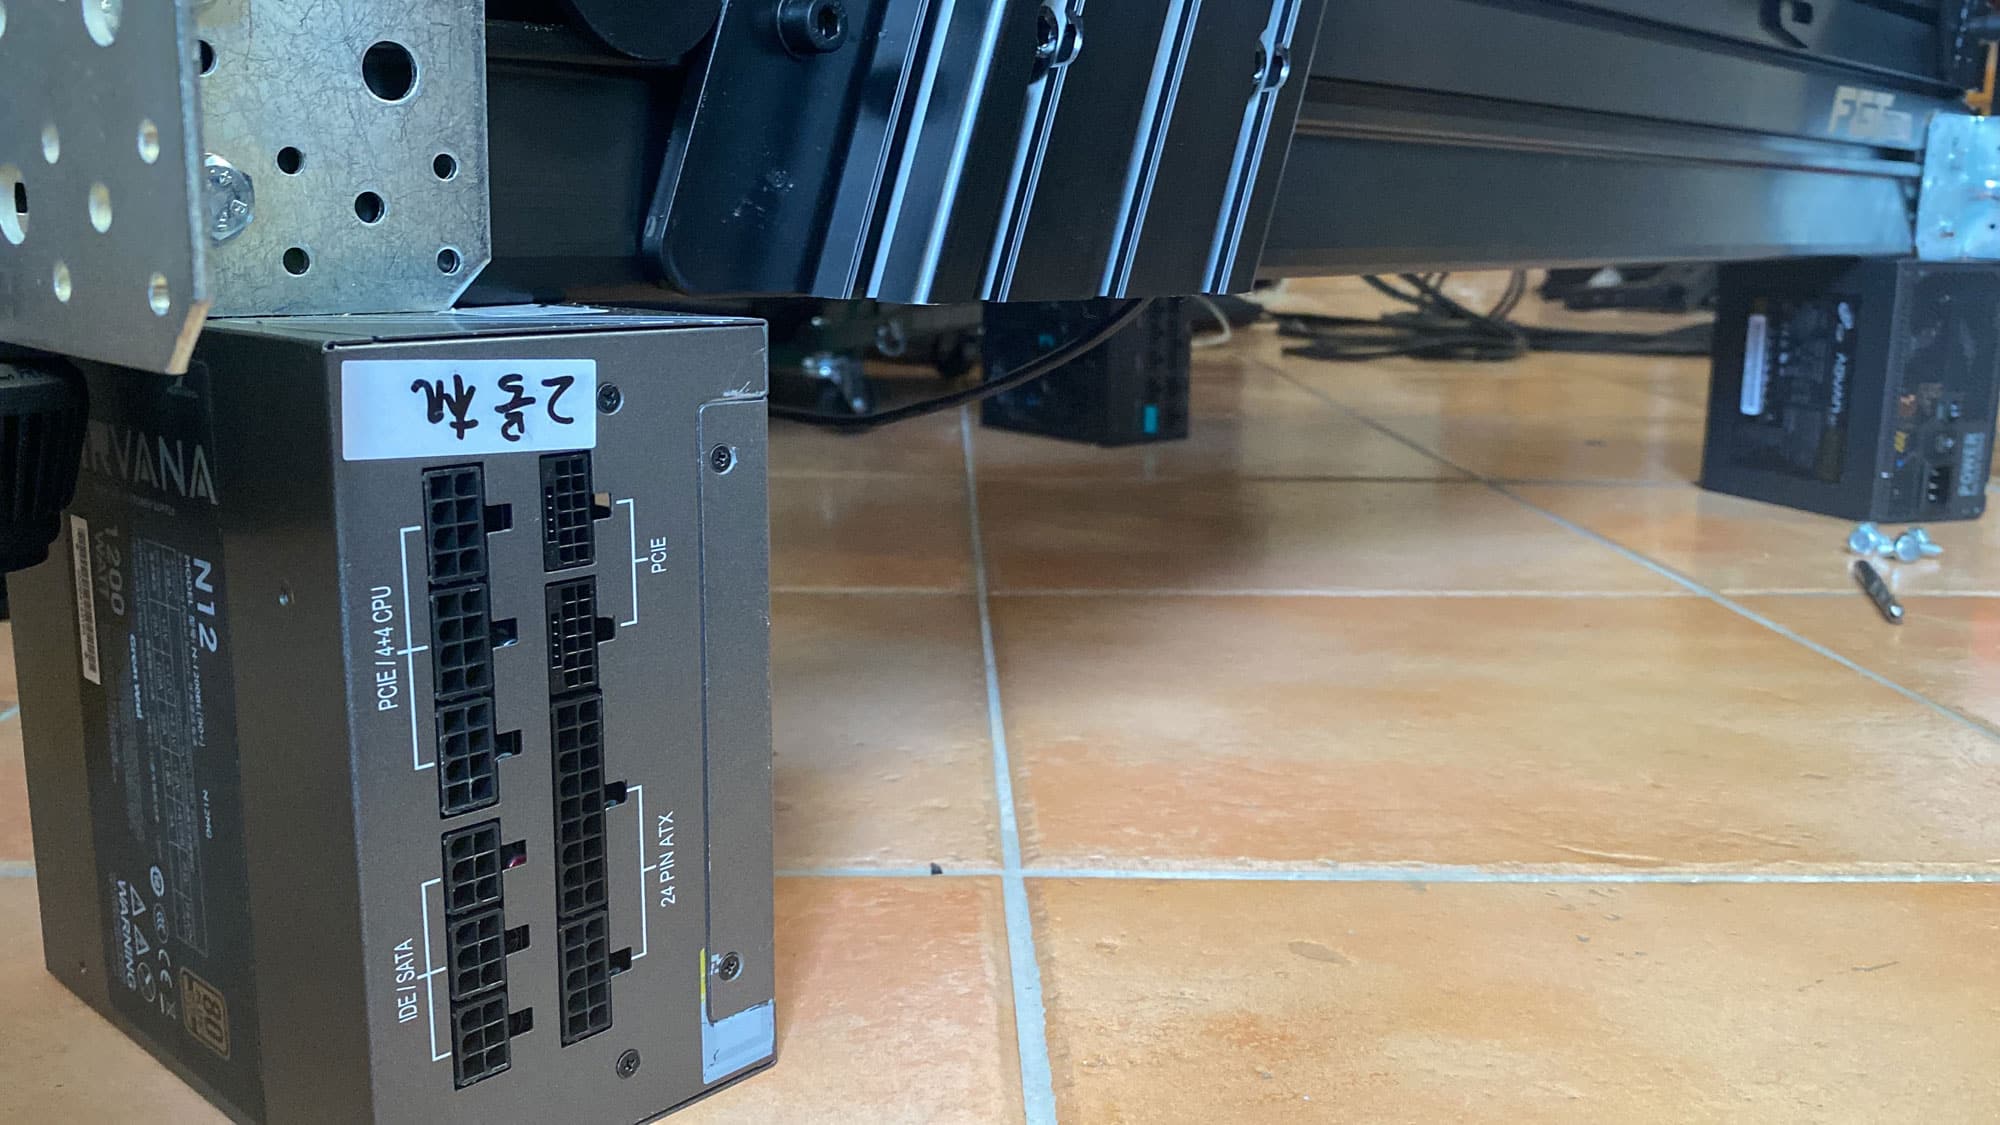
The next part is to raise the cockpit well above the ground to have enough space to install the actuators. I found that using broken PSUs was the best solution! You can always use “good” ones if you don’t have enough broken ones!

After several hours and tries, we managed to install the actuators on the system. The next step is to purchase now a license for the Simn Racing Studio (SRS), which translates the telemetry data to commands that pass to the actuators through the Thanos controller. I went for the SRS license that supports the Thanos Motion Platform.
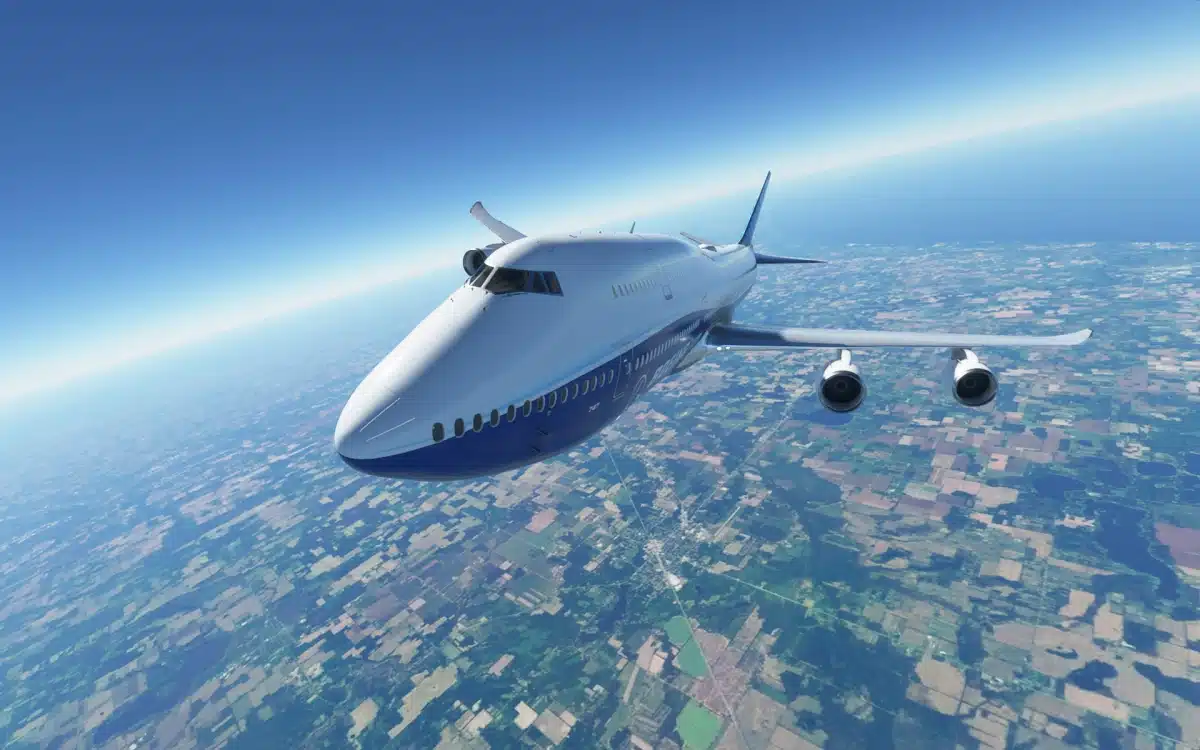
Given that the FS 2022 is already installed, you start it and then go to the SRS for some fine-tuning. I found some FS profiles in this thread. I made some adjustments for the FS 2022, with the most crucial being that I restricted the pitch movement since the 150mm travel of my actuators is too much.
This was my short guide to the motion-enabled flight sim world! Some notes:
- The feeling of motion is AWESOME! There is no comparison between a static and a motion-enabled flight sim!
- Building something on your own means you can easily fix it if something goes wrong!
- Be careful of the settings you use. Breaking some parts of the SFX-150 system is easy!
- Despite the motion, the feeling of flying the plane is still not there! At least you get to practice with the procedures.
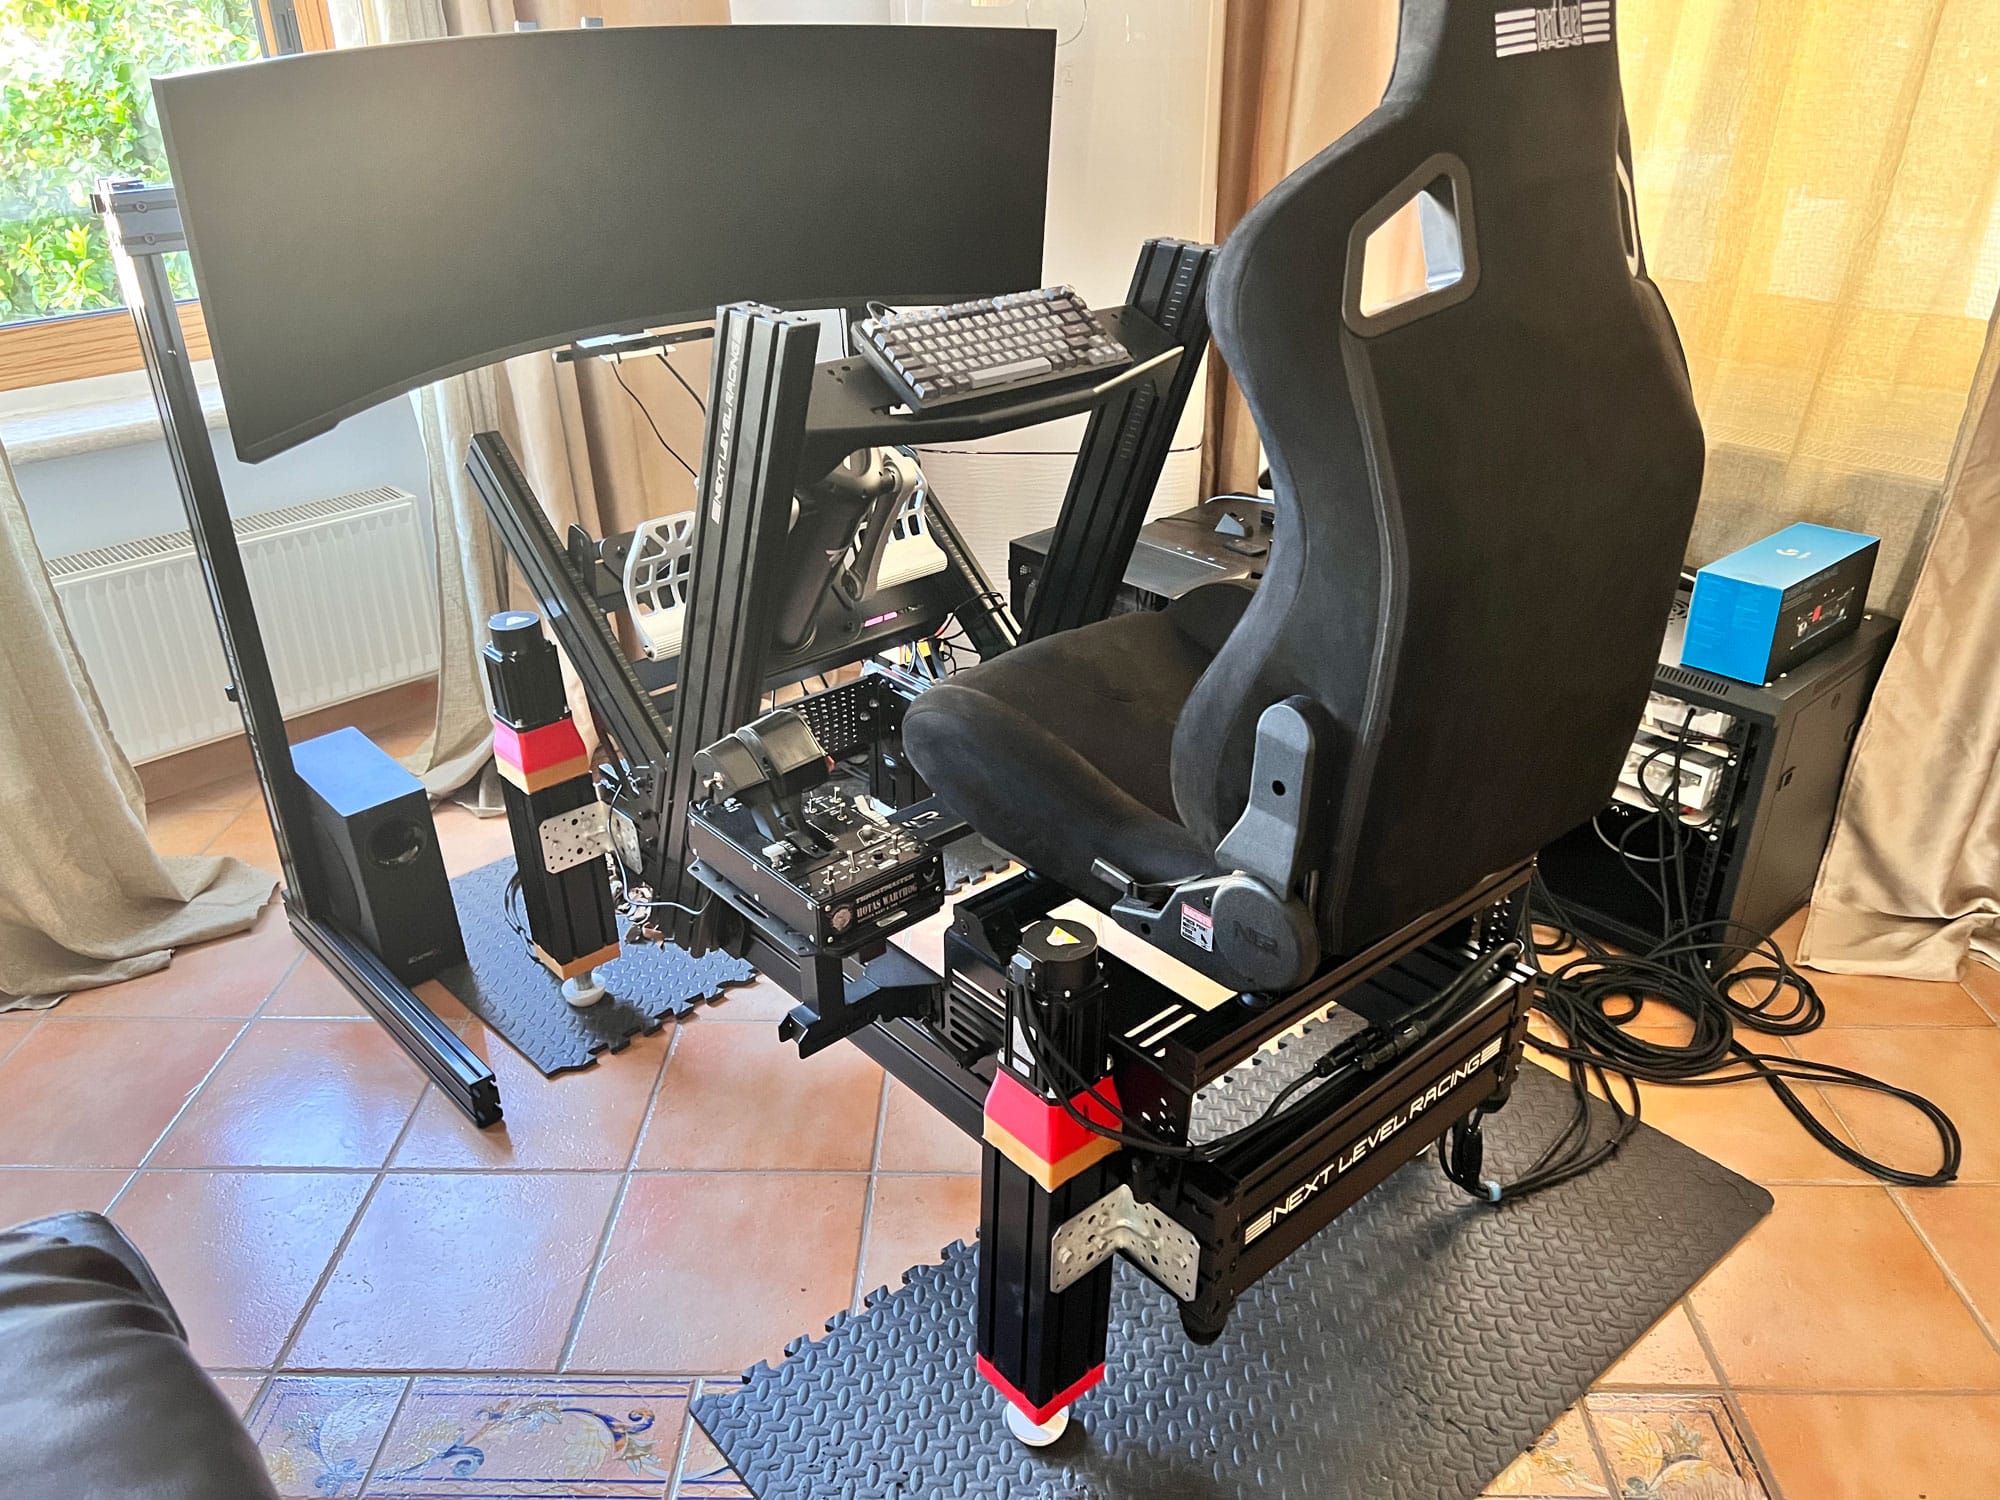
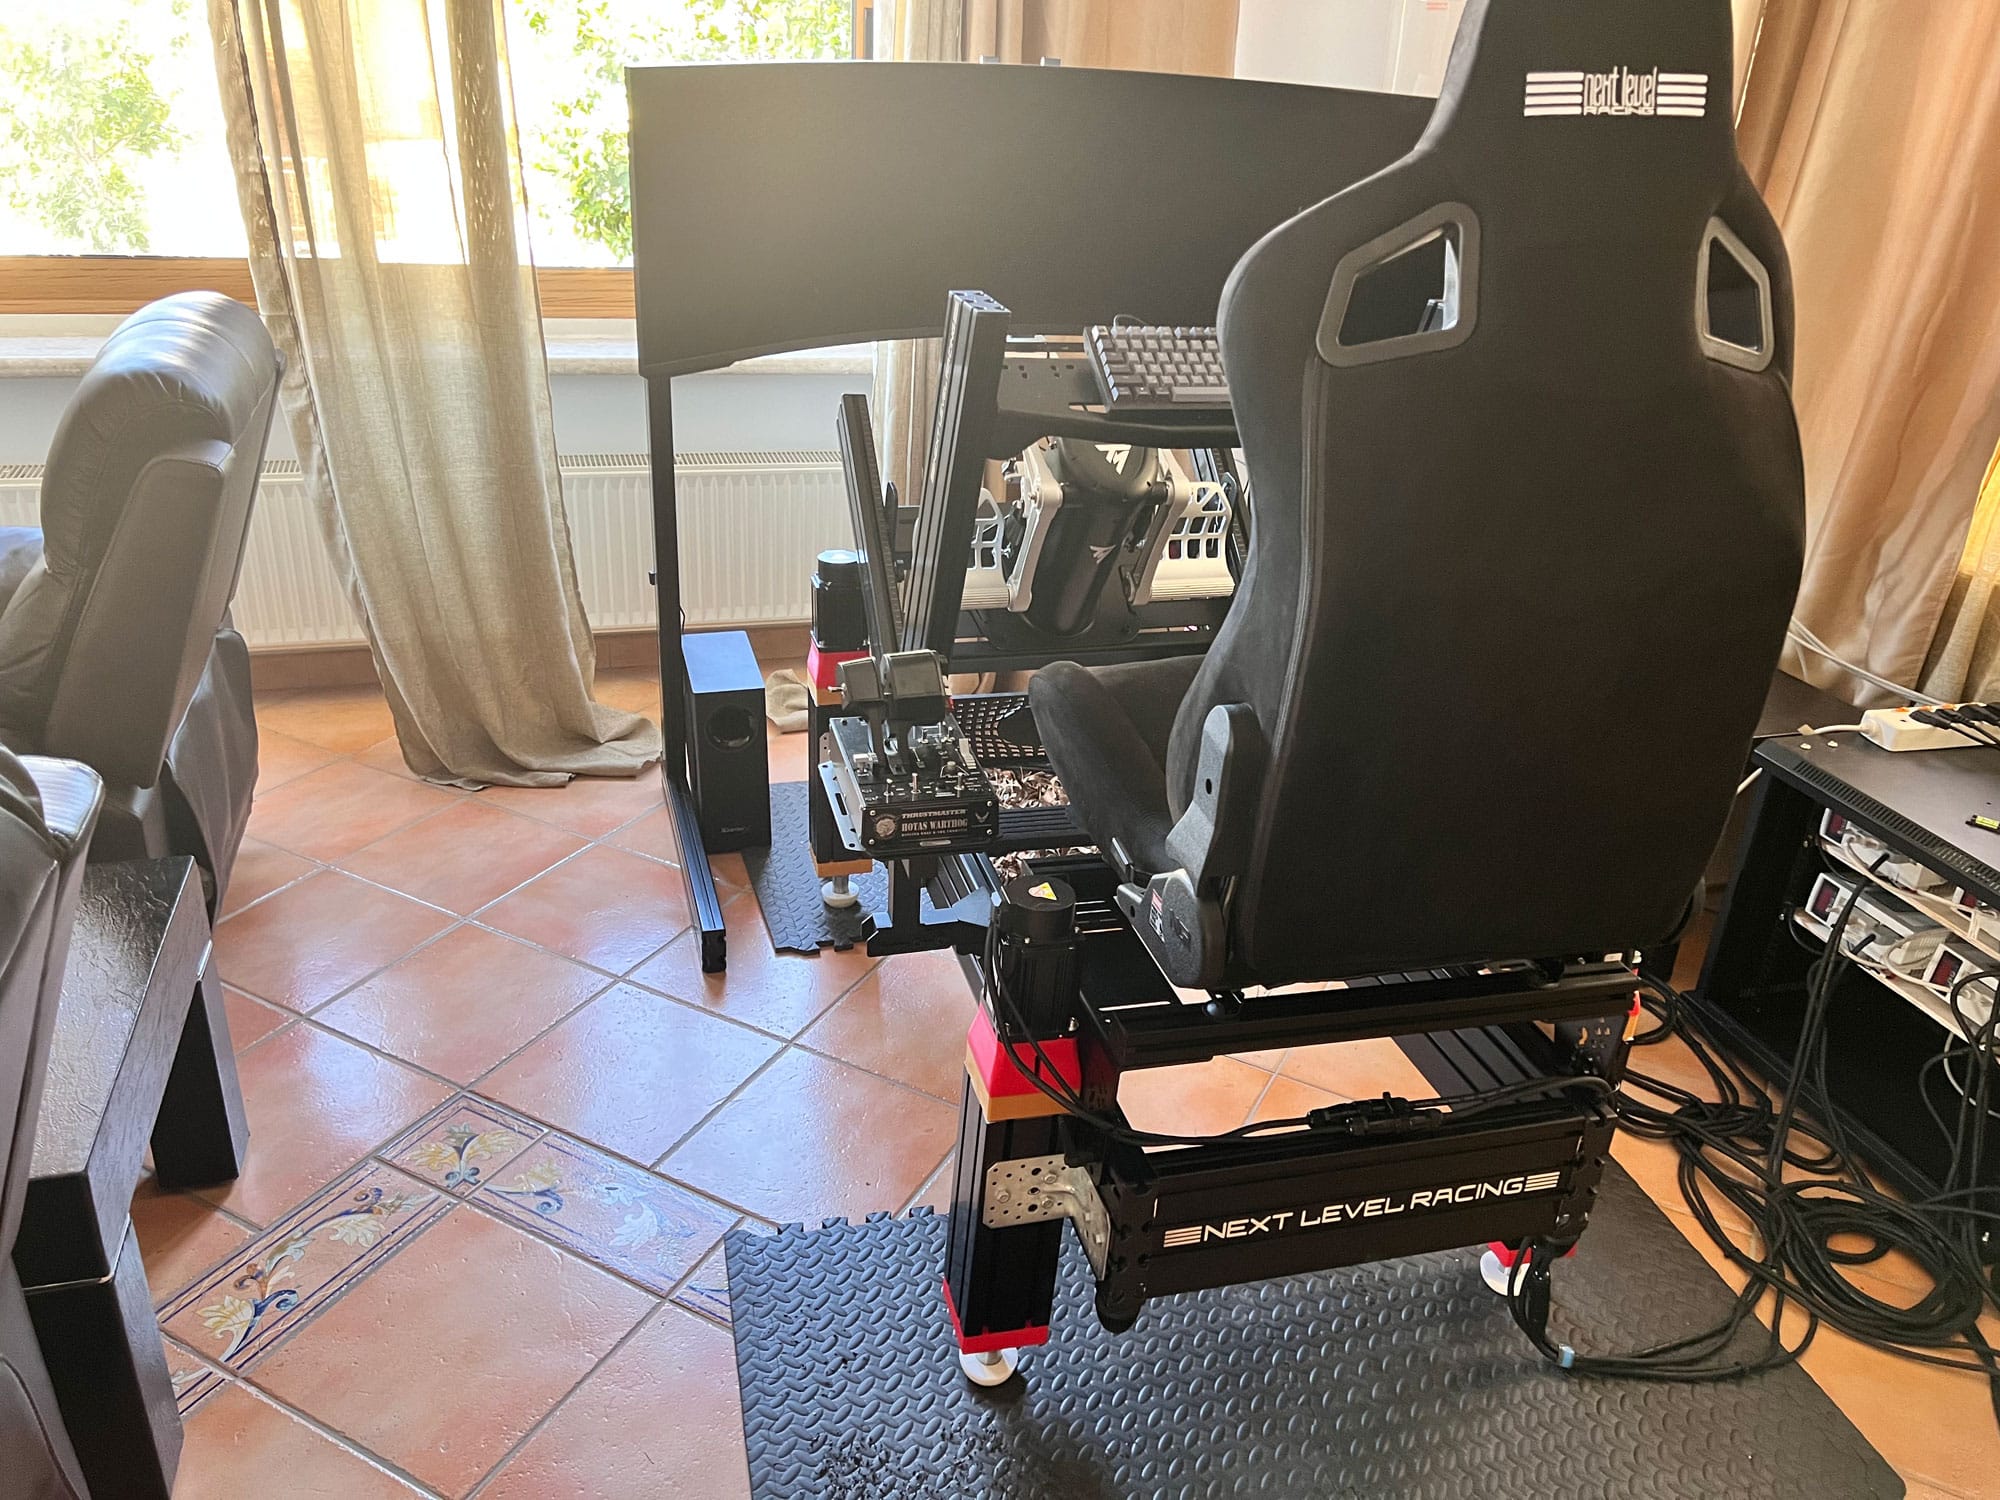

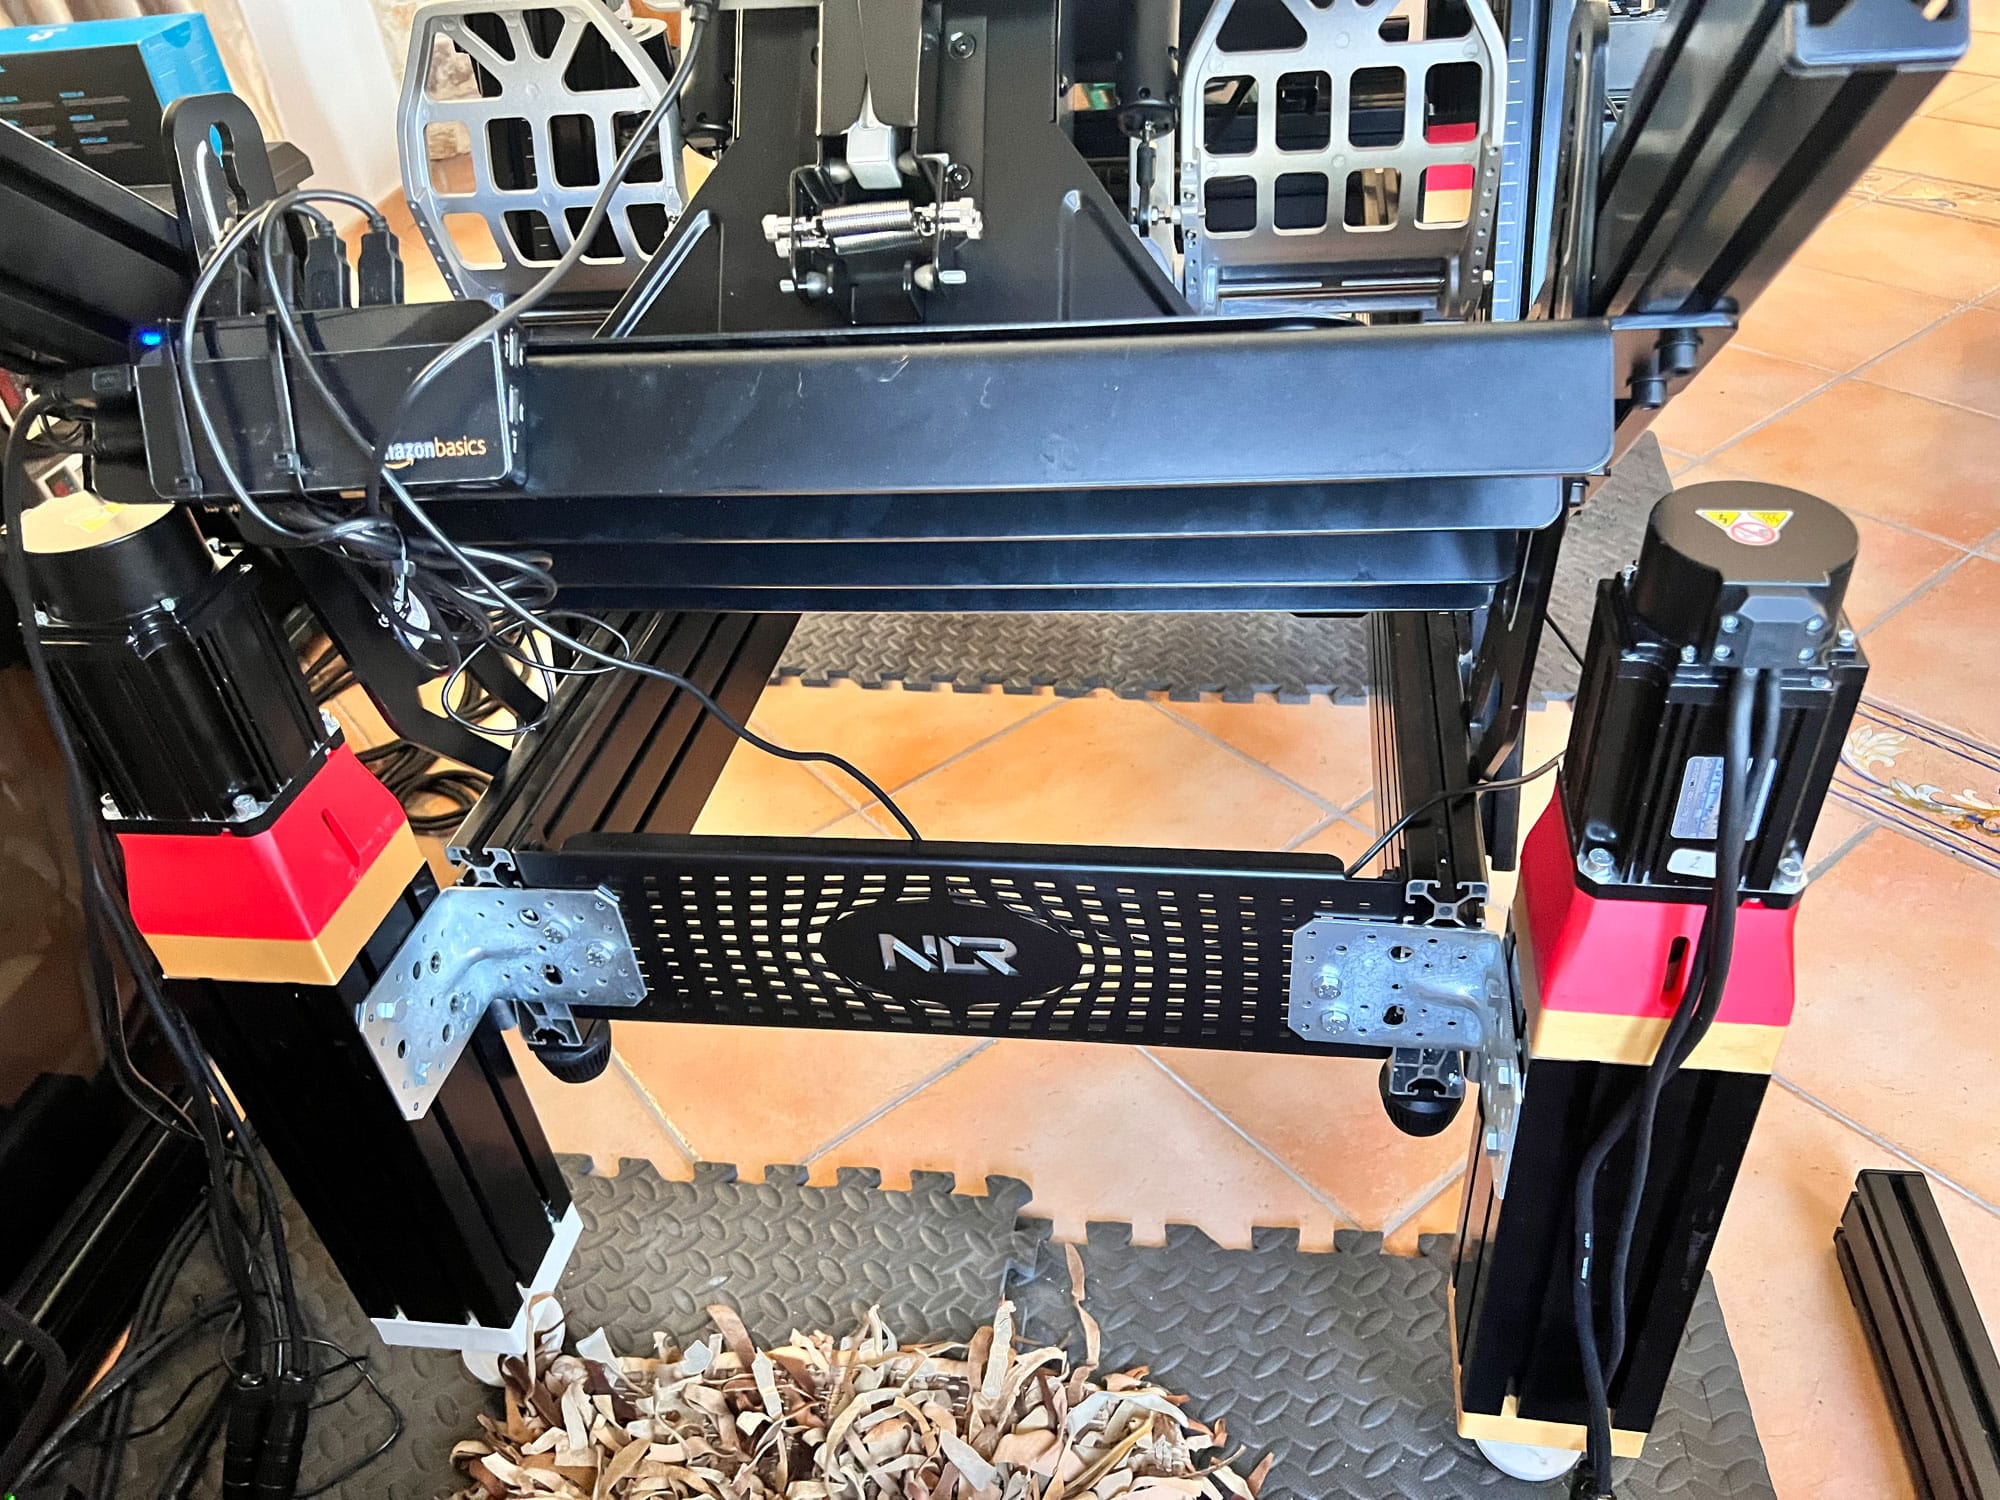
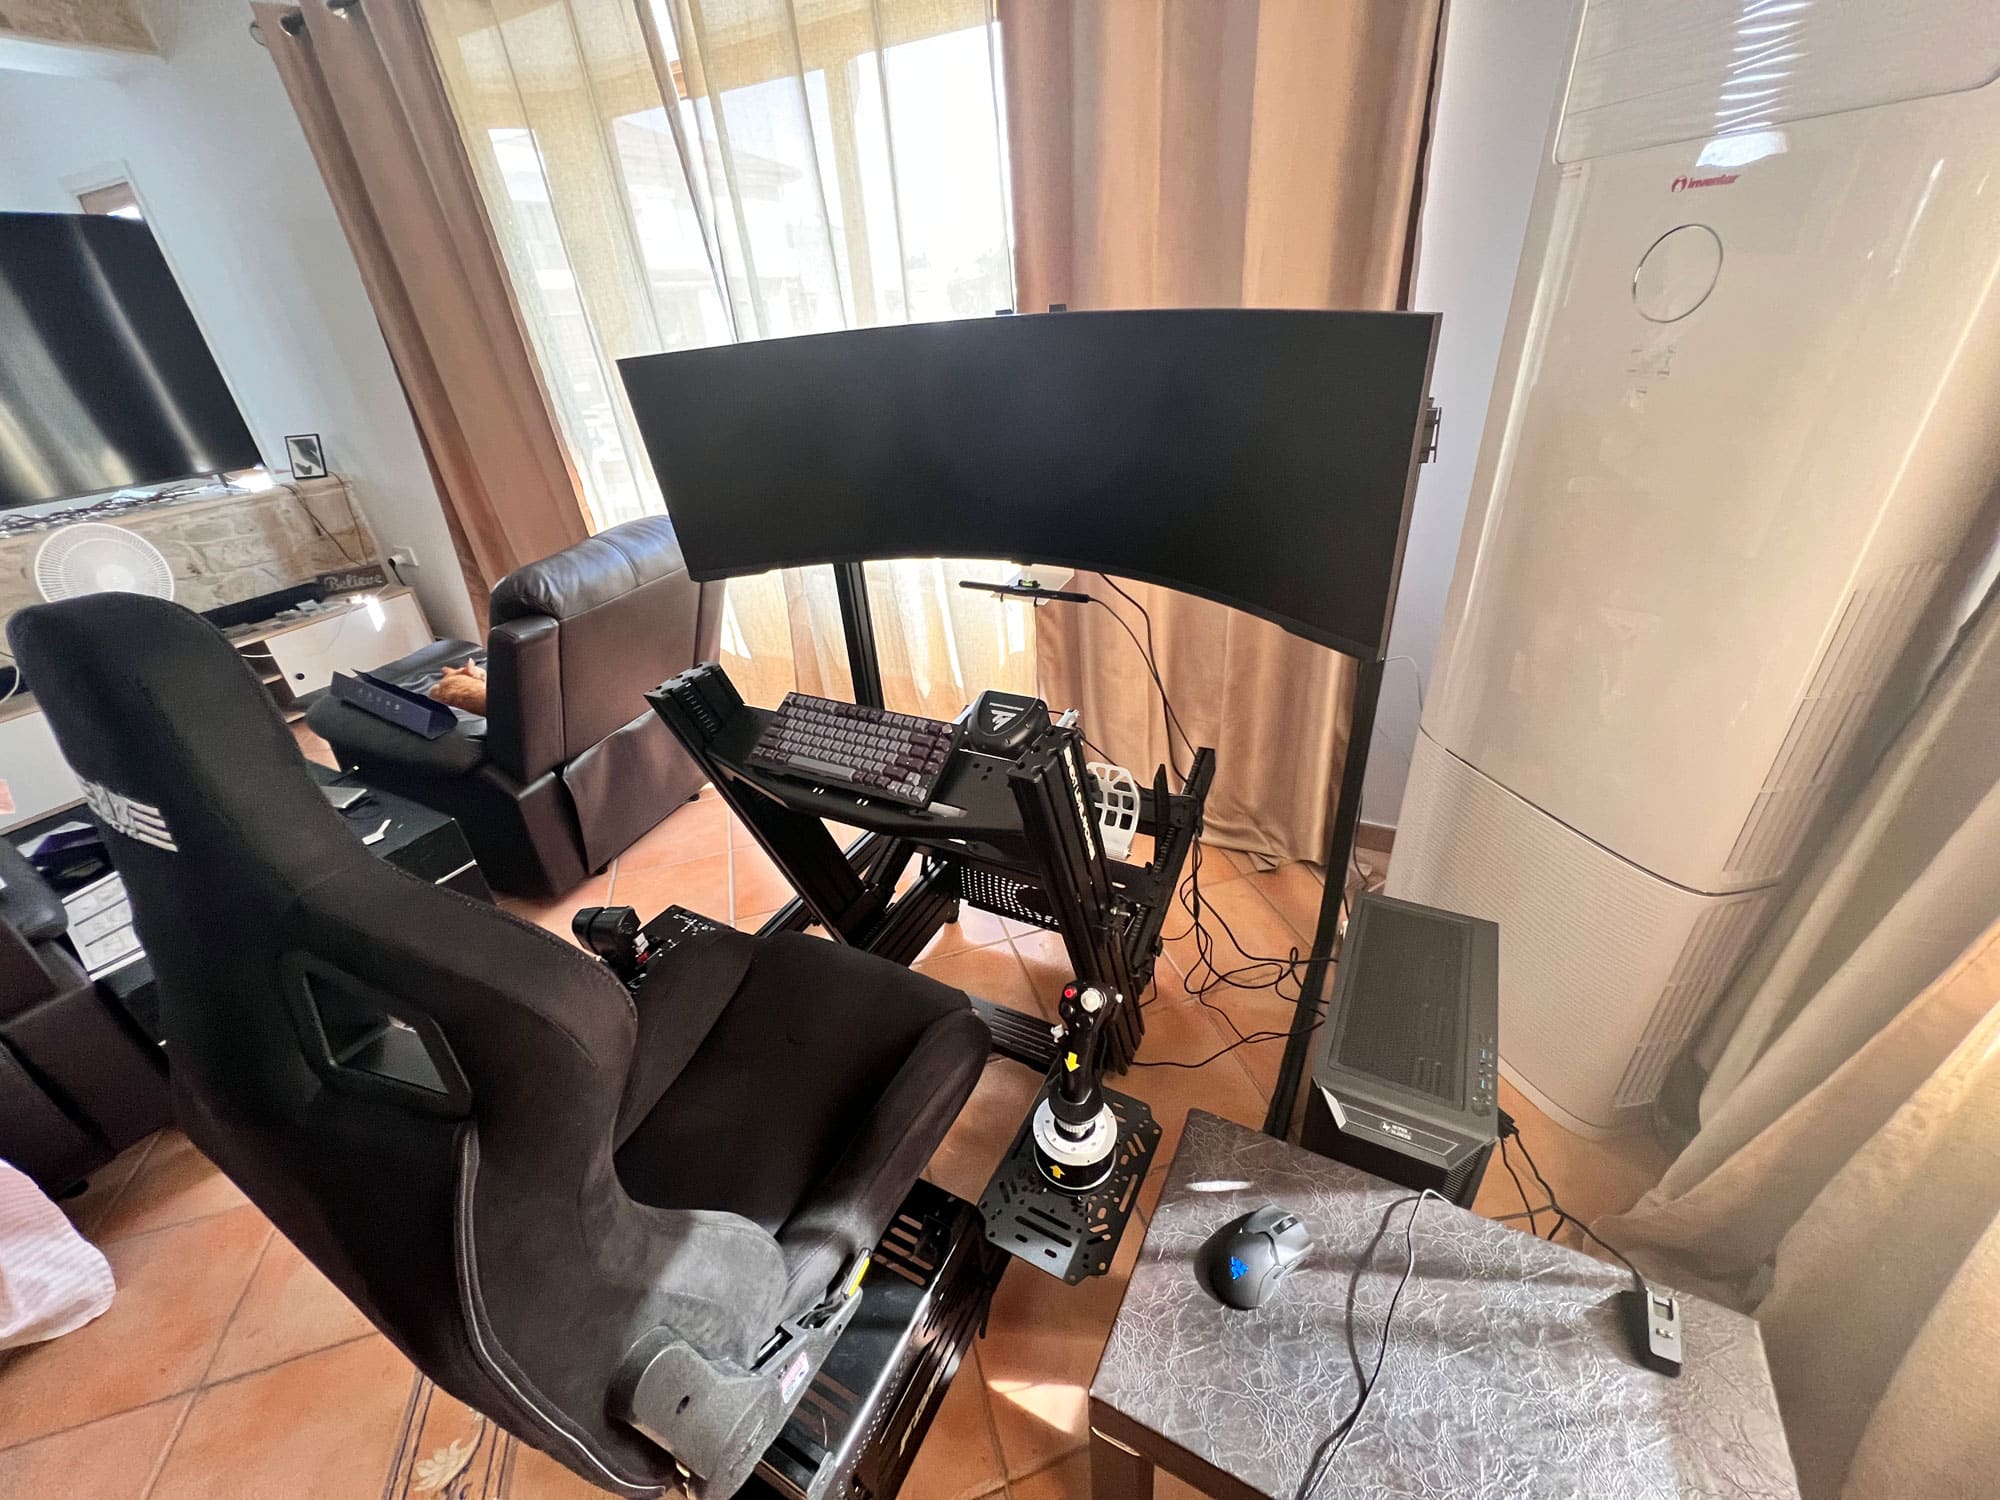
Some photos of the completed system!


Hi,
Hope you are well, im wondering where can you get all the 3d parts for the actuators as i do not have a 3d printer
Thanks
Andy
I suggest you buy a cheap 3D printer because some of them may break, so you will need to get them again. It is far easier to print them.