Installation (AMD)
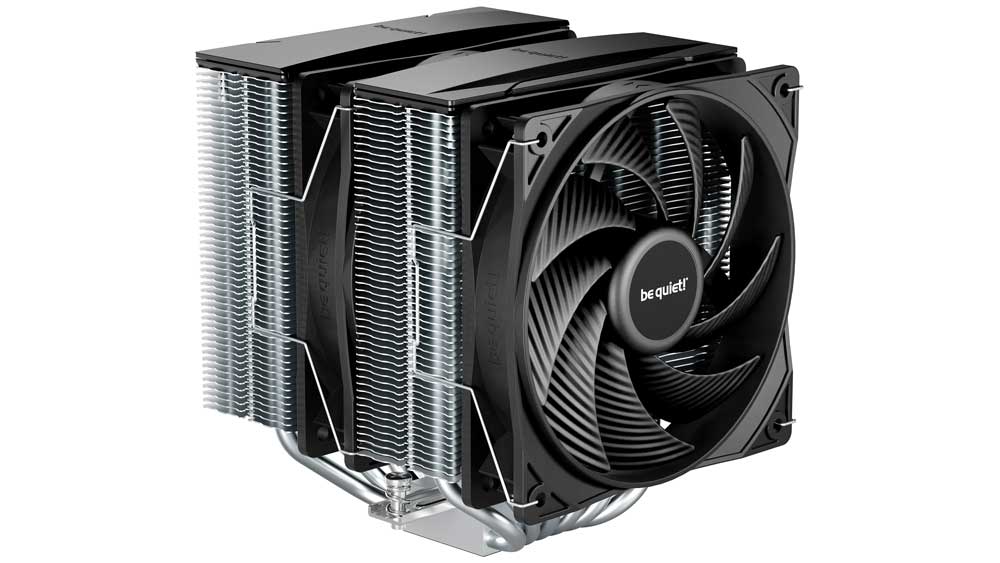
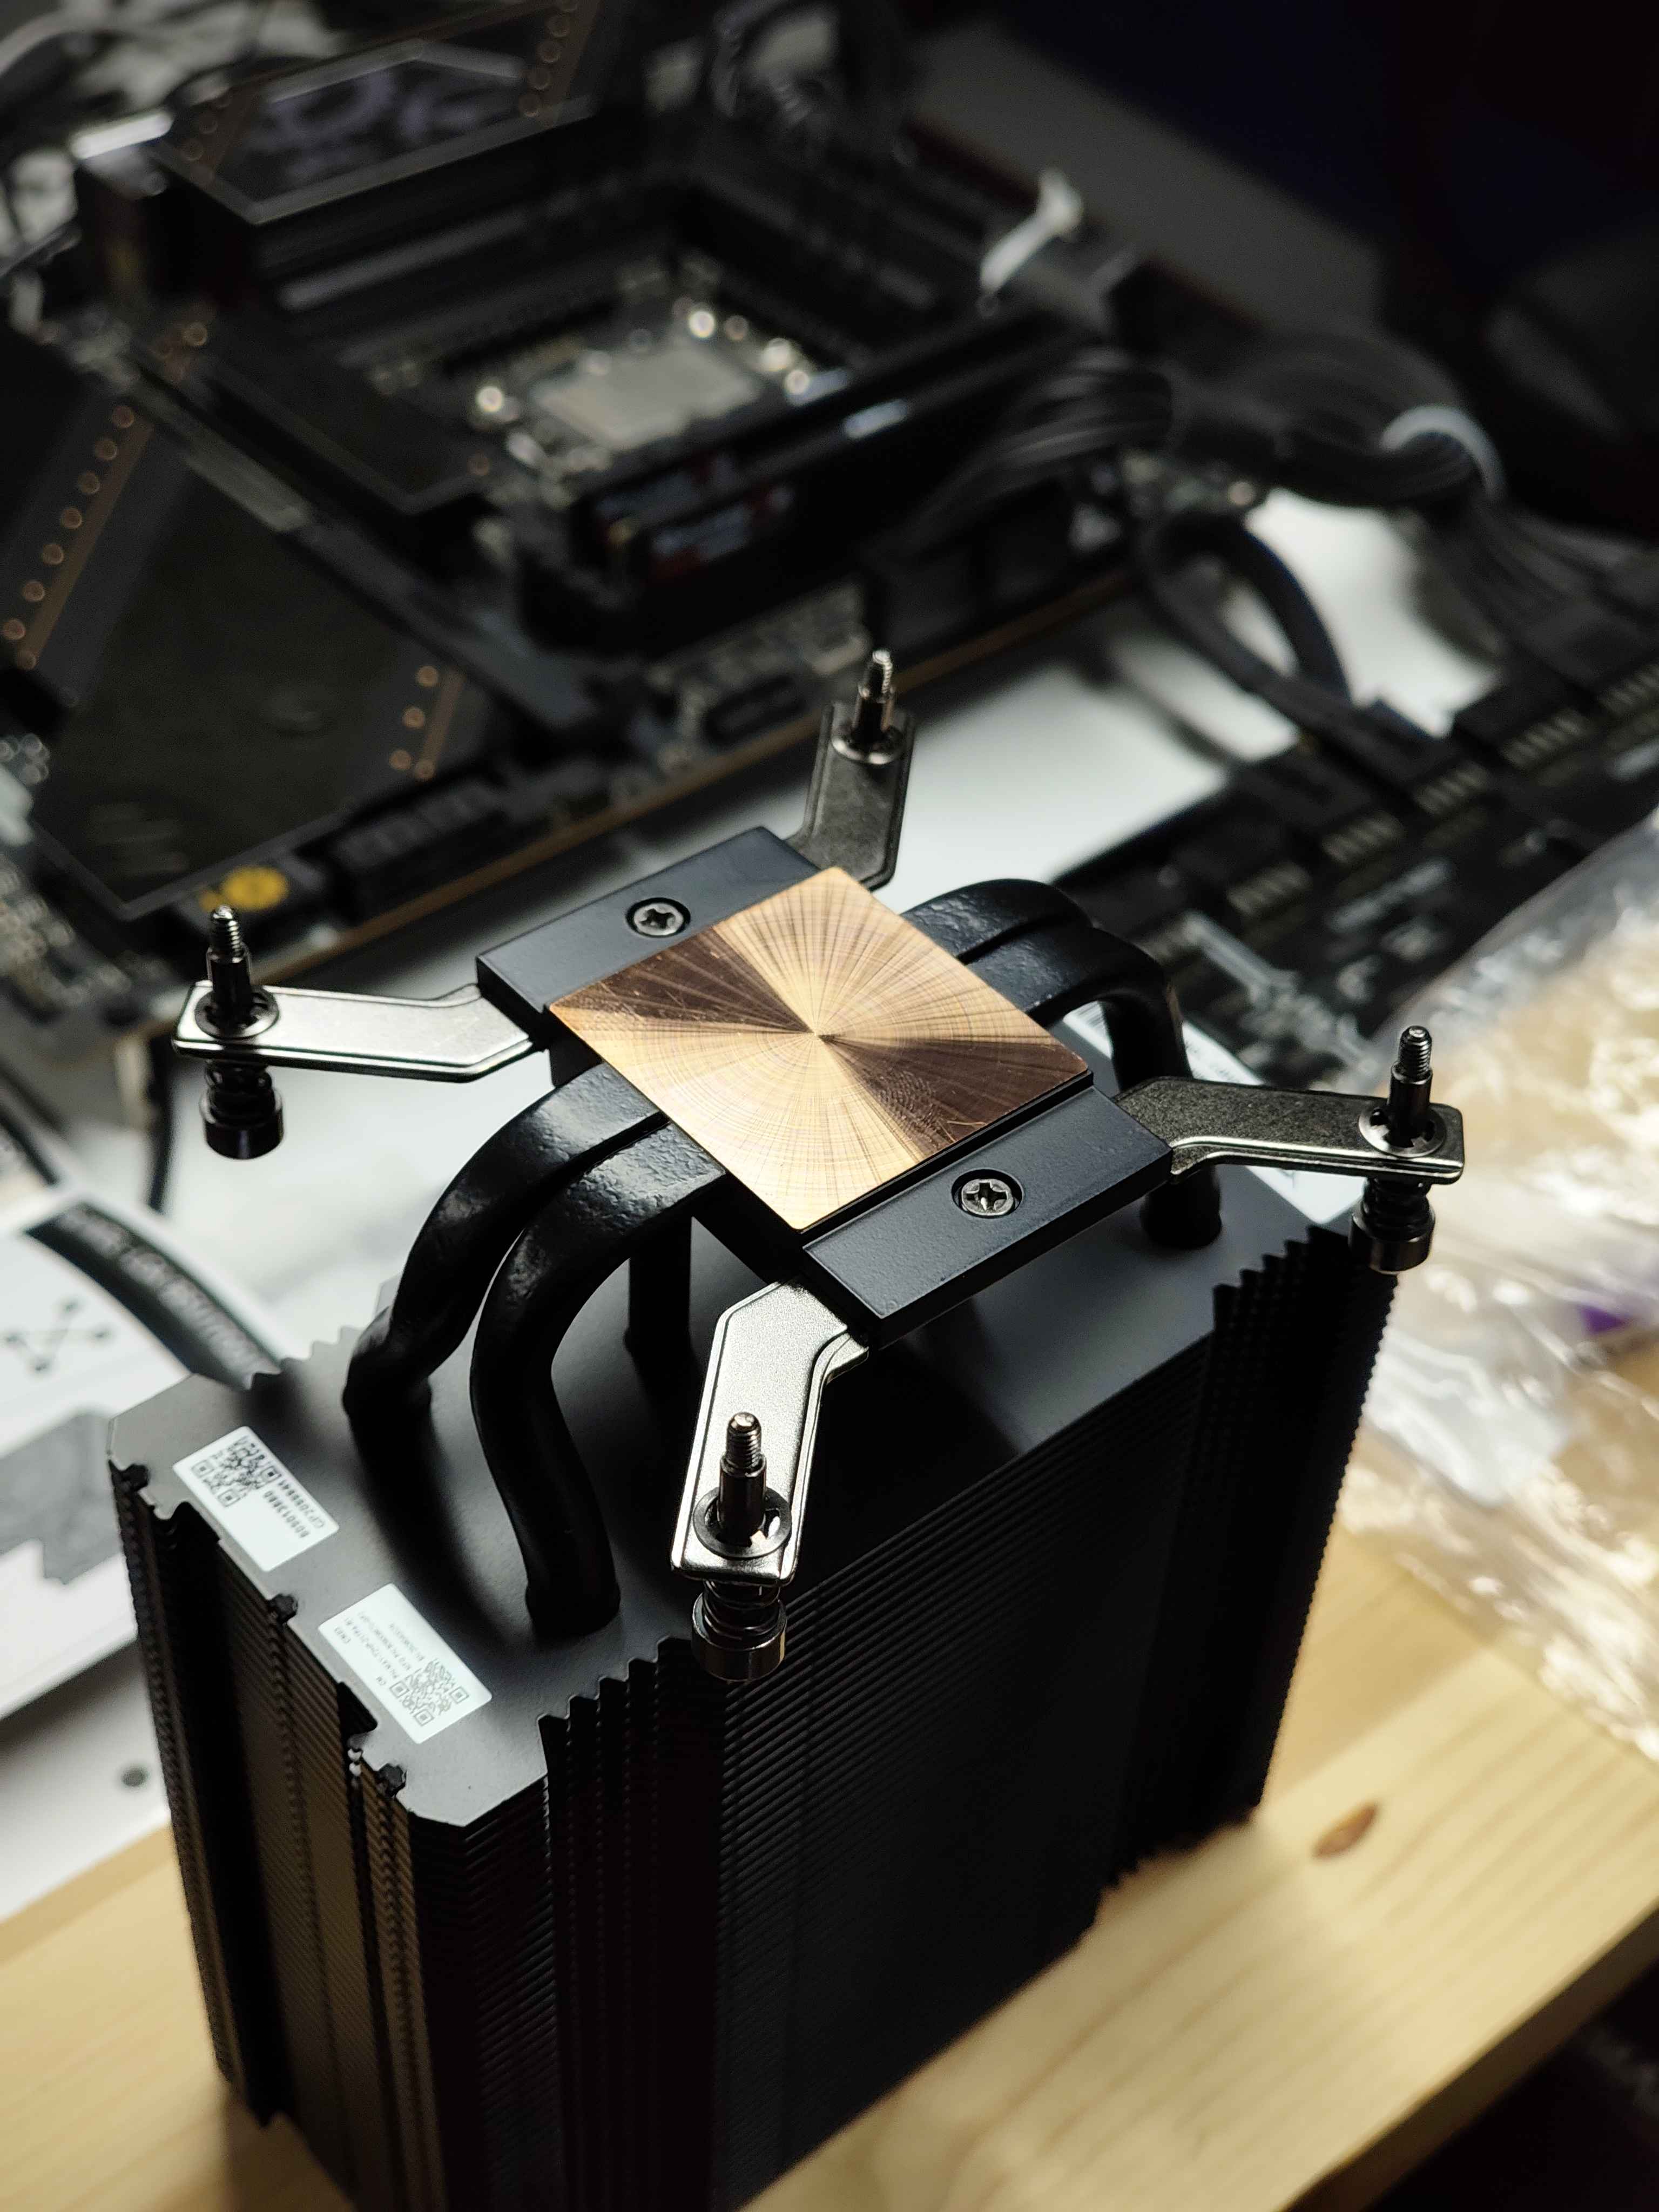
All three coolers utilize the same heatsink.
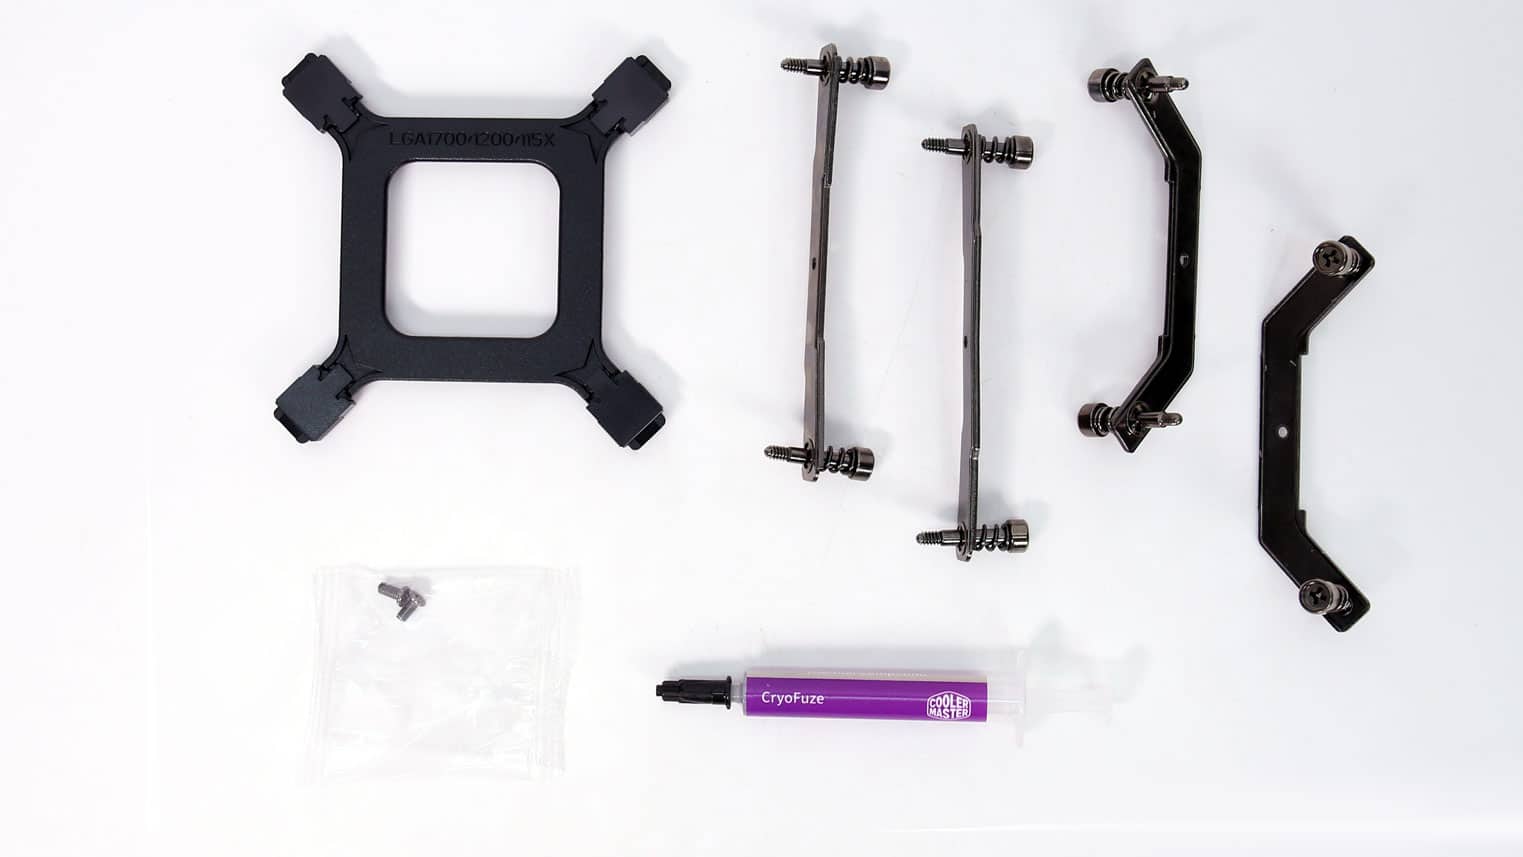
The coolers come with two sets of mounting brackets, one for AMD systems and another for Intel. Two screws, found in a separate plastic bag, are used to secure these brackets to the base of the heatsink.
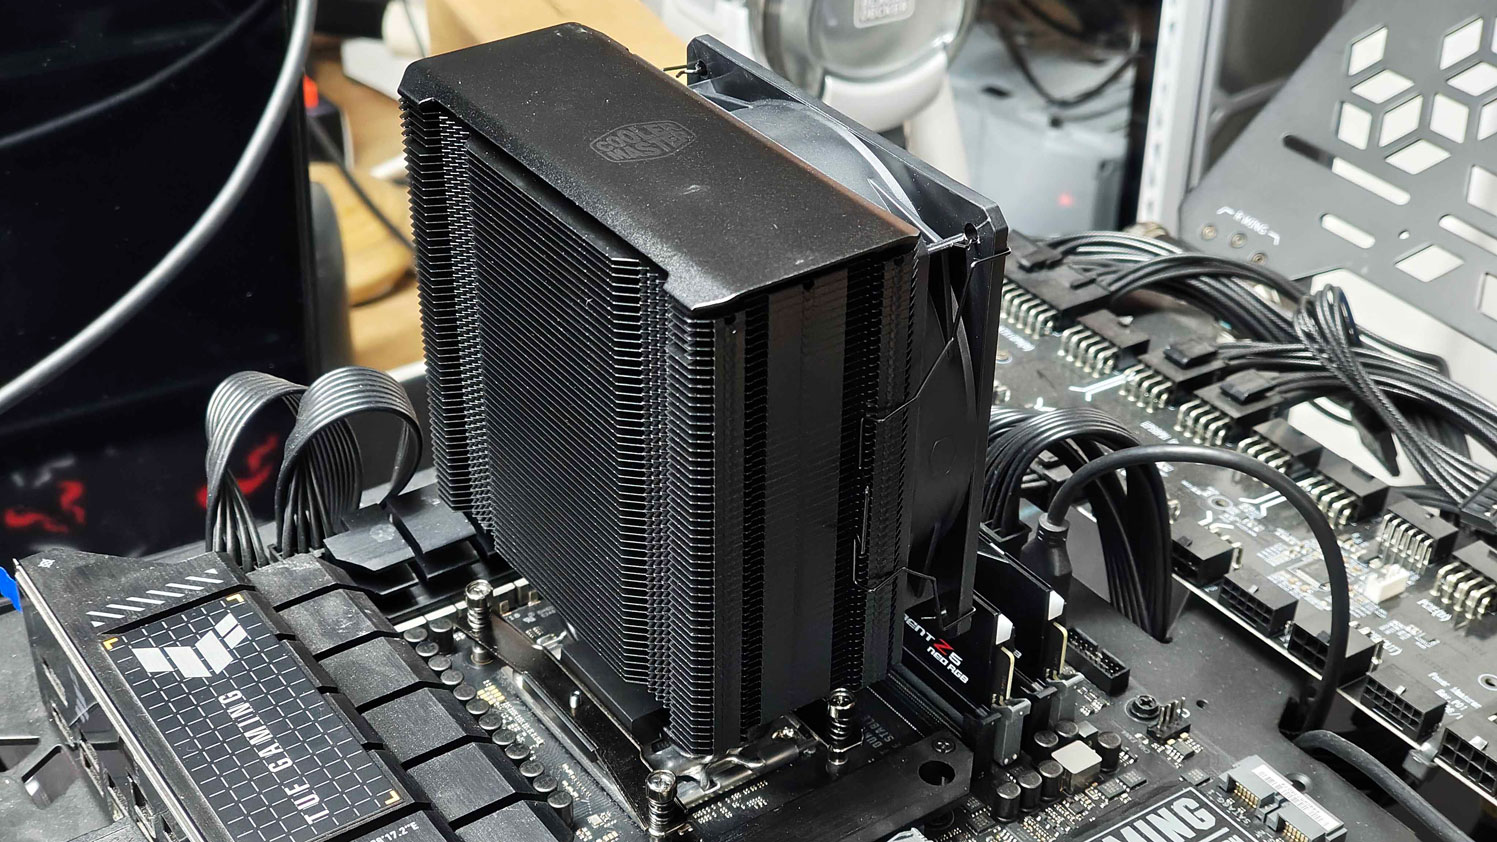
To install the cooler on the AMD system, the four screws are aligned with the motherboard, and they are tightened. Alignment was easy, and there was clear tactile feedback to indicate when the cooler was fully secured. Once the cooler was tightened down, the fans were reattached using the clips.
Installation (Intel)
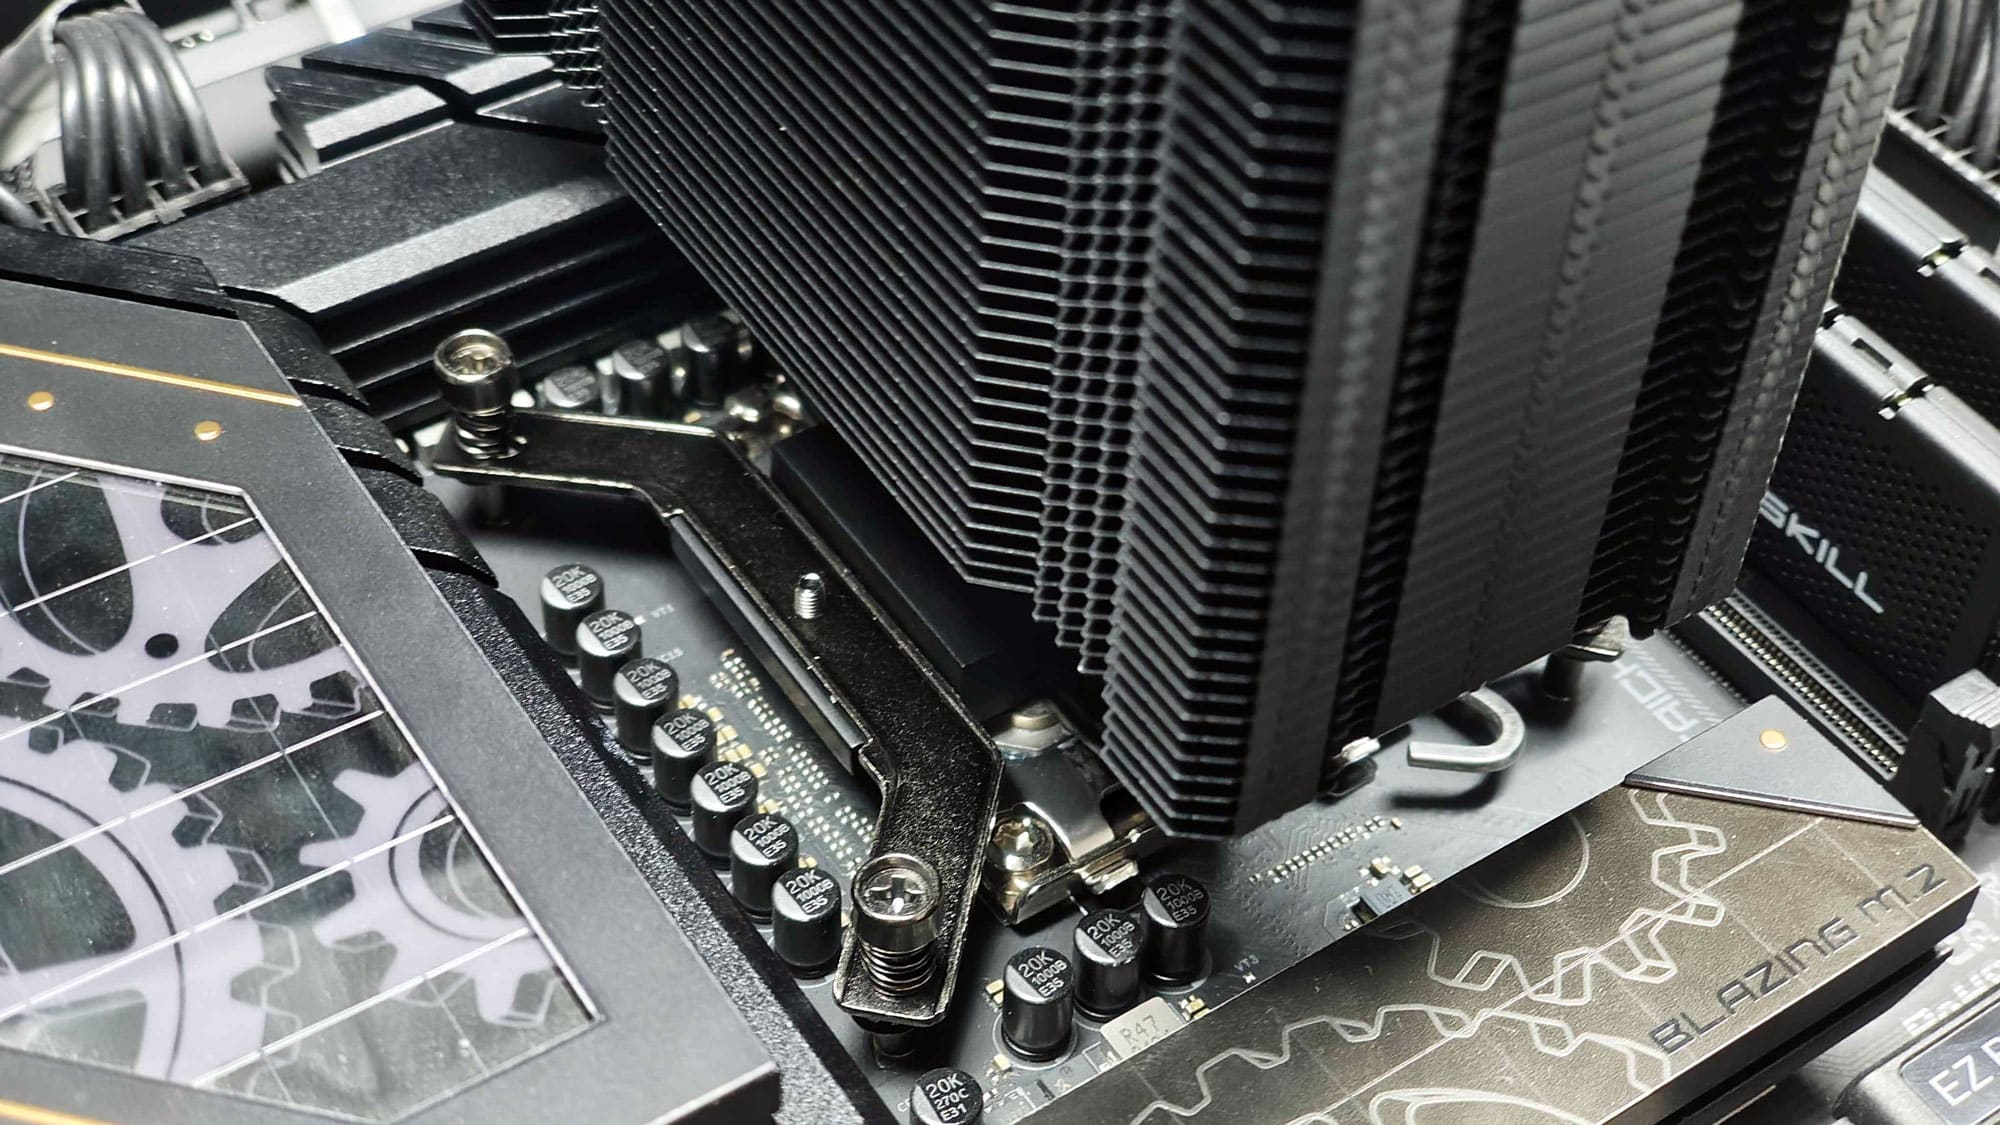
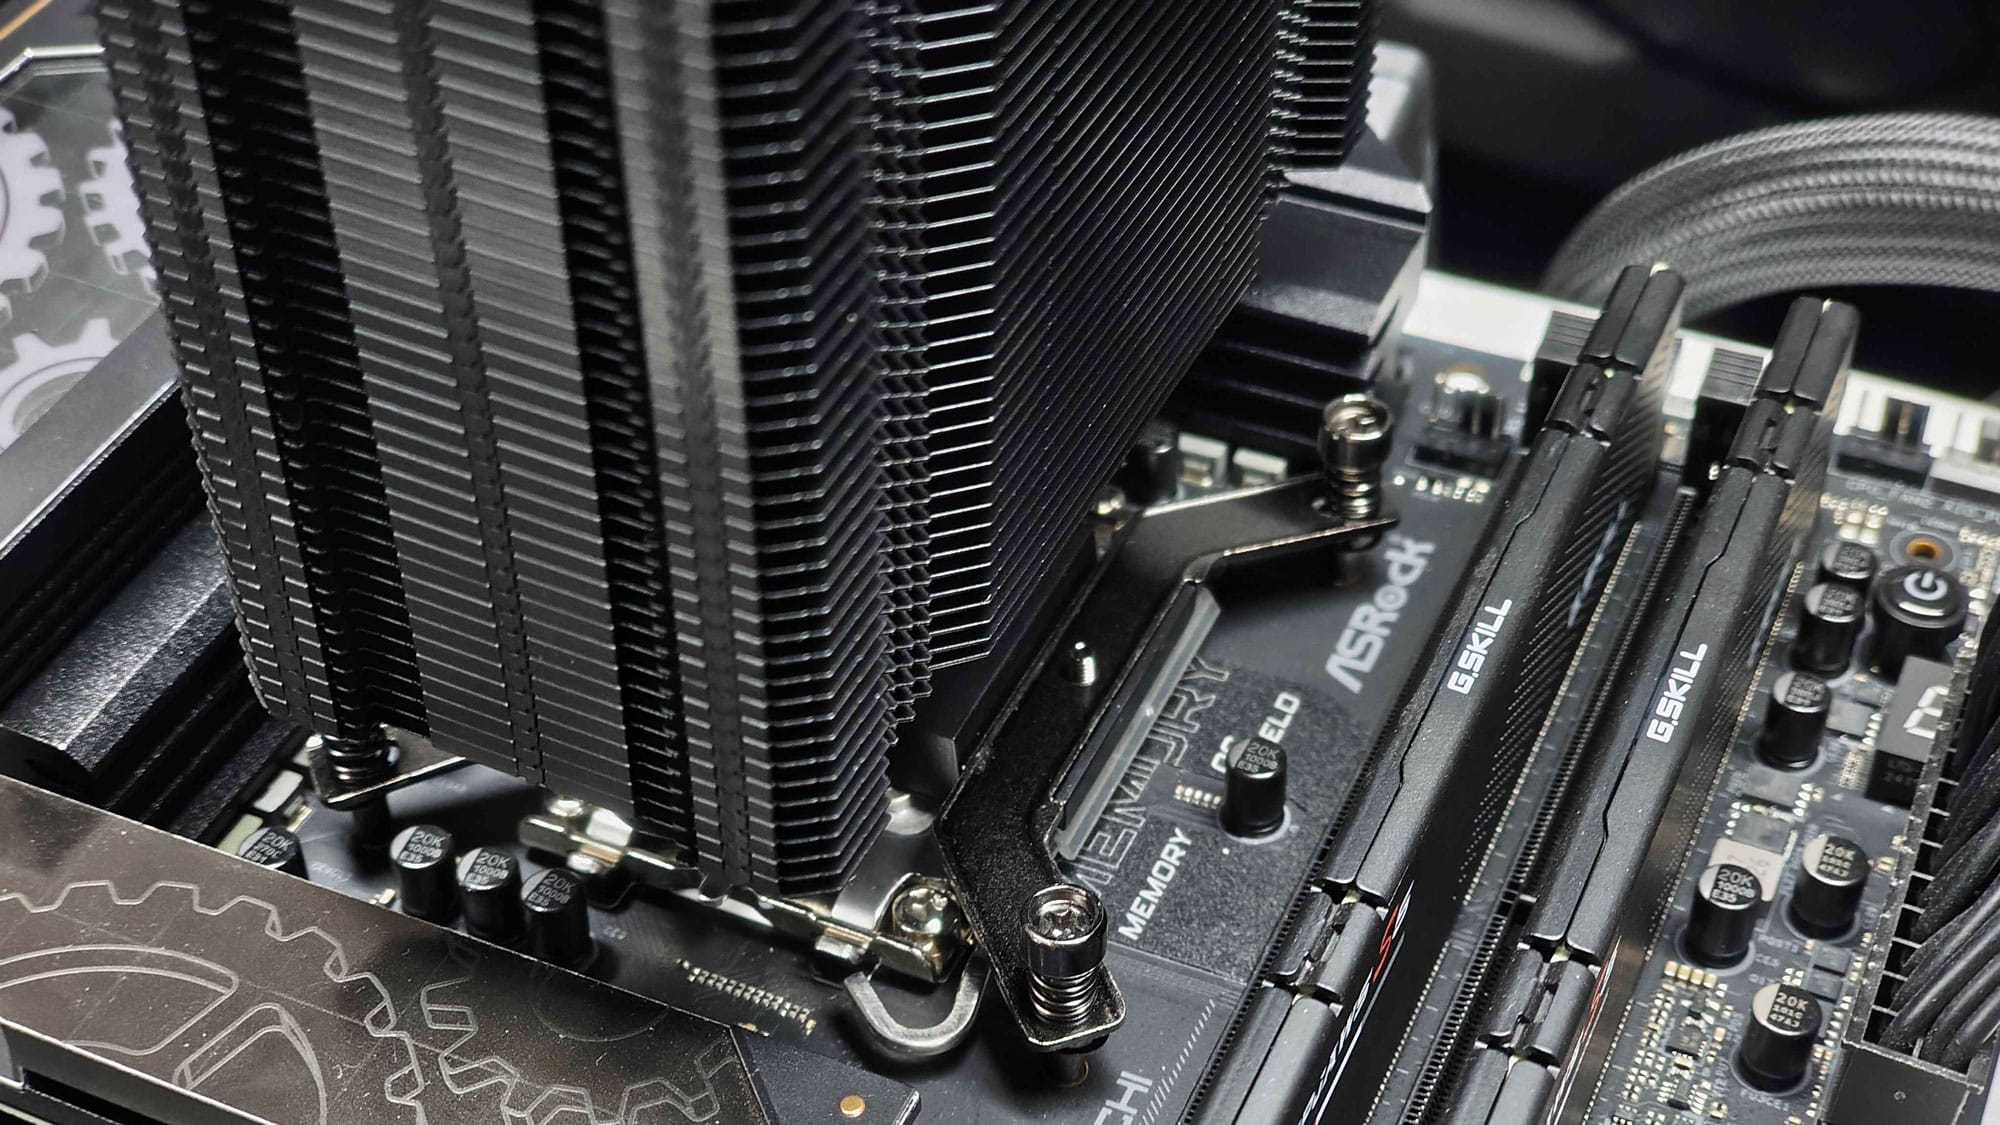

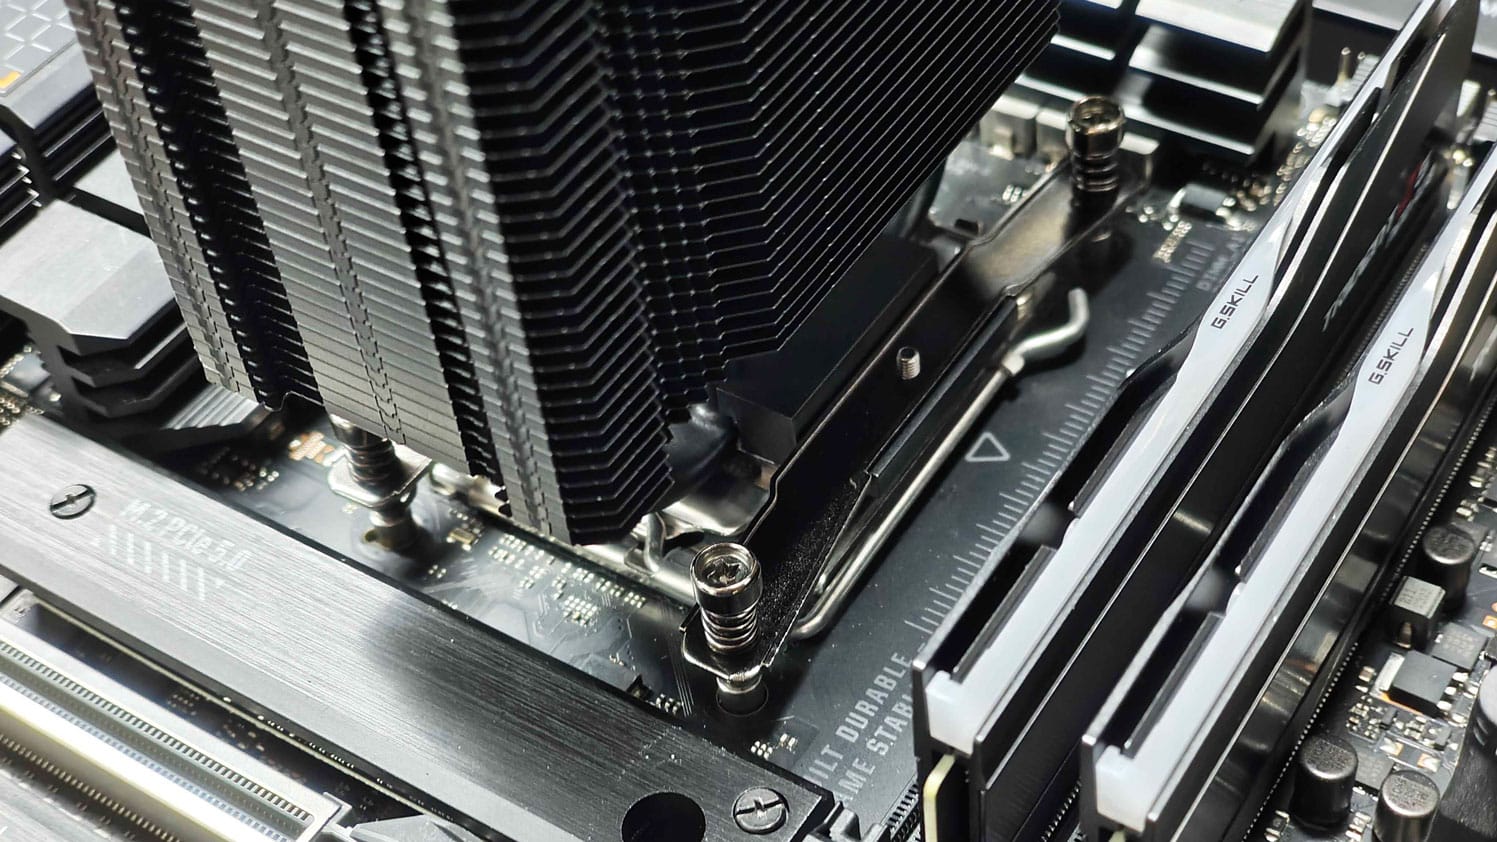
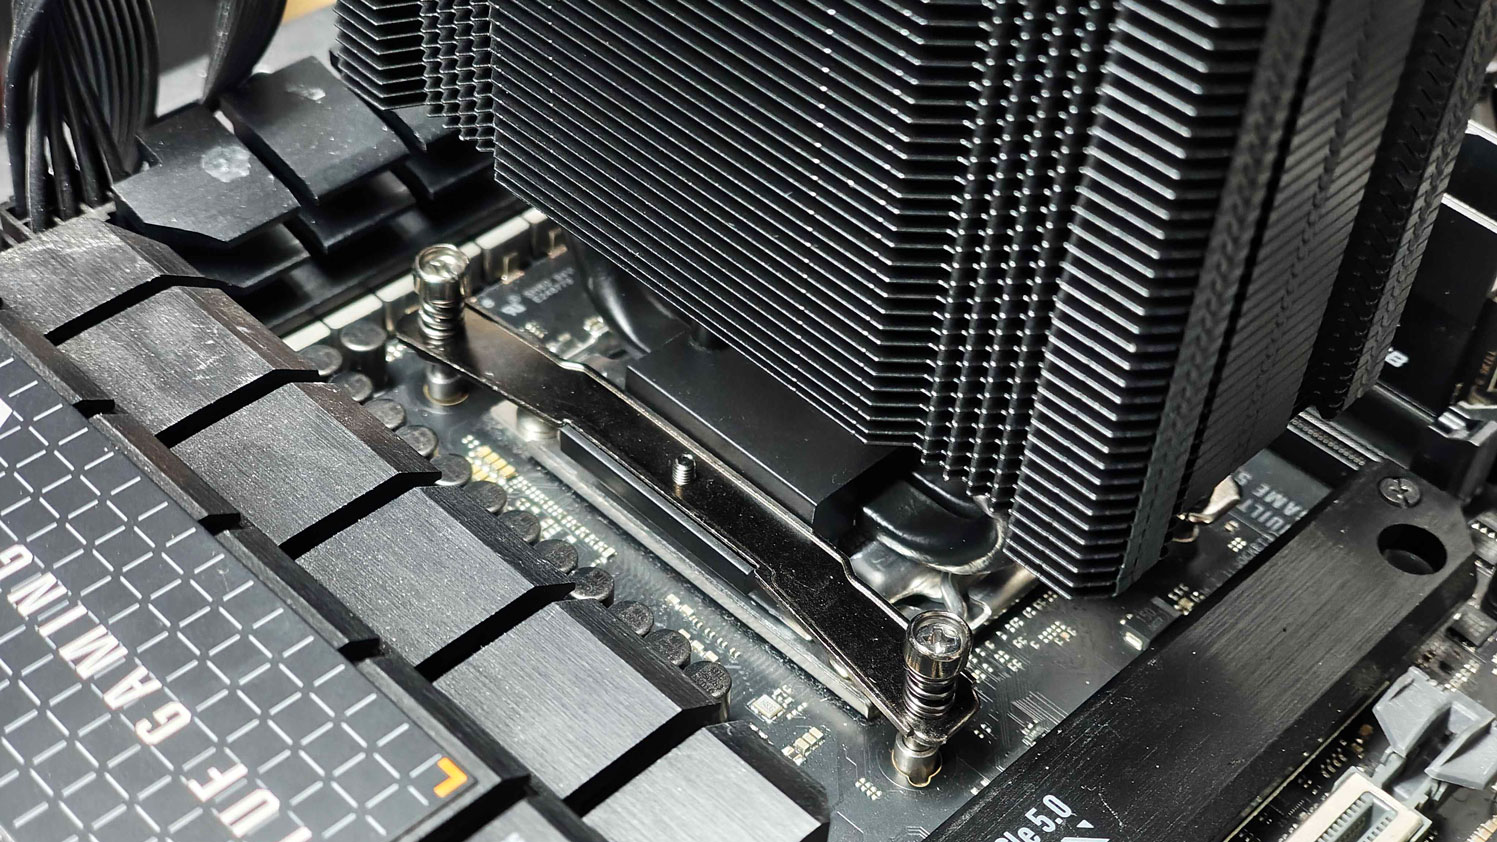
The process for the Intel system is always a bit more cumbersome, as you need to align the backplate while securing the heatsink. The good alignment of the thumbscrews with the backplate helped with the installation. However, other coolers that secure the brackets on the backplate and then the cooler to the brackets, make the installation on Intel even better. On the other hand, the design found here removes the load from the screws that mount the cooler to the brackets, as the arms sit above the cooler’s base and push it down on the CPU.
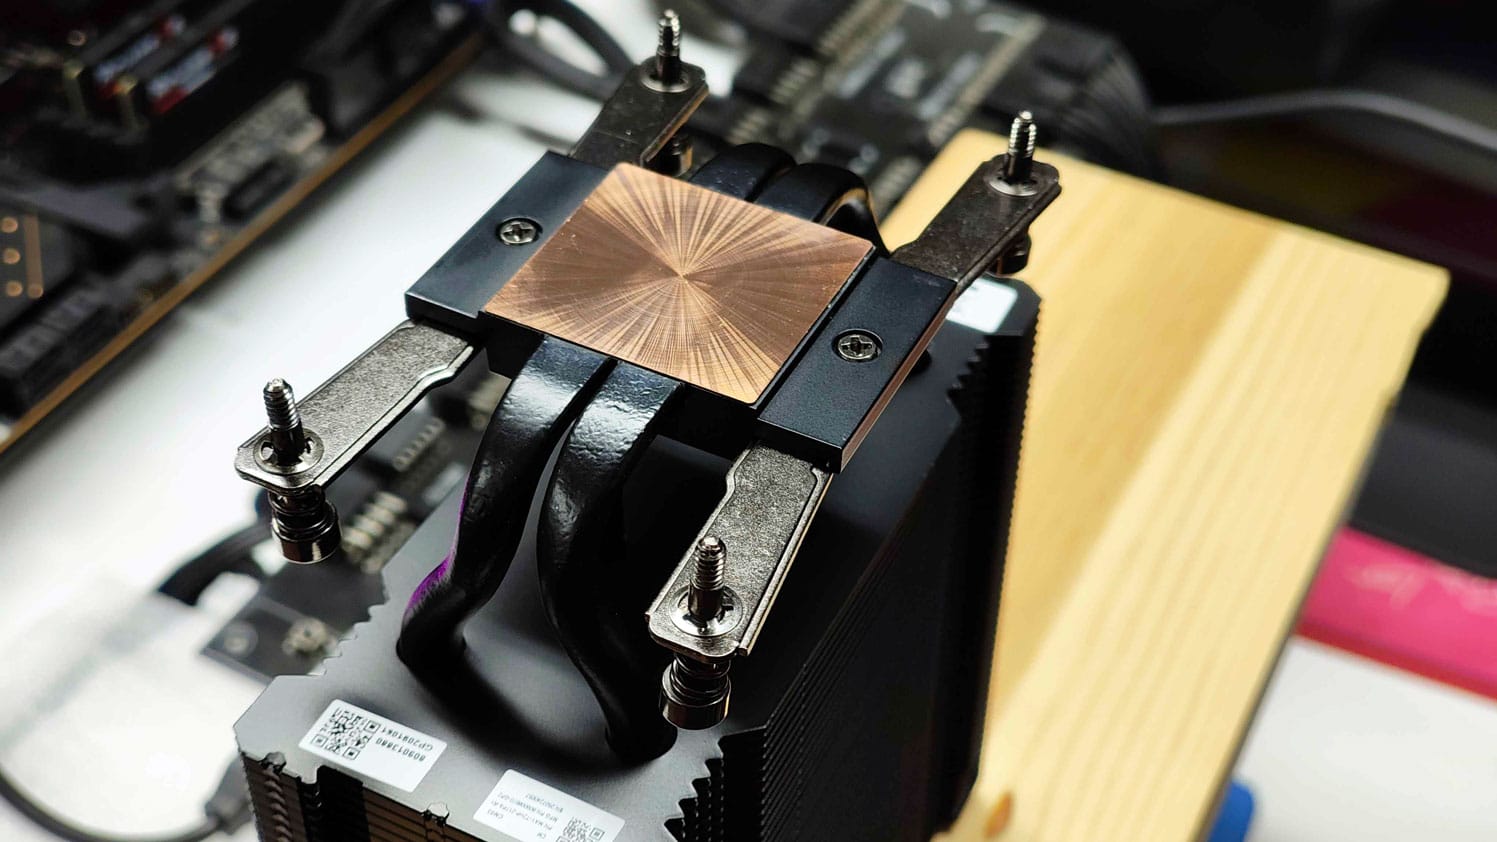
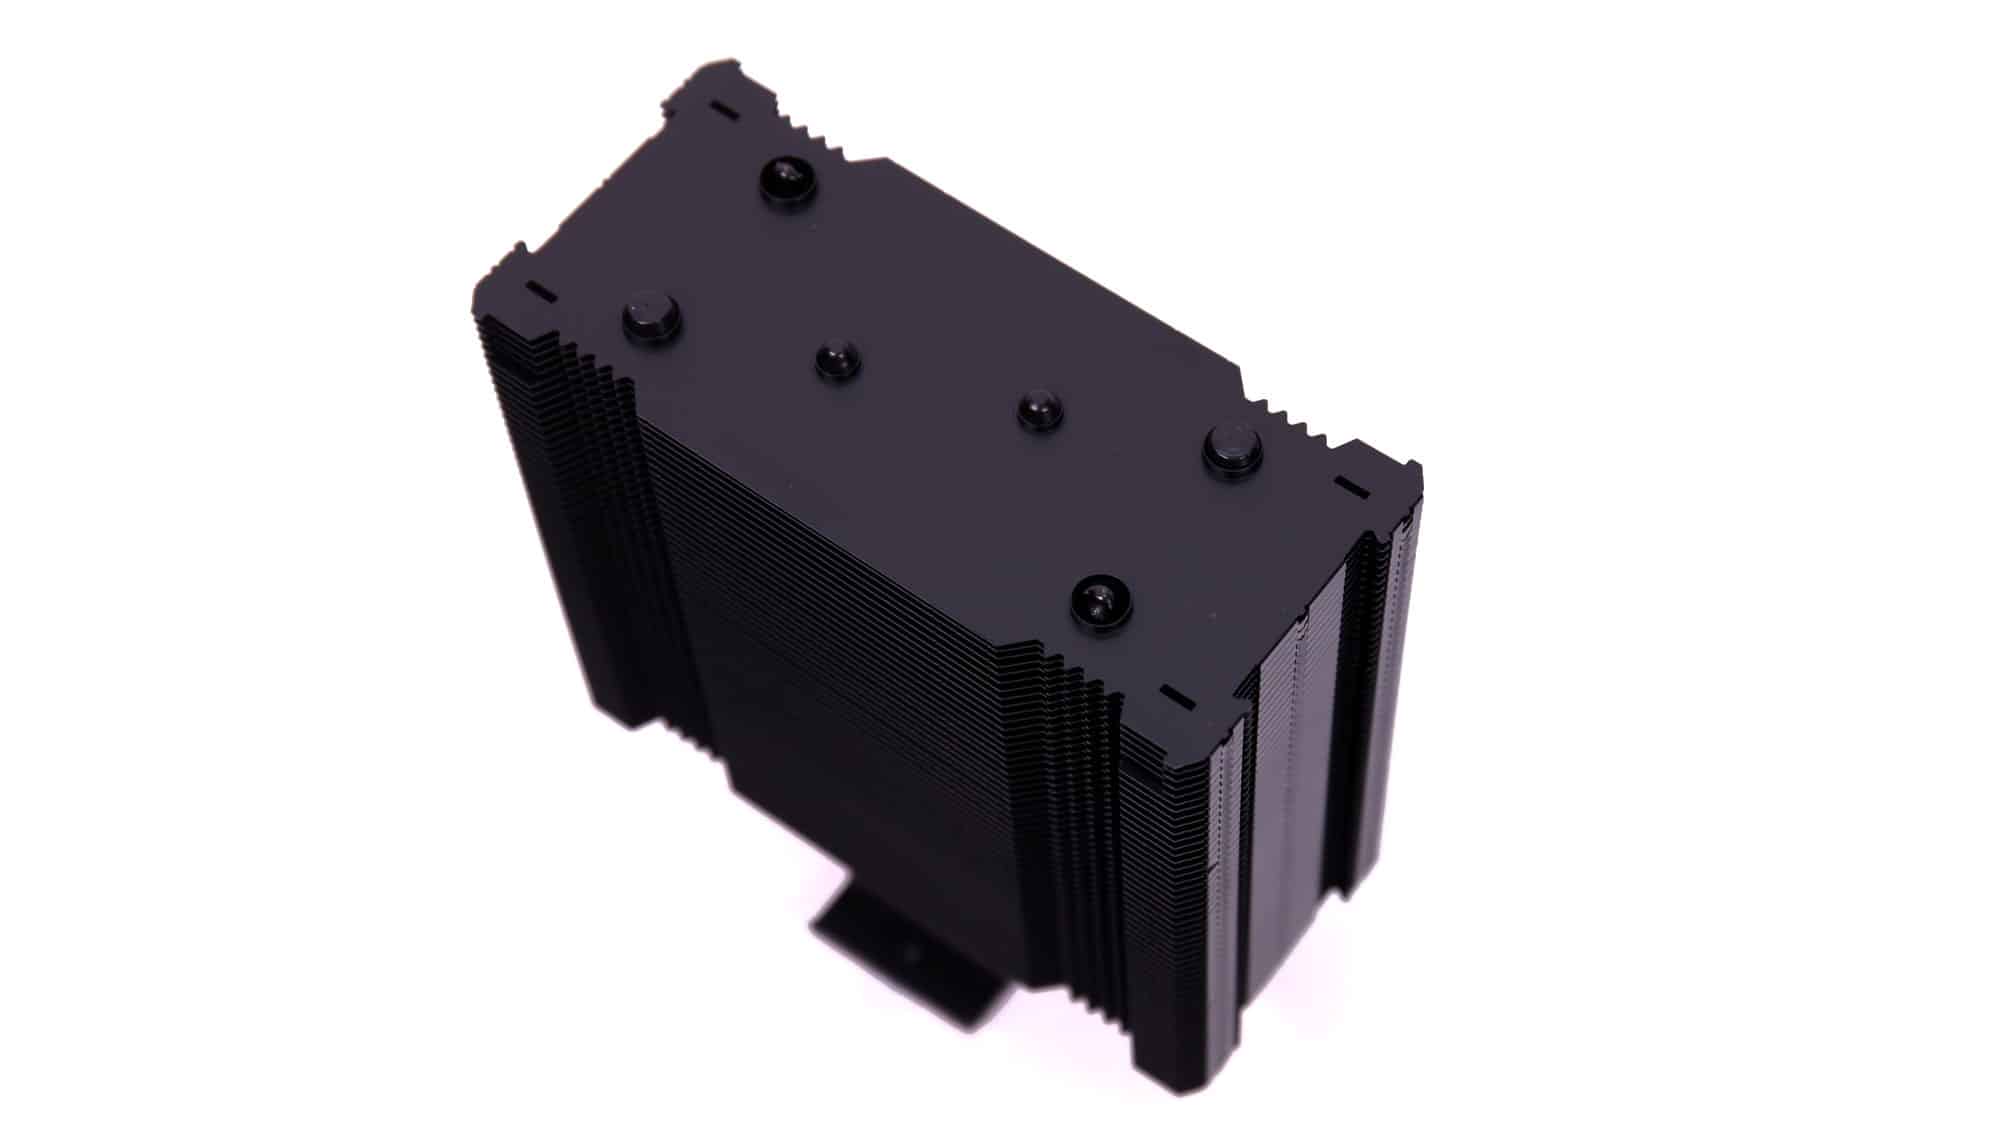
There is no offset for either AMD or Intel sockets, and this looks weird, given the notable performance increase that offset mounting offers to these sockets. Lastly, the convex design of the cooling base plate offers better contact to CPU heatspreaders with concave designs.
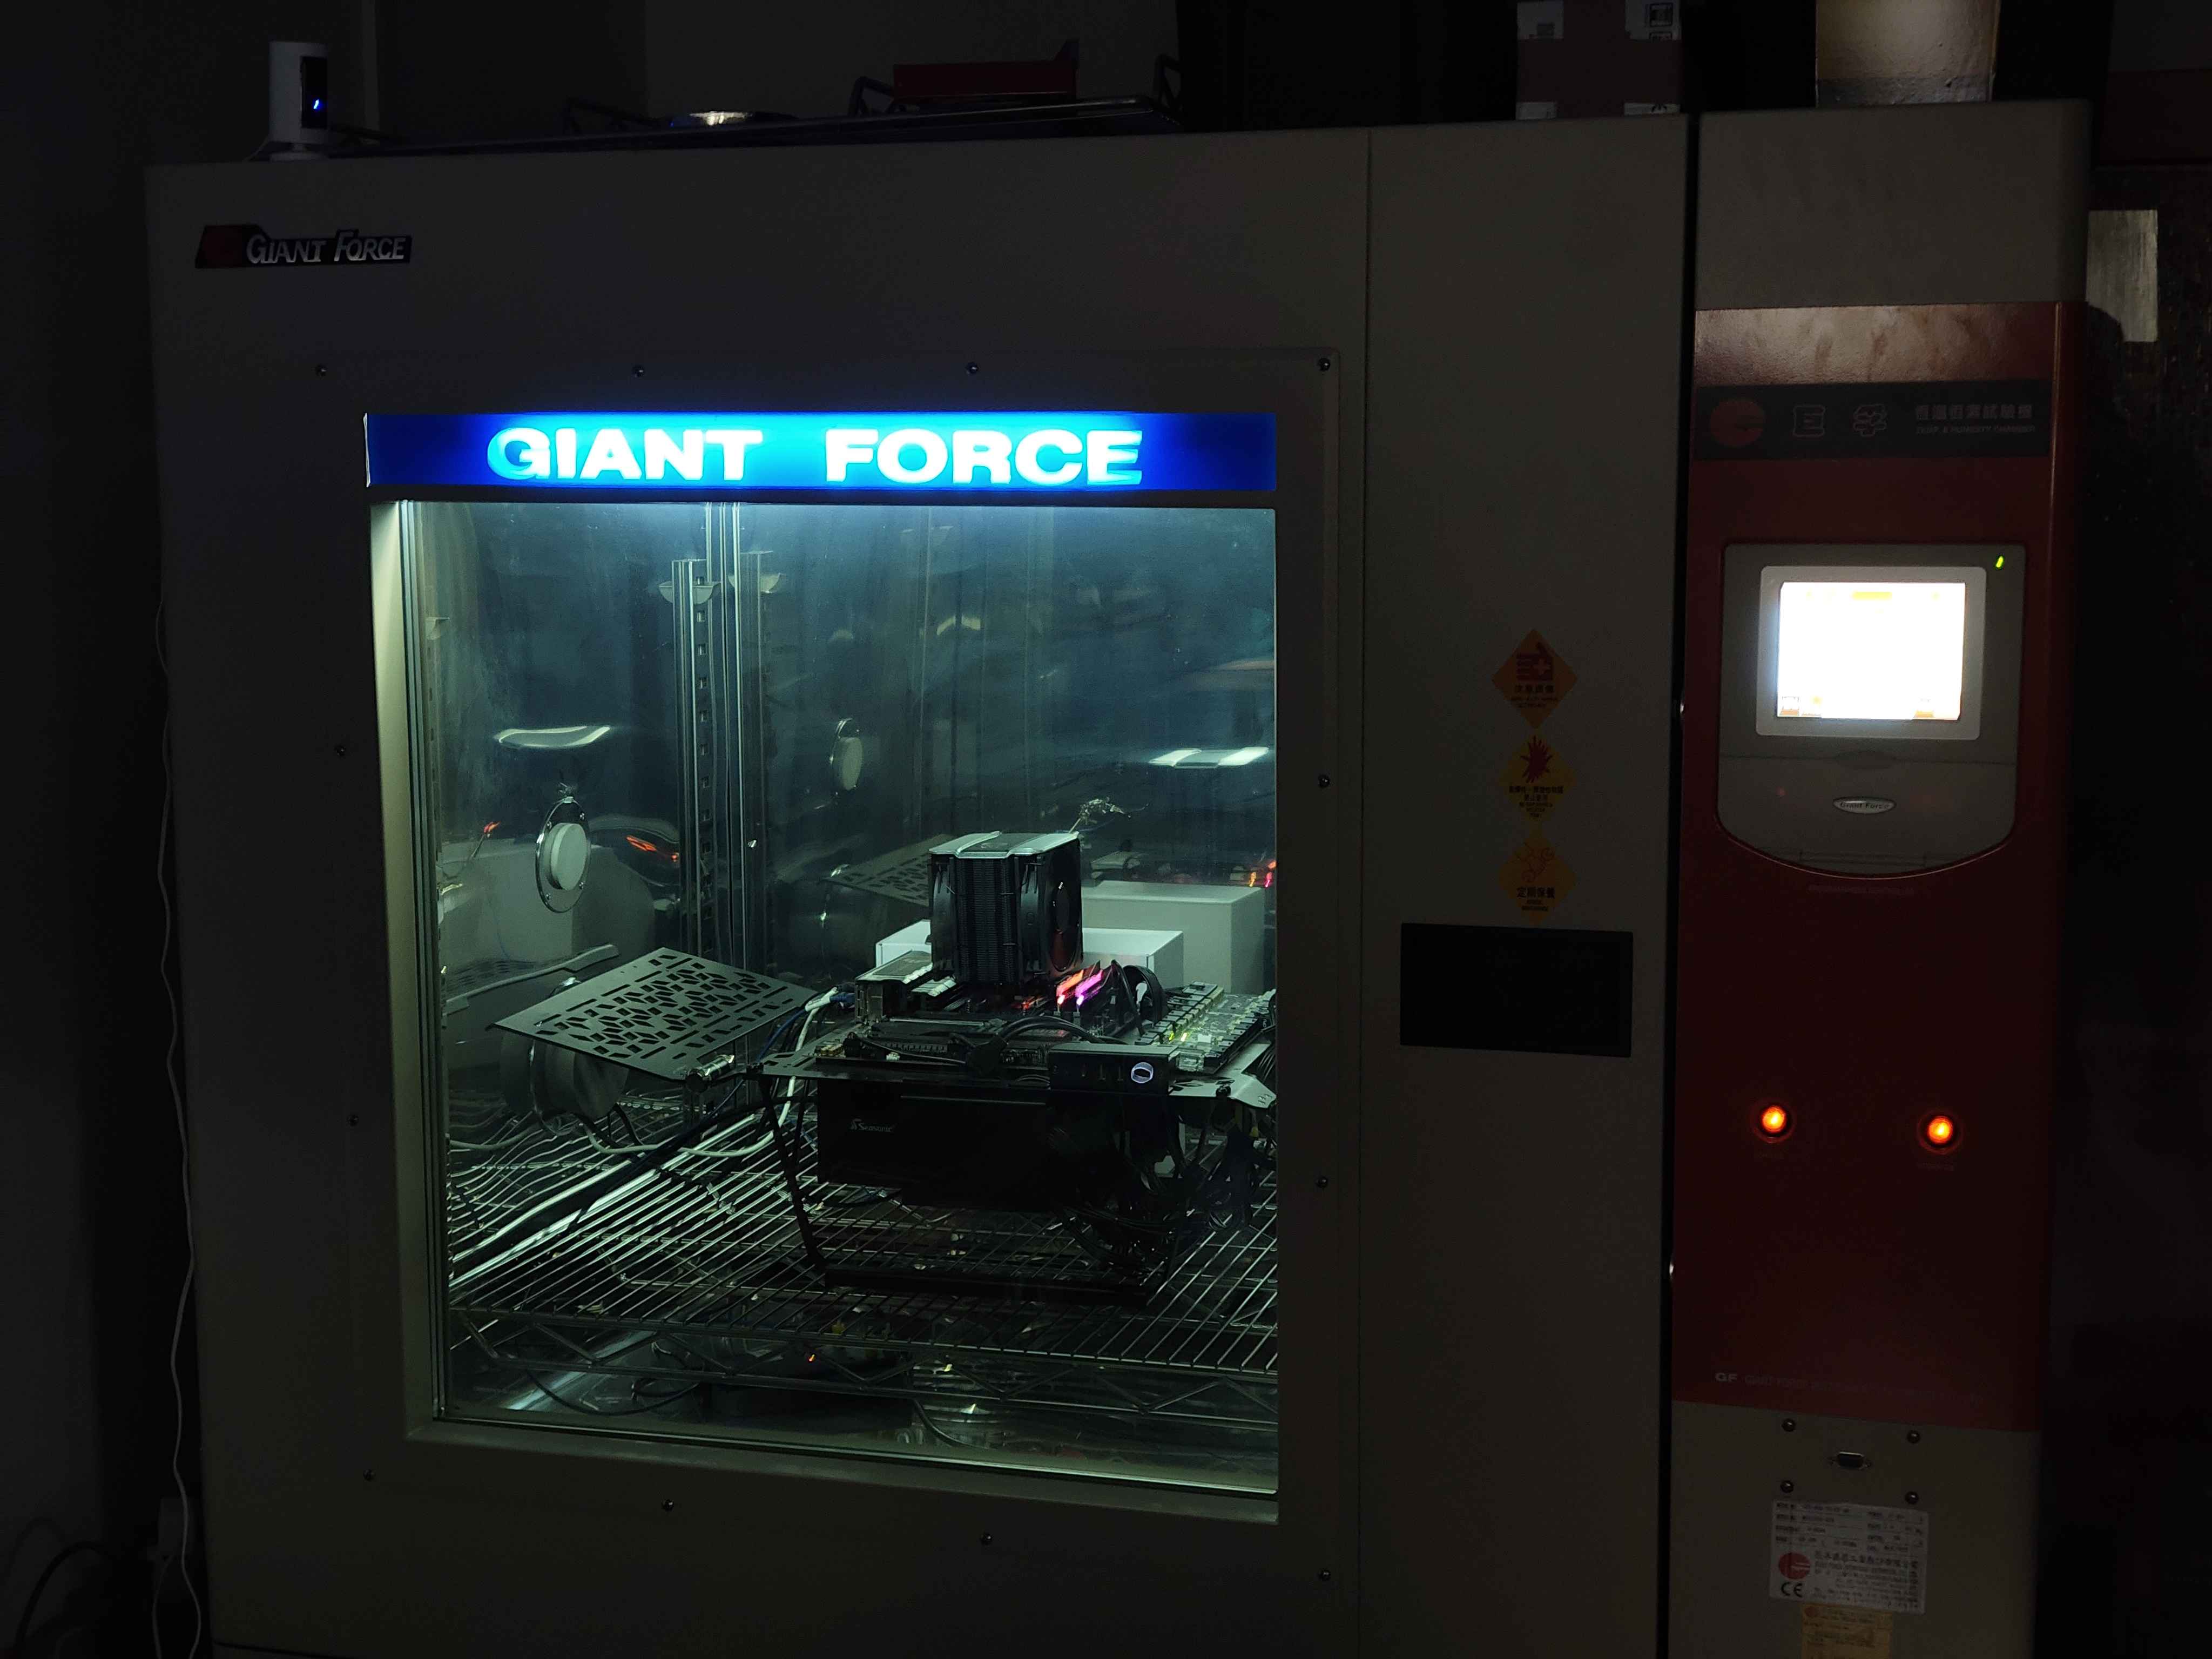
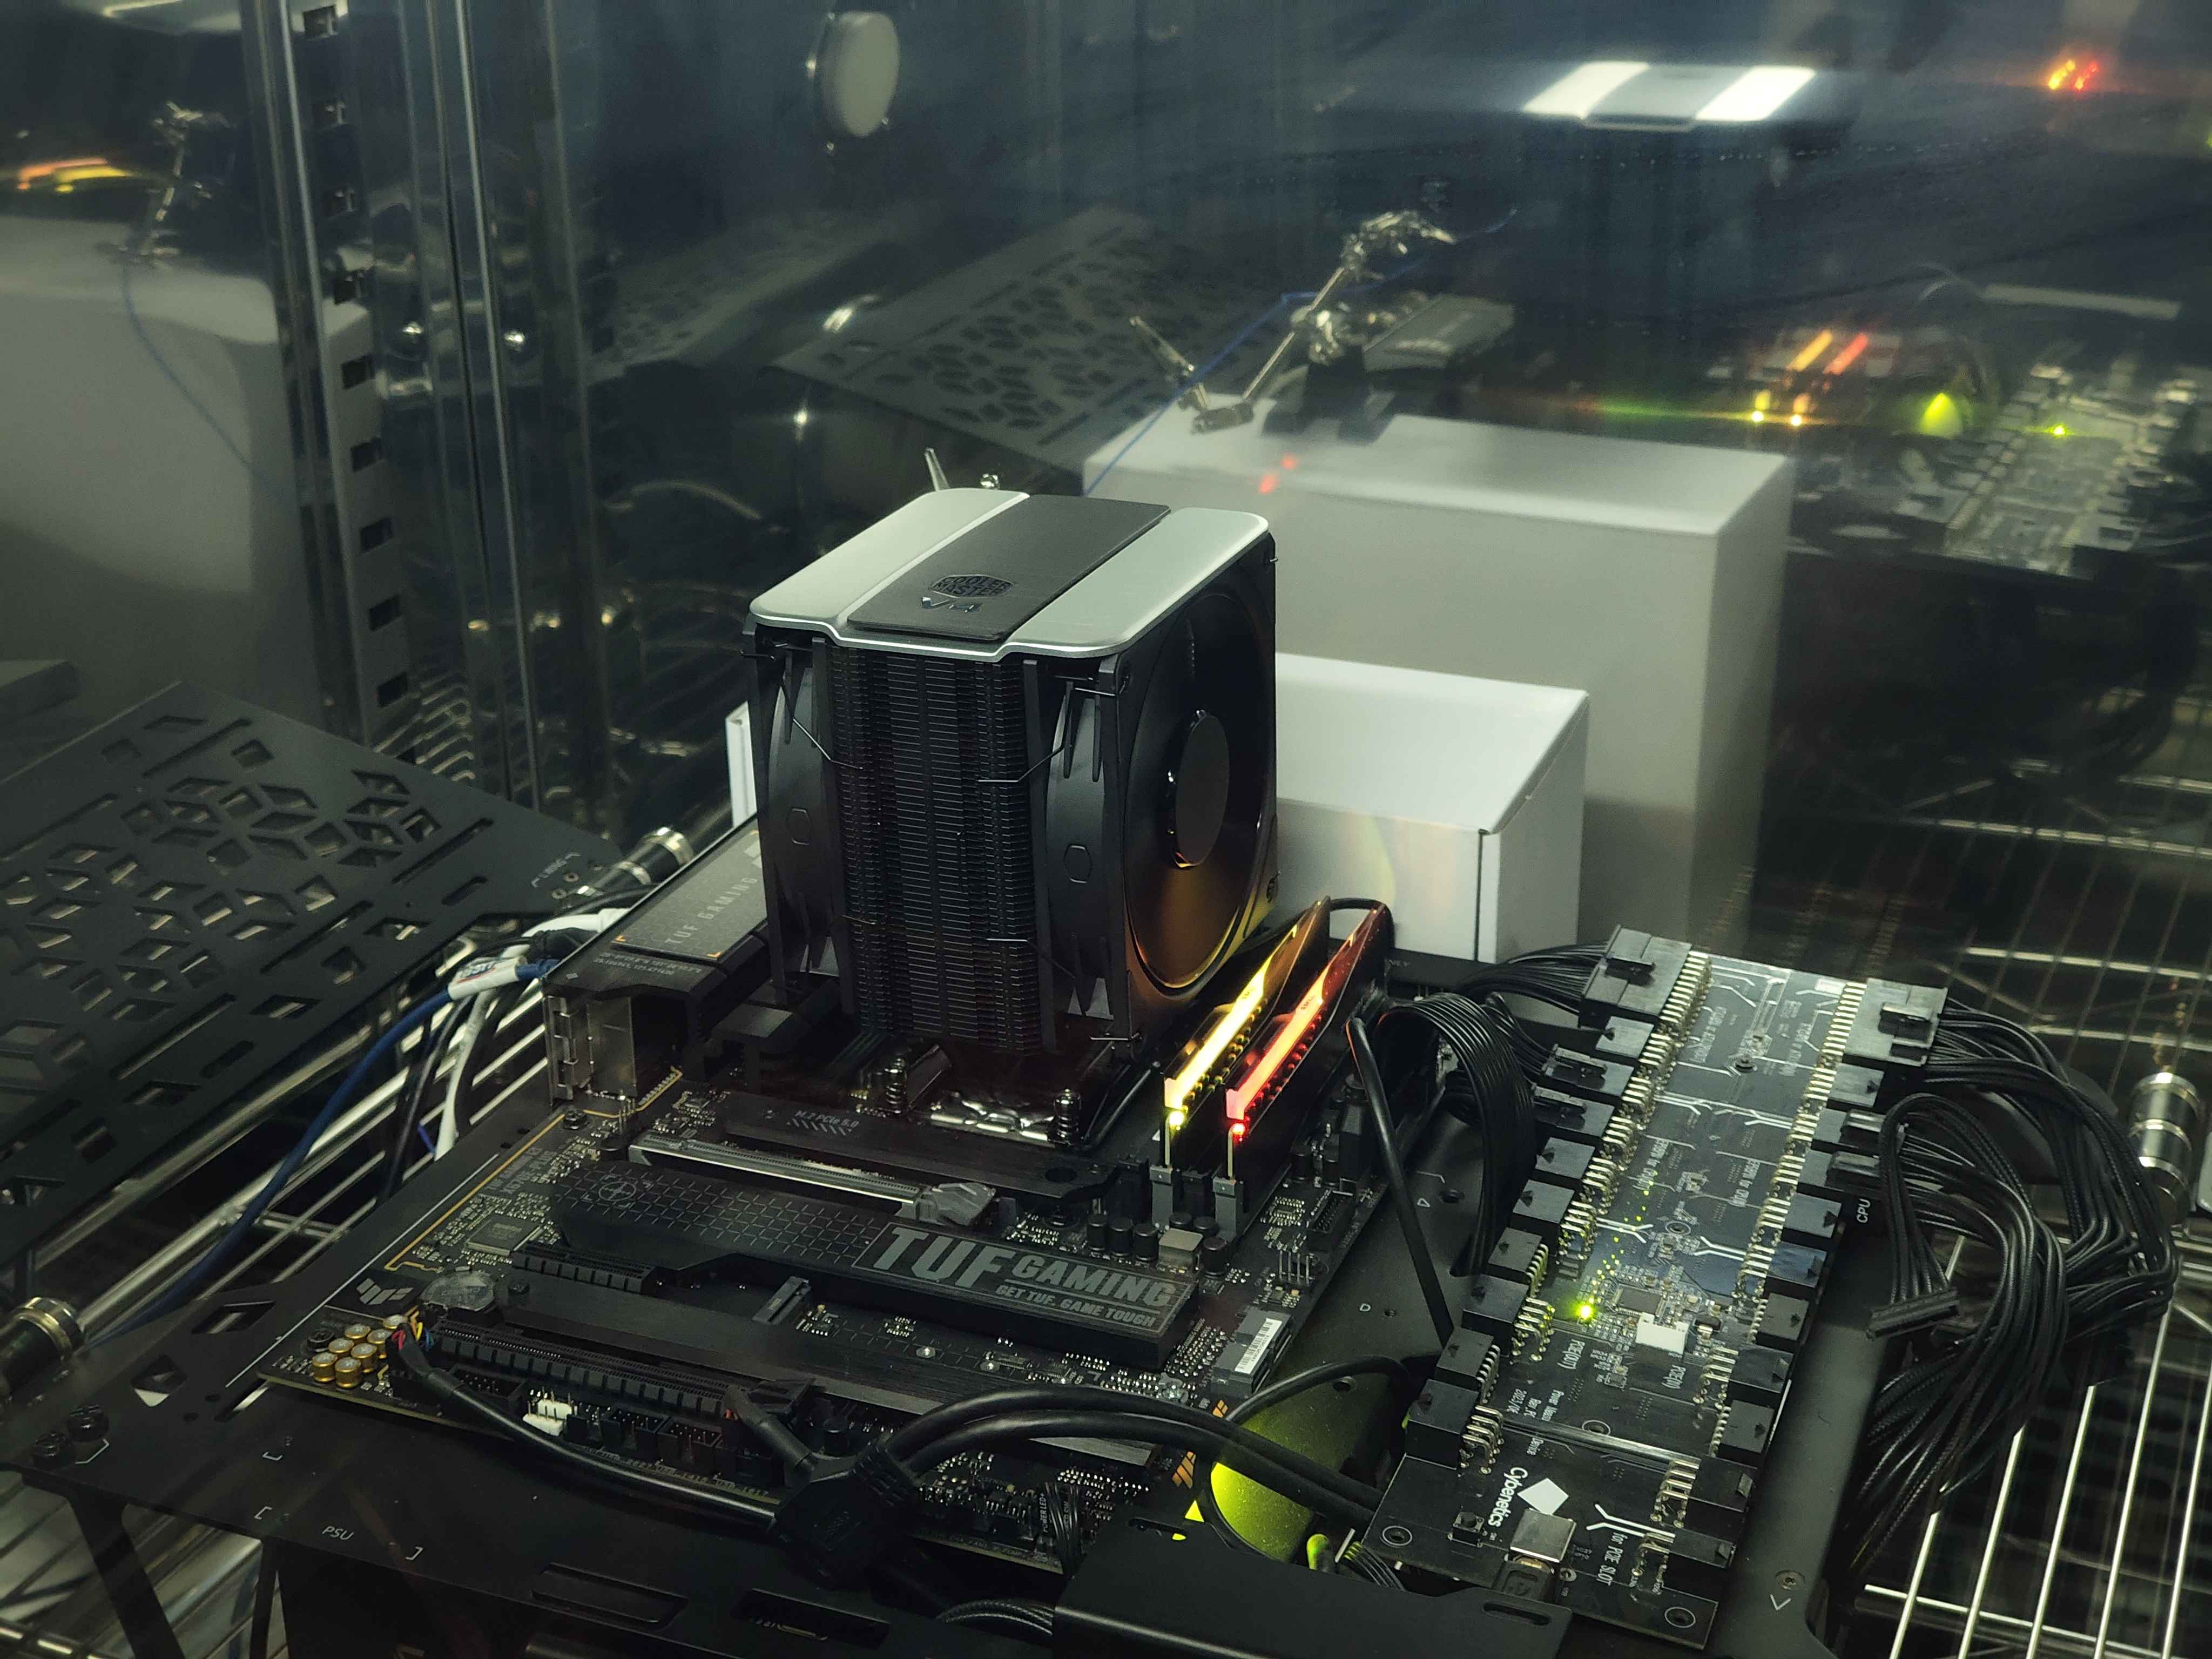
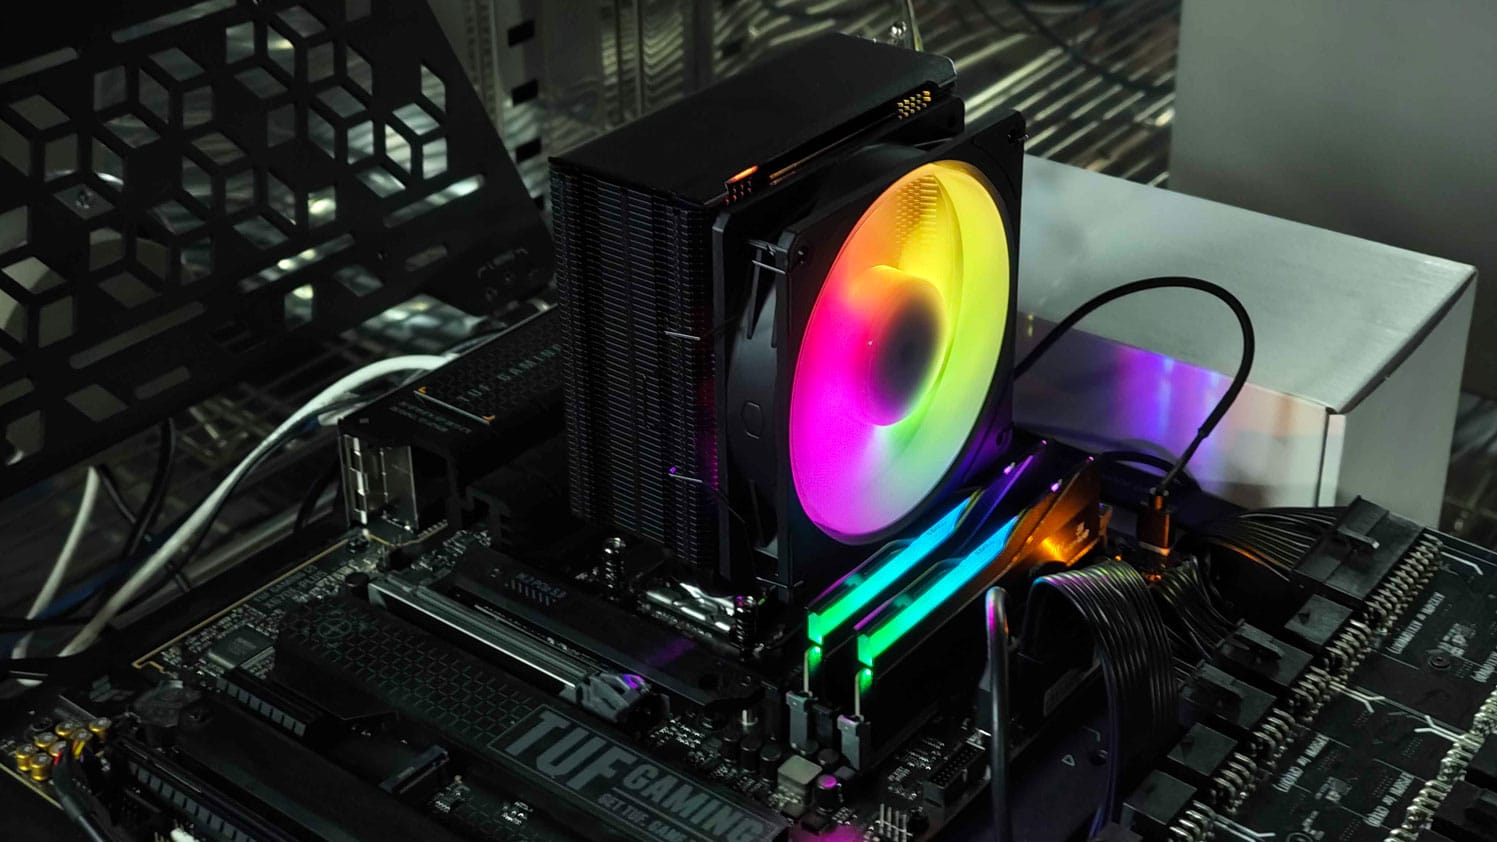
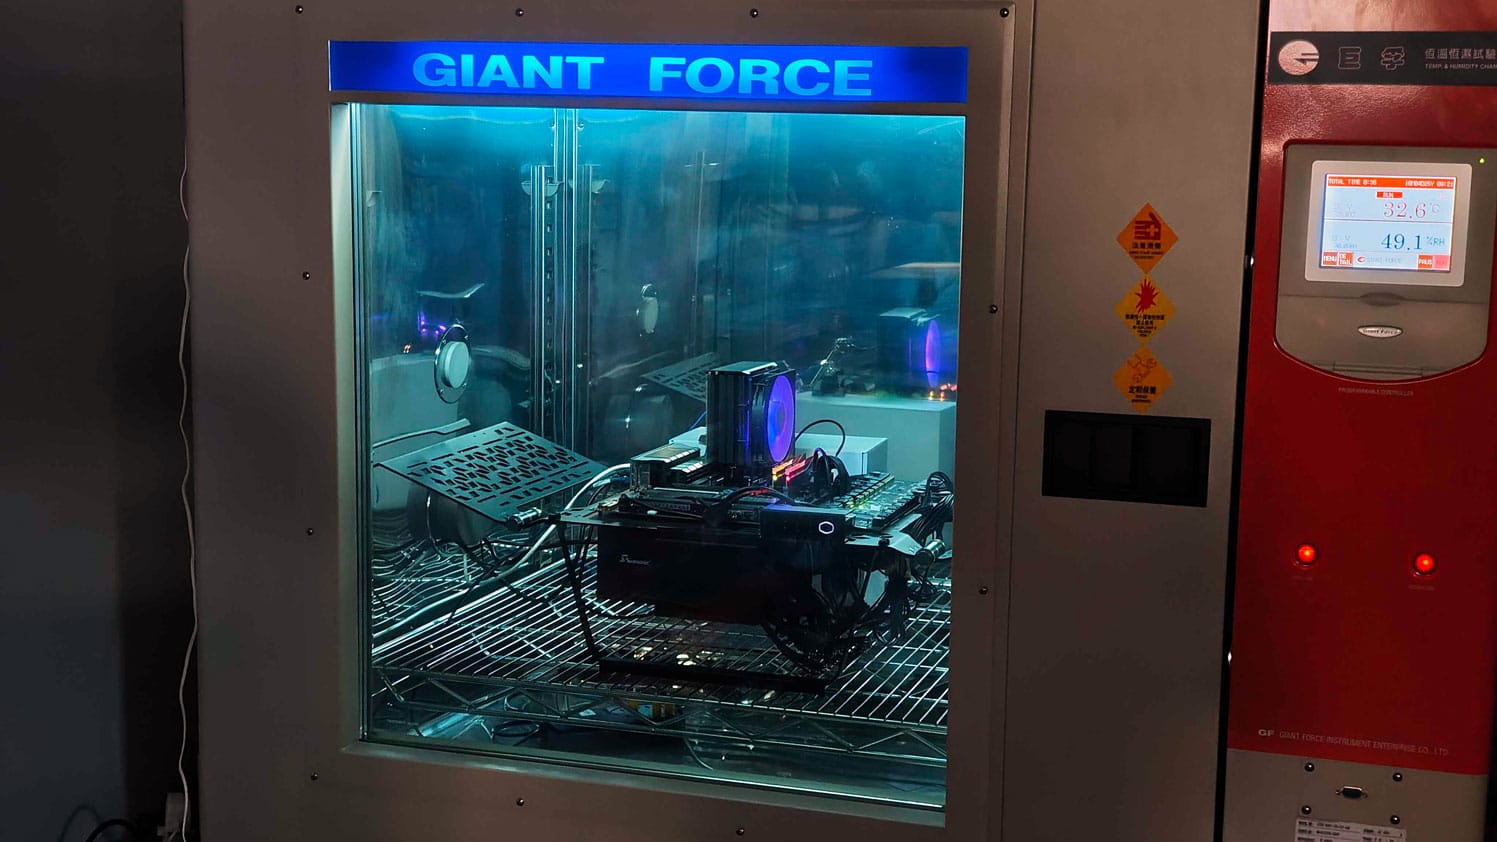
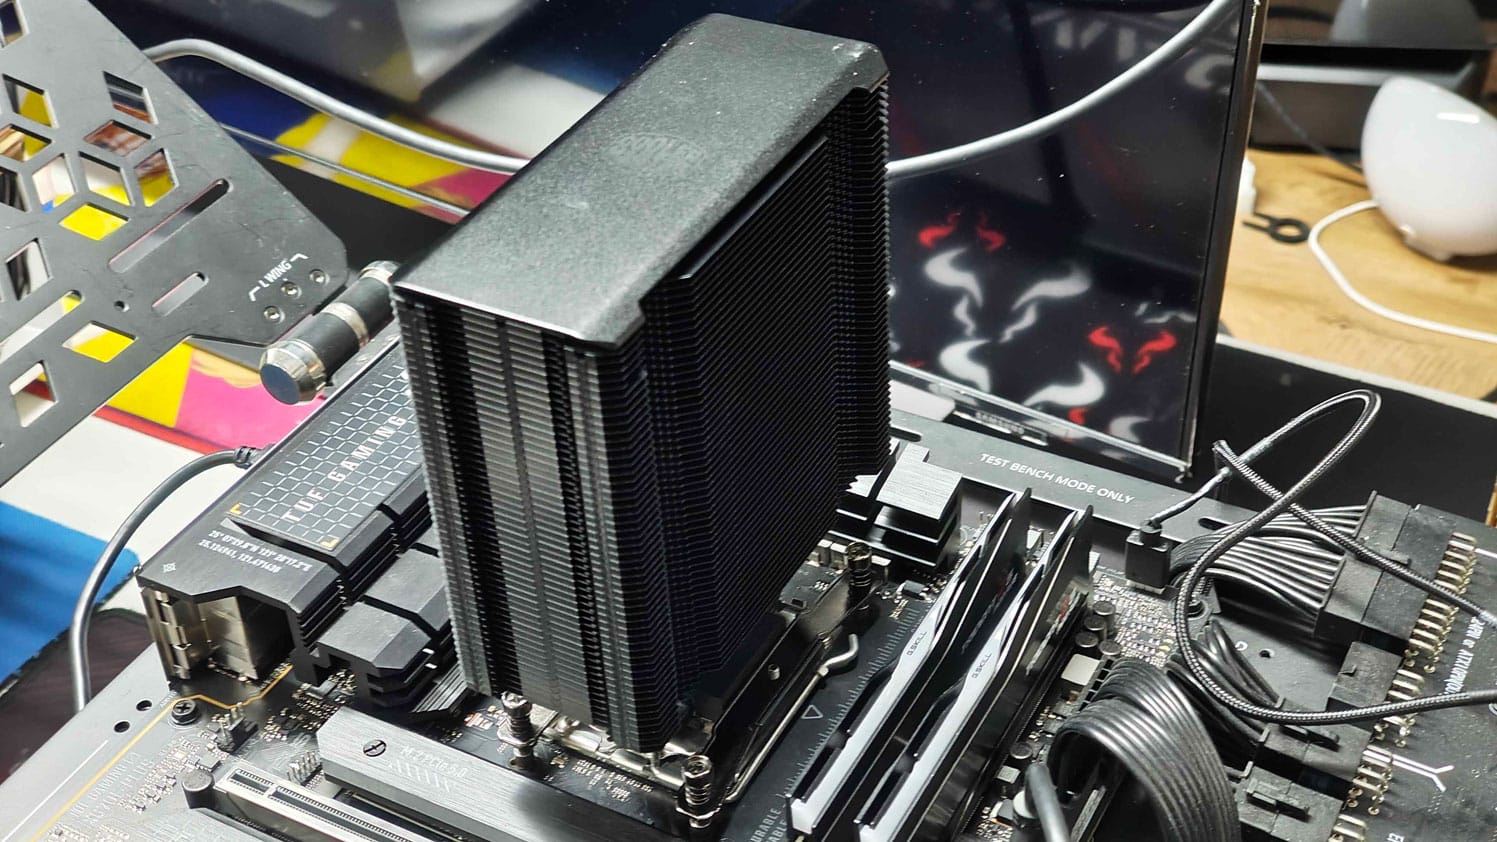
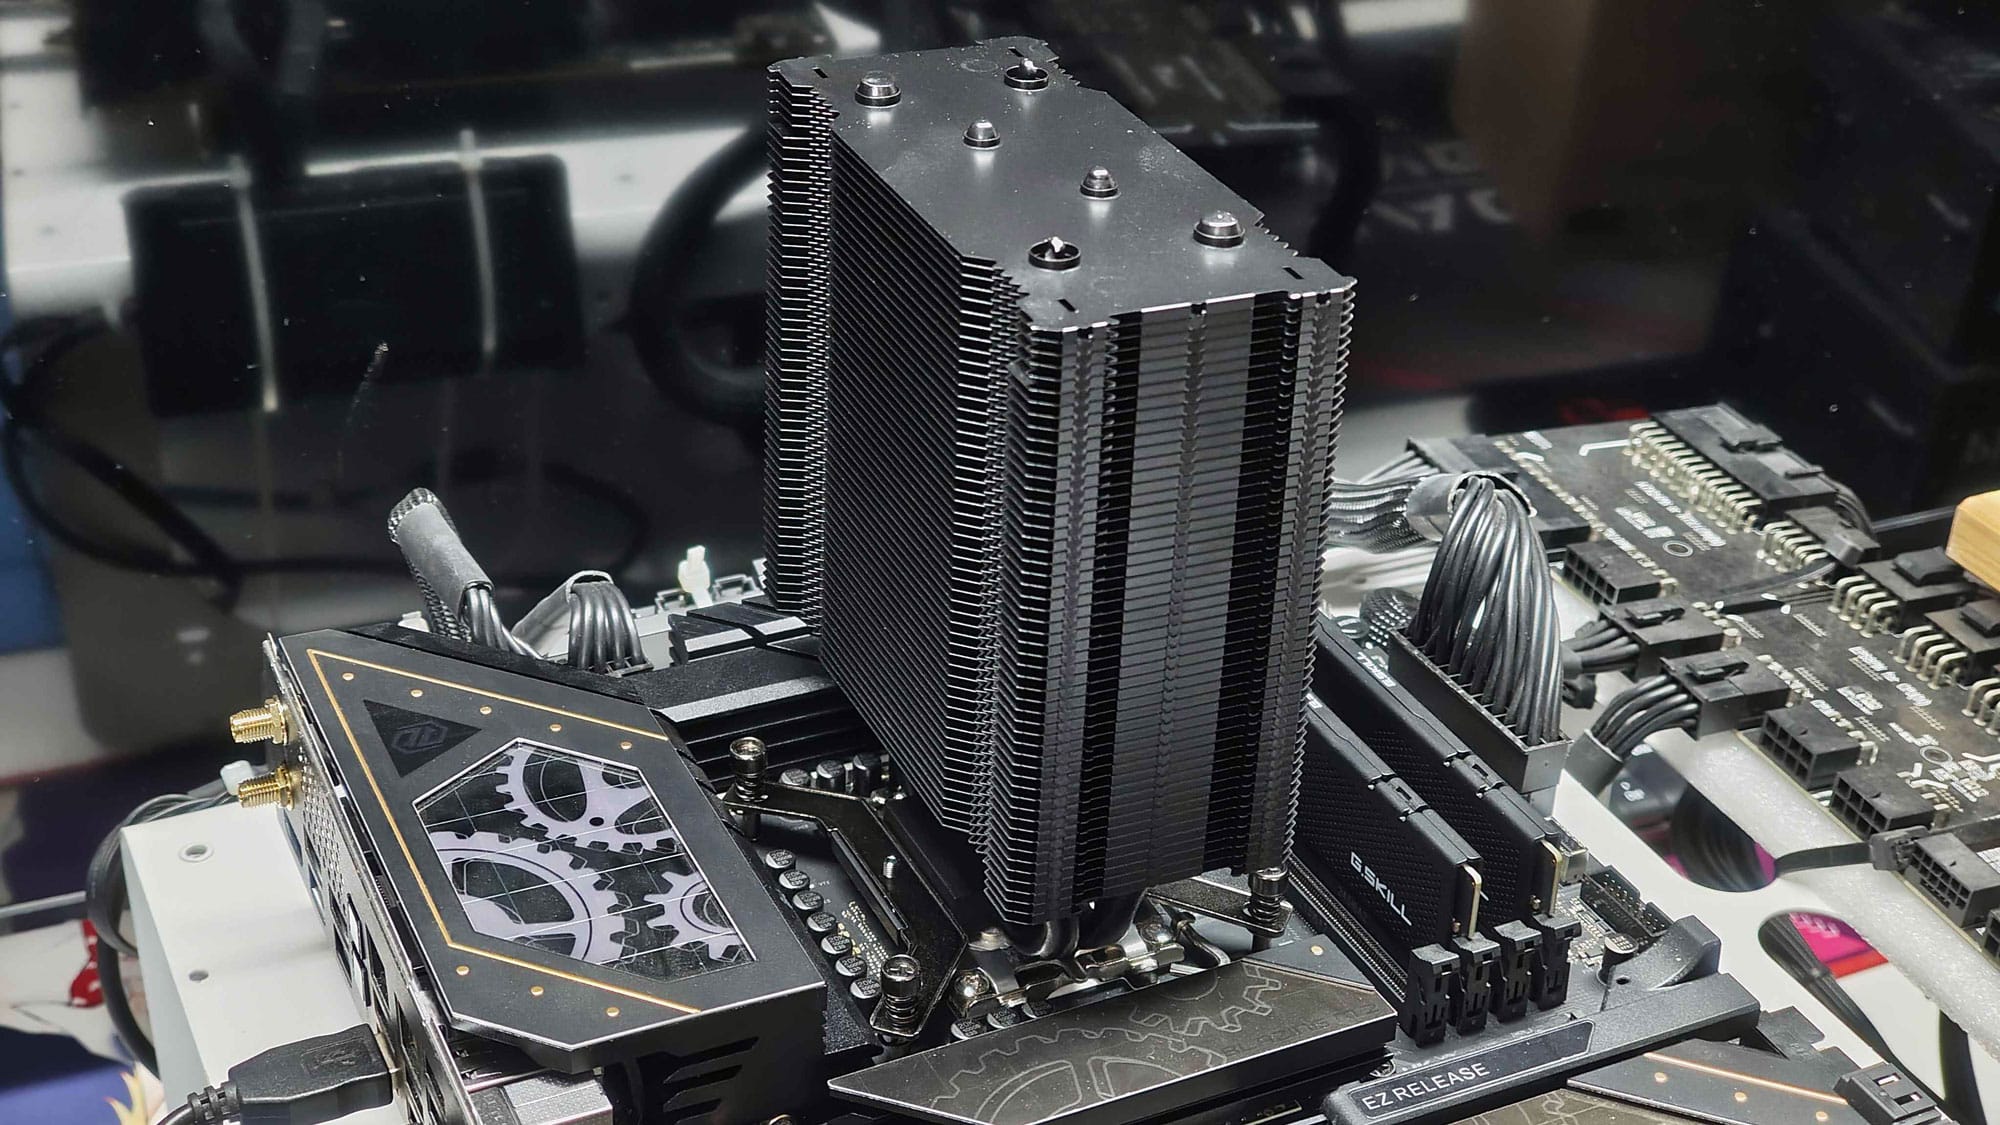
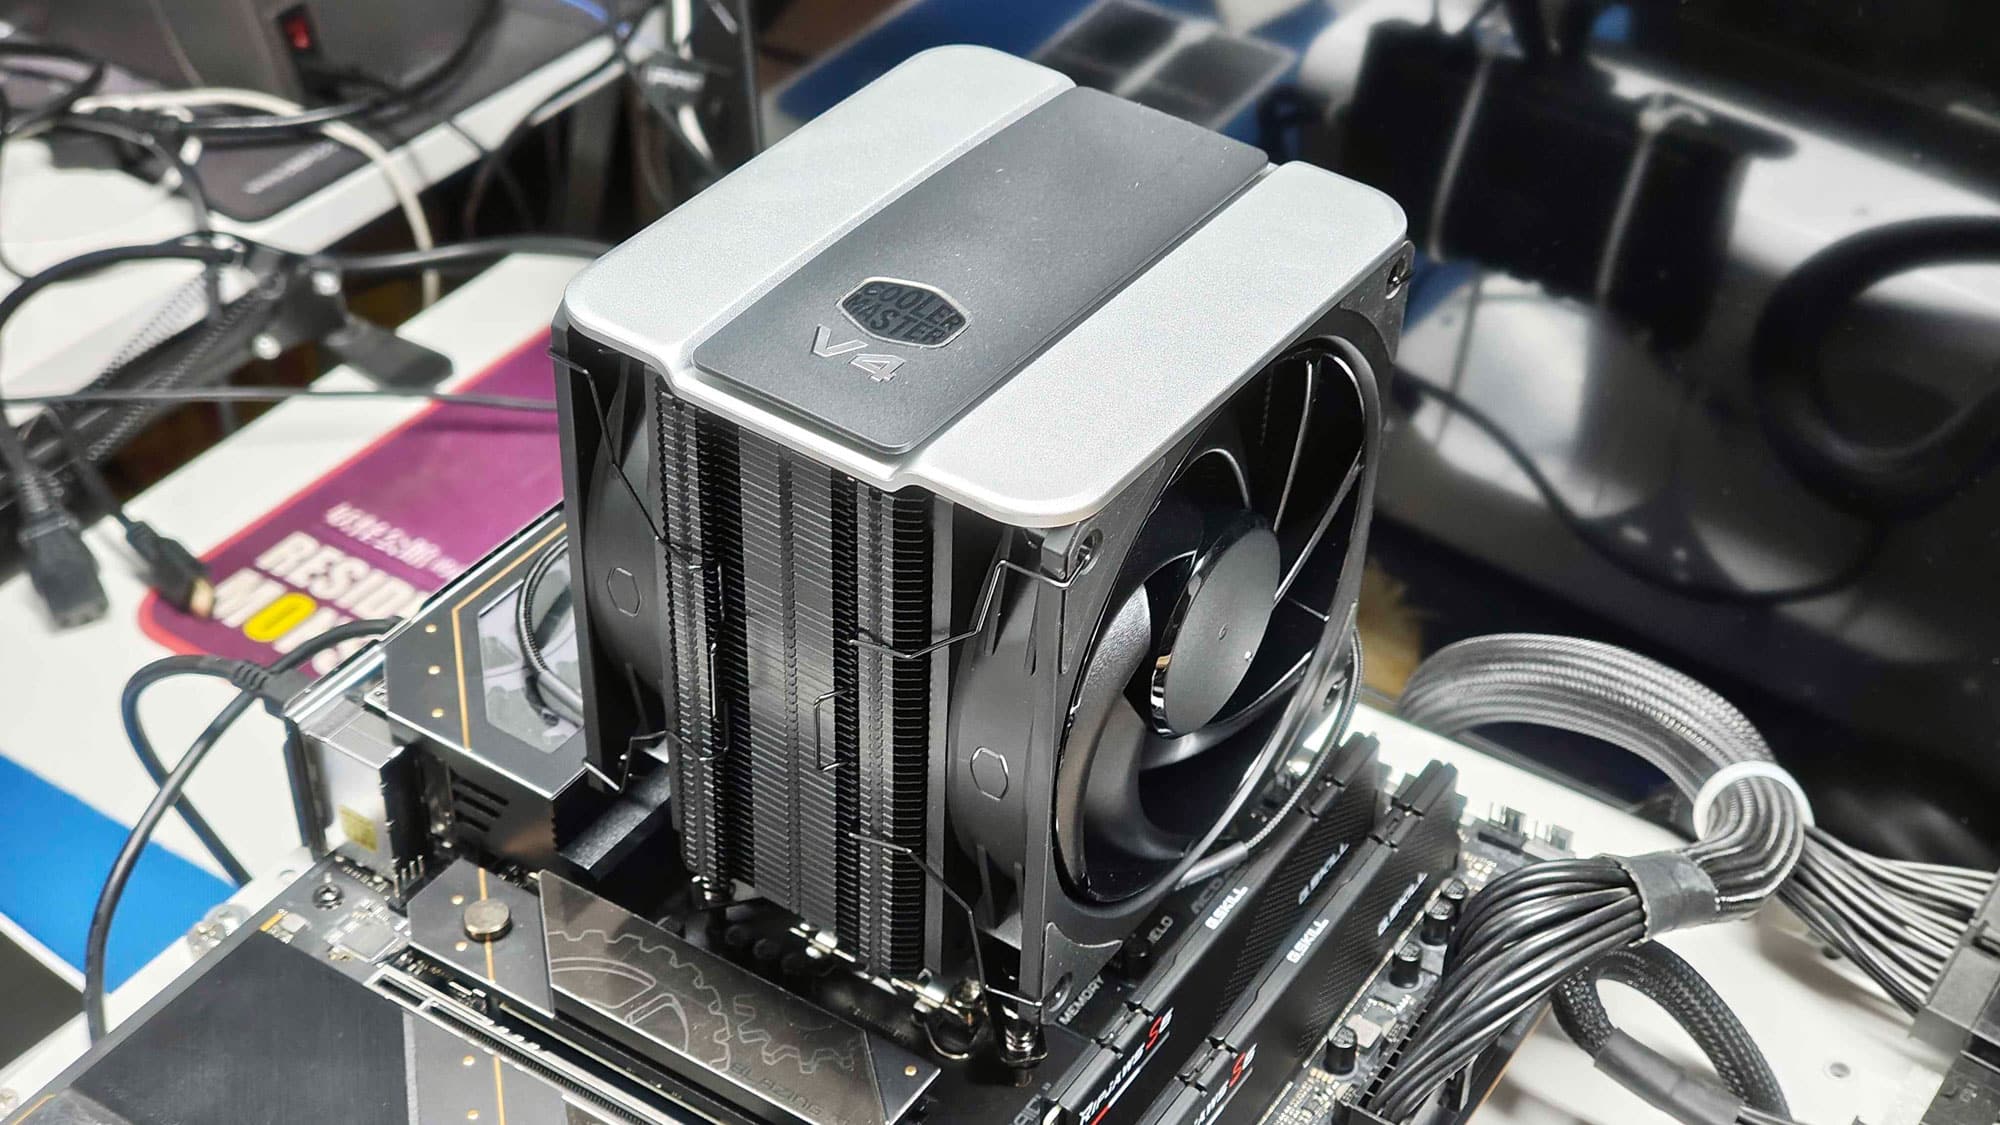
Some photos of the coolers installed onto the respective AMD and Intel testings, while testing inside the climate chamber.