Box, Contents & Bundle
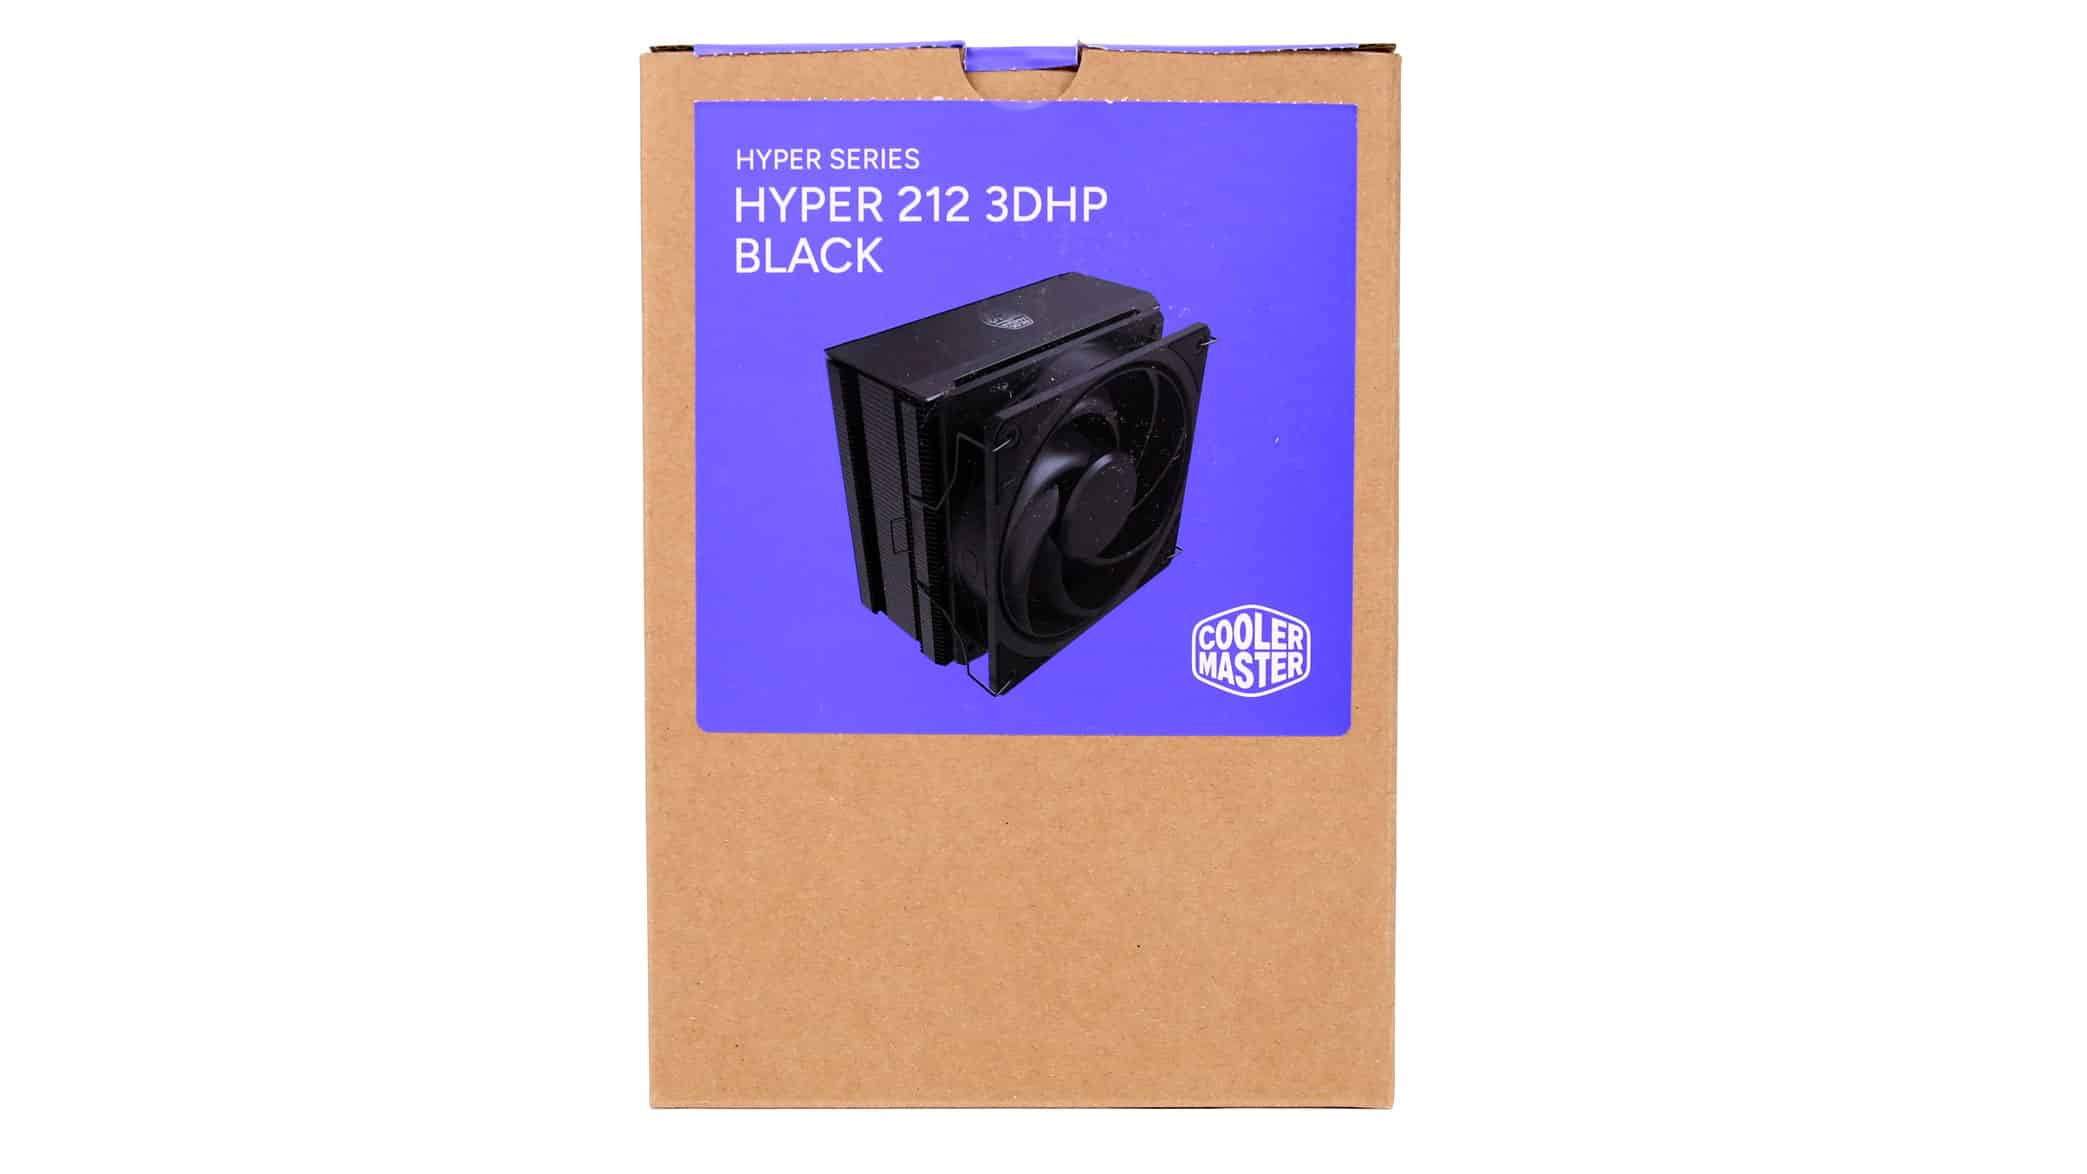

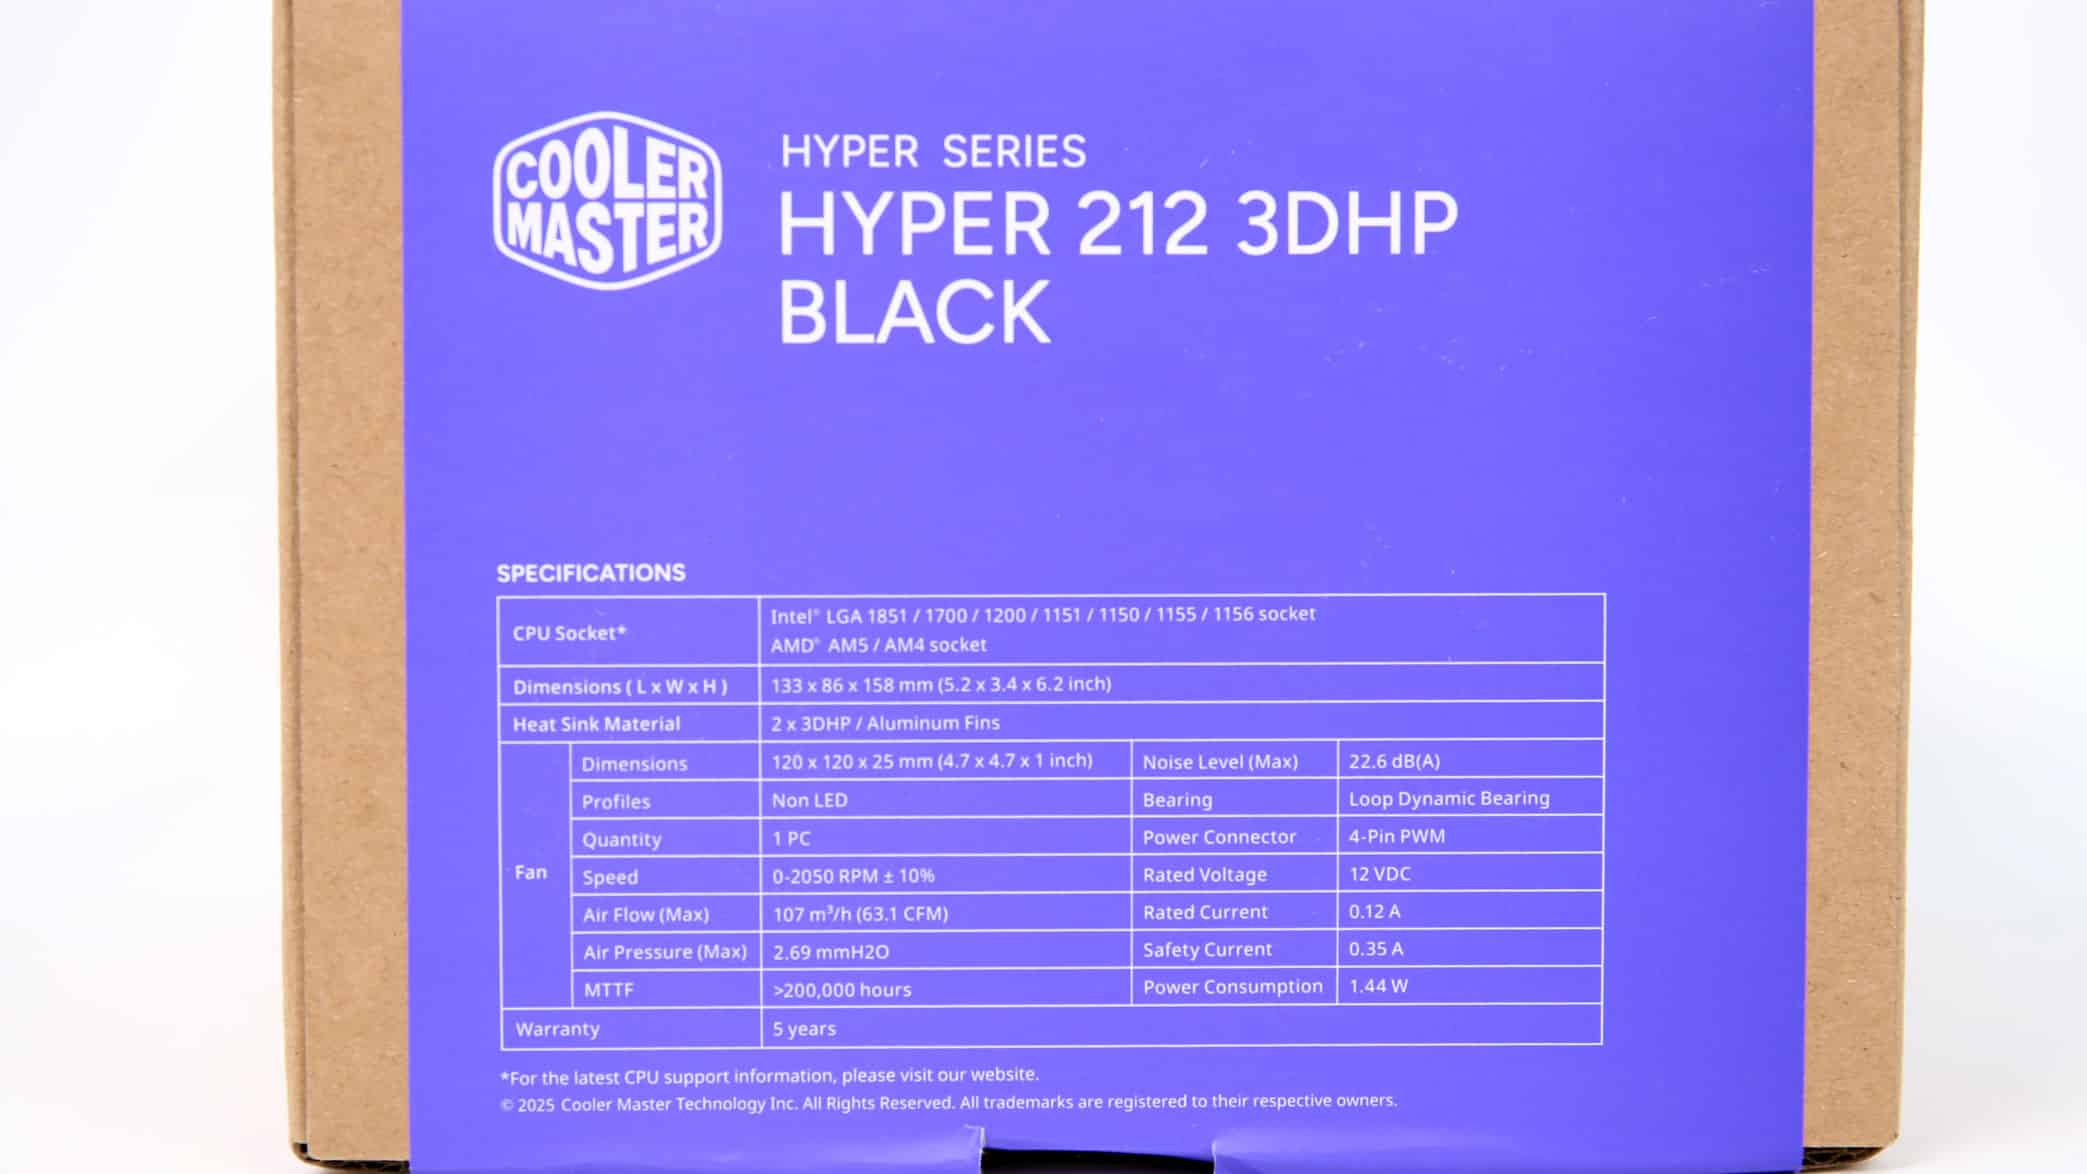

The box of the Hyper 212 3DHP BLACK model.
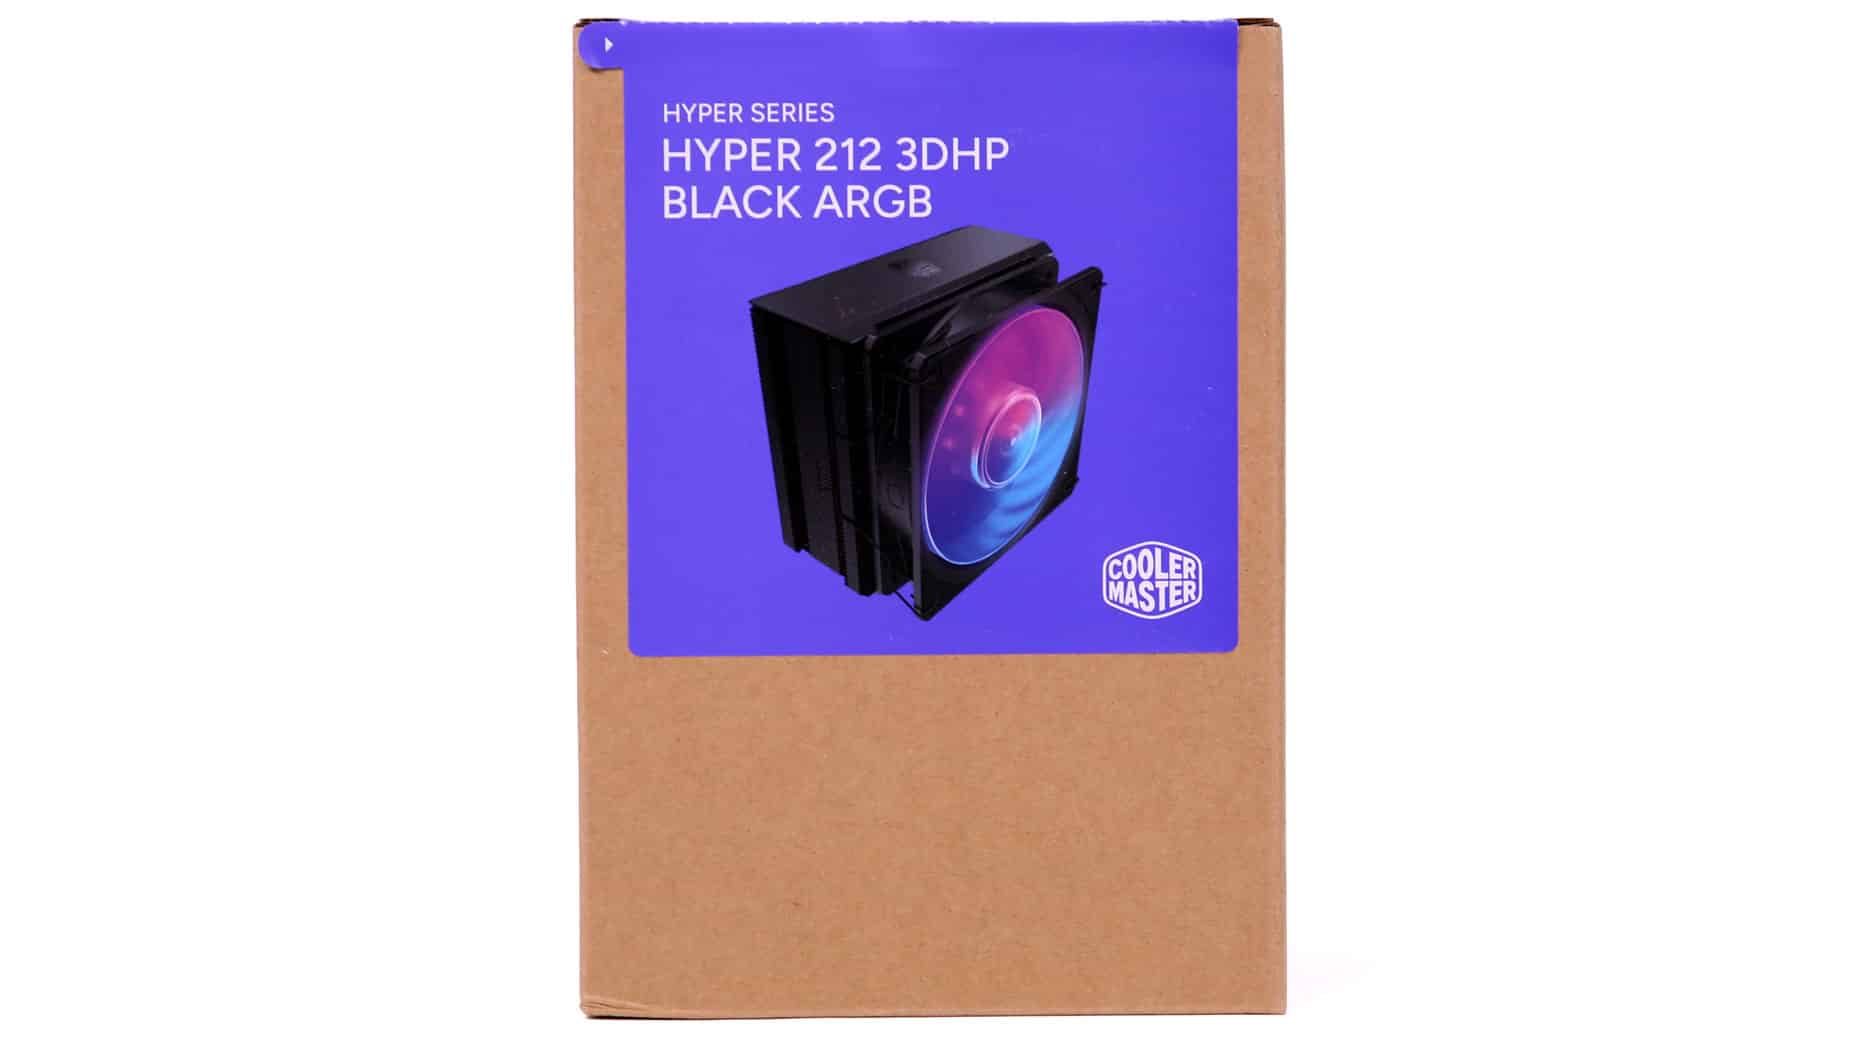
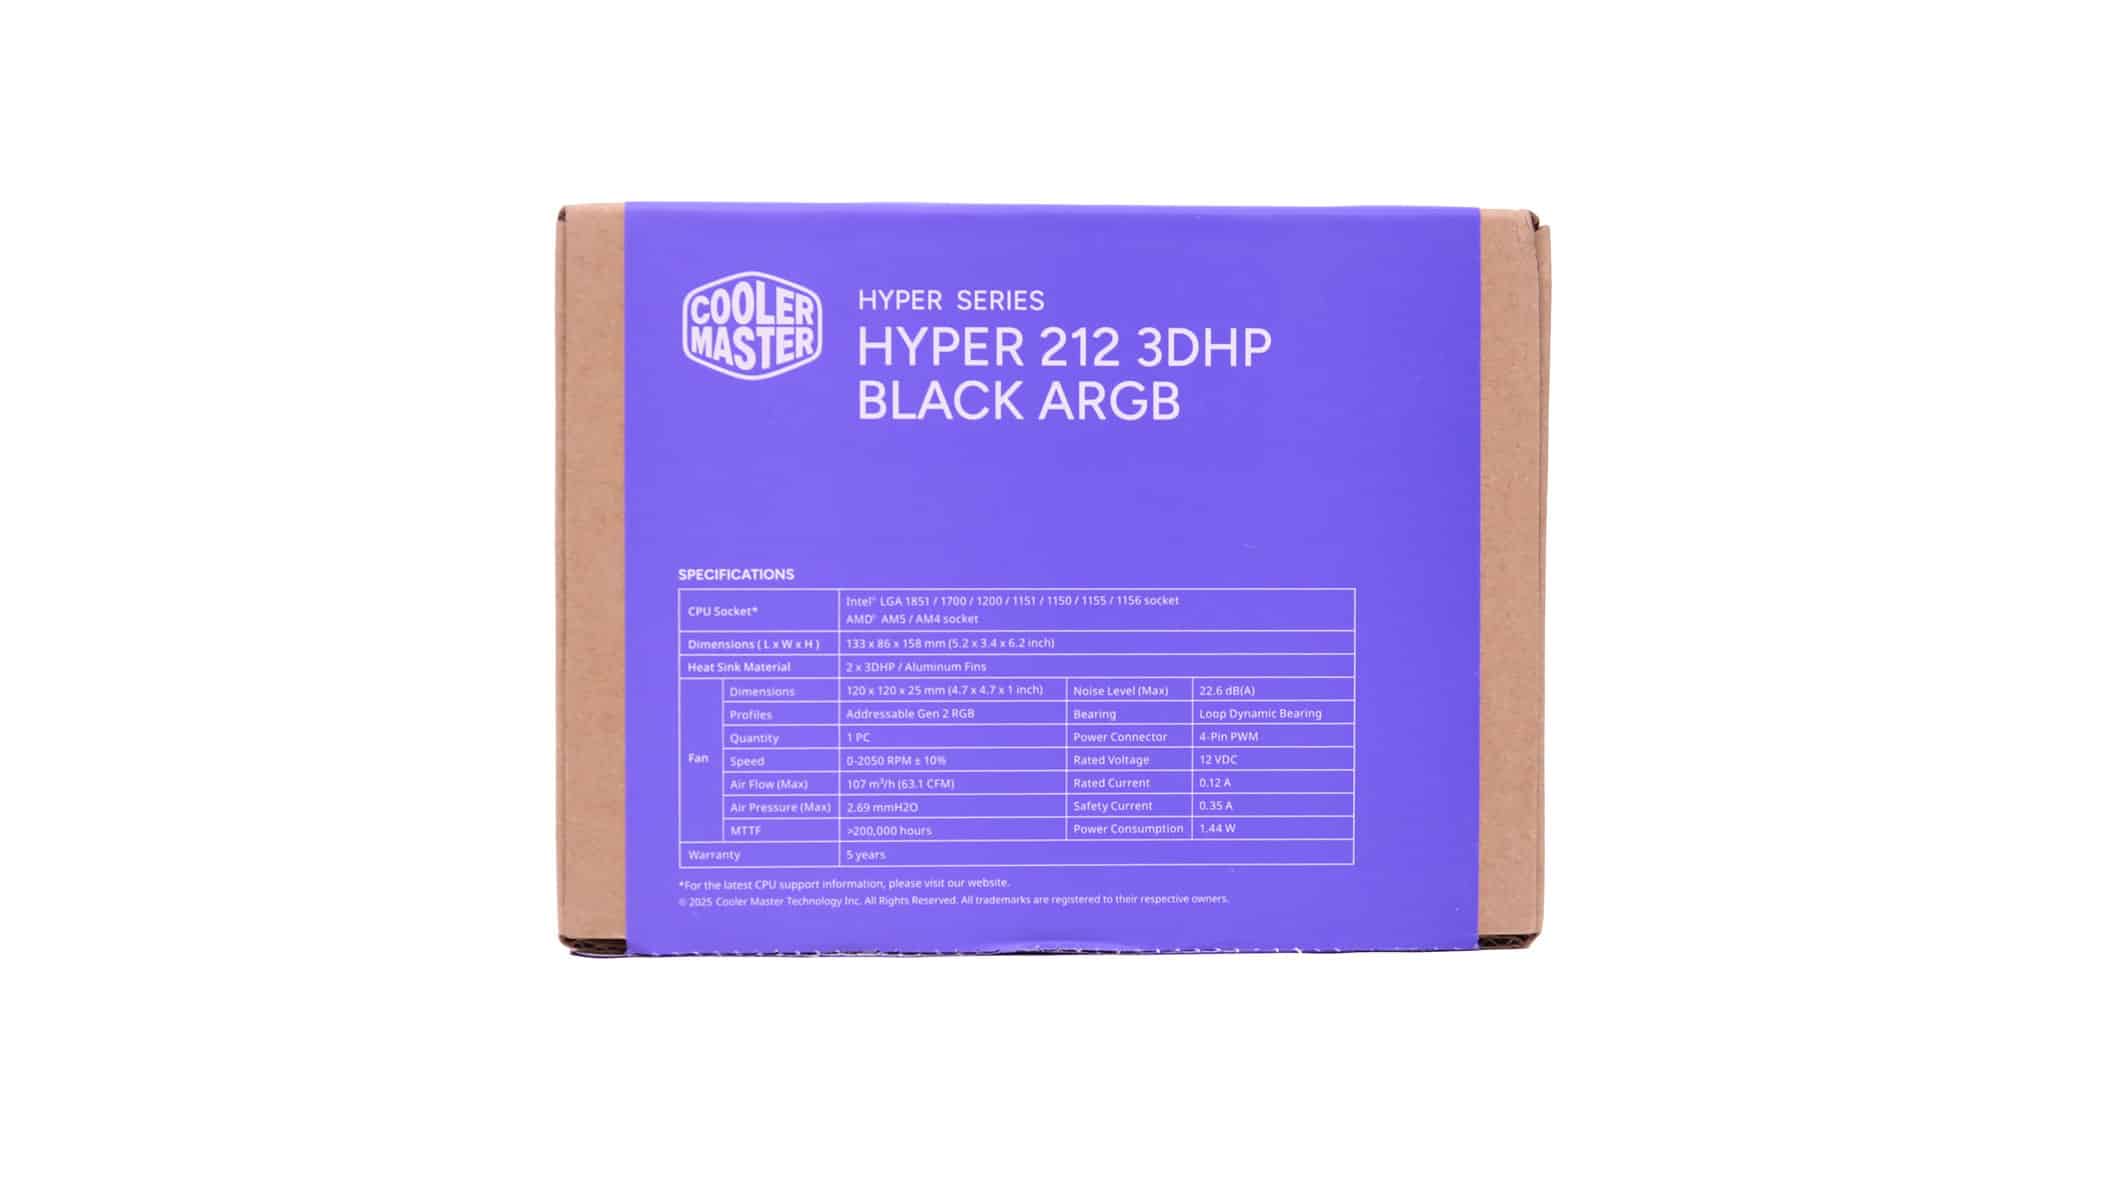
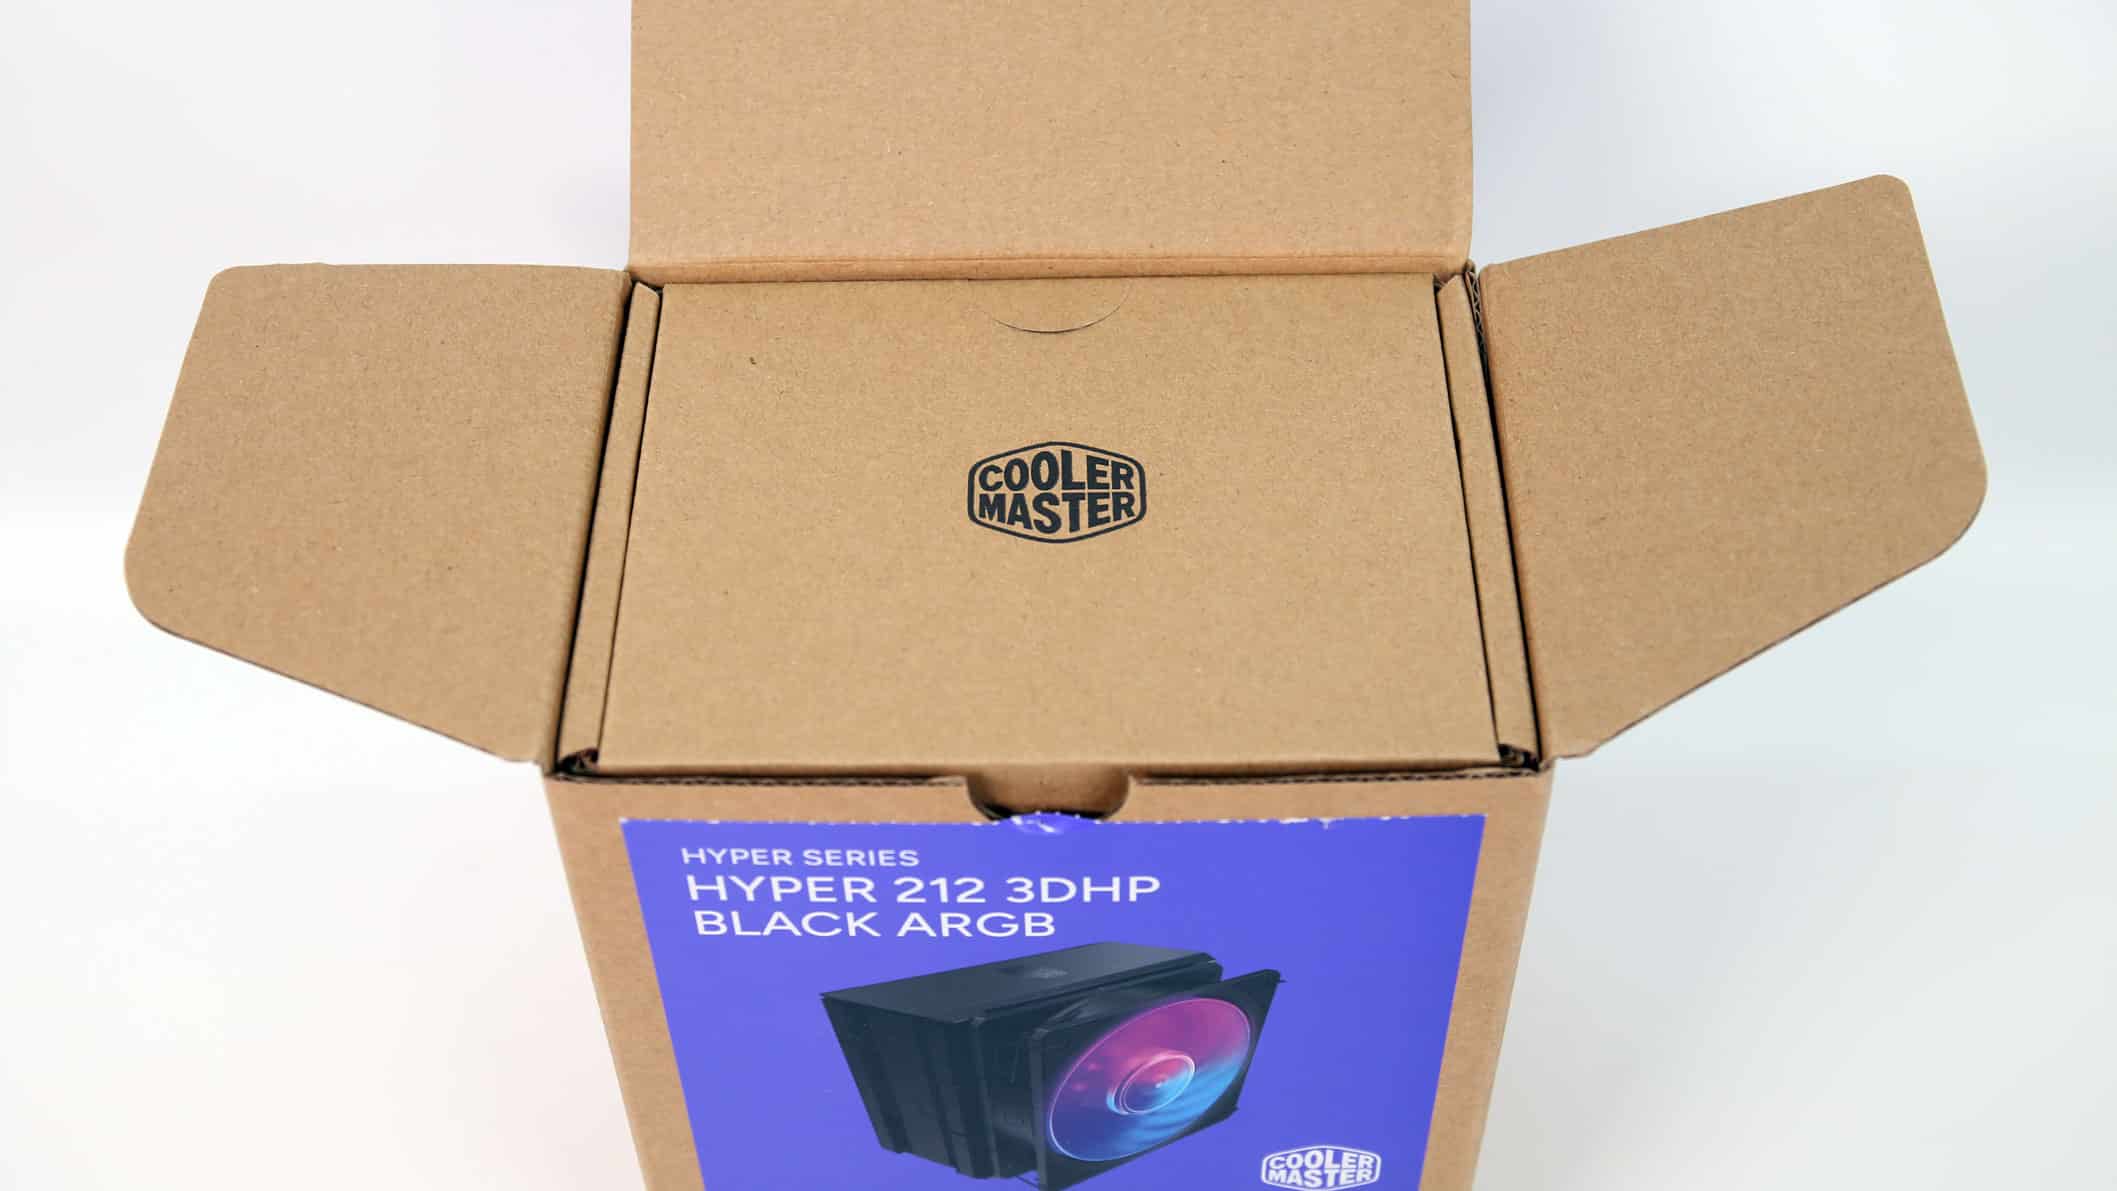
The box of the Hyper 212 3DHP BLACK ARGB model.
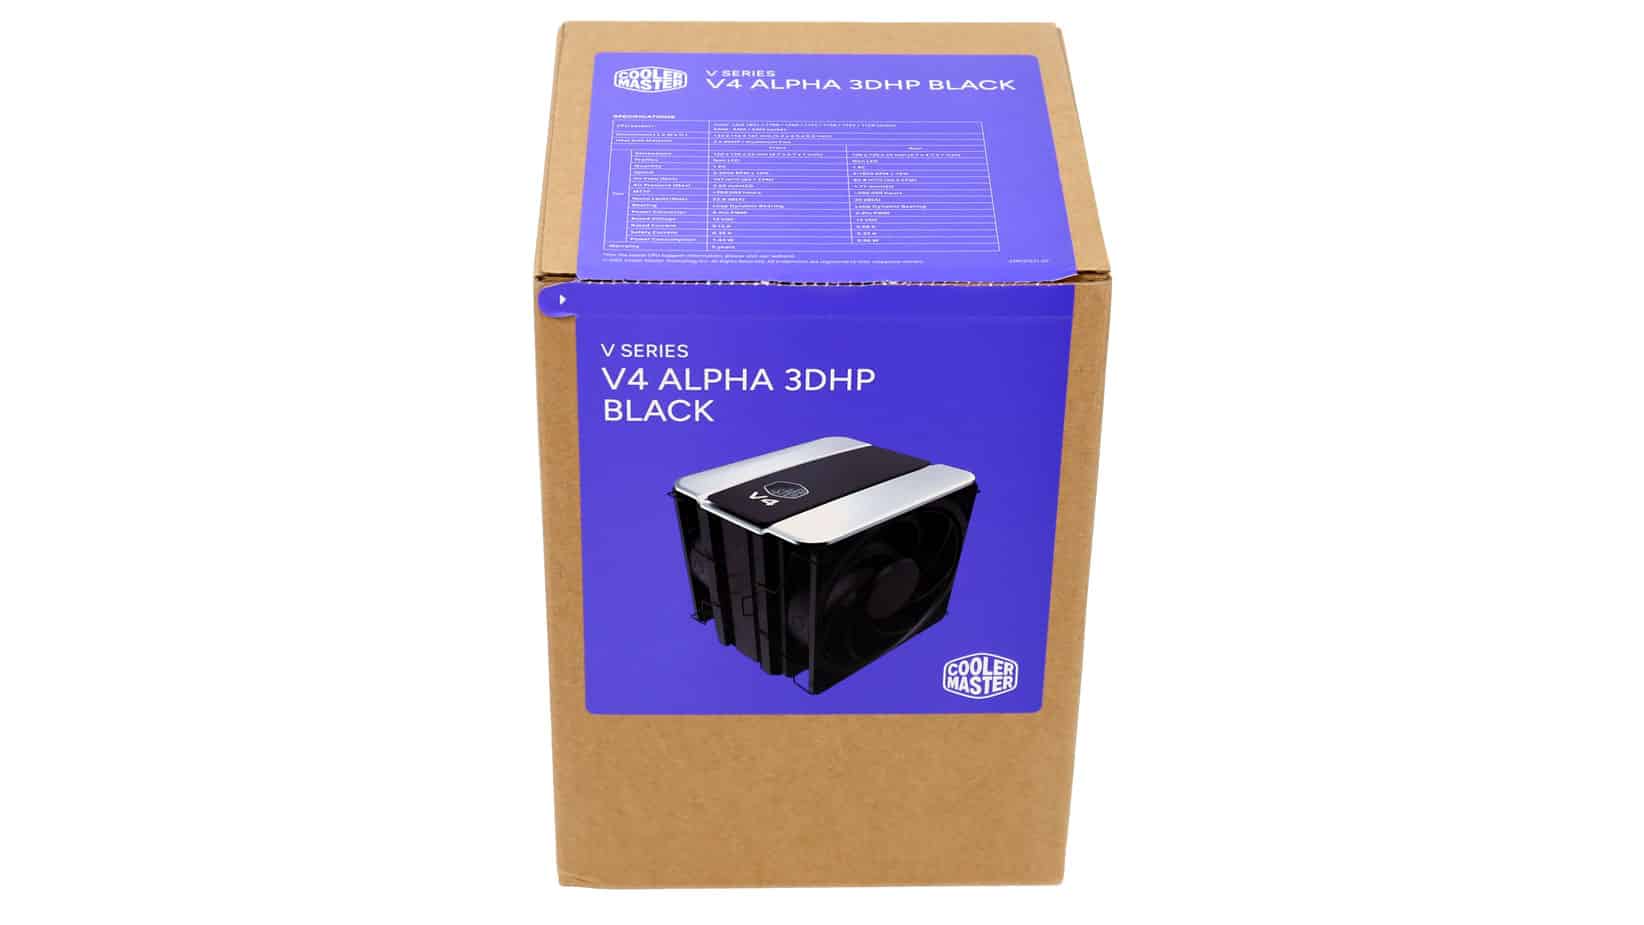
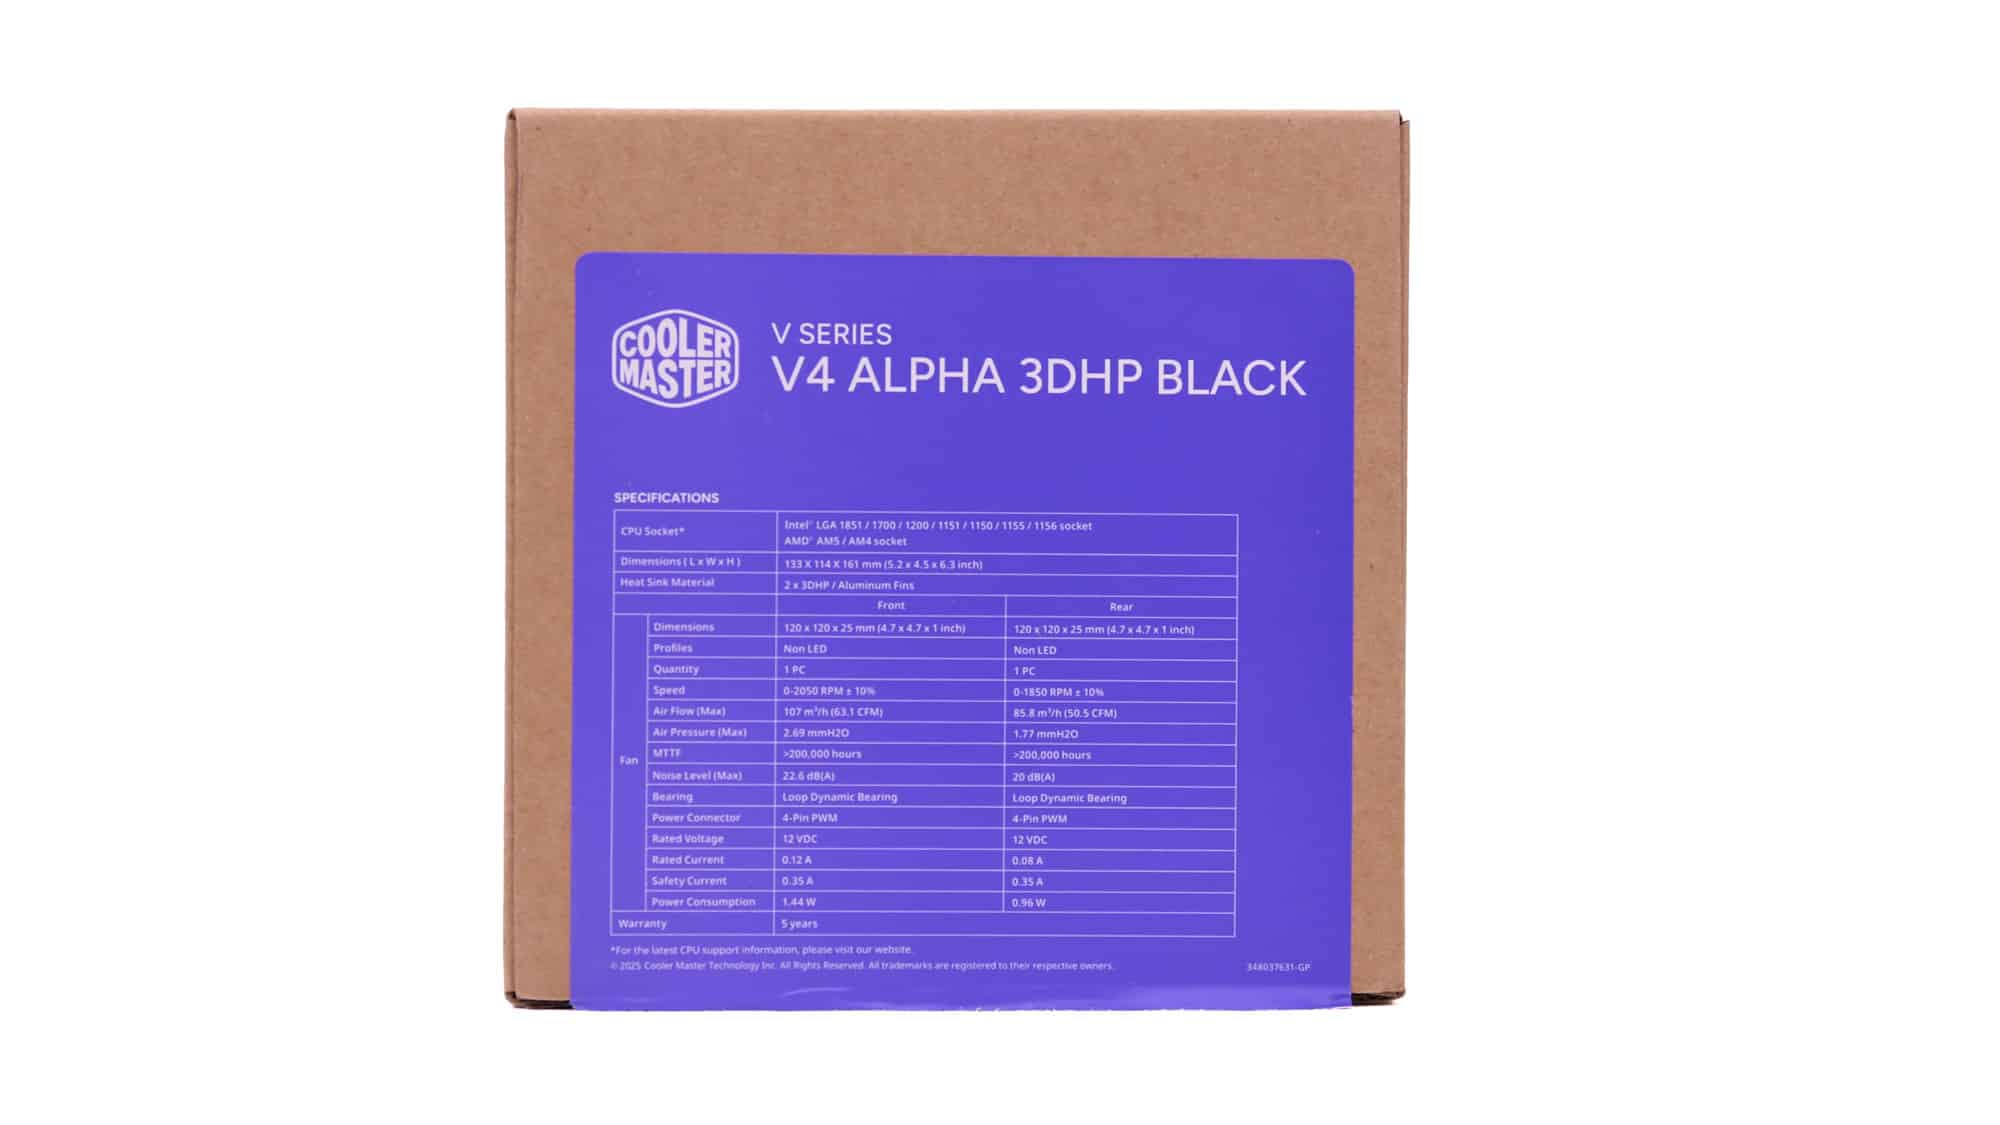

The box of the V4 Alpha 3DHP Black model.
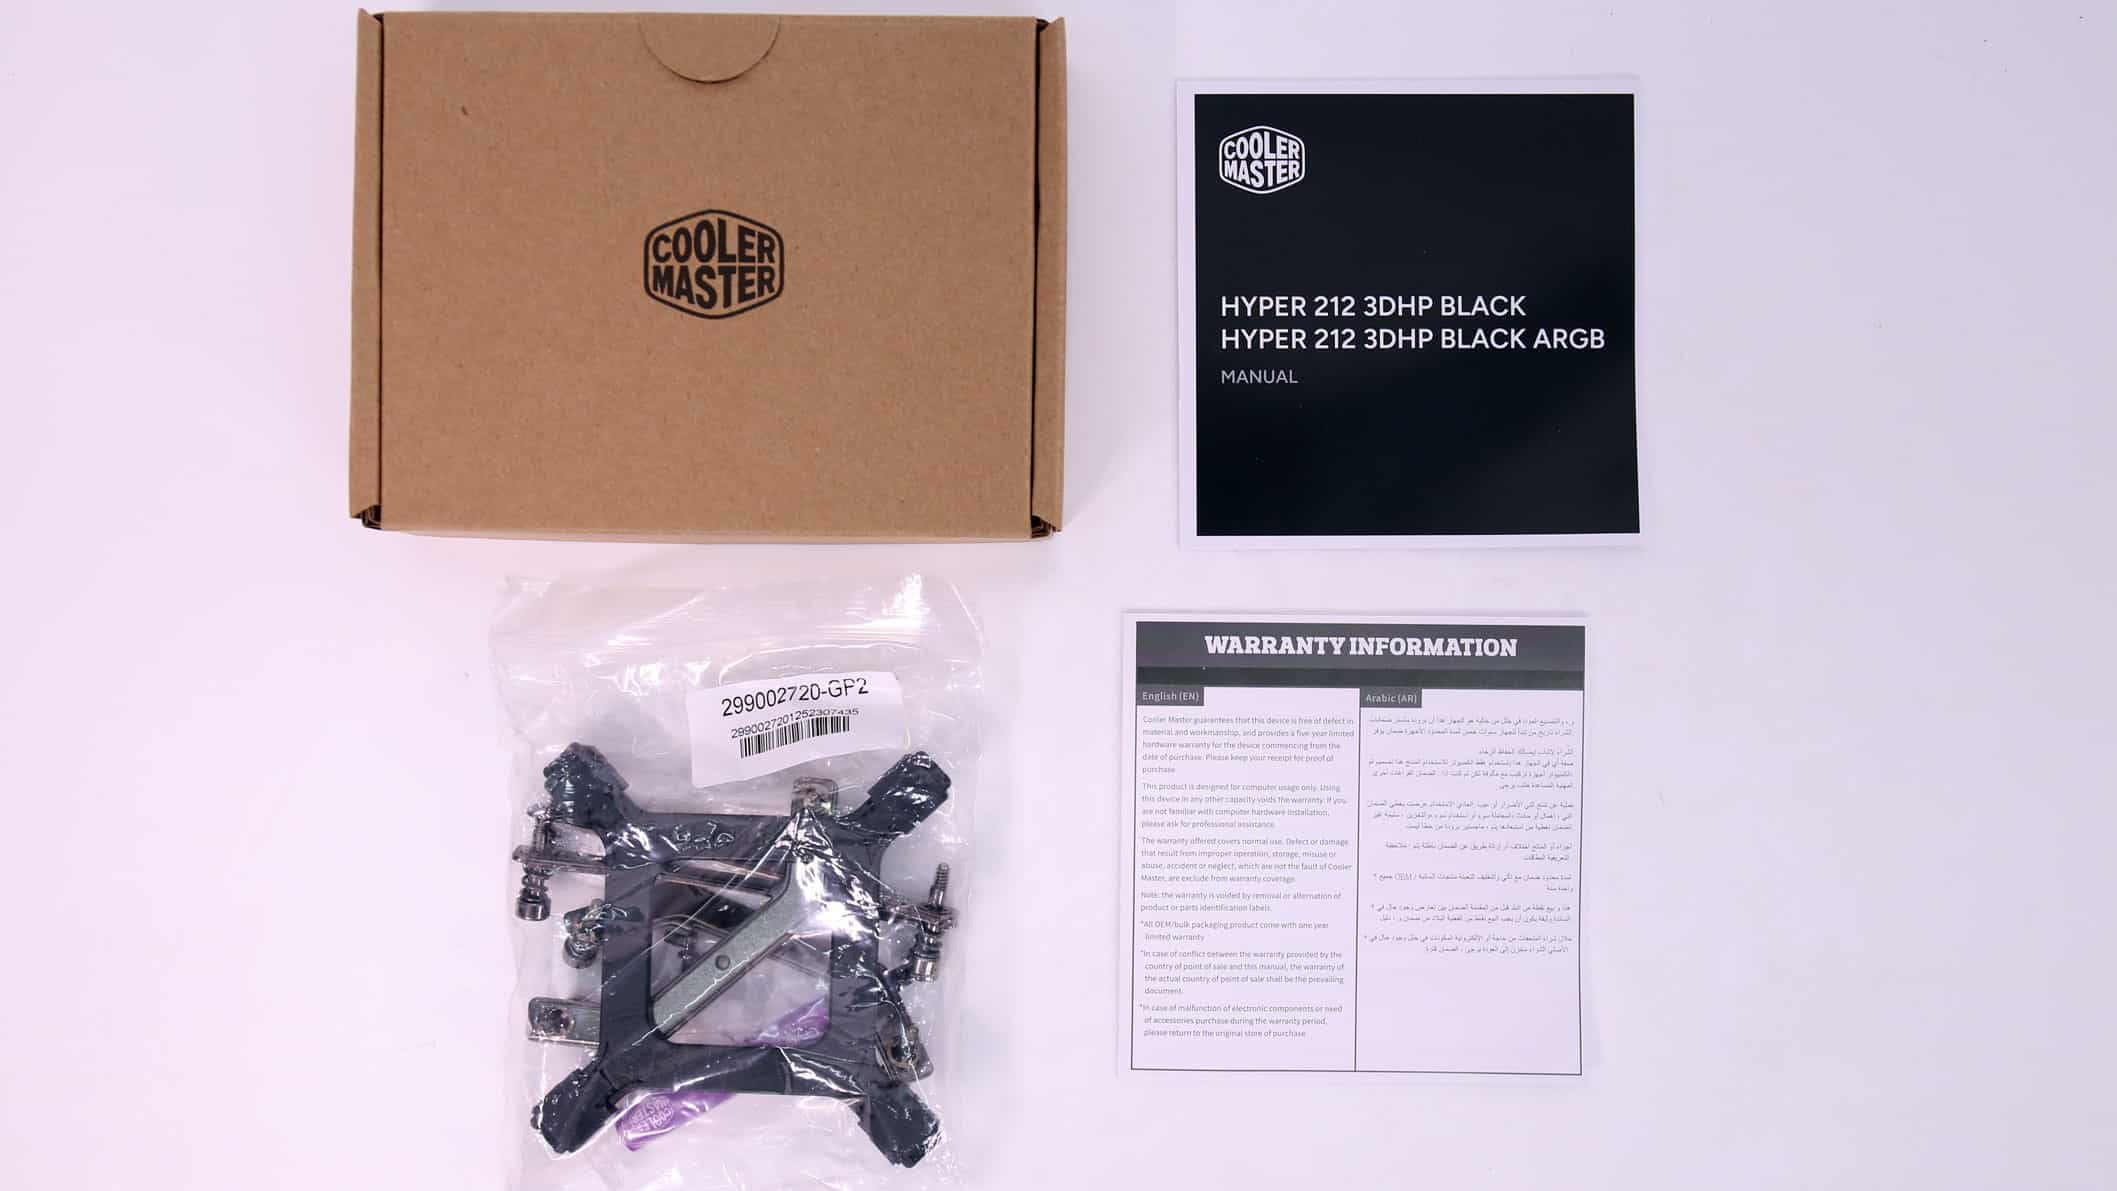
The bundle of the Hyper 212 3DHP BLACK and ARGB models is the same.
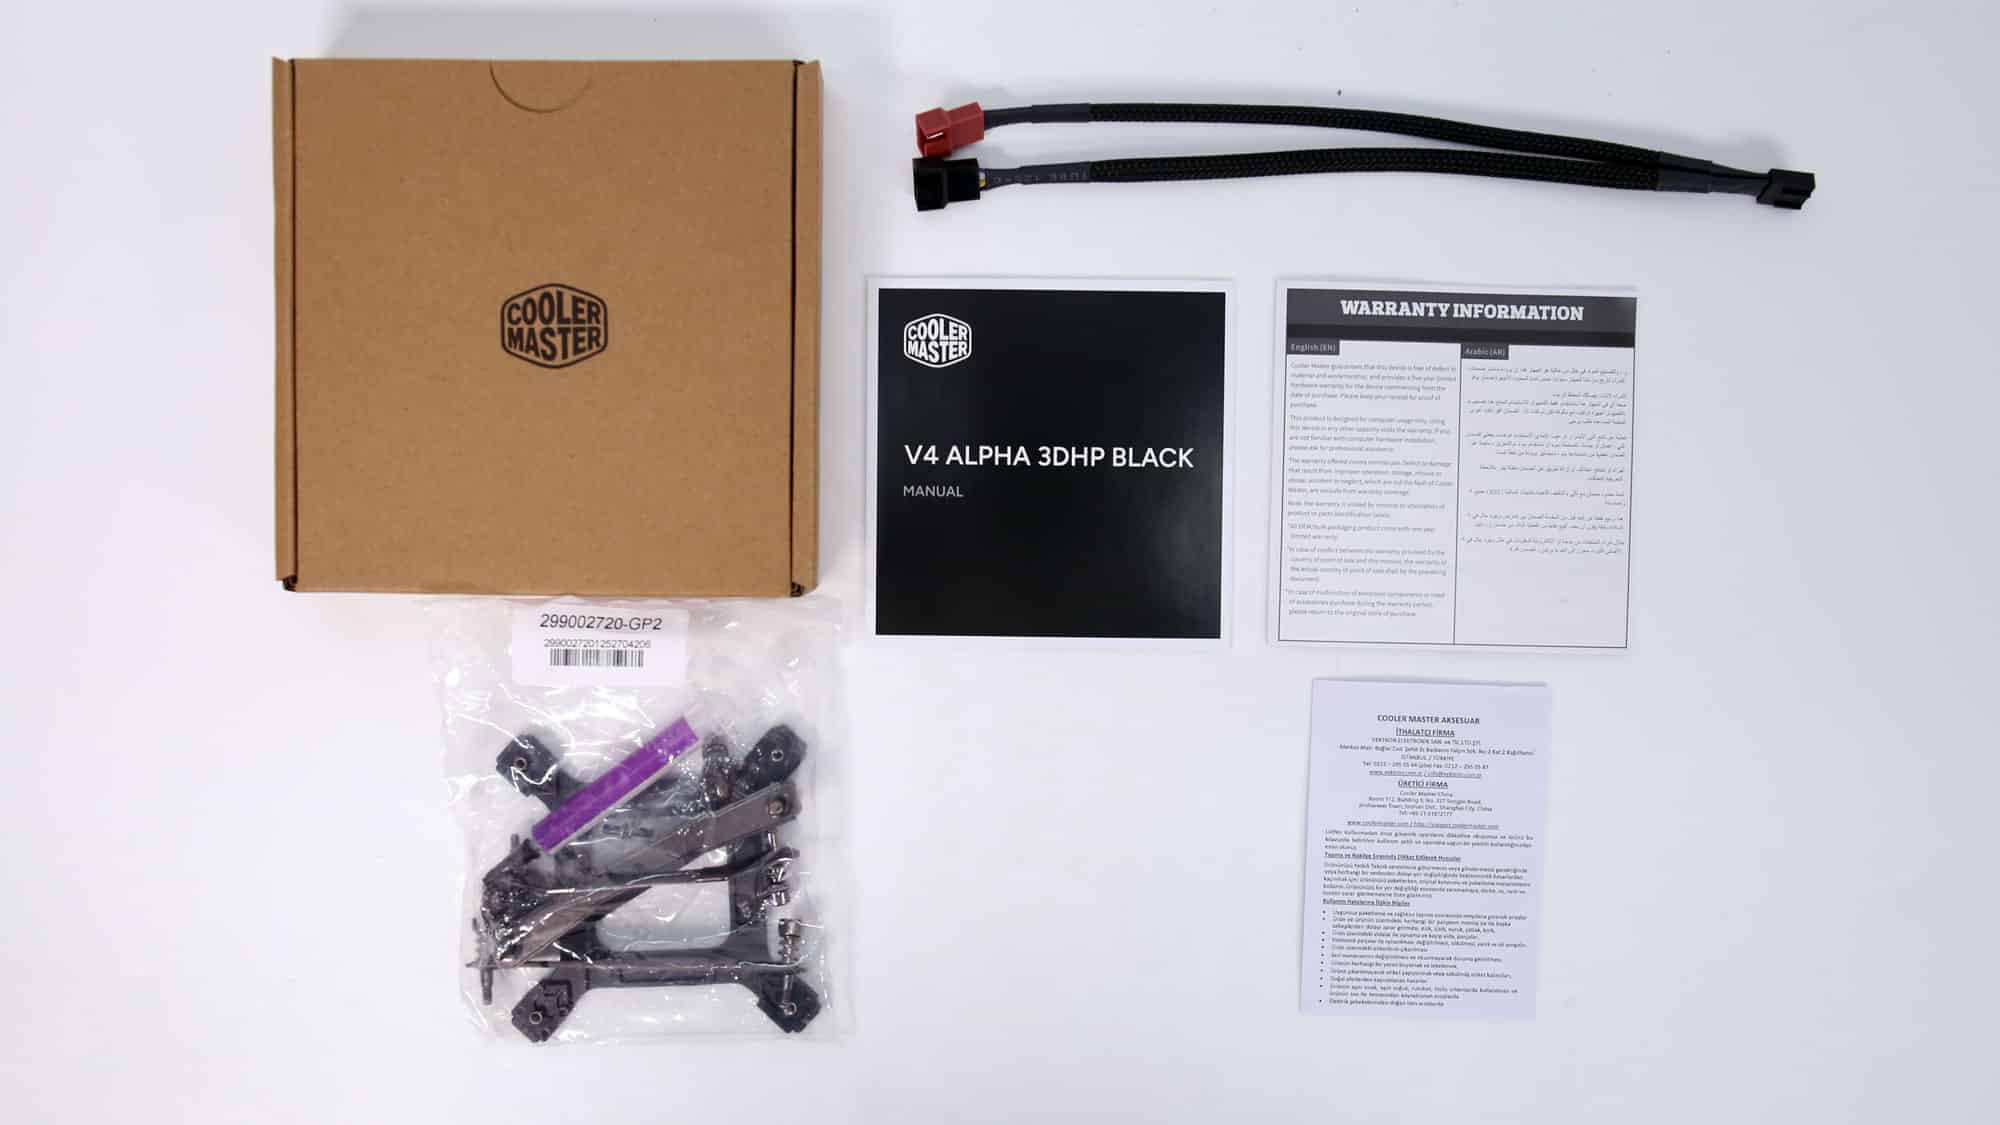
The box of the V4 Alpha 3DHP Black cooler’s bundle.
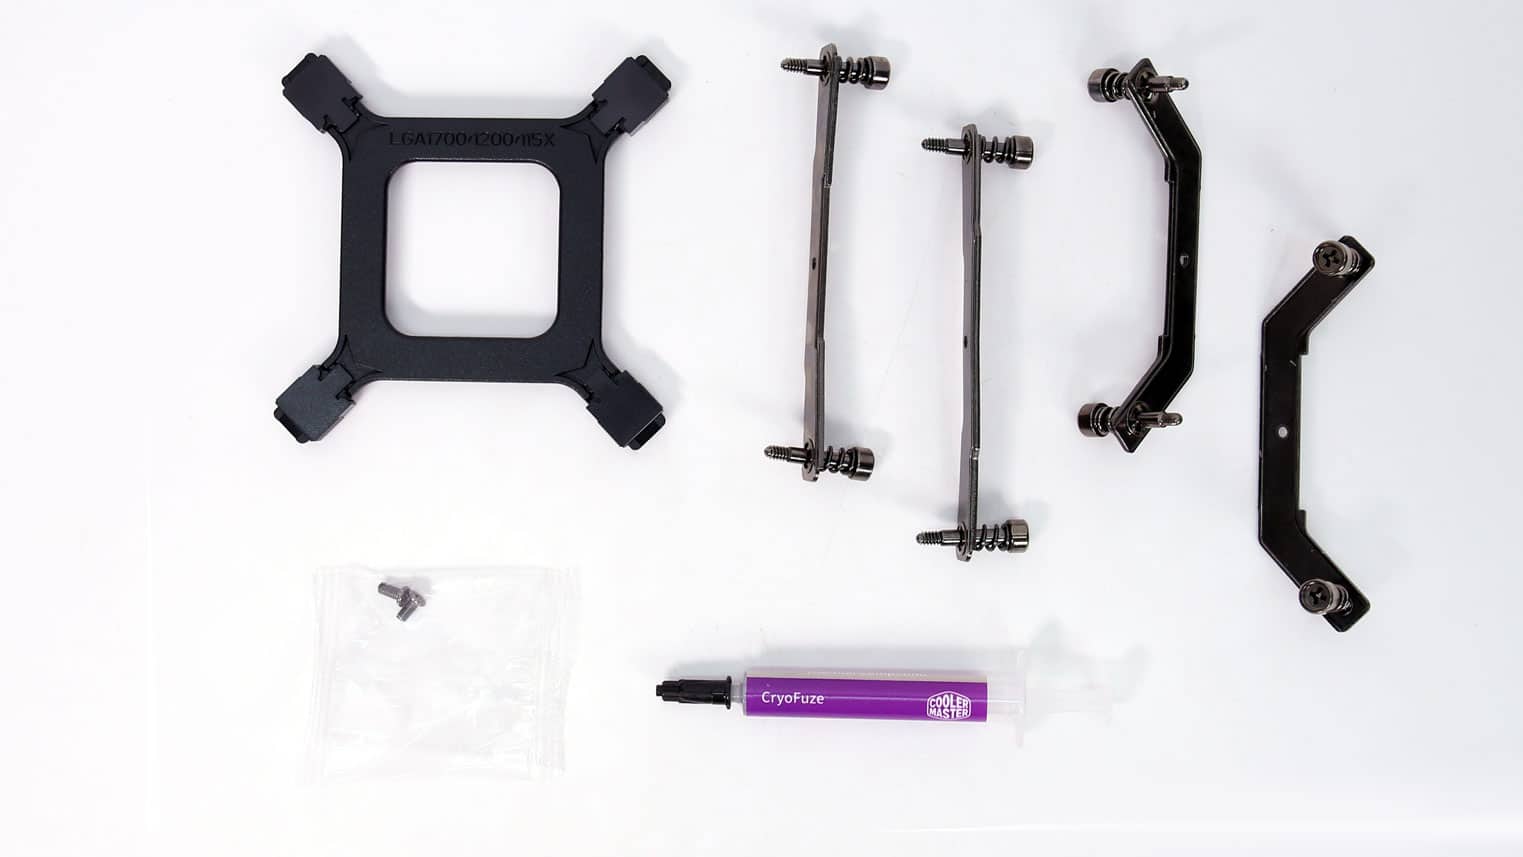
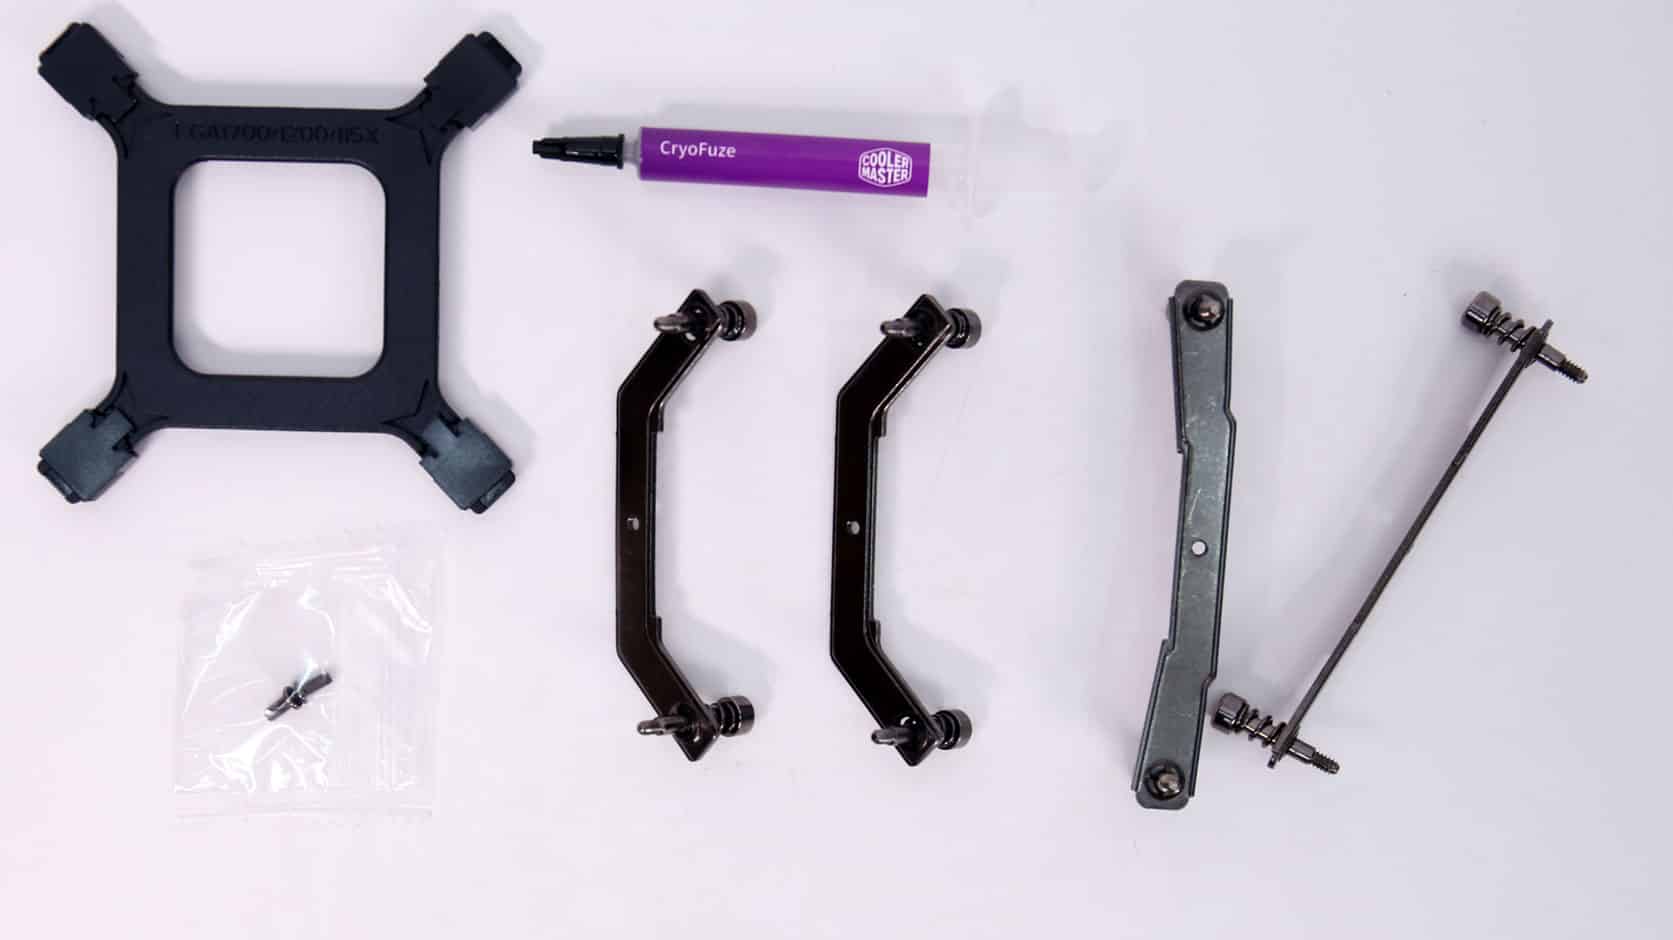
| Bundle Analysis | |
| Part | Quantity |
| Intel Backplate | 1 |
| Intel mounting brackets | 2 |
| AMD mounting brackets | 2 |
| Thermal grease (CryoFuze) | 1 |
| Screws | 2 |
| PWM fan splitter cable (V4 Alpha 3DHP Black) | 1 |
| User’s manual | – |
| Warranty information | – |
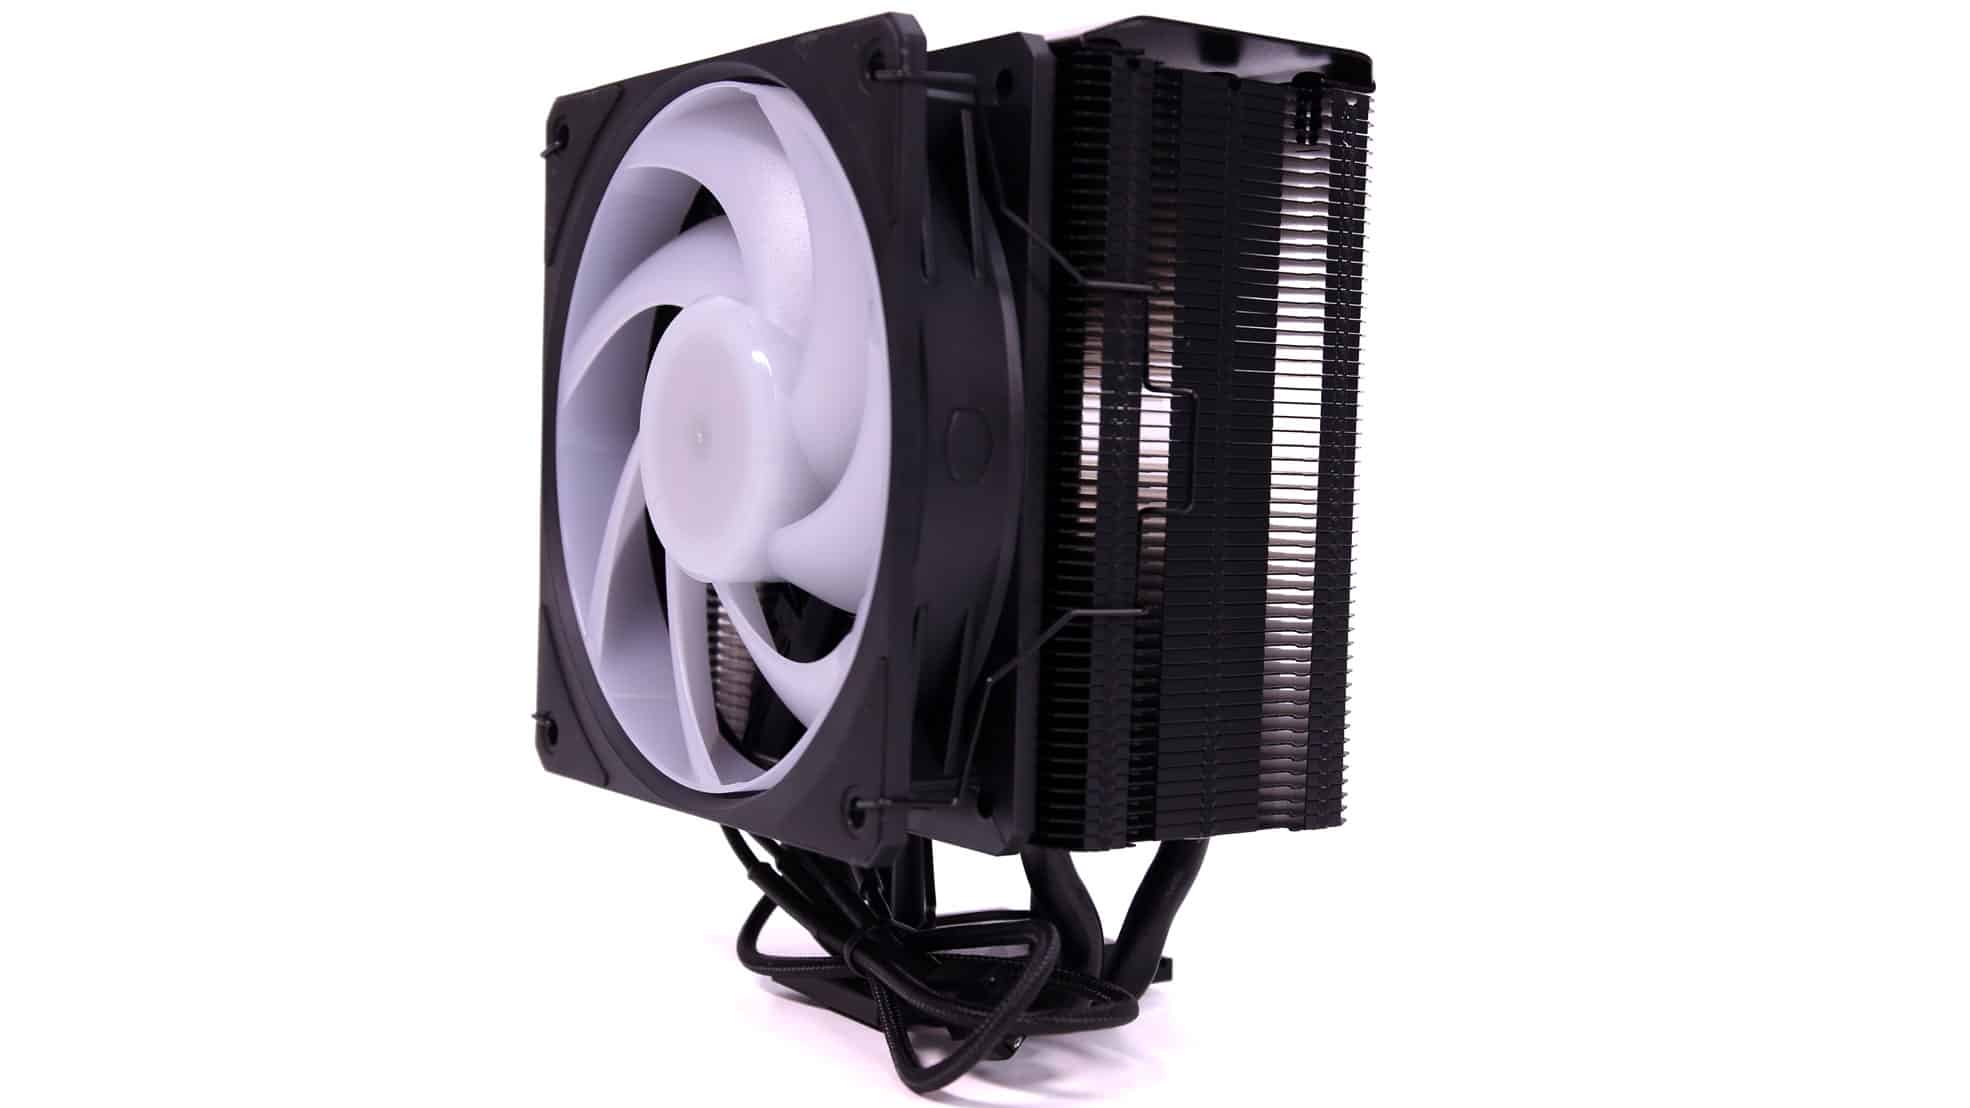
The bundle includes all the items mentioned above. The Hyper 212 3DHP BLACK (ARGB) models are equipped with a single fan each, while the V4 Alpha 3DHP Black comes bundled with two fans.
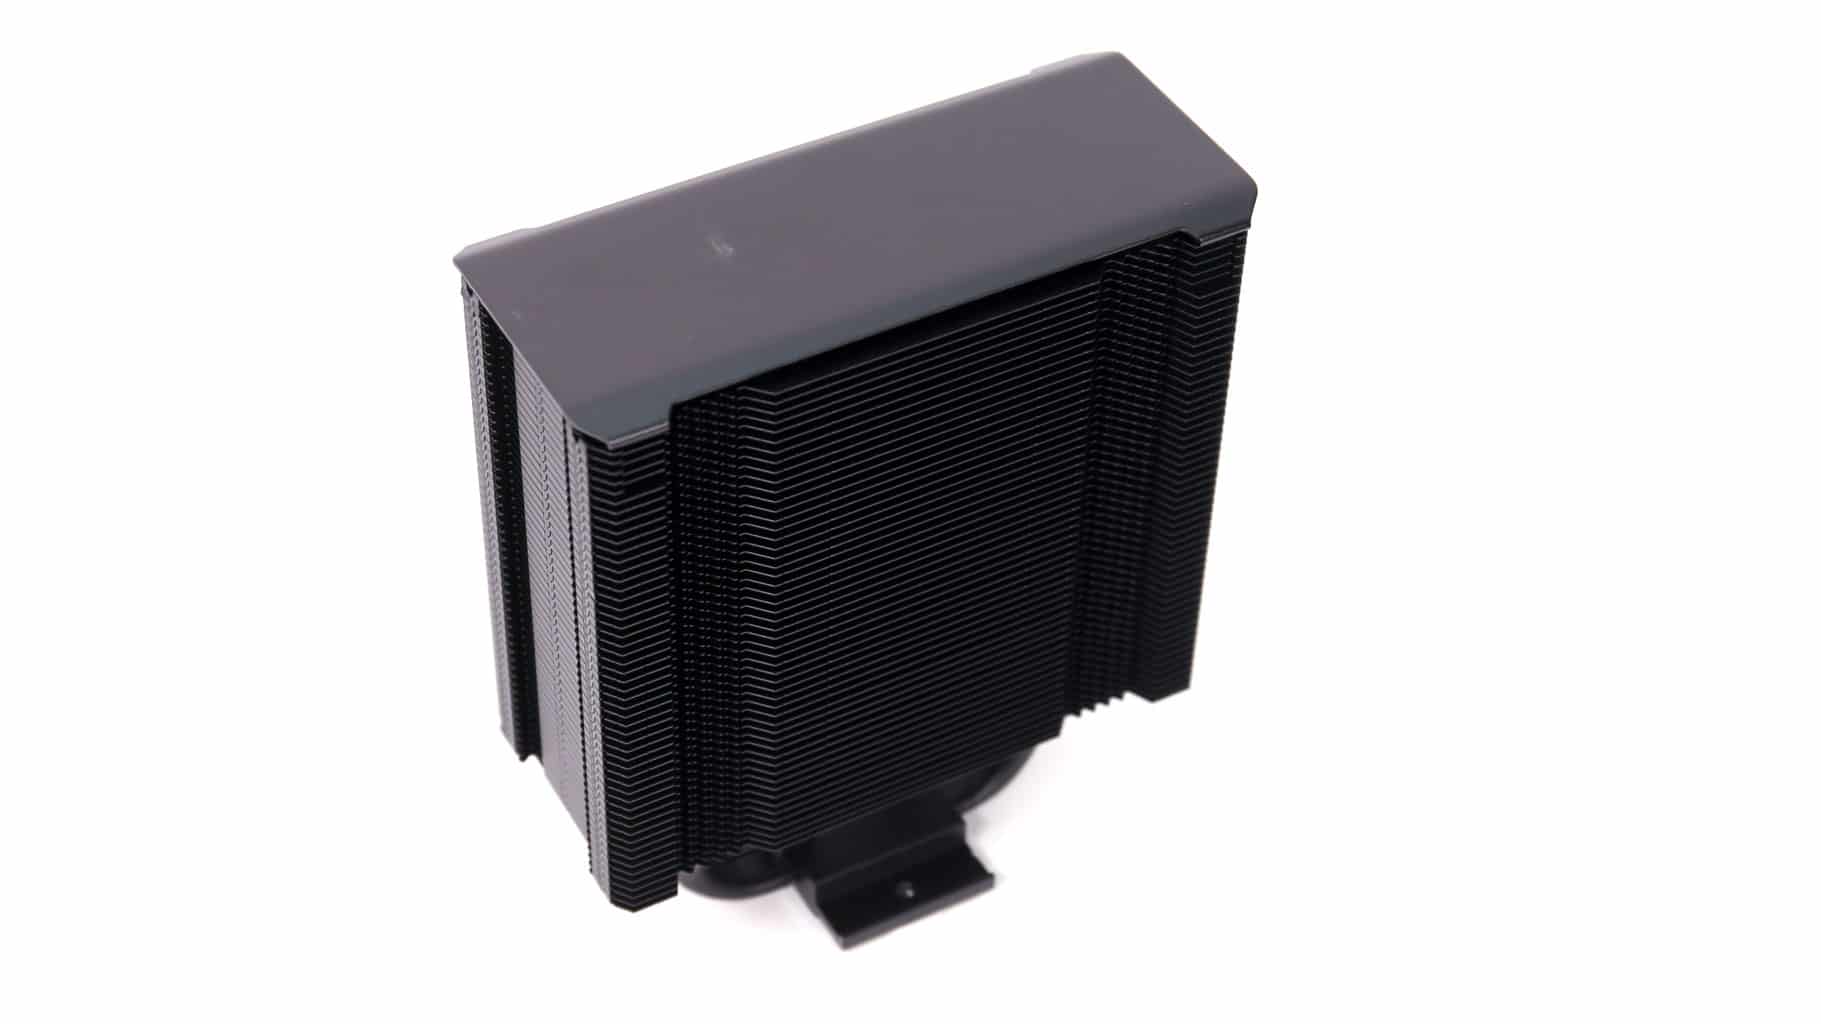
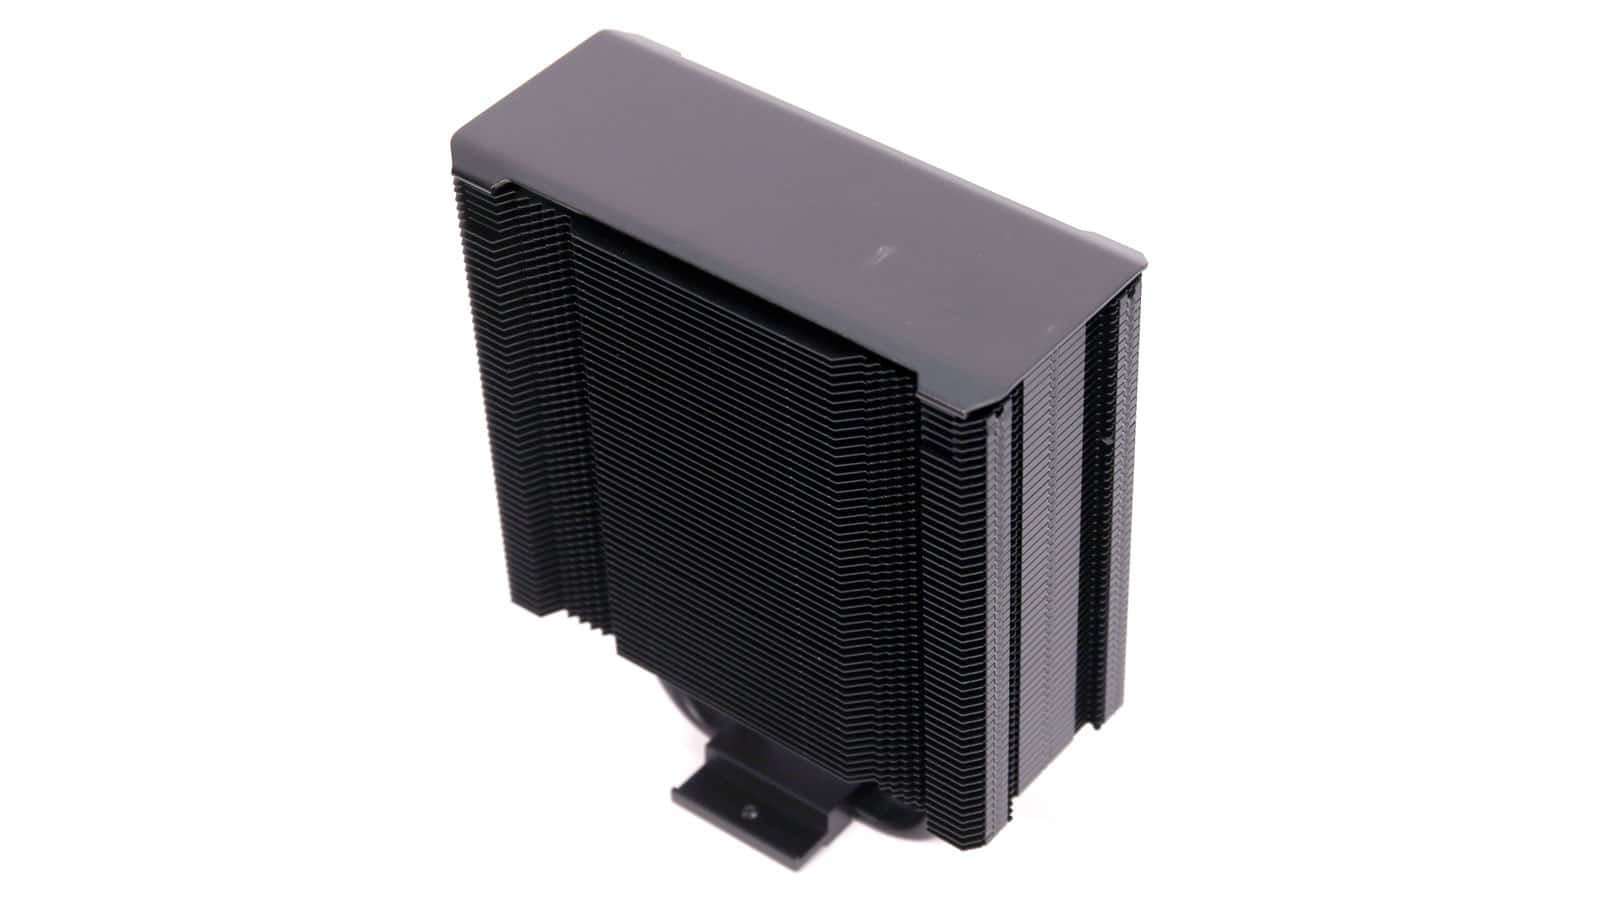
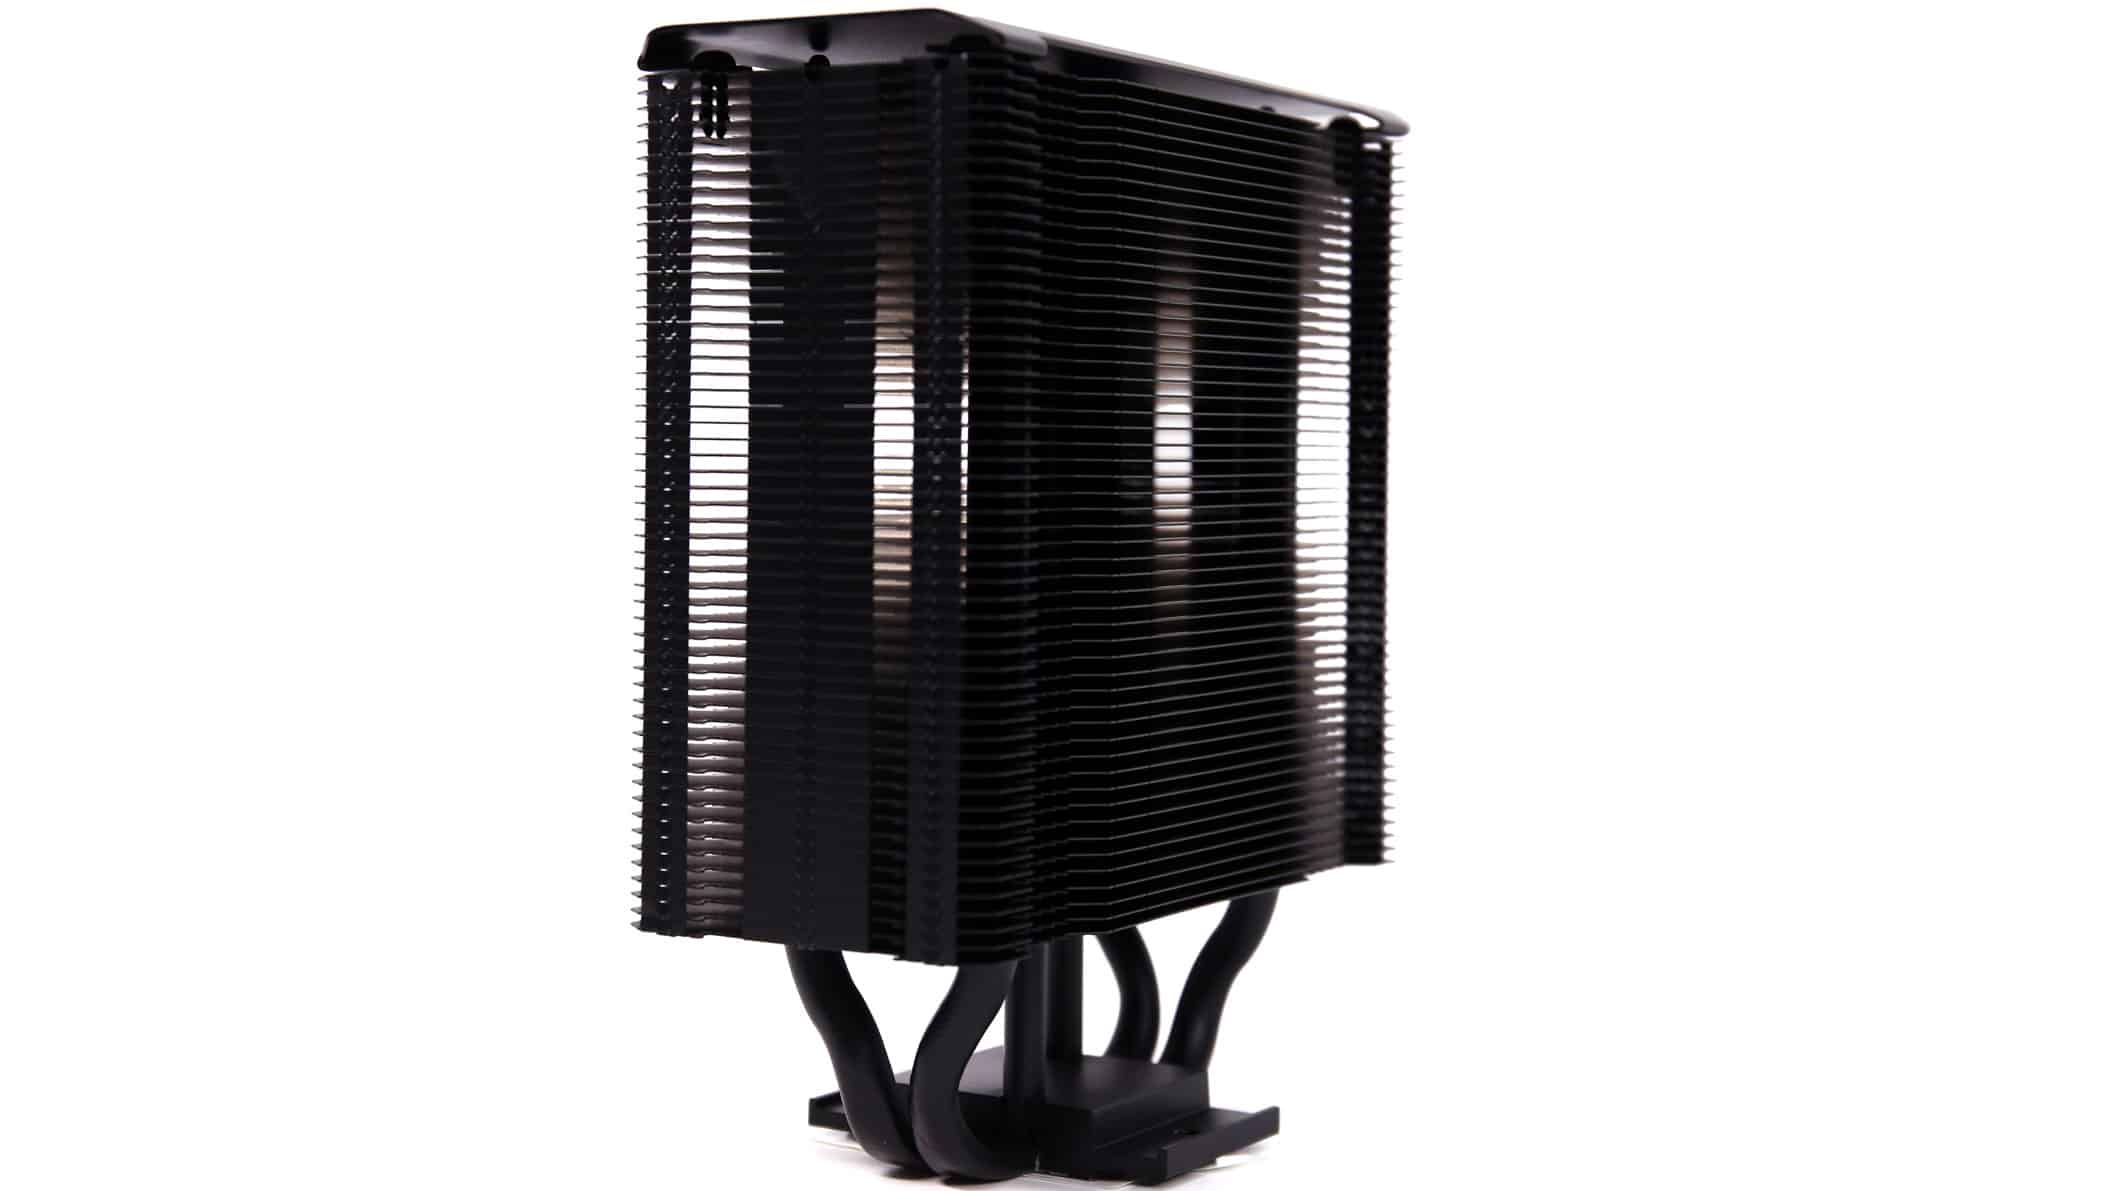
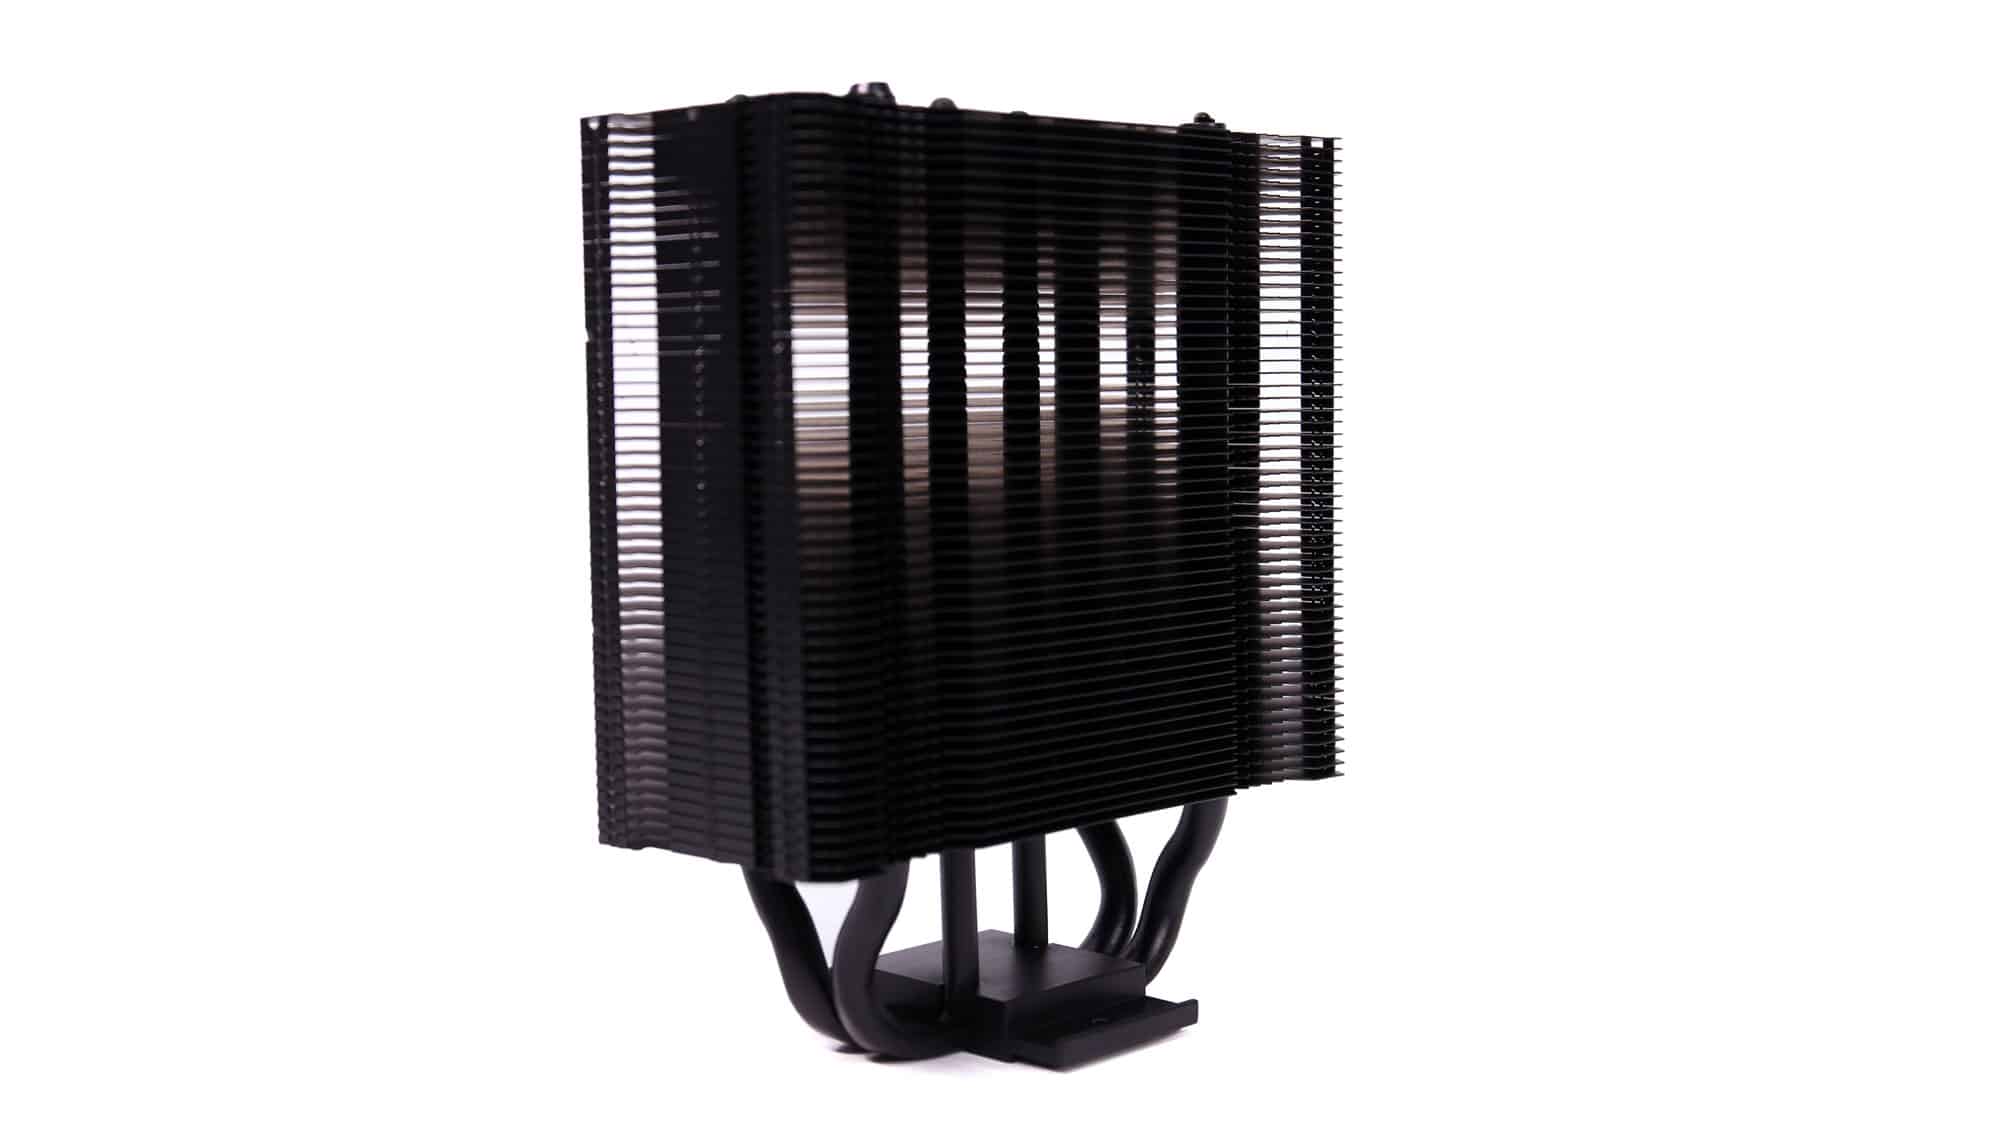
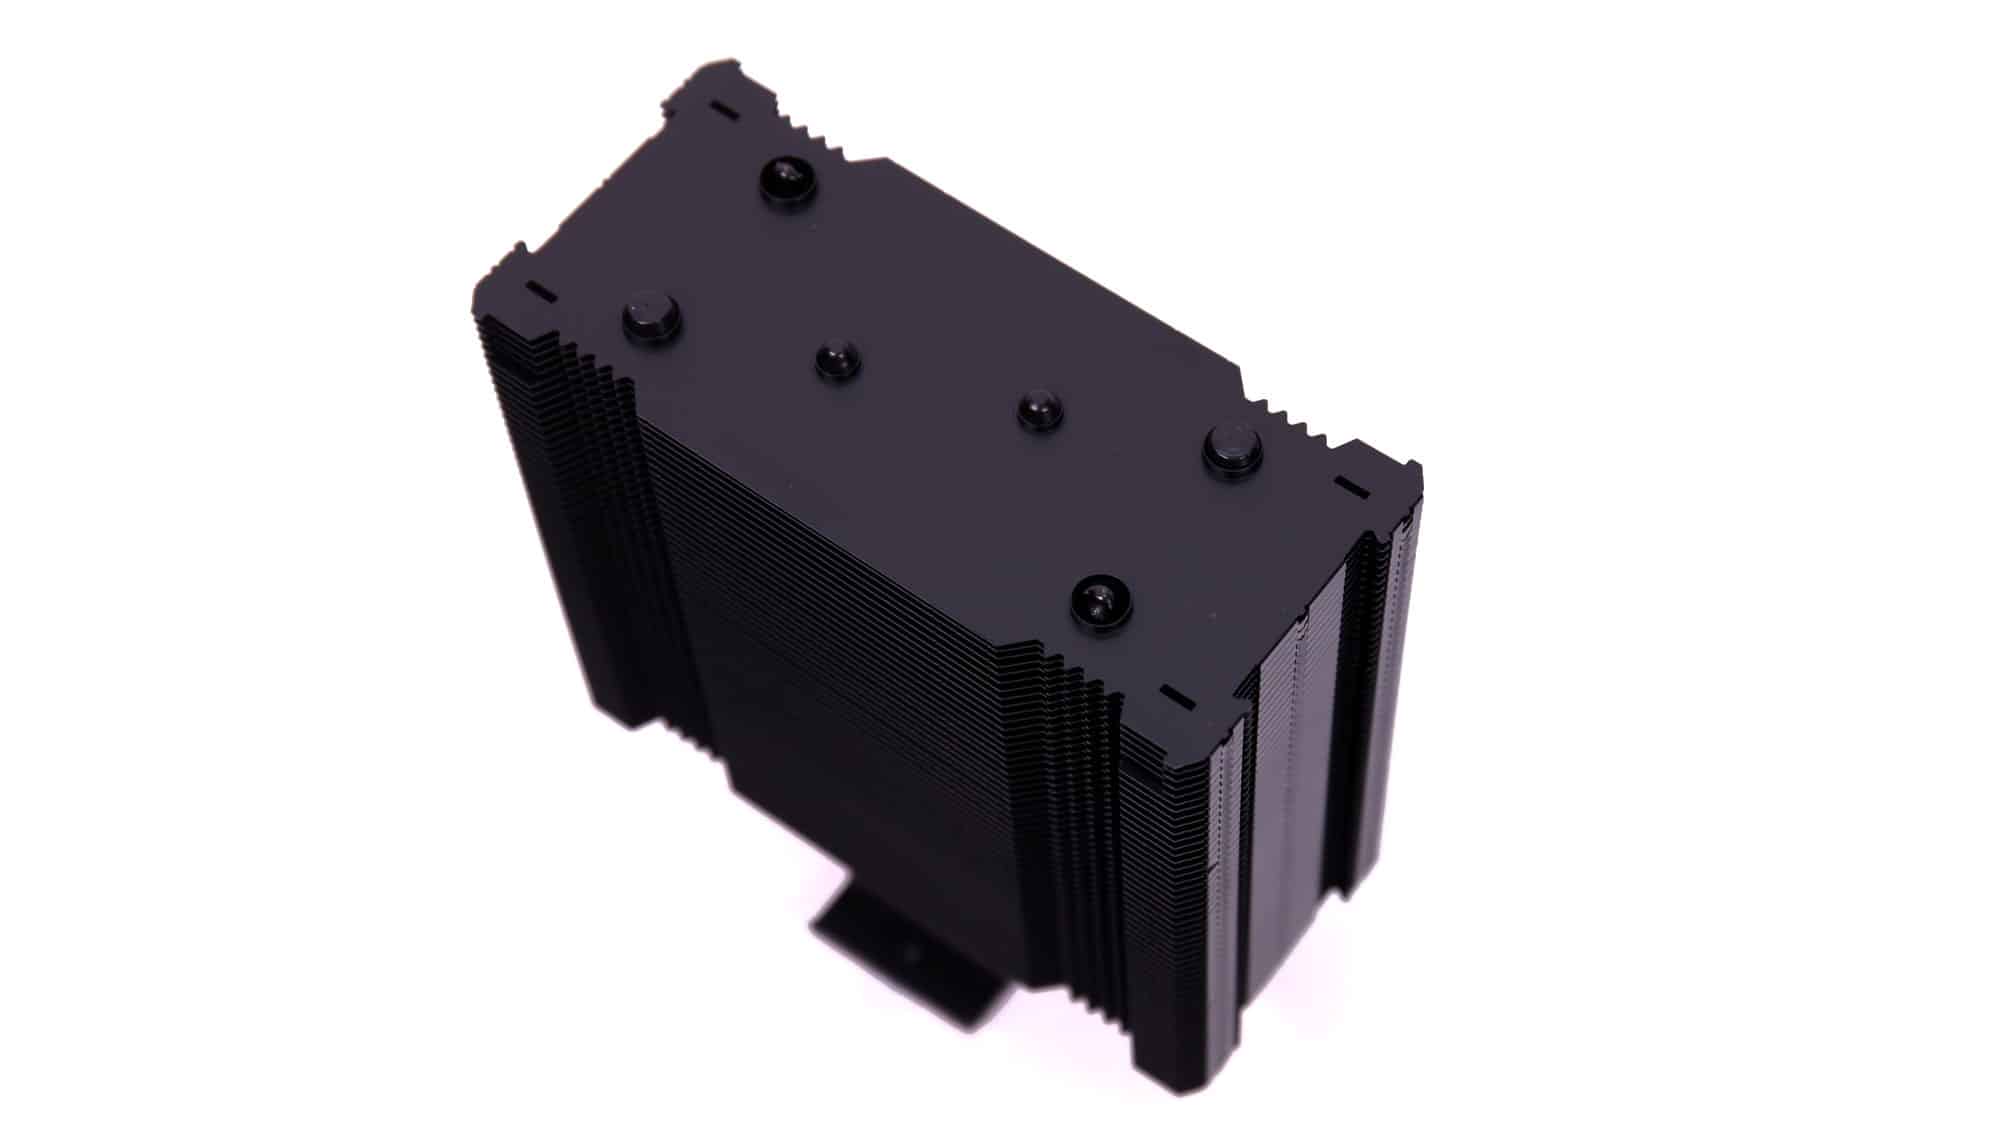
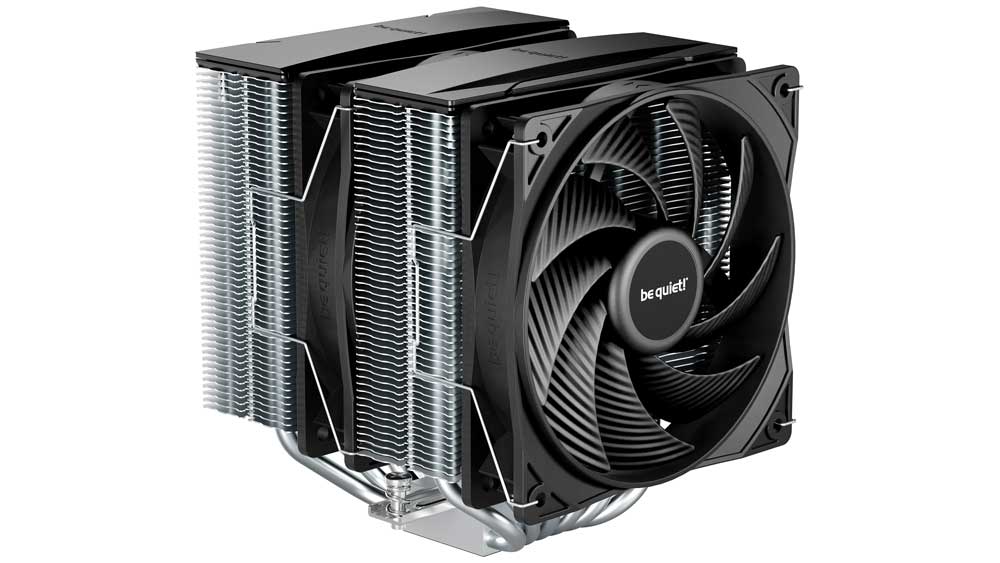
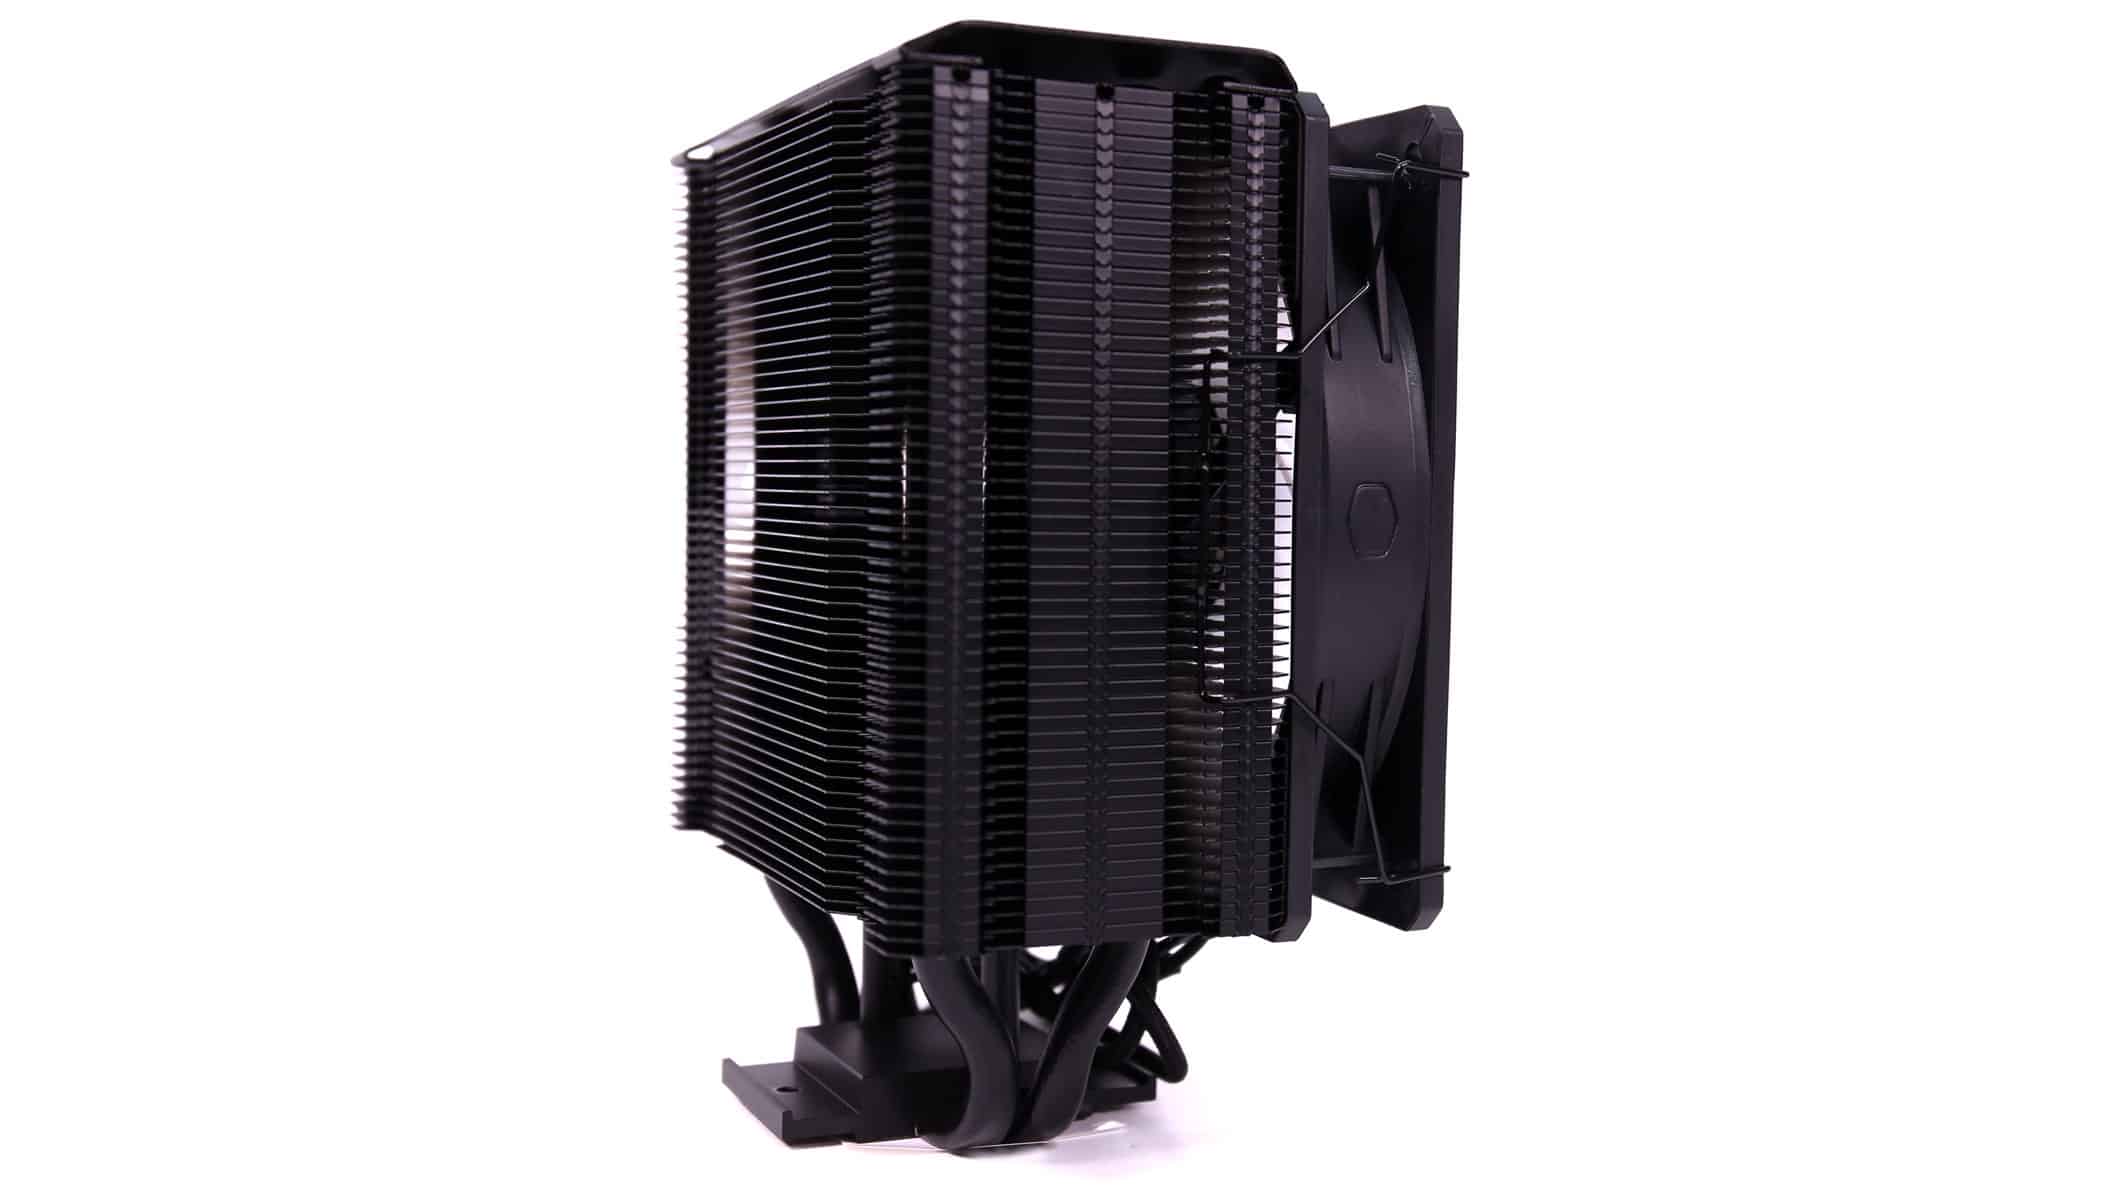
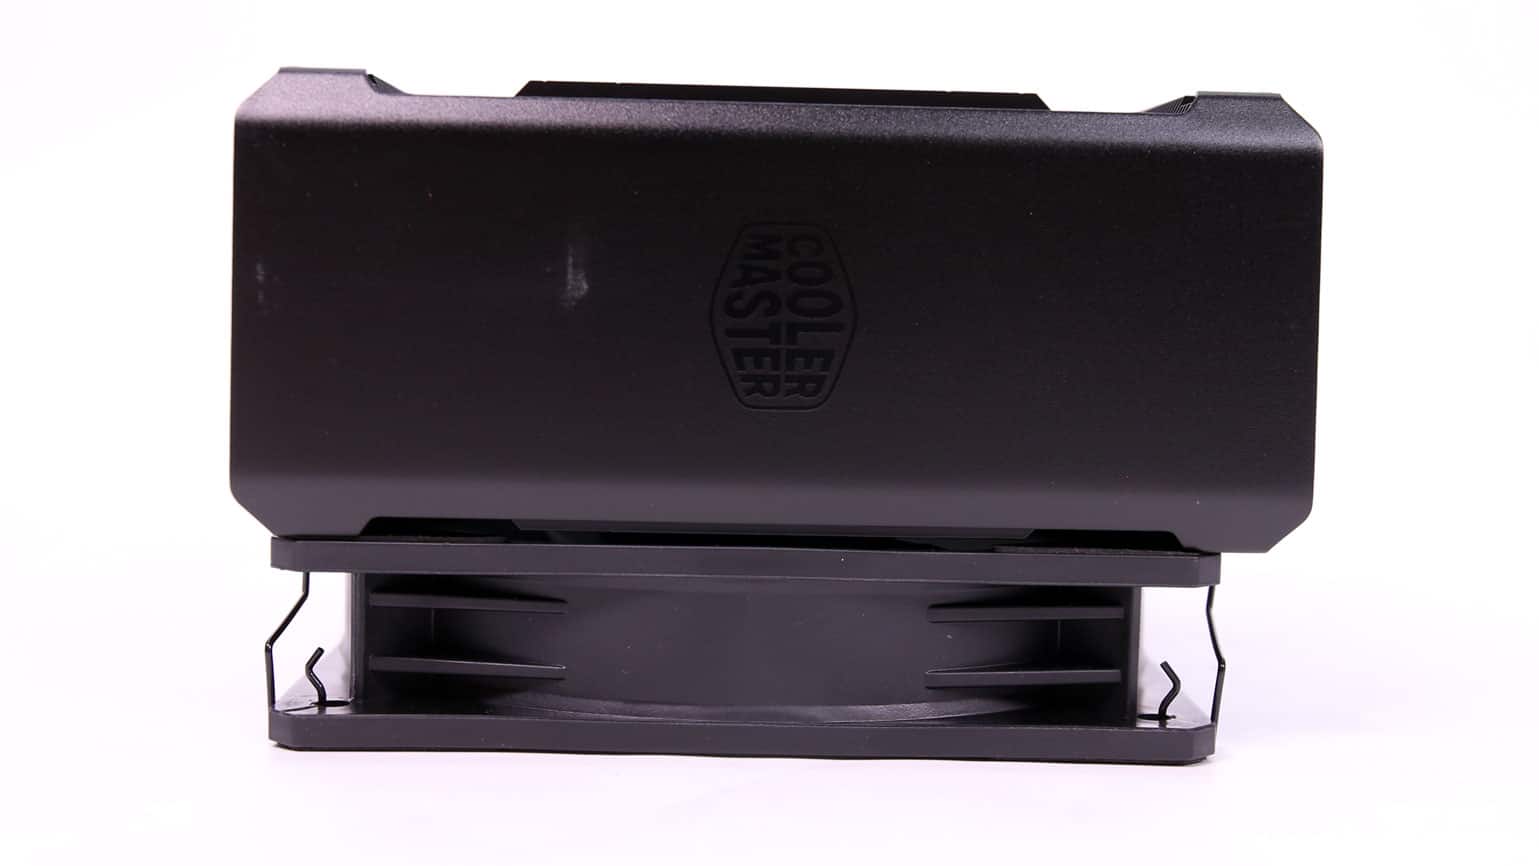
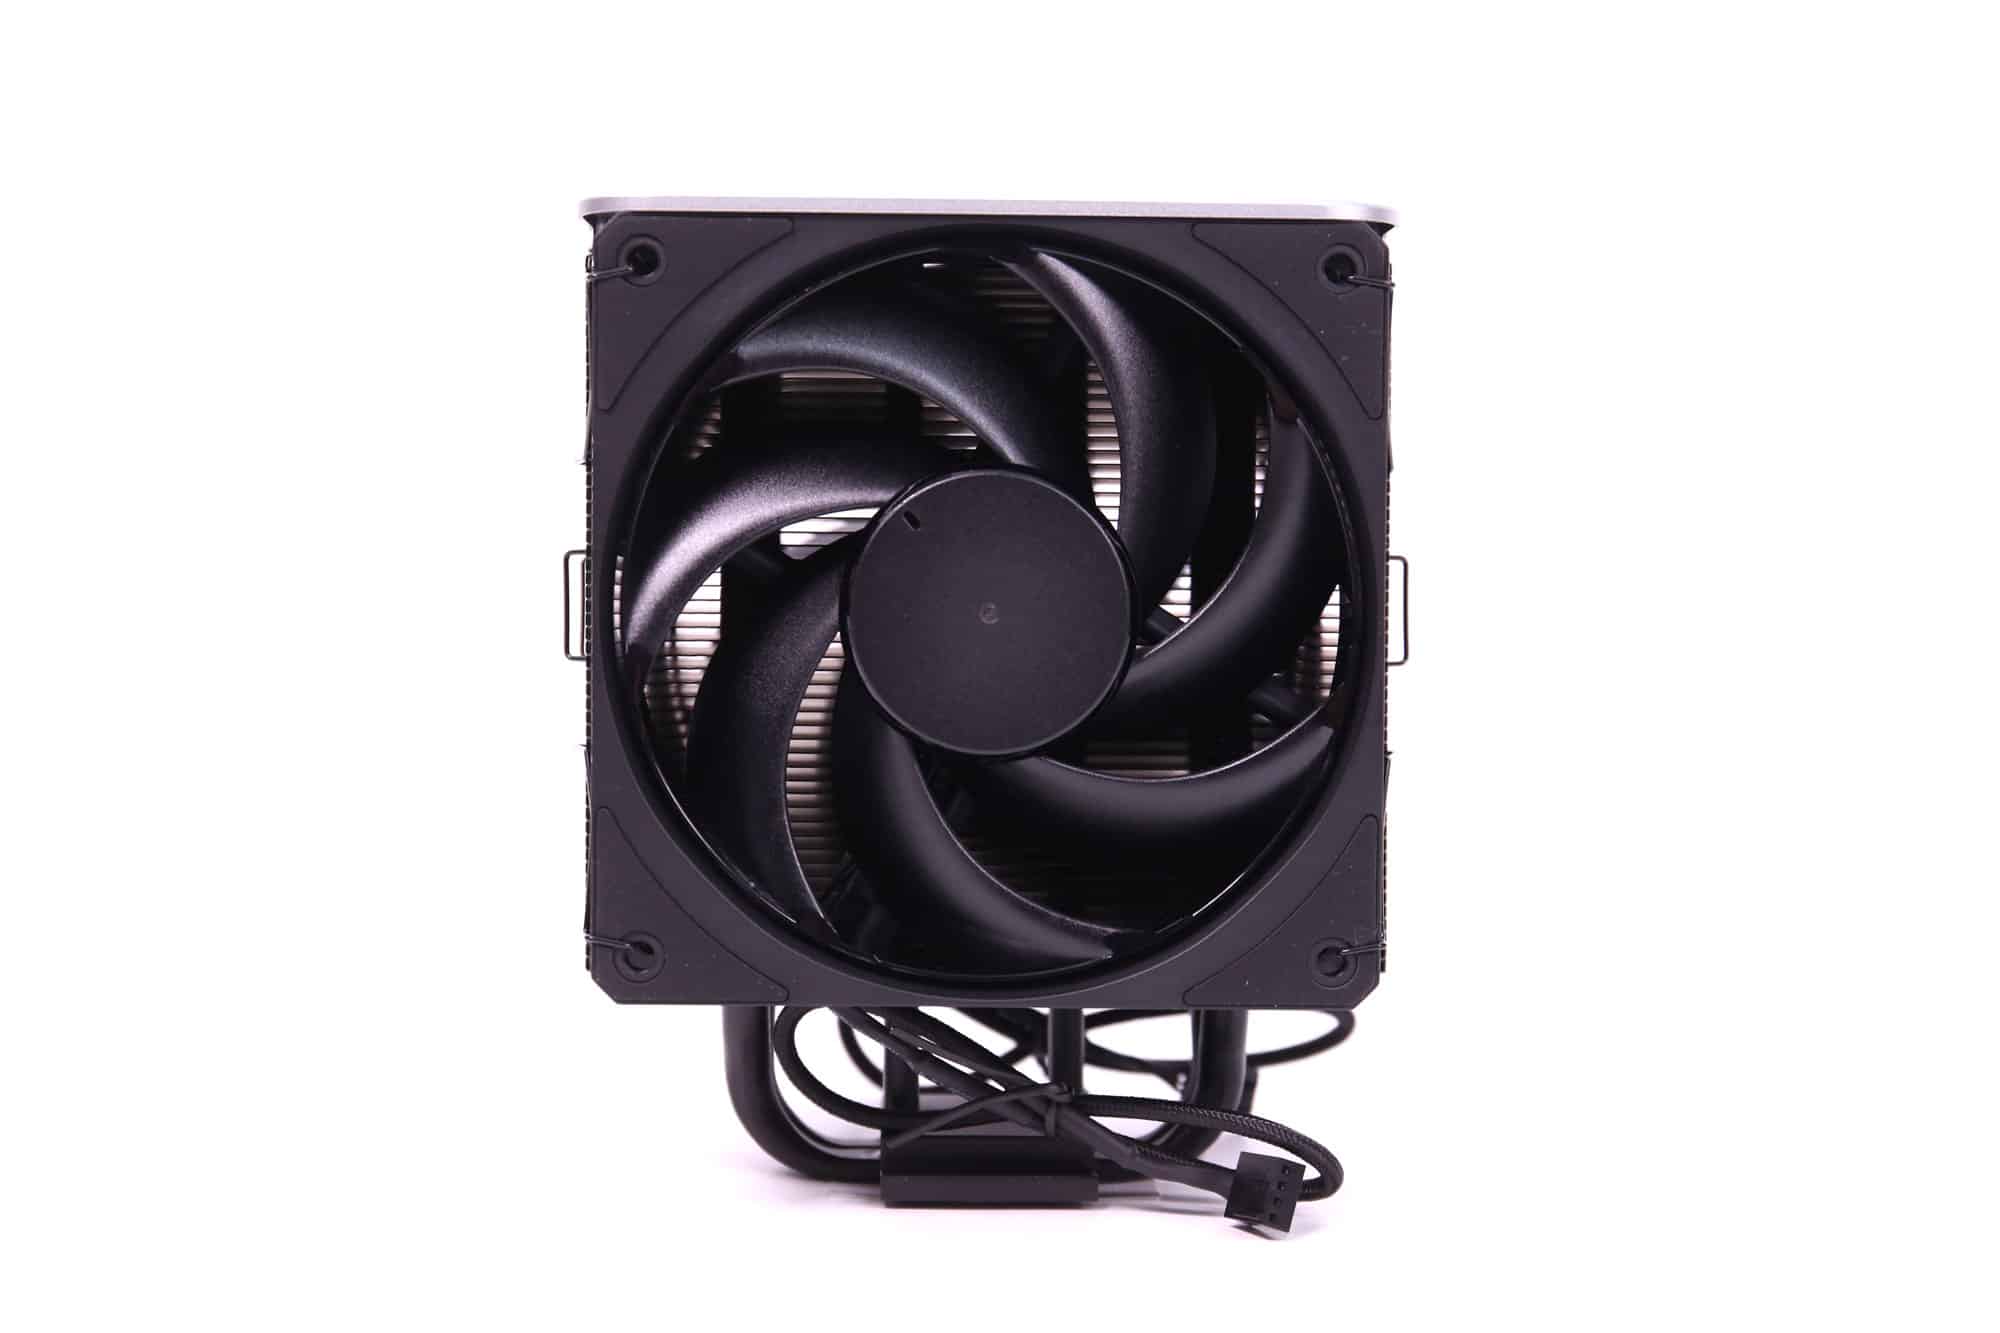
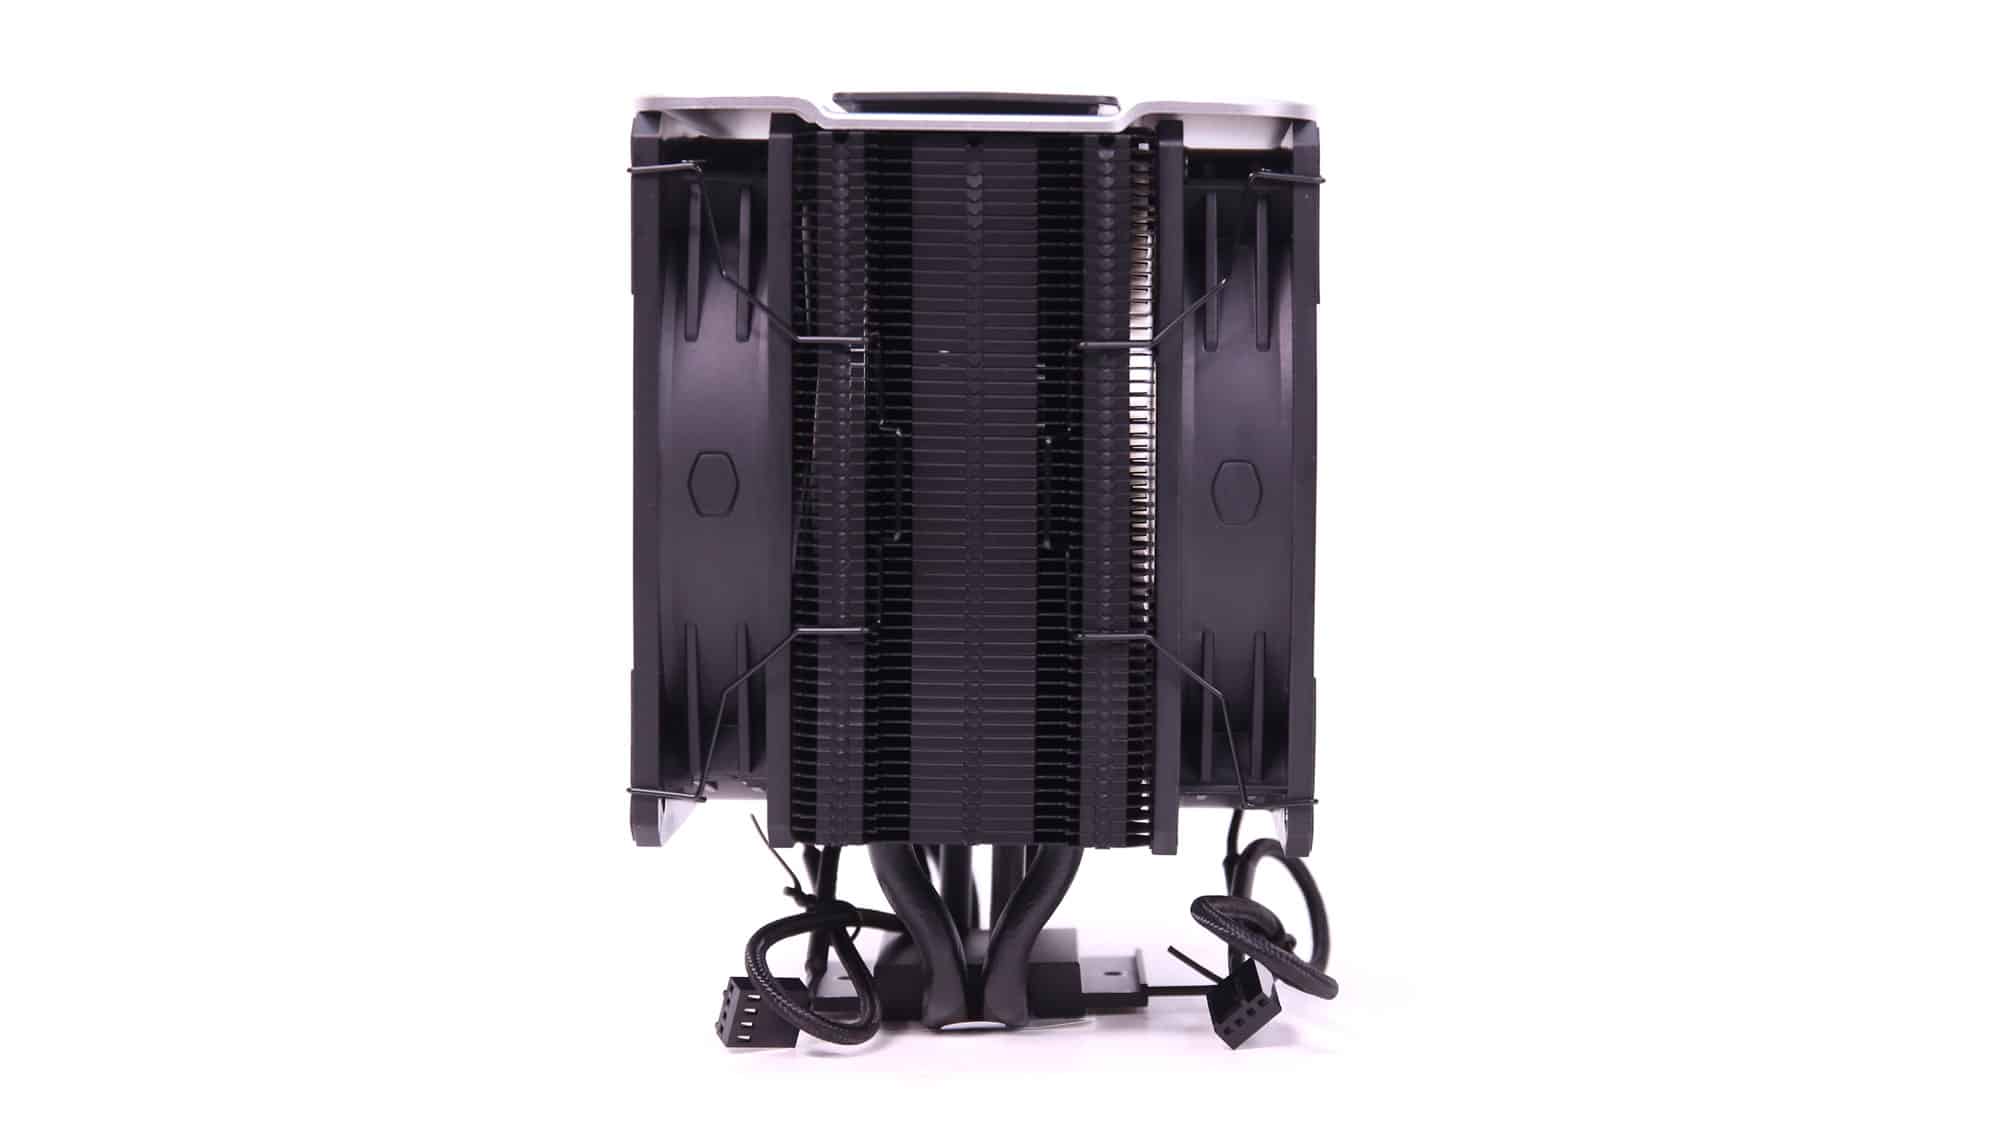
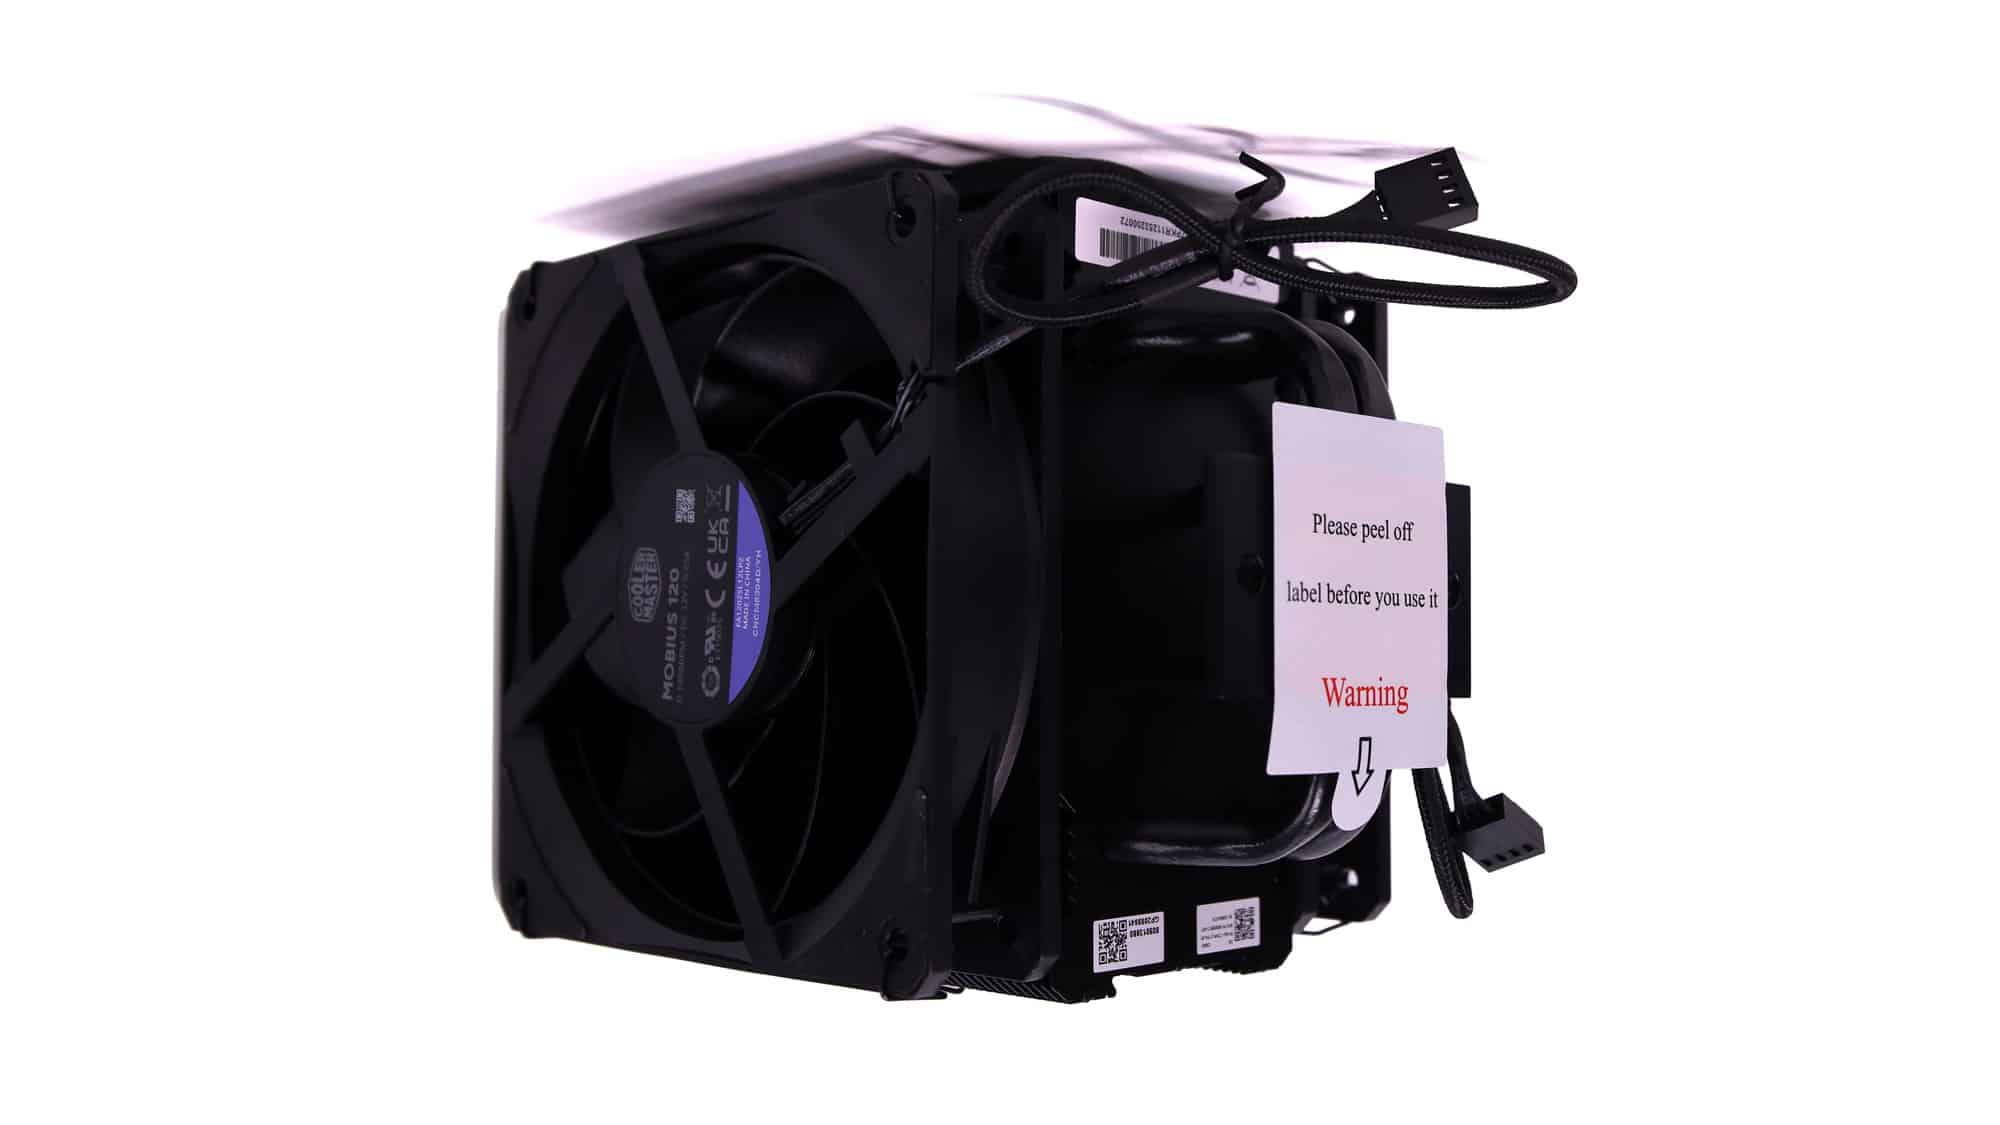
All coolers share the same single-tower heatsink, and the fans use clips to attach to it. A single tower design might not offer the best possible performance, but it gets away from RAM or VRM compatibility issues that the dual-tower coolers can have.
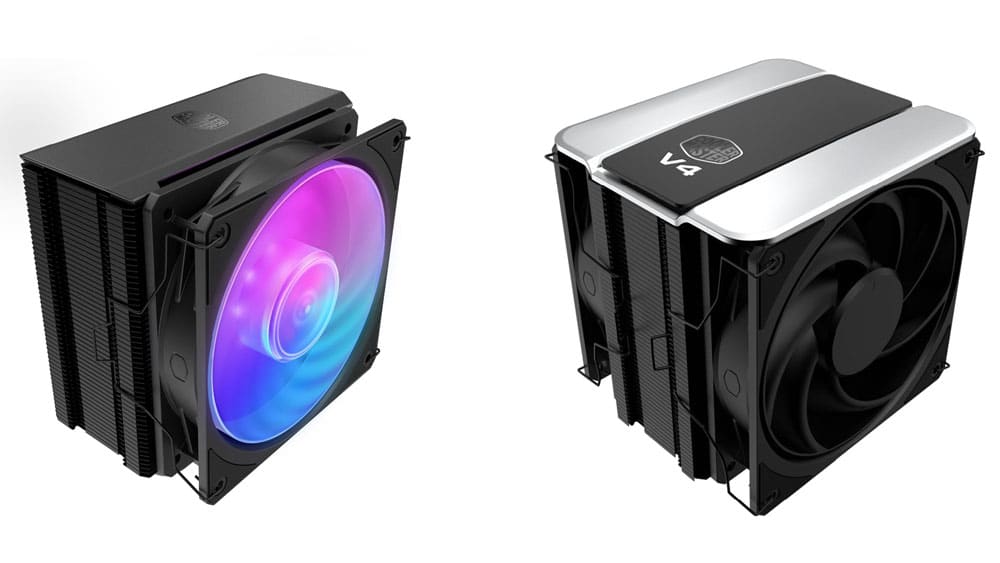
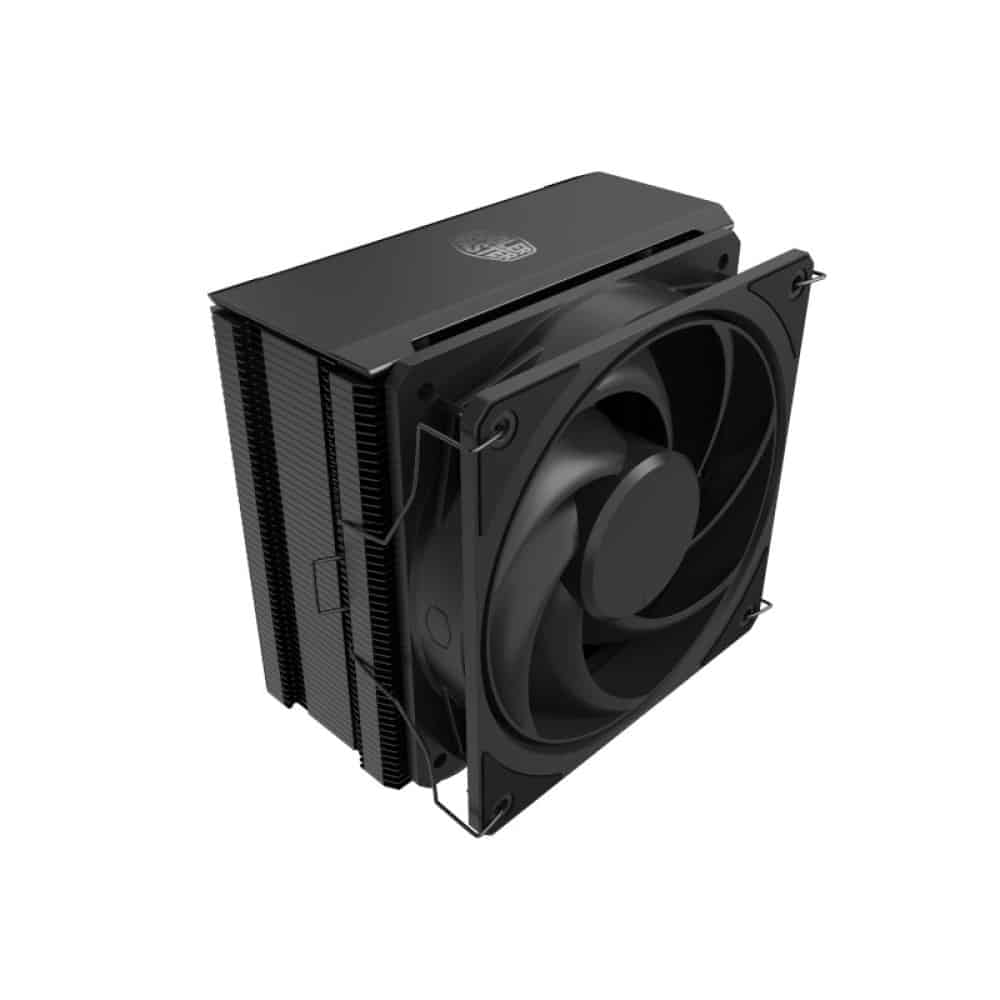
The only differences between the CM coolers of this review are in the amount and fan models used, and in the top cover, which is different between the Hyper 212 3DHP BLACK (ARGB) and the V4 Alpha 3DHP Black models. In the latter model, the top cover extends over the fans, and it is connected to them instead of the heatsink’s body. This makes the fan replacement a little tricky, but I don’t believe that anyone will need to replace these fans anytime soon, given the enormous lifetime that their specs promise (over 200,000 hours!)
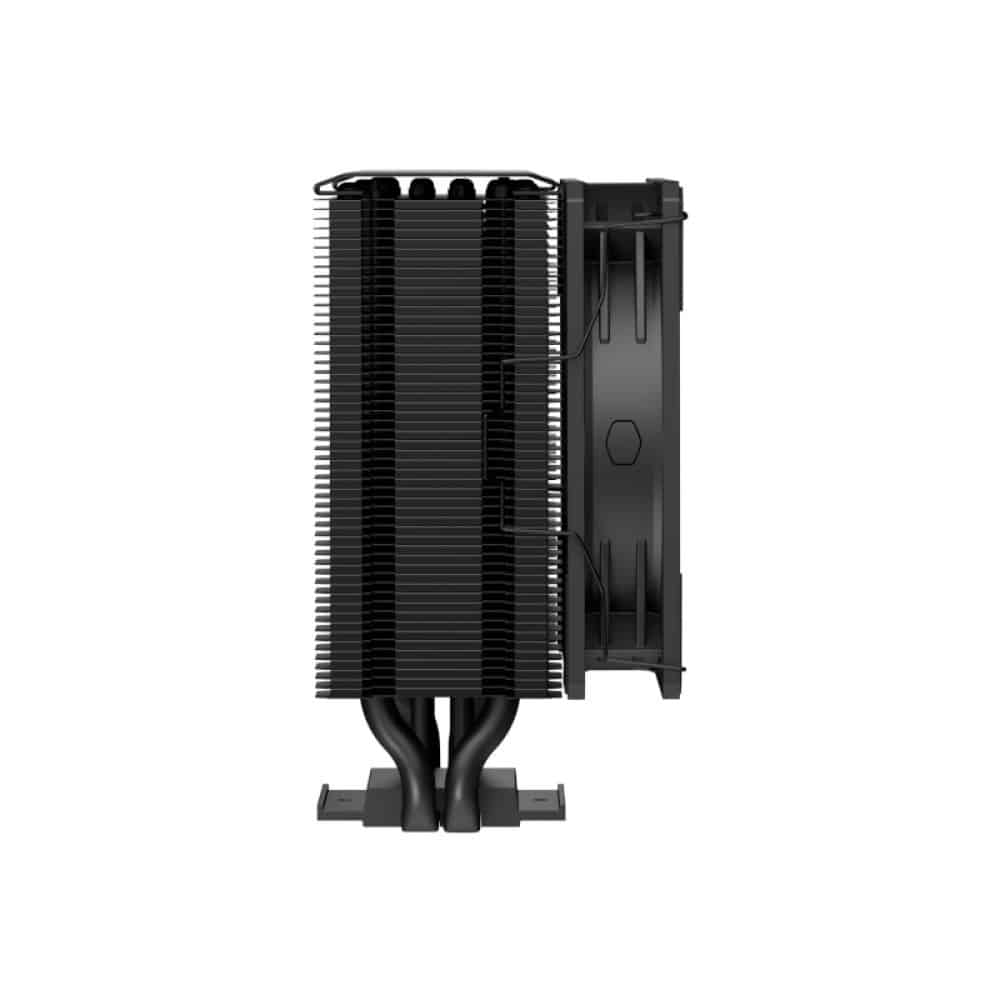

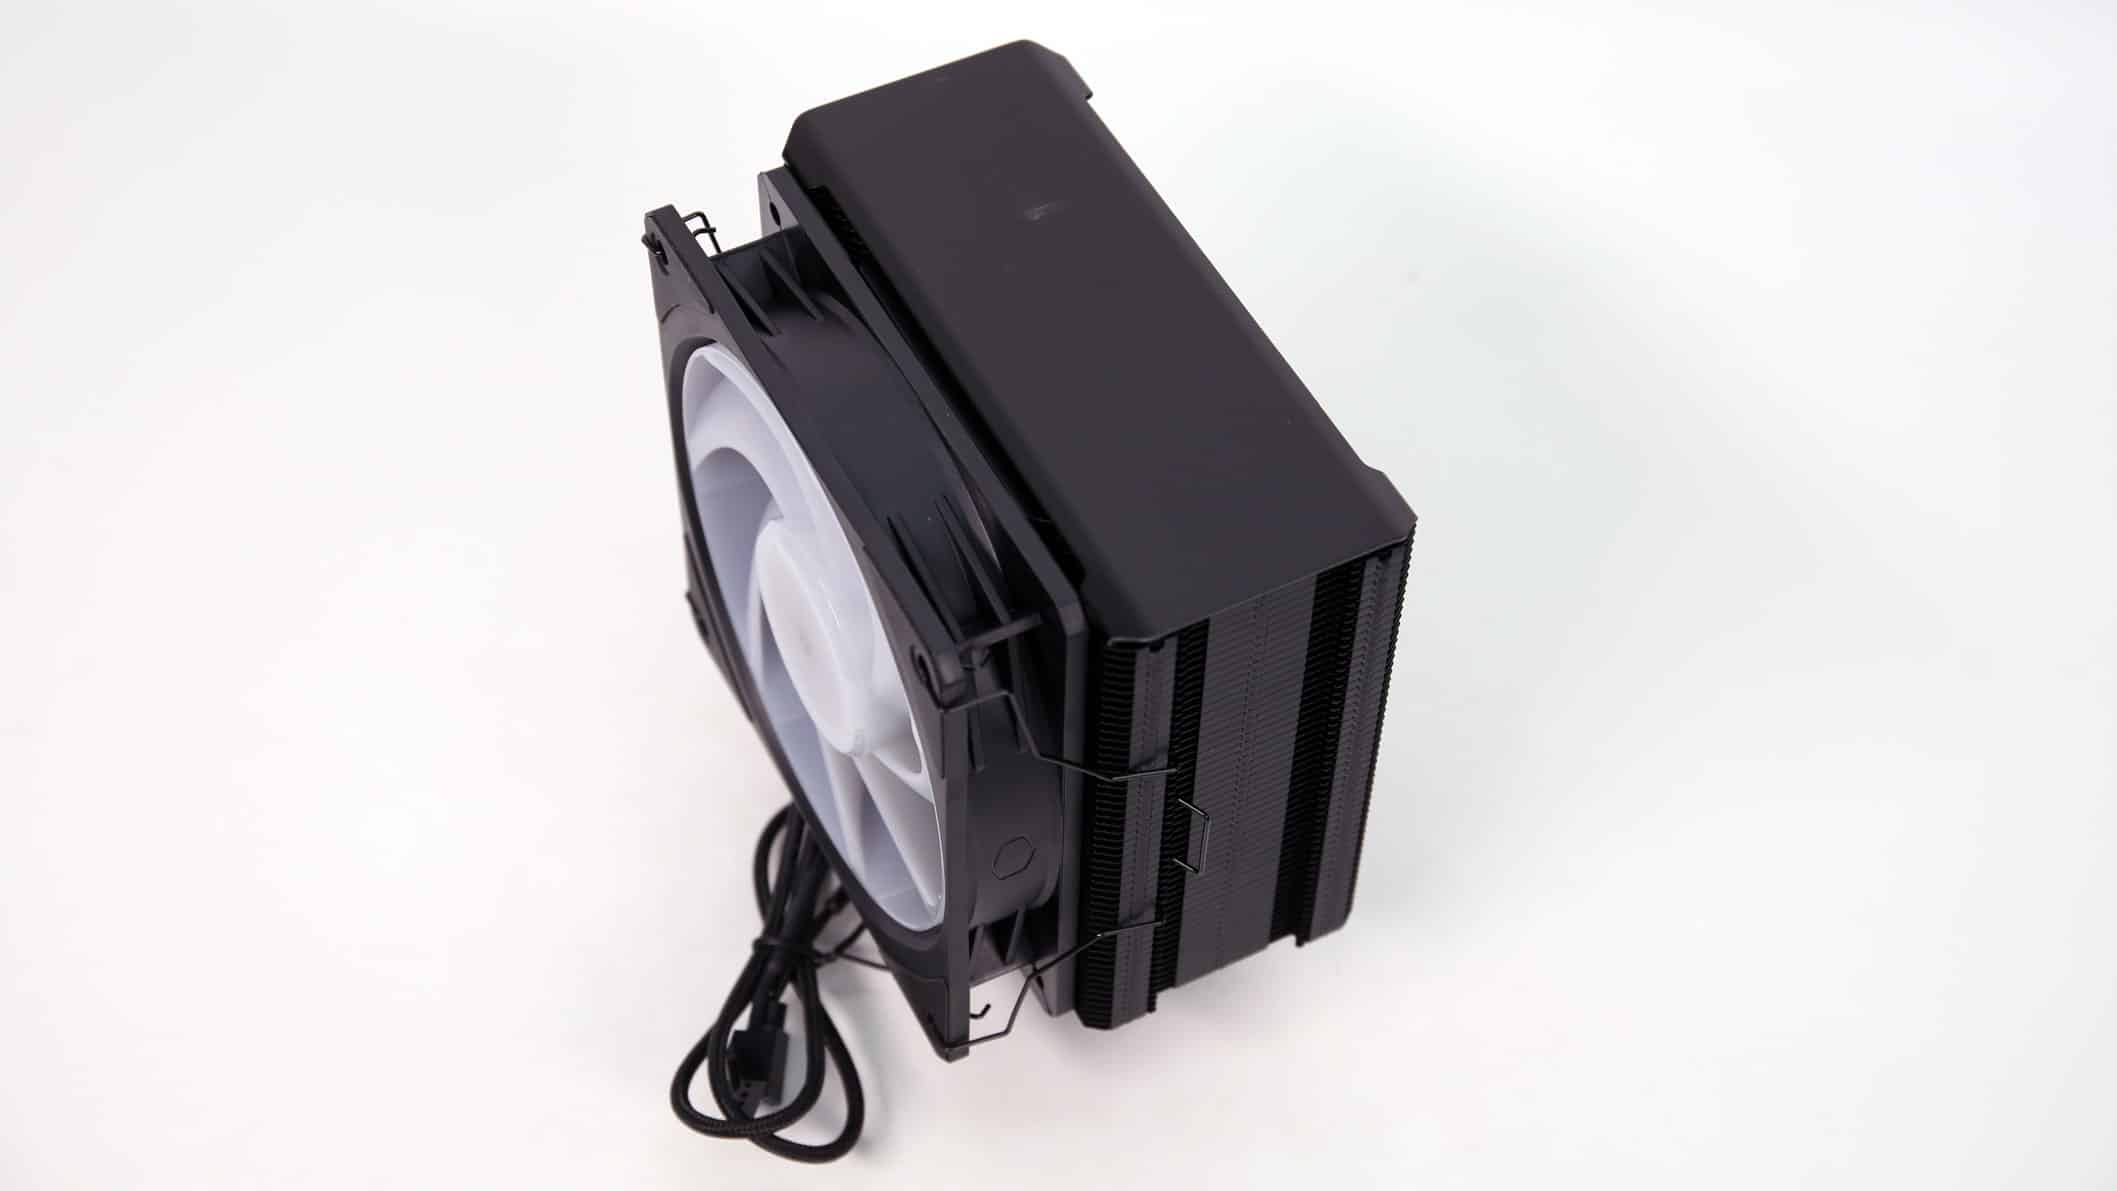
The only difference between the Hyper 212 3DHP models is the cooling fan. In the non-ARGB model, the fan’s blades are painted black, while in the ARGB model, the fan’s blades are white.
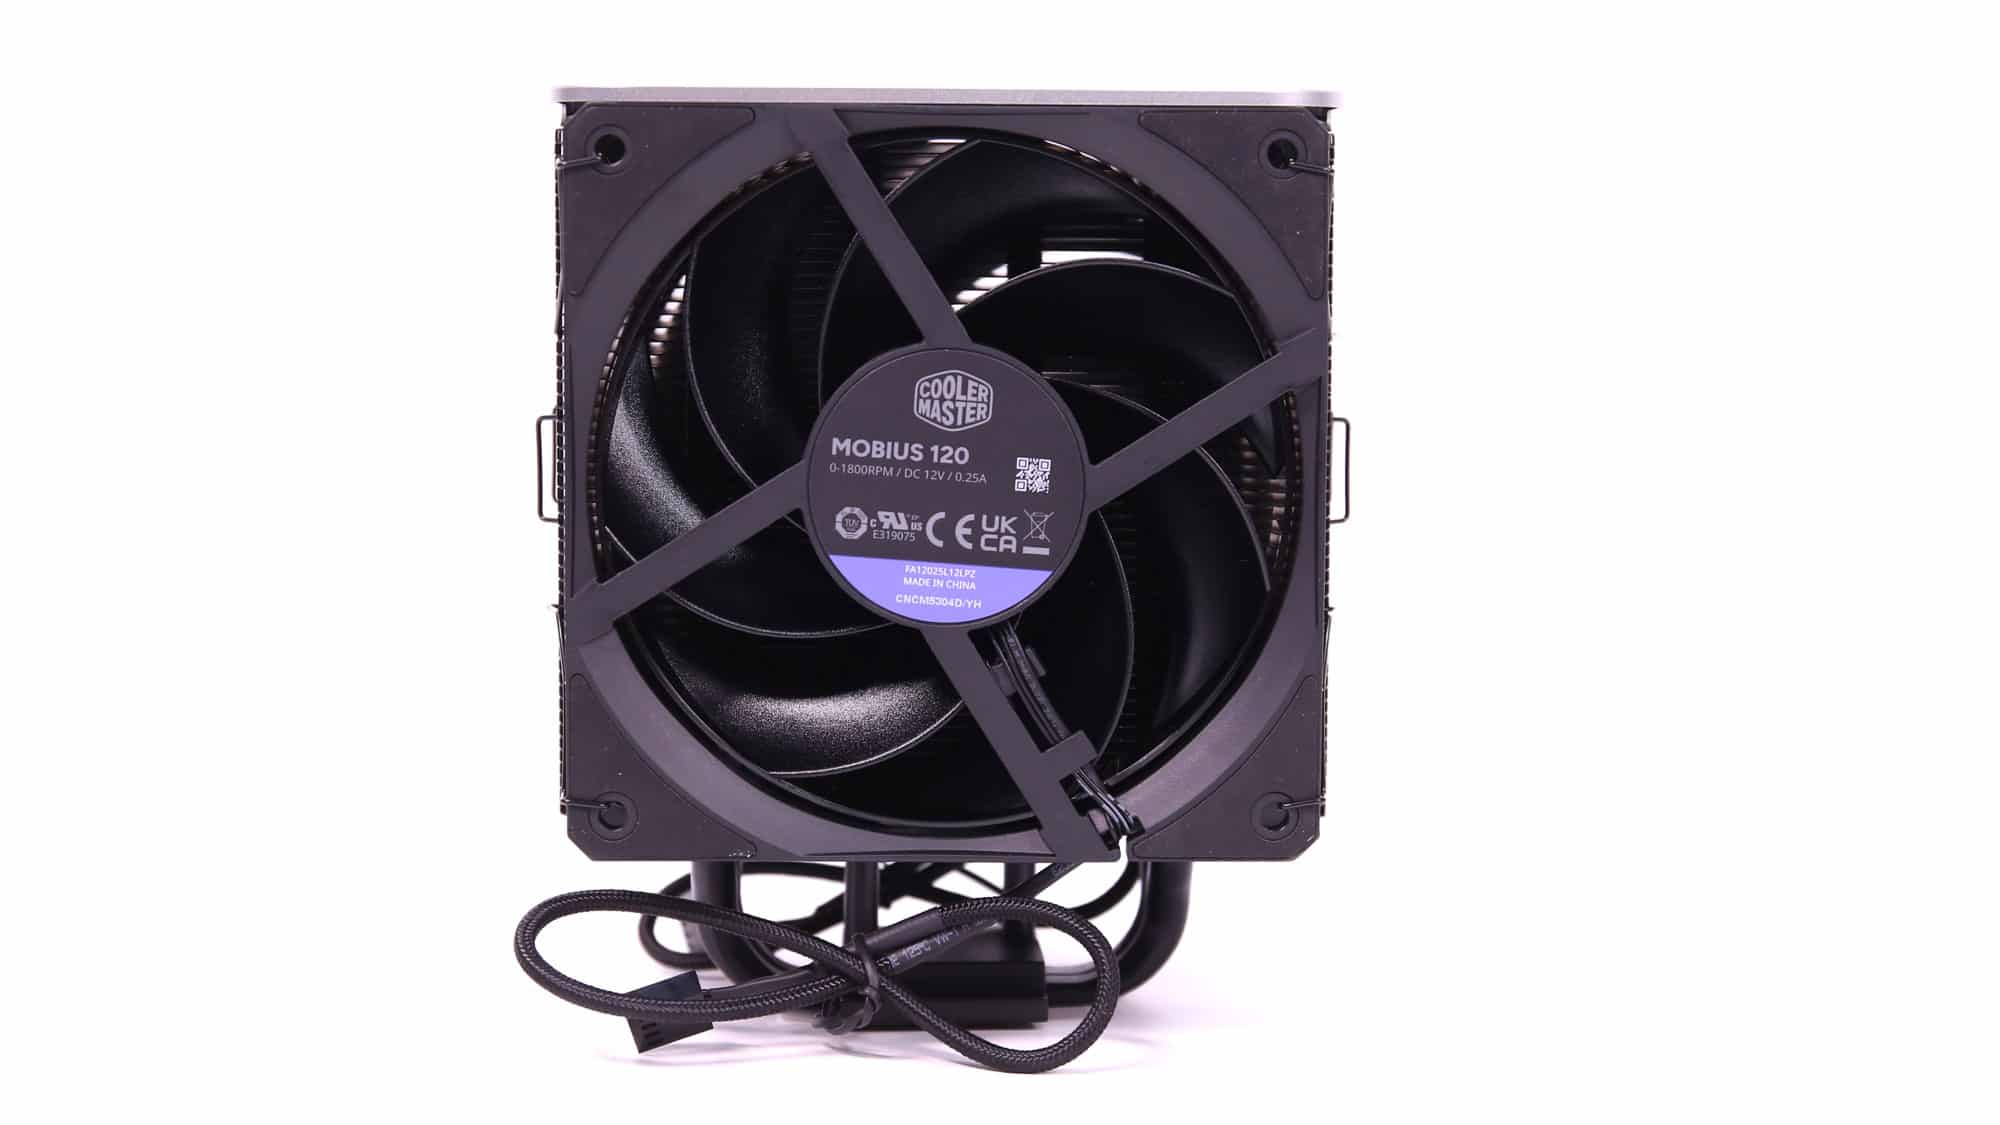
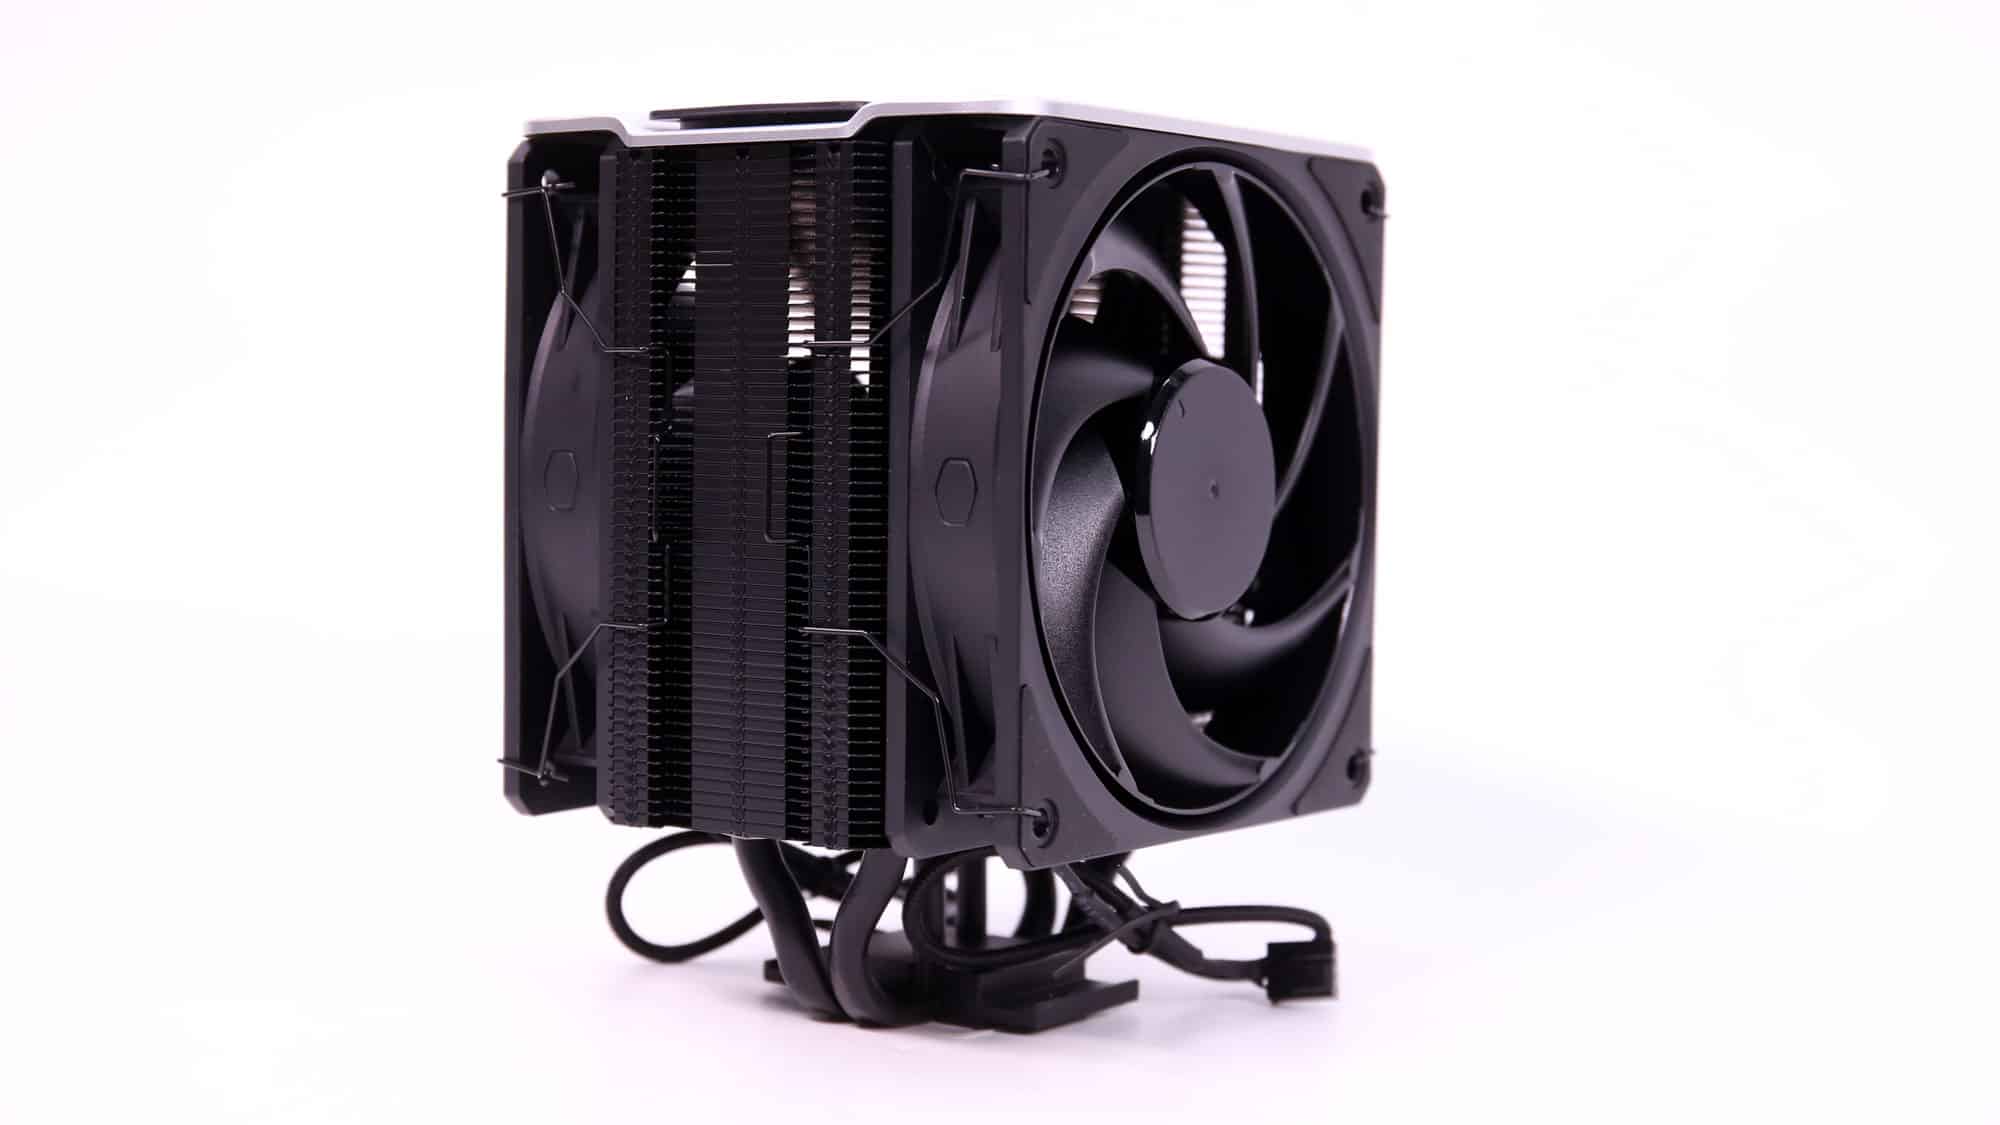
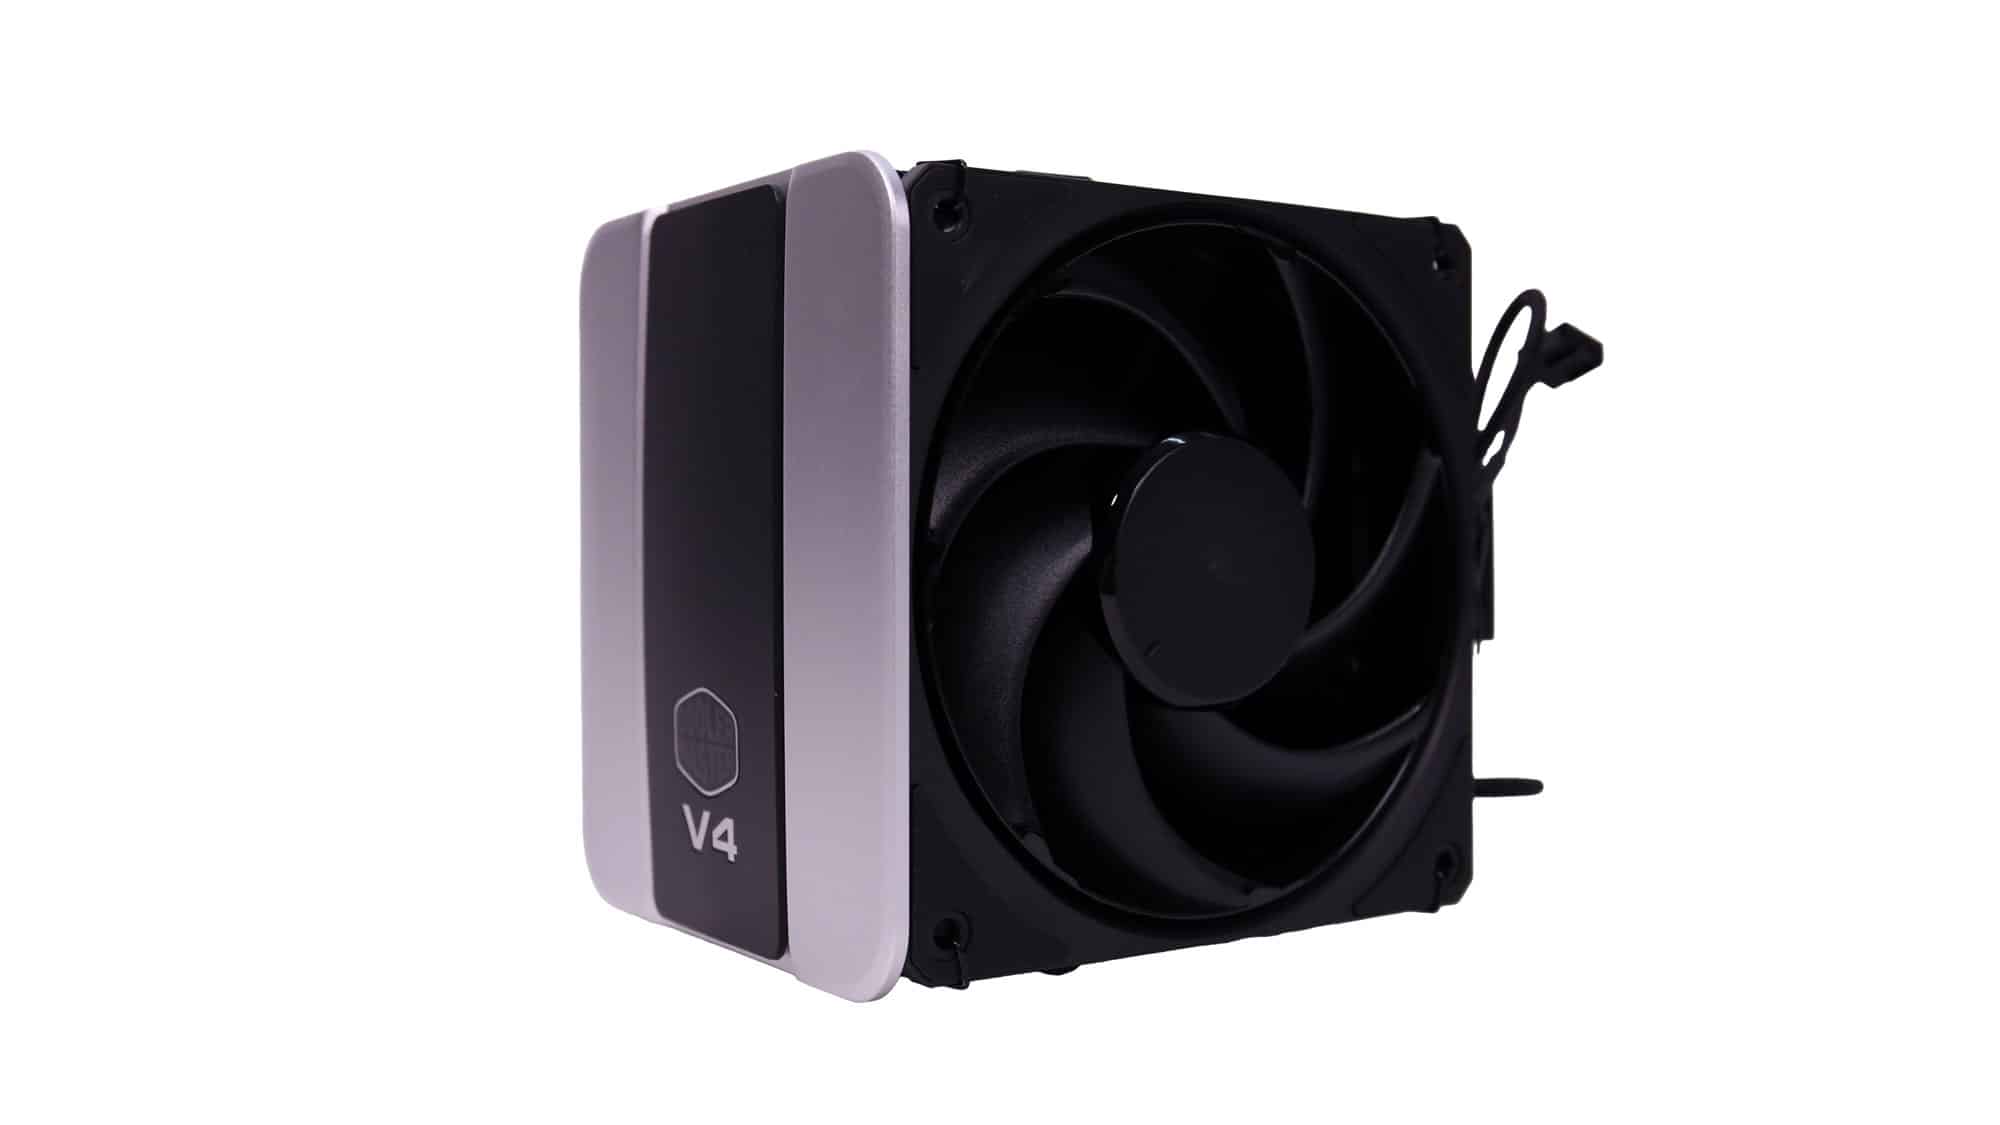
Thanks to the frame holding the pair of fans, the V4 Alpha 3DHP Black has a more distinctive look.
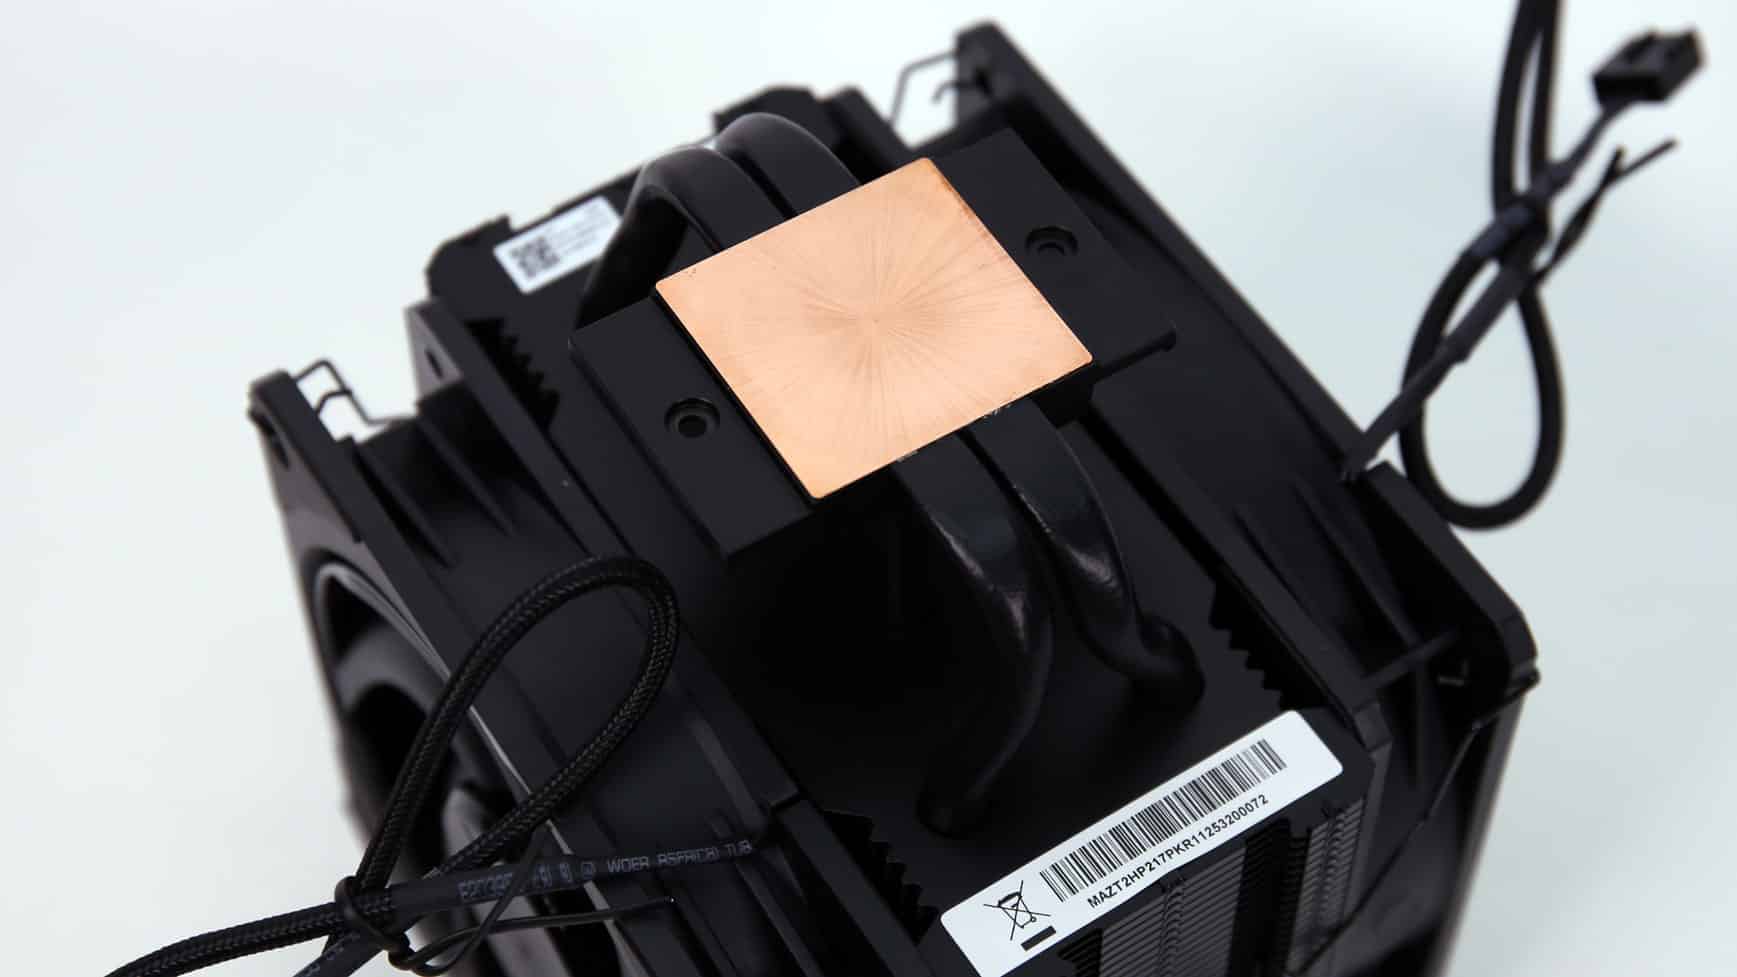
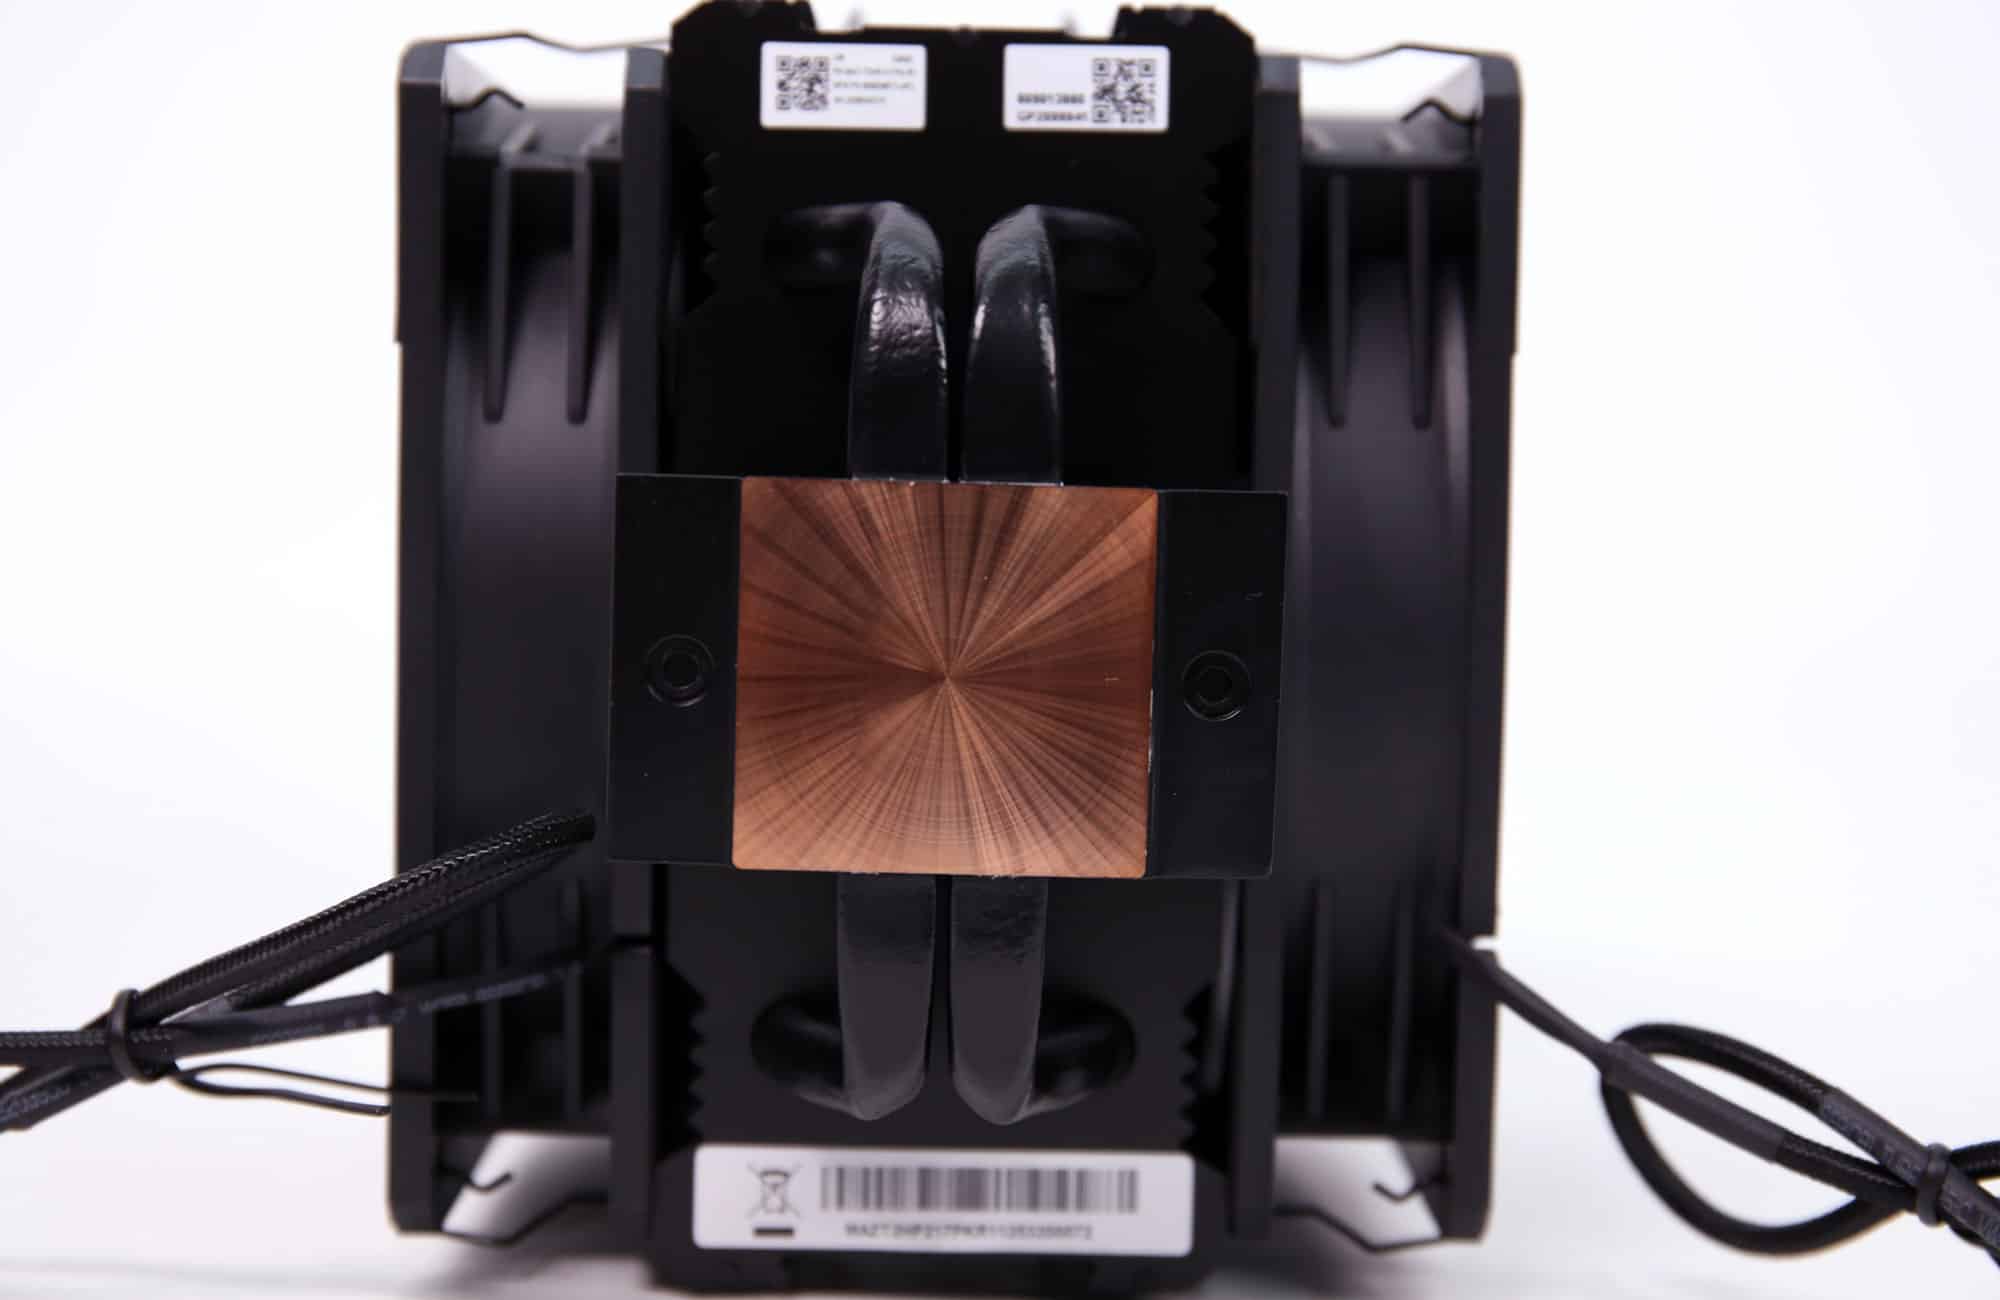
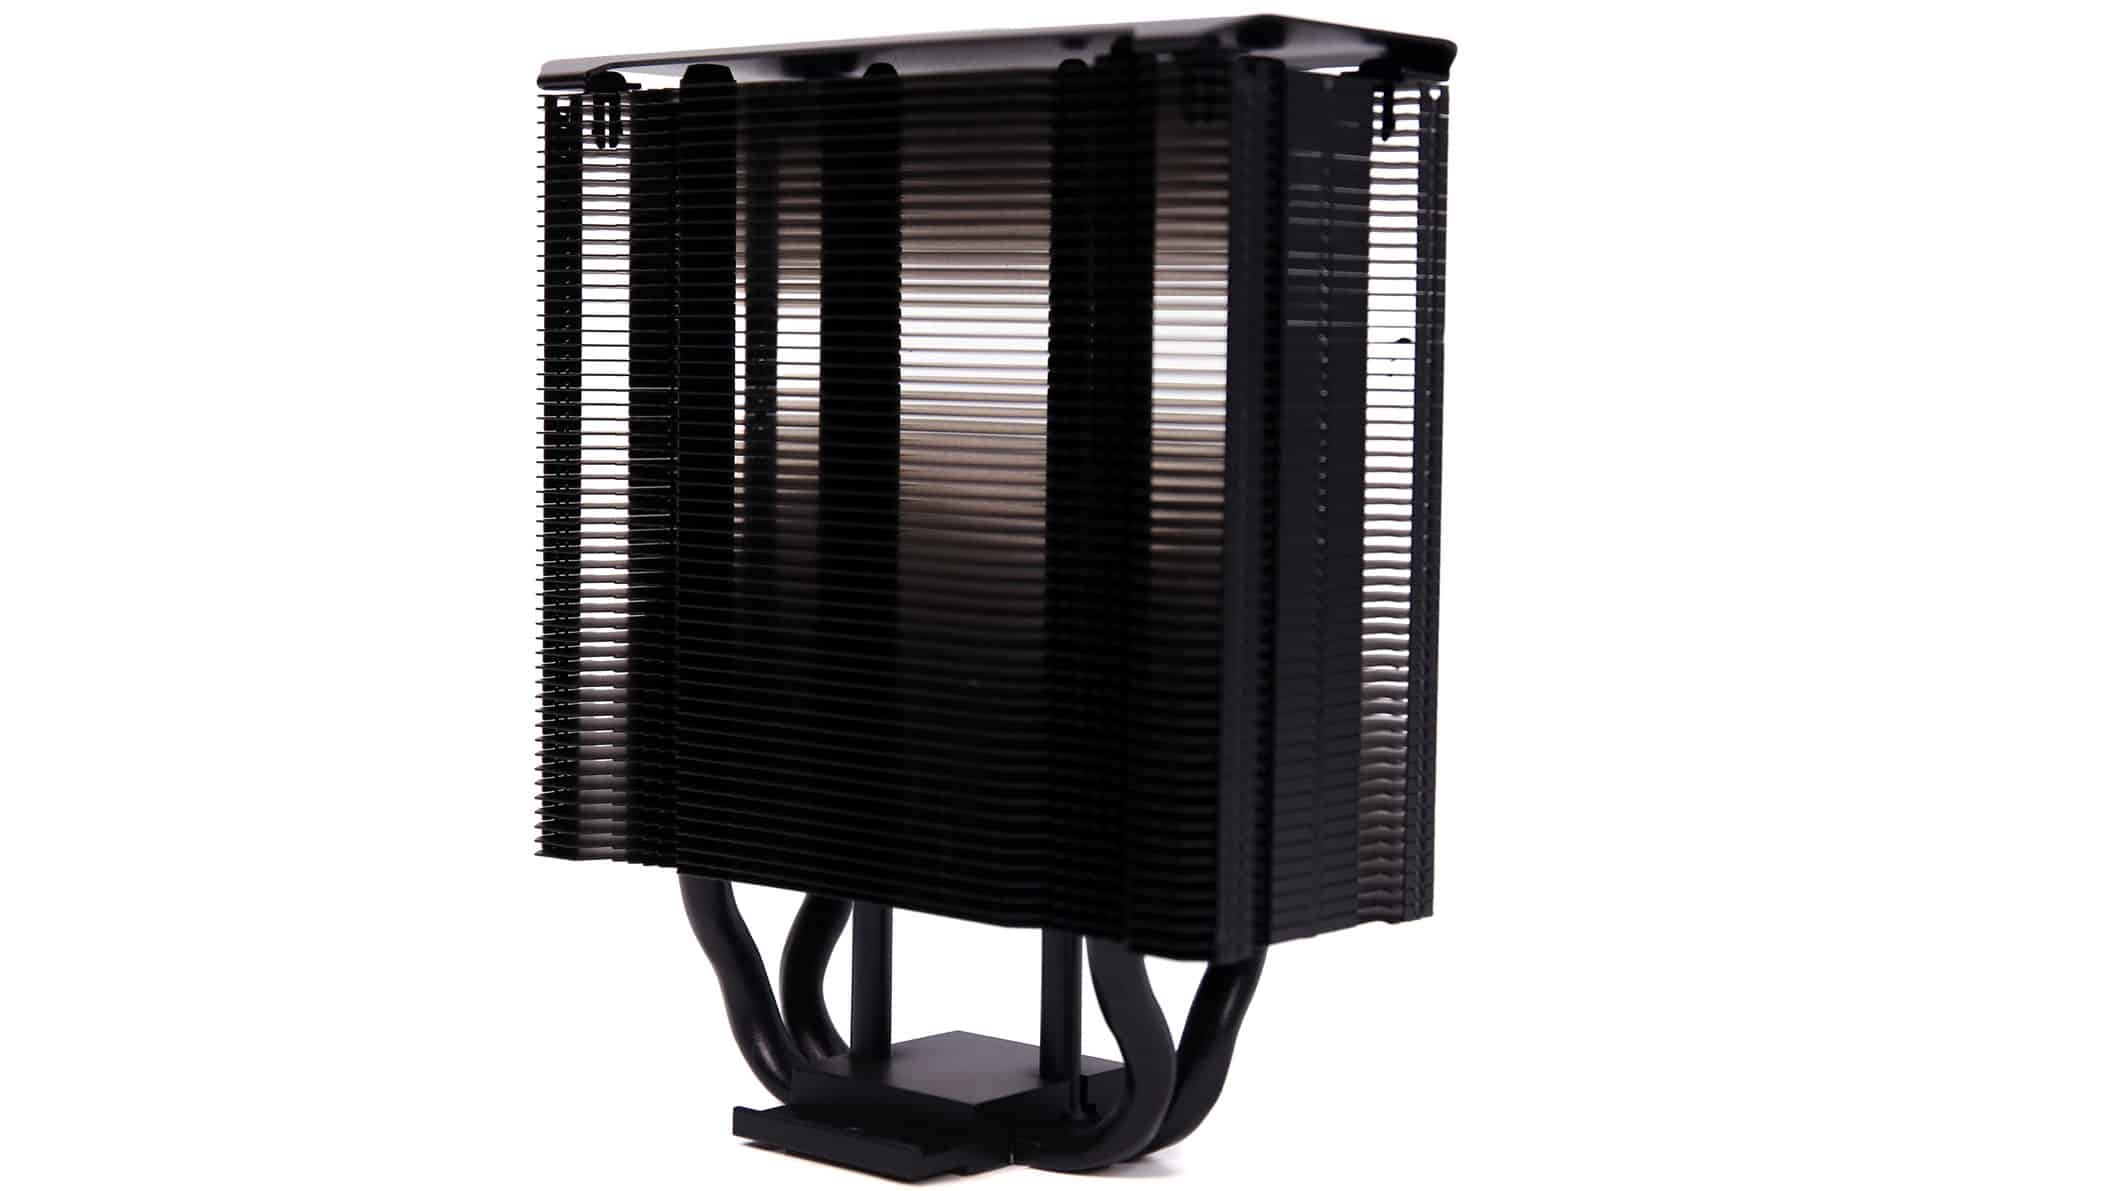
The block’s base is convex, meaning that it is slightly raised at its center. As you can see, both heatpipes and the respective holes for the mounting screws have the same distance from the block’s center, meaning that there is no offset that could offer better performance on both Intel and AMD sockets.
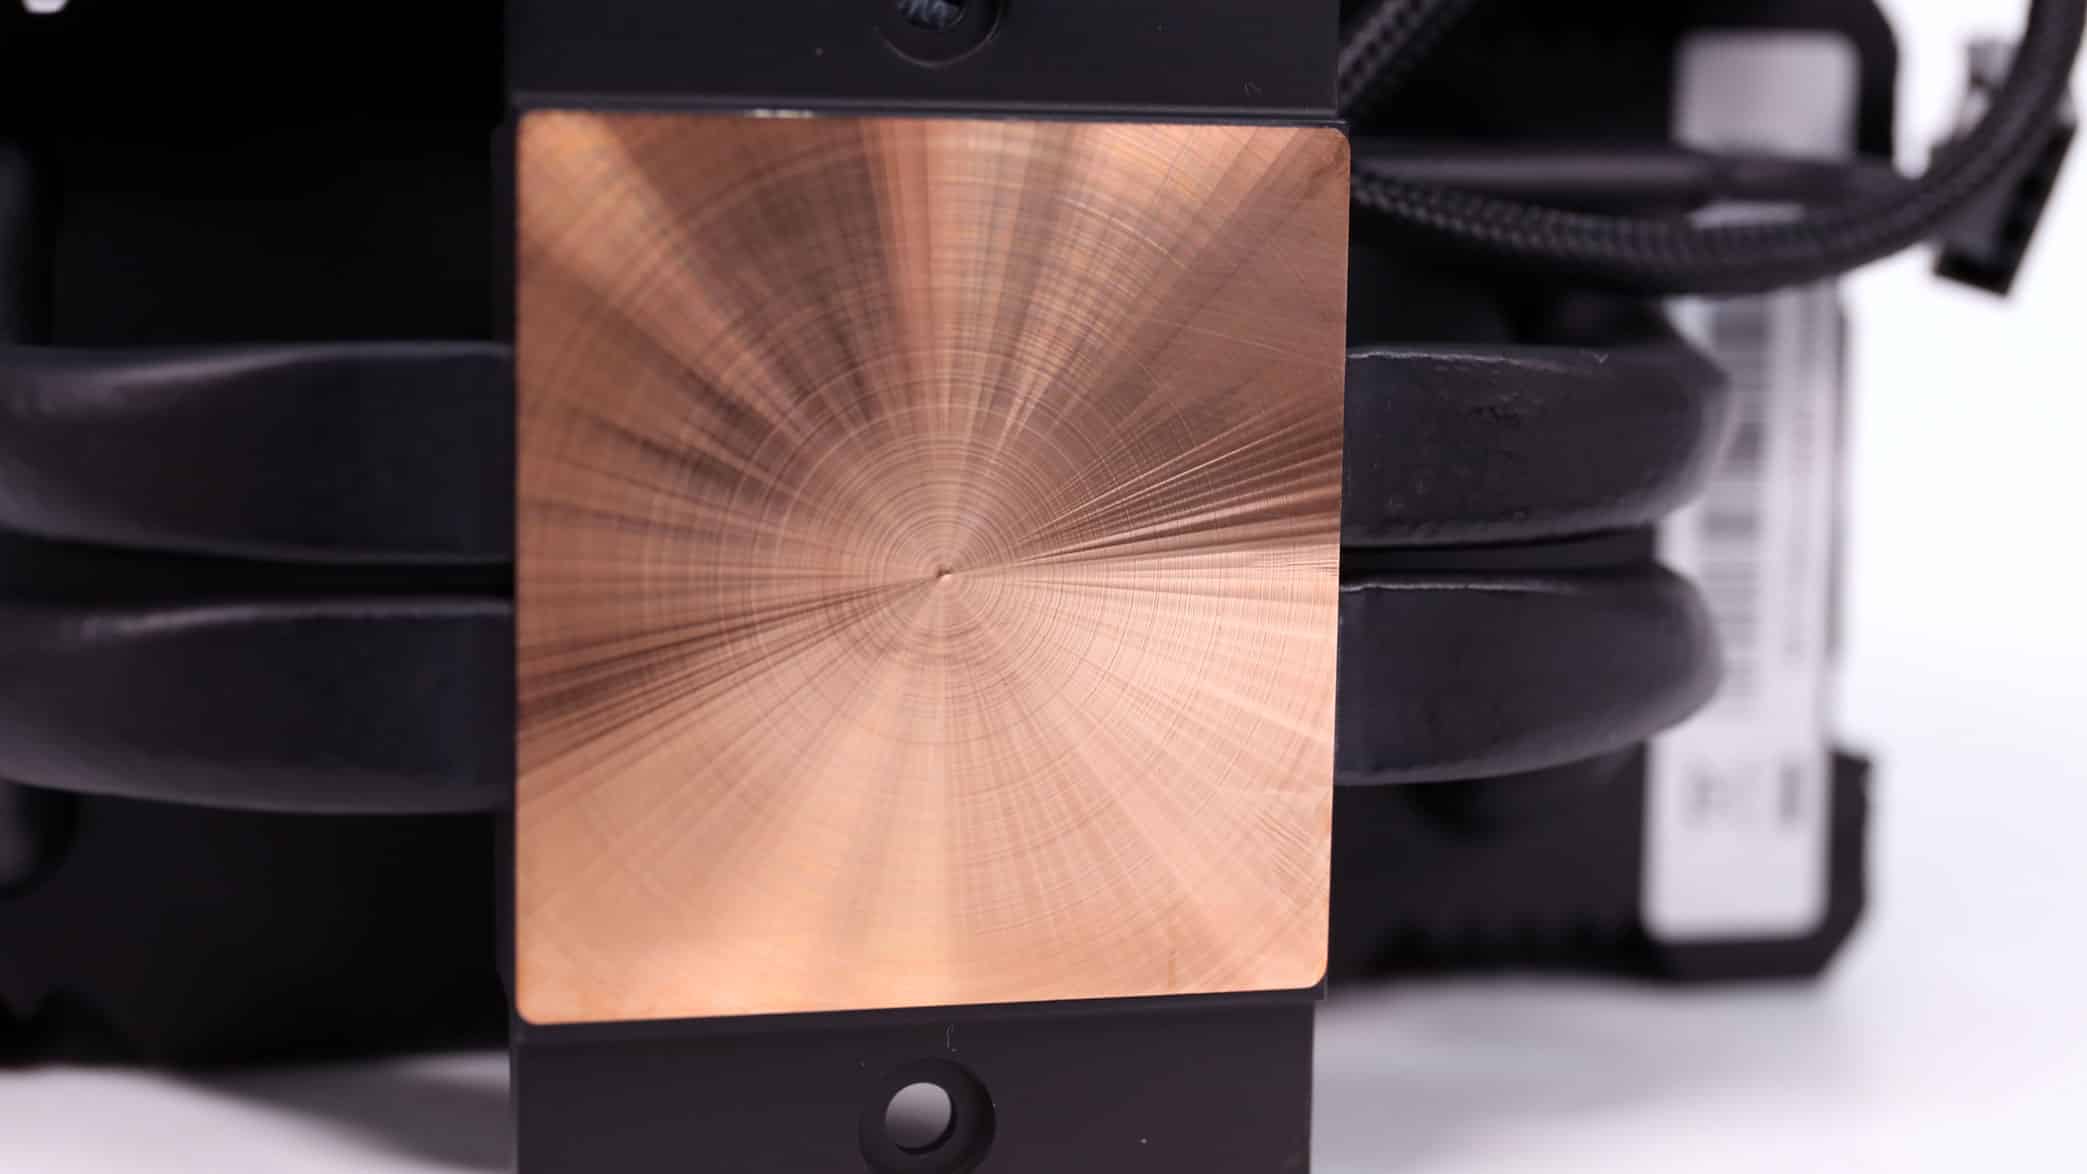
A closer look at the cooler’s contact surface with the CPU. It isn’t finely processed, as you can see from the circular marks. Although the heatpipes are very close to the base’s contact area, CM preferred to have a thin layer of copper between them and the CPU’s heatspreader, so the design is not HDT (Heat-pipe Direct Touch).

You can clearly see in this photo 3DHP’s design. Two heatpipes run through the cooler’s base, while two additional vertical ones are at the block’s edges. The last two are interconnected with the main heatpipes through a tricky manufacturing process. Essentially, this technique increases the heatpipe capacity and the contact area with the heatsink’s fins, boosting the cooler’s thermal capacity.
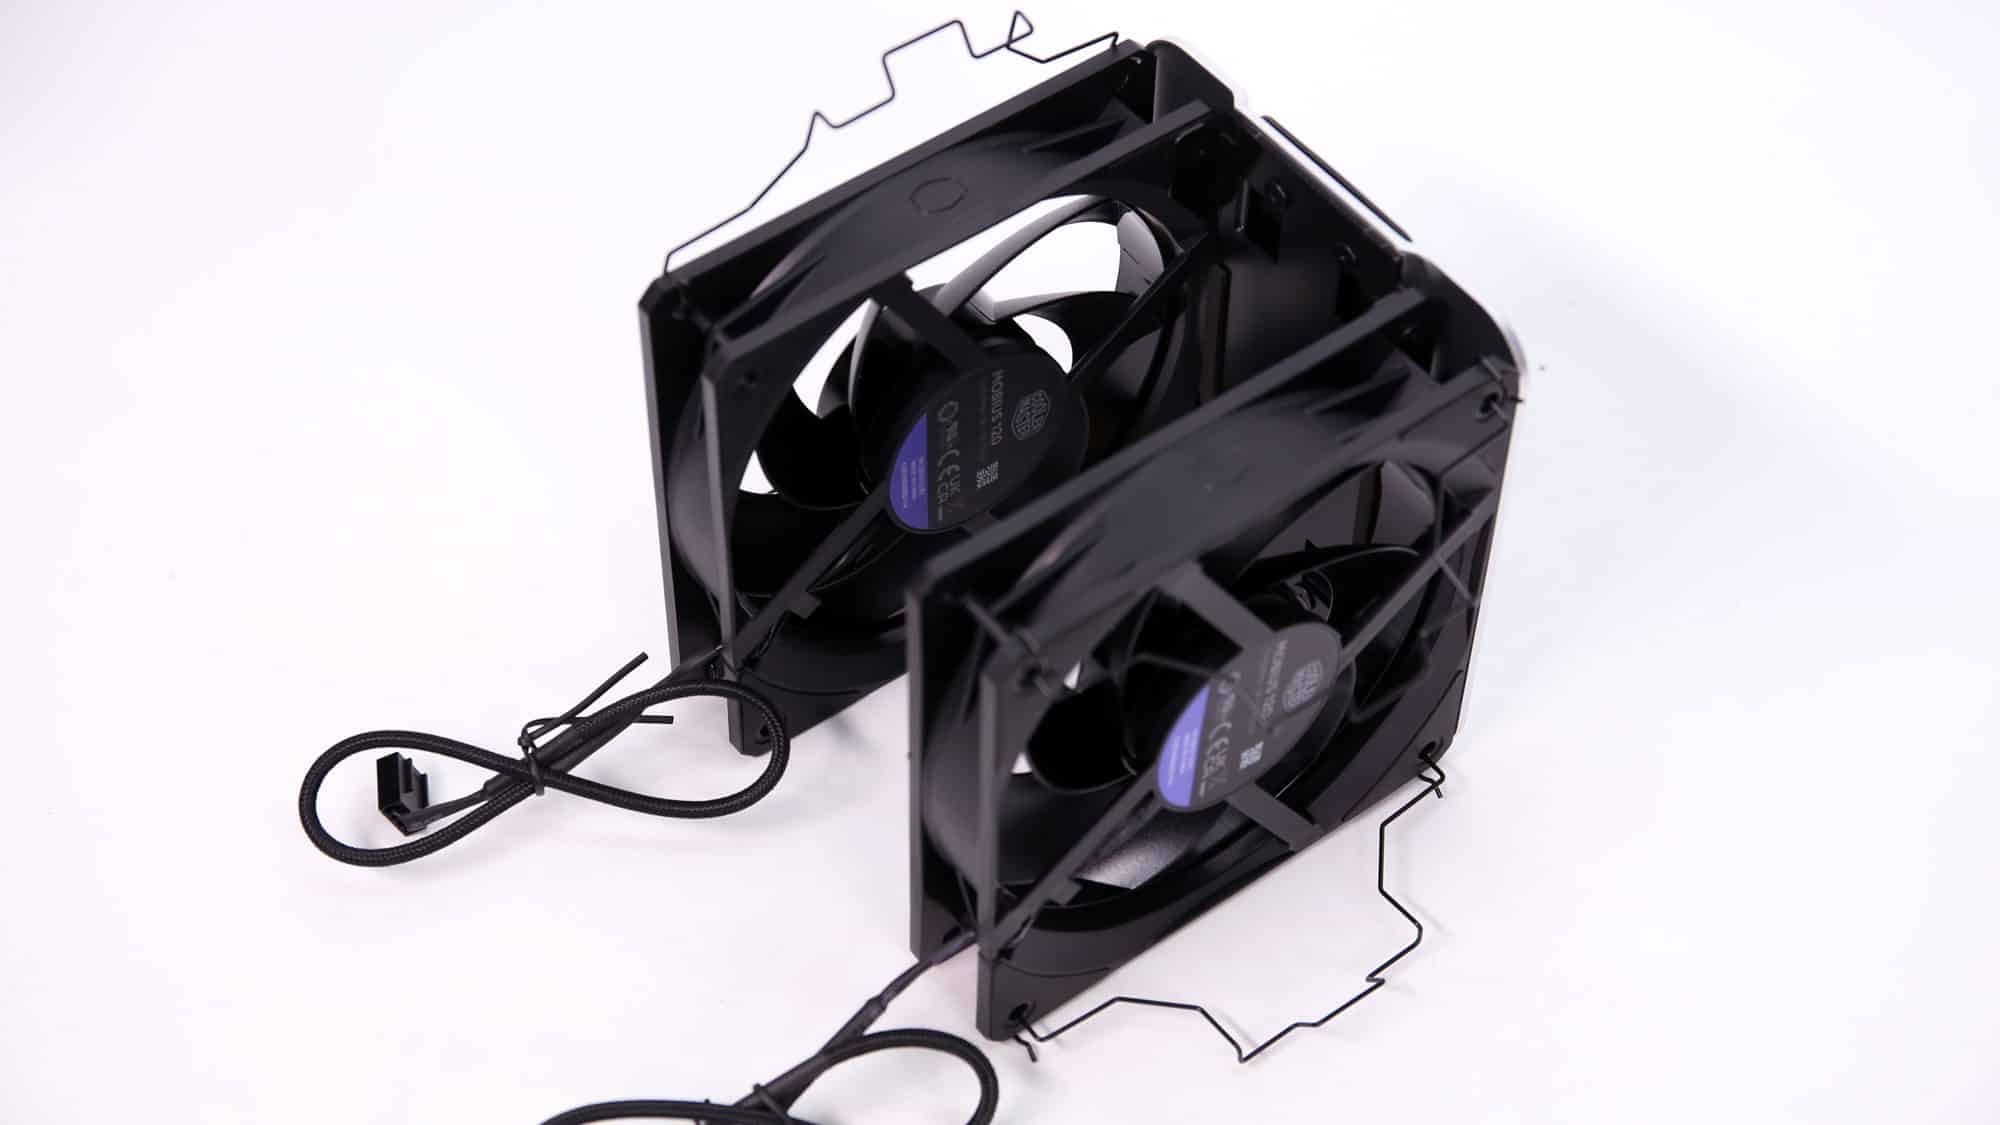
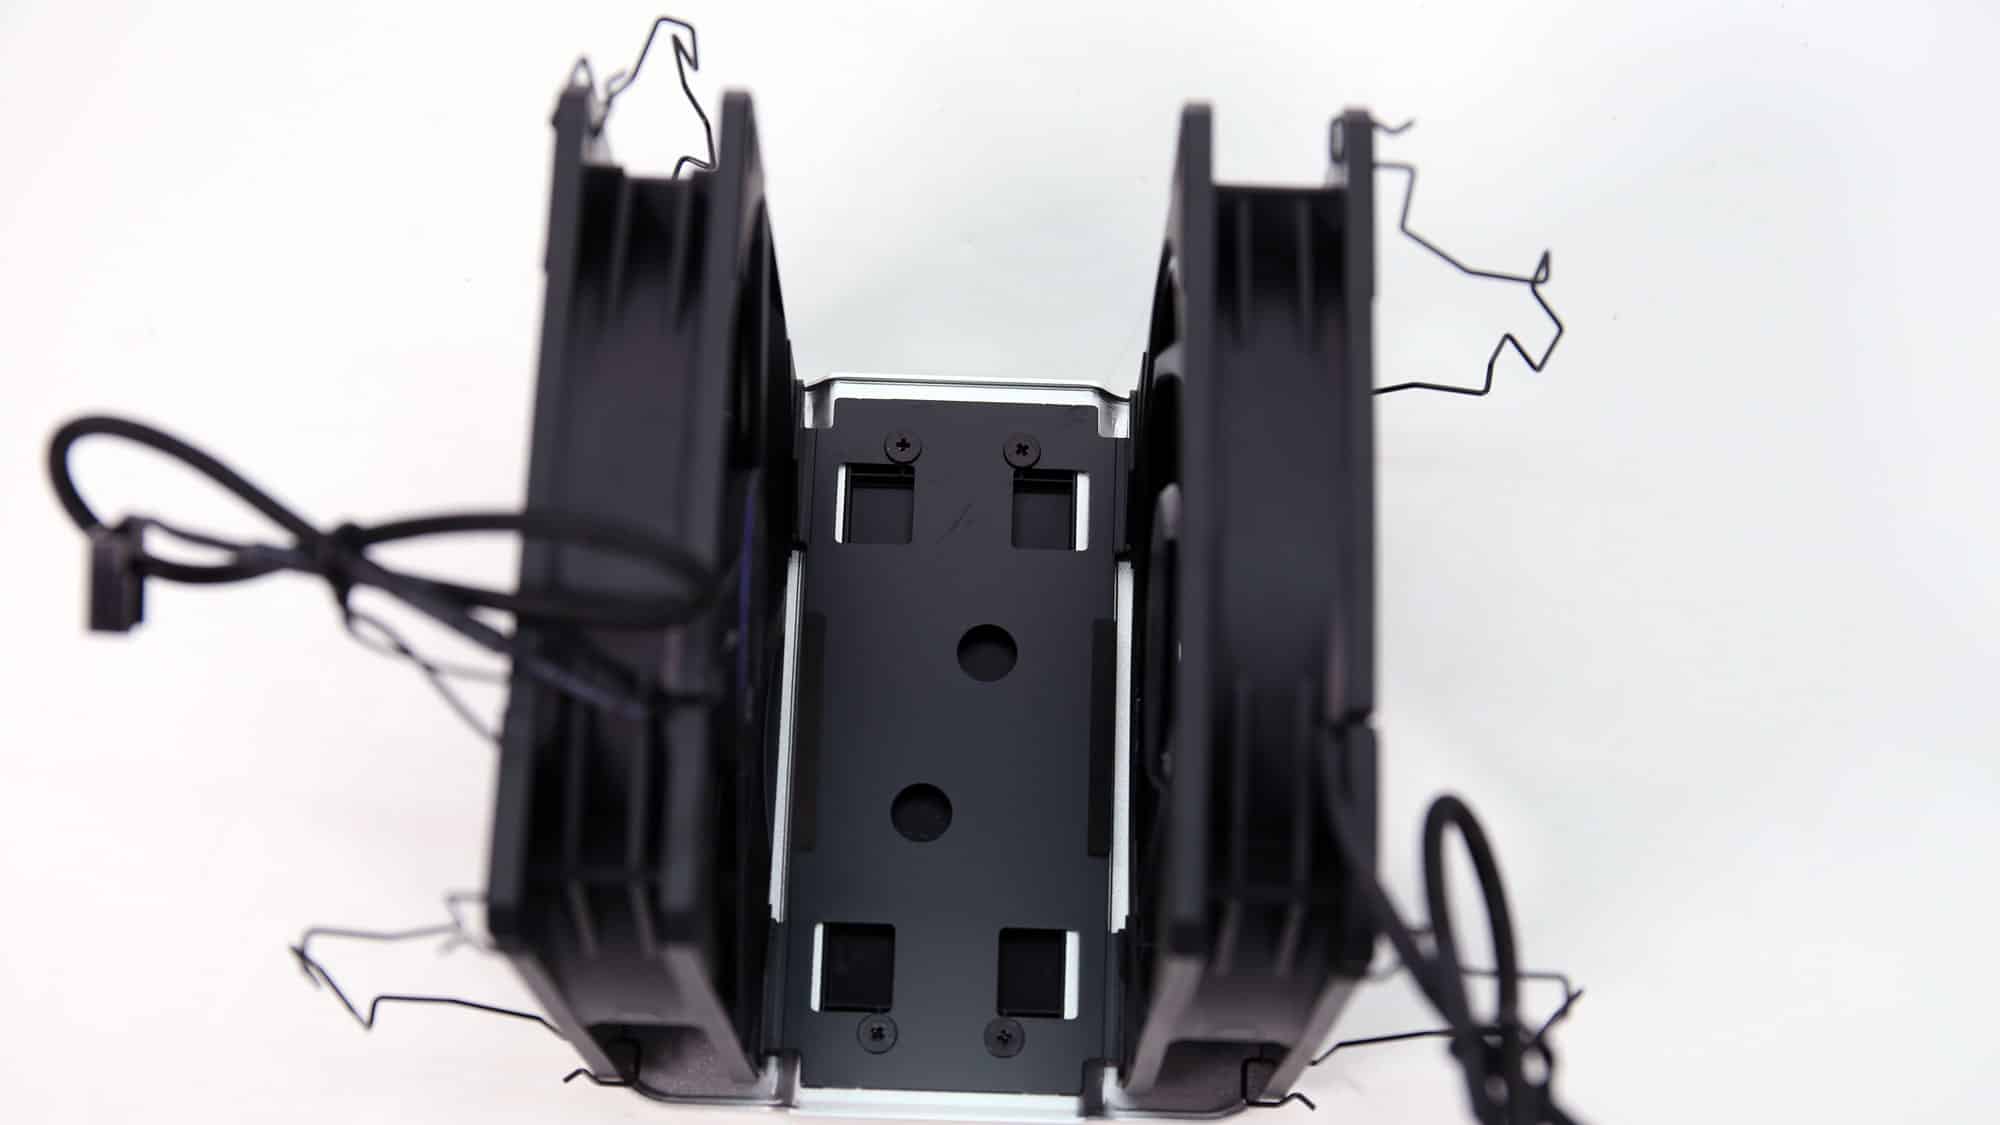
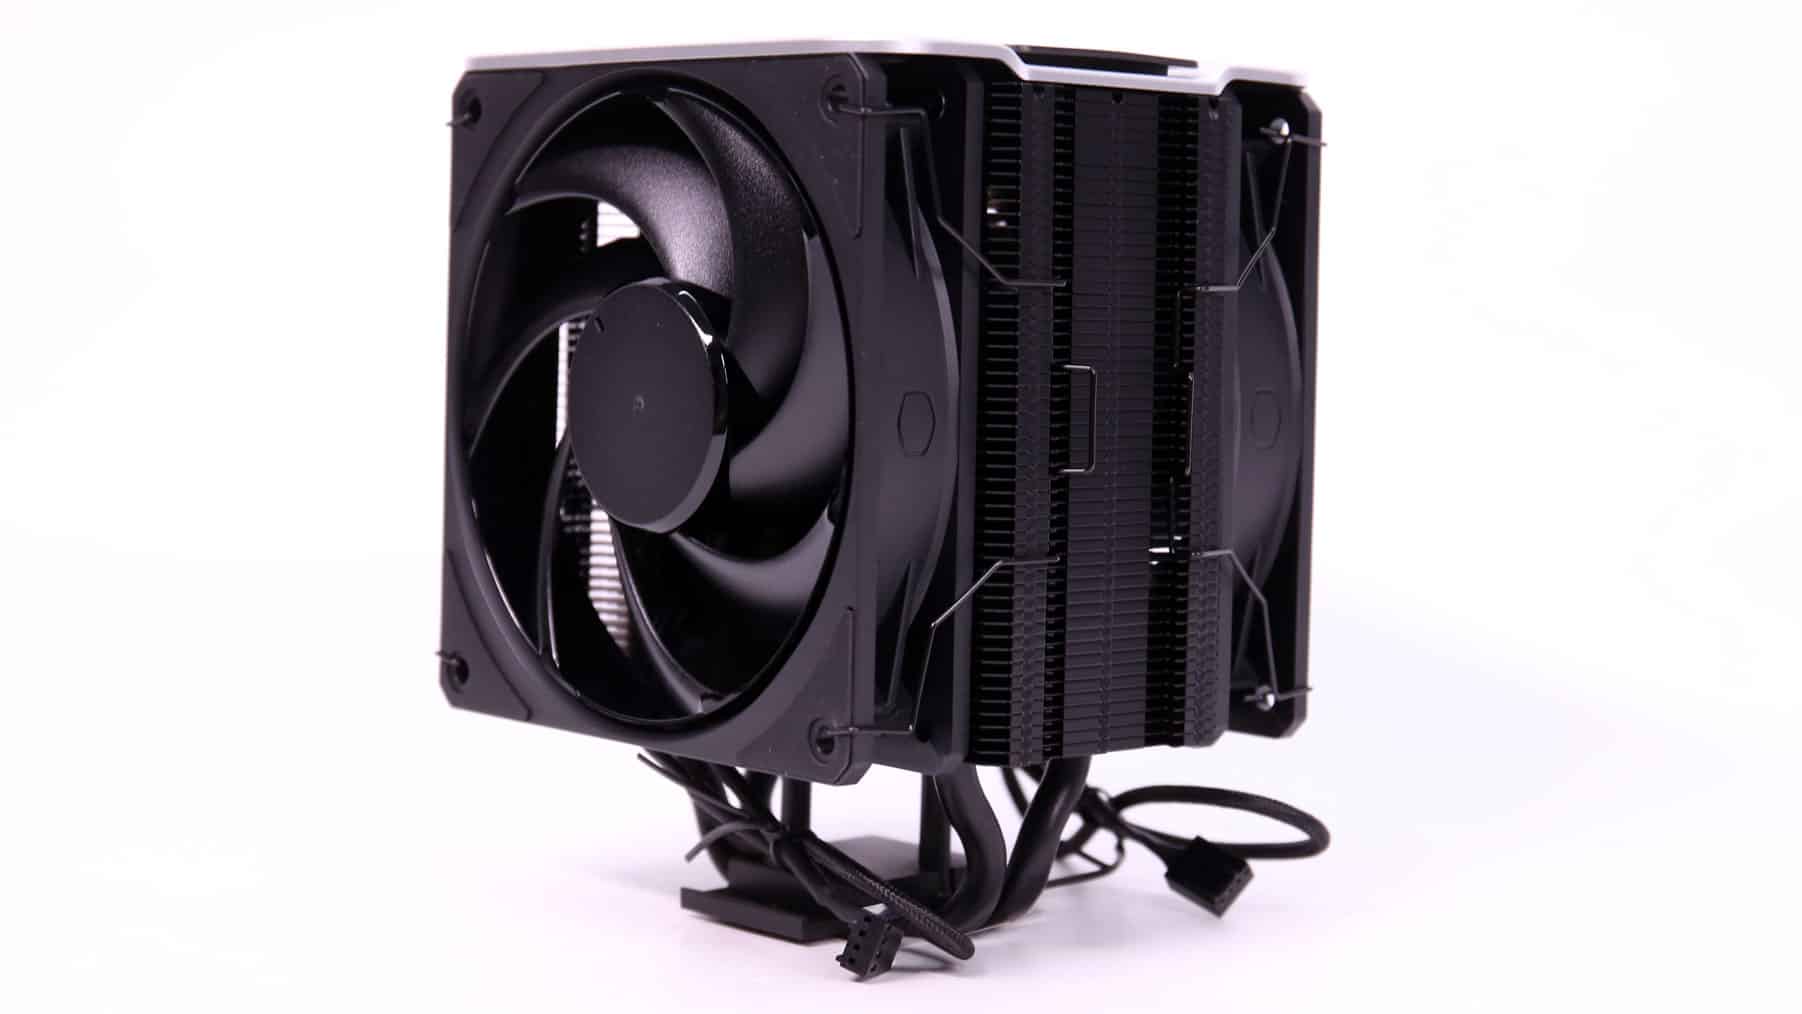
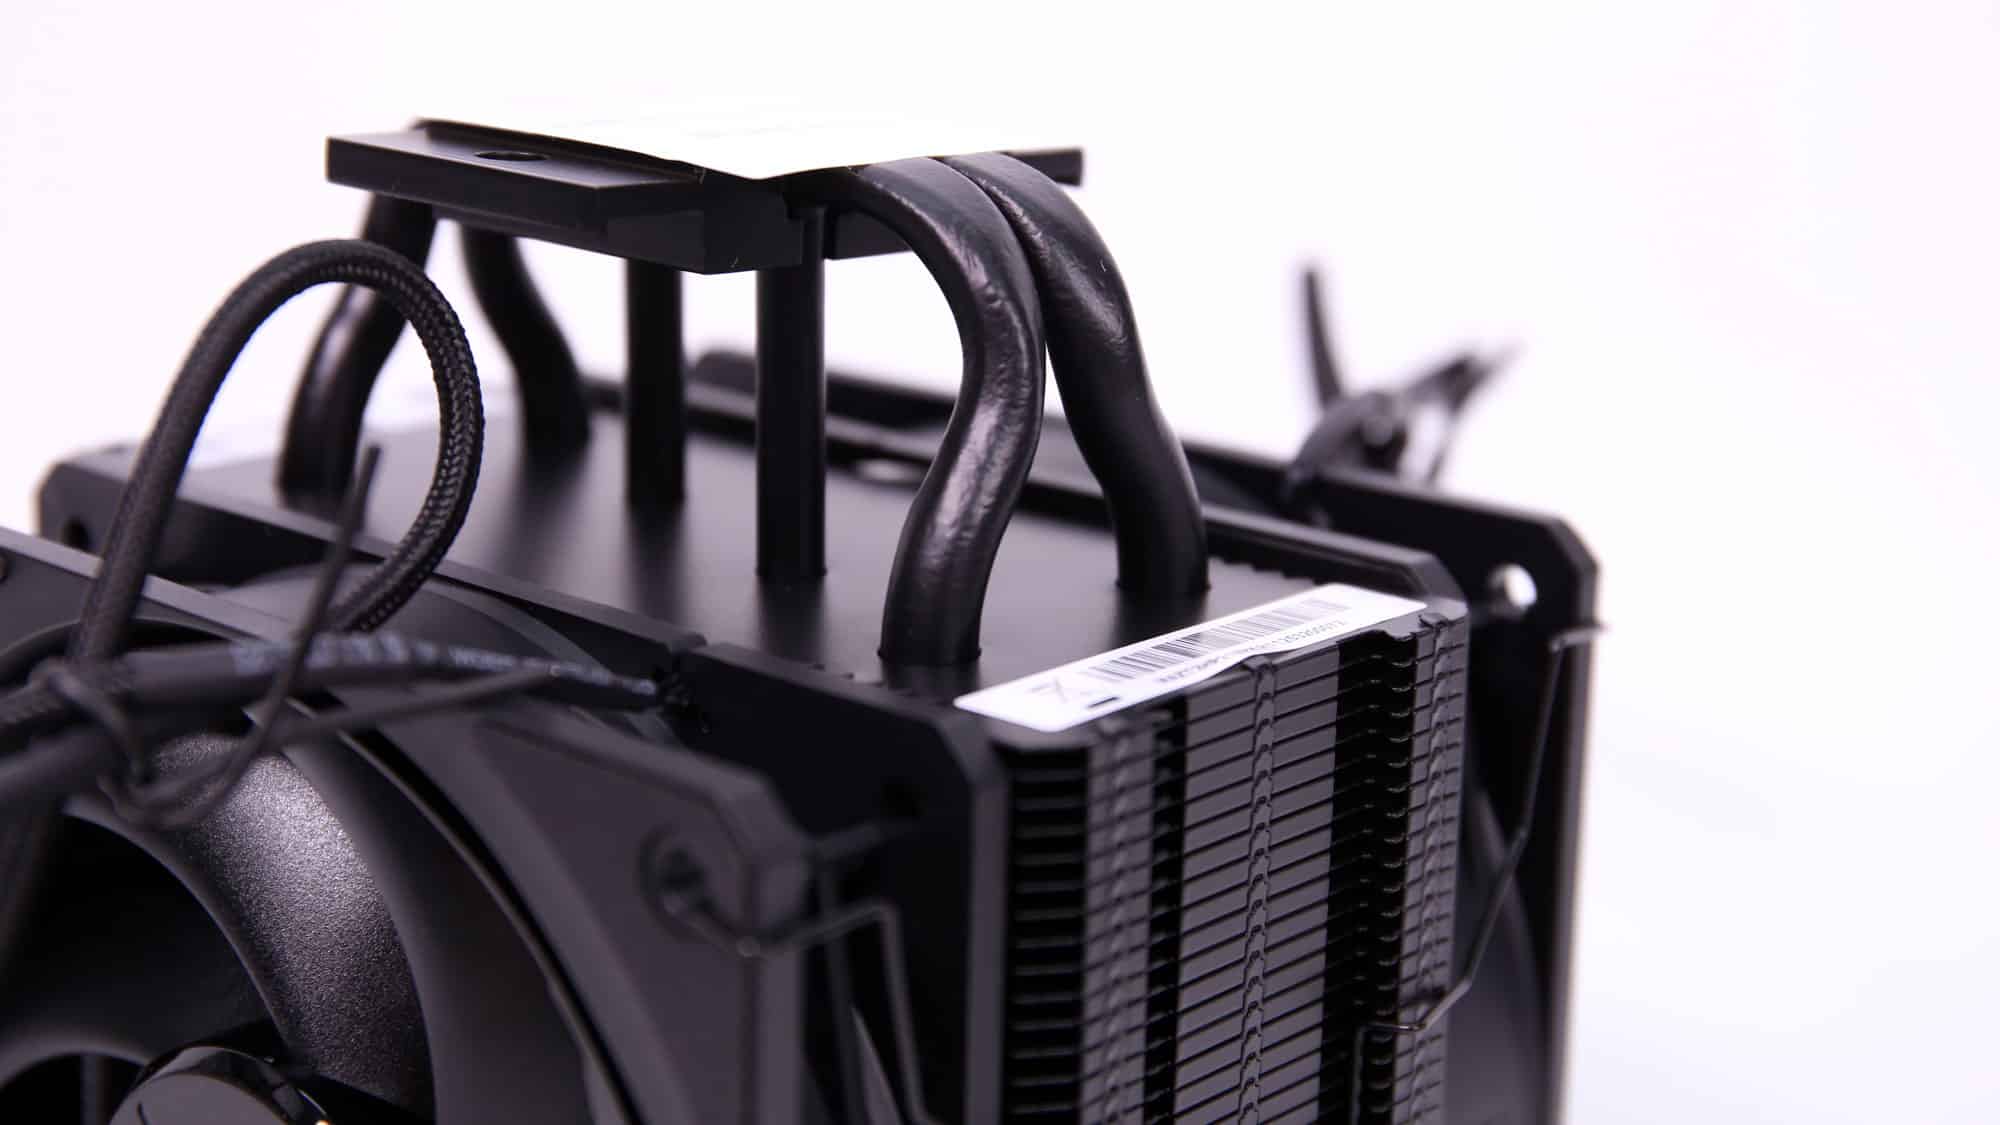
To remove the V4 cooler’s fan frame (and the fans), you have to unclip the fans from the heatsink’s body. Then the whole frame can be easily detached. You will have to do that during the installation process to access the cooler’s mounting screws, which are spring-loaded.
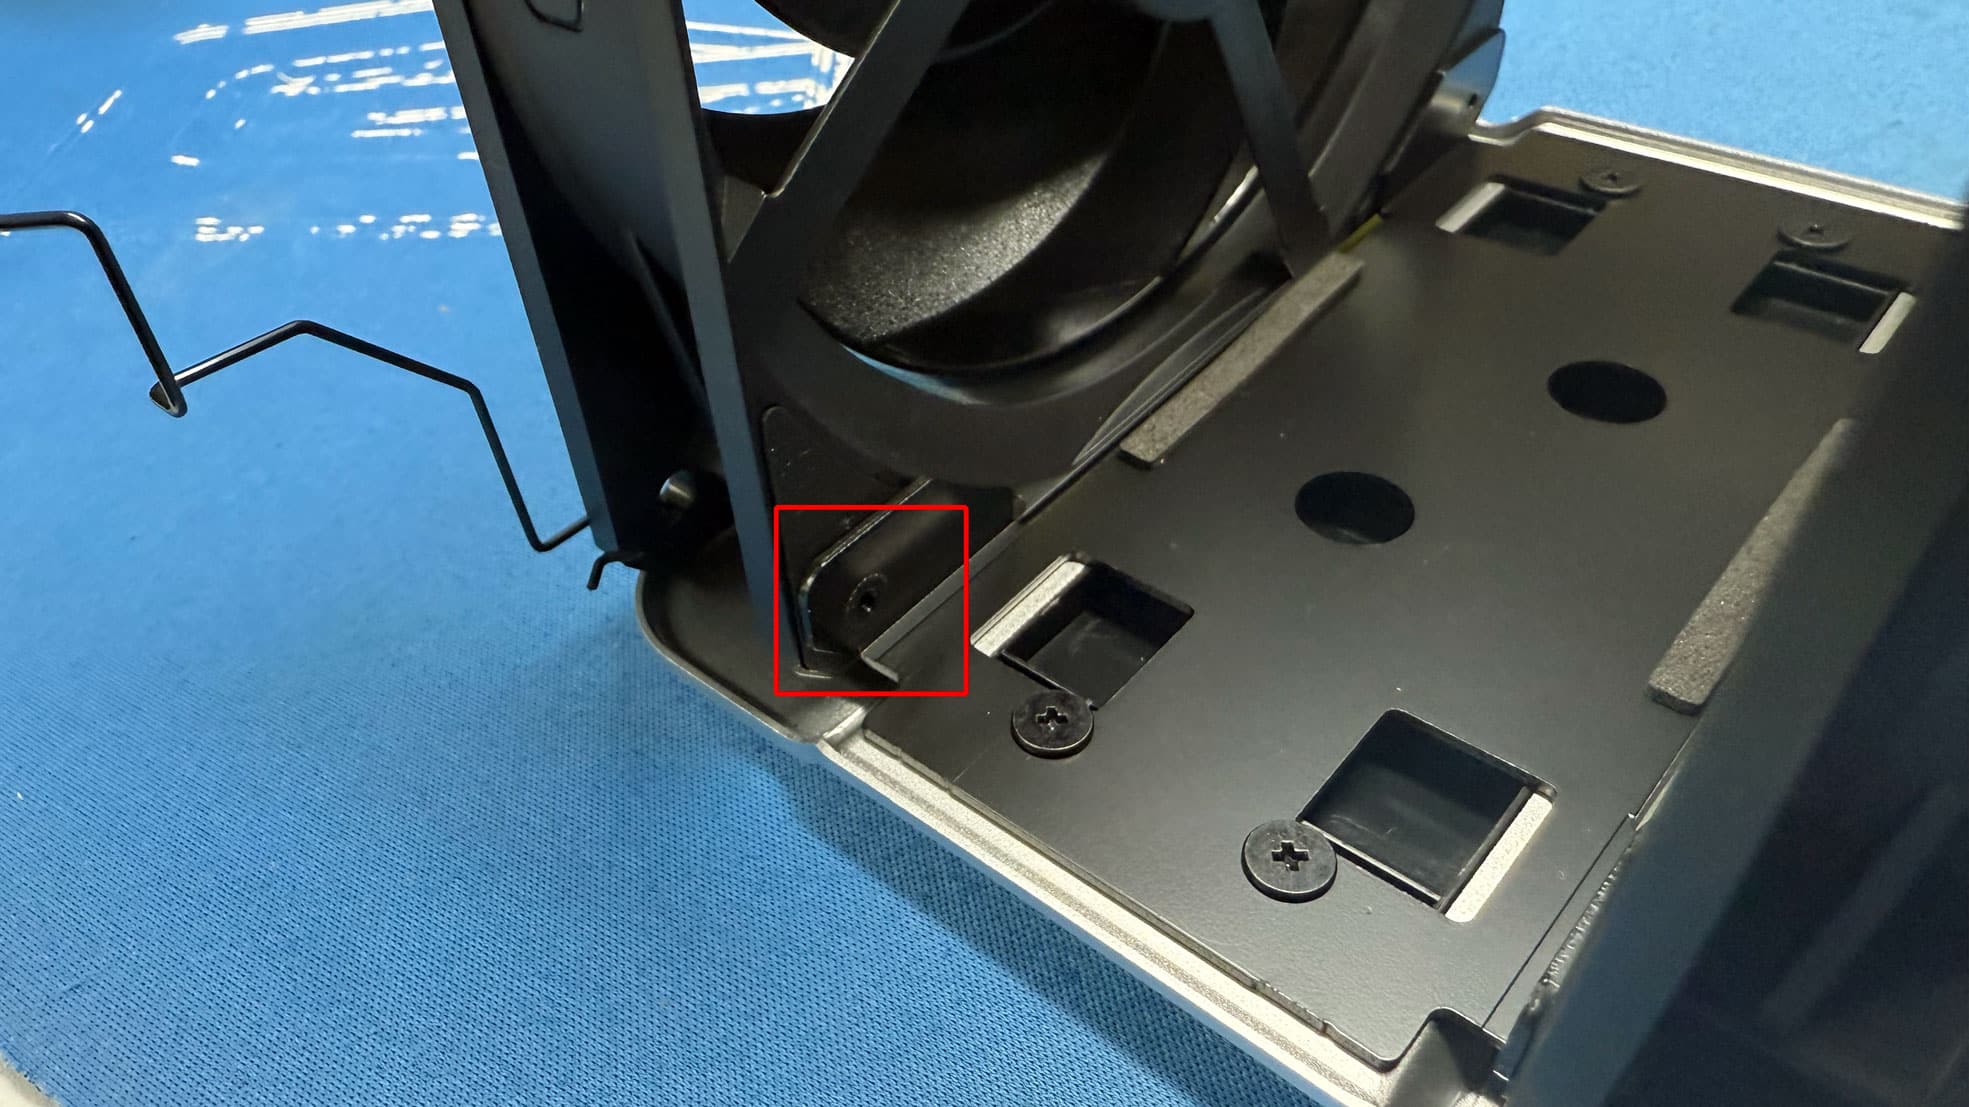
If you ever need to remove the fans from the V4 cooler’s fan frame, you will probably have a tough time.
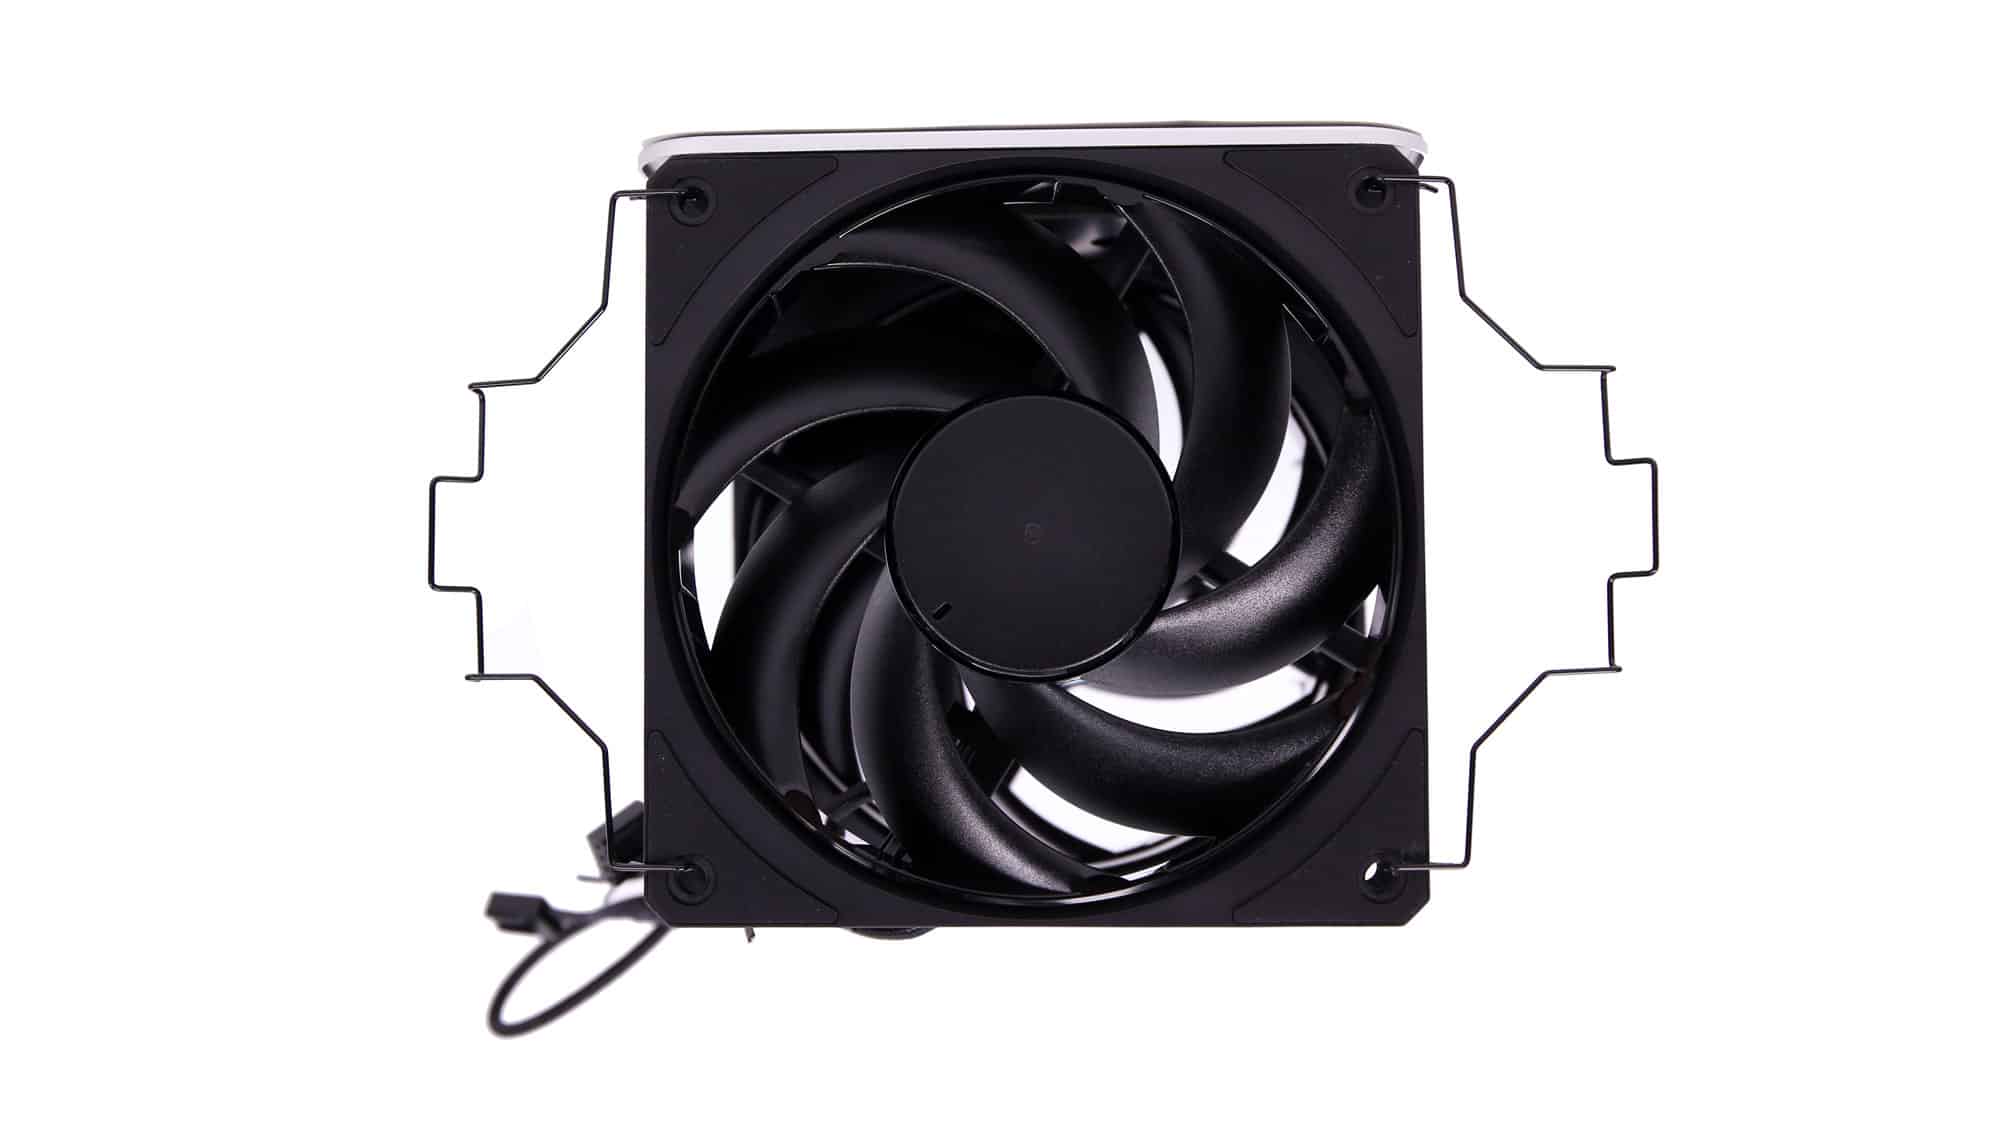
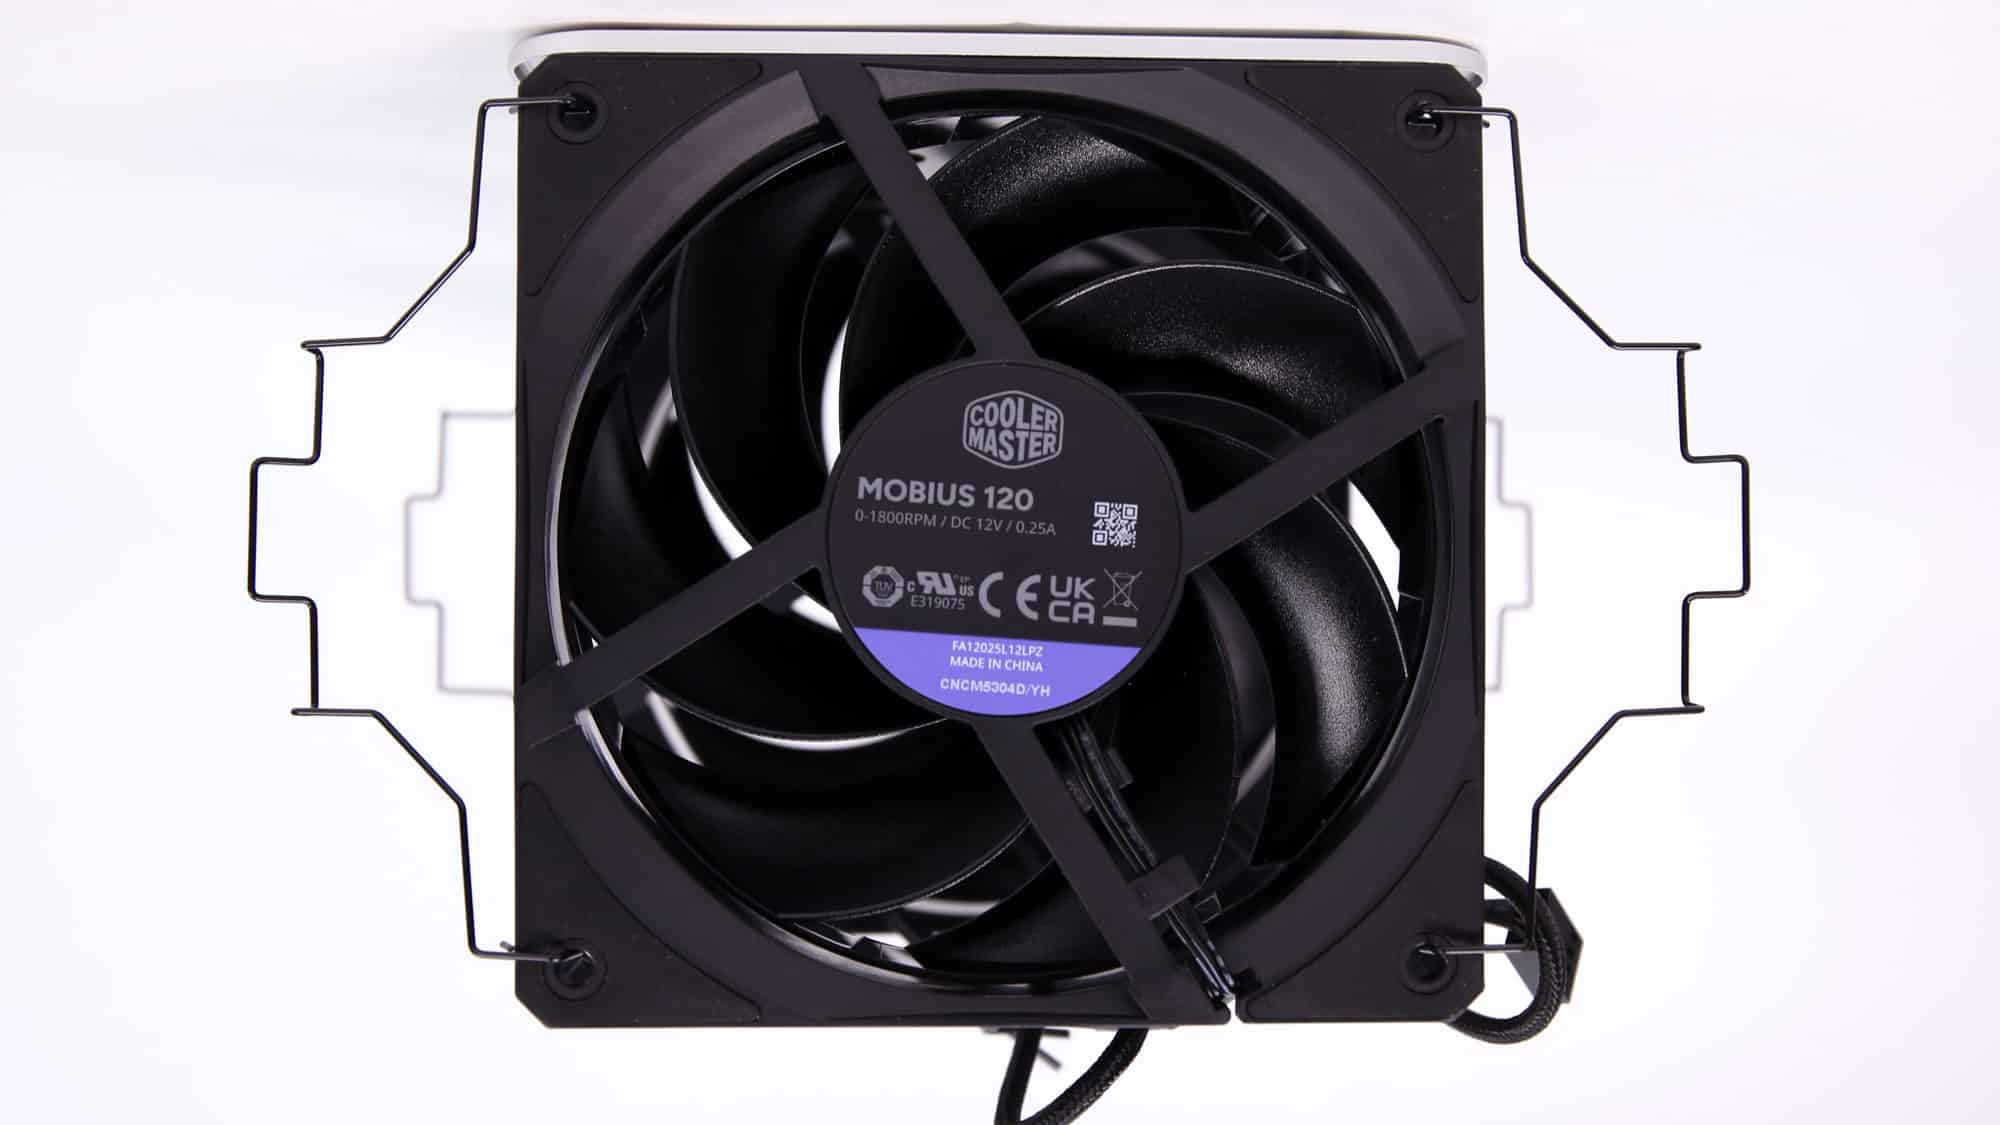
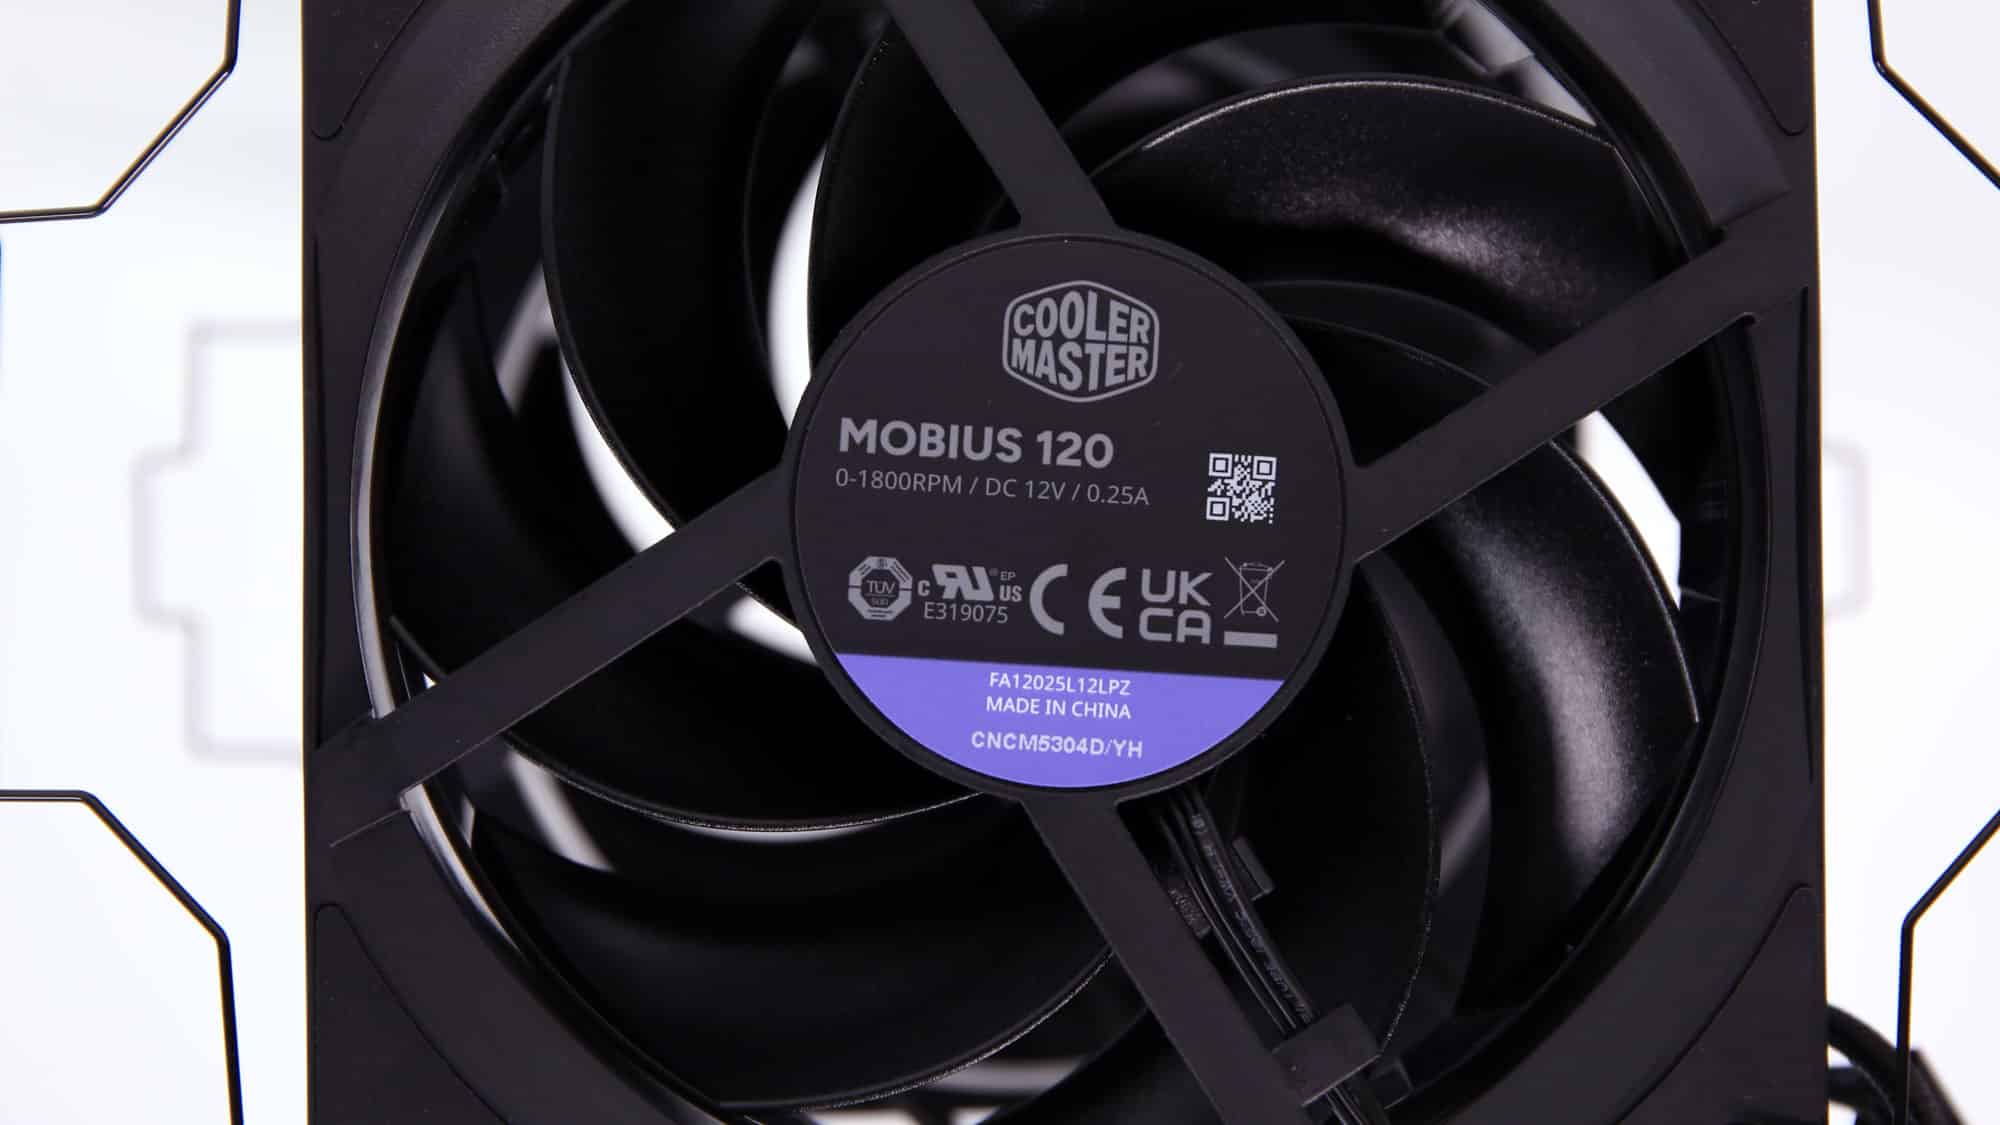
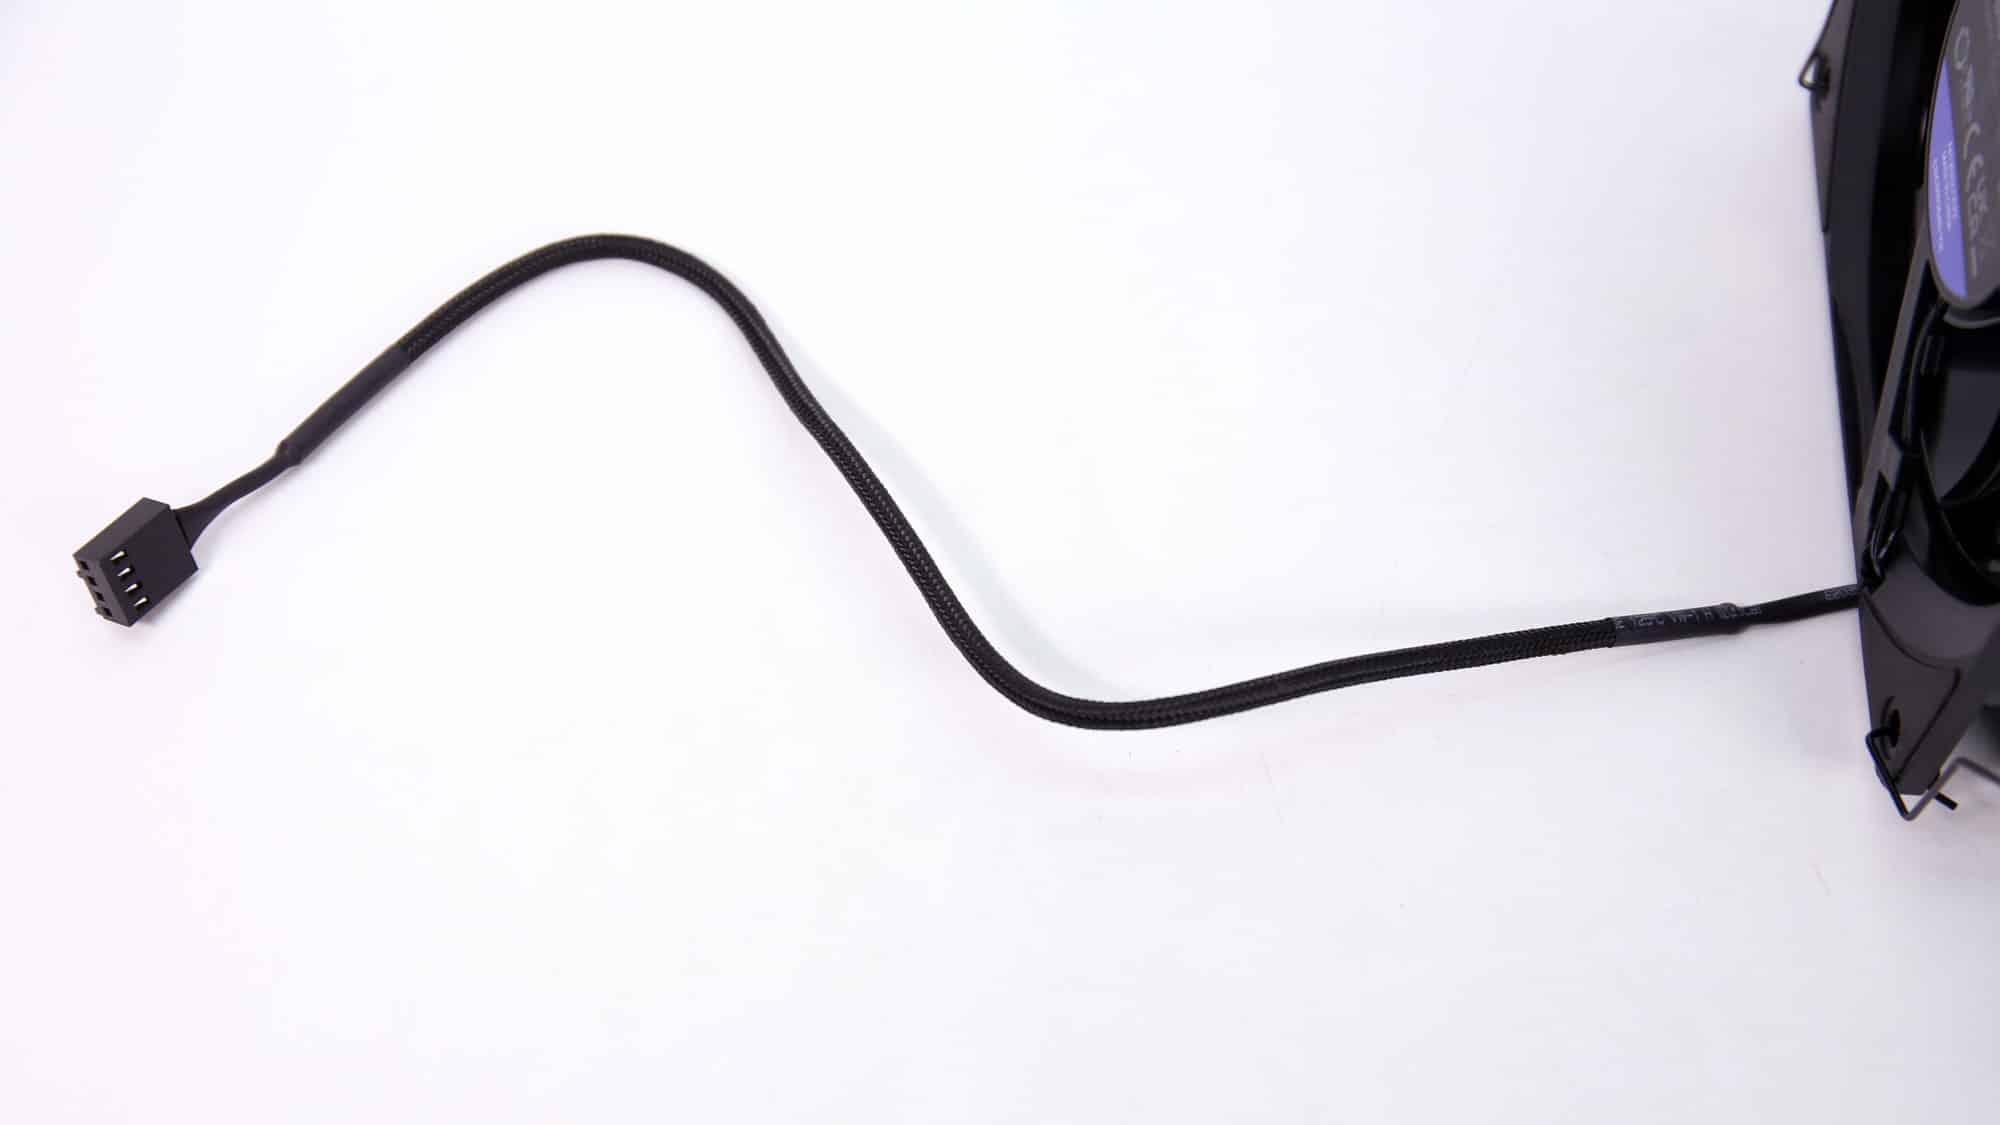
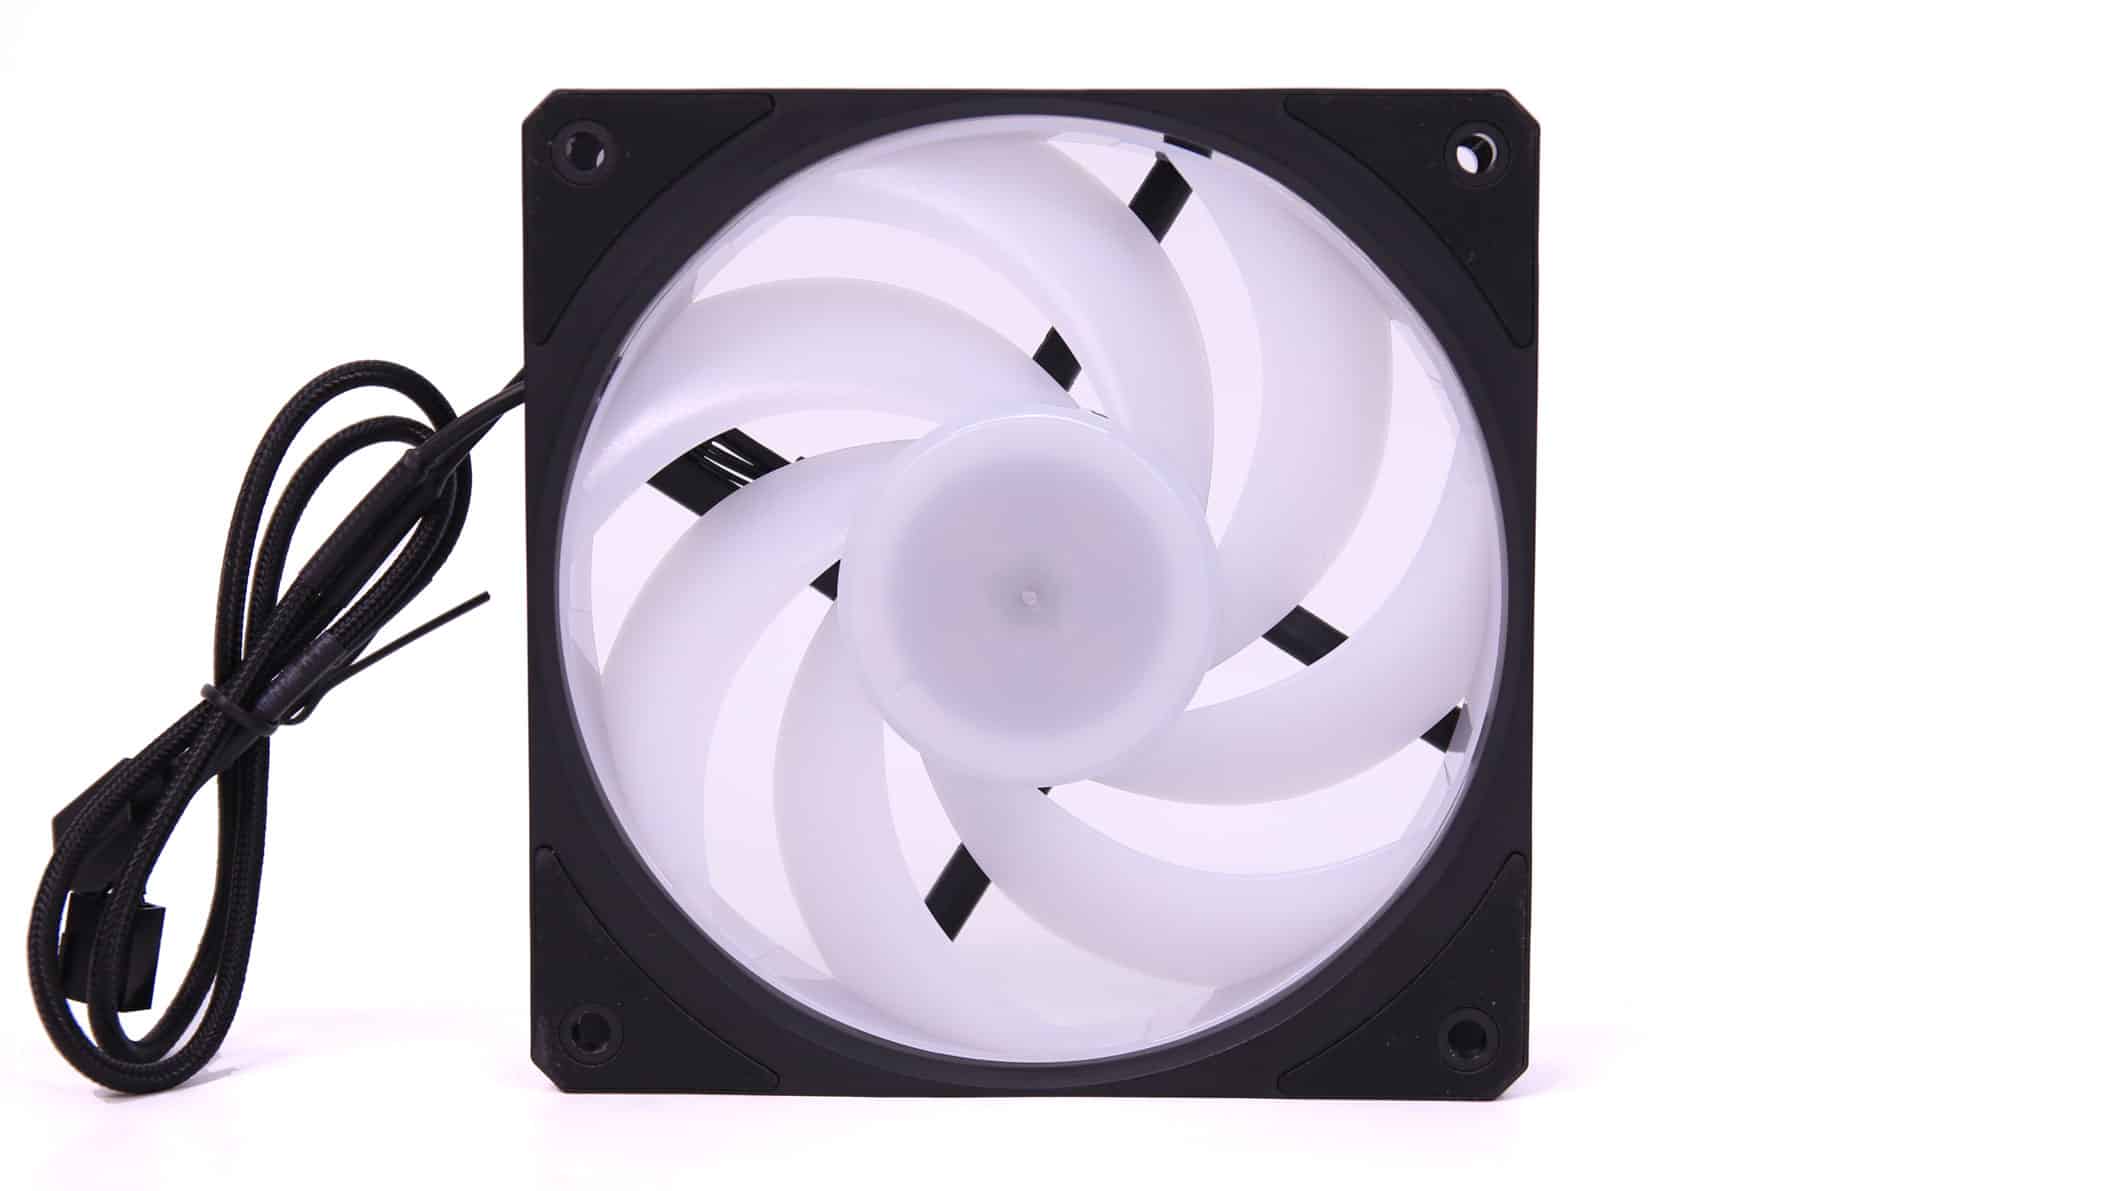
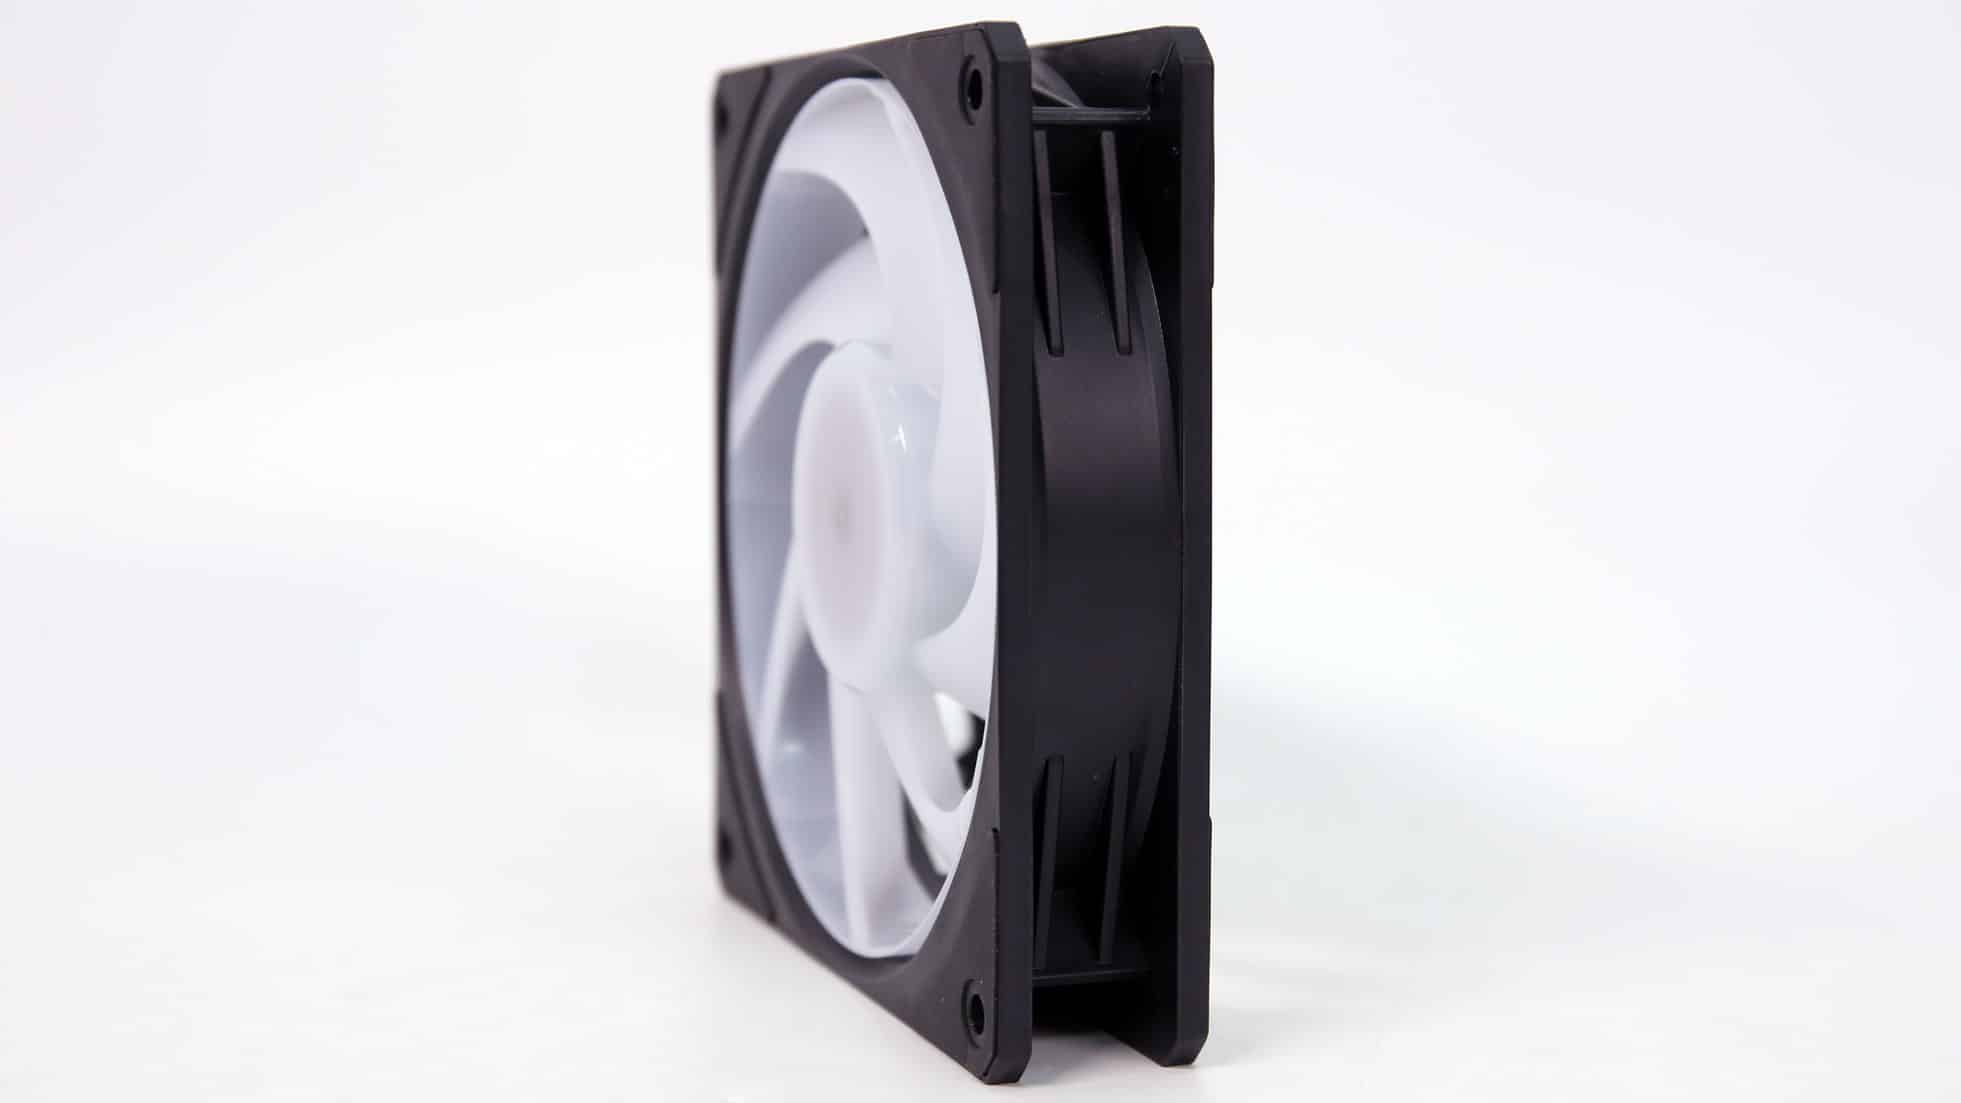
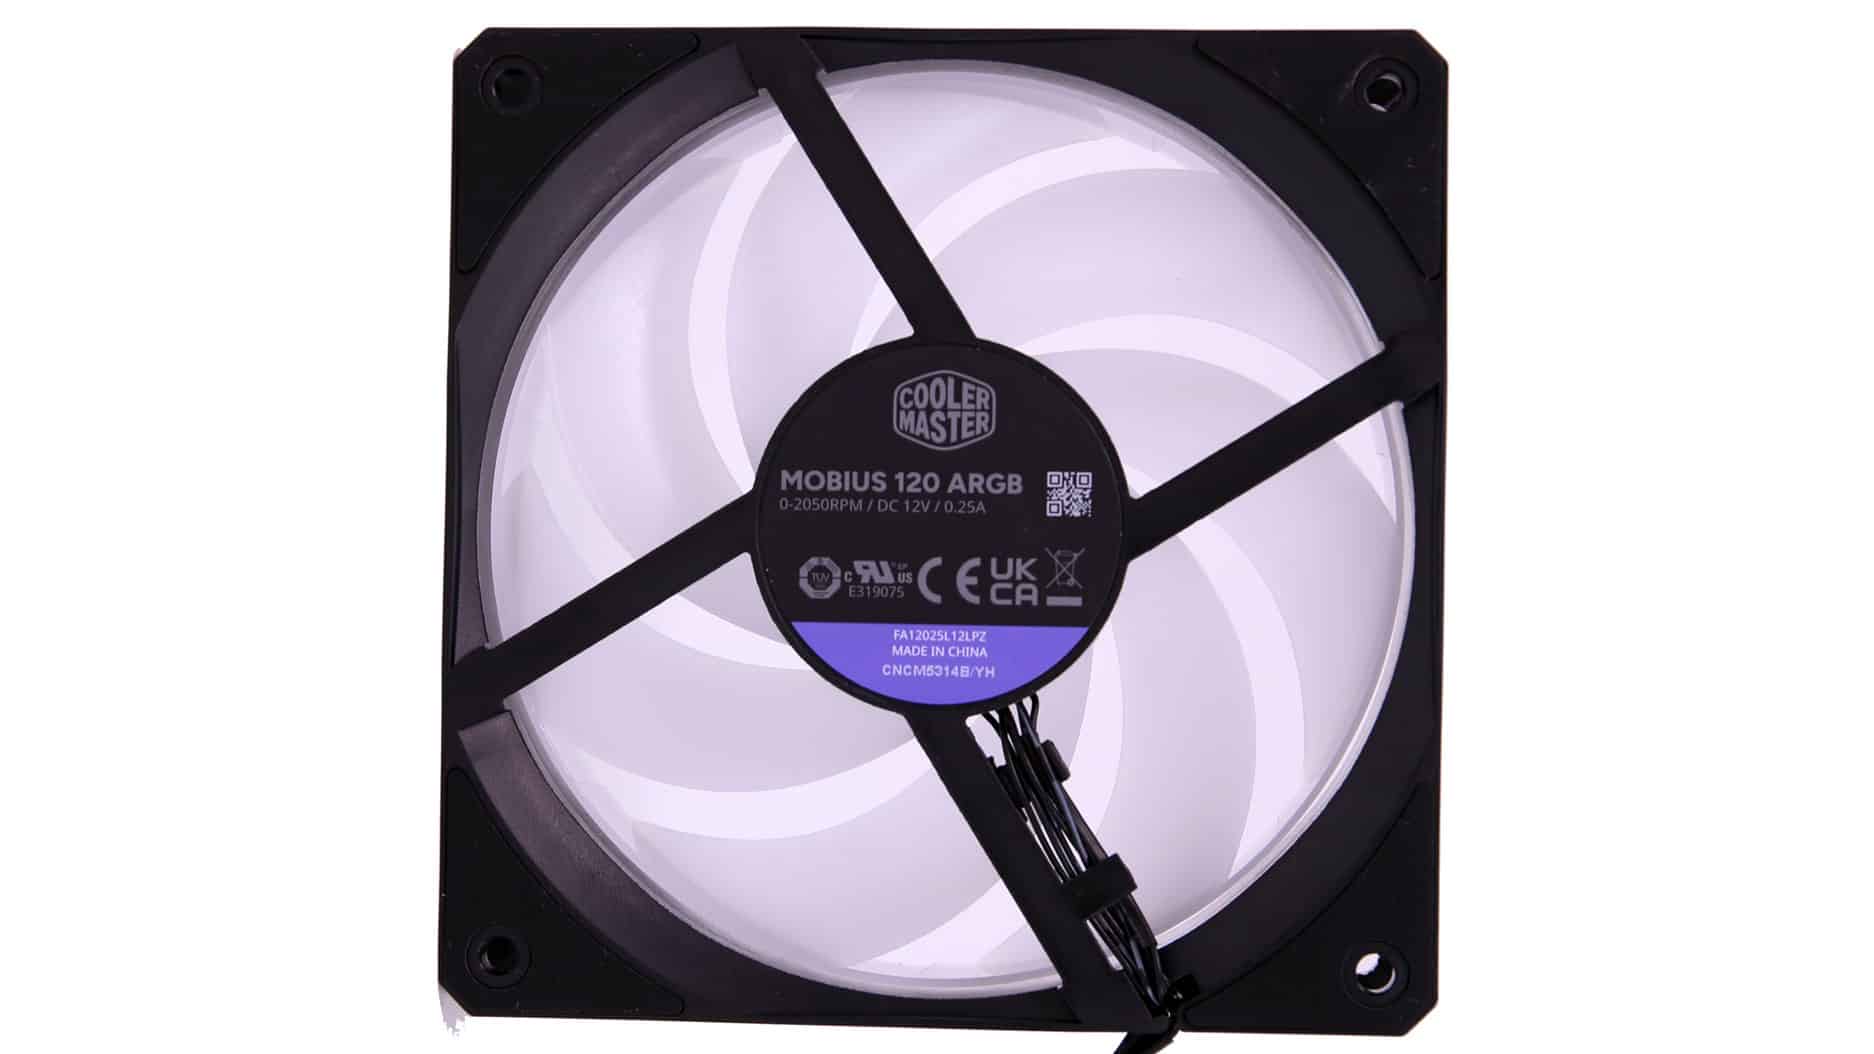
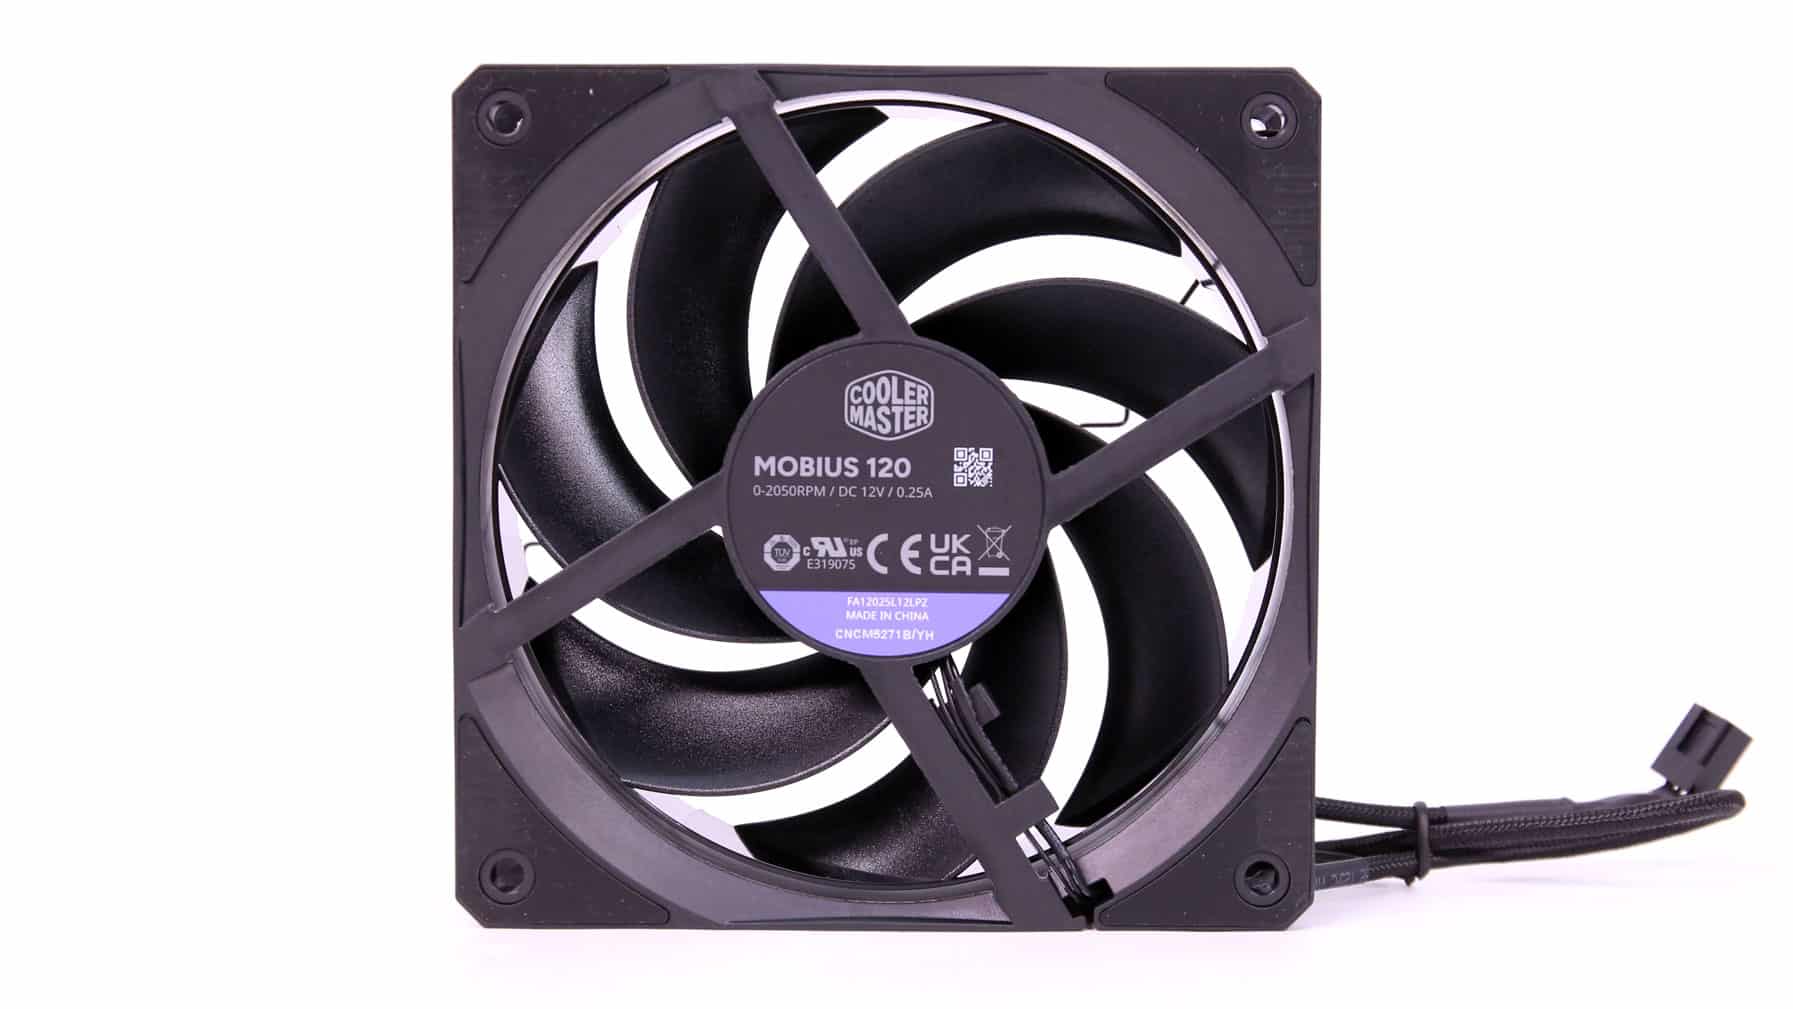
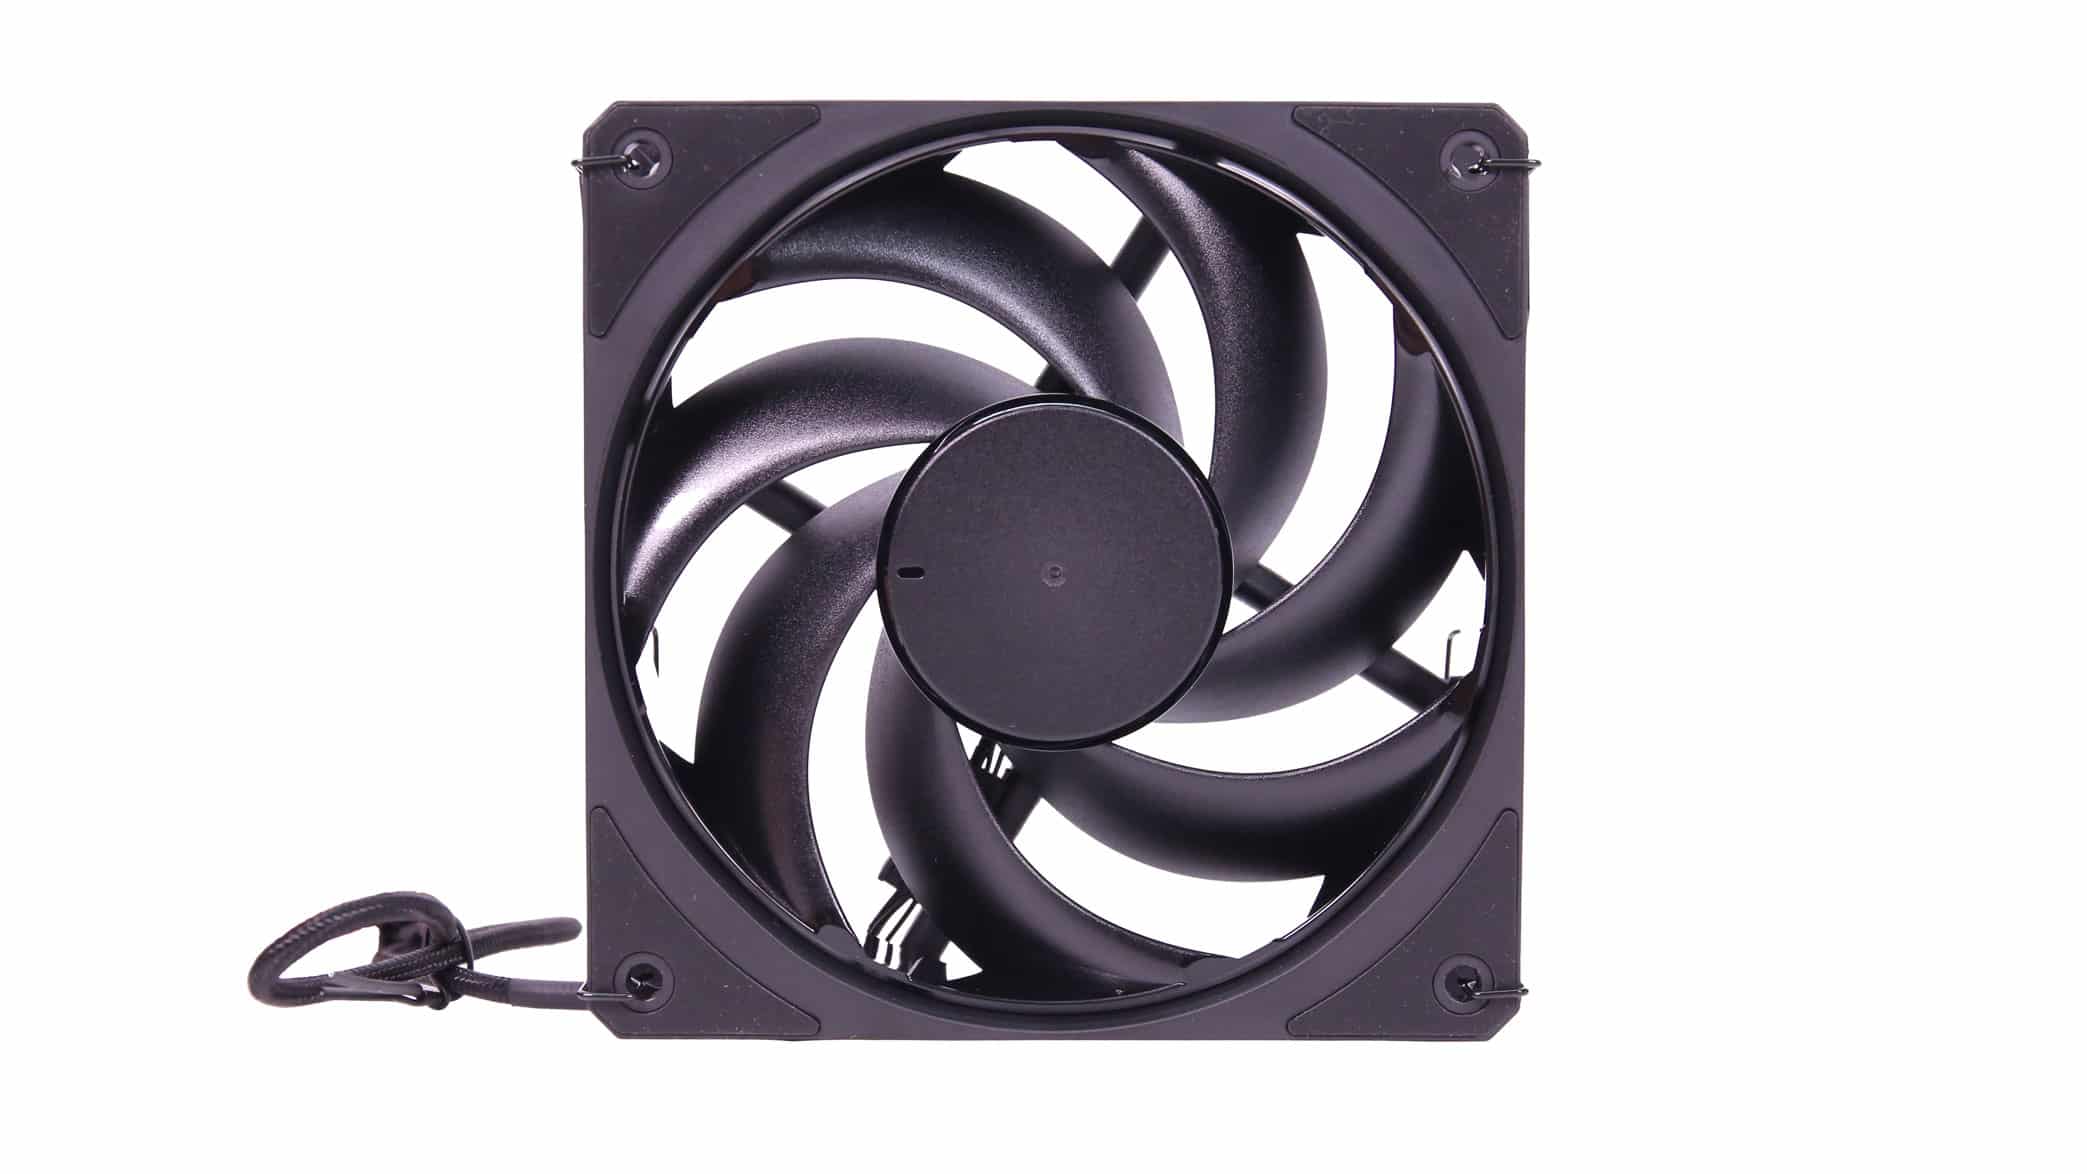
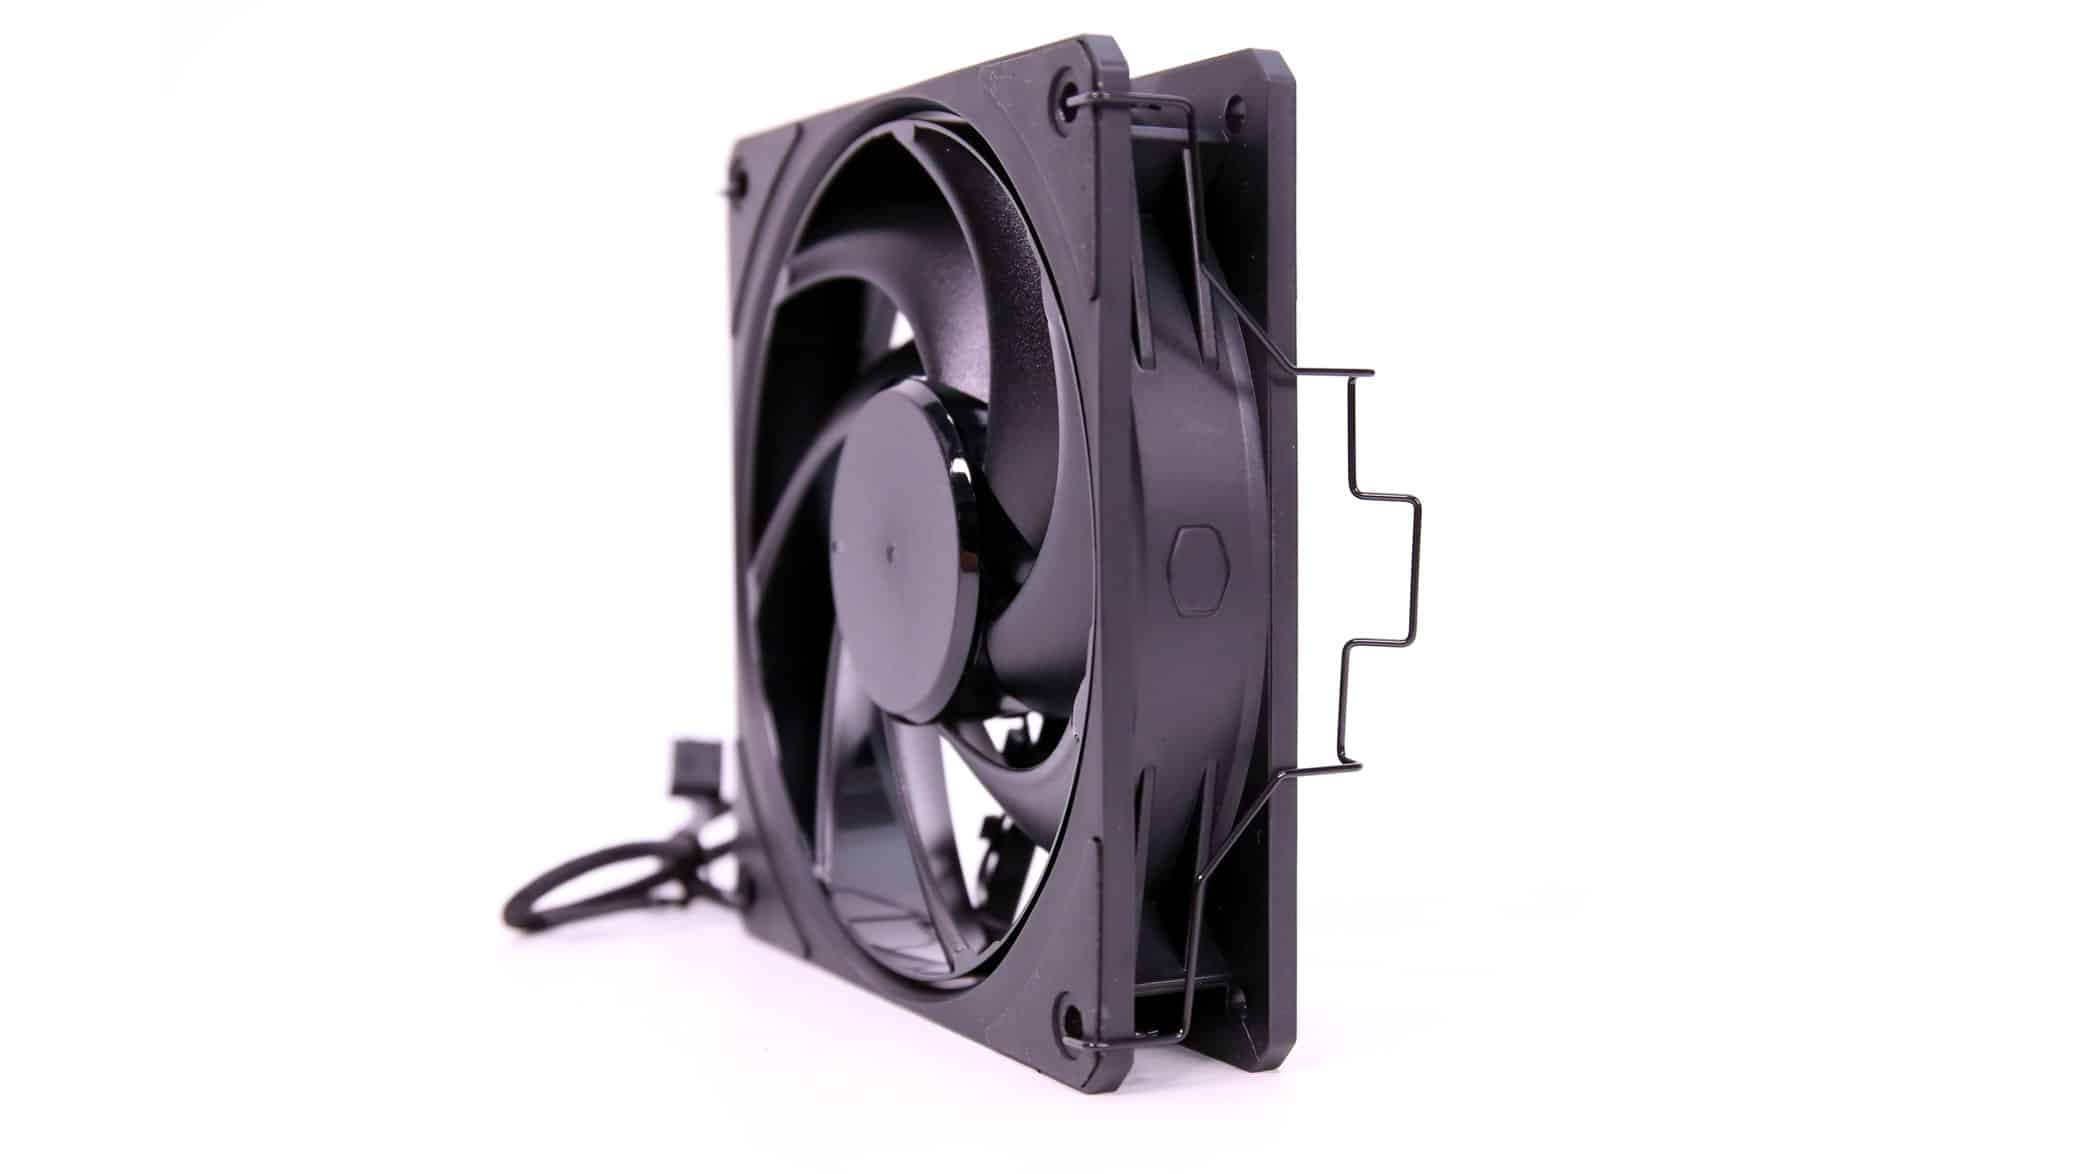
Photos of the fans used in these three coolers. Below you will find the respective Cybenetics reports. As you will see, they achieve high performance at airflow and static pressure.