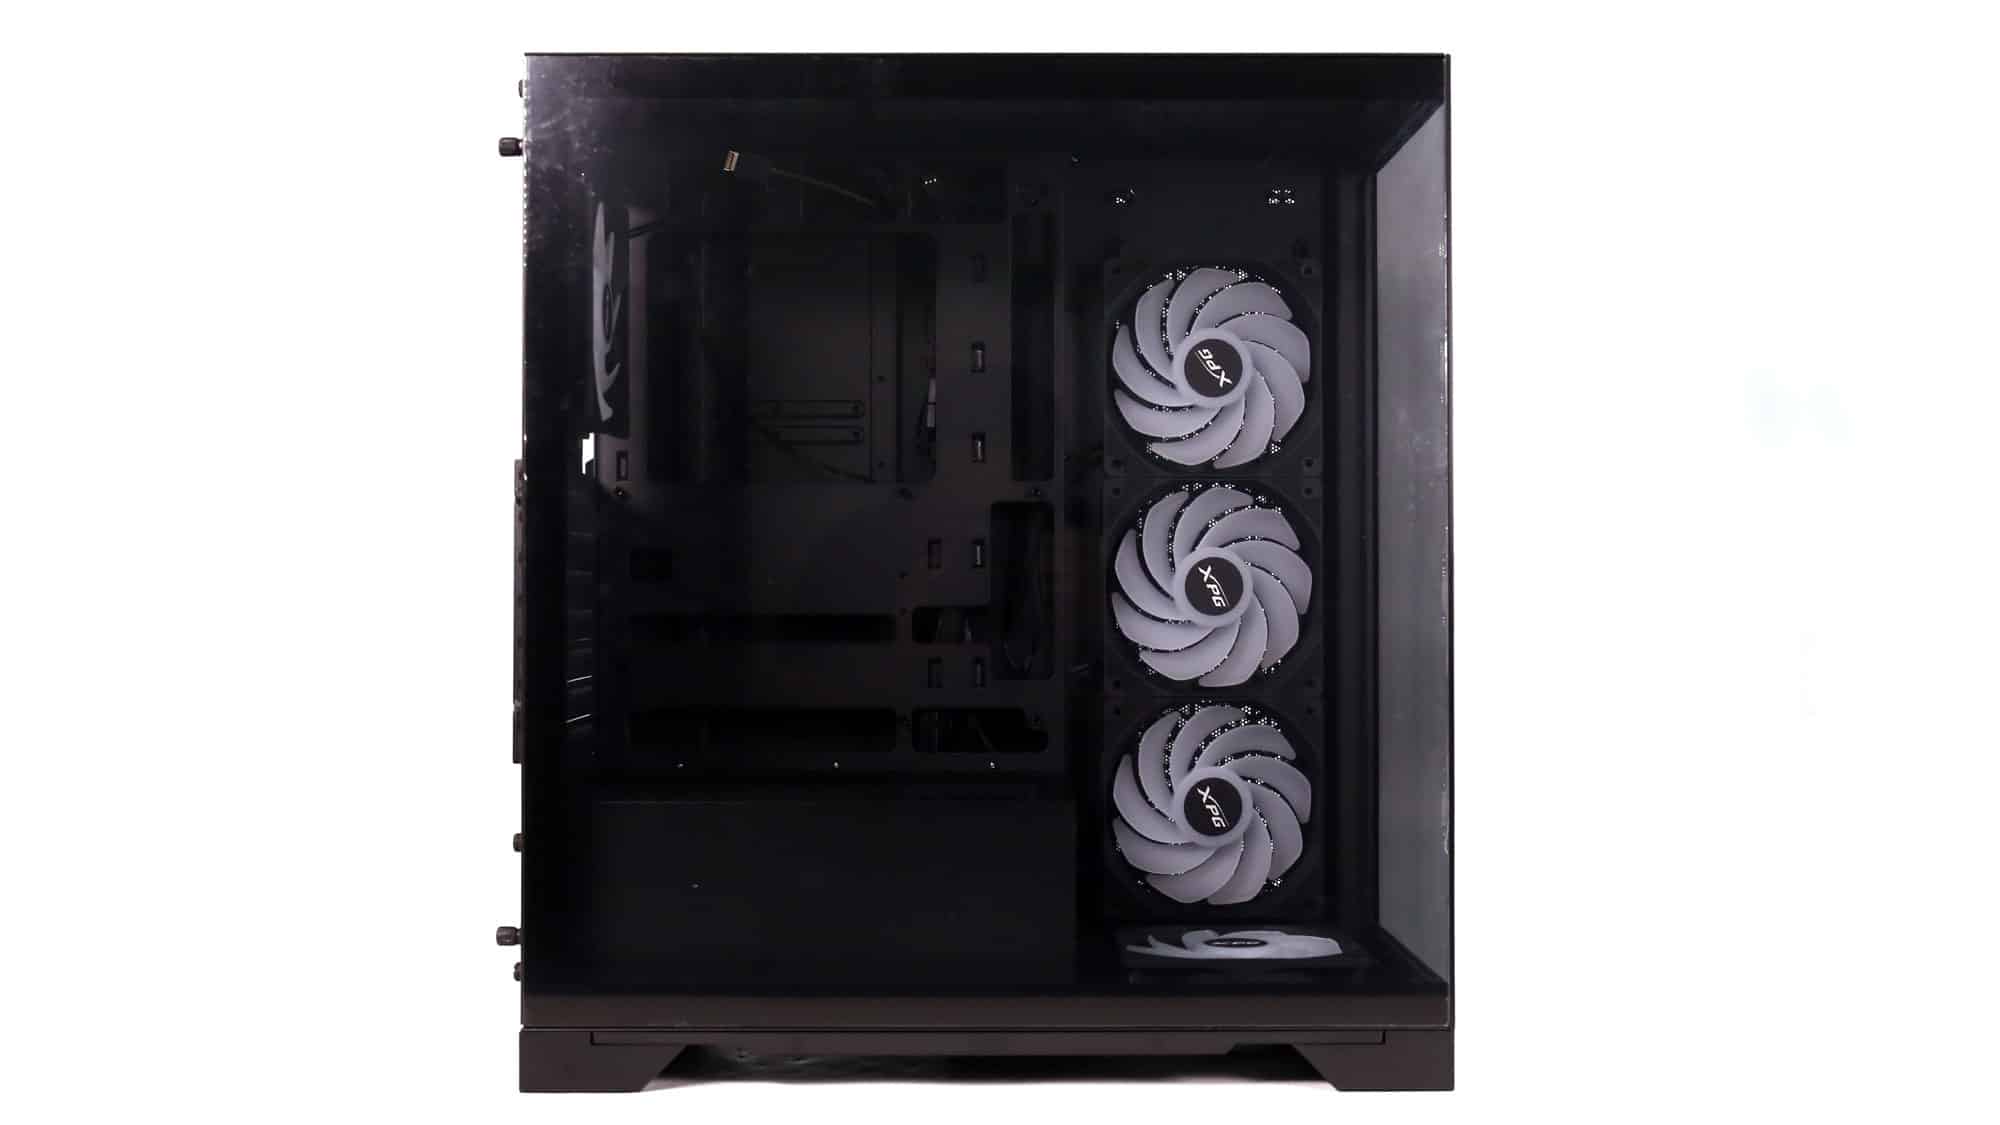
Chassis Photos – Outside
The change in height is very hard to percept, as it is just 10mm, but it may be just enough in some applications, especially if you want to install a radiator on top.


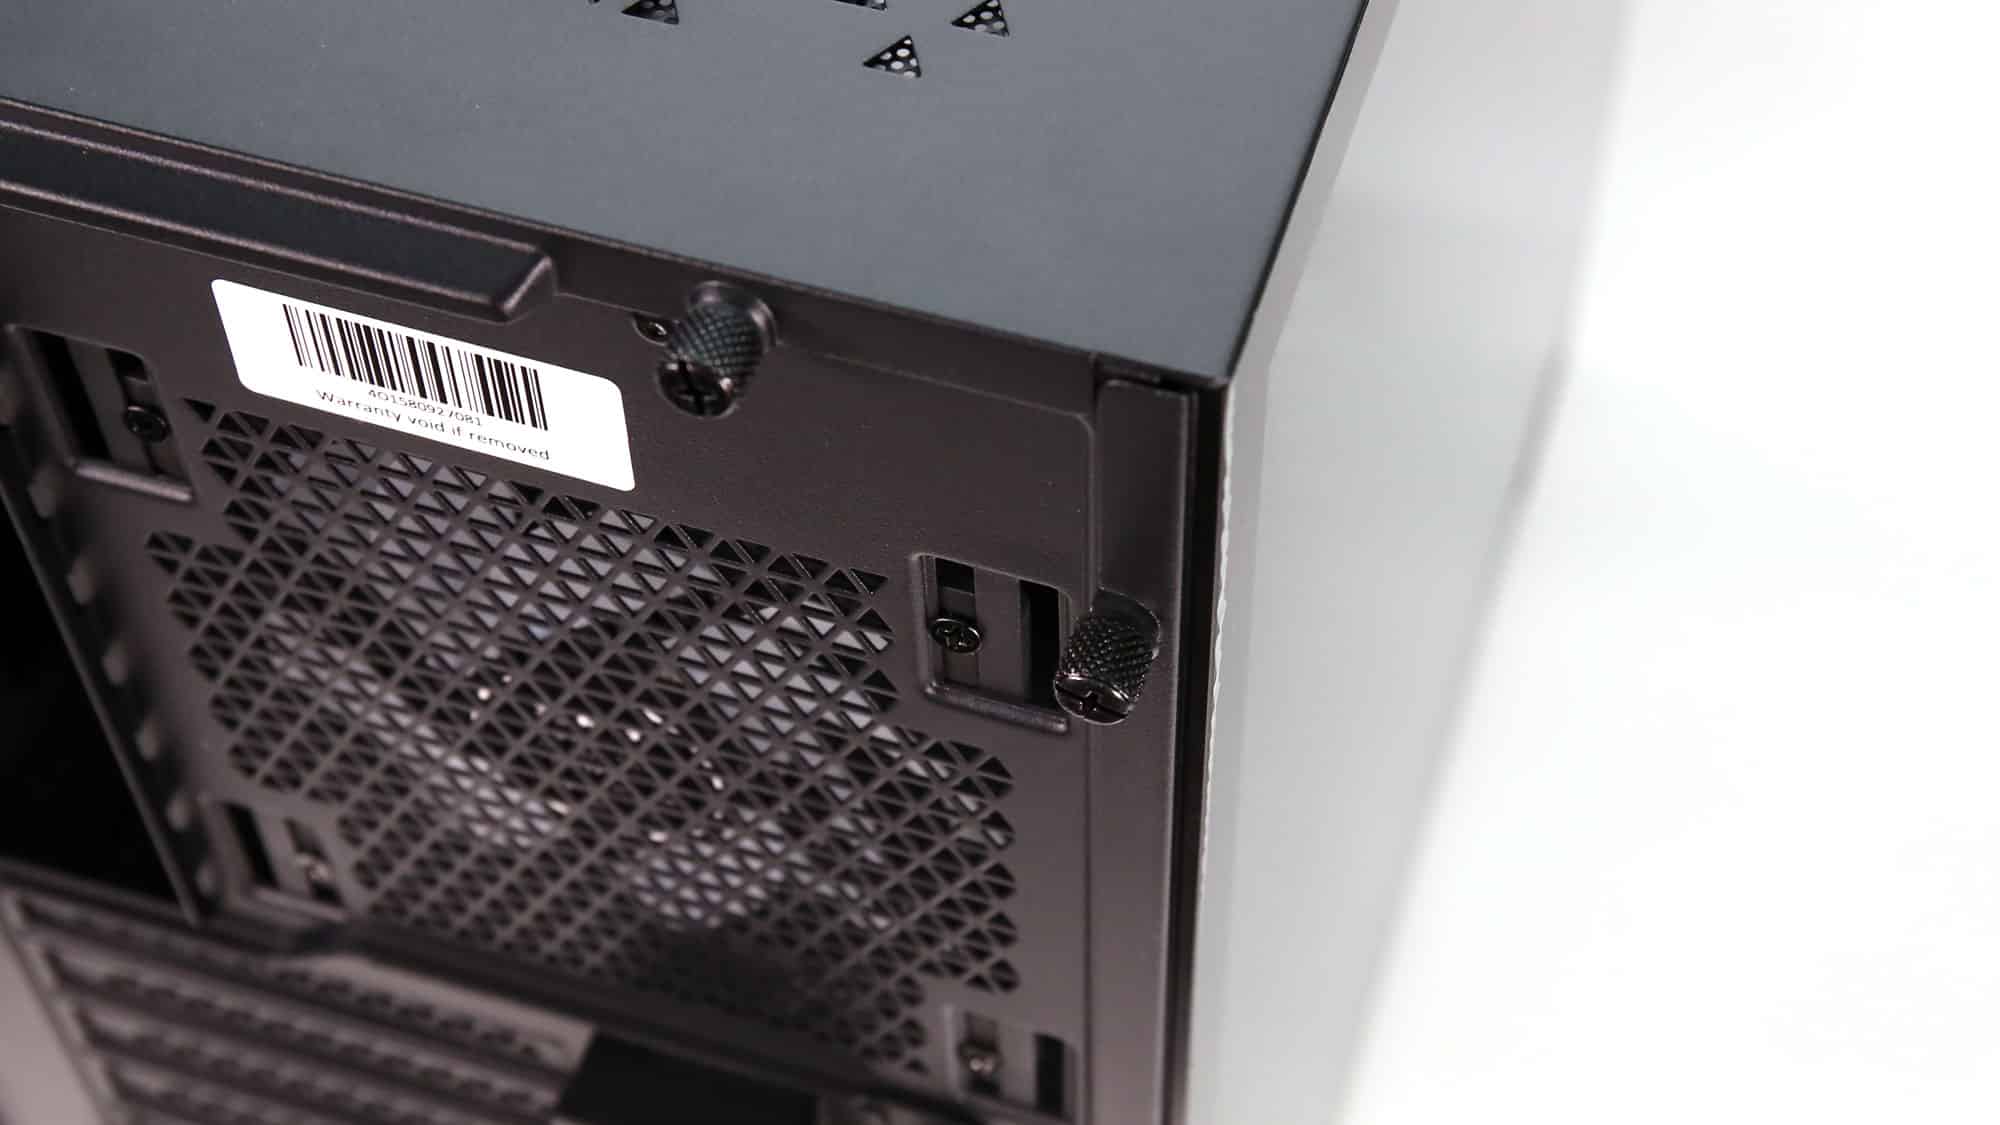
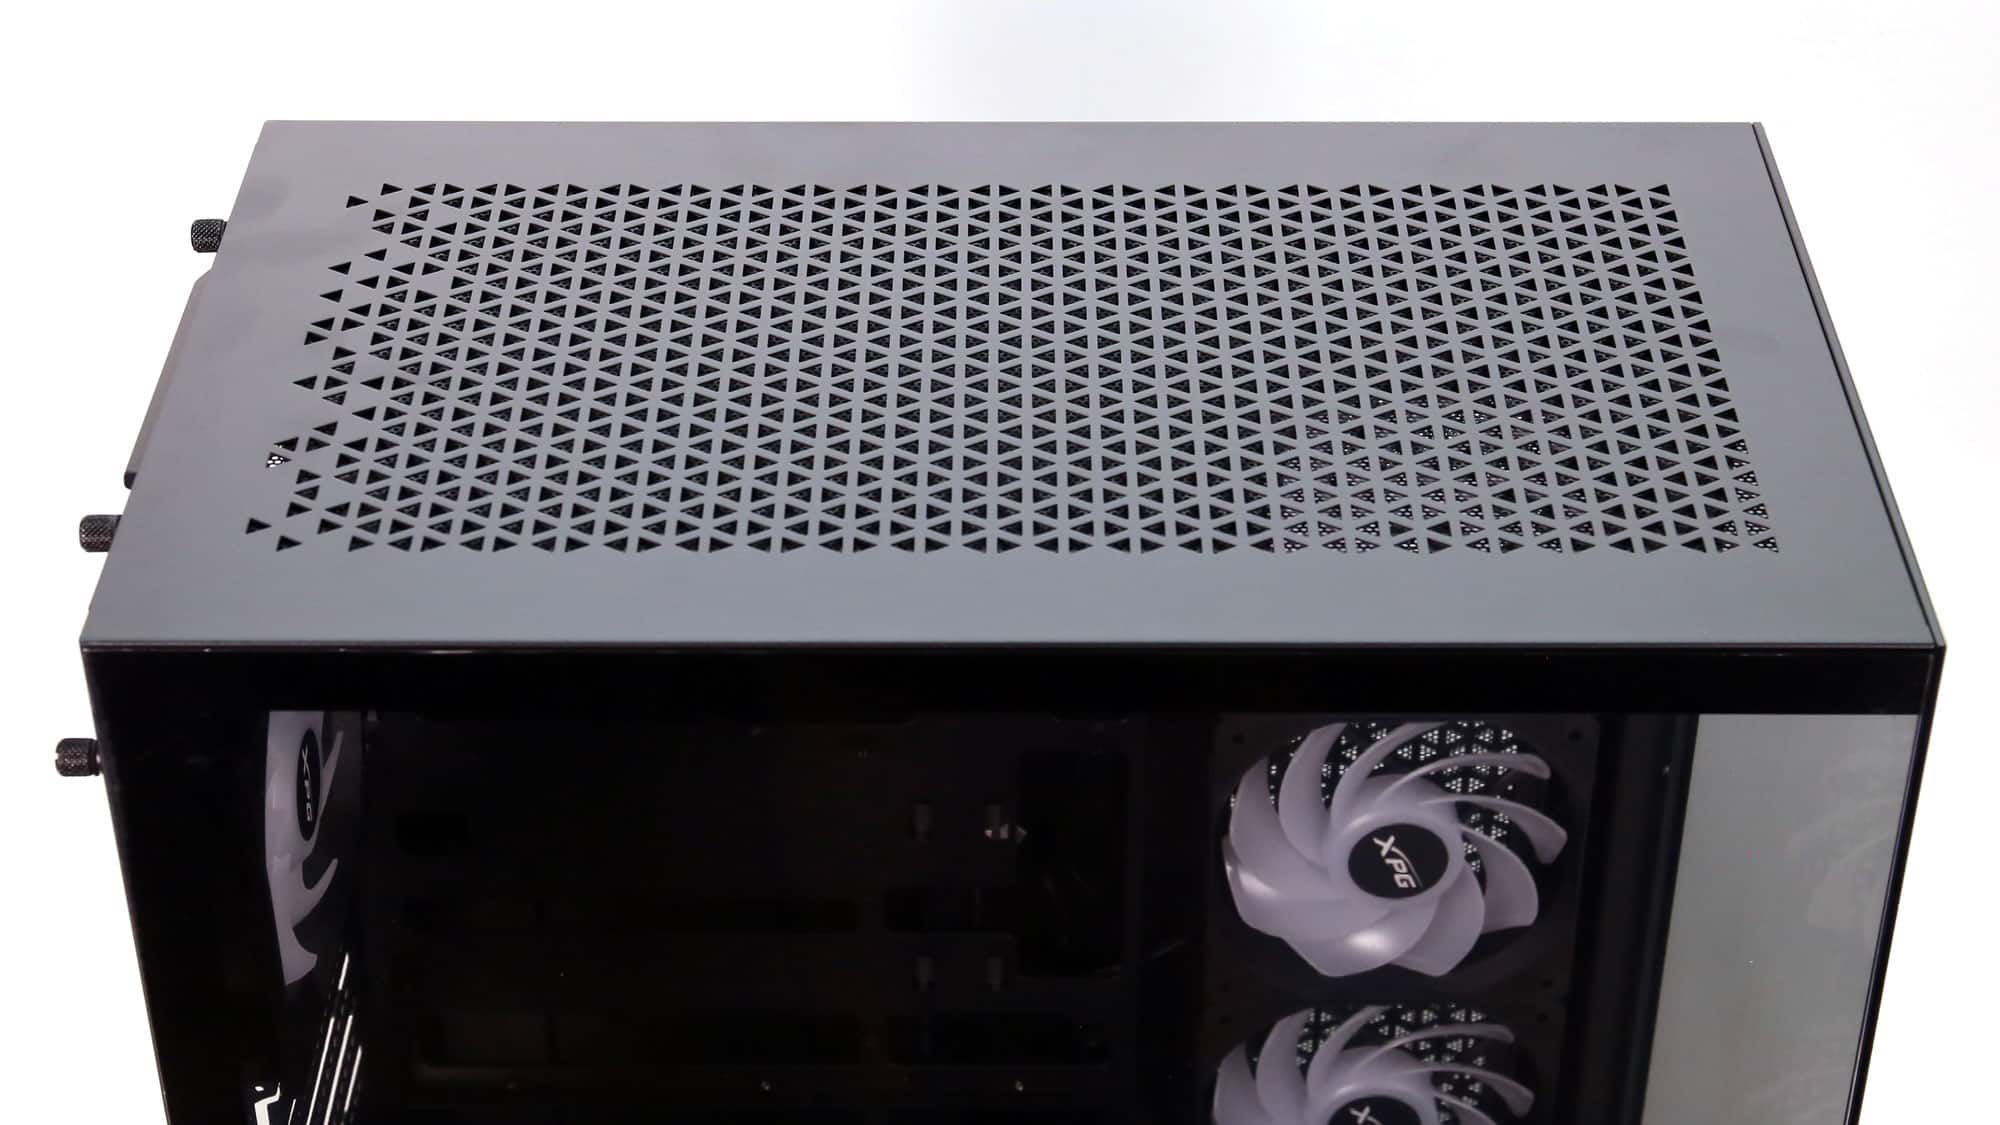
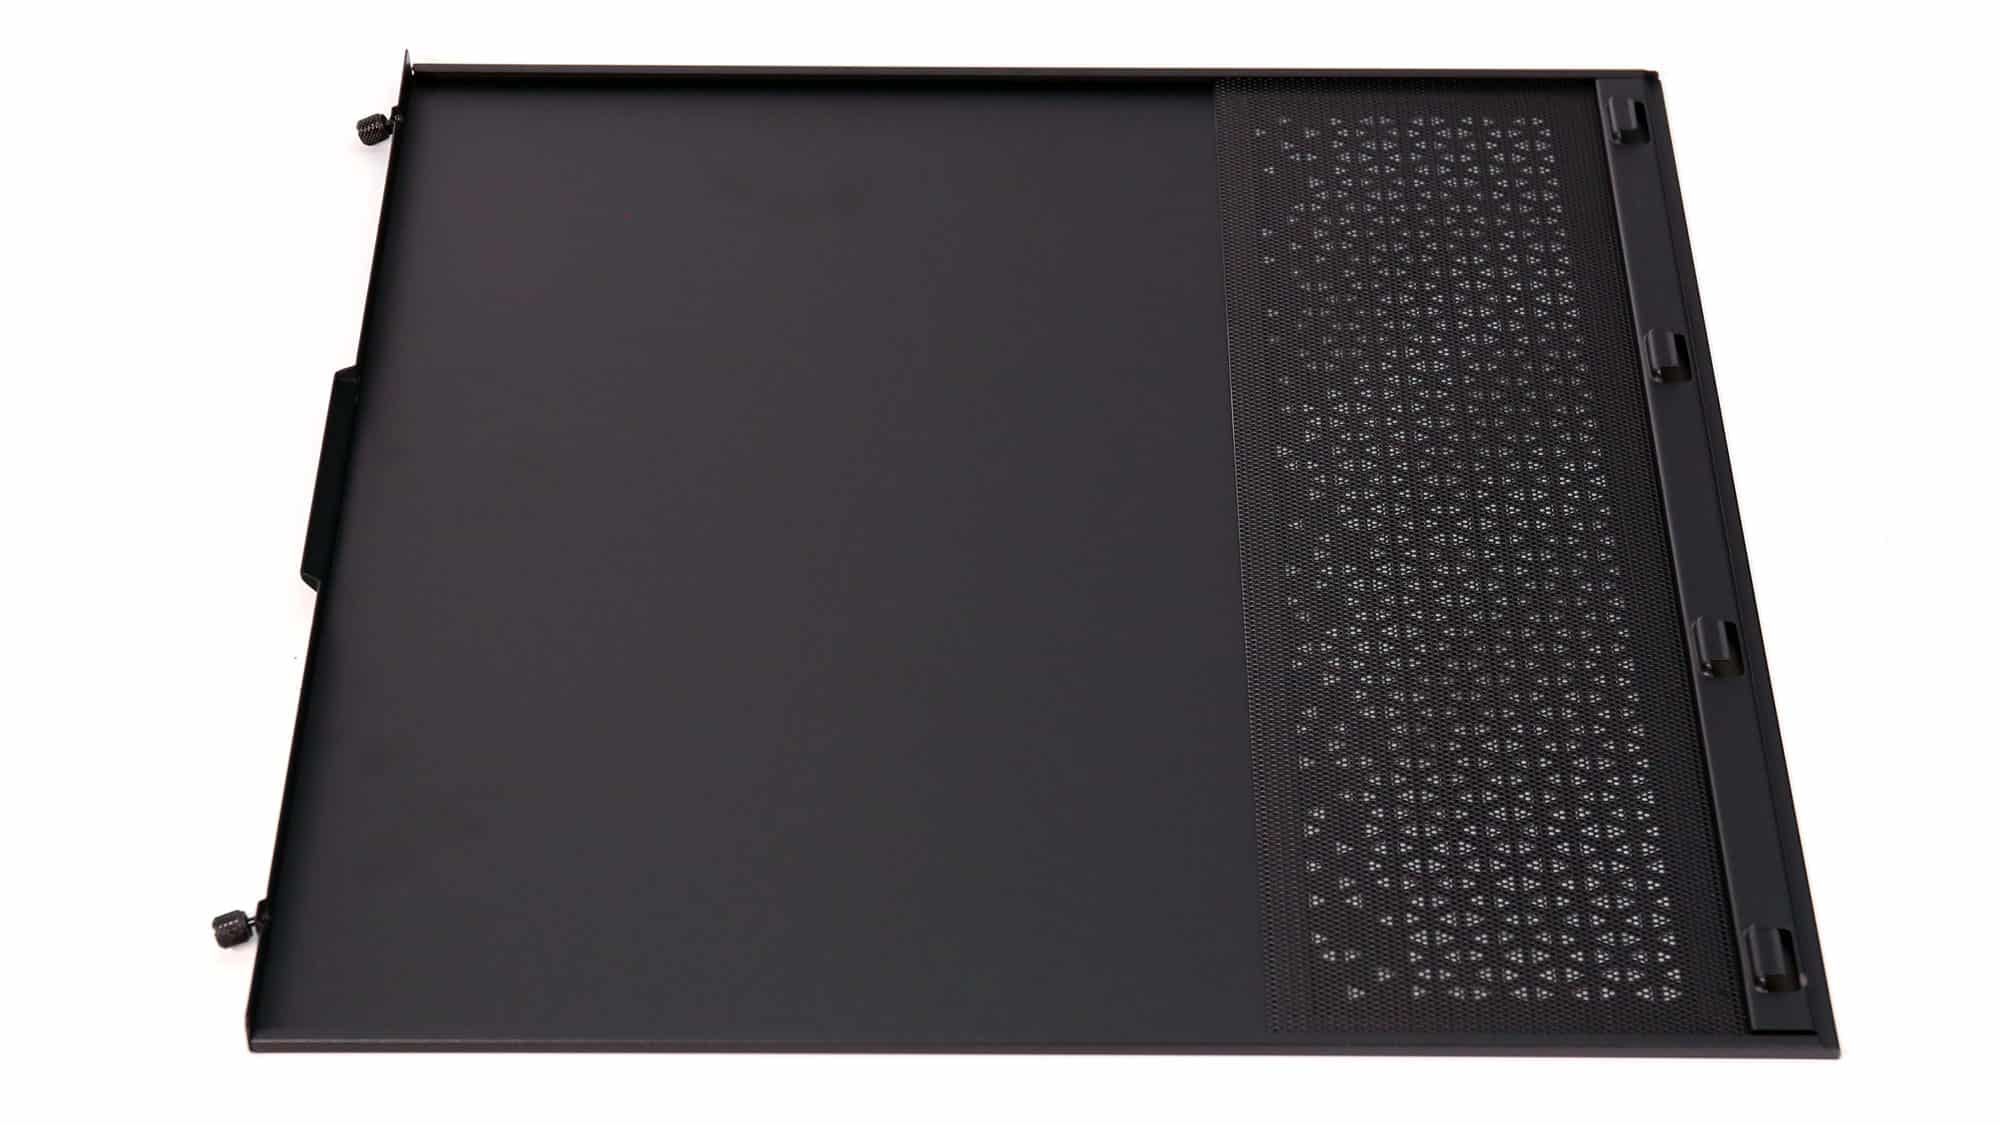
The top cover is the first to be removed to open the chassis. Two thumb screws on the rear keep it in place.
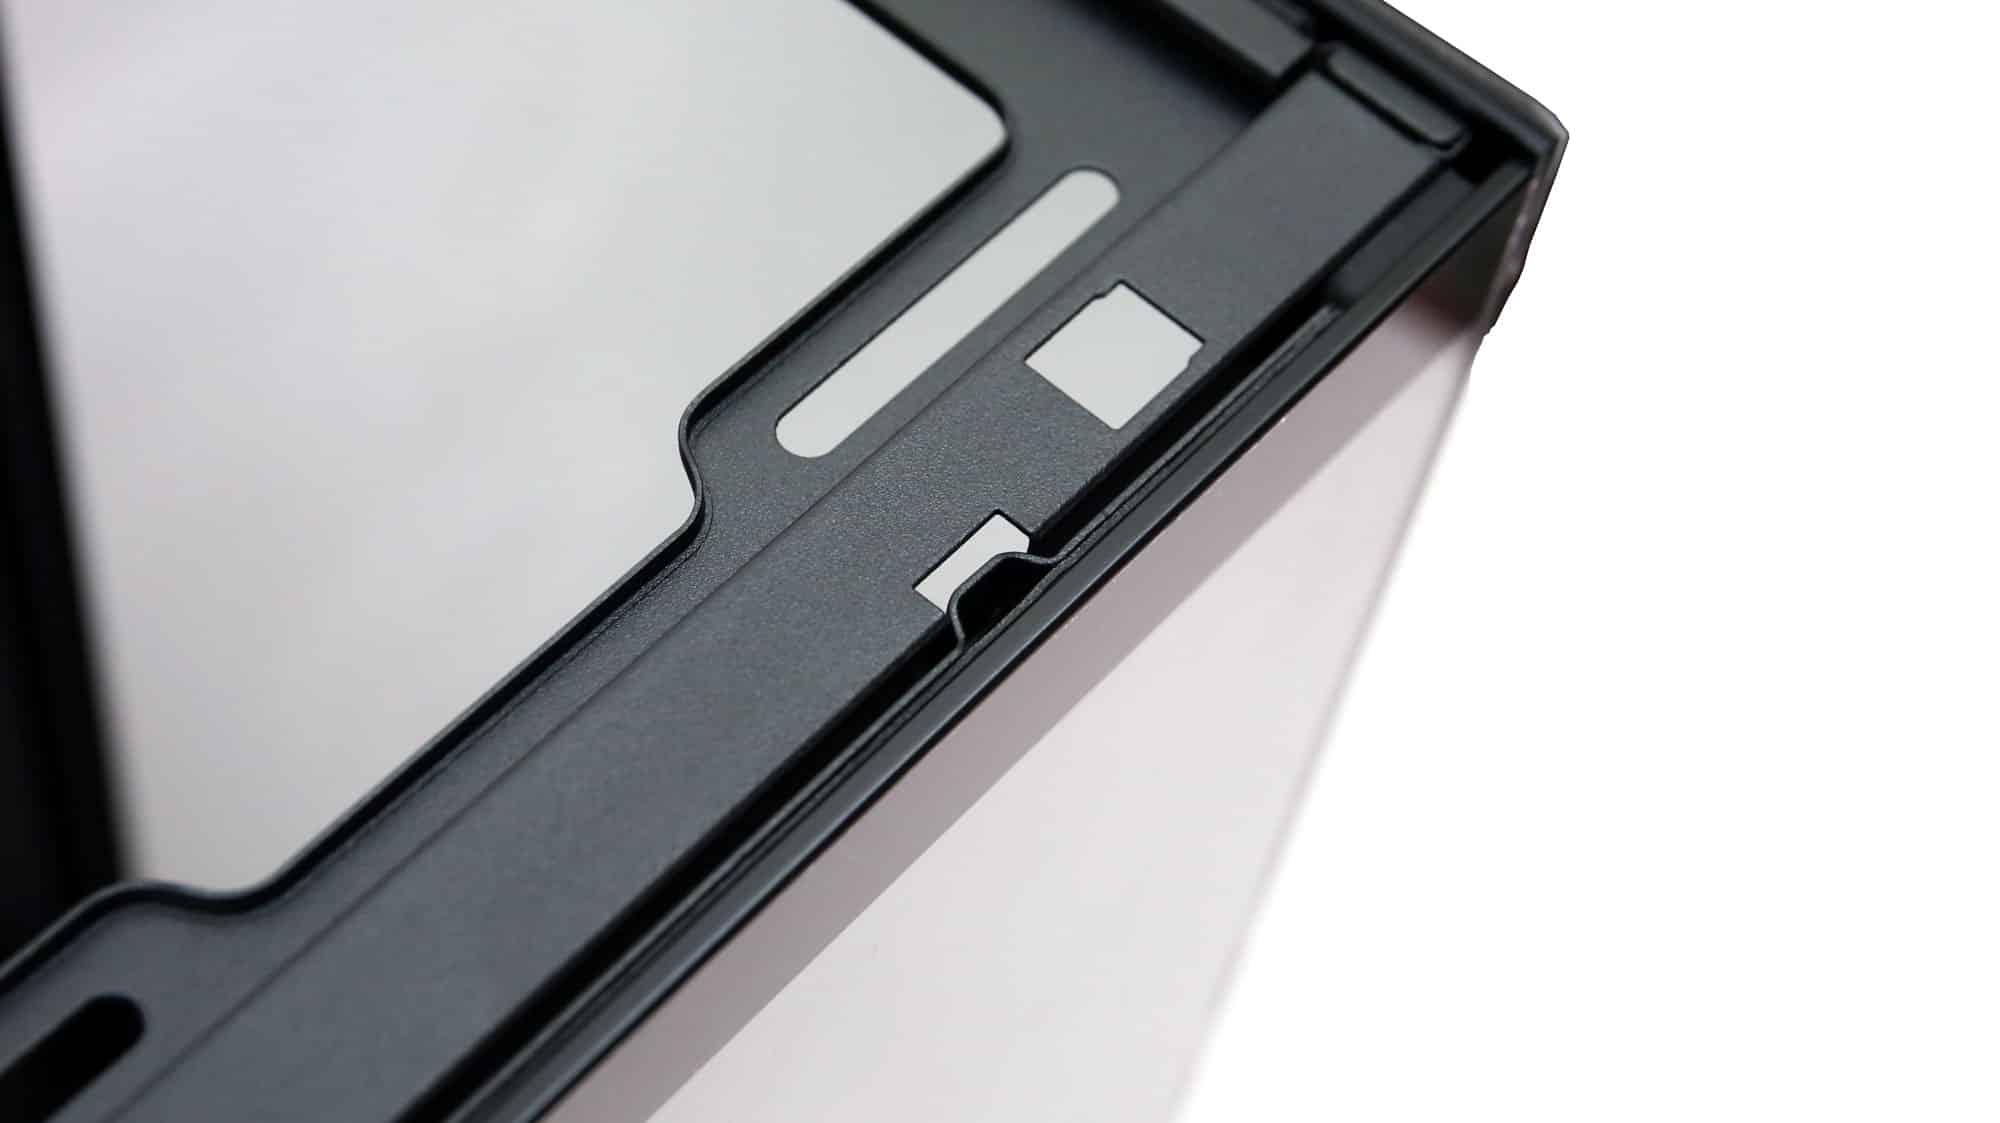

The tempered glass on the side sits on top of metal tabs and is secured in place by two thumb screws accessed from the rear of the chassis.
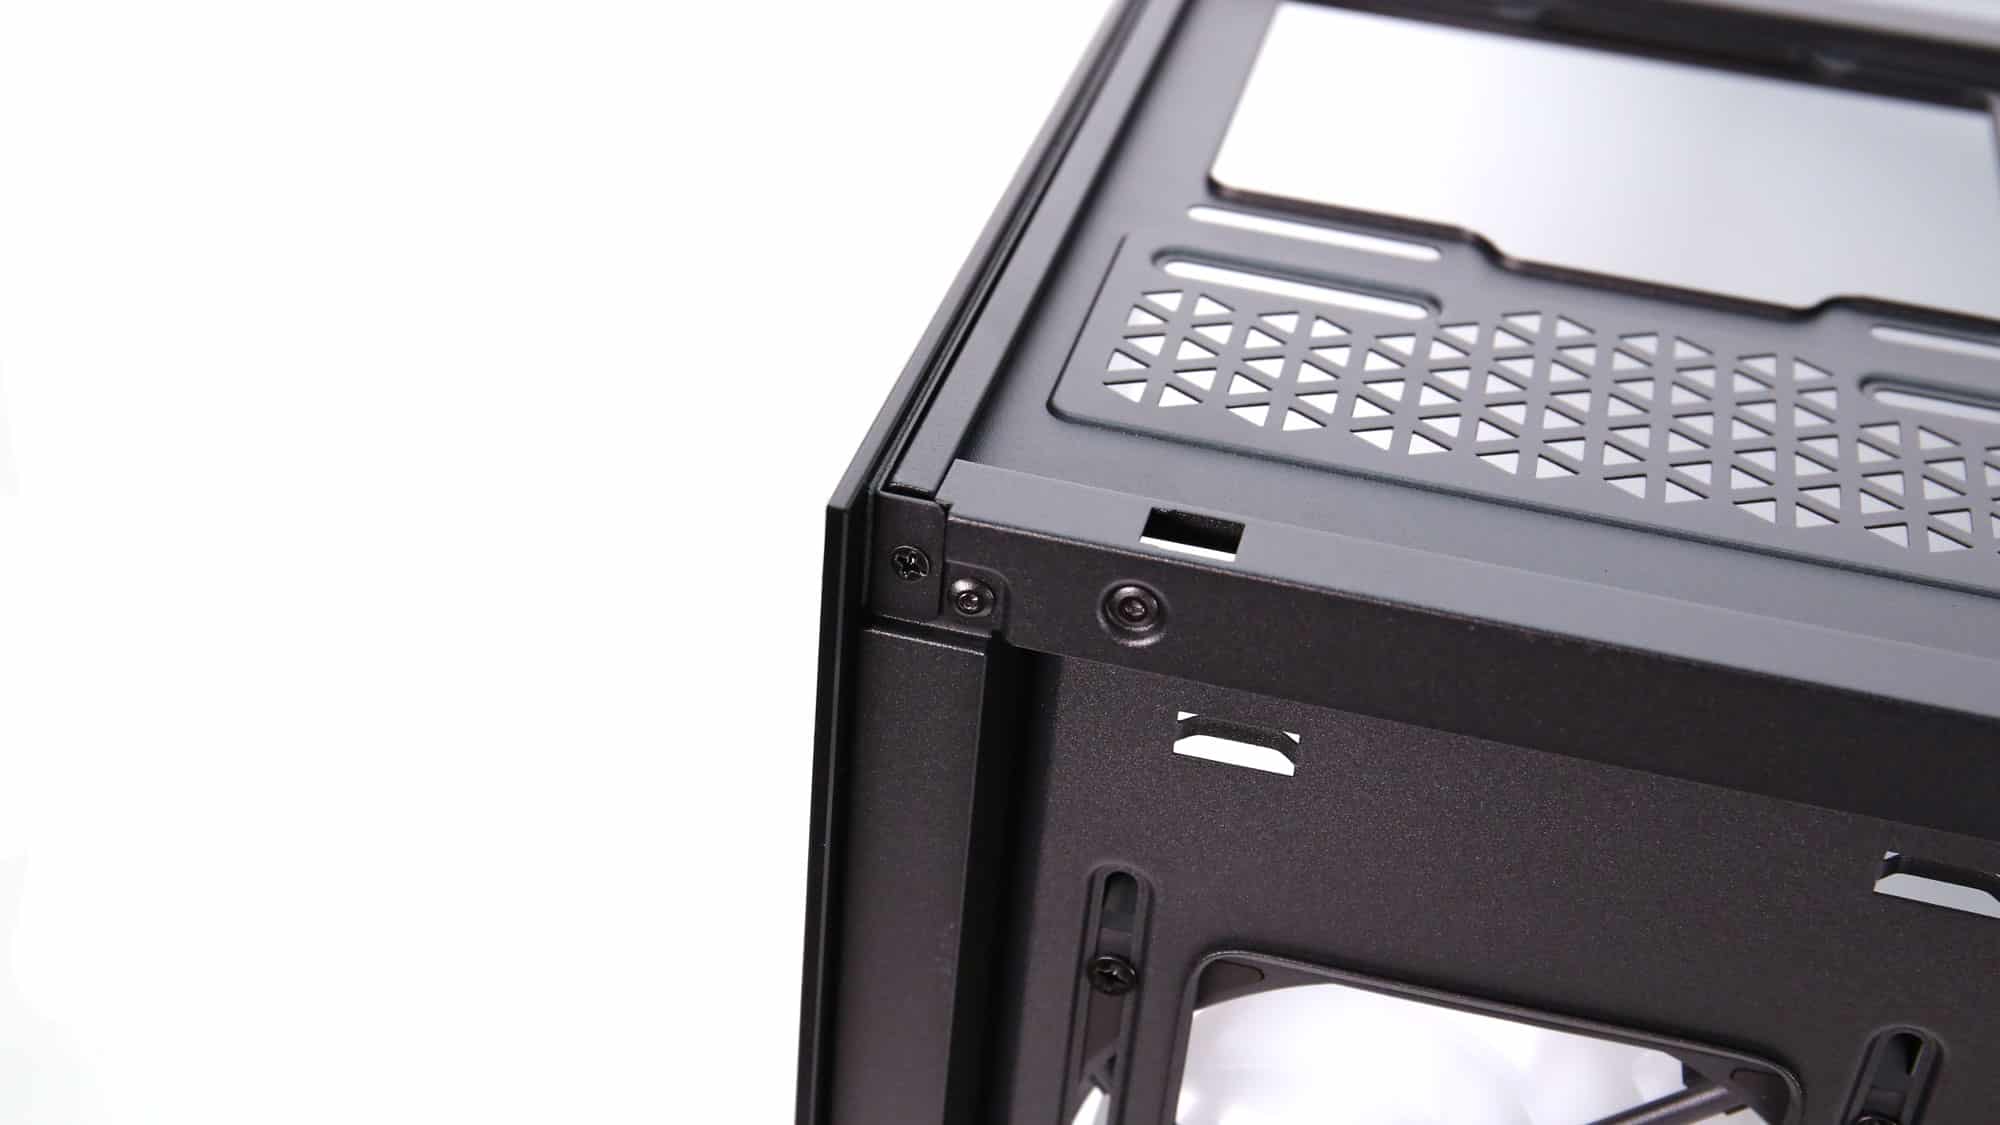
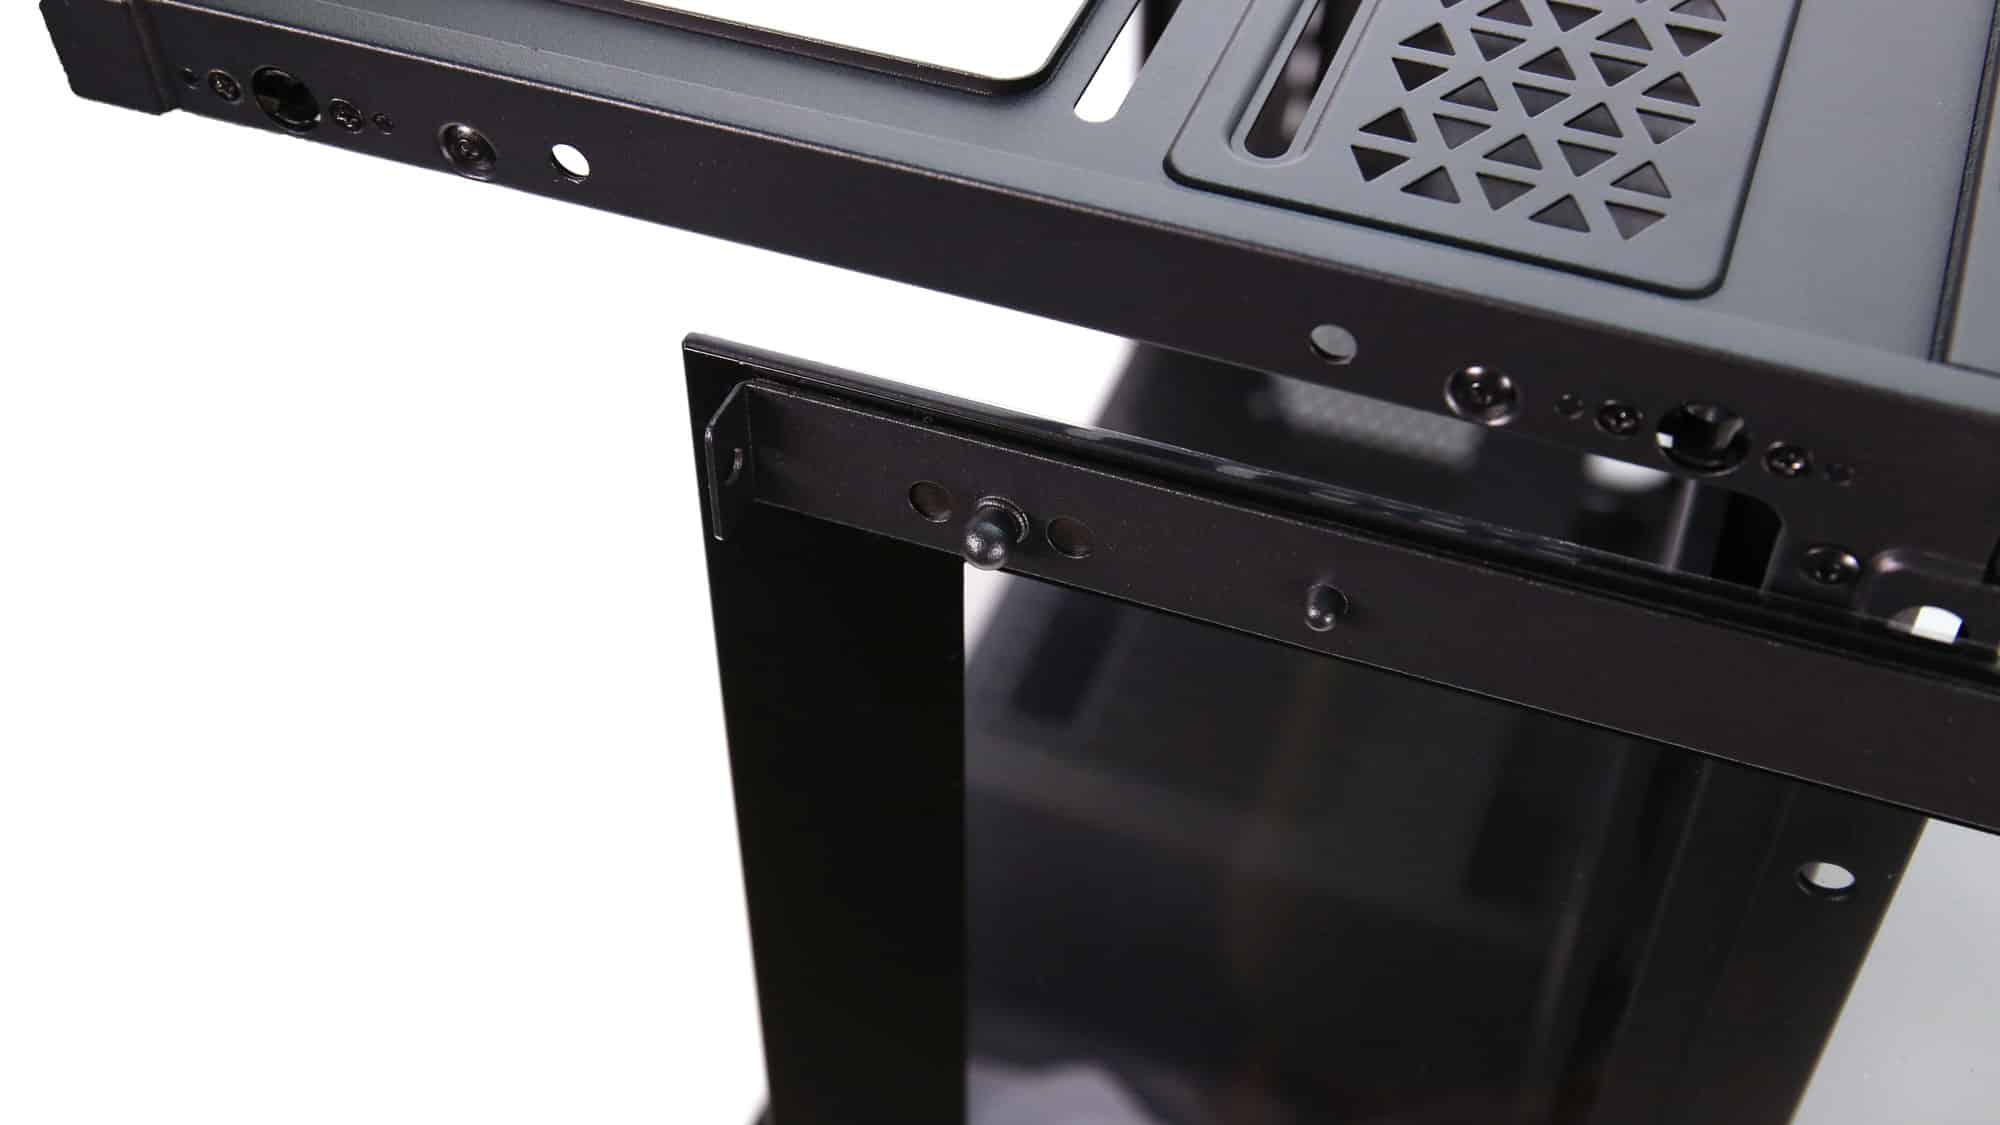
The front panel uses two different methods to keep the panel attached. It has both plastic clips and screws.
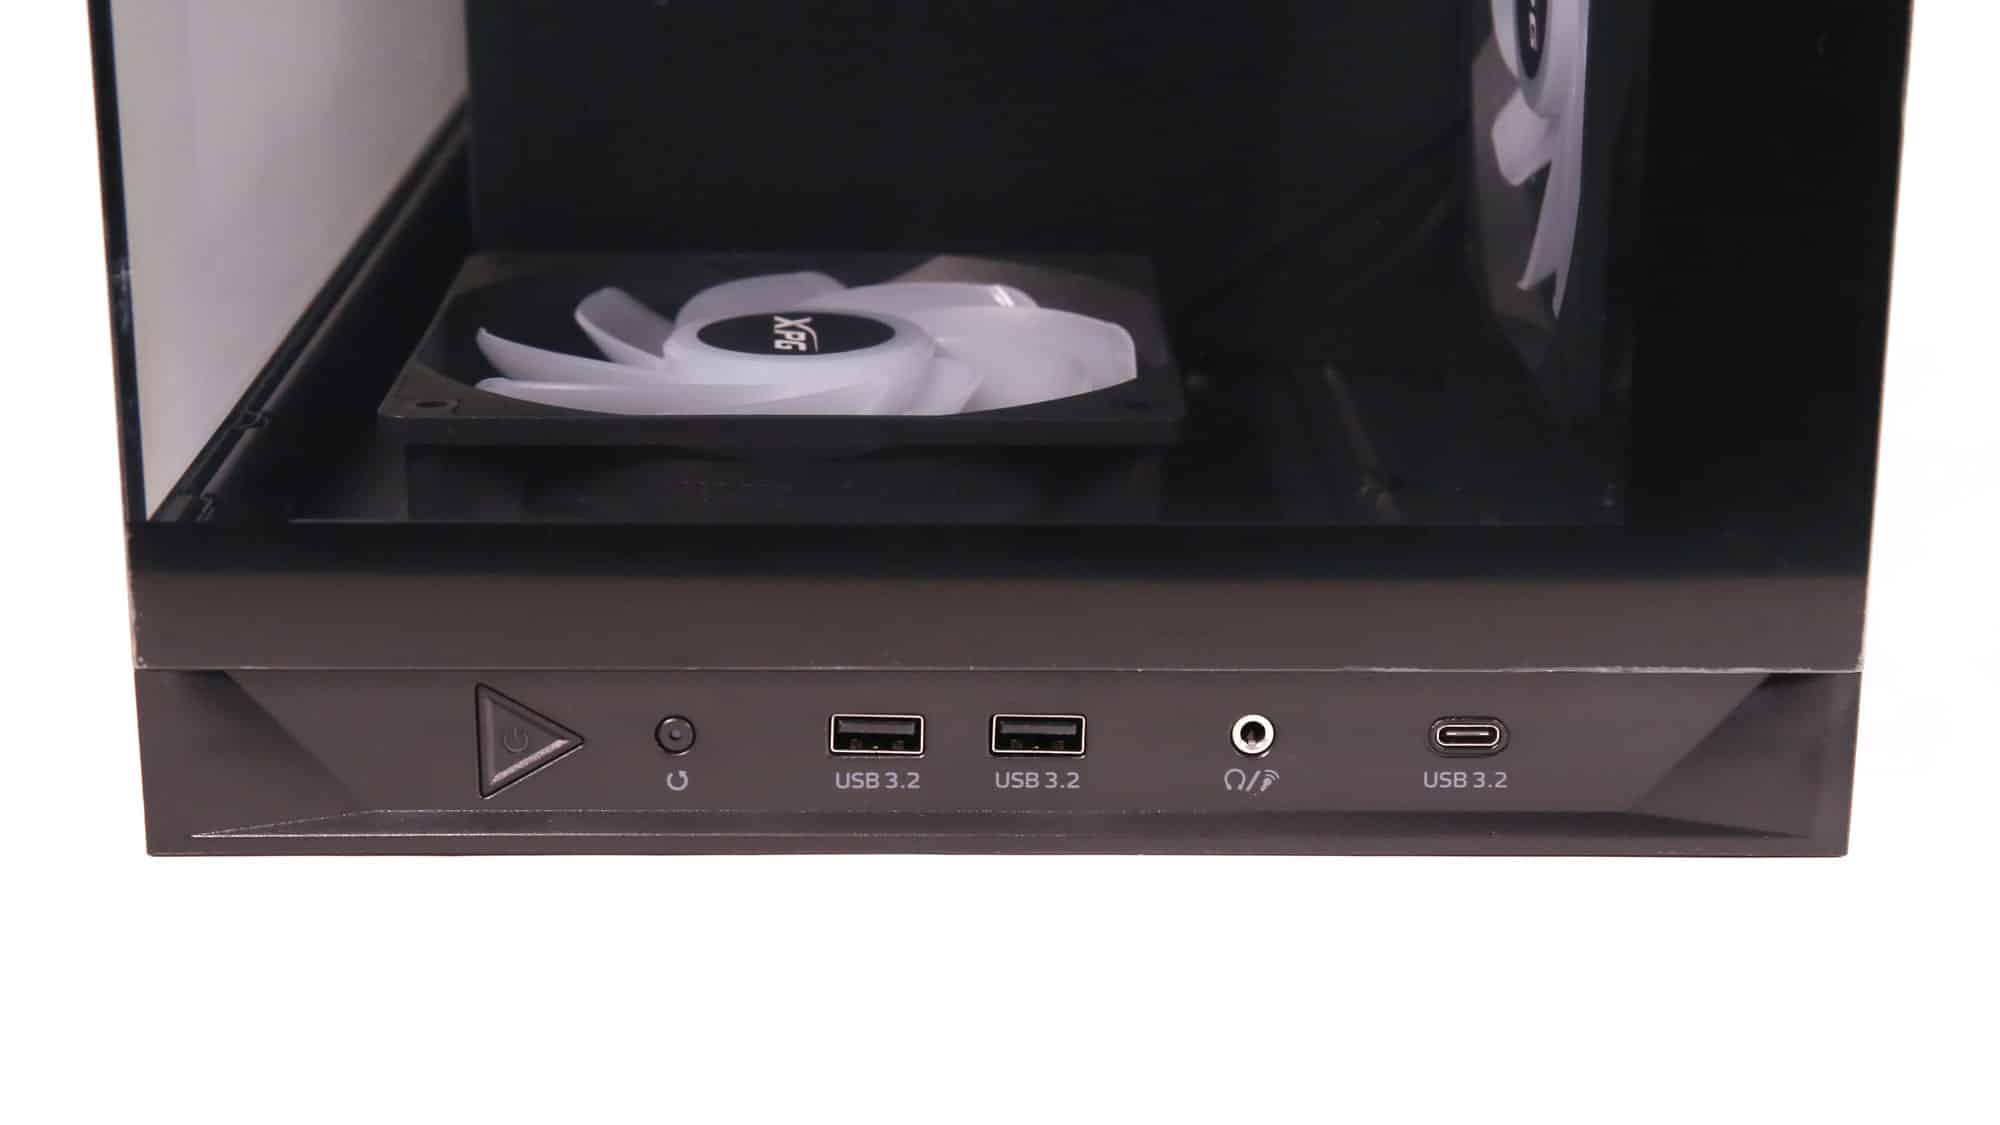
You will find the front I/O of the chassis on the bottom of the front panel.
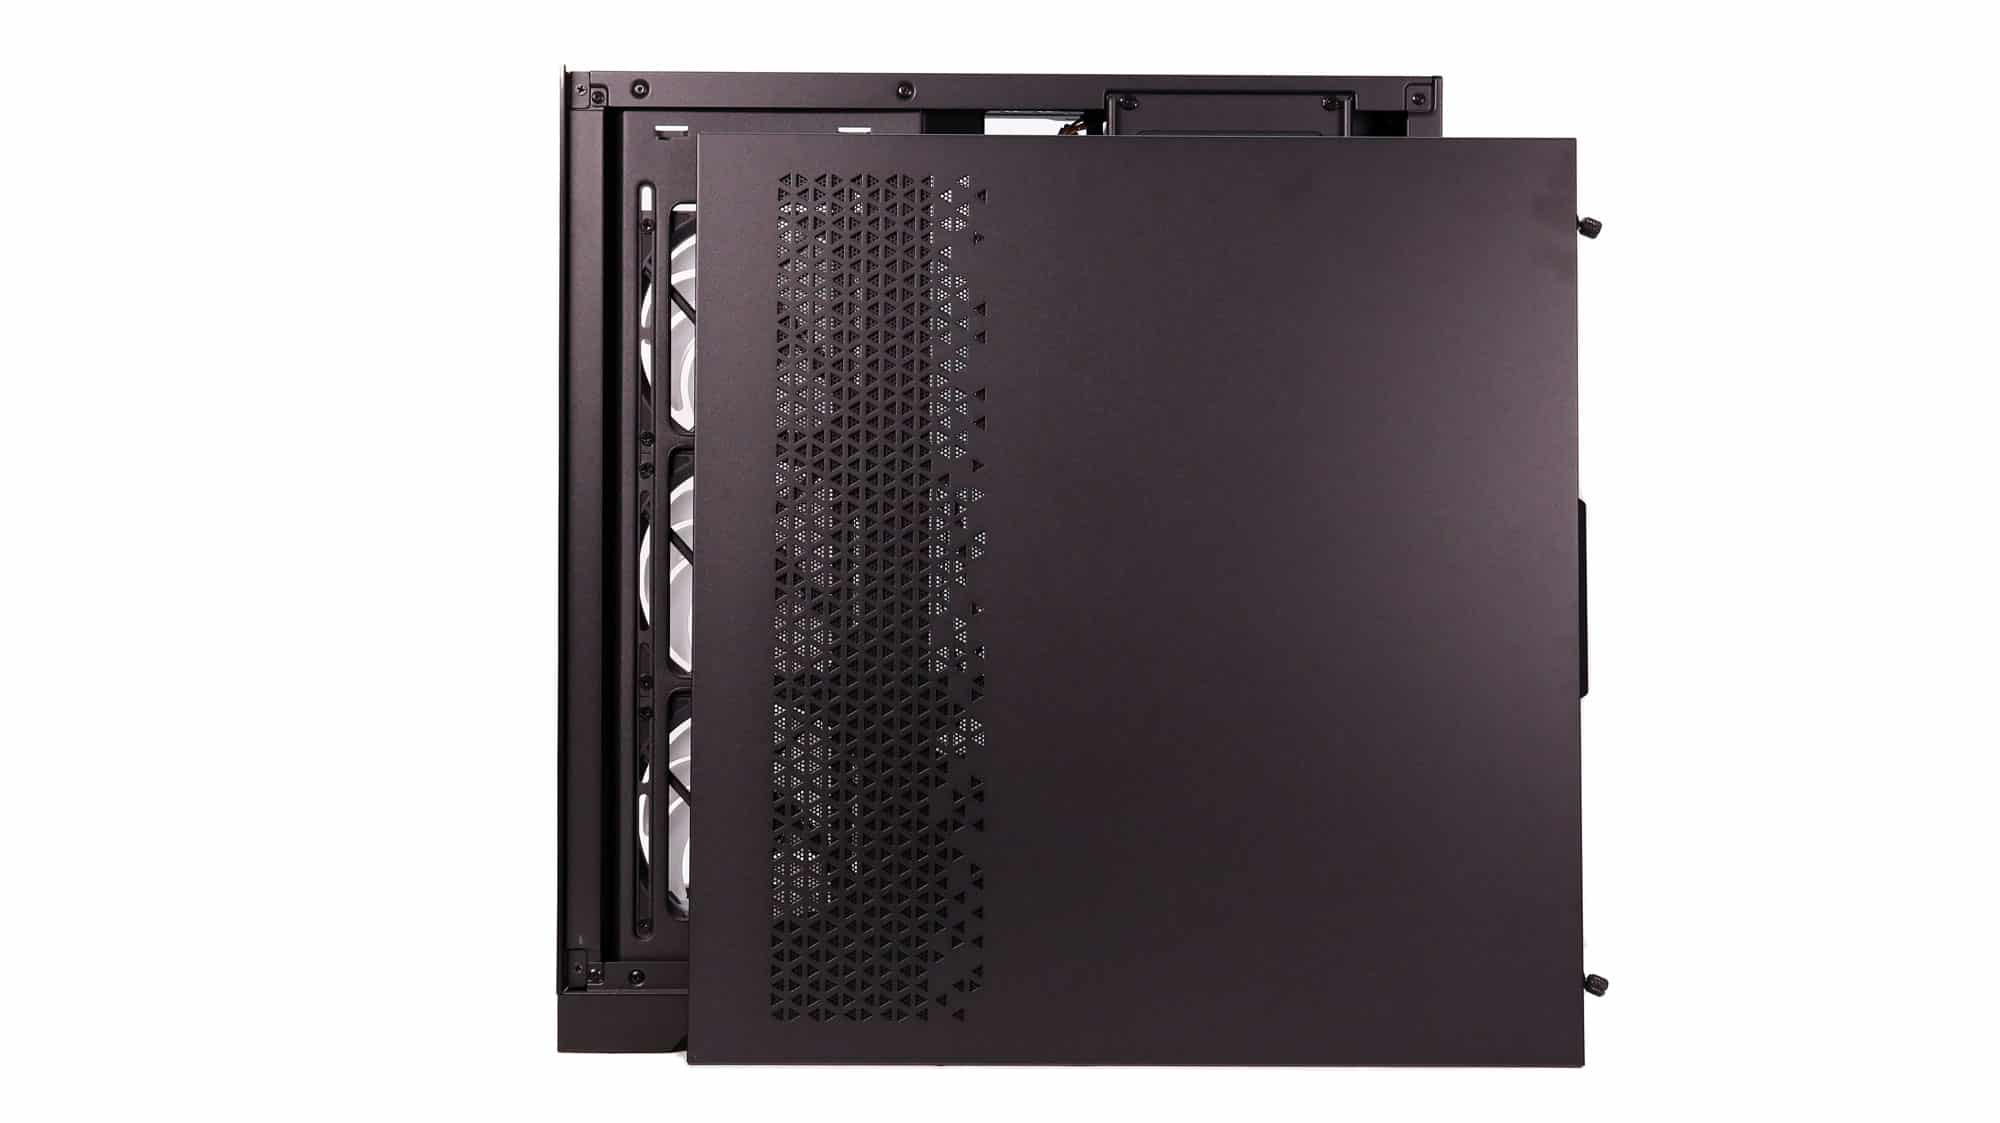
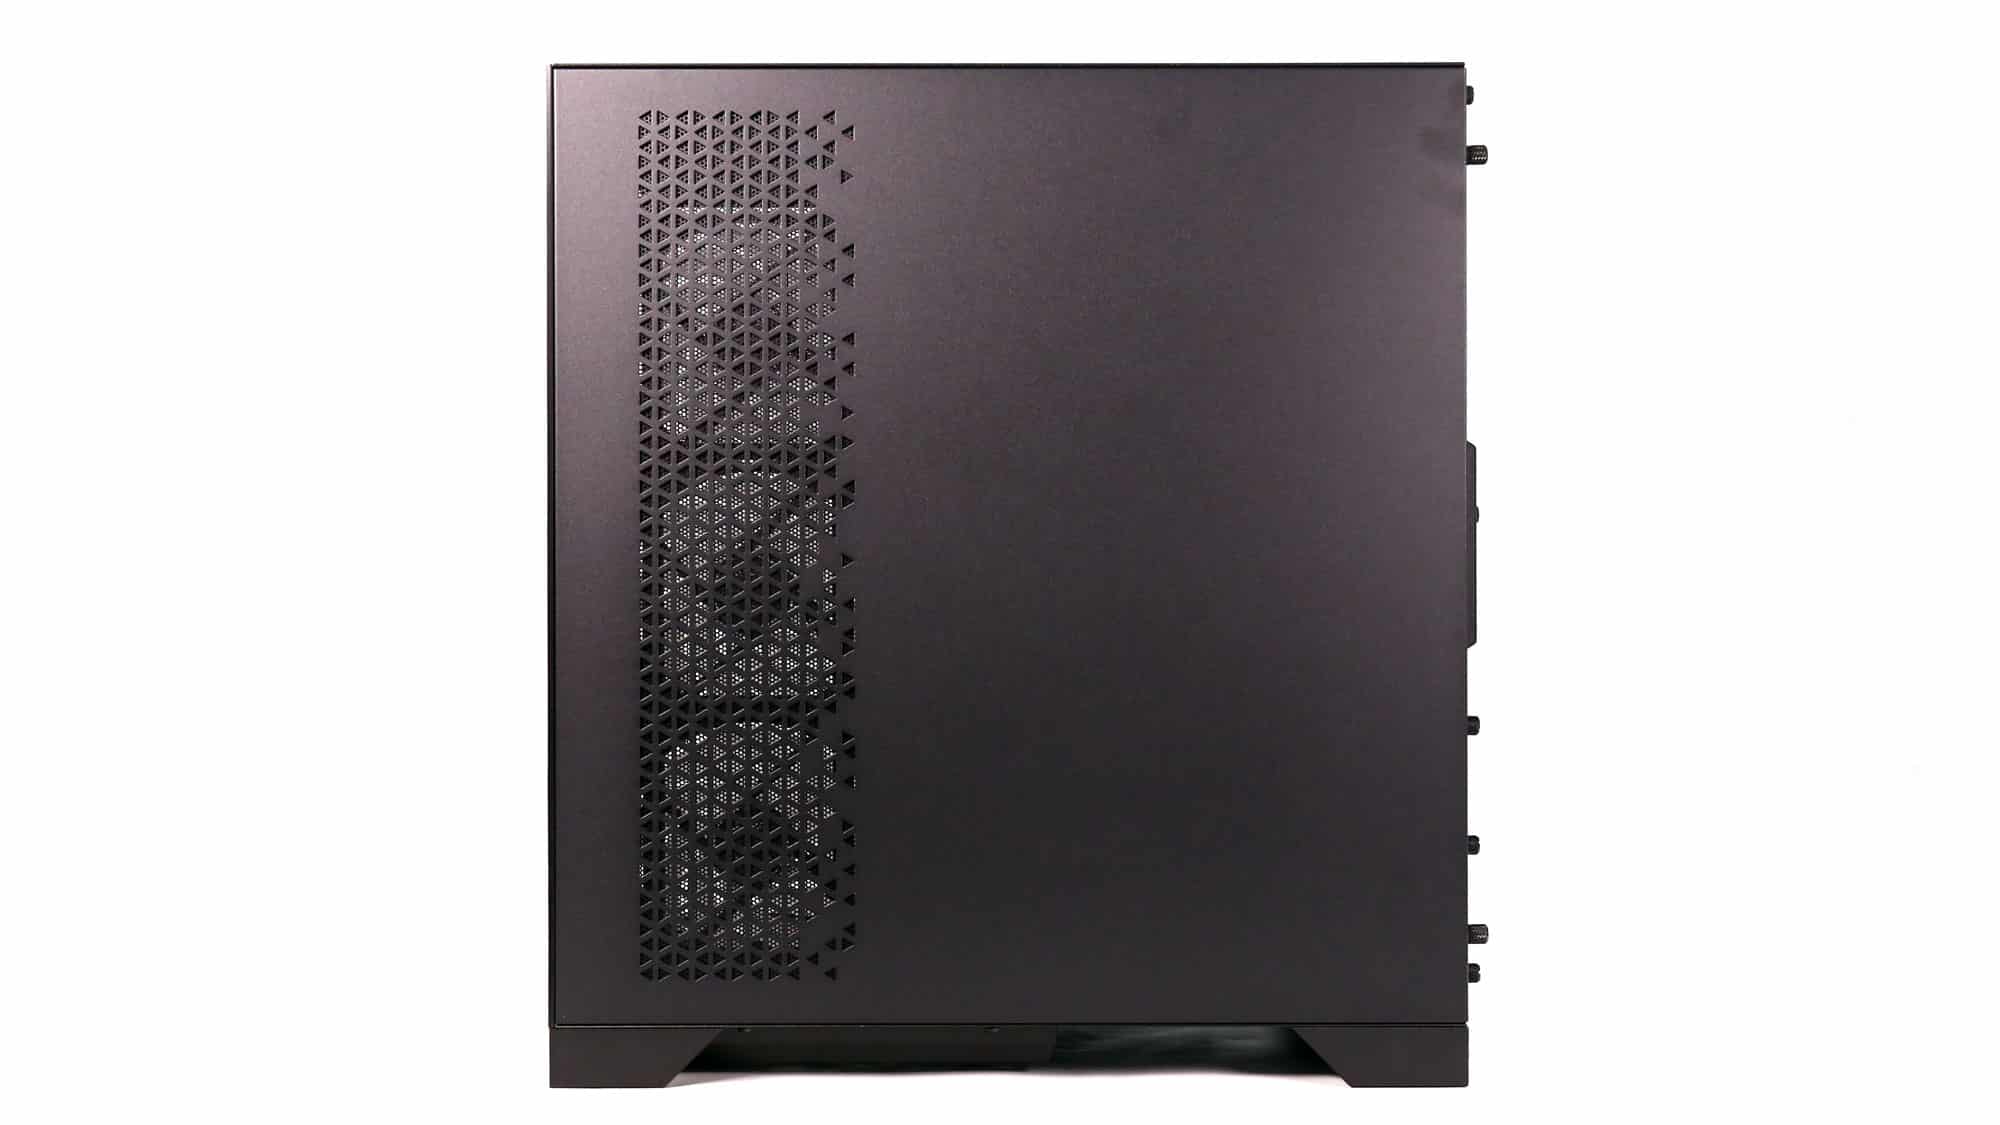
On the backside panel, you will find perforations for the fans.
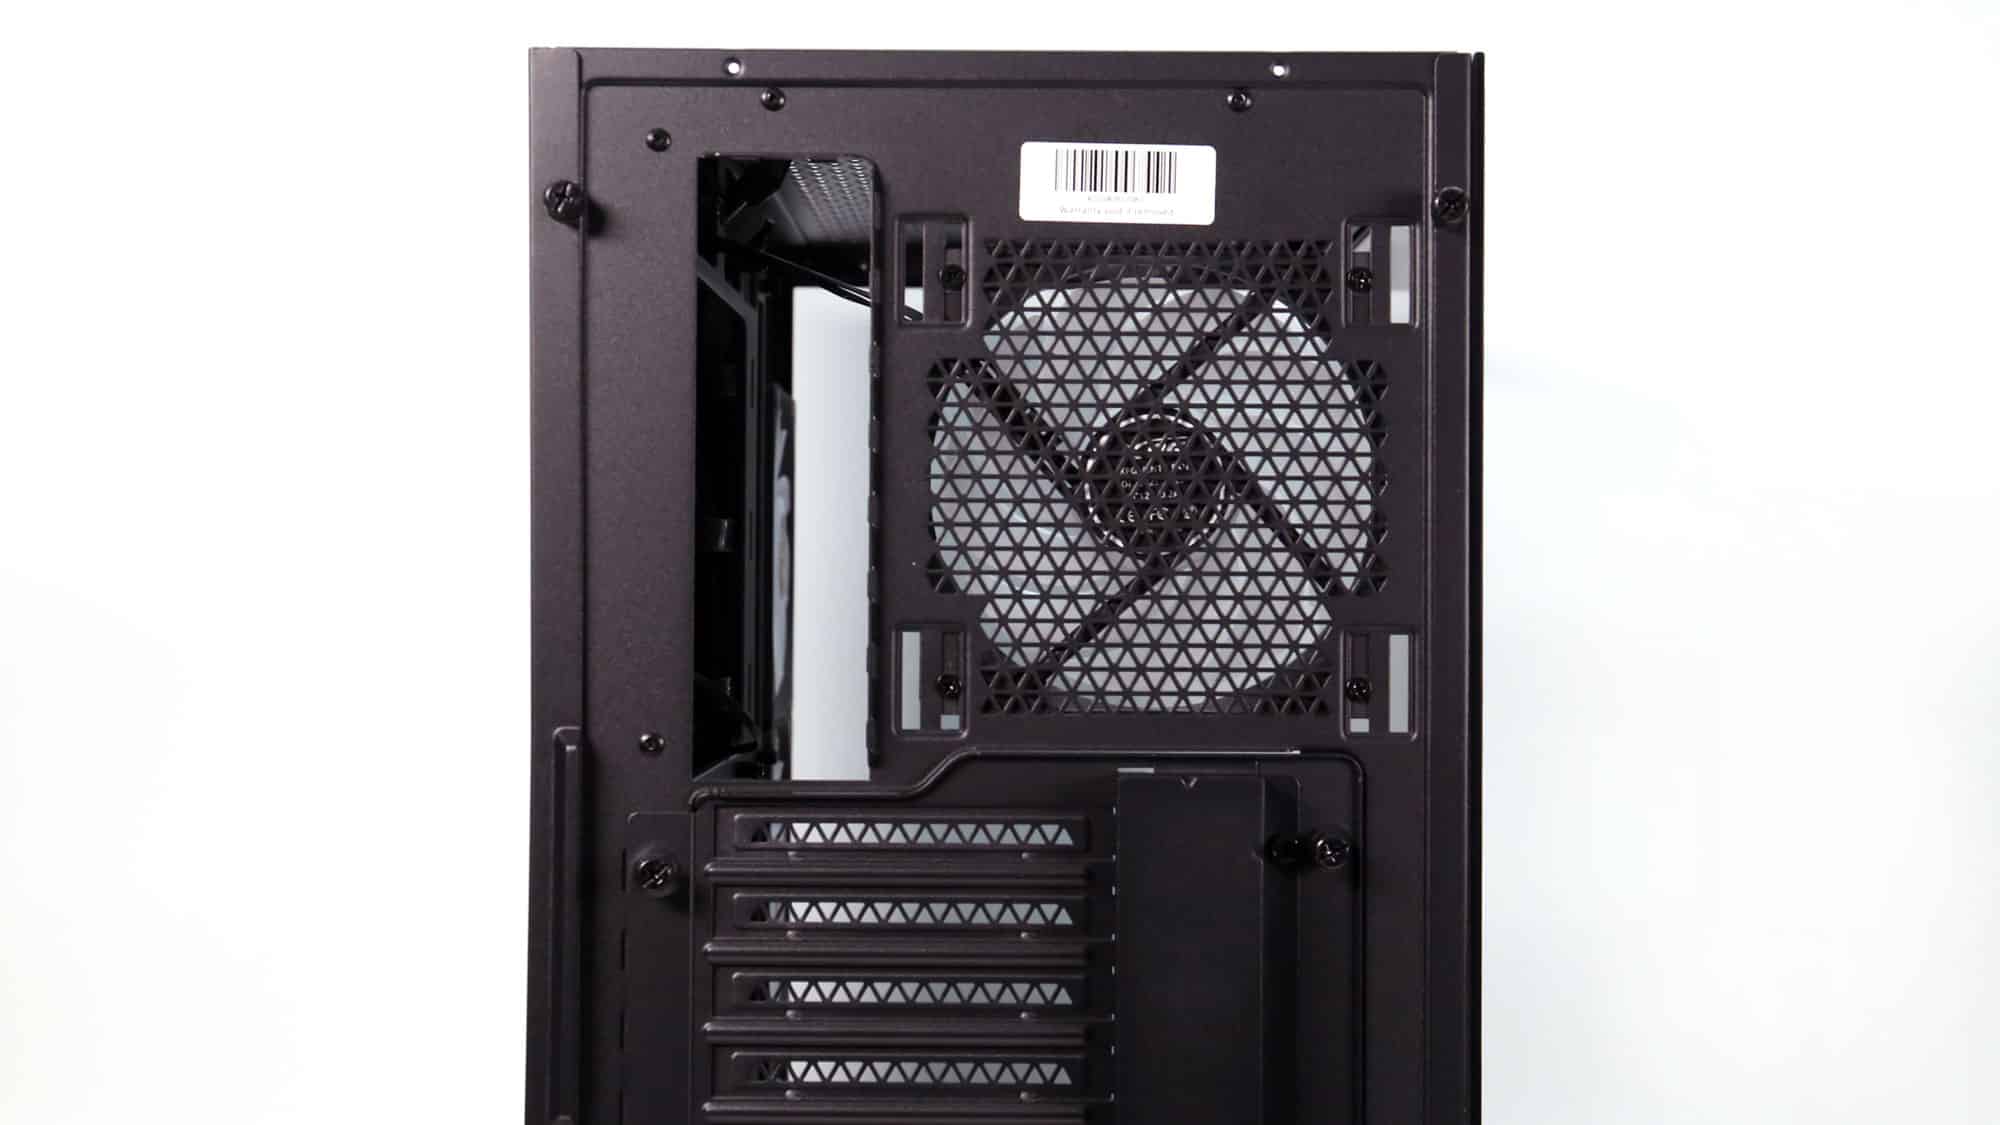
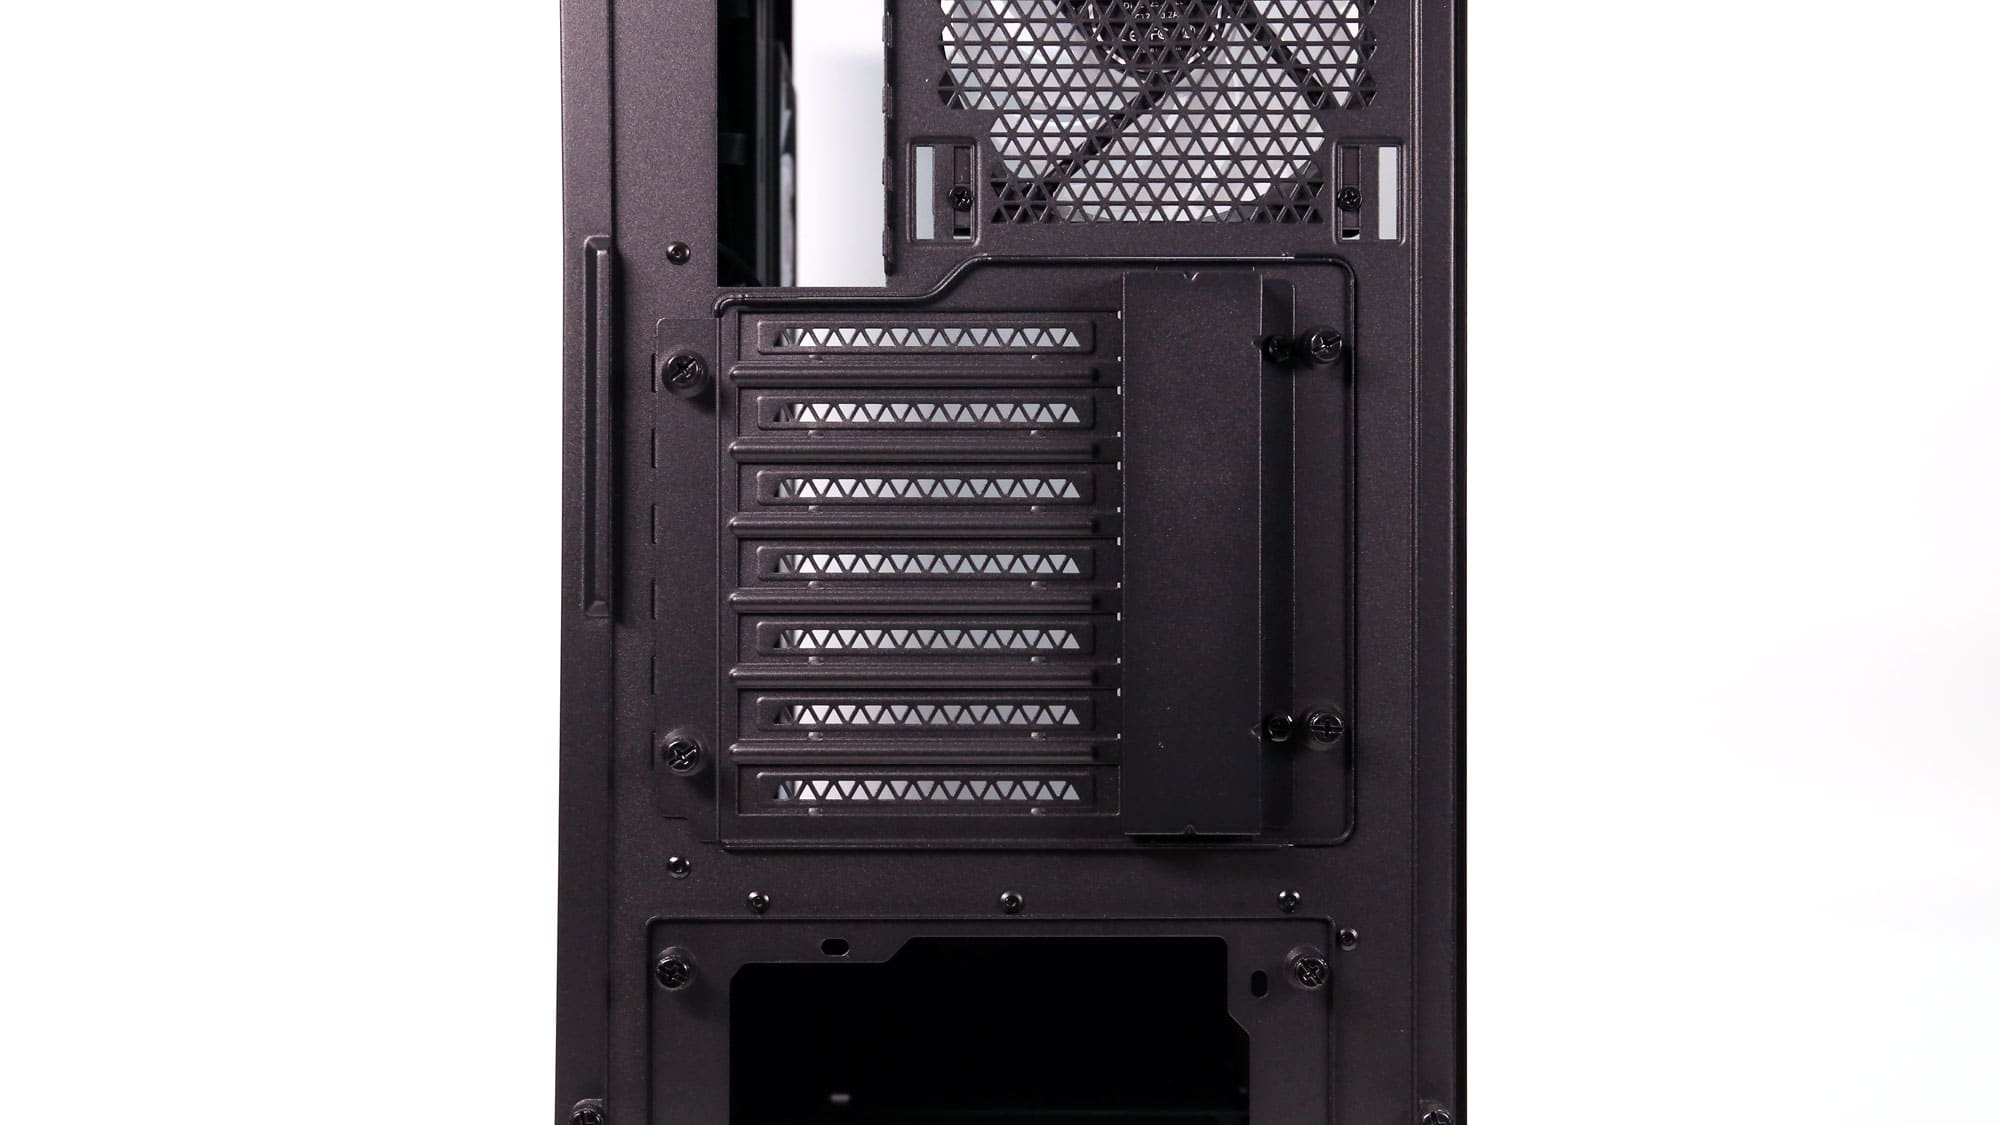
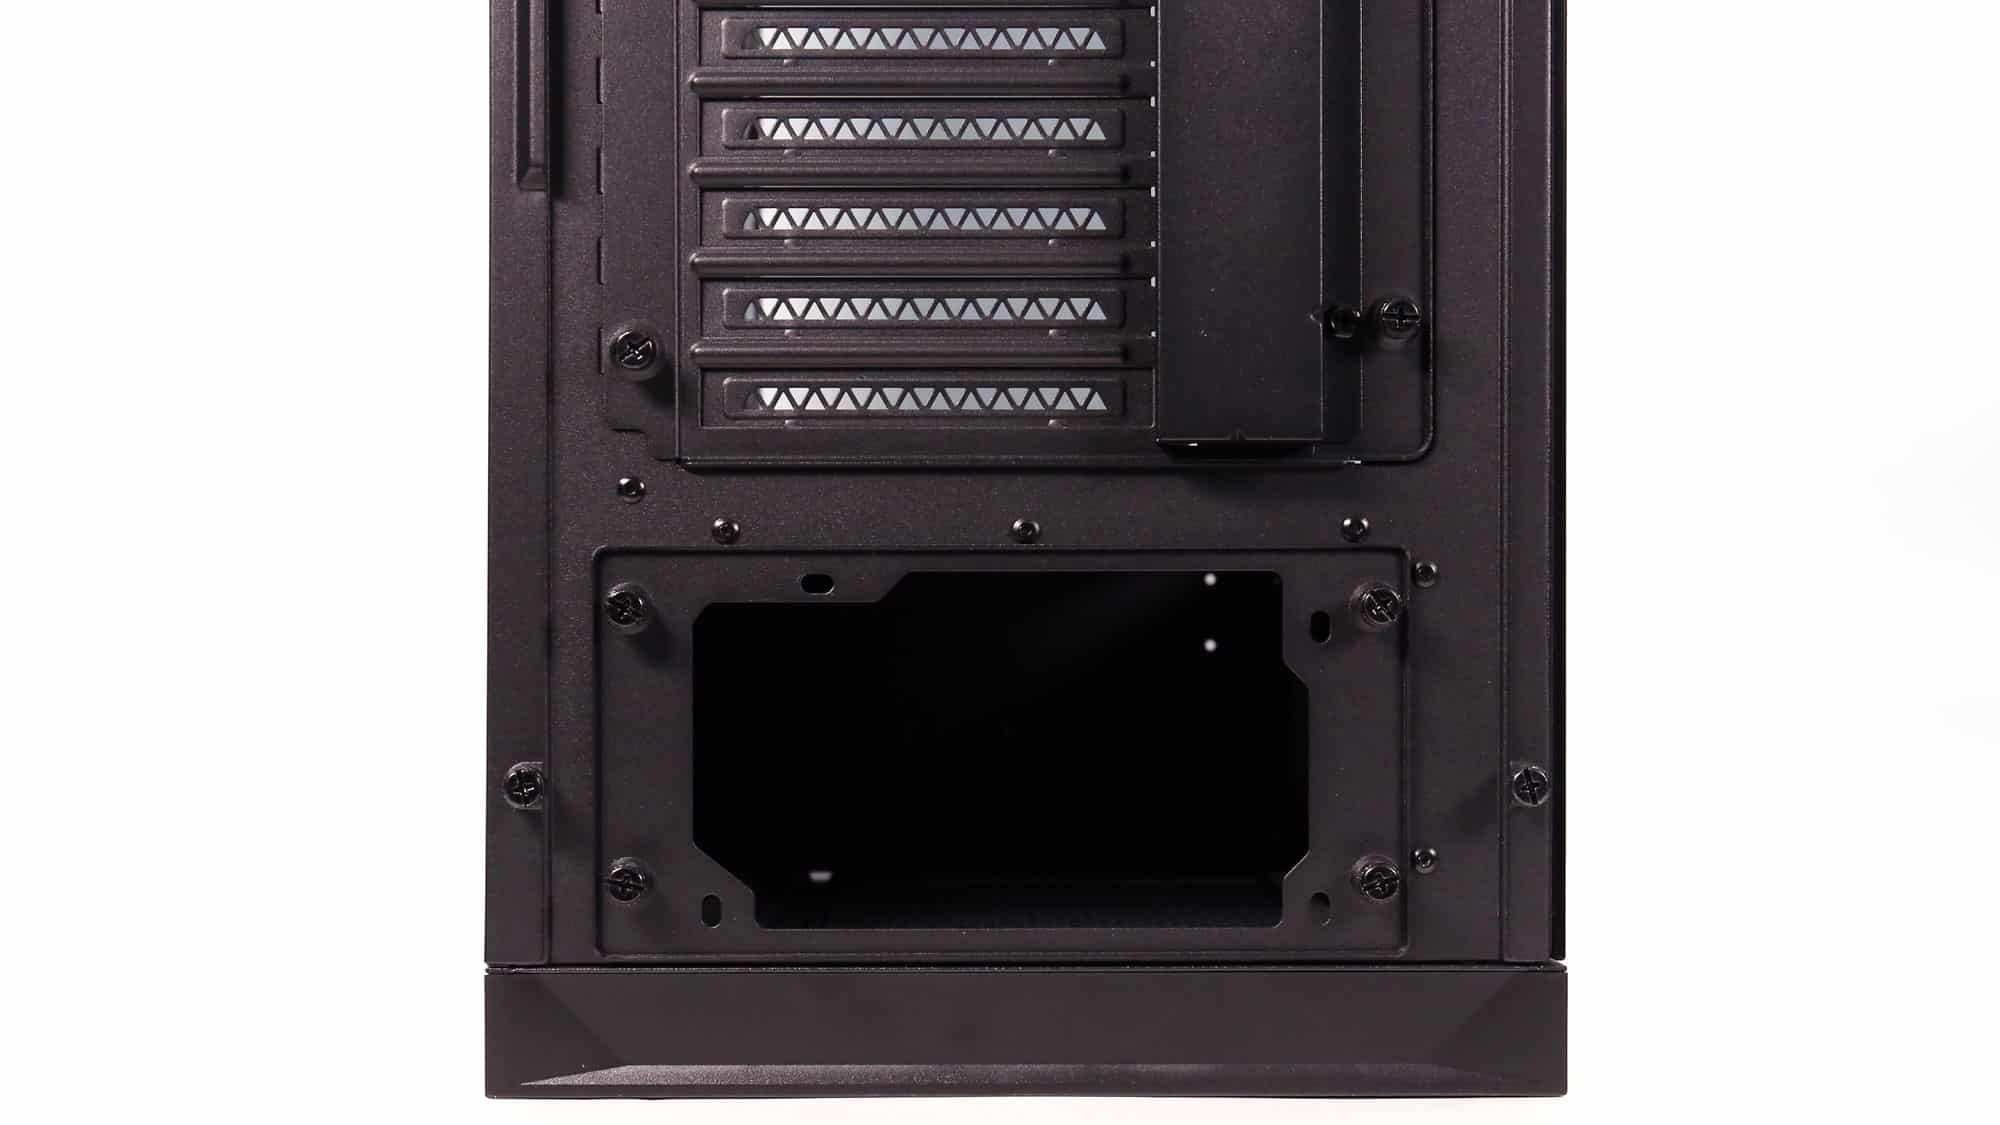
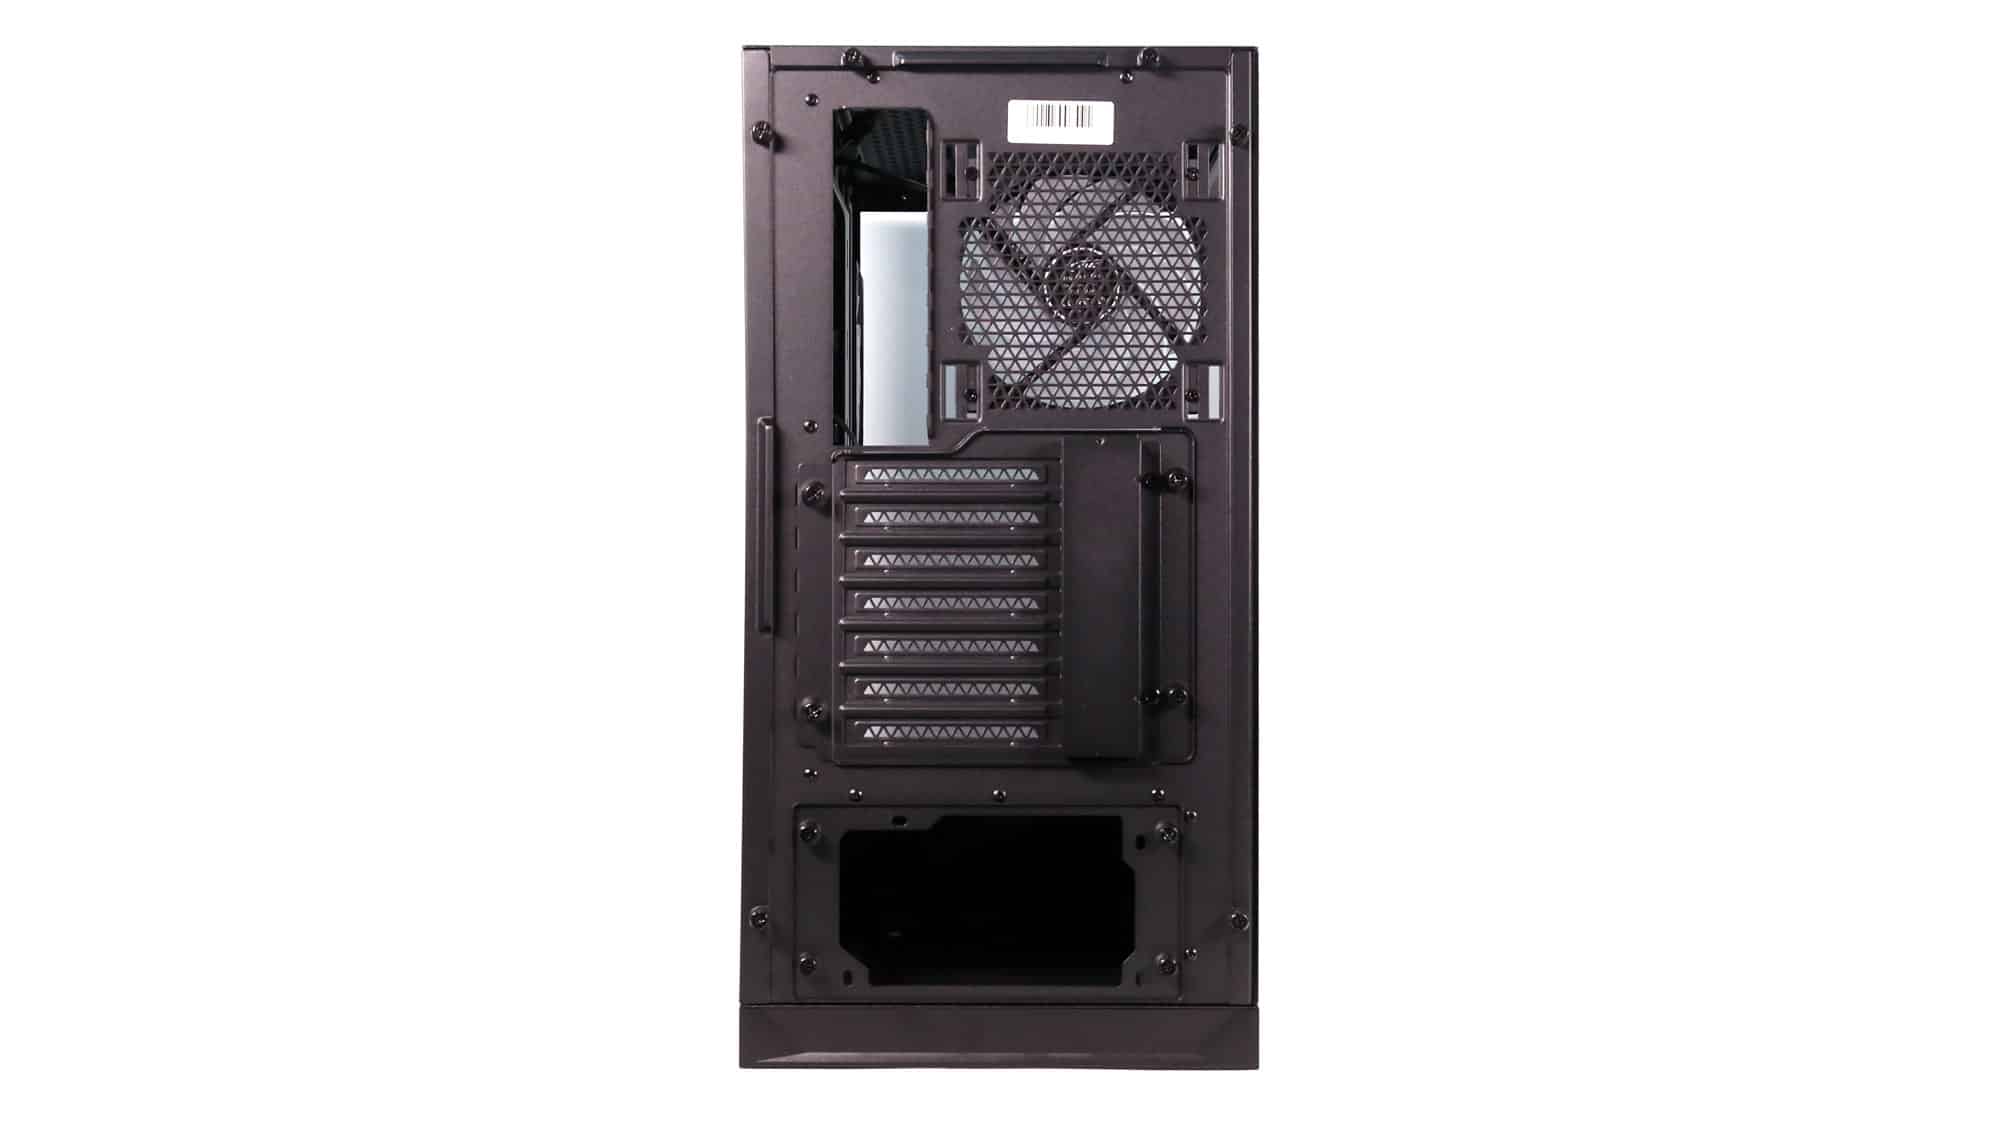
You will see the rear fan, the exchangeable expansion slot bracket, and the removable PSU bracket at the rear.
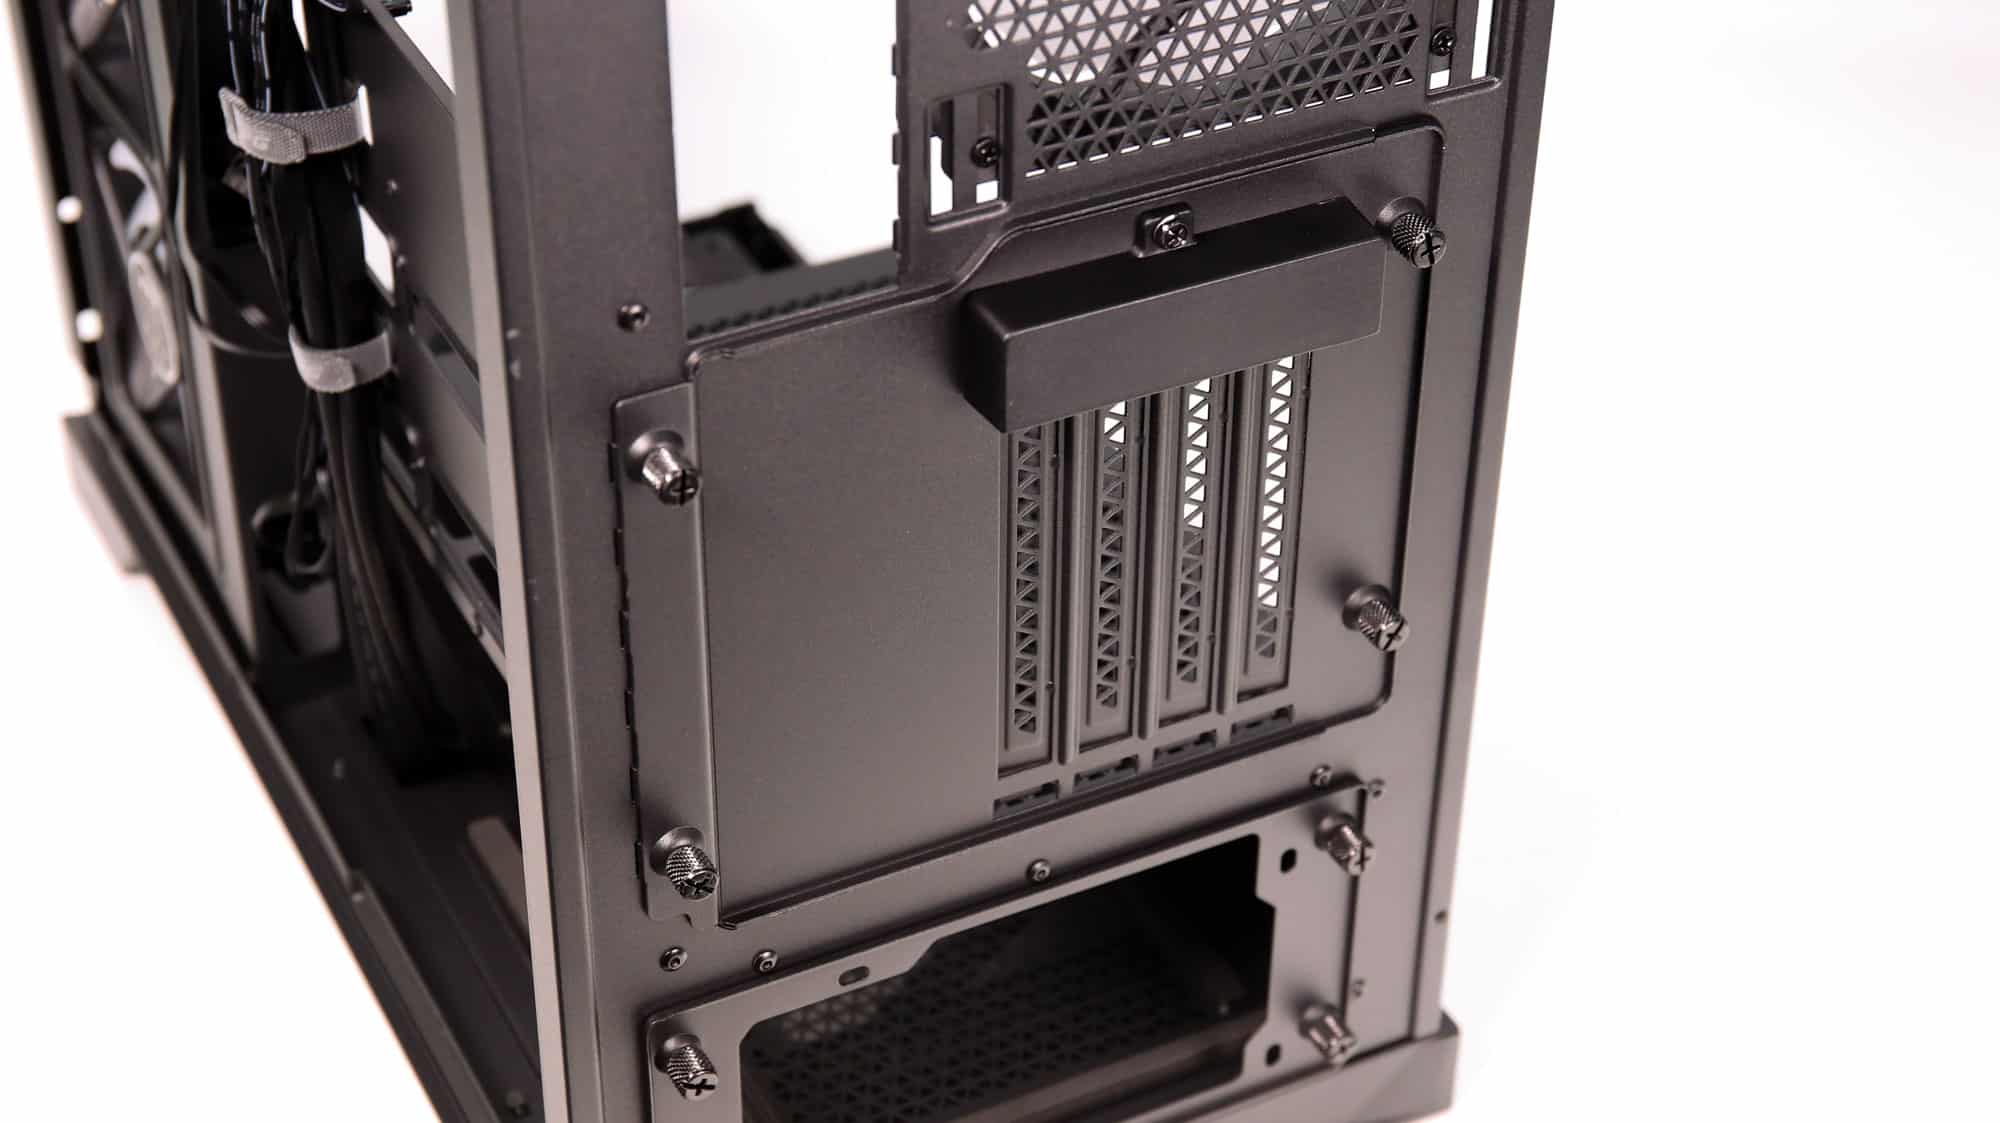
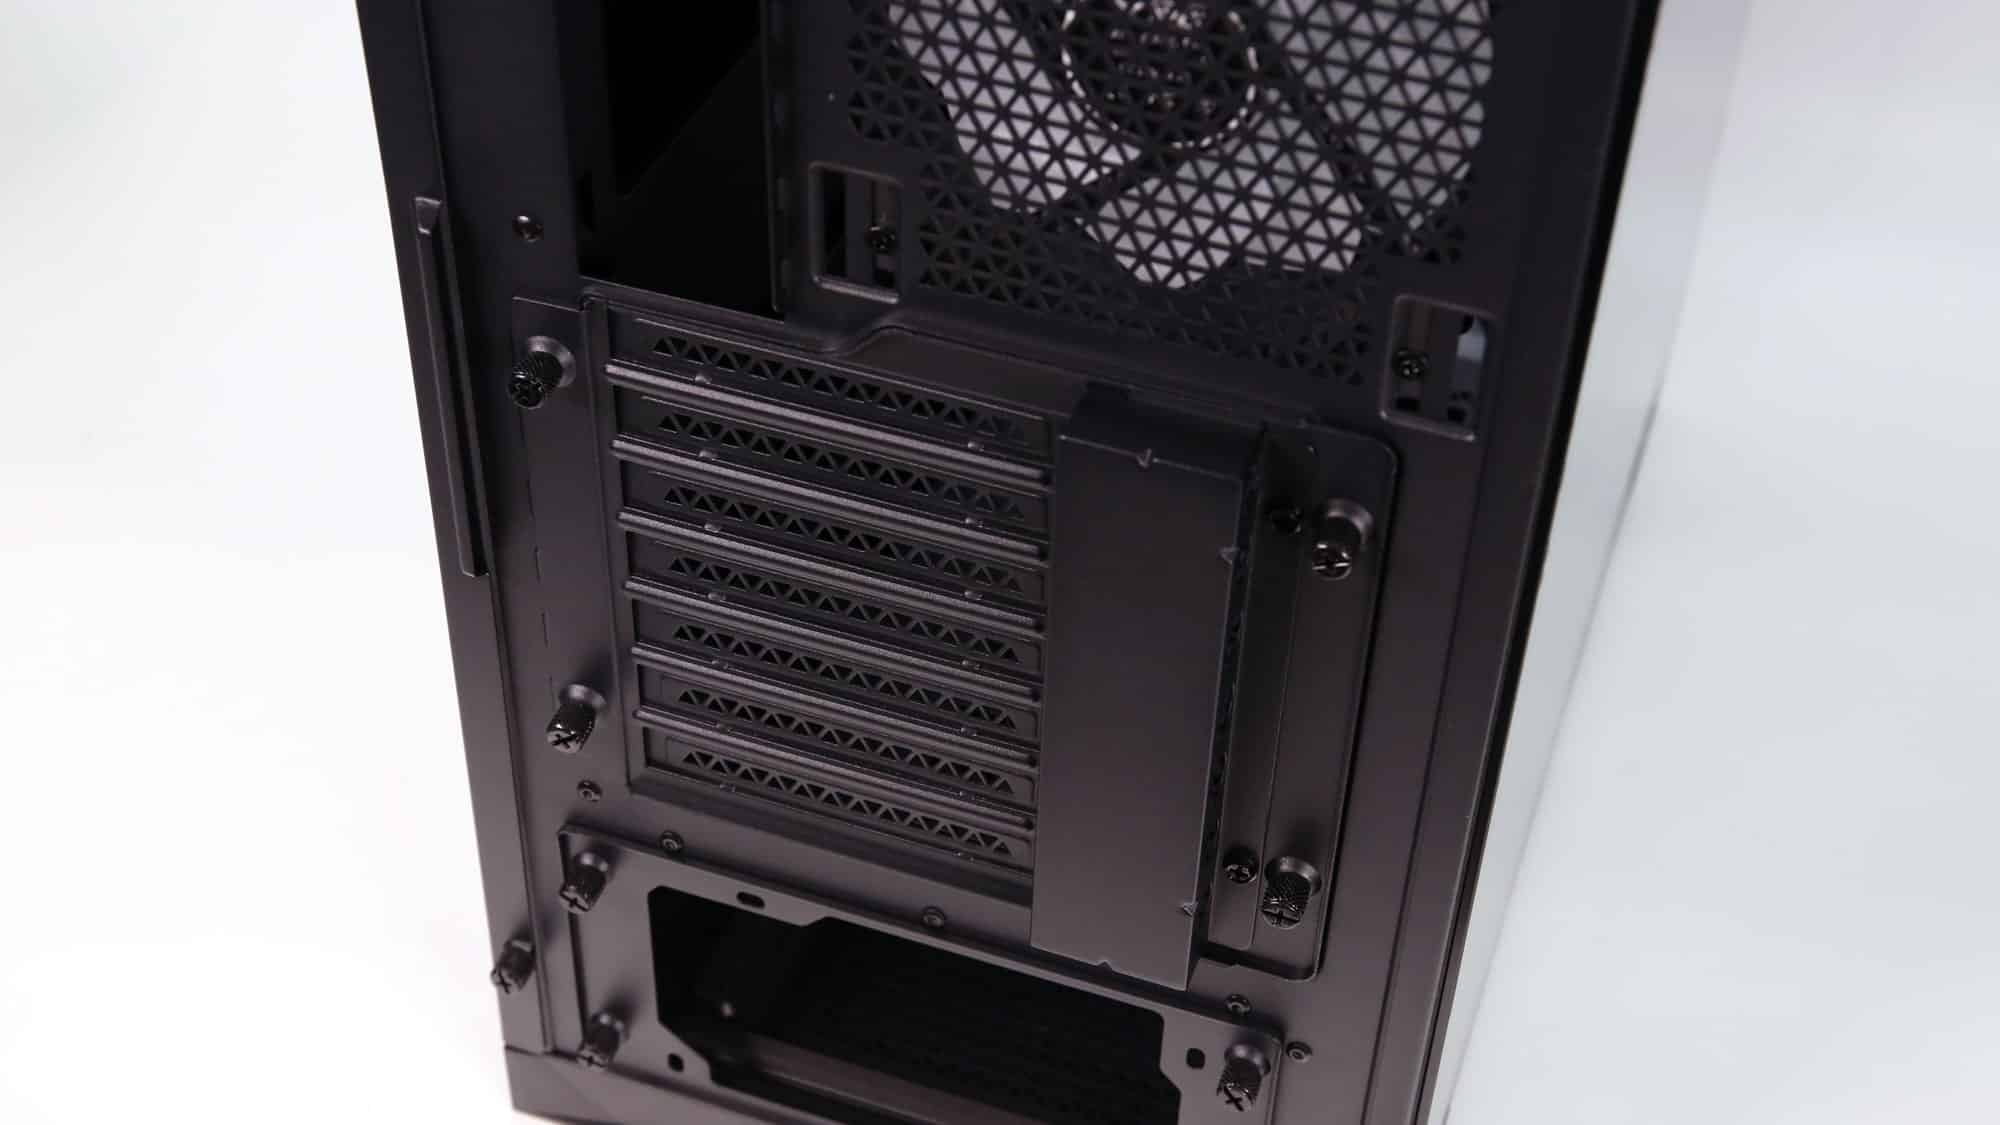
Exchanging the stock expansion panel for the vertical one is pretty easy. It requires the removal of just four thumb screws, the panel swivels out, and the replacement one pops in. What concerns us is whether a 3 or 4-slot-wide GPU would get enough air to be cooled down effectively in a vertical GPU setup.
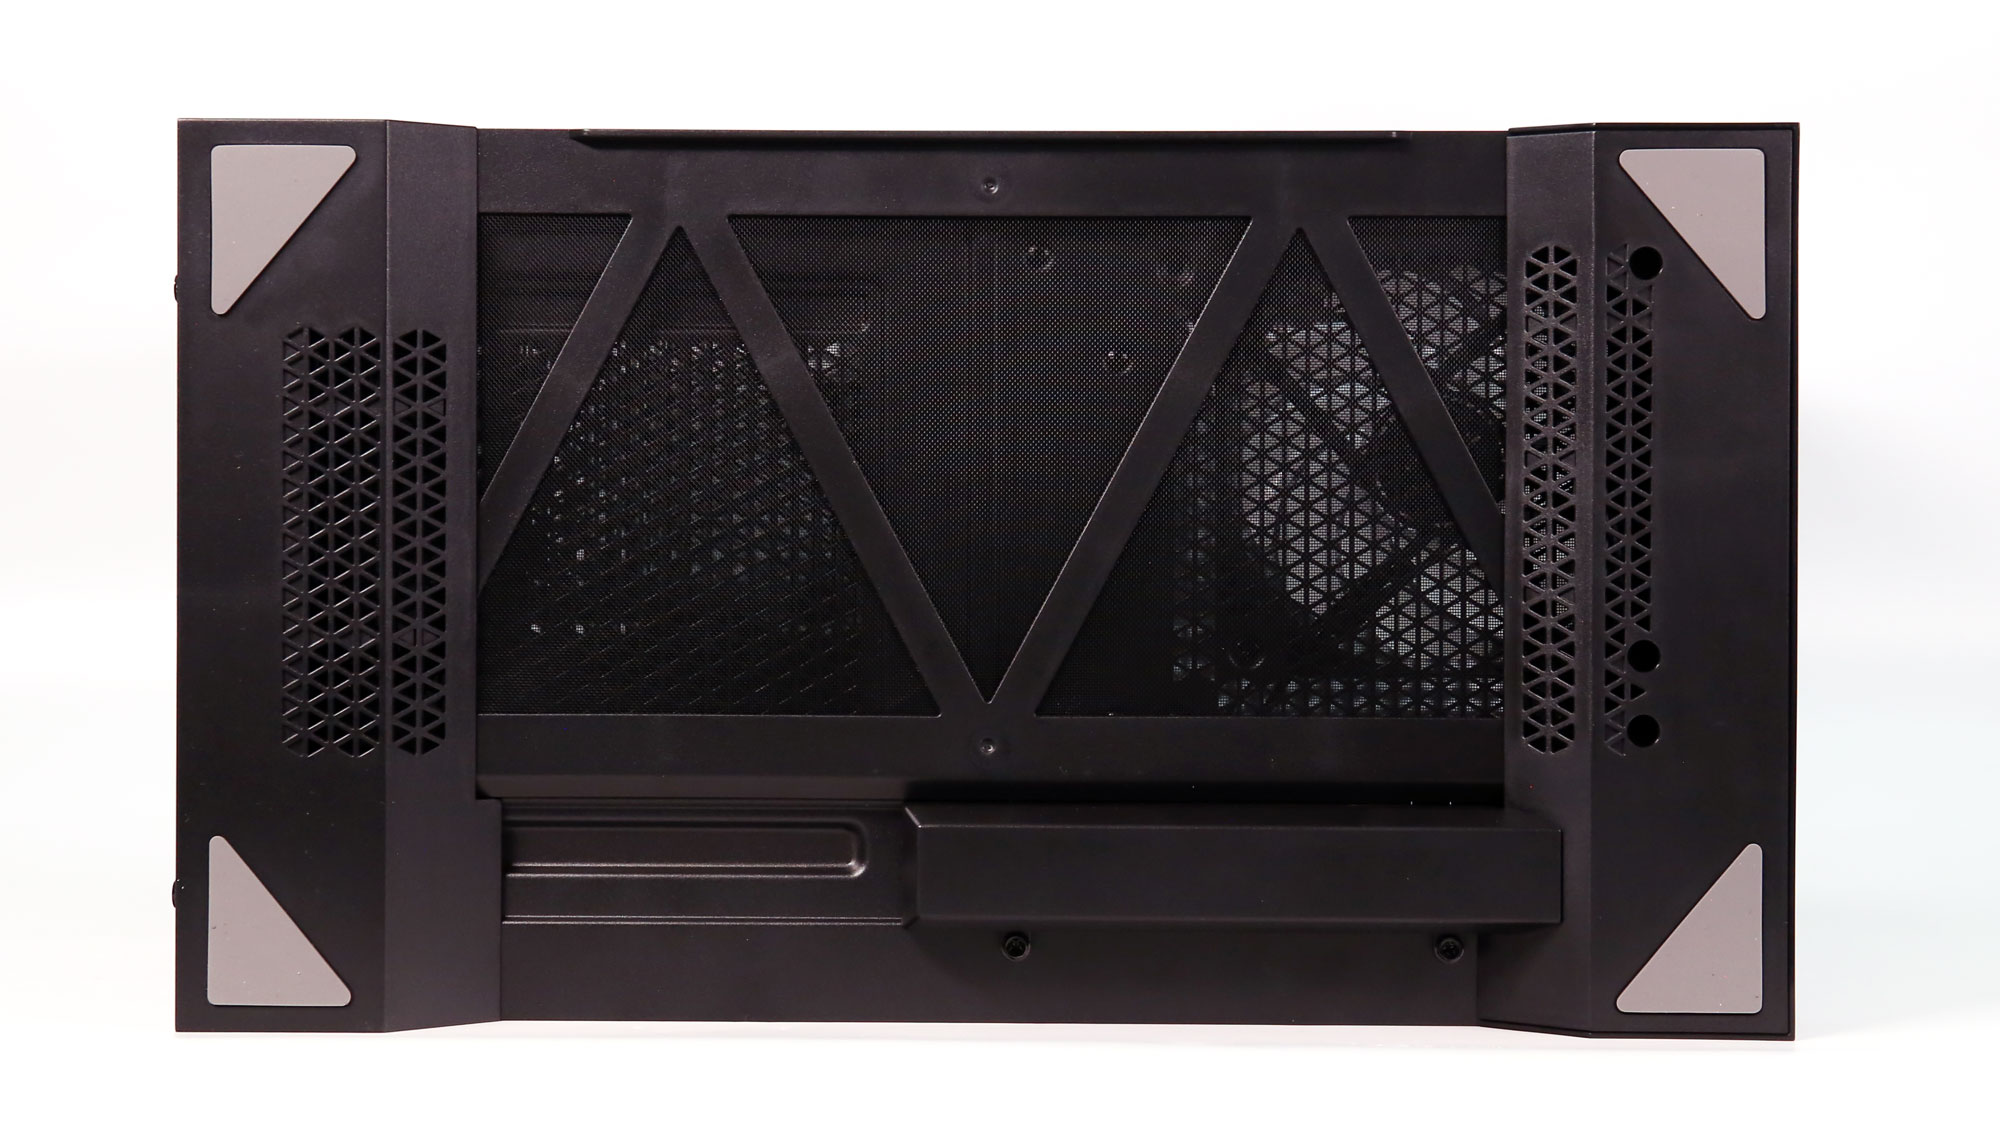

It is nice to see that the bottom dust filter can be removed from the side. Given the all-glass design, we expect the chassis to live on top of a desk where side access is easy.
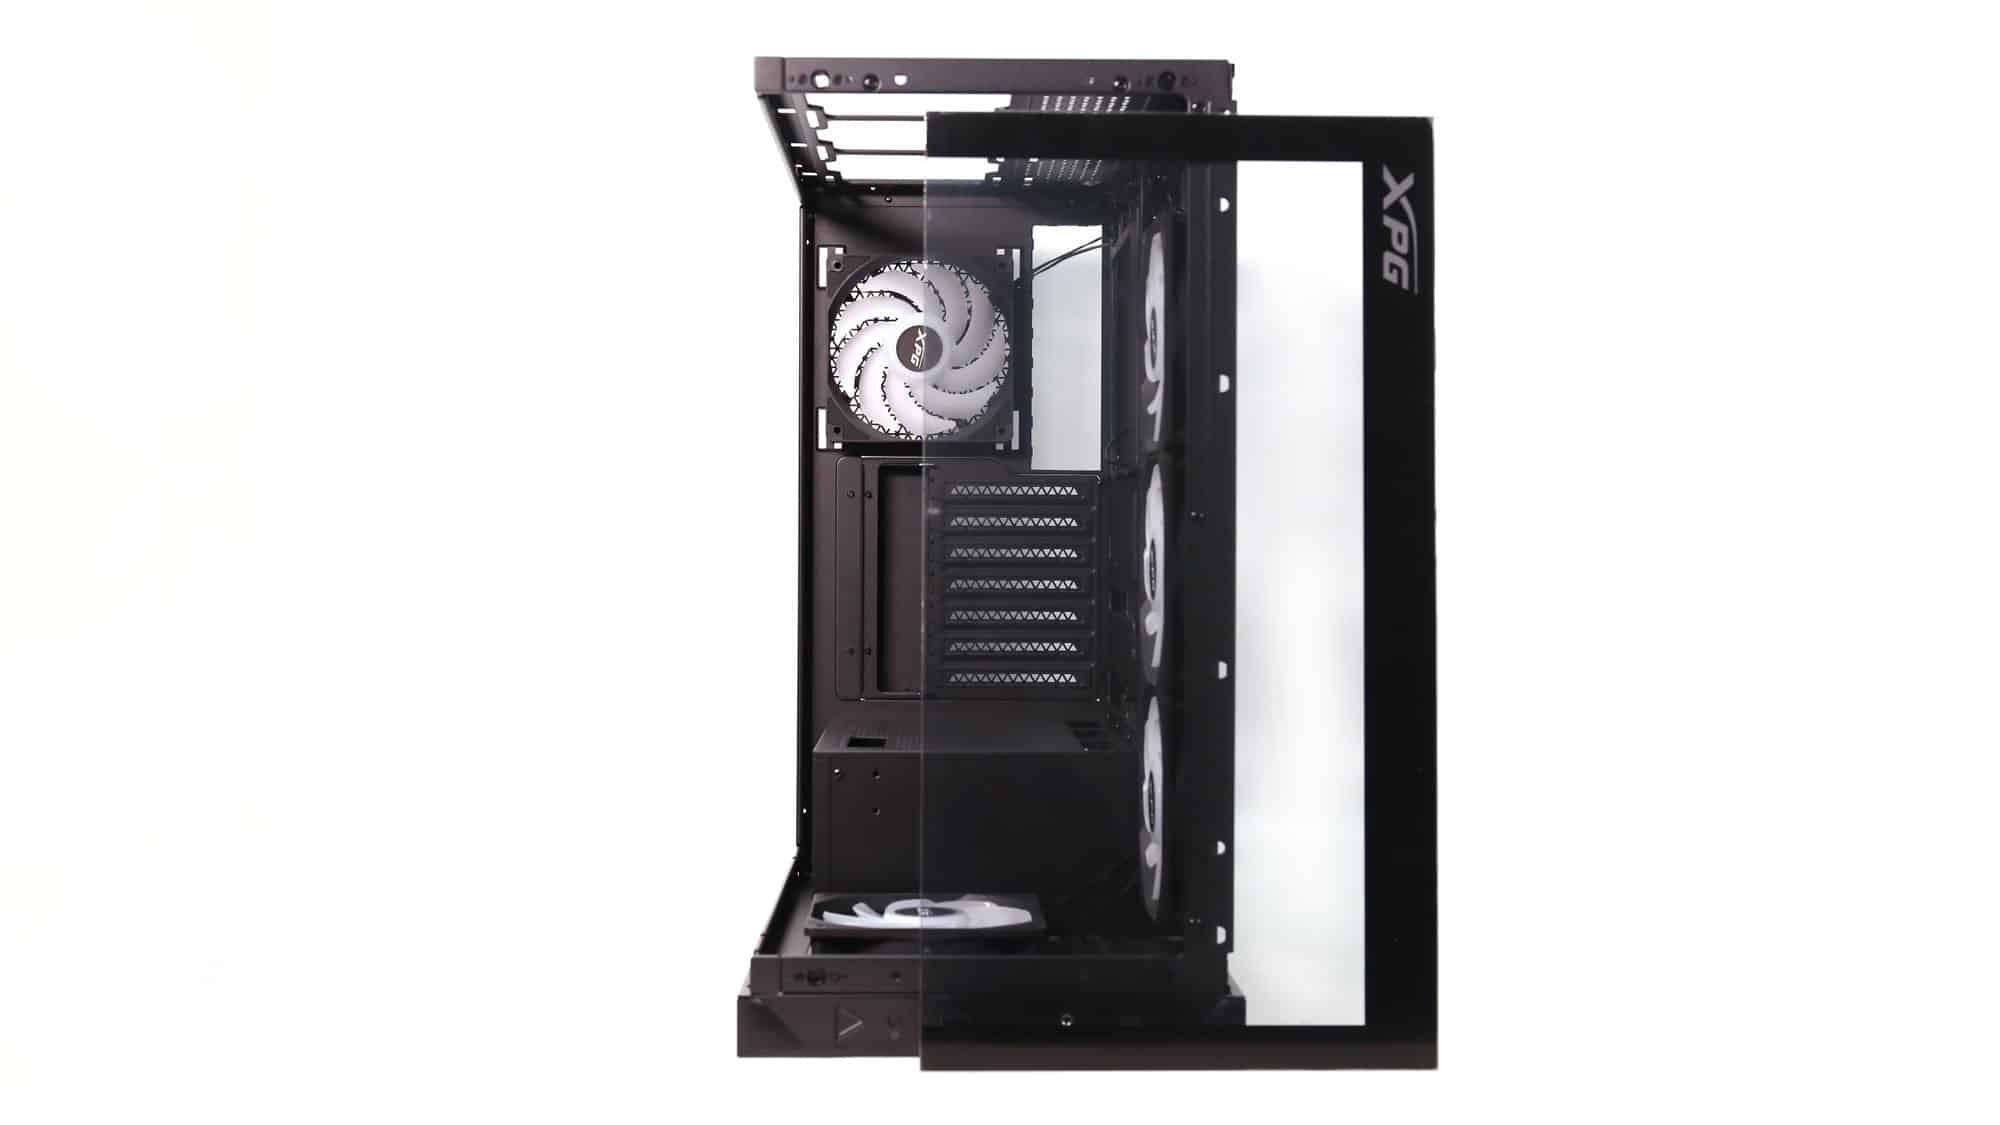
Chassis Photos – Inside
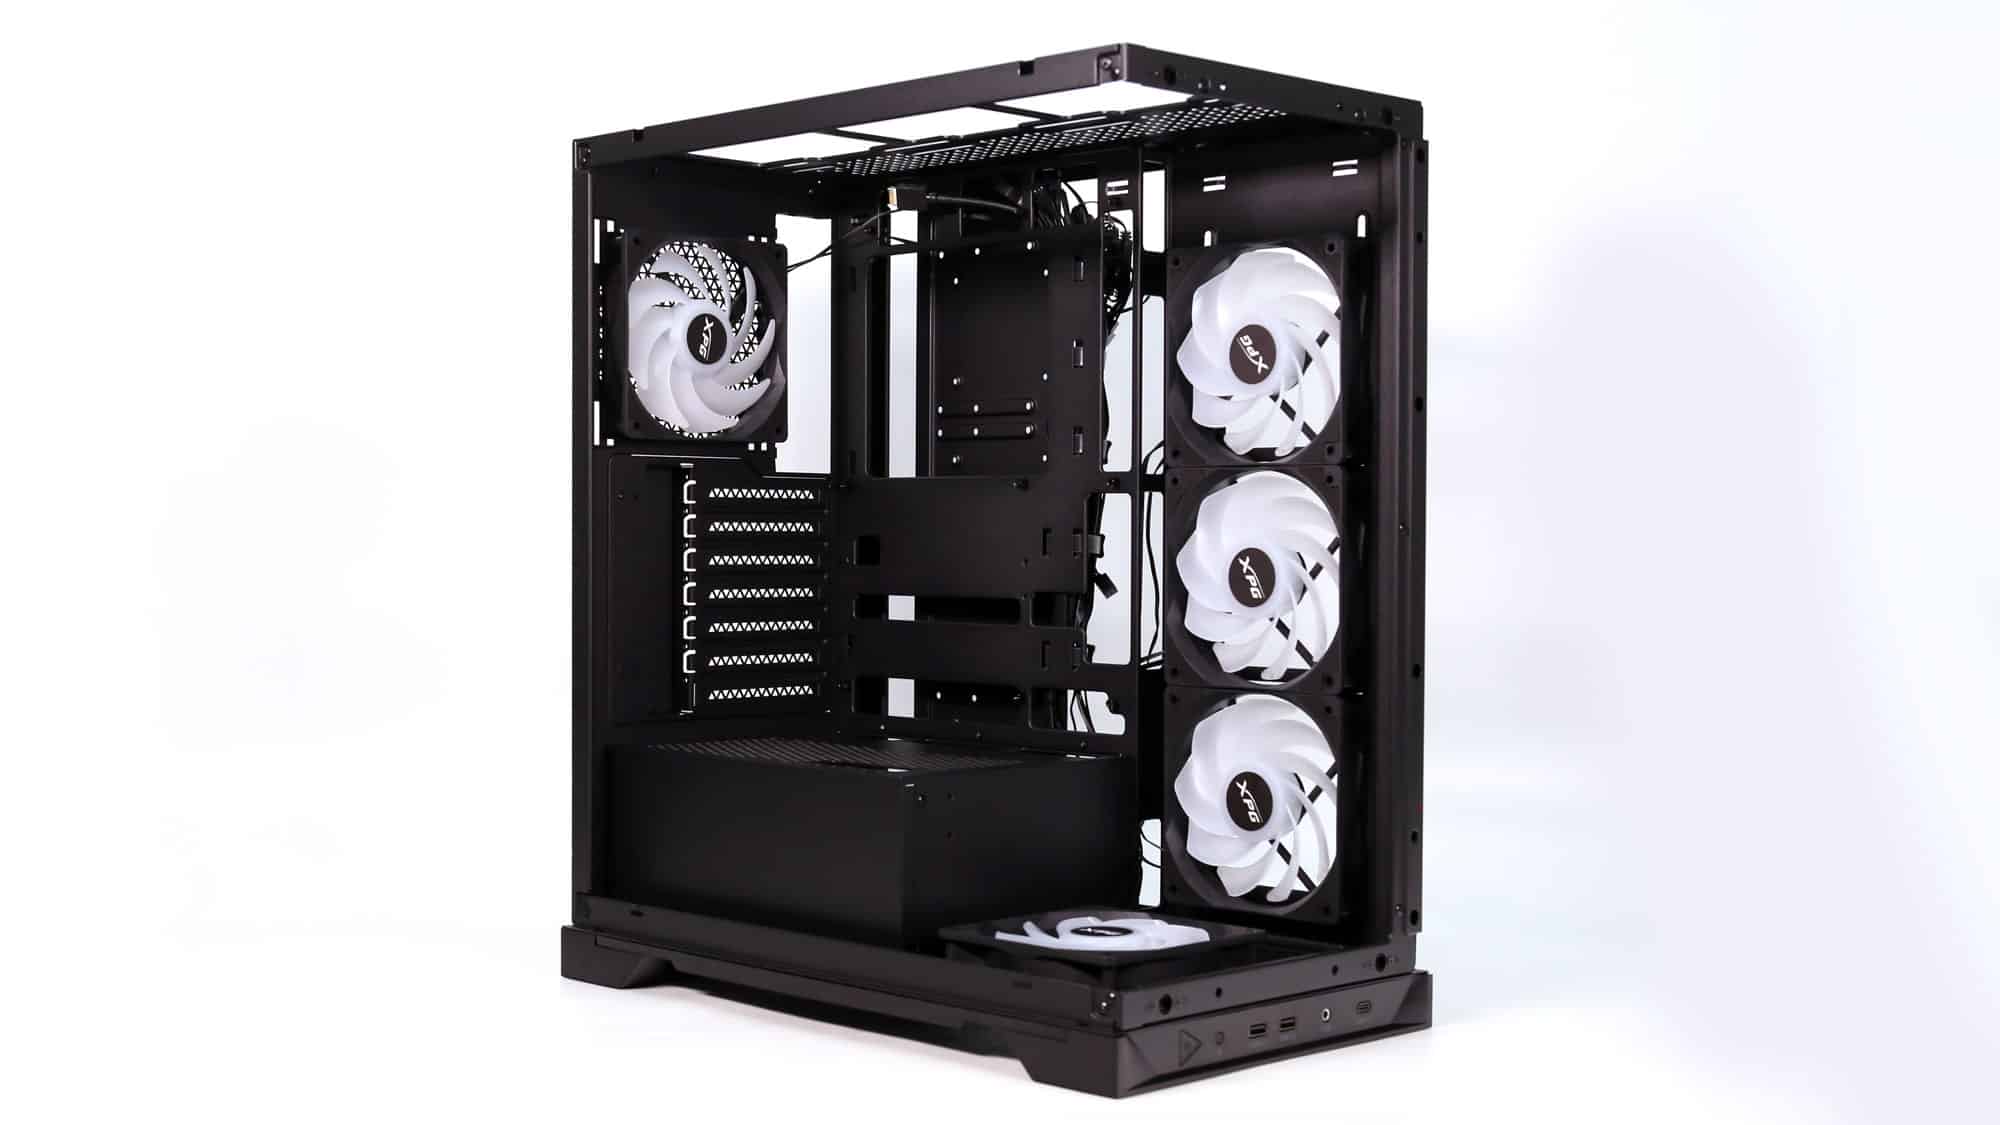
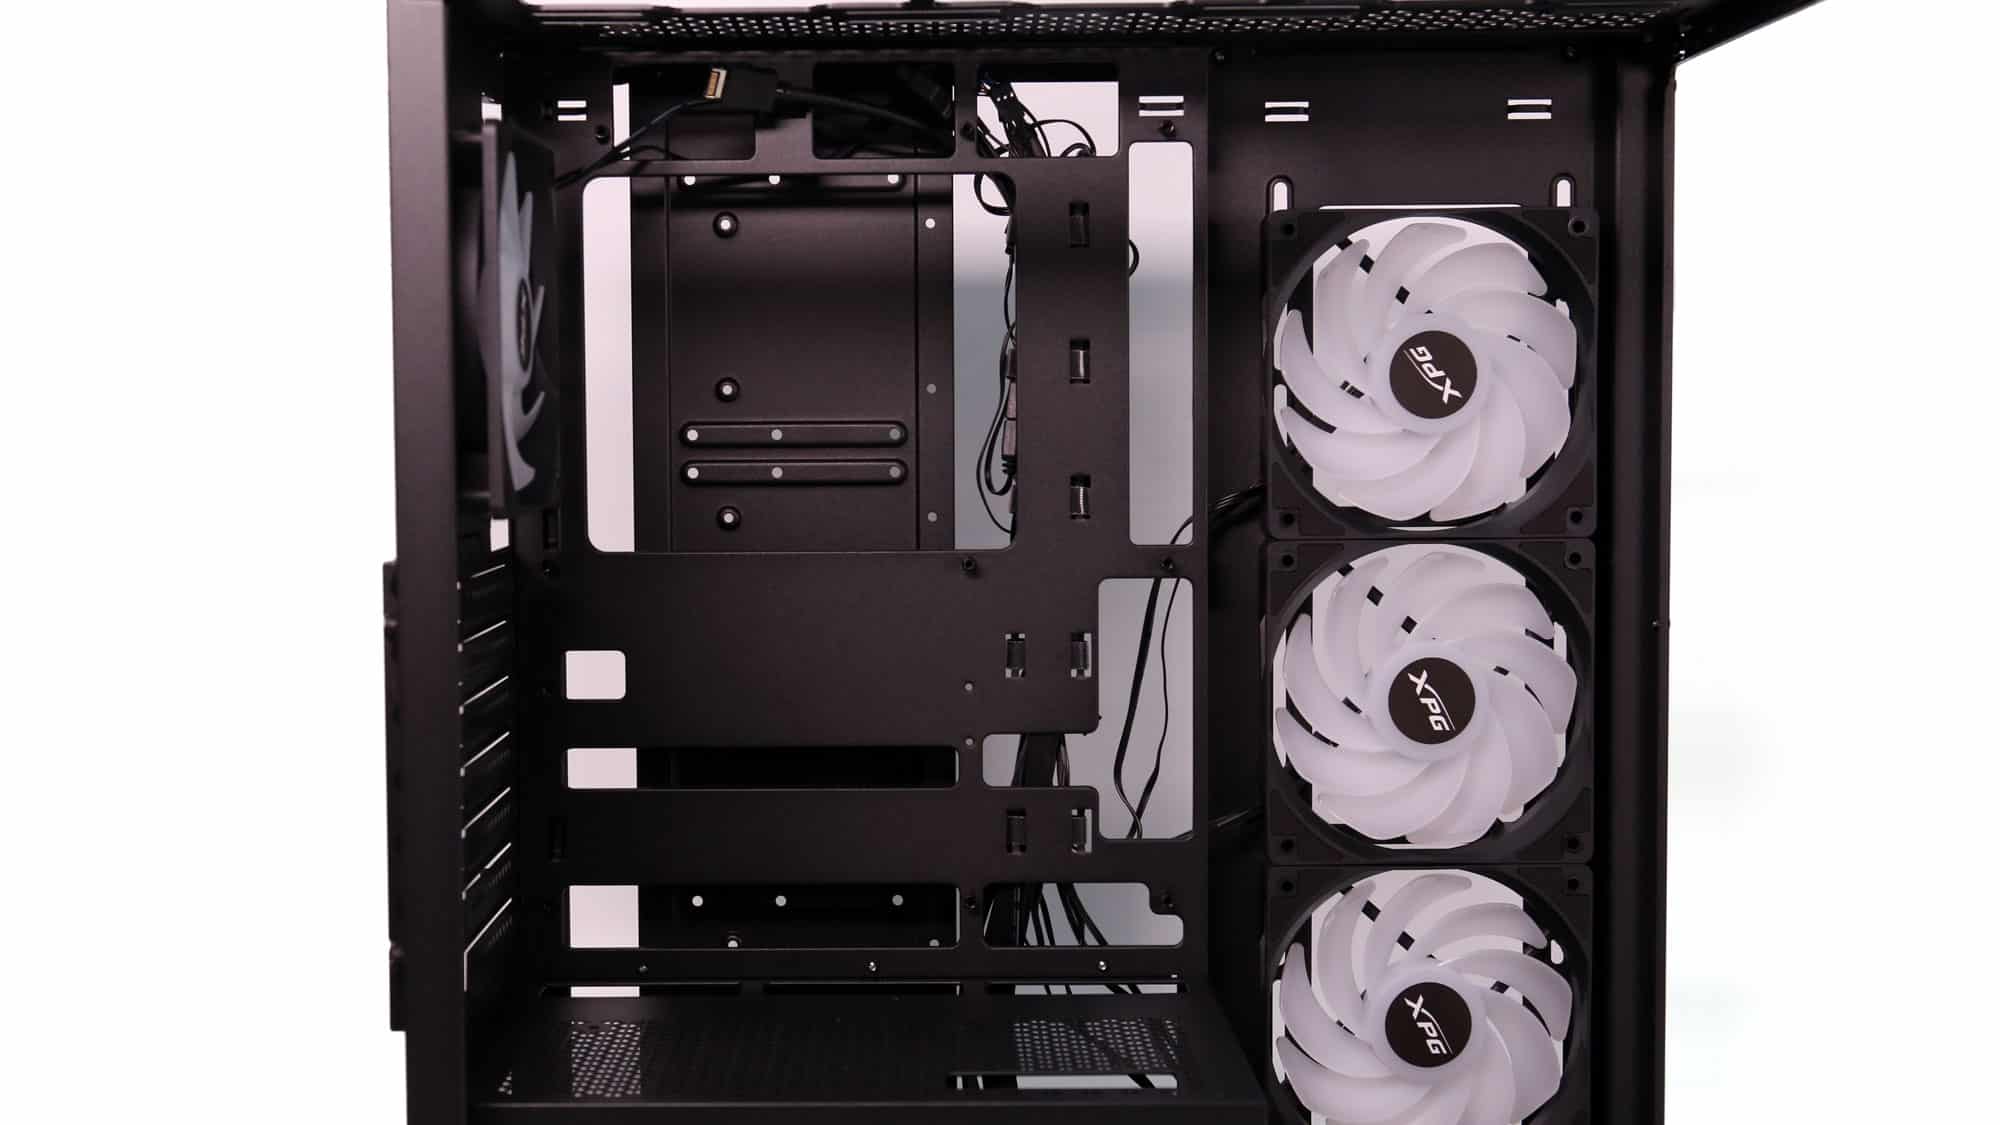
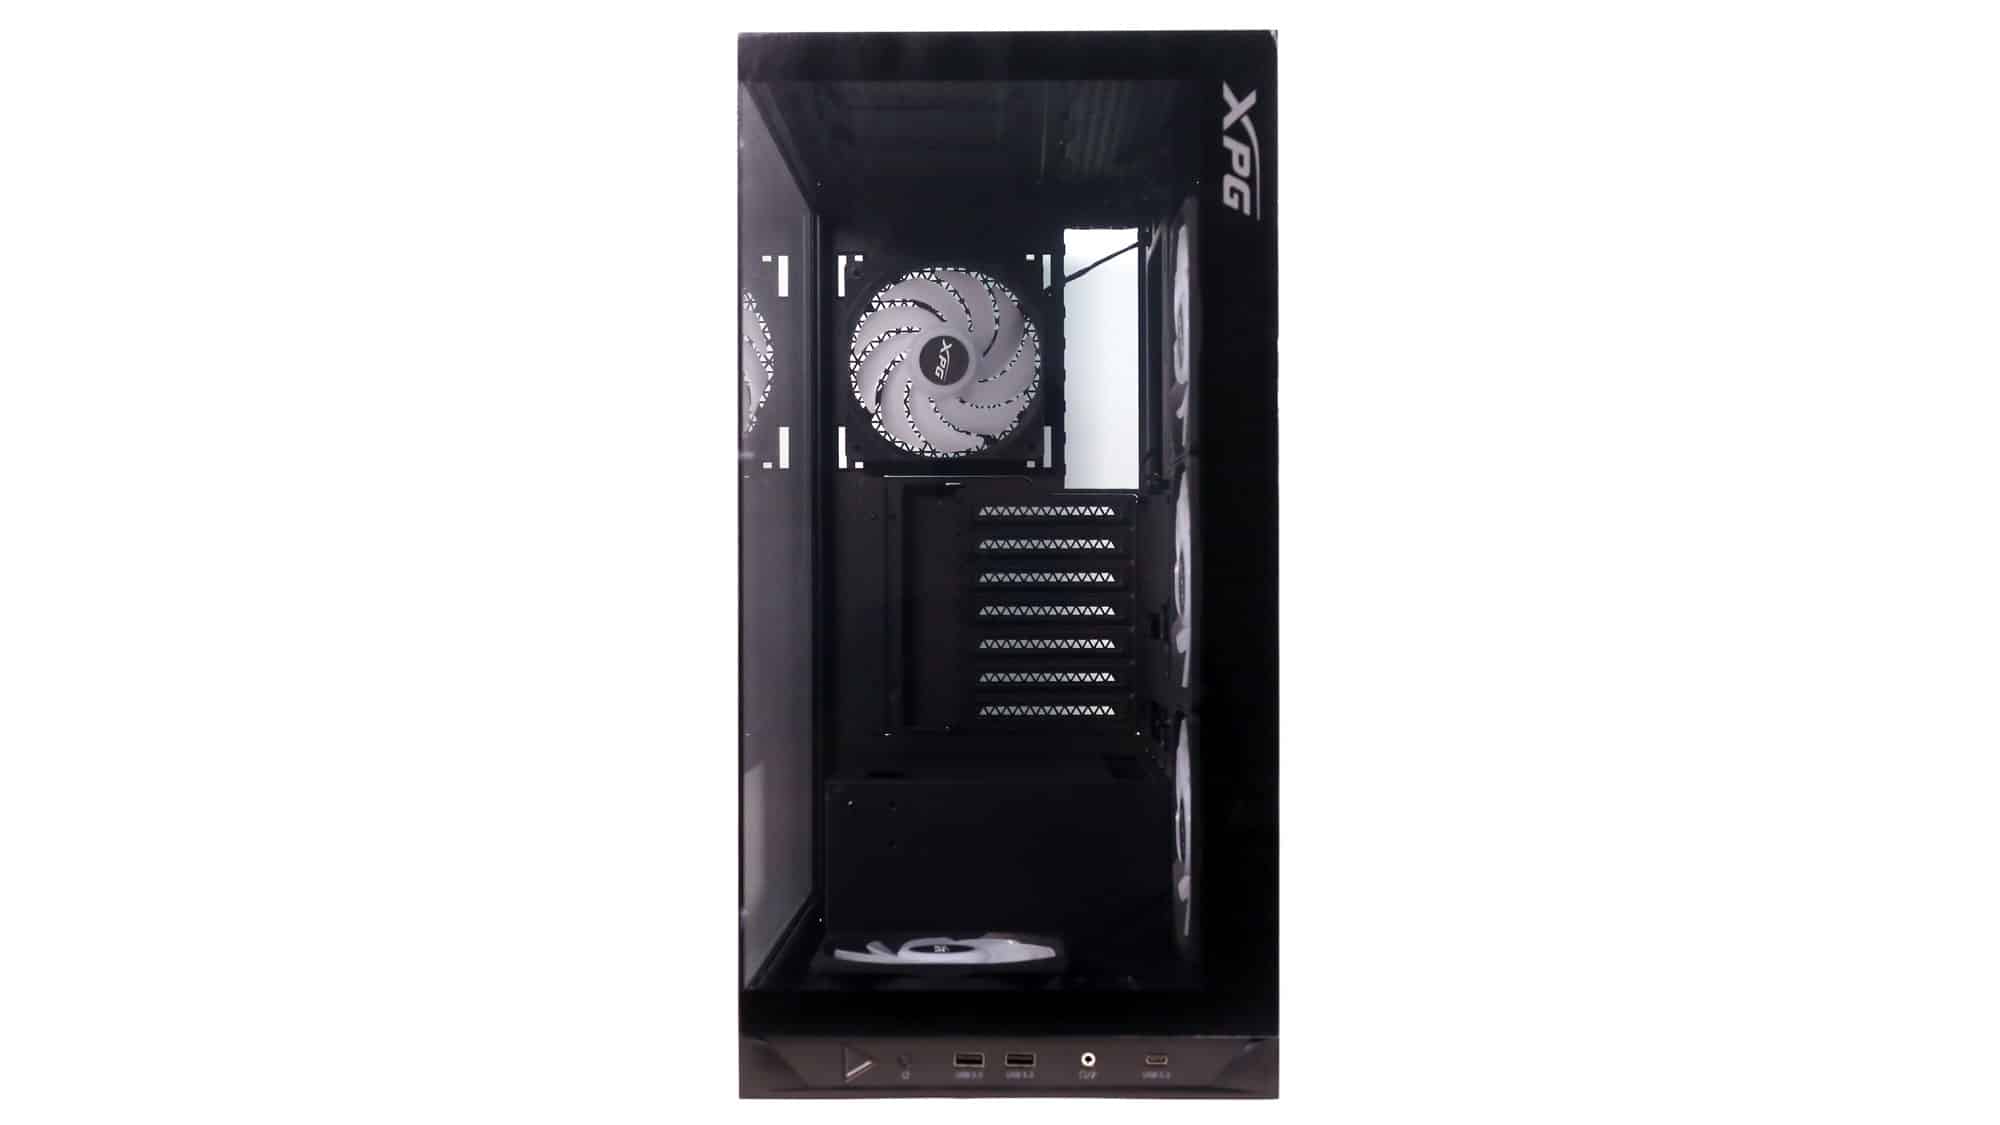
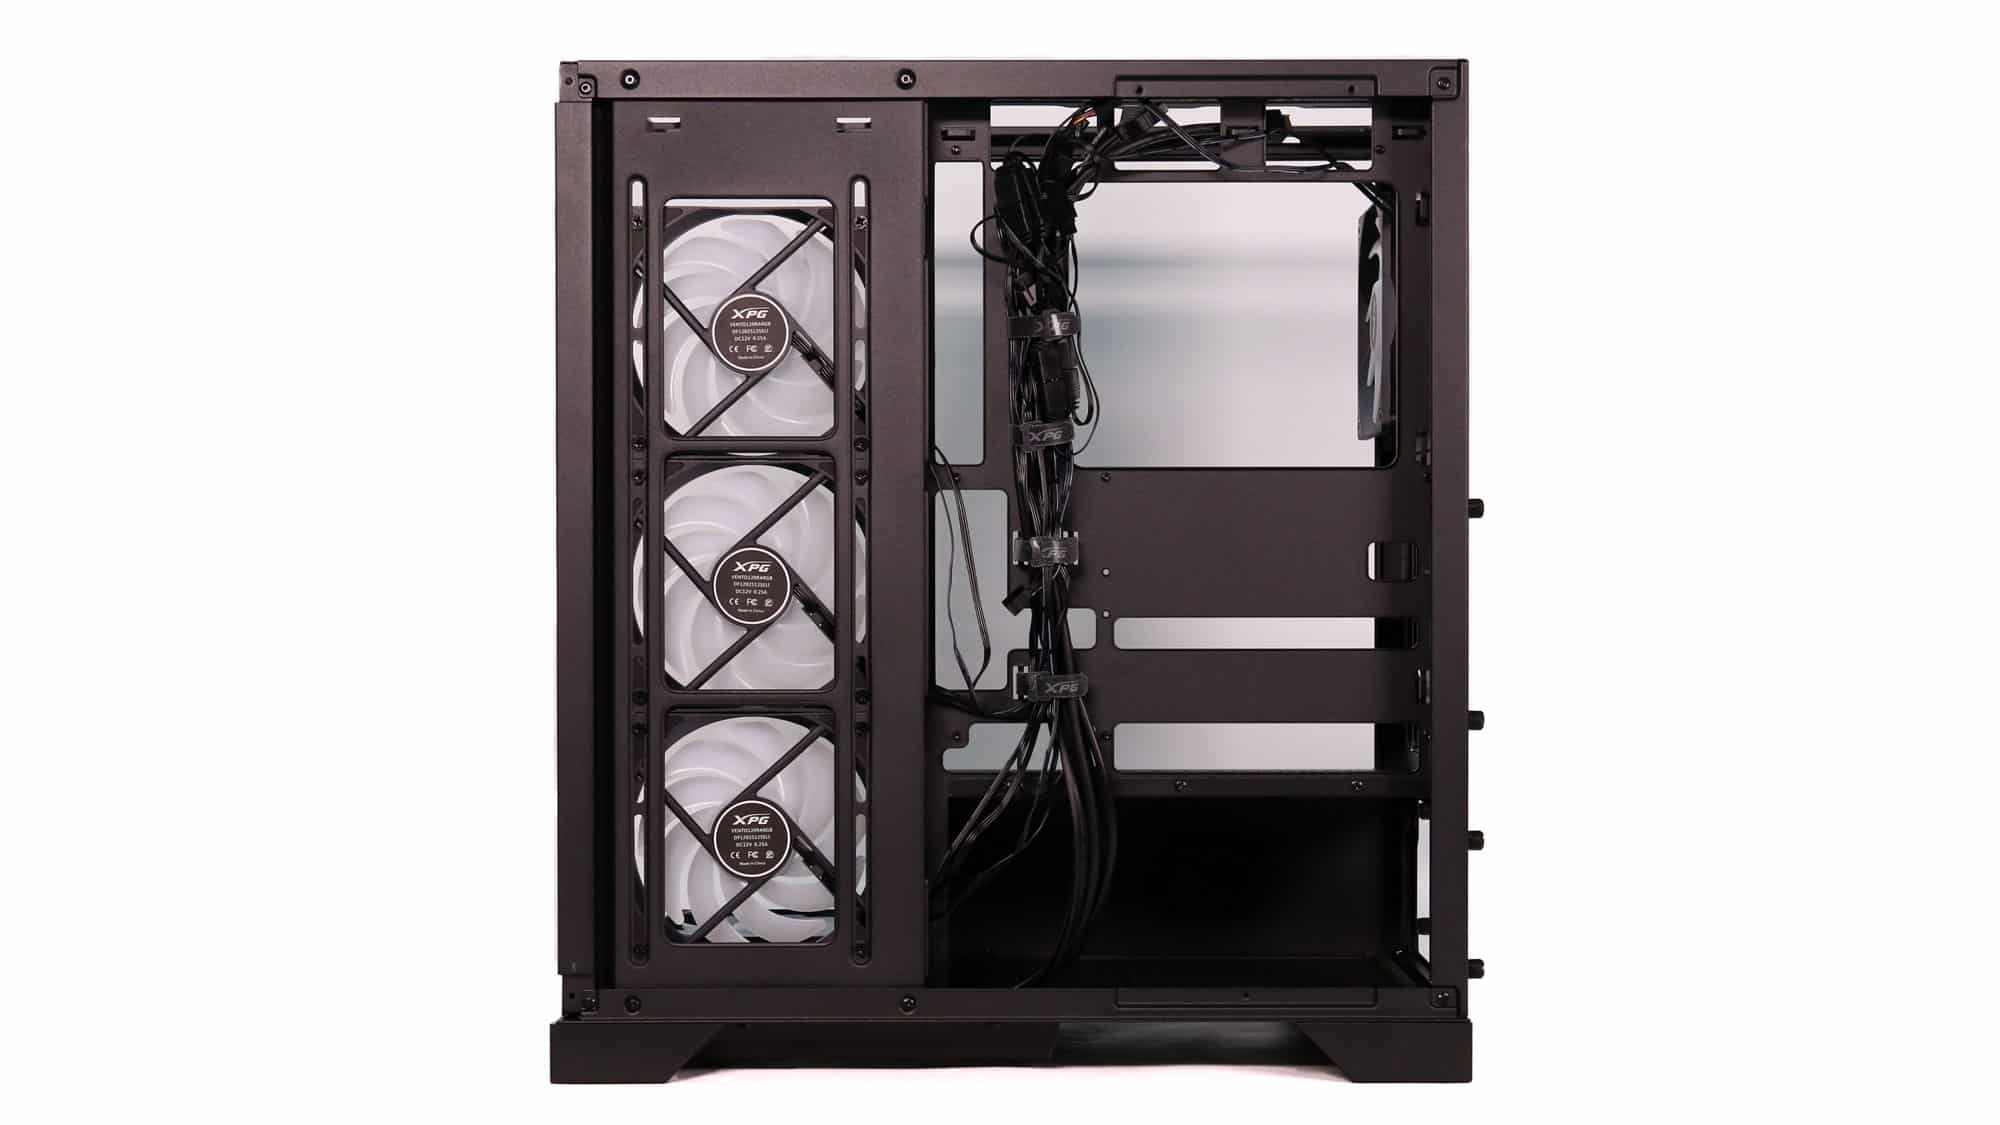
Despite its small dimensions, the first look inside the chassis gives the impression that there is lots of space to work with.
The backward connector compatibility is immediately evident. The chassis can also support 360mm radiators at the top, with more space to work with now.
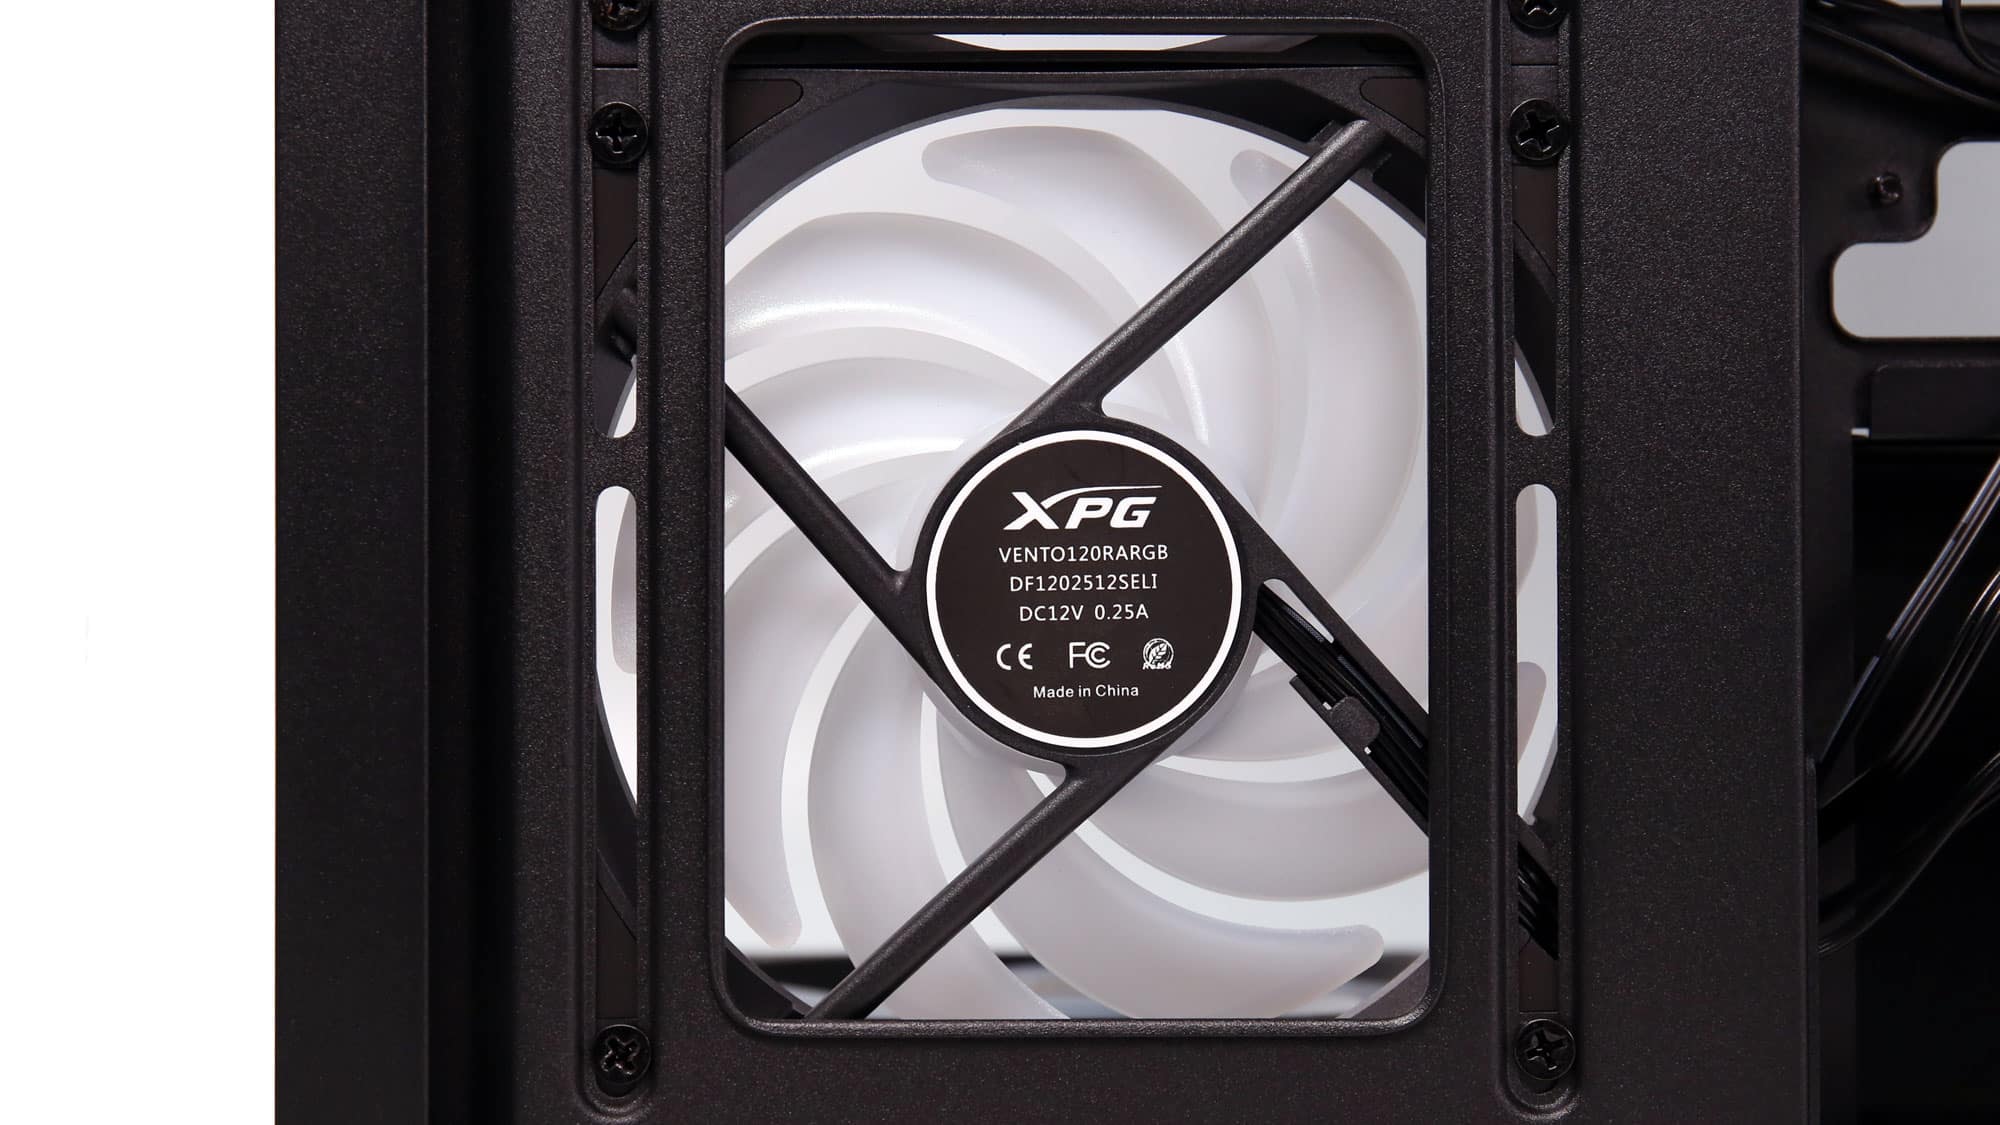
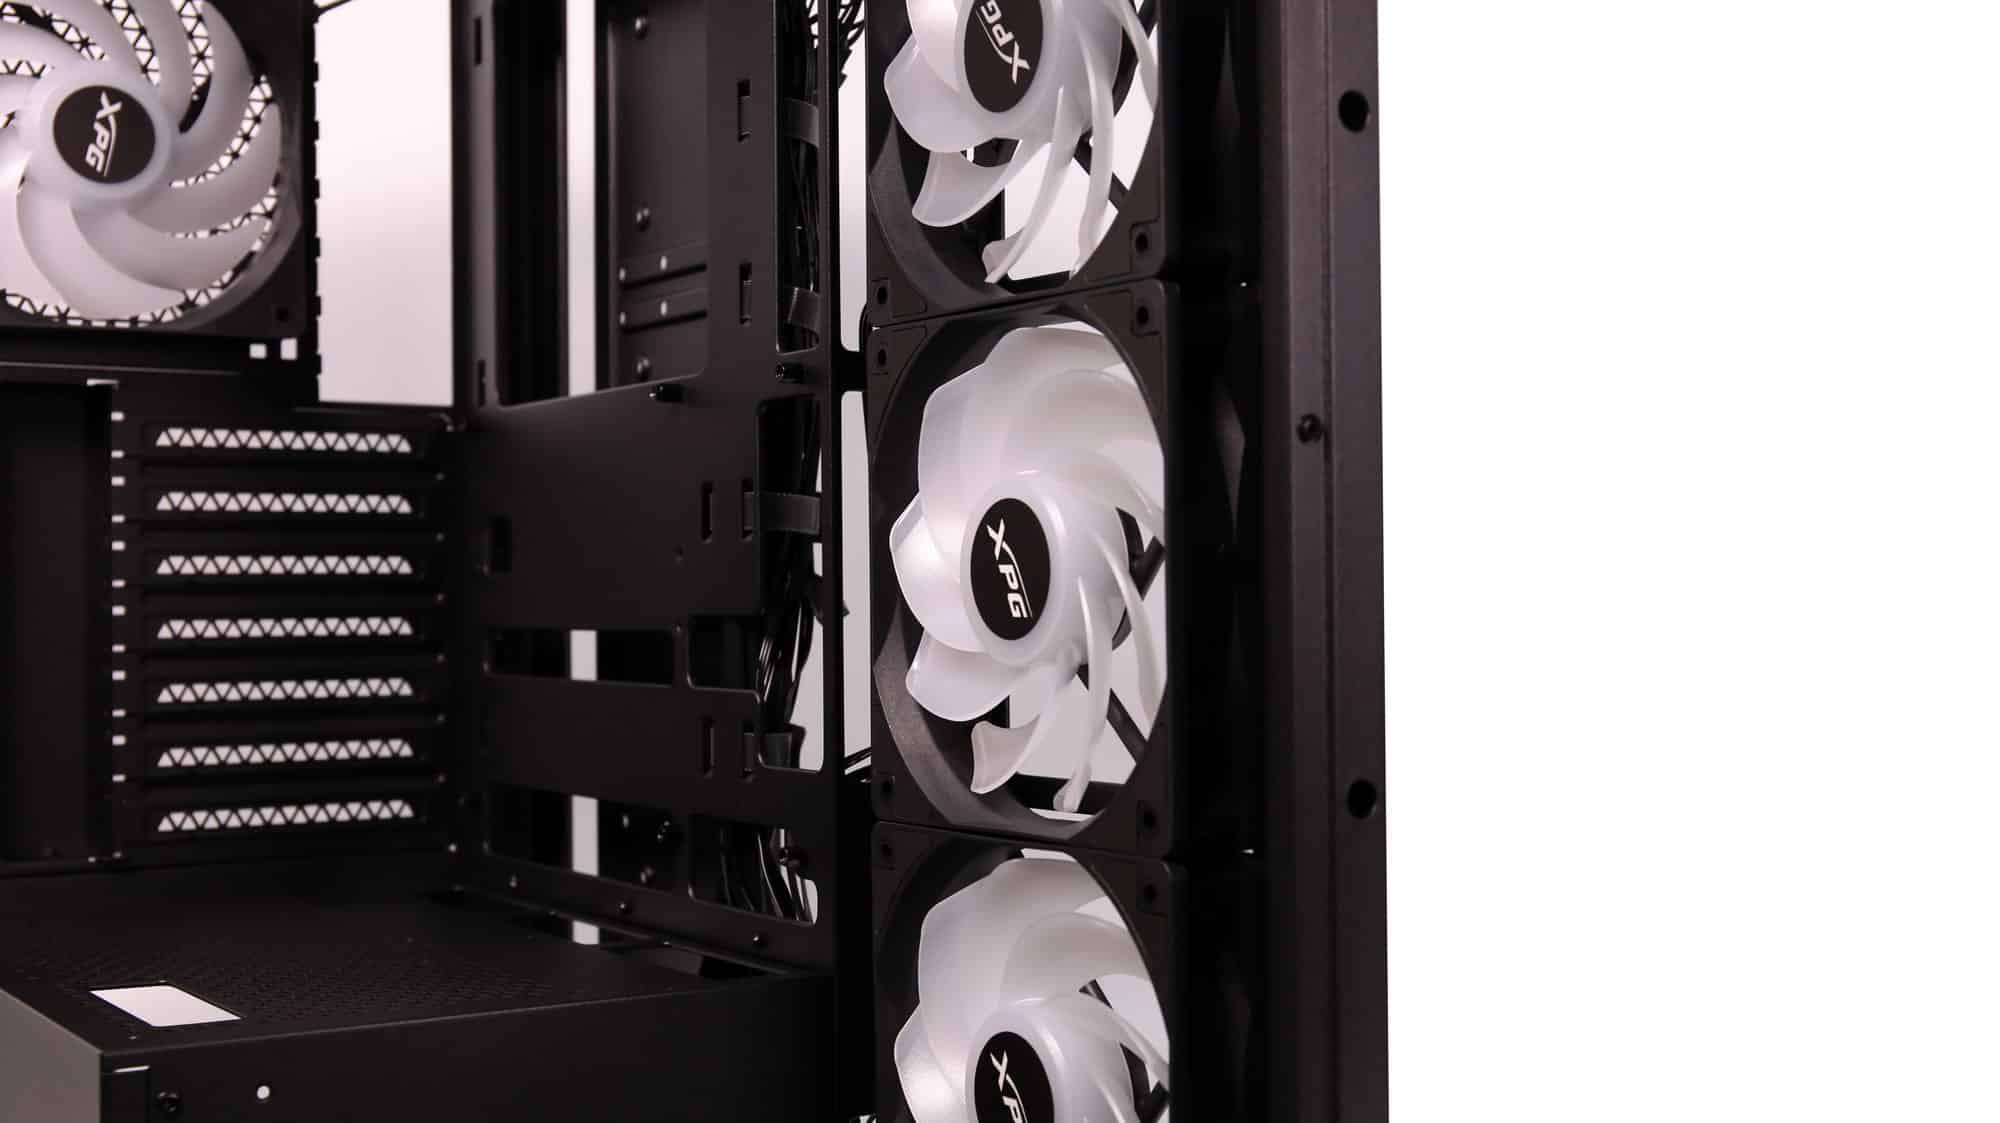
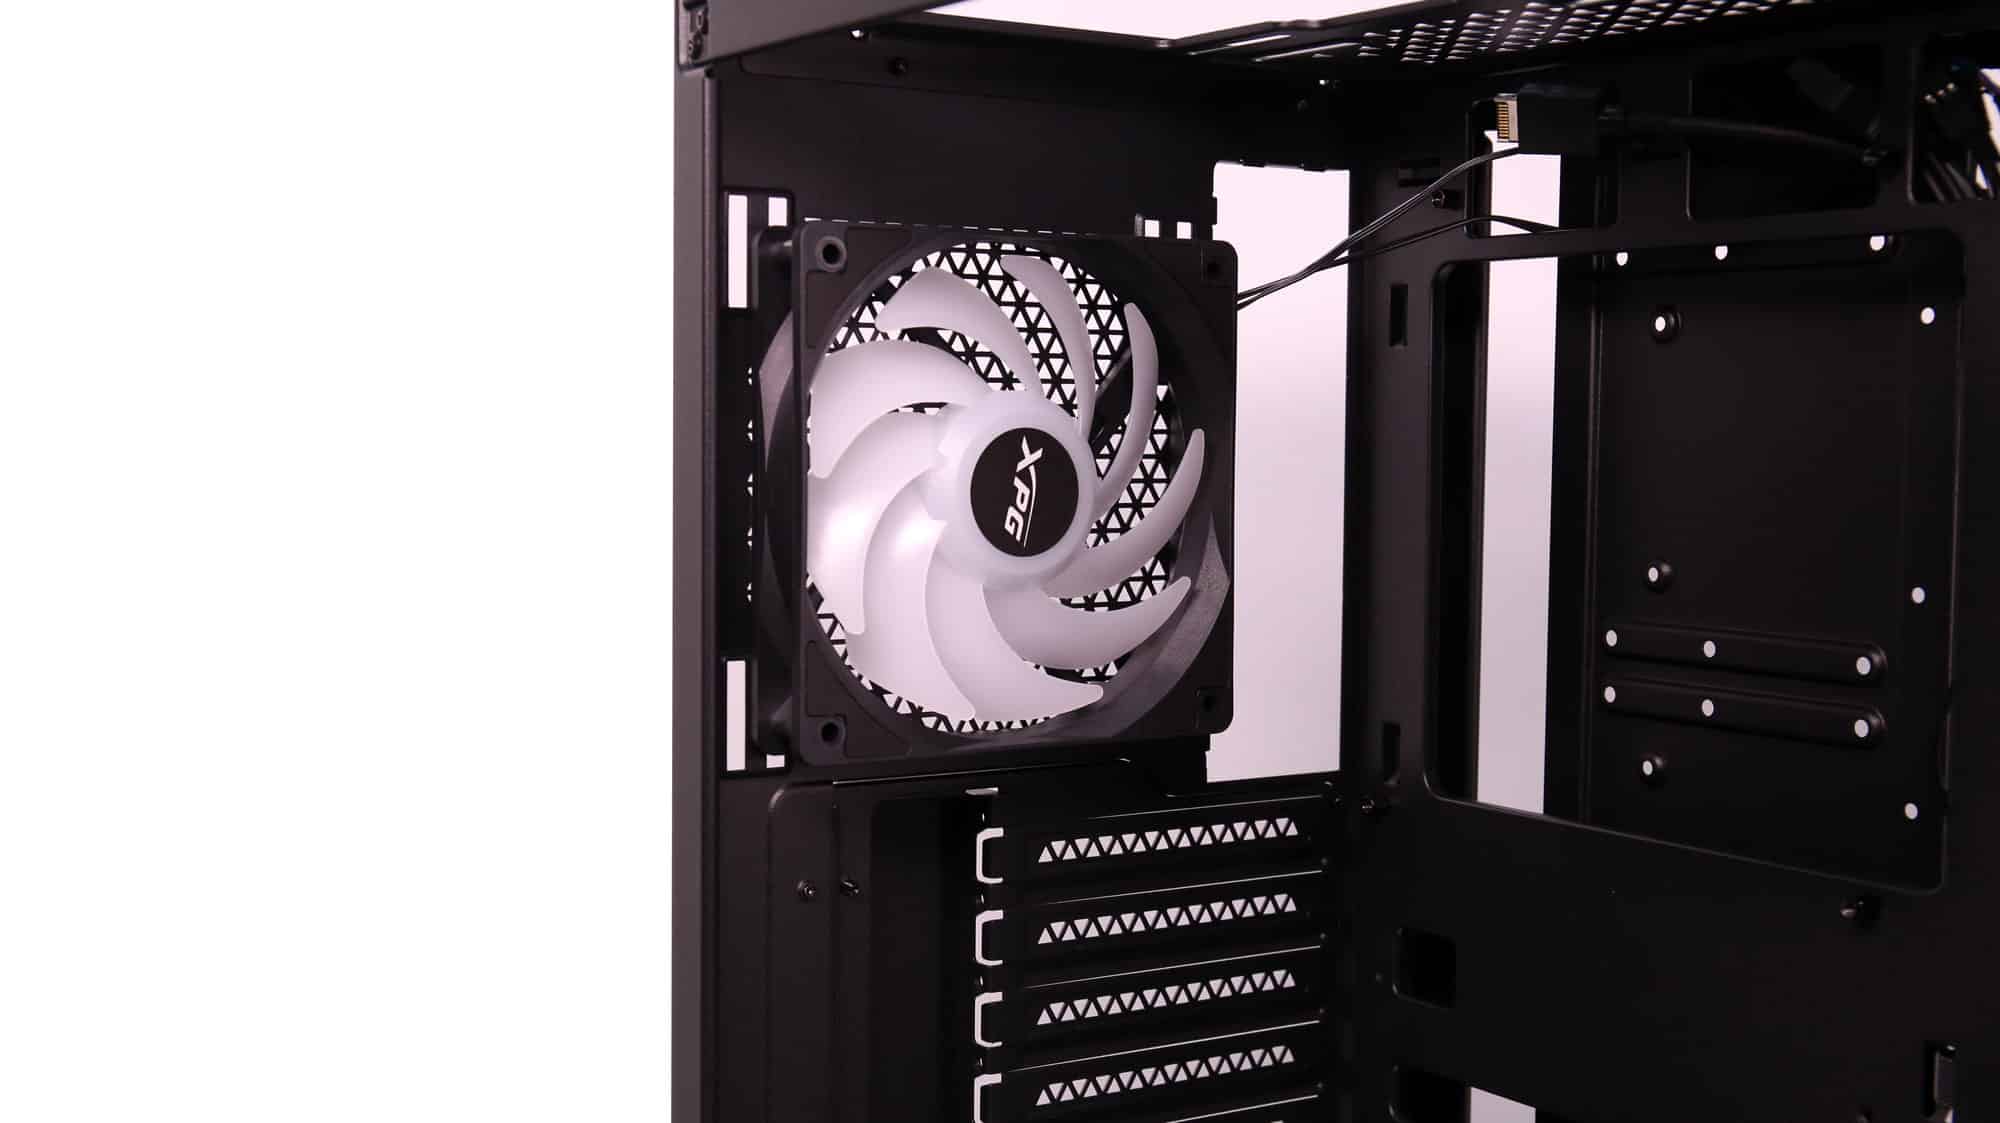
You are also greeted by the five pre-installed fans: four of the reverse blade type and a normal one on the rear.
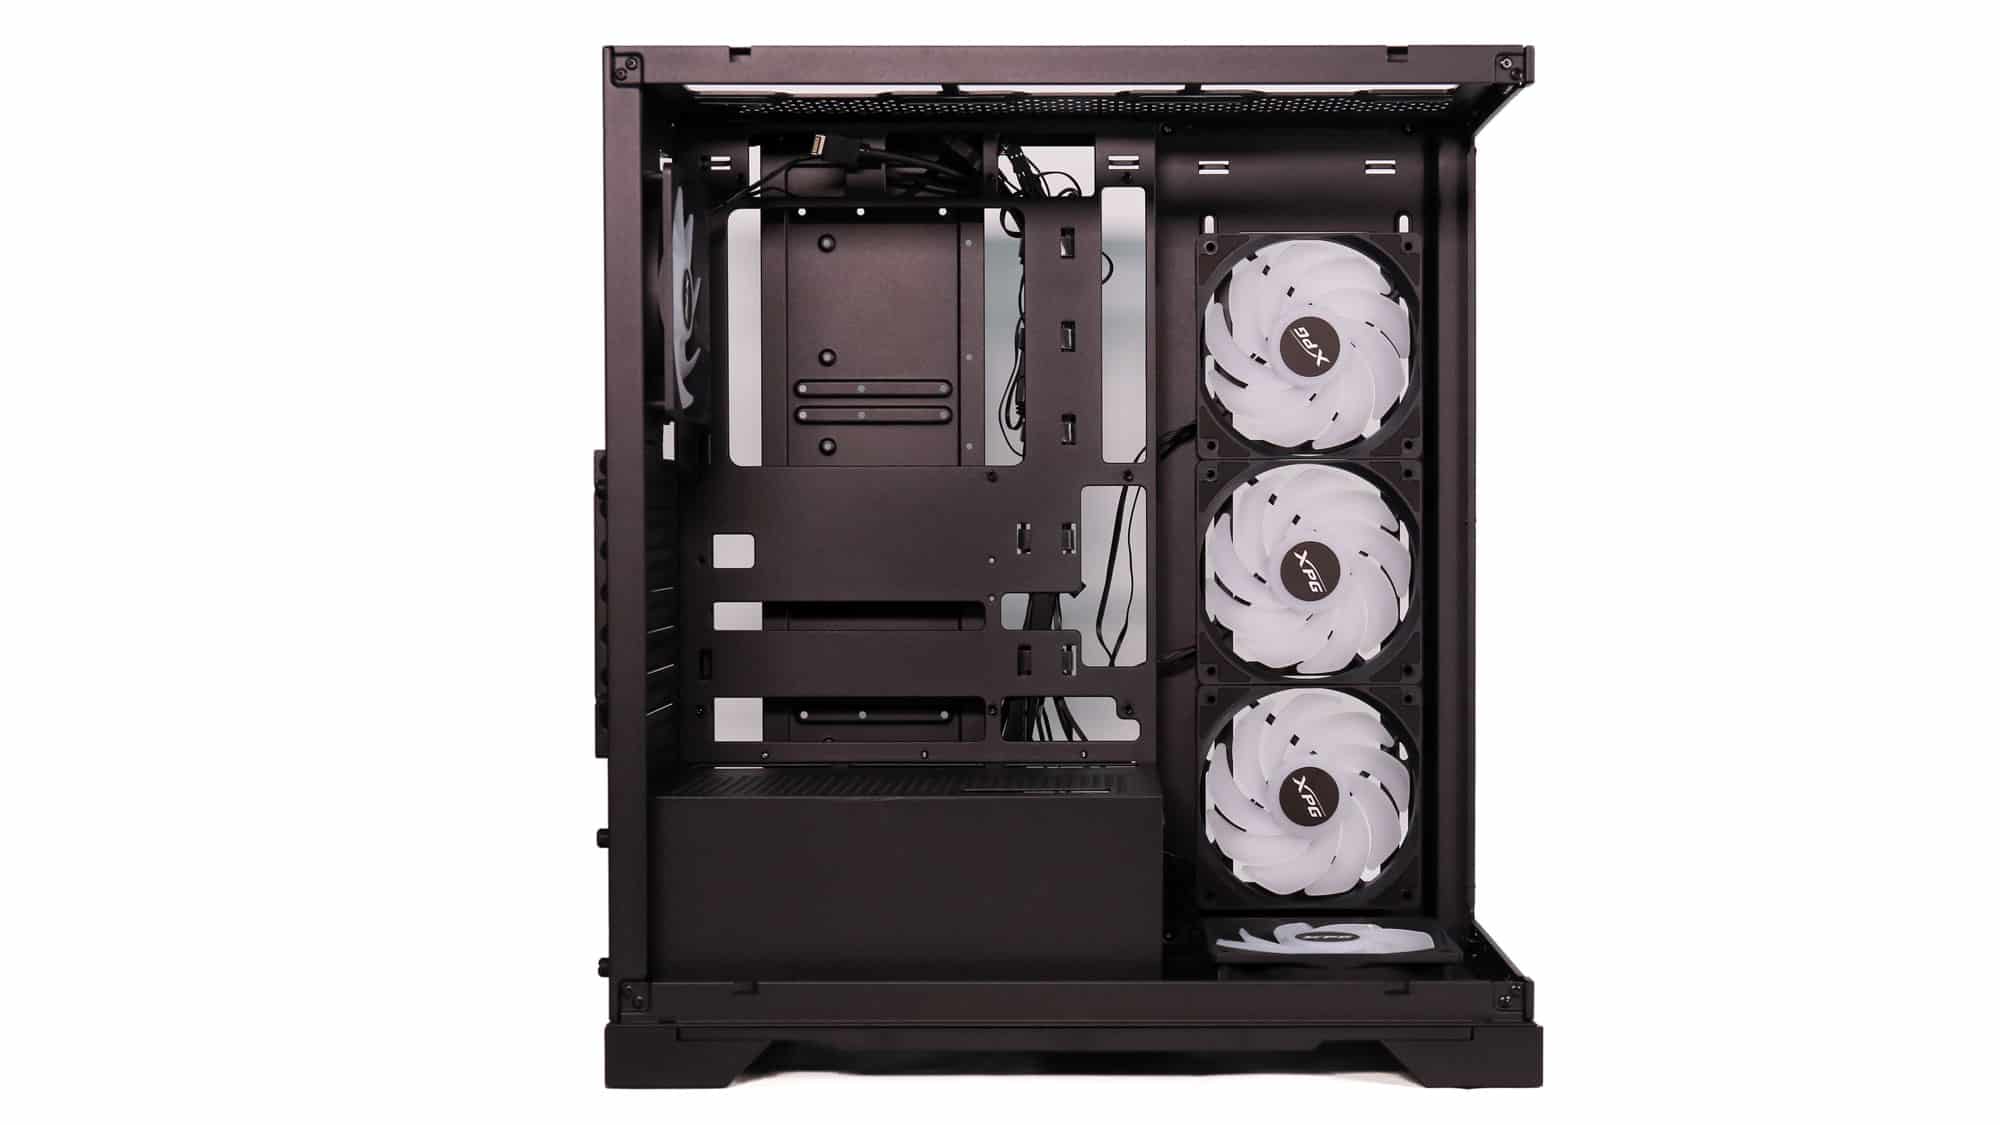
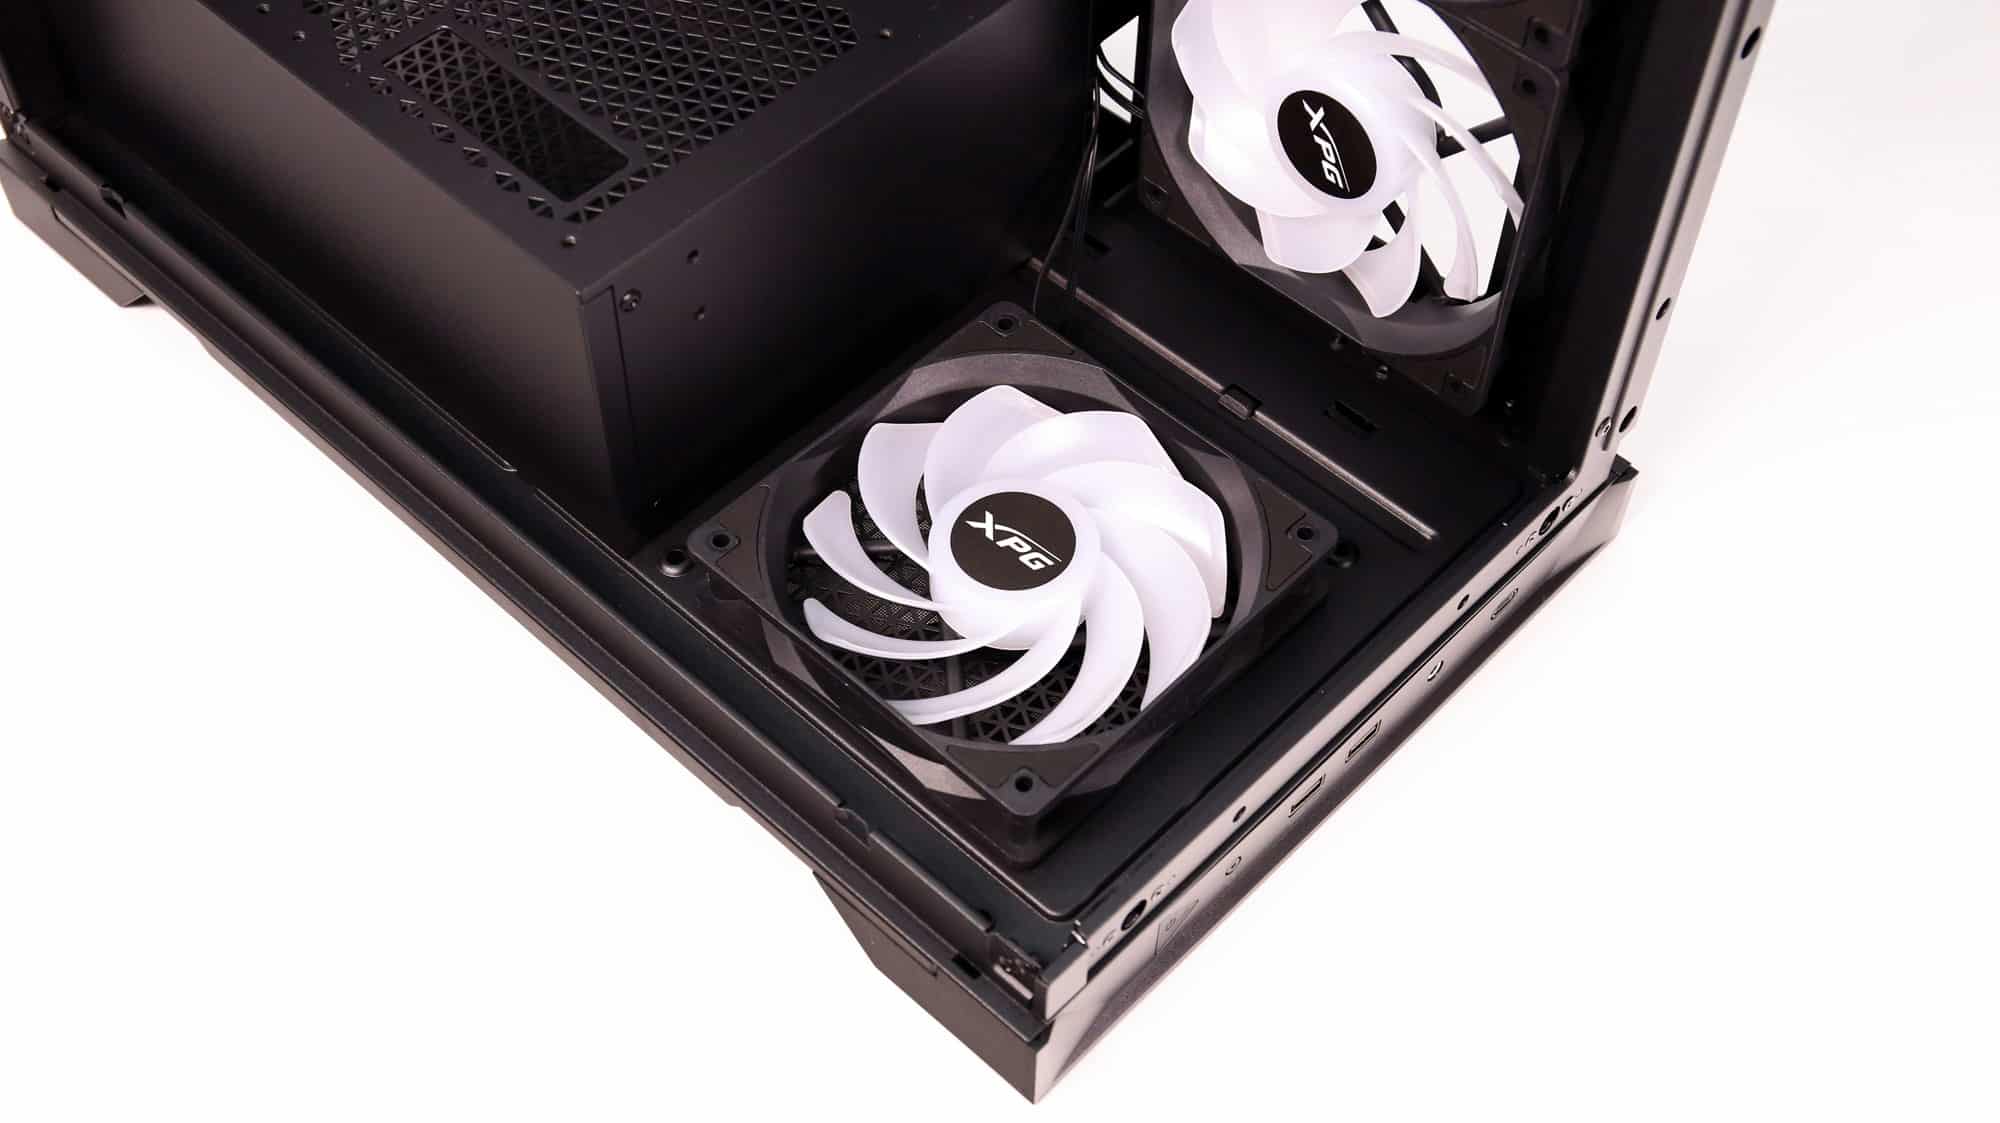
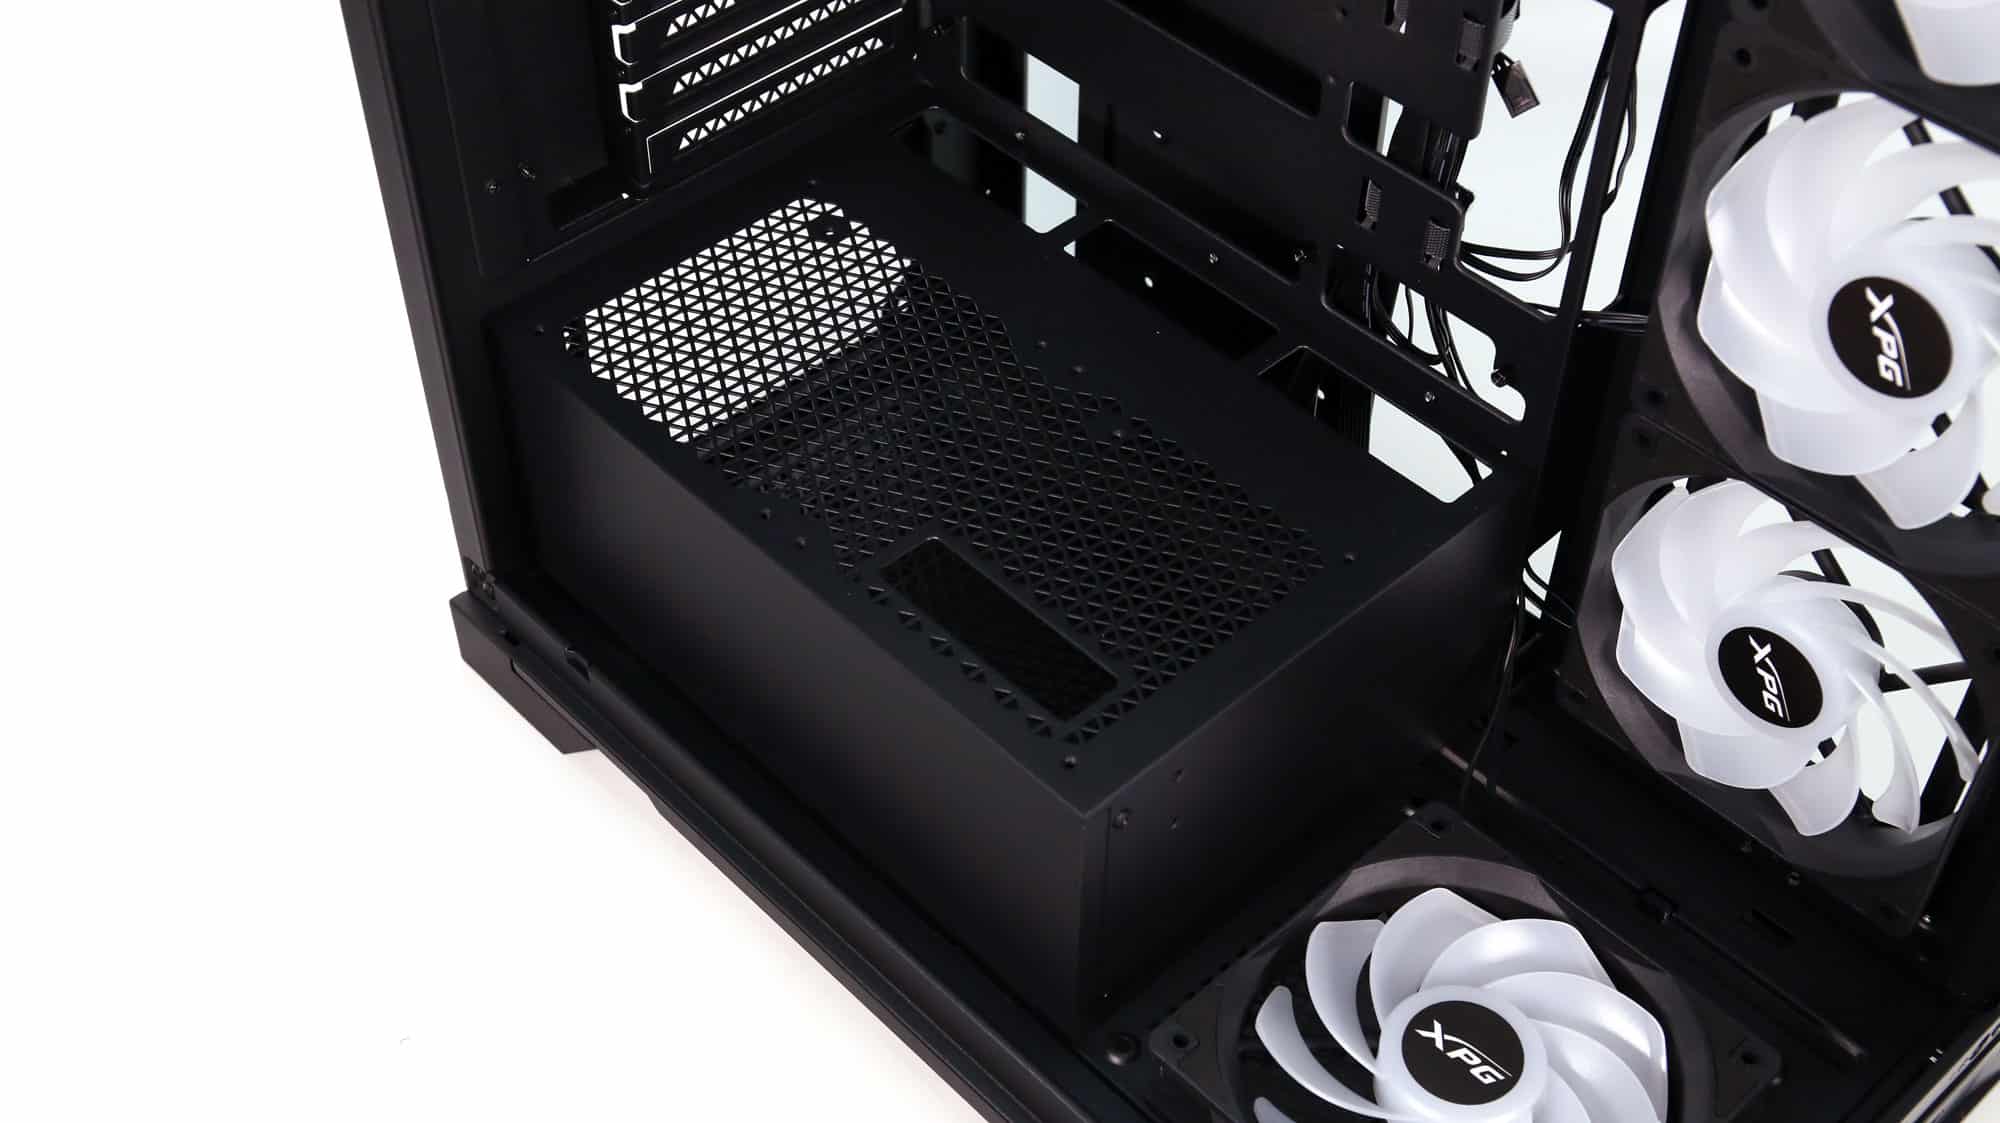
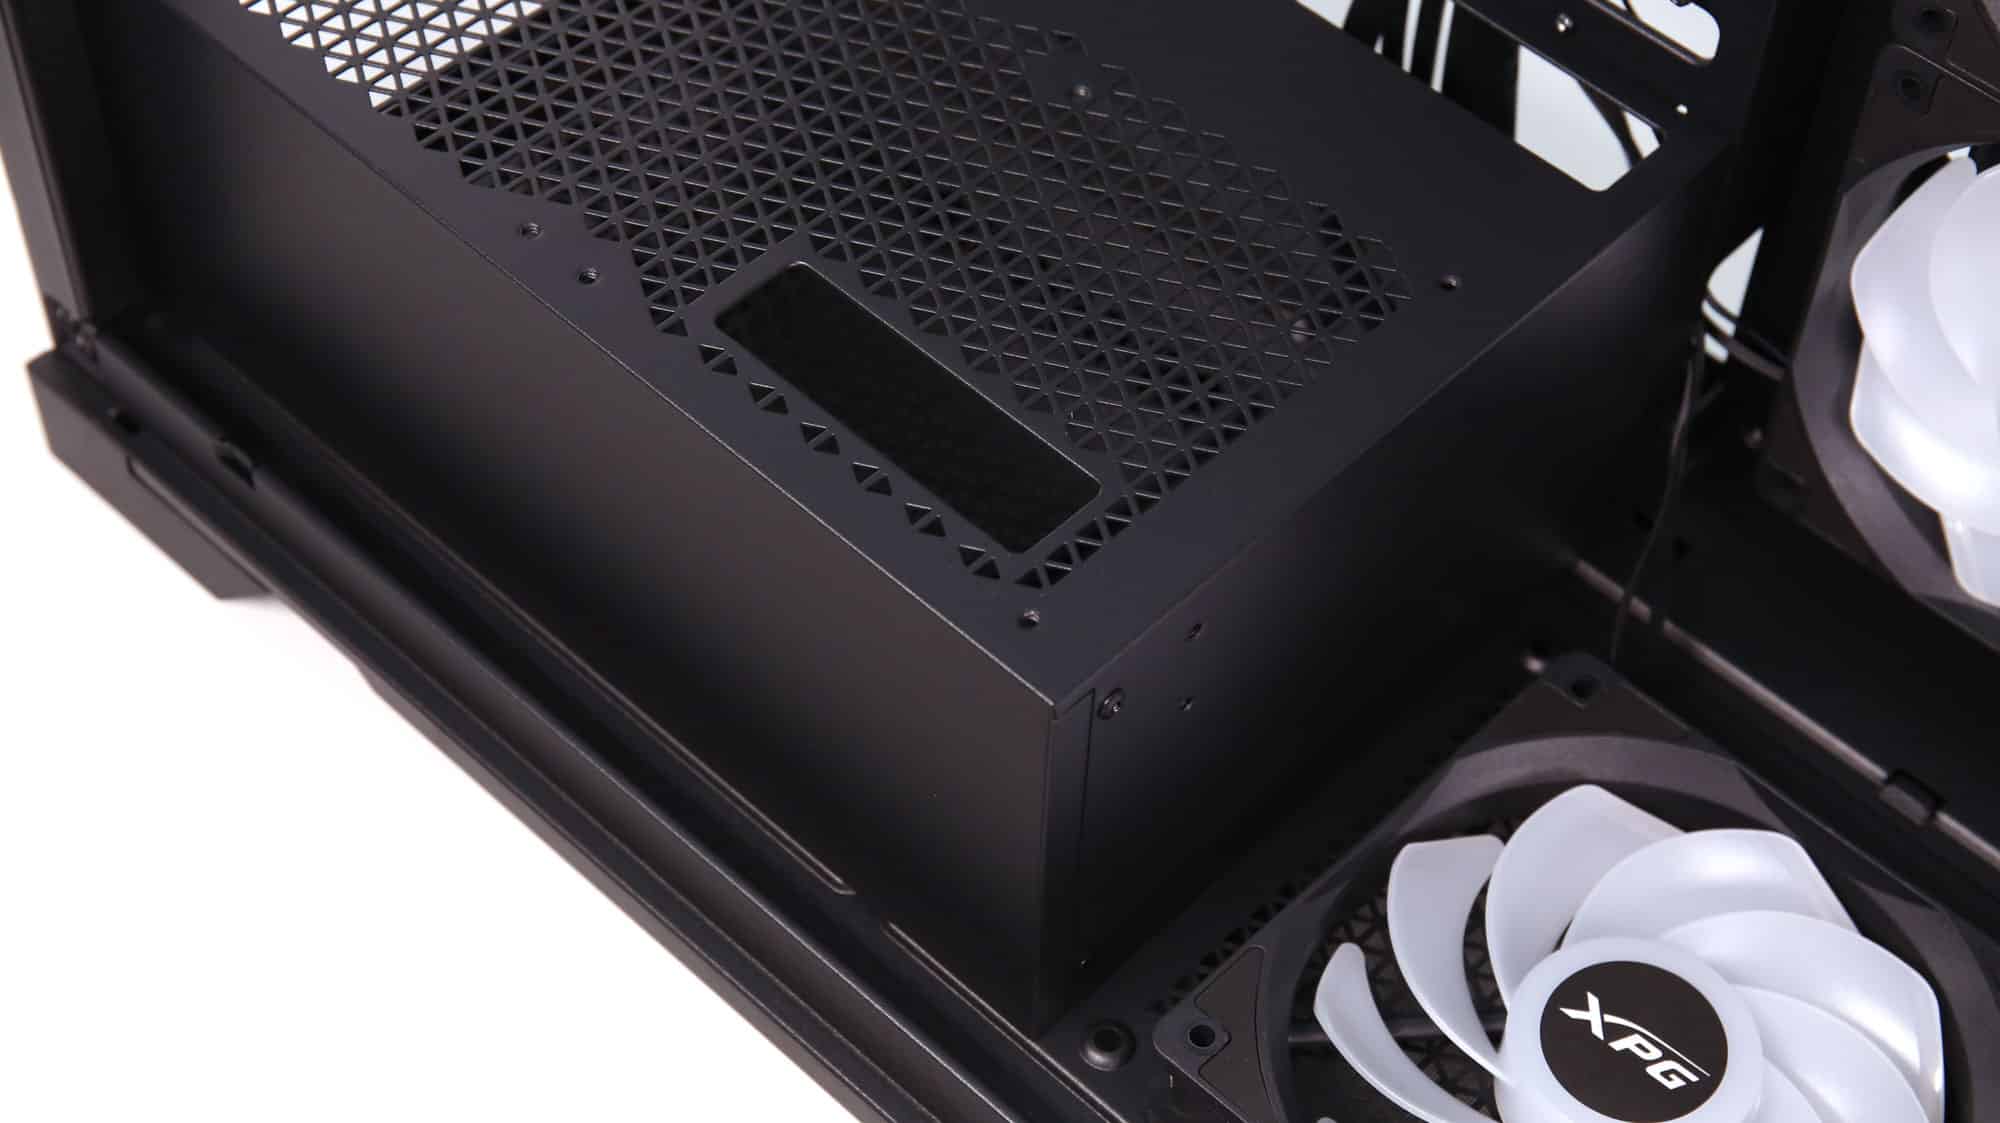
Below the motherboard, on top of the PSU shroud, you will find cable pass-throughs for front I/O cables and other connectors. On top of the shroud, you can mount two 120mm fans, use the opening for a GPU power cable, or install a vertical GPU mount.
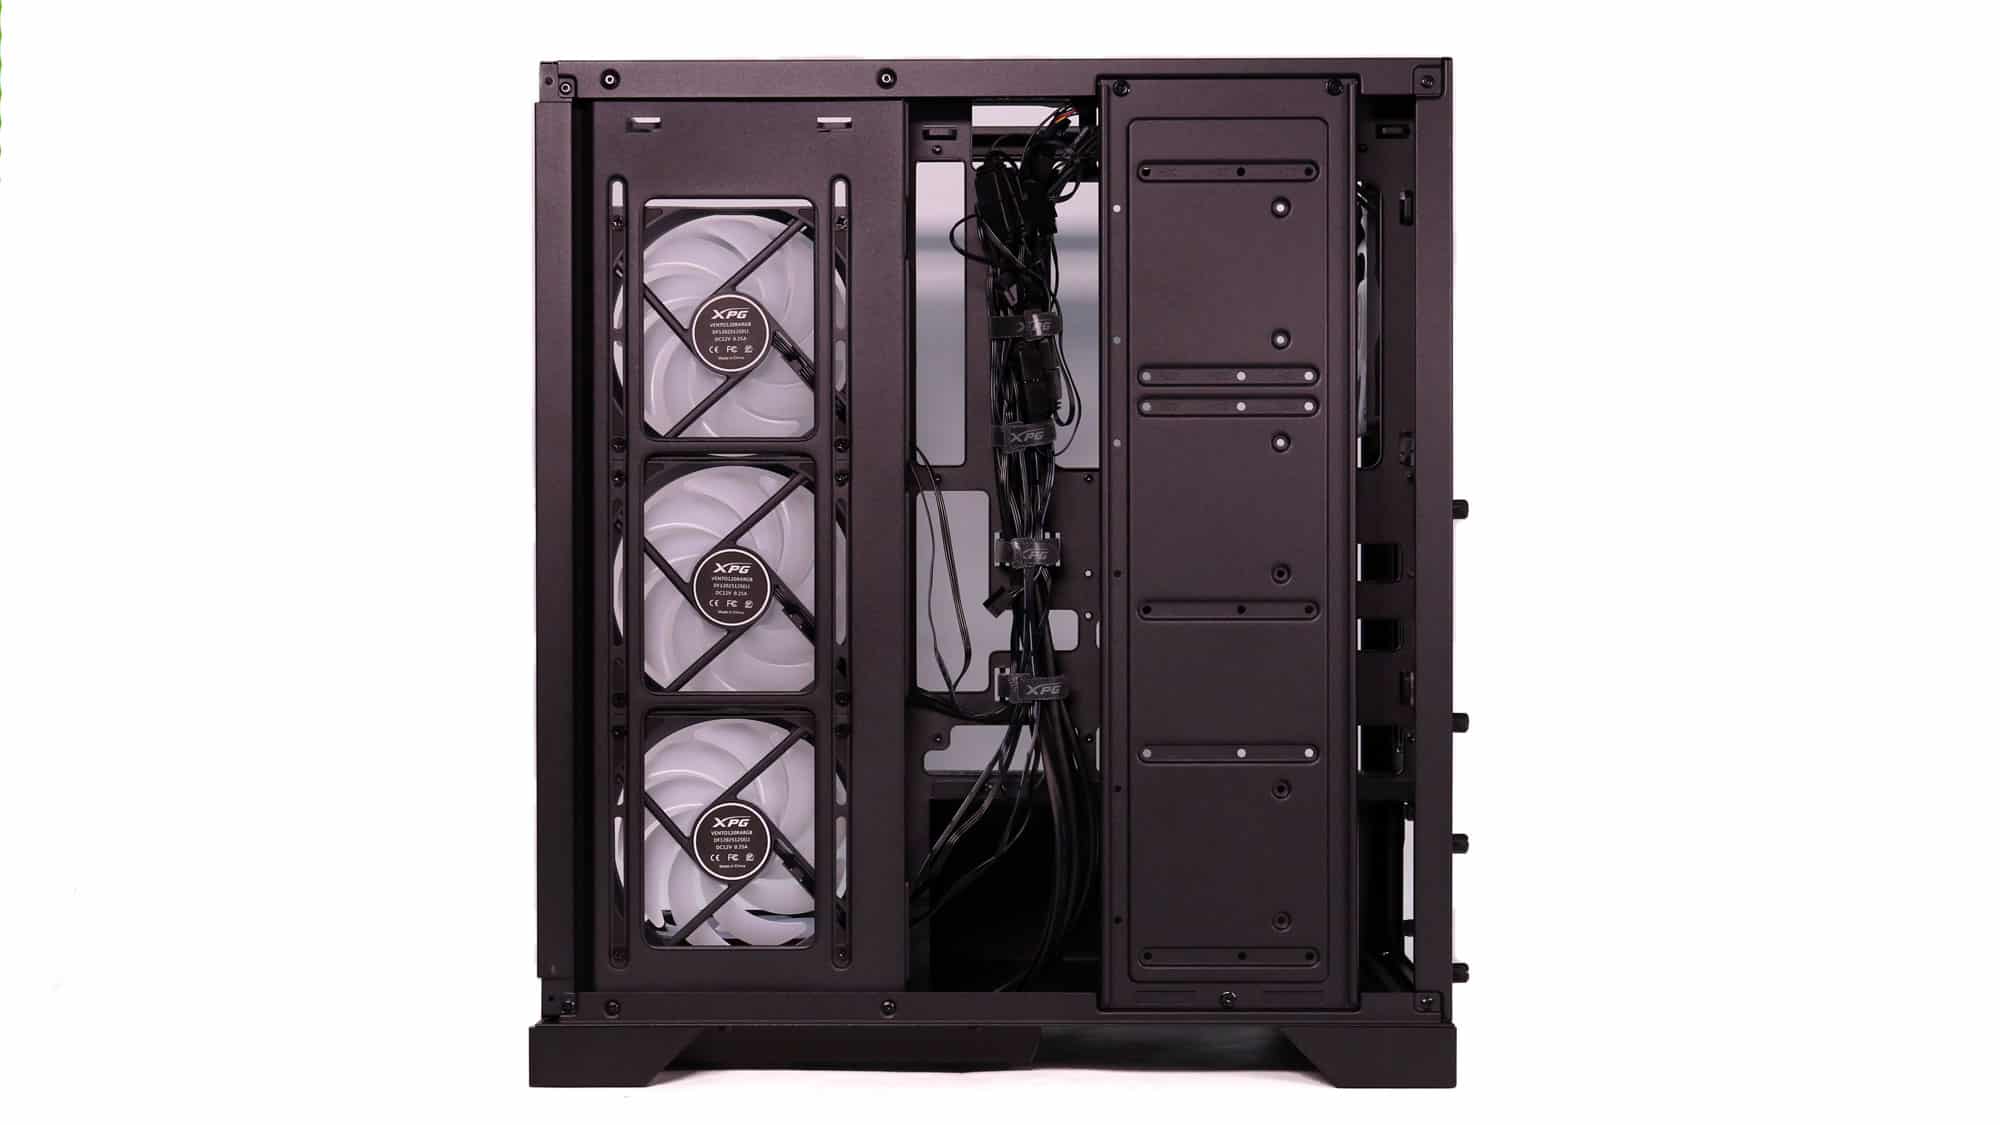
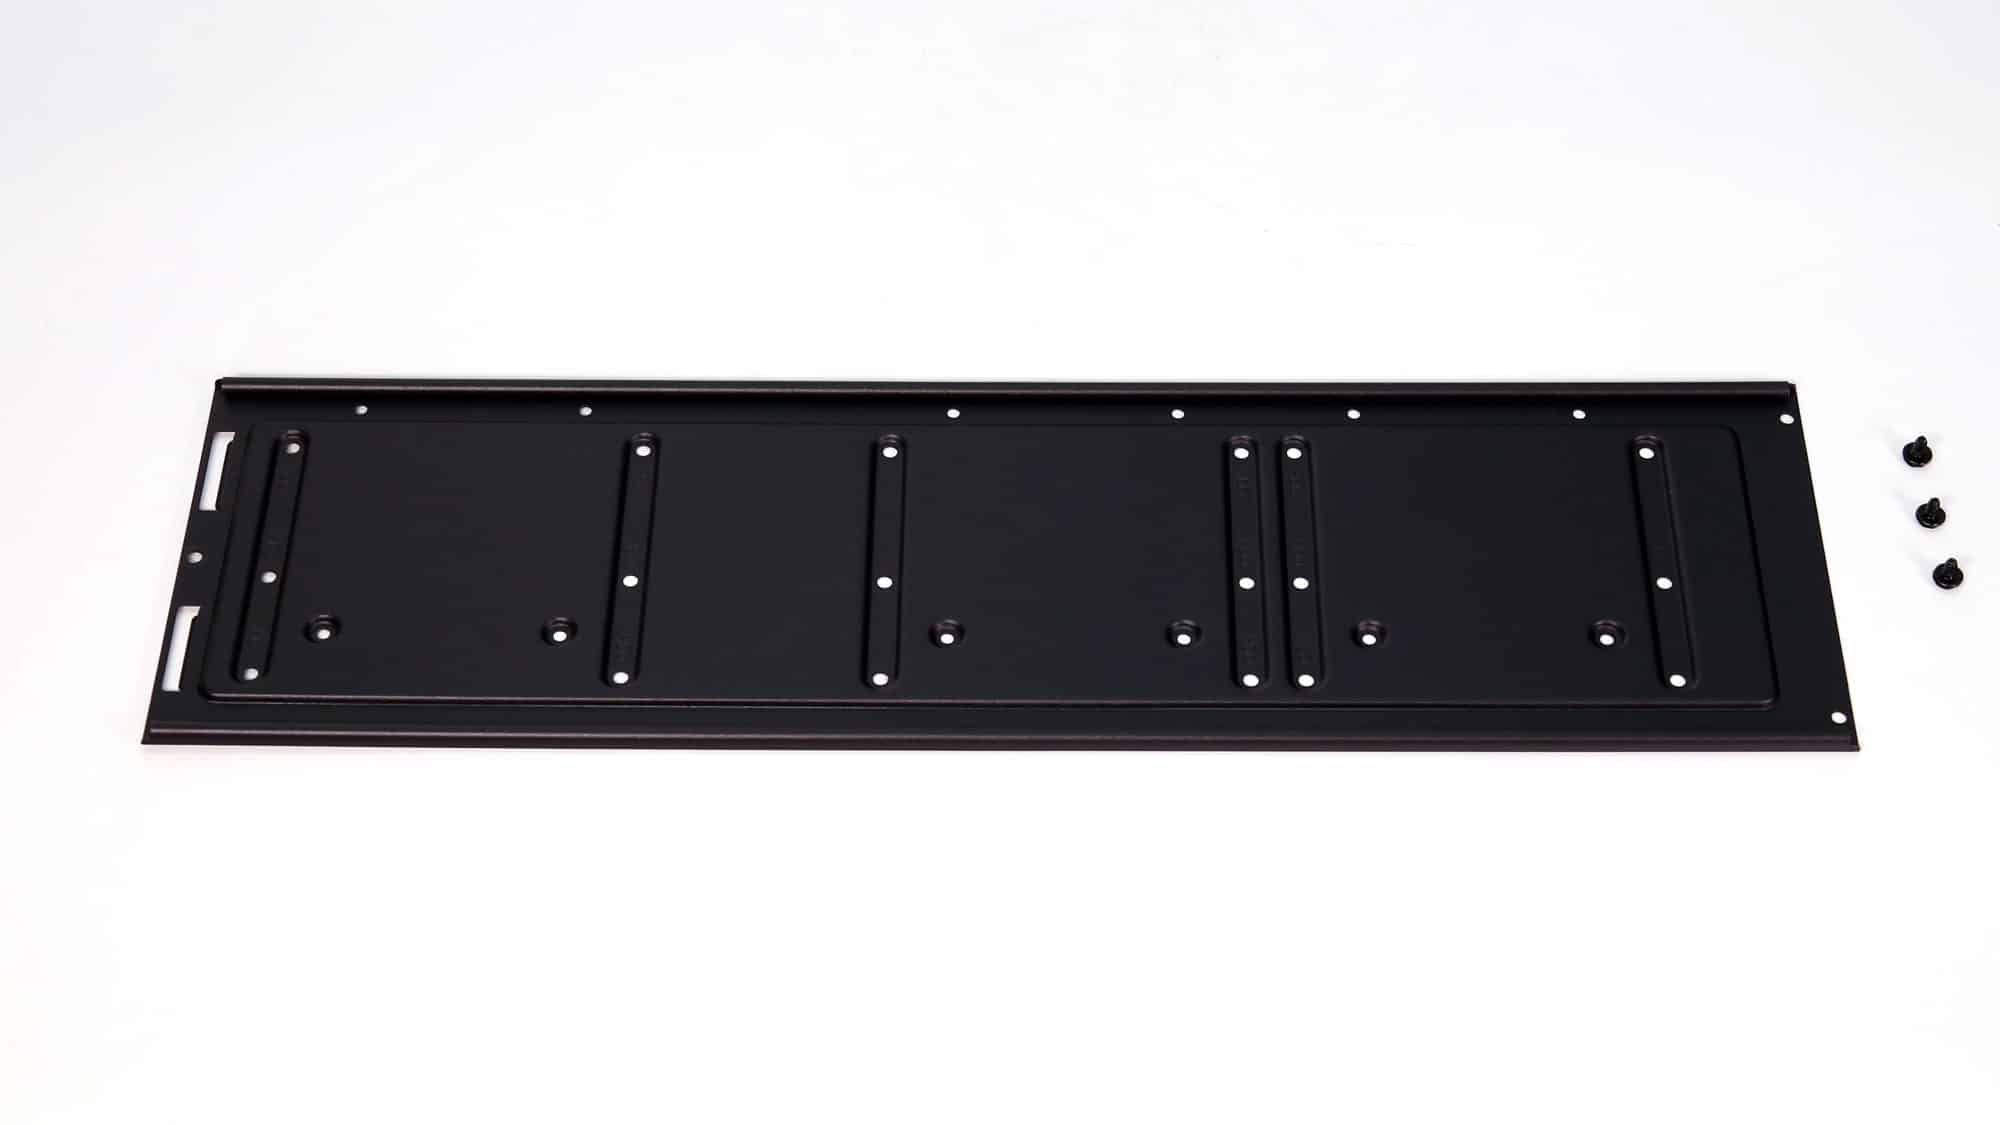
On the motherboard’s backside, a removable panel holds drives, either HDDs or SSDs. Unfortunately, this placement is not ideal, as the top-most disk sits right behind the CPU general area, where higher heat may damage the drive. Nonetheless, given the dimensions and design of the chassis, it is hard to find any free space.
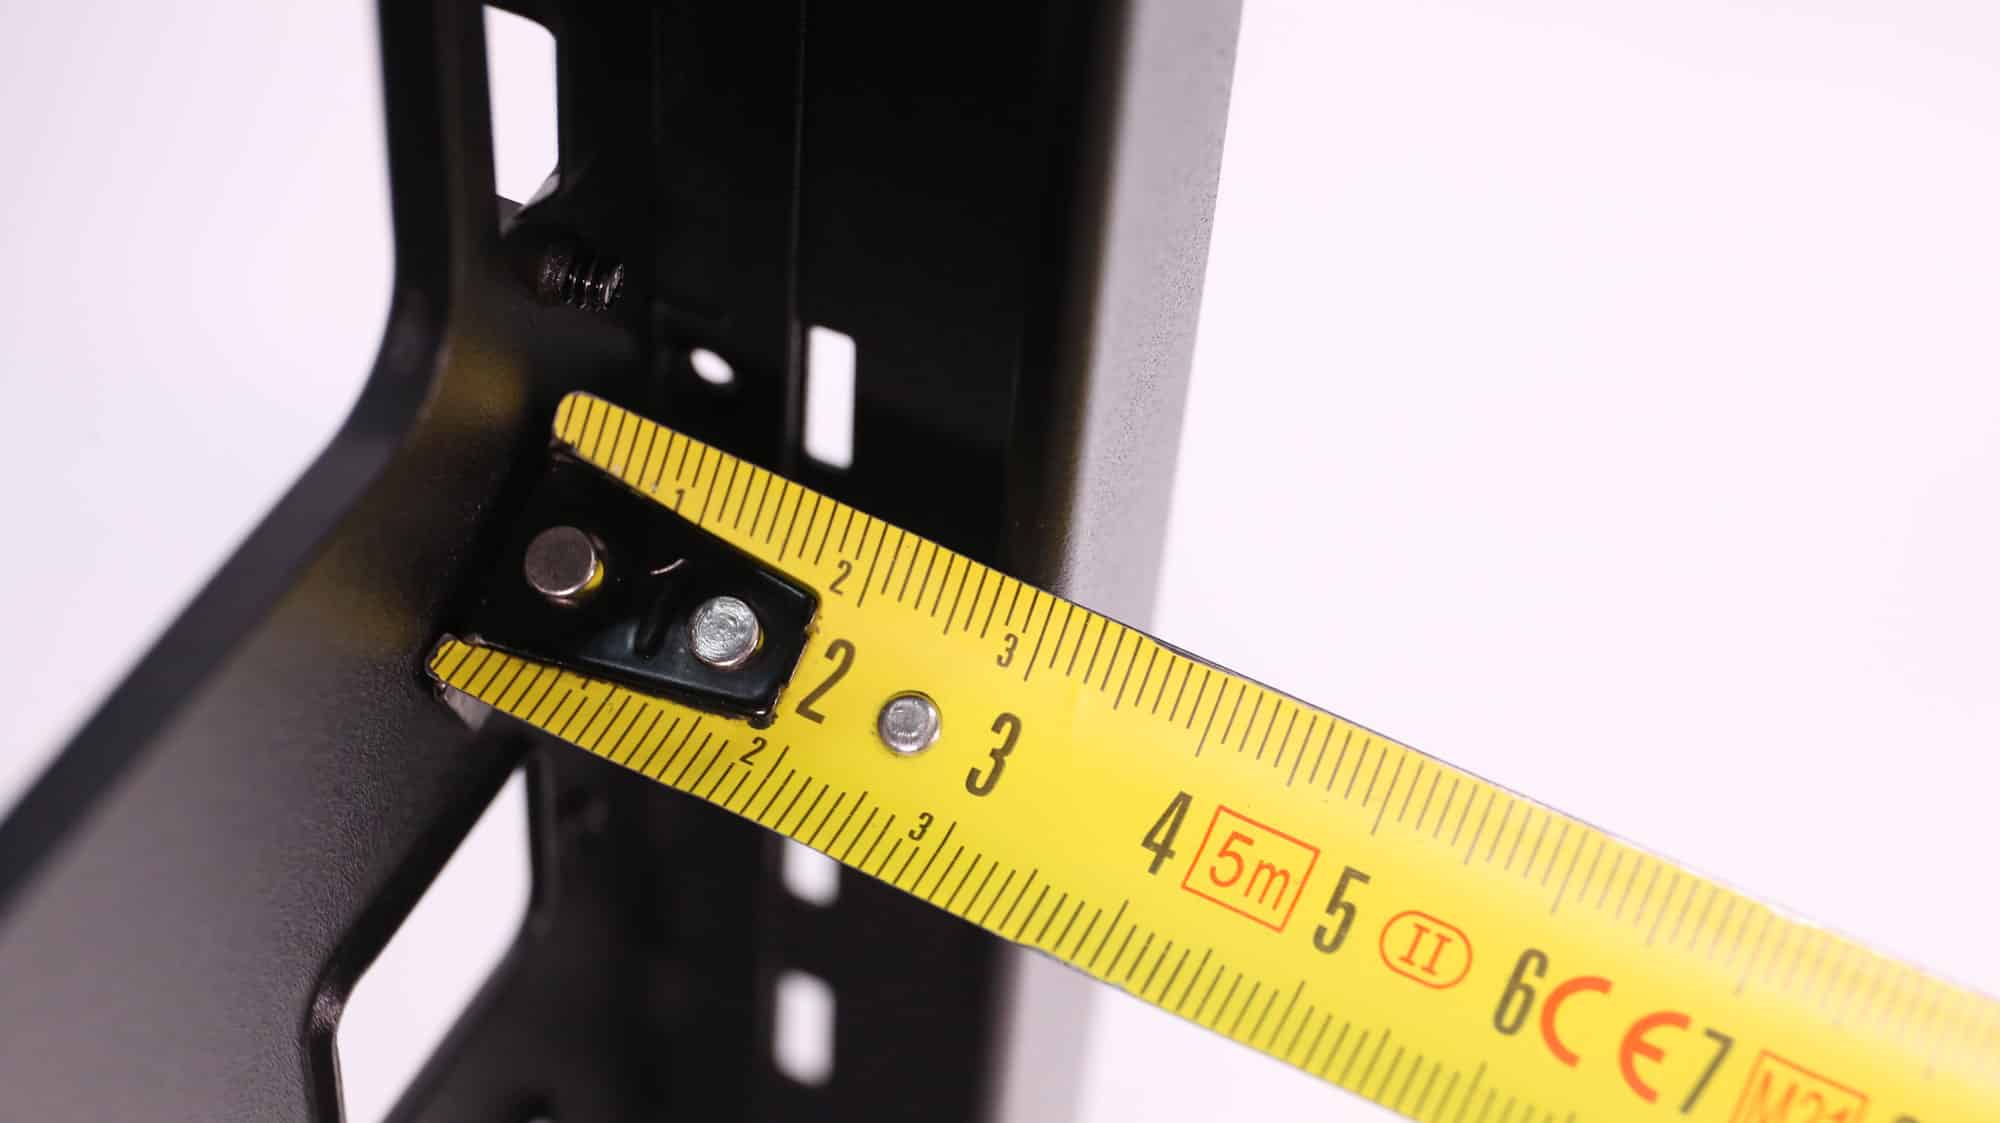
The available space measures right at 30mm.
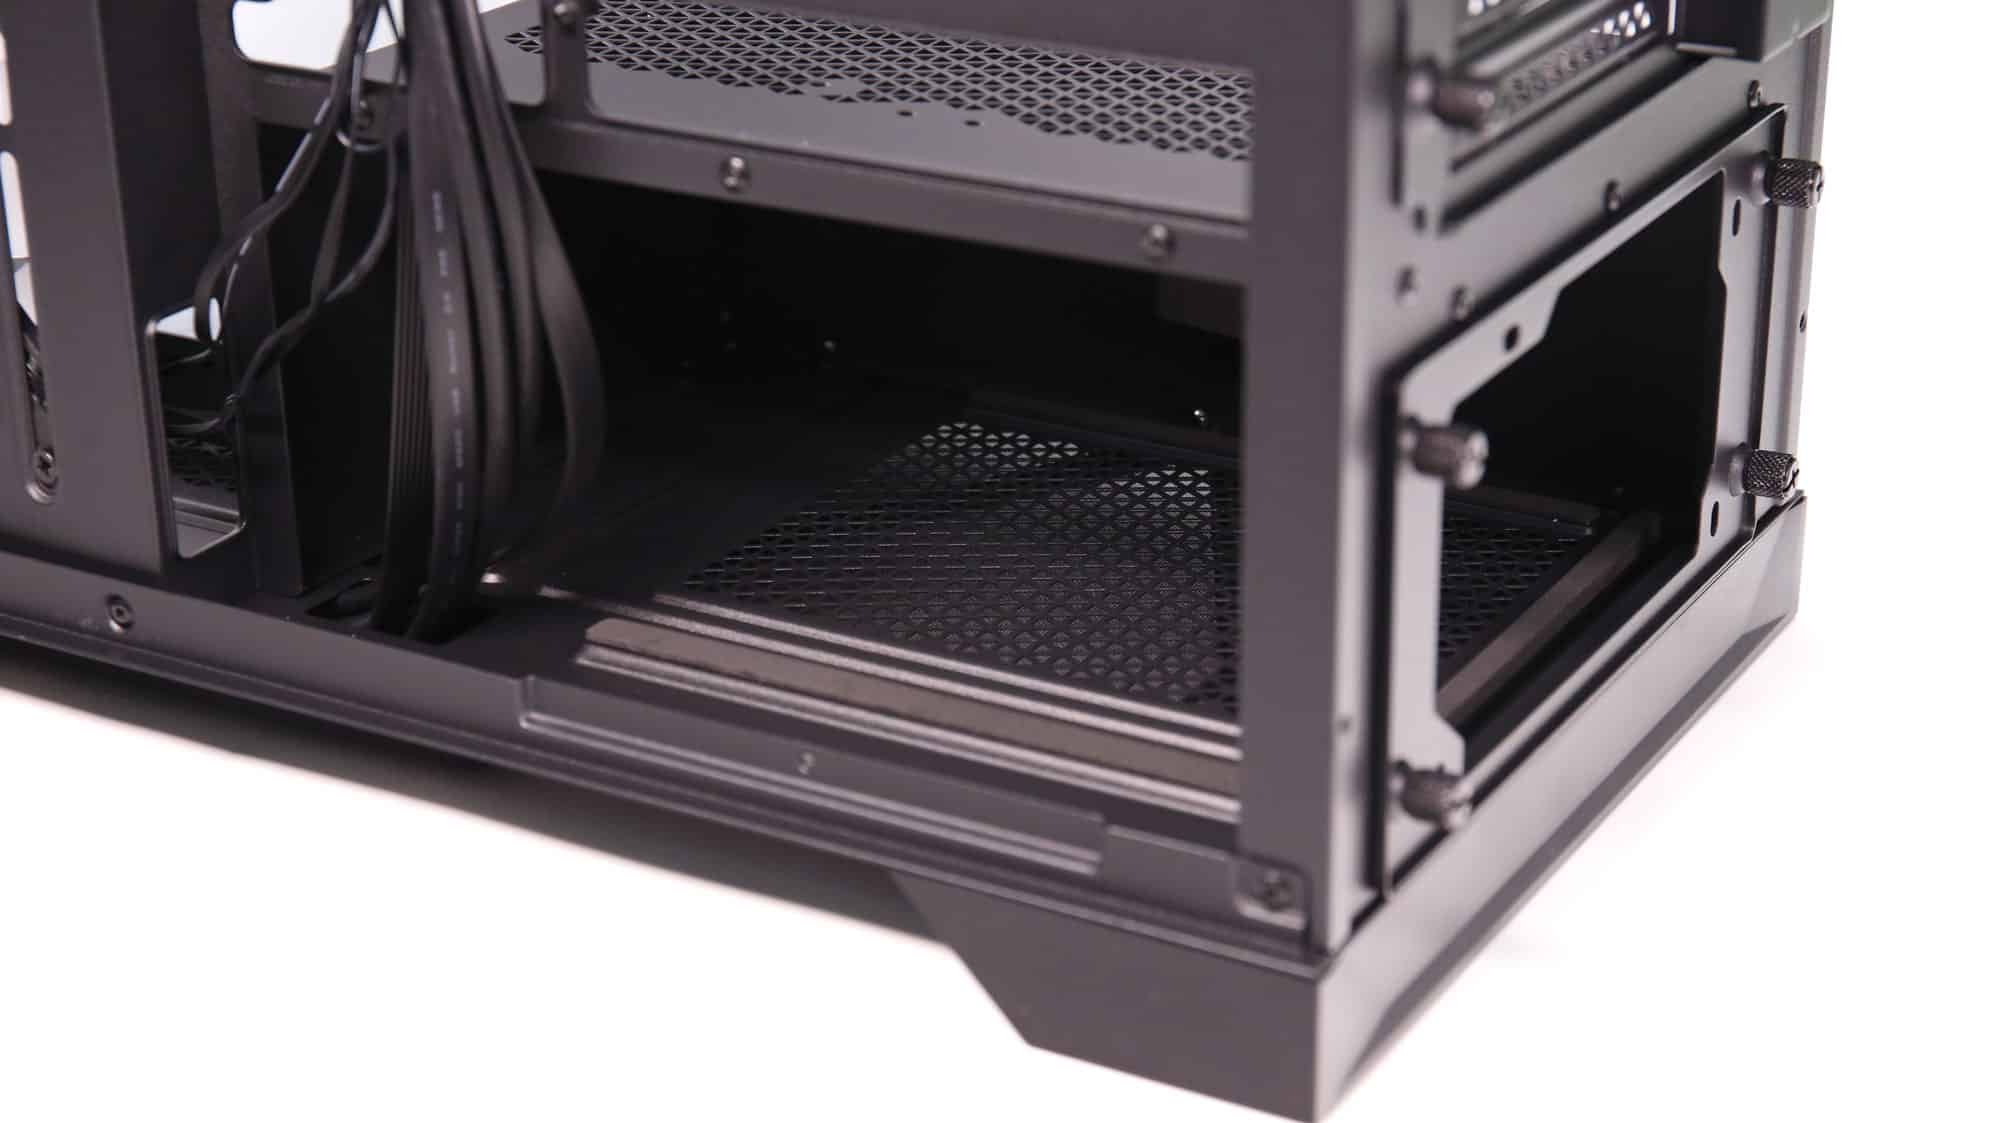
Inside the PSU enclosure, you may fit PSUs up to 240mm long. The perforations on top of the shroud mean you can also use a passive PSU as long as other components do not block the panel.
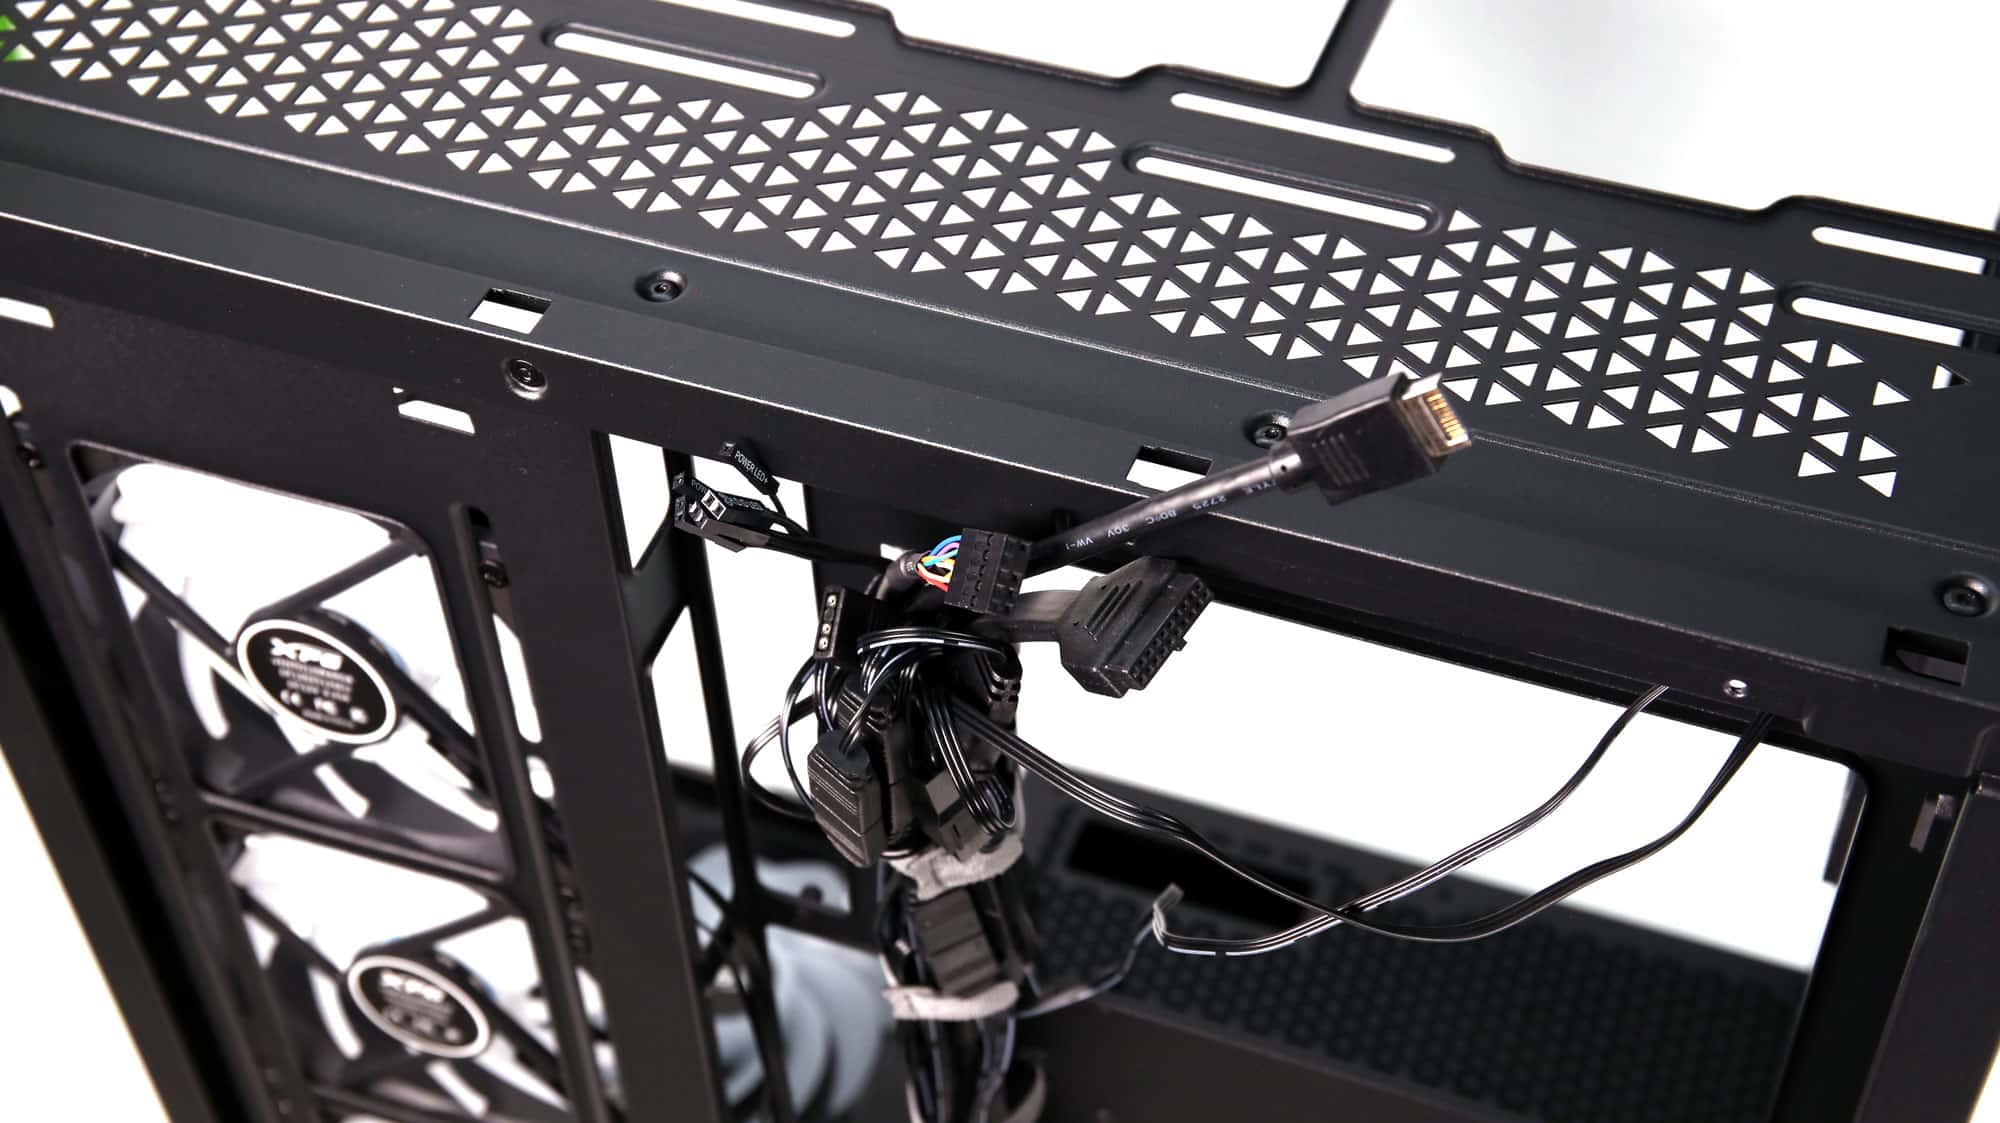
Unfortunately, the front I/O pins are not fused in a single block.