Chassis Photos – Outside
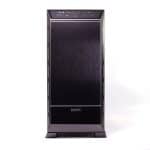
An overview of the massive chassis. The build quality is top overall, and the design is appealing and timeless, in my opinion. Nothing too fancy can render the chassis’ design out of fashion anytime soon.
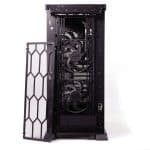
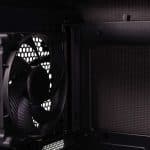
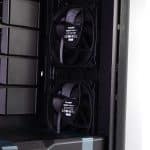
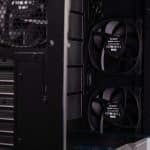
The removal of the front cover is easy. You have to pull it from its low side. Beneath it is a fan filter, and behind the fan filter, a pair of pre-installed fans.
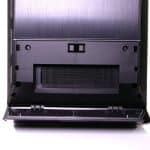
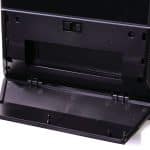
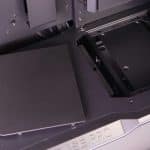
The bottom cover is too hard to open. I cannot understand why they made it so challenging to open this cover, which reveals the space for an ODD drive.
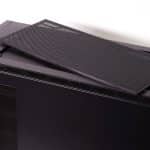
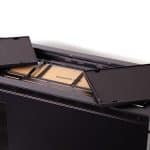
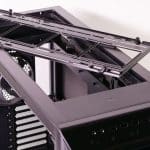
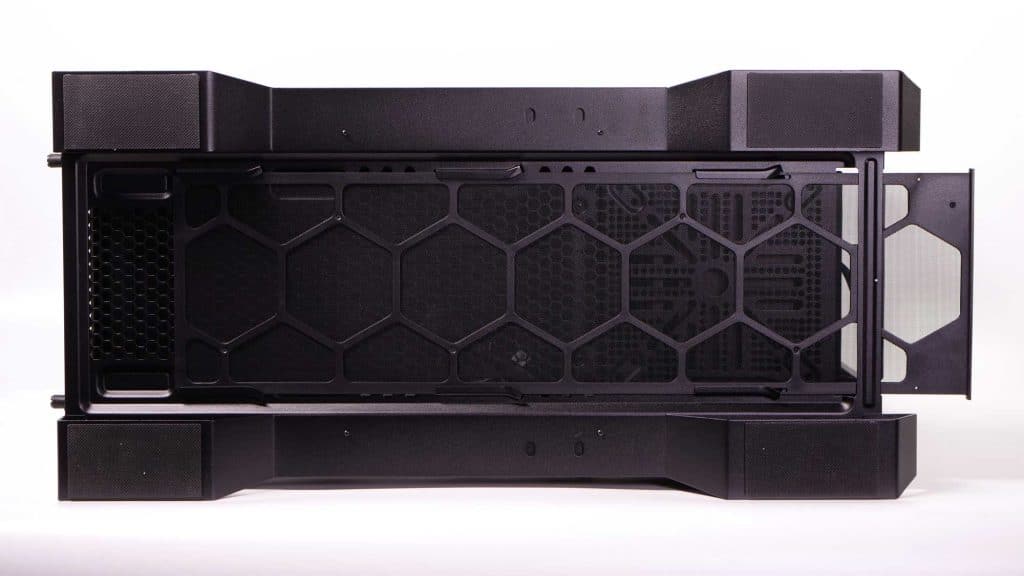
The top dust filter can be easily removed; below it, you will find the noise-damping covers. If you want better airflow, you should remove them. Below them, there is a bracket for installing AIO radiators.
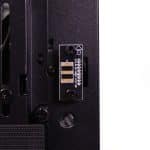
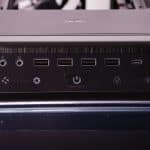
The I/O panel. It uses touch buttons for fans and RGB control. The power button is in the middle; unfortunately, there is no reset switch. It has several USB ports, including a Type-C one.
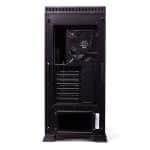
The design of the backside is the typical one.
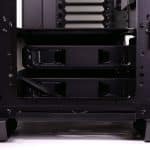
I would typically ask for caster wheels in such a massive and heavy chassis, but since some of you might install it on the top of your desk, these stands make more sense.
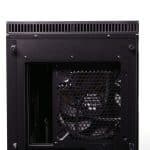
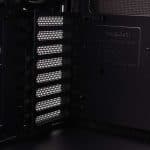
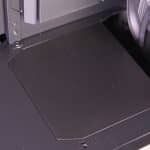
The bottom dust filter.
Chassis Photos – Inside
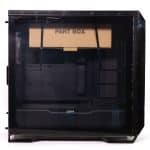
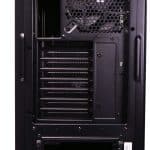
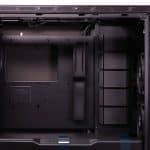
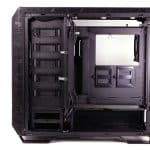
There is enough clearance behind the mainboard for cable routing and management.
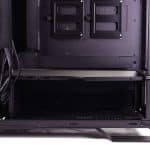
The PSU is entirely covered, so there is no point for you to buy an RGB-lit power supply. Thankfully, not many are available in the high-end category. And this chassis requires a top-notch PSU! The available space inside the chassis is vast! Even a full-size mainboard will look small inside it!
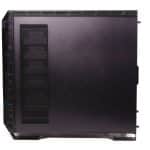
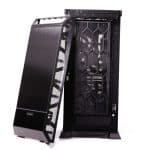
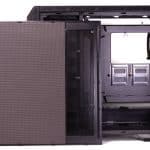
On this side, the panel is equipped with noise-damping material. Speaking of the side panels, I am not so fond of the notches that be quiet! uses to mount them (in eight points). These have to be aligned for the panel to get into place. I expected a more advanced and easier-to-use mechanism in such an expensive chassis.
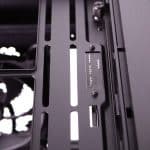
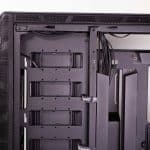
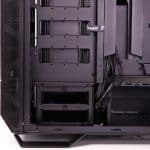
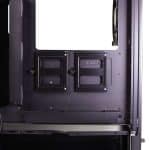
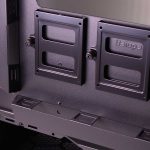
There are many slots for 3.5″ cages. You will have to purchase extra cages if the two bundled ones don’t cover your needs. There are also six 2.5″ brackets available for installing SSD drives. You can buy more if you plan on installing over a dozen ones. The fact is that 2.5″ SSDs are not so popular anymore since the capacities of NVMe SSDs have increased and their prices have lowered, while most mainboards support more than one, covering most user needs. This is why there is no point anymore for PSUs to provide a dozen SATA connectors, increasing the production cost without reason.
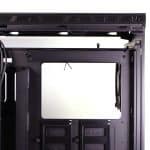
The cut behind the mainboard is large enough to allow you to install any cooling solution without removing the mainboard, and the PSU’s compartment looks like a cave, thanks to the enormous dimensions. I cannot imagine anyone having a problem installing a PSU in the Dark Base Pro 901.
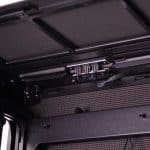
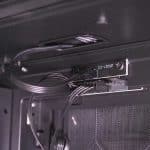
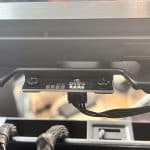
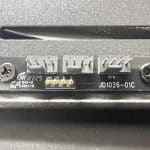
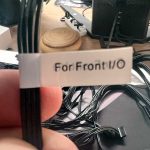
Weirdly, such an expensive case doesn’t have a proper fan and ARGB controller. There are two PCBs with six fan headers, which take power from the front I/O port and are powered by a SATA connector.
The fan header PCB further away from the IO board receives power through a plain fan cable instead of one with thicker gauges, so I wouldn’t install fans with high power consumption.
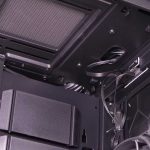
The top bracket, destined for fans or AIO radiators, can be removed, making it easier to connect the EPS cables to the corresponding mainboard connectors.





Thorough, spot on review, as usual. Every review I’ve seen on this site so far is superb, even preferable to most found on some of the more ubiquitous sites.
This flagship Dark Base chassis from beQuiet!, even if a tad pricey, is likely their best, & one of the best on the market. The only disappointment (for me), is unlike their Silent Base & Pure Base series chasses, the Dark Base has no choice for a solid, non tempered glass solid side panel. While said choice is important to some, for most its a non-issue.
It would be good to have a section on memory cooling as well. Heavy memory OC is greatly affected when temps get too high.
While it will add more time to the review process, I think it would be great if you could add a section for noise normalized and fan normalized measurements. I imagine a 1 front intake and 1 exhaust 120mm fan would be suitable for 90% of cases while providing good data for those who plan to use aftermarket fans.
Thank you for your suggestions! Noise normalized, I do already, using the fans of the chassis. Fan normalized is a huge pain for me. Only if I find someone here to completely handle chassis since they are killing me.