The Raspberry Pi is probably the most successful single-board computer. And with a good reason. It supports various usage scenarios very well and has an active community. Moreover, it has many flavors that make it appealing to every budget. If you don’t want complex things, Pi Zero is an affordable option, but if you want more, the latest Raspberry Pi 5 can cover any of your needs, from home-brew low-consumption servers to your penetration-testing device. And those are only some examples. The sky is the limit.
For those interested in the penetration field, the Raspberry Pi is a cost-free solution that works as it should, even for advanced projects. And the best way is to combine it with Kali Linux. Kali Linux is not the only player in its field but can run well on almost everything. And Raspberry Pi is one of them. Although some tools are not designed to run on ARM devices as they should, most still support it. And you know what? Tech for fun is a thing. You can’t go wrong with testing your skills with this combo. Just trust me.
What you need
- A Raspberry Pi device. The more powerful it is, the better performance you will get. The Raspberry Pi 4 – 4 GB version is a decent choice.
- A microSD card. Class 10 is recommended for the best performance. 16 GB is adequate for the basic installation, but I recommend 32 GB if you want the whole package. Newer versions support flash drives, but the microSD can also save you space.
- An SD USB adapter if your device doesn’t include one. I prefer the USB adapter solution.
- You will need a monitor with HDMI or micro-HDMI cables, depending on your Raspberry Pi flavor. Adapters will also do the job. You can also have a compatible small portable screen or touch screen if you want to.
- A compatible keyboard and mouse. I recommended a single USB wireless combo.
- Optionally, you can power your device with a power bank if you want portability. A decent 20000 mah power bank (you might need an adapter for some devices) is a perfect choice. The official Raspberry Pi power supply is the best way to power your device. I recommend it.
- An official Kali ARM image. The 32-bit (x86) version is still the way to go.

How to
Windows
- Download the Kali ARM image for the Raspberry Pi from the official site. Optionally (but still, it is highly recommended), you can verify the downloaded file.
- Plug in your installation medium device (e.g., a microSD card).
- Run your favorite app for writing images or ISOs to a USB device. Install them if you haven’t done so yet. Rufus and Balena Etcher are among the best, and you can also run their portable versions.
- Select the Kali image and the USB medium device to write it on. Please be sure to choose a suitable device. All the files on the device will be erased.
- Wait until the process is complete. Depending on the installation medium, size, and your system, this might take a while.
- Close the app and safely eject the device. SD cards can corrupt, so safely ejecting them is the best practice.
- Carefully insert the card into your Raspberry Pi device.
- Boot your device. If the image is written correctly, Kali should boot. If not, check your cable connections, reinsert the card, or turn off and on your Raspberry Pi again. Otherwise, rewrite the image by repeating the abovementioned steps.
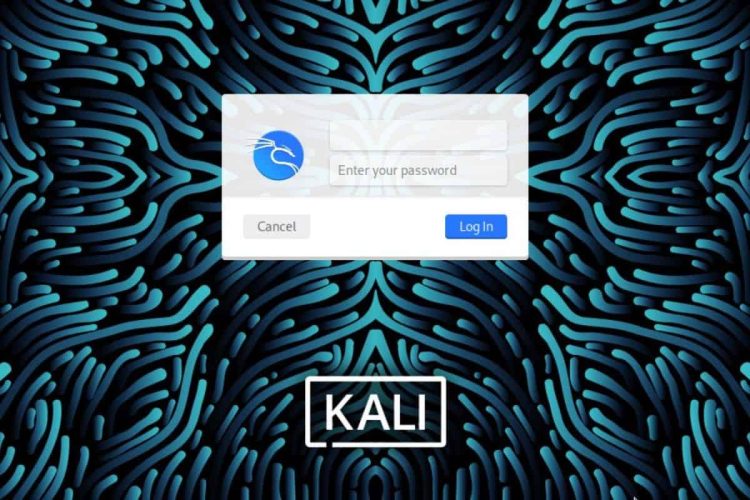
- The default username and password are Kali (both for username and password). Don’t forget to change the default password using the sudo passwd command in the Terminal.
- Update Kali (launch Terminal>sudo apt-get update && sudo apt-get upgrade -y).
- Set your time and date if needed.
- Set your Display to the correct values if needed.
- Personalize the OS and the browser as you wish.
- Test your skills.
Linux
- Download the Kali ARM image for the Raspberry Pi from the official site. Optionally (but still, it is highly recommended), you can verify the downloaded file.
- Plug in your installation medium device (e.g., a microSD card).
- You can either run the dd command ( xzcat … | sudo dd … ) to write it or install Balena Etcher if you haven’t done so yet from its official repo (the writing method is the same as in Windows). If you have Ubuntu or an Ubuntu-based distro (e.g., Linux Mint), right-click the Kali image and choose “Open with the write-to-image program.” The last one is the more convenient way, but it might take a little longer than the others. Still, it is a hassle-free option.
- Select the Kali image and the USB medium device to write it on. Please be sure to choose a suitable device. All the files on the device will be erased.
- Wait until the process is complete. Depending on the installation medium, size, and your system, this might take a while.
- Close the app and safely eject the device. SD cards can corrupt, so safely ejecting them is the best practice.
- Carefully insert the card into your Raspberry Pi device.
- Boot your device. If the image is written correctly, Kali should boot. If not, check your cable connections, reinsert the card, or turn off and on your Raspberry Pi again. Otherwise, rewrite the image by repeating the abovementioned steps.
- The default username and password are Kali (both for username and password). Don’t forget to change the default password using the sudo passwd command in the Terminal.
- Update Kali (launch Terminal>sudo apt-get update && sudo apt-get upgrade -y).
- Set your time and date if needed.
- Set your Display to the correct values if needed.
- Personalize the OS and the browser as you wish.
- Test your skills.
Epilogue
You have taken the first step to enter the Kali World on a Raspberry Pi device. You can consult the official documentation, forums, or Discord server if you are a rookie. Moreover, Google is your friend. If you are familiar with Linux distros, especially those that are Debian-based, it would be helpful to you. Step-by-step, you can master the Kali ways and secrets and test your skills to legitimate testing, your own or on permitted ones. Penetration testing is power, and great power also comes with great responsibilities. Welcome to the Pen-Testing World!