Installation
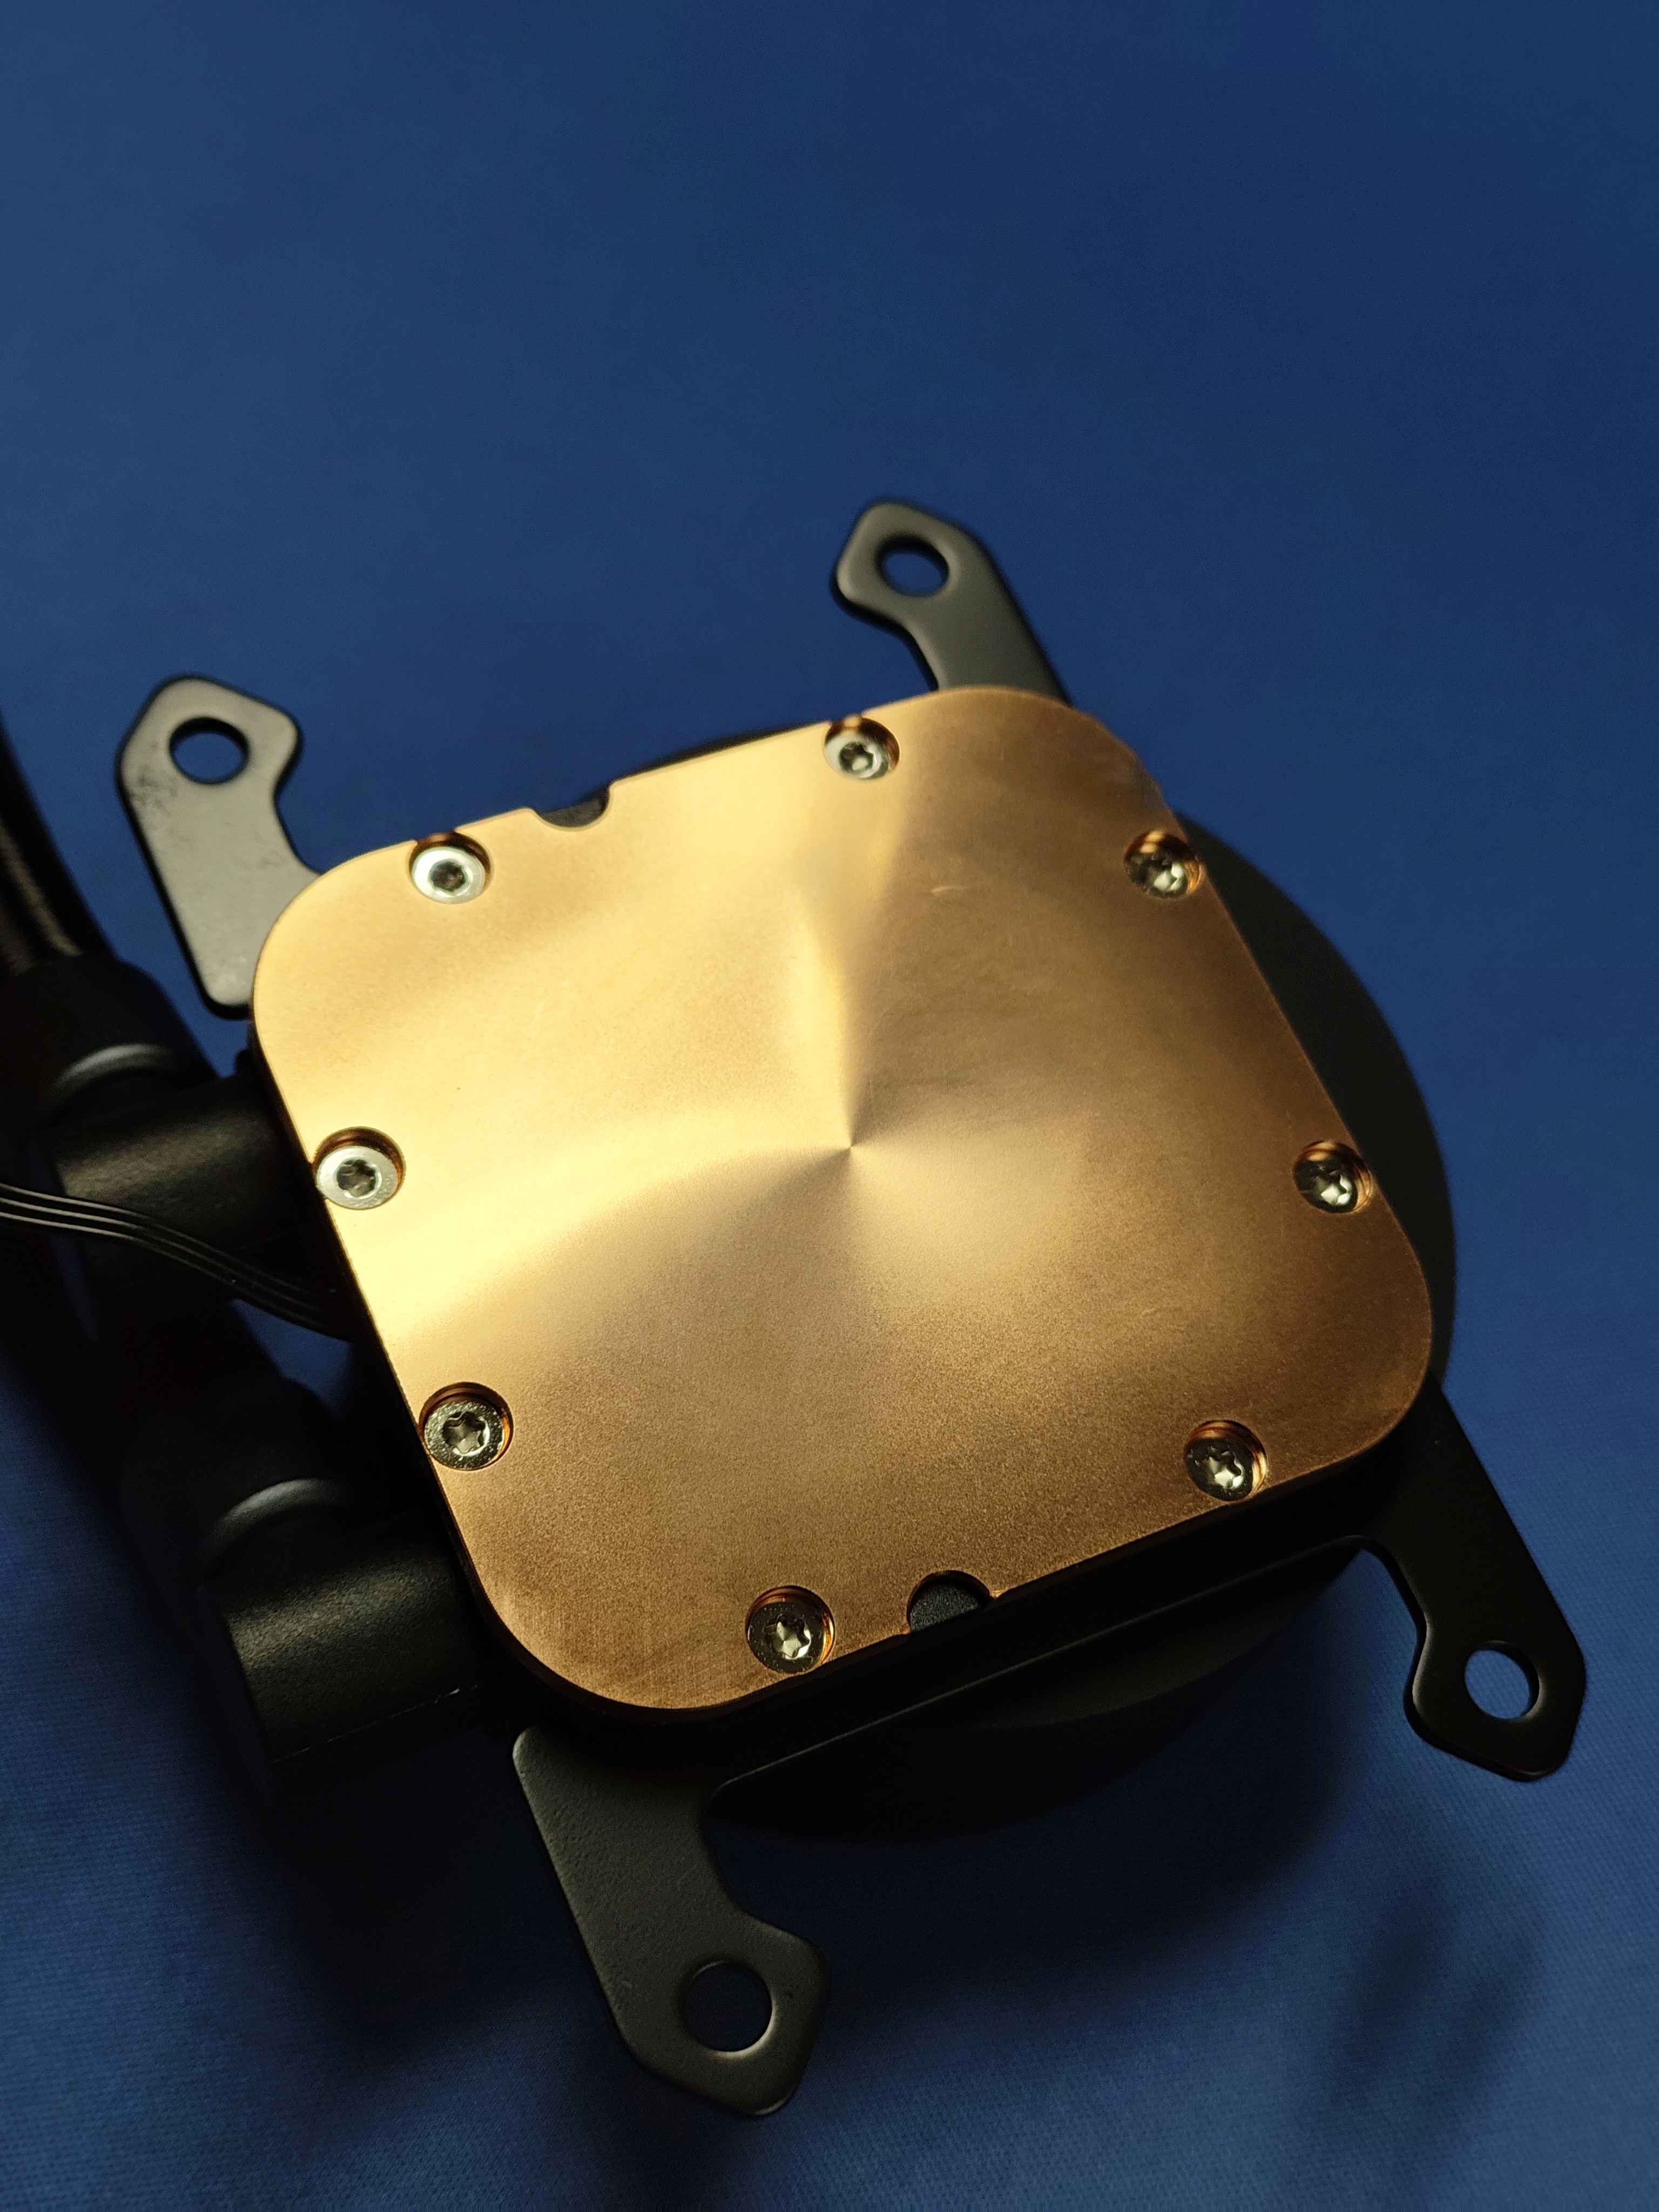

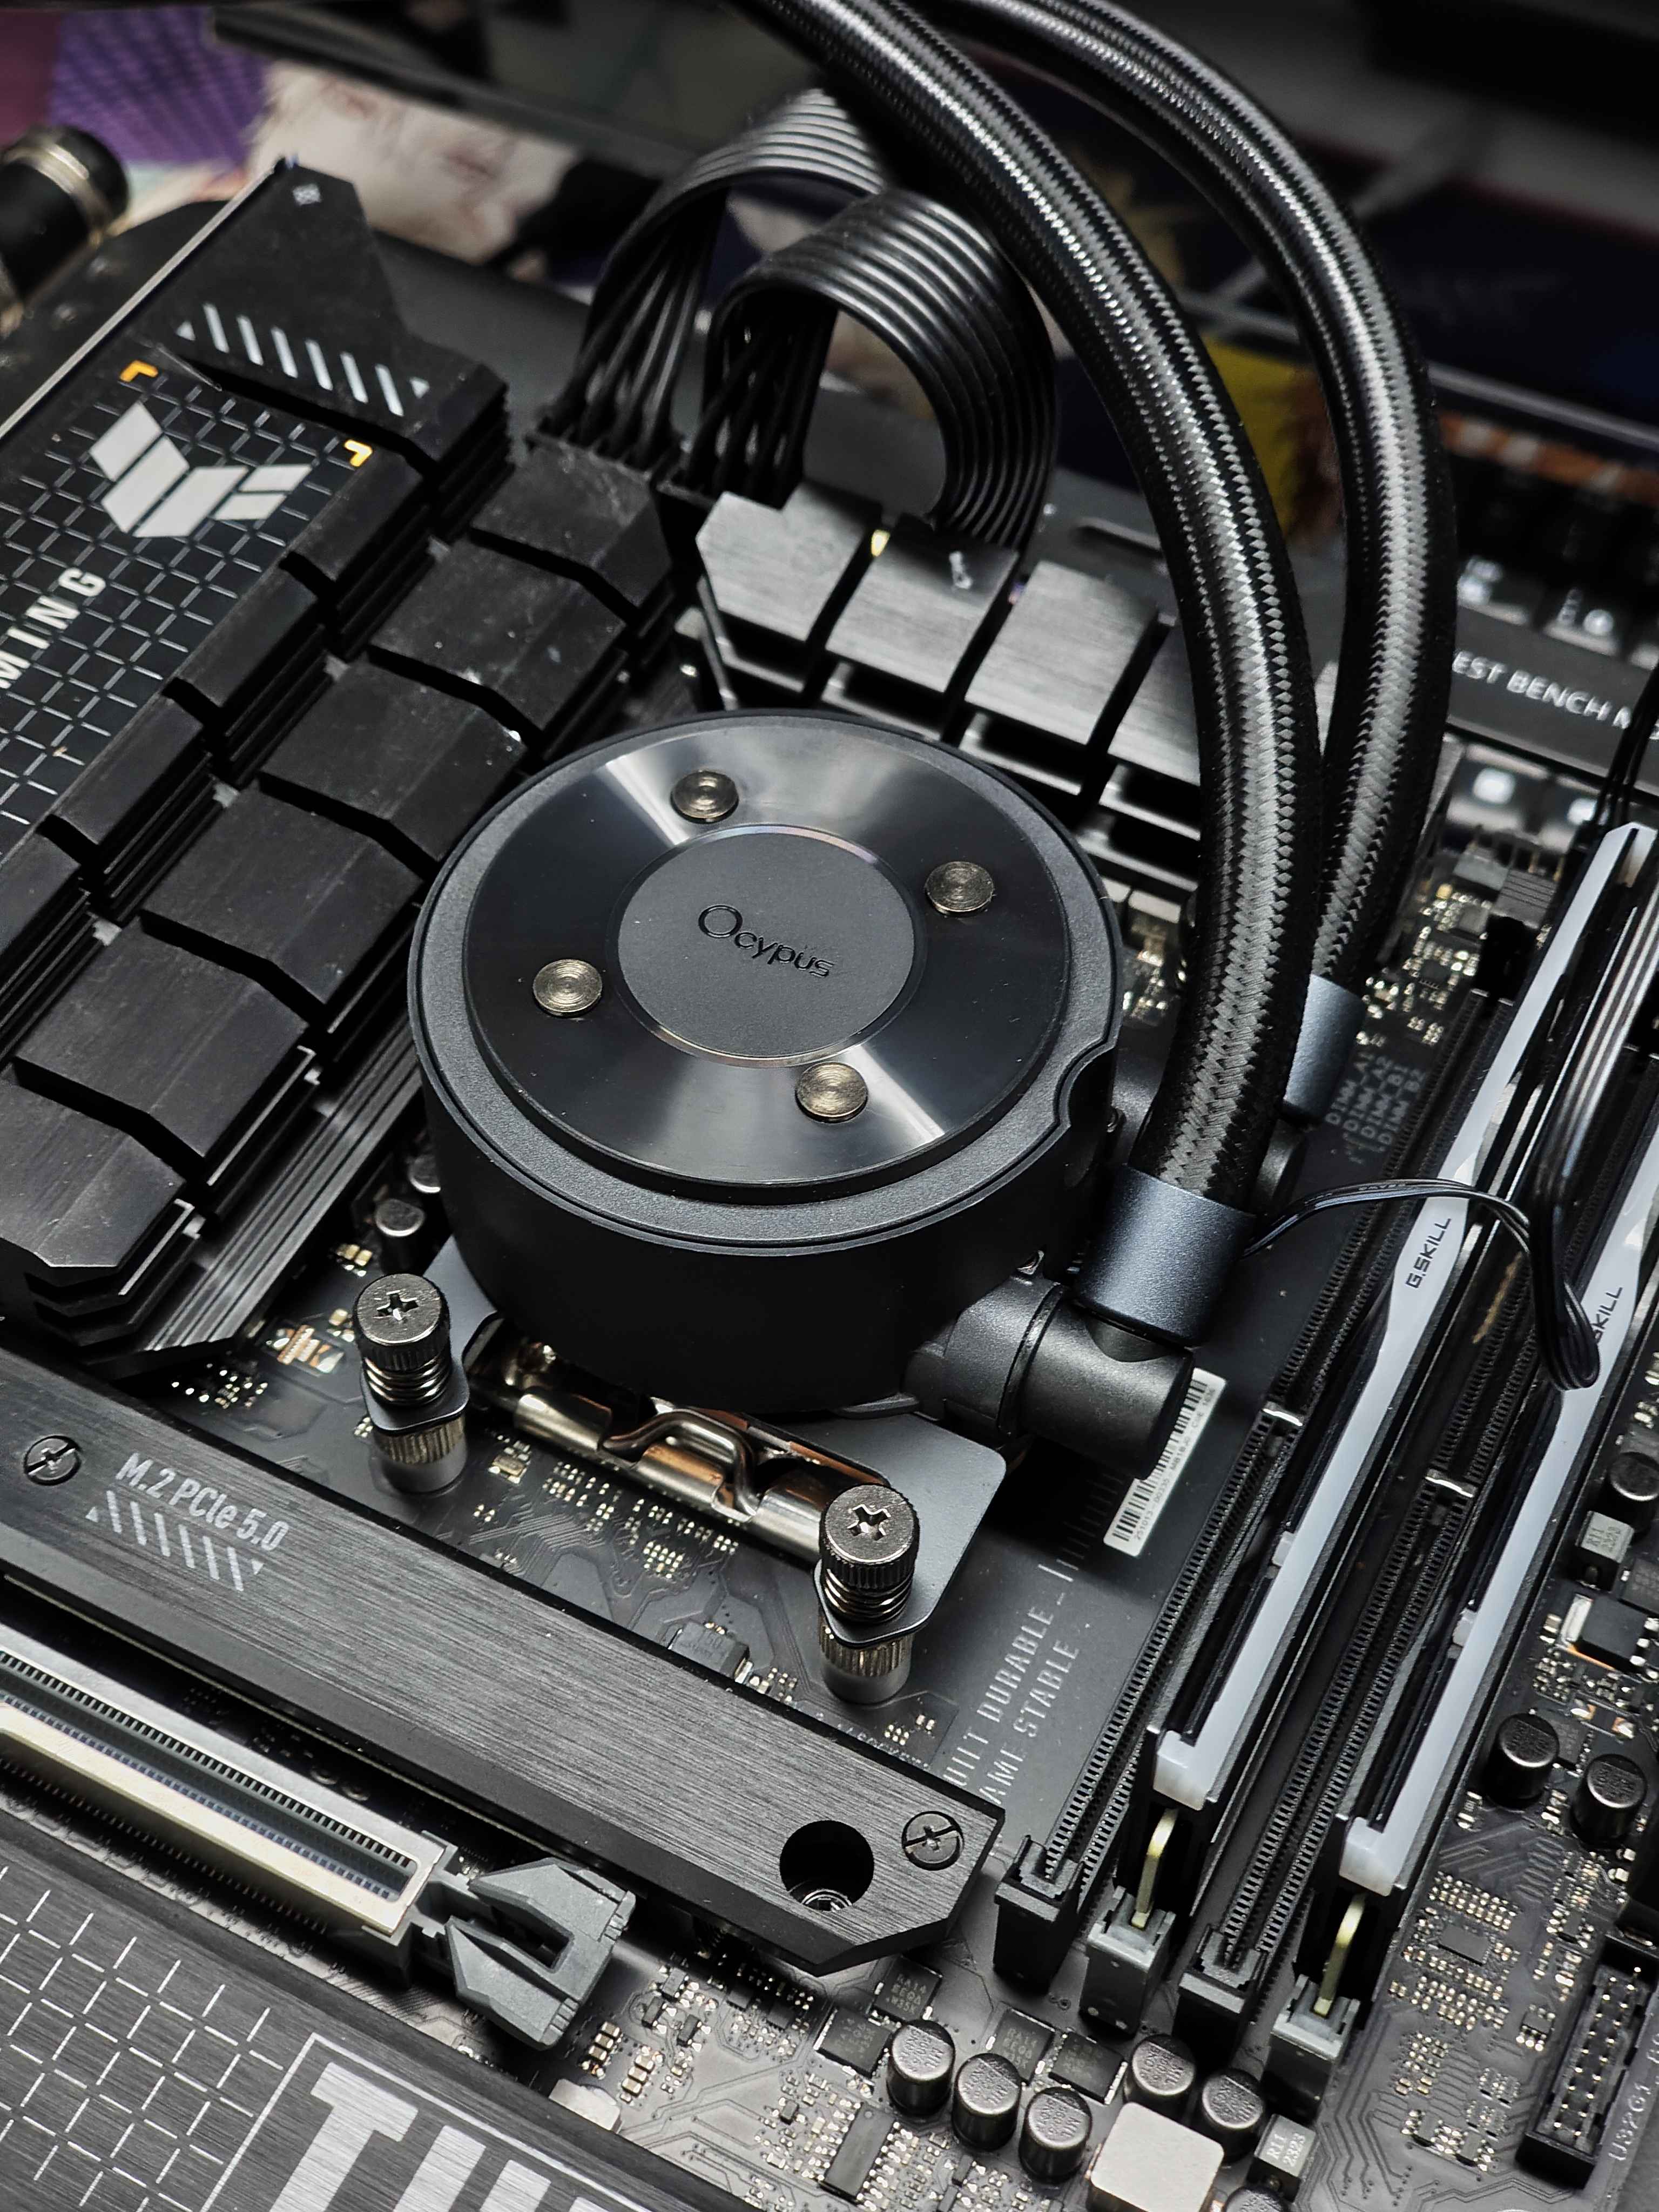
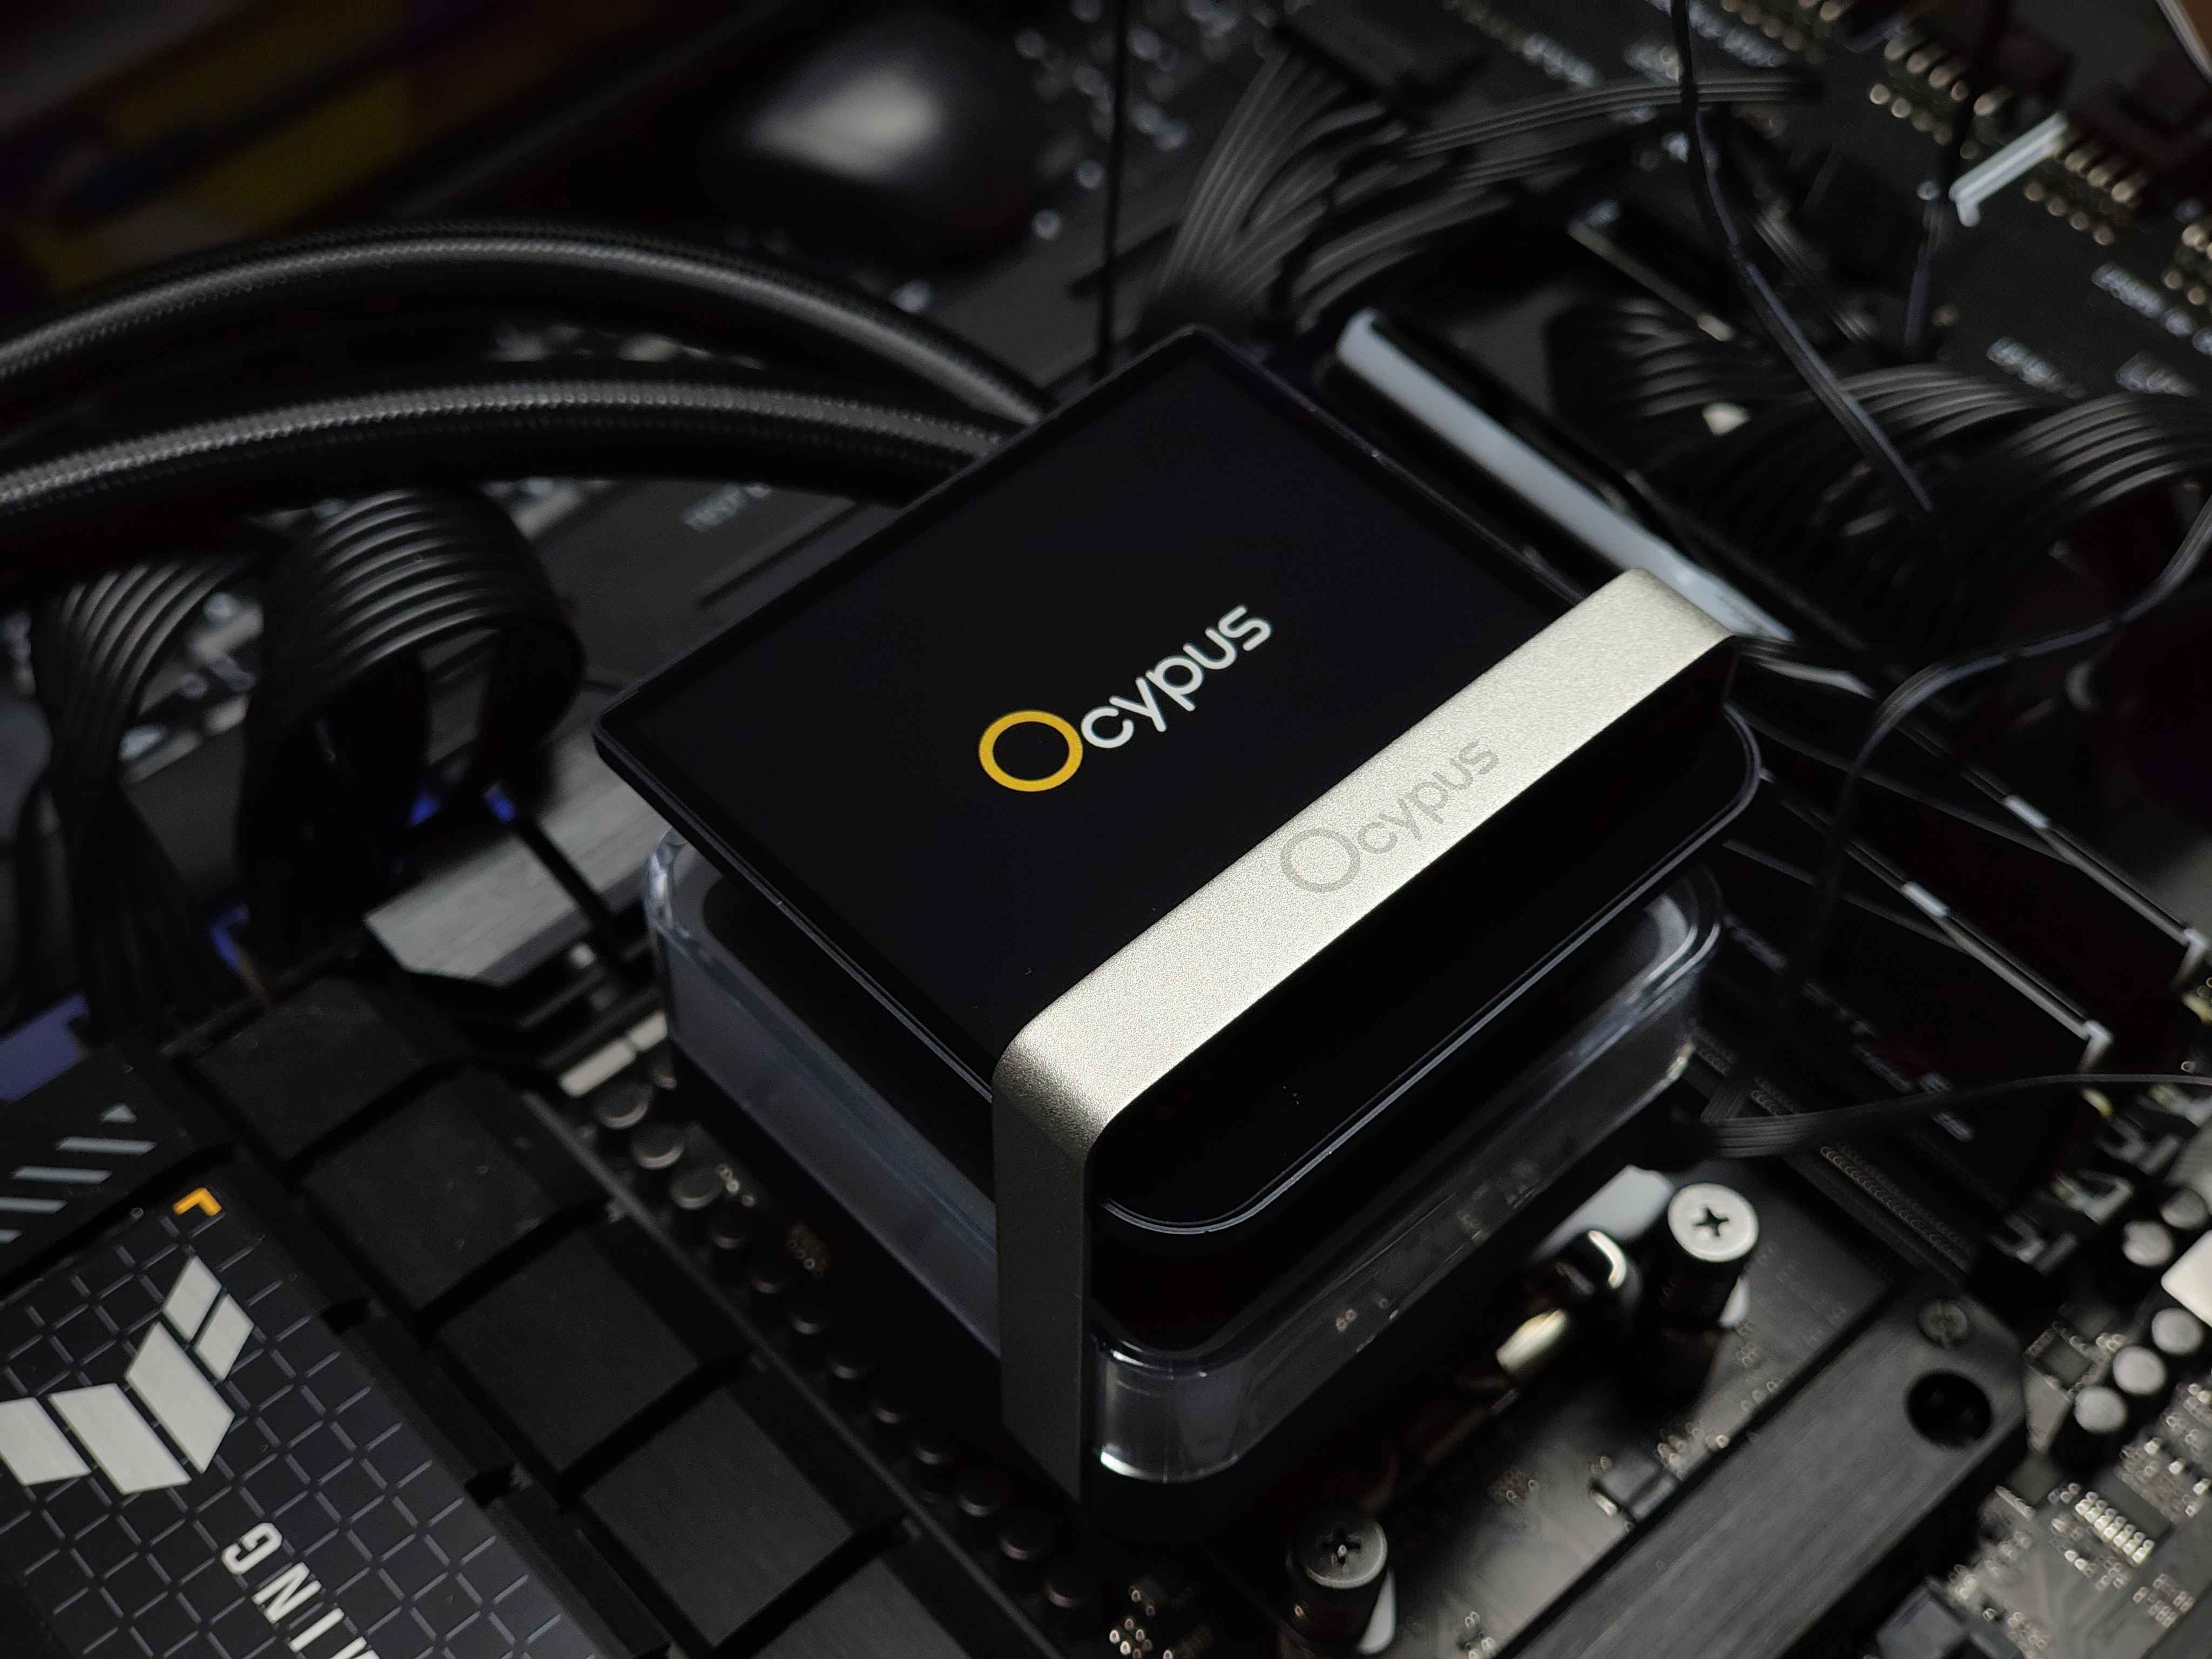

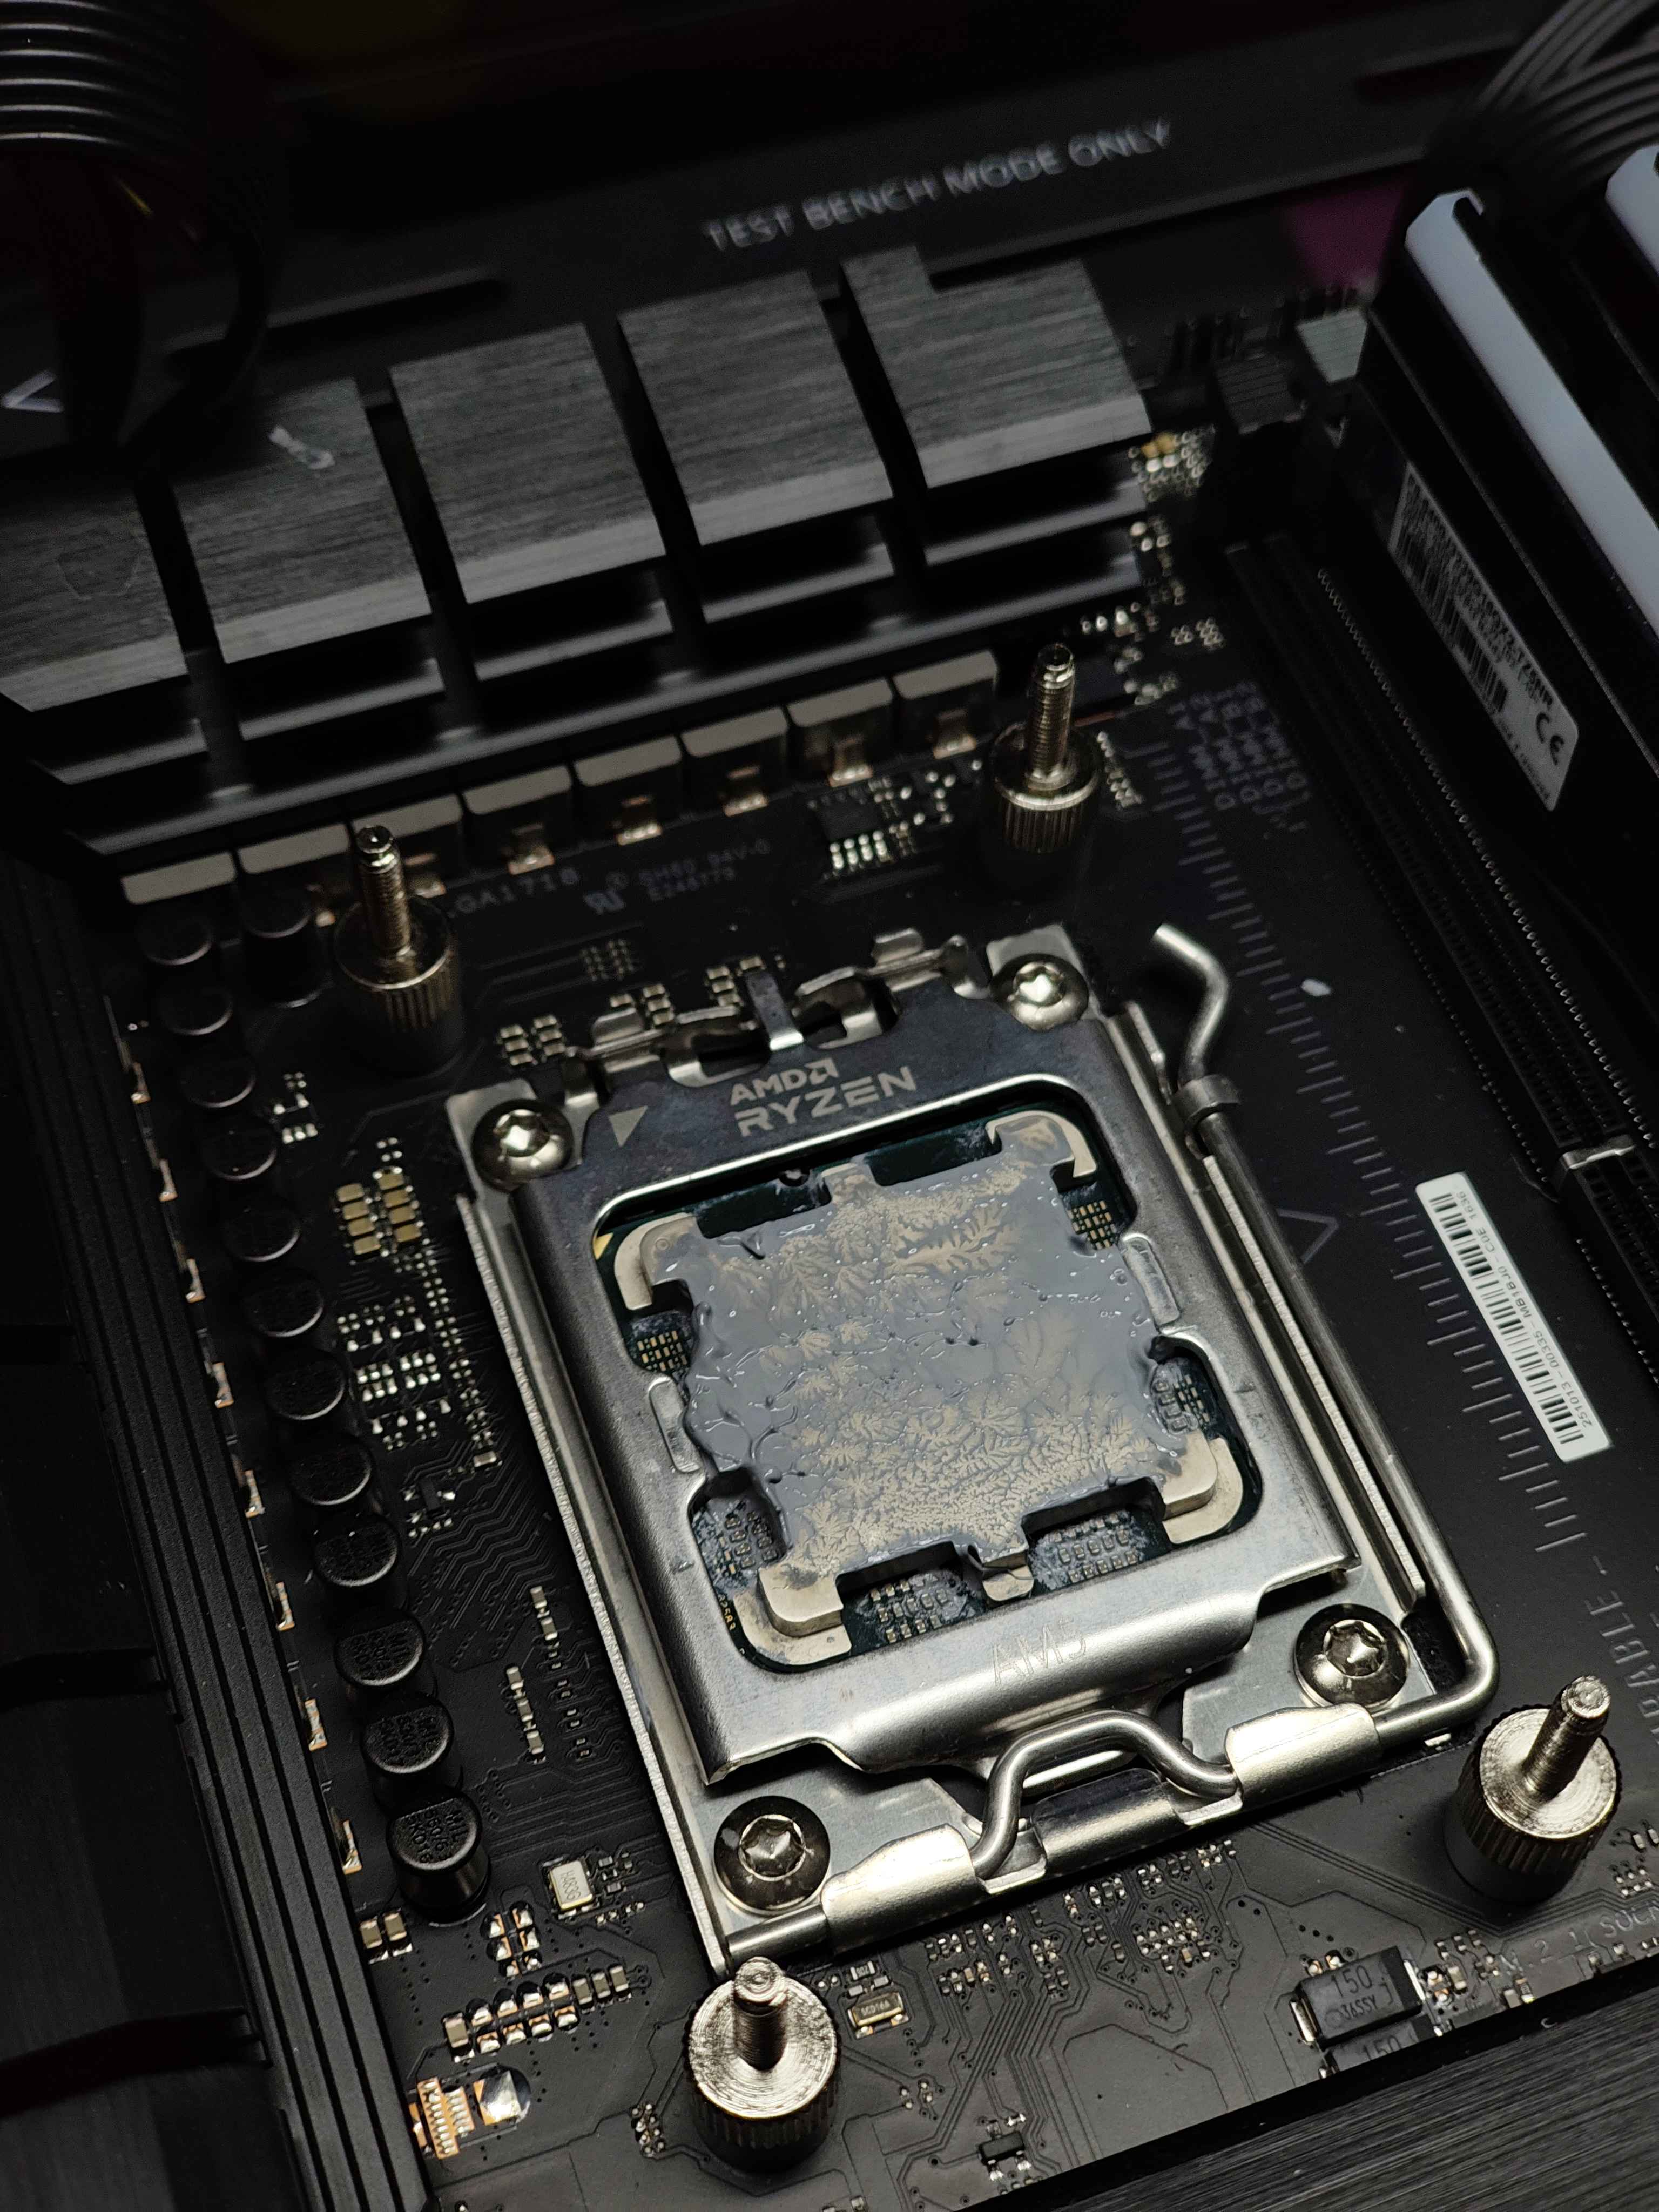
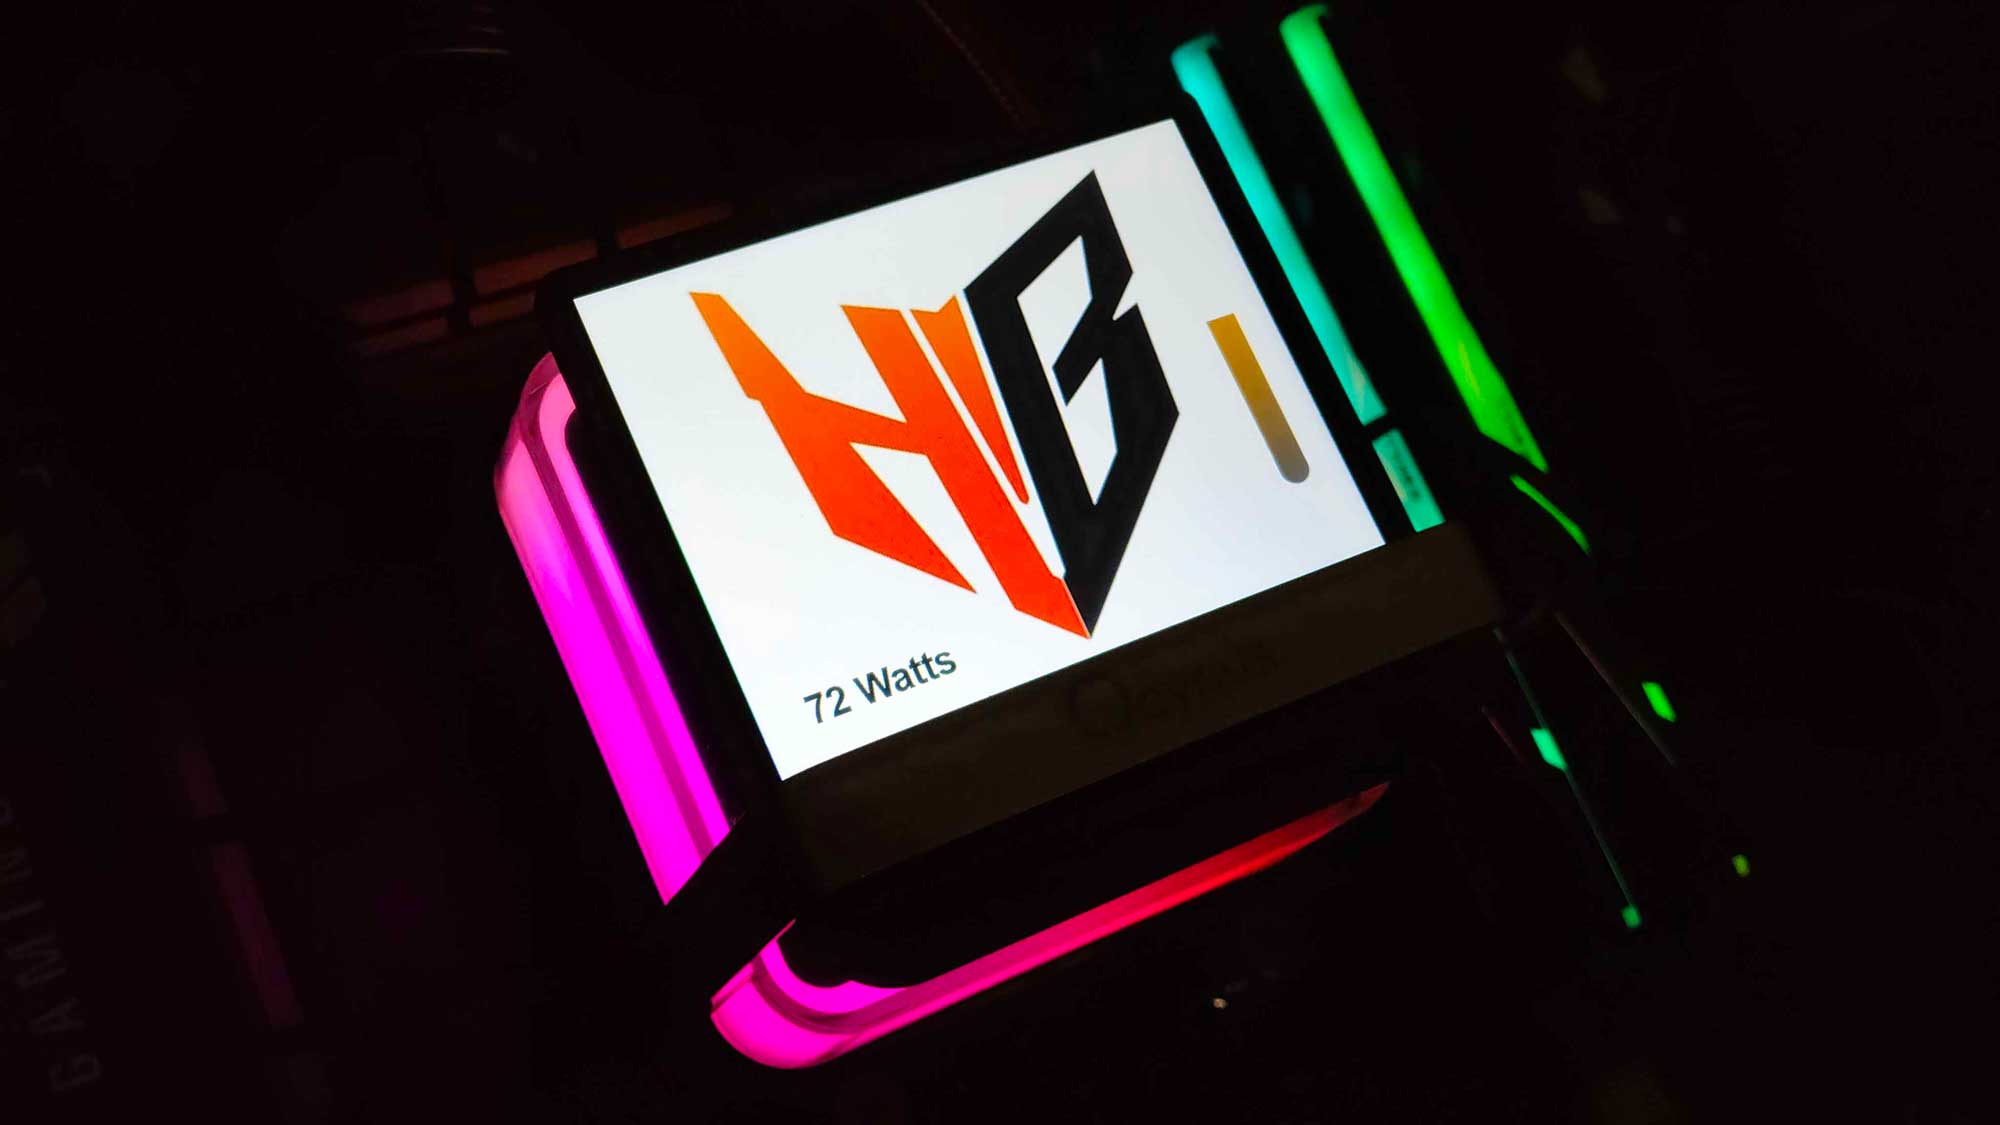
The installation consists of two parts. First, the correct mounting hardware has to be installed on the pump. Then, the proper AMD stand-offs are installed on the motherboard. The pump is aligned on them and screwed in place with thumbscrews. The tightening of the screws is completed with a screwdriver. There is clear feedback when the thumbscrews are fully seated. Then, the screen attaches on top with four magnets that help it align. The screen features a 5V ARGB Gen 2 connector for the LEDs located directly behind it, as well as a 9-pin USB 2.0 header for powering and configuring the display.
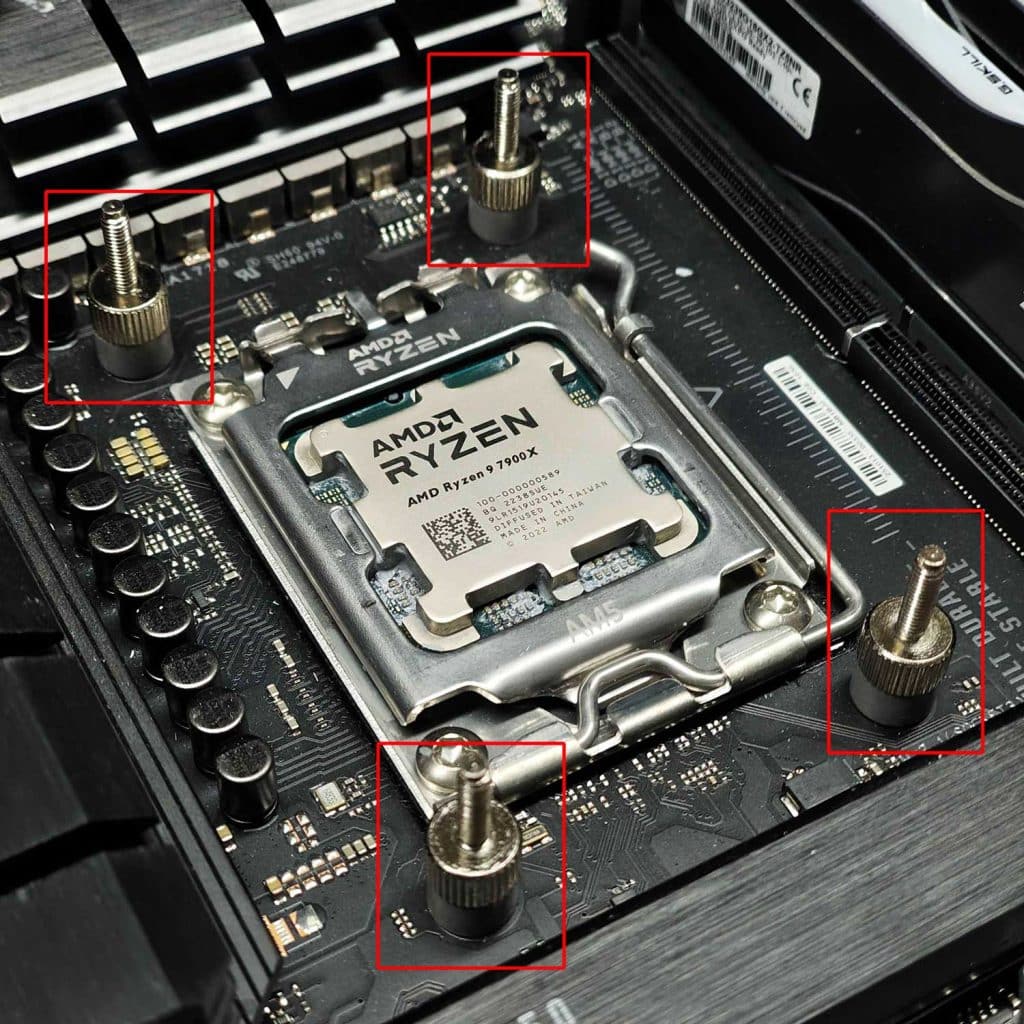
Additional Note: Removing the stand-offs from the motherboard when testing concluded was quite challenging. I had to grip them with pliers and a soft cloth to get a secure hold and remove them.
Software
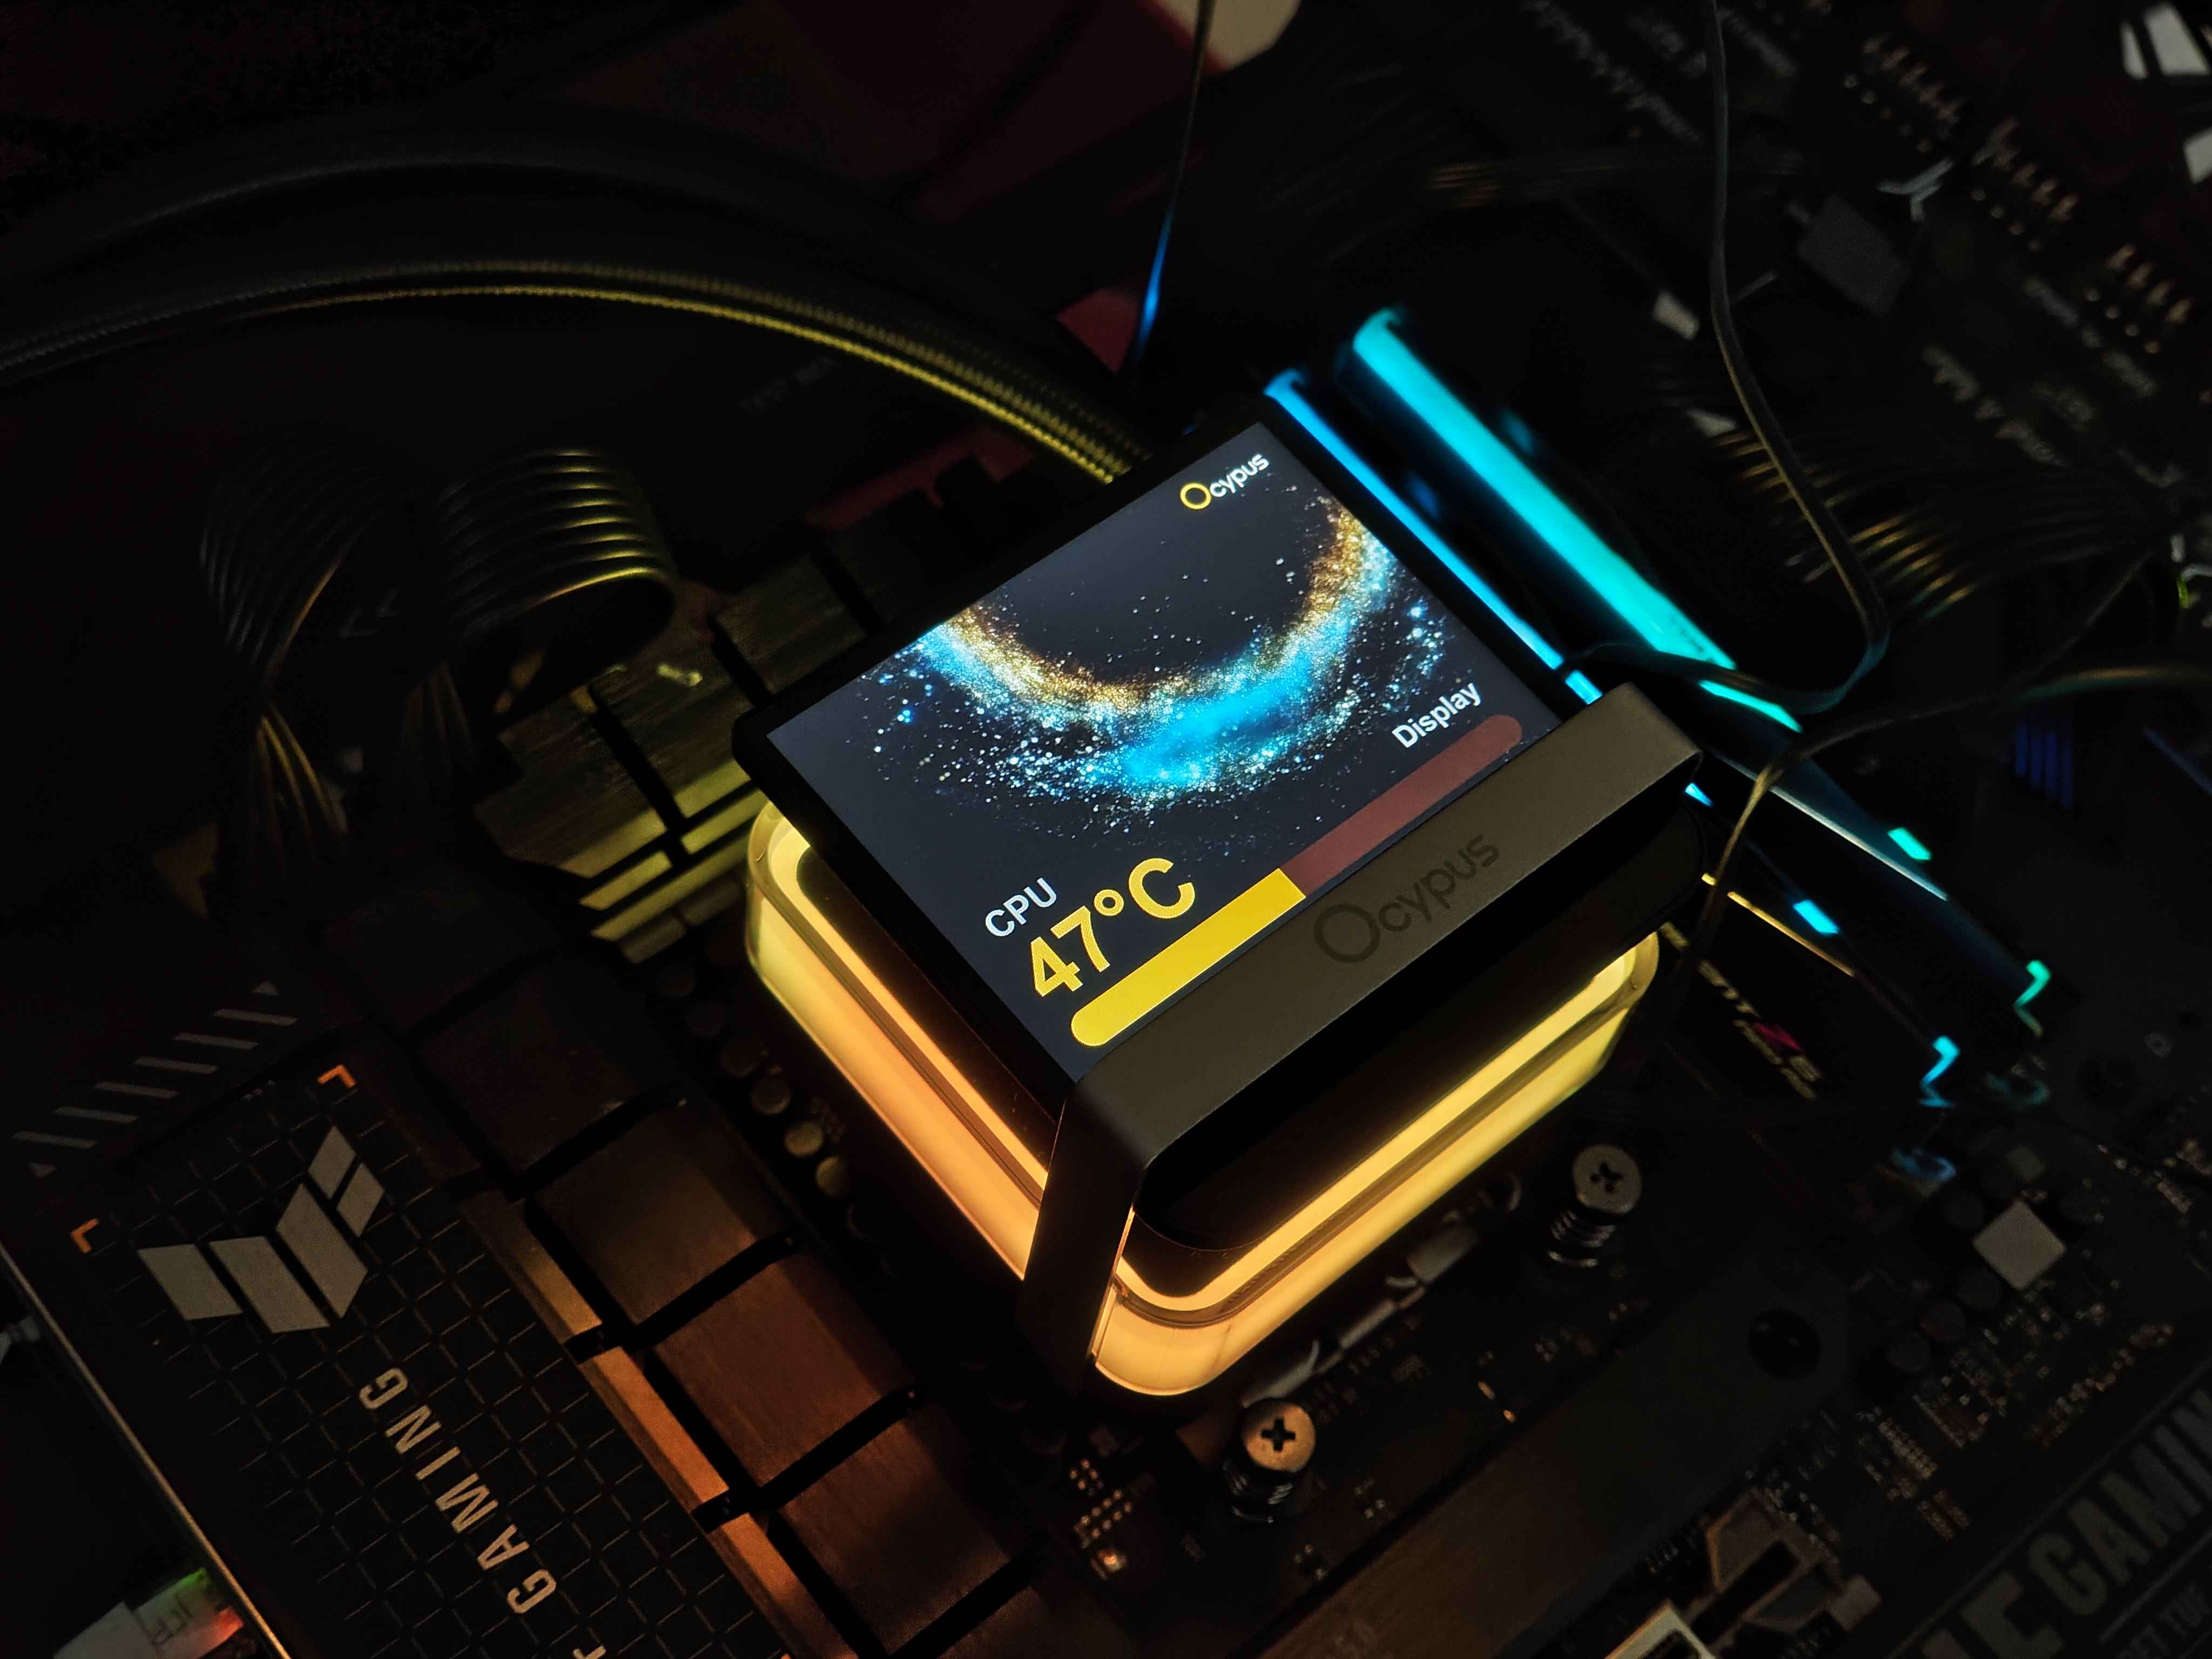
The display can be set up using the Ocypus software, which is available here.