Installation (AMD)
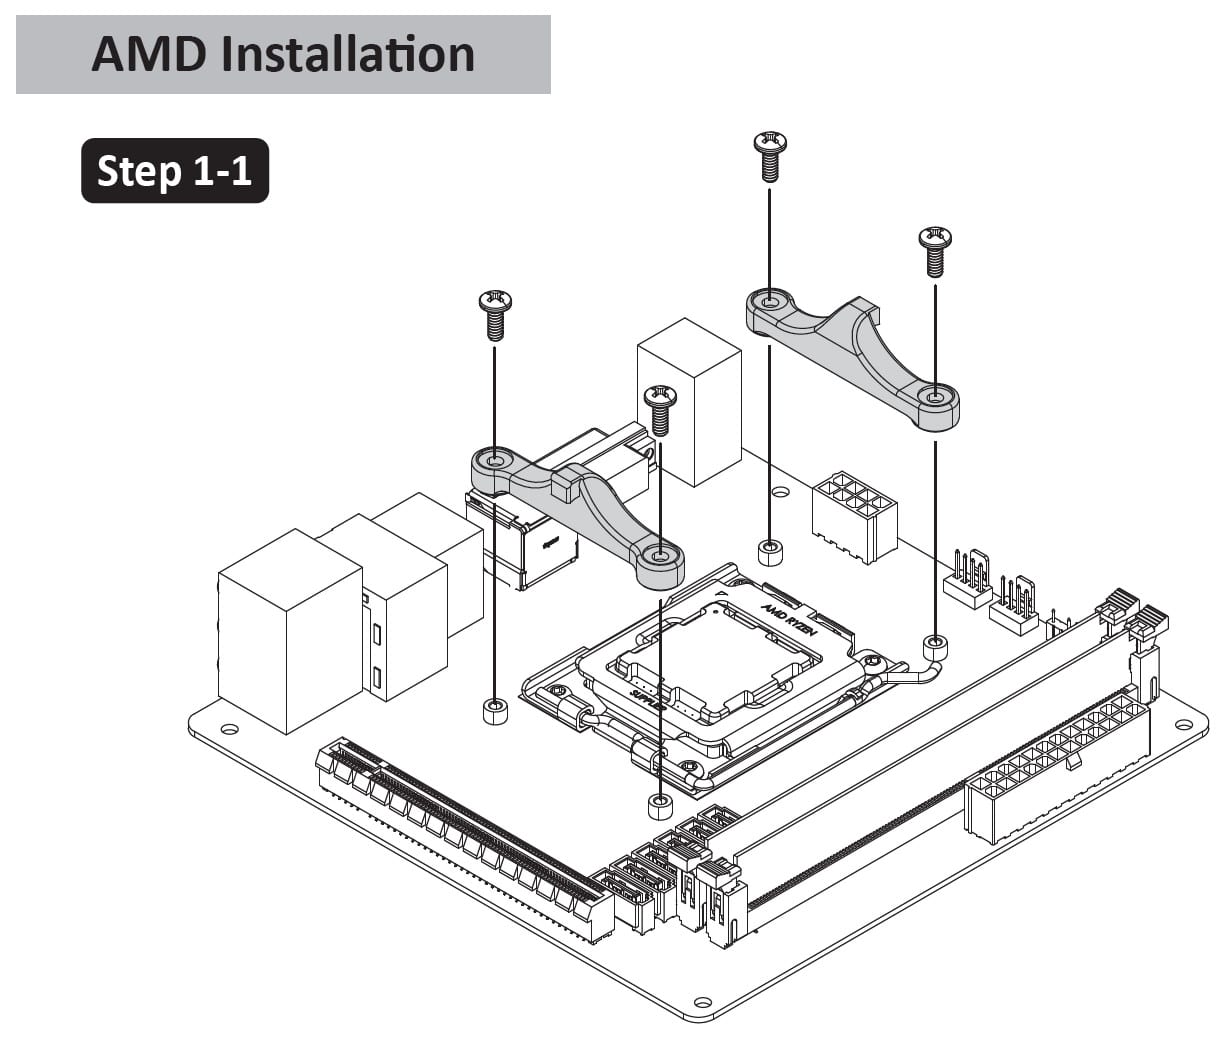
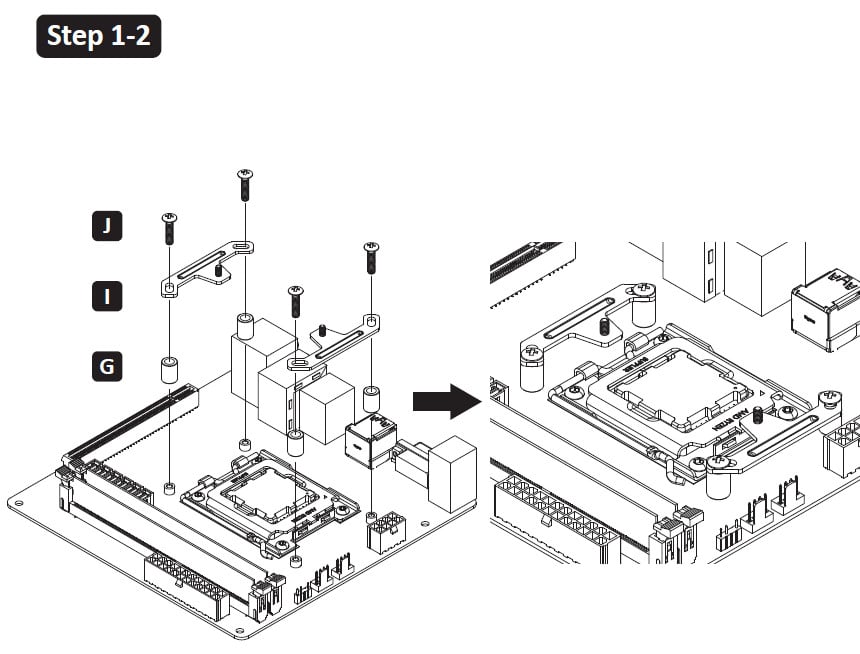
Installing the CPU cooler was very straightforward on the AMD platform. The printed instructions were clear, and the components were easy to distinguish. You first have to remove the stock AMD plastic brackets. To mount the cooler, place the spacers over the screw holes, then rest the metal plates on top of them. The plates remain stable on the spacers without tipping over, which makes installation even easier.
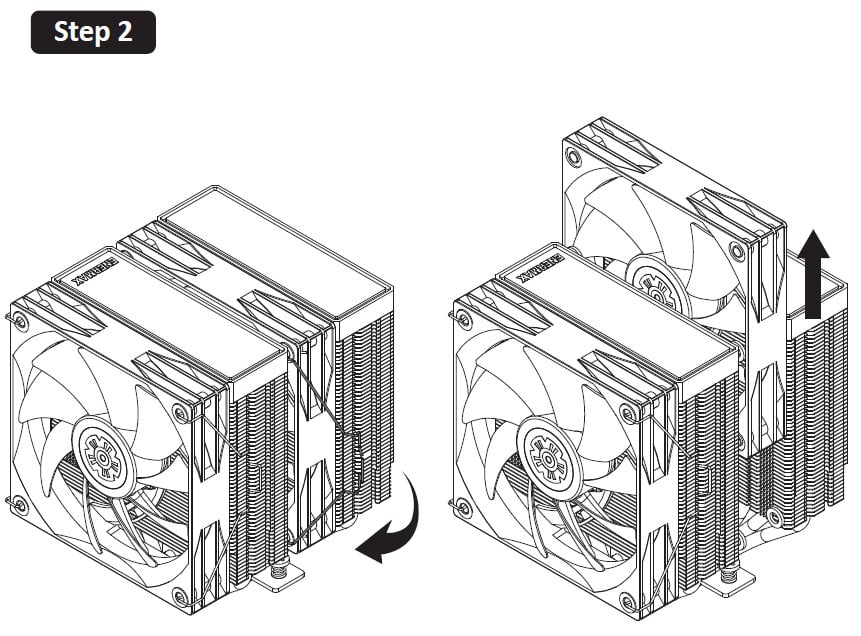
After removing both fans, first the middle one to access the mounting screws, then the front one to clear the RAM sticks (if necessary), you can secure the cooler using the captive screws. However, there’s no clear feedback to confirm whether both screws are properly aligned. It’s easy to feel the first screw slide into place, but the second one is less obvious.
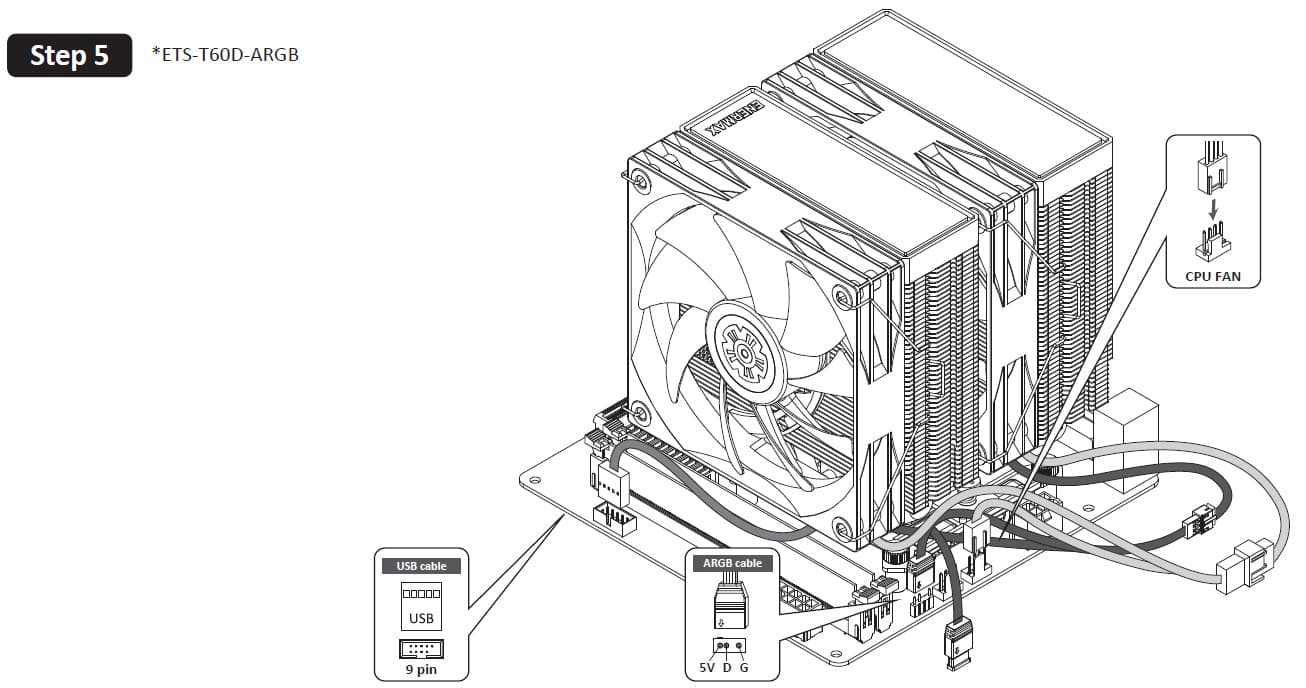
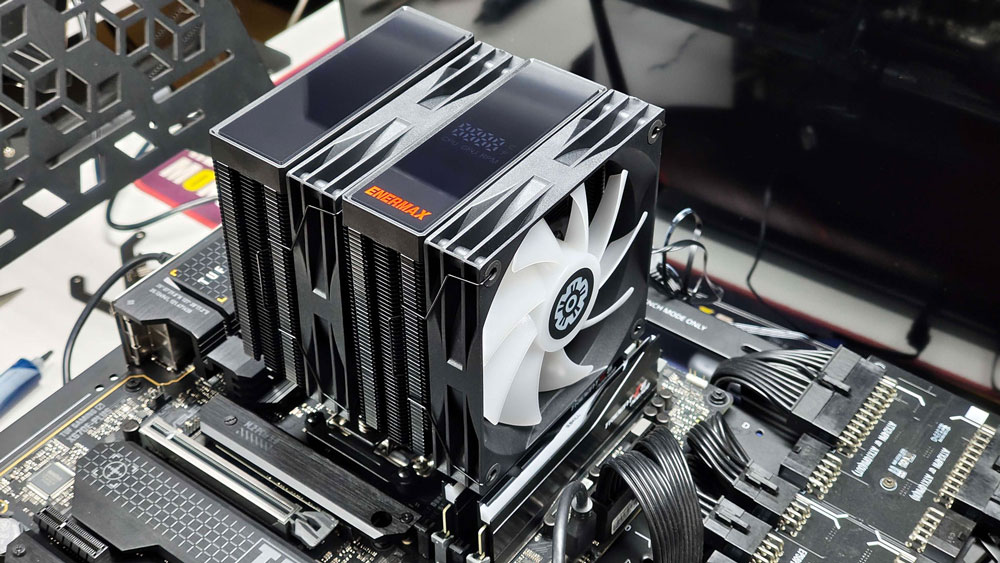
The two fans are connected via a PWM splitter cable, and a USB header connects to the motherboard to handle communication with the display located on top of the cooler. The USB cable could be slightly longer, as it’s just long enough to route behind a full-sized ATX motherboard and reach the bottom header. This may complicate cable management, depending on your case layout and routing preferences.
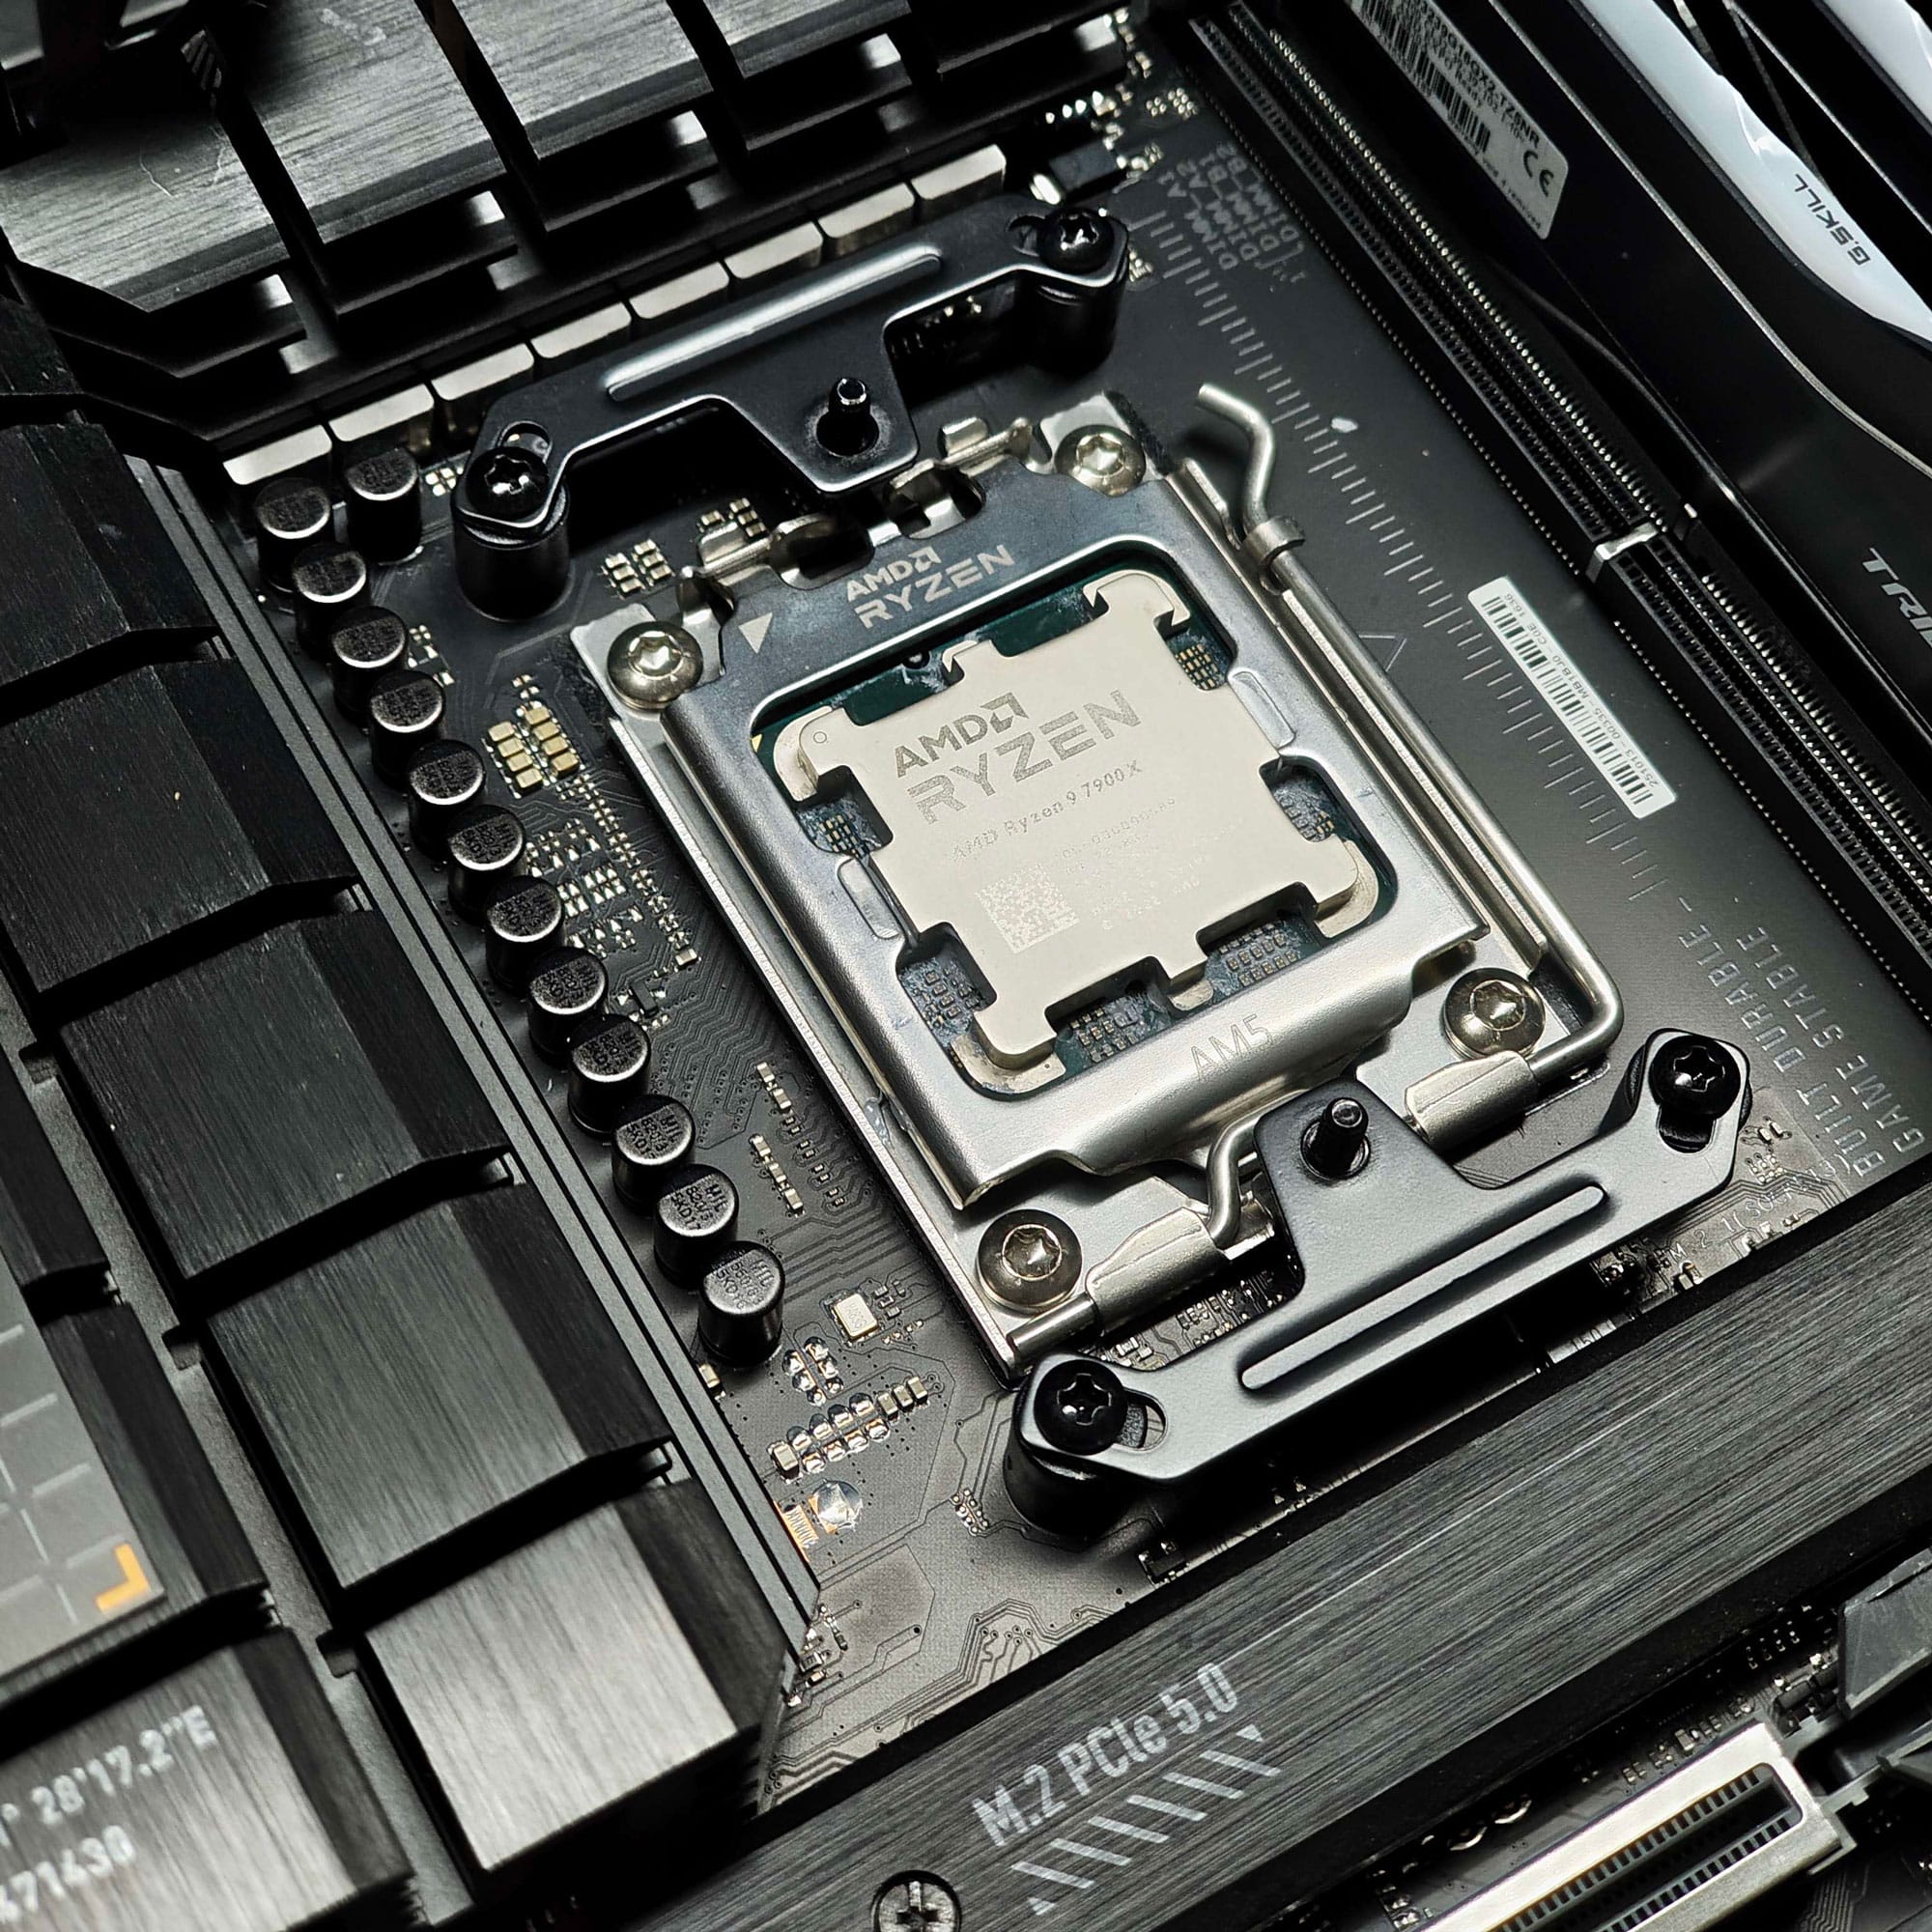
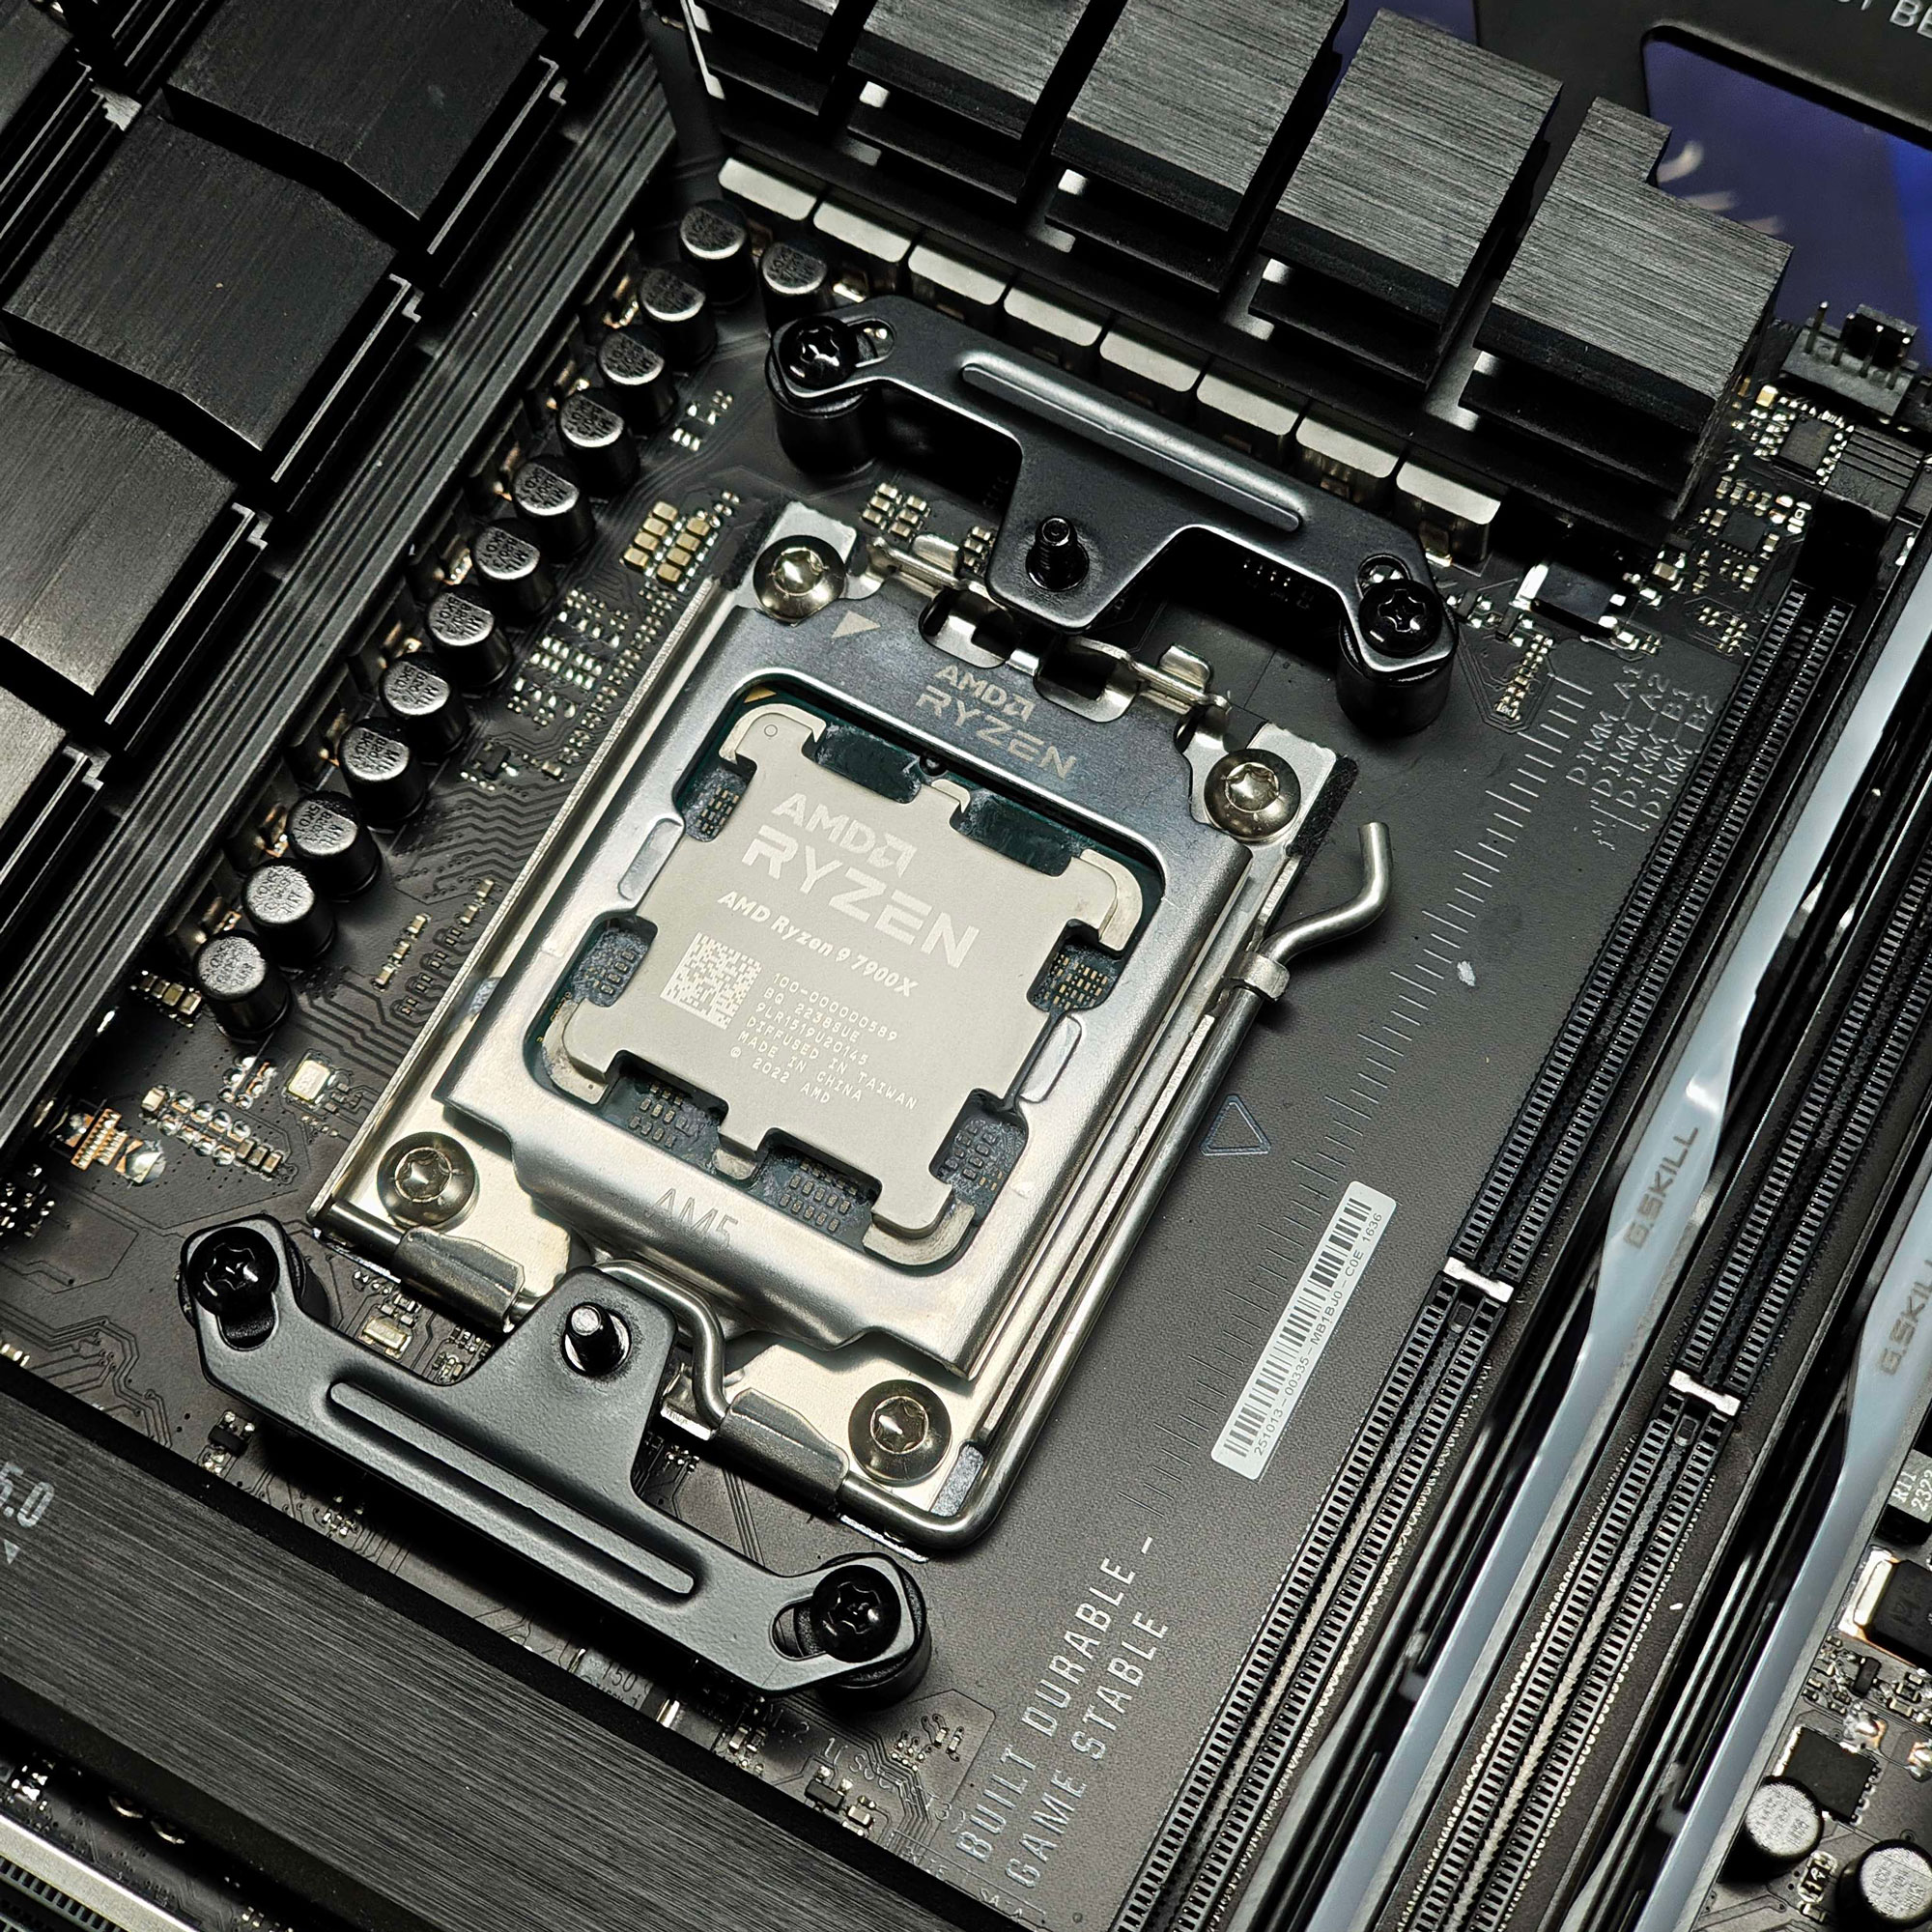
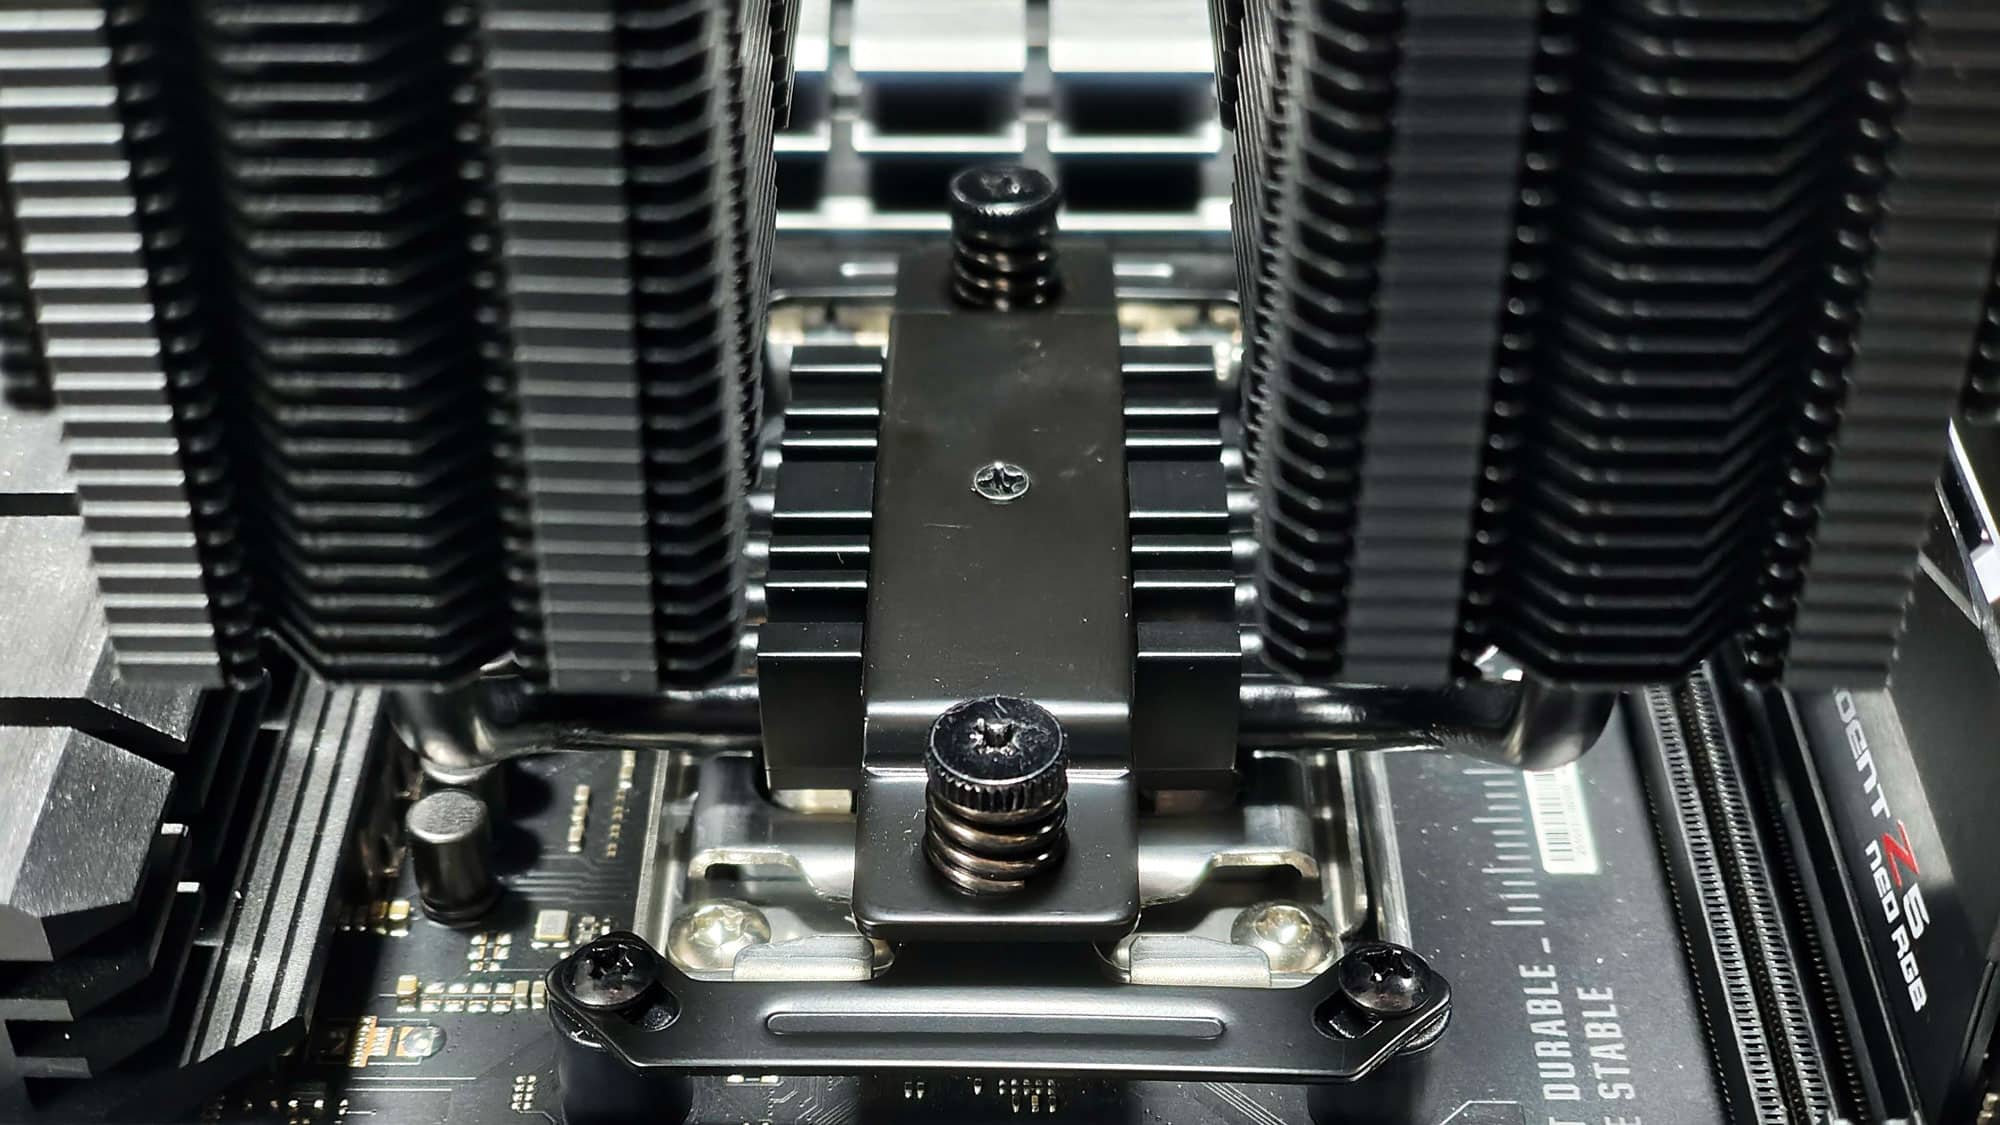
The mounting mechanism on our AMD board.
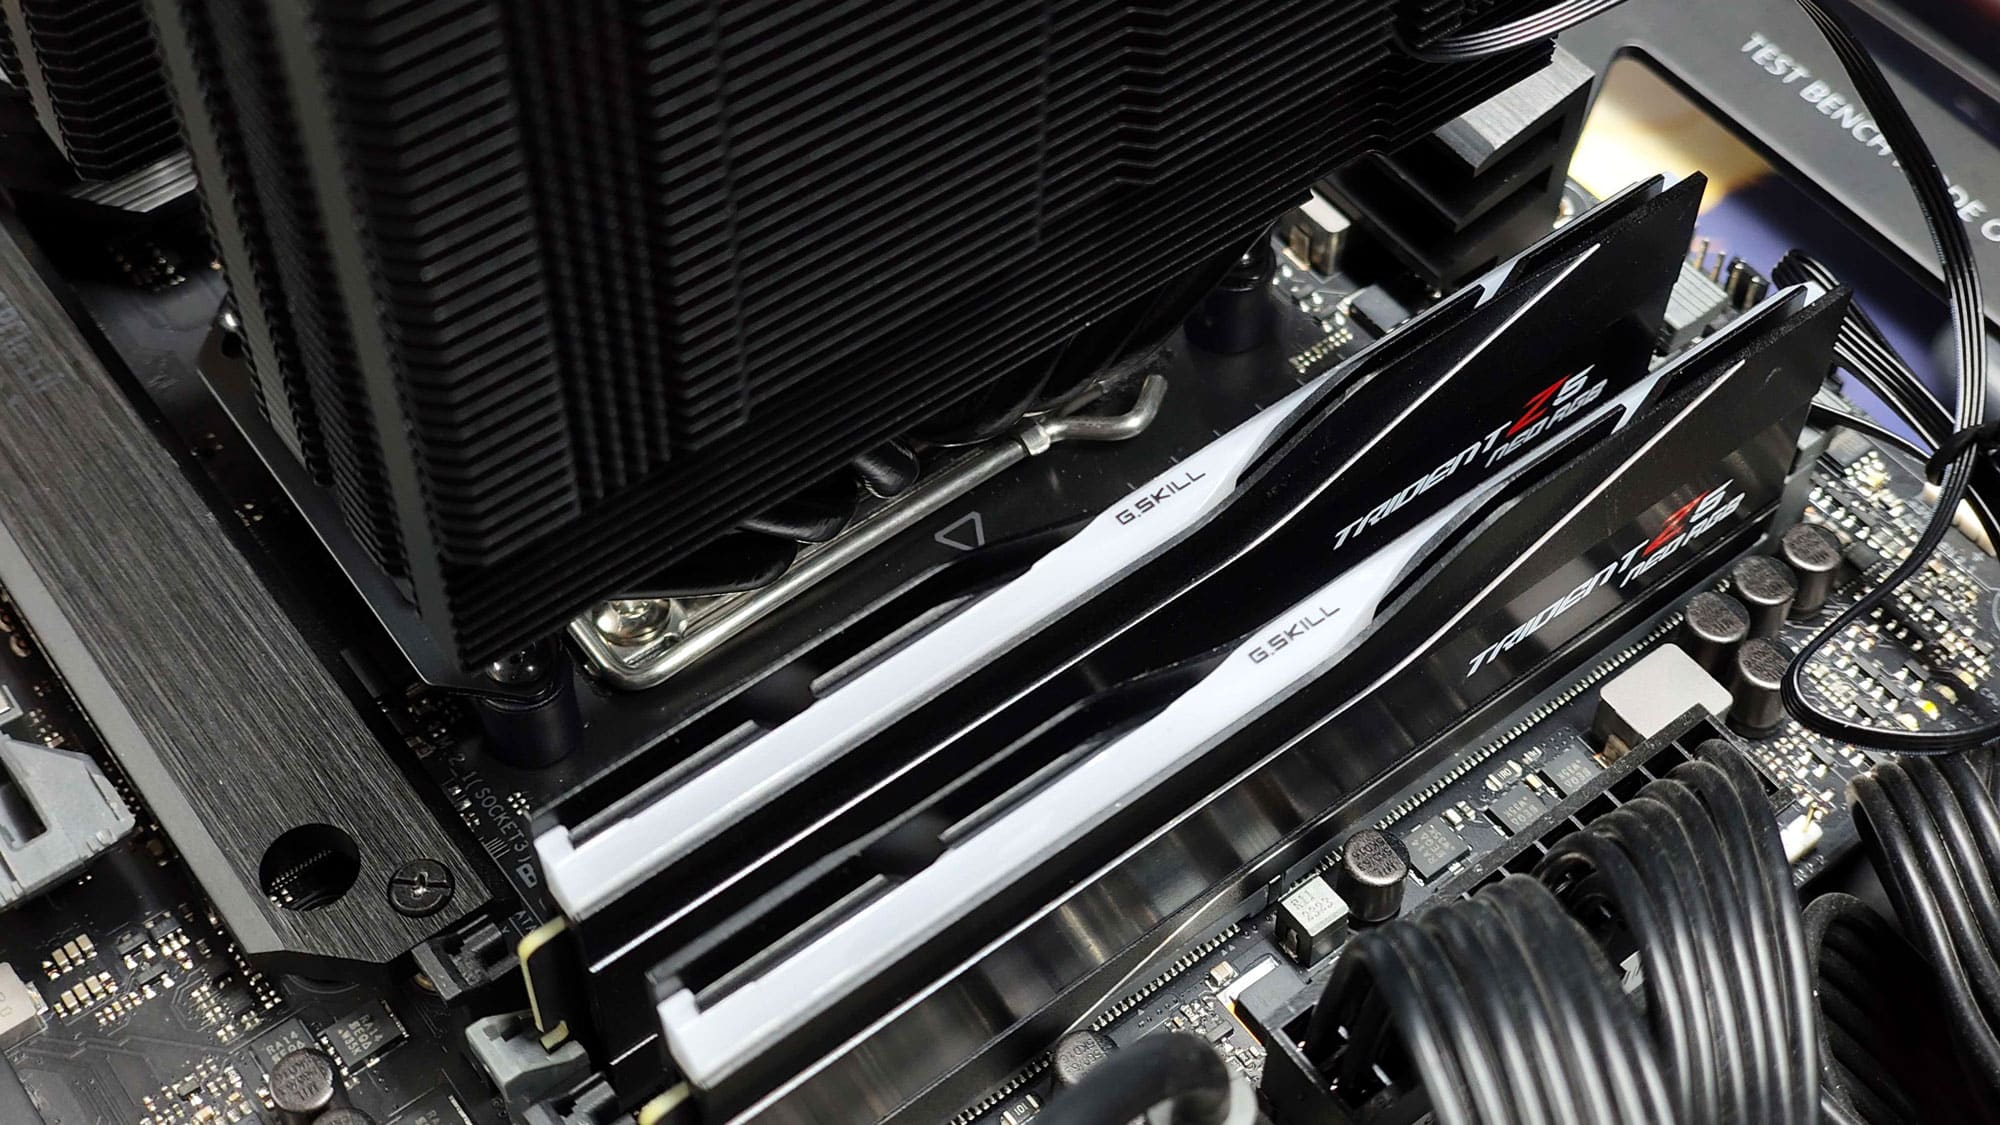
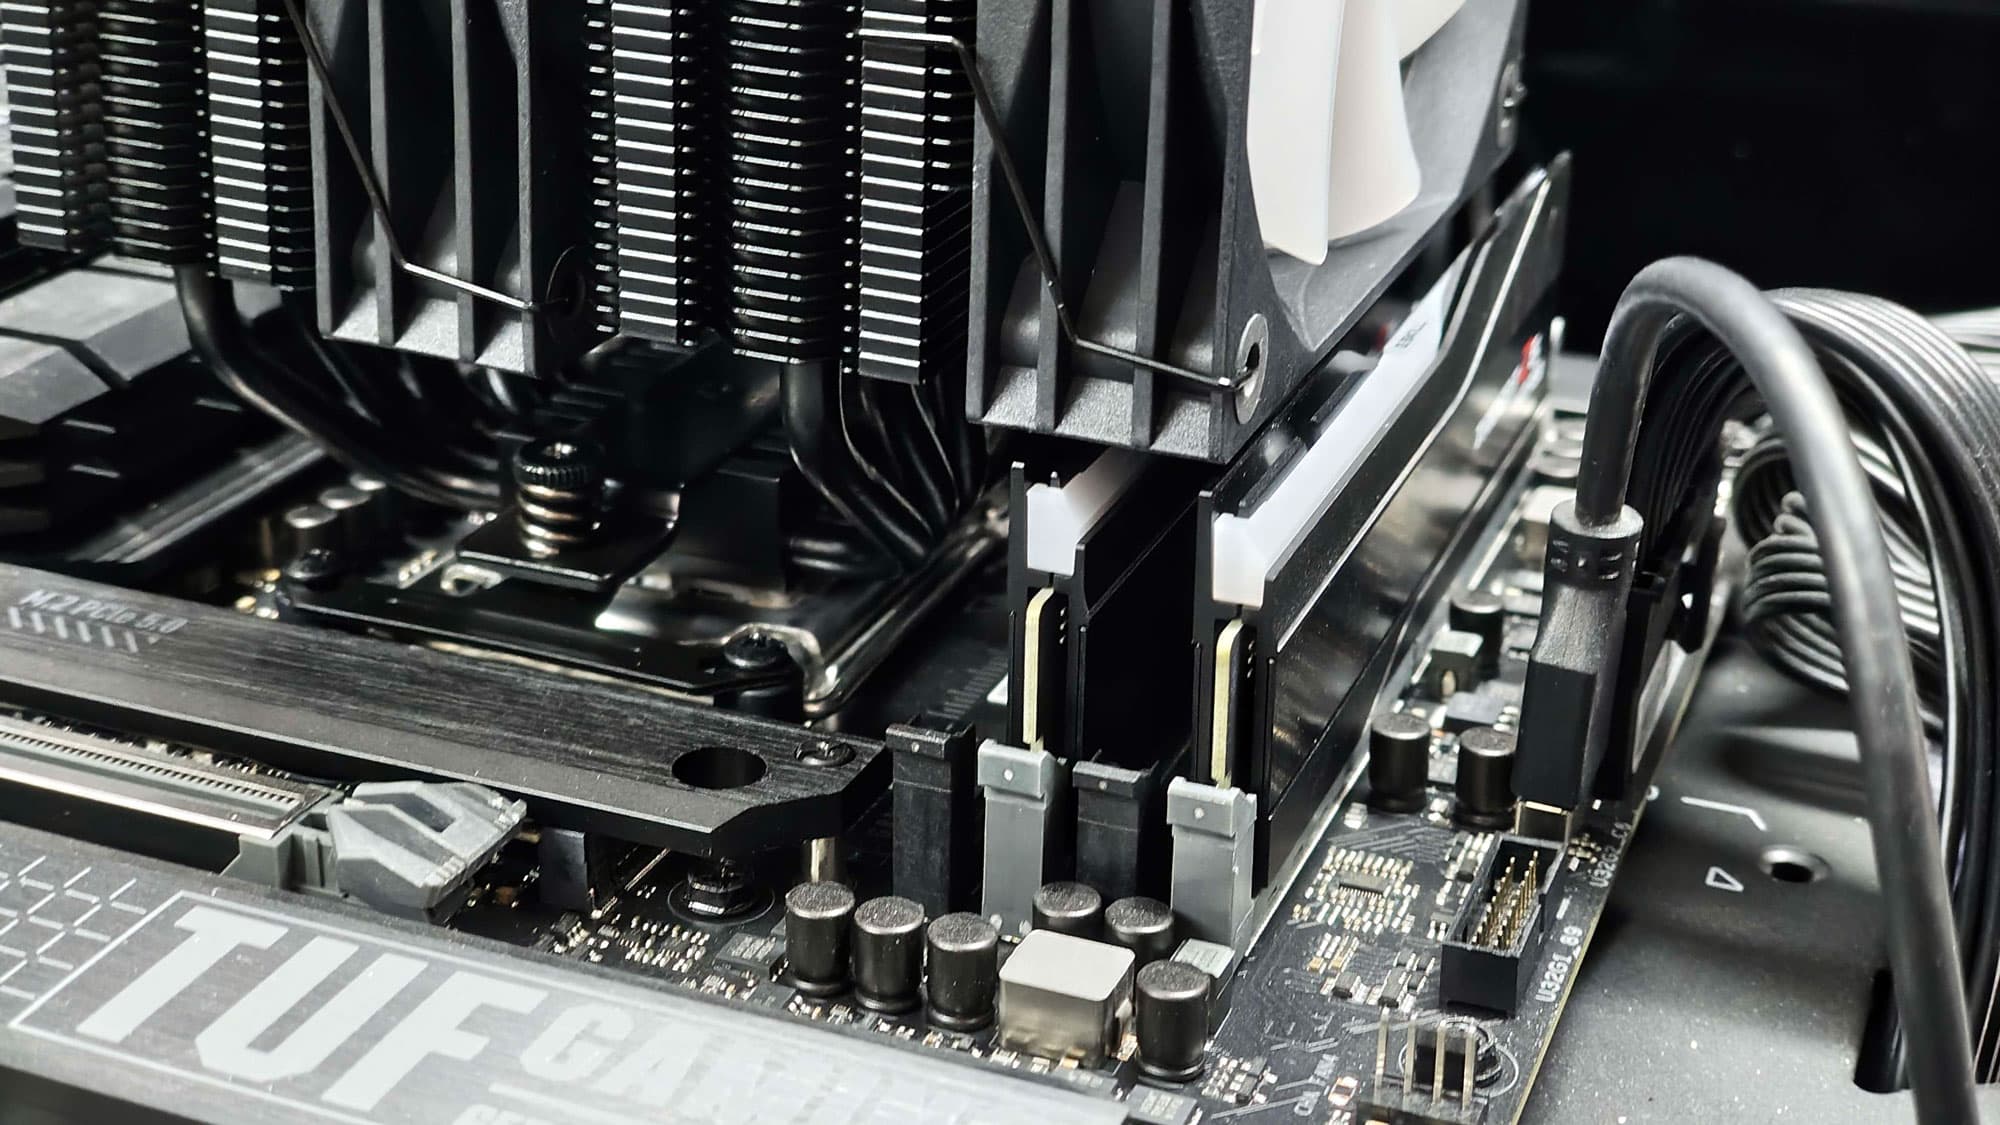
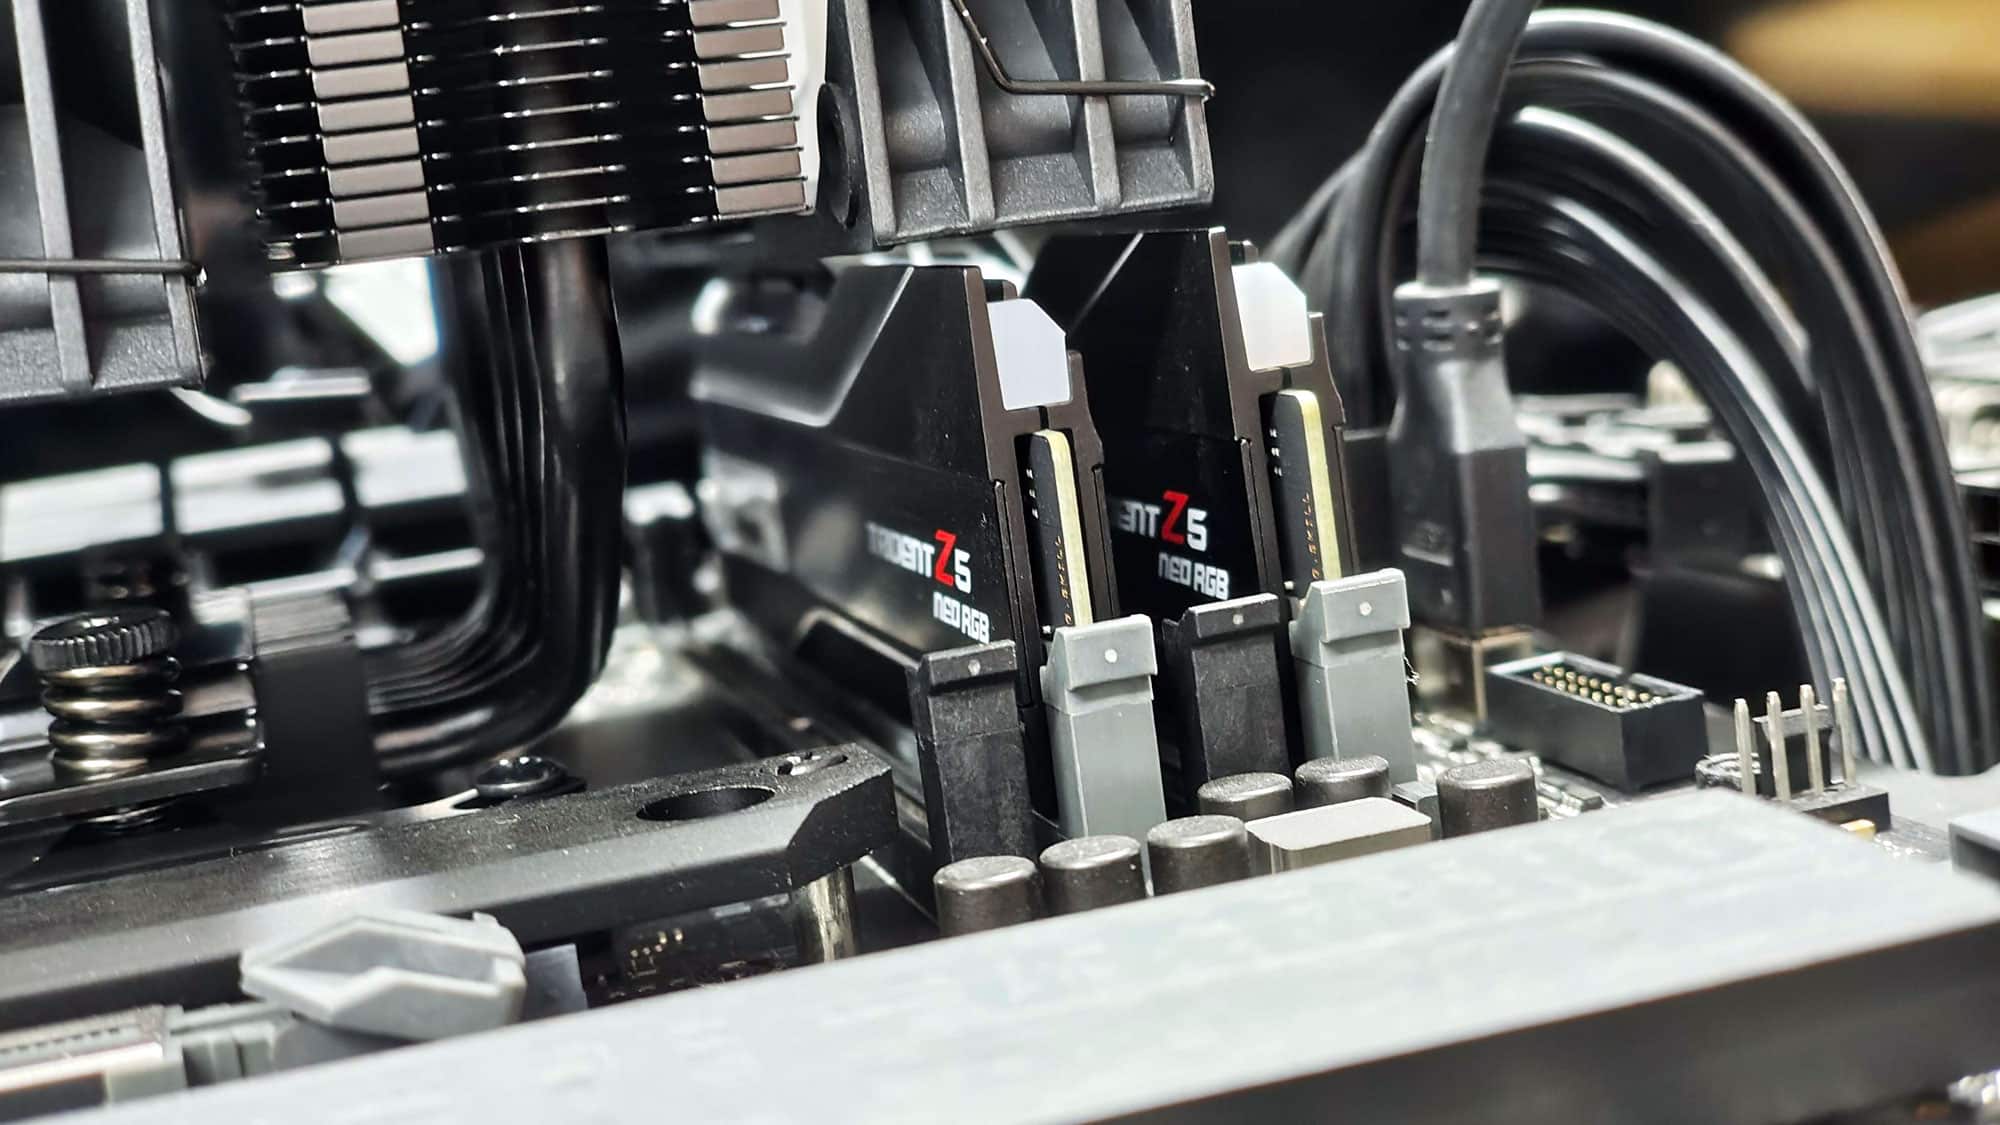
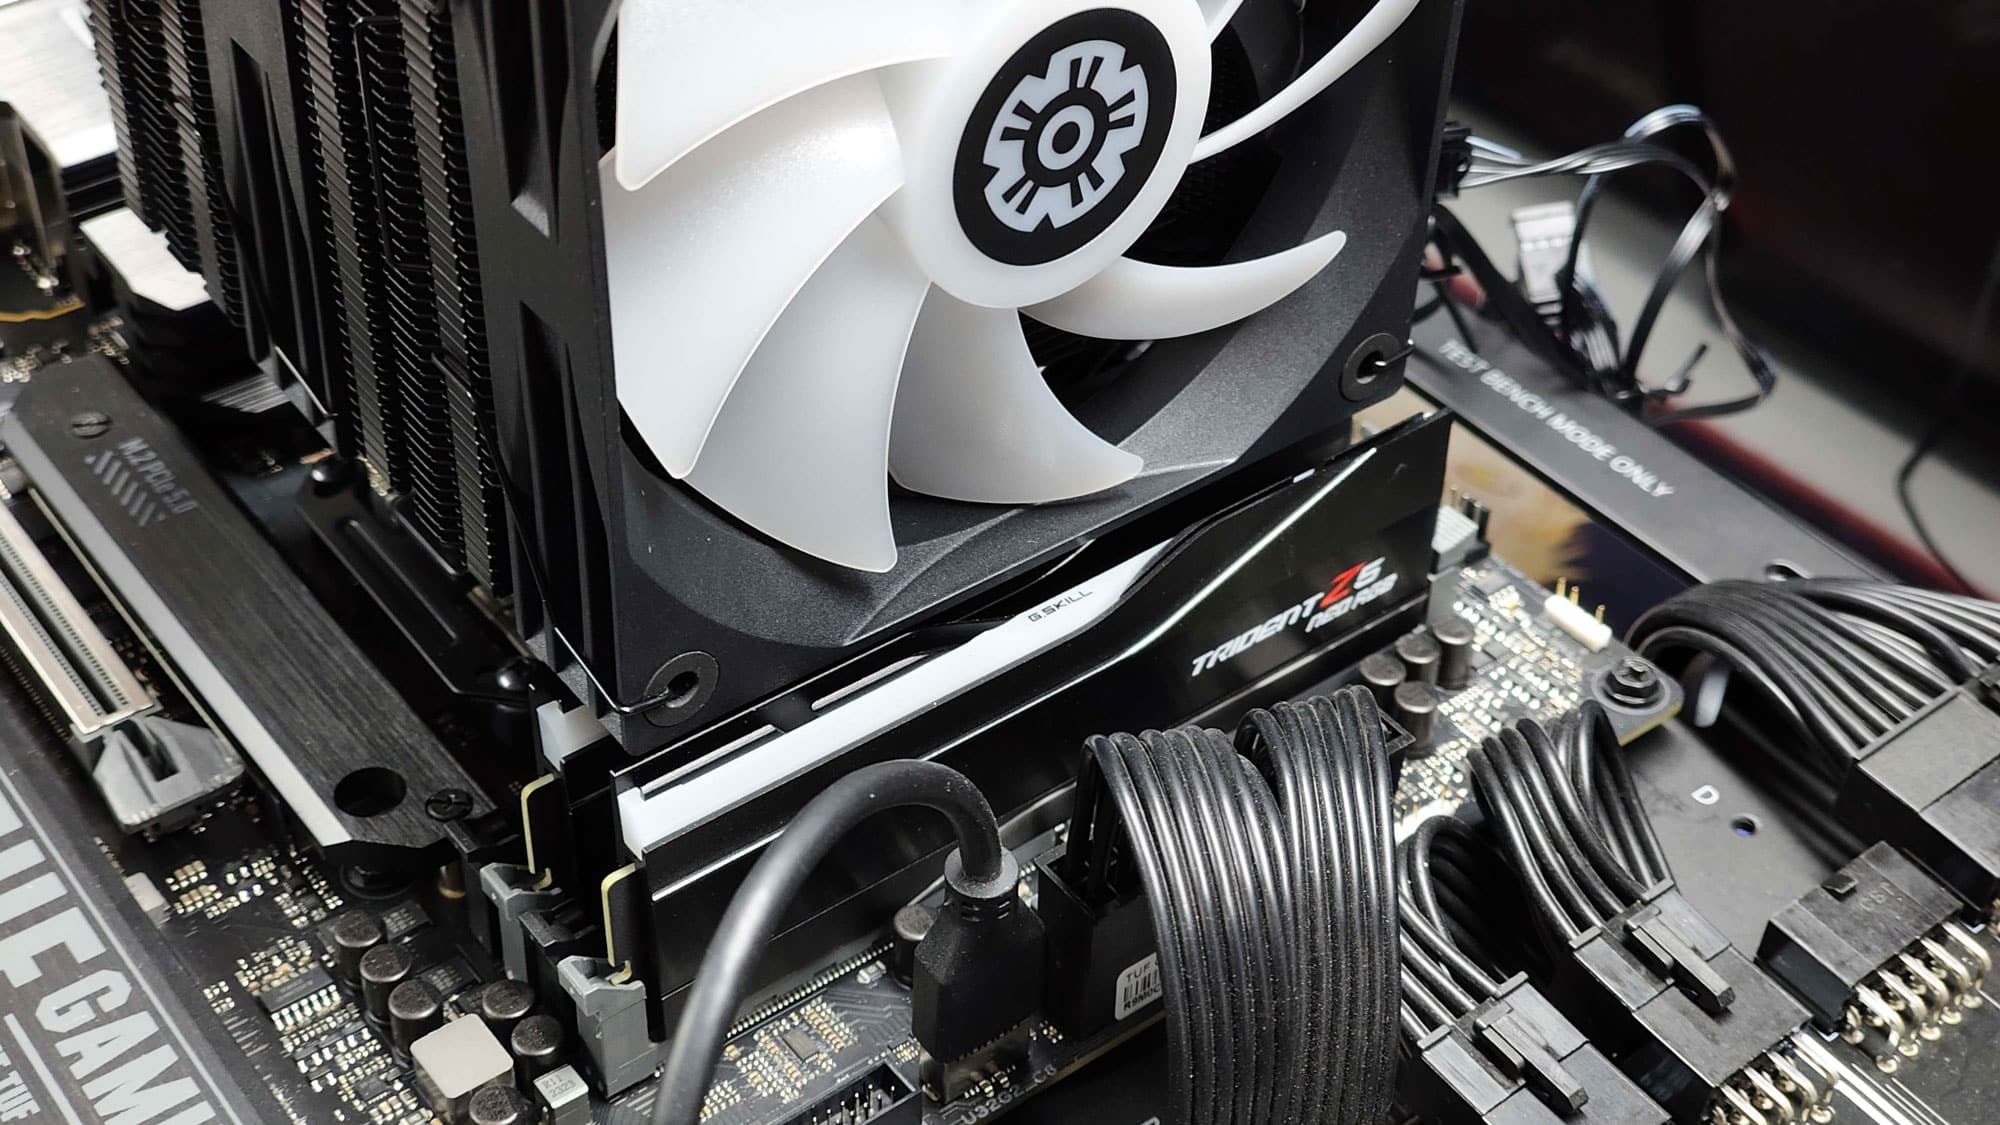
RAM clearance is not good. This is a common issue for dual-tower design coolers.