
Installation (AMD)
Installation Notes: The accessories are properly labeled and separated in plastic zip-lock bags. The instructions were clear, and the installation was straightforward.
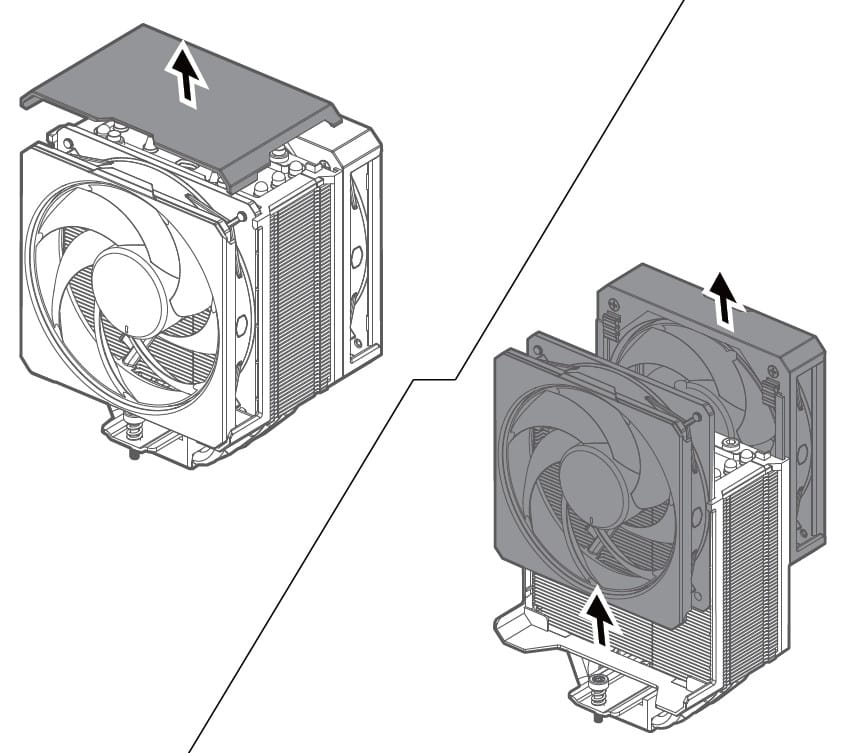
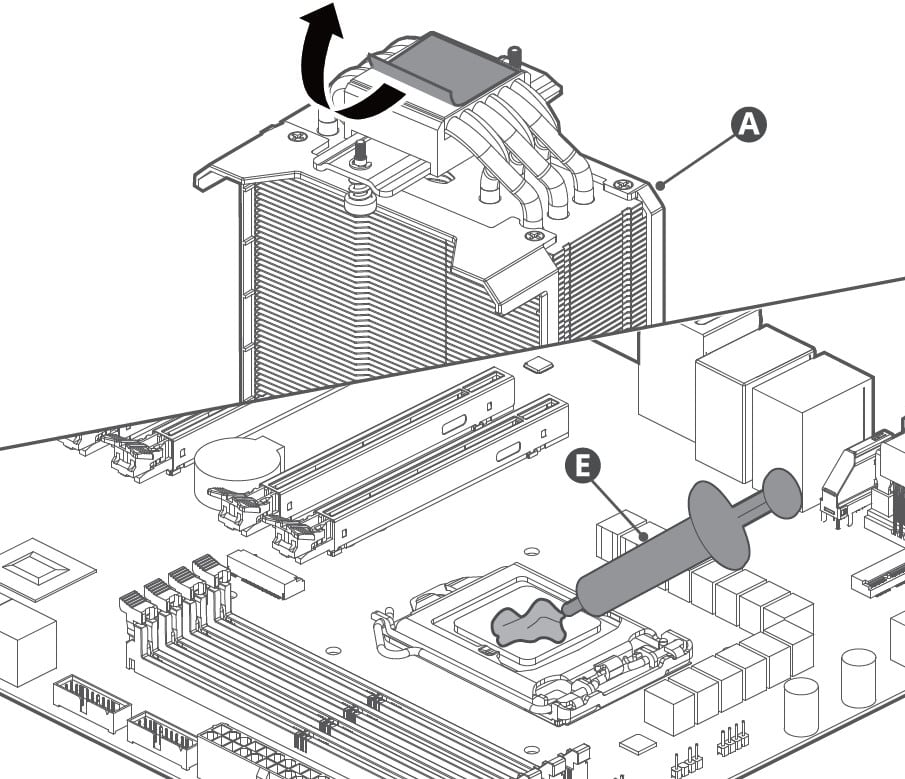
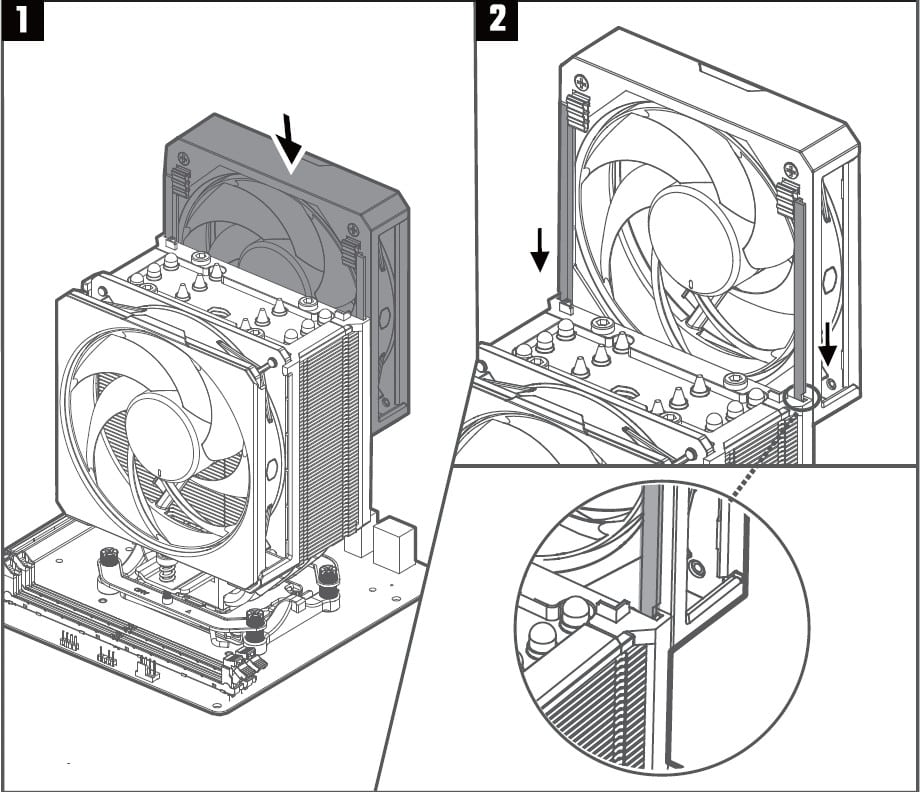
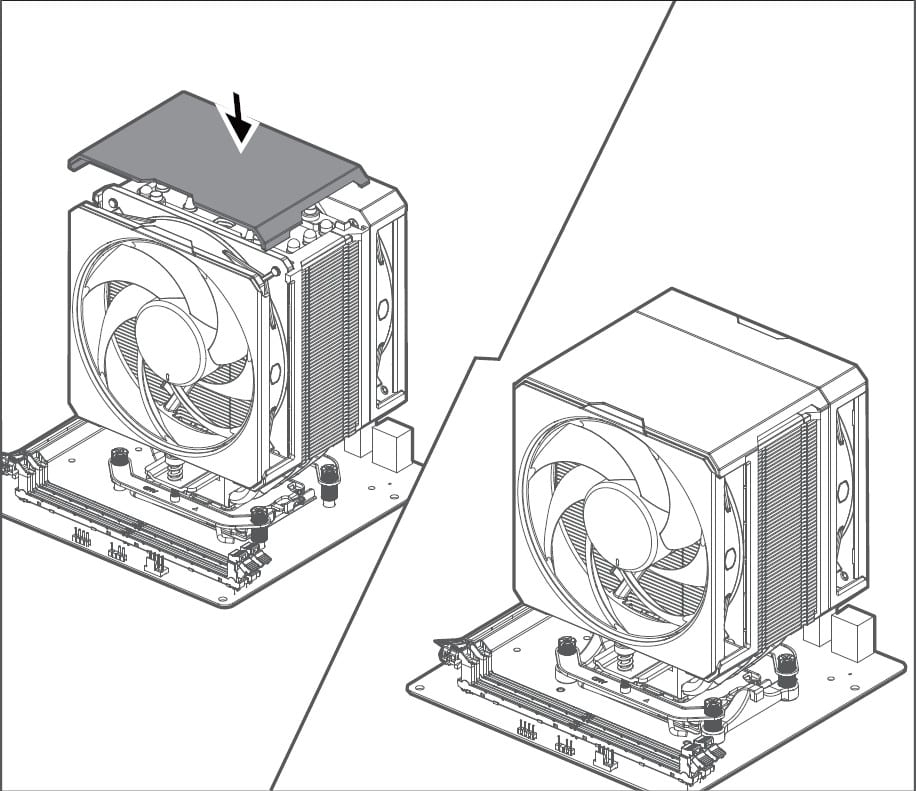
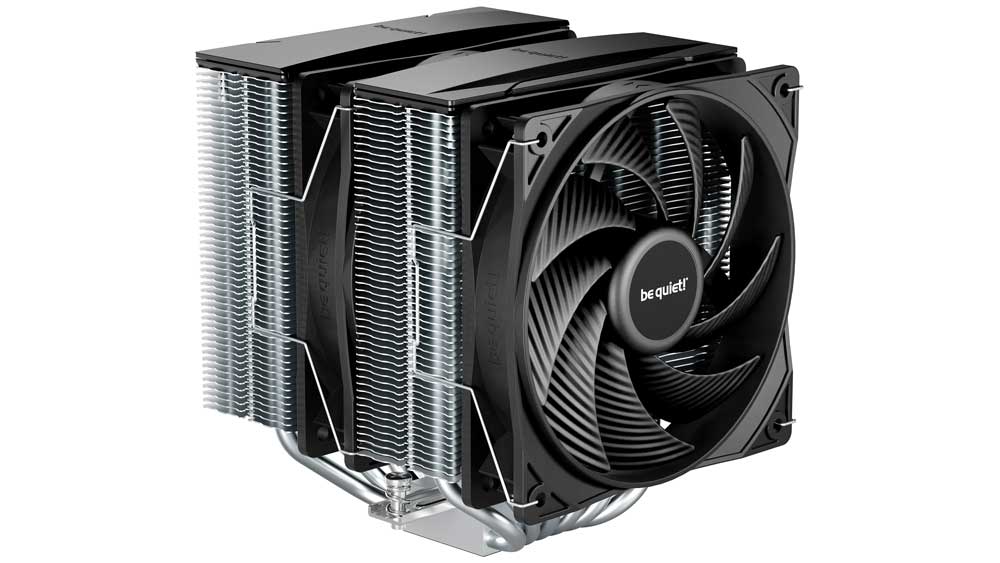
The plastic cover on top of the cooler, which covers the front fan and the heatsink tower, is easily removable. However, reinstalling it requires extra attention to align the plastic clips properly; otherwise, the cover doesn’t sit as it’s supposed to. The front fan slides into the rails of the plastic housing of the cooler structure, and two screws on top help align it and keep it firmly in place once fully installed. The back fan employs a different installation mechanism but adheres to the same general philosophy: it slides in from the top and is secured in place by friction. Lastly, there were no clearance issues during installation, and the cooler fit well without interfering with RAM modules or other components.
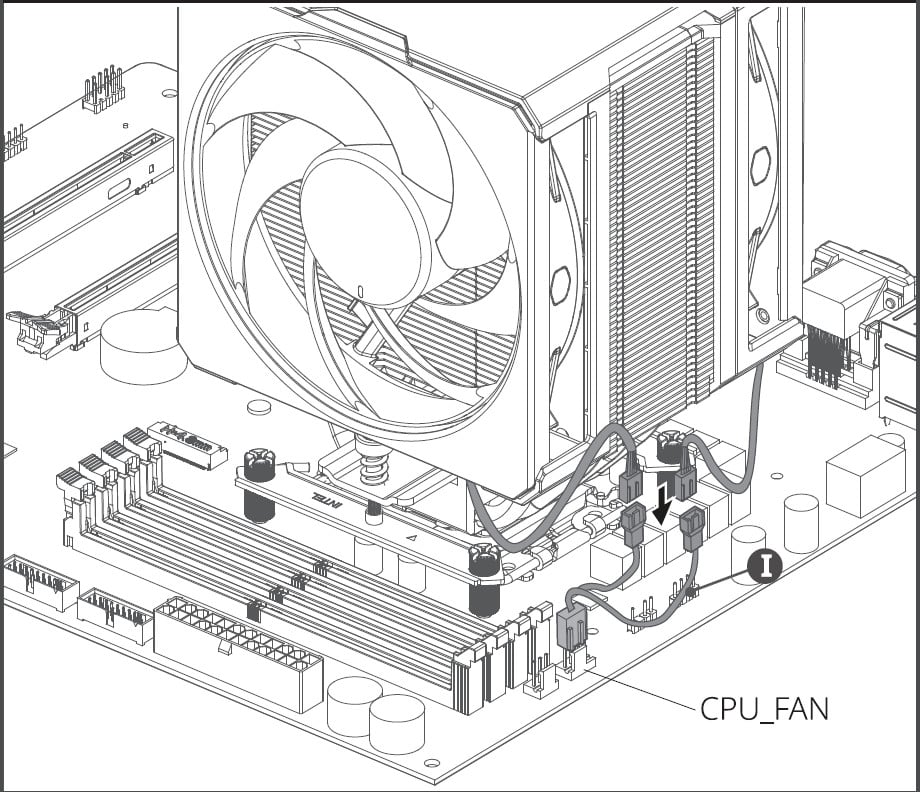
This scheme illustrates how to connect the fans to the respective mainboard header using the provided PWM splitter cable.
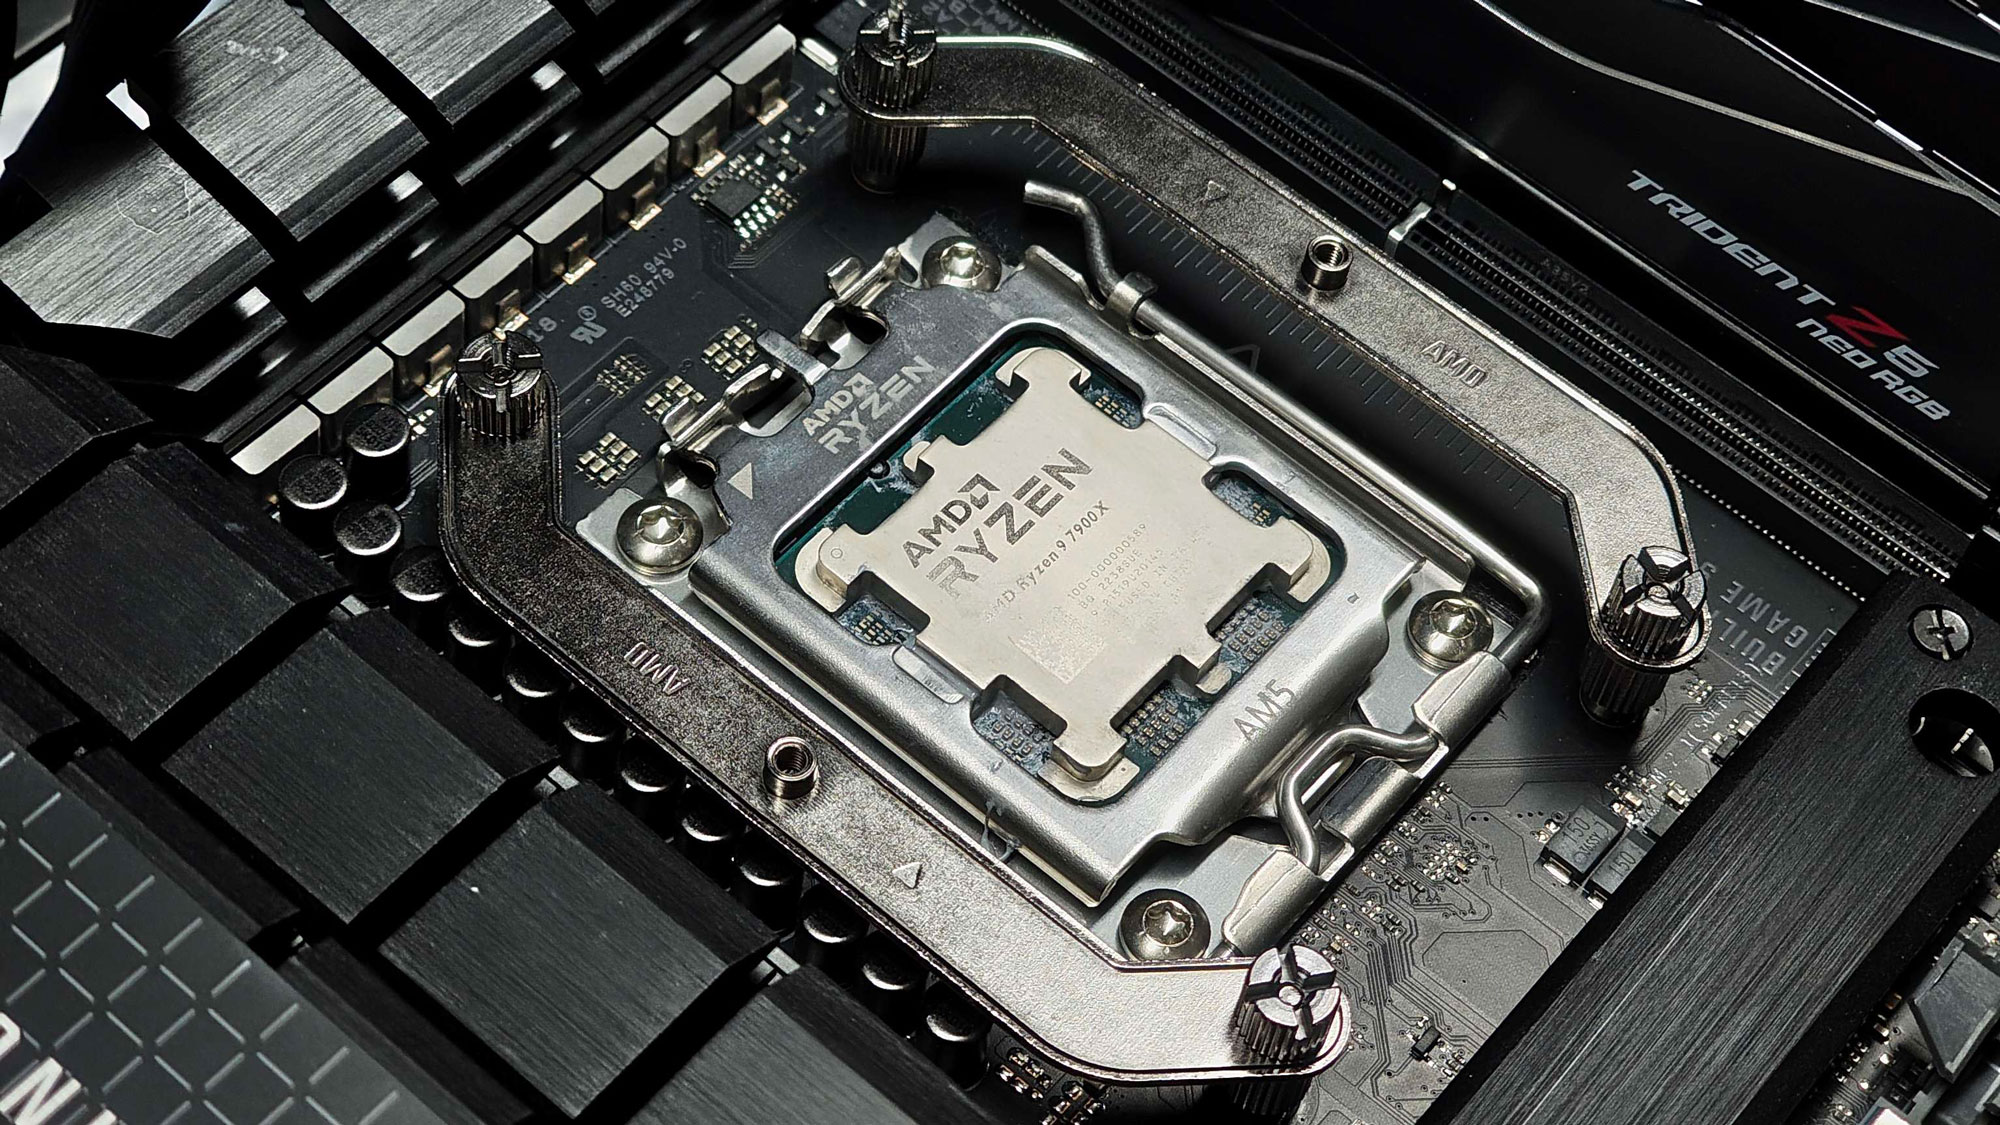
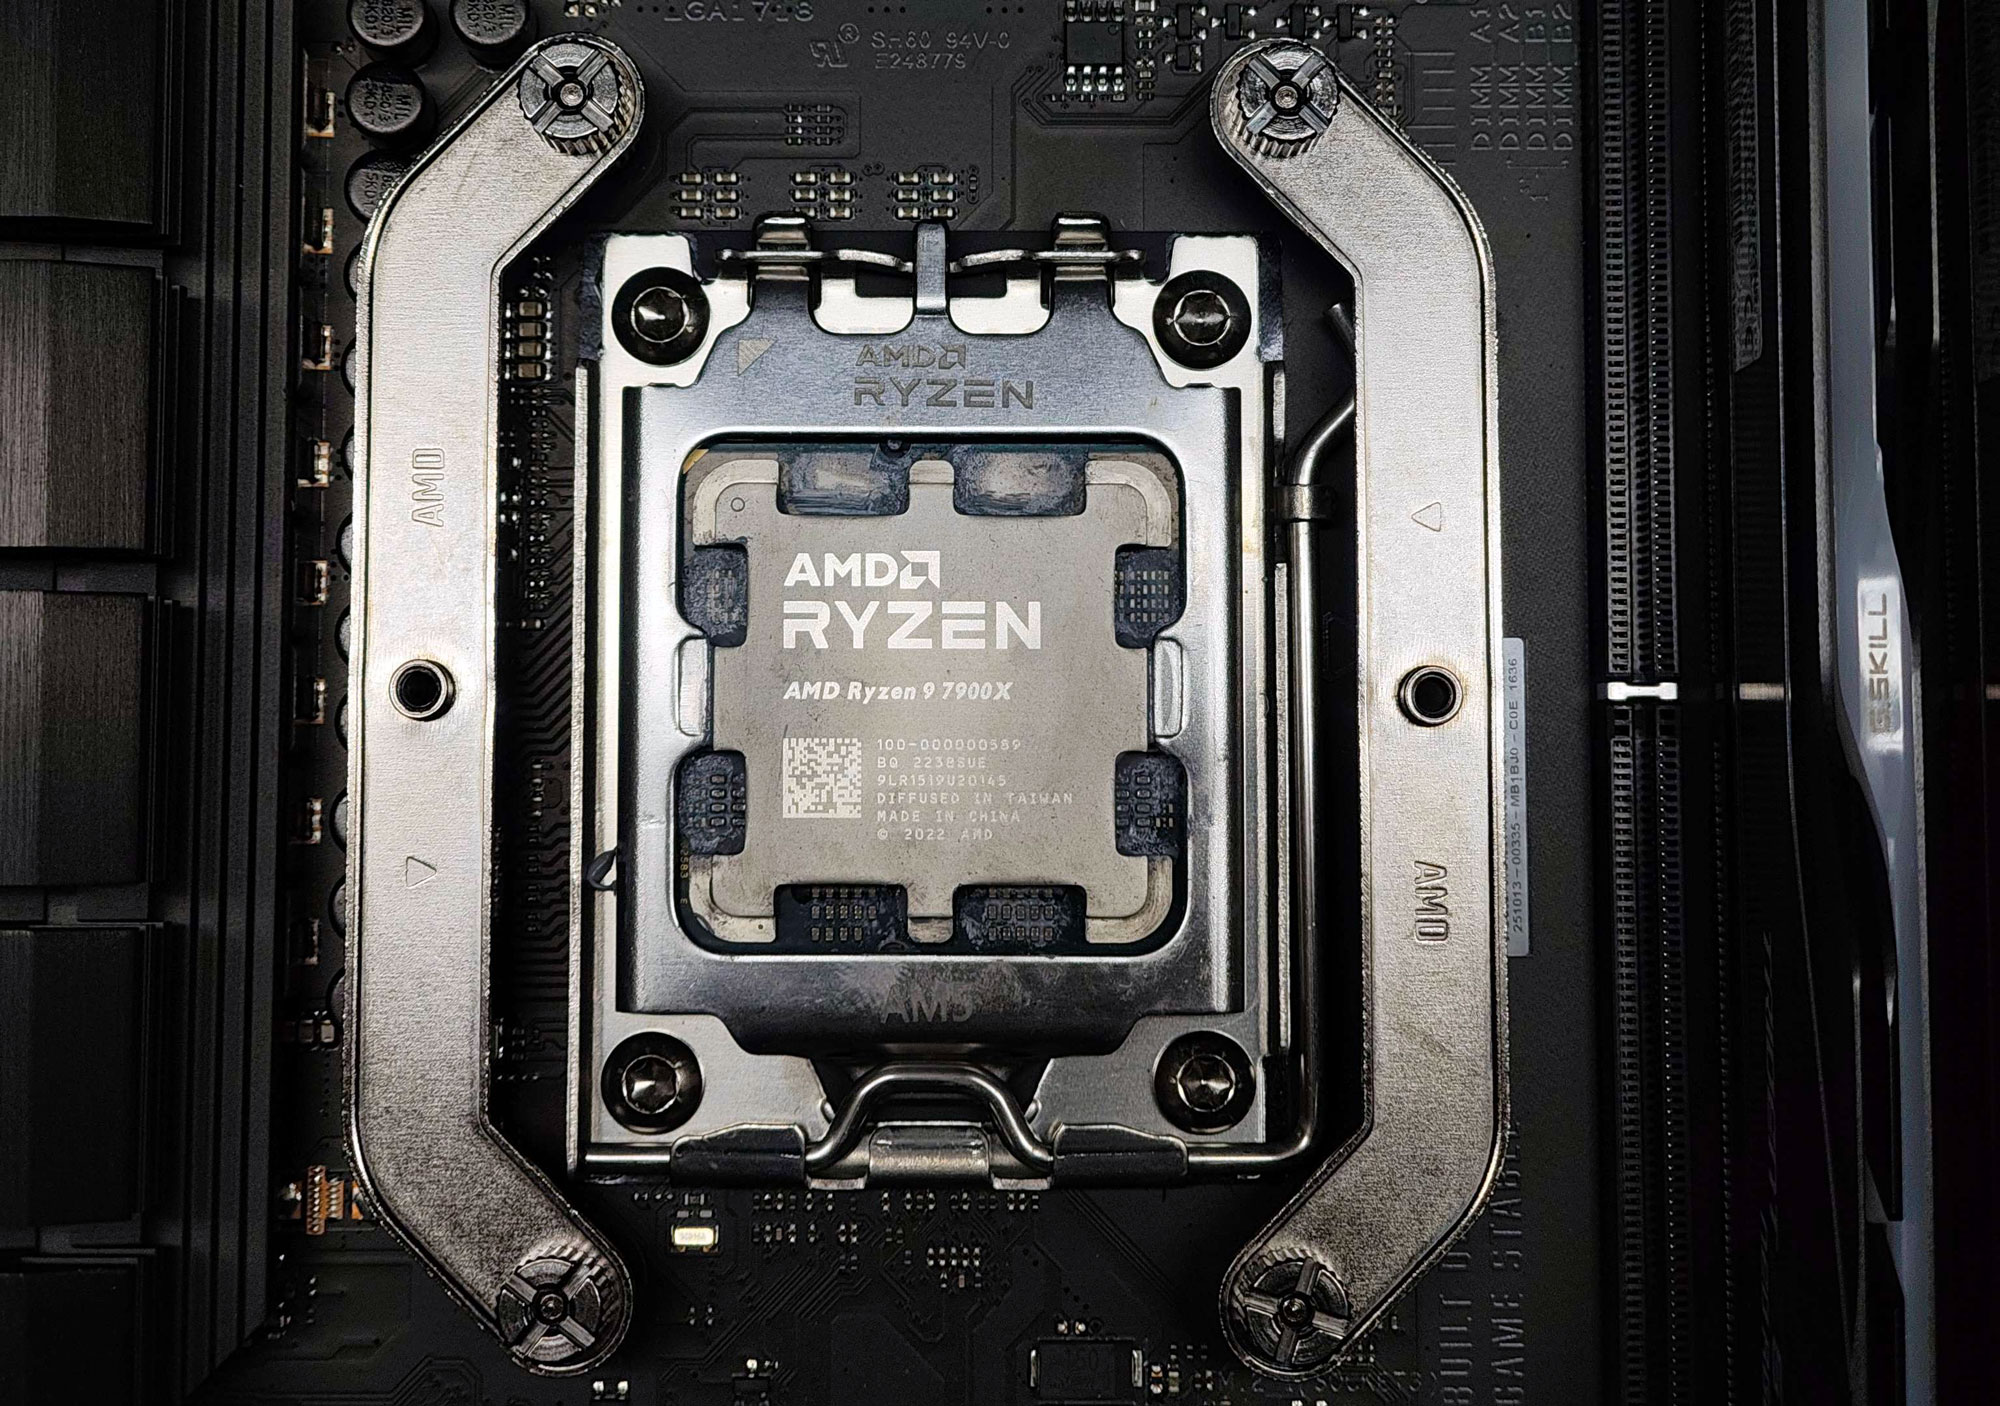
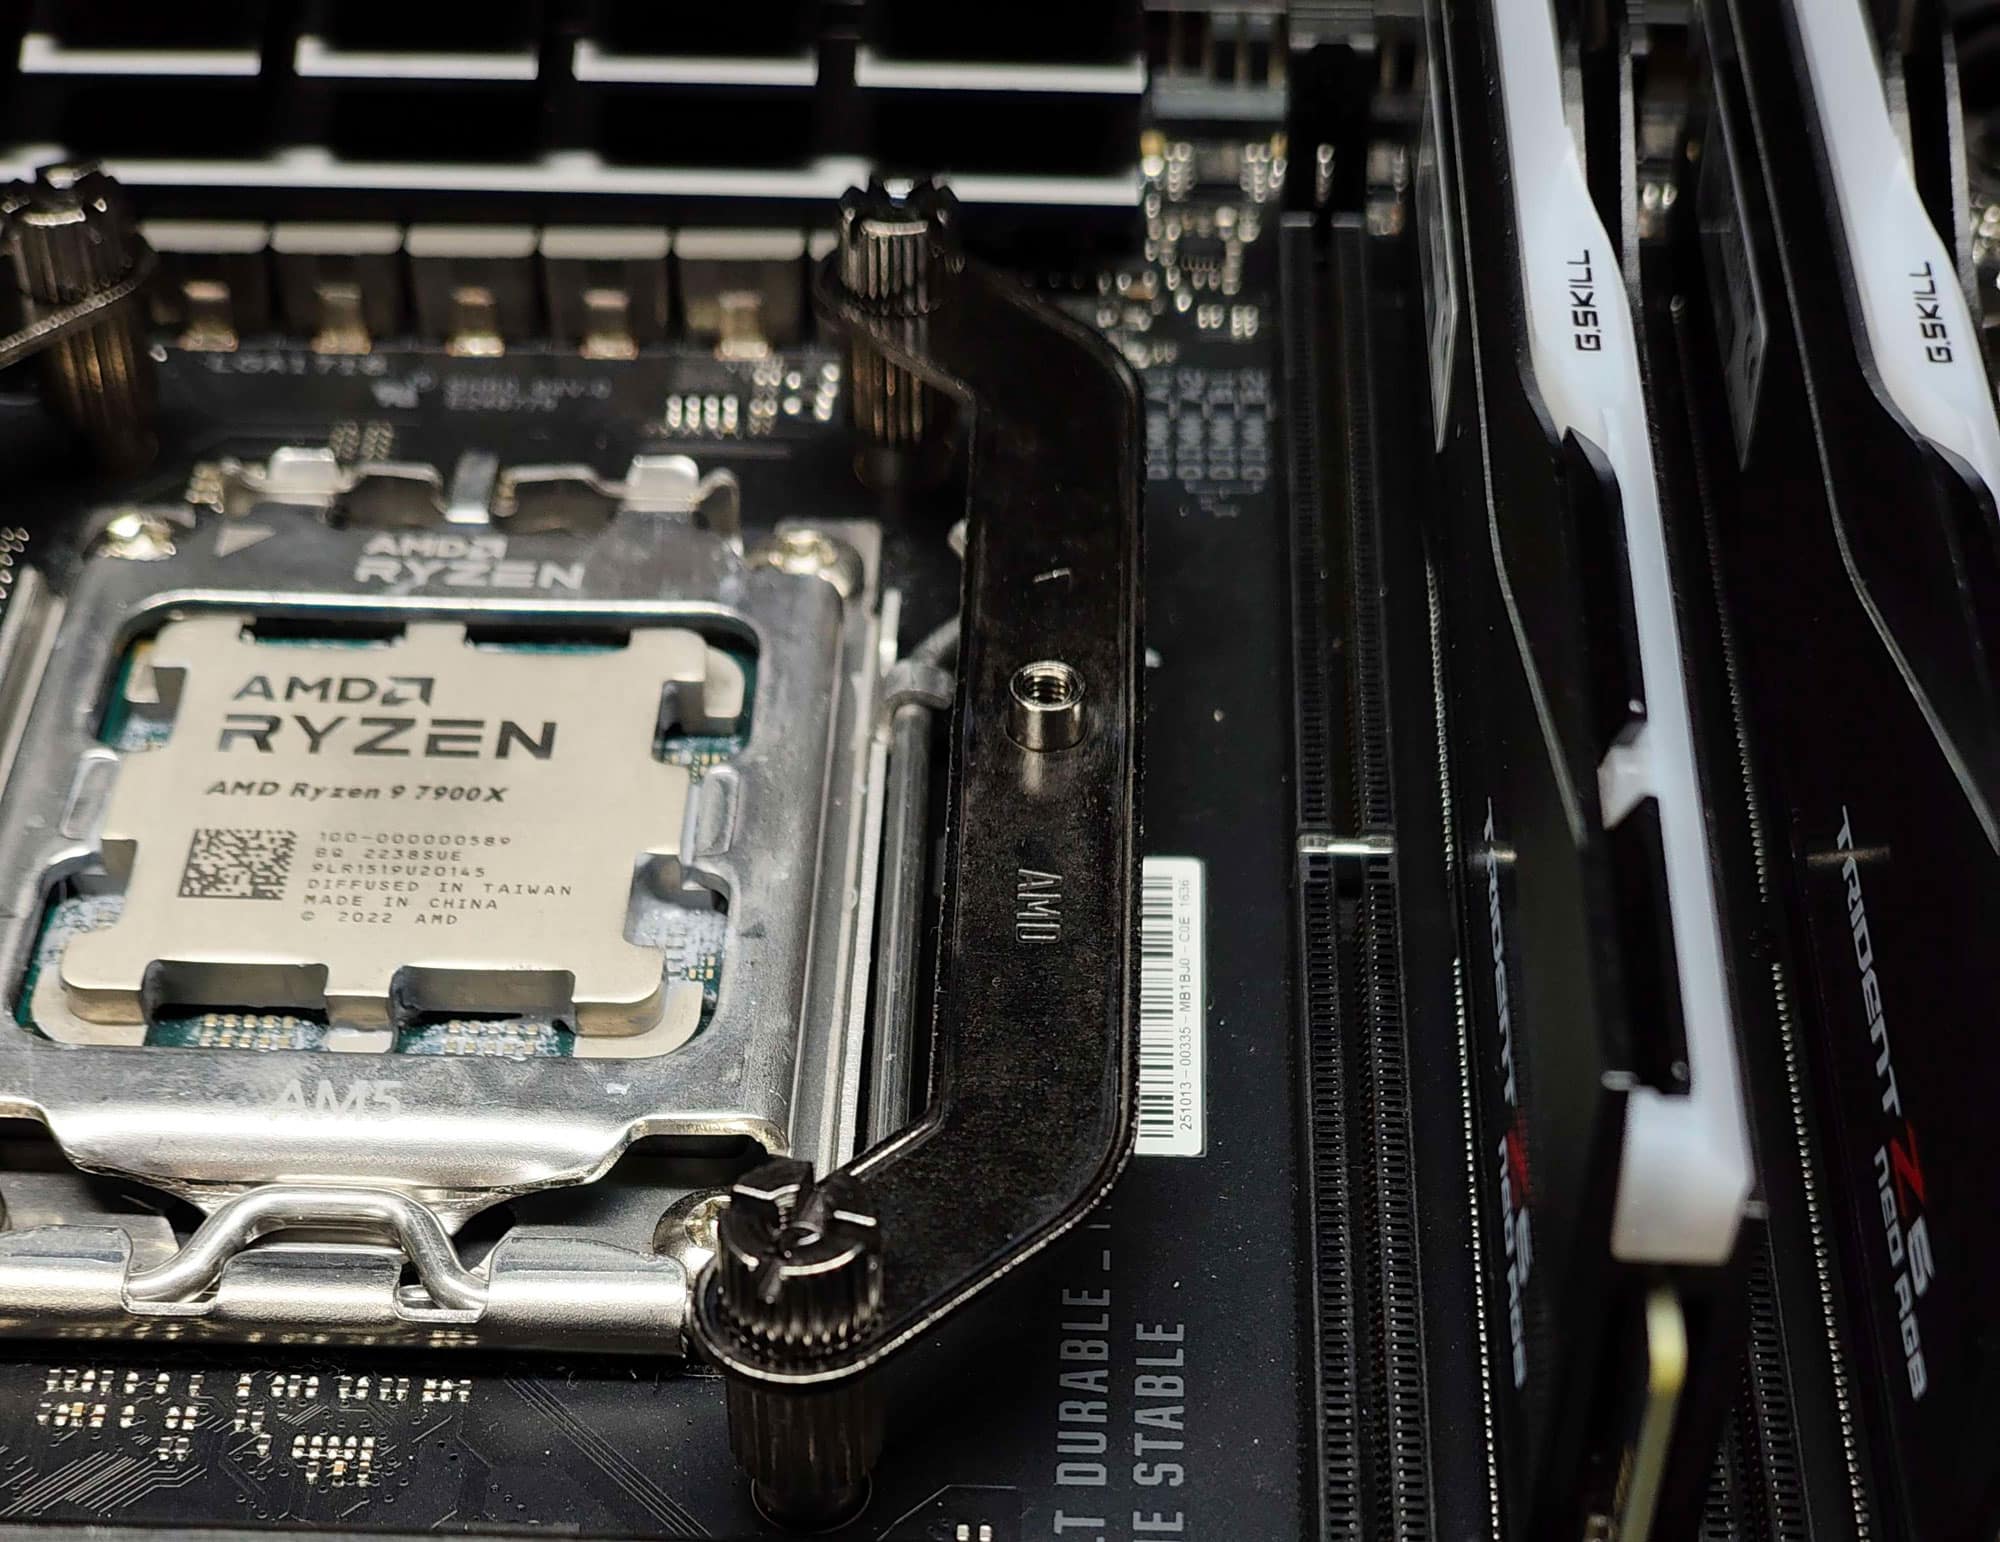
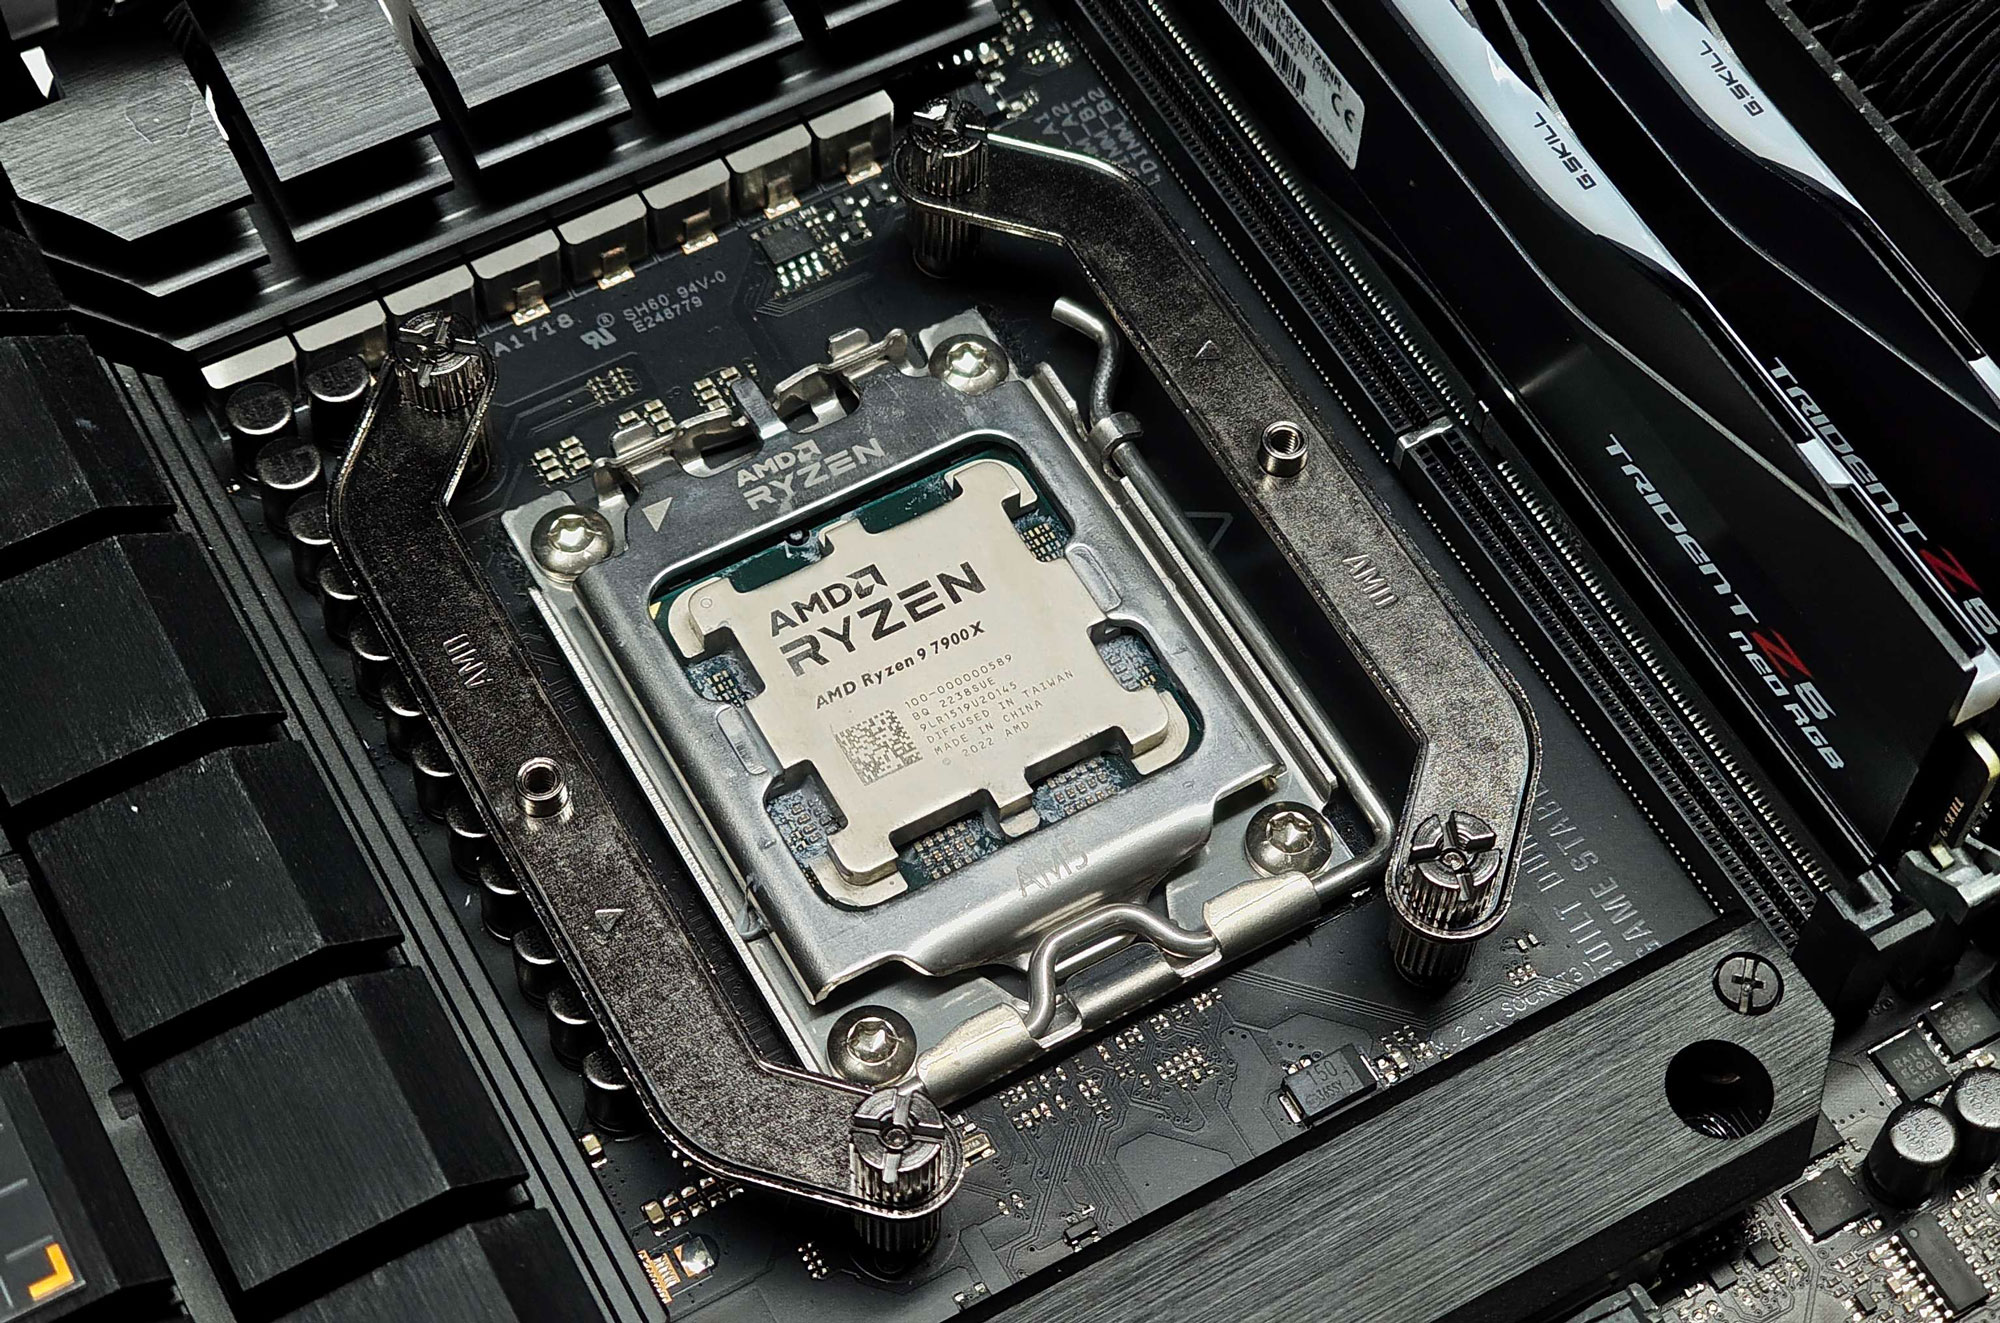
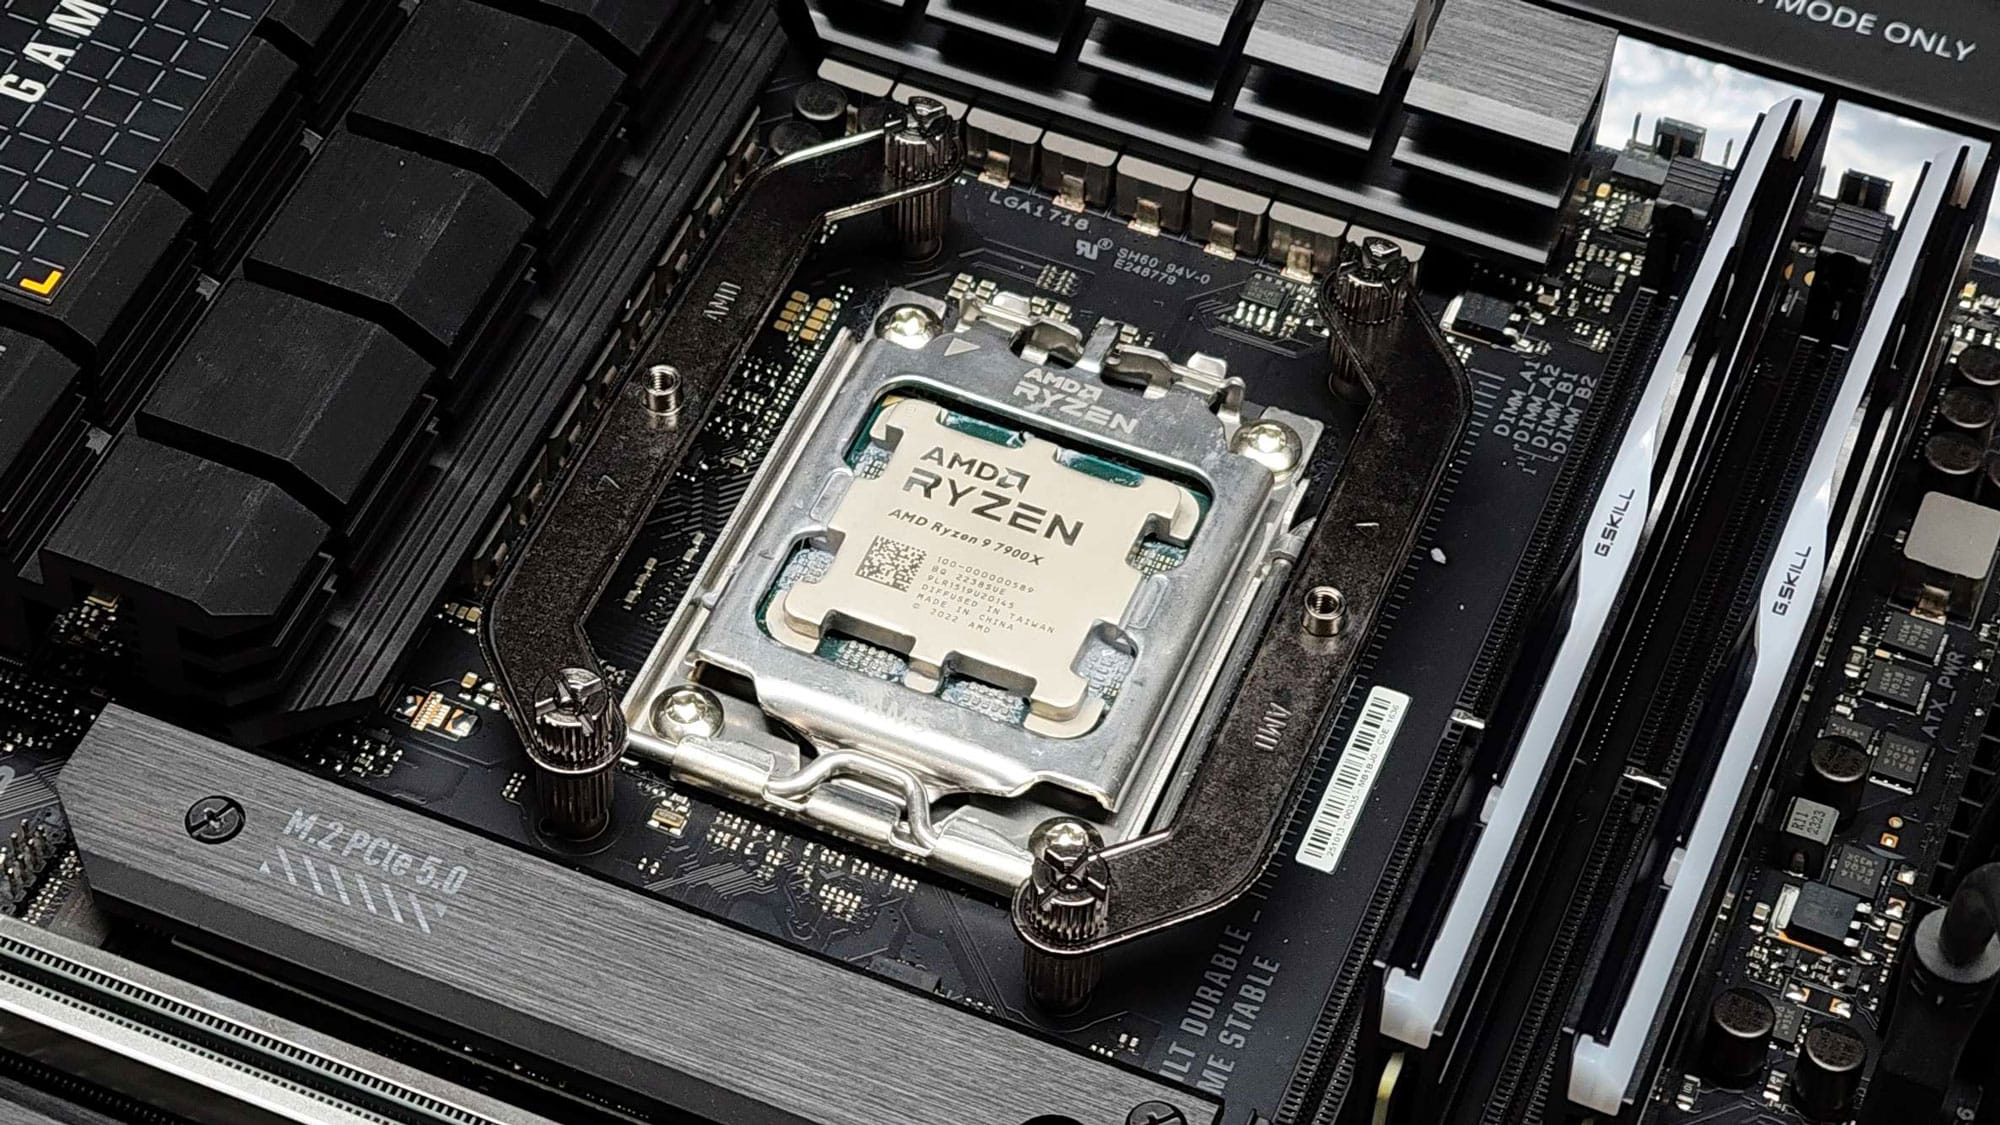
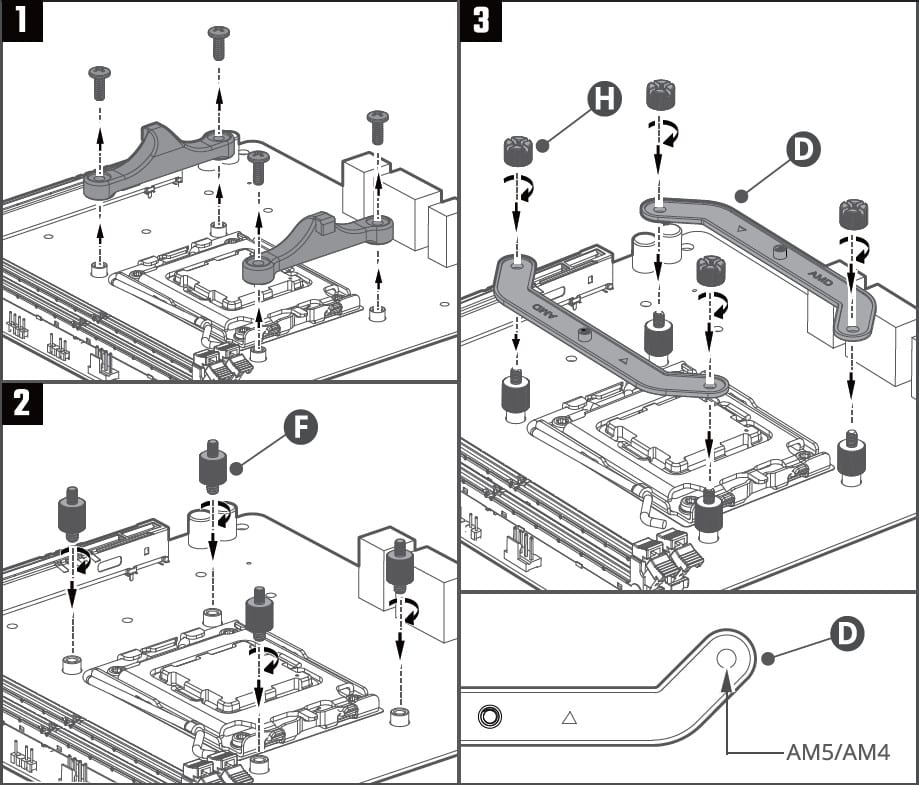
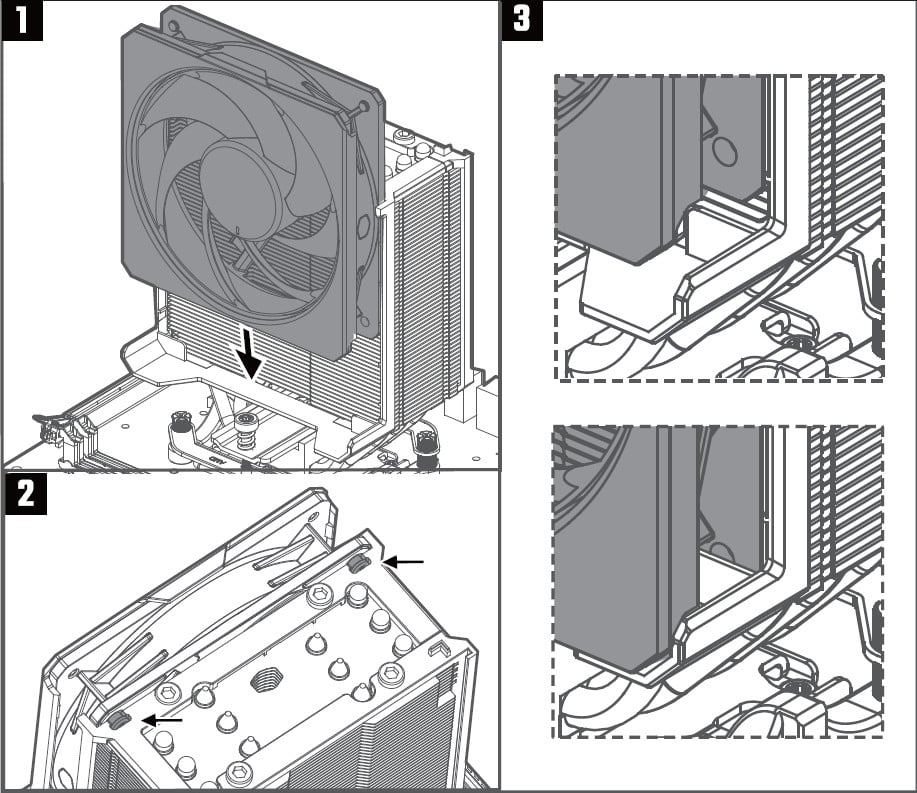
The mounting mechanism on our AMD board.
Thank you for your comment!
No – thank you for all your work!
Hey all,
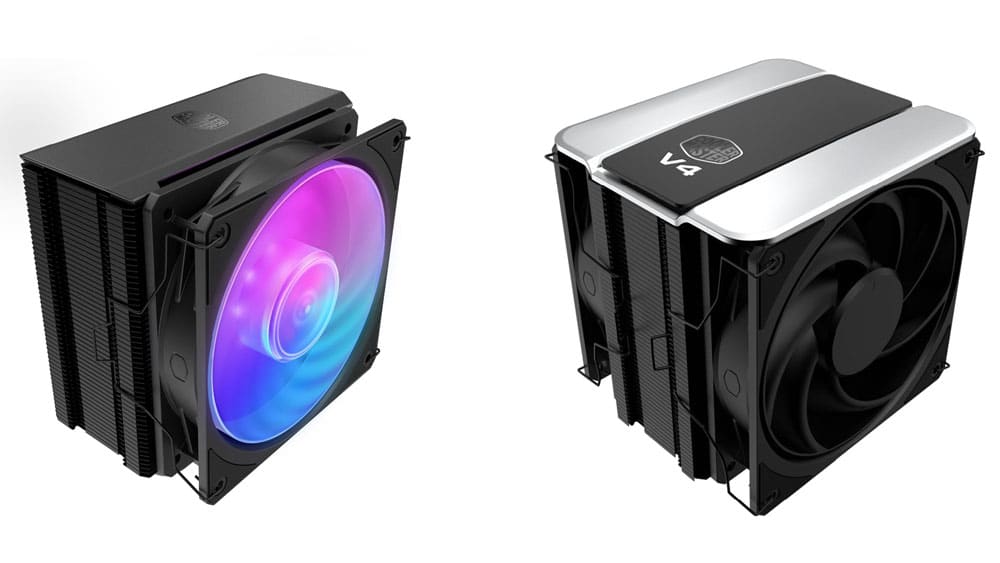
Just a note on the ‘no ARGB option’ in the ‘cons’ section. The cooler uses Cooler Master Mobius 120P (note the P) fans. These fans actually have an ARGB variant, see coolermaster.com/en-global/products/mobius-120p-argb/
I recently bought one, and easily swapped out the front-facing fan with an ARGB one, using non-ARGB one on the exhaust. You just need to carefully take off the grey face panel. They are really good fans.