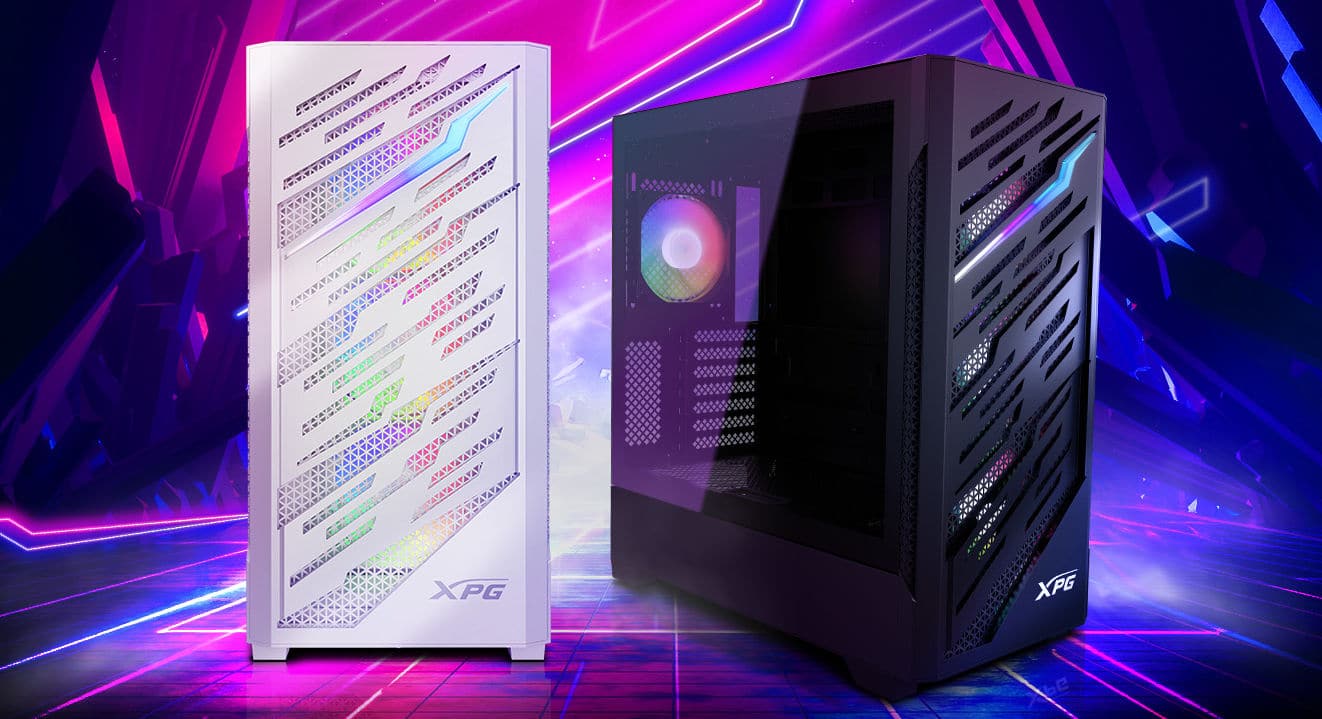
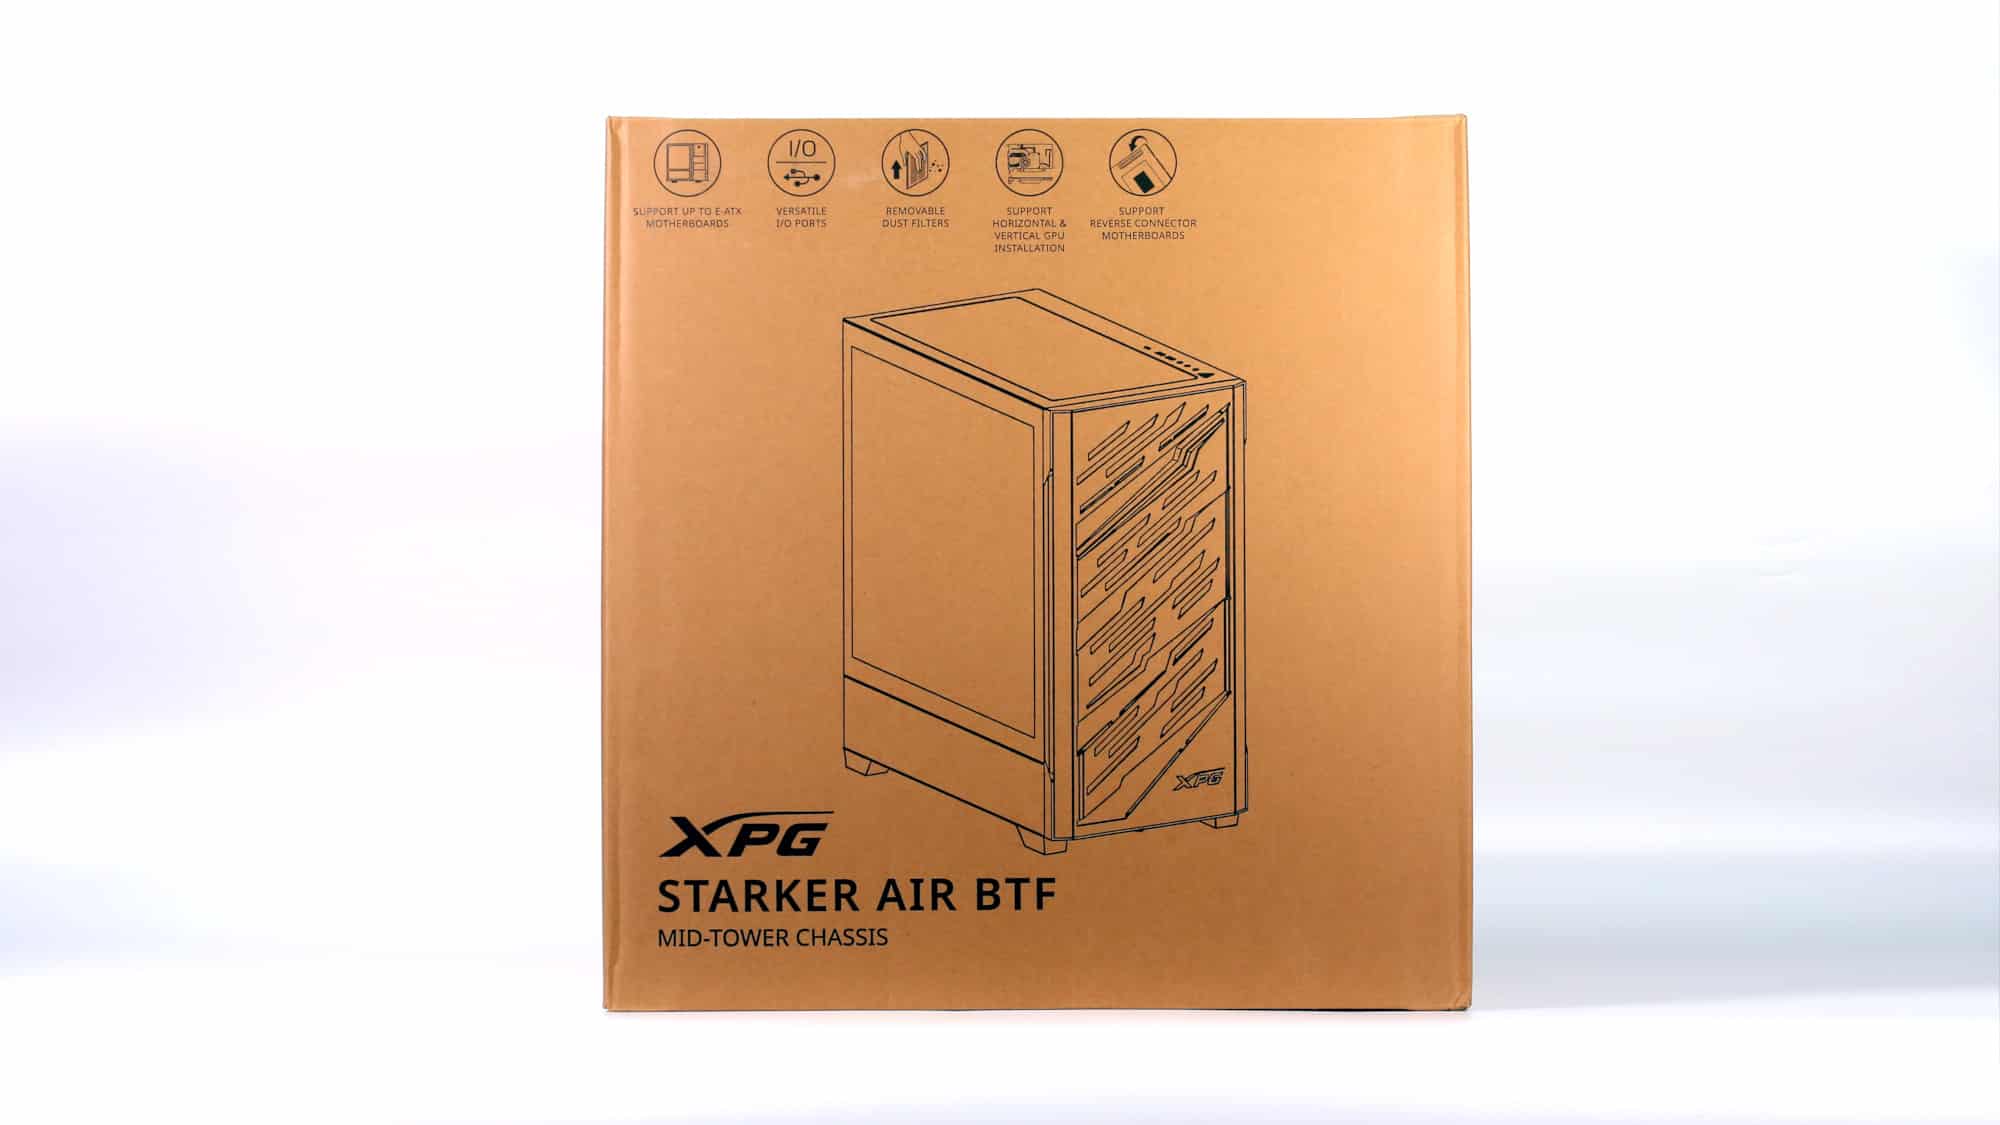
The new BTF variant of the Starker Air is not limited to adding extra BTF openings. It sports a brand new front panel and comes with four 120mm fans. XPG has paid close attention to important details, but is its product up to par with the fierce competition in its price range? Let’s find out together!
Unboxing and First Impressions
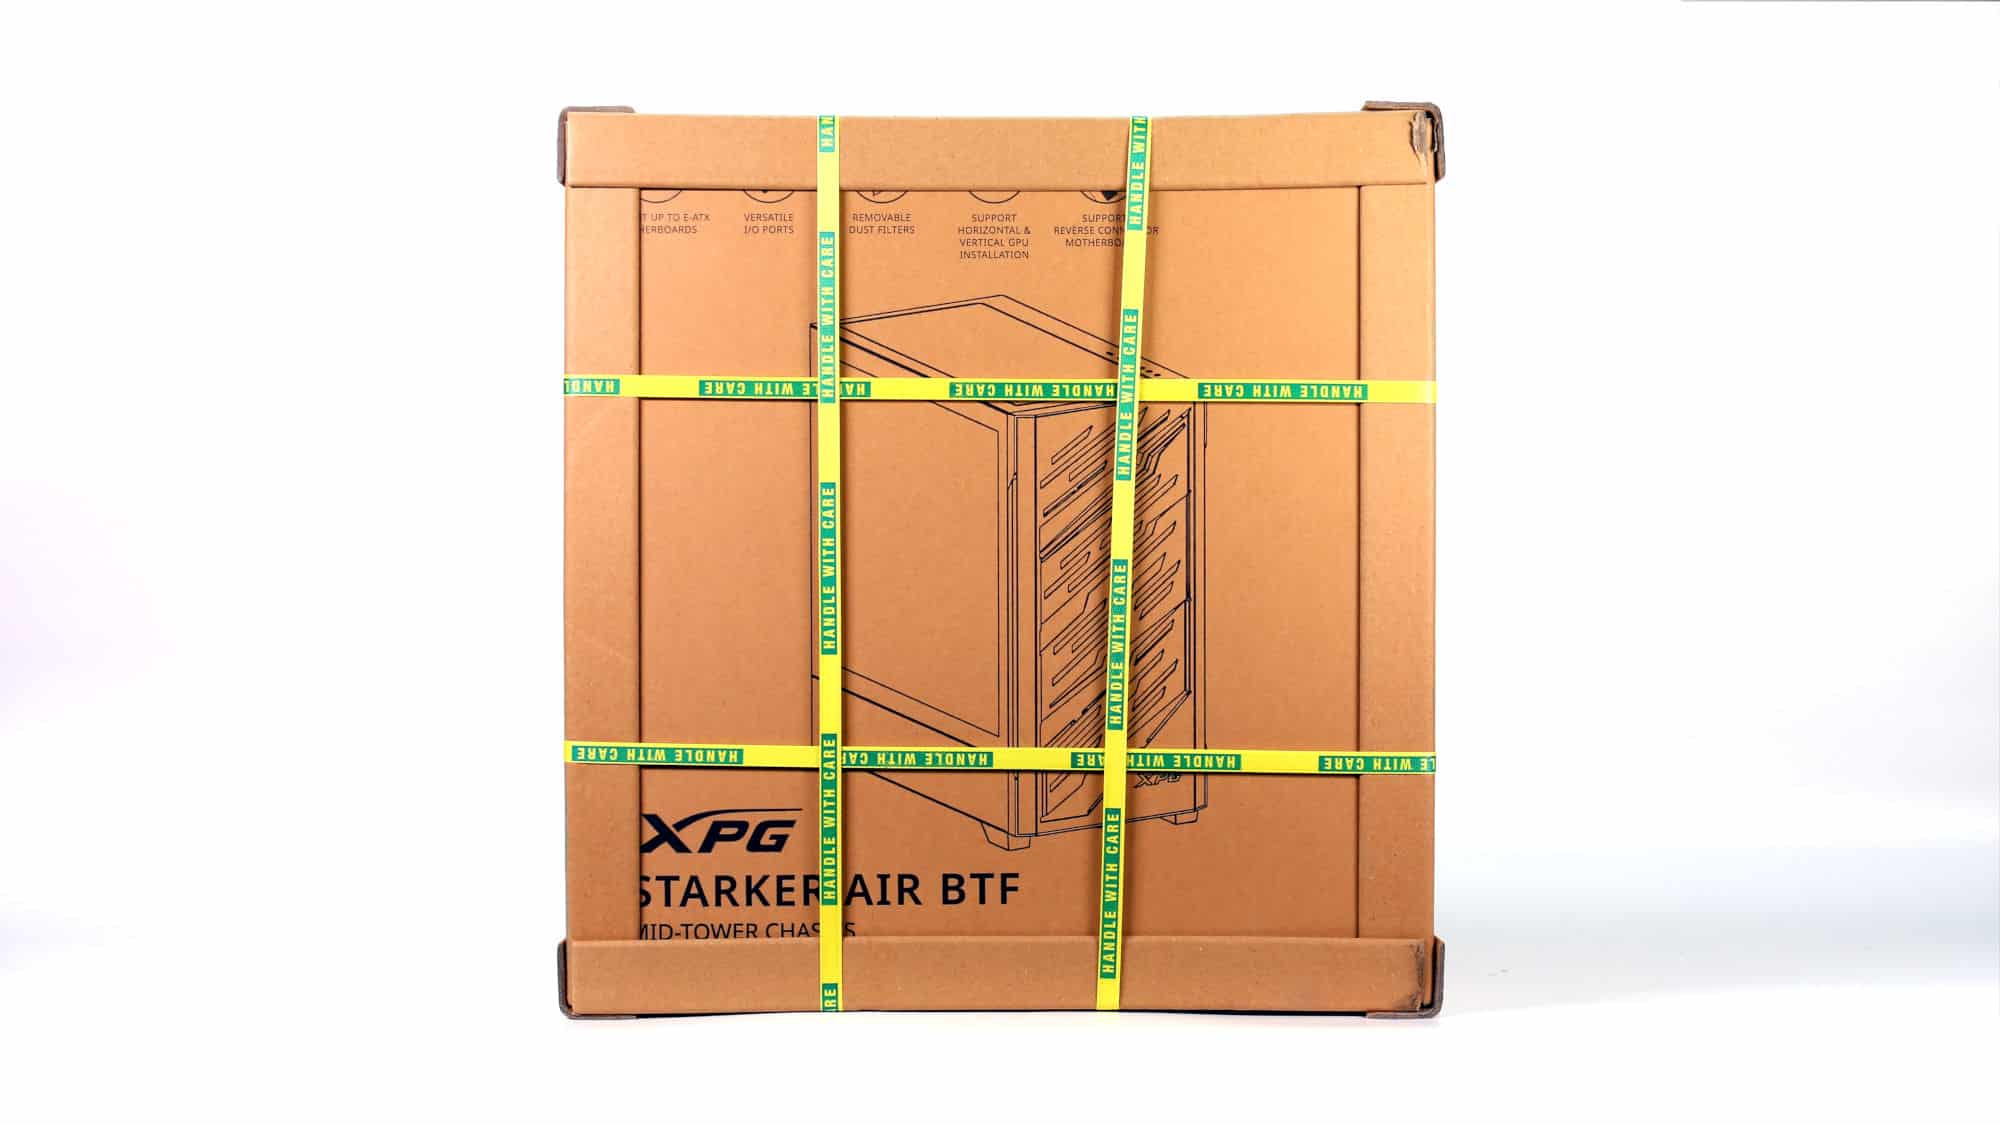
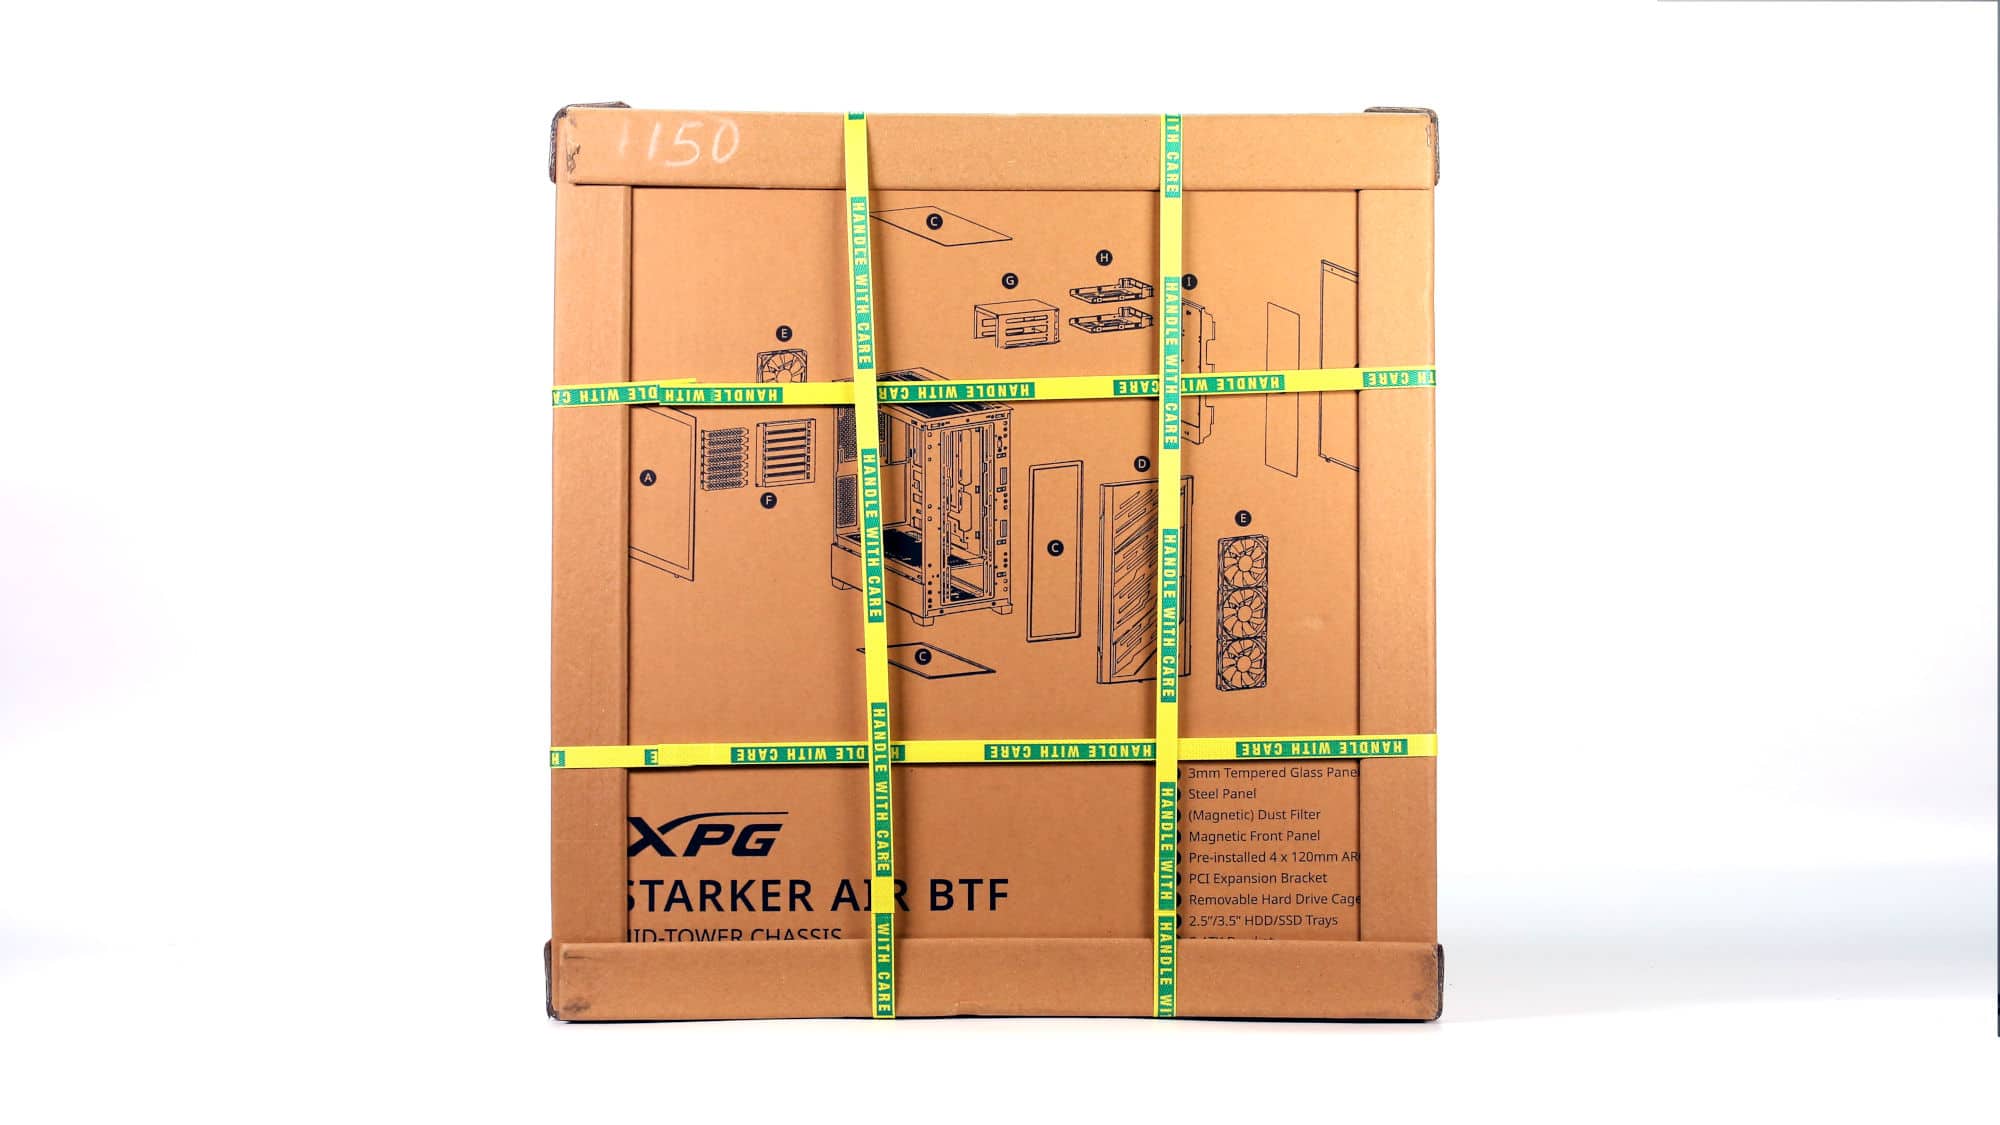
The chassis came pretty tightly packaged. The box had thick cardboard edge pieces around it to keep it square. Inside, besides the classic foam pieces with indents for the chassis, there was foam along the bottom and extra plastic air pocket protection along the top. It’s one of the best-packed products we’ve seen to date.
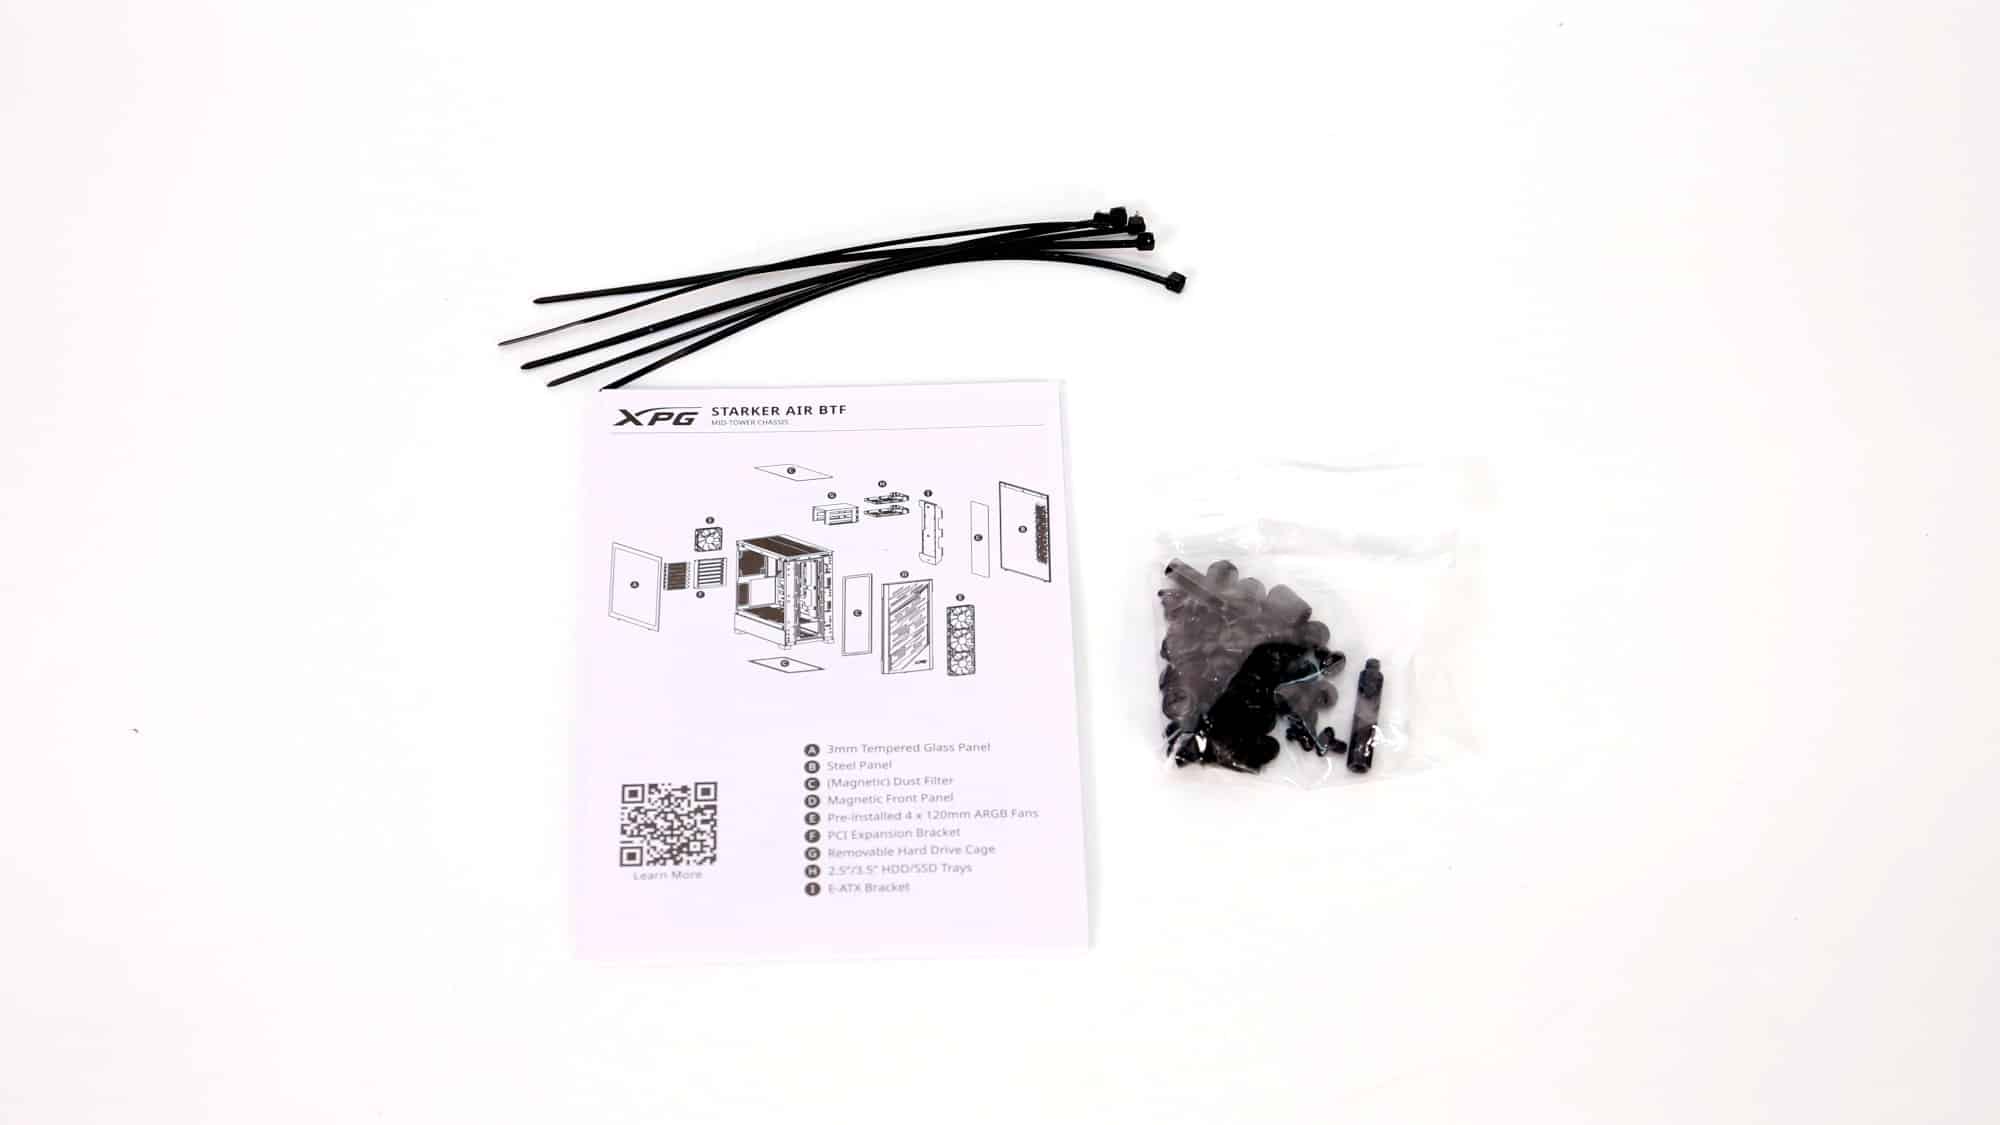
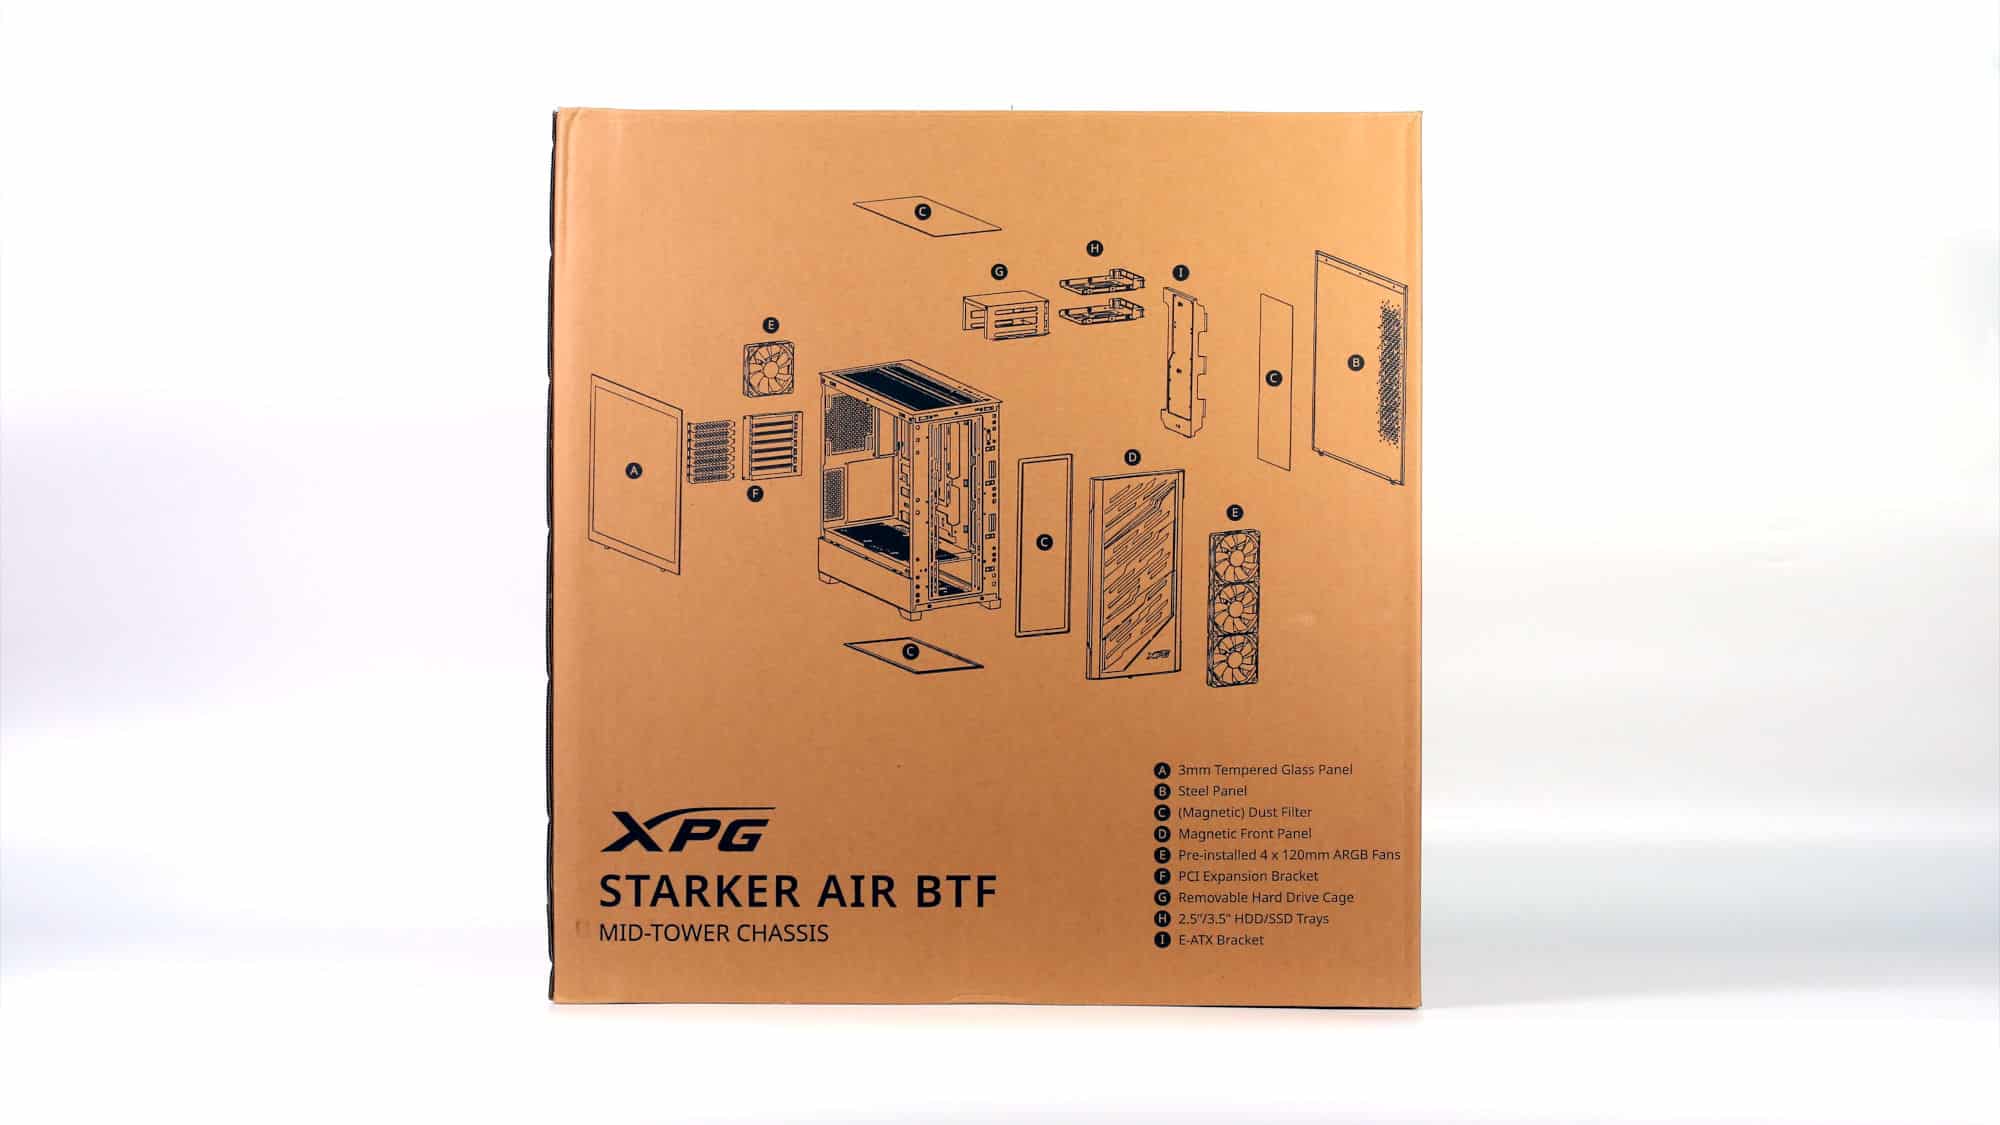
Inside the chassis you also find the accessories box which includes a quick start guide, a few zip ties and the typical assortment of screws and standoffs. Unfortunately, there are no Velcro-type straps here.
Design and Build Quality
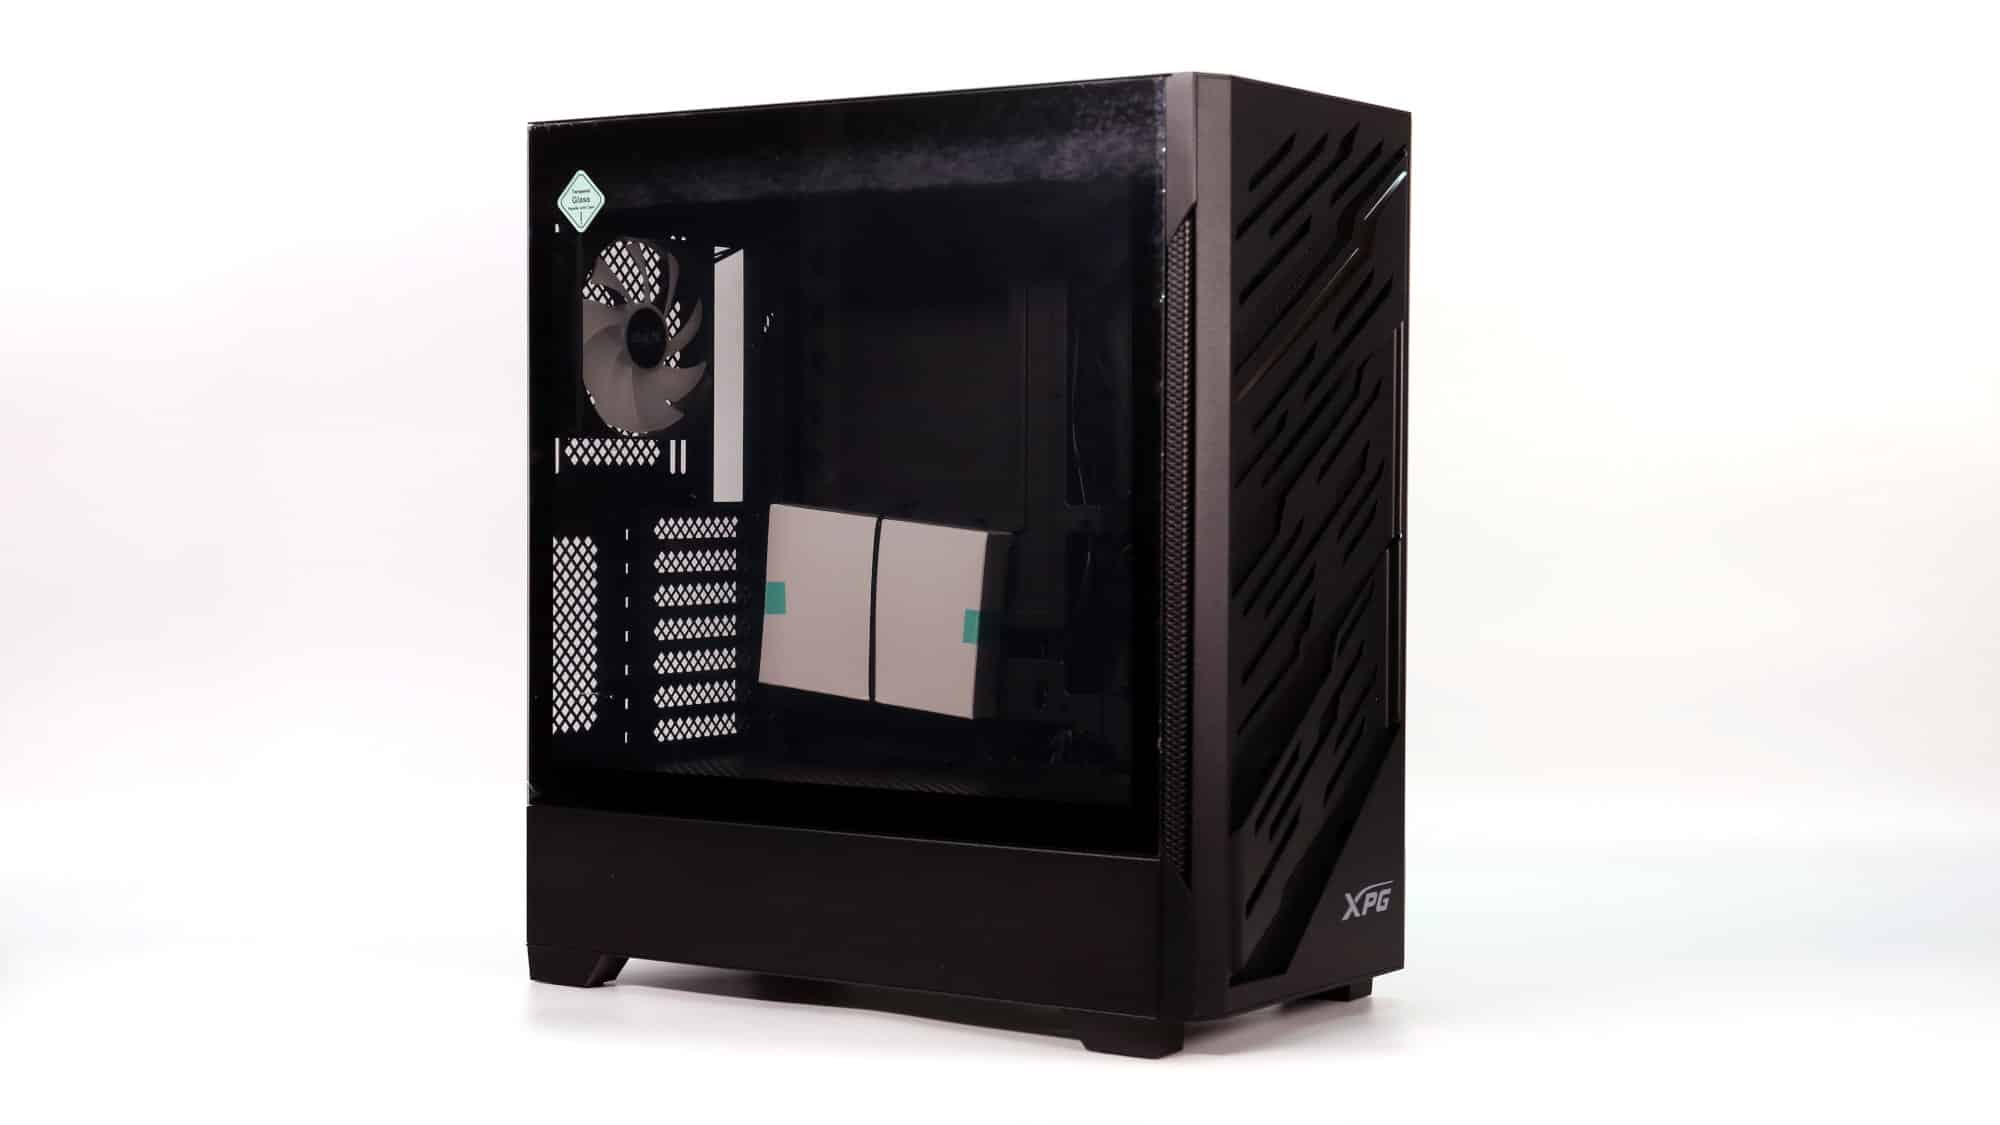

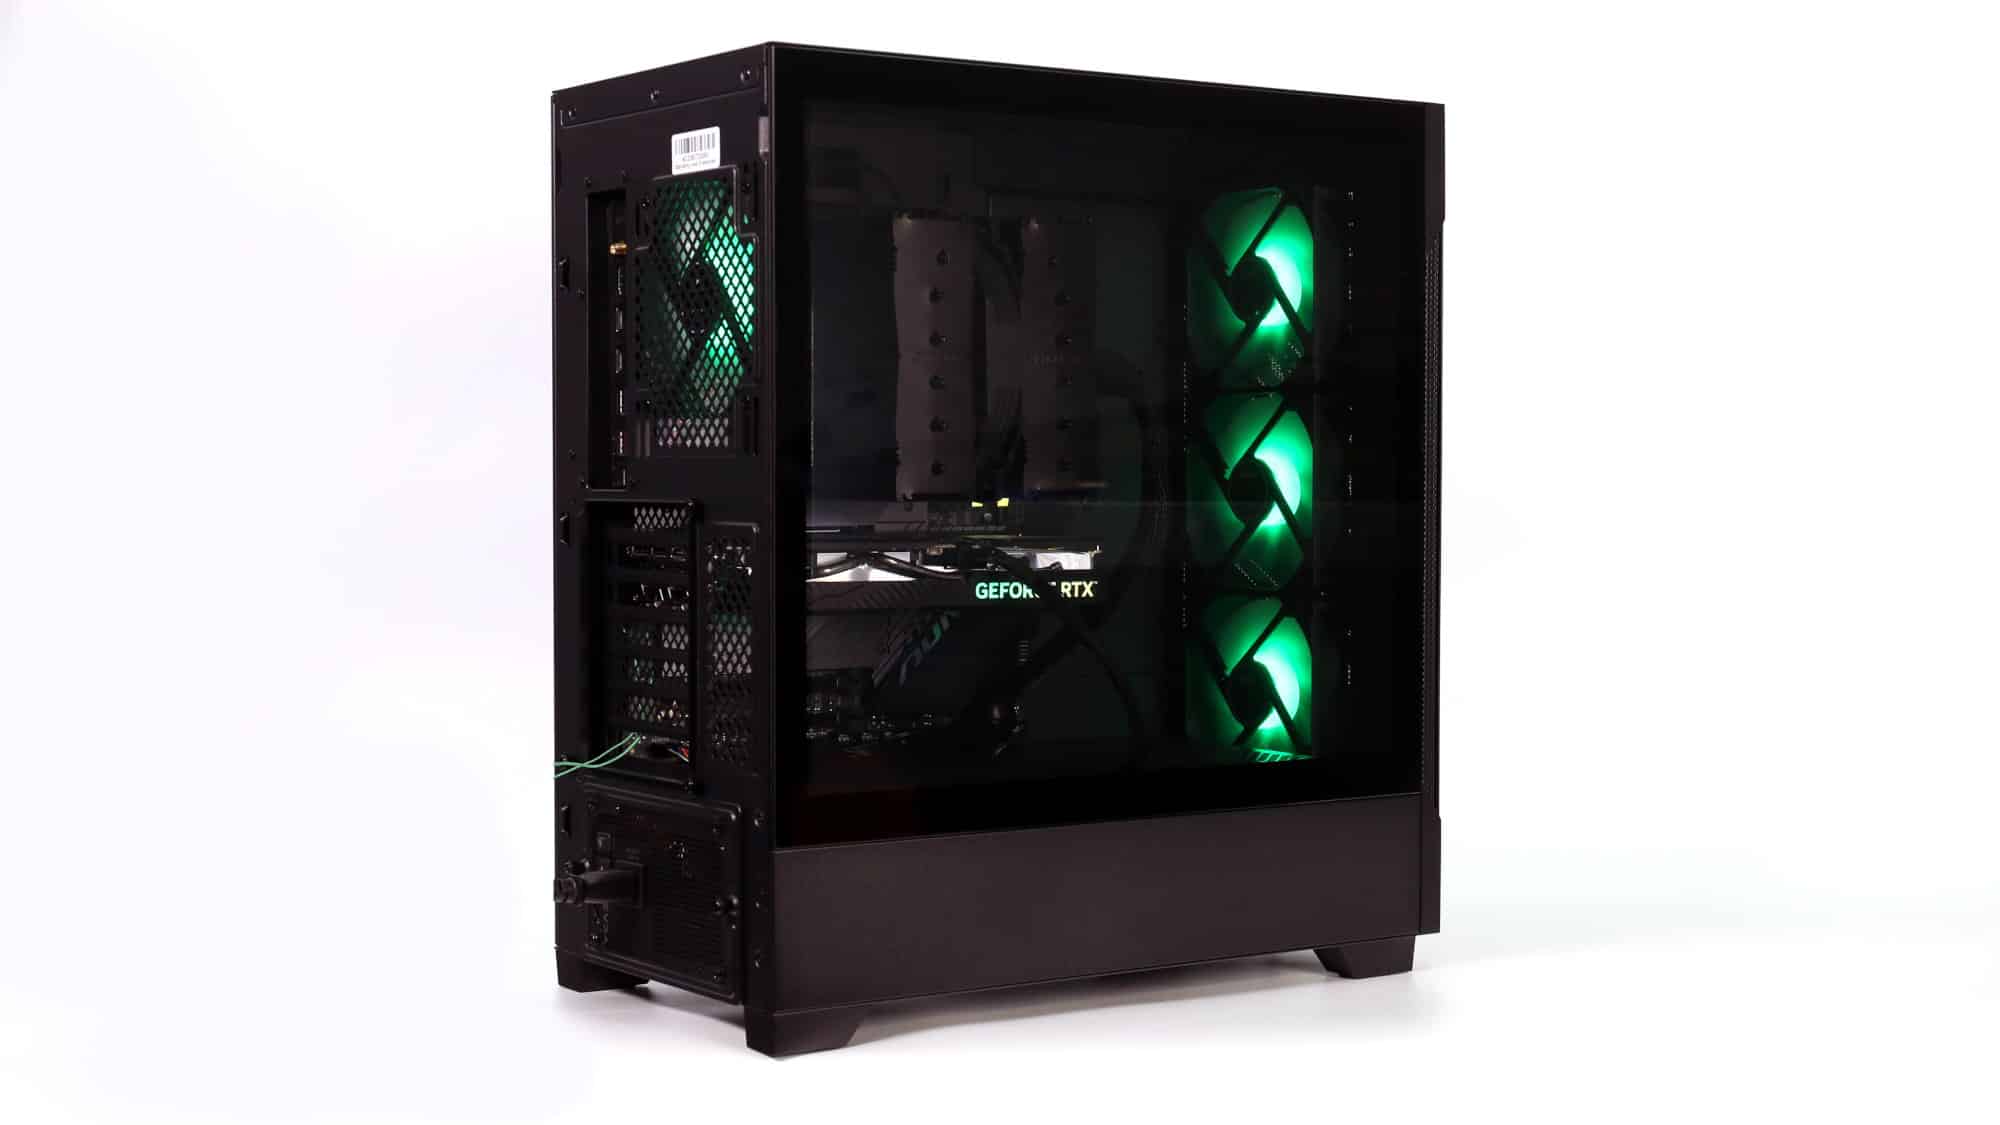
The design is a classic midi-size with a glass side panel and a mesh front, but that’s not bad. Doing such a case right is not always as easy as it seems. The XPG we are looking at is doing many things right.
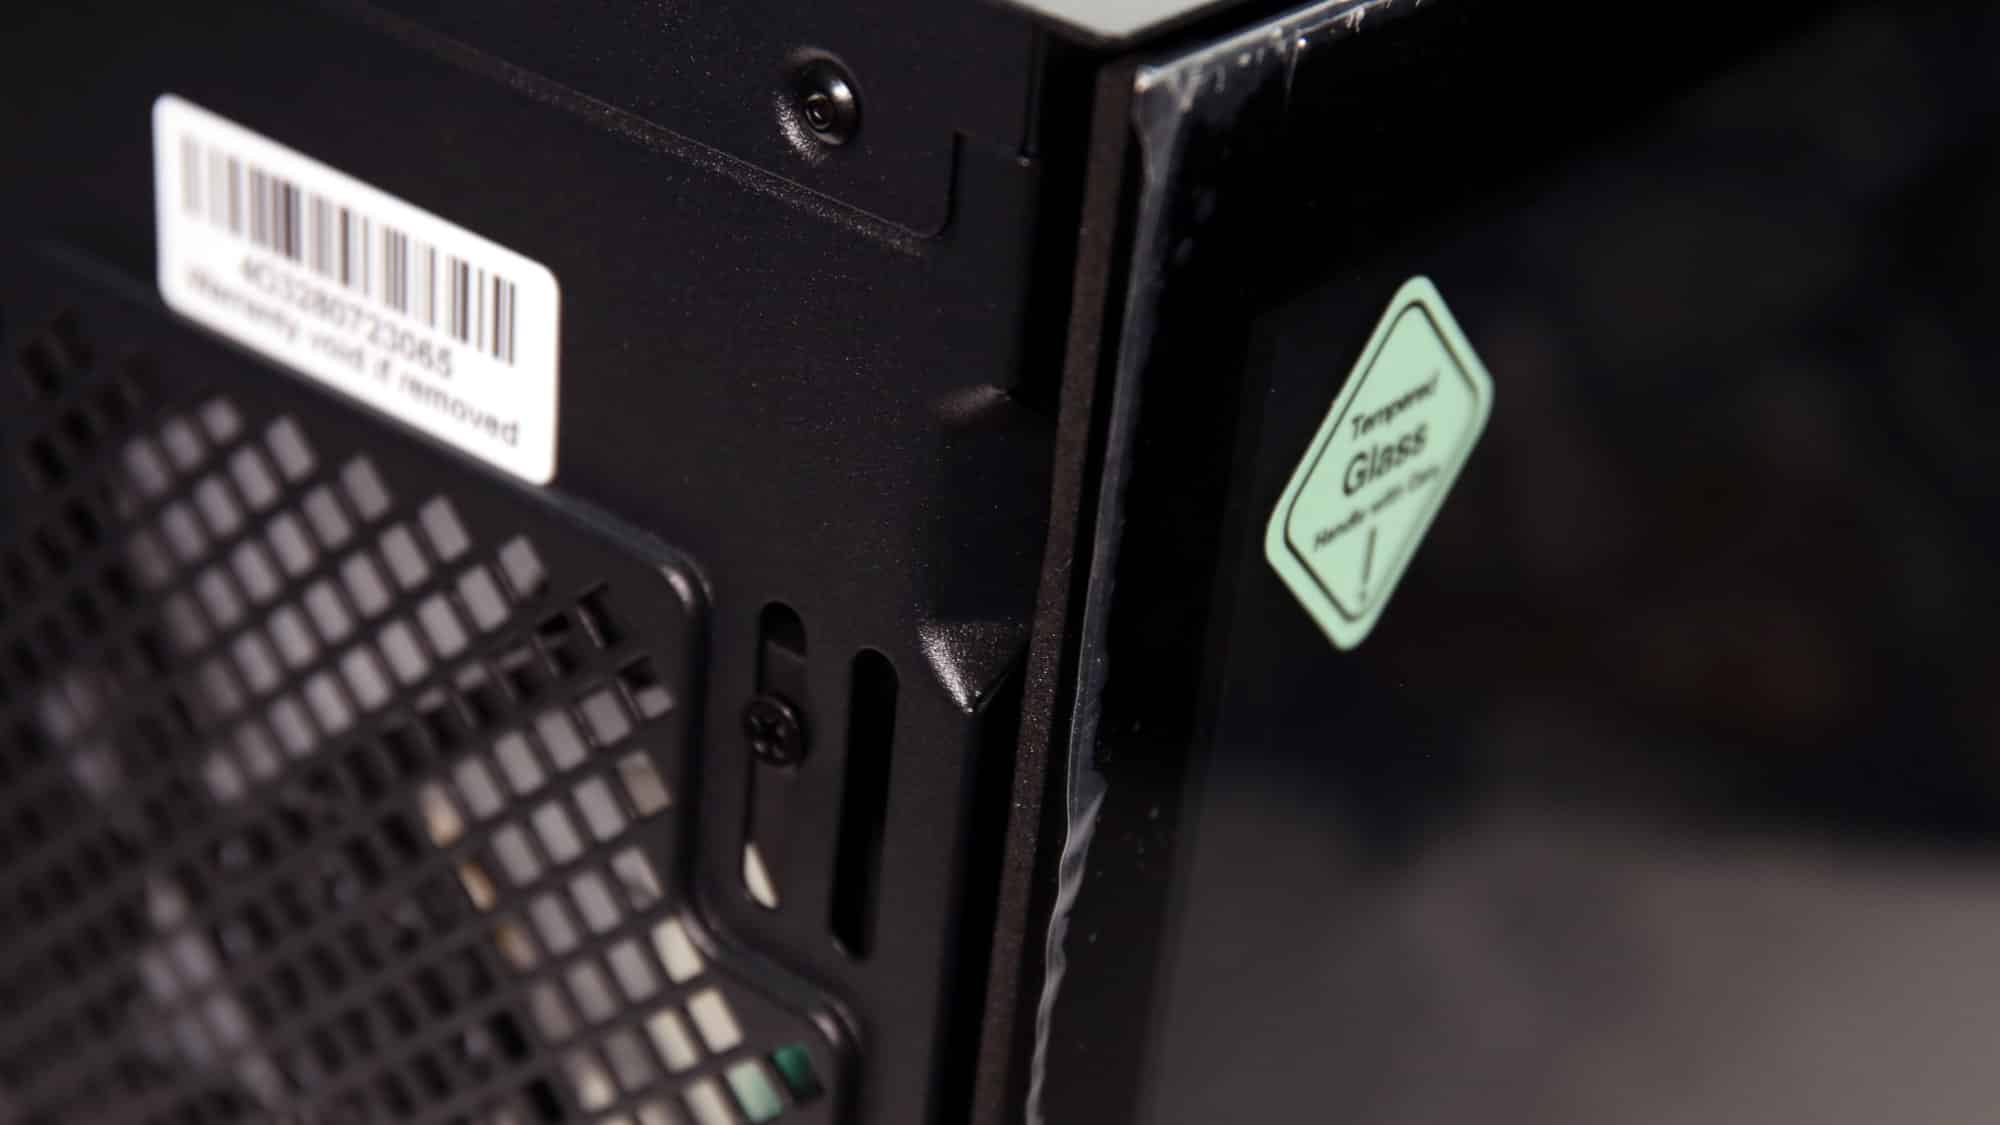
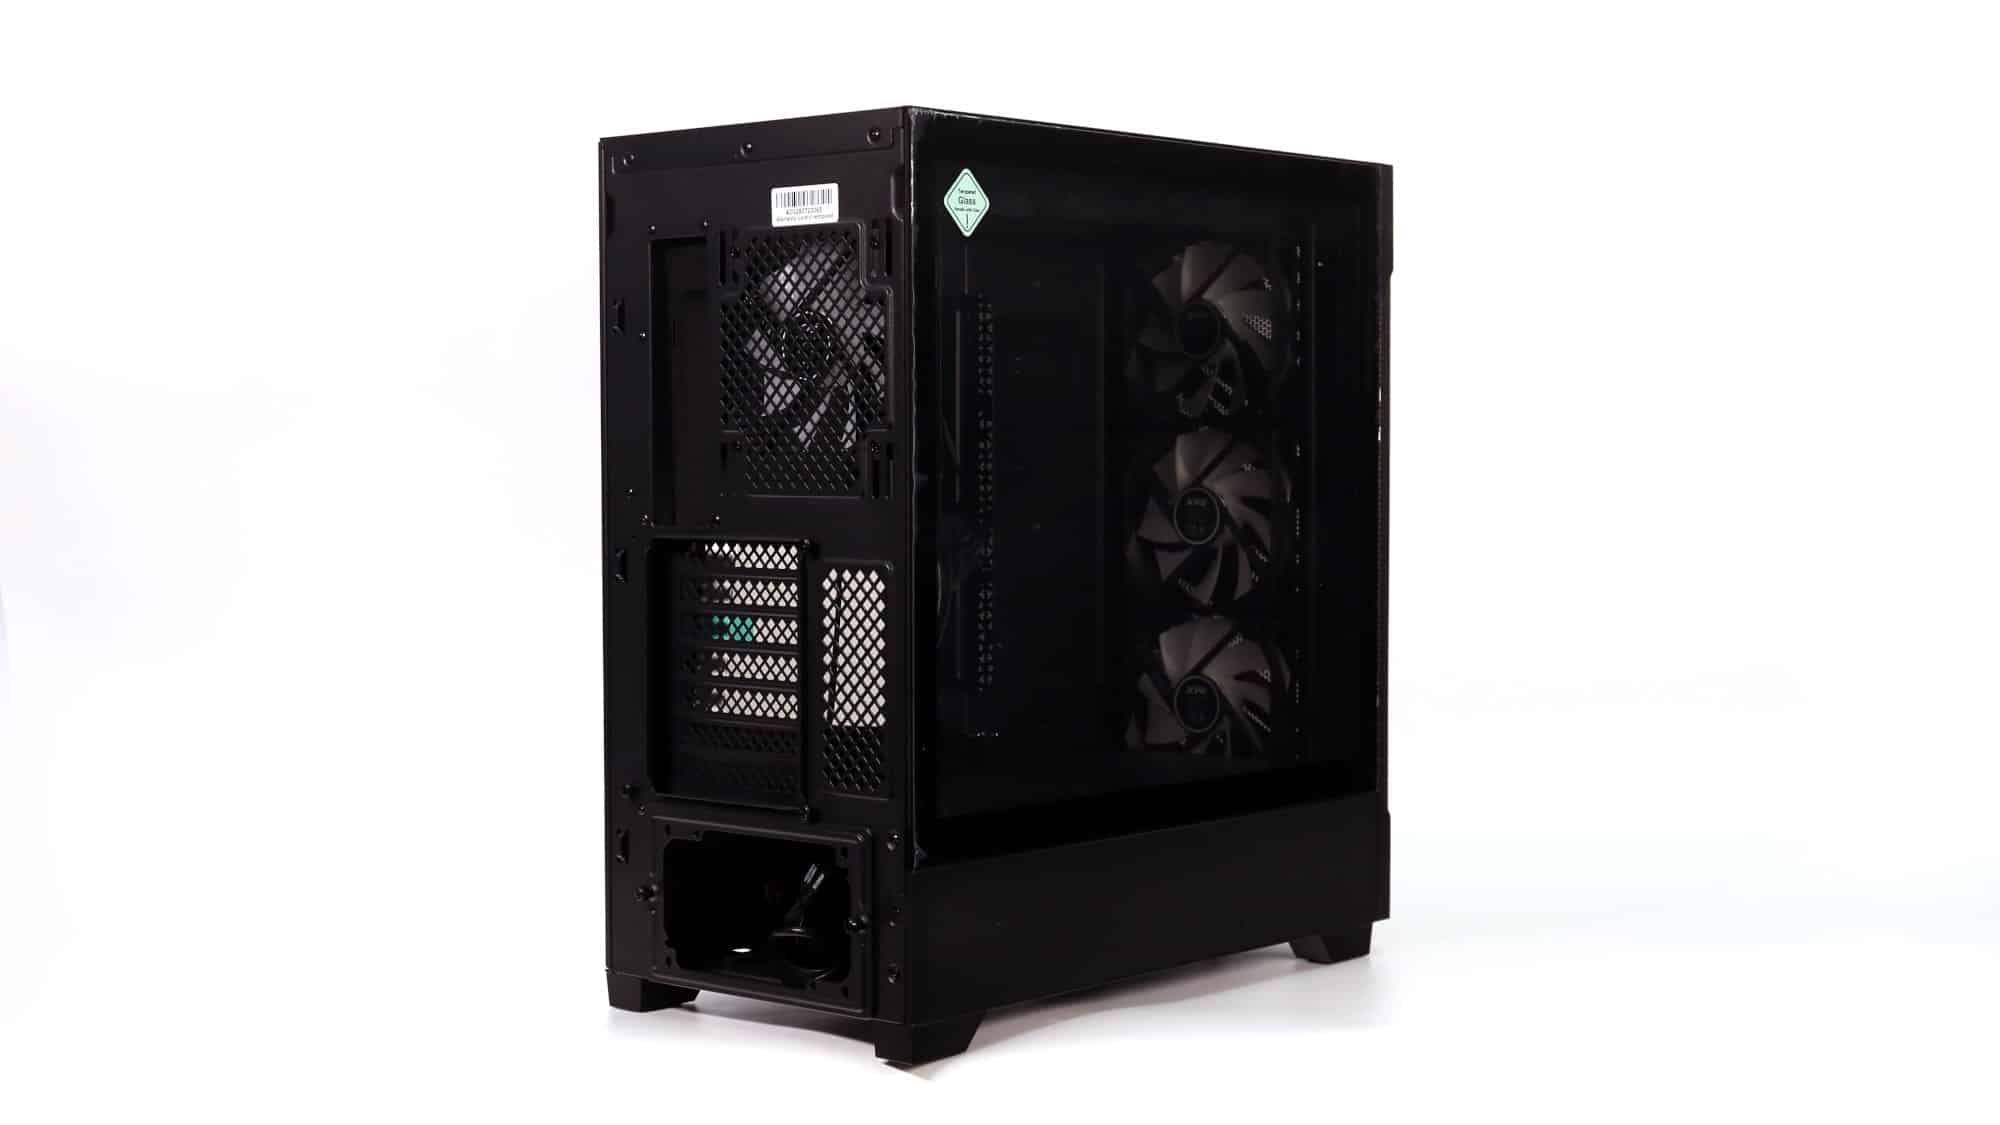
Removing the side glass is as easy as positioning your finger at the indentation and pulling the glass towards yourself—pretty easy without requiring too much effort. The panel utilizes metal tabs that help you position it on the bottom while it clicks in place at the top.
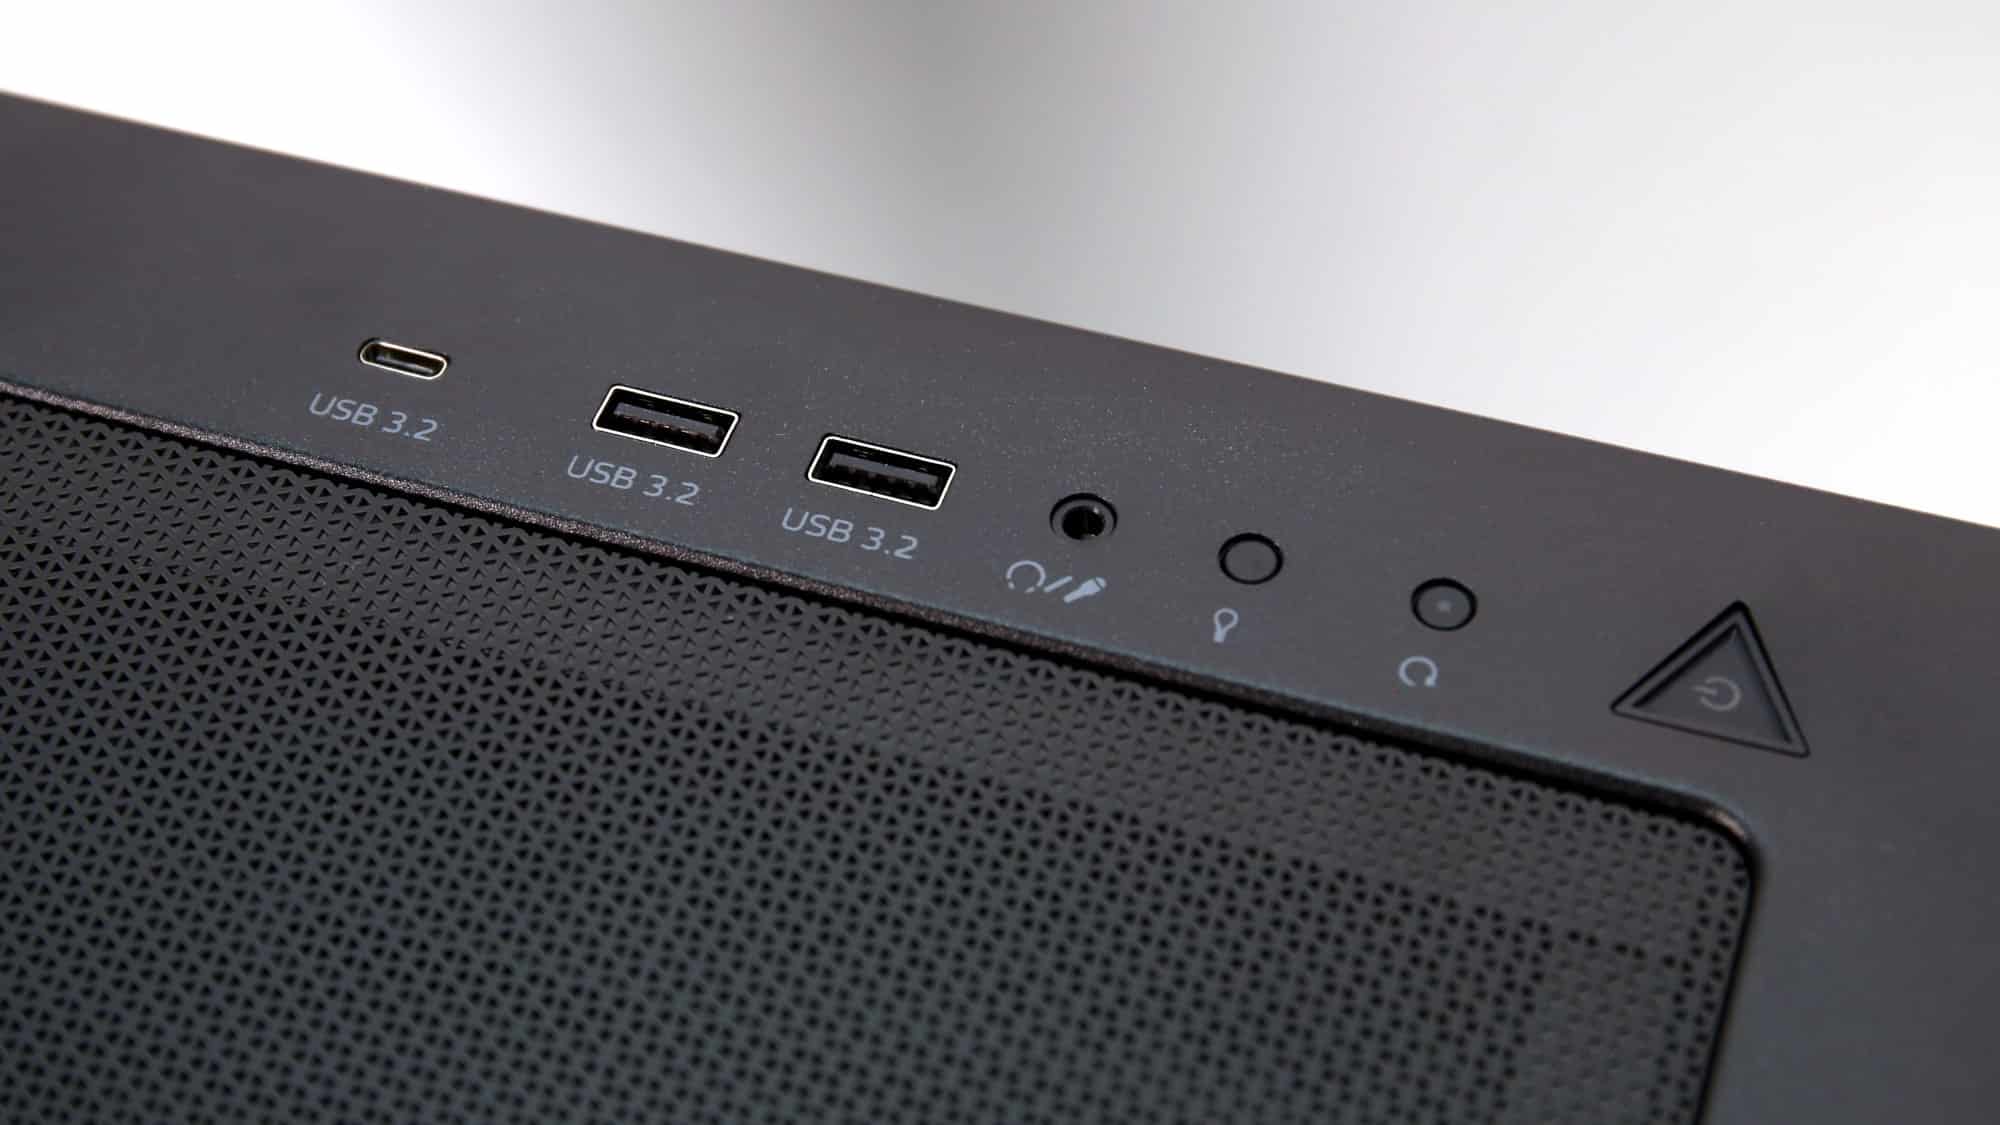
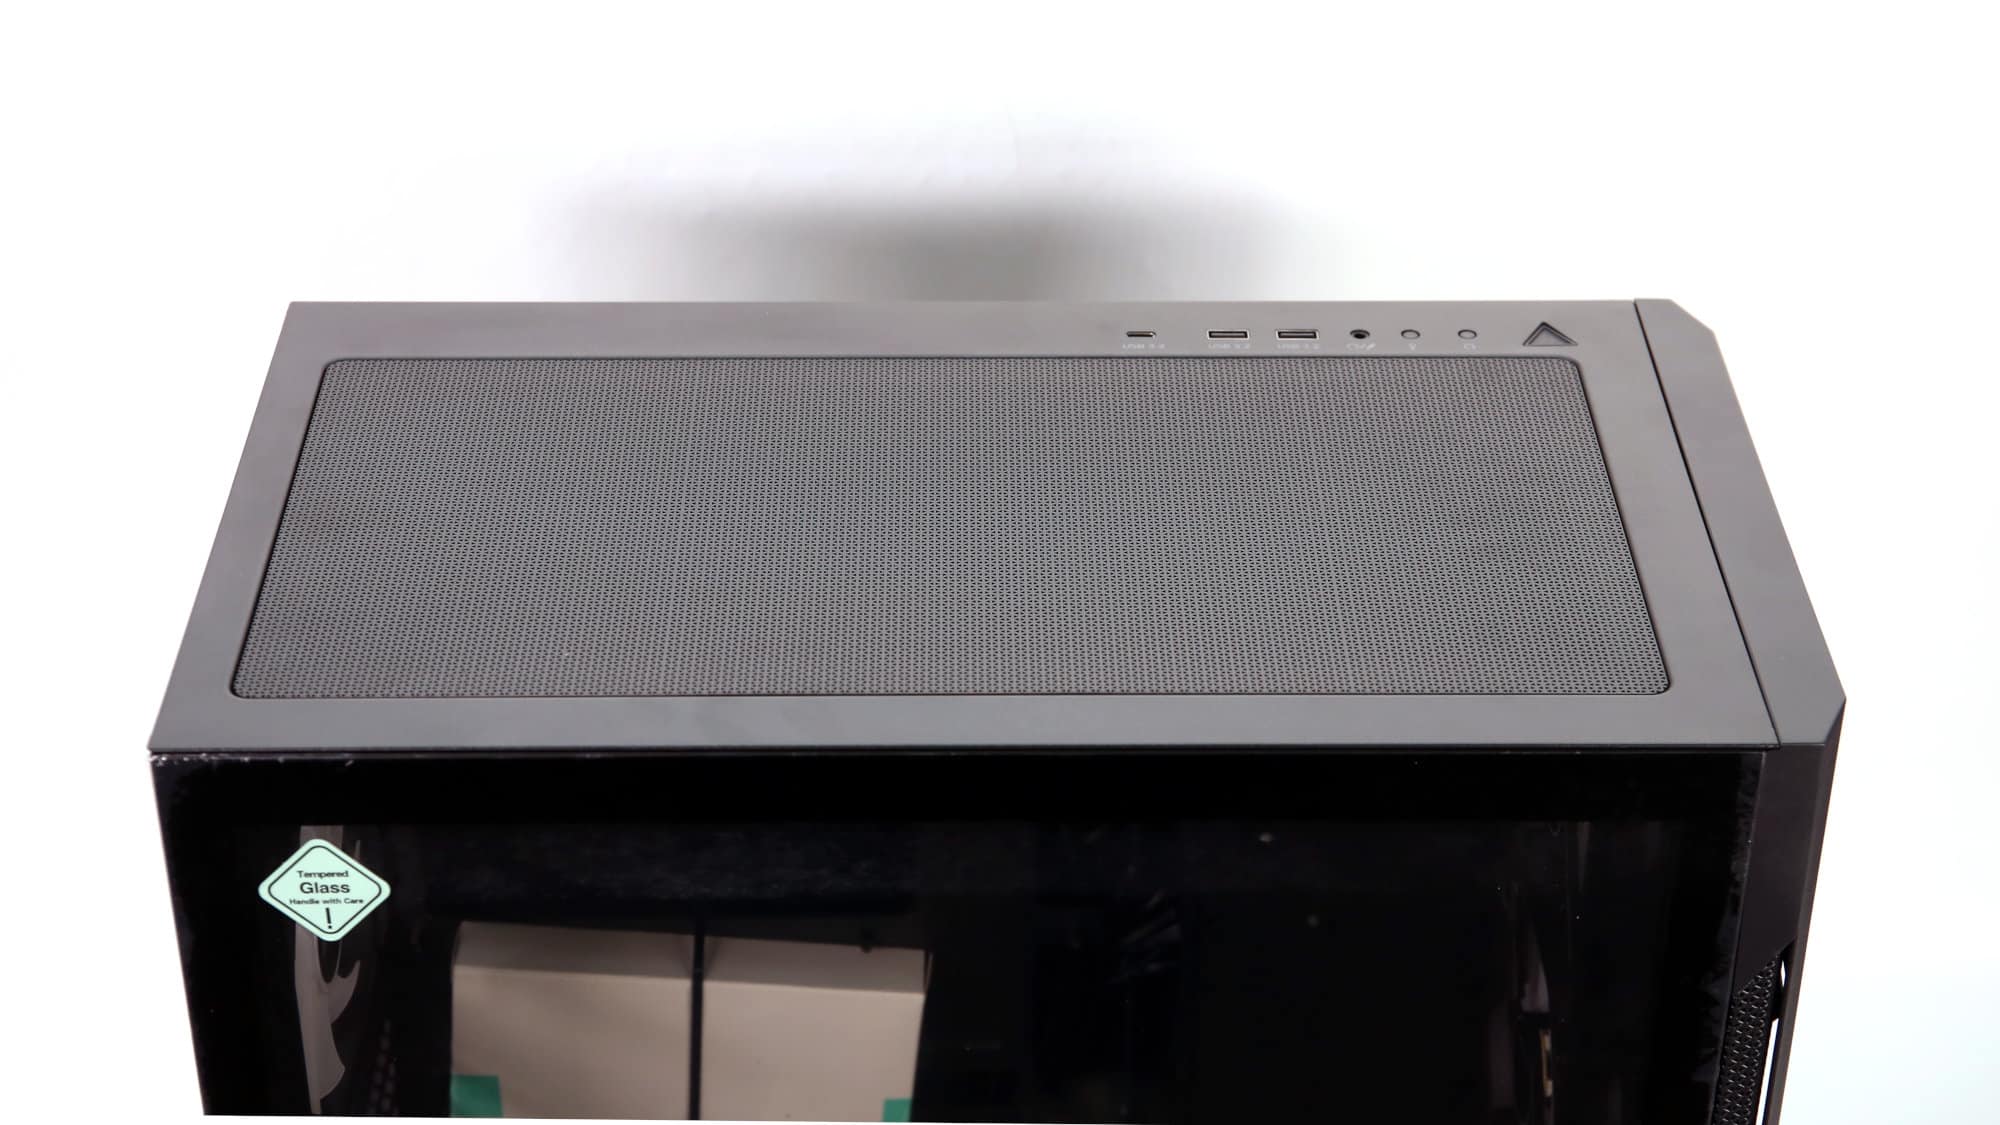
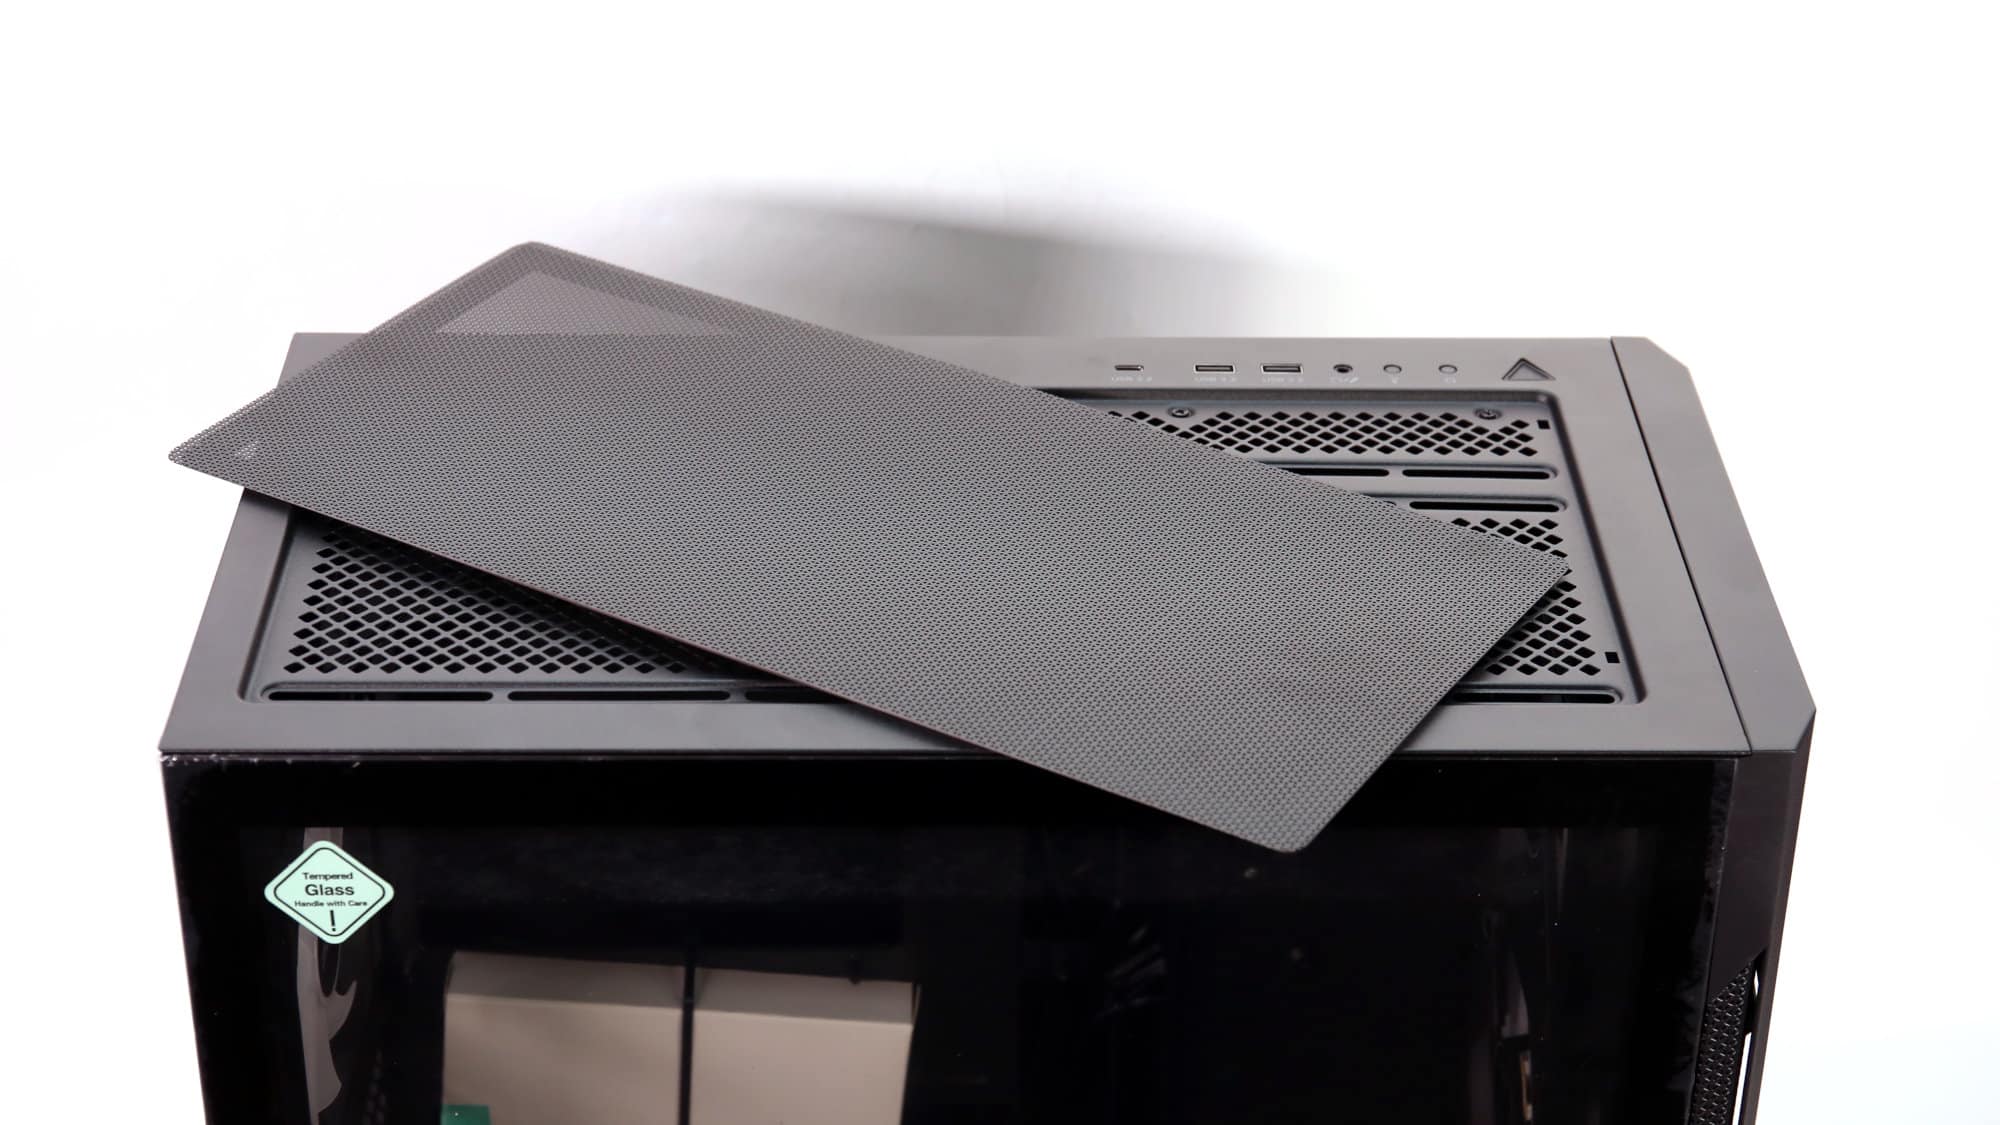
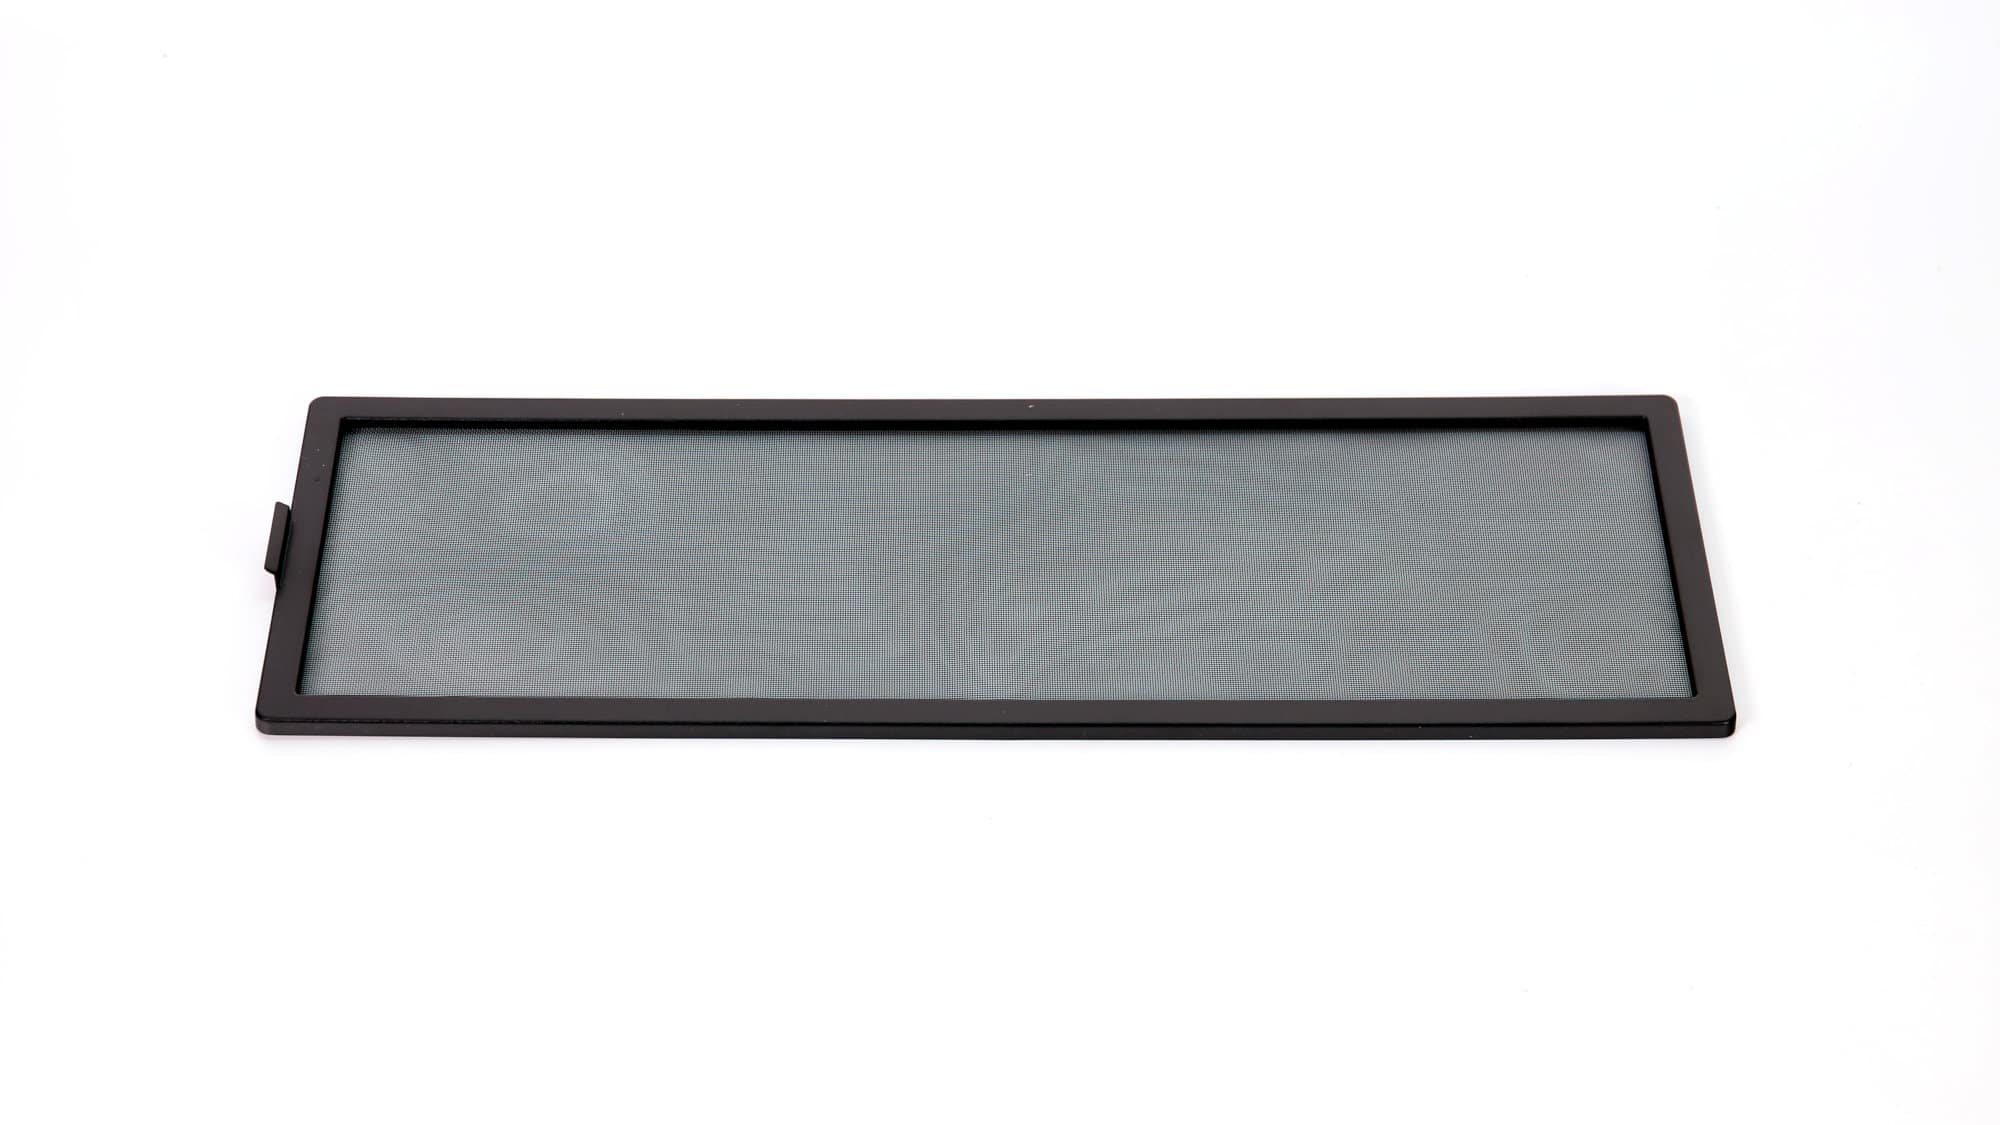
Speaking of the top, it’s where you’ll find the first of the three magnetic dust filters. In addition, it hosts the I/O, including a USB Type-C, two Type-A’s, a combo audio jack, an ARGB button, reset, and power switches. I have no complaints here.
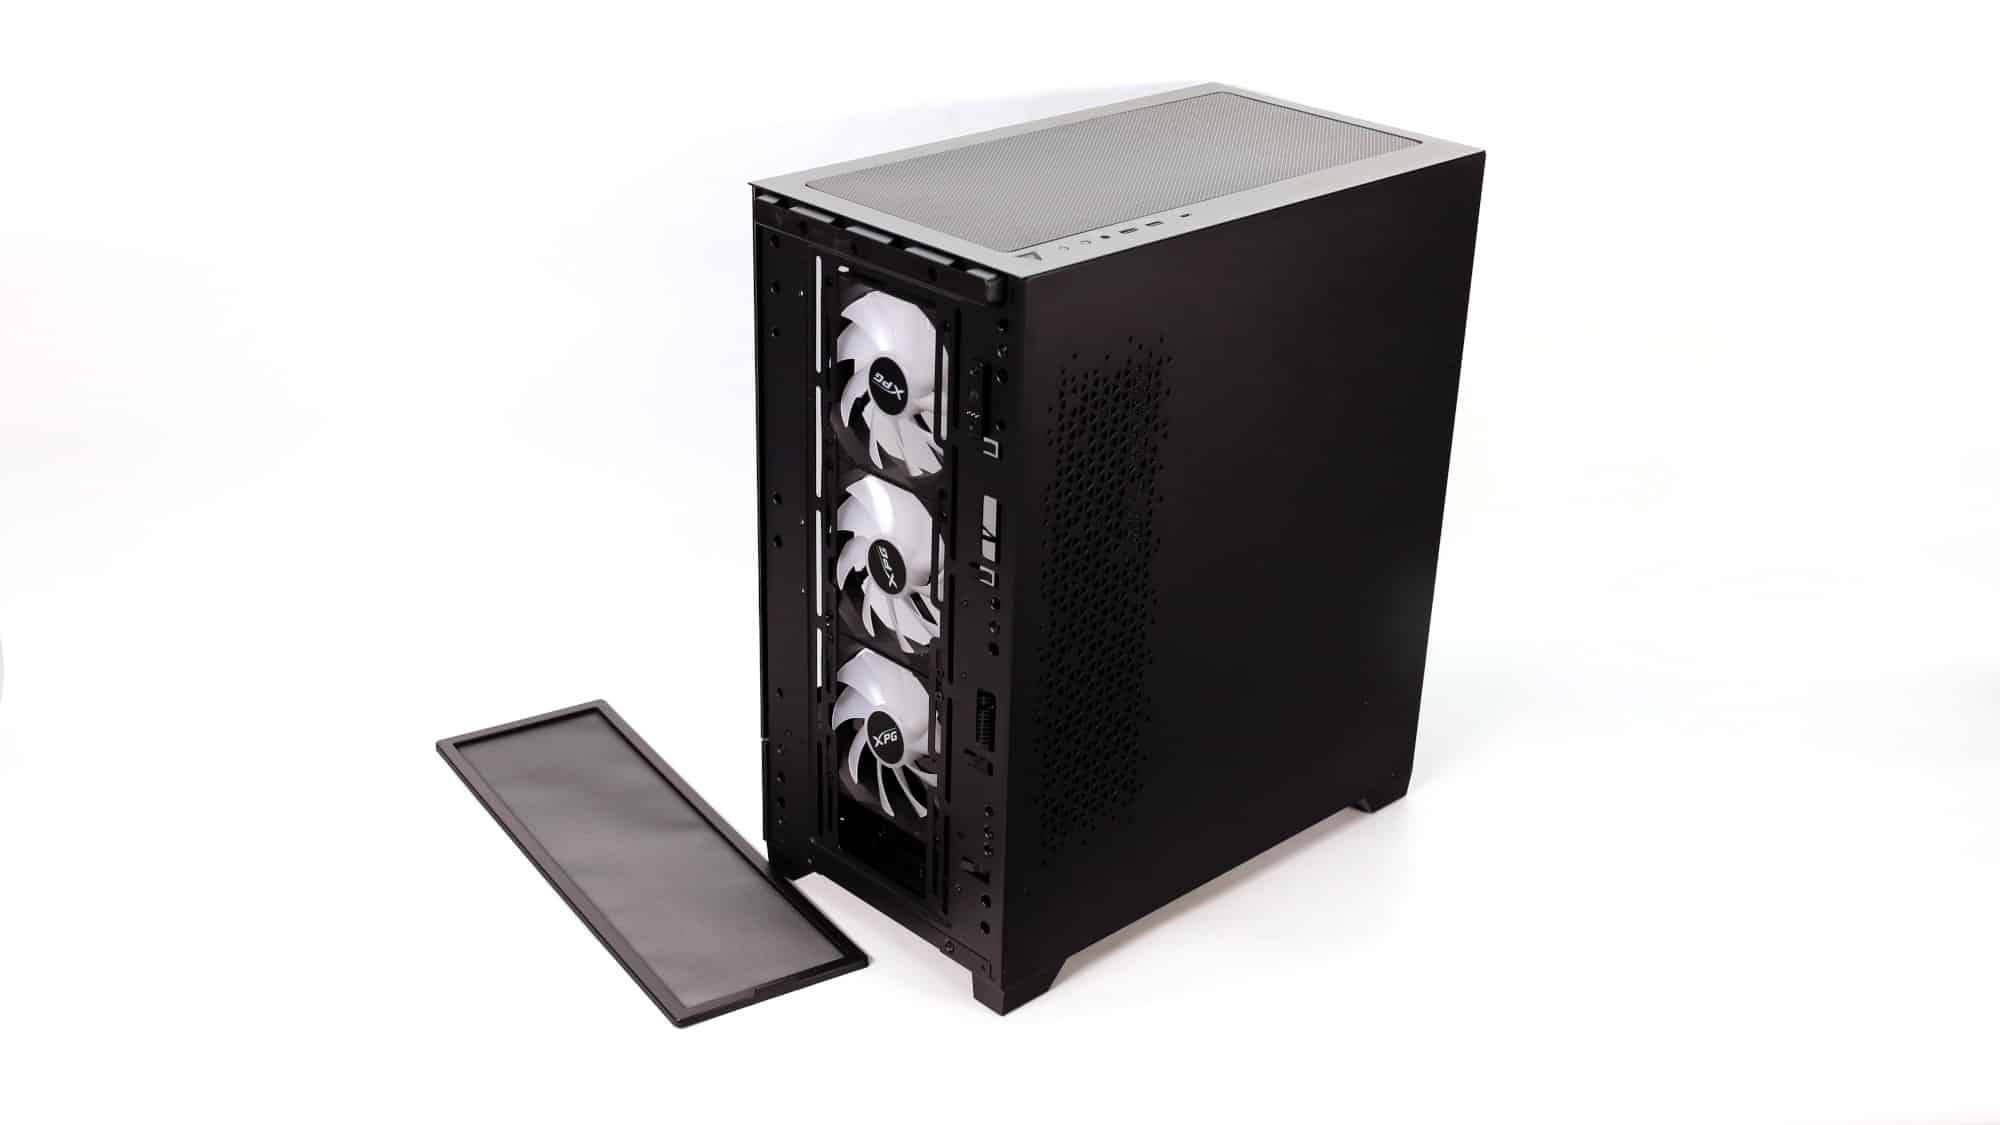
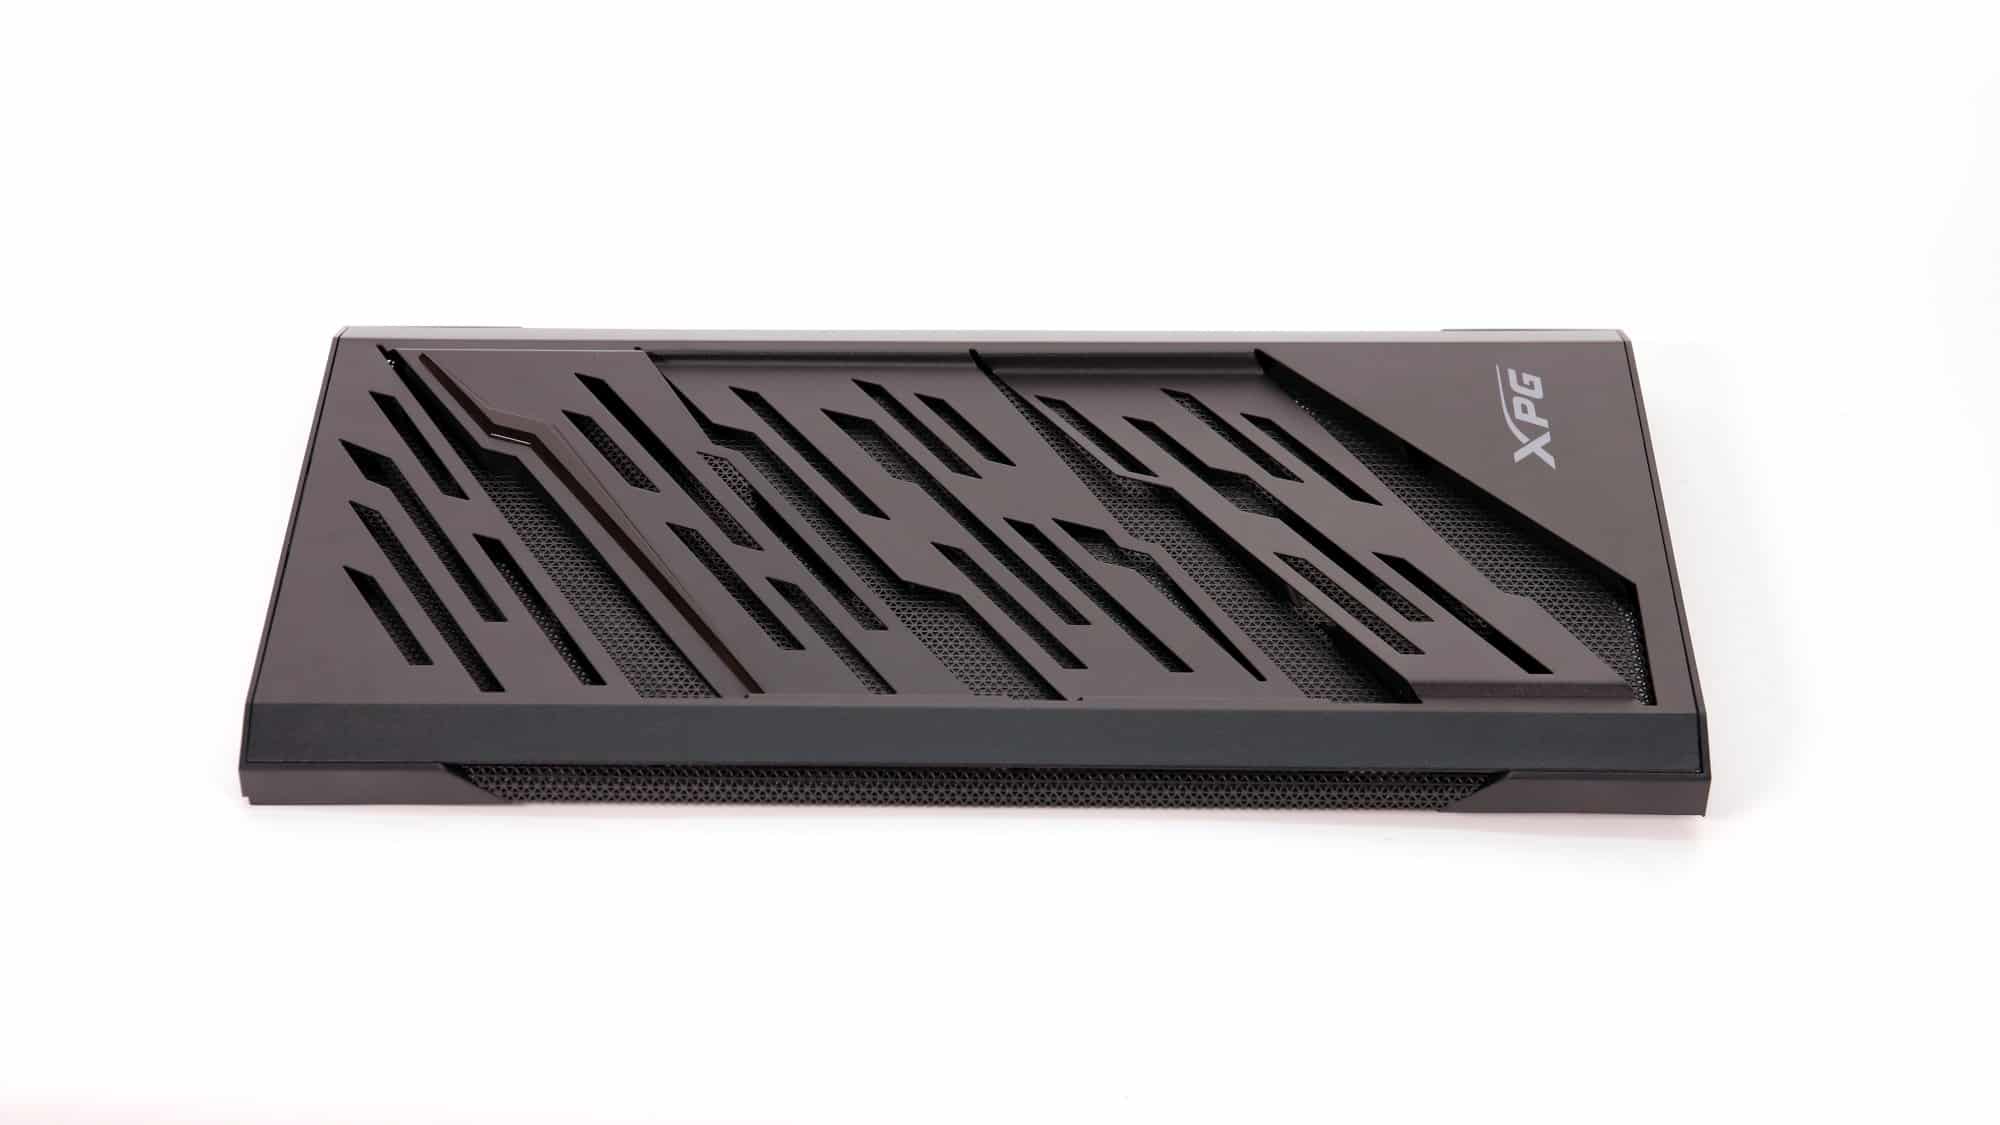
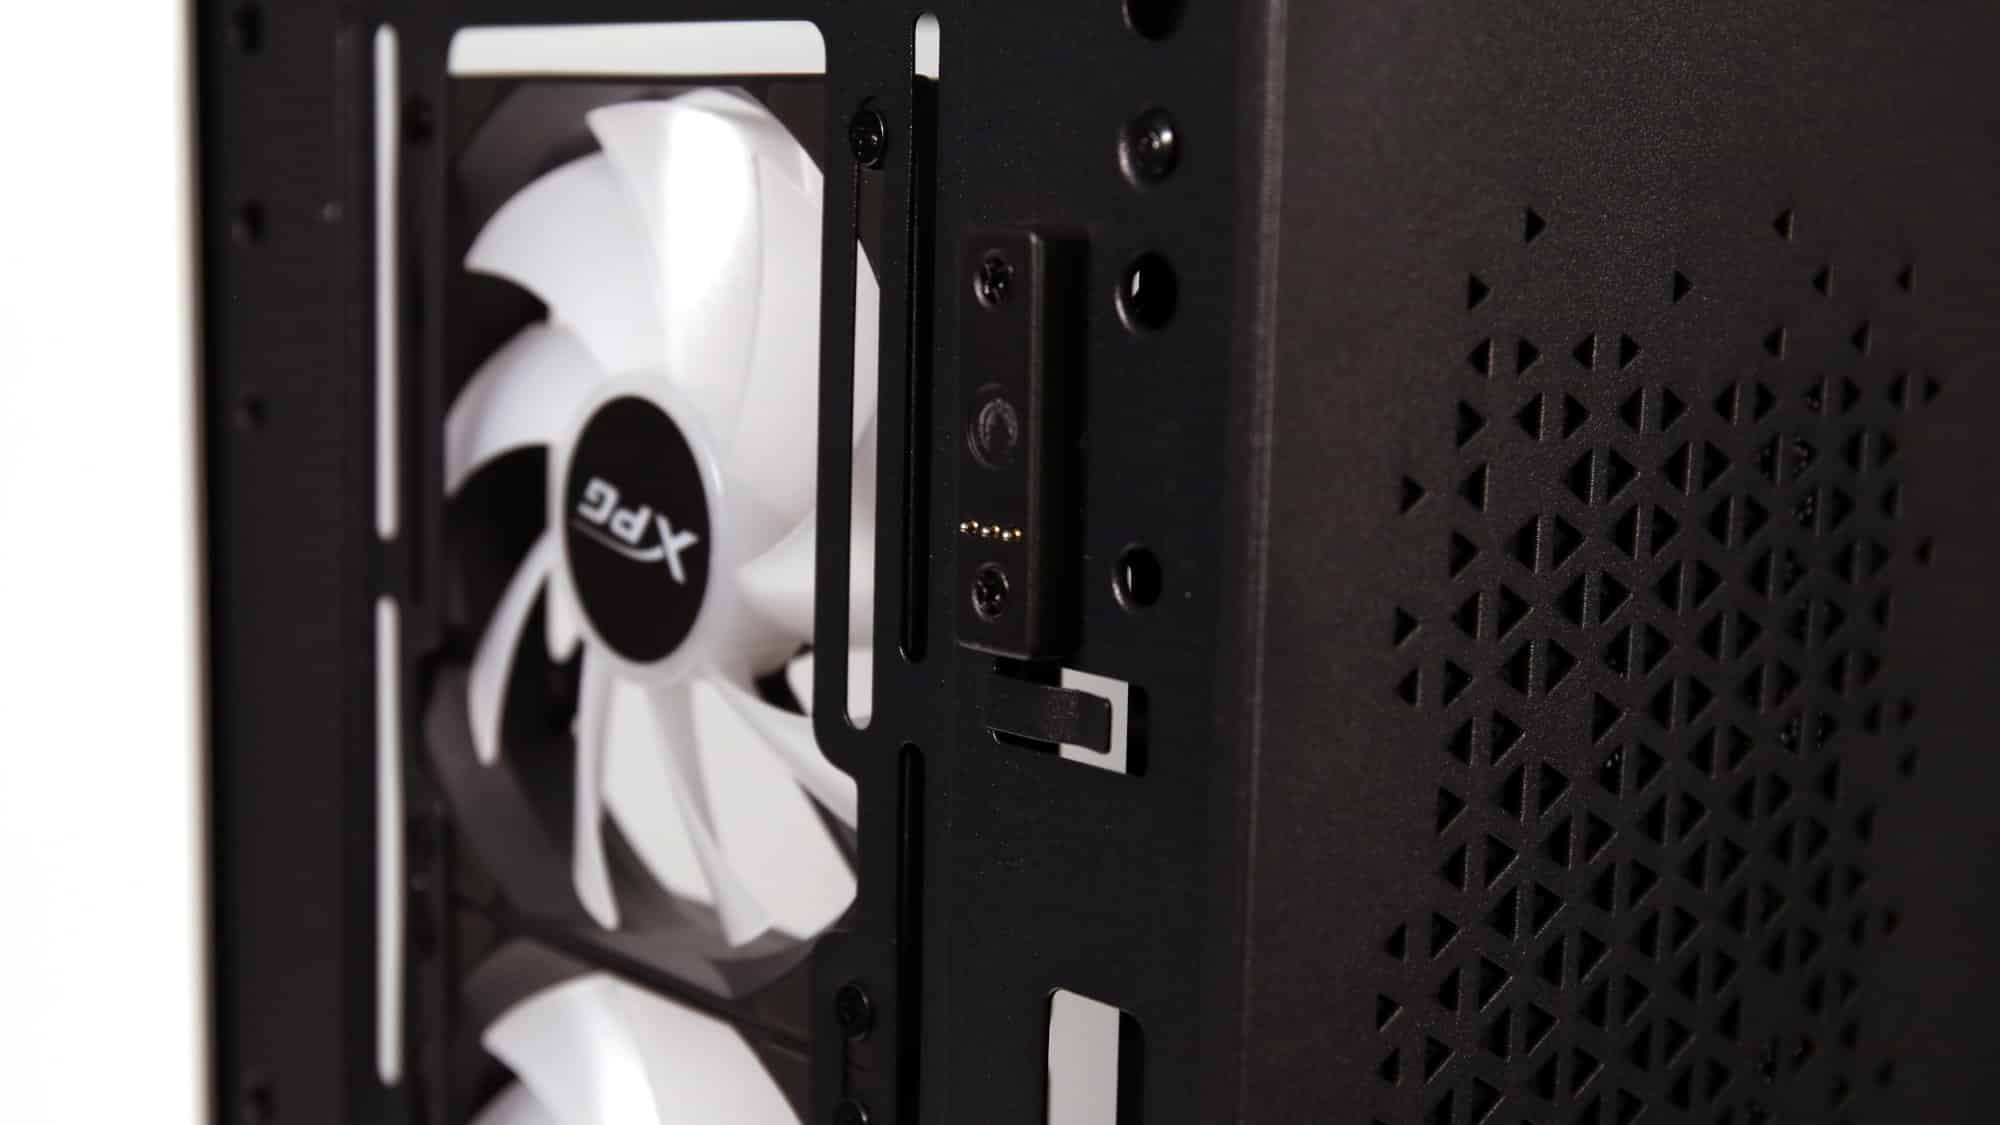

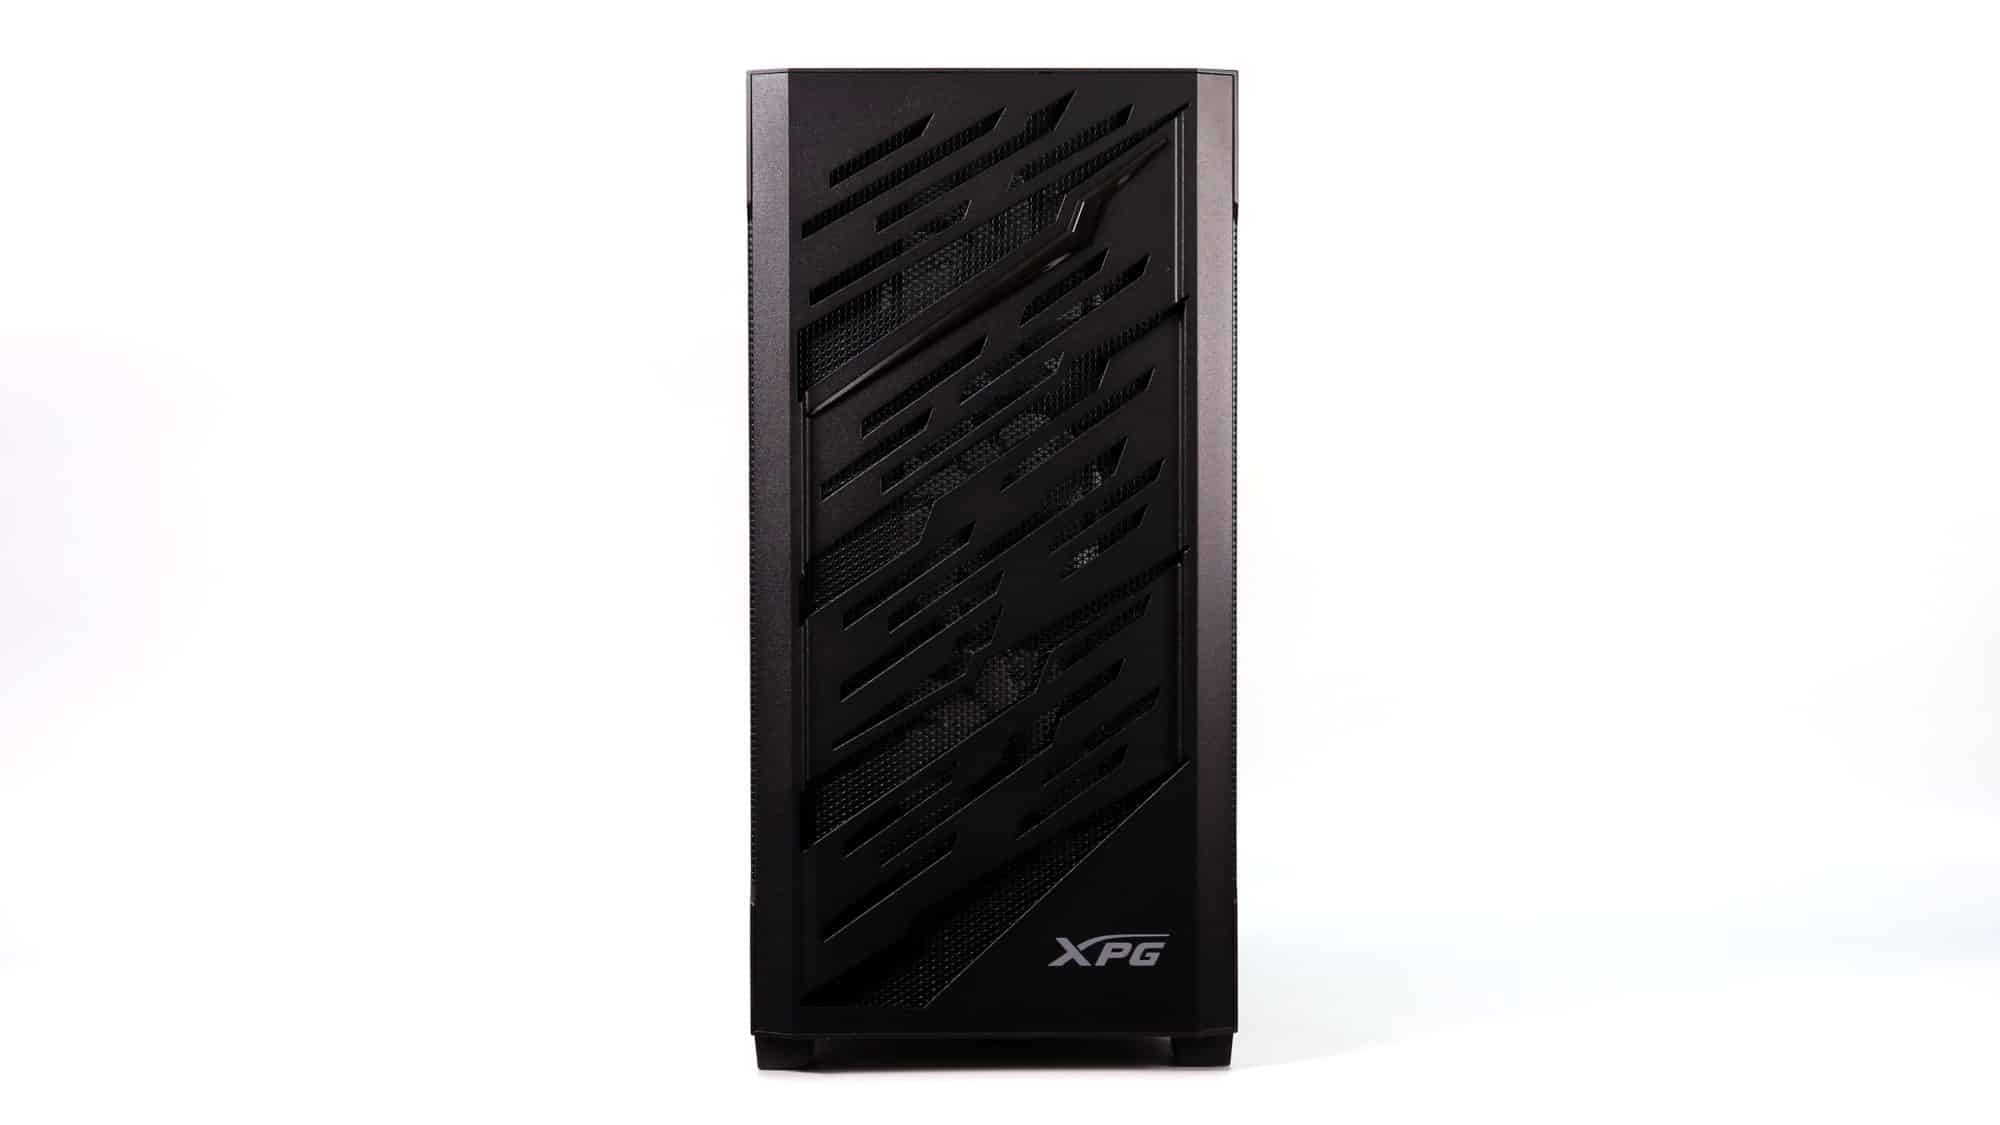
Come to the front and look at the unique design of the Starker Air BTF, which is quite different from the non-BTF model. To remove this panel you have to undo a screw on the bottom. Once you do that, you can pull it up from the bottom and lift it. That’s when you’ll realize that this panel is quite heavy as it is made of steel, something I bet you didn’t expect. When we power on the system, you’ll also see the integrated ARGB lighting, which is powered by pogo pins. Behind the front panel, there is another dust filter.

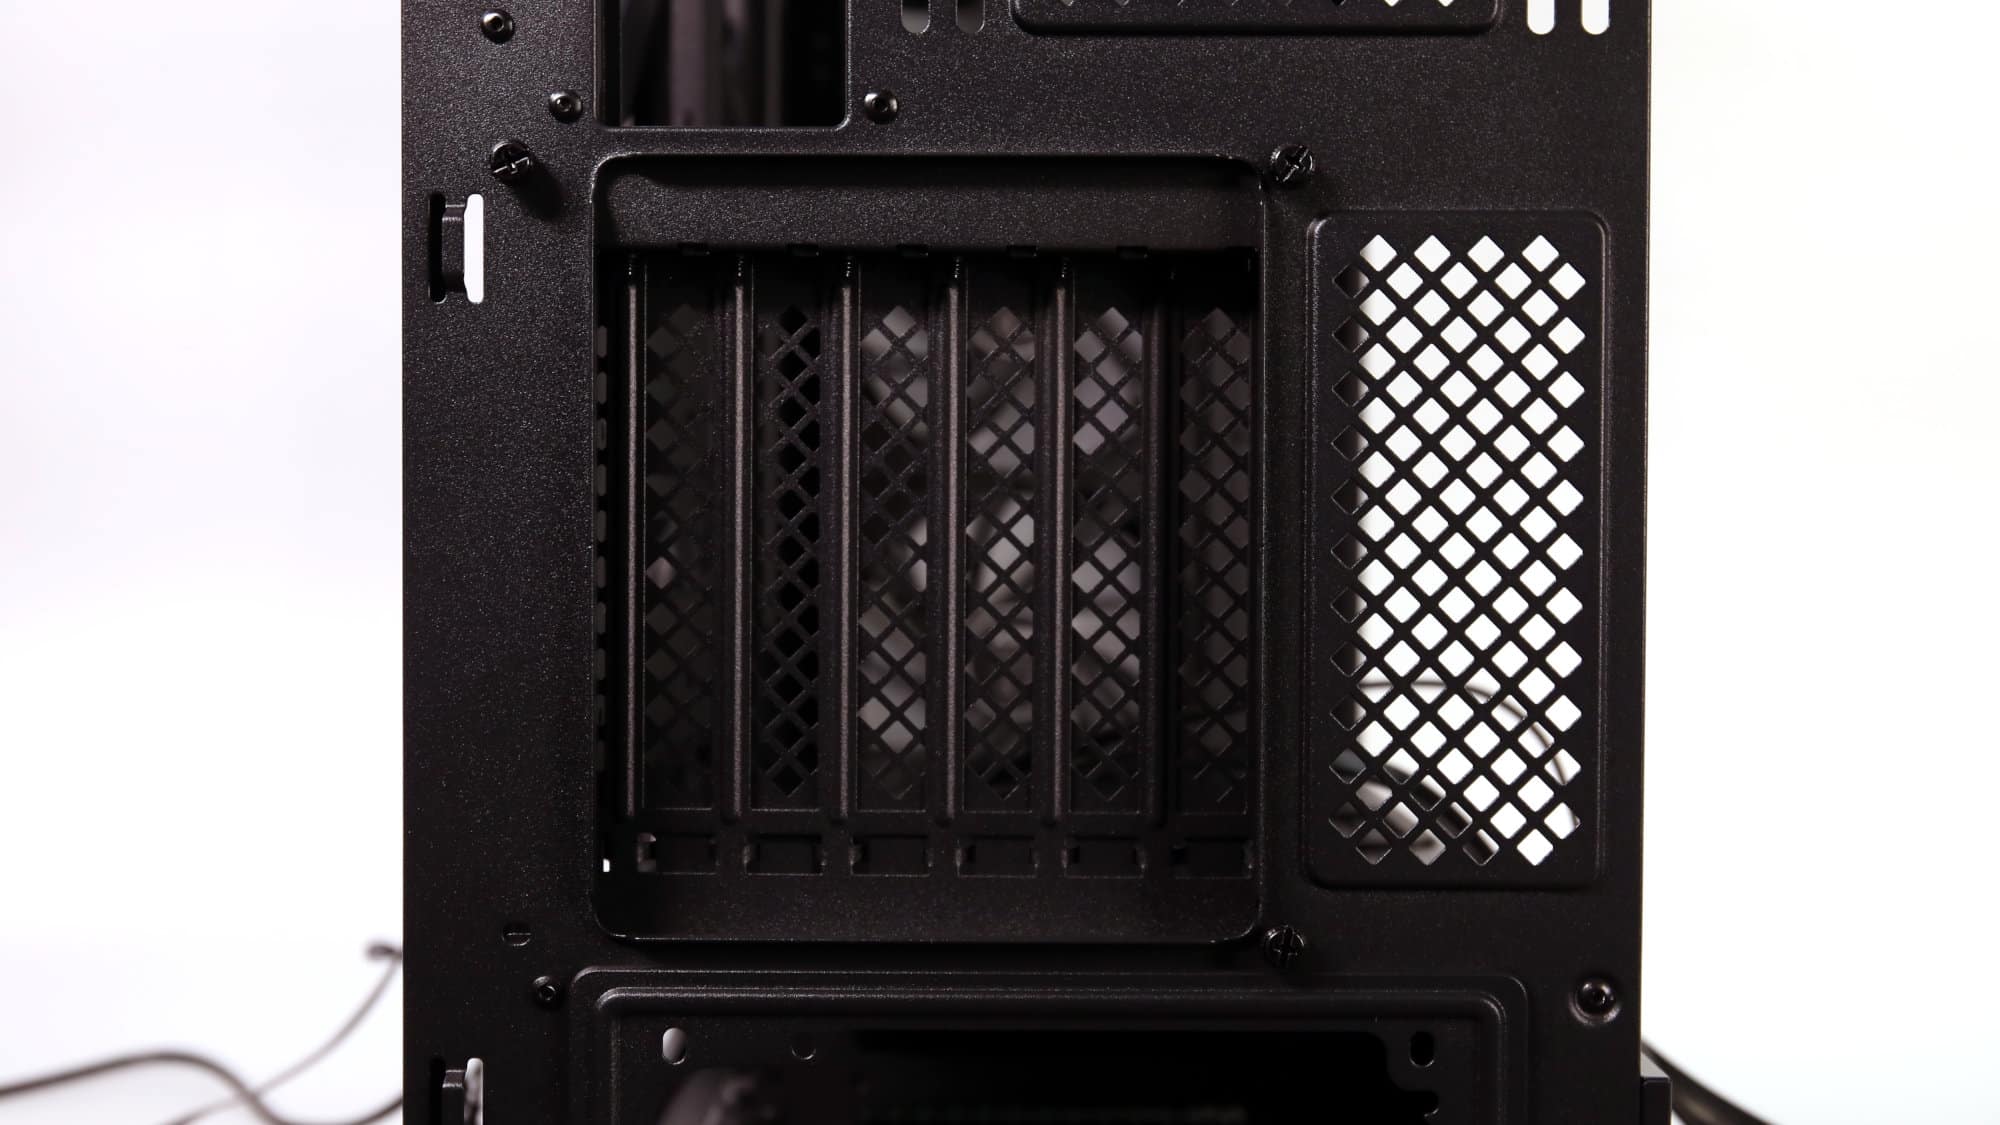
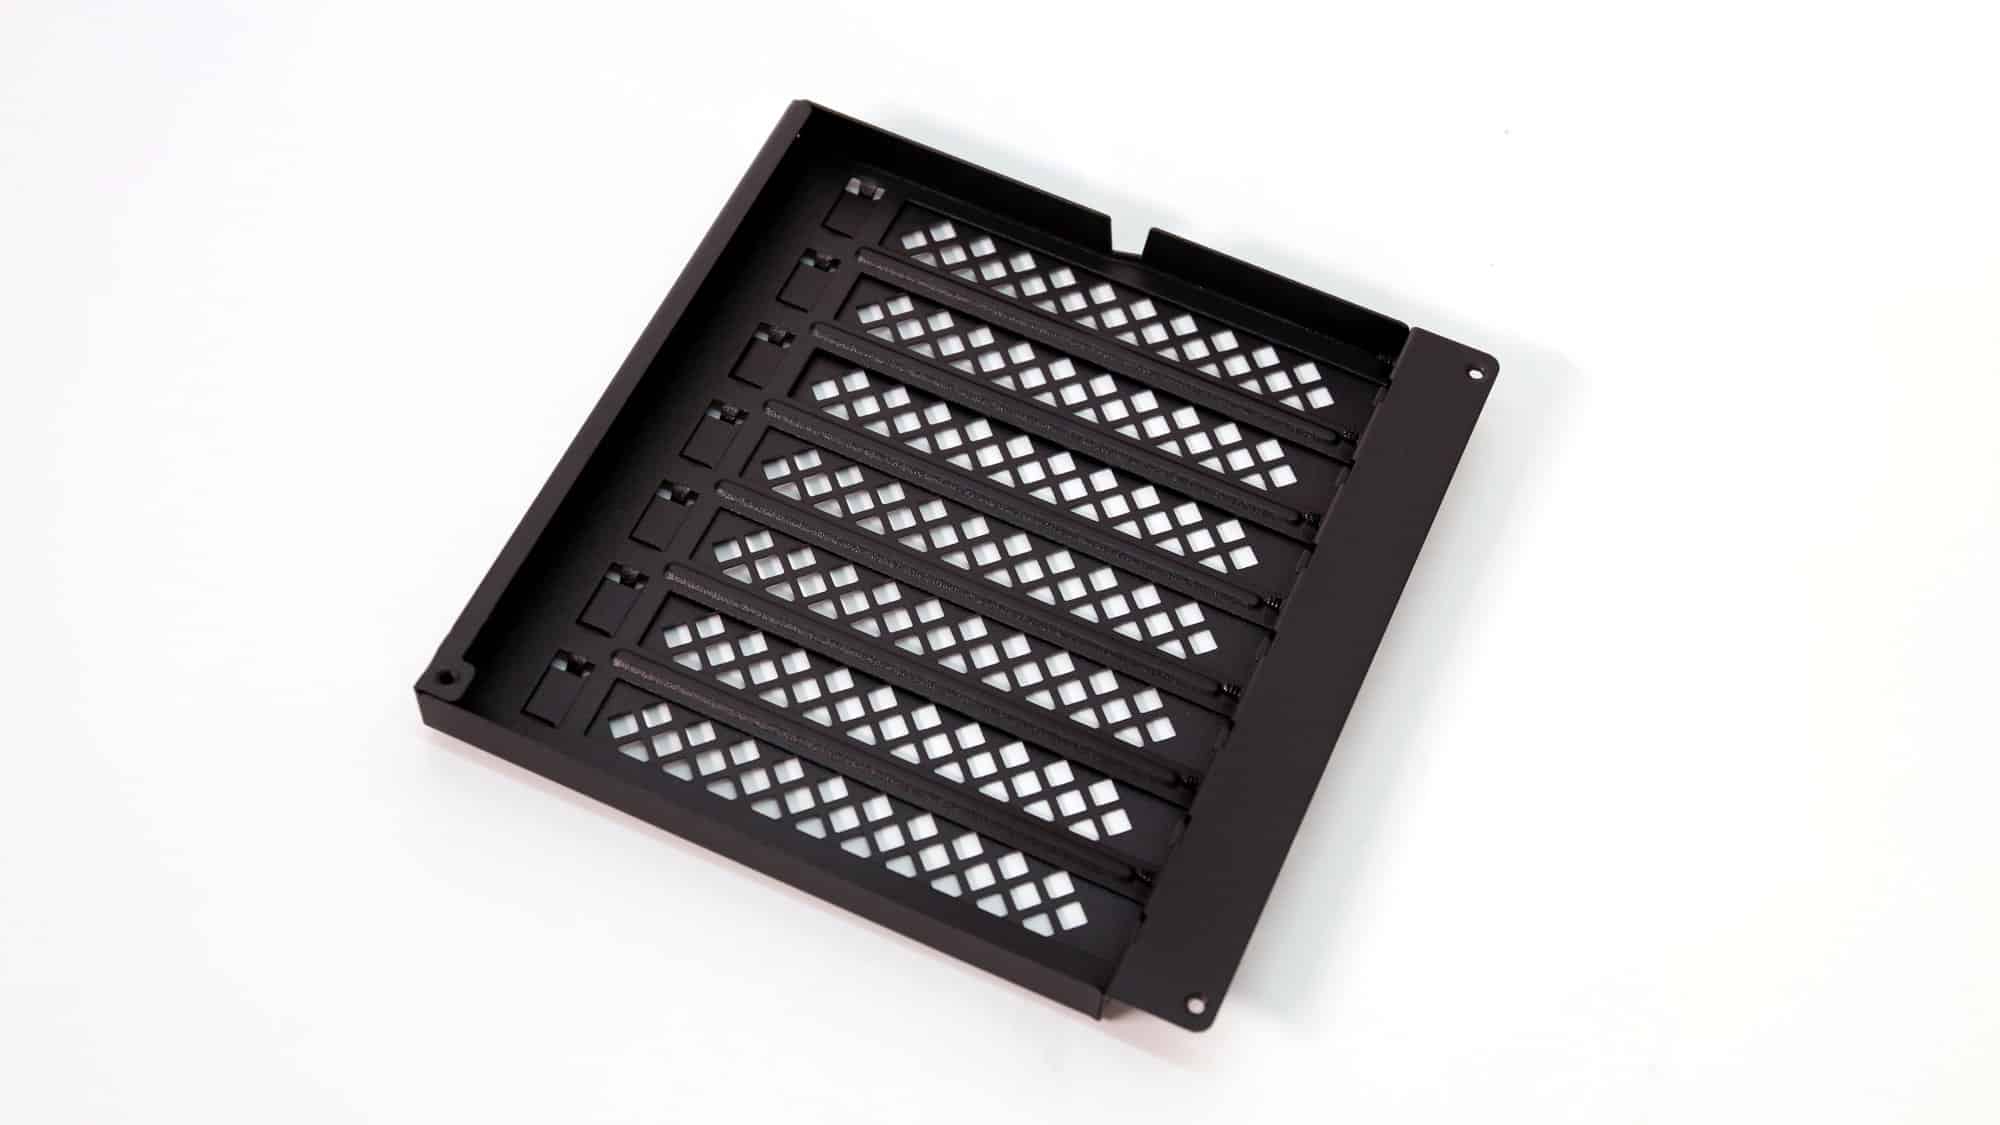
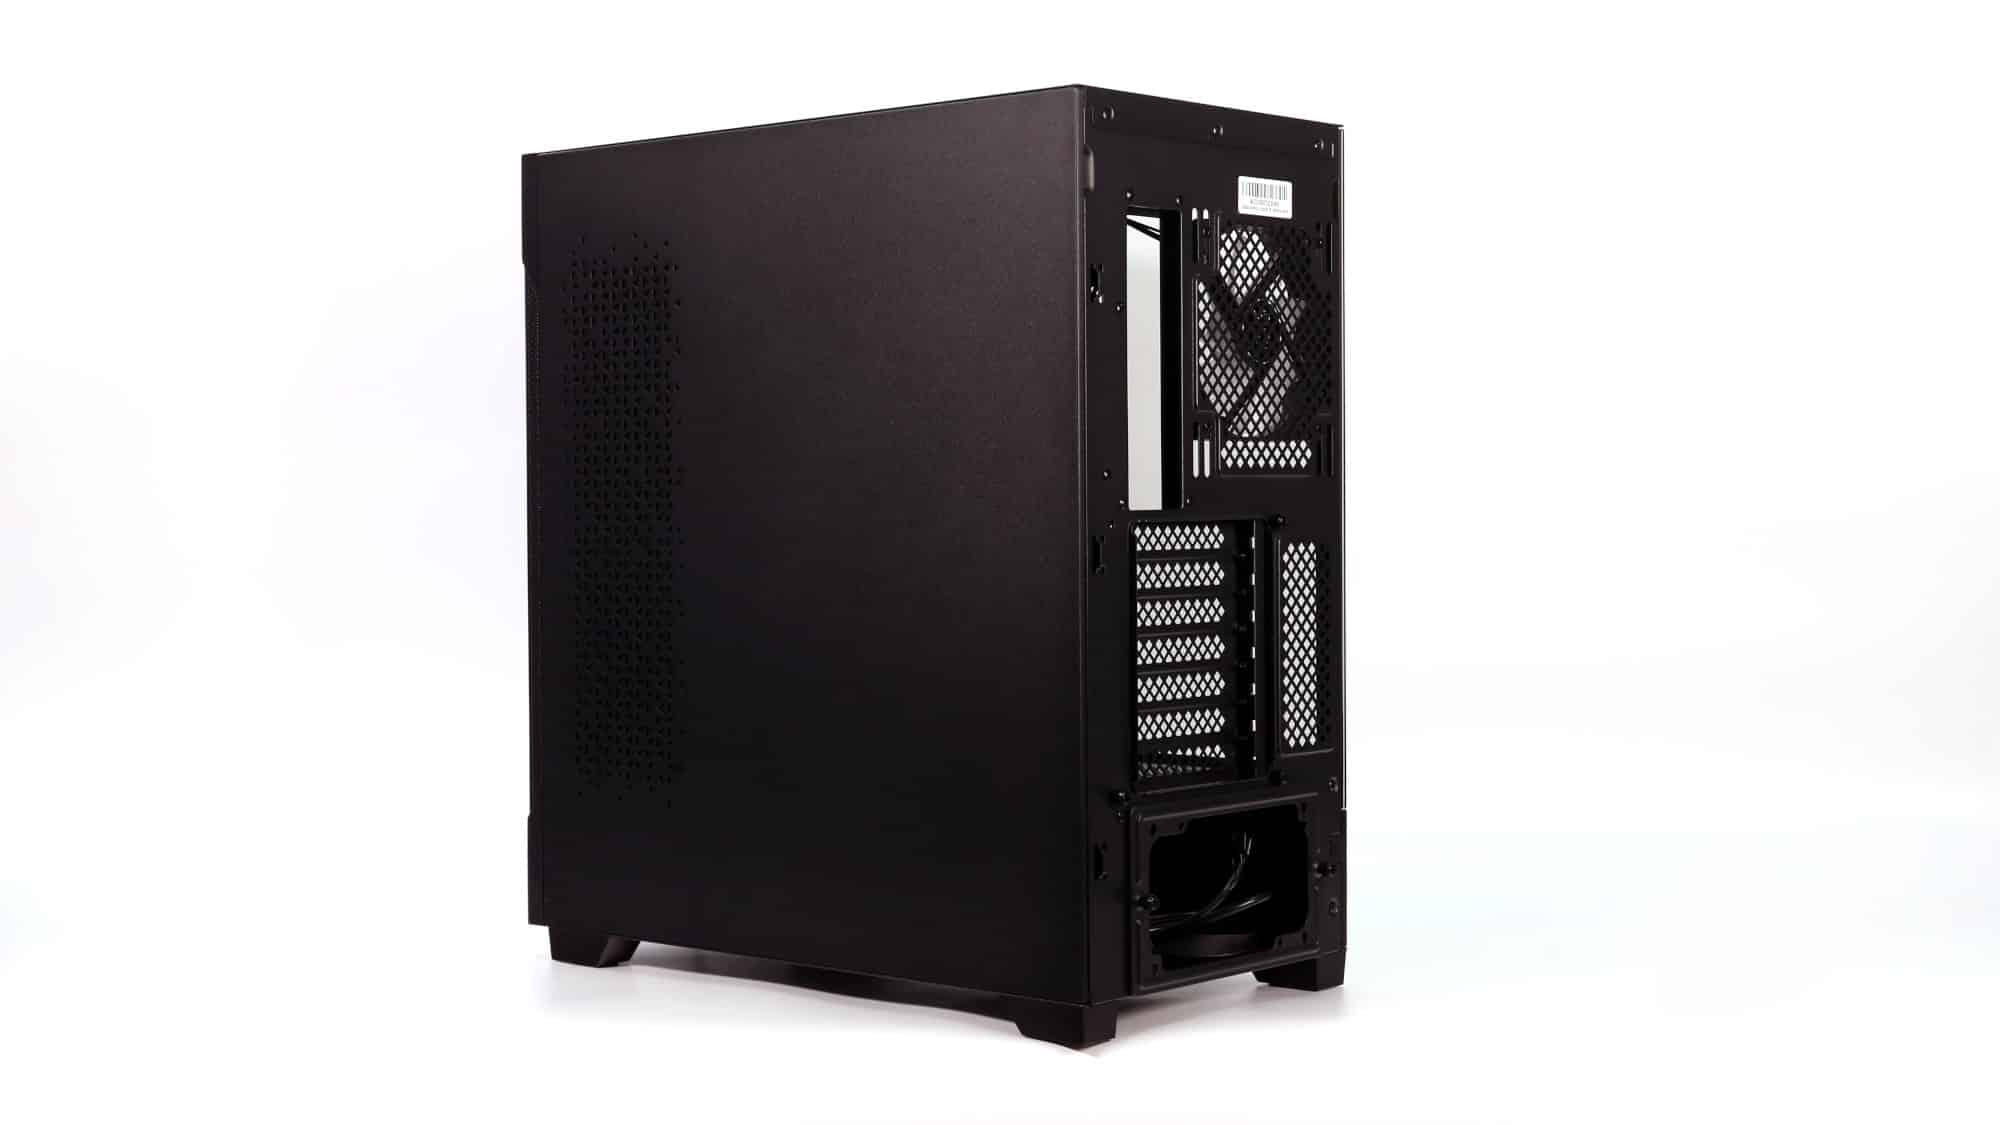
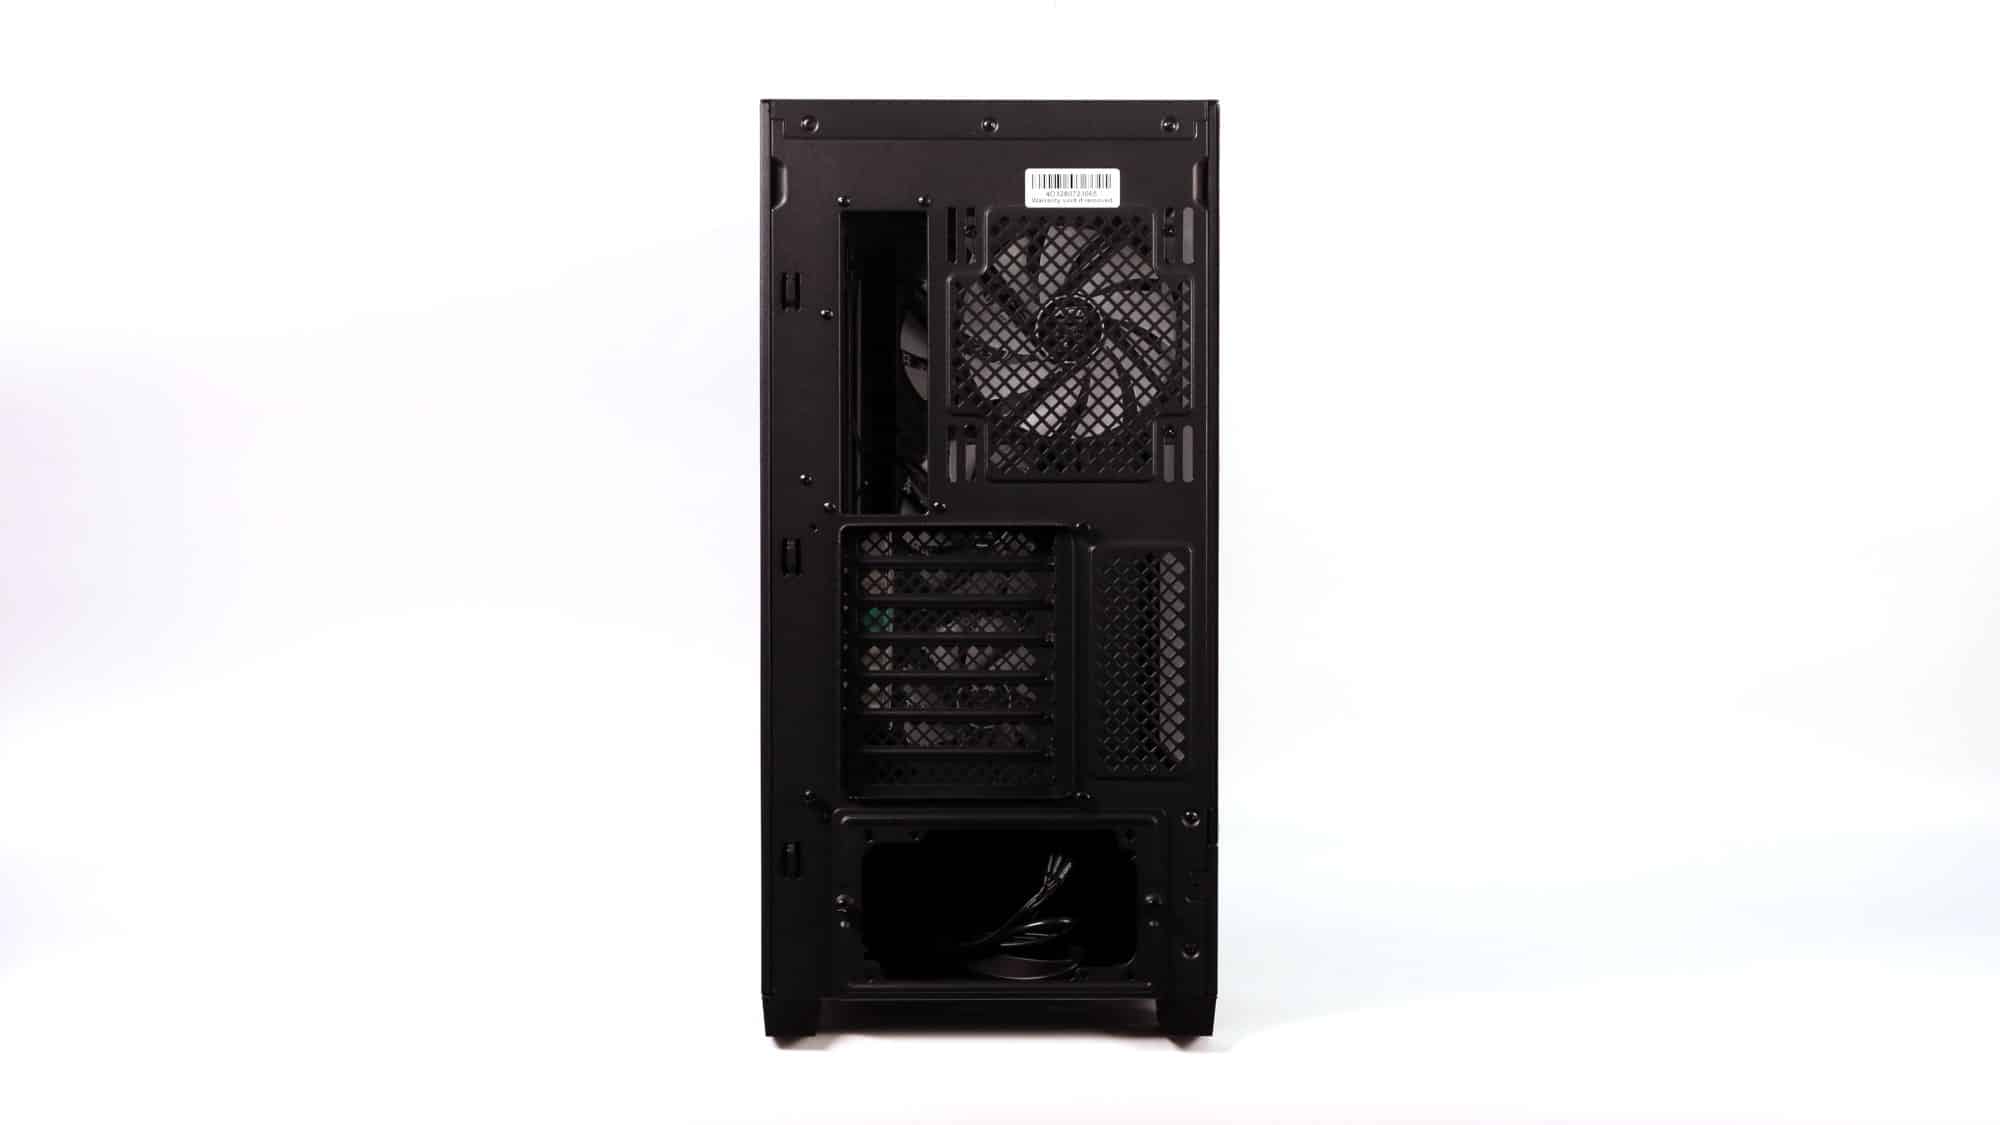
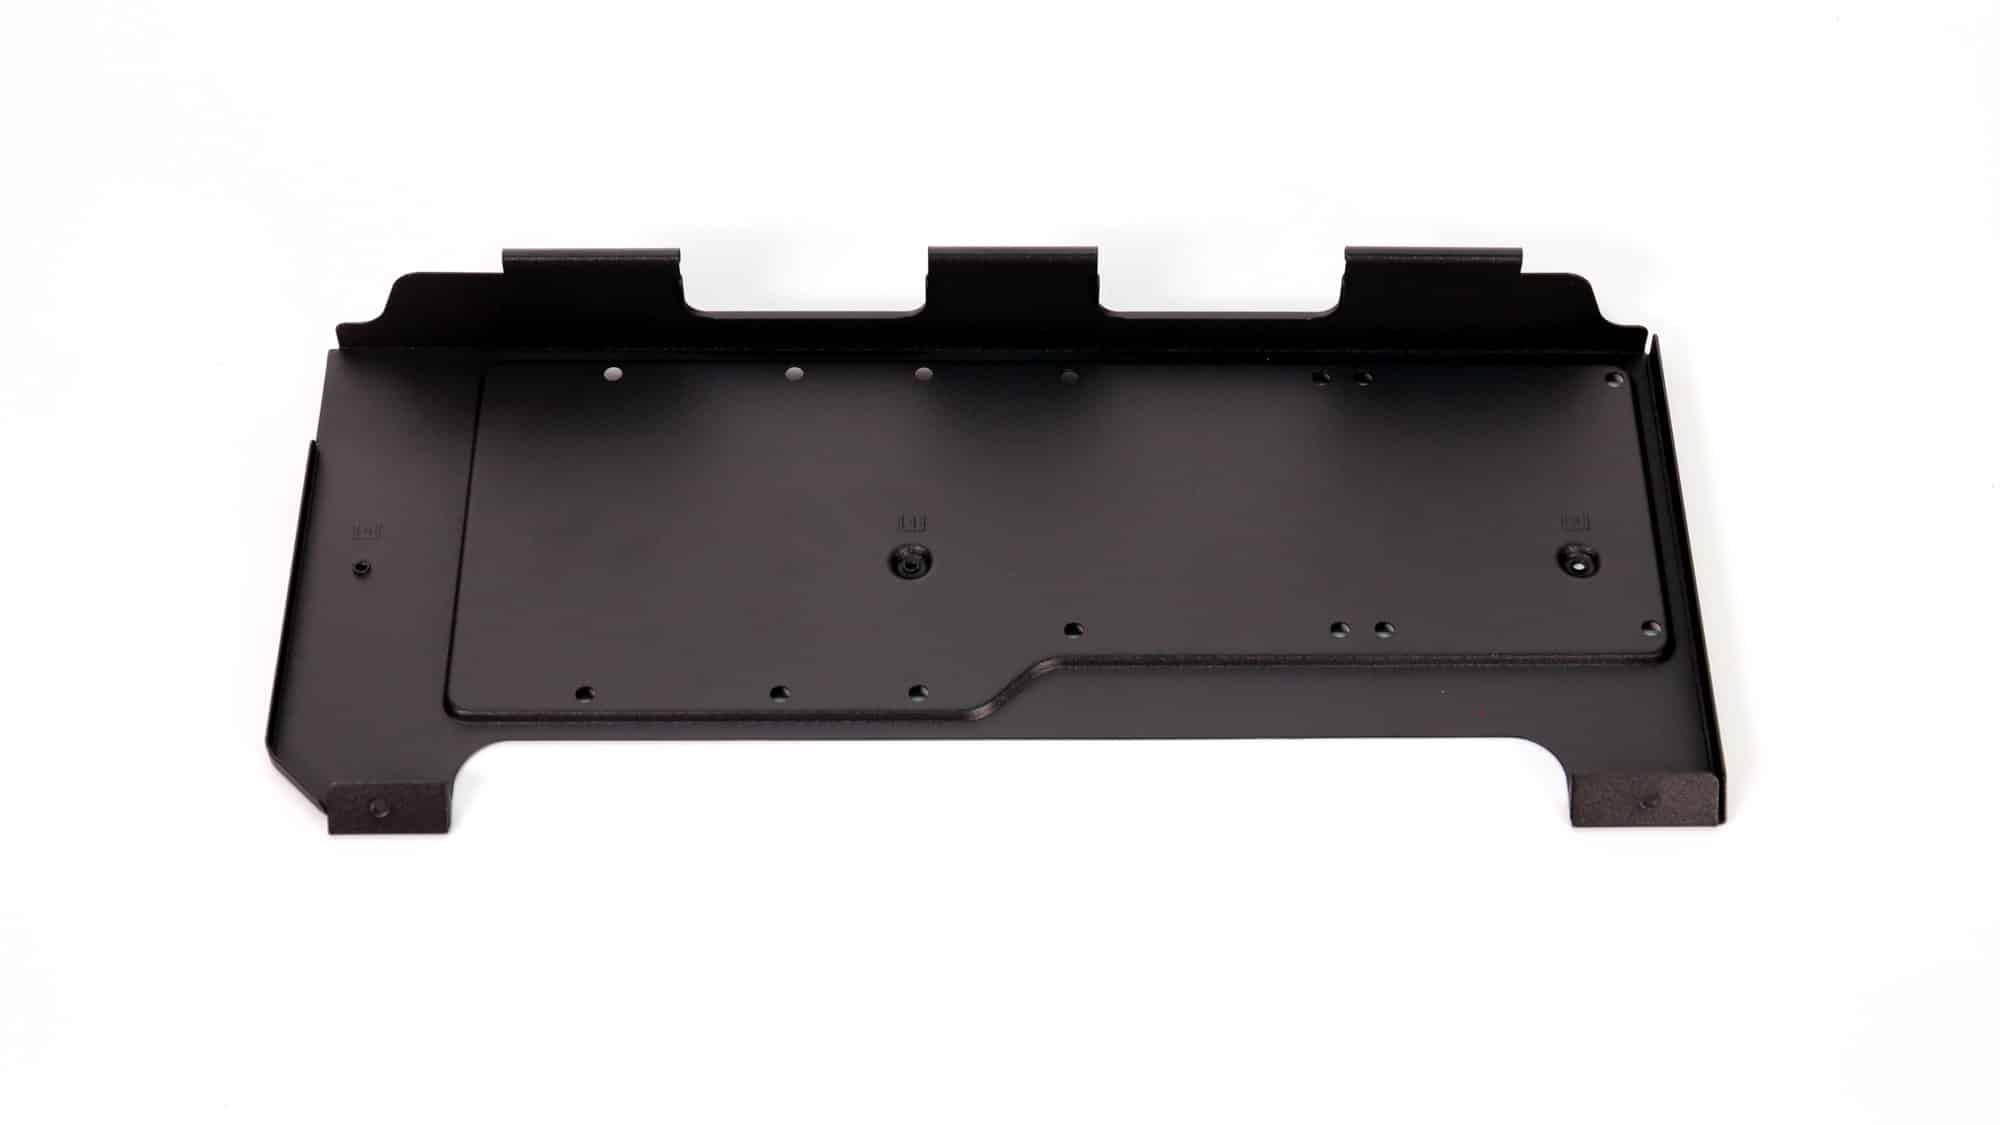
On the rear of the chassis is a rear fan mount with the option to use either a 120mm or a 140mm, as well as slots to adjust the position. Below you will find one of the best rotating expansion slot panel implementations. By removing three thumbscrews you can take out the panel, rotate it, replace the three screws and you’re done. Other vendors should copy this design. It’s important to mention the fit was also perfect; we didn’t have to wiggle it around or do anything. It just popped in place. Lastly, right below the expansion slots is a removable PSU bracket, which may be helpful during the build.
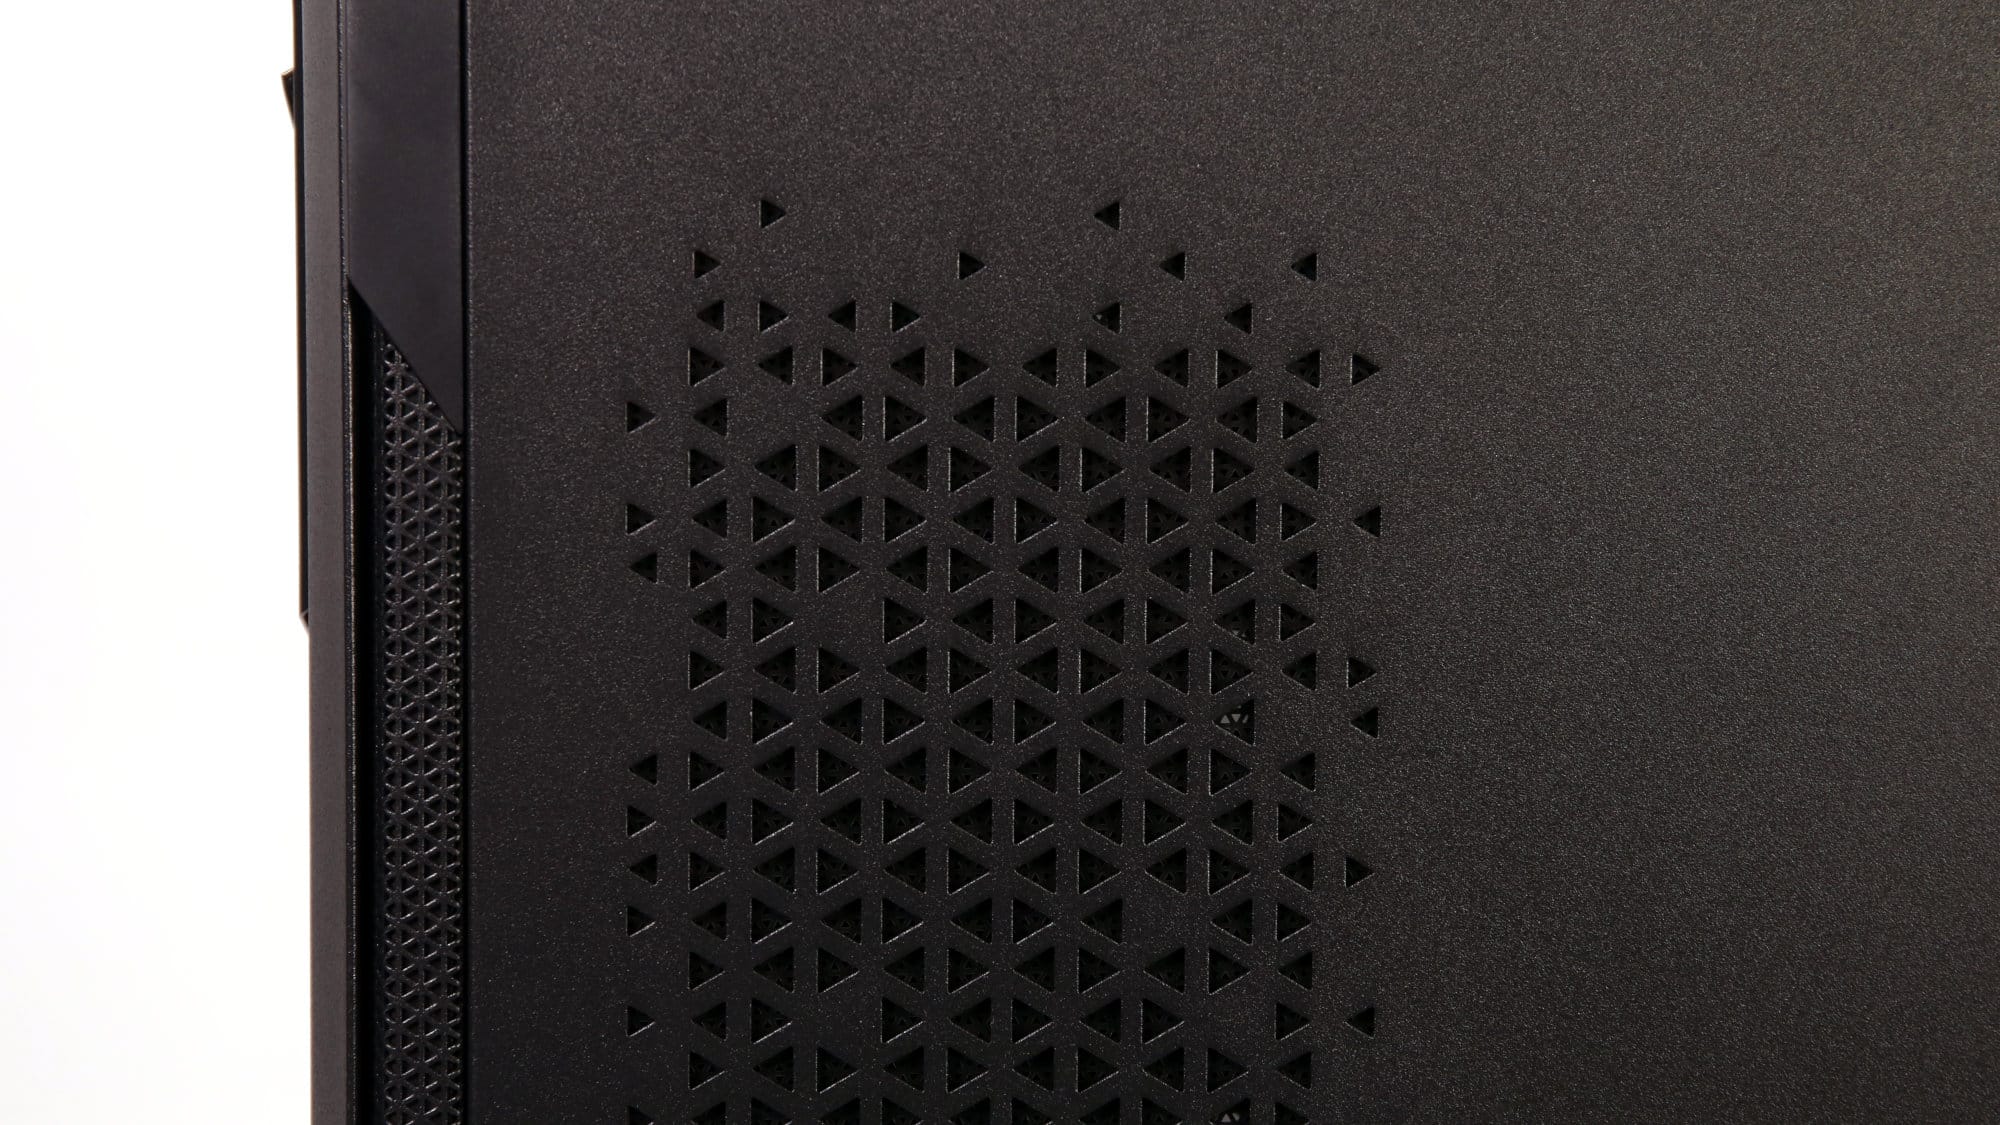
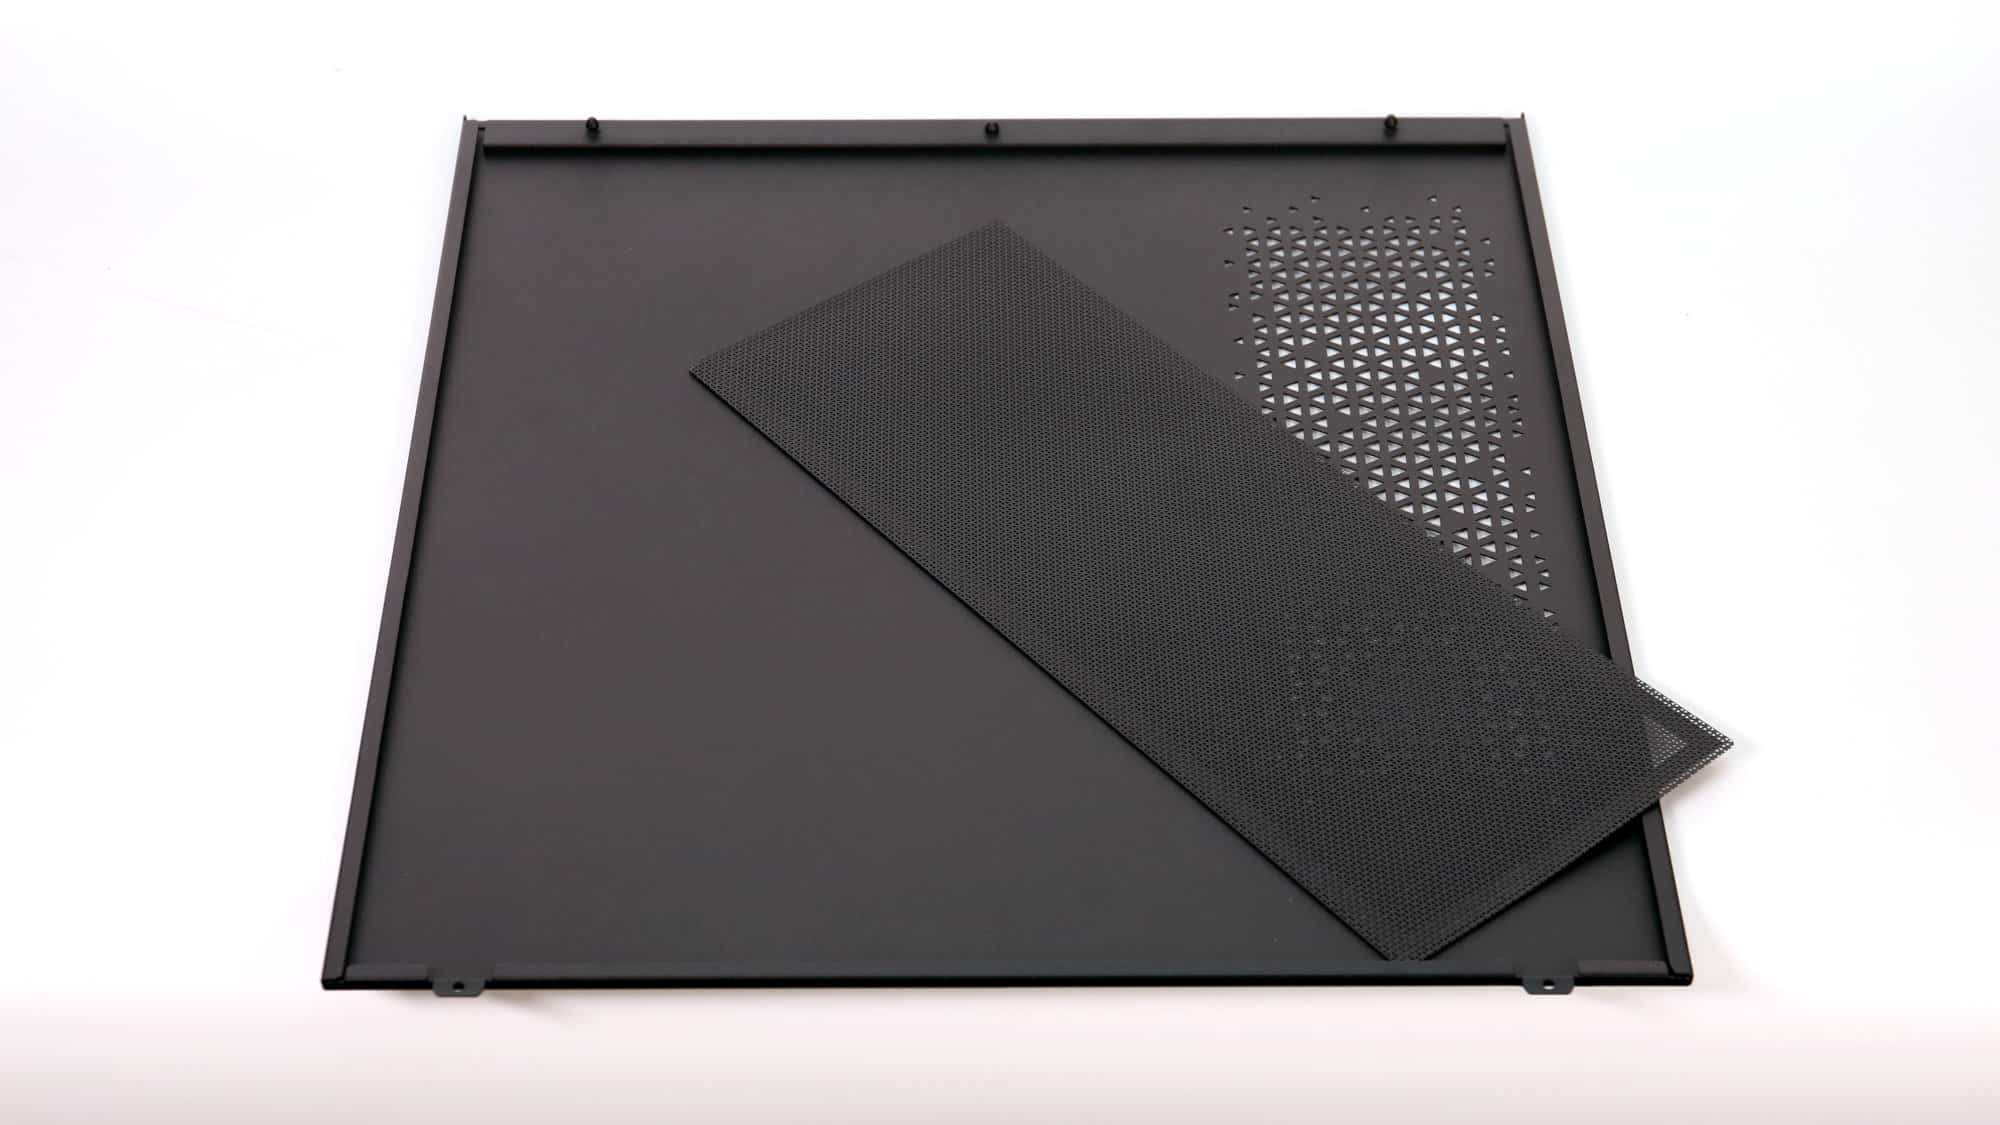
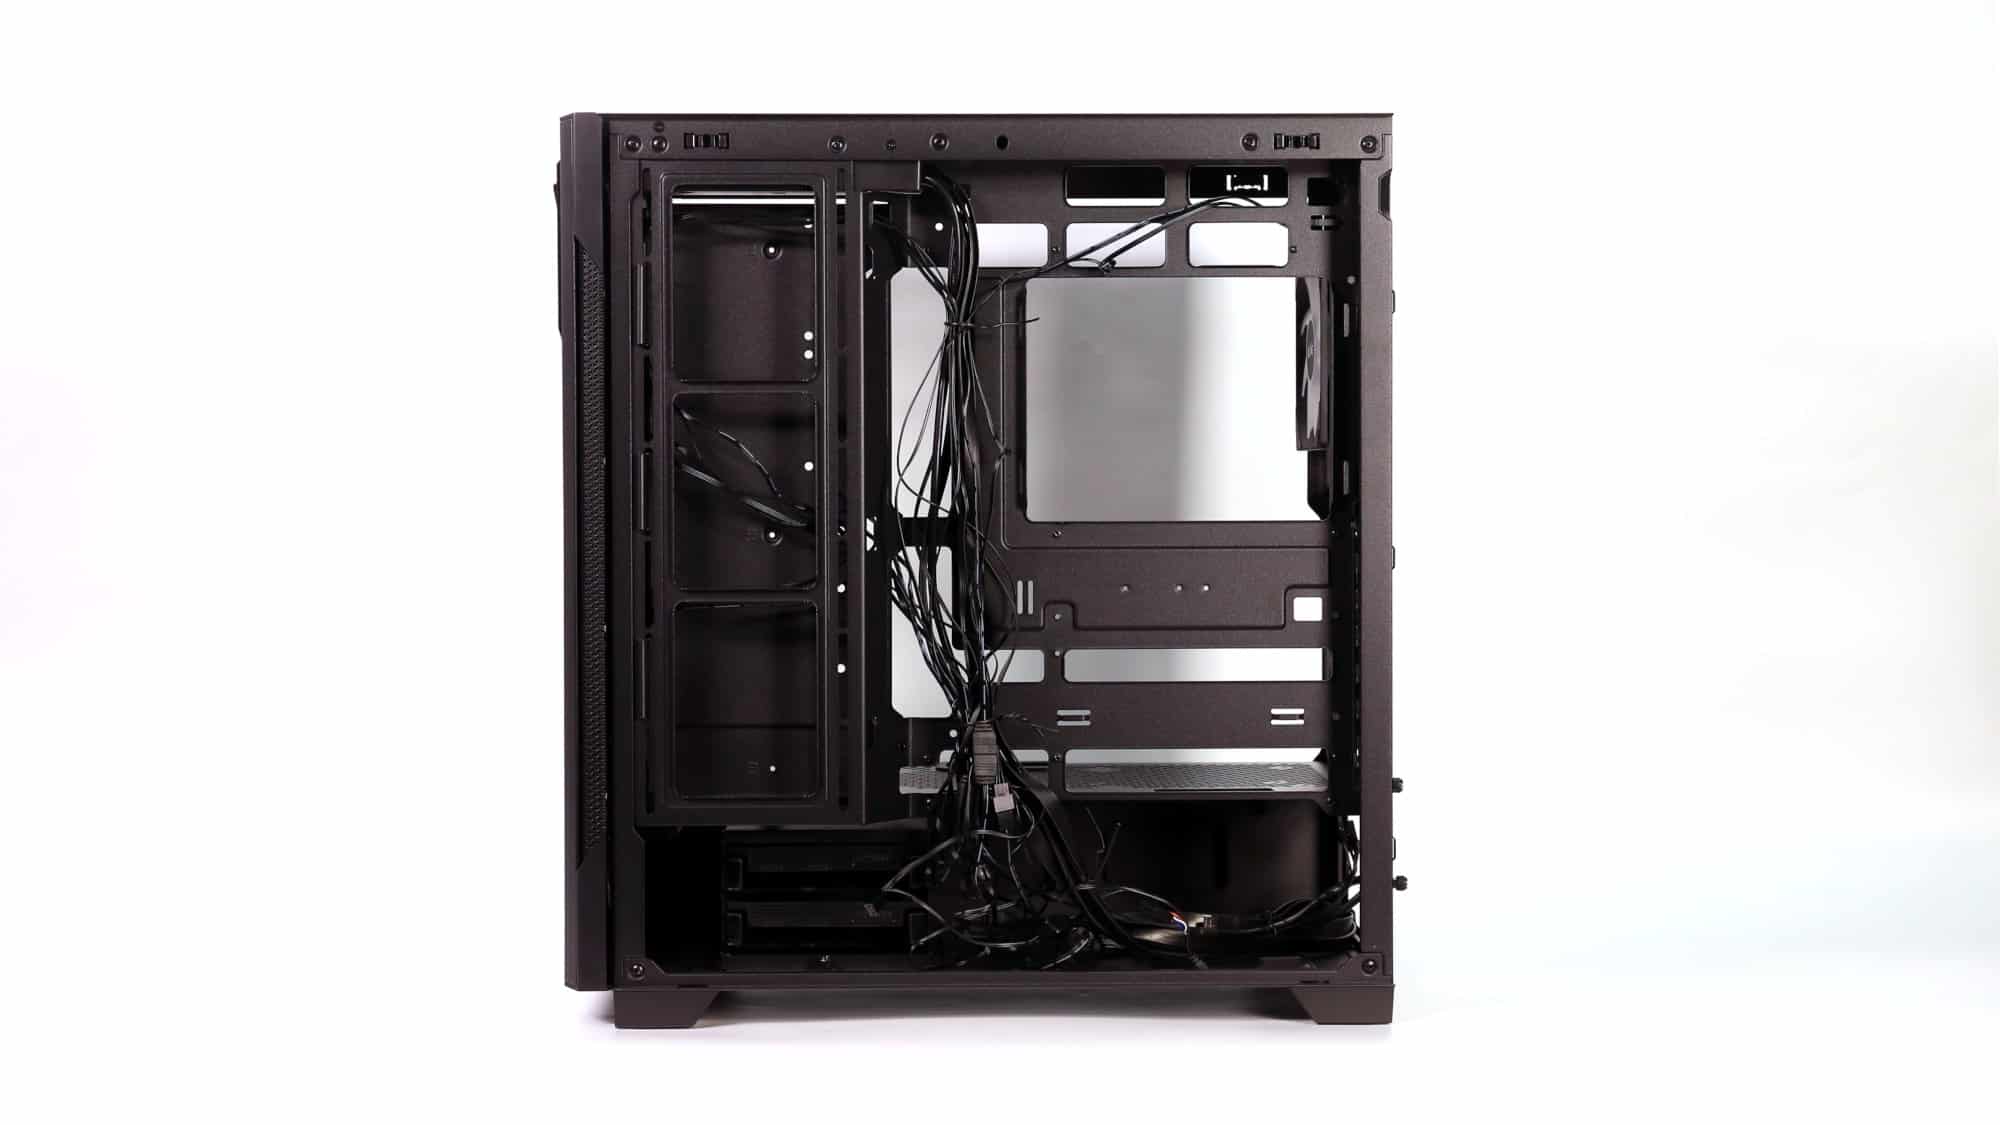
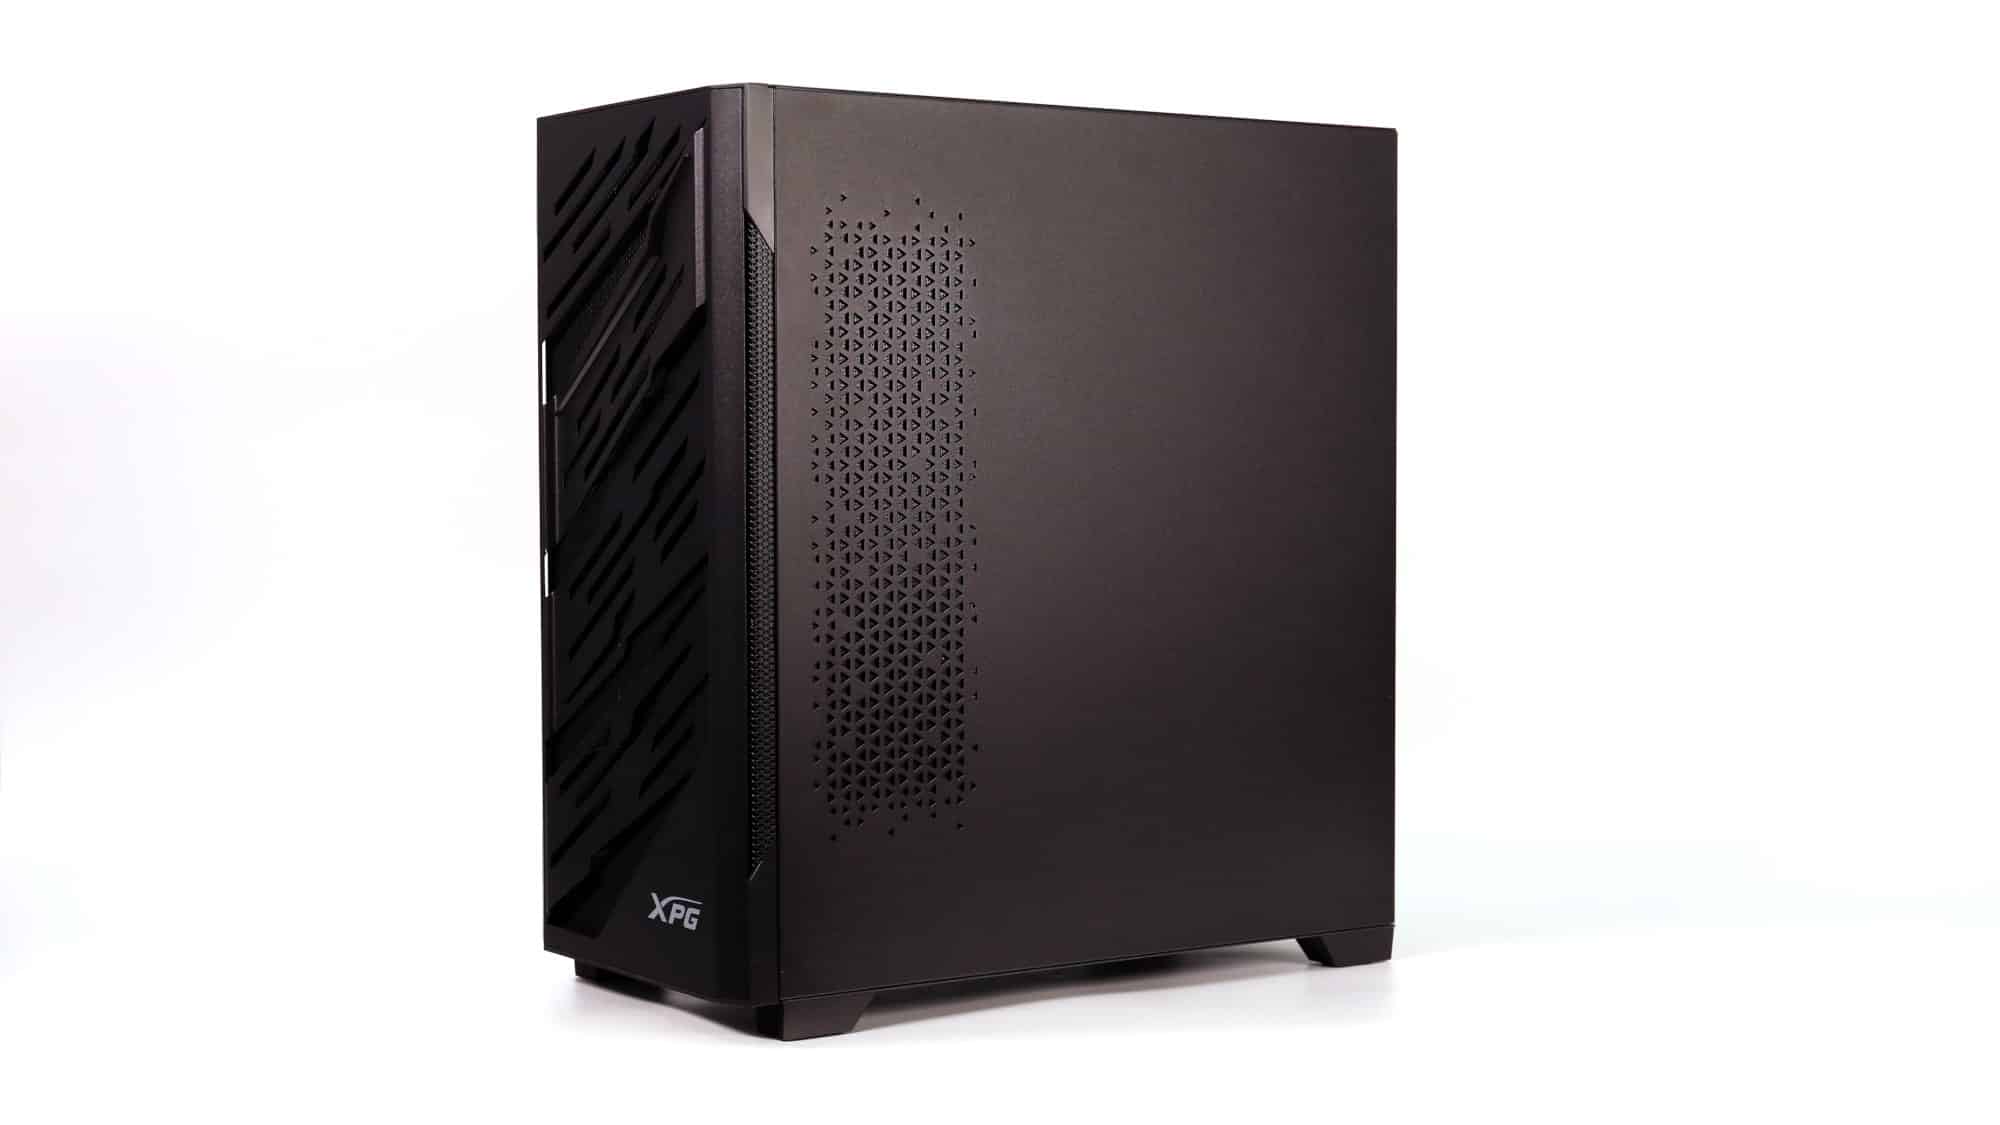
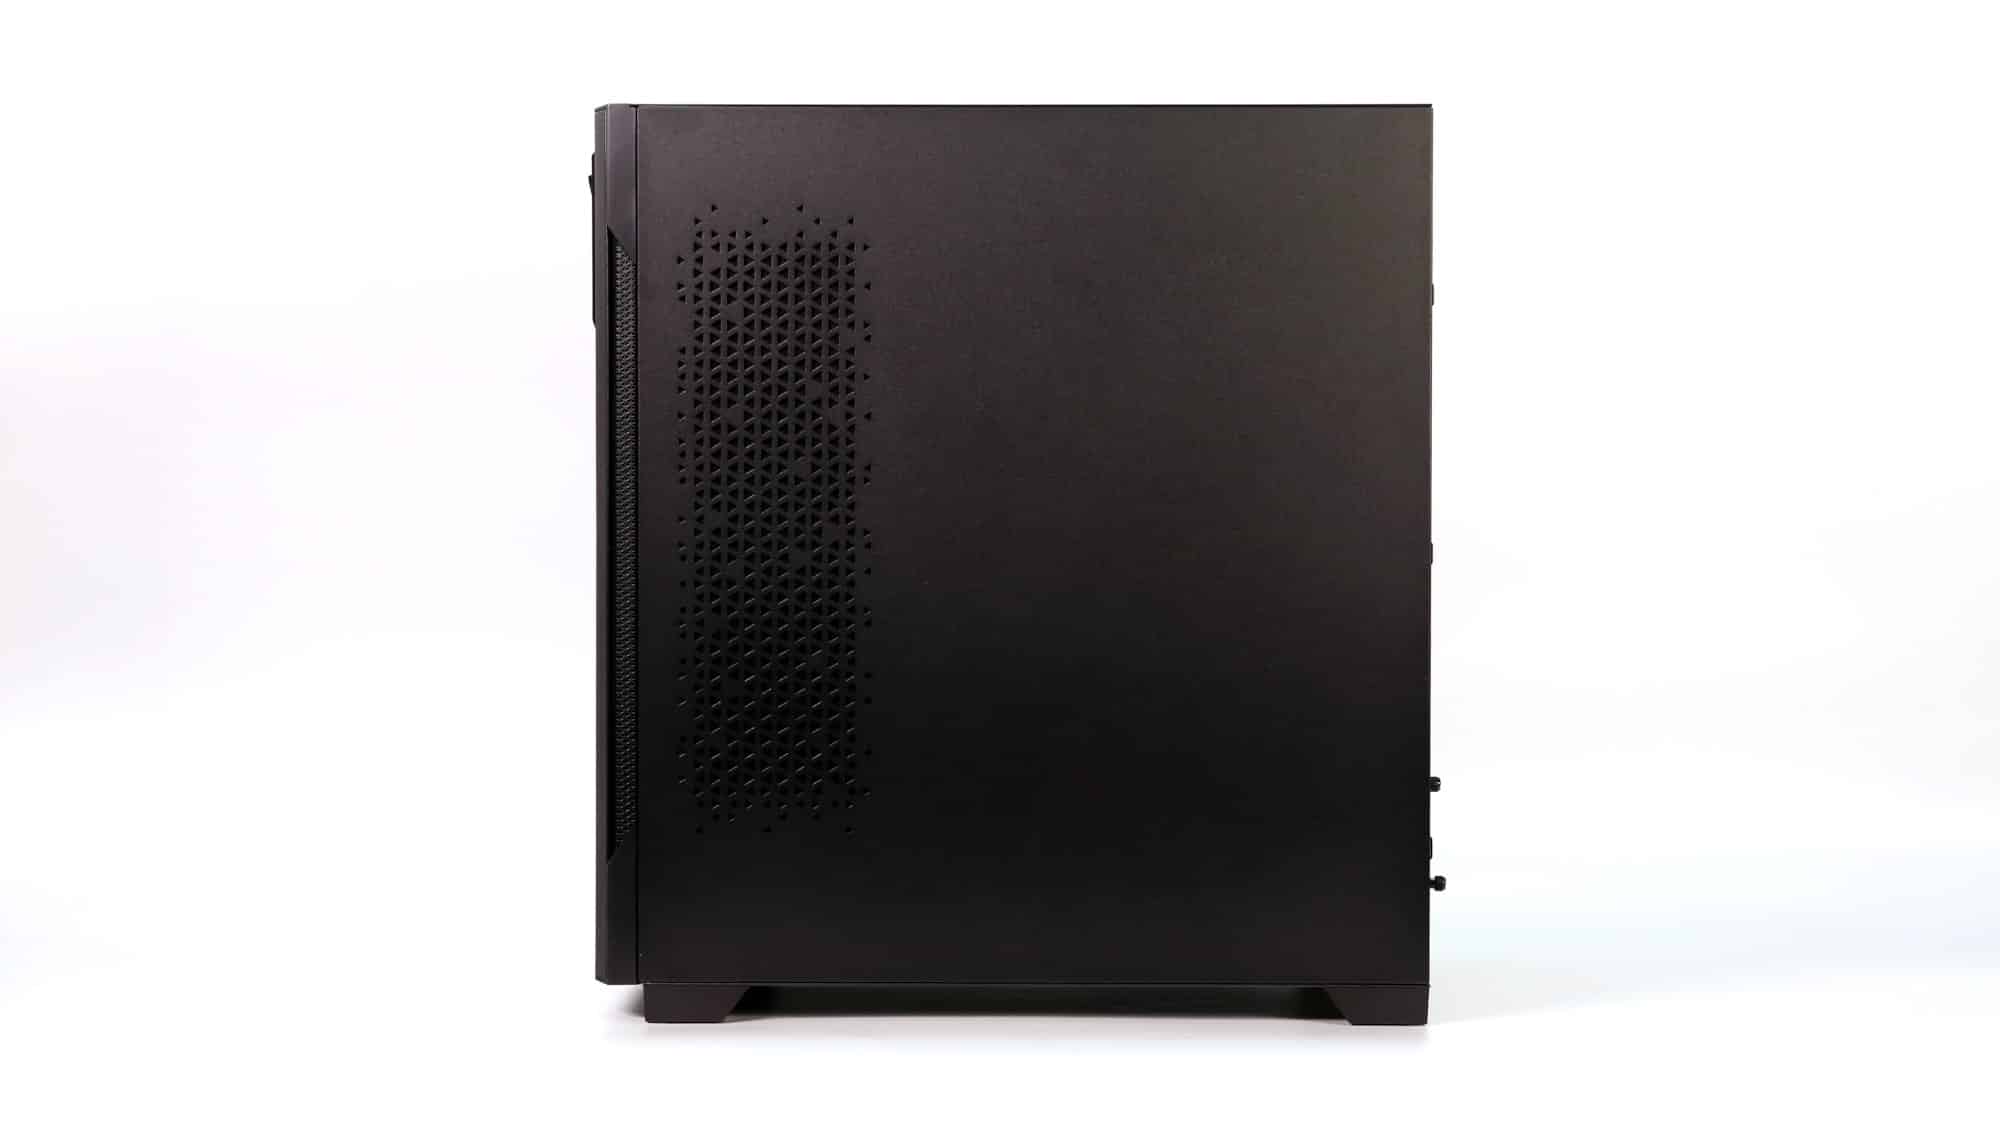
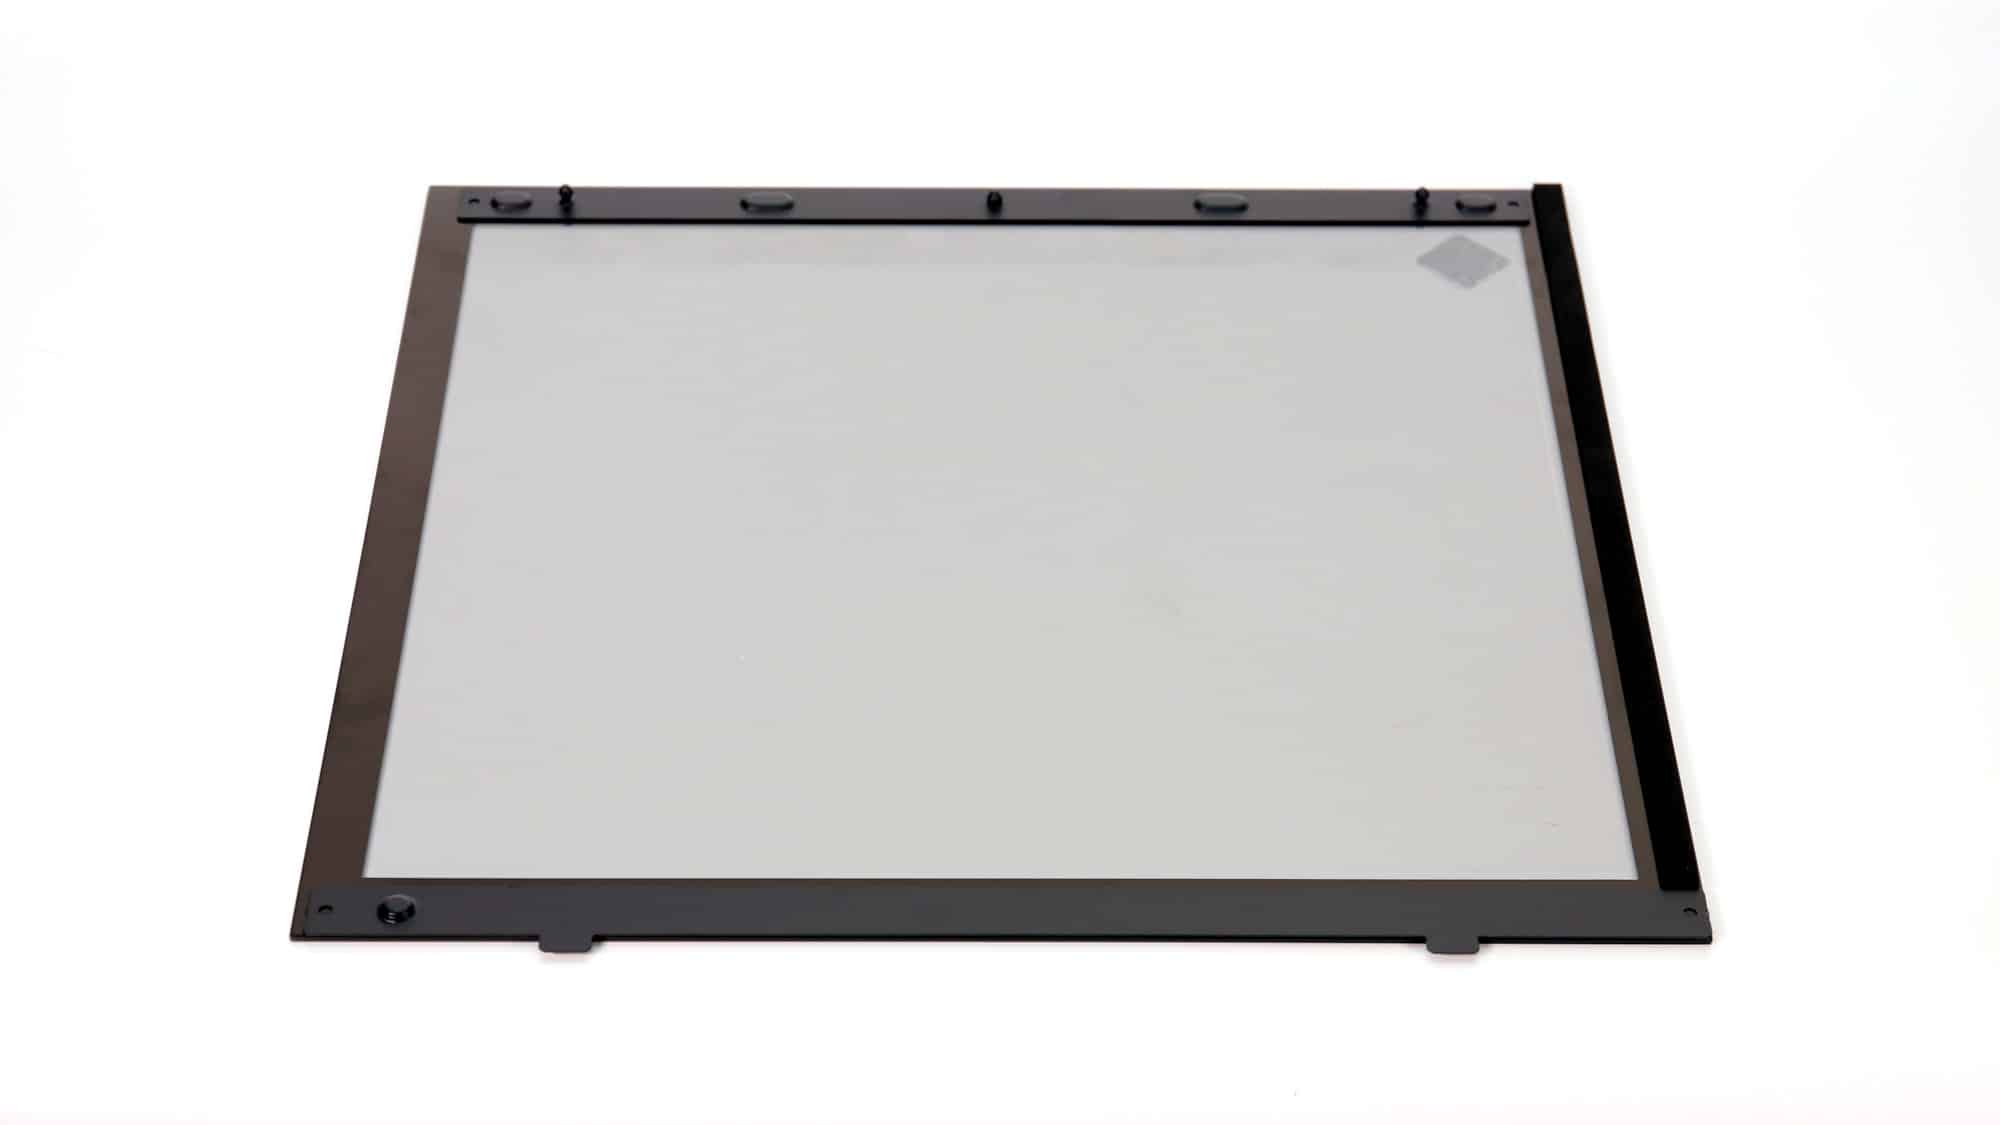
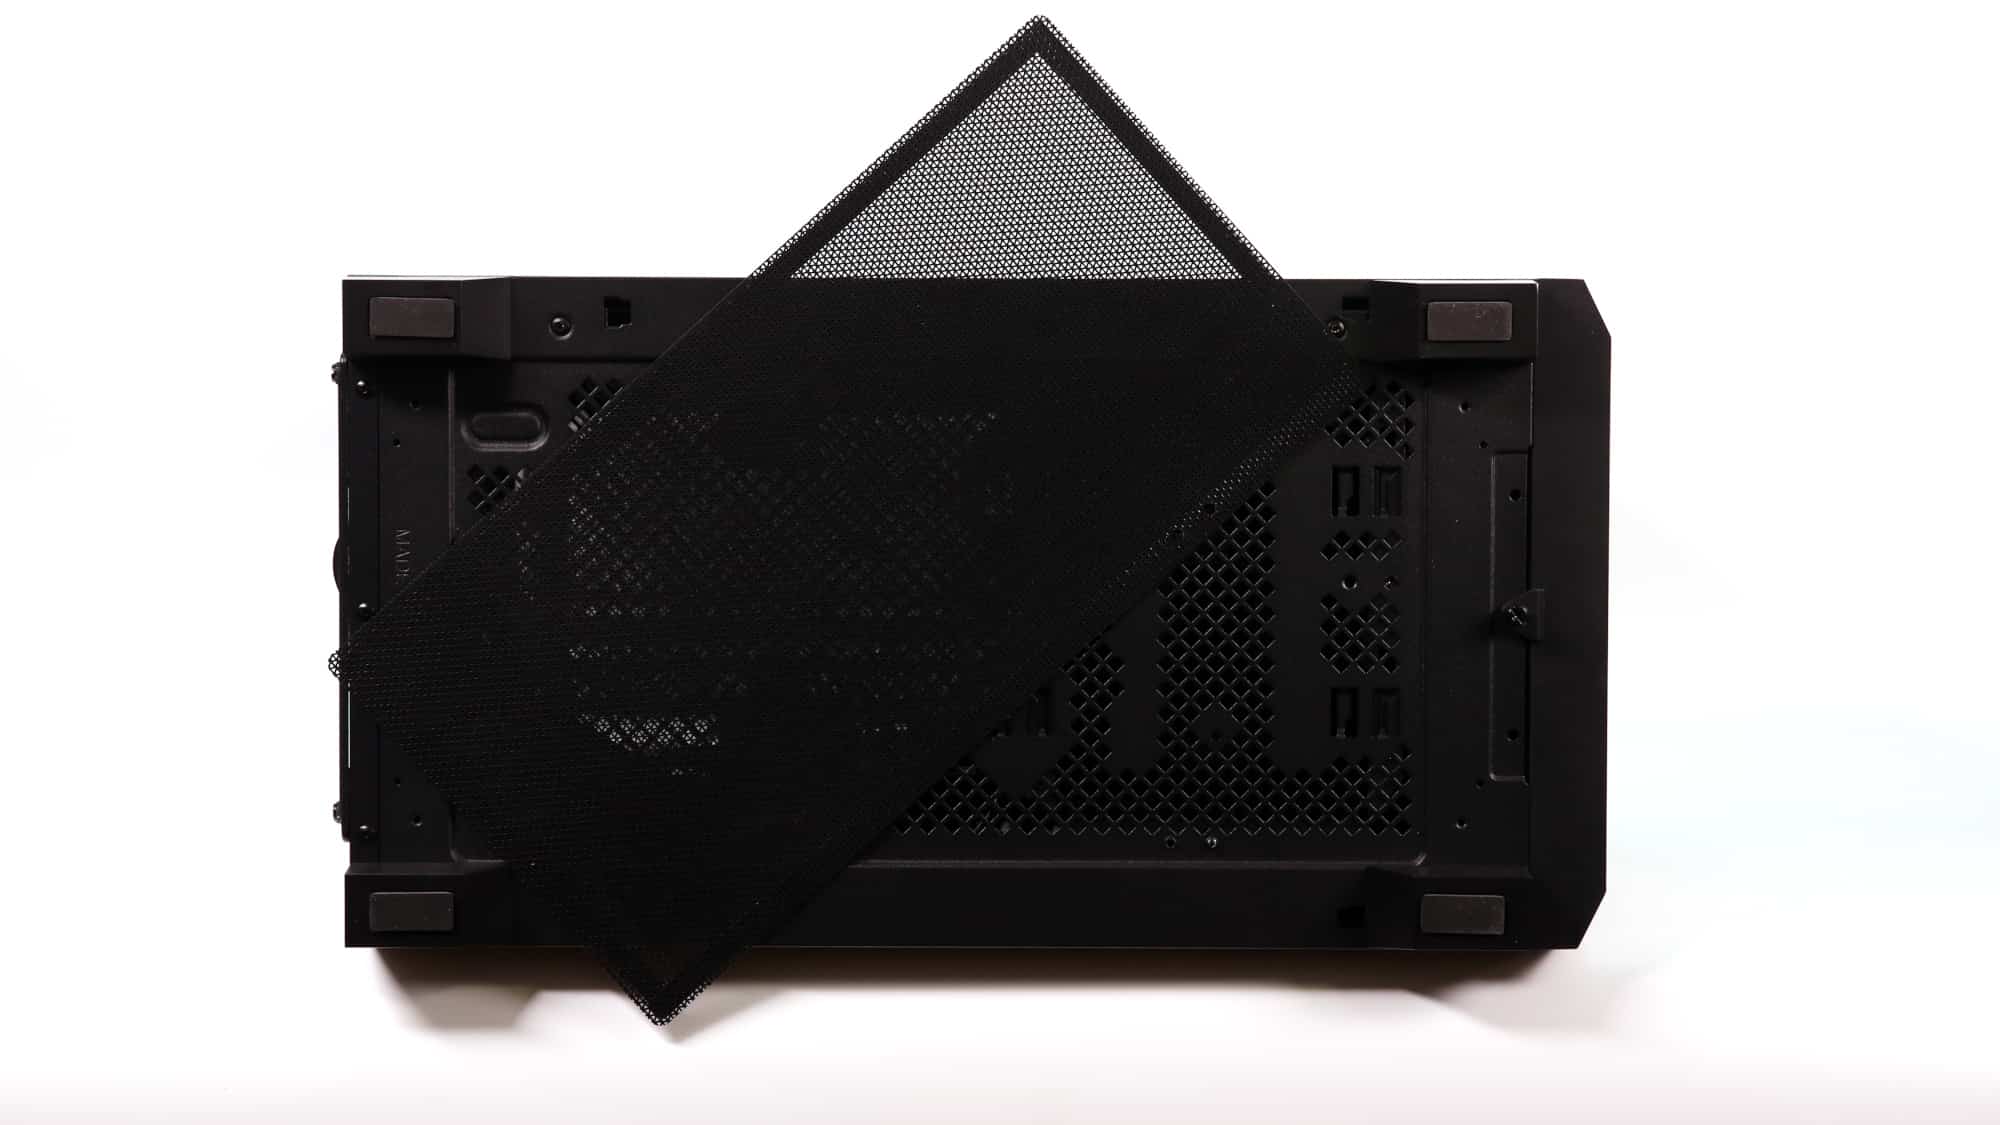
On the back side of the motherboard, you have a plain steel panel with air cutouts and the third dust filter right behind them. The positioning mechanism is exactly the same as the glass side panel, but this panel is bigger as it spans the entire side.

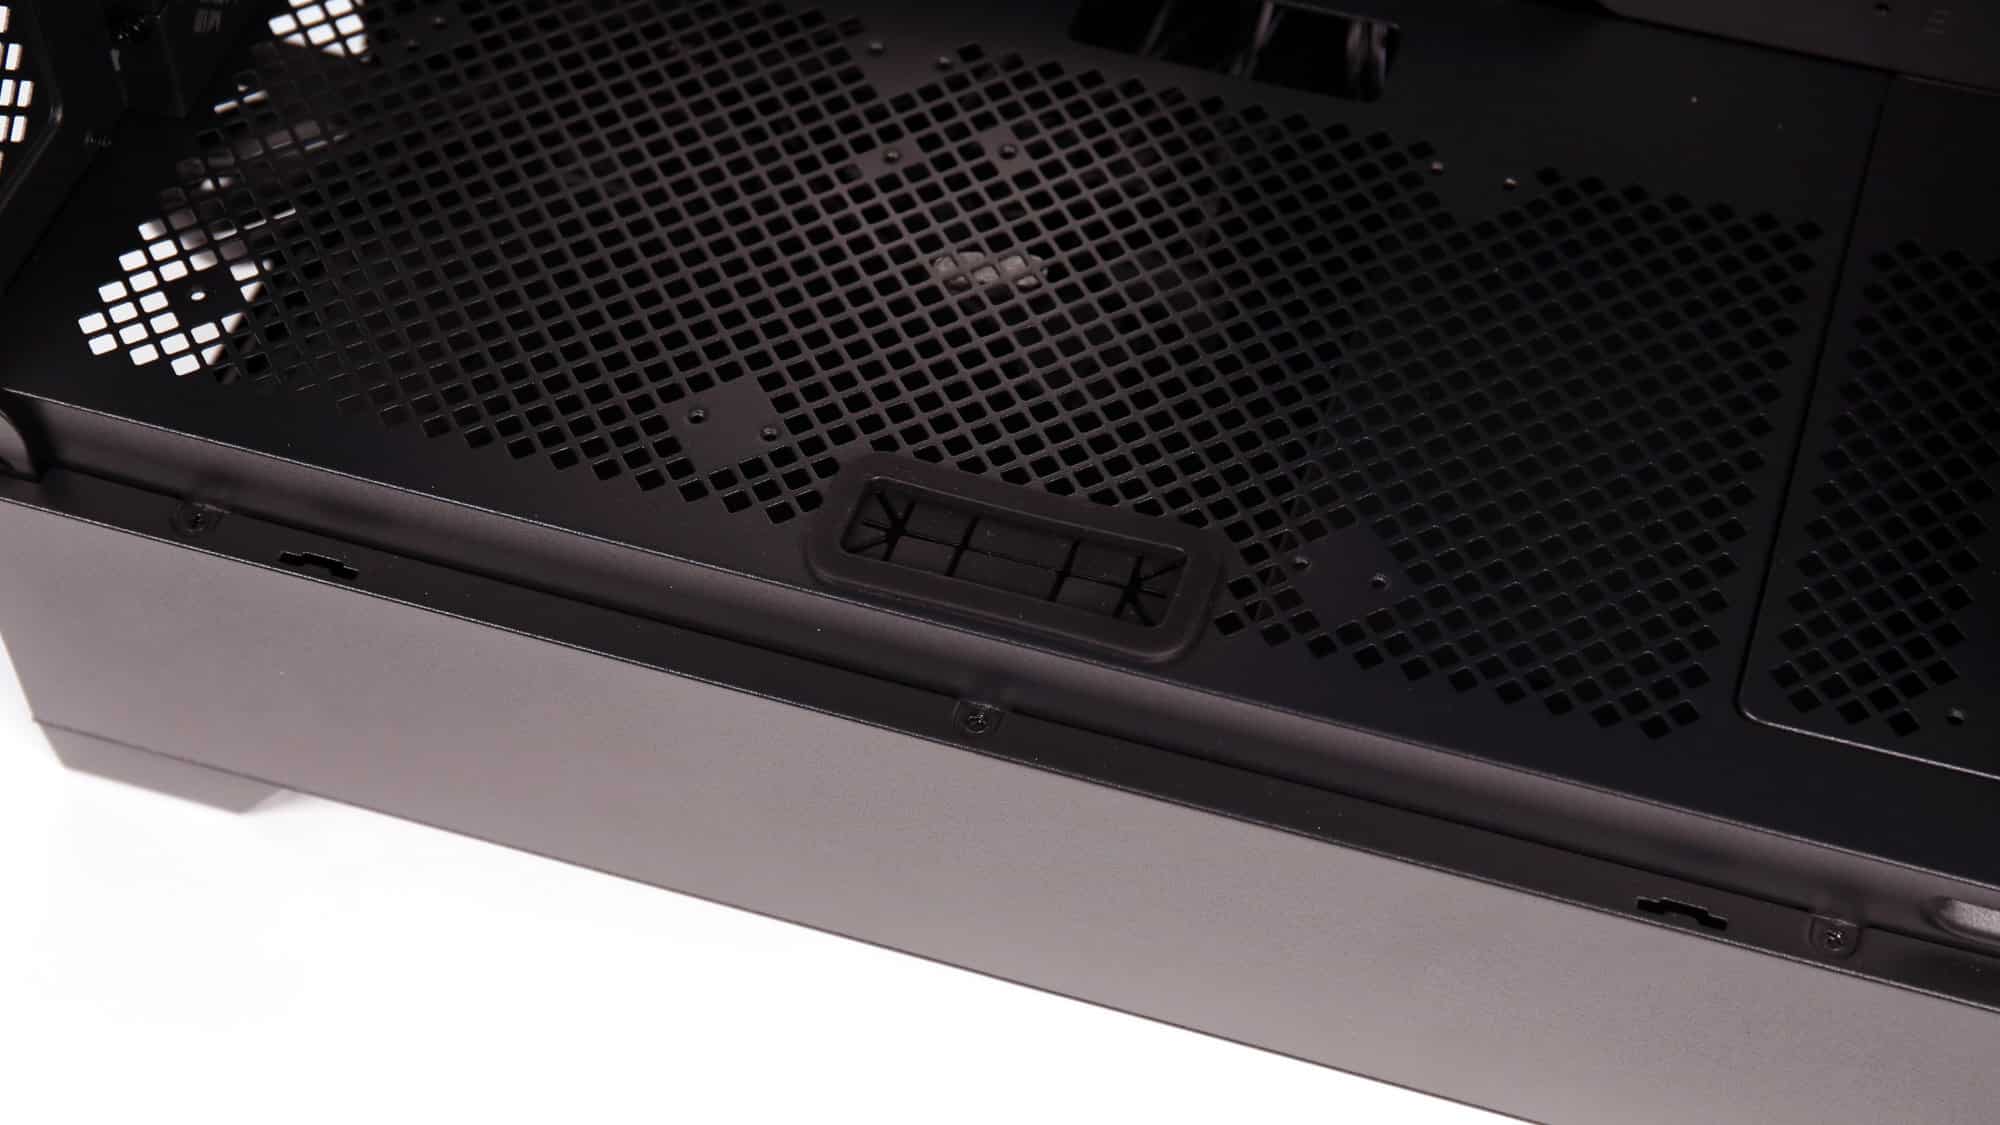
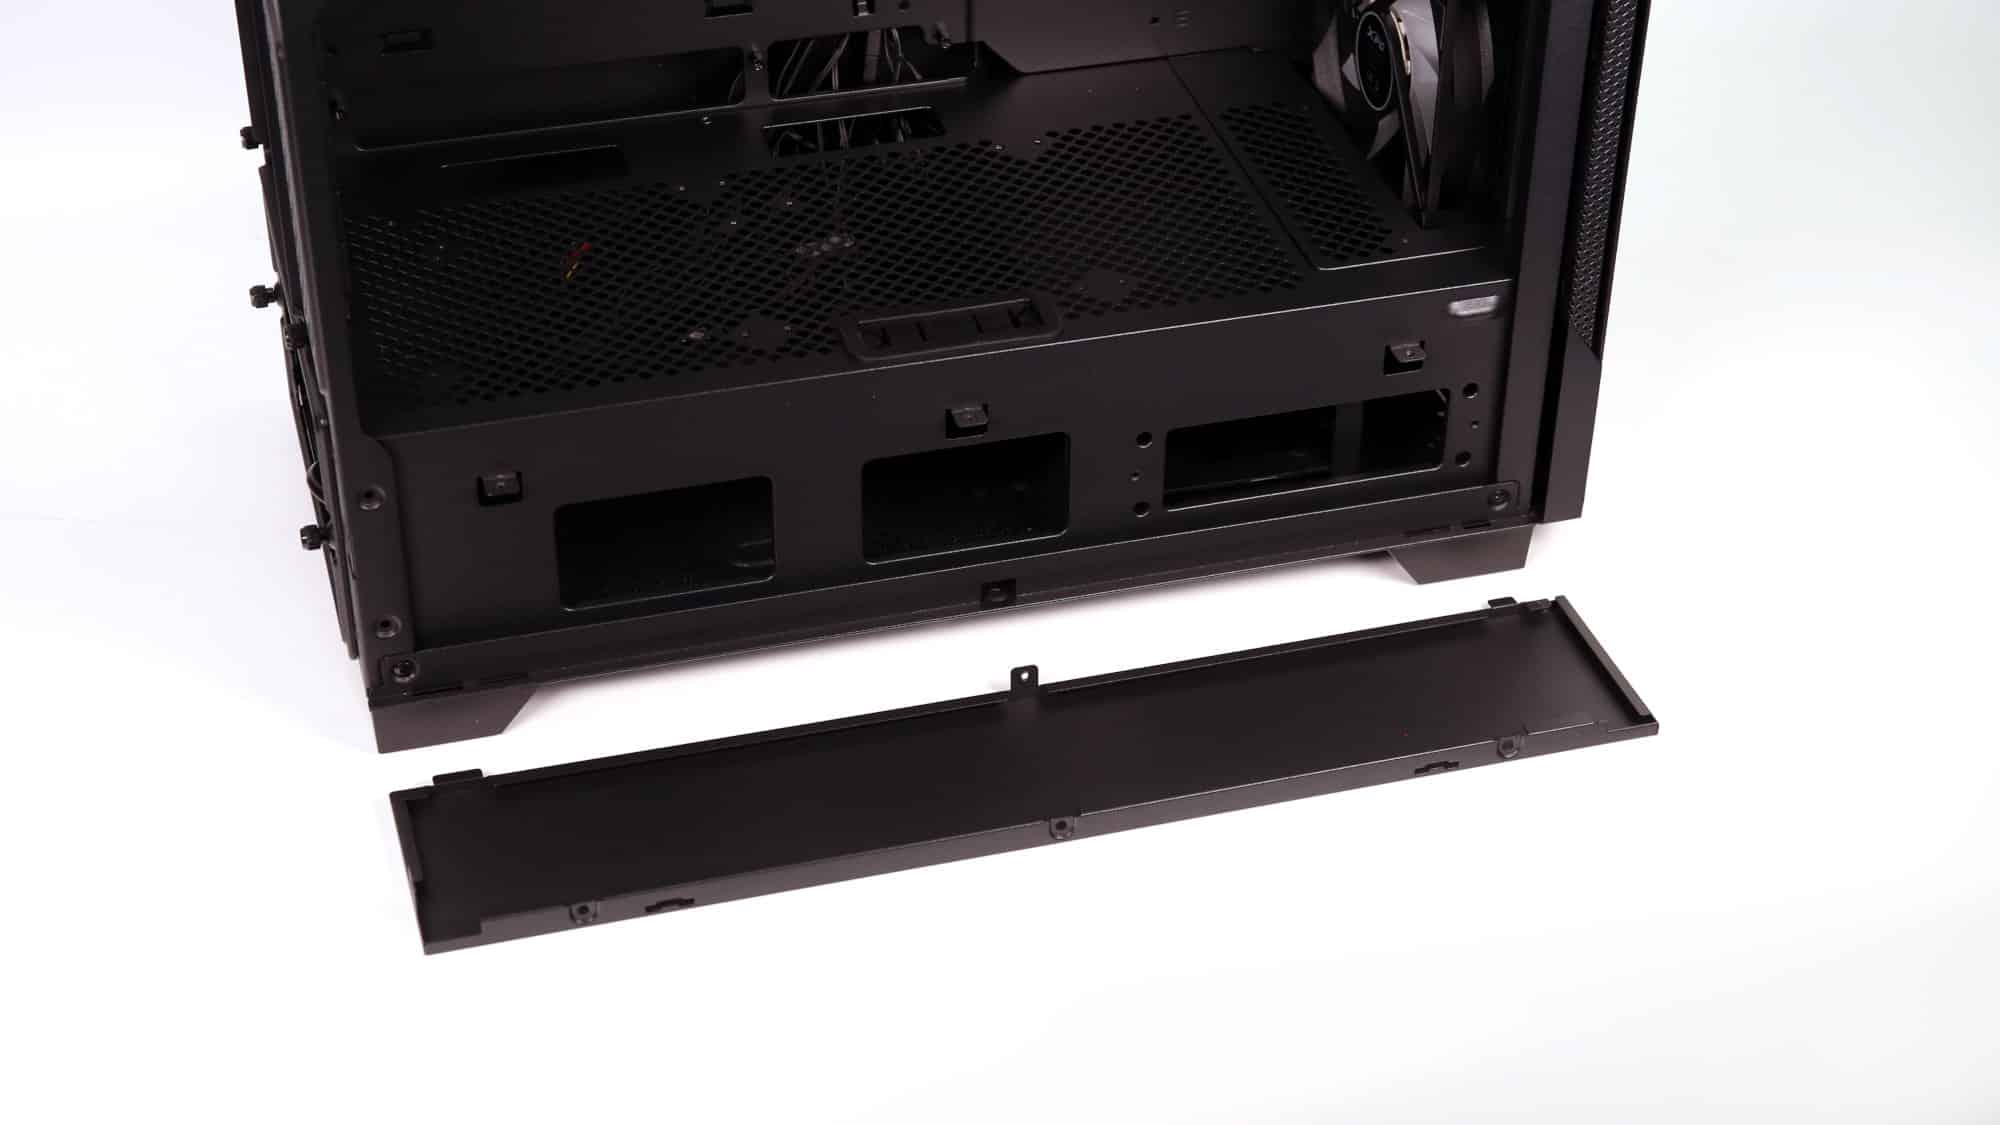
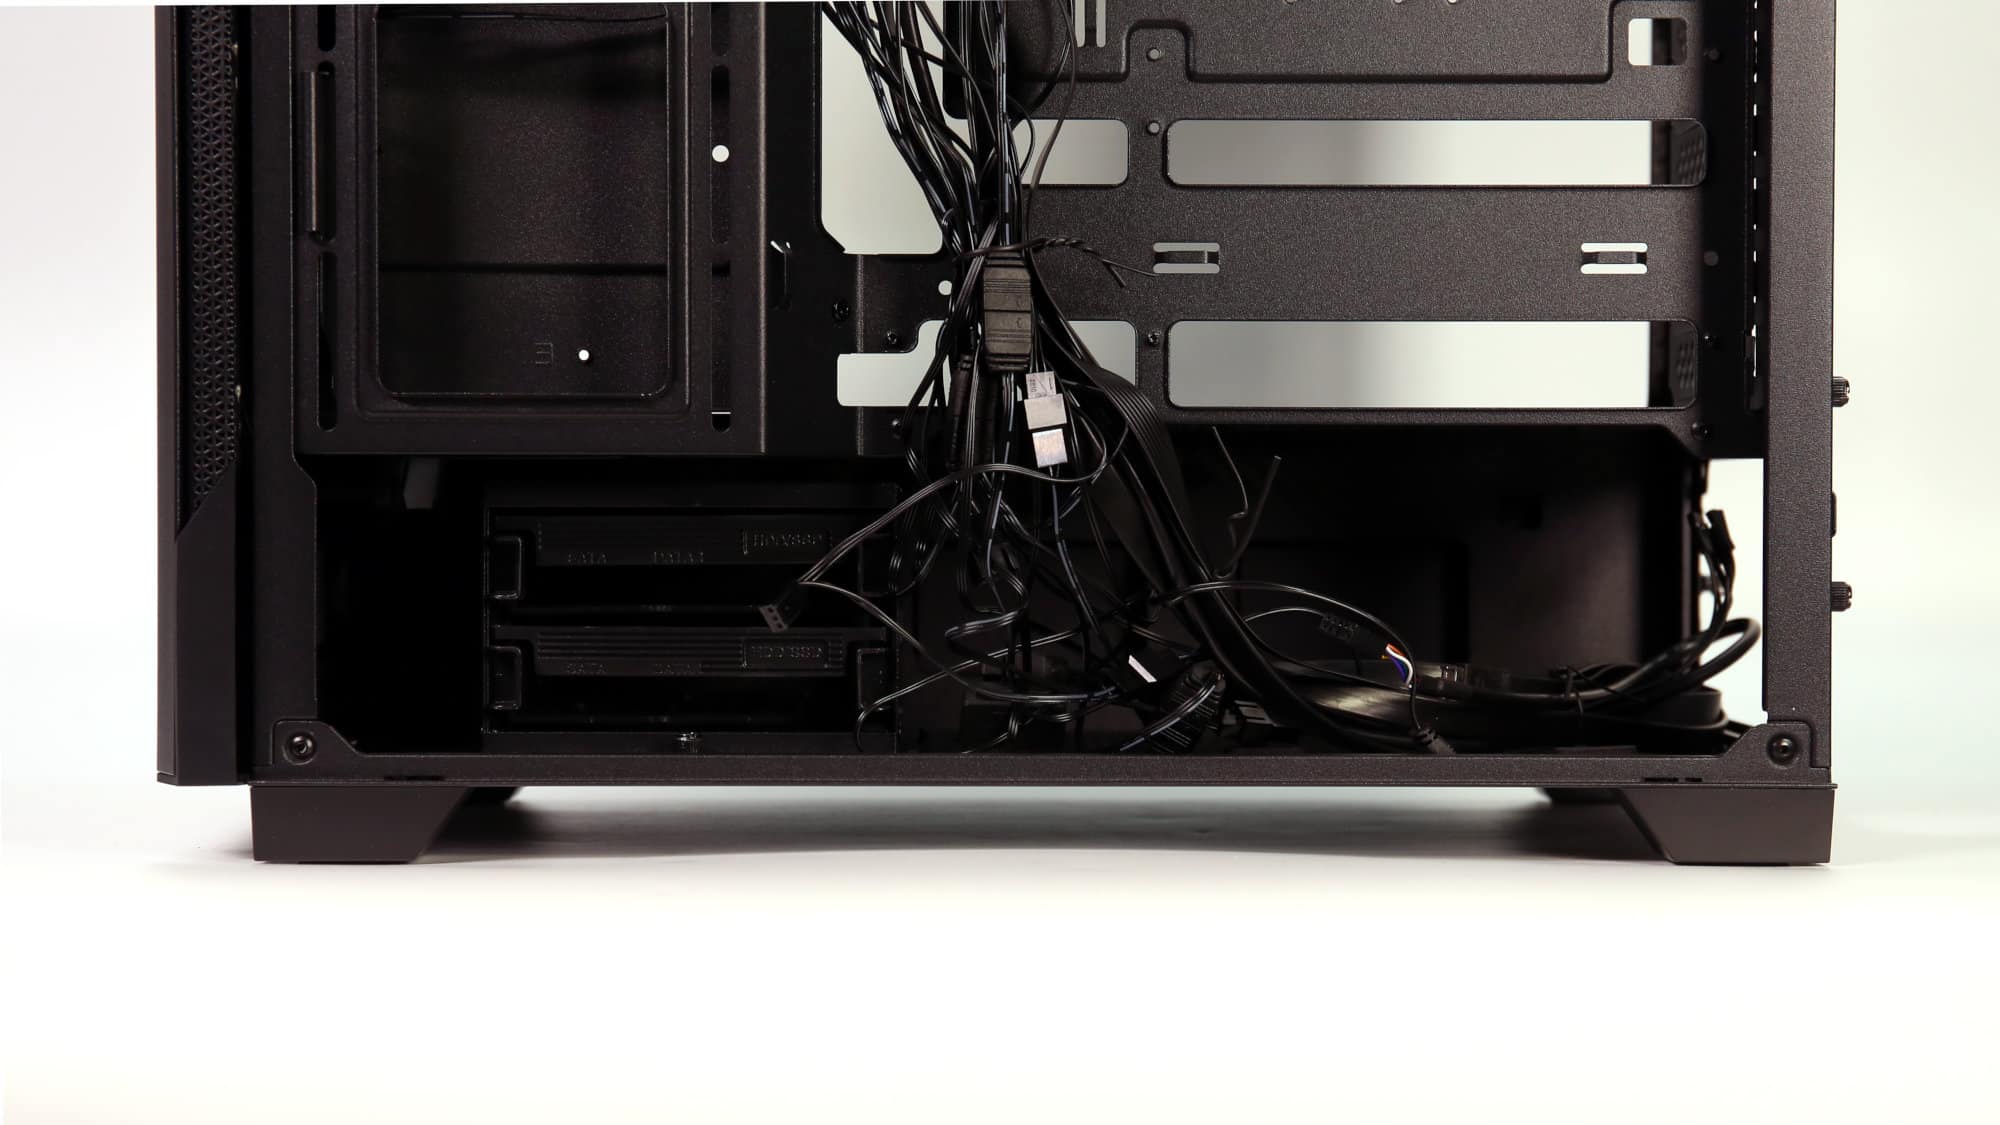
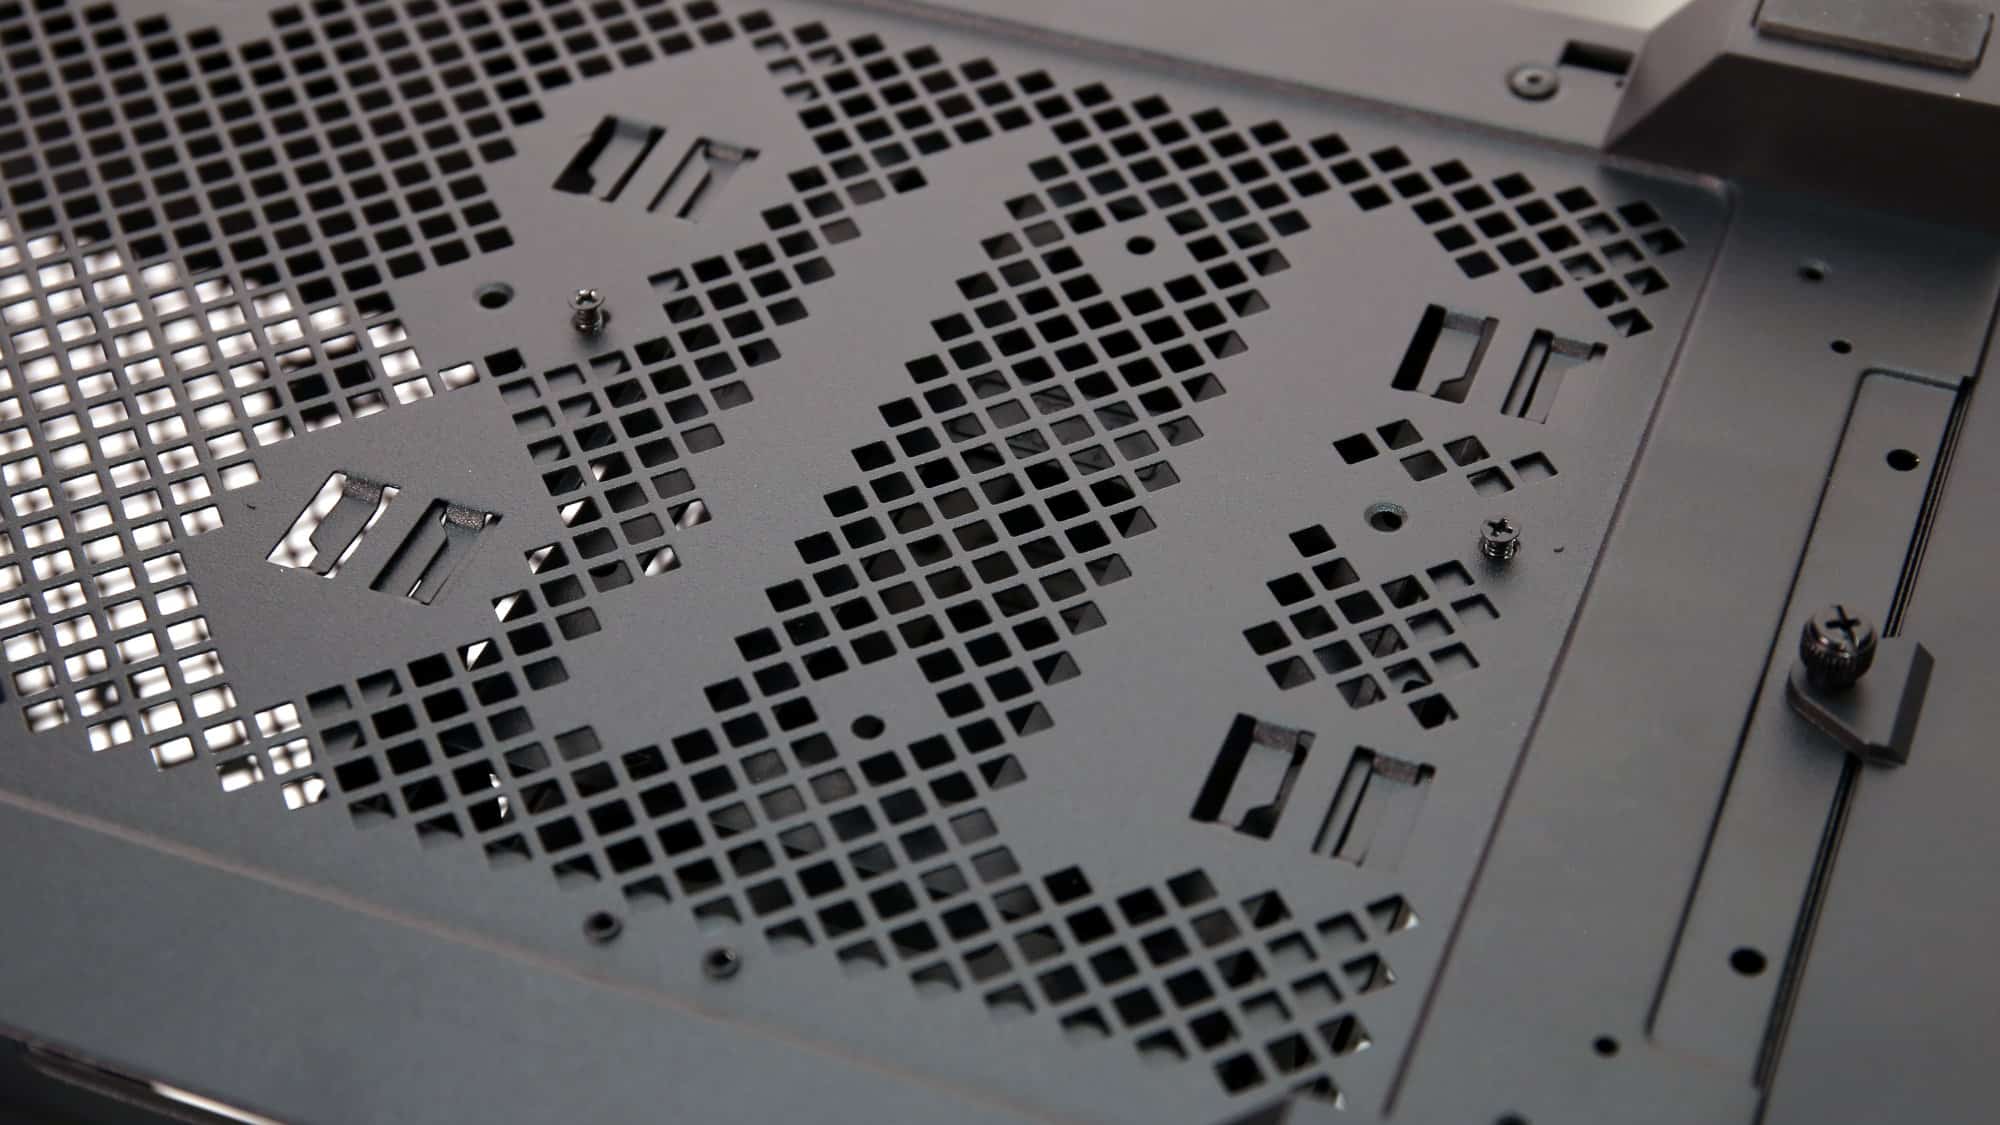
On the bottom you have the fourth filter of the chassis, along with some screws that secure the drive bay.
Compatibility and Space Utilization
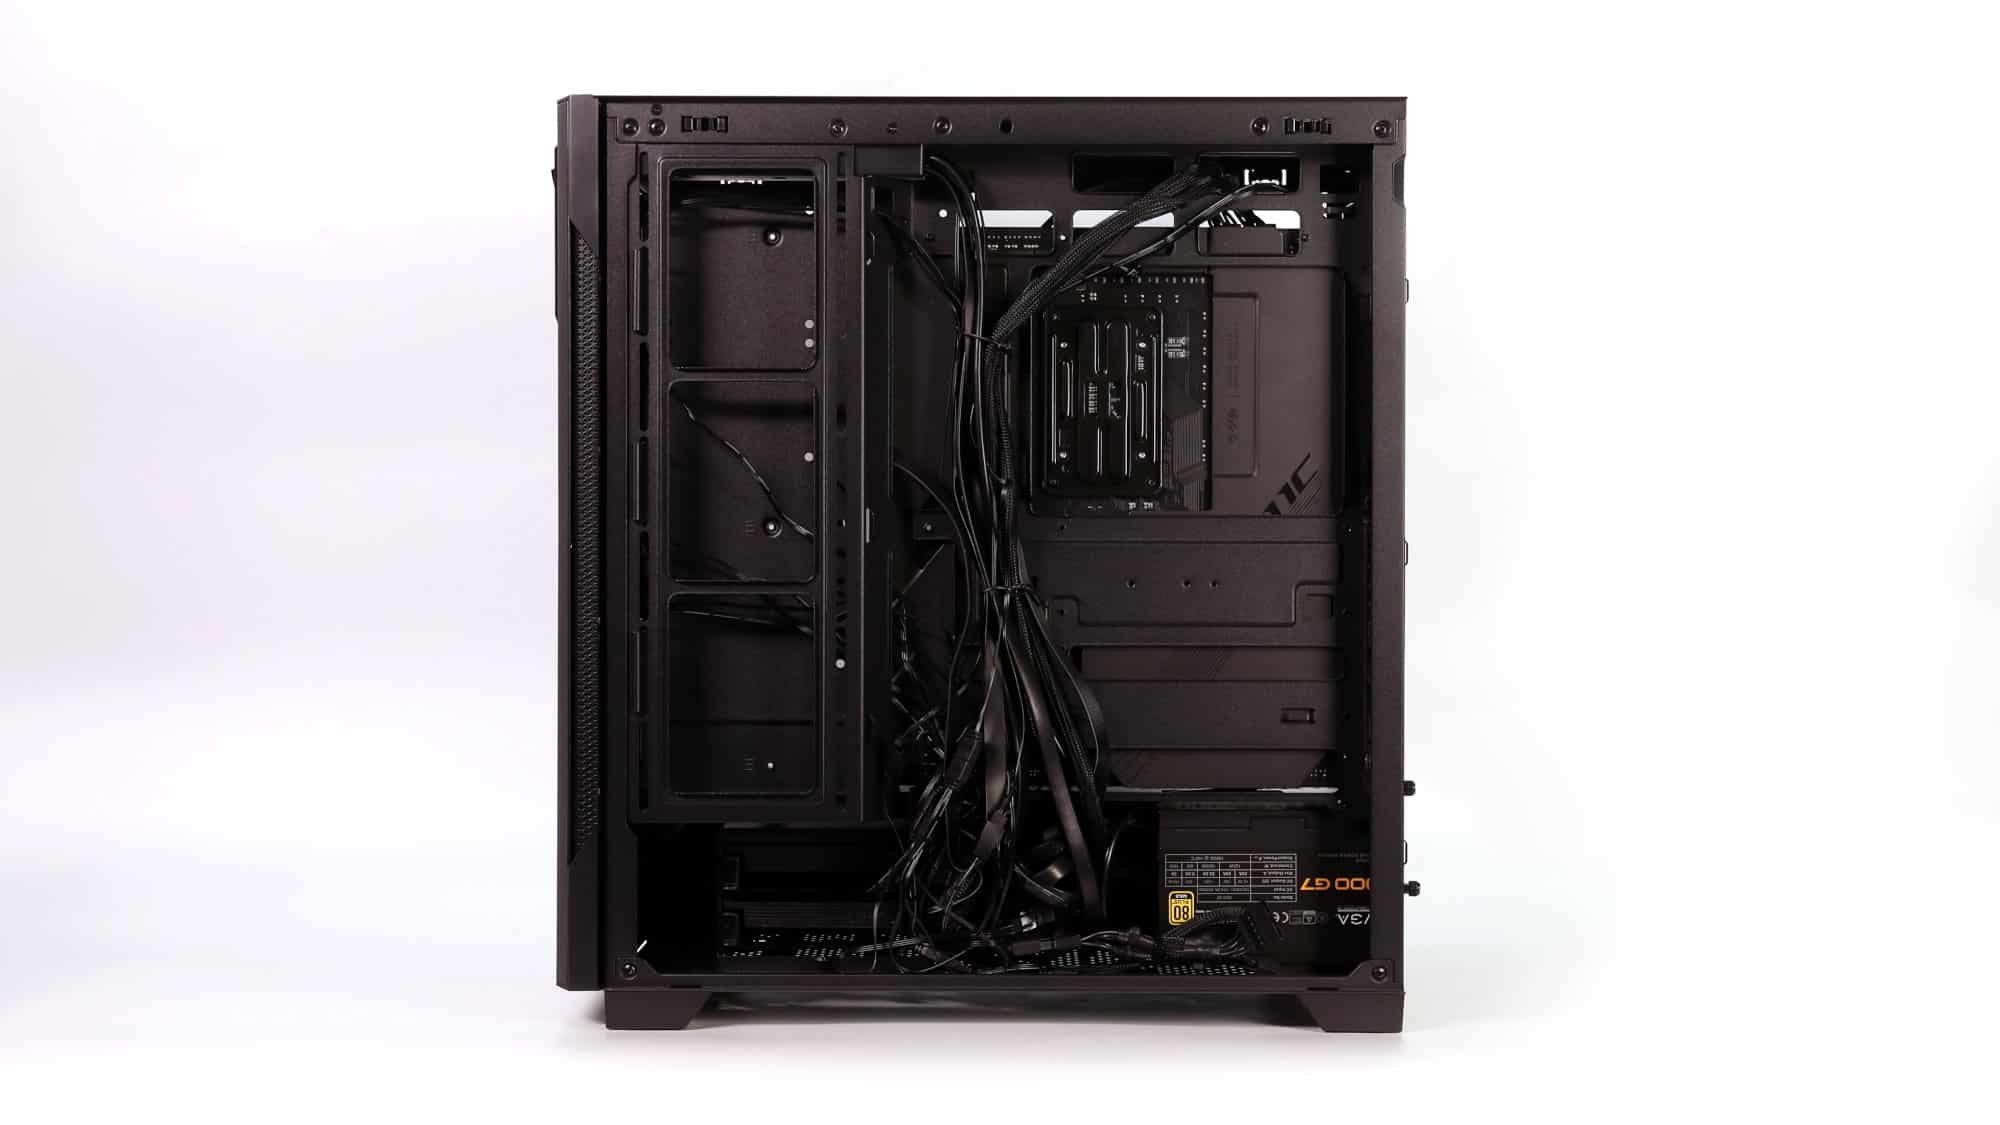
Move inside, and the first thing you notice is the BTF cutouts. Despite being present on probably every new chassis, they still seem noteworthy as they are a significant visual change from the chassis of the pre-BTF era. Regardless, there seems to be enough room to work with here. You may fit a GPU up to 390mm long, a CPU air cooler up to 180mm, a PSU up to 220mm with the HDD cage in the front position, or about 200mm with the HDD cage in the back position.
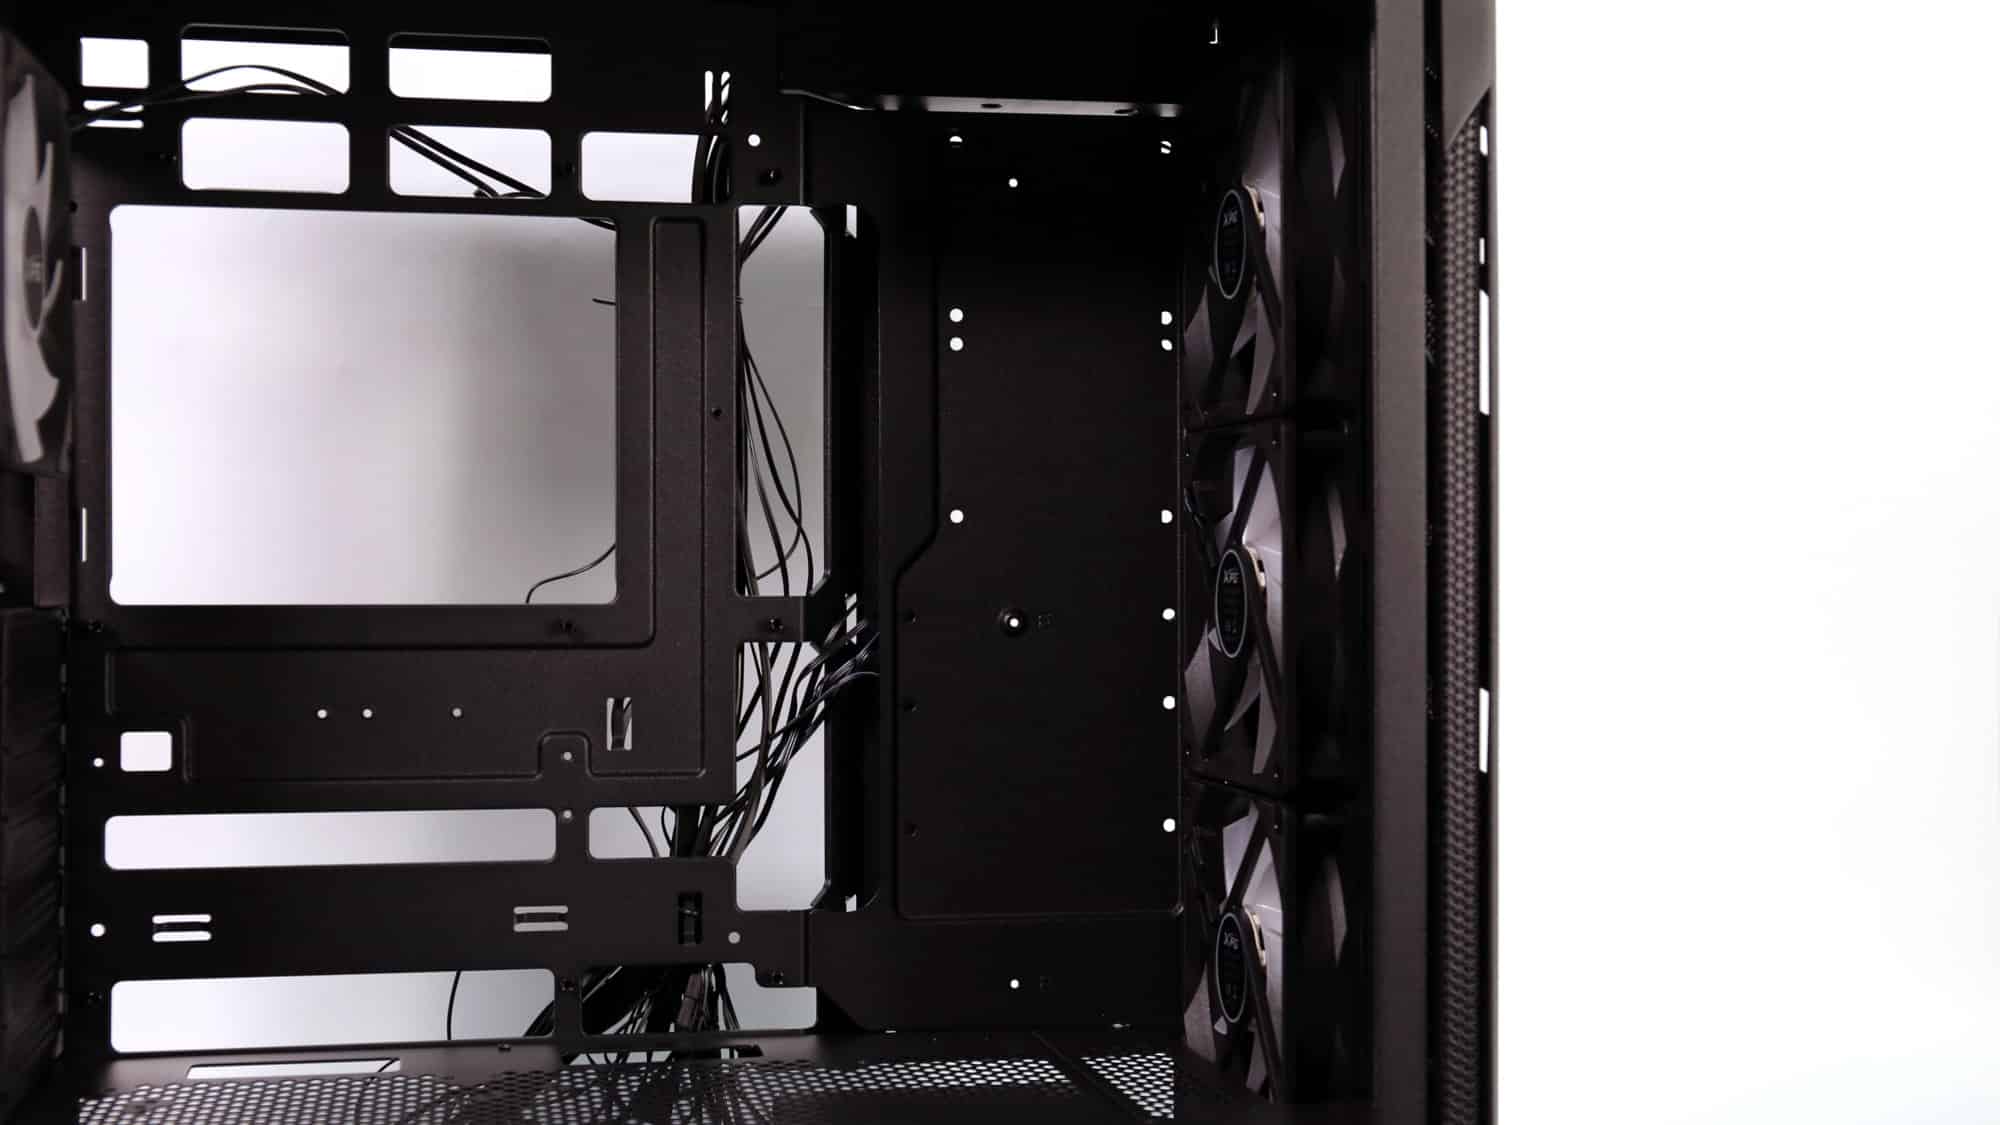
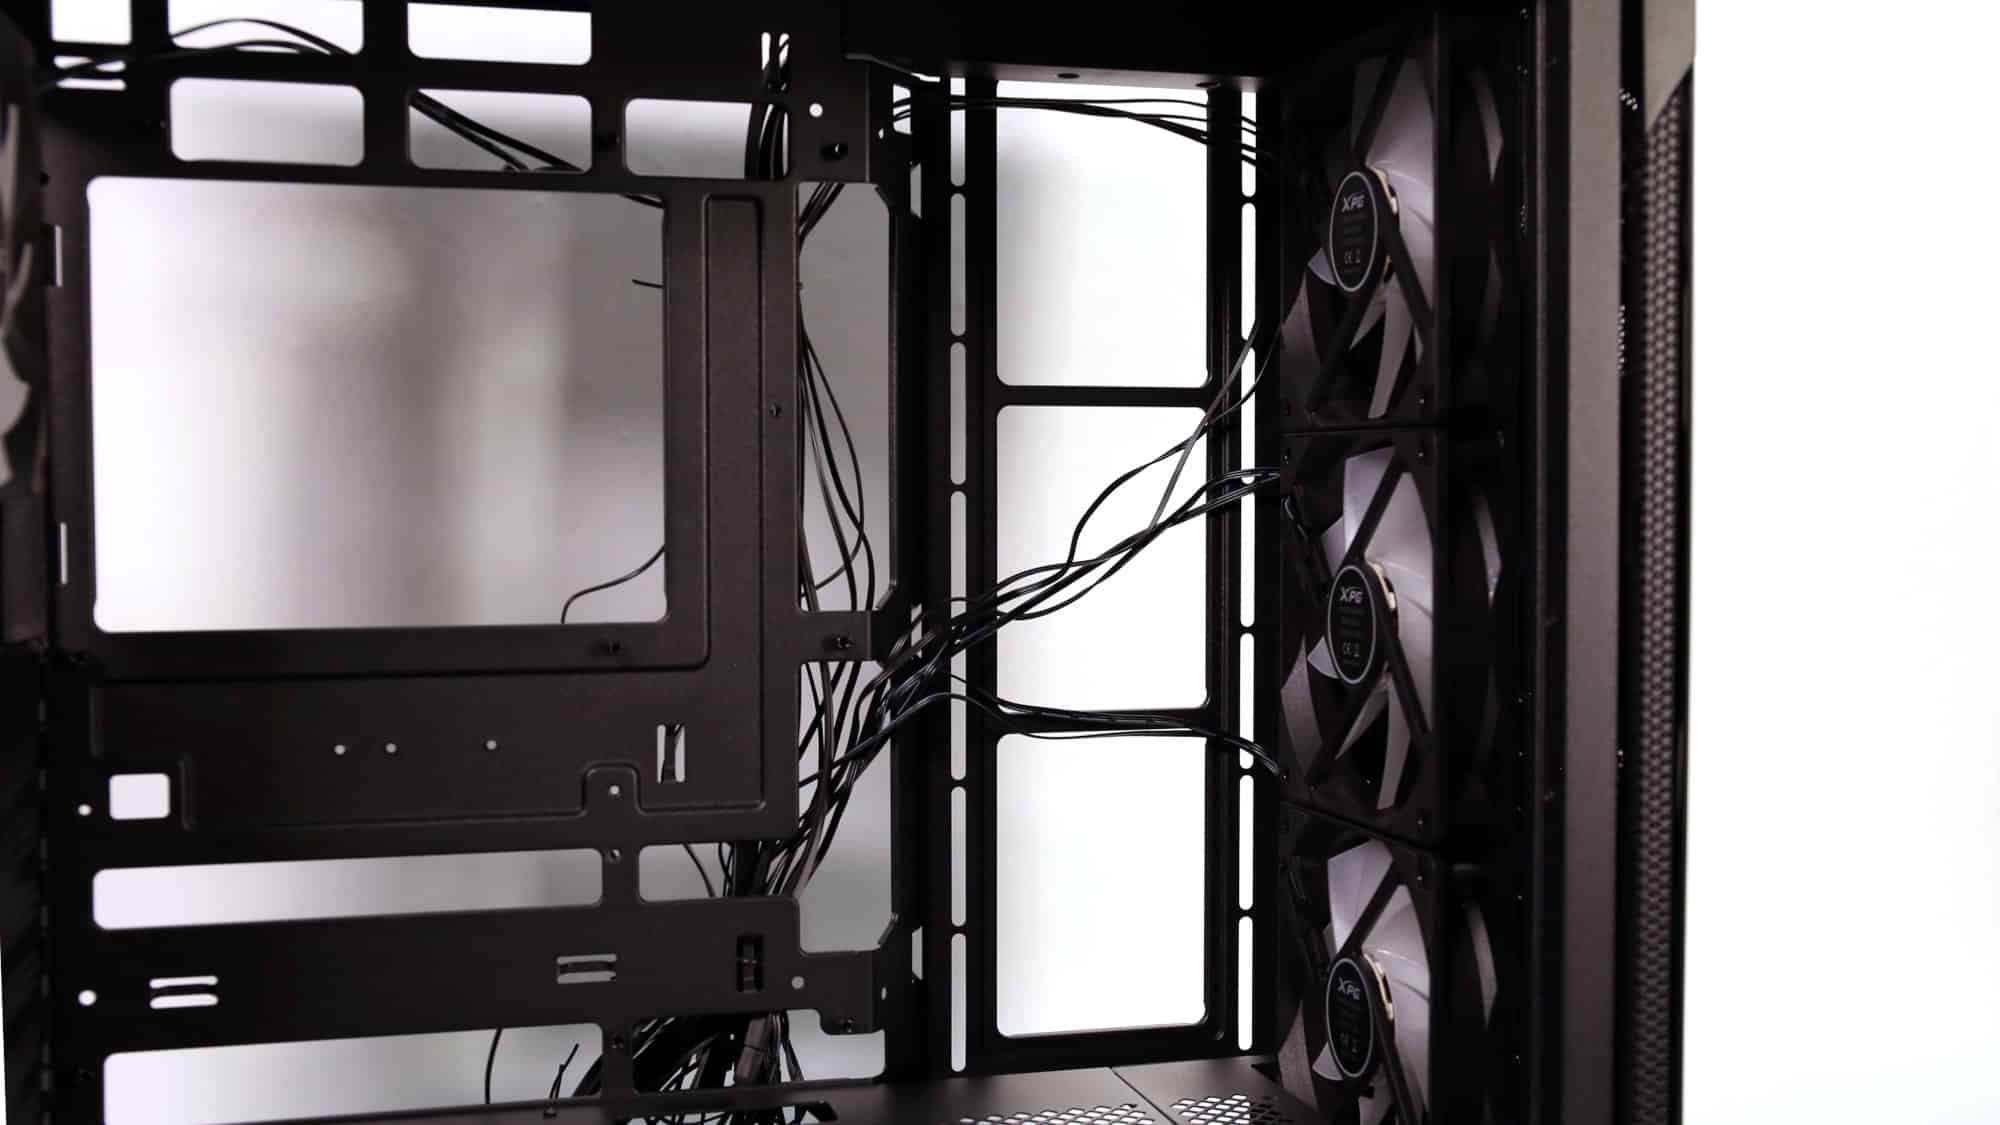
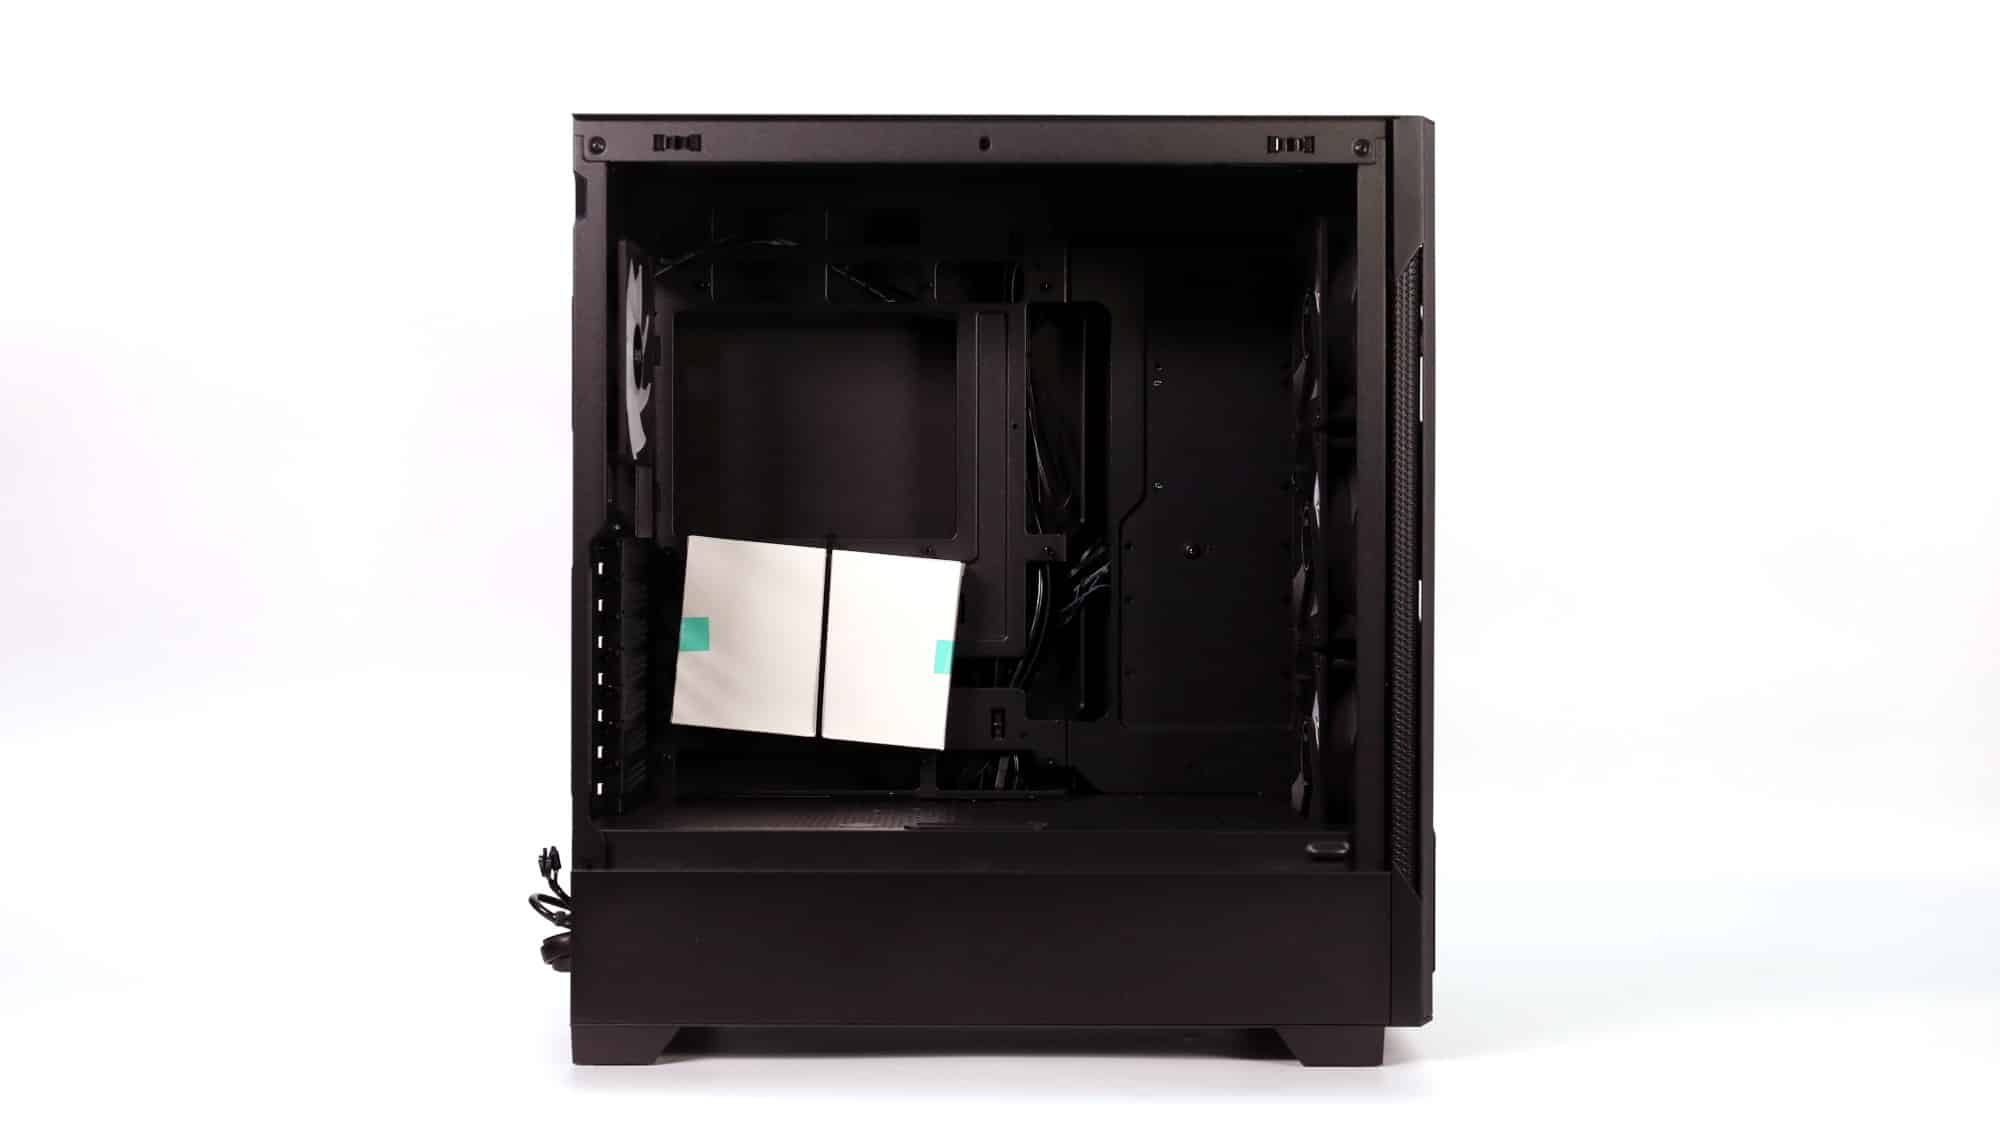
Next to the motherboard, there is a removable metal panel. This panel covers mounting brackets that can be used for fans/radiator, or storage. Yes, storage! To remove this panel and gain access to this space you have to undo two screws from the back. This will reveal, however, the cables of the front fans, which have to be zip-tied inside the unique grooves to make them non-visible. Moreover, there are mounting brackets for E-ATX standoffs on that panel. You must leave the panel in place if you have such a big board.
The top of the PSU shroud has space to mount up to three fans or a vertical GPU bracket, cable cutouts close to the motherboard, a waterfall opening for the graphics card power cable, and a removable panel close to the front in case you want to fit a radiator there.
Cooling and Airflow
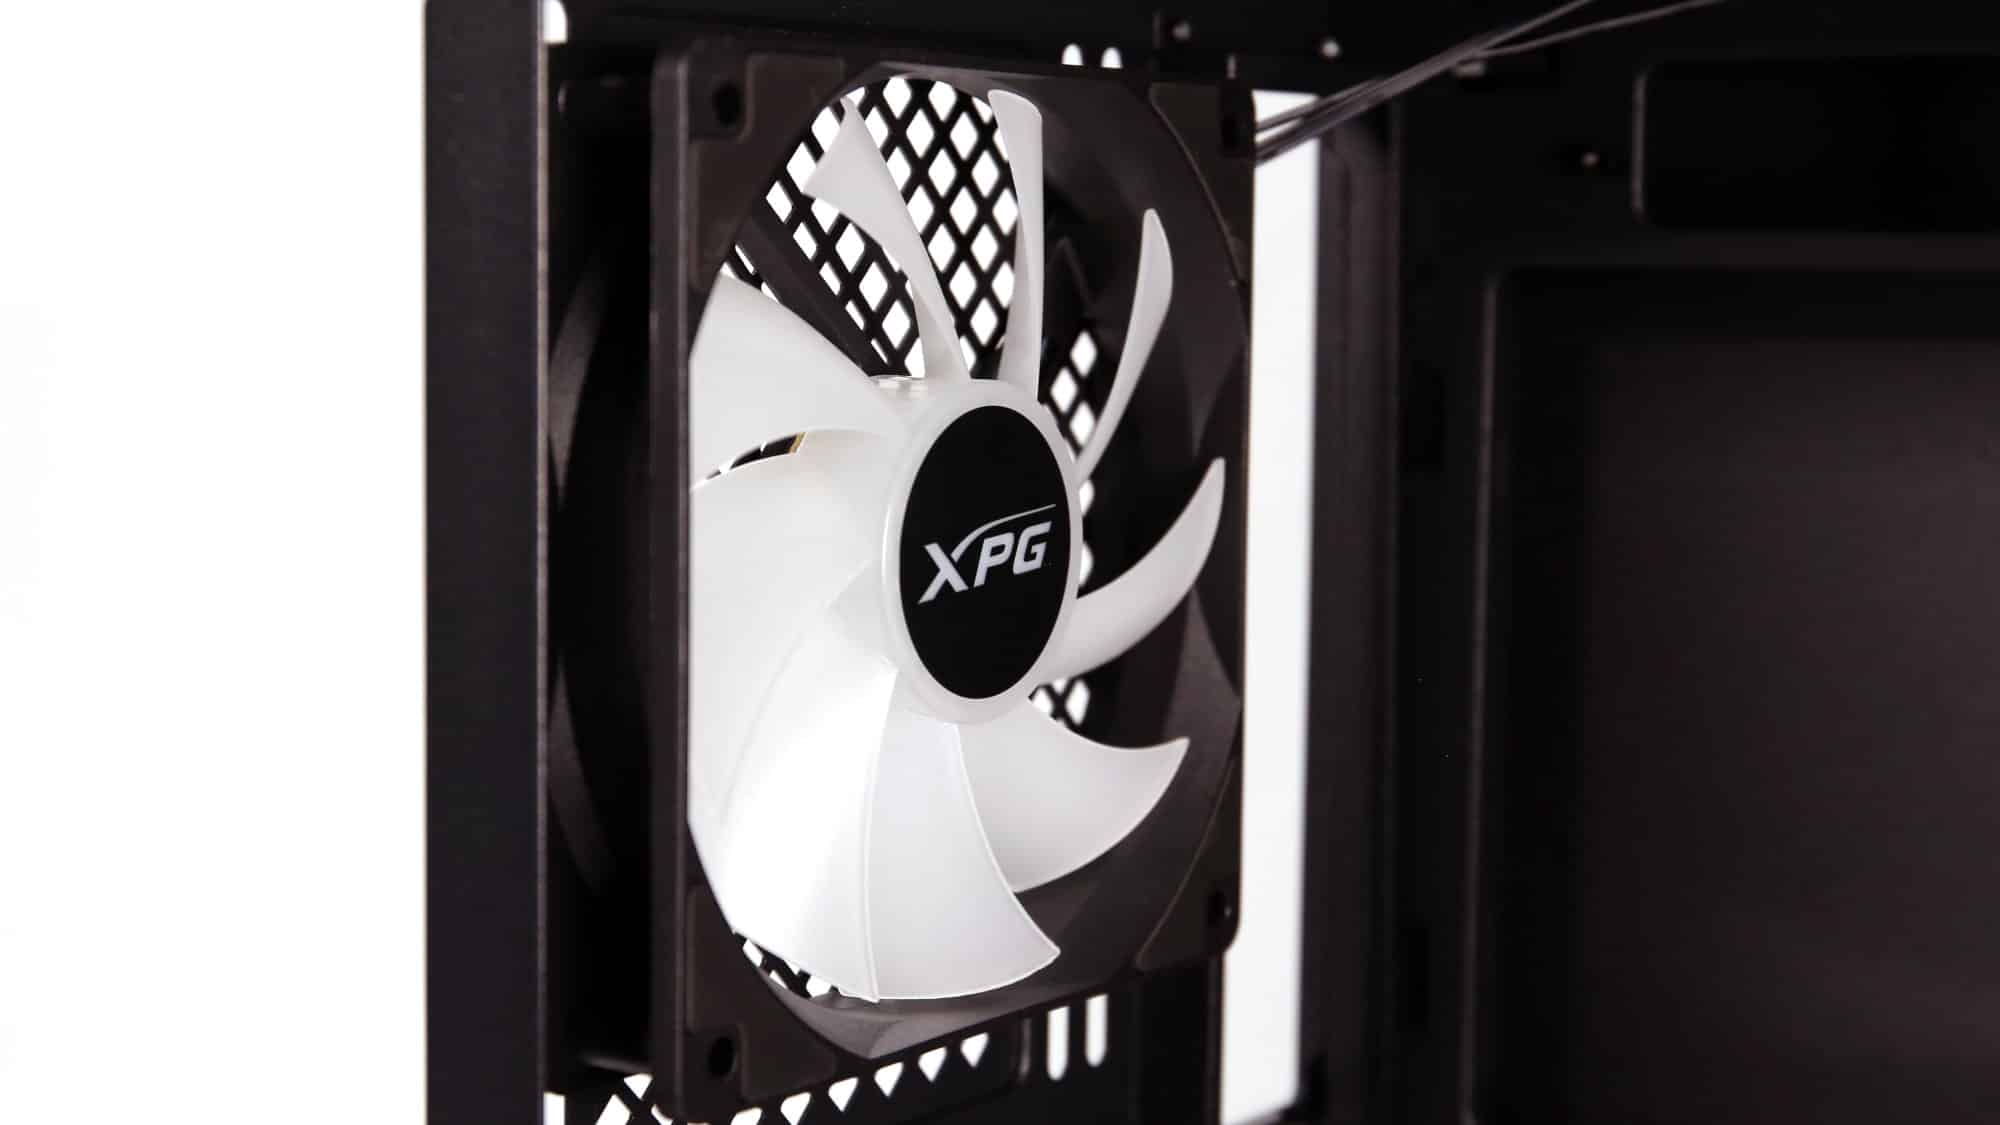

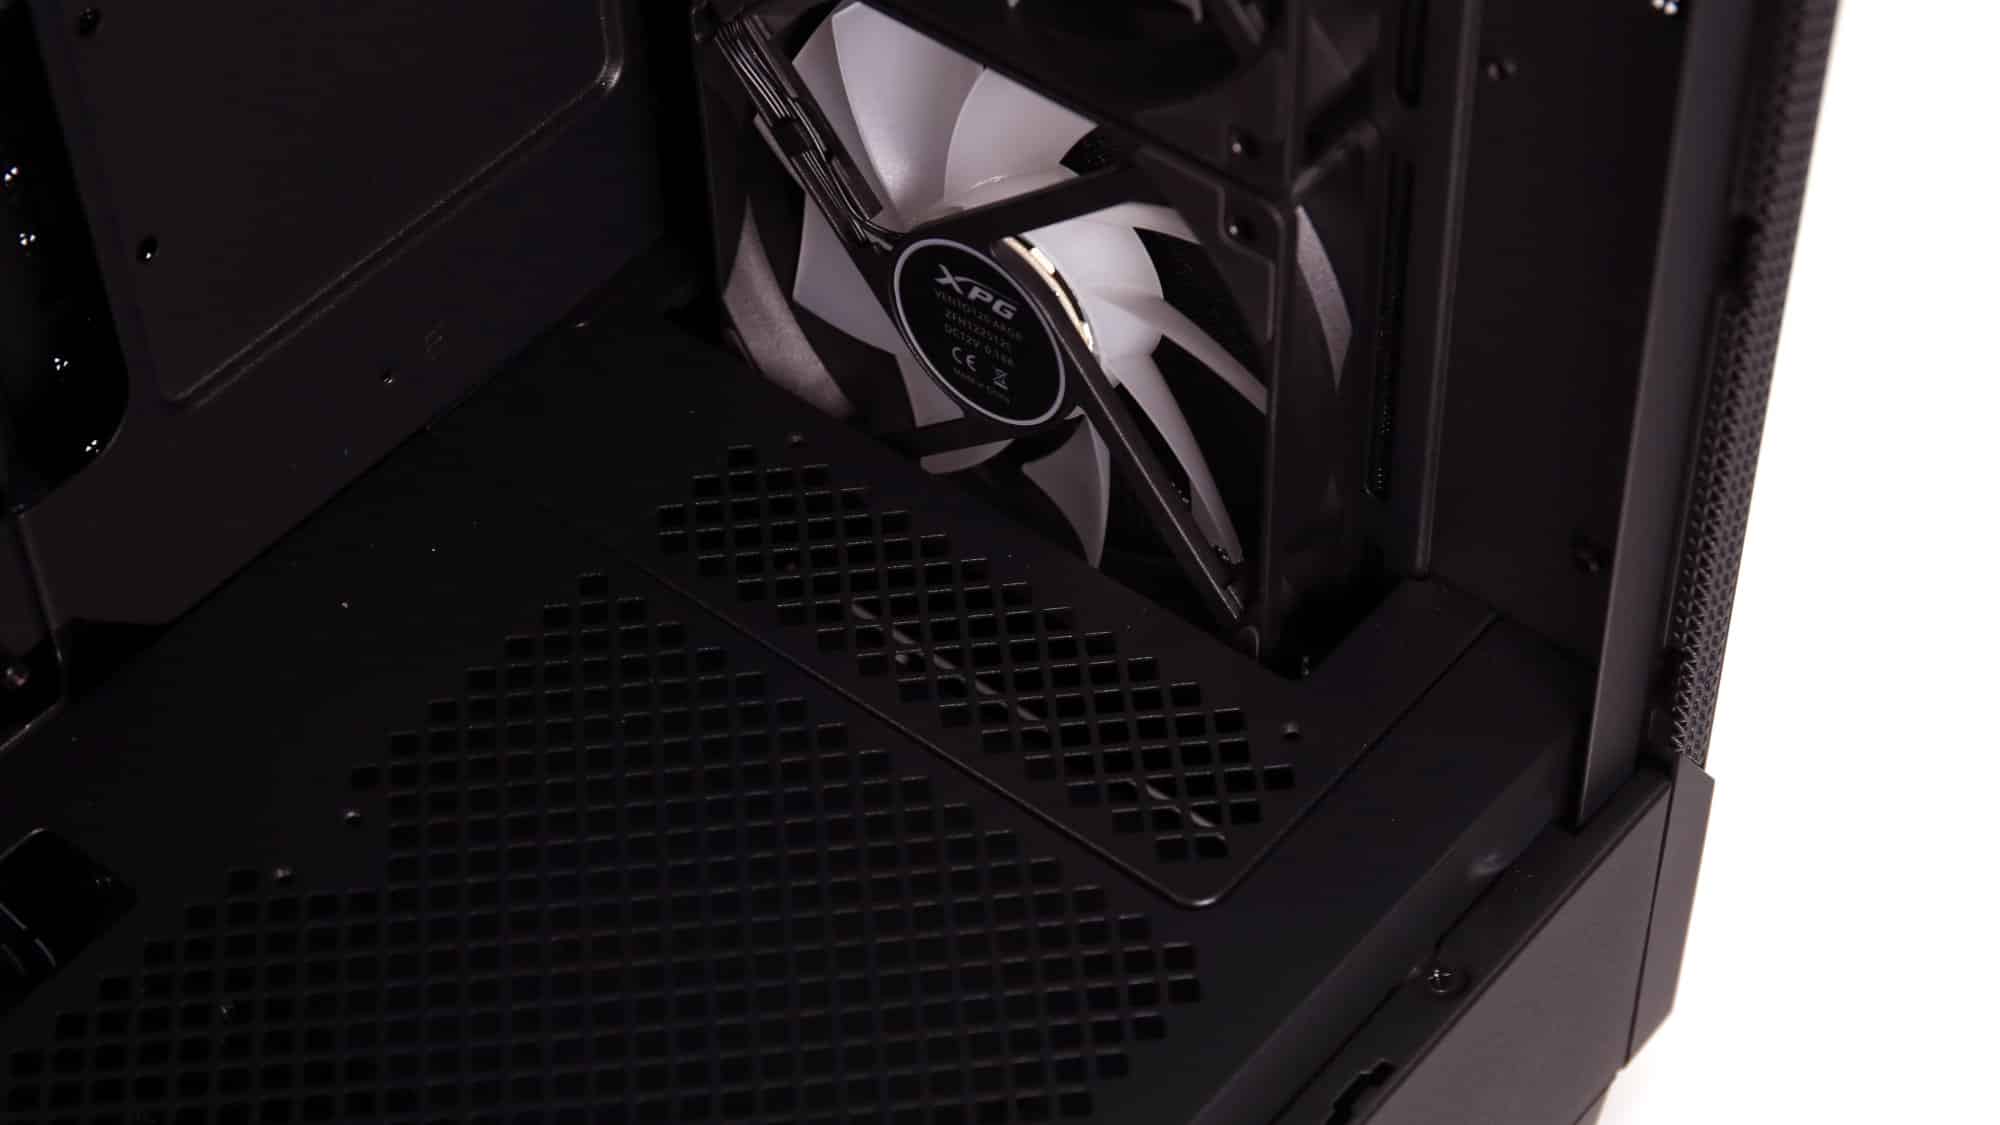
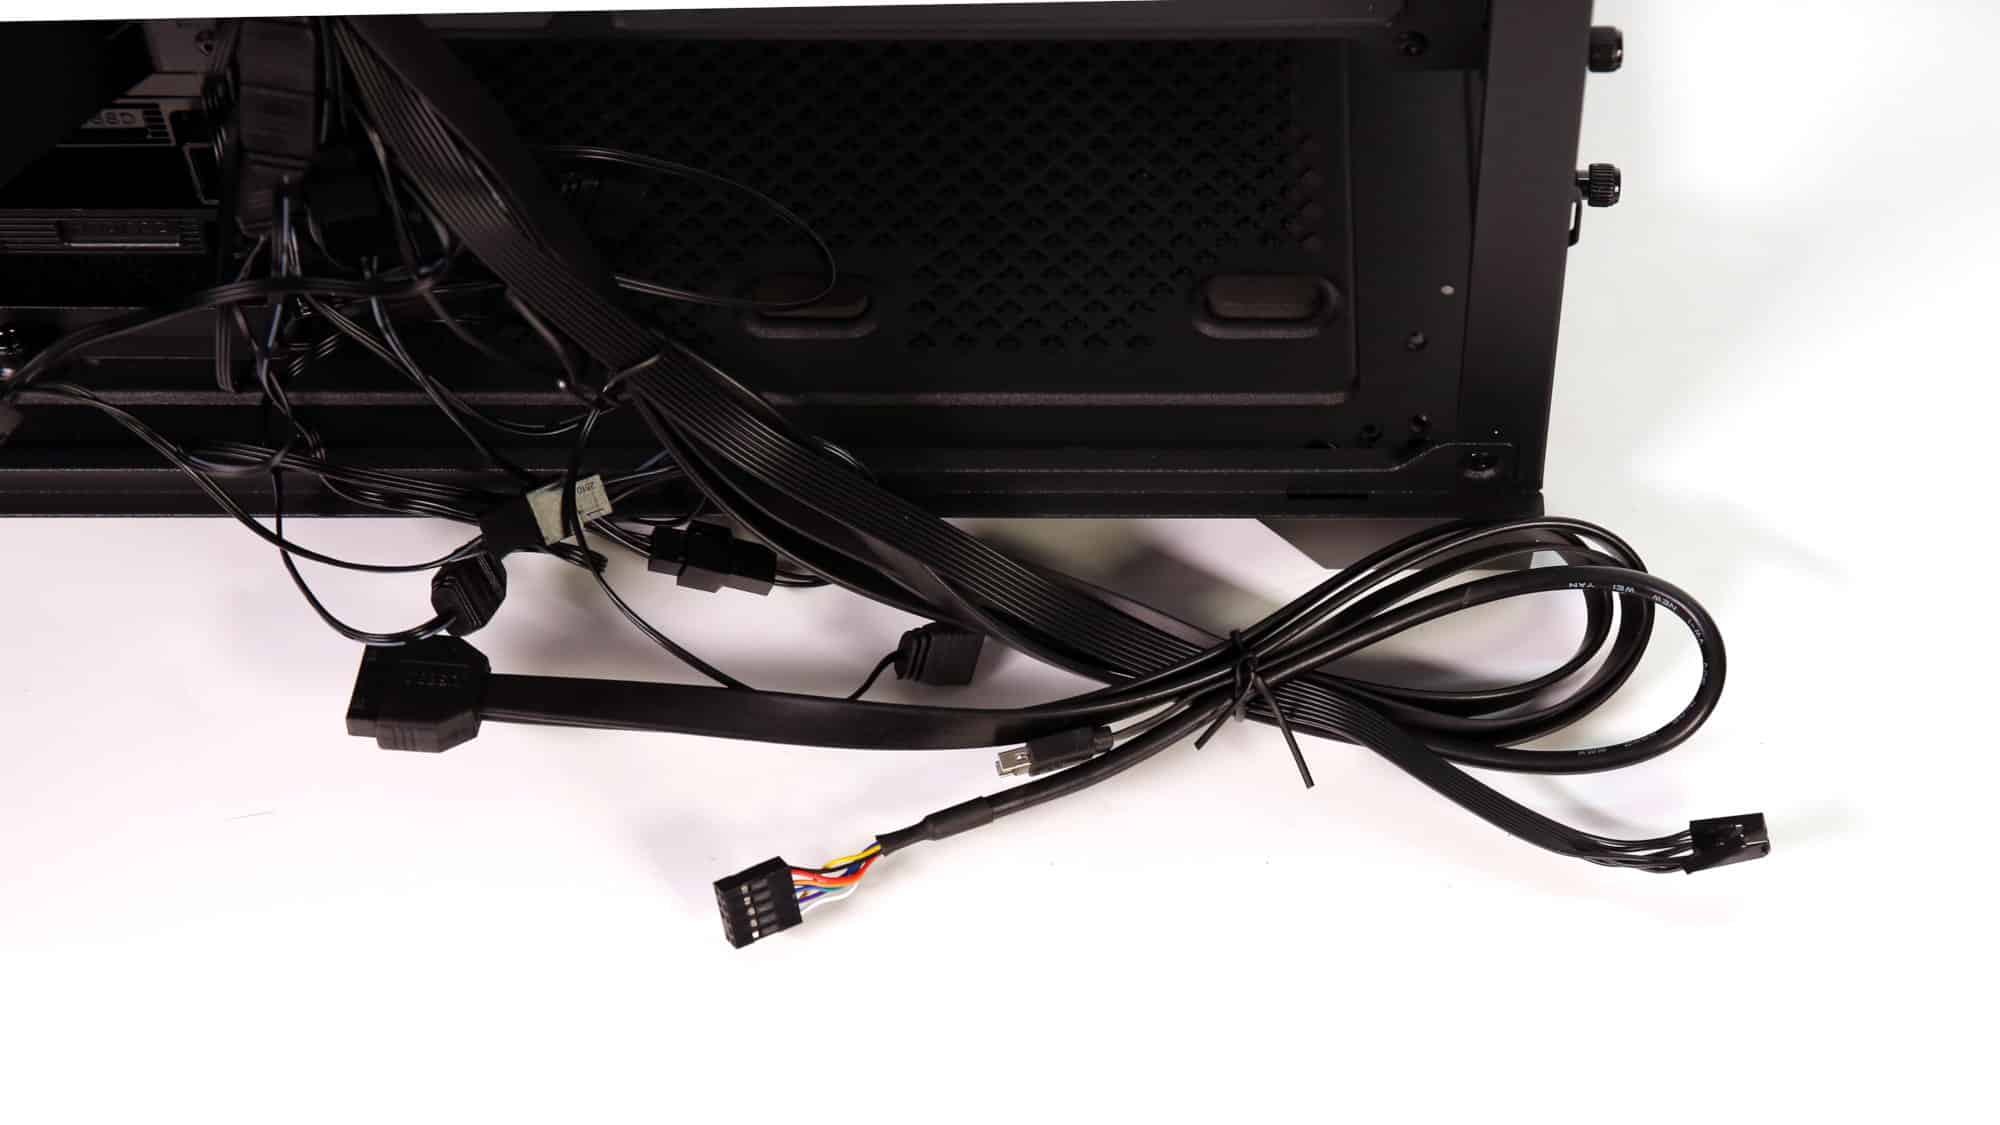
XPG has provided four fans in this chassis variant, three at the front and one at the rear. You can find the performance of these fans here. Each fan has two separate long cables, one for the fan and one for the lighting, which is a bit of a letdown, but keep in mind this is a budget-friendly chassis. The fans use a 3-pin connection, and while they are technically daisy-chain capable, having a separate long cable for everything means that you only need fewer motherboard connectors. The ARGB connectors use their daisy-chaining connectors and get power directly from a SATA port, but there is no dedicated PCB where you could plug more.
You can have up to 12 fans, three on the top, three on the front, three on the bottom, two on the side, and one at the rear of the chassis. If you opt for 140mm fans, there is space only for two on the top. As for radiators, you may fit up to two 360mm rads (at the front and the top) and up to a 140mm rad at the rear. You could technically install one on the side too if you don’t use one on the top and front, otherwise you won’t have enough space. In addition, fitting two 360mm radiators may require extra moving around parts to make them all fit without collisions. Unfortunately, there is no removable bracket for the fans/radiator on the top or elsewhere.
Installing a couple of fans on the bottom may also help your GPU temps if you opt to keep it in its standard position. If you mount it vertically, there will still be enough room to breathe, as the chassis is quite wide.
Storage Options
XPG has offered two storage spaces. We have already discussed the first one, which is on the side of the motherboard and can host two 2.5″ drives and one 3.5″ drive. In addition to this one, there is a more traditional HDD Cage inside the bottom shroud.
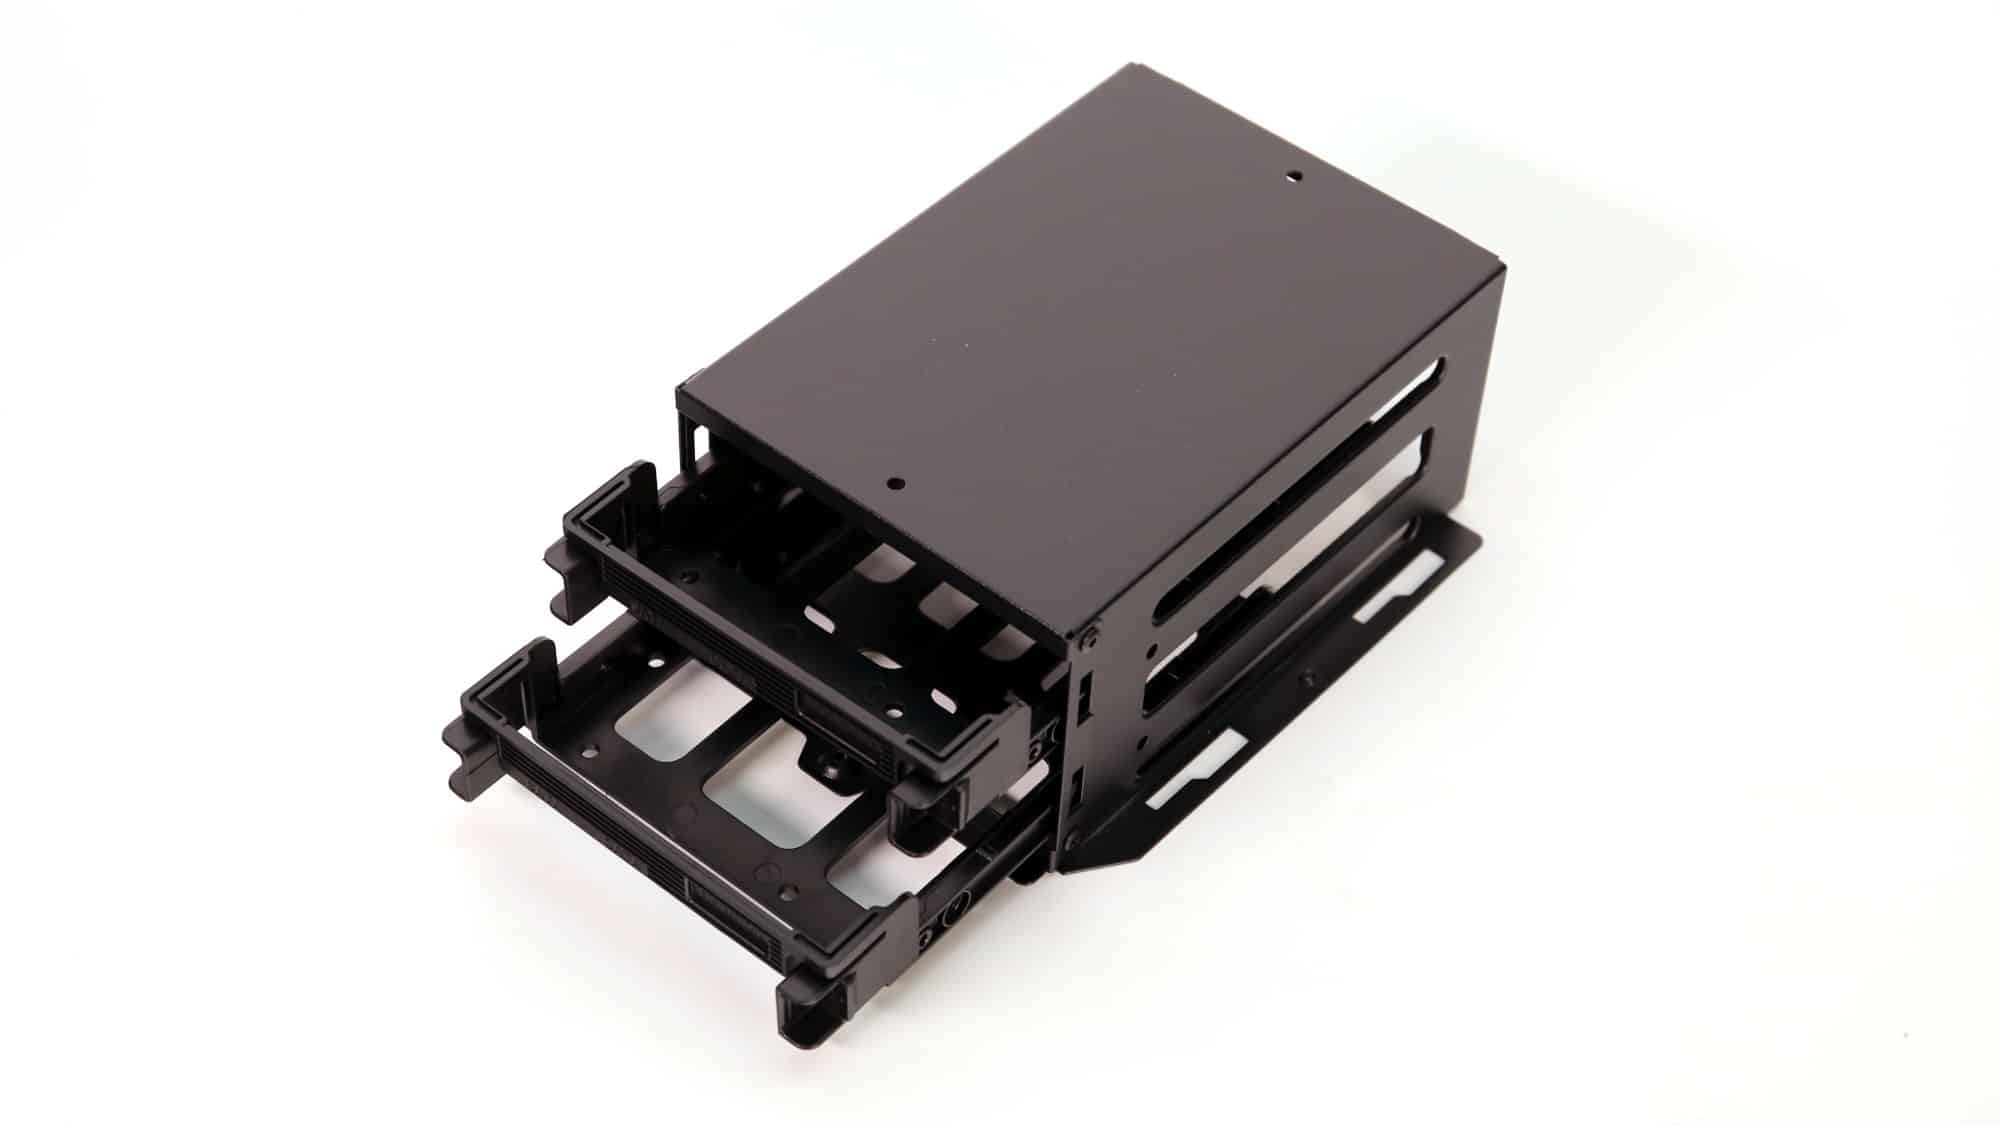
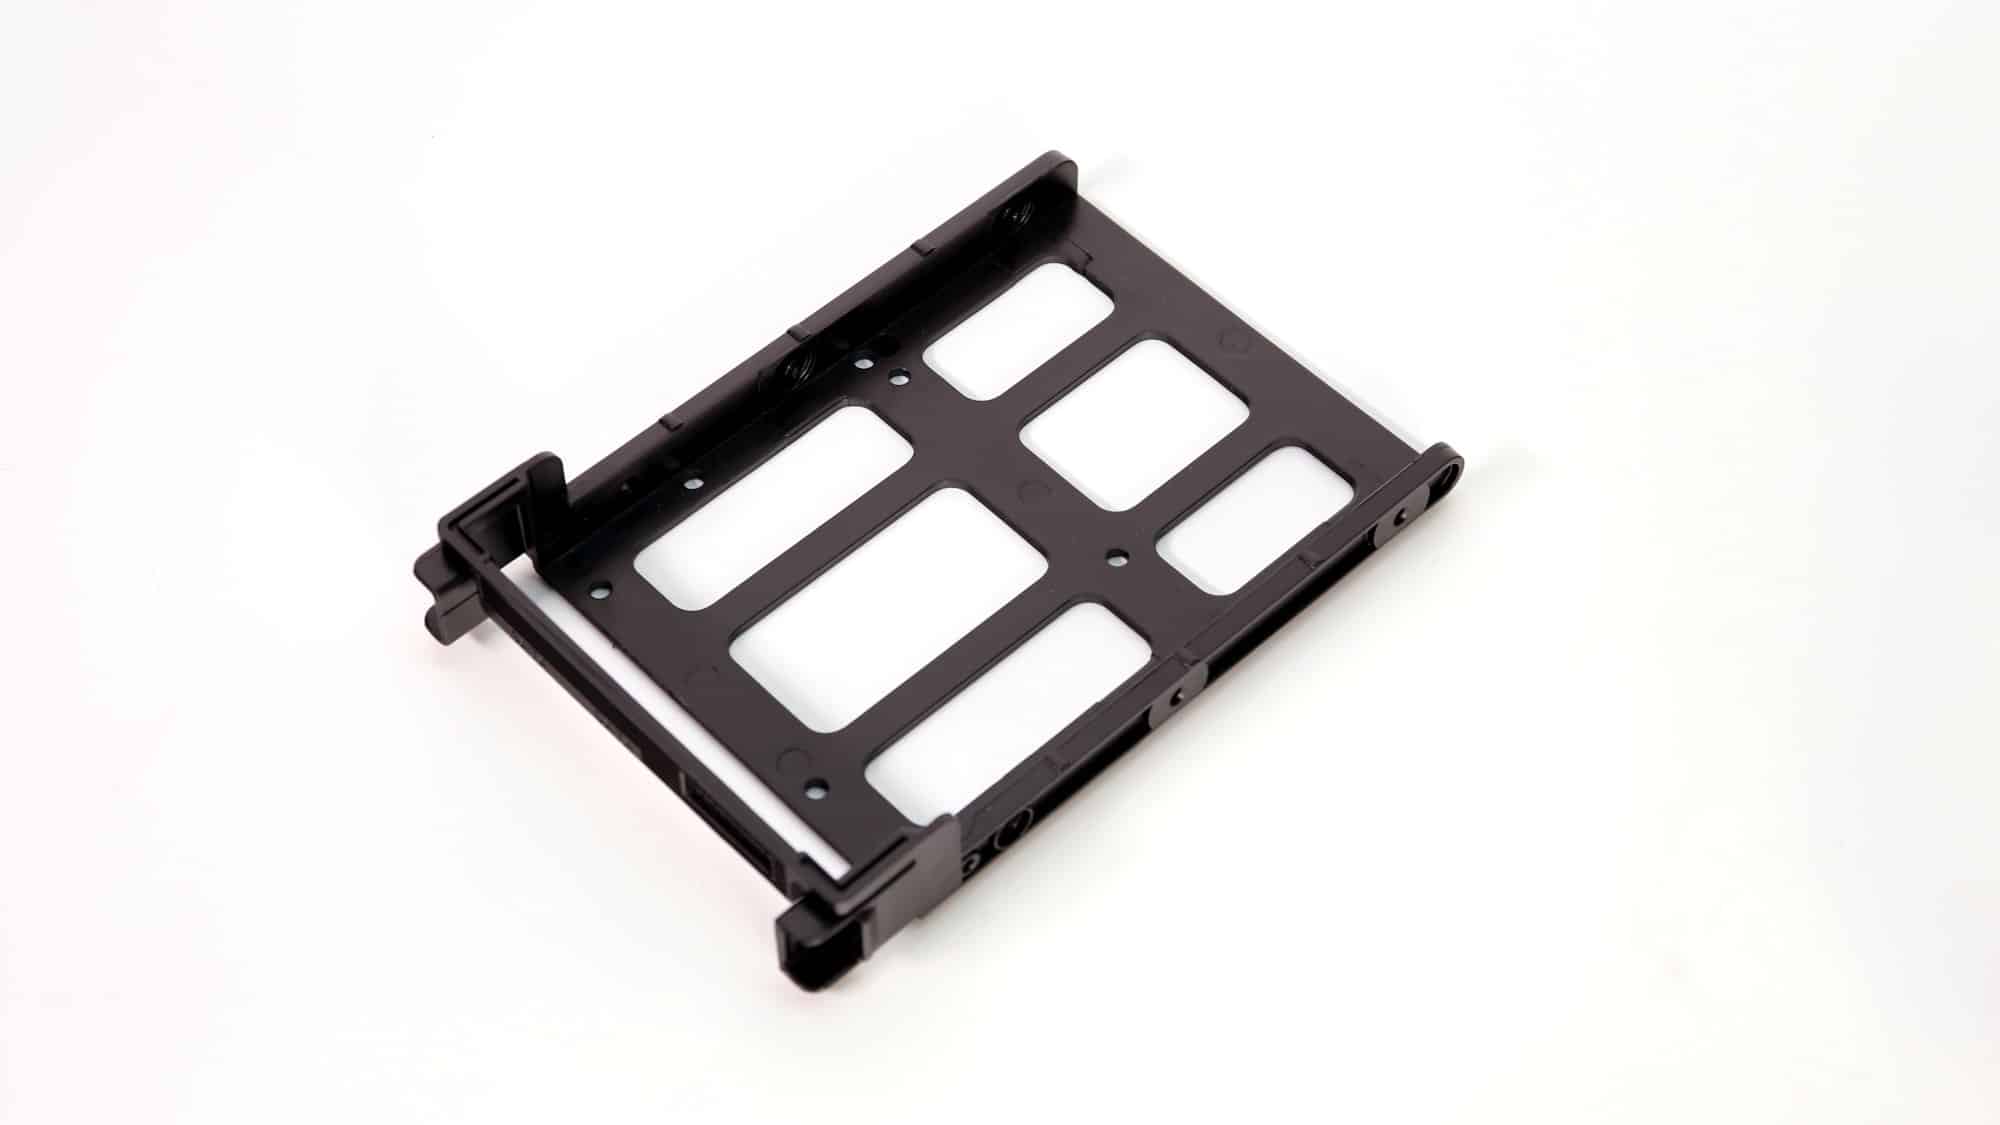
This one has two removable plastic trays for either two 2.5″ or 3.5″ drives. It can also be positioned towards the front for better PSU cable clearance, or closer to the PSU for mounting a front 360mm radiator.
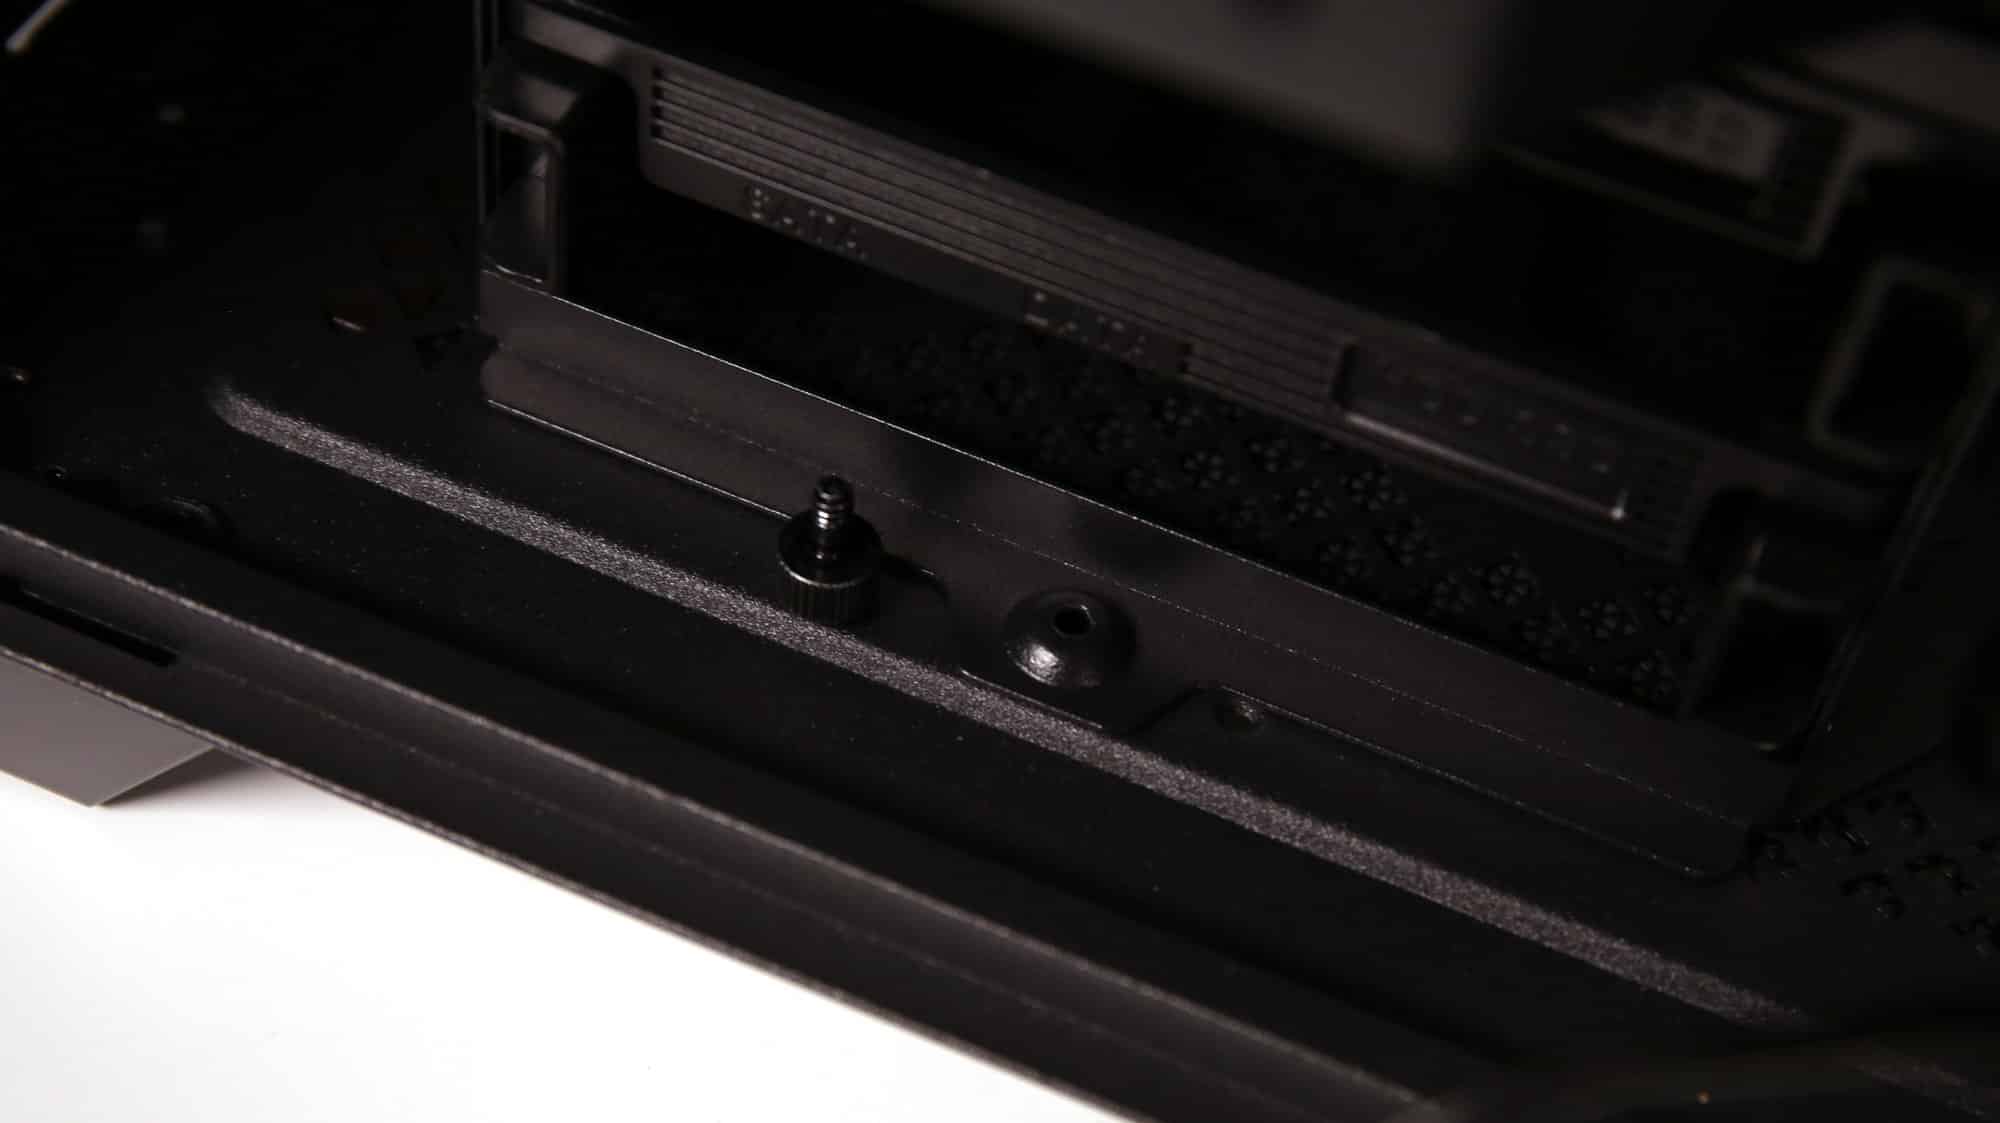
A thumbscrew and two more screws accessible from the outside secure the bracket in place, while it also slides in four tabs. That thing is not going anywhere! It’s worth noting that another panel can be removed below the side-glass panel, although it’s not necessary unless you have a hard time installing the HDD or cables from the other side.
Build Experience
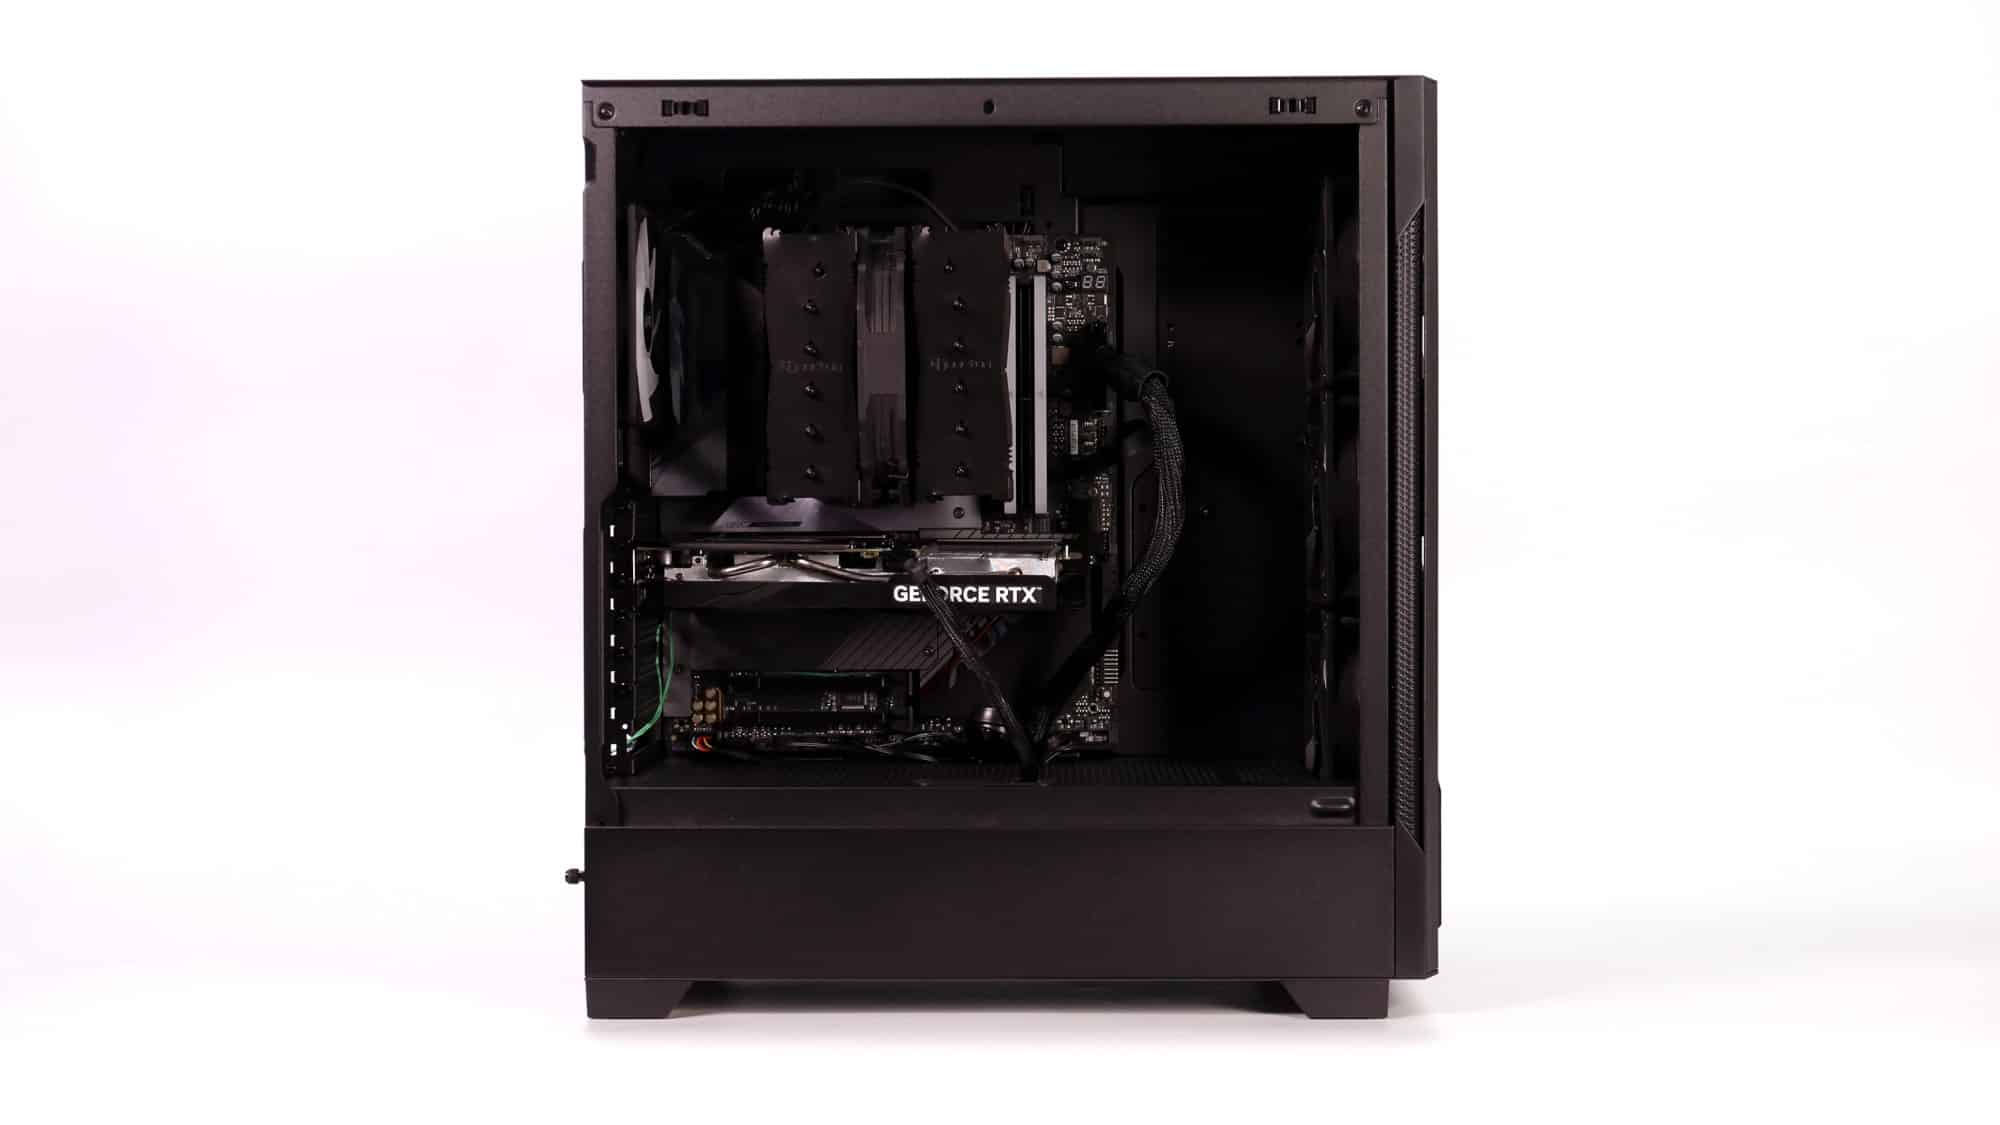
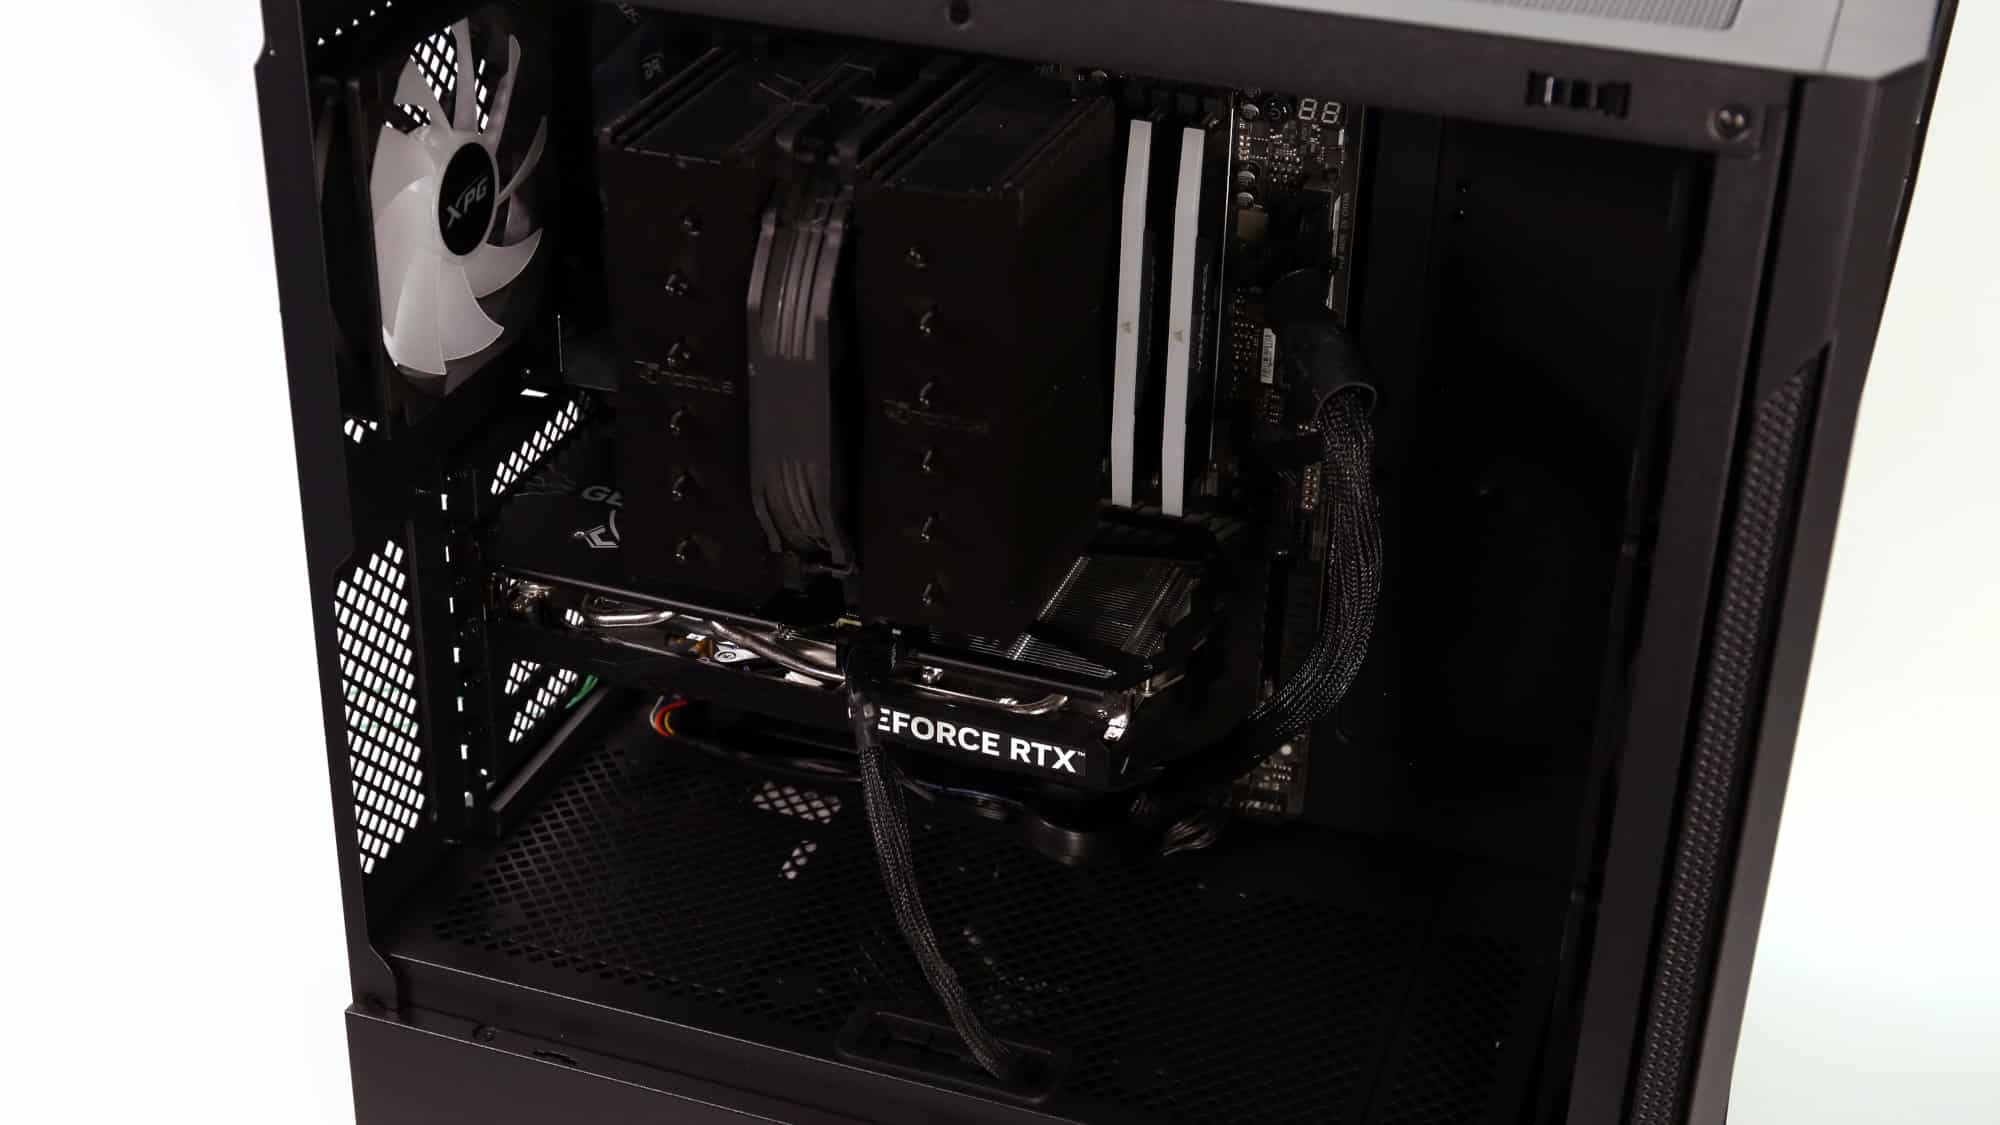
Fitting our E-ATX motherboard was the first step in building it. First, the PSU was mounted in place without removing its mounting panel, as there was no need to. We decided to remove the panel covering the side air intake, though, as we didn’t need to use it. Removing it provided easier cable management, especially for the ATX cable. The EPS cables were plugged in after, as there was enough space and no need to pre-install them. The GPU was installed next, with its cable routed through the grommet on the lower enclosure. After plugging in all the fan cables, the system was ready to boot.
ARGB Lighting and Aesthetics
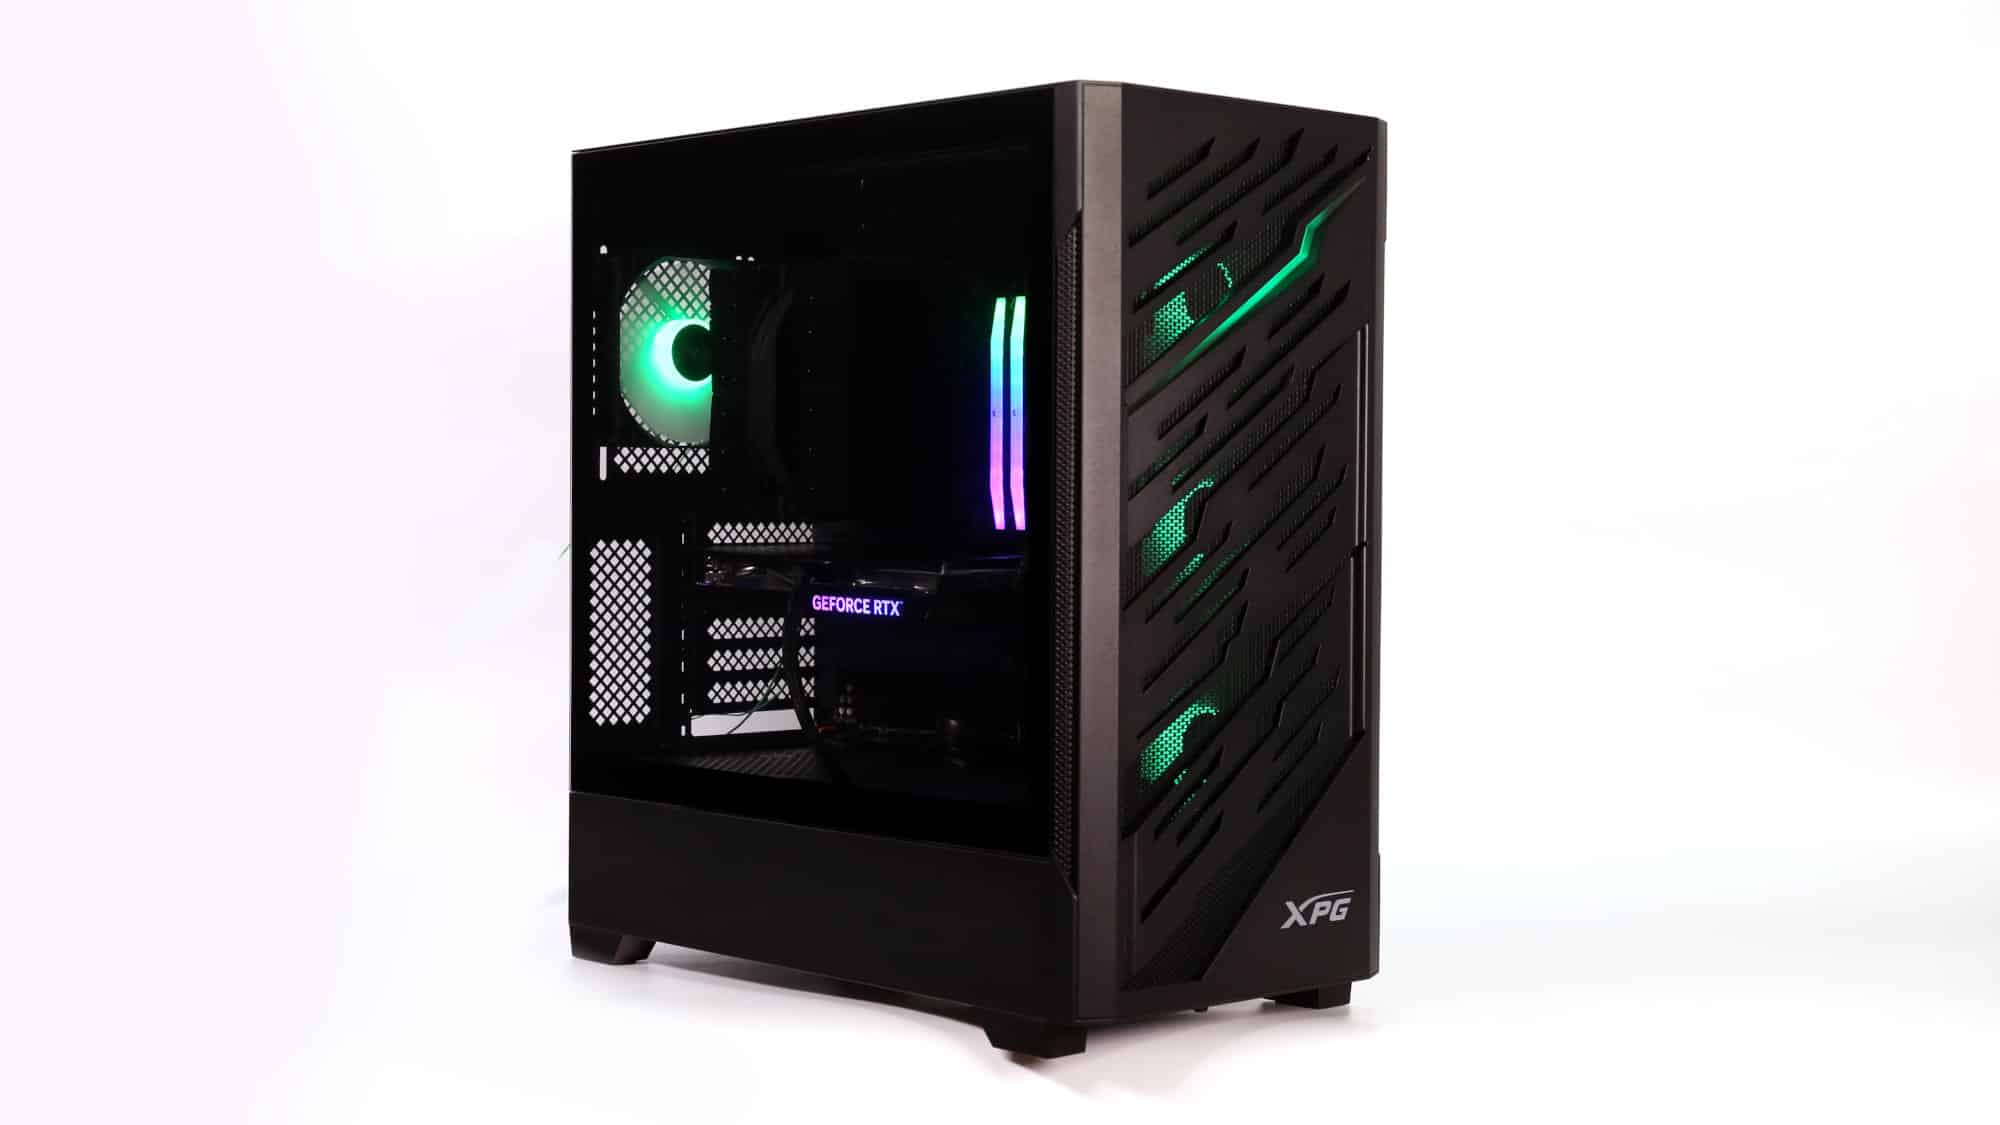
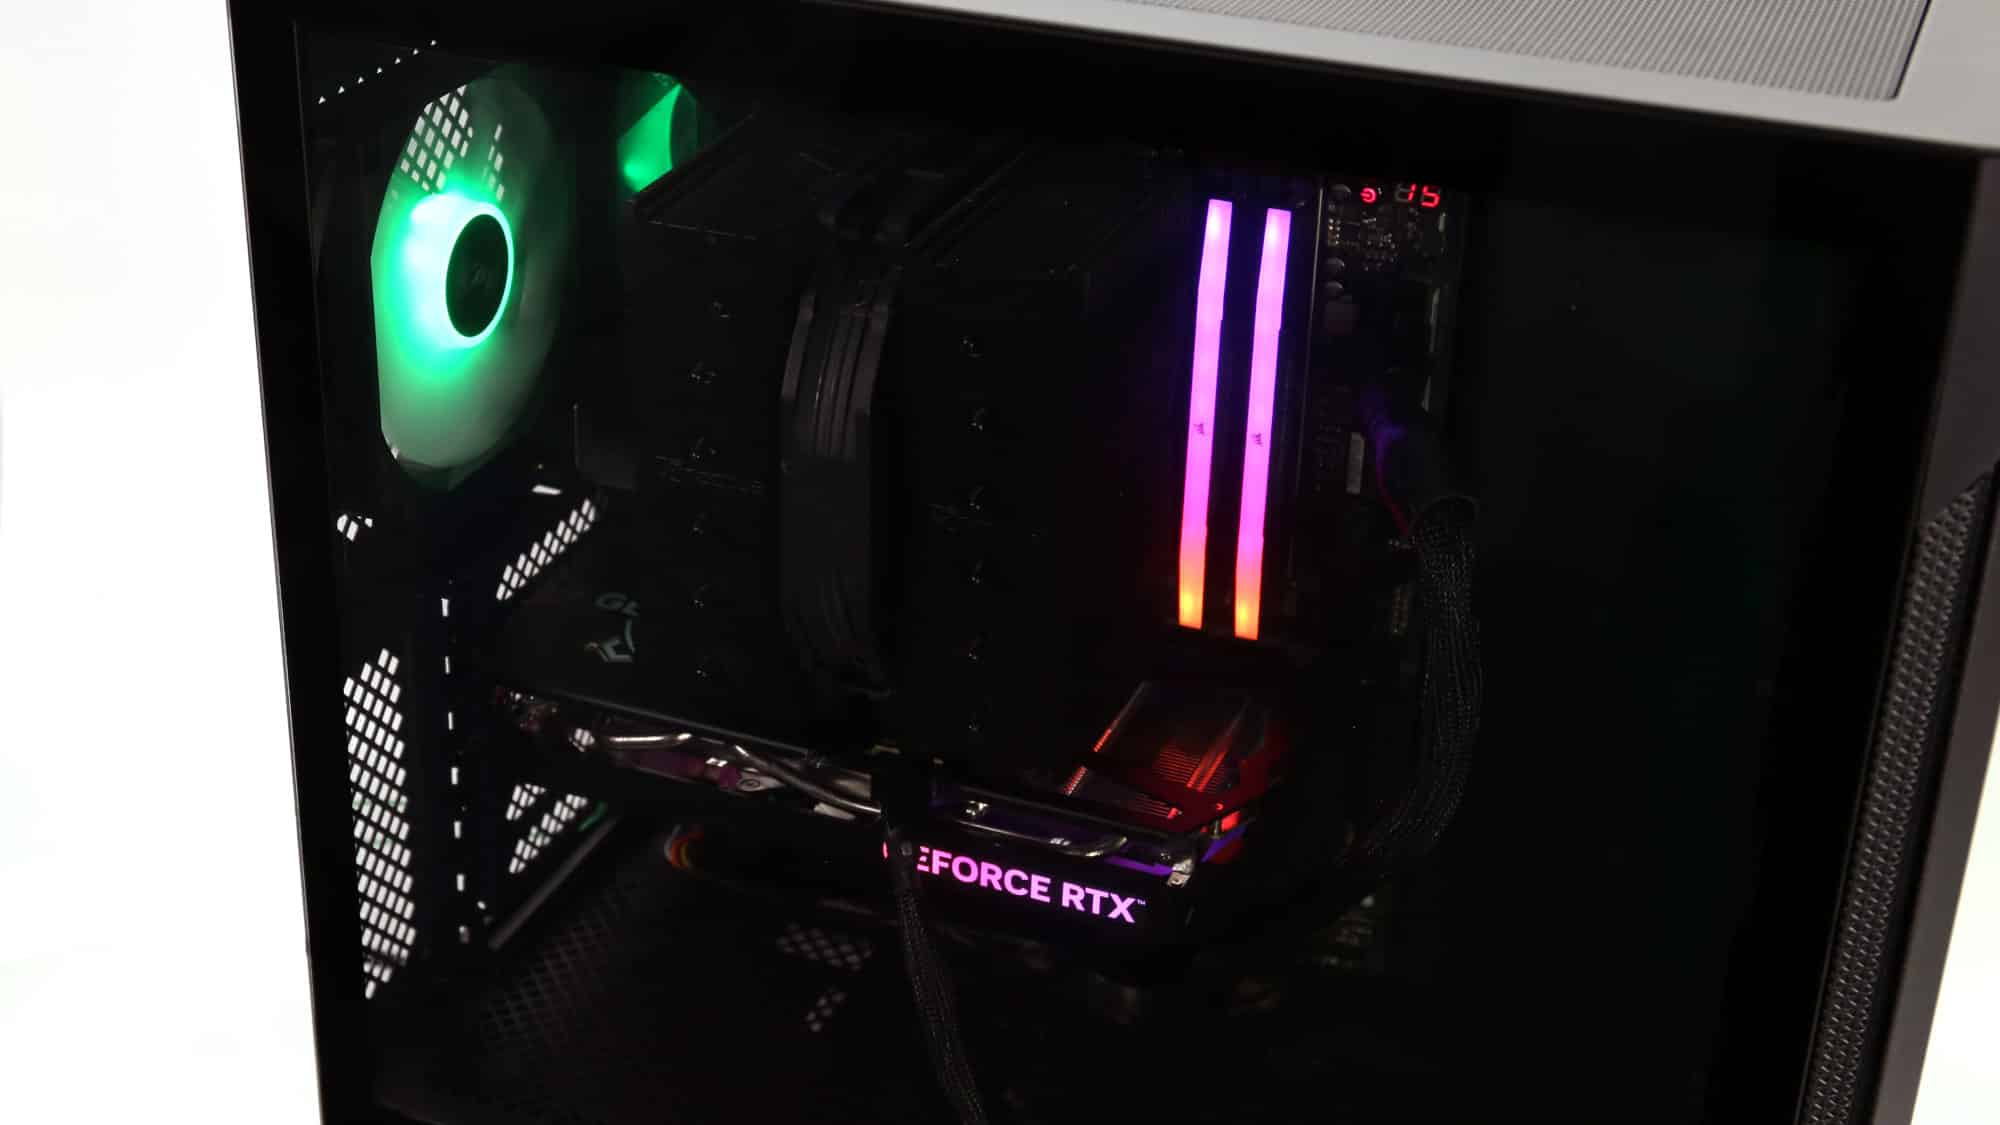
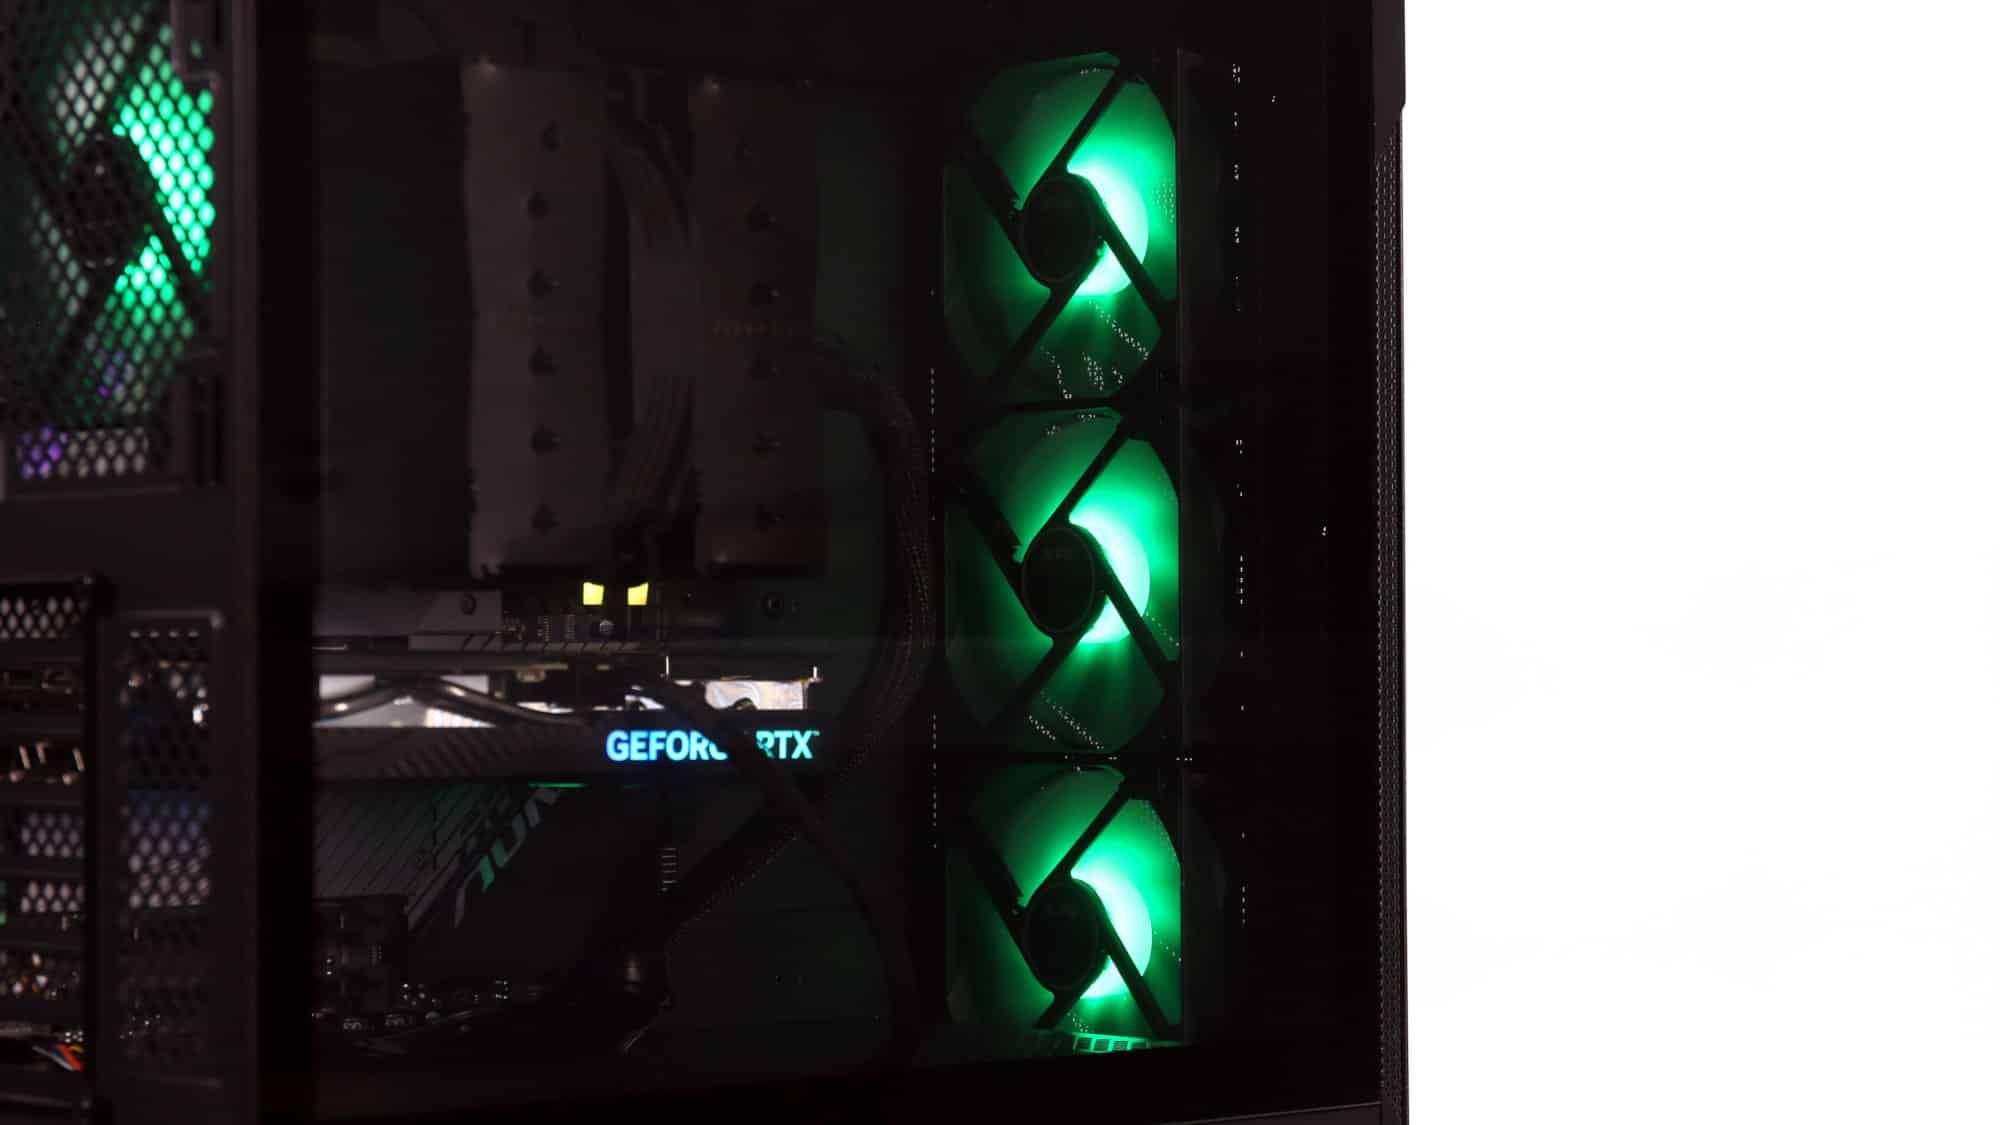
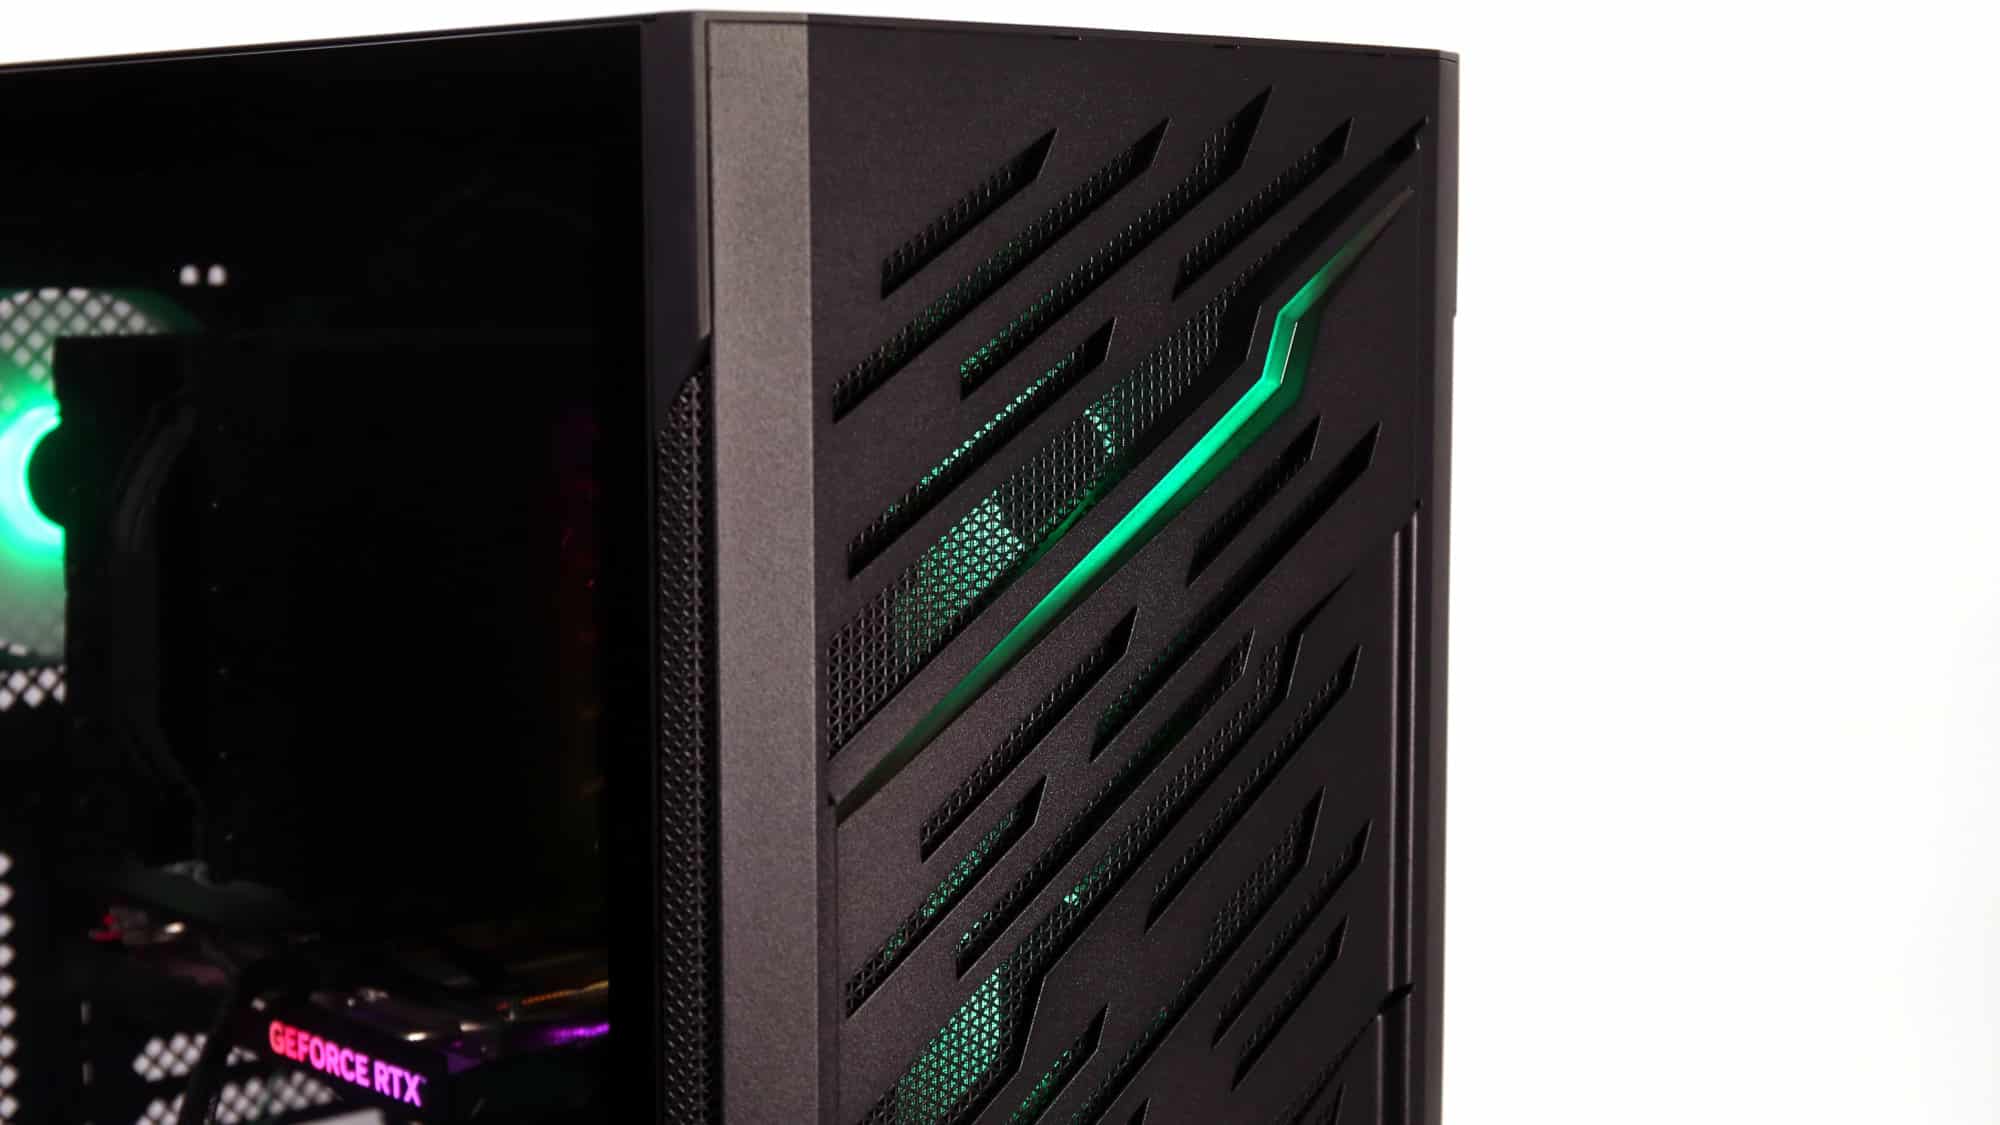
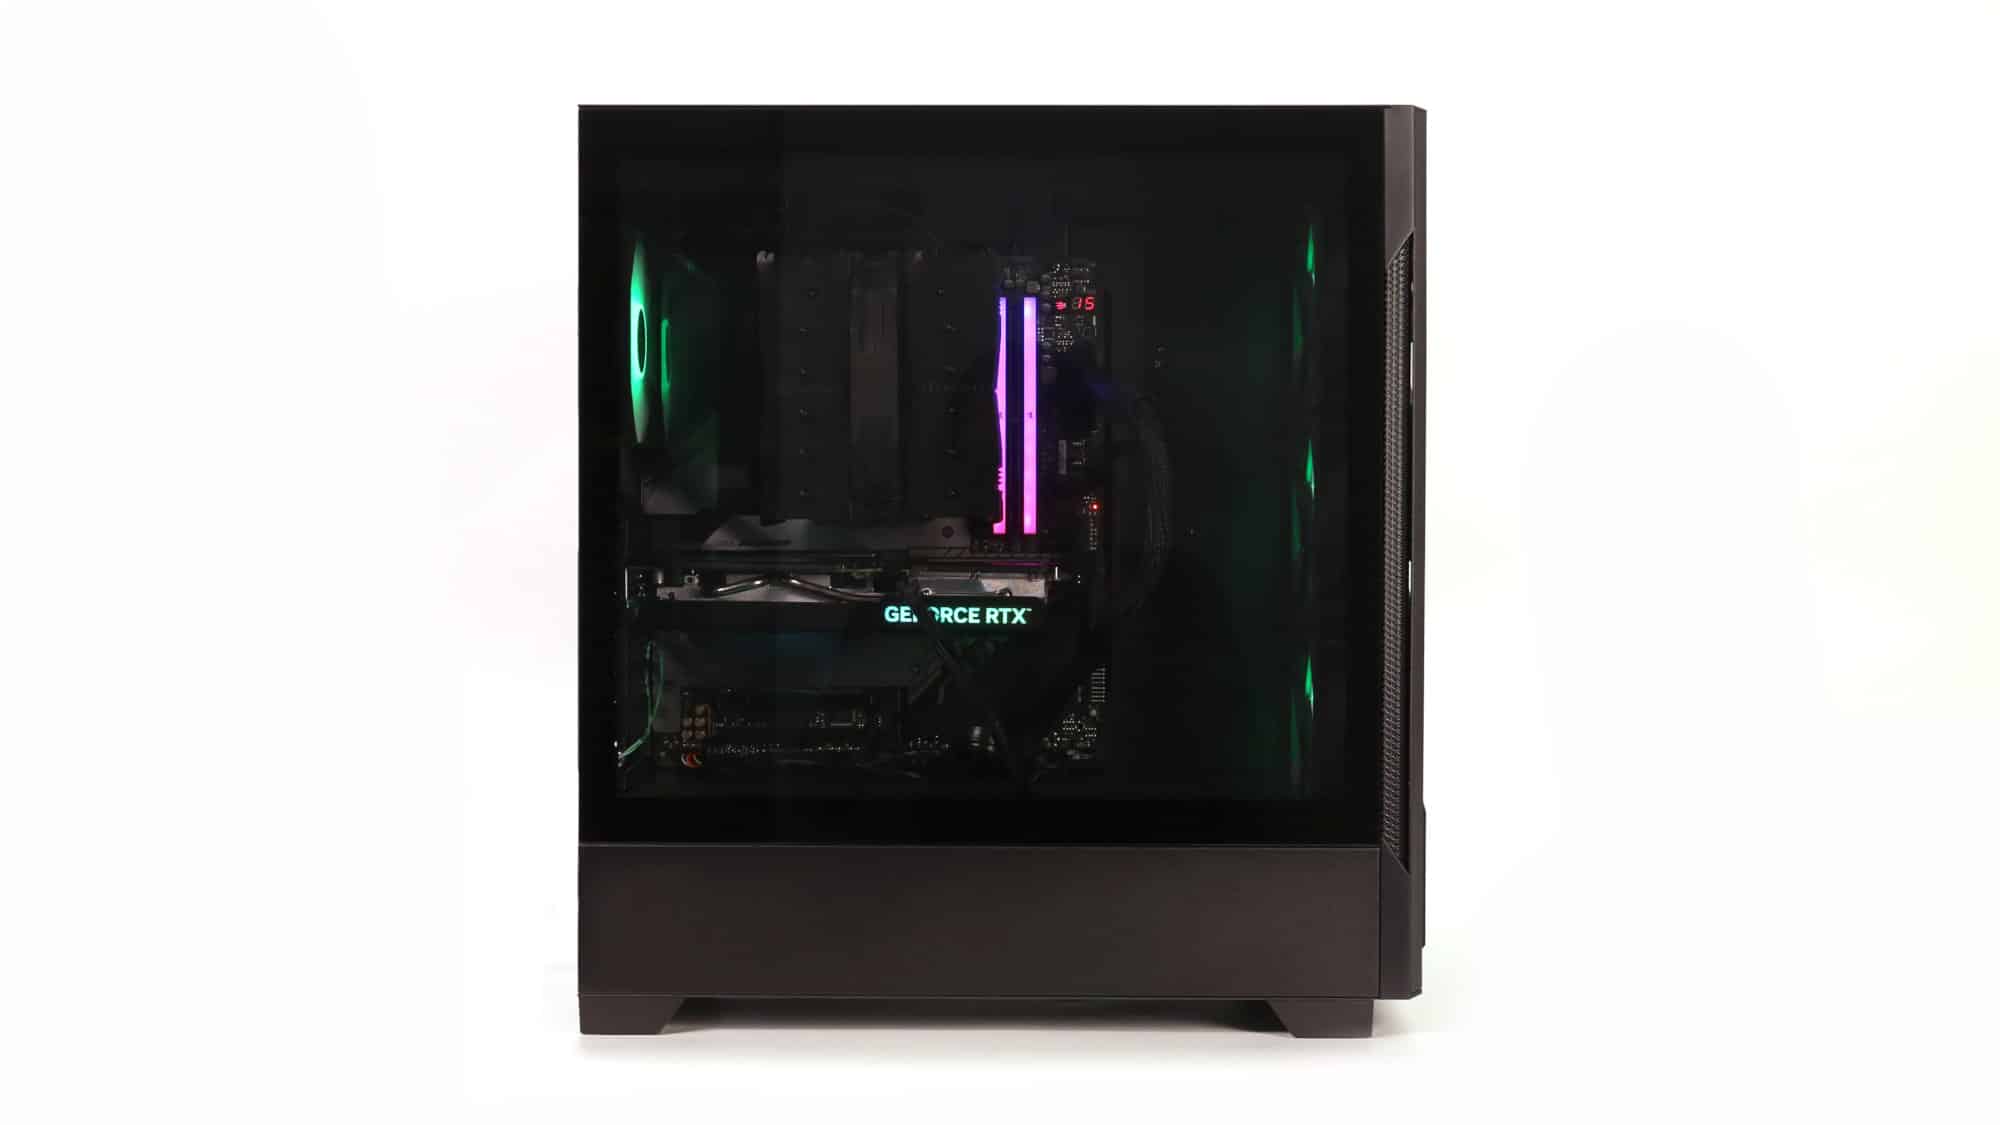
The integrated front panel ARGB gives this chassis a unique look. Combined with the ARGB of the fans, this chassis is pretty well-lit as is. The quality of the lights is also good. And don’t forget the button on the top! You can use it to change the lighting directly without having to interact with any software.

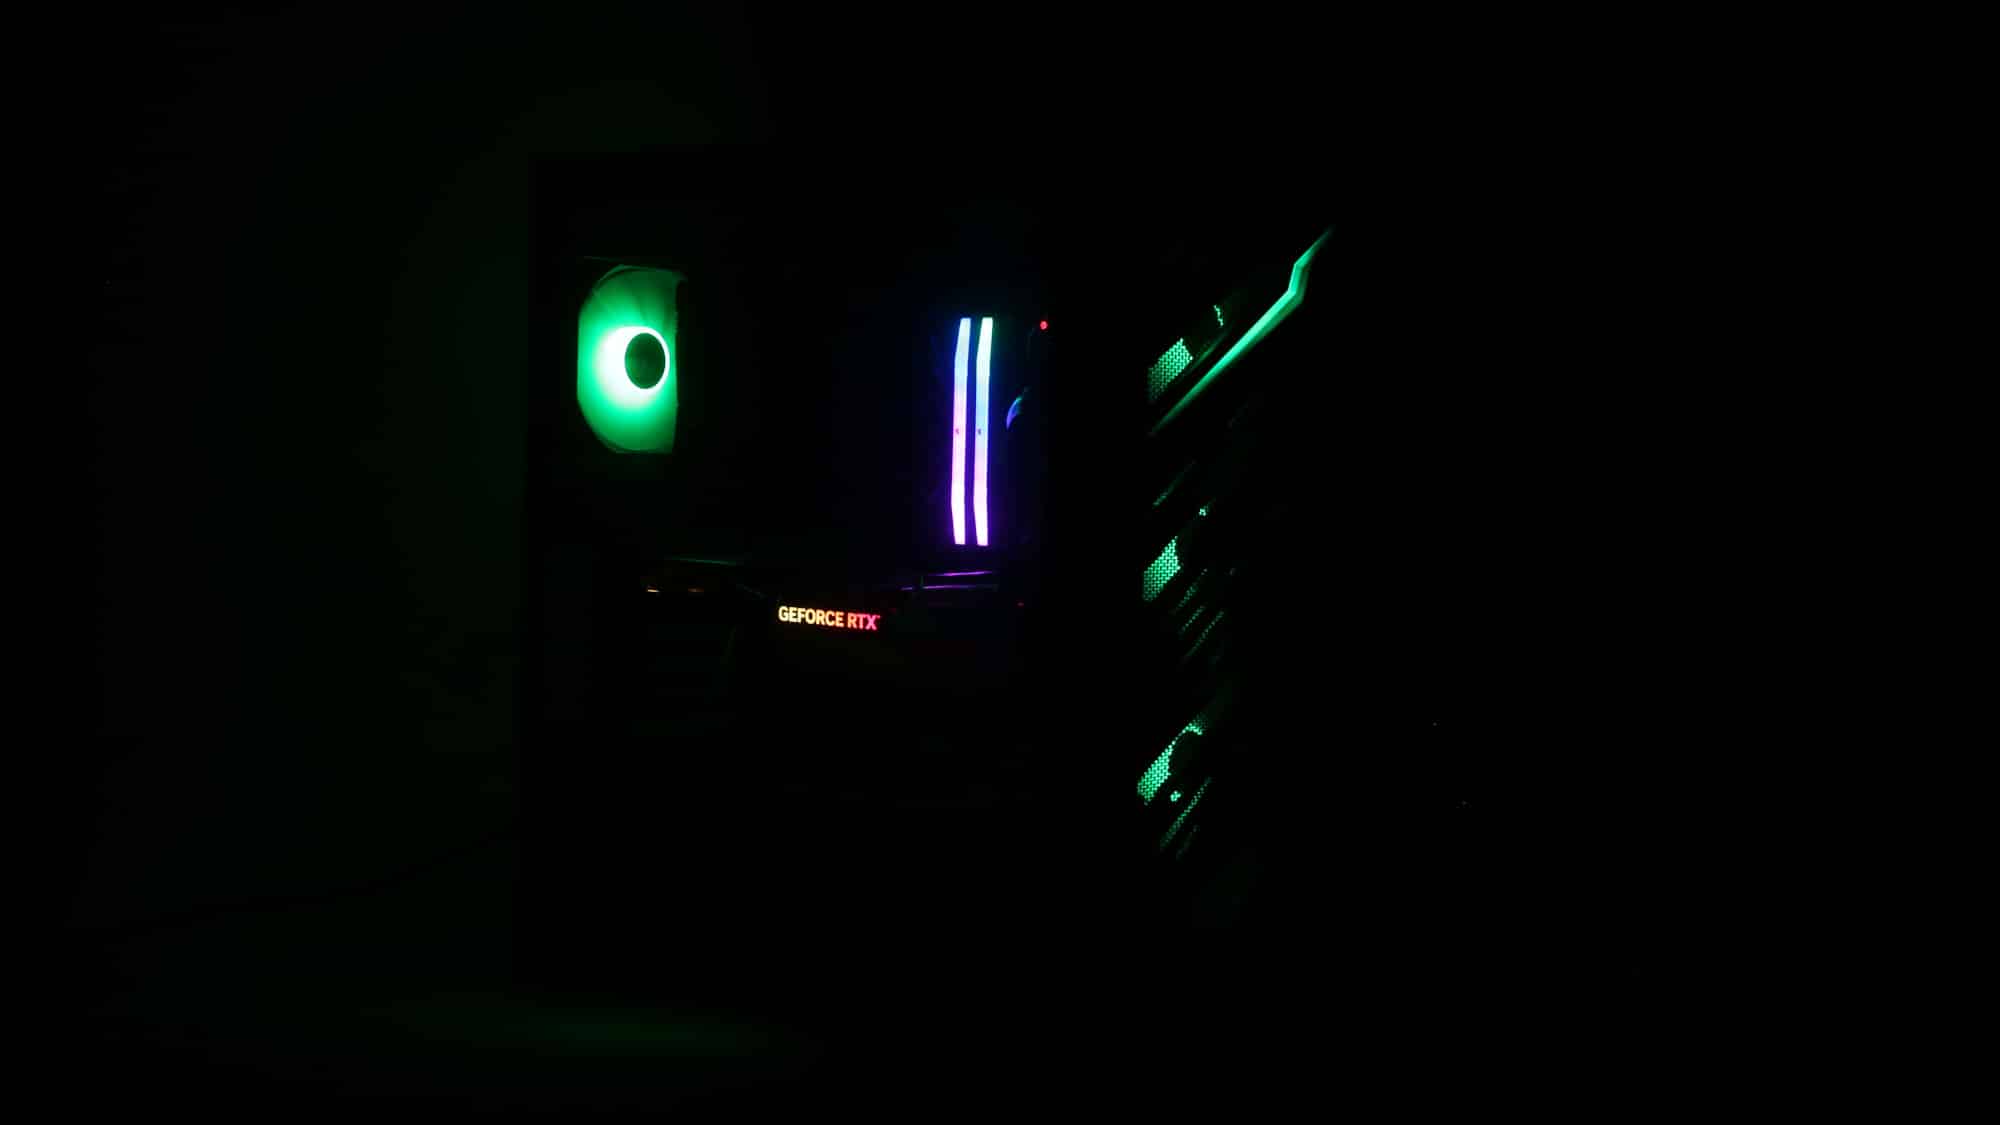
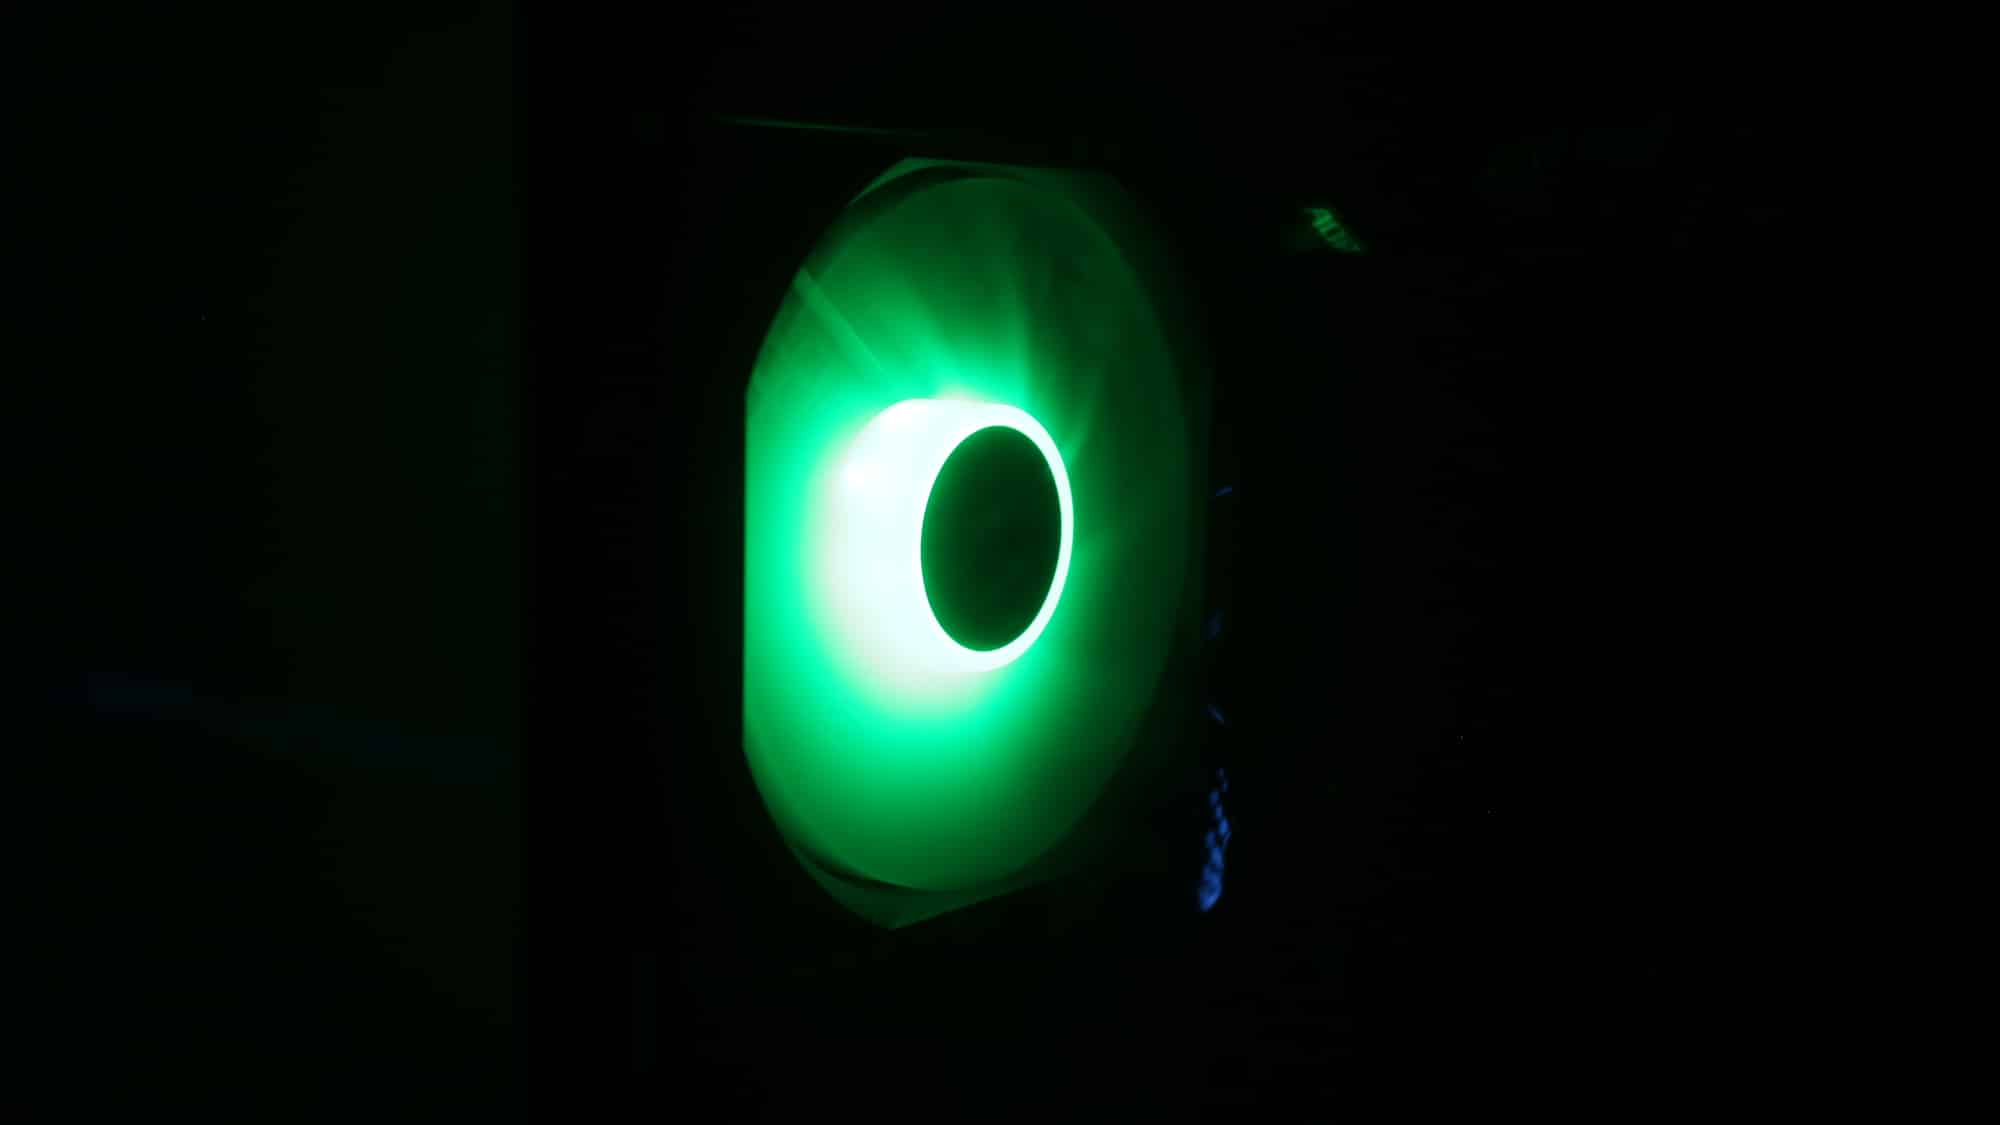
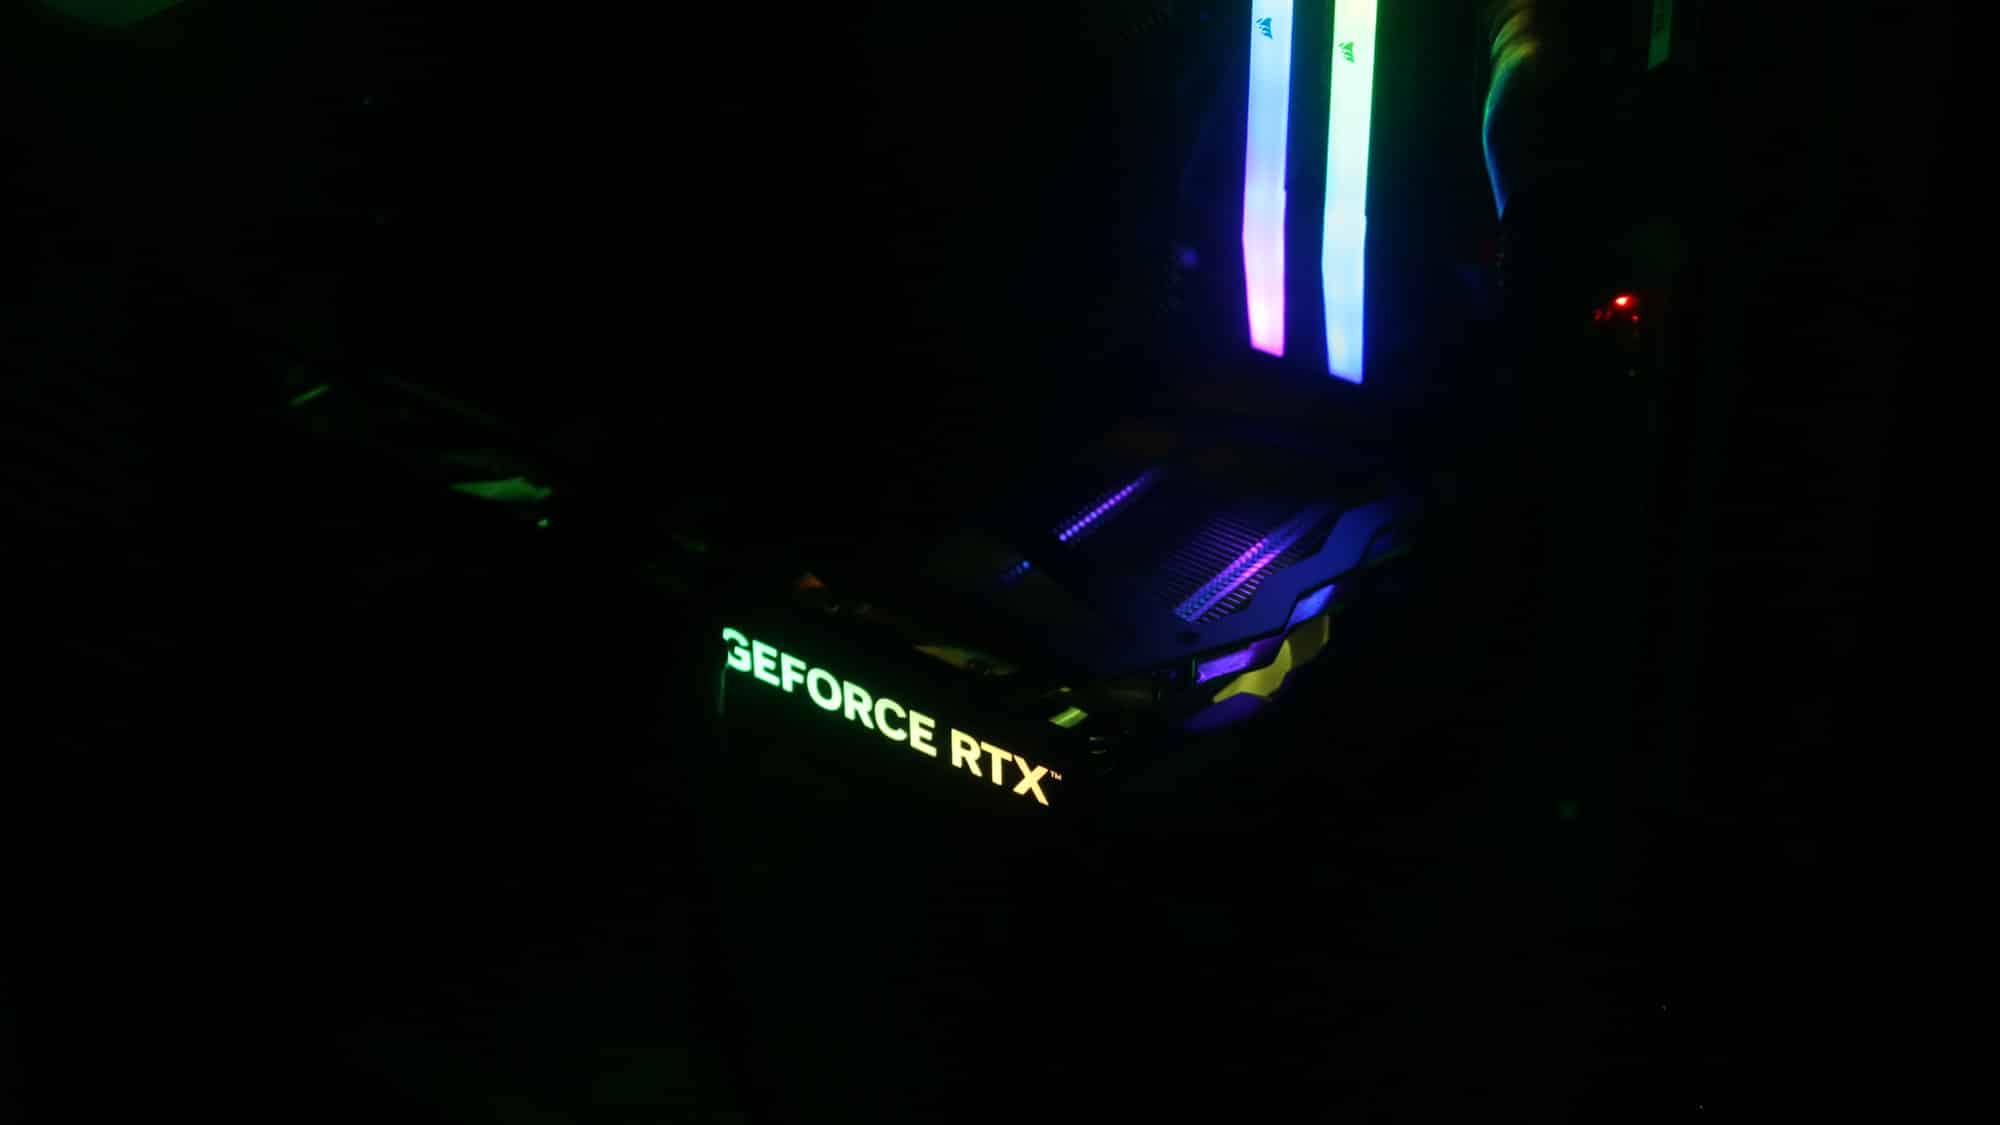
And here is the system in the dark.
- Model Name: Starker Air BTF
- Case Type: Midi-ATX
- Materials: Tempered glass, Steel, Plastic
- Available Colors: Black, White
- Motherboard compatibility: E-ATX, ATX, mATX, ITX (and back-connect variants)
- Included fans: 4 x 120mm ARGB Fans
- Fan support (Side): 2x 120mm (with panel removed)
- Fan support (Top): 3x 120mm / 2x 140mm
- Fan support (PSU Shroud): 3x 120mm
- Fan support (Front): 3x 120mm / 3x 140mm
- Fan support (Rear): 1x 120mm / 1x 140mm
- Radiator support (Side): –
- Radiator support (Top): 120 / 140 / 240 / 280 /360mm
- Radiator support (PSU Shroud): –
- Radiator support (Front): 120 / 140 / 240 / 280 /360mm
- Radiator support (Rear): 120 / 140mm
- PSU form factor: ATX
- Max PSU length (mm): 220mm / 200mm (with HDD cage at the front positions)
- Max GPU length (mm): 390
- Max cooler height (mm): 180
- Drive Bays: 2+2 x 2.5″ or 2 + 1 x 3.5″
- Dimensions (L x W x H), (mm): 464 x 242 x 496
- Fan PWM/RGB Controller: No
- I/O Panel: 1x USB 3.2 Gen 2 Type-C, 2x USB 3.2 Type-A, 1x combo Audio Jack, 1x Power Button, 1x Reset Button, 1x LED Button
- Removable dust filters: 4x (Top, Bottom, Front, Side)
- Expansion slots: 7x / 4x (vertical)
- Weight (kg): 8.75kg
- Price: $120 (excluding tax)
- Warranty: 2 years