Assembly Procedure
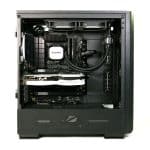
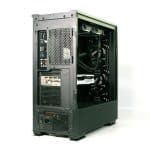
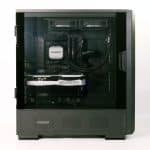
Working inside the Sky Two GX was uneventful, as there is plenty of space to work. The motherboard and the AIO were the first to go in. With the selected placement of the AIO and given that it doesn’t cover the entire top, we could easily install the EPS cables after securing them in place. The GPU was installed next. It is nice to see reusable expansion slot covers, as even today, some manufacturers don’t offer that option in budget cases. An additional AX120 PWM fan by Montech was installed as the rear exhaust. The last piece of the puzzle is the PSU. The lower enclosure has plenty of space, and the cables were straightforward to manage. The GPU PCIe cable was routed through the grommet on the top of the enclosure. It would be better to have it closer to the chassis’s middle, as modern NVIDIA GPUs tend to have the power connectors near the middle of the card.
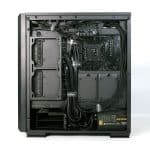
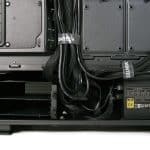
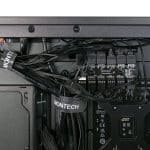
Cable management was a breeze. Having pre-installed velcro straps and three more in the box provides all the necessary means to eliminate the chaos. We feel confident that one can fit many more cables in this space.
The fan hub provided by Montech is handy, especially when you have multiple fans, such as we have here. As long as you don’t want individual fan control, this is an excellent solution for cable management, keeping everything out of sight. In our case, we connected all the fans to the hub, filling all its six PWM headers, while the AIO pump was connected directly to the motherboard.
Finished System
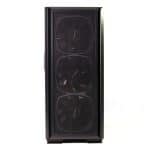
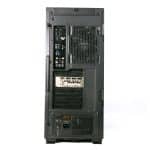
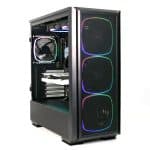
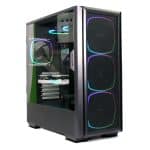
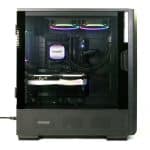
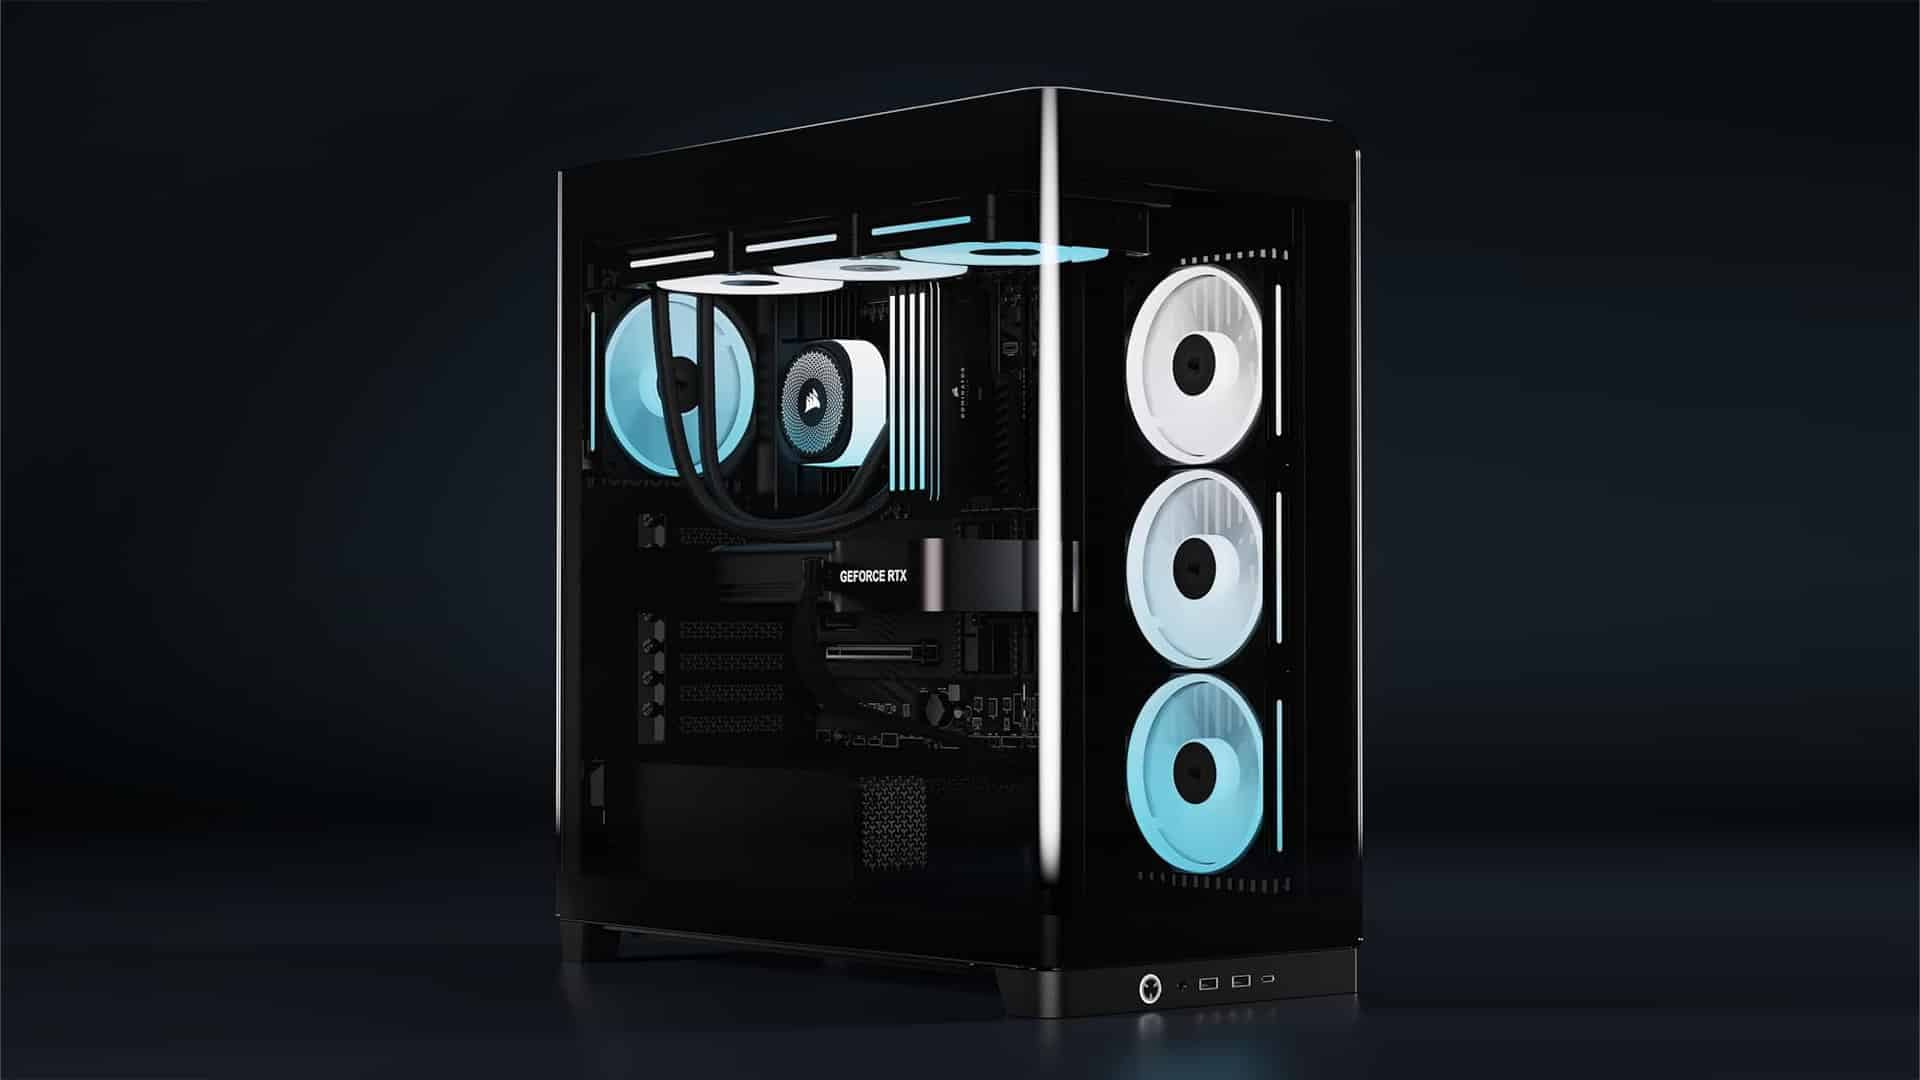
The finished system.
