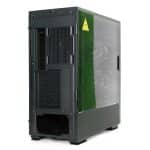
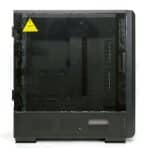
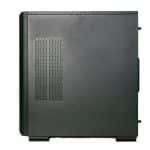
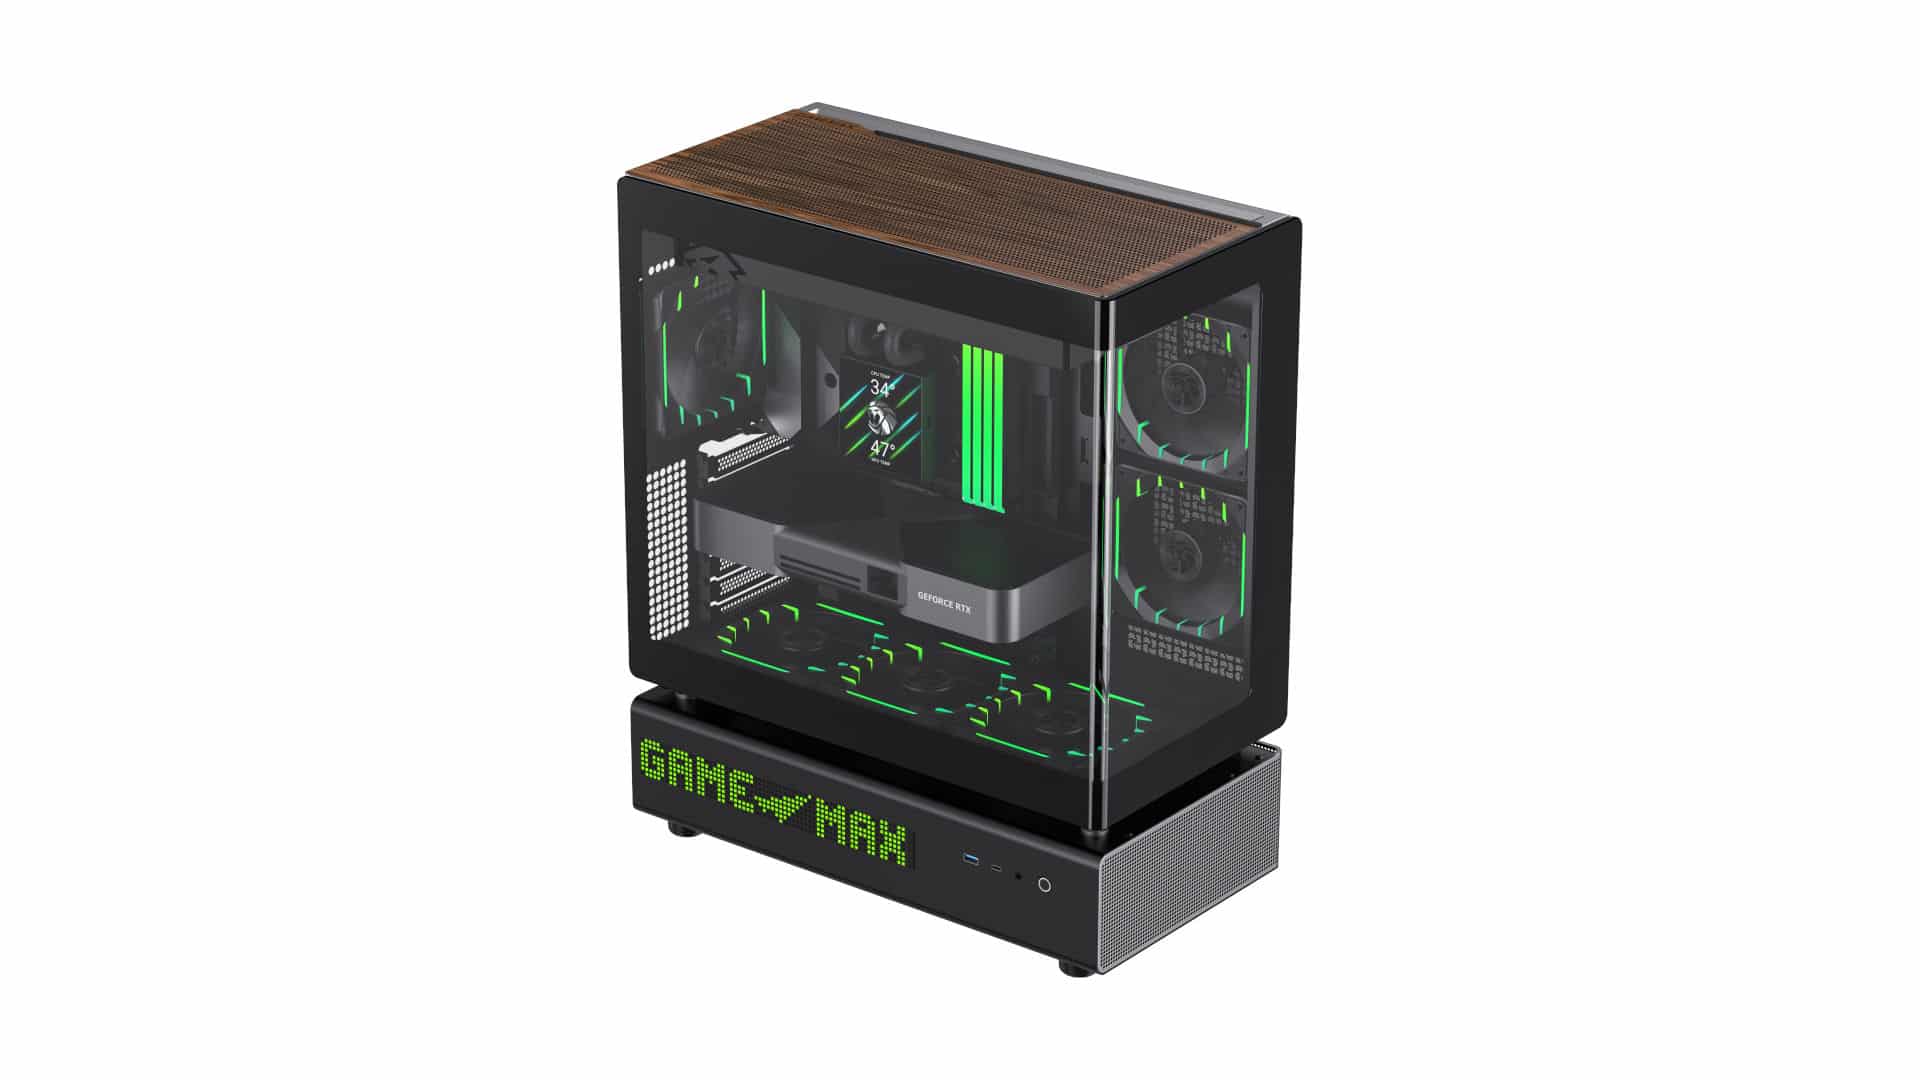
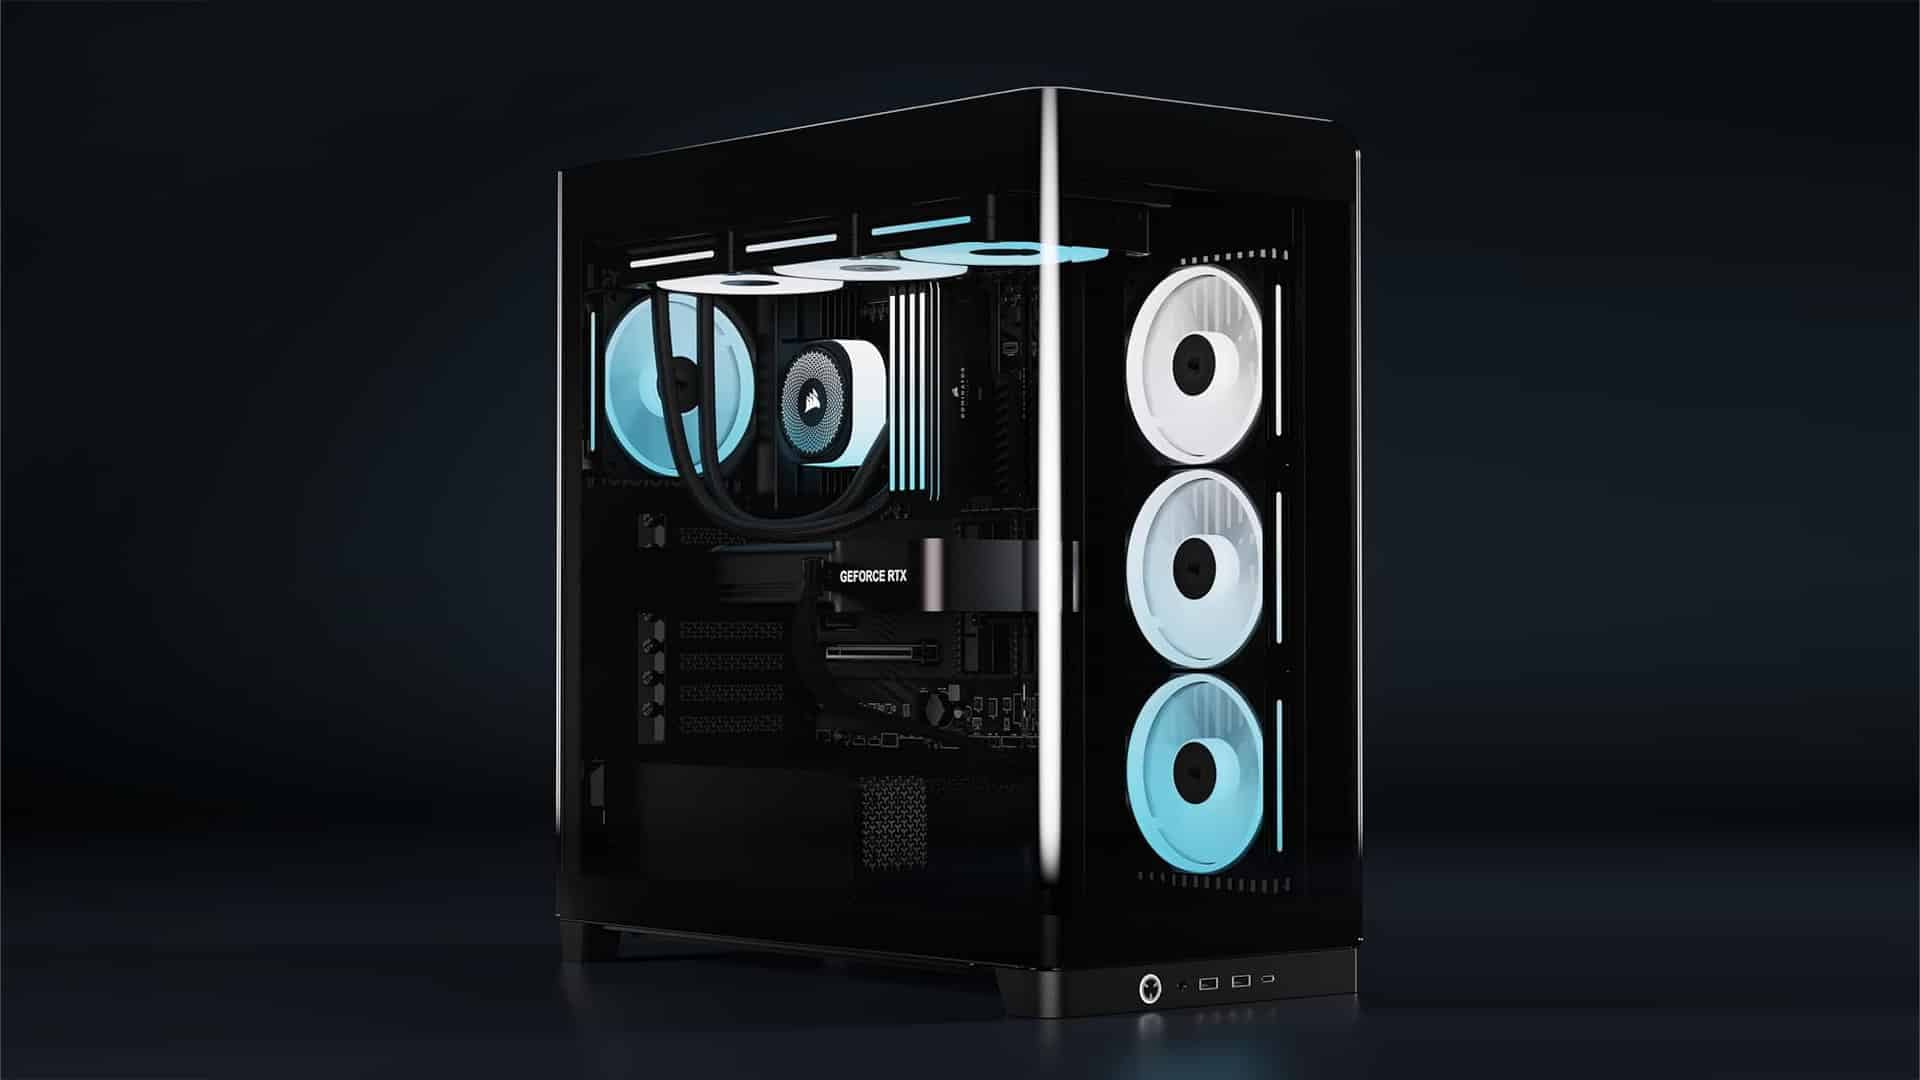
Chassis Photos – Outside
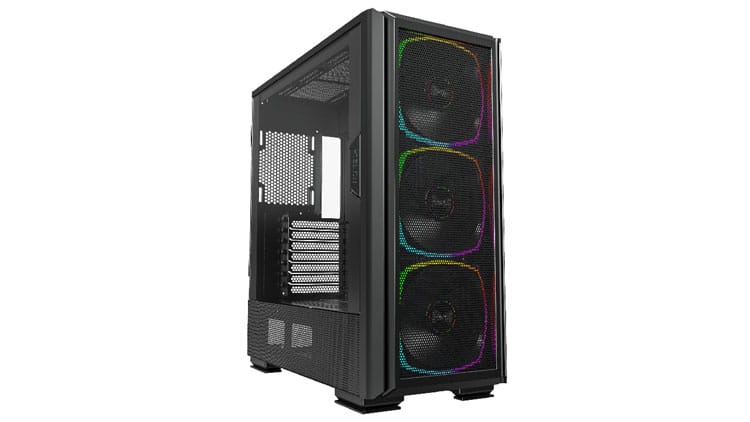
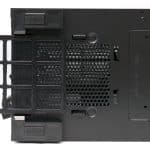
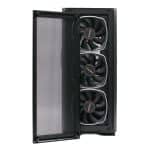
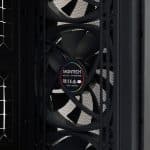
The chassis has some similarities to the non-GX model, such as the side intake below the glass panel. However, the front is completely different. It ditches the glass panel for a more traditional front fan mounting layout held in place with magnets. In addition, three AX140 PWM fans are preinstalled in the front.
The side intake is held in place with two countersunk screws.
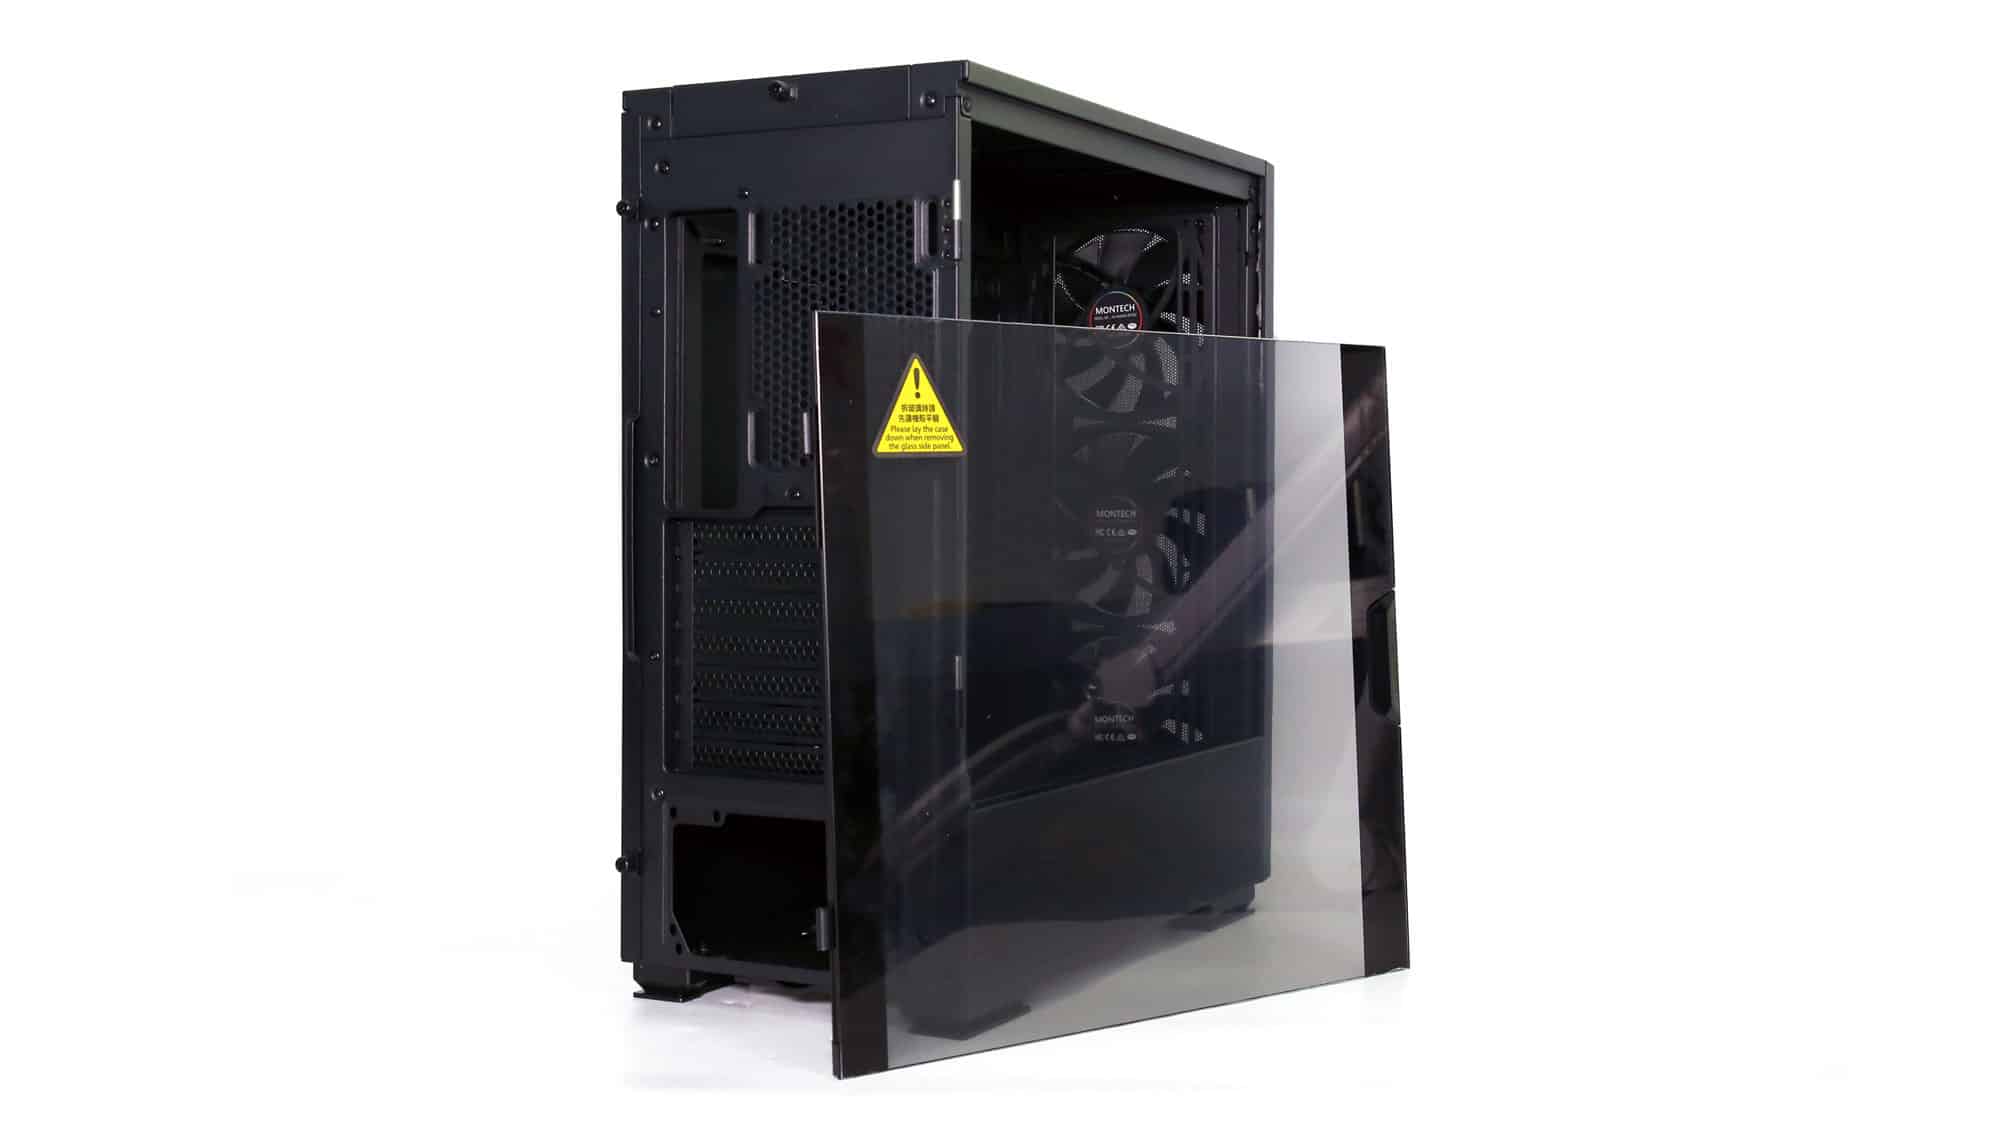
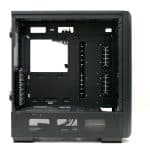
The side glass panel is also different, with a hinge and a handle to open and close it. I prefer a cleaner look over a handle I will use once in a blue moon.
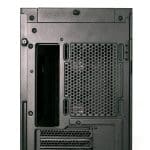
The back panel remains the same, with an air inlet for the two fans mounted right behind and a magnetic mesh filter.
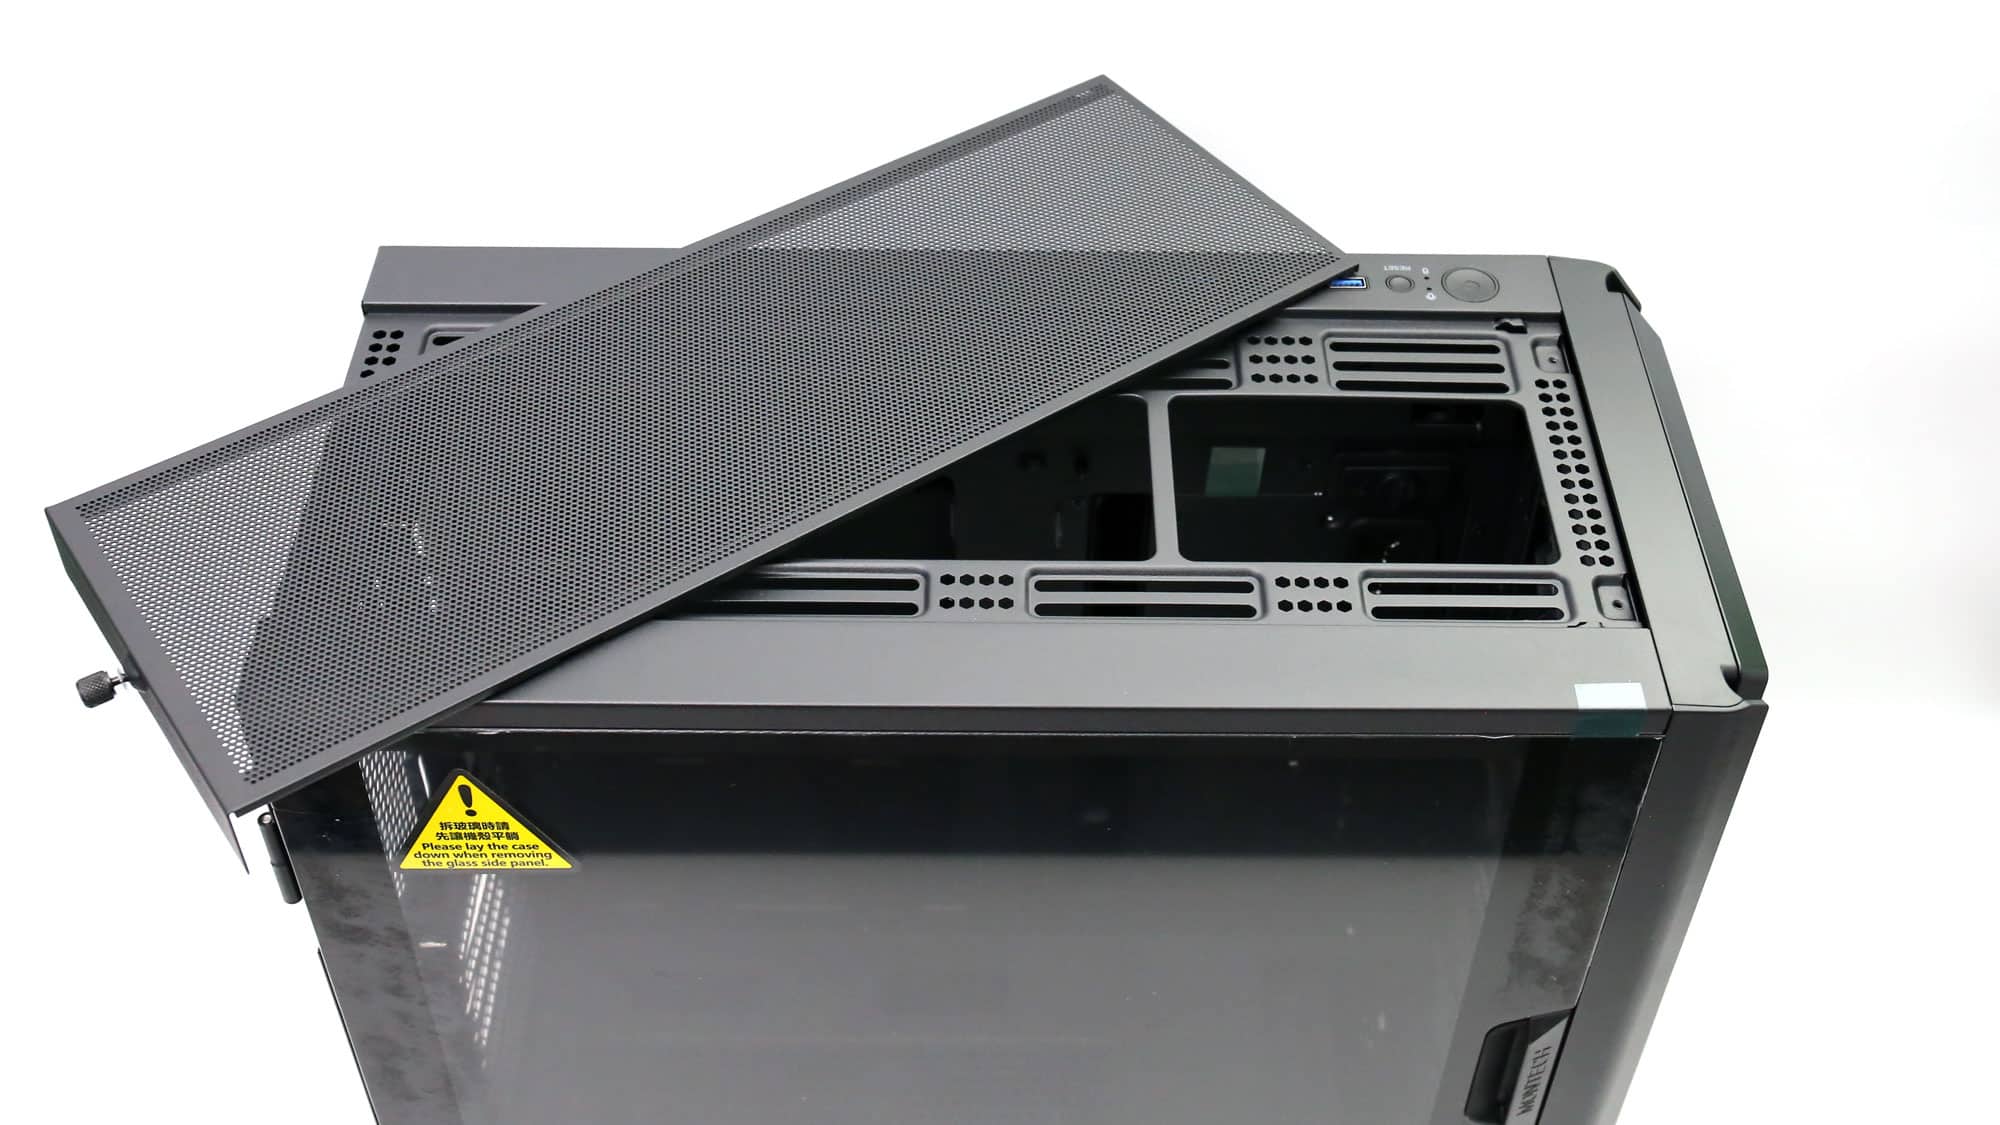
The top of the case is identical to the Sky Two. These decisions help the company cut costs by reusing existing designs and tooling. You can install up to a 360mm AIO; if you go for fans, there is room for three 120mm or 140mm fans.
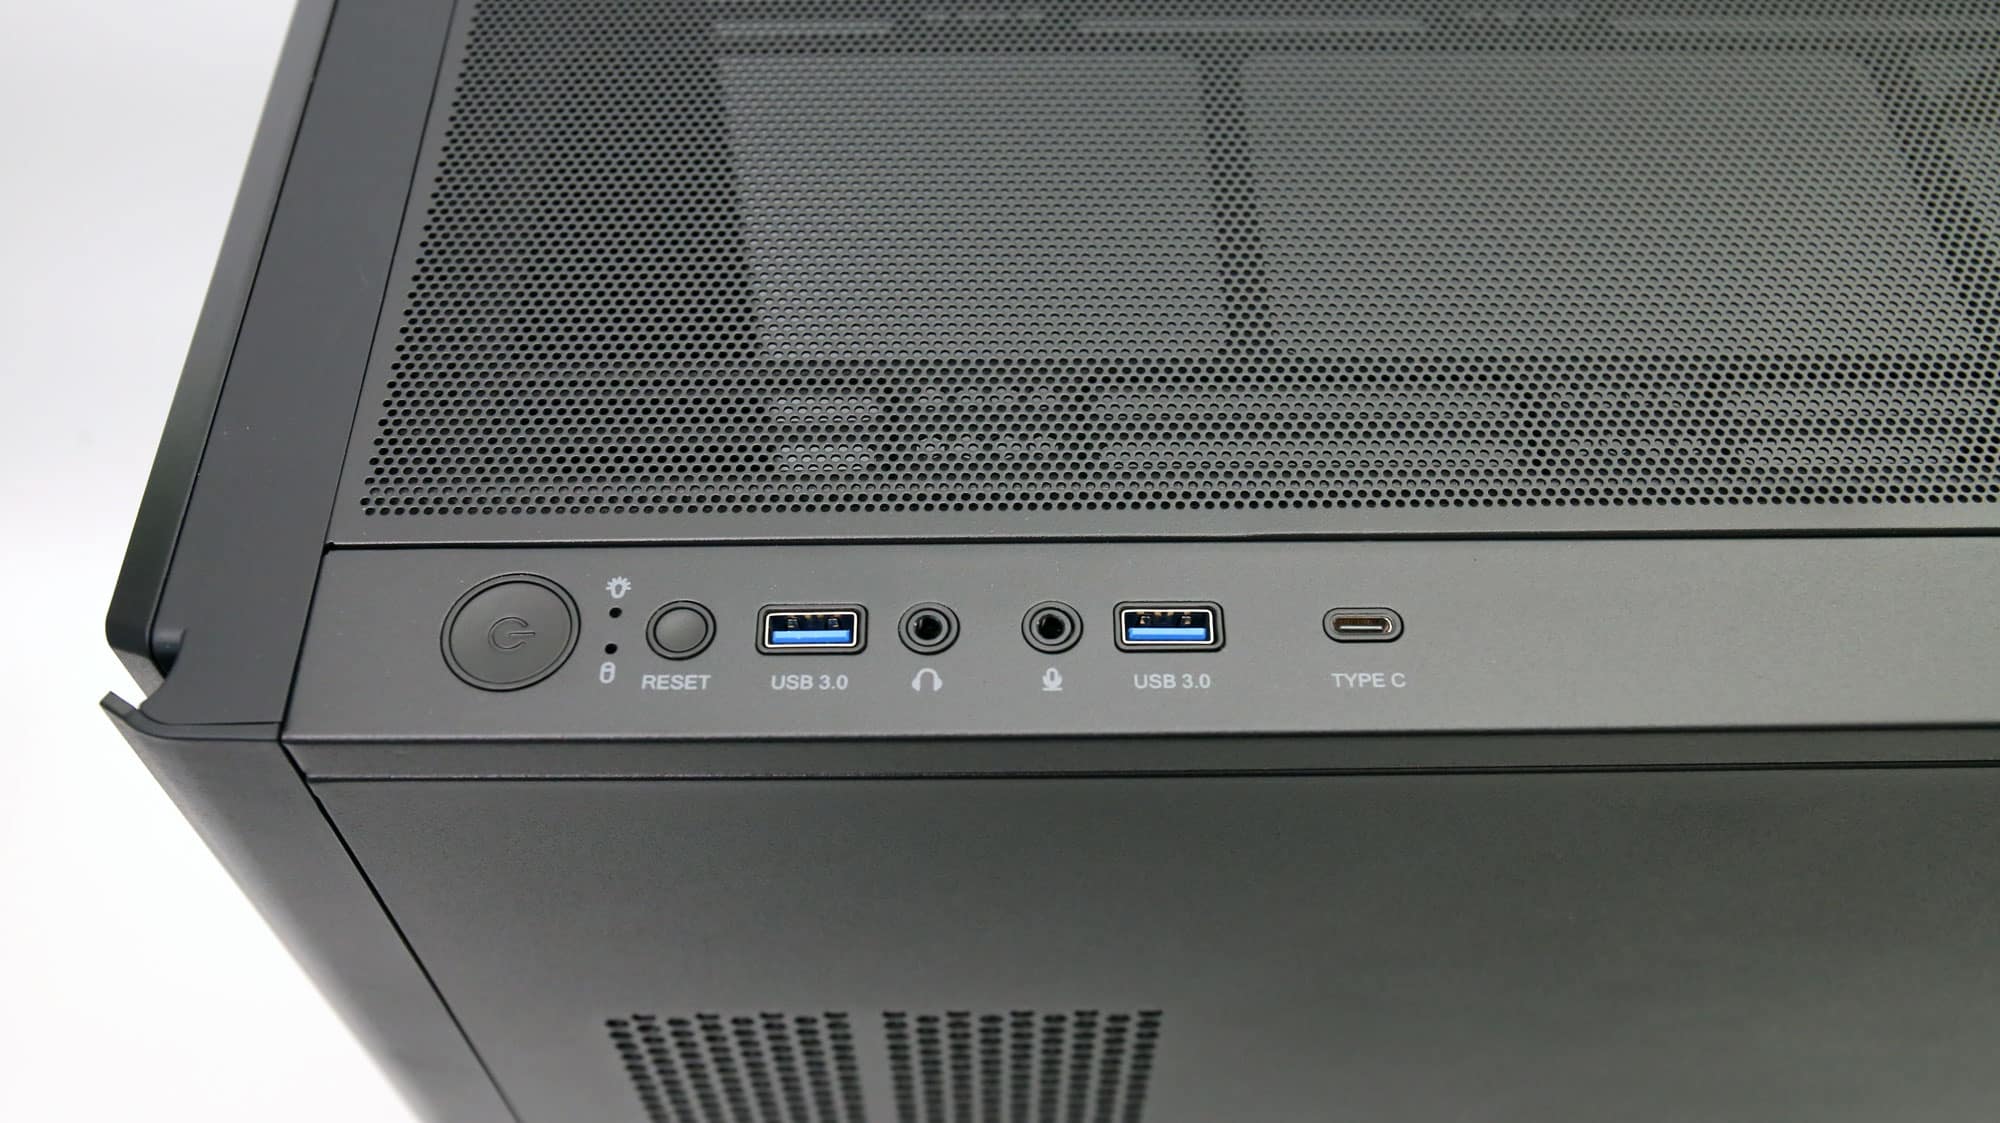
At the top, you will also find the chassis’s I/O, the power and reset buttons, and LEDs indicating the power state and drive activity. The I/O consists of two USB 3.0 Type-A ports, one USB 3.2 Gen 2 Type-C port, a headphone jack, and a microphone jack.
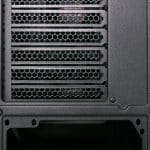
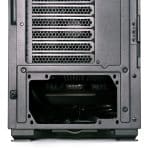
The rear of the chassis is again identical to the previous model, with the PSU on the bottom, directly to the chassis, seven expansion slots, an adjustable 120mm fan, and the motherboard’s I/O.
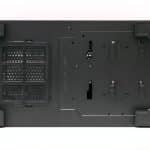
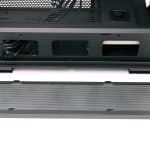
Lastly, on the bottom, you will find a removable mesh filter and the feet design carried over from the Sky Two, just like the two HDD cage slots, so you can select the one you prefer.
Chassis Photos – Inside
Looking inside, we find a similar design; however, this time, the pre-installed fans are on the revamped front side of the chassis, with no exhaust fan. These fans are 140 mm in size, so unfortunately, you cannot move any of them to the back. You will have to source a 120mm yourself.
The chassis supports even the larger E-ATX motherboard standard. The preinstalled motherboard stand-offs are for the ATX size, while the three additional pieces included in the accessories box can be easily installed.
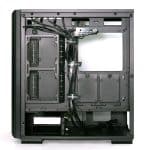
Behind the motherboard tray is a large opening to help install CPU cooler backplates. Besides the board, you will find cable passthrough grommets, which are large and surprisingly complex to remove accidentally.
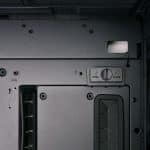
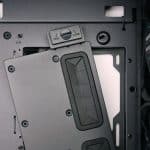
Unlike the Sky Two, there are no side-mounted fans here, but the mounts are still there, and they are nicely concealed by a removable panel secured at the top via a plastic mechanism. This removable panel has some grommets if you have an E-ATX board. The removable tray can also hold two additional SATA SSDs! A magnetic dust filter is also attached to the back panel.
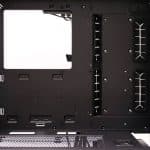
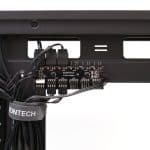
Above the motherboard, you will find two large openings for cables, and you can take a peek at the fan hub, which we will discuss shortly.
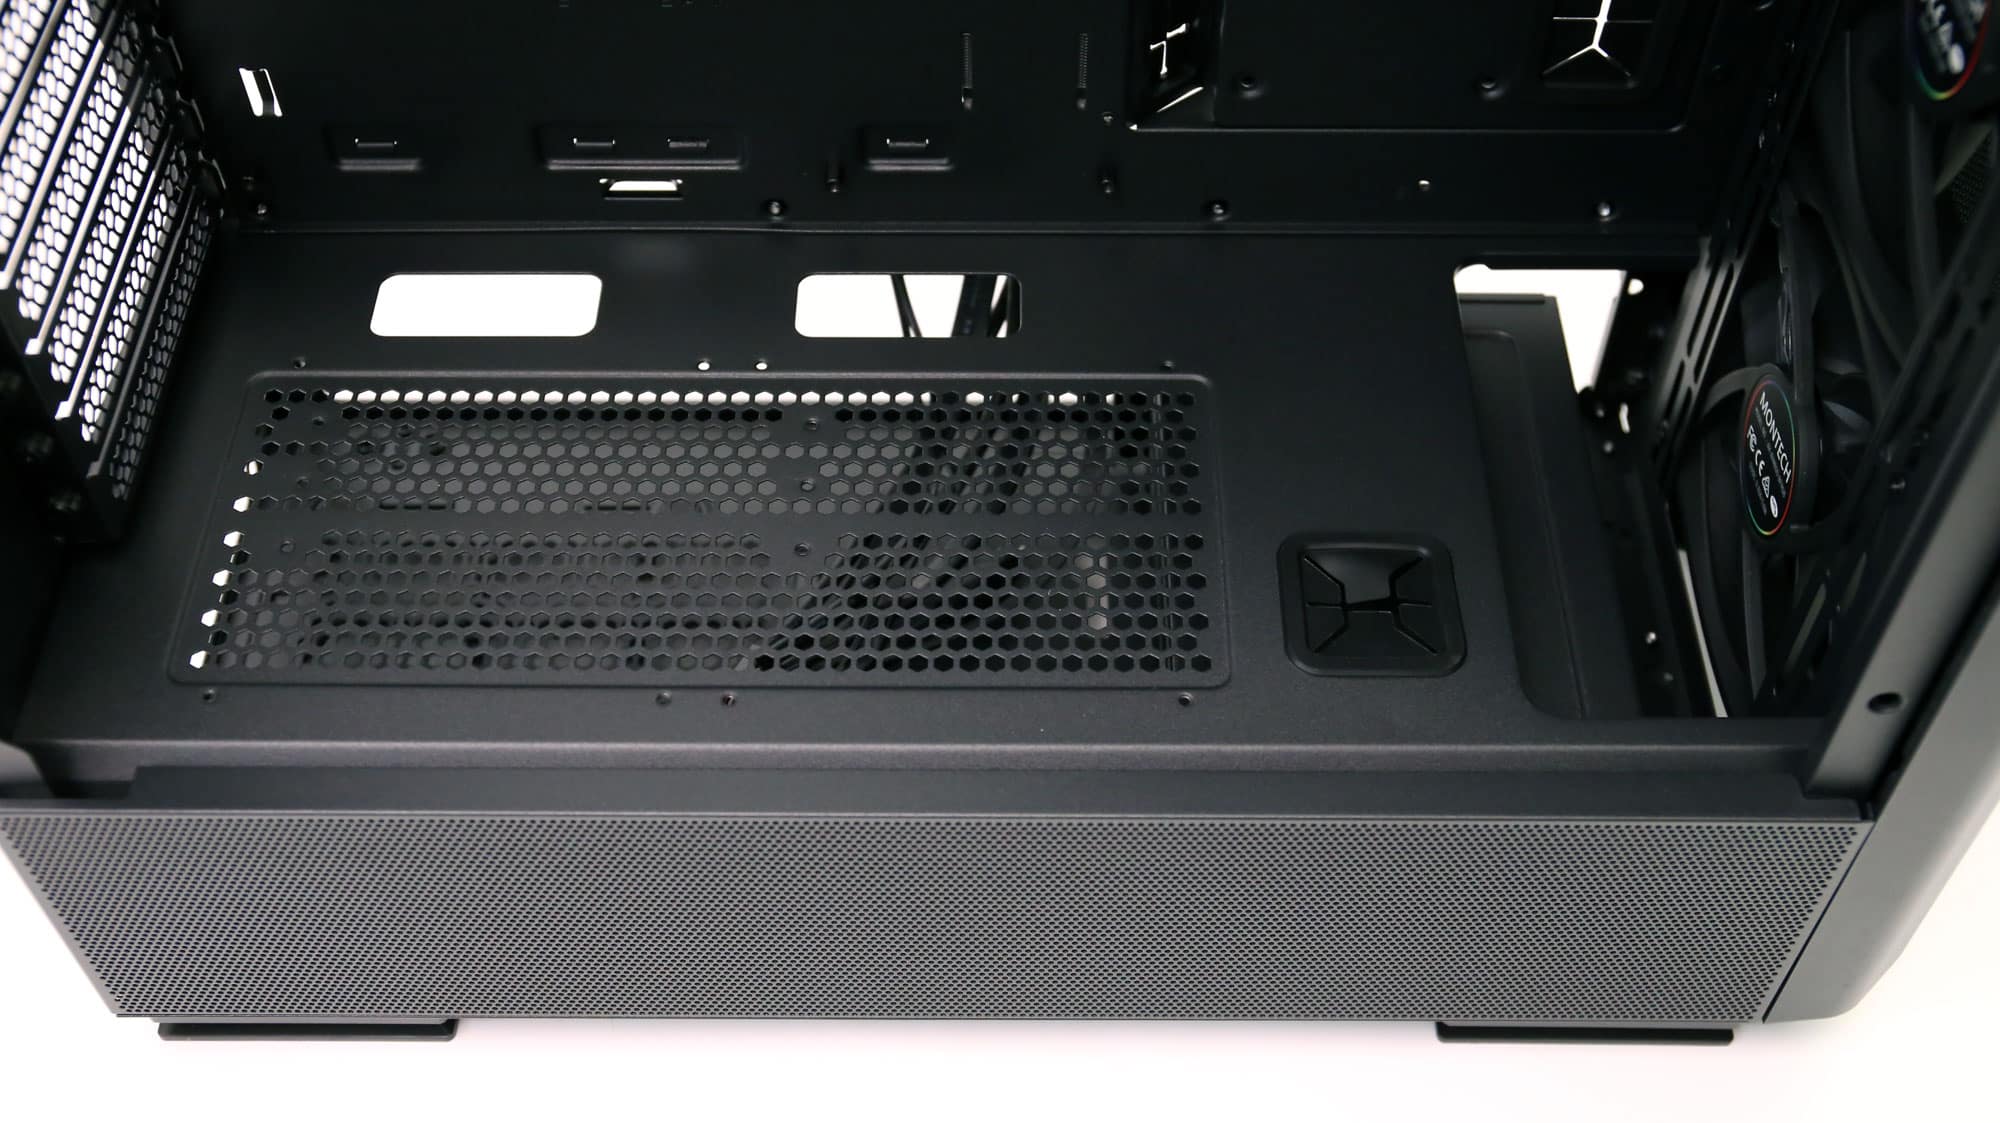
Below the motherboard, on top of the PSU shroud, you will find small cable pass-throughs for front I/O cables and fan or ARGB connectors. In addition, there are mounting holes for two 120mm fans, vertical GPU mounting provisions, and a grommet passthrough for a GPU power cable. There is also a small opening toward the front.
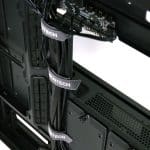
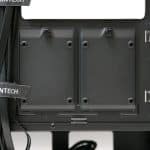
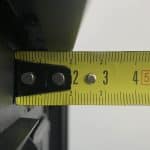
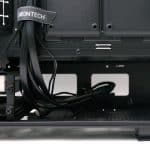
Behind the motherboard, there is plenty of space for cable management, about 19mm, to be precise. Three reusable straps come preinstalled on the chassis. Moreover, you will find two SSD brackets below the CPU backplate opening. A six-fan hub with PWM and ARGB connectors comes with the chassis. It is conveniently placed close to the cable pass-throughs at the top to connect it to the motherboard quickly. A SATA connection is required to provide the necessary power.
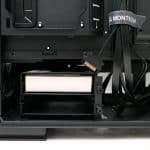
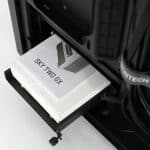
Within the PSU and HDD enclosure, you will find the HDD tray close to the front, which you can move to the secondary optional position or altogether remove. It is held in place with a single screw. Even with the tray inside the chassis, there is room for lengthy PSUs, up to 210 mm. It is worth noting that this enclosure is very well-ventilated, as it is open on five of its six sides.
