Assembly Procedure
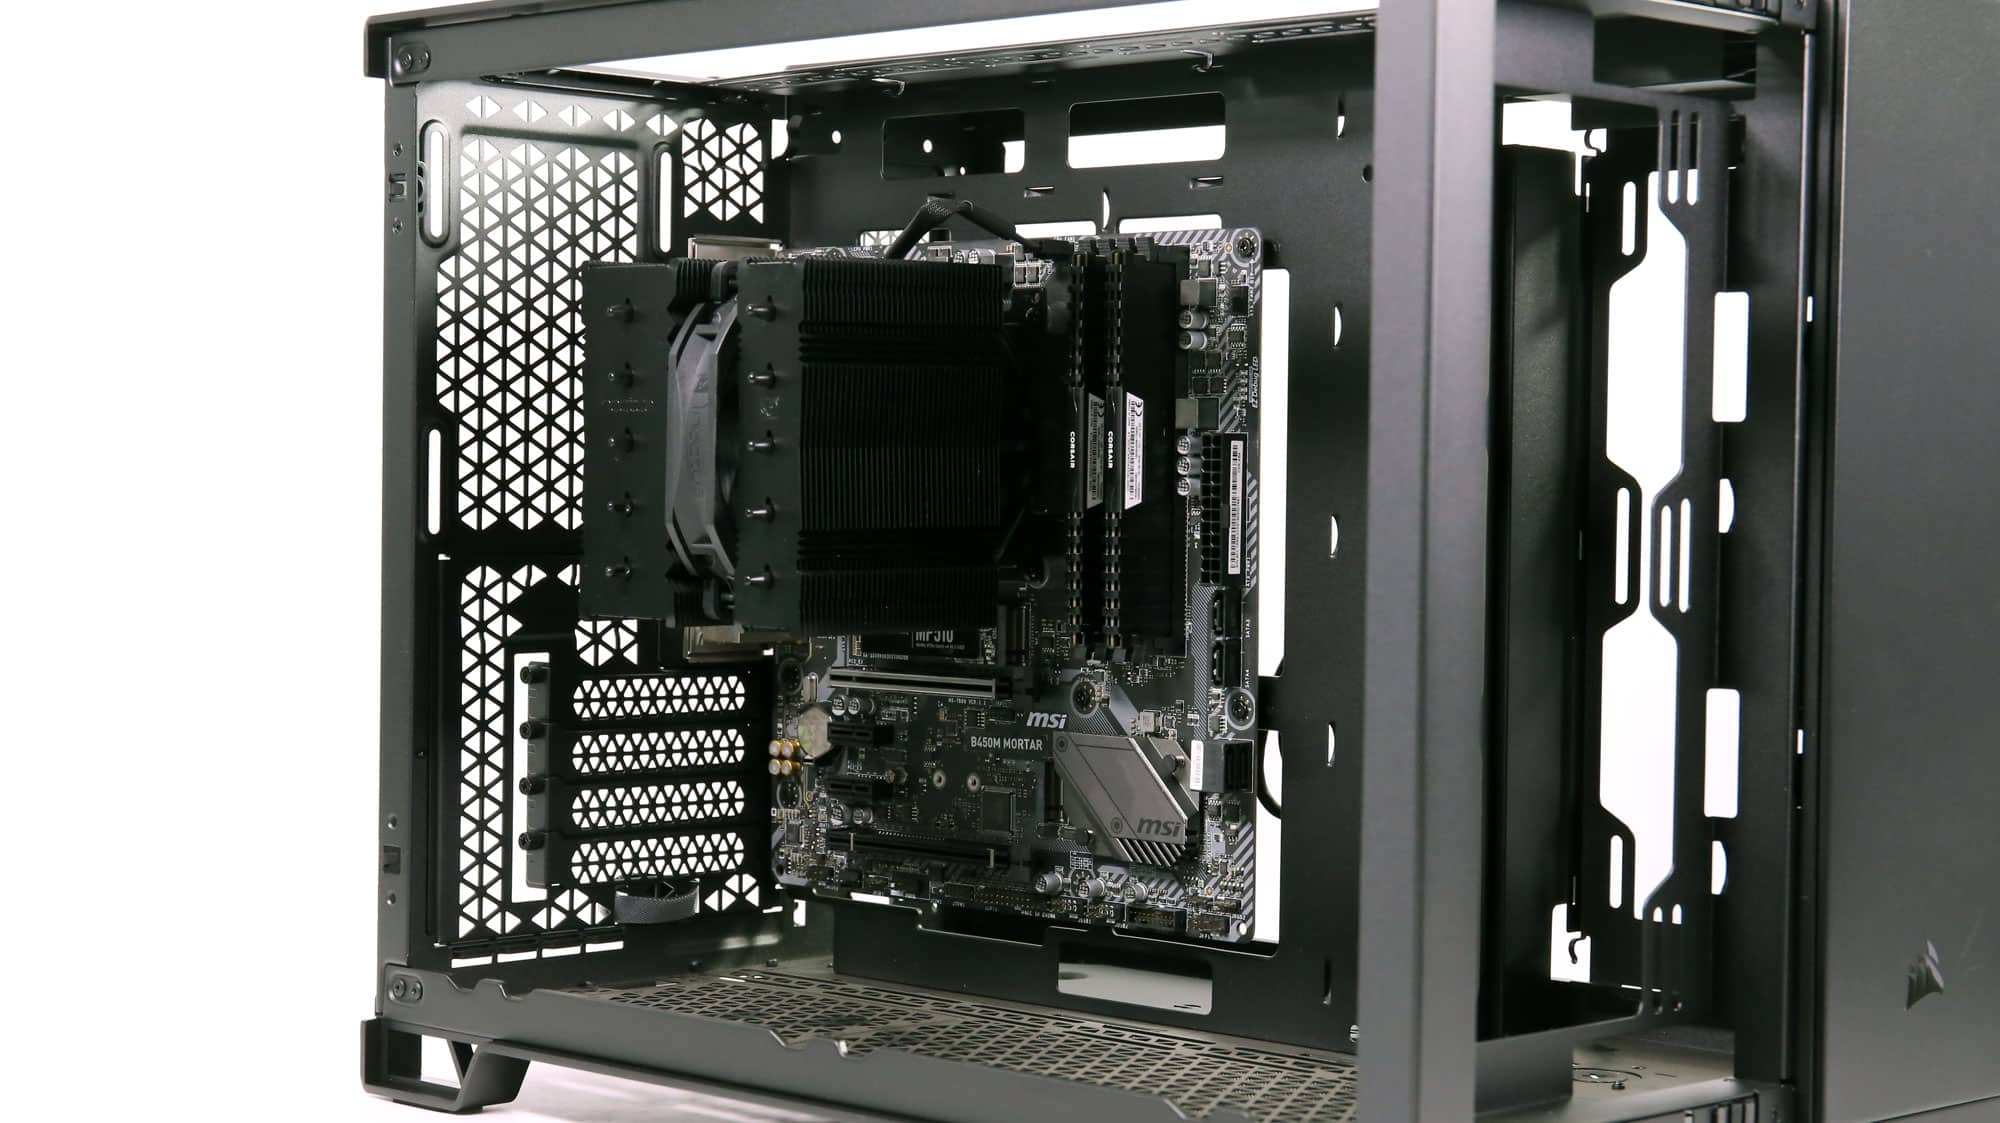
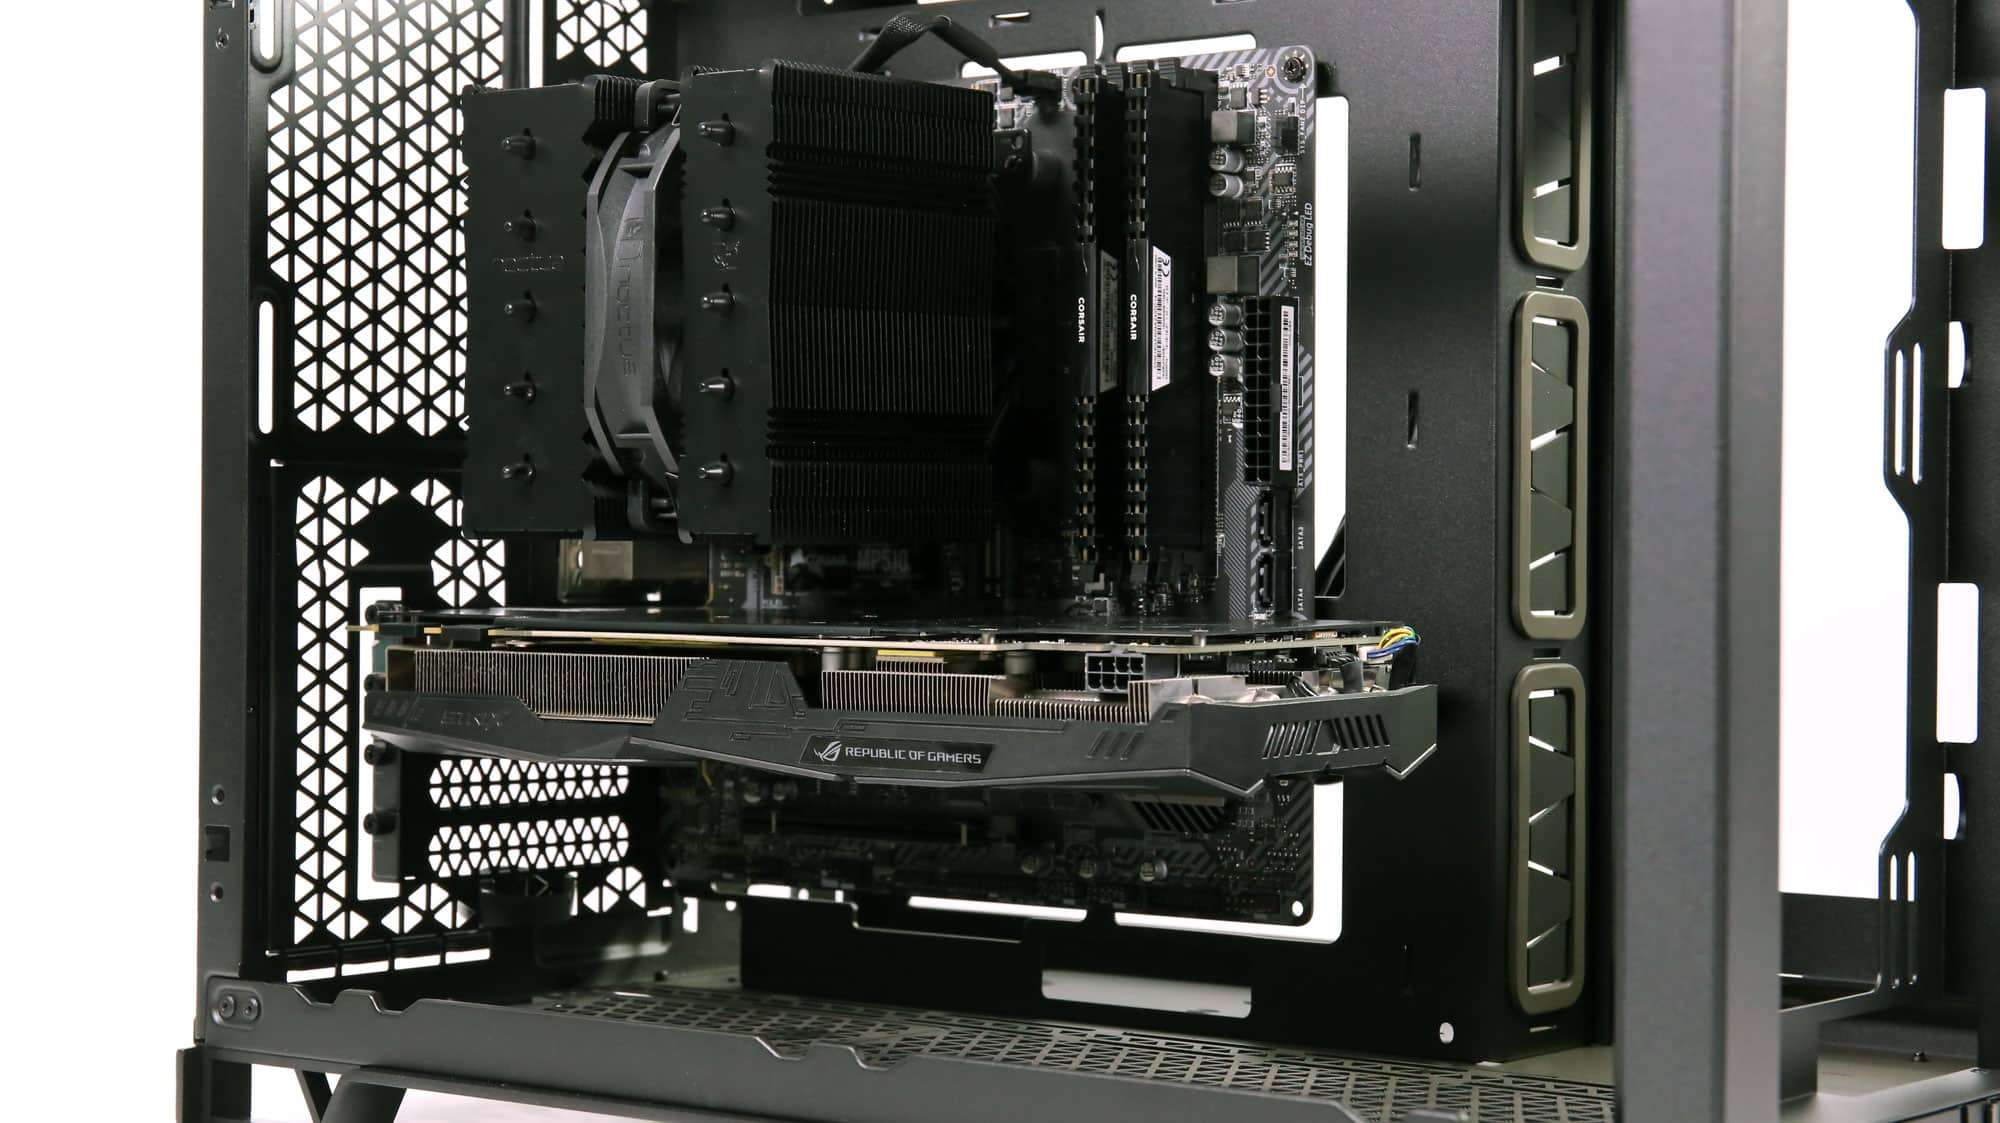
The system assembly inside the 2500D Airflow was generally fast and simple. We immediately removed the HDD caddy, as our systems no longer use HDDs. This left a lot of space to work with, and I would recommend that to you, whether you intend to use it or not. The motherboard prefitted with the CPU, RAM, and cooler was followed by installing the GPU and the PSU and its cables.
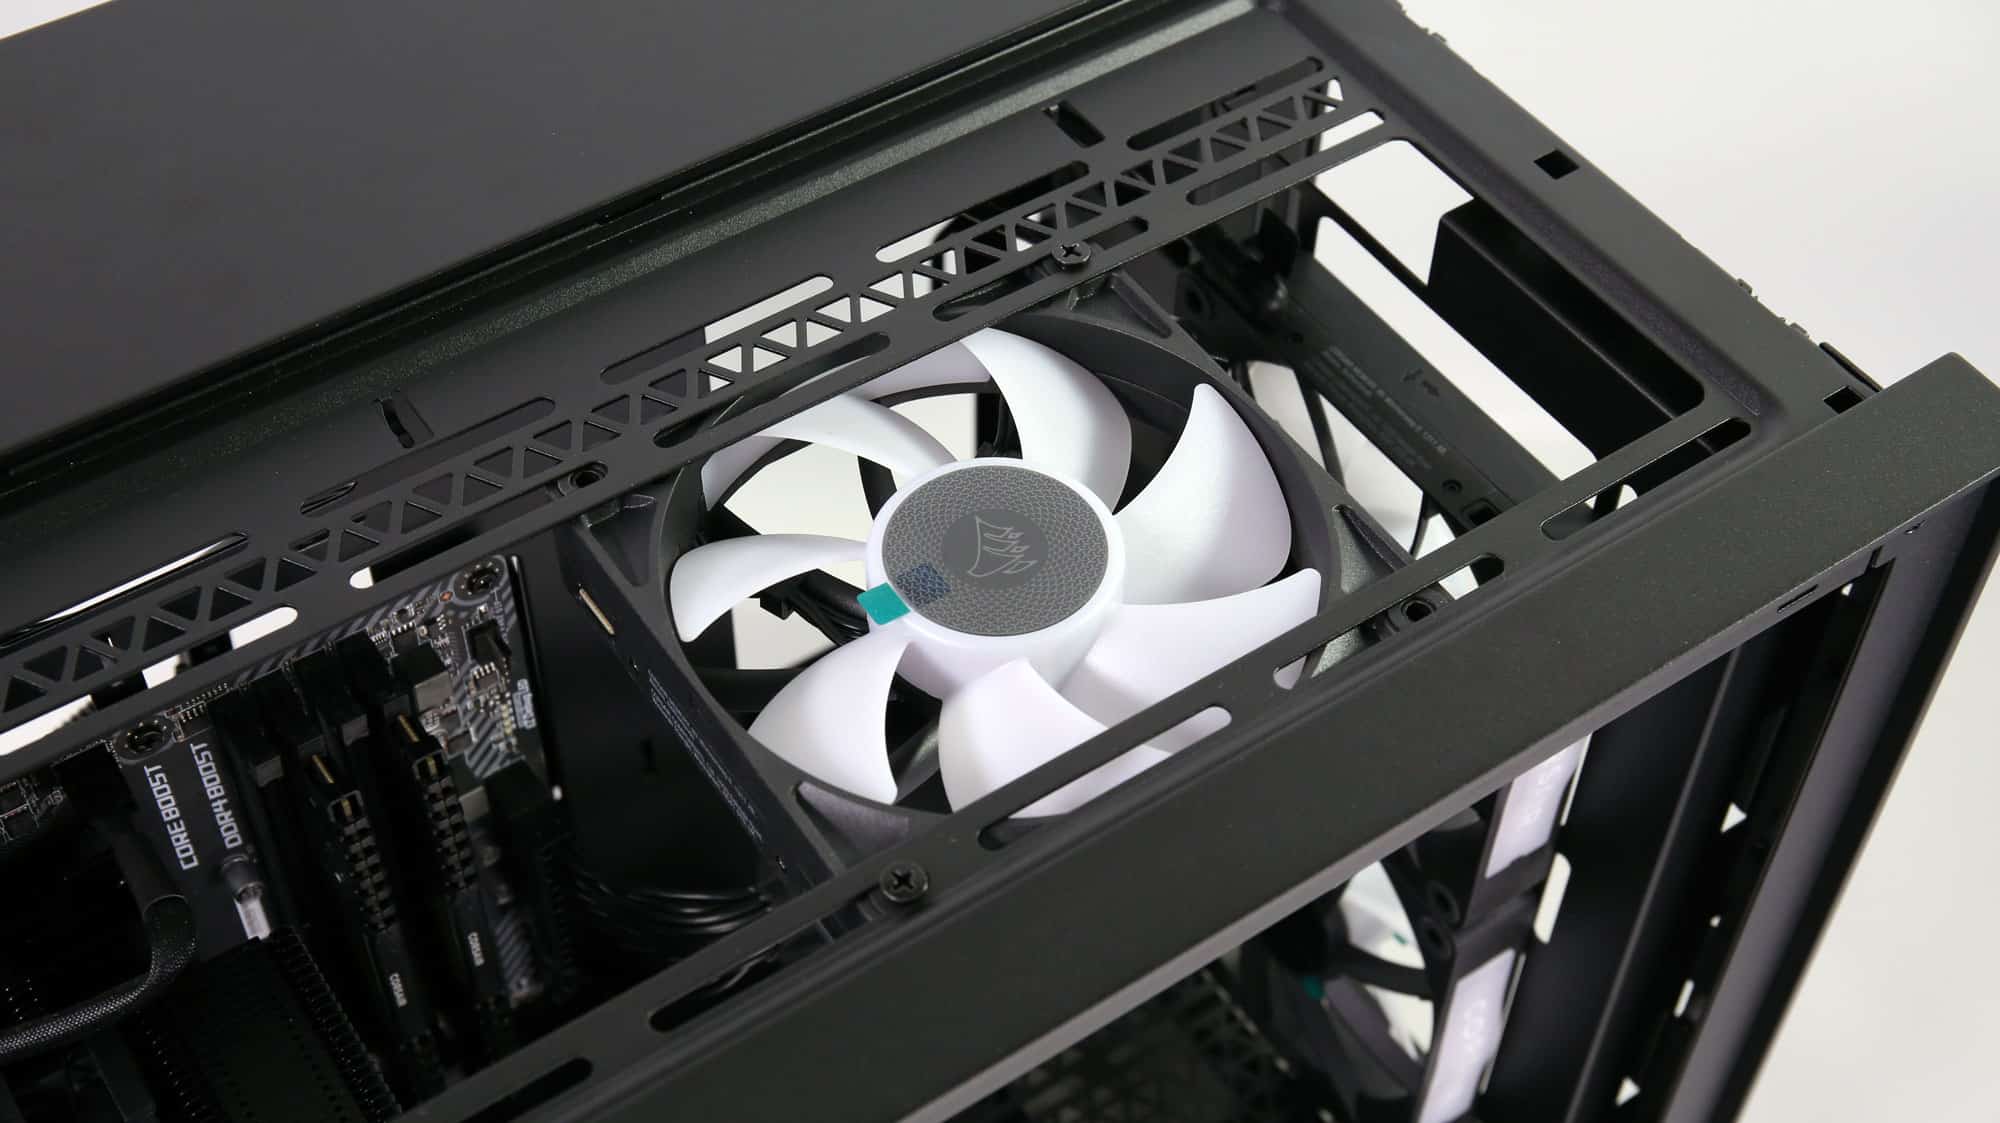
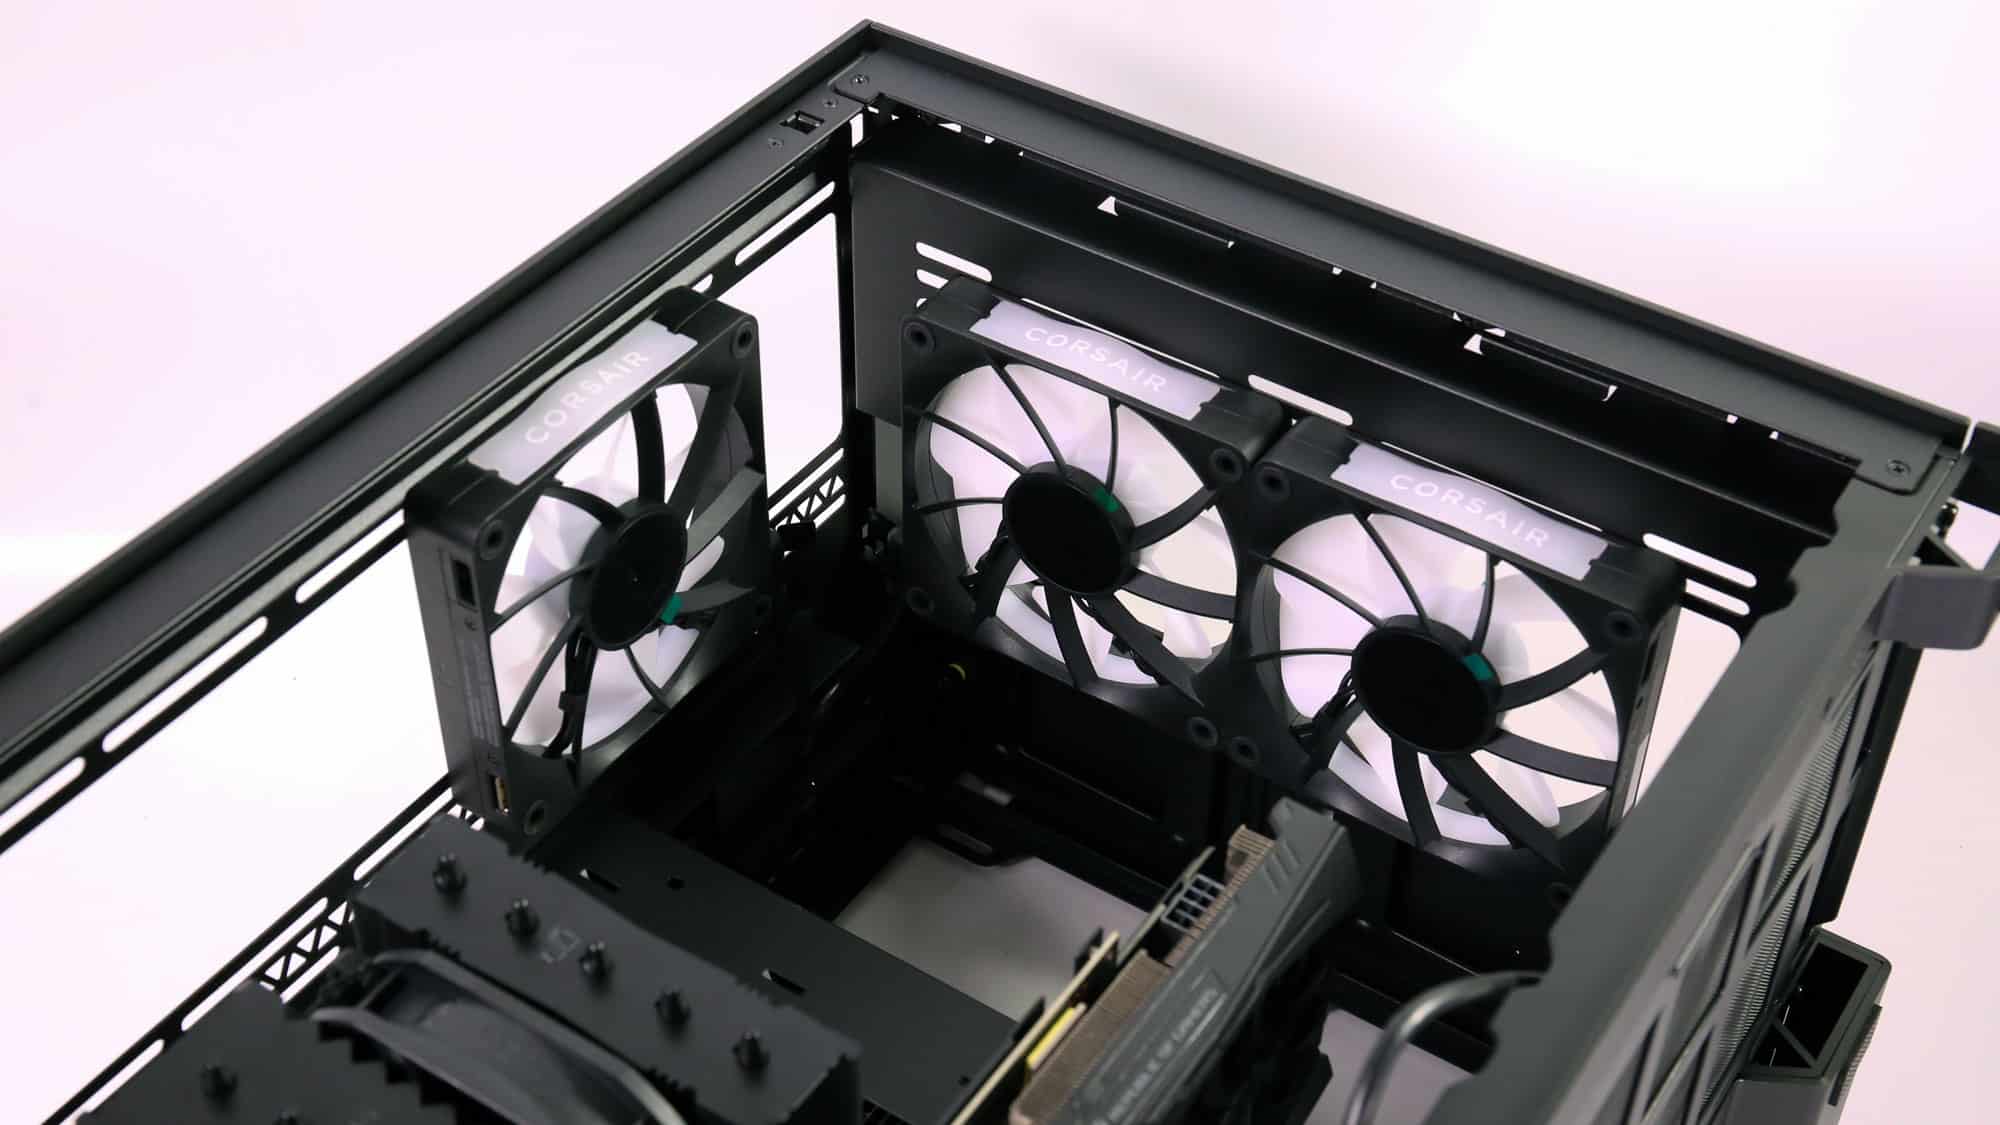
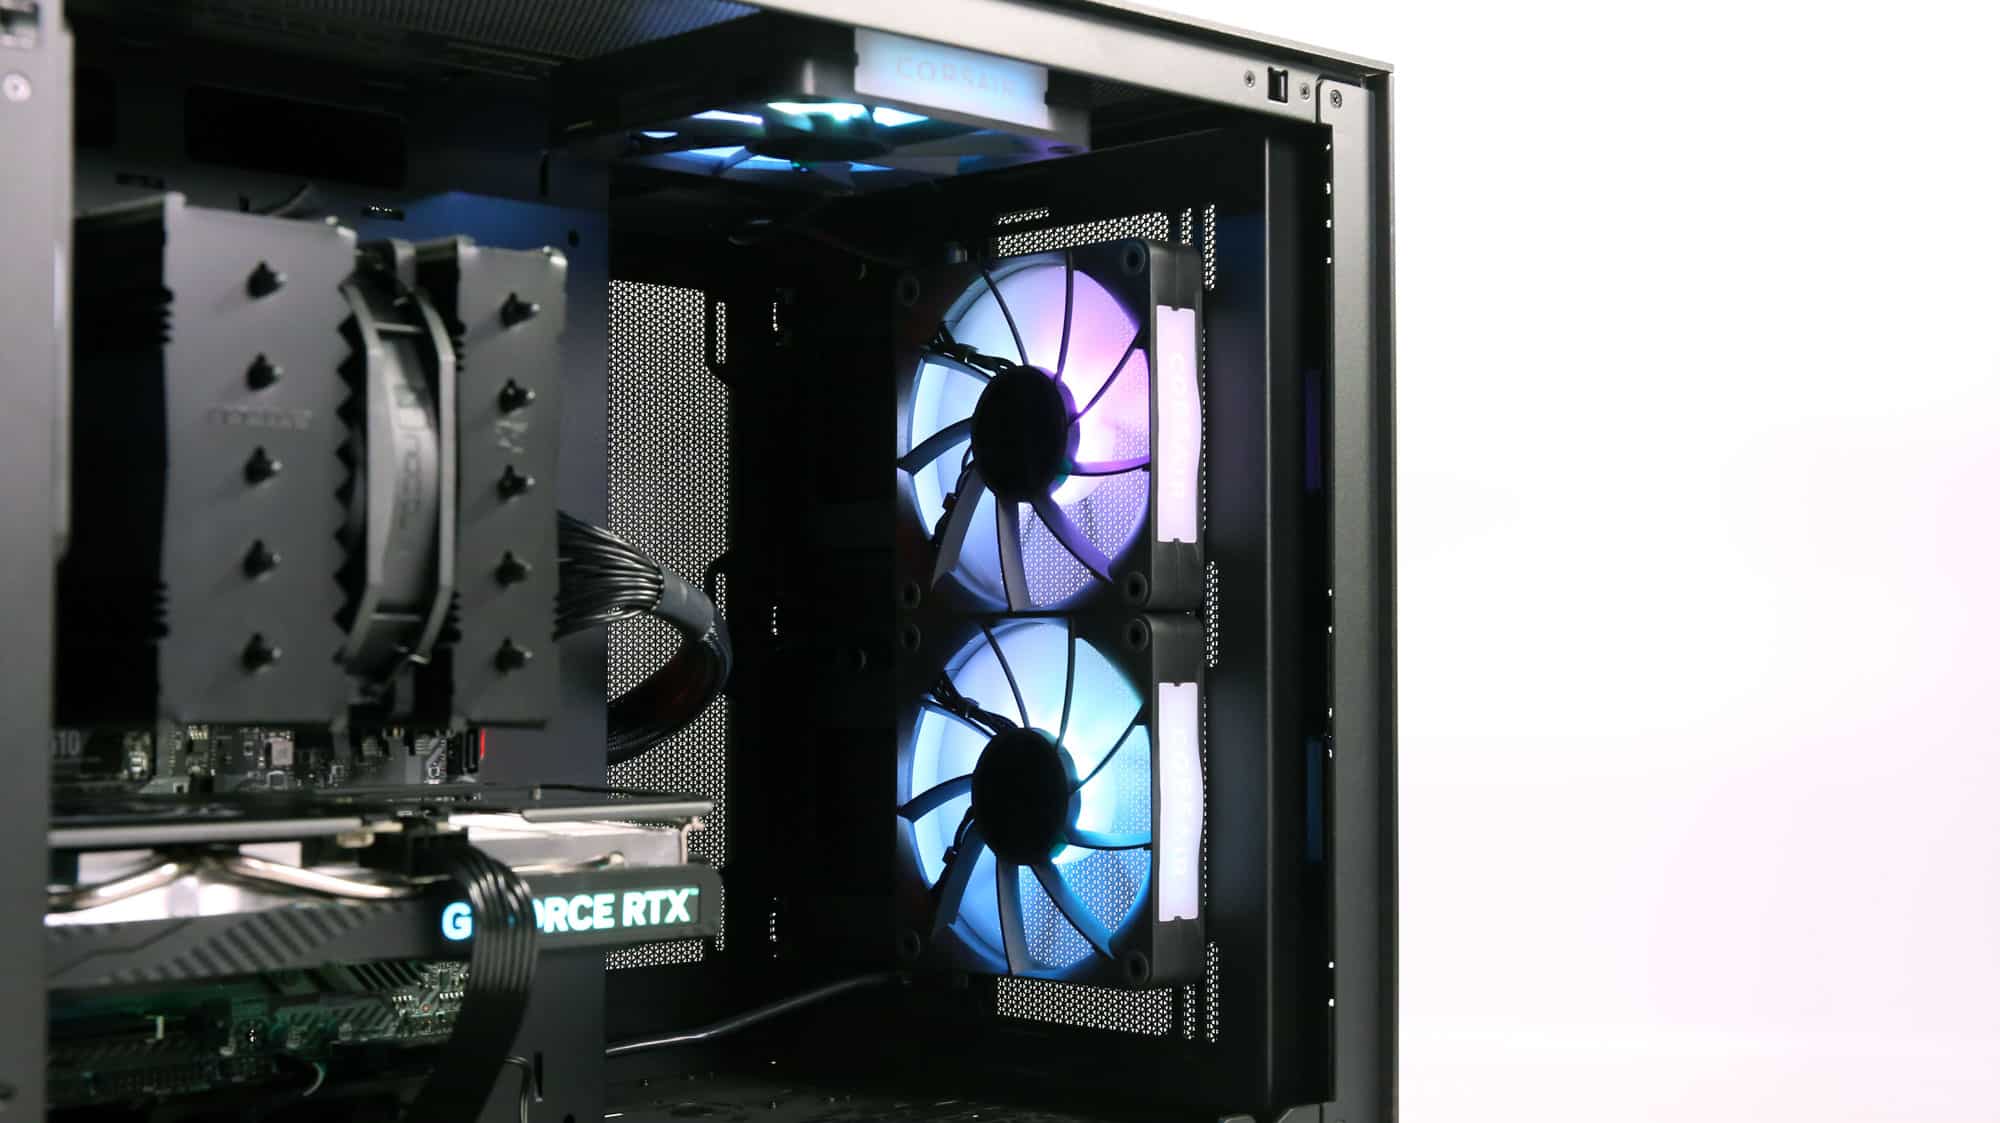
The last elements included were the iQue Link hub and four RX 120mm fans, two intakes in the front, one exhaust on the top, and another at the rear. This was the only time we encountered any problems since the cables included with the fans and the hub are on the short side, meaning that some have been a bit stretched, and the placement options are limited. We would not consider this a significant problem, but Corsair aims to sell a bundle with the accessories in this case. Had we moved the iQue into the main chamber, we would not have had this problem, but we wanted it out of sight.
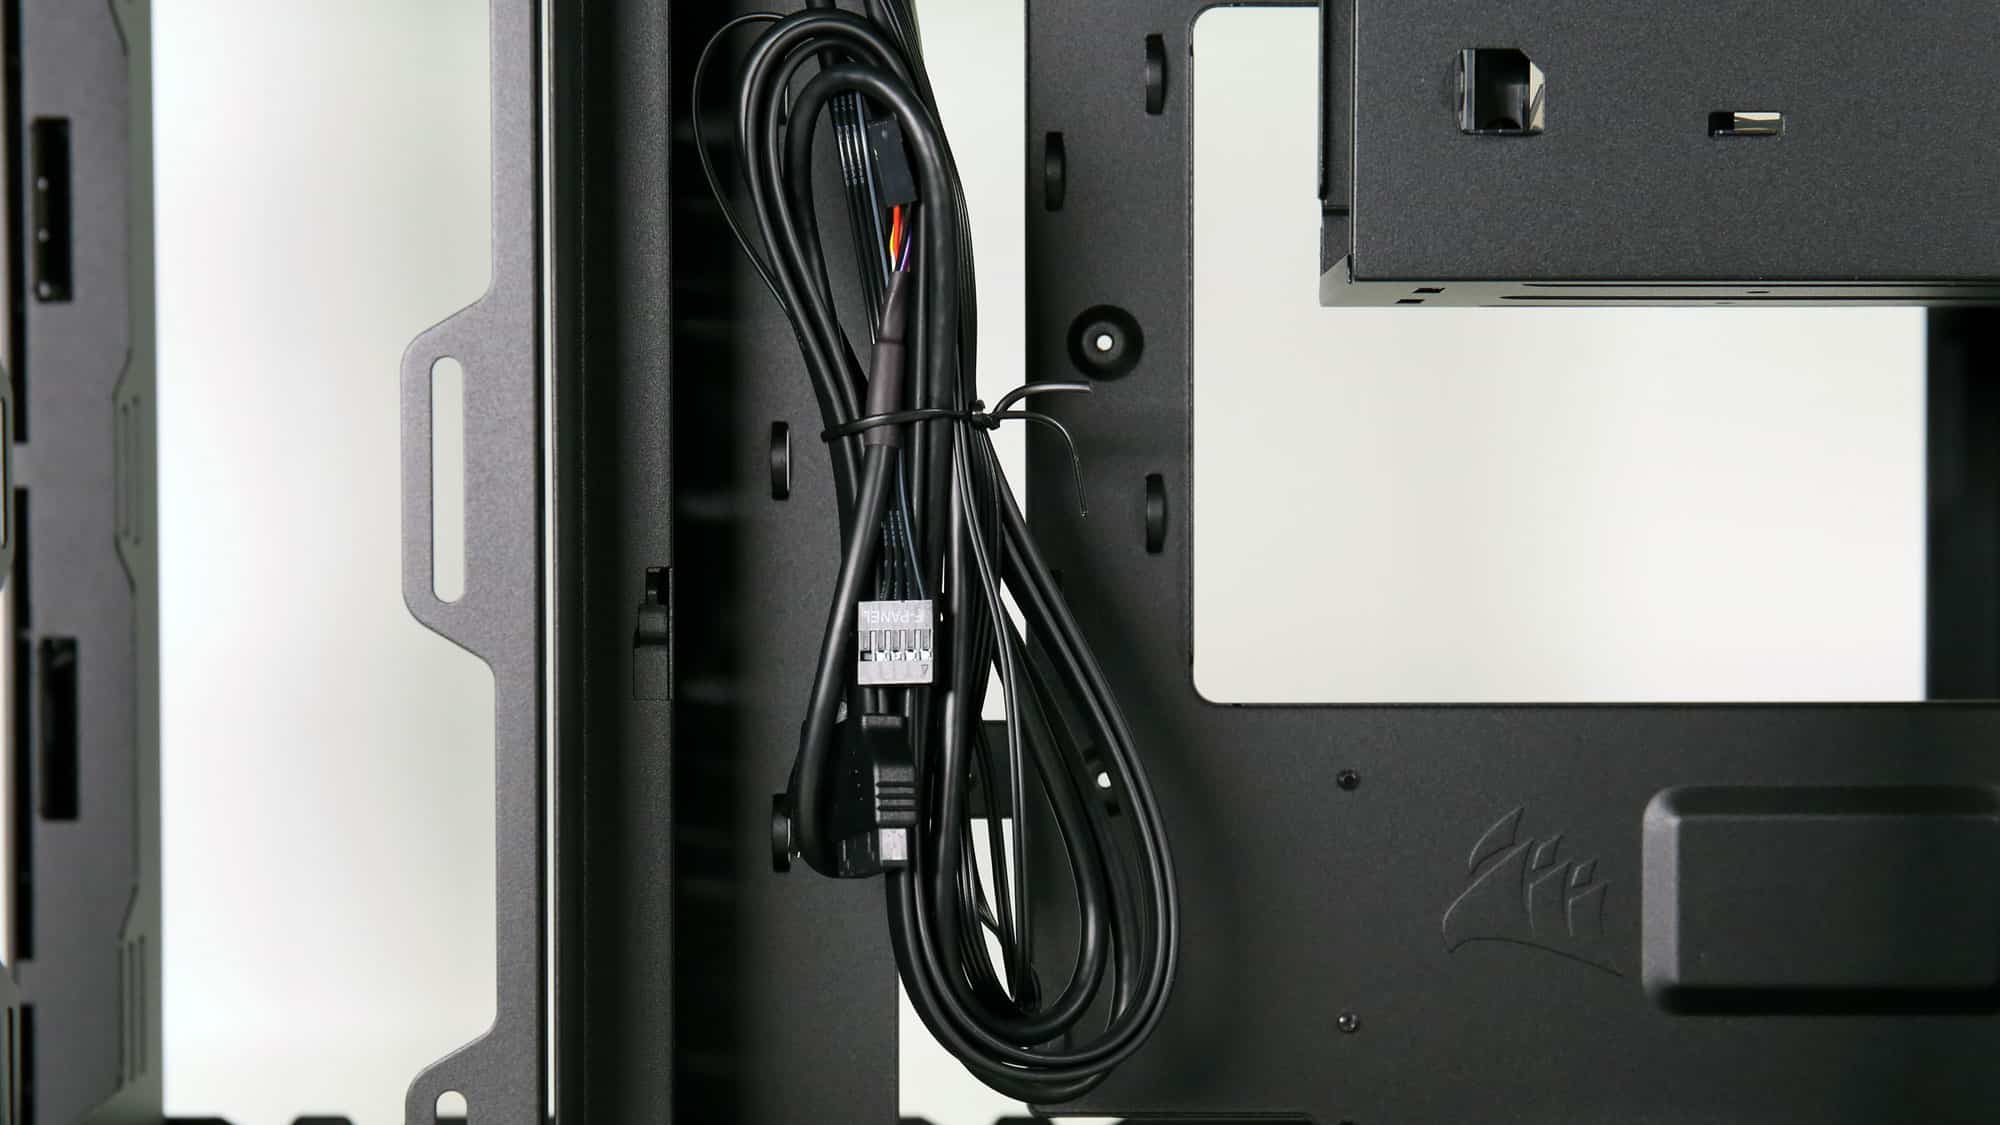
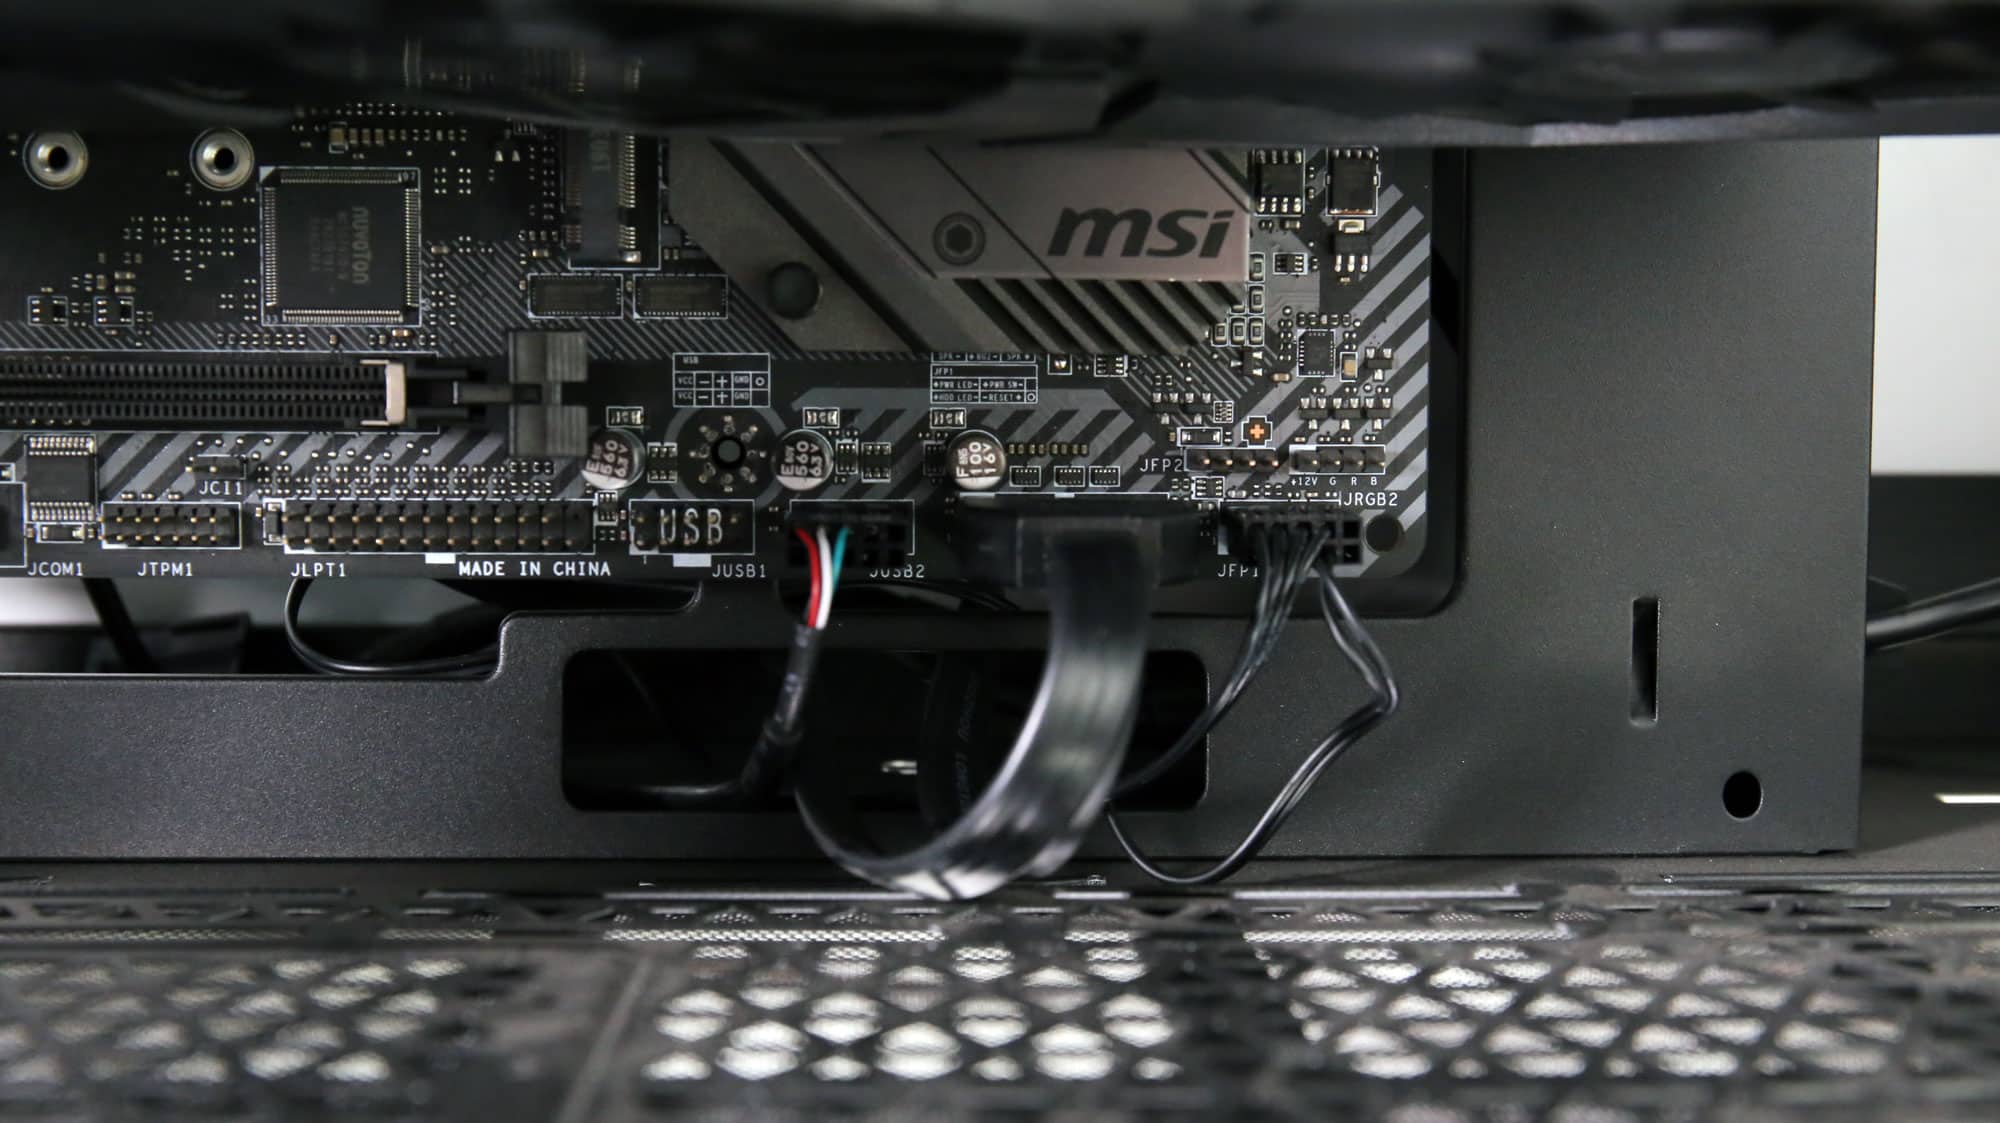
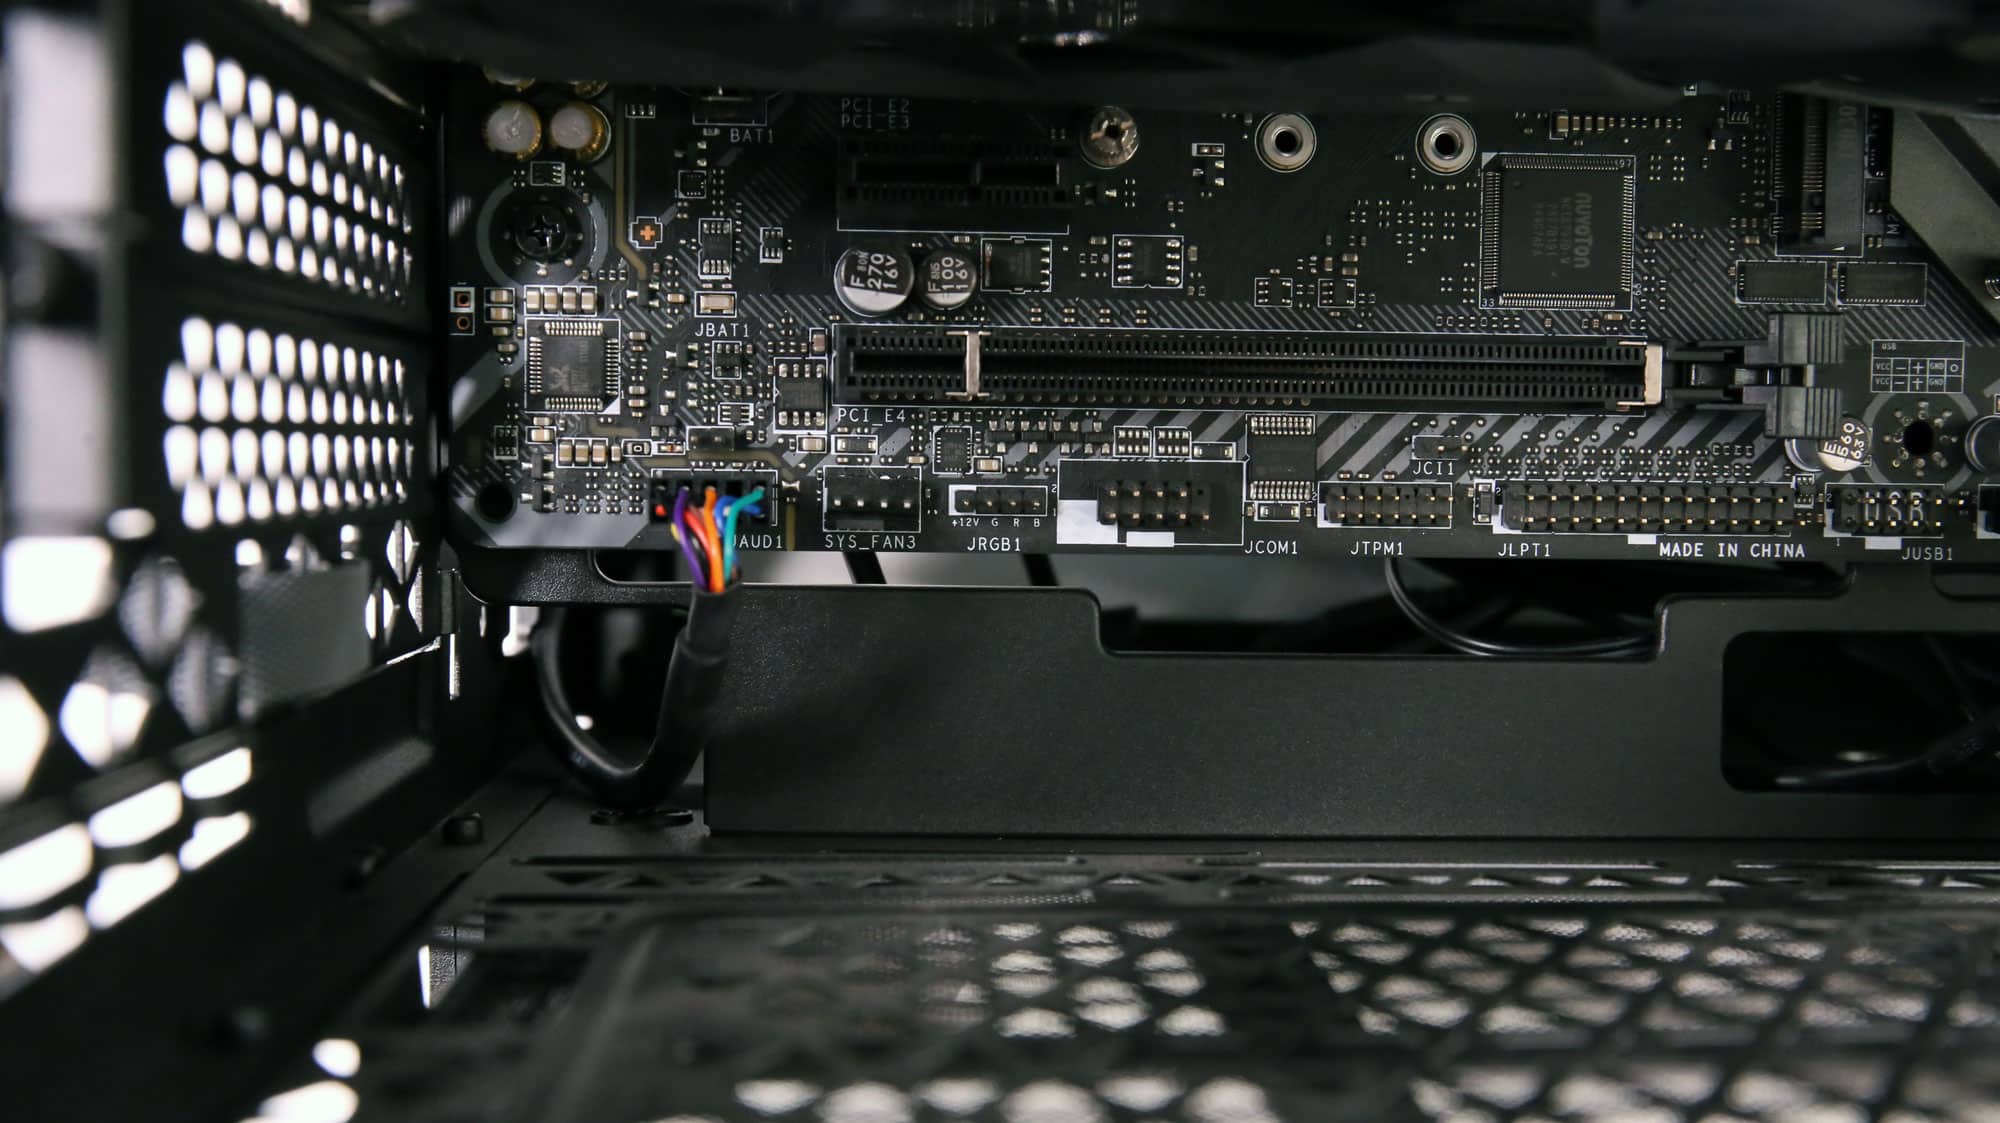
A positive inclusion is the fused front panel IO pins, which make their installation a breeze, given that their layout has become unofficially standardized. Cable management provisions help keep everything in place in the secondary chamber, but MG-RC motherboards will get a bit more crowded.
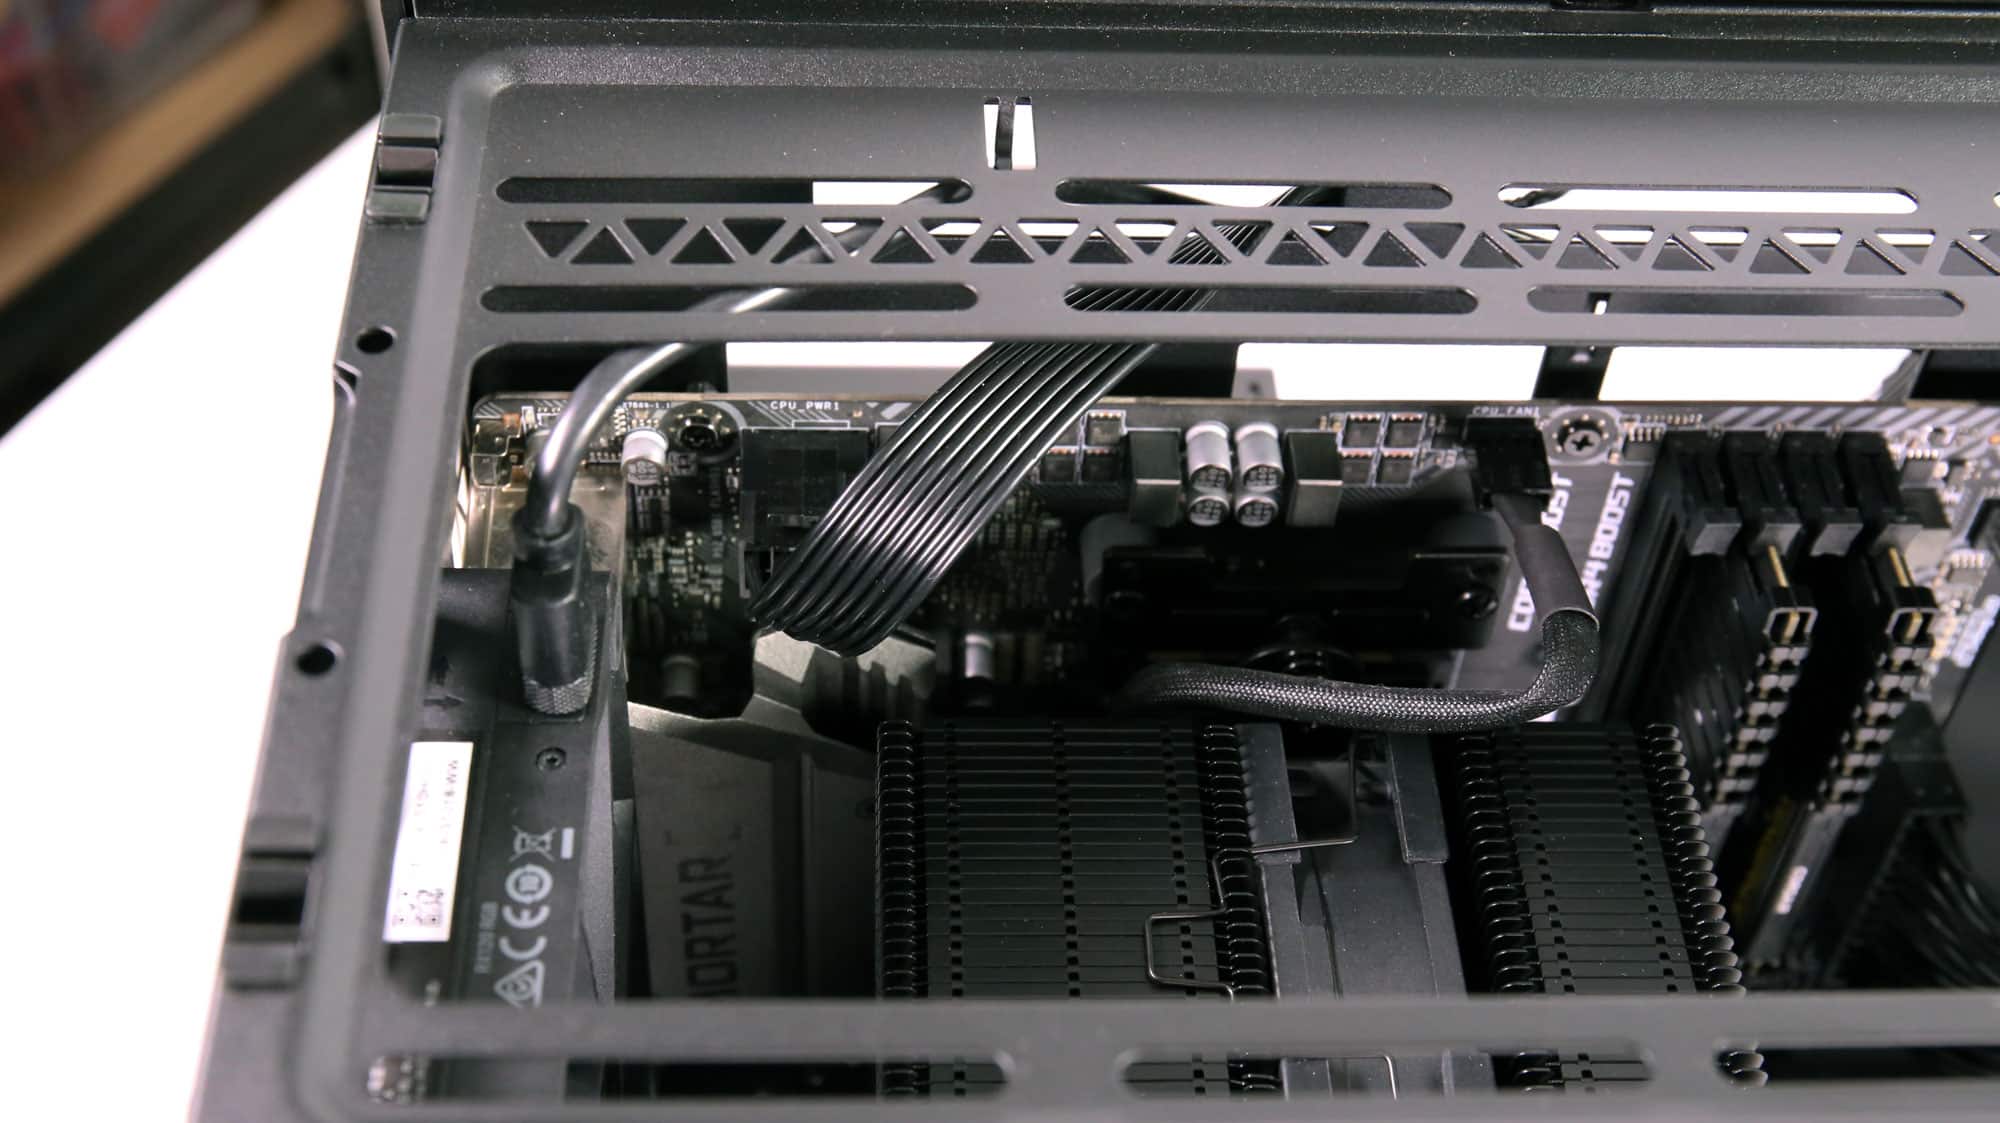
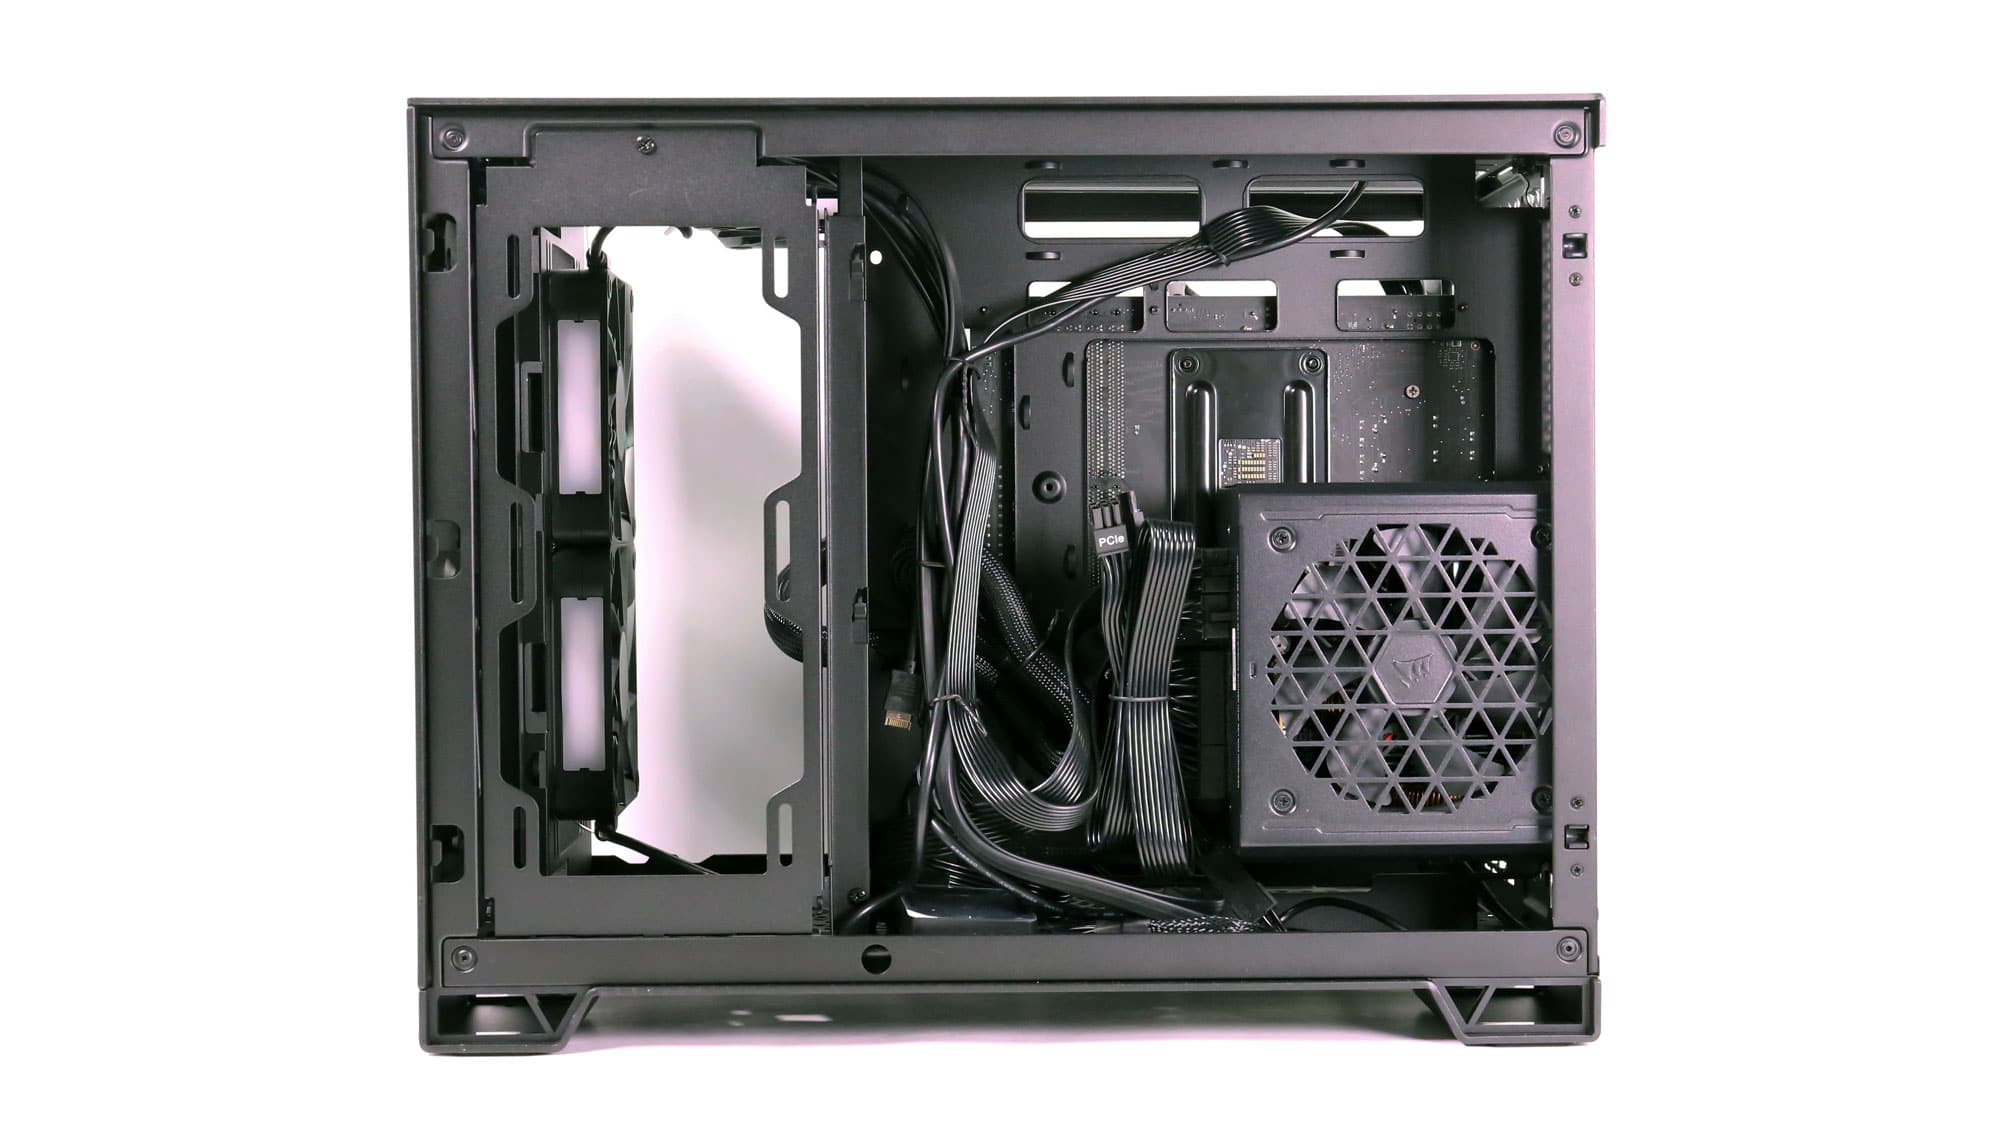
Finished System
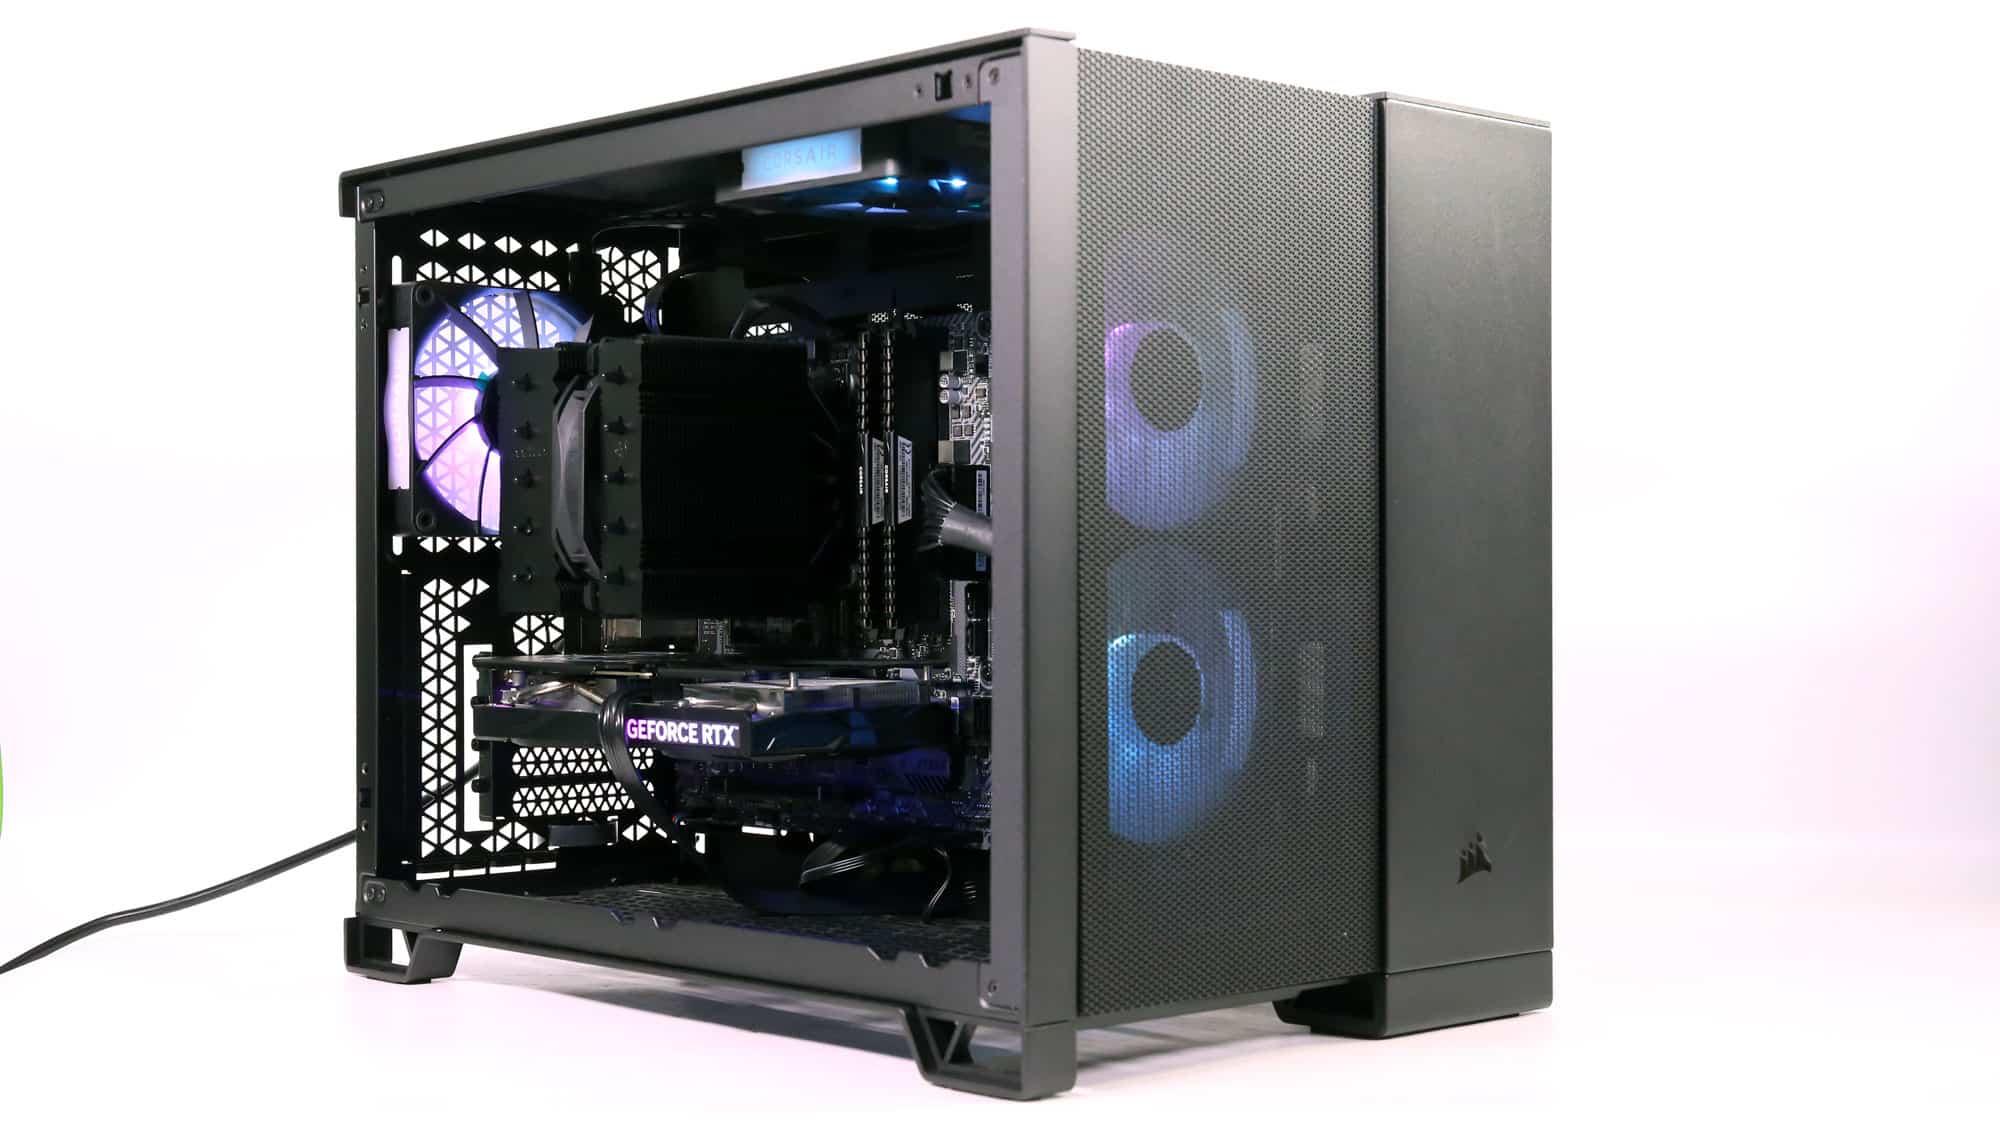
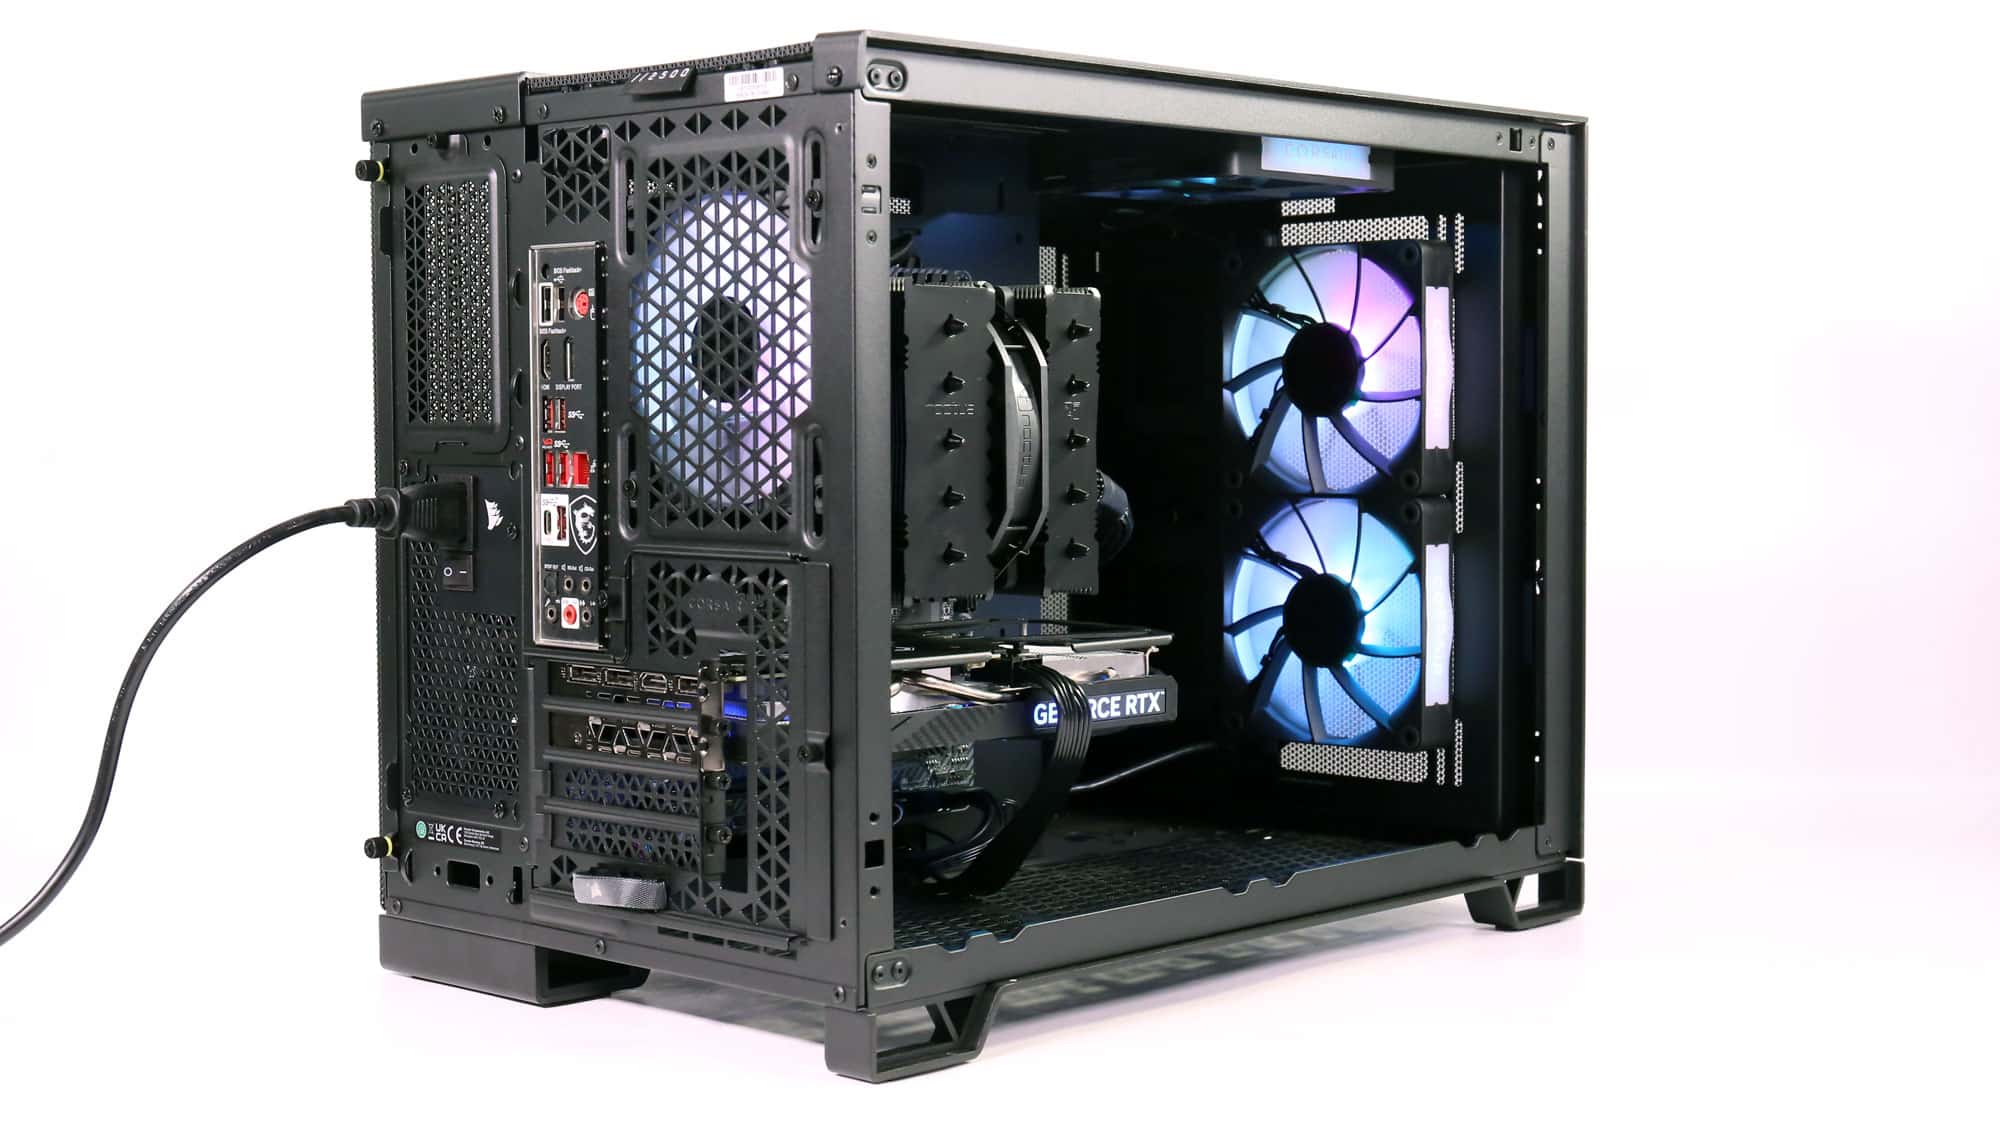

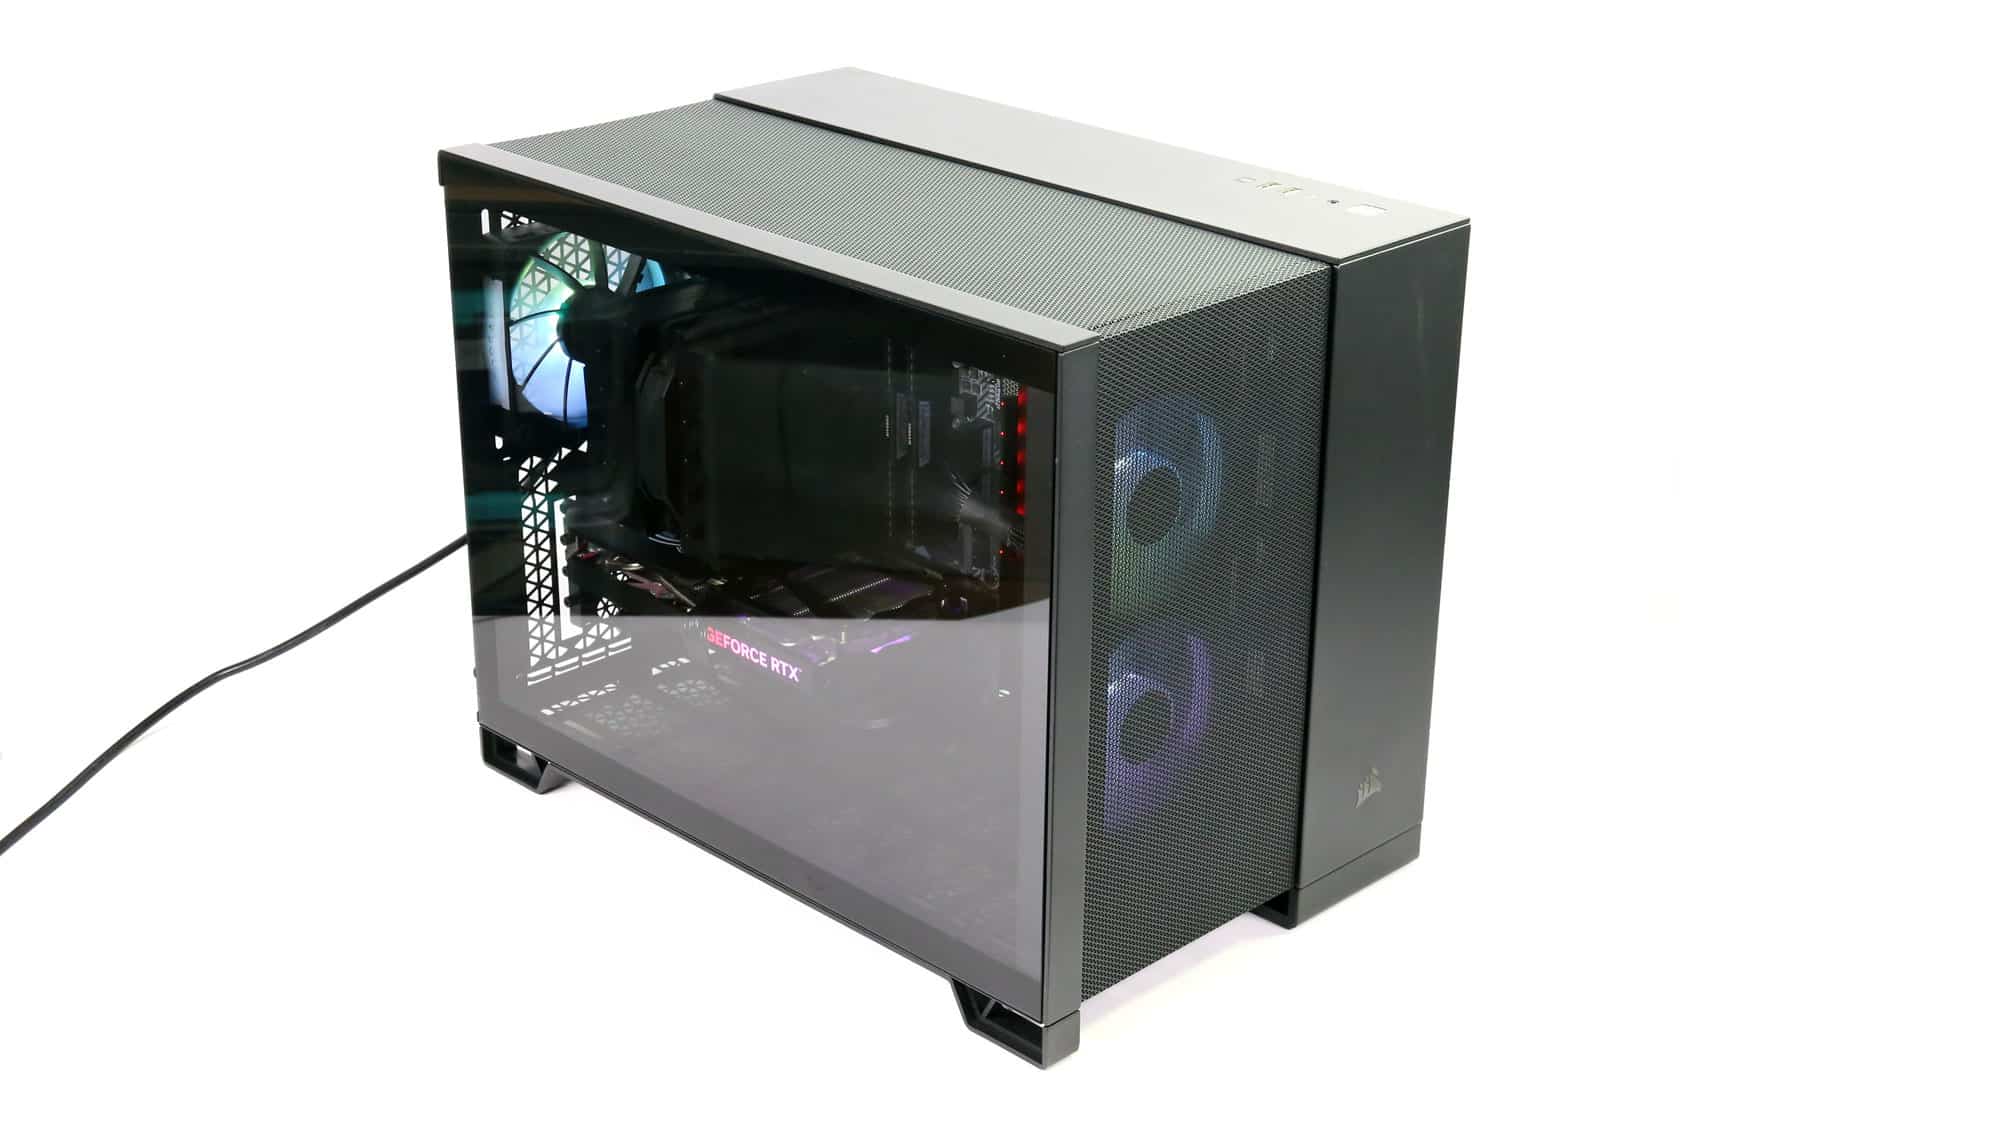
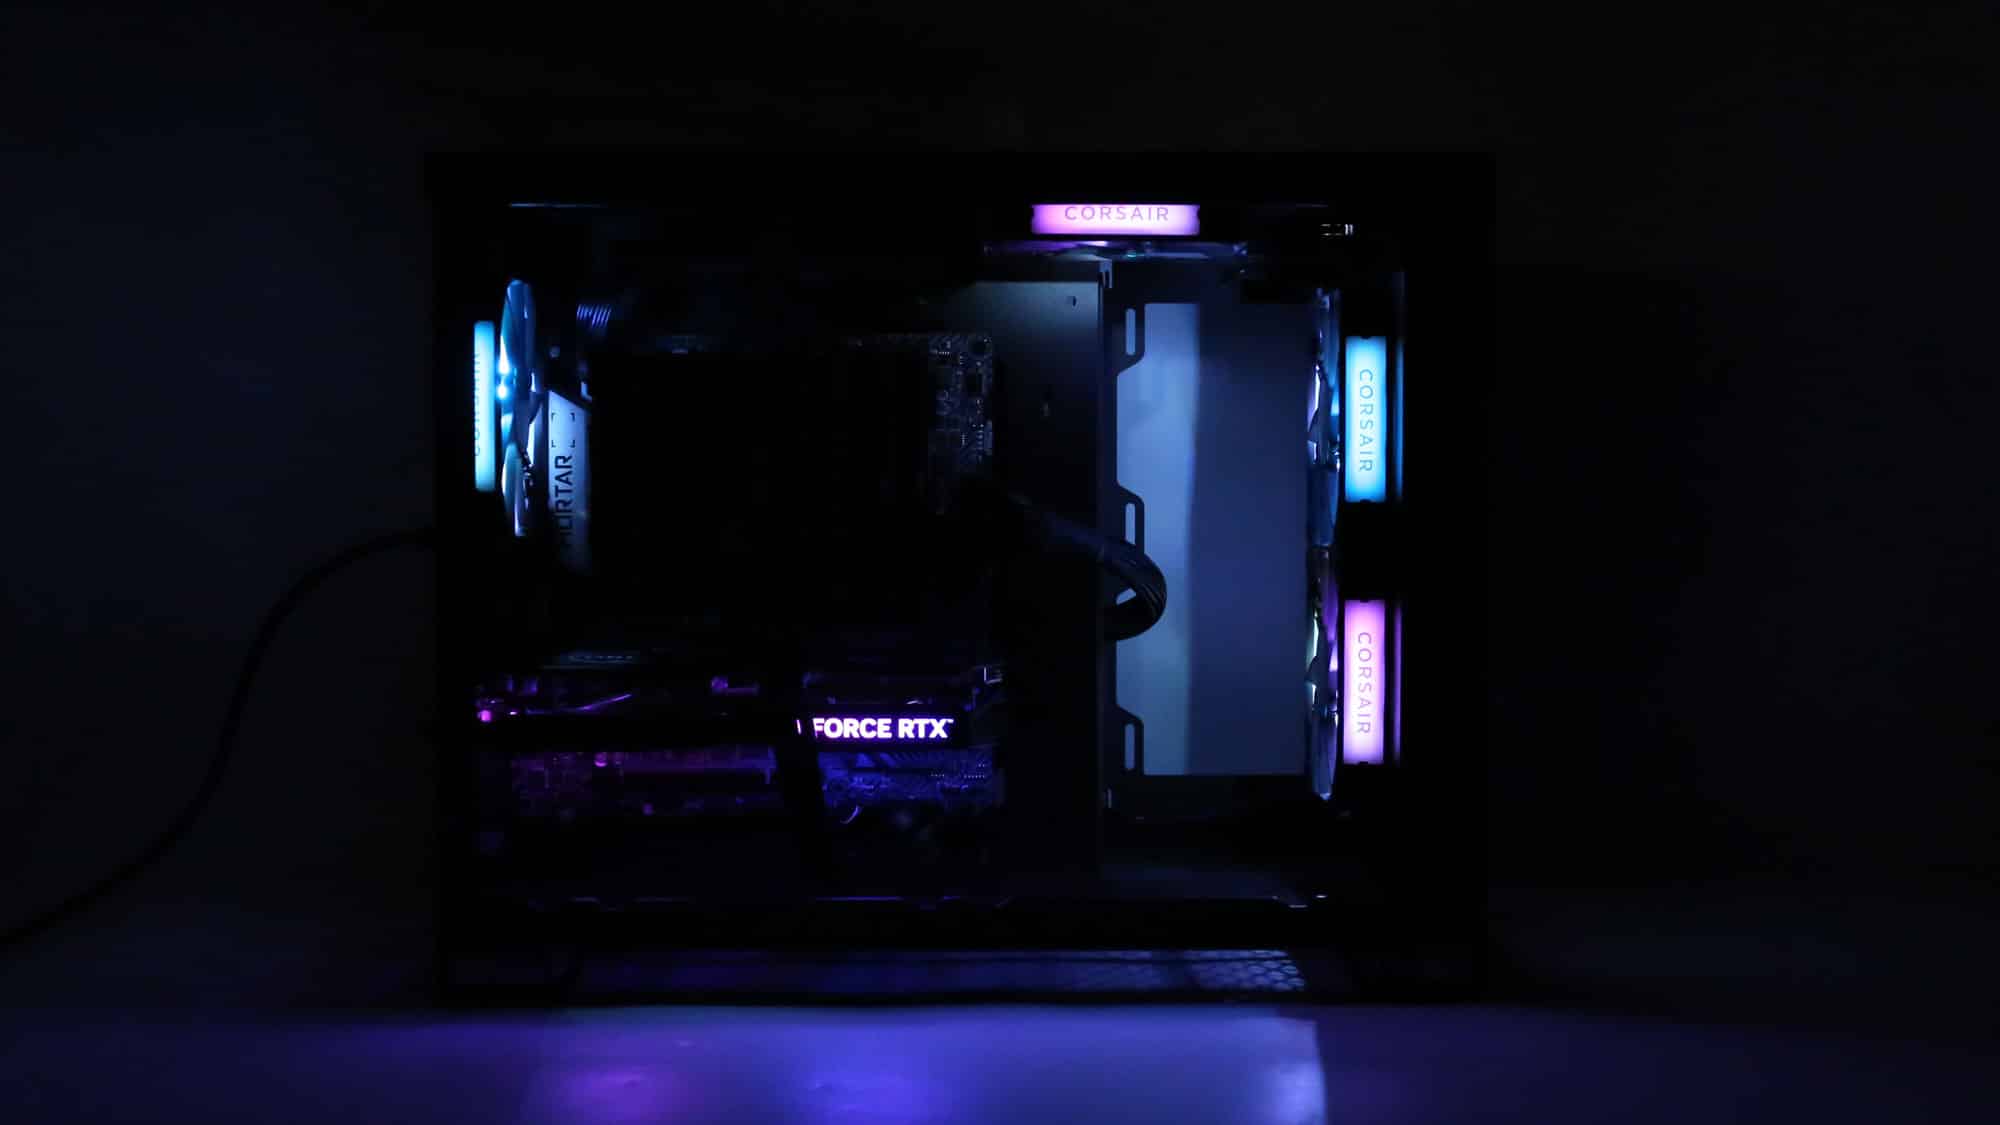
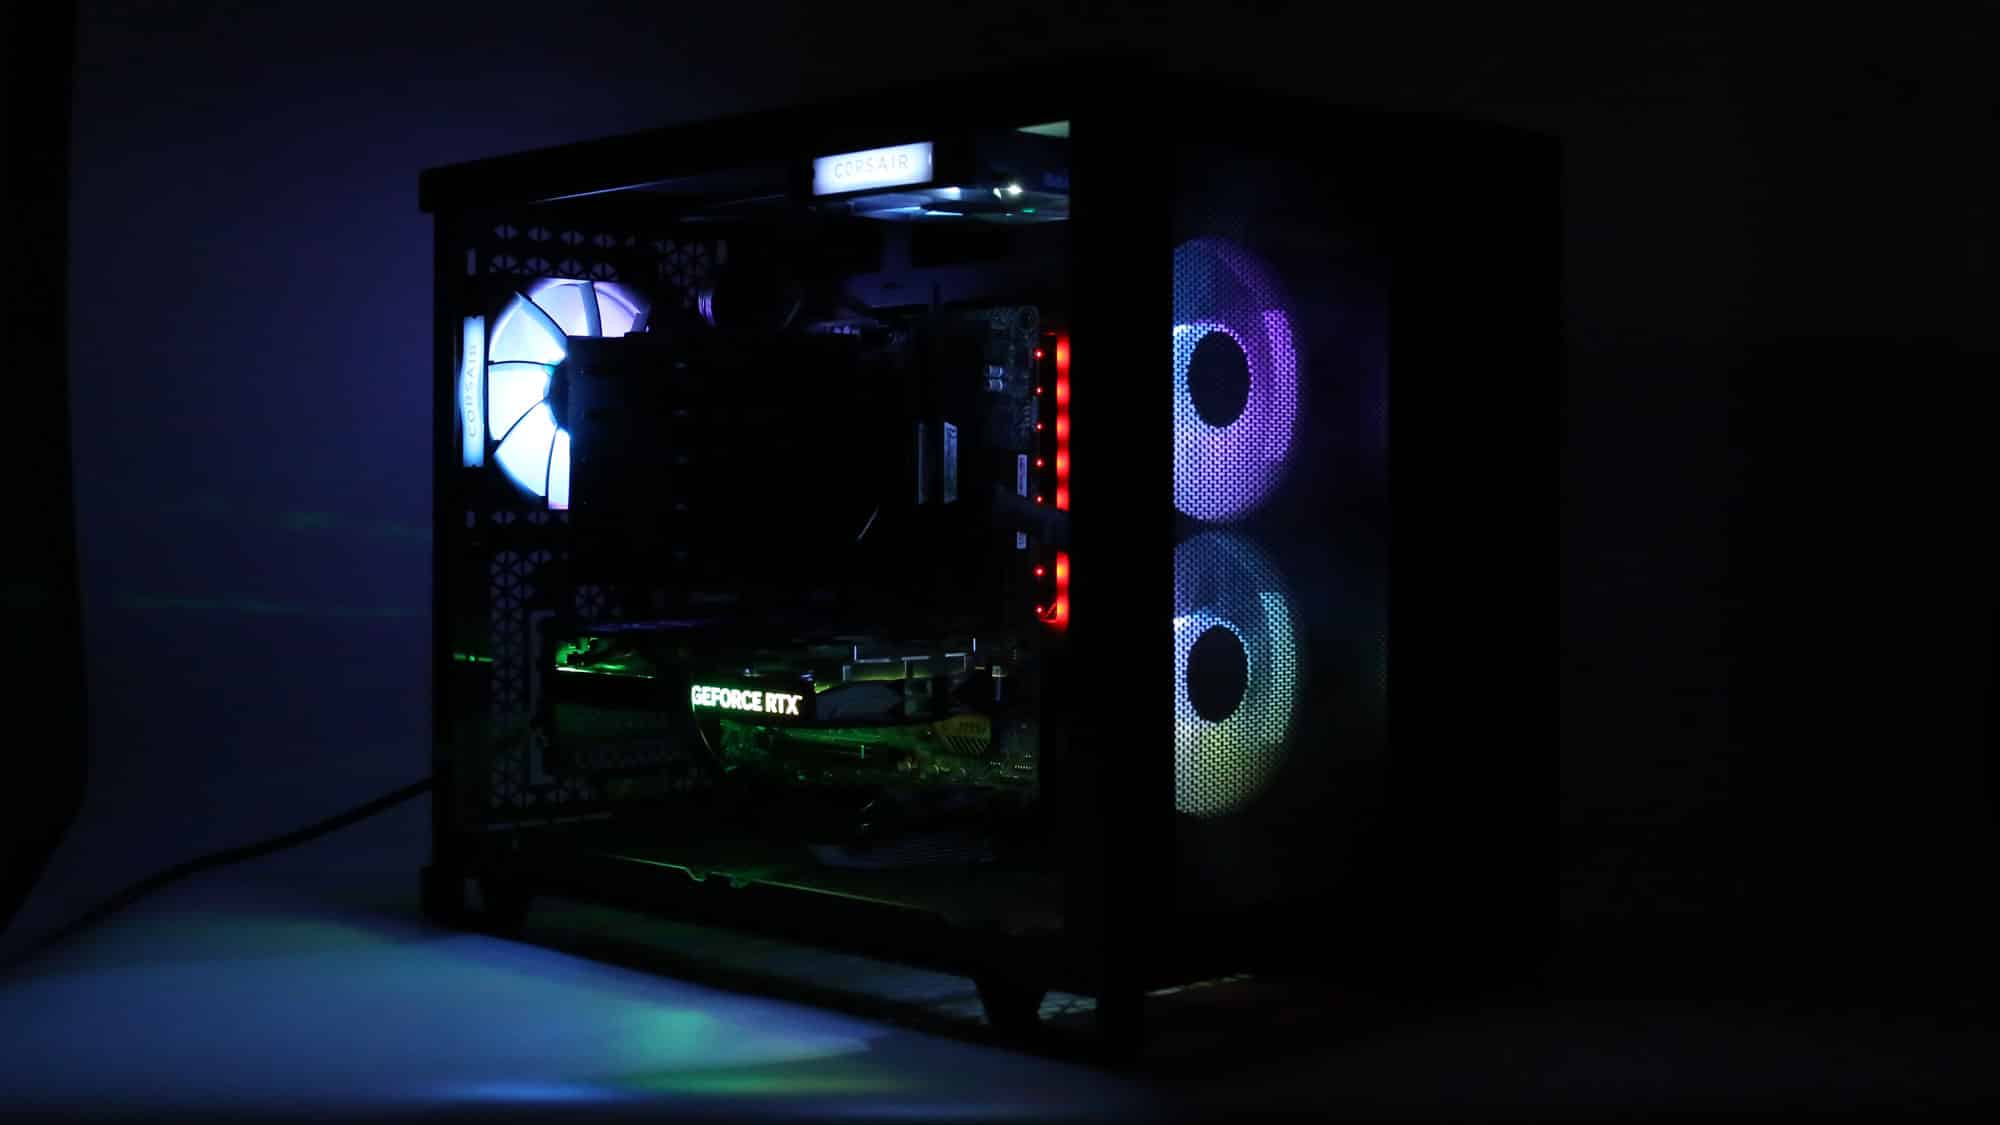
The finished system.