We hear so much about Japanese capacitors, and also that almost every capacitor made in China sucks. But is this true? I decided to proceed with some real-life testing to find out the truth, and in the close future my database will include all types of capacitors, and more than one tests per model, to check production batches, because there can be differences!
Real Capacitor Testing: easier said than done! In today’s electronics, capacitors are everywhere, playing an important role in every product’s lifetime. This is why it is of imperative importance to be able to assess their quality and tolerance to abuse using scientific methods that don’t require prolonged testing periods.
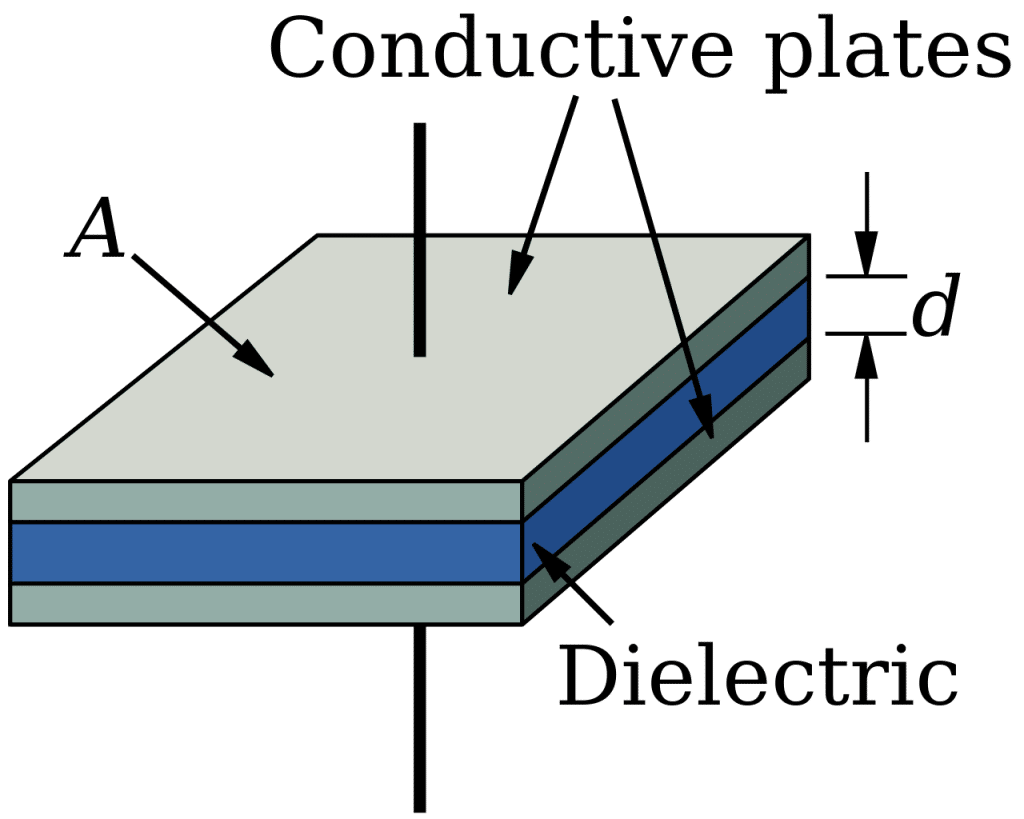
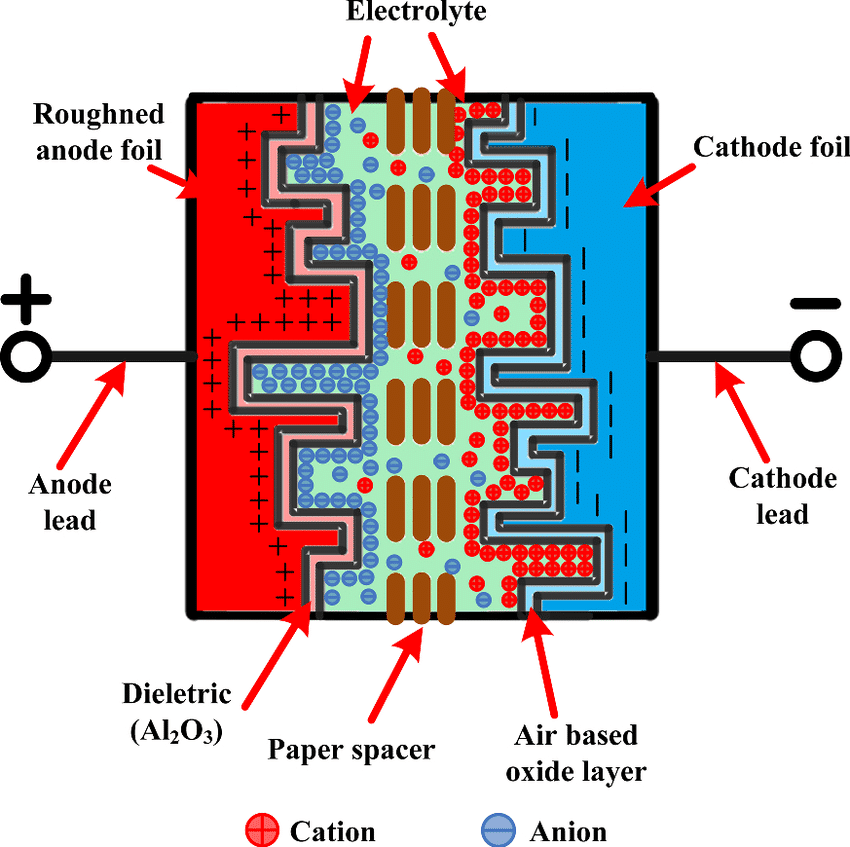
A capacitor is an electronic component that stores and releases electrical energy in a circuit. It consists of two conductive plates separated by an insulating material known as a dielectric. An electric field is created when voltage is applied across the plates, causing the capacitor to store energy. Capacitors are commonly used in electronic circuits for various purposes, such as smoothing power supply voltages, filtering signals, and timing applications. They are characterized by their capacitance, measured in farads (F).
Quality capacitors are essential to any electronics component, including power supplies, which are used by any electronics device nowadays, not only PCs. Usually, high-end PSUs use Chemi-Con capacitors, while mid-level PSUs use more affordable caps from either Teapo or Elite.
The capacitor voltage rating indicates the maximum voltage a capacitor can safely withstand without breaking down. Exceeding this voltage rating can lead to the insulation breaking down, causing the capacitor to fail or even become damaged. When selecting a capacitor for a circuit, choosing one with a voltage rating higher than the maximum voltage the capacitor will experience in the application is essential. This provides a safety margin and helps ensure the capacitor operates reliably within its specified parameters.
Overvolting a capacitor or applying a voltage beyond its rated voltage can lead to several undesirable consequences:
- Breakdown and Damage: Exceeding the voltage rating can cause the dielectric material between the capacitor plates to break down. This breakdown can result in a short circuit, damaging the capacitor and potentially other components in the circuit.
- Reduced Capacitance: Overvoltage can alter the physical and electrical properties of the capacitor, leading to a decrease in capacitance. This change can affect the performance of the capacitor in the circuit.
- Leakage Current: Overvoltage stress can increase the leakage current across the capacitor. Leakage current flows through the dielectric material, and excessive leakage can negatively impact the performance of the capacitor.
- Electrical Failure: Prolonged exposure to overvoltage conditions may lead to the gradual degradation of the capacitor, eventually resulting in electrical failure.
- Safety Hazards: In extreme cases, overvoltage can cause the capacitor to fail catastrophically, leading to the release of smoke, gas, or even rupture. This poses safety risks, especially in applications where the capacitor is close to other components or in an enclosed space.
So far, we know from experience that Japanese capacitors are better than Taiwanese ones, and Taiwanese caps are better than Chinese caps. However, relying solely on the provided specifications, experience, and rumors is not the most scientific way to judge a product. During a visit to Great Wall’s HQs, I noticed that its R&D center conducts exhausting capacitor testing, pushing the test subjects to their maximum ratings to determine whether the official specs are correct.
I cannot have capacitors tested at 105C for 2,000 or 3,000 hours because I lack the equipment, the time, and the money to pay for the electricity bills. So, I decided to replicate another test that GW also conducts. They overvolt the capacitors under test till they explode, determining their tolerance to higher than the nominal voltage levels; judging this way, the dielectric’s quality. The higher quality caps will be more tolerant to overvoltage.
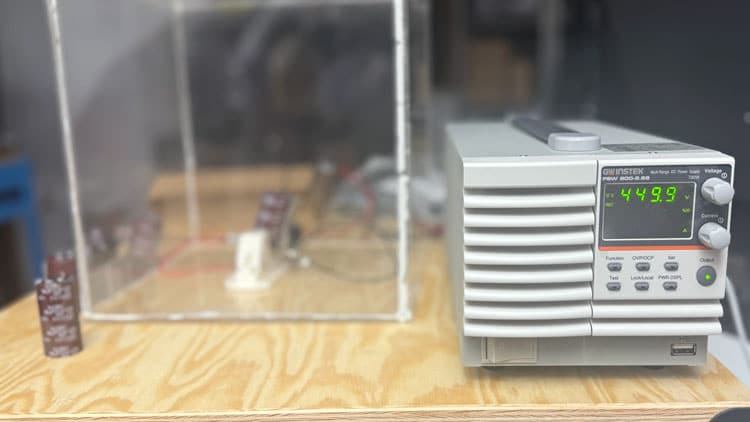
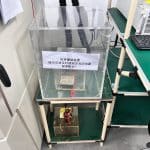


How do Teapo fair under this criterion?
they are pretty good. Check the Cybenetics capacitor database for more details.
Teapo хороши? Электролиты от них чаще всего в БП менять приходится – основная статья расходов в БП на прямоходе. В резонансниках они конечно держаться дольше.
Teapo caps are good overall.
You can call this a test, but has little to do with capacitor testing and real life expectations.
For each test, no matter what, there are people with experience who design the test methodology and simulate real life event and even aging. I can tell this from automotive fields, you cannot test a device 10 years to see how it is behaving, so we had a test plan designed by some people who can simulate the aging in real life, in just 10 days or so, usually by exacerbating the conditions of test.
Some tests were based on complicated math formulas and we had to follow those in details: hours of exposure, temperatures, vibrations, etc.
Also, what I heard from an old man in technical fields, mostly computers: the name of the company is not relevant anymore when it comes about quality. You have to hold the products in your hands and test them by yourself – mostly what you do with power supplies.
I’m curious about the results, Aris.