The Xbox One/S controller is undoubtedly one of the most popular choices for gamers. Although it has its flaws (e.g., batteries in the basic kit), it is still a convenient and sturdy device. But unfortunately, it is not bulletproof. Over time, it may also suffer from the flaws of every controller. For some of us, it might be tempting to try to repair things by ourselves. And although an Xbox controller teardown is not an HP device’s (yes, I told it, now what?), it is not as straightforward as other controllers’; it is not Mission Impossible (and of course, I am not Tom Cruise). Let’s see what we need and how to disassemble an Xbox controller. Lights, cameras, action, showtime.
What We Need
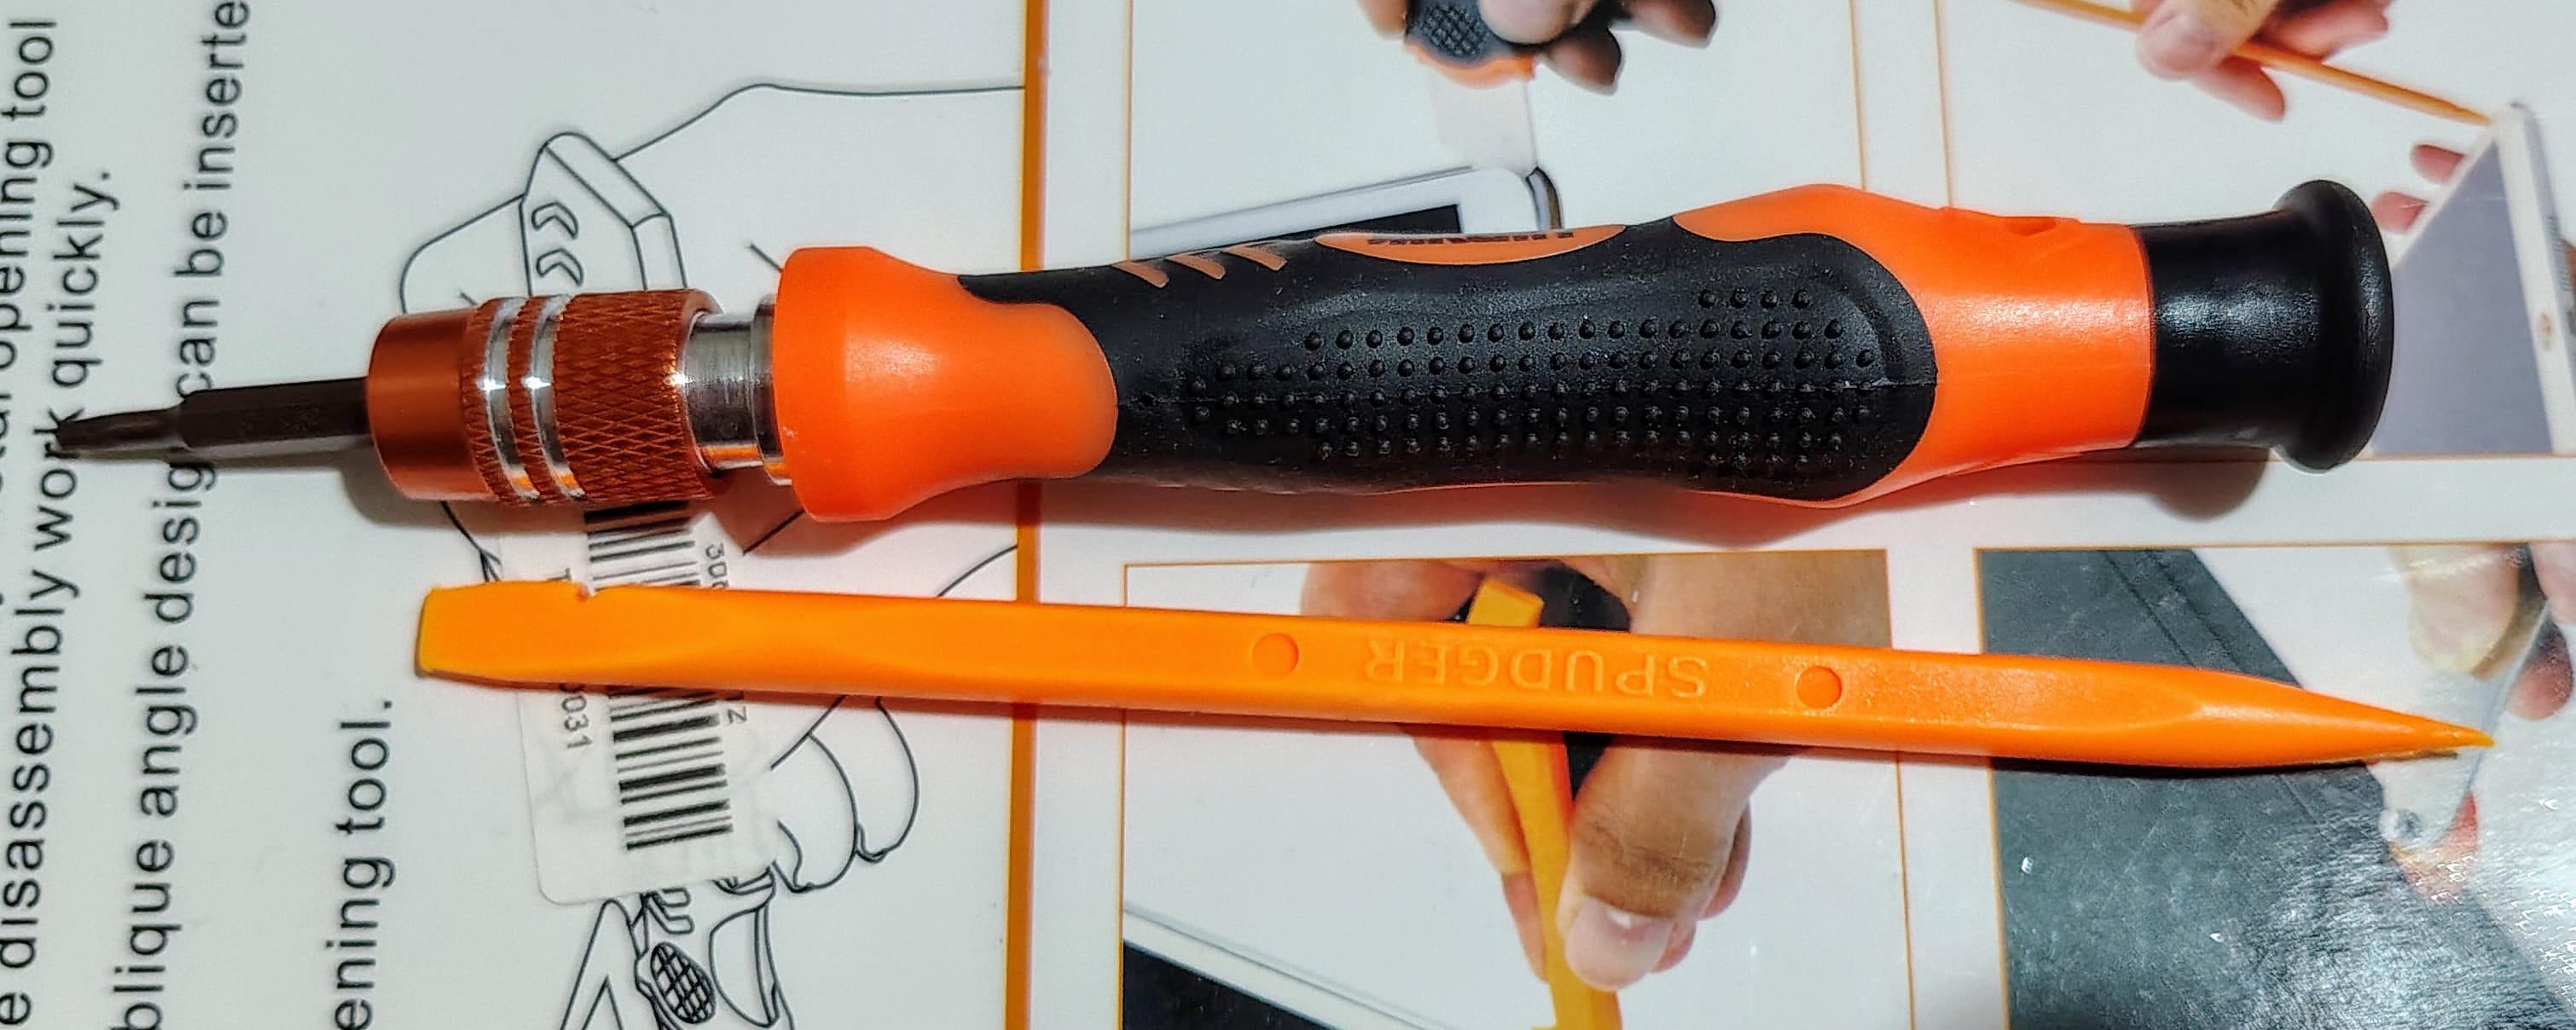
- A thin spudger (if you don’t want to go old-school, at your own risk).
- A T6 (for the PCB) and a T7 (for the cover) Torx screwdriver. I personally use the Jakemy JM-8116 and JM-OP15 kit (not sponsored), but any decent kit should be adequate for the task.
- Some skills, patience, and time.
How To
- First of all, we need the controller (reasonable, right?). Be sure to have removed any batteries (and the battery cover) and cables.
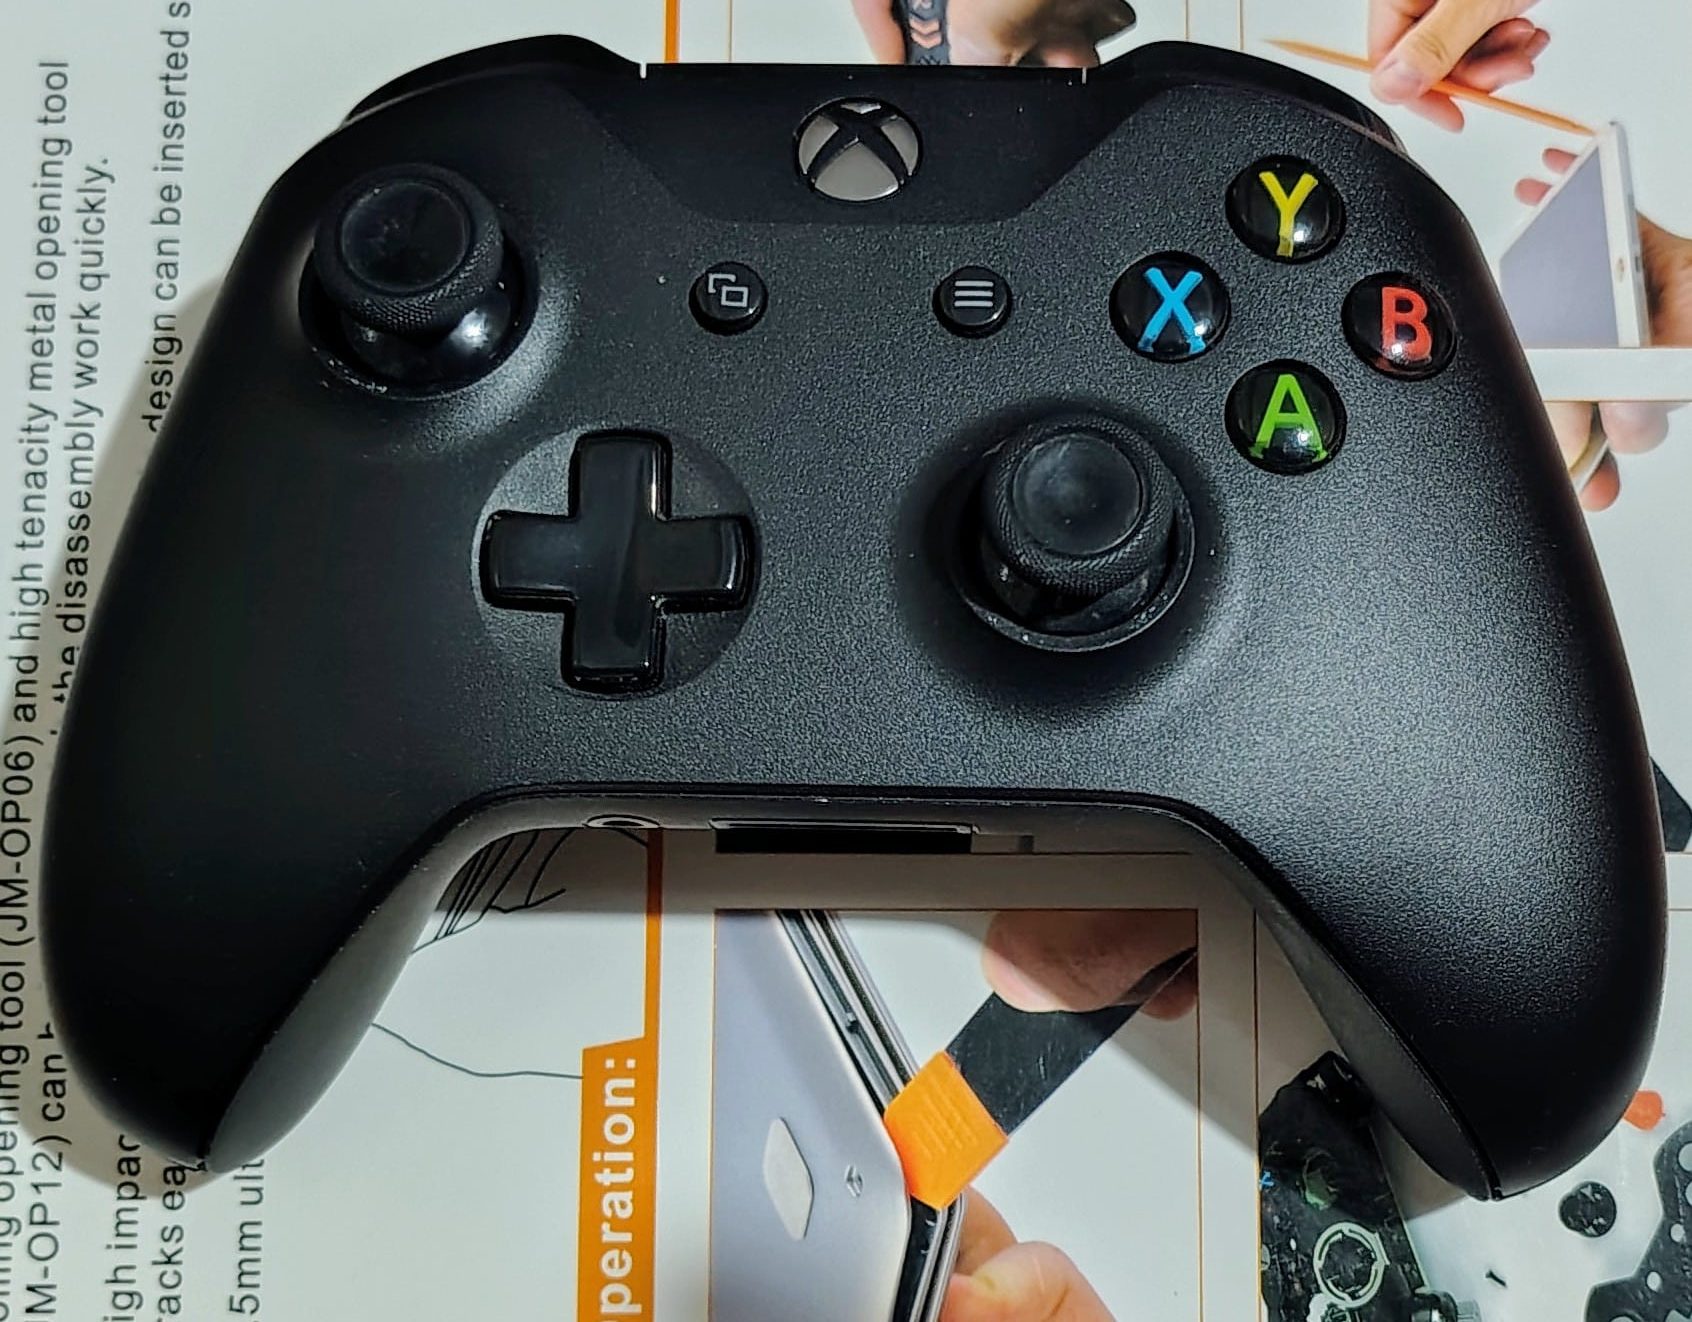
- Remove cautiously the rear “ears” with a spudger. It is recommended to apply from inside to out, as illustrated in the image below.
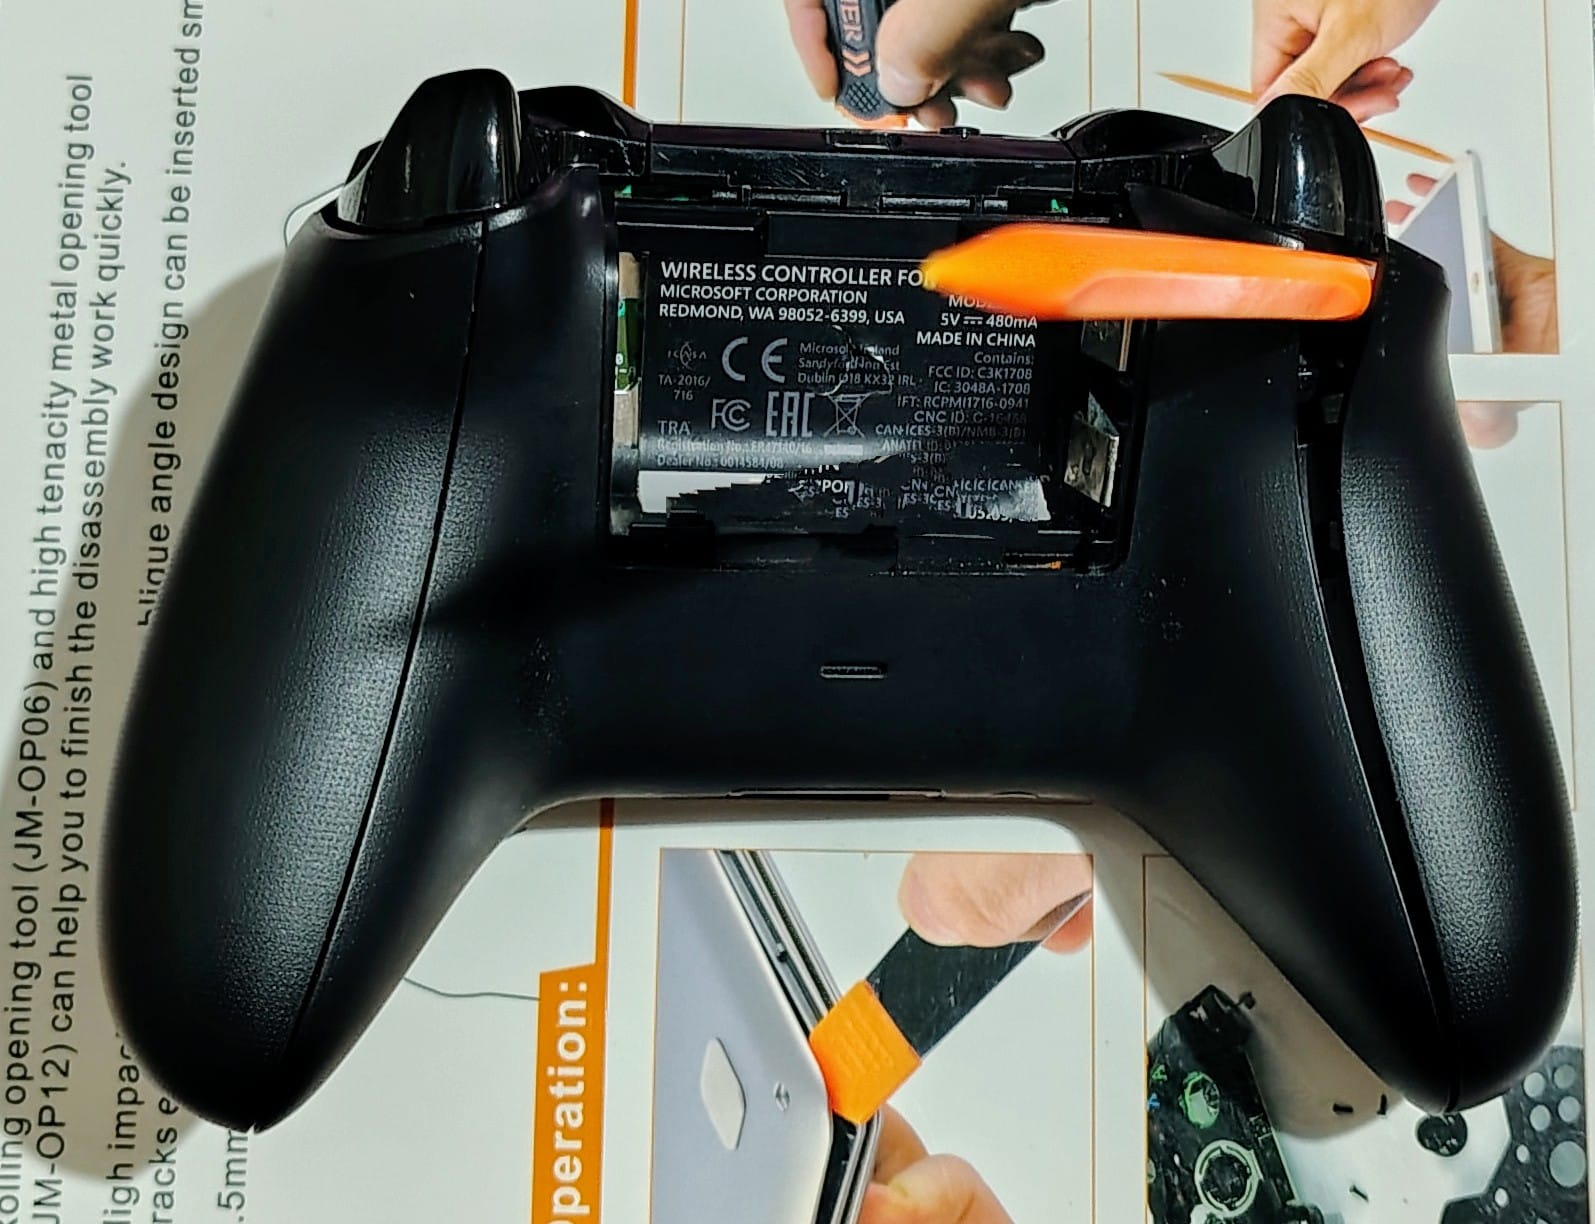
- Proceed with the other “ear”.
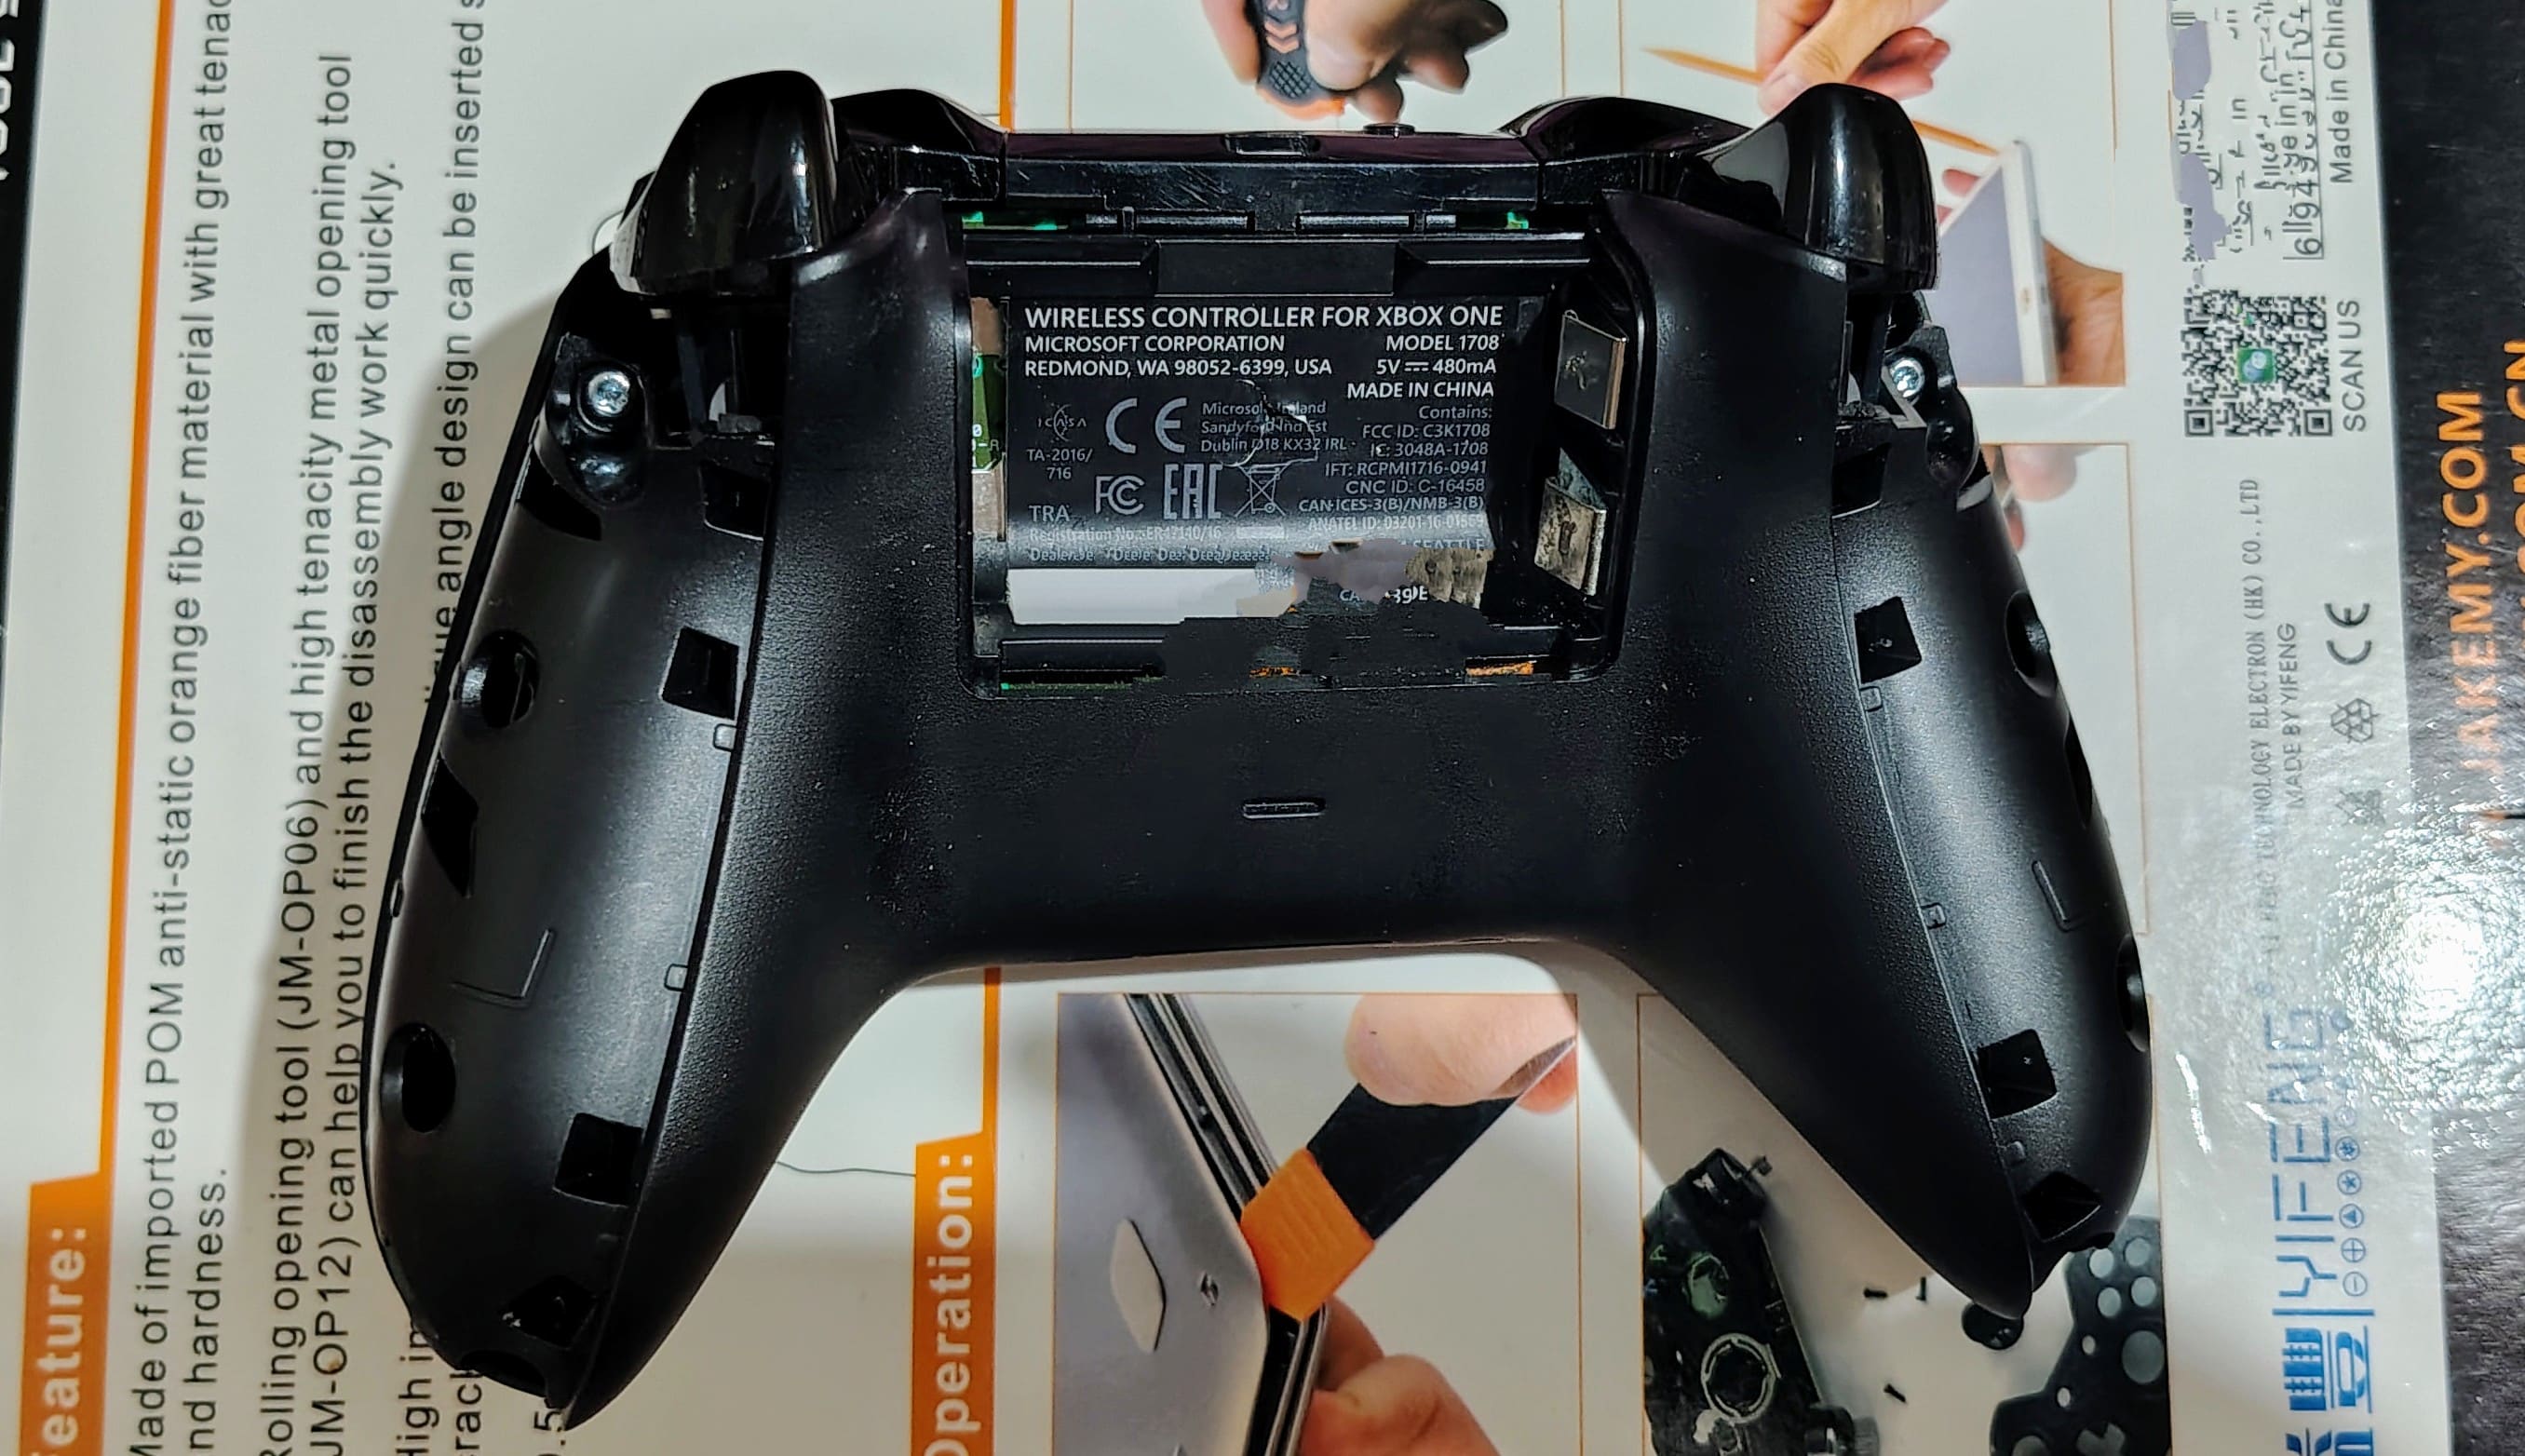
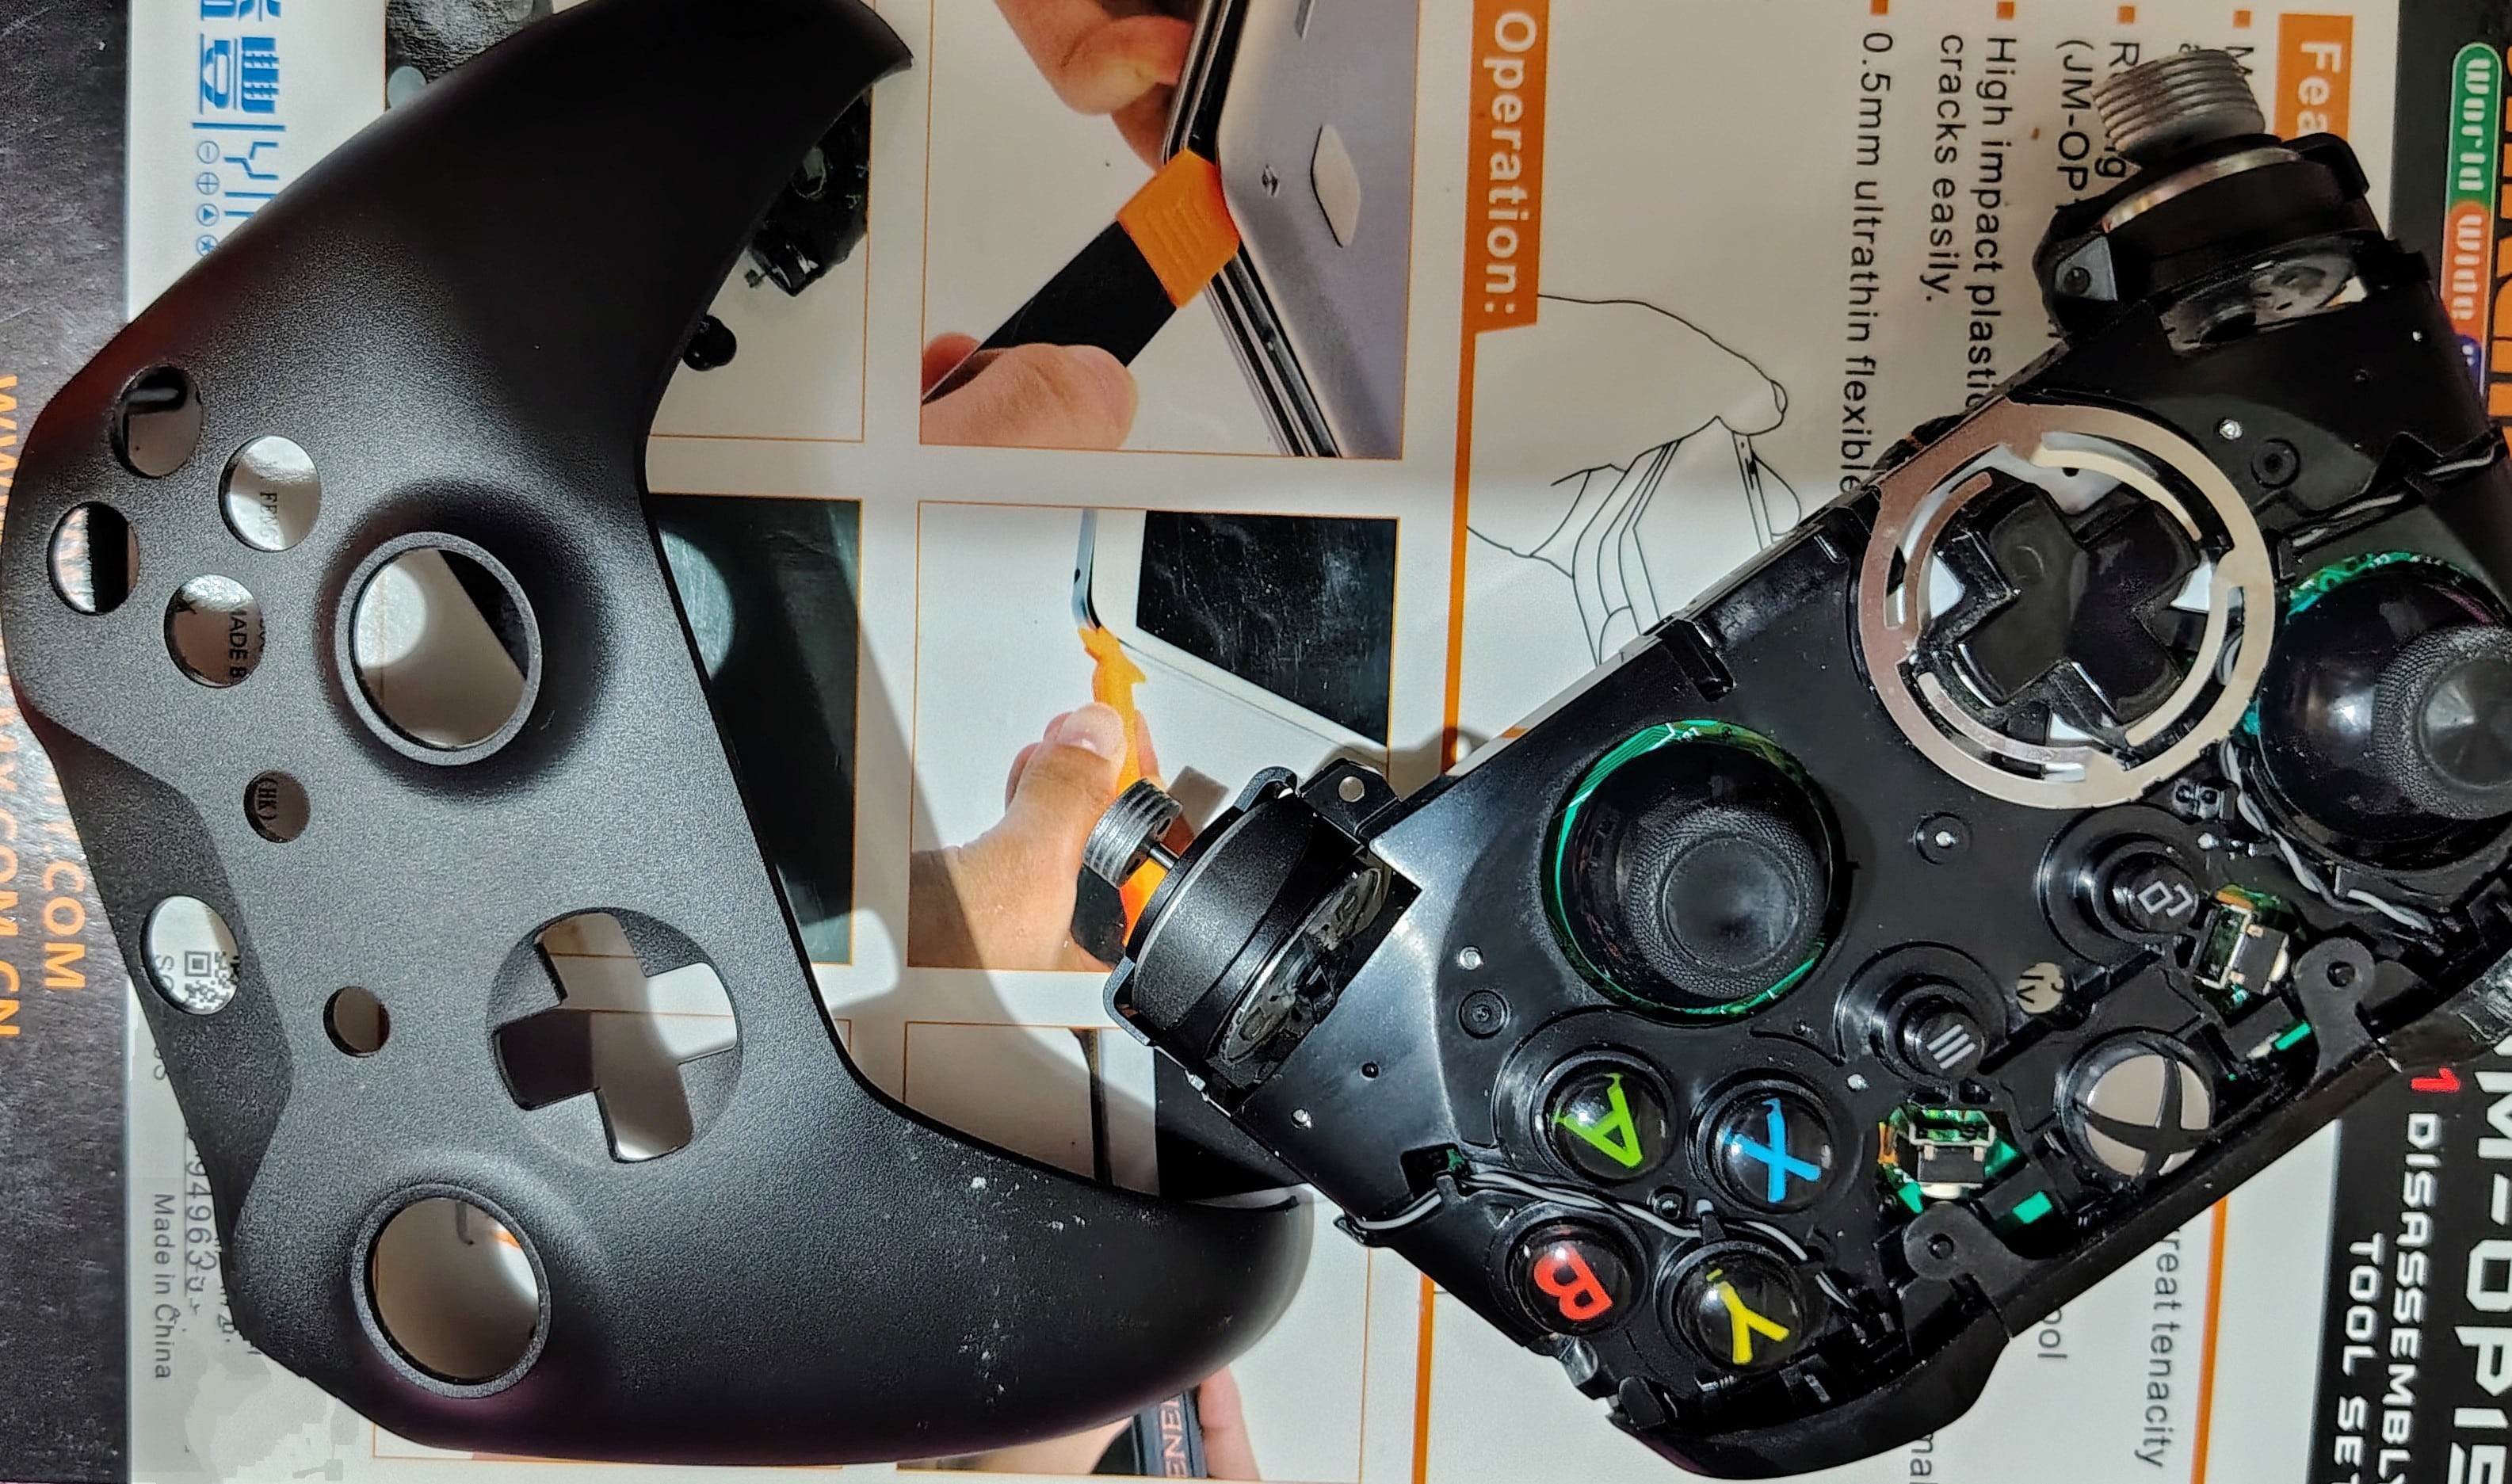
- Unscrew the four Torx screws (two on each “ear”) using the T7 screwdriver.
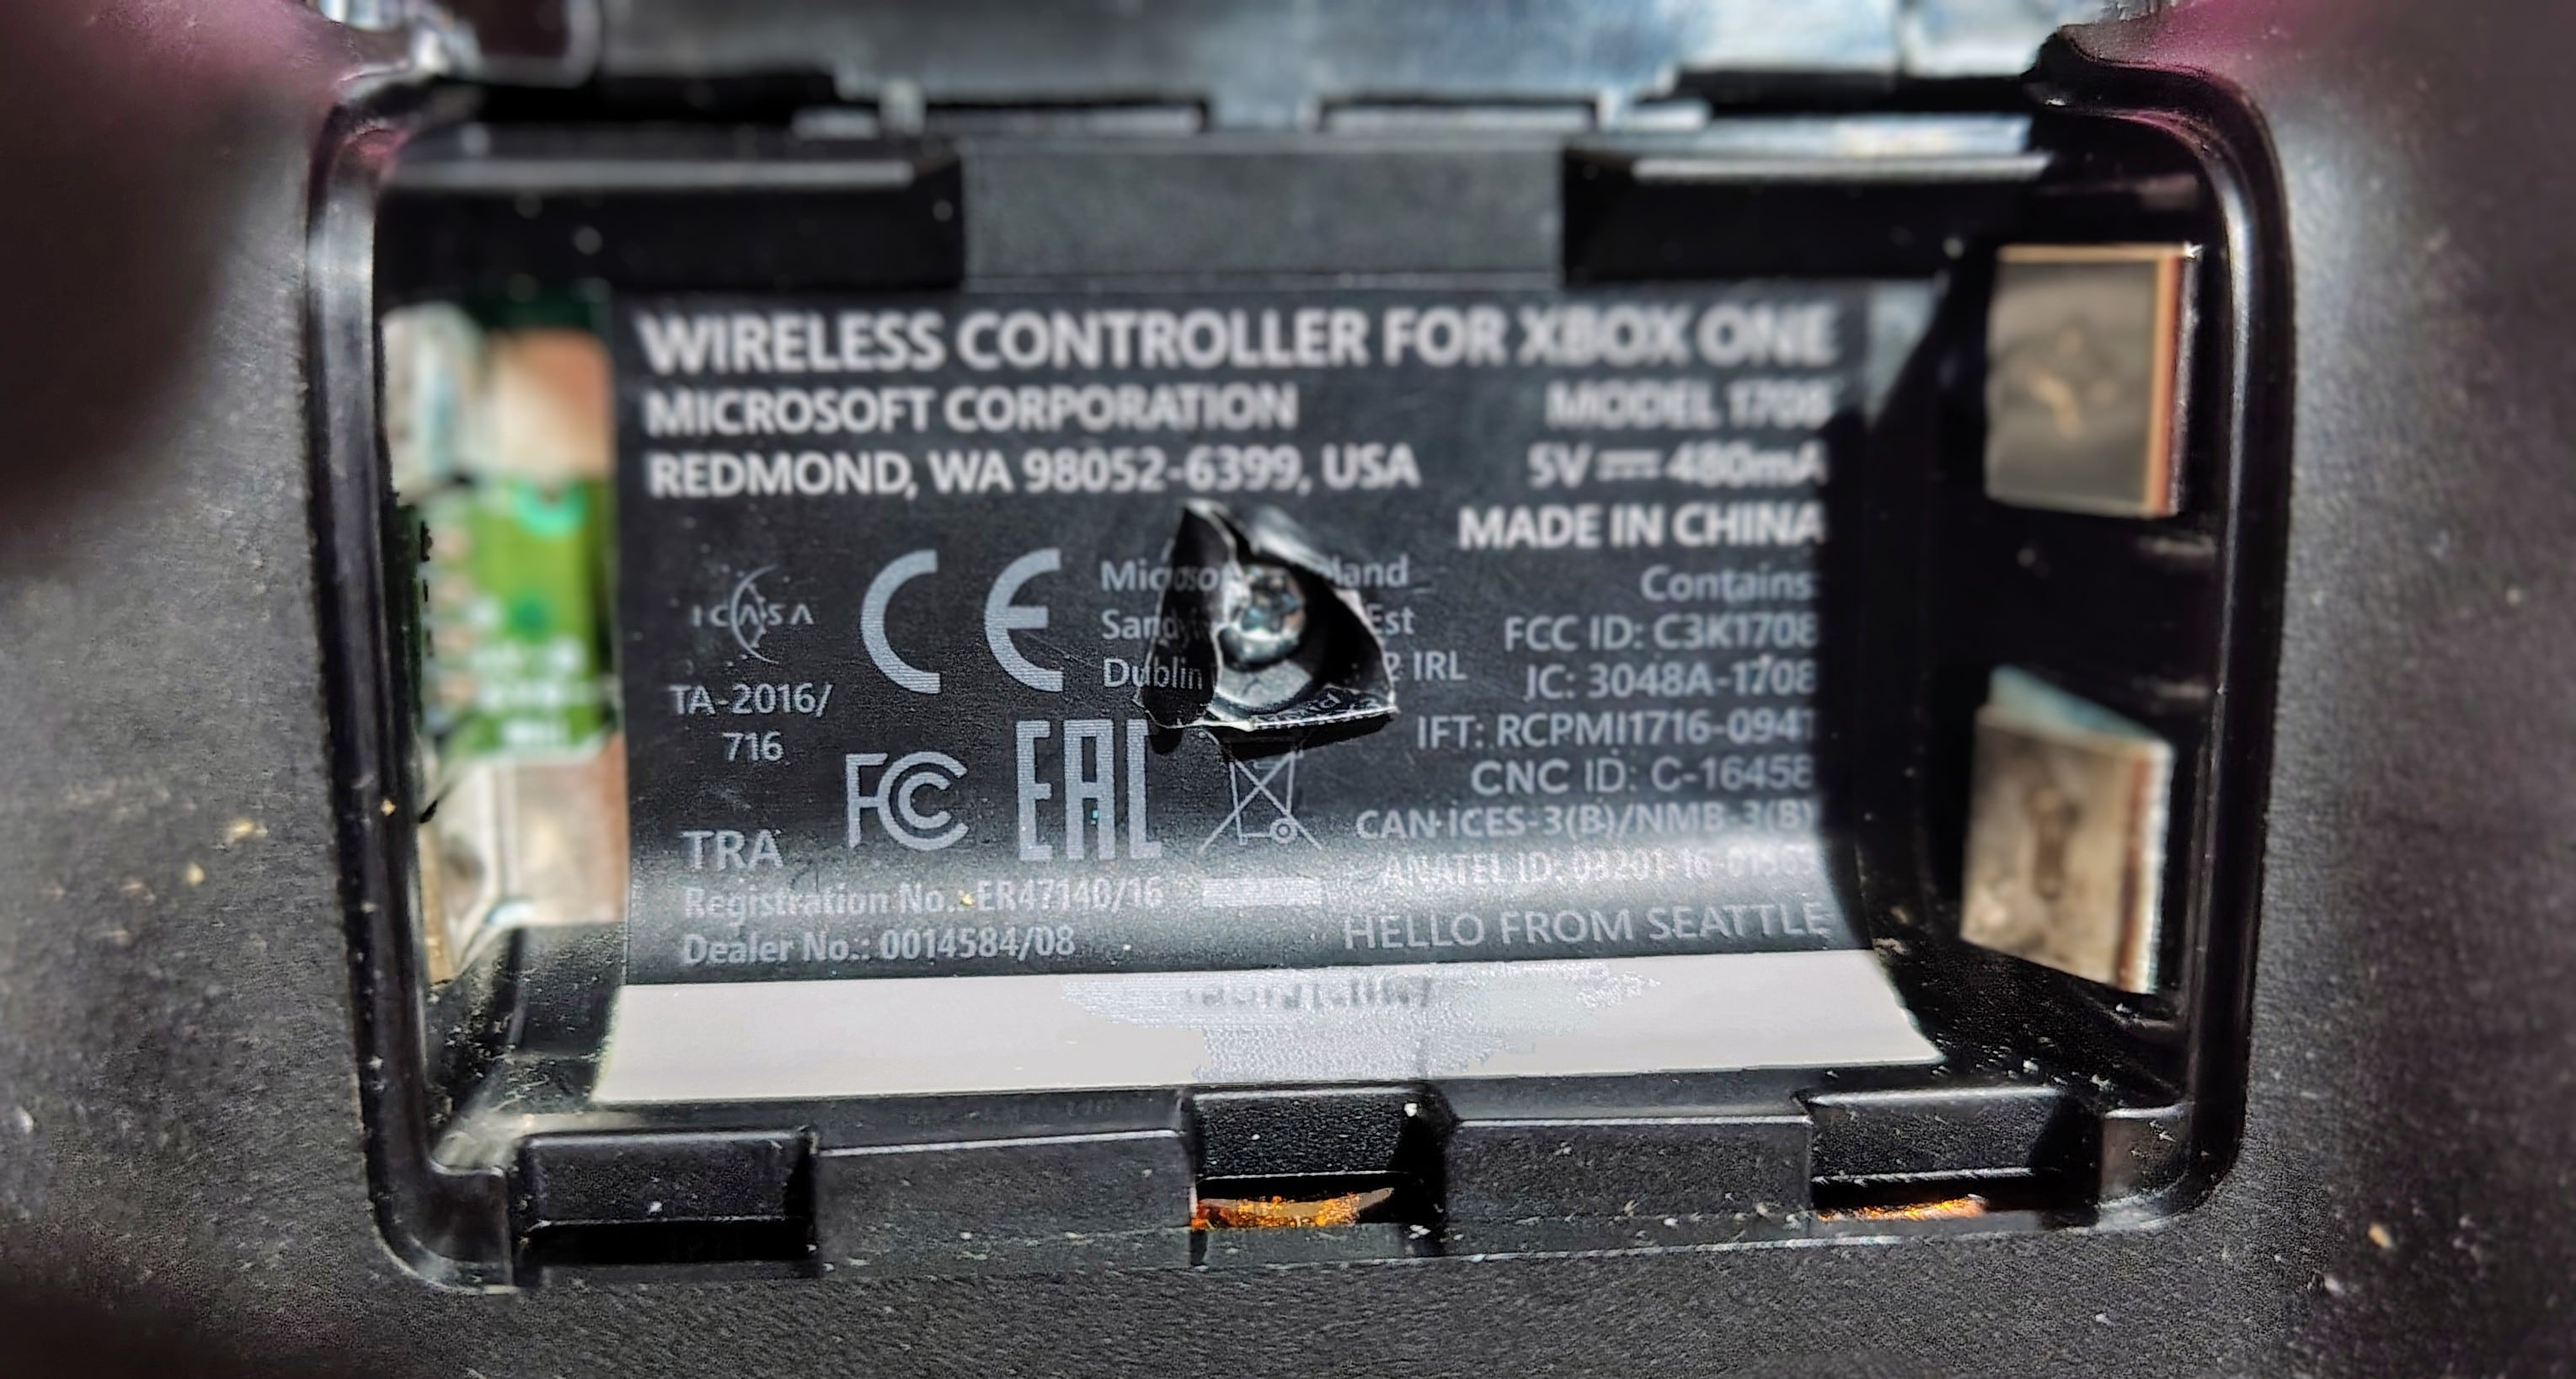
- In the battery compartment, there is a hidden screw at the center. Locate it (by pushing gently), and unscrew it with the T7 Torx screwdriver as well. It is not advised to perform the repair under the official warranty period, as this will result in the loss of your right to official repair or replacement. You have been warned.
- The “hard” part was done.
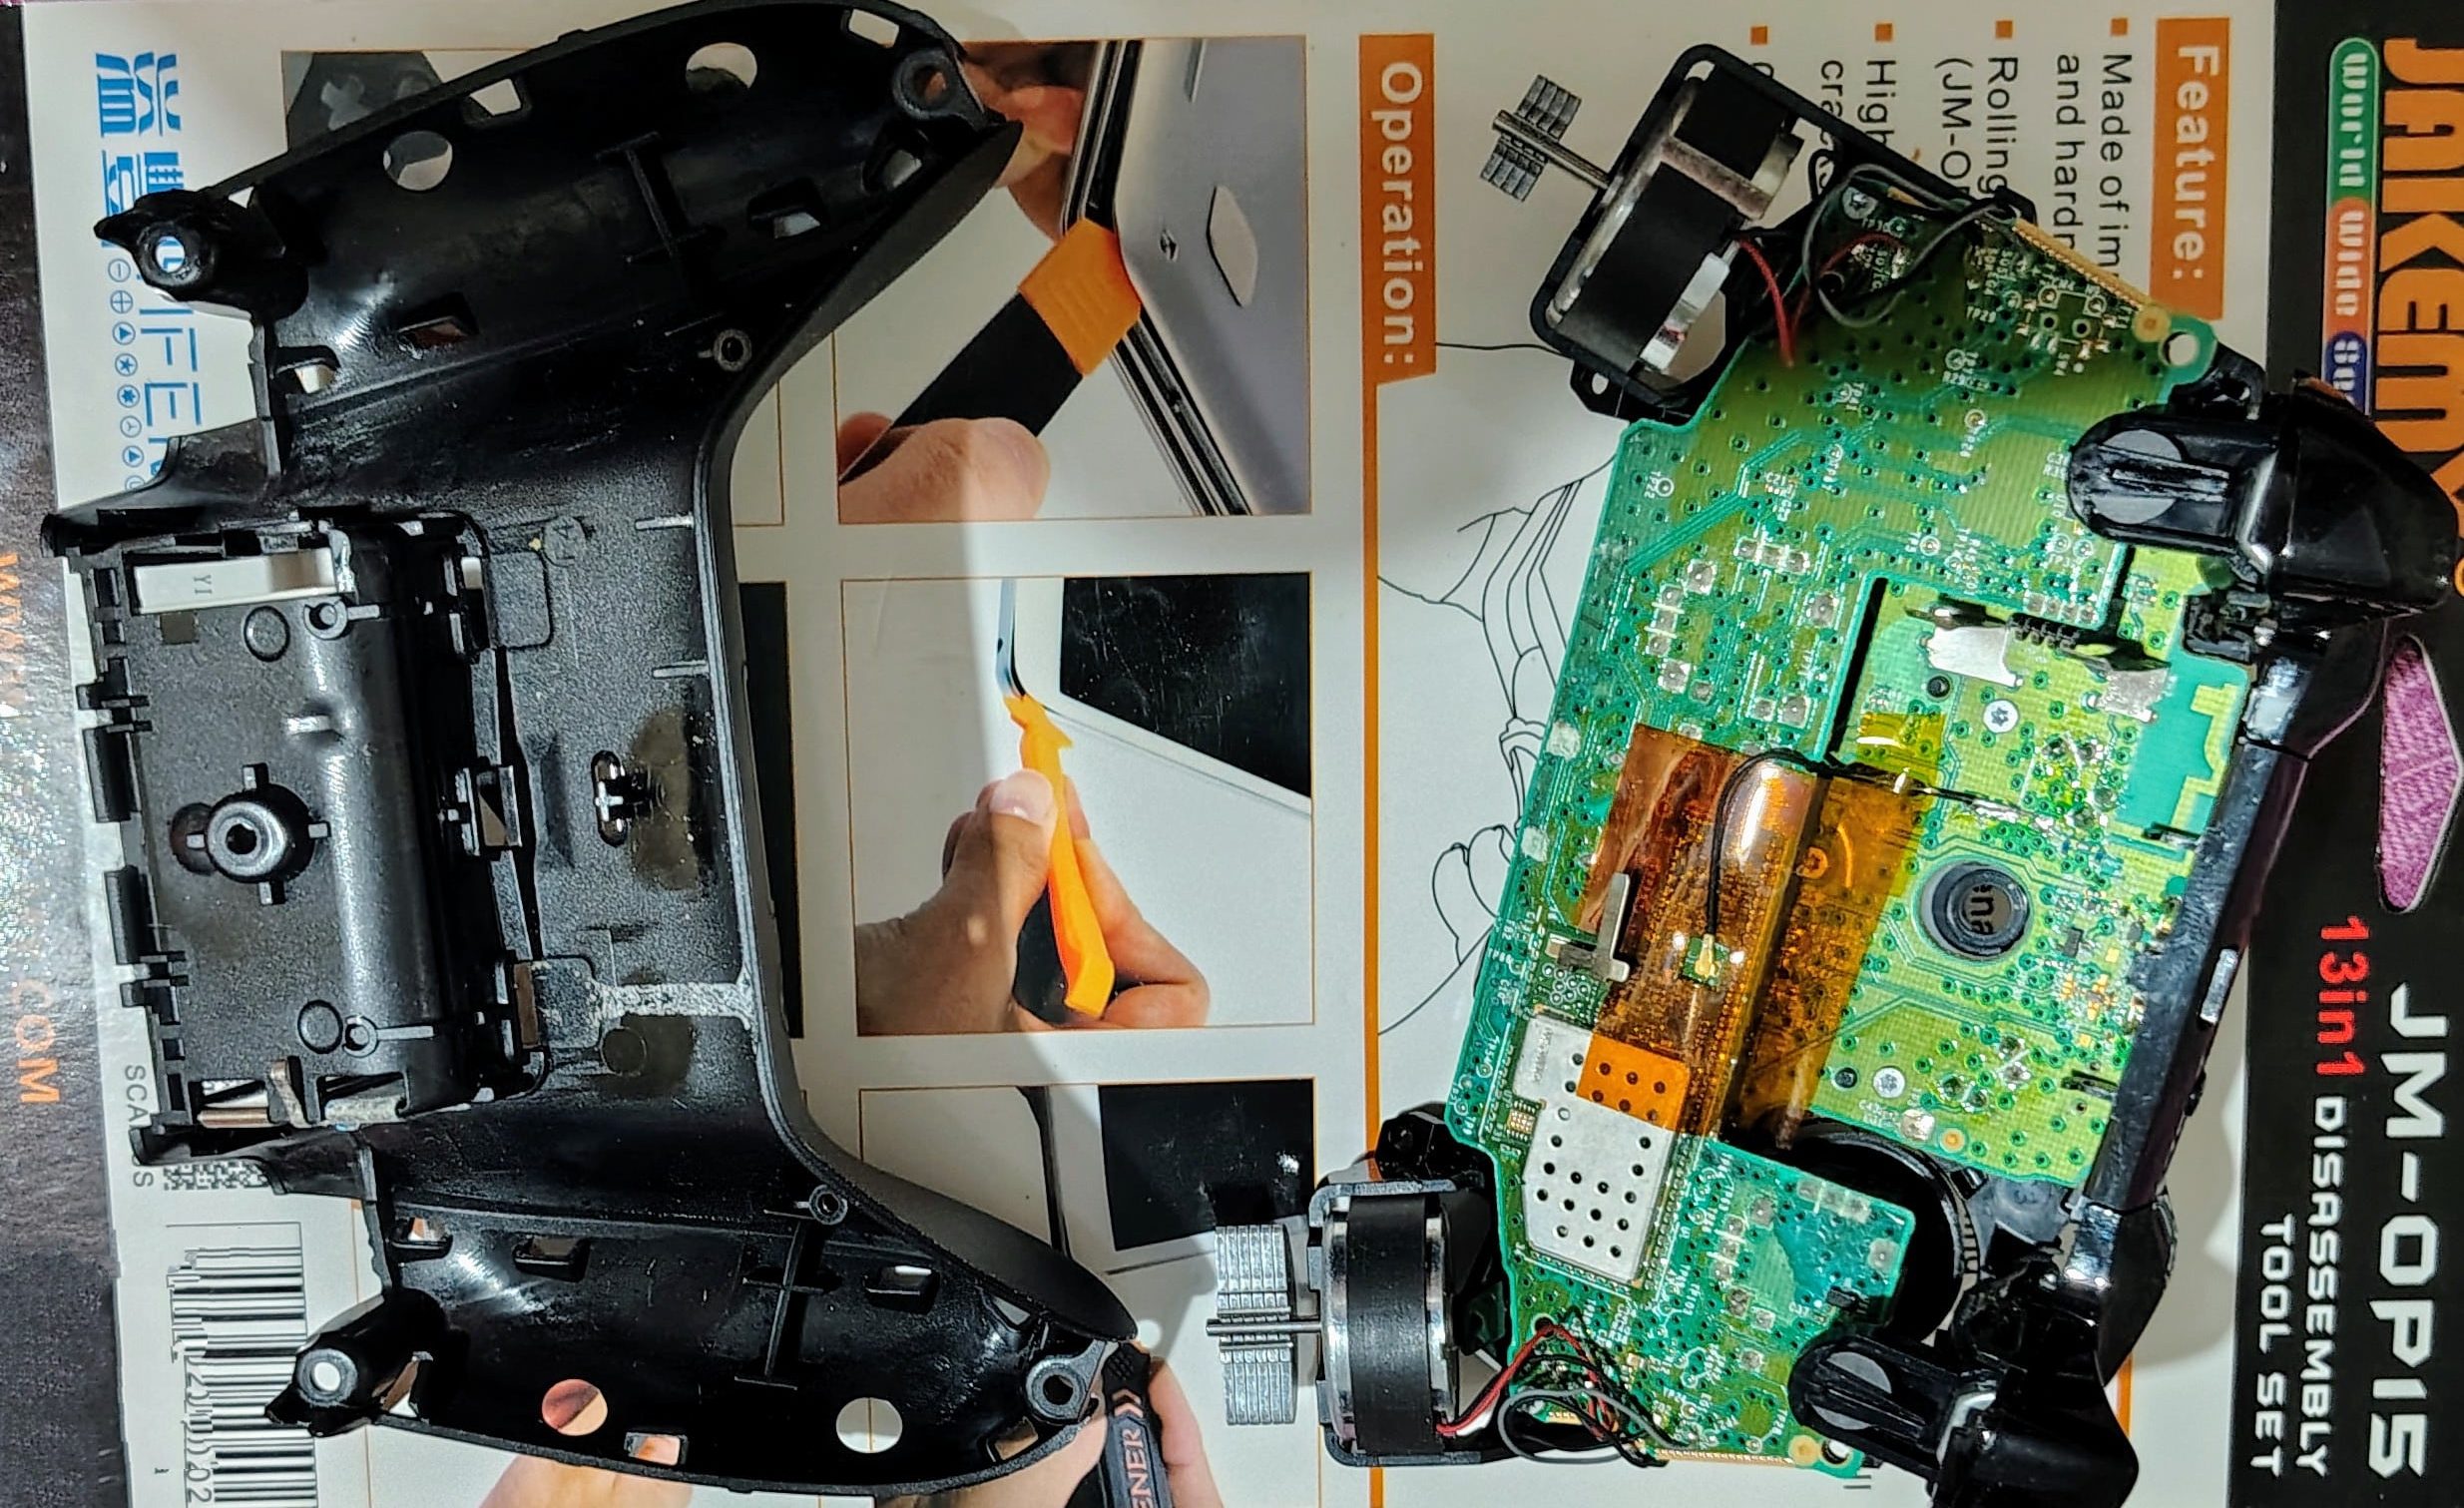
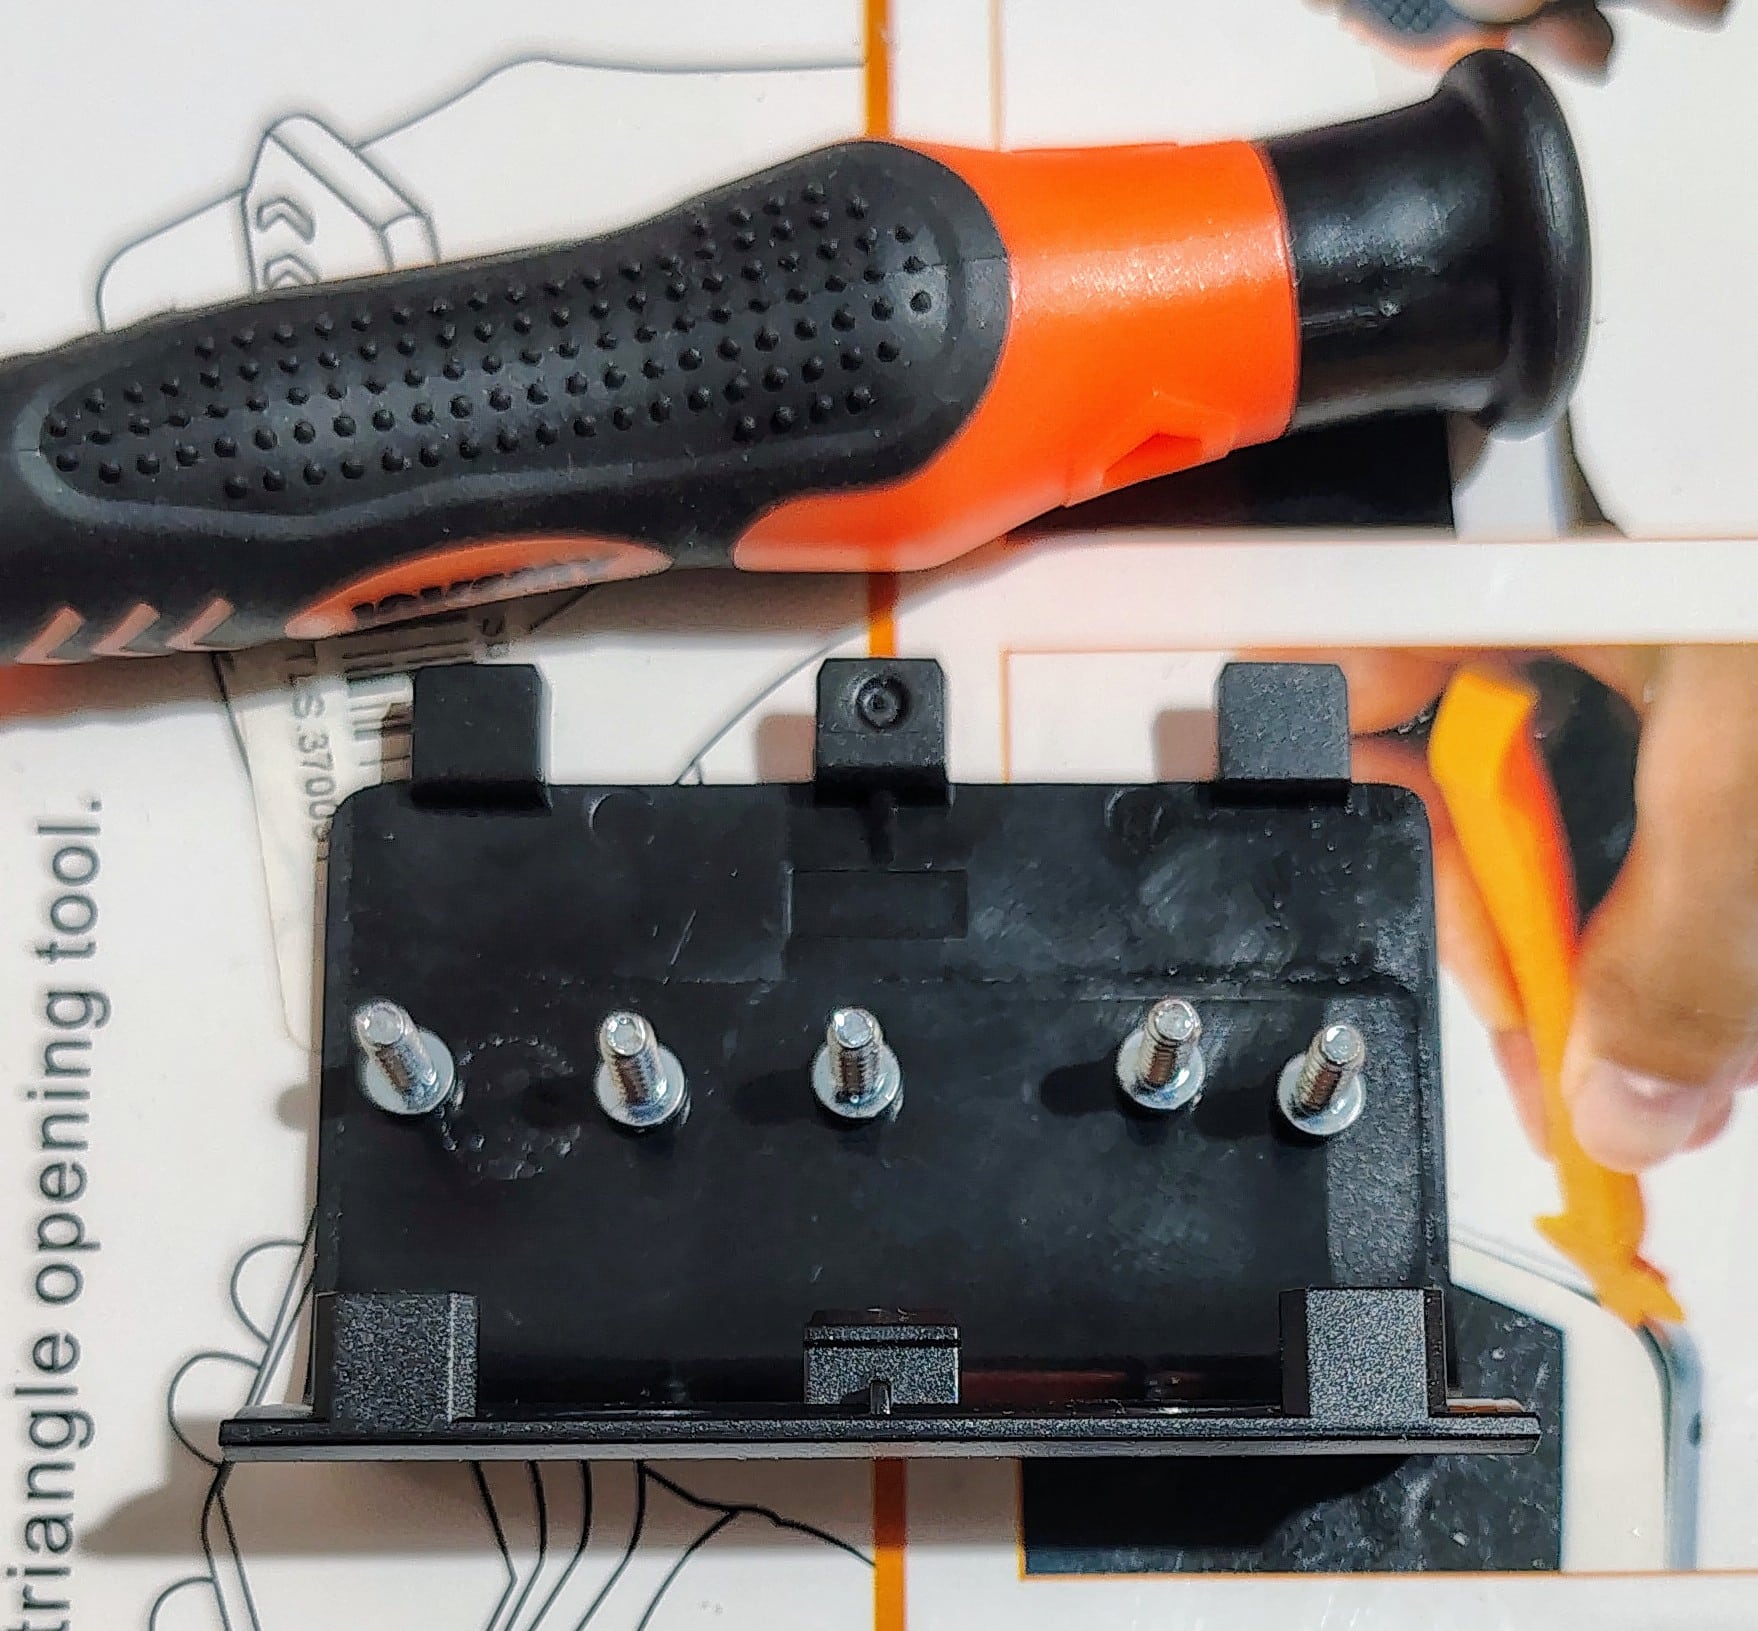
- If you need to remove the PCB, unscrew the four screws (as shown in the image below) on it with a T6 screwdriver, and the “hidden” one in front of it (if necessary).

That’s it! You can now proceed with cleaning, any replacement (you can find dirt-cheap spare parts/kits in Ali or even in Temu), or repairs. Your controller should be thankful (well, if everything goes as planned). Keep gaming for life!