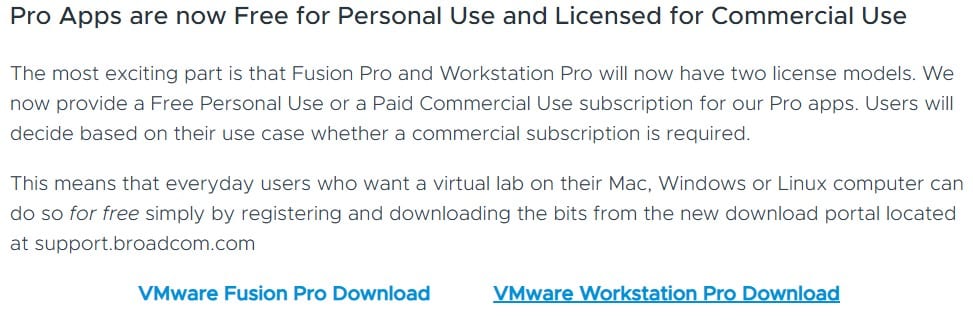
As you may know, virtualization is a versatile option for enthusiasts, developers, programmers, and tech fans. In a previous article, I showed how to install the popular free and open-source Type 2 hypervisor, VirtualBox. For years, VirtualBox was the way to go for a free, full-featured hypervisor. The other option was VMWare Workstation/Fusion (the latter for Mac users) Player, a free cutdown version of Workstation Pro that was adequate for the average user. However, since May, Broadcom, the parent company of VMWare since 2022, has offered the Workstation/Fusion Pro tools for free for non-commercial use. That resulted in discontinuing its Players, now offering the full-featured Pro versions for free. A few days earlier, Broadcom announced that its Pro tools would be free for non-commercial and commercial use.
Although the core motives for this change are unclear, the fact remains that its top-notch products are available free of charge to everyone. It is unclear how long this offer will take, but it is an opportunity for anyone to test its virtualization solutions. This article will reveal the whole process of downloading and installing VMWare Workstation Pro on our Windows system. Let’s dive deep into VMWare’s virtualized ocean.
How To
- Head over to this official Broadcom link.
- Unfortunately, there is no direct link to download the tools. You must register if you don’t have a Broadcom account or log in if you are already a user. If you register an account, you should enter a valid email to which a confirmation code will be sent. Then, fill in the necessary (*) fields and choose a strong password. Accept (tick) the “Terms and Conditions”.
- Log in to your account.
- Head over again to the previous link.
- Choose the Workstation Pro if you are a Windows or Linux user or Fusion Pro for Mac users.
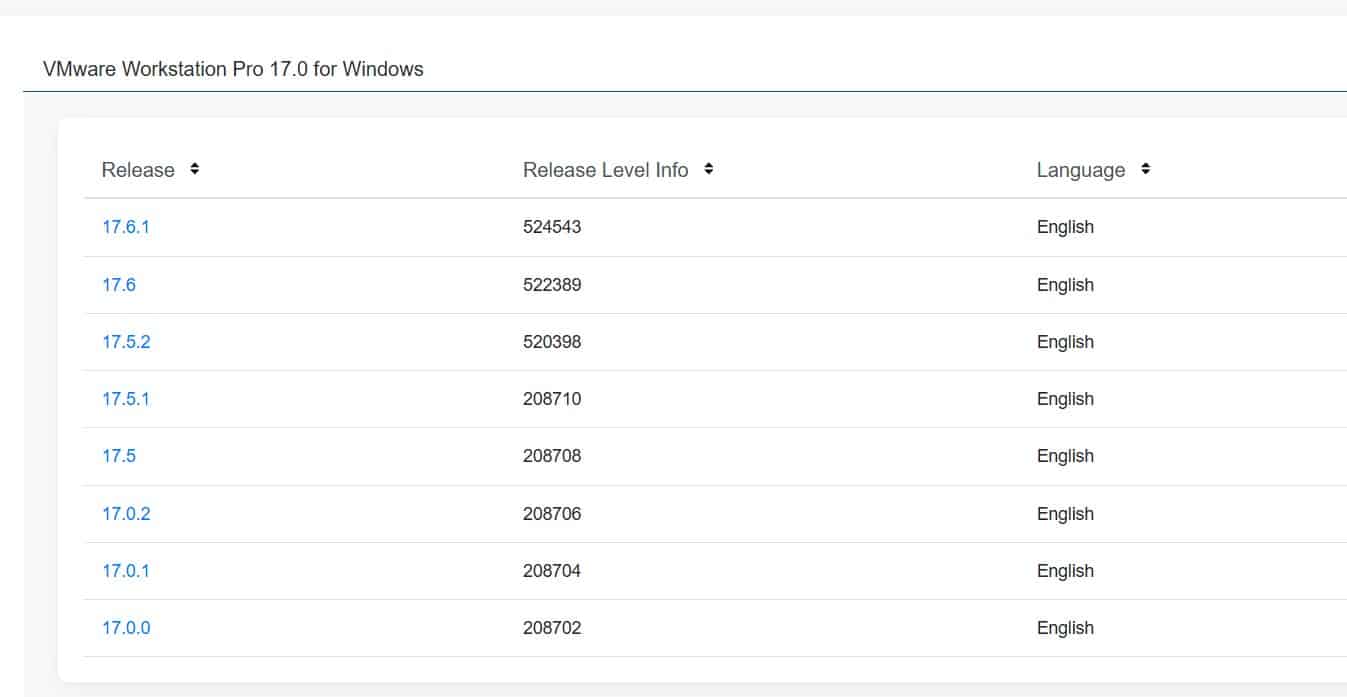
- Select the latest version.
- Choose the latest stable release.
- Tick “I agree to the Terms and Conditions”.
- Head to the download link (cloud-arrow) and wait for the file to be downloaded (about 448 MB). Depending on your Internet connection and speed, this might take a while. Just be patient.
- Go to your “Download Folder” or wherever you have chosen the file to be saved.
- Right-click on the file and choose “Run as admin.” Although I noticed nothing different installing it as an admin or a non-admin user, the official documentation recommends the admin mode.
- The “Installation Pop-up” will appear. Click “Next”.
- Tick the “I accept the terms in the License Agreement.”
- Tick “Add VMWare Workstation console tools into system PATH.” You can also choose another drive to install the app by selecting the “Change” icon. If you have only one drive or adequate space, leave it as it is.
- You can optionally tick the boxes in the “User Experience Settings.” It is unnecessary, and I think it is best not to tick them if you don’t need to.
- Tick the two boxes of the “Shortcuts.”
- Click the “Install” button if everything is ready.
- Check the “Use VMWare Workstation 17 for personal use” box and click “Continue”.
- Wait for the installation to complete and click “Finish.”
- You can run the app from its shortcut icon on your Windows Desktop.
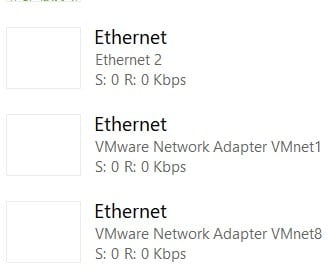
- Two new “VMWare Ethernet” will be added to your “Task Manager”.
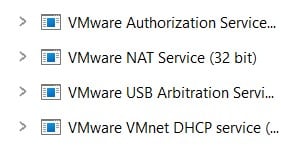
- You will notice four new VMWare processes.
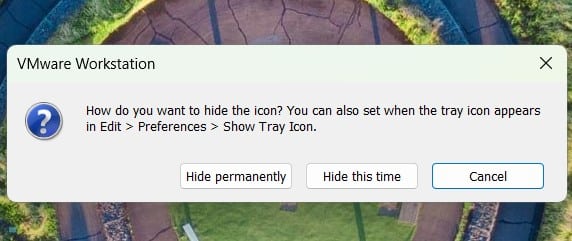
- You will notice a VMware icon on your toolbar, near the Microsoft Defender icon. You can optionally hide it or leave it (right-click on it).
- Optionally, you may restart your system.
- That’s it! You can now start using your favorite app by creating, adding, etc., virtual machines. The choice is yours, and only the sky is the limit.
